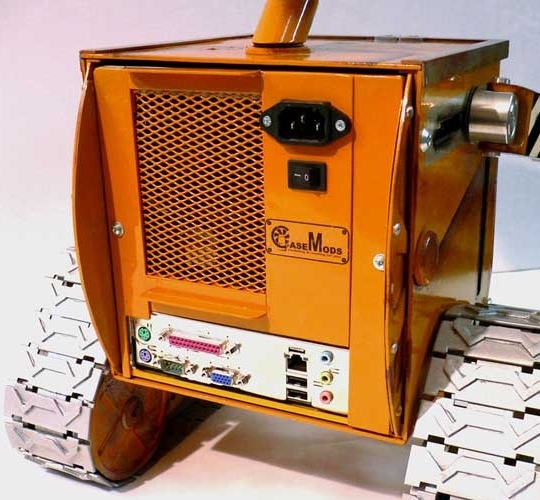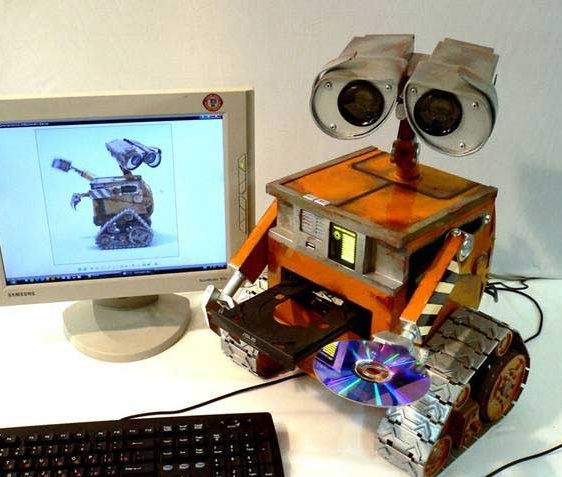
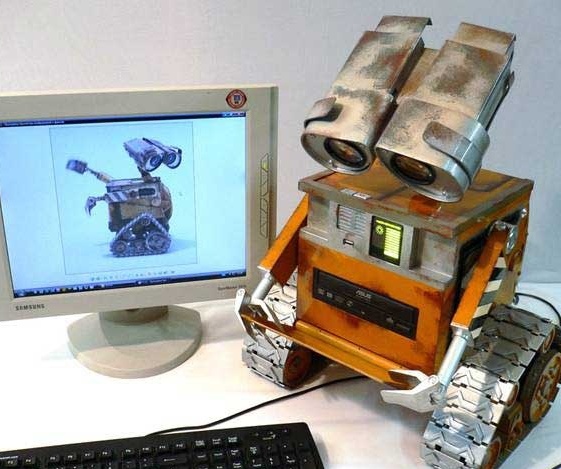
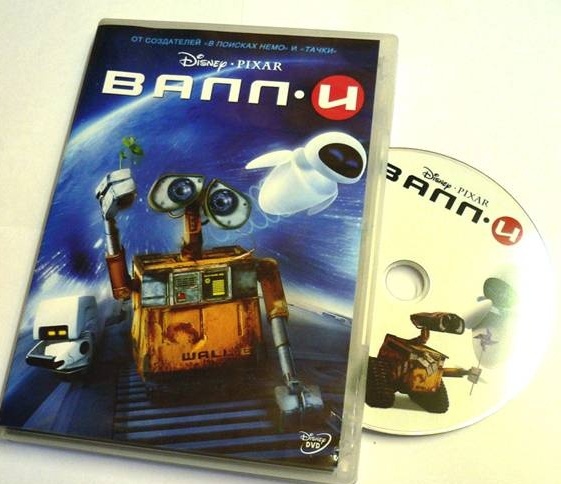
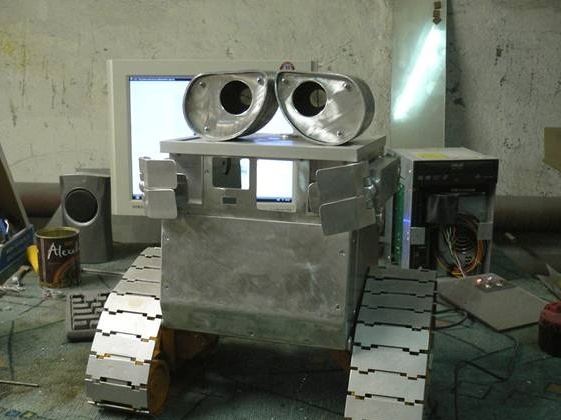
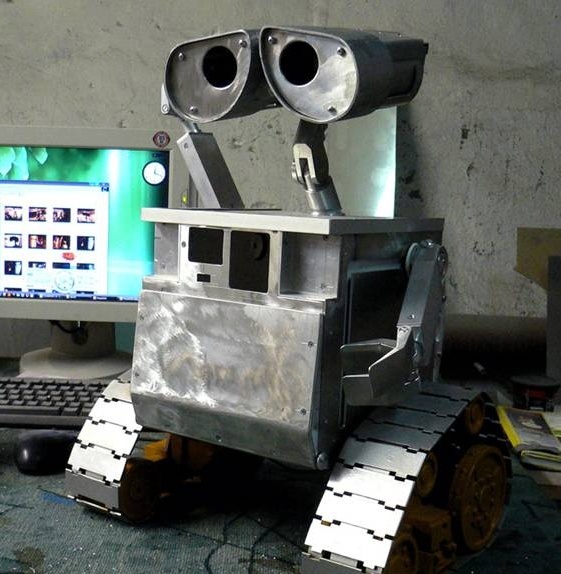
Impressed by the struggle of the small robot Wall-i with his brothers in the cartoon of the same name, the master decided to make a small PC in the form of a fearless hero.
The master took 18 days to make the system. For the manufacture of PC Manufacturing, the following
Tools and materials:
- Intel D945GCLF motherboard;
-DVD-ROM;
-HDD;
-Power Supply;
-Duralumin;
-Drilling machine;
-Lathe;
-Milling machine;
-USHM;
-Drill;
-Calipers;
-Marker;
-Compass;
- Electric jigsaw;
-Fasteners;
-Gas-burner;
-Aluminum corner;
-Putty;
-Primer;
-Spring;
-Magnet;
-Vise;
- Clamps;
Antenna connectors
- Paint tape;
-Paint;
-Wire;
- Orgsteklo;
-Sponge;
- brush;
-Bread board;
-LEDs;
-Resistors;
-USB connector;
-Scotch;
-A printer;
-Glue;
Step One: Concept
As conceived by the master, the case should not be large. Accordingly, the equipment should be small in size. The choice of the master focused on the Intel D945GCLF motherboard Mini-ITX form factor. With its modest size, the board is quite suitable for surfing the Internet, watching movies and even games. According to the master, even "Stalker" is on the minimum wage
The main parameters are defined and you can begin to manufacture Wall-i.
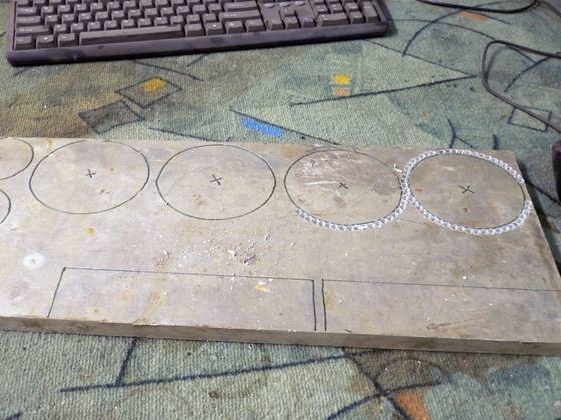
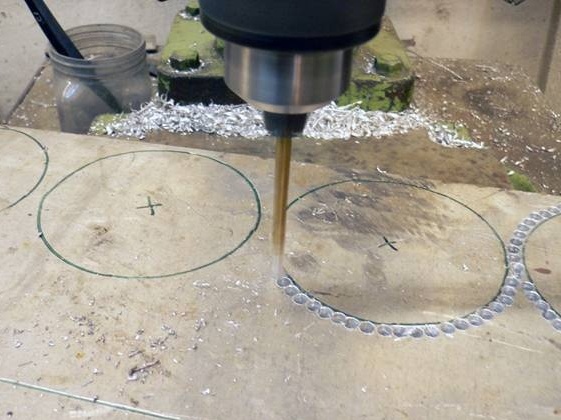
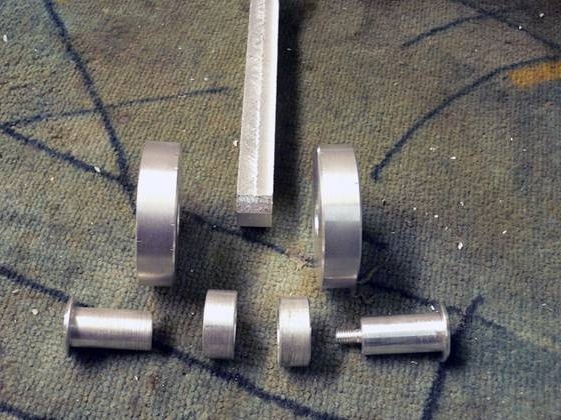
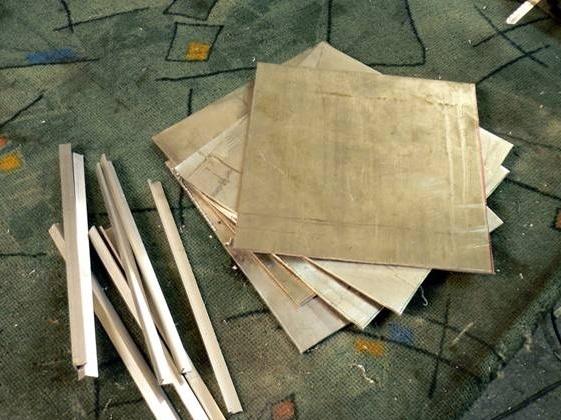
Step Two: Wheels
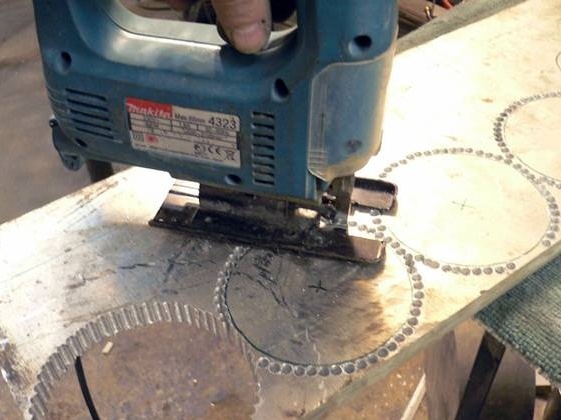
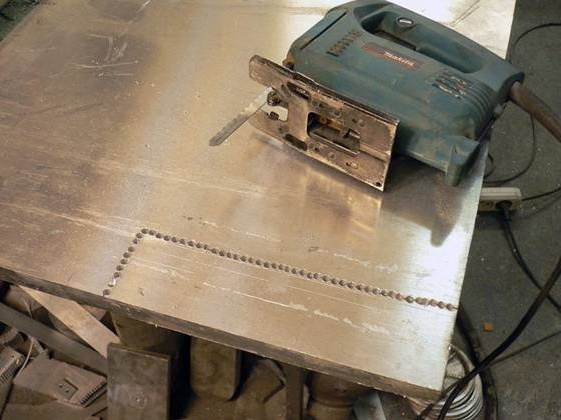
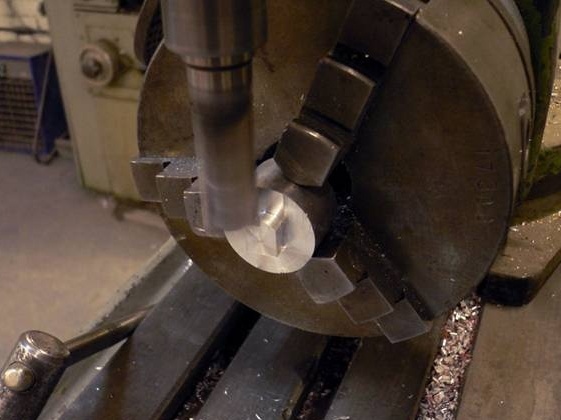
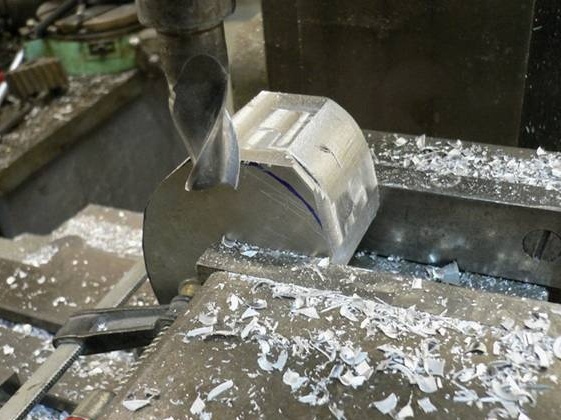
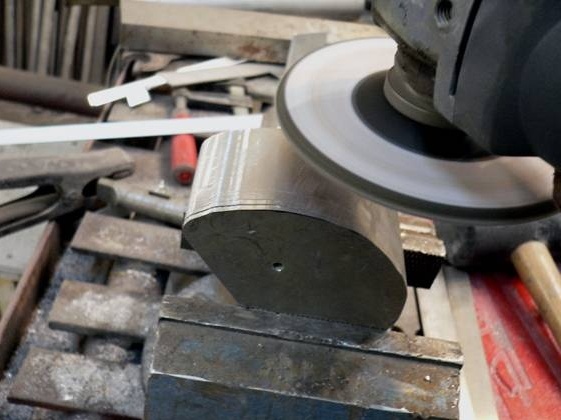
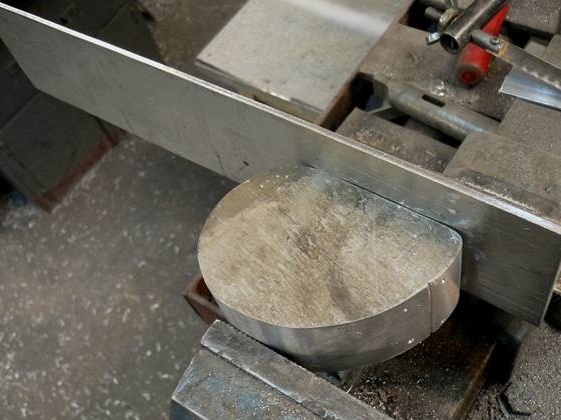
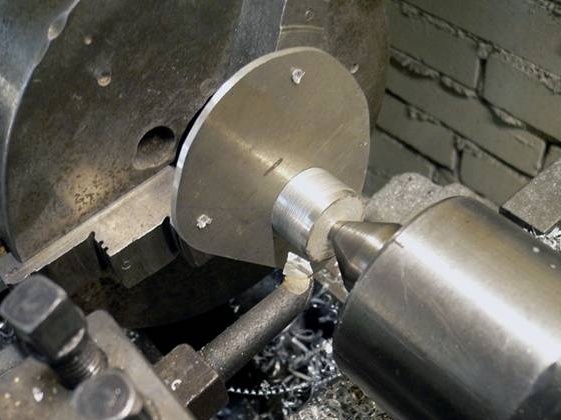
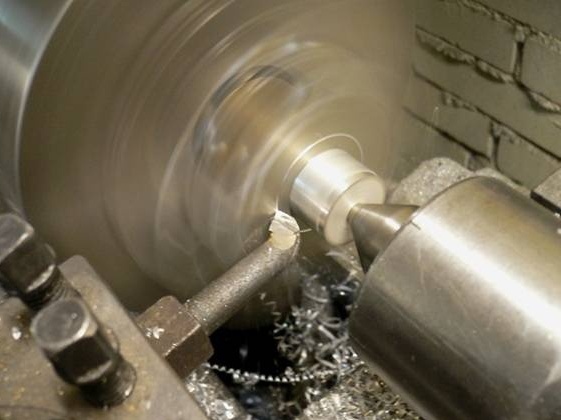
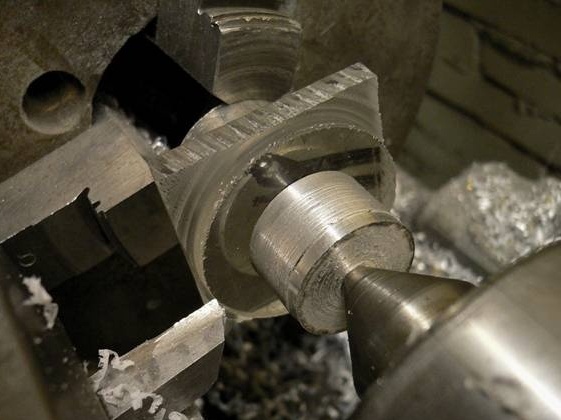
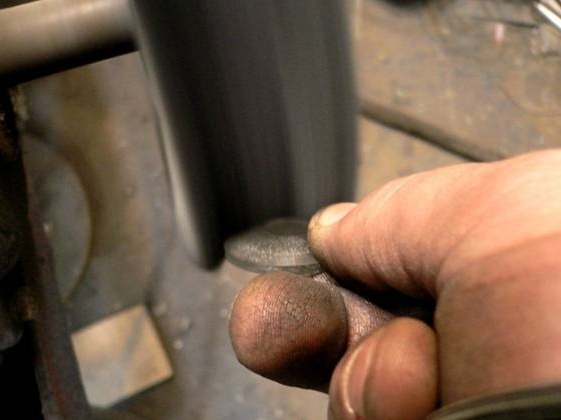
For the wheels, the master used 20 mm duralumin. Marks, drills in a circle, cuts out.
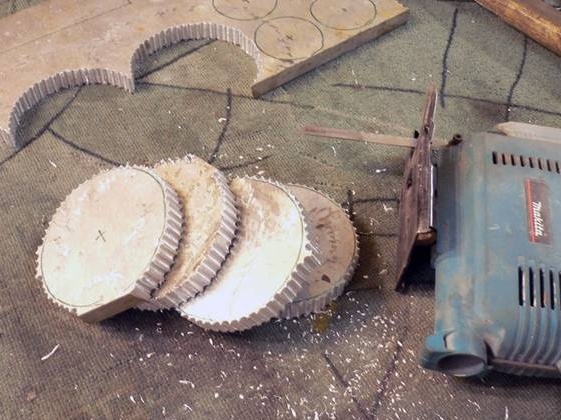
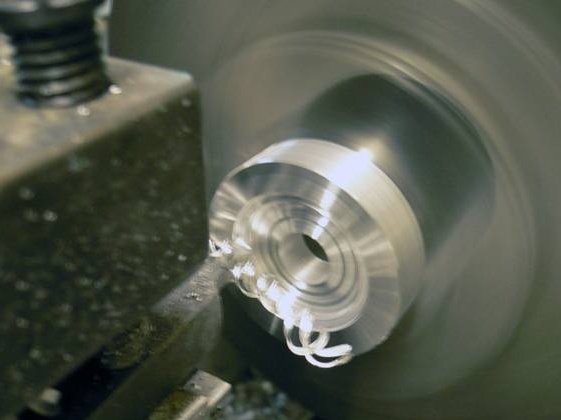
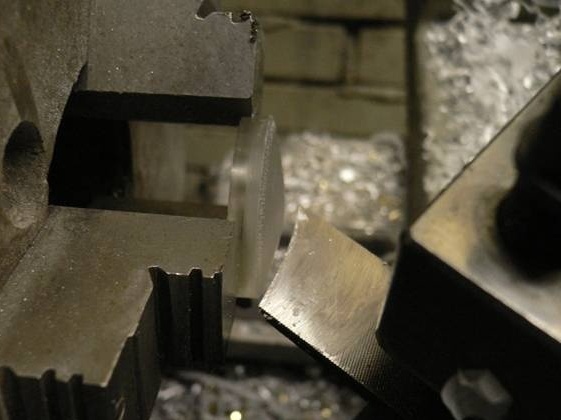
Turns on a lathe.
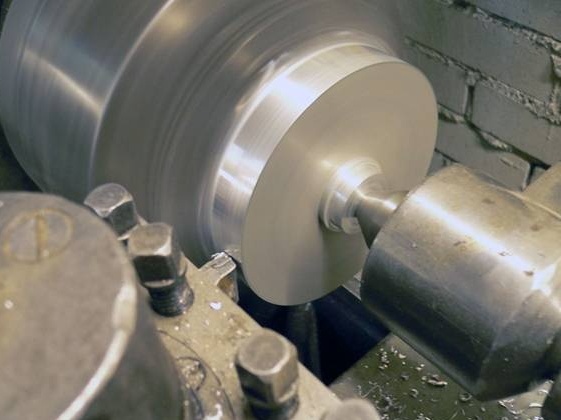
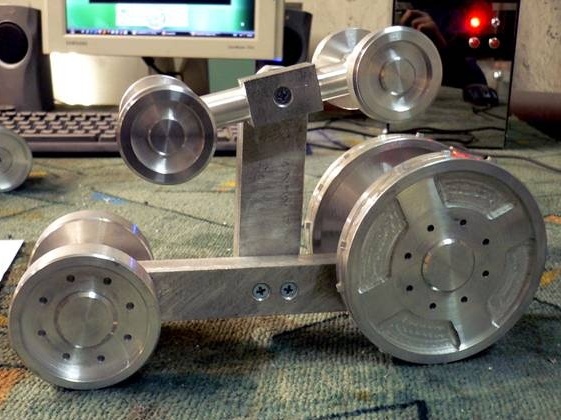
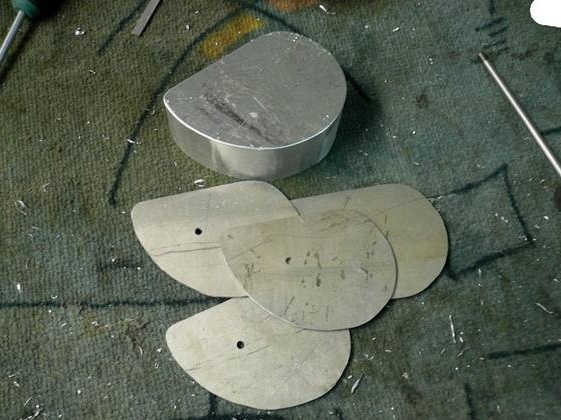
To give similarities, the master printed templates on the right scale and carved the corresponding drawings on wheels.

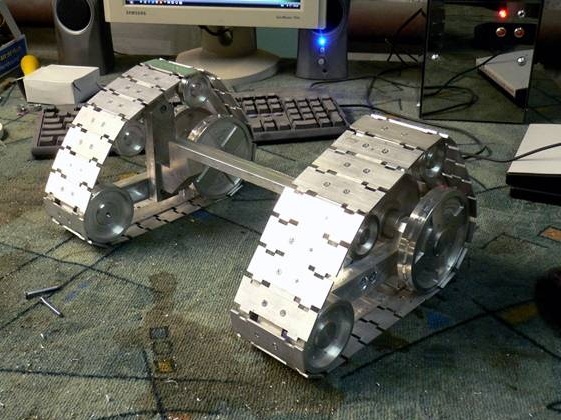
Step Three: Chassis Details
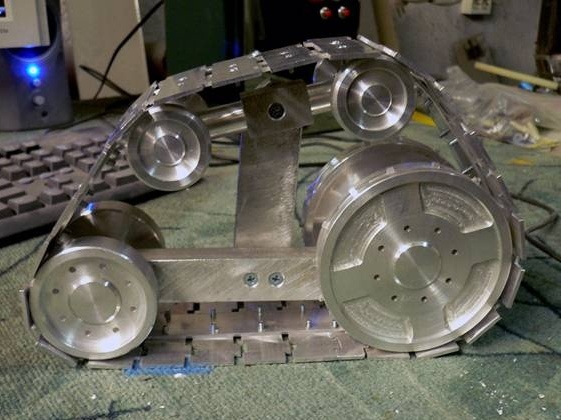
The wheels are ready and now you need to make the chassis parts.
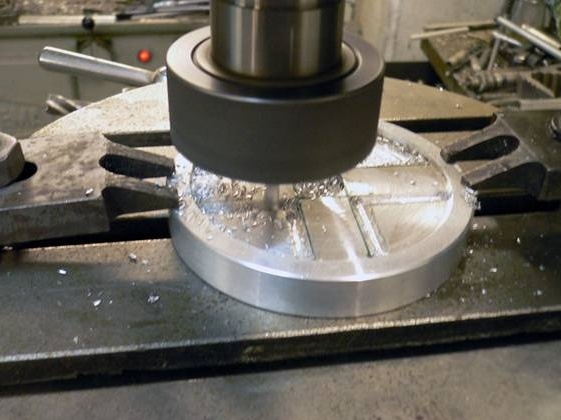
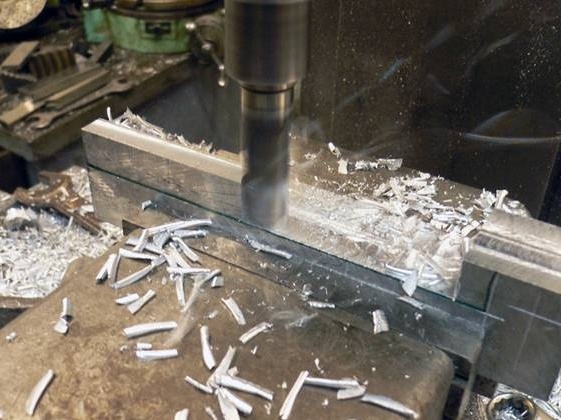
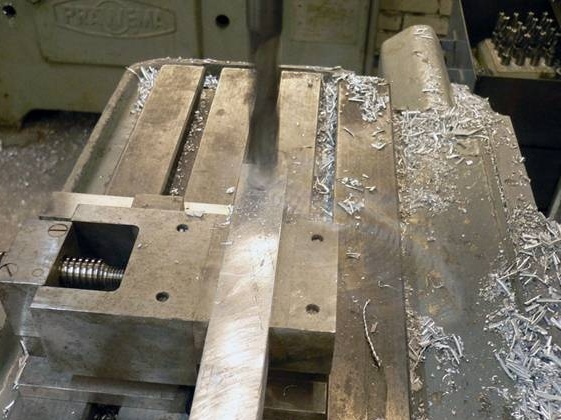
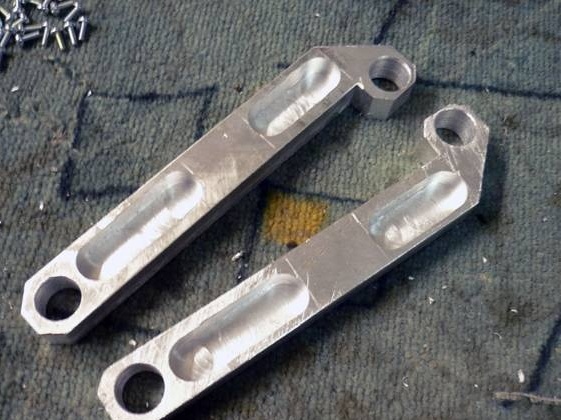
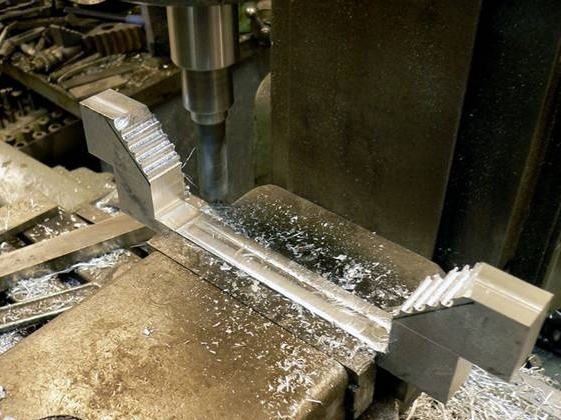
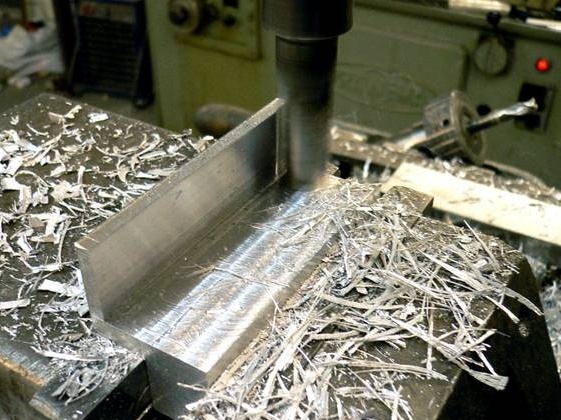
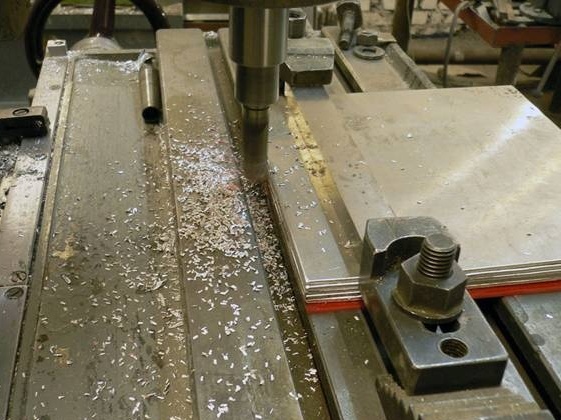
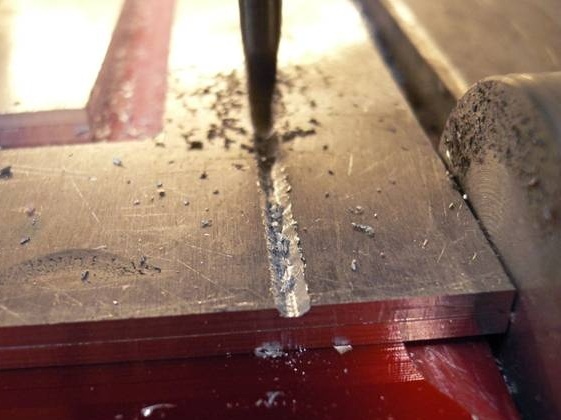
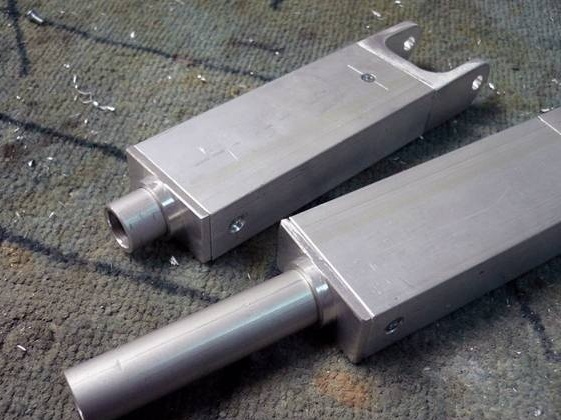
Cut and grind support beams. To lighten the weight, the milling cutter makes a selection of metal without violating the strength of the part.
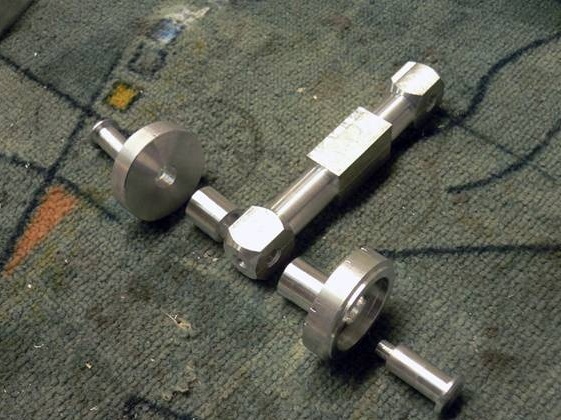
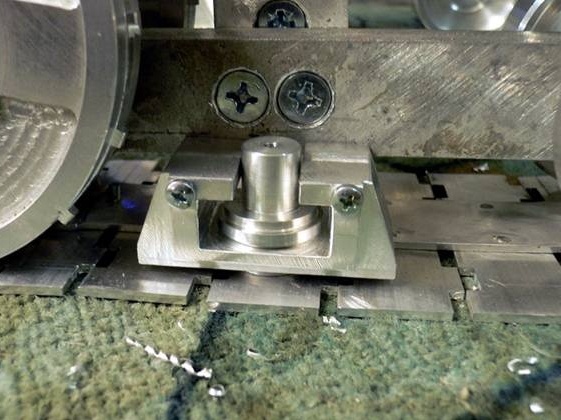
Turns support rollers and mounting parts.
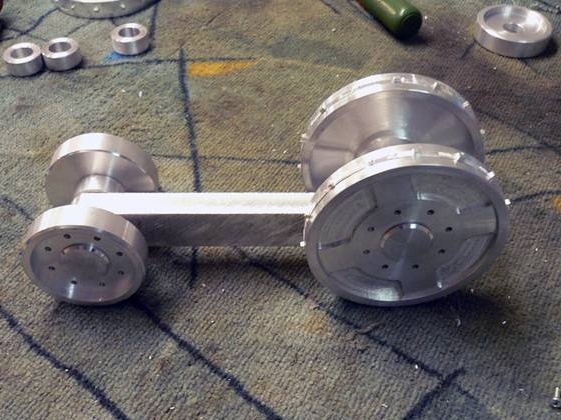
Makes a track tensioner.

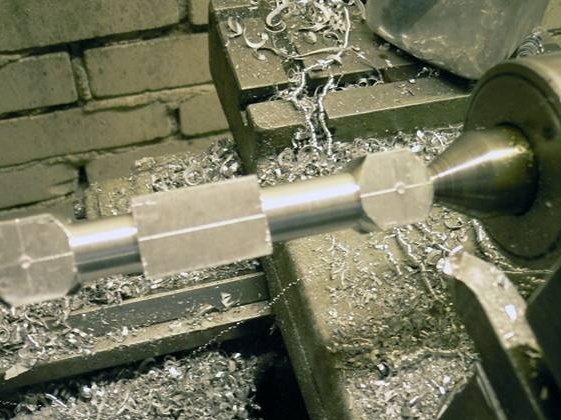
Turns axles and support rollers.

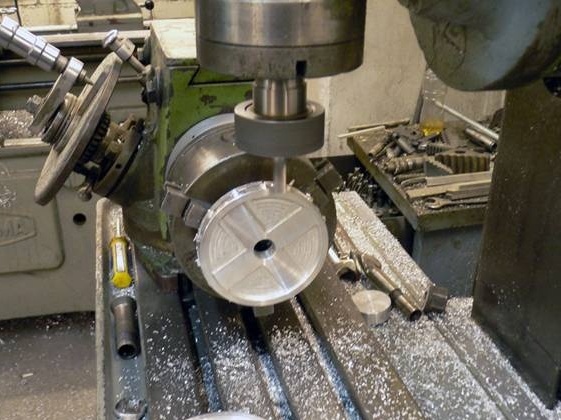
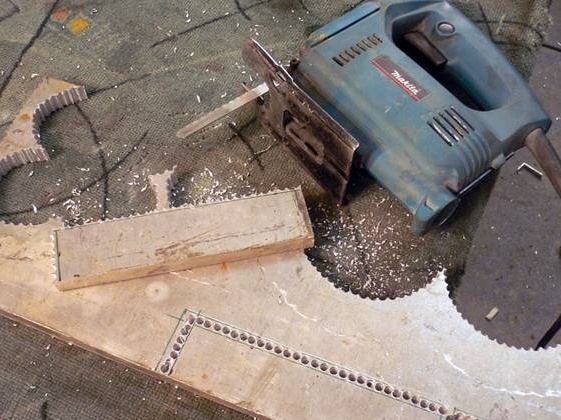
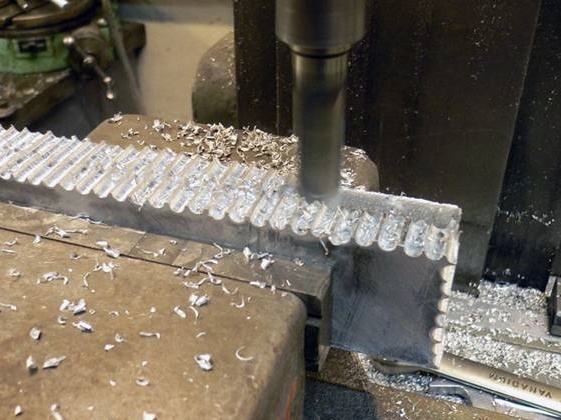
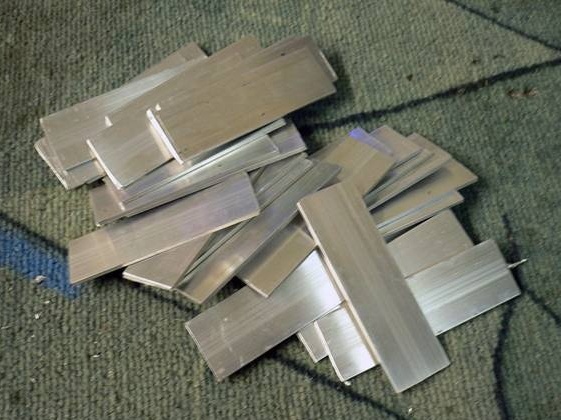
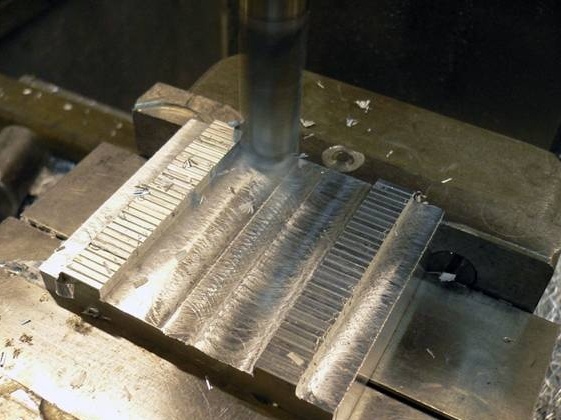
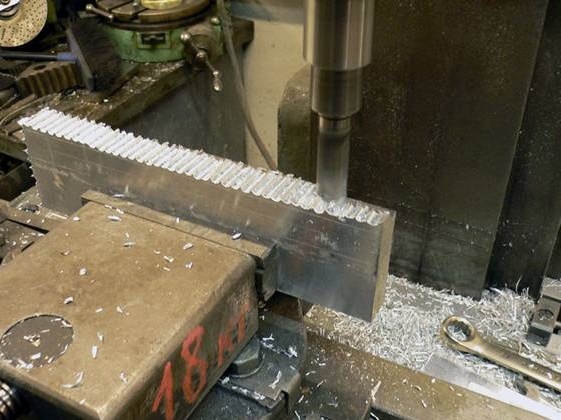
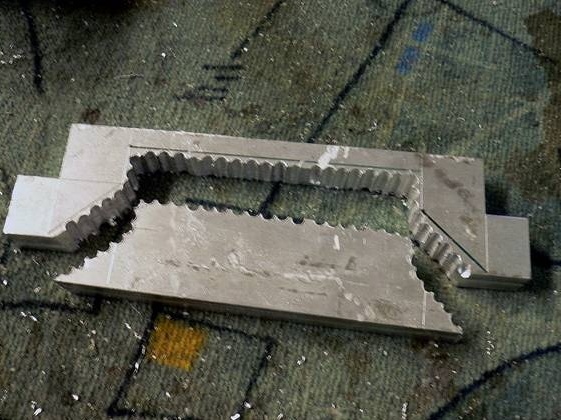
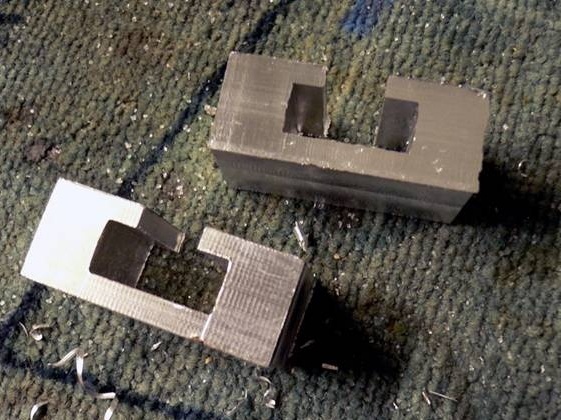
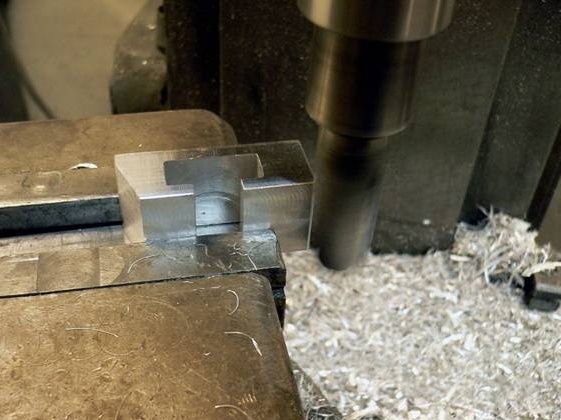
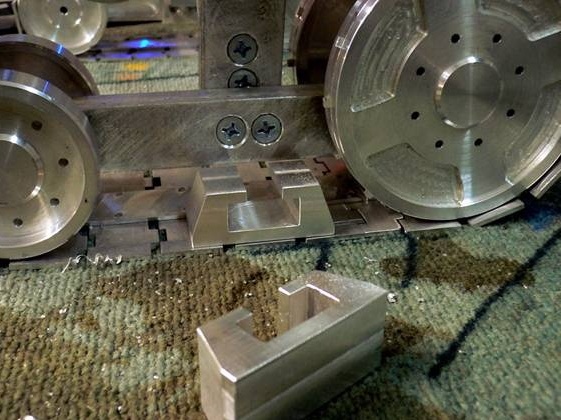
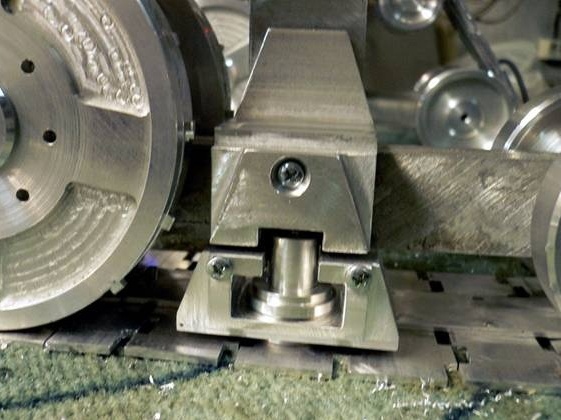
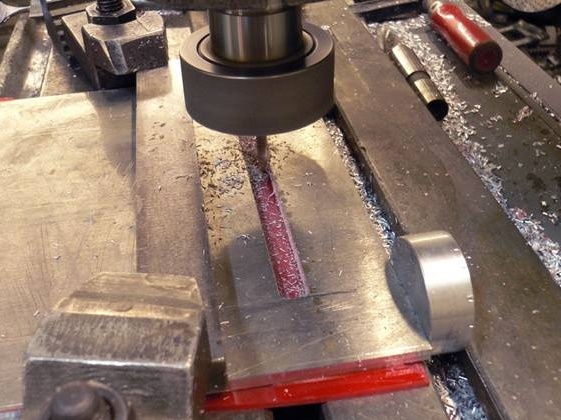
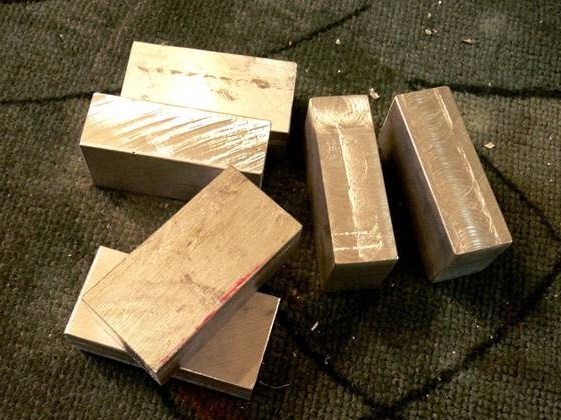
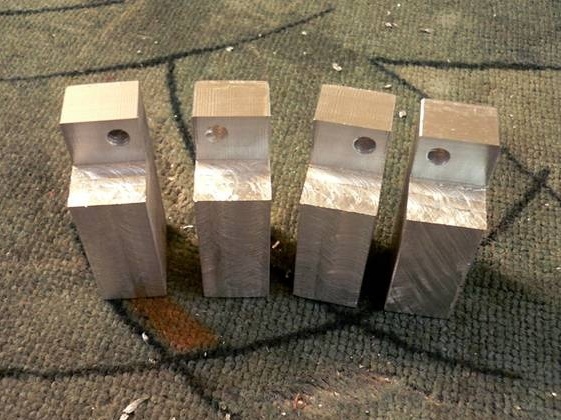
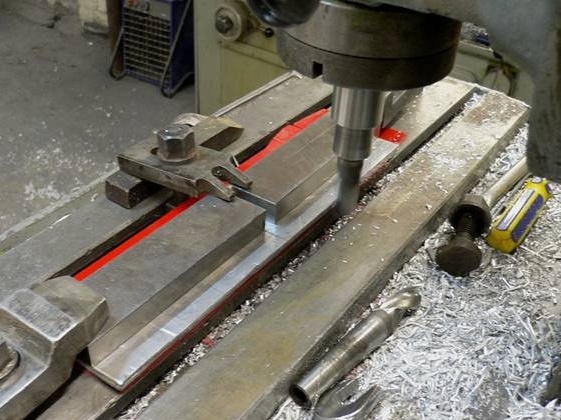
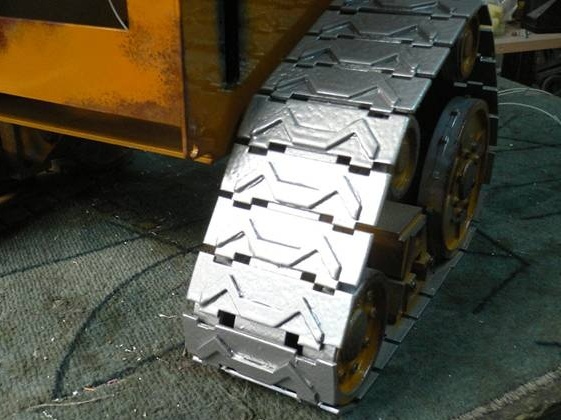
The master makes trucks from an aluminum strip. Slices the desired number of stripes. And processes them on a milling machine. Modifies the file.
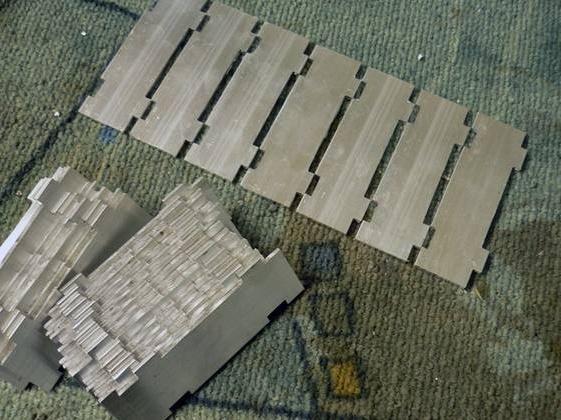
Ready tracks fastens on an aluminum strip.
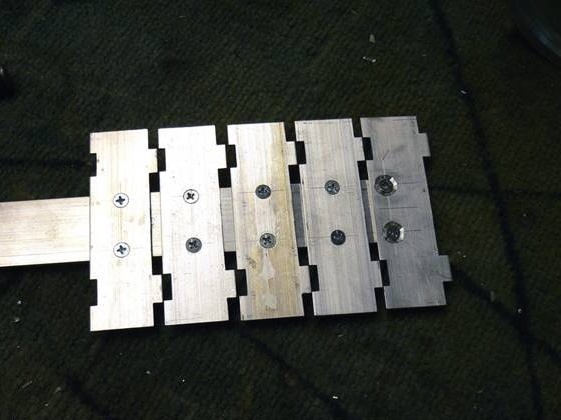
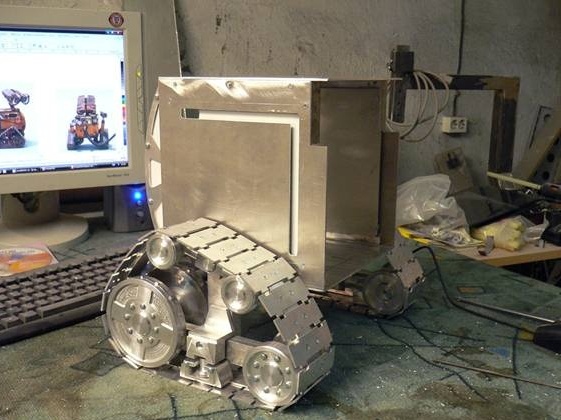
Installs on the chassis.
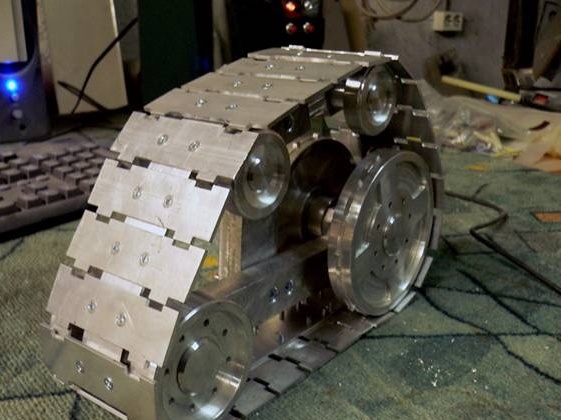
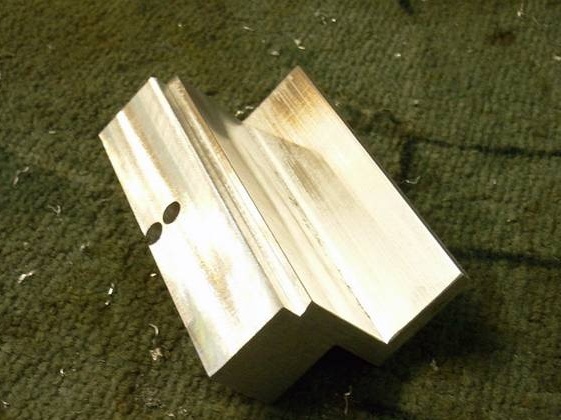
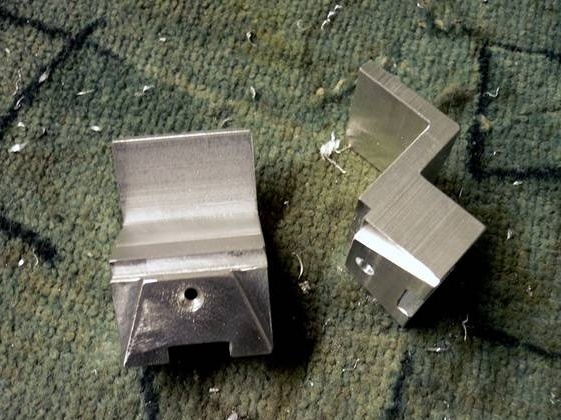
Makes a mounting bracket. The bracket connects the tracks together and serves as a support for the housing. The manufacturing technology is the same, marking, drilling, cutting, processing.
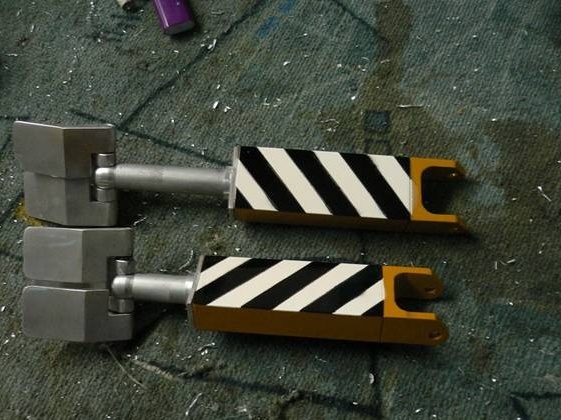
Makes brake shoes
and details of their fastening.
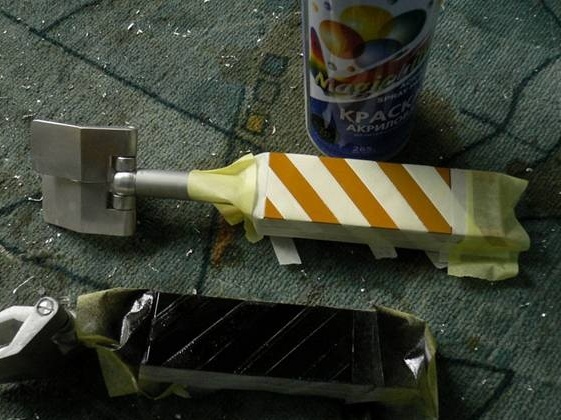
Step Three: Painting
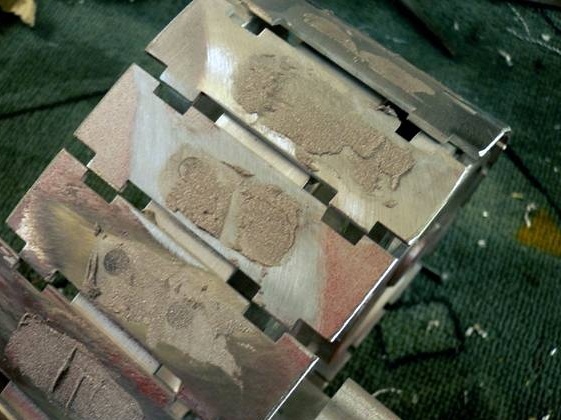
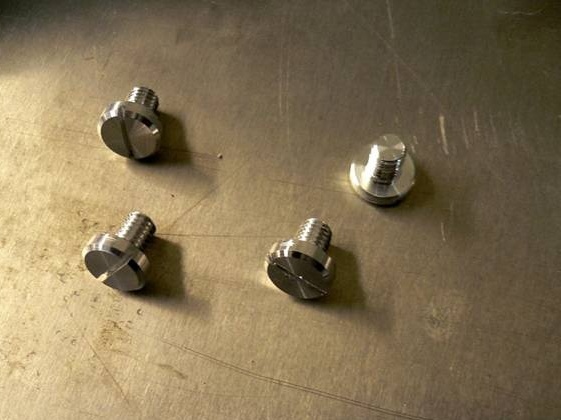
The chassis is ready. It remains to grind the heads of the mounting screws, putty and coat with soil.

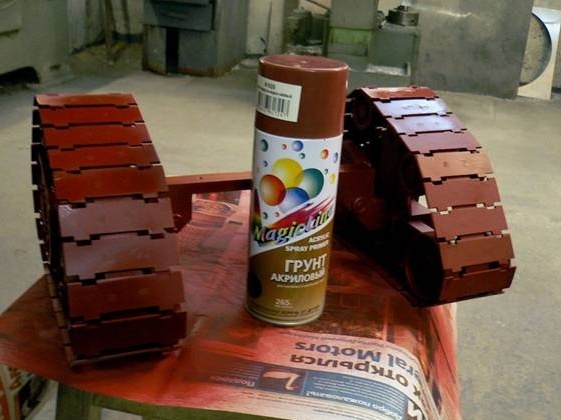
After drying, the soil paints the chassis.
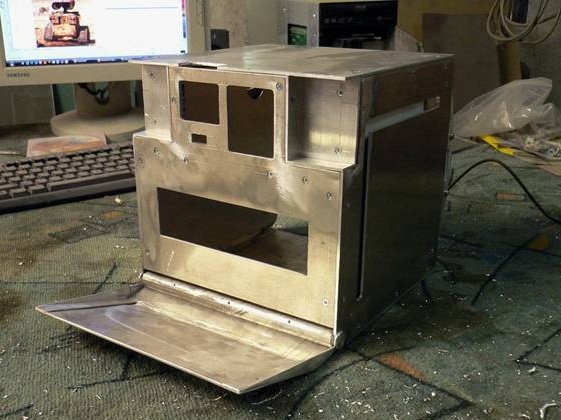
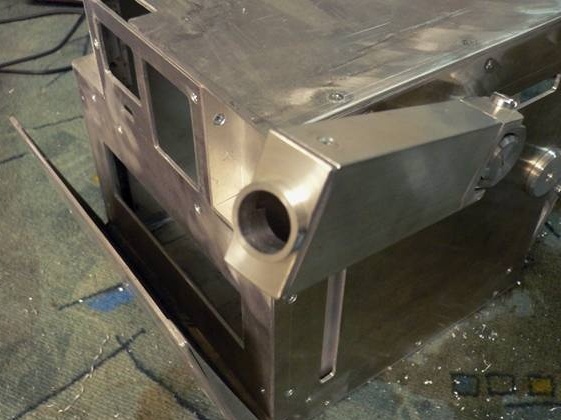
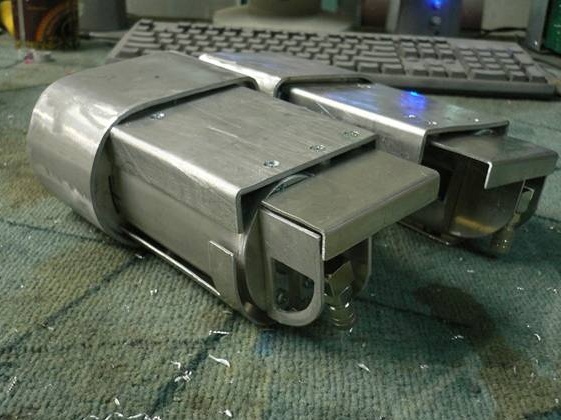
Step Four: Case
Starts to make the case. It is important to consider the size of the installed equipment.
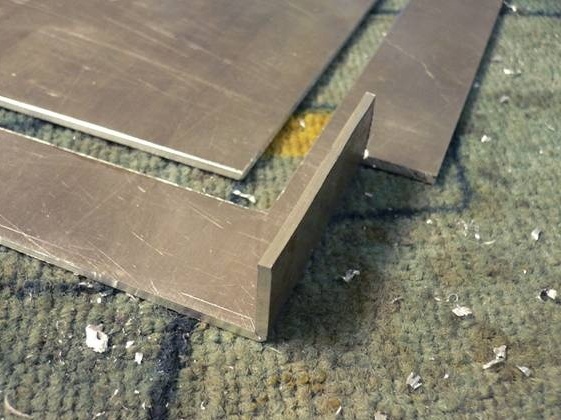
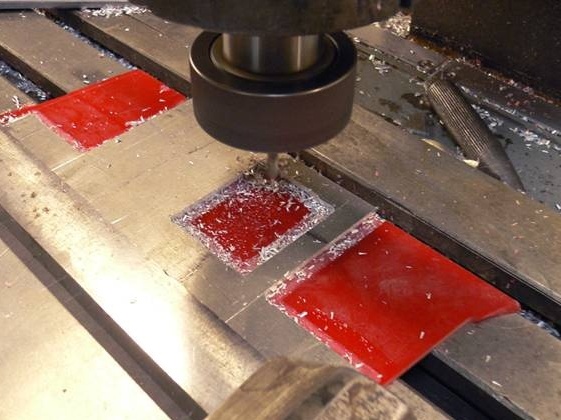
Cut the sheets of the sidewalls of the body and processes the bundle on a milling machine.
In two sheets makes slots for the hands of the robot.
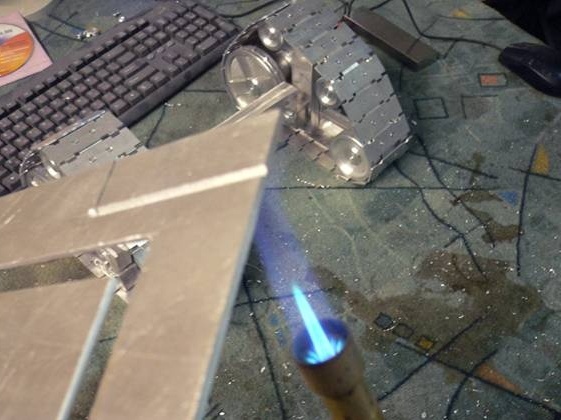
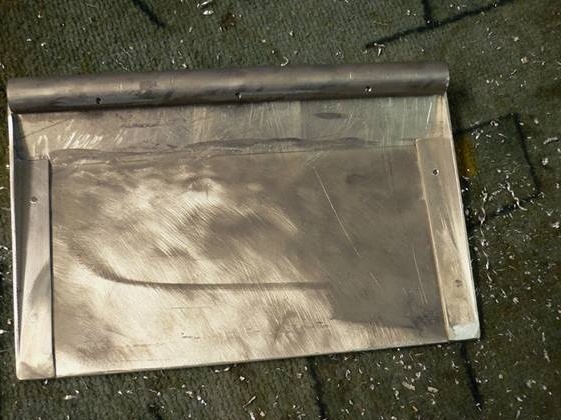
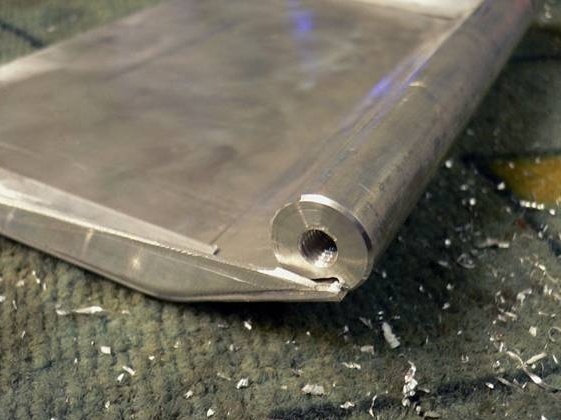
Grooves a groove at the bend. Then he warms the metal and bends.
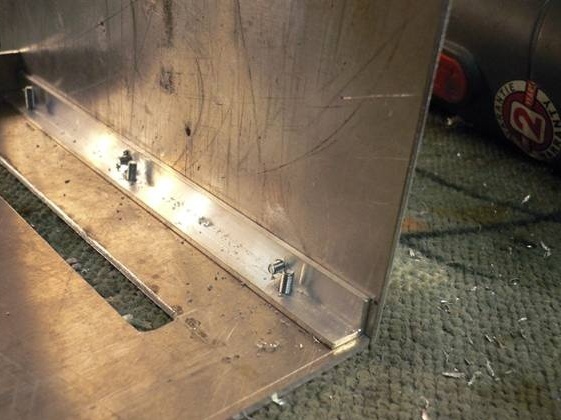
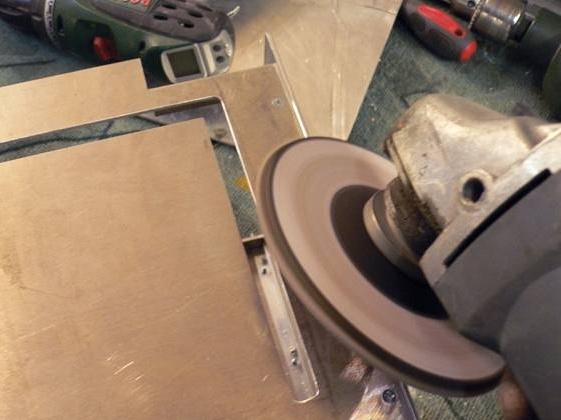
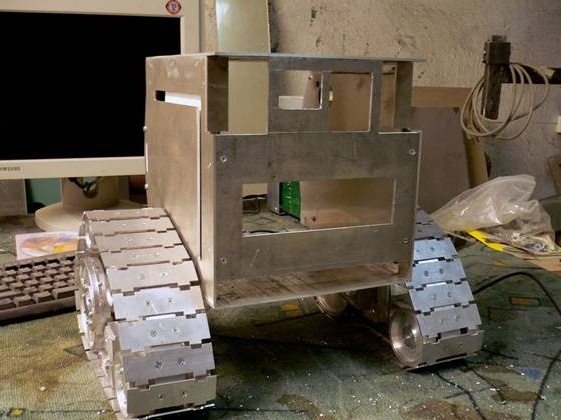
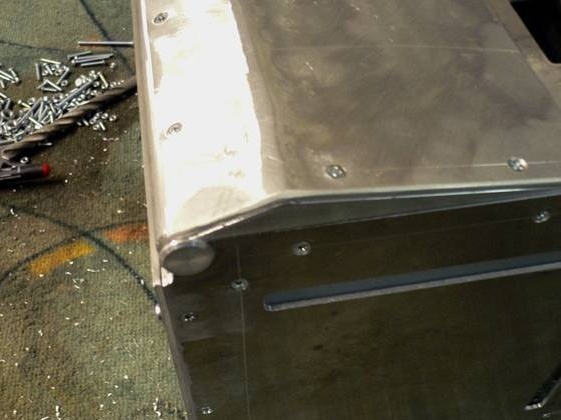
Housing parts are fastened with a corner and then polished from the outside.
Trying on the chassis to the chassis.
Makes the front wall of the body.
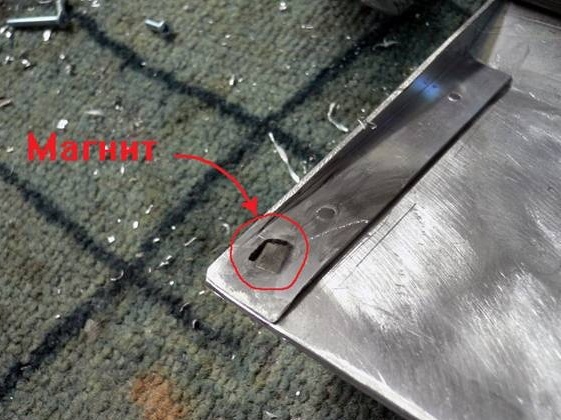
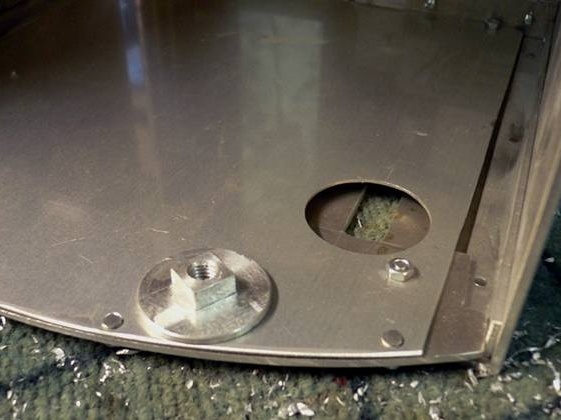
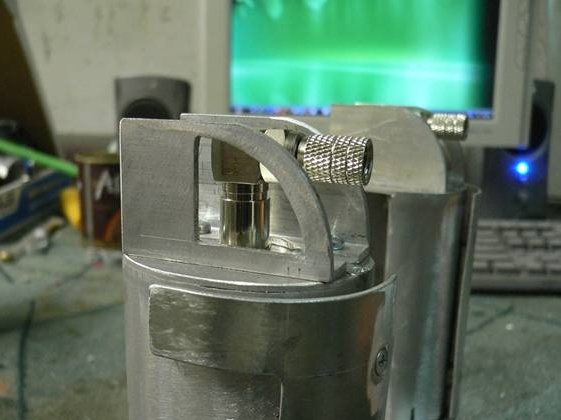
From a sheet of duralumin, a corner and a rod, a hinged lid is made.

Makes a groove and glues a neodymium magnet. The magnet sticks against the mounting screw. Now the lid will not fall.
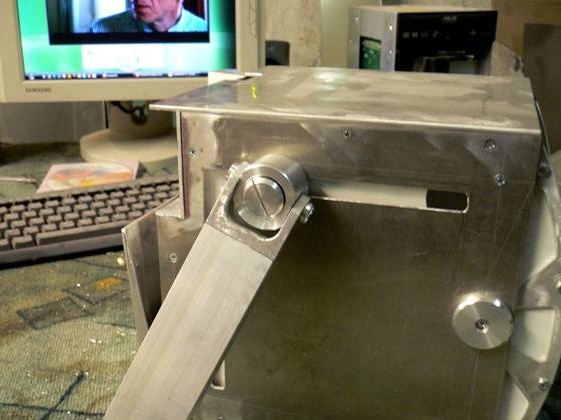
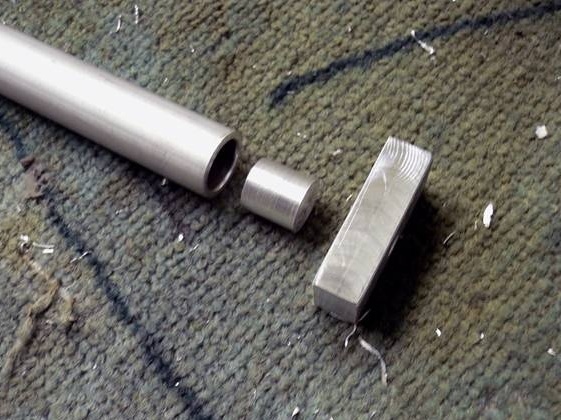
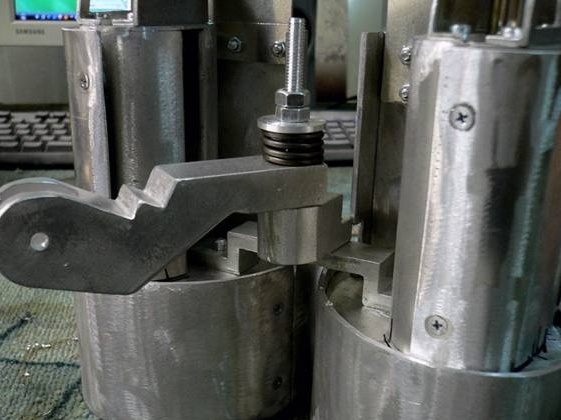
Step Five: Hands
The hands of the robot are mobile. In the case, the master made a slot, and so that his hands would move, he sharpened the guide.
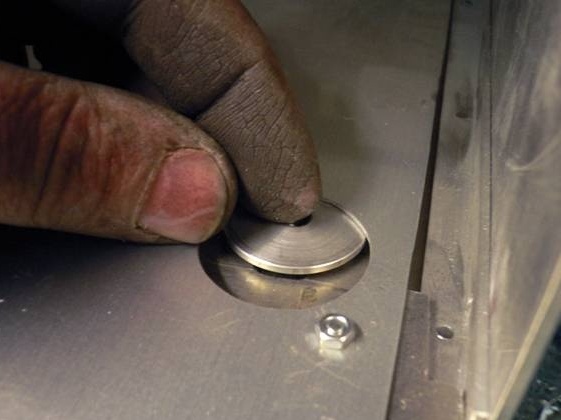
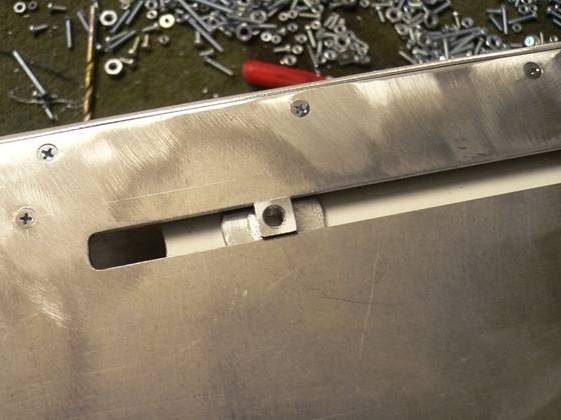
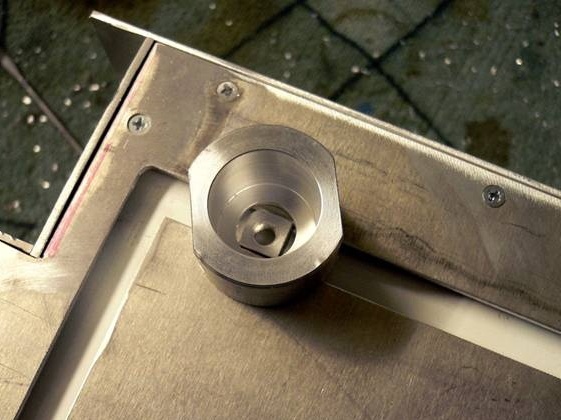
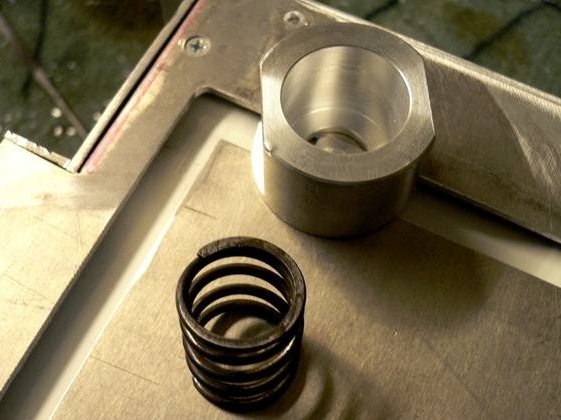
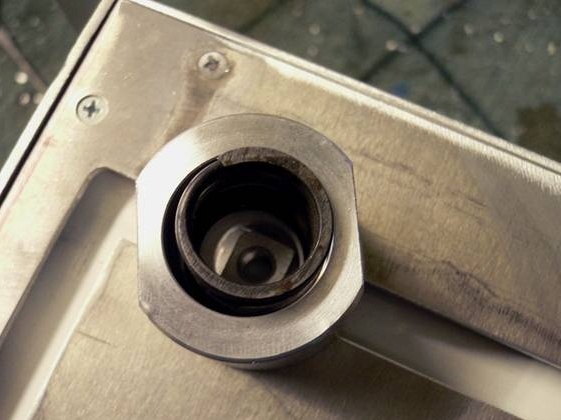
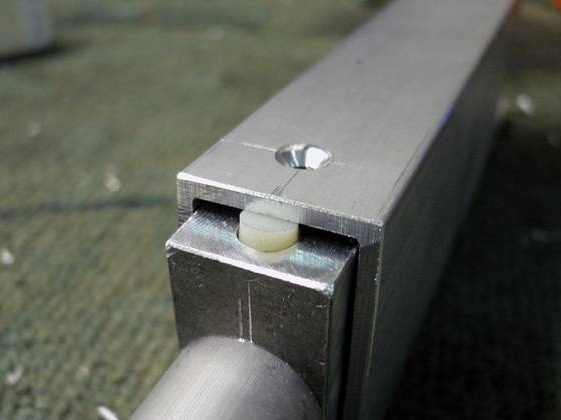
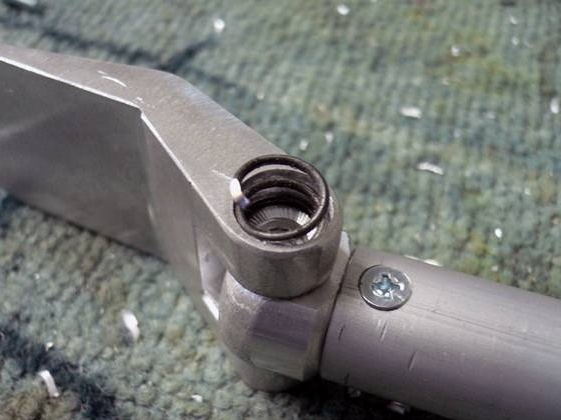
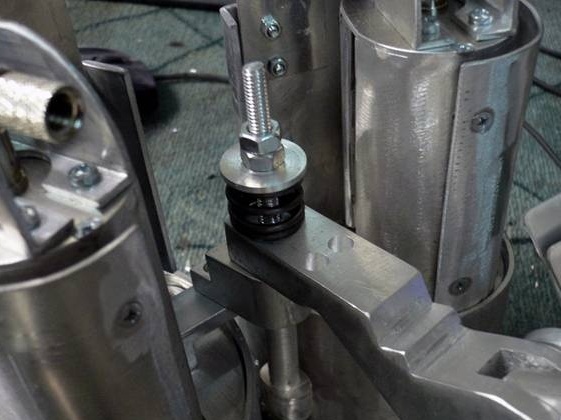
The shoulder consists of a cup, spring and screw. Due to the spring, a force is created and the hands do not spontaneously move. Between the cup and the body, the master installed a gasket that protects the surface from scratches.

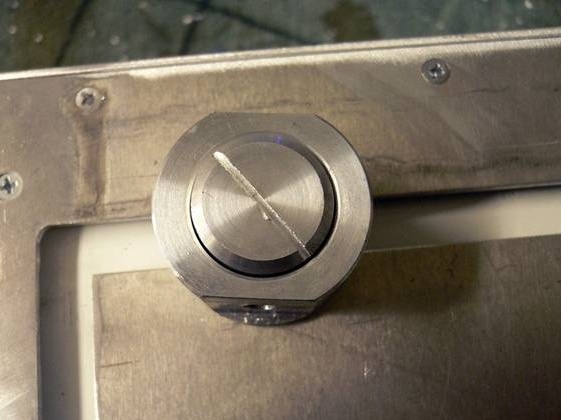
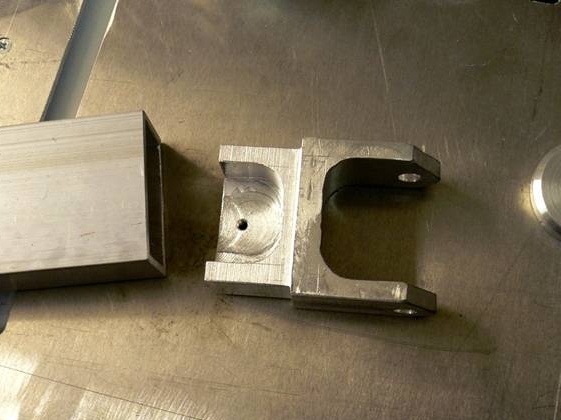
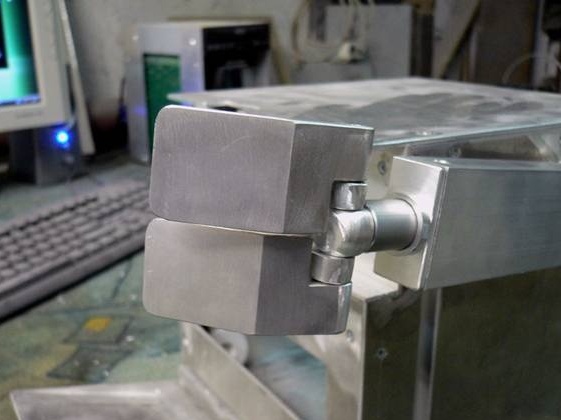
On the sides of the cup, the master drilled holes and cut the thread. With the help of screws, a fork is attached to the cup, and the screws play the role of an axis. The master attaches an aluminum profile to the plug.
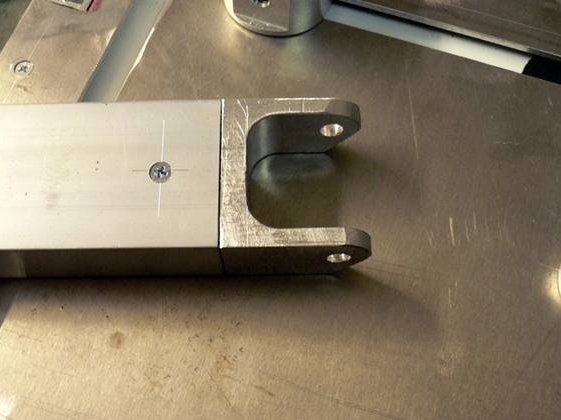
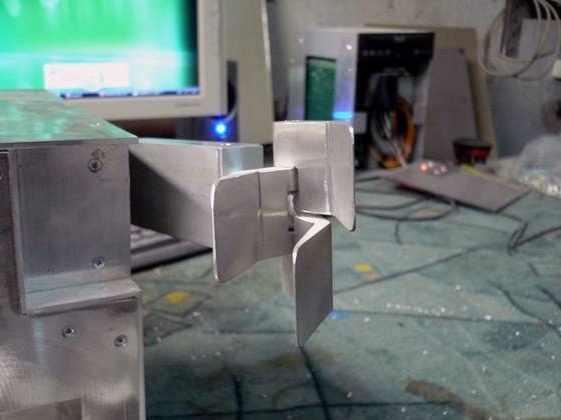
On the other side of the profile, the master fastens the front of the hand.

The hand is also spring-loaded. The master makes a cracker from kapron.
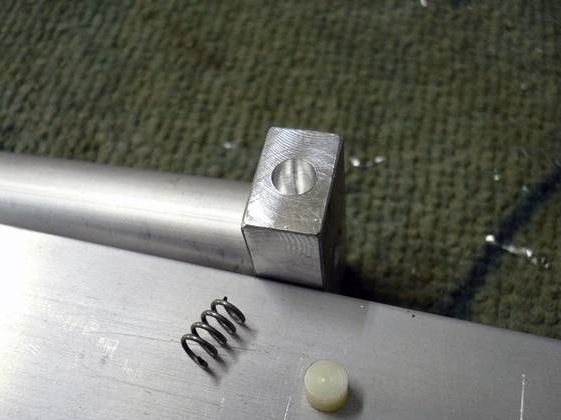

Along the axis, a spring is also placed on the fixing screw.

Makes and fastens fingers.
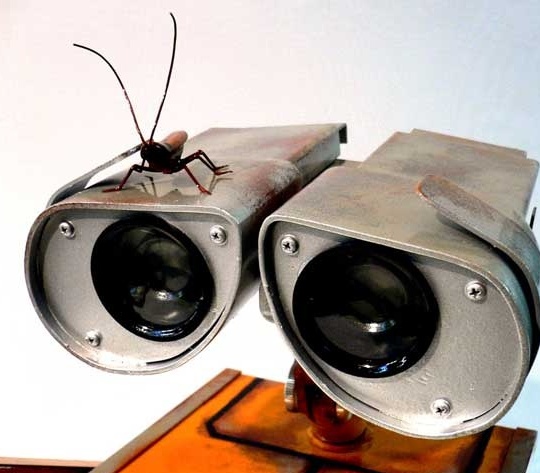
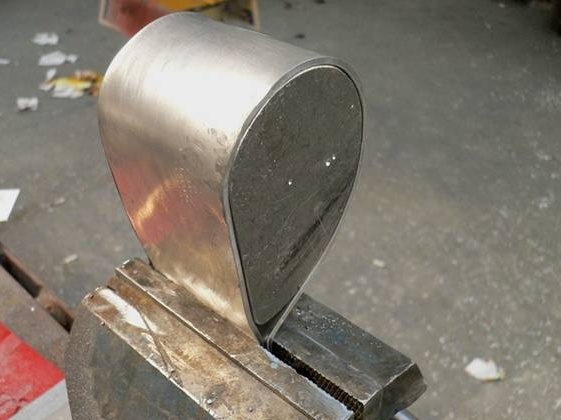
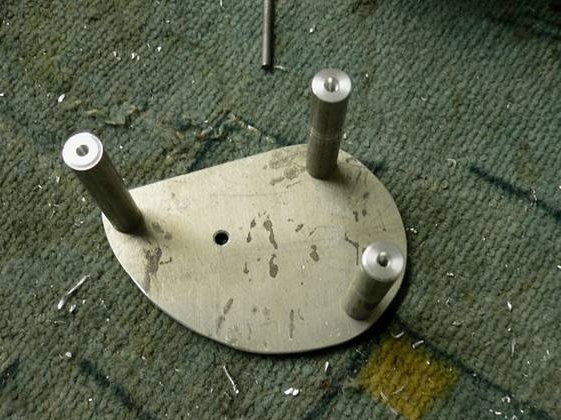
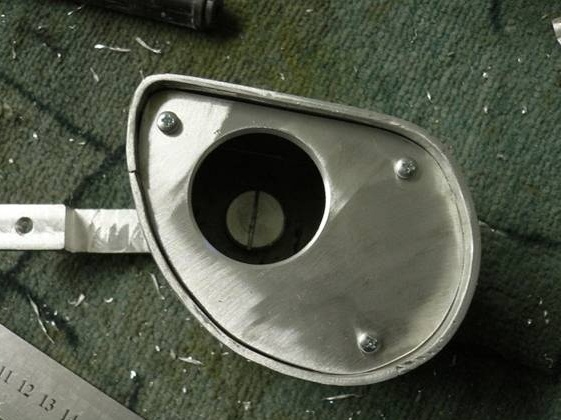
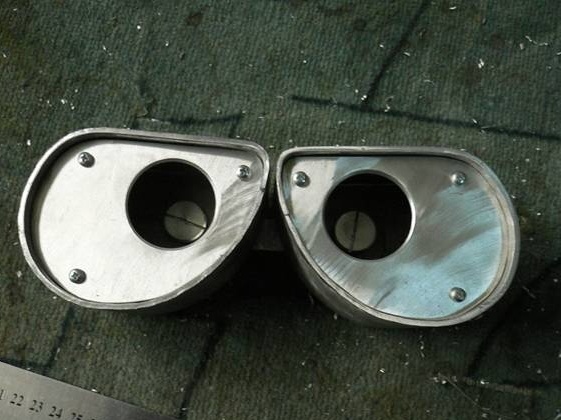
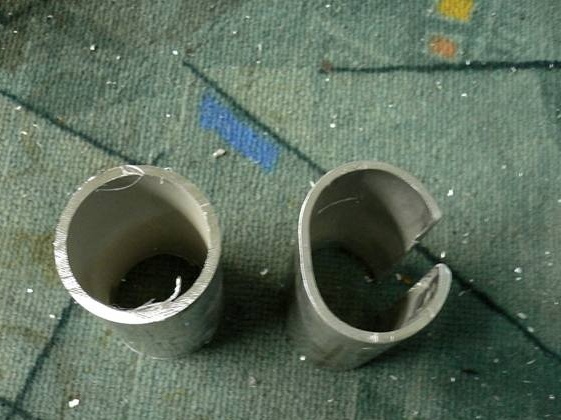
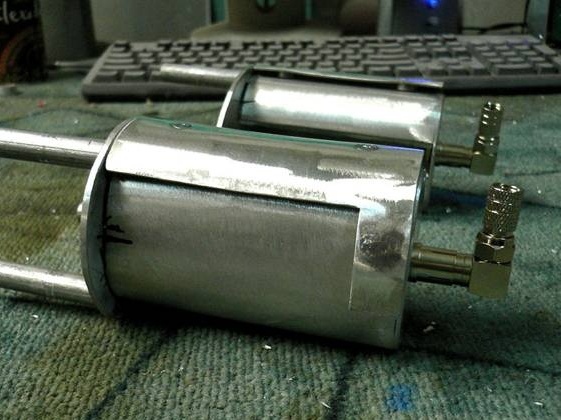
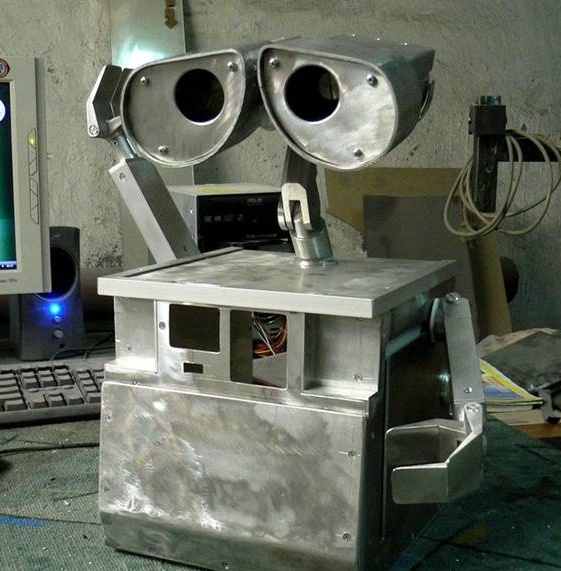
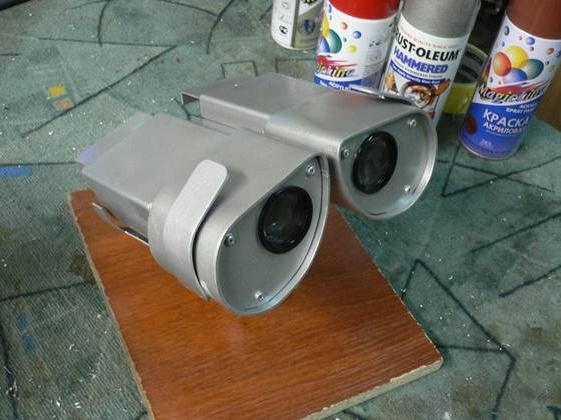
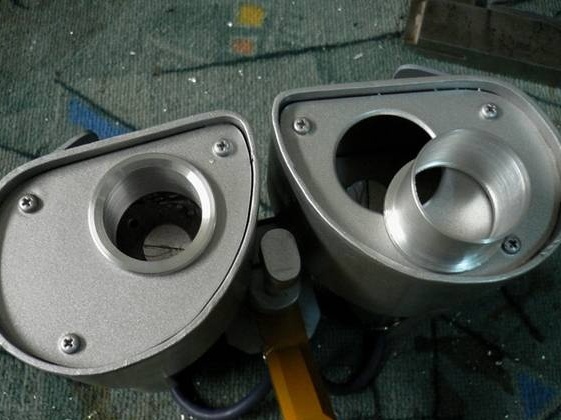
Step Six: Head
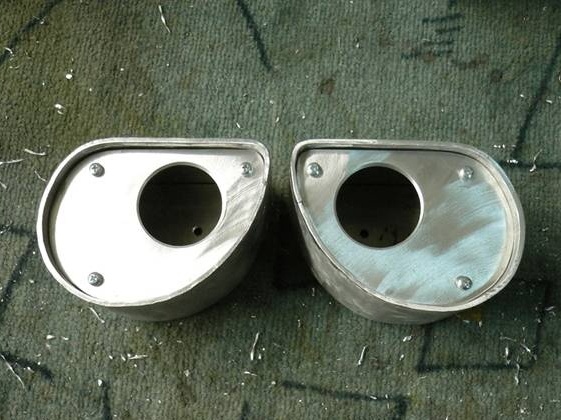
The head of the robot consists of two halves. To make a head, the master cuts out two identical plates.
Then he makes a template and at the same time stub cheeks.
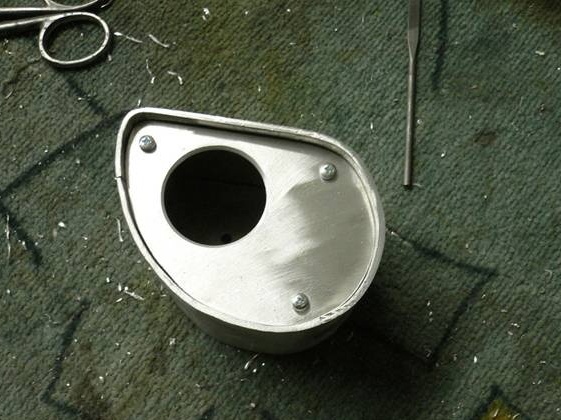
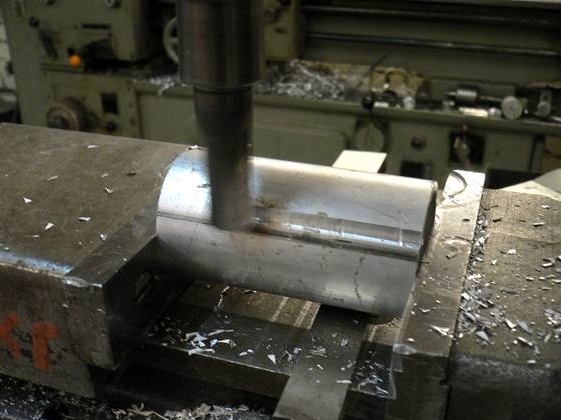
Bends plates. The seam master makes from the inside. Fixes the part with screws and aluminum plate.
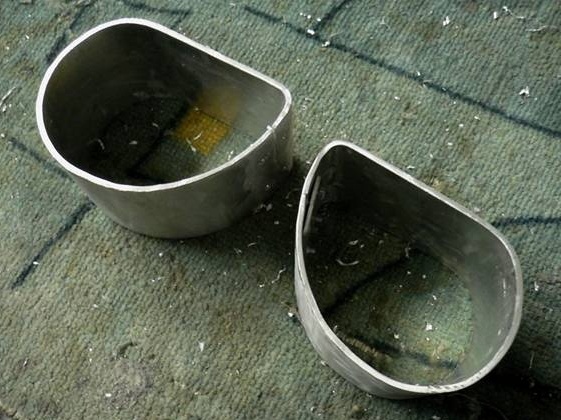
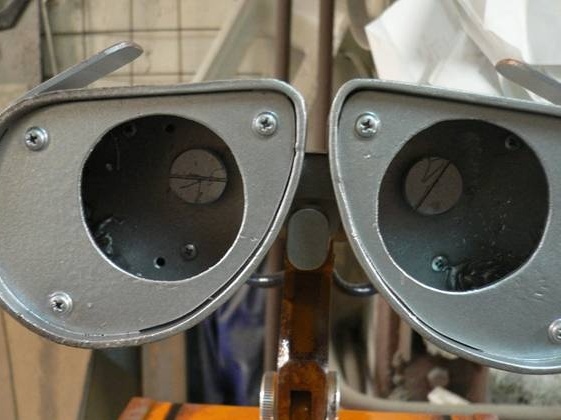
In the cheeks it makes holes for eyes.

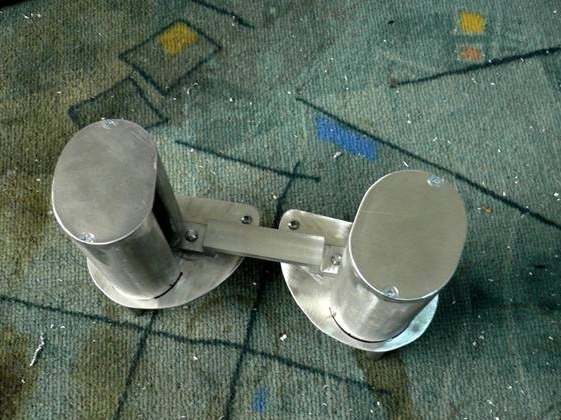
Connects the halves with a bracket. Screw with spring are installed inside.
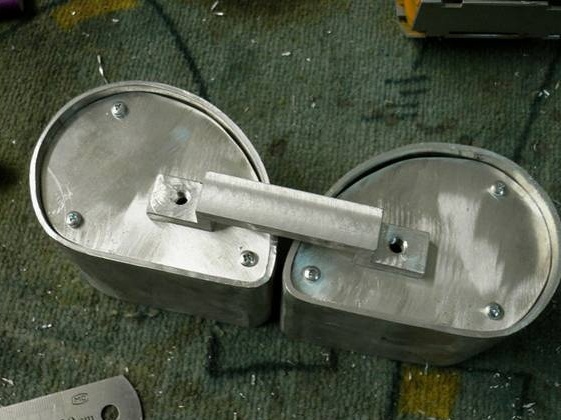
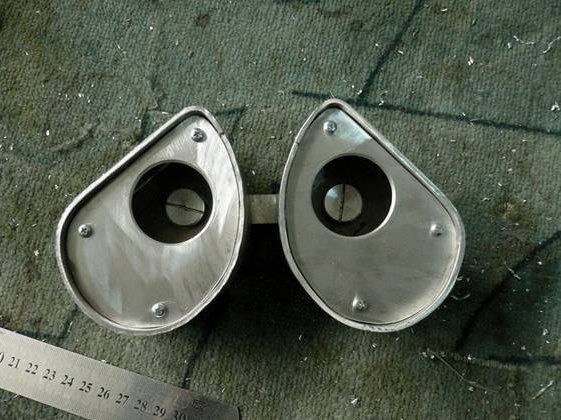
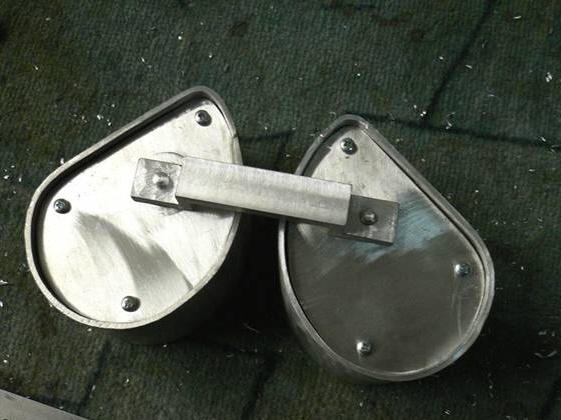
Here it turns out robot.
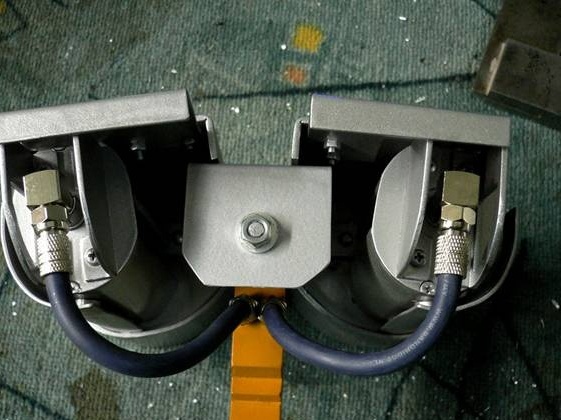
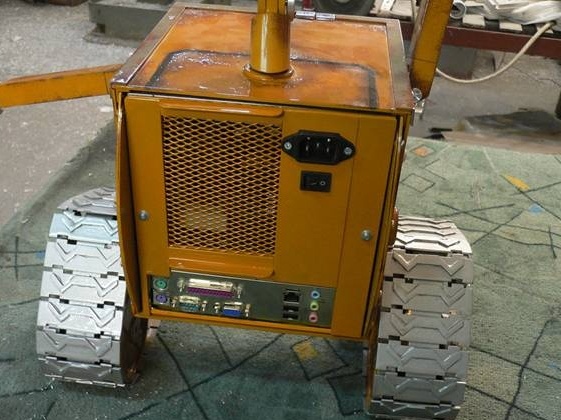
Seventh step: the back of the head
Makes the back. She performs a purely decorative character. To make the robot similar to the original, it installs two antenna connectors.
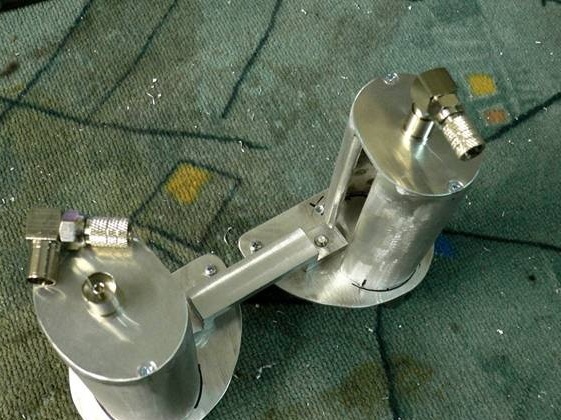


Connects cable connectors.

Step Eight: Mount
Makes a mount. A mount connects the head and body.
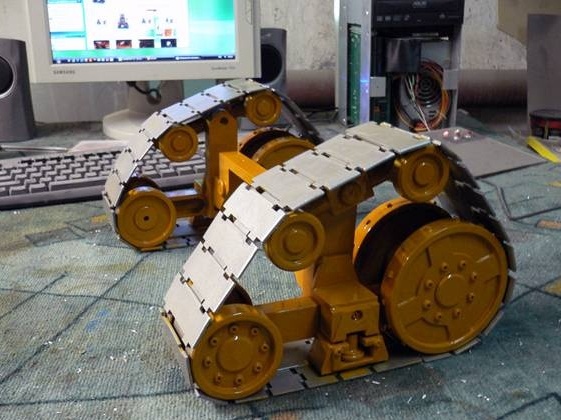
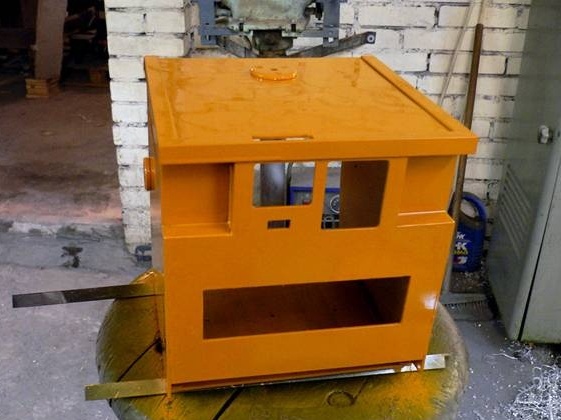
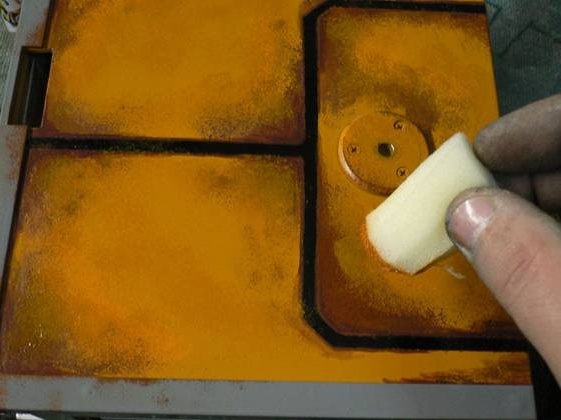
Step Nine: Painting
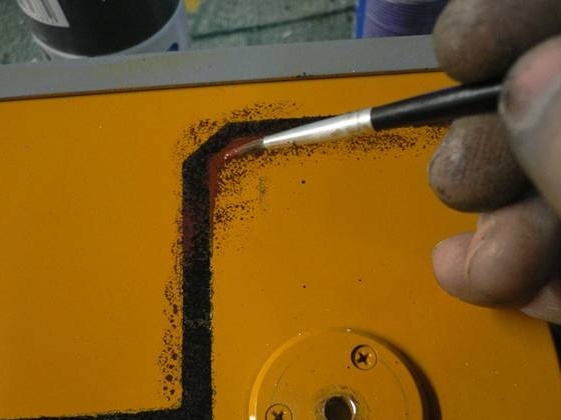
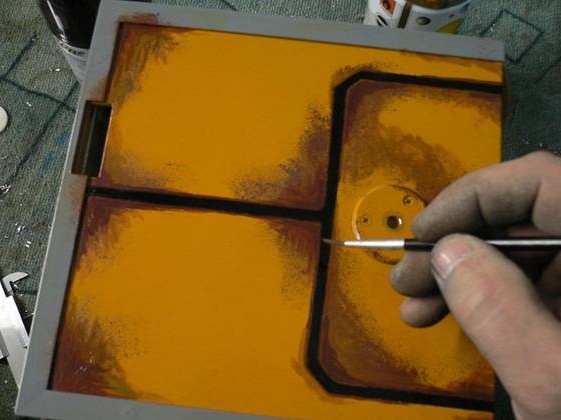
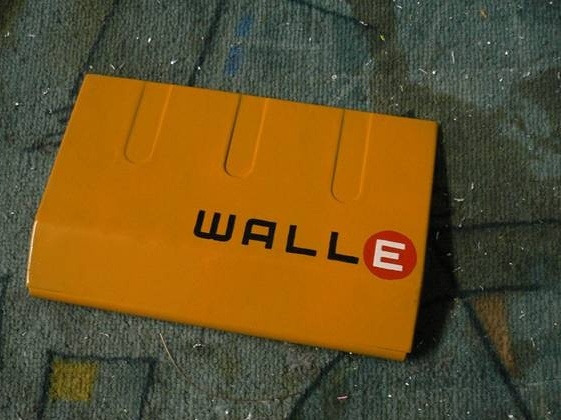
Putty cracks. Grinds. Stains. The case is painted in the color "Ocher", the head is "Metallic".
Drawing a drawing on hands.
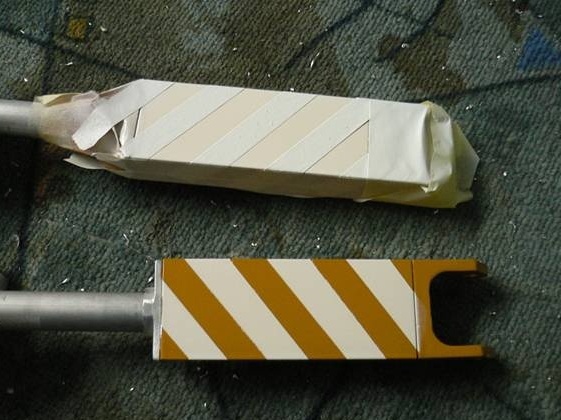
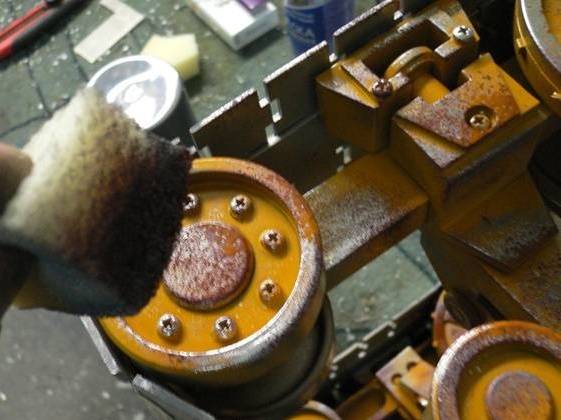
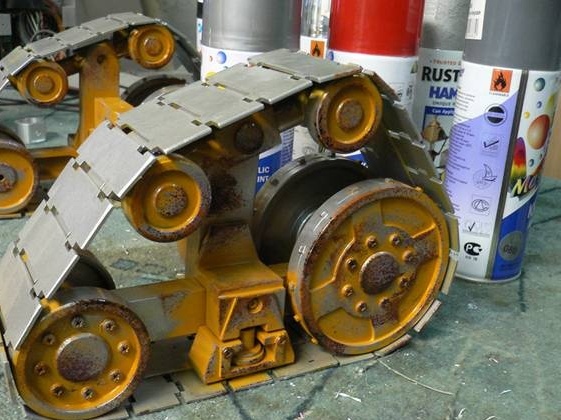
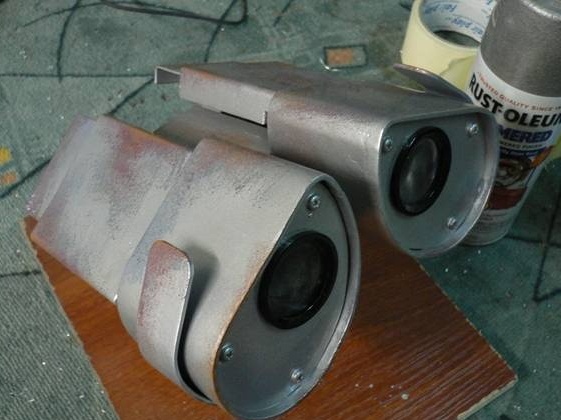
To give some elements a rust color, the master mixes cherry, red, brown, black, carmine and chrome paints.
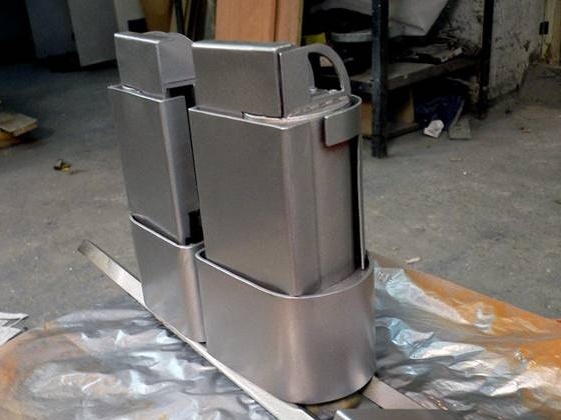
The head was finally painted with a mixture of blue-gray and silverfish.
Stains the case.
Truckee is painted with Hammer silver color. This paint, when dried, increases in volume and the surface is slightly embossed.
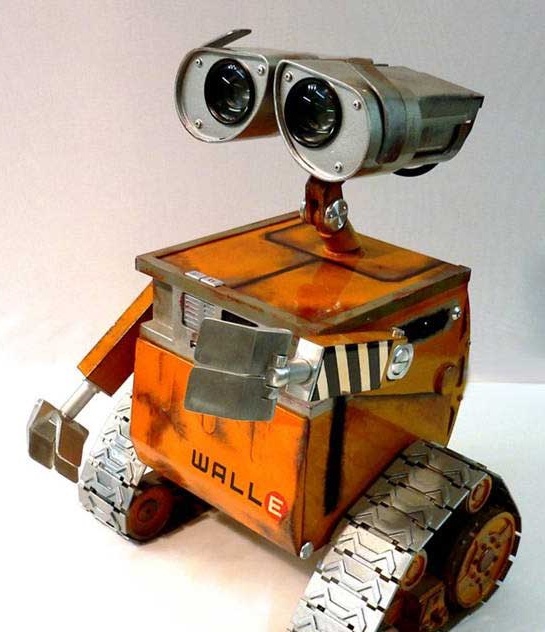
On the front cover makes an inscription.
Open with varnish.
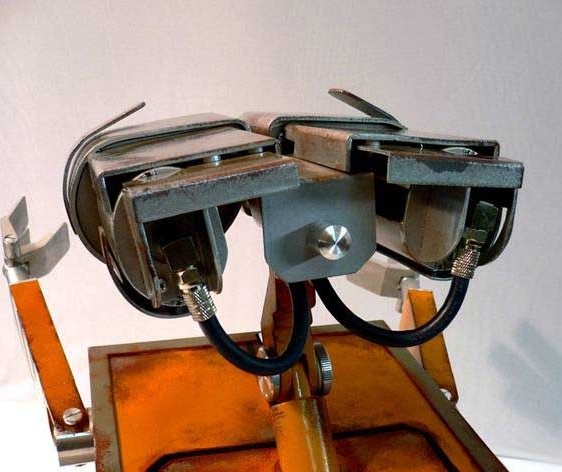
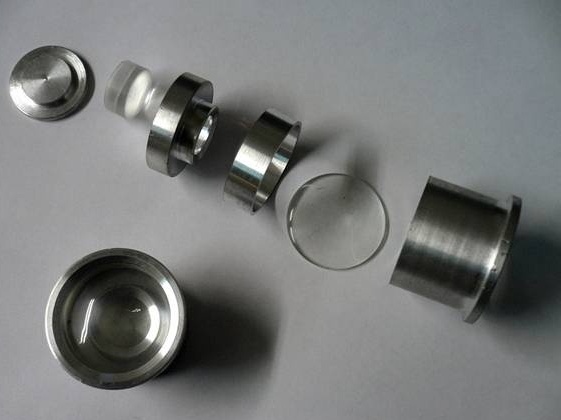
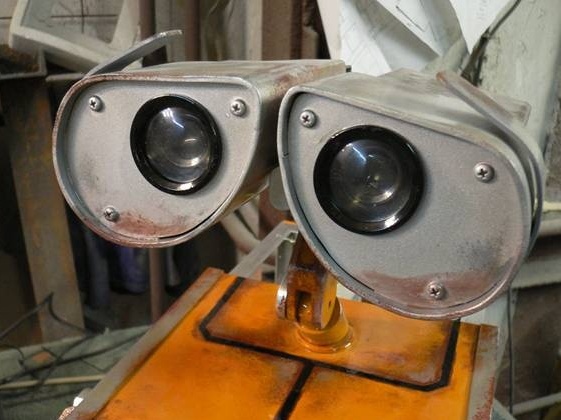
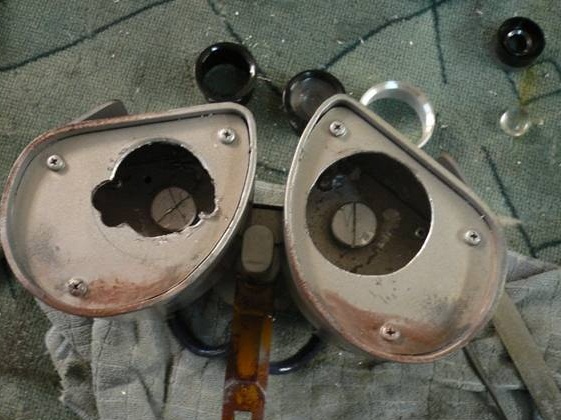
Step Ten: Eyes
Lenses tucks from plexiglass.
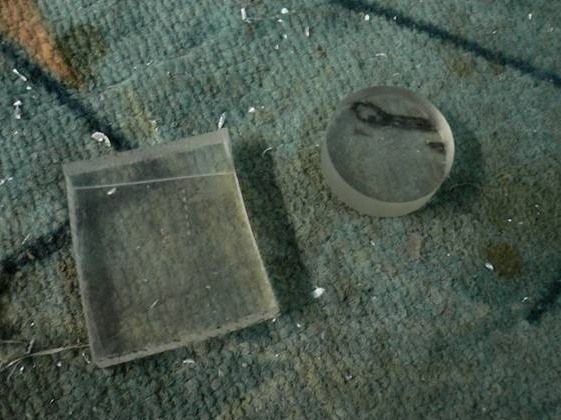
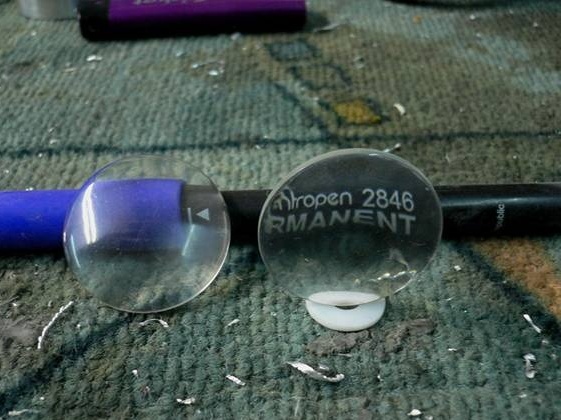
Makes a lens mount.
Step eleven: light indication and buttons
On the breadboard, it assembles an LED panel and installs a USB connector.
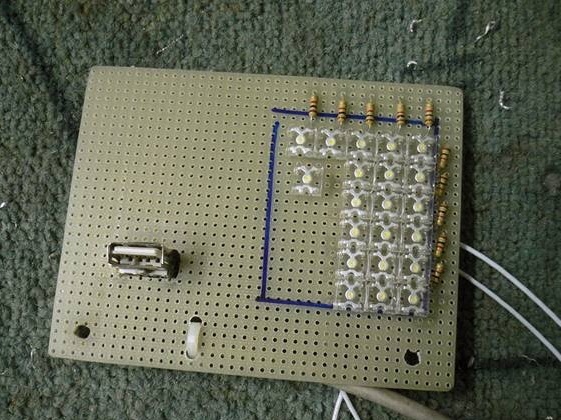
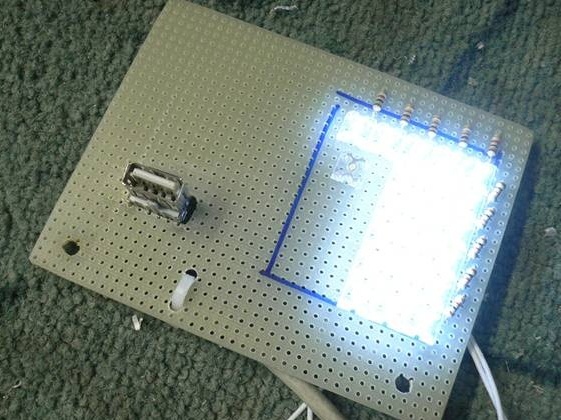
It prints an indication on an inkjet printer. The indication will show the battery charge, and the sun will work hard drive.

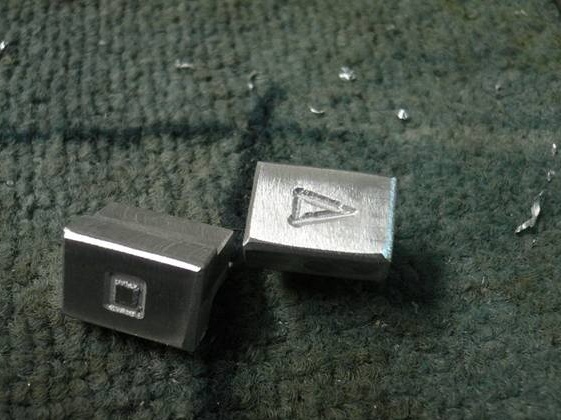
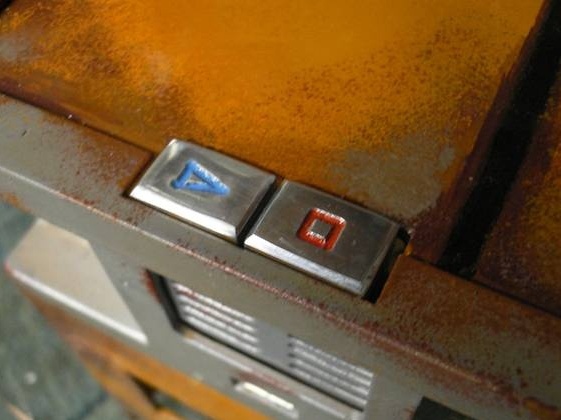
Makes and sets the buttons to turn on and restart the computer.
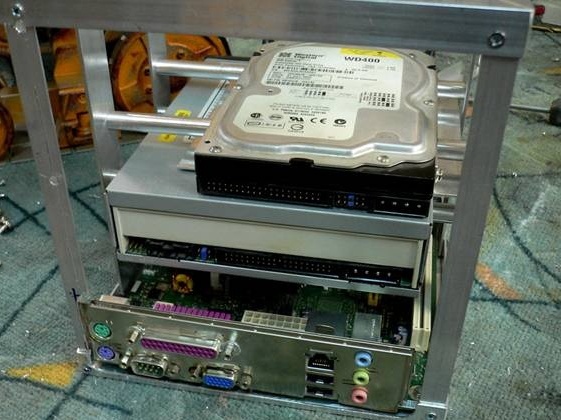
Step Twelve: Build a Computer
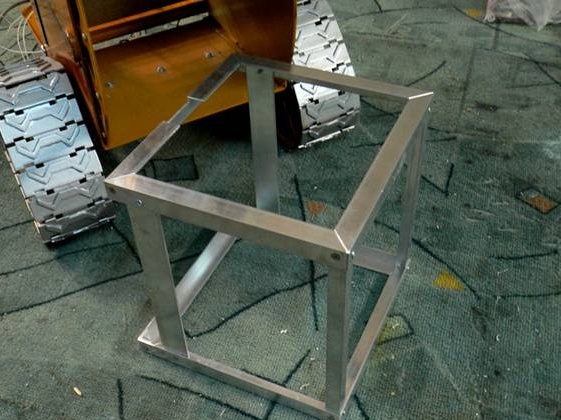
To mount parts of the computer, the master makes such a rack.
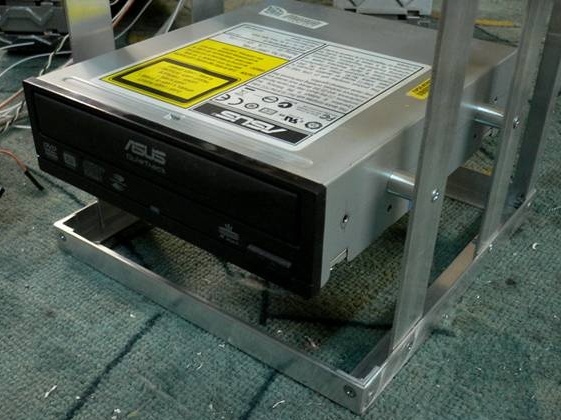
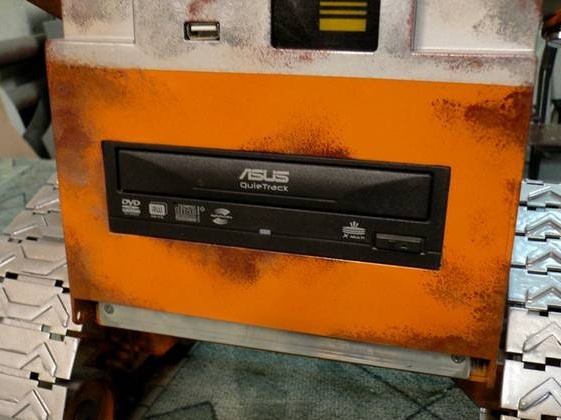
Secures the drive. It must be correctly positioned vertically so that it falls into the niche of the panel.
Installs the motherboard and hard drive.
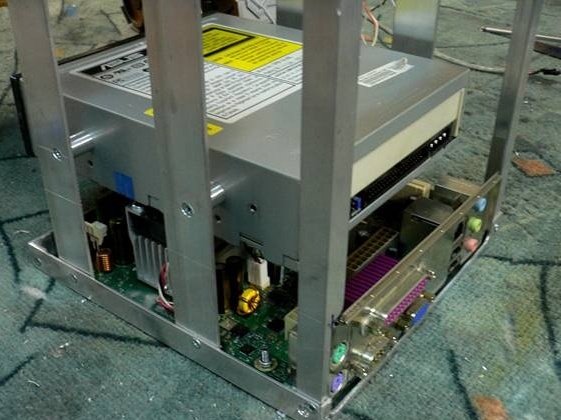
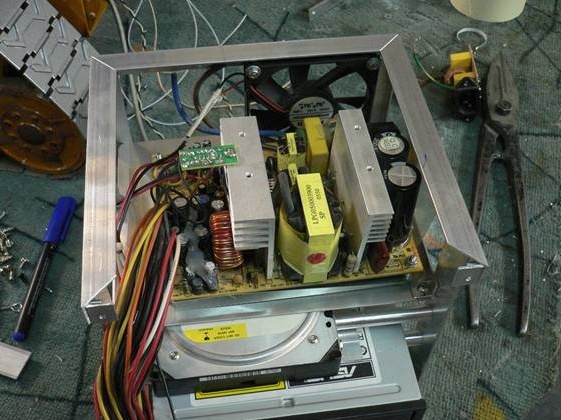
Disassembles the power supply and installs it in a separate compartment.

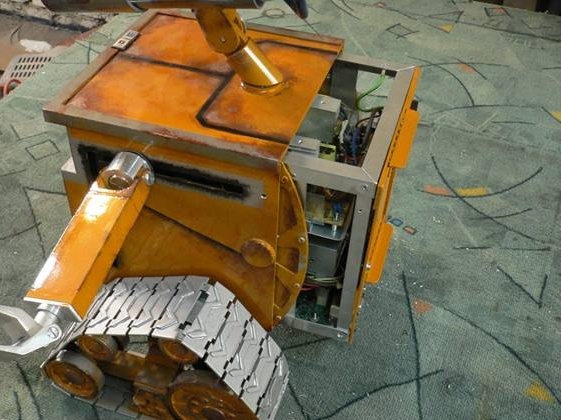
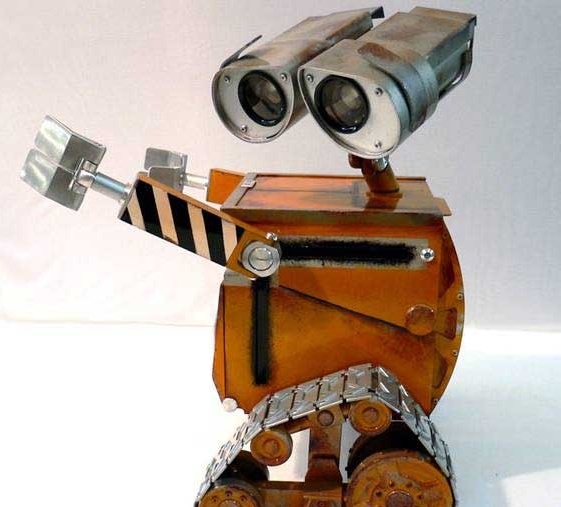
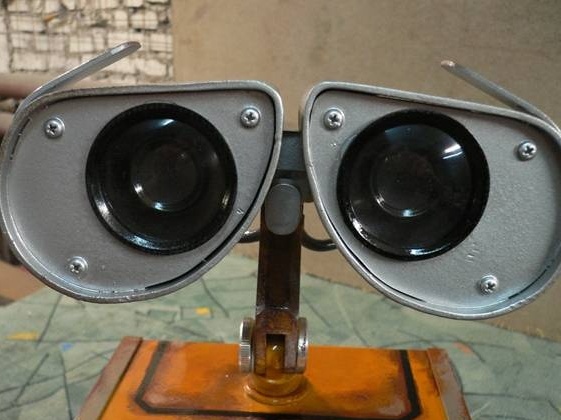
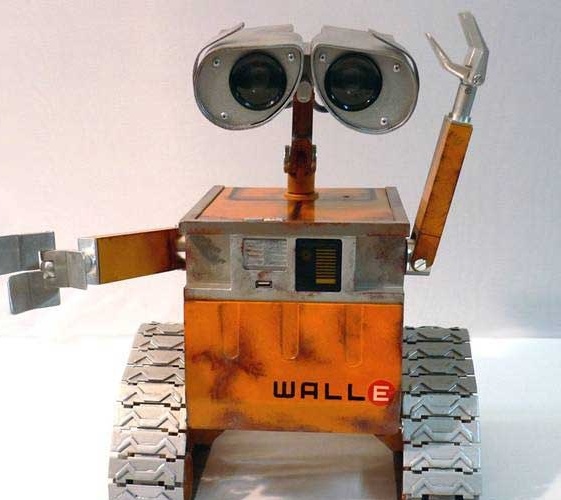
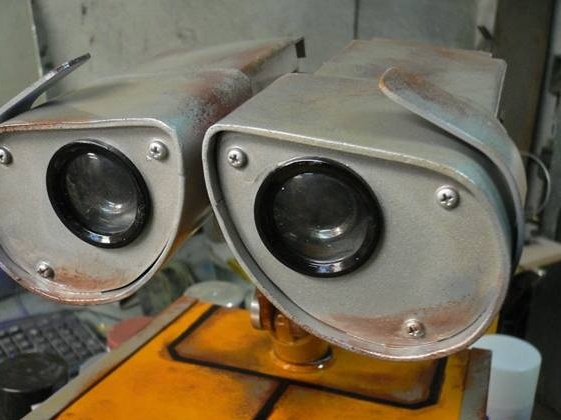
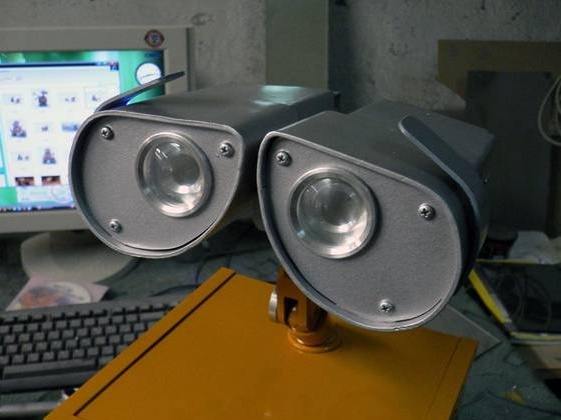
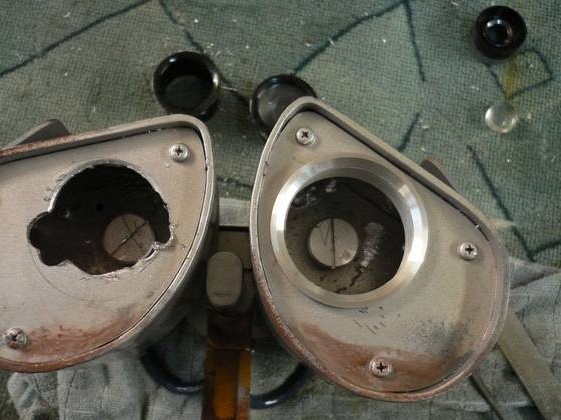
Step 13: Eye Makeover
Due to the small size, the eyes lost in expressiveness and resemblance to the original.
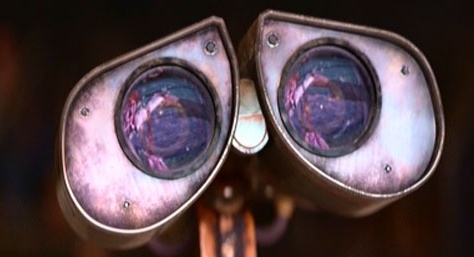
The master had to redo the eyes.
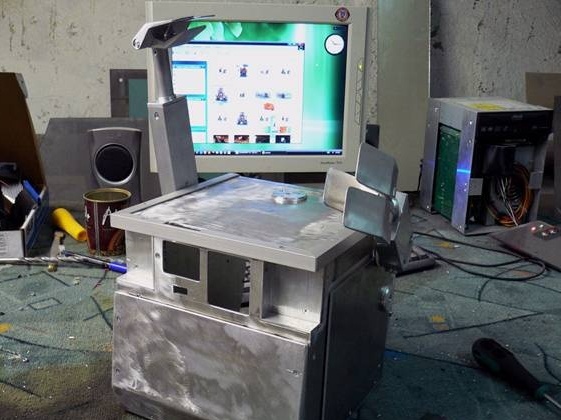
Now everything is ready.