

Types of shelves are infinitely many. Let us prove it.
Imagine that there are a limited number of models and types of hinged shelves. But you can always come up with one more shelf, partially or completely different from all the previous ones.
Which was done. A clear description of this evidence is presented below.
In the work I needed the following tools and materials:
Instruments:
1) a pencil;
2) a ruler;
3) a hacksaw for wood;
4) eccentric sander;
5) sandpaper;
6) planer-planer;
7) bench vise;
8) square;
9) electric jigsaw;
10) an awl;
11) drill;
12) a screwdriver;
13) drills (3 pcs);
14) putty knife;
15) a brush for painting.
Materials:
1) two boards;
2) self-tapping screws (8 pcs);
3) putty;
4) shelters for shelves;
5) the varnish is colorless.
Manufacturing process:
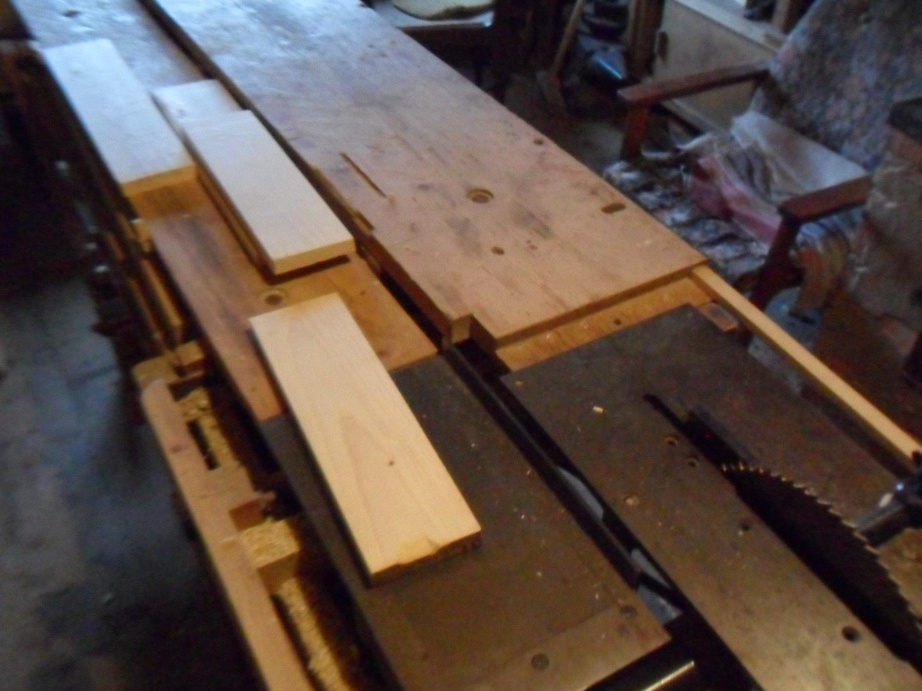
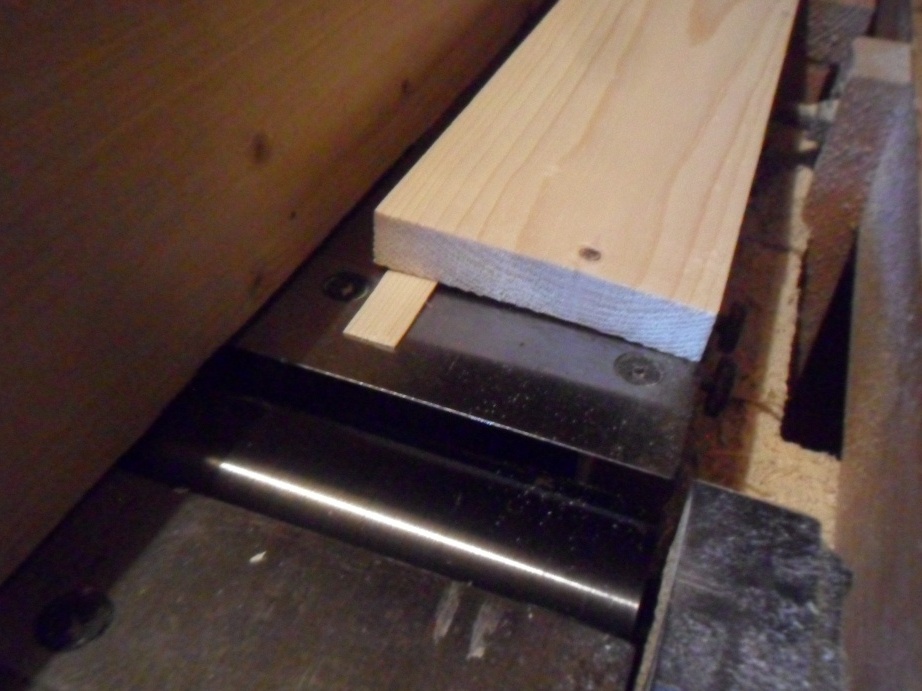
Step 1. Sawing boards.
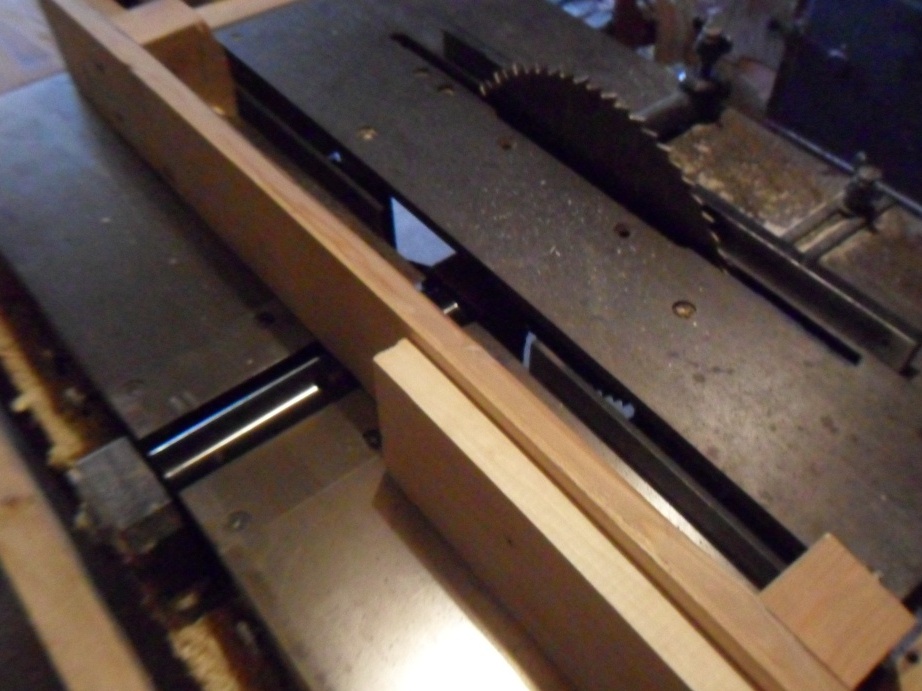
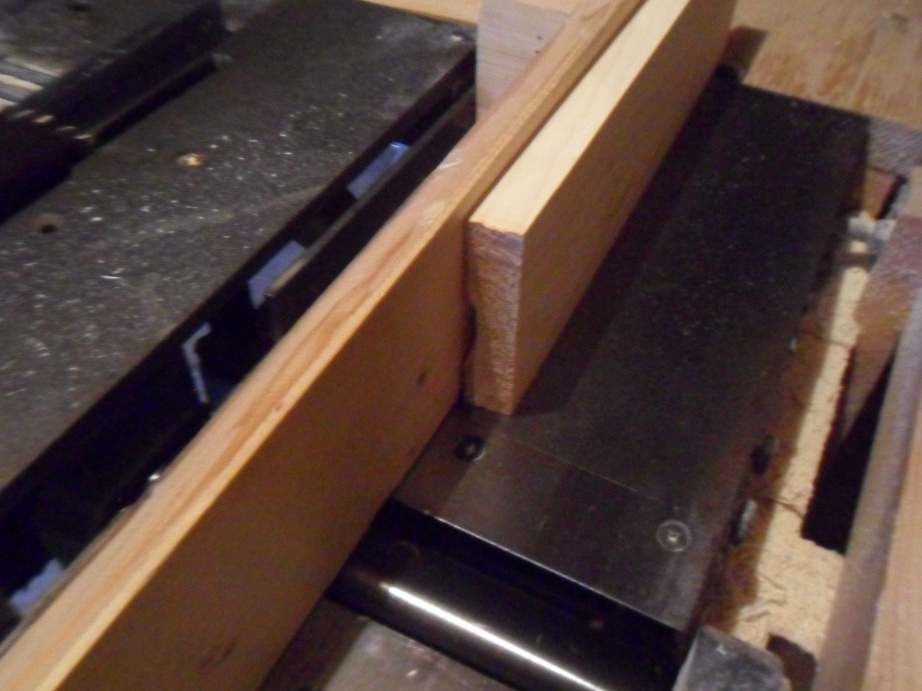
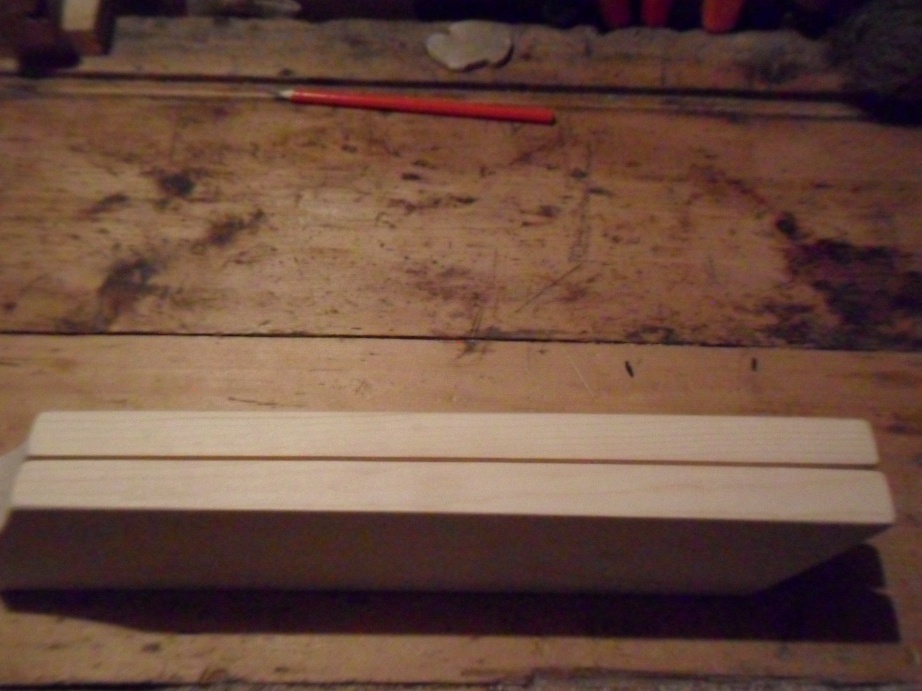
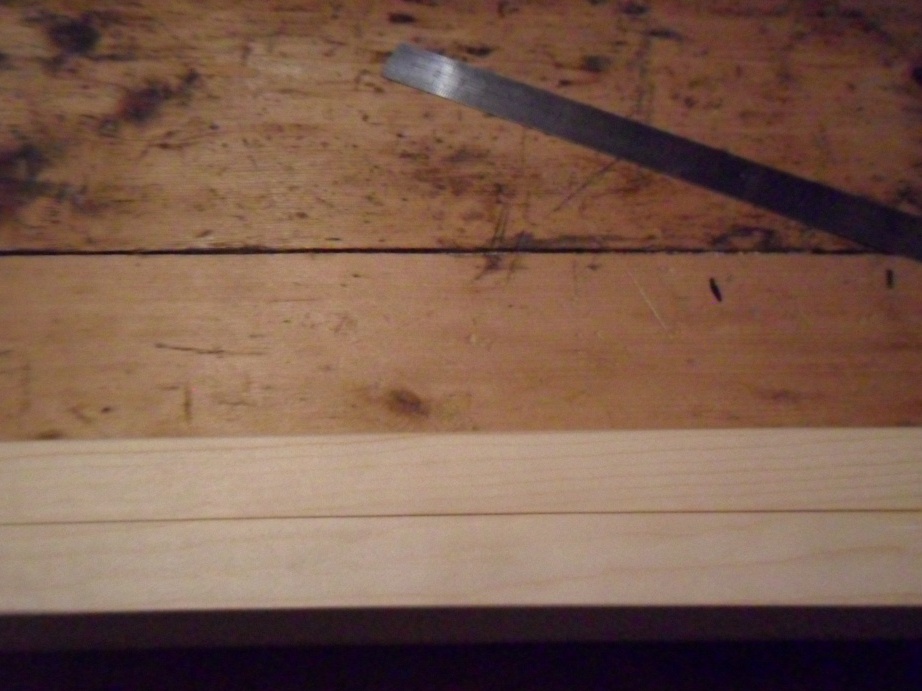
We start by choosing the right boards. The sides and internal carriers will be 33 cm and 43 cm long, respectively, therefore we saw off the four parts we need with an electric jigsaw from the boards: 2 x 36 cm and 2 x 46 cm. We plan the workpieces on all sides on a circular-jointing machine. The two largest faces (faces) are not parallel to each other. To fix this, we place a thin rail (up to 5 mm) under the board with the edge and drive along the plane of the machine. We process the edge of the board by pressing the plate against the stop perpendicular to the plane of the working surface of the machine.

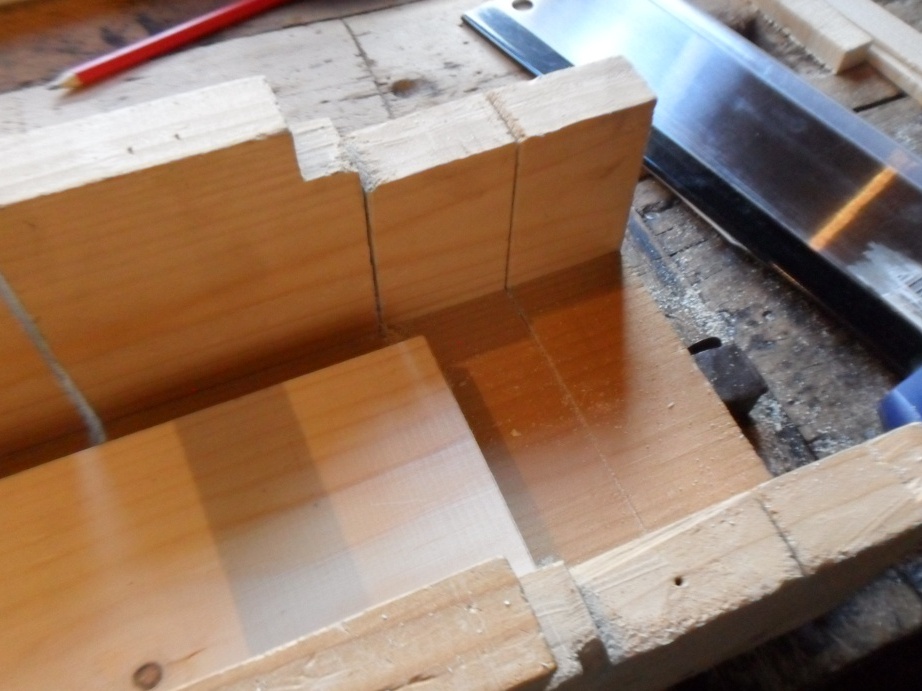
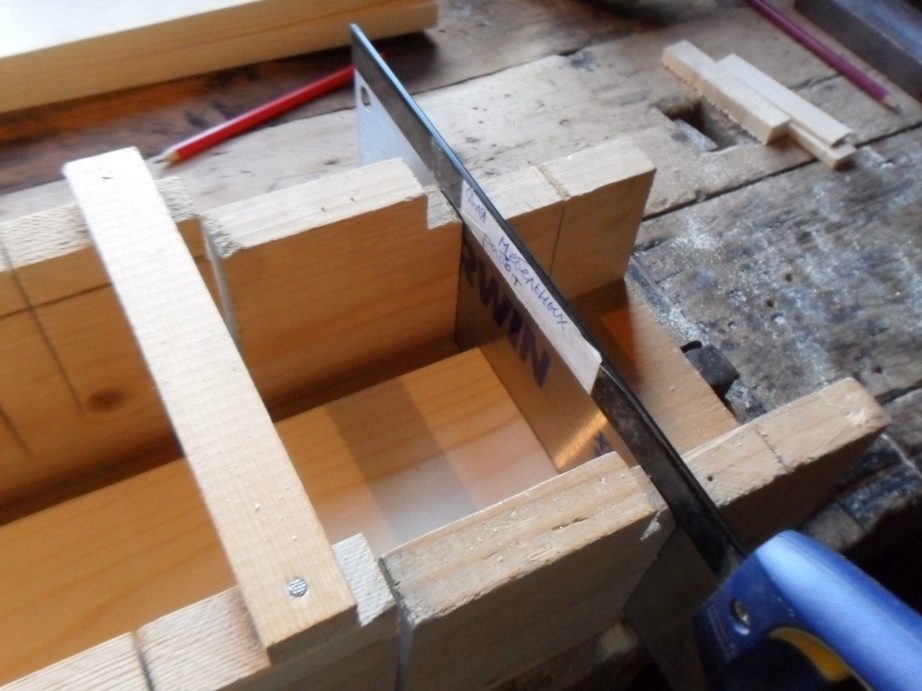
Step 2. Sawing off the ends.
In the miter box, fixed in a bench vise, we saw off from the end sides the excess parts of horizontal shelves. The length was 43 cm.
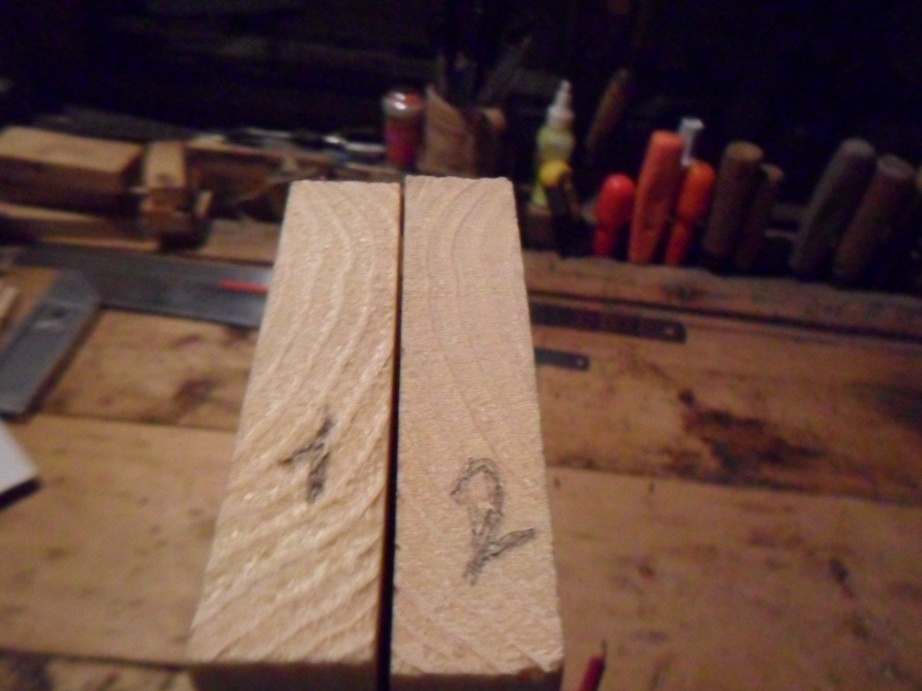
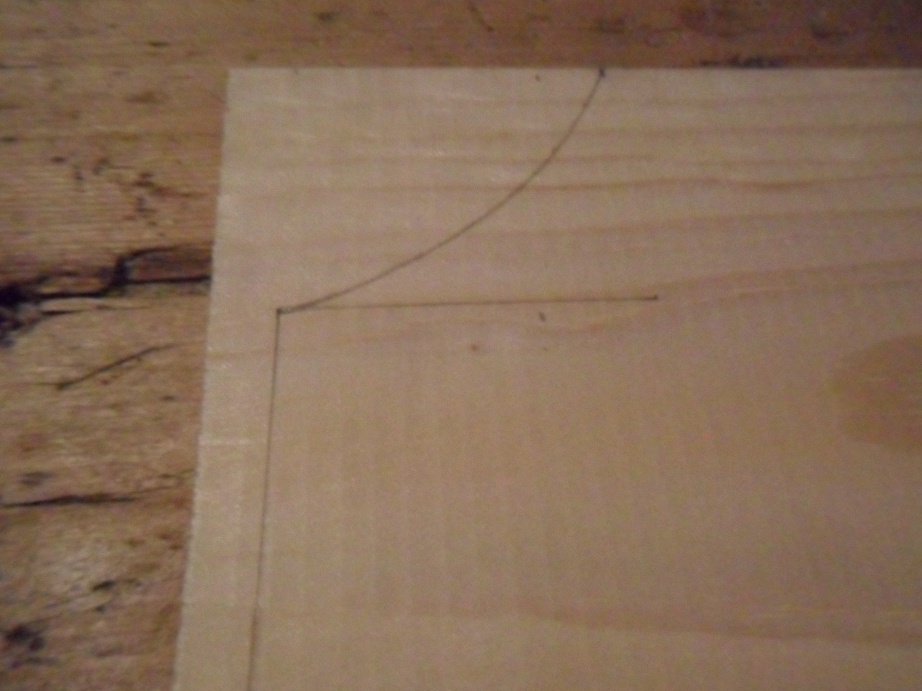
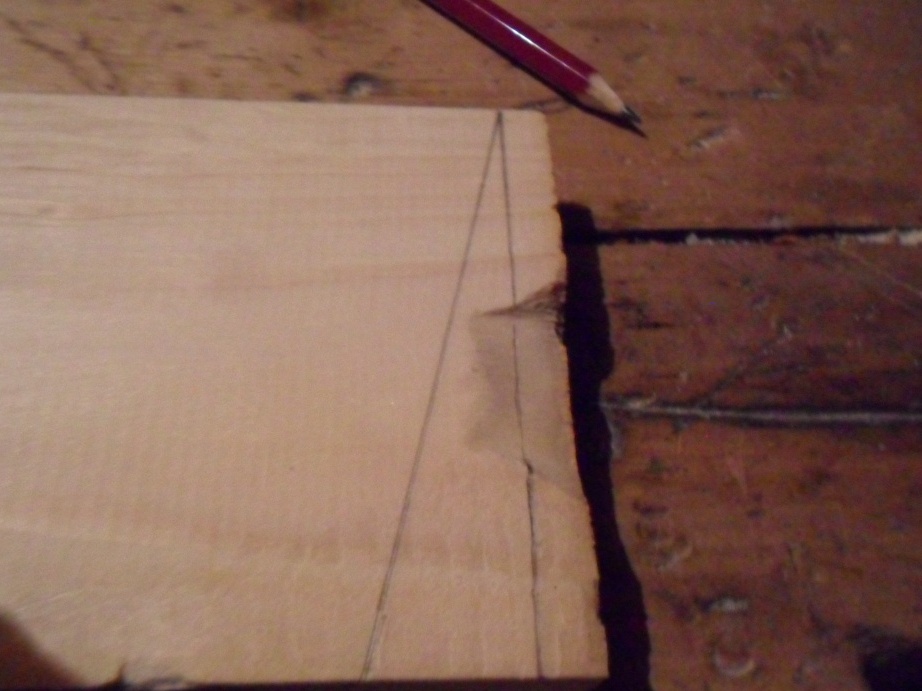
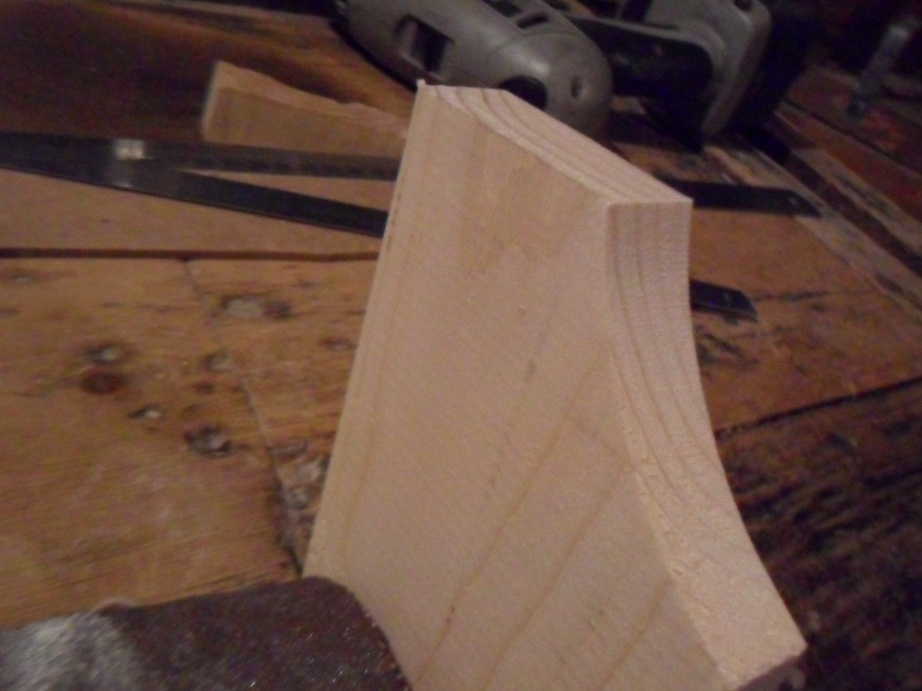
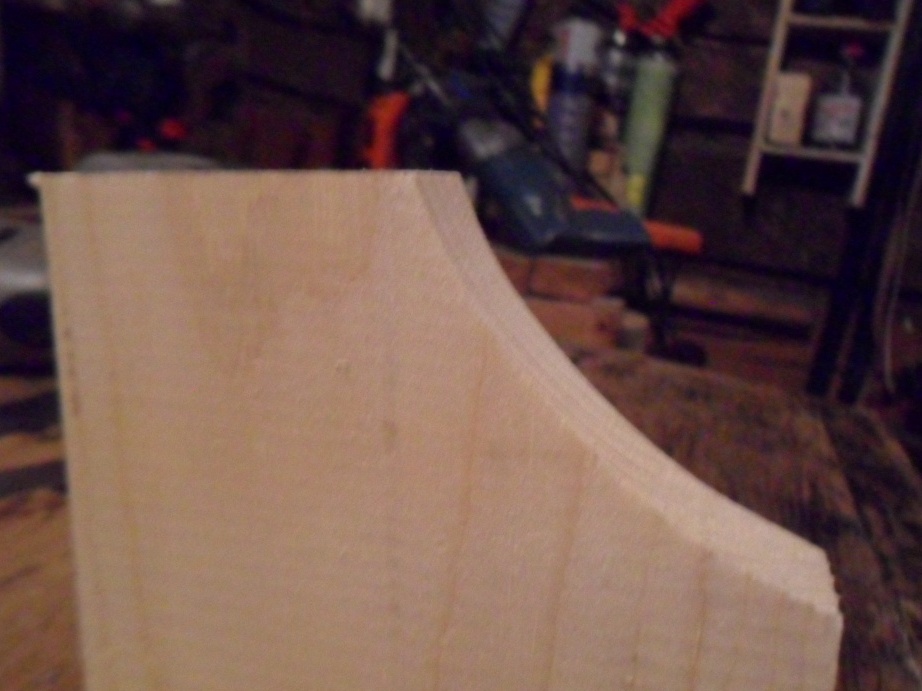
Next, we consider the vertical sidewalls and select their relative position in which they will be already fixed with horizontal parts. Mark with numbers to better navigate. The upper front corners of the uprights will be beveled, but along an arc whose ends are in a square of 4 x 4 cm. The lower ends of the sidewalls will also be non-perpendicular to the edges of the uprights (the brace width is 2 cm). Saw off the extra contoured parts with an electric jigsaw.

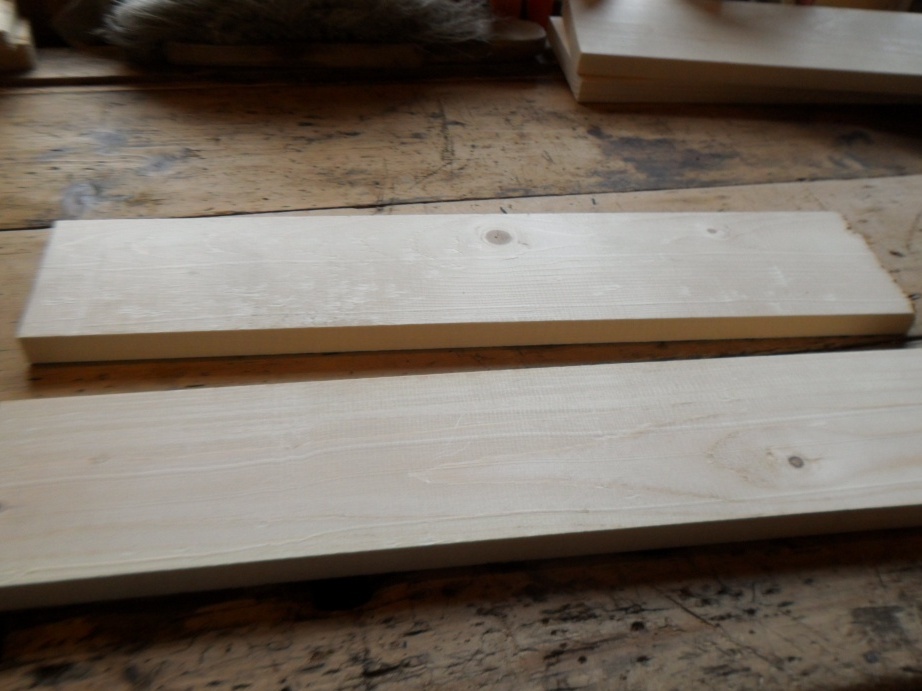
Step 3. Grinding the ends.
Grind the planes and edges of the ends with sandpaper.
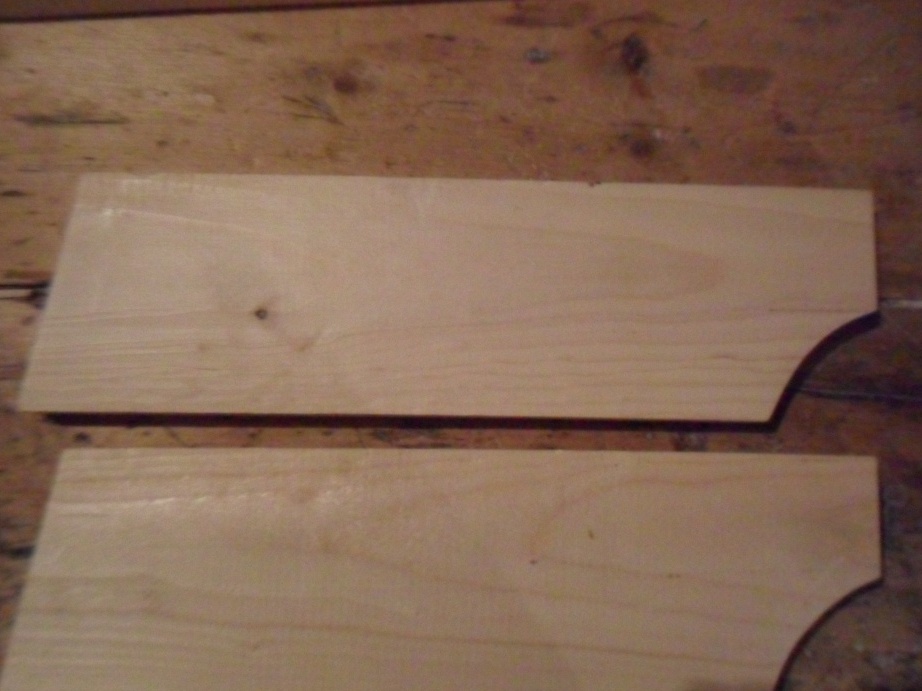
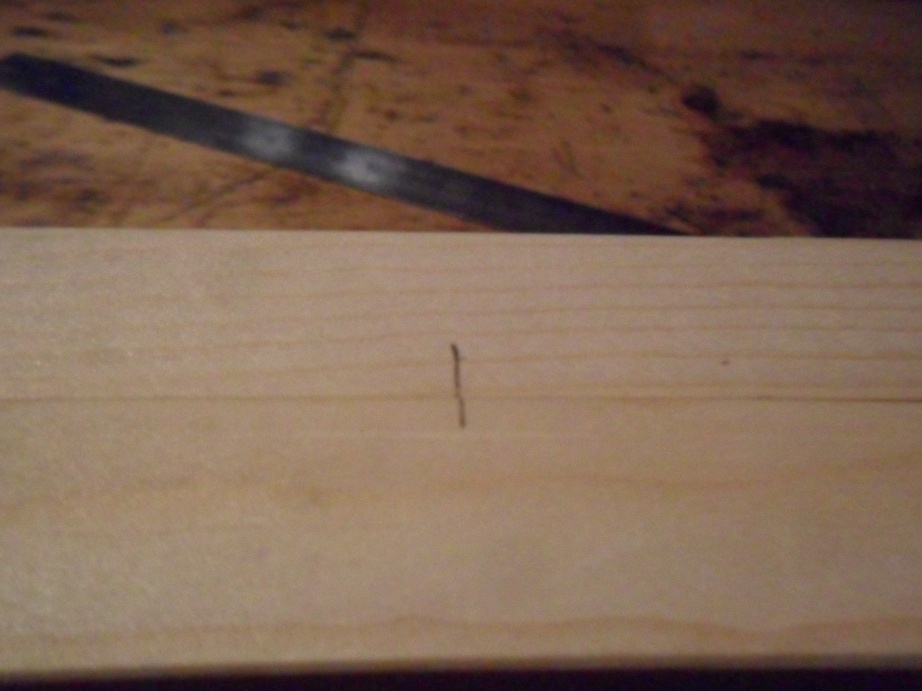
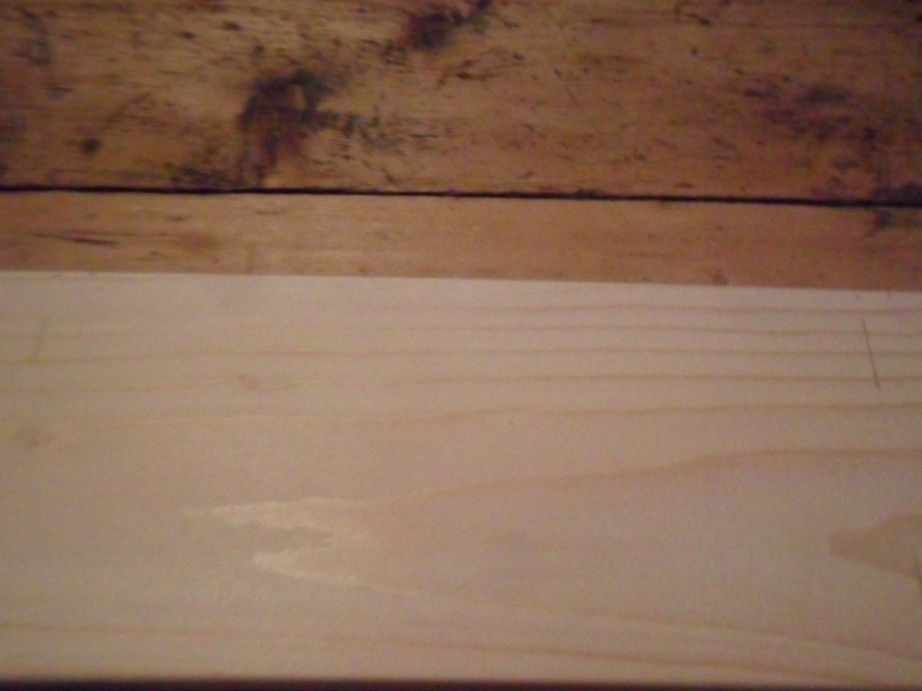
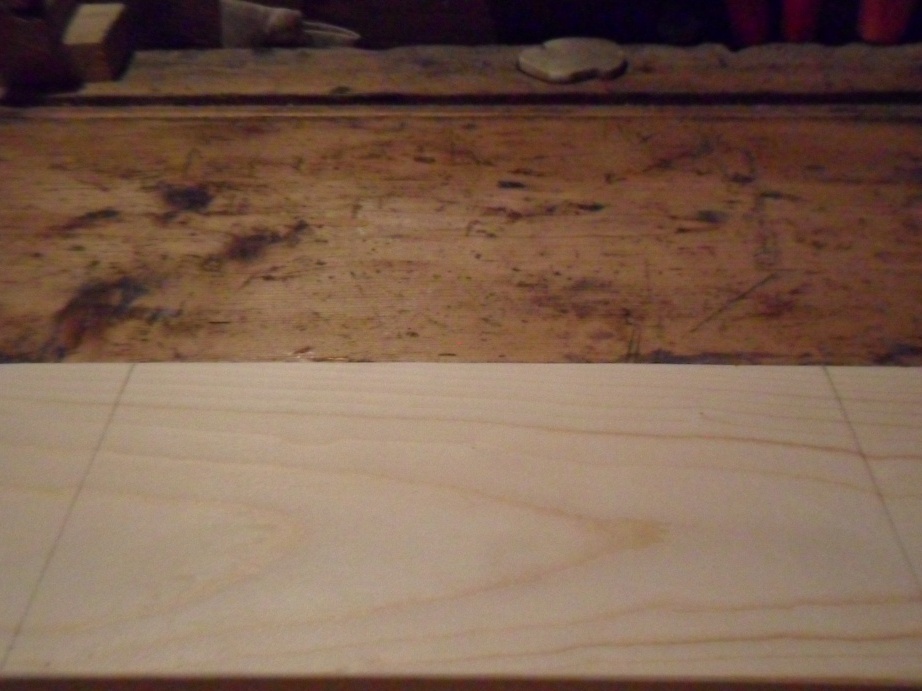
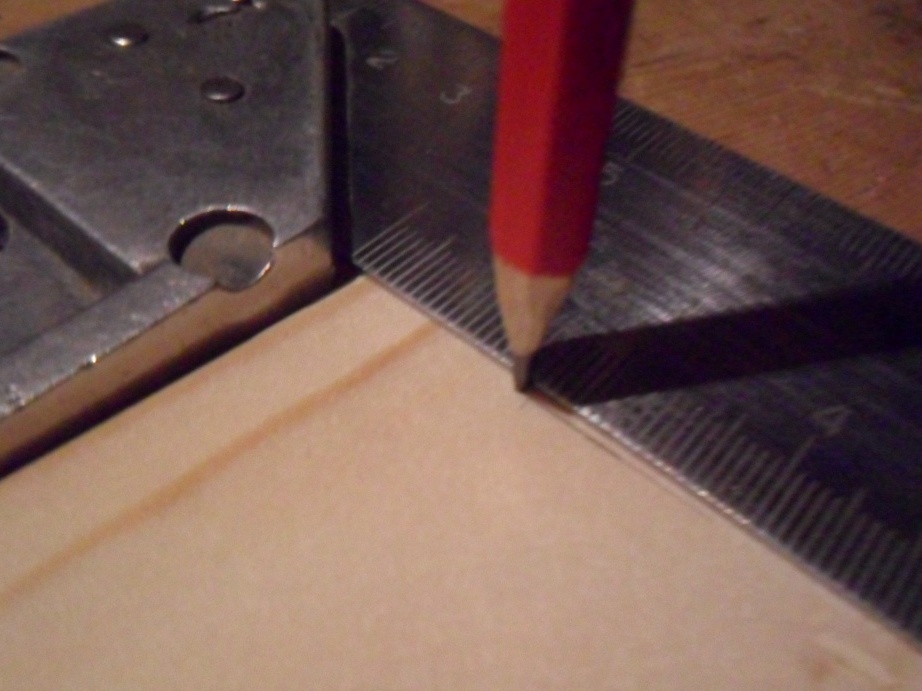
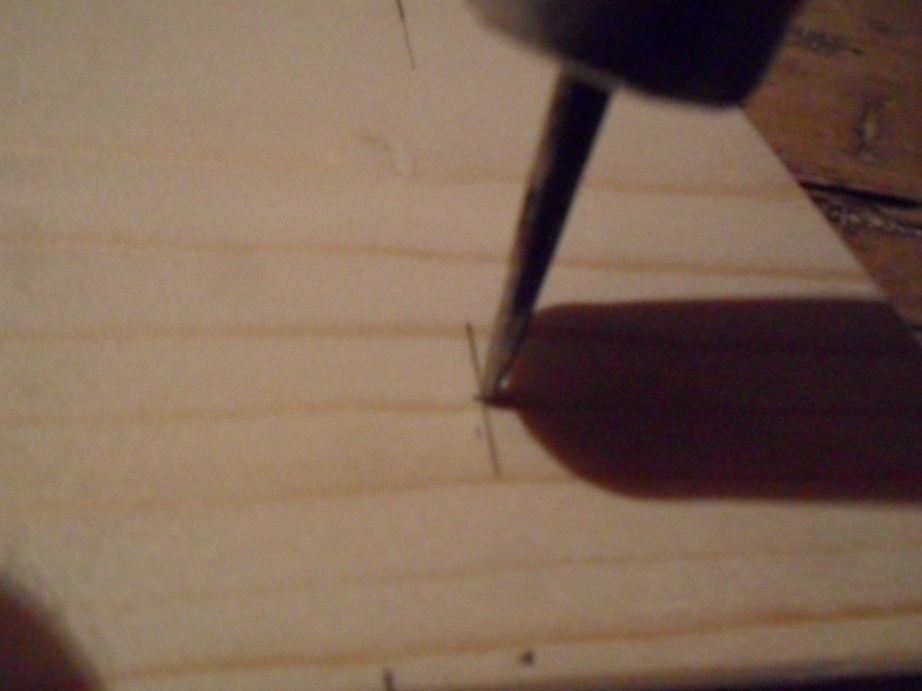
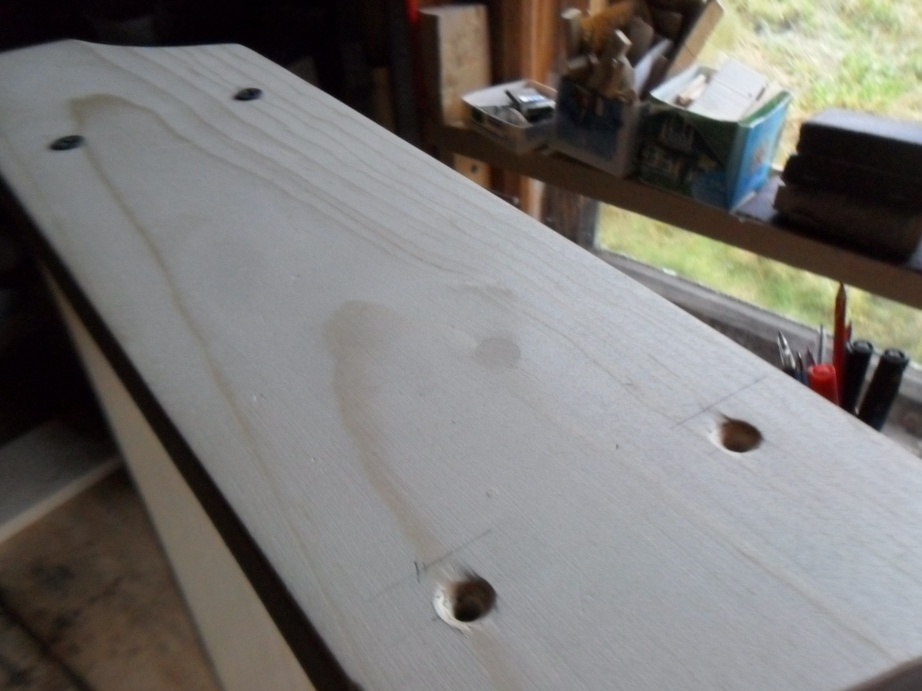
Step 4. Marking the sidewalls.
Now it should be noted the places where the screws will be screwed in to connect all parts of the future shelf. Putting the sidewalls to each other, we note where the horizontal load-bearing shelves will be located (the distance between the marks turned out to be 19 cm). Then we continue perpendicular to these lines: on the inside - across the entire width of the formation, on the outside - partially, about 1.5 cm, so that the strokes are at a distance of no more than two centimeters from the edges of the board. Putting a square, with a pencil mark those places where the screws will be located (the mark remains opposite 2 cm). Since the drill was used for metal, then for more precise drilling with an awl we "drown" the points.
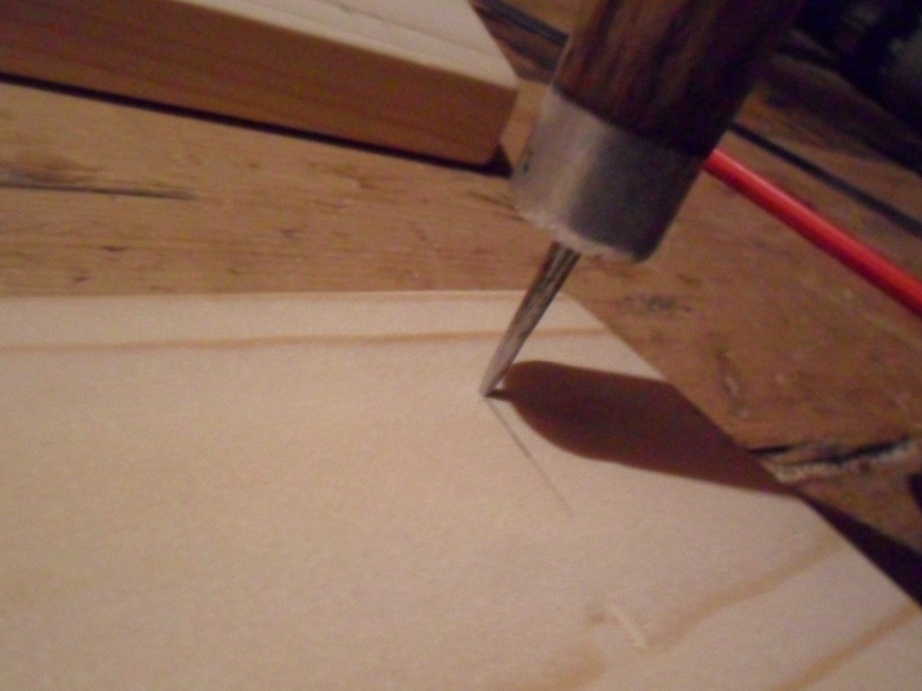
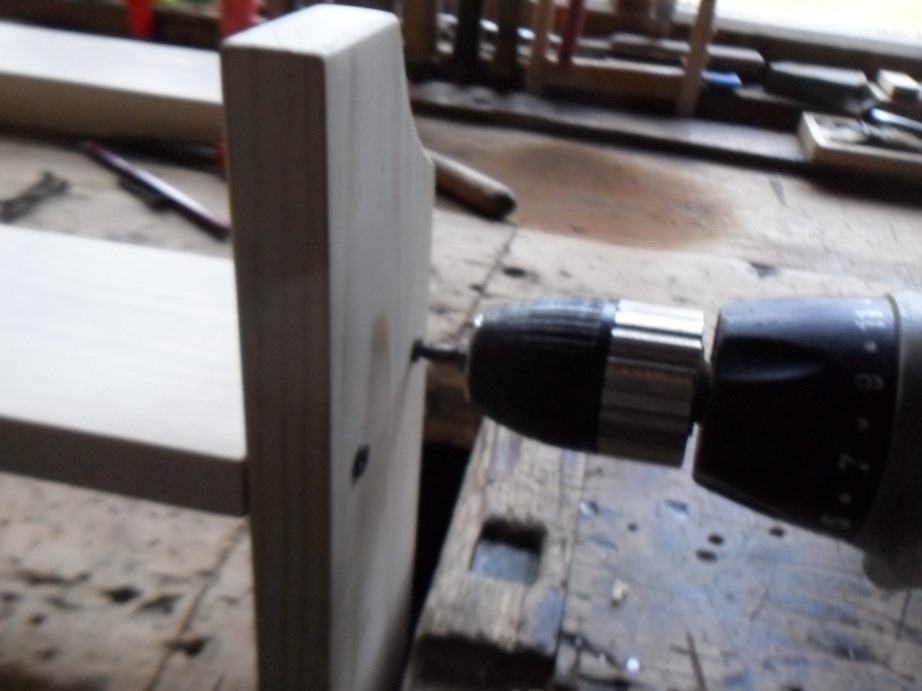
Step 5. Drilling holes for screws.
Using a drill, we drill through holes in the marked places.
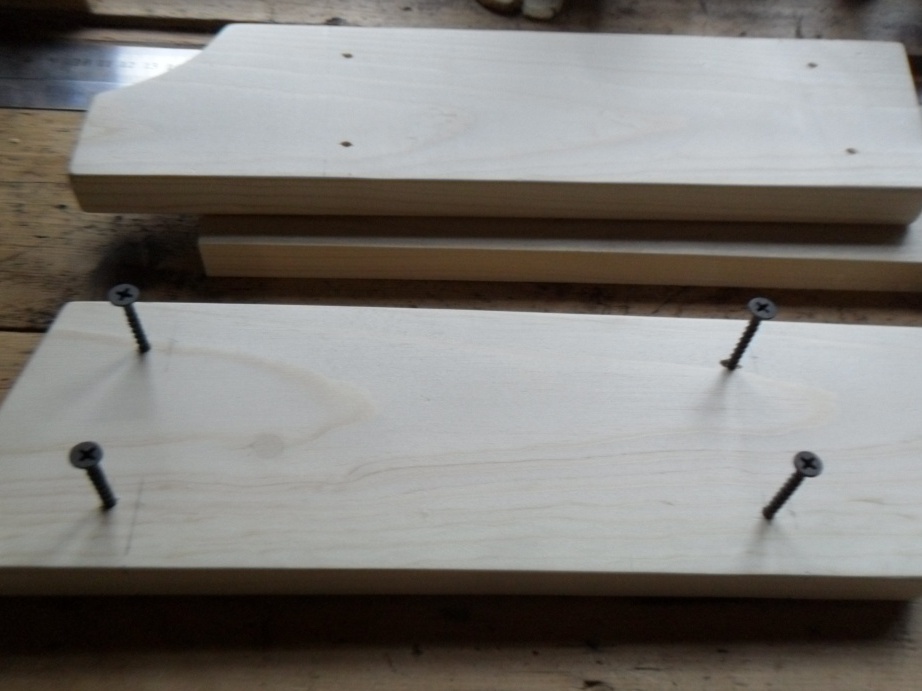
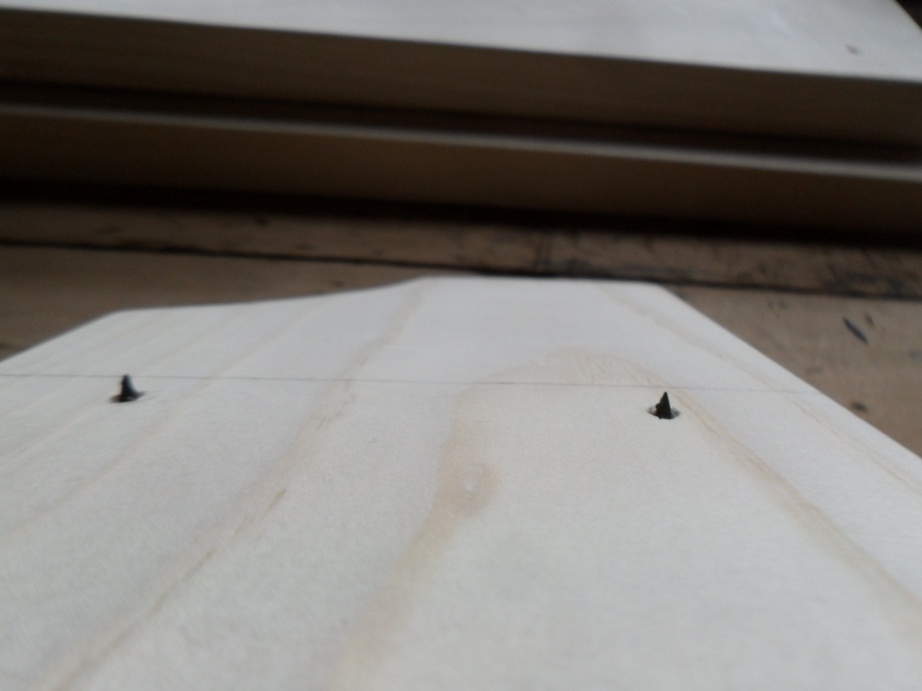
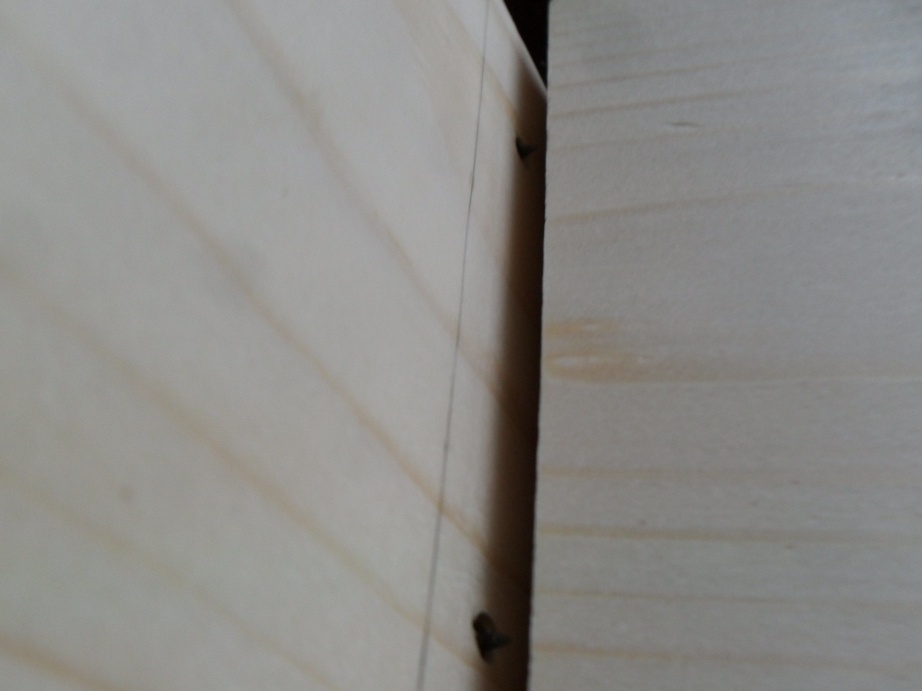
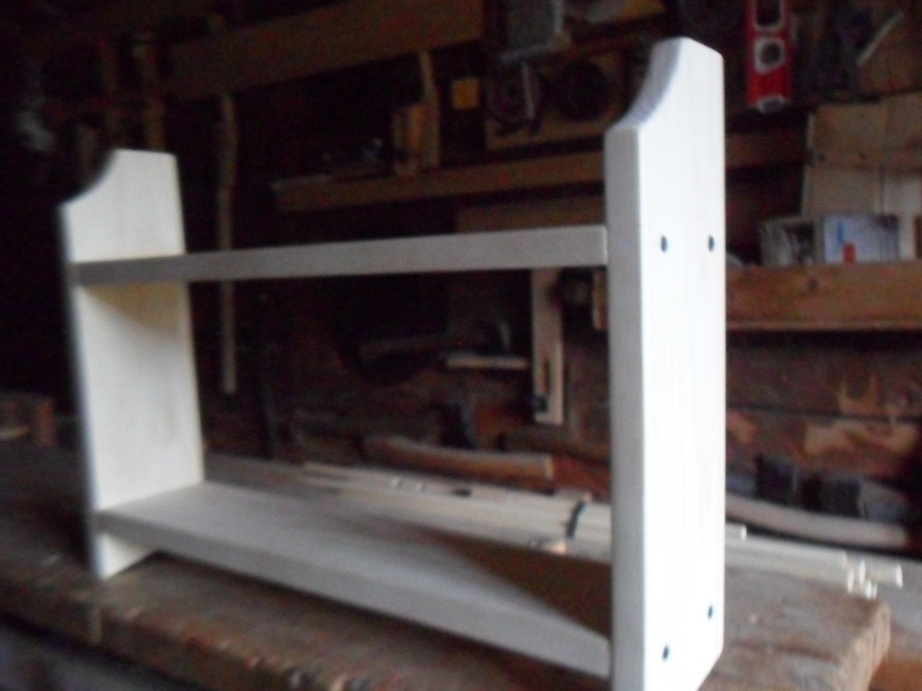
Step 6. Pre-assembly of the shelf.
We screw the screws into the holes so that the sharp ends protrude slightly from the opposite side of the board. Further: having put the top edge of the ends of the shelves to the dash, we lower the entire end to the necessary position - thereby we have marked the places on the ends of the boards, where self-tapping screws will later be screwed. Having pressed the sidewall tightly, we twist the screws with a screwdriver. We perform the entire above operation four times. Thus gathered a shelf.
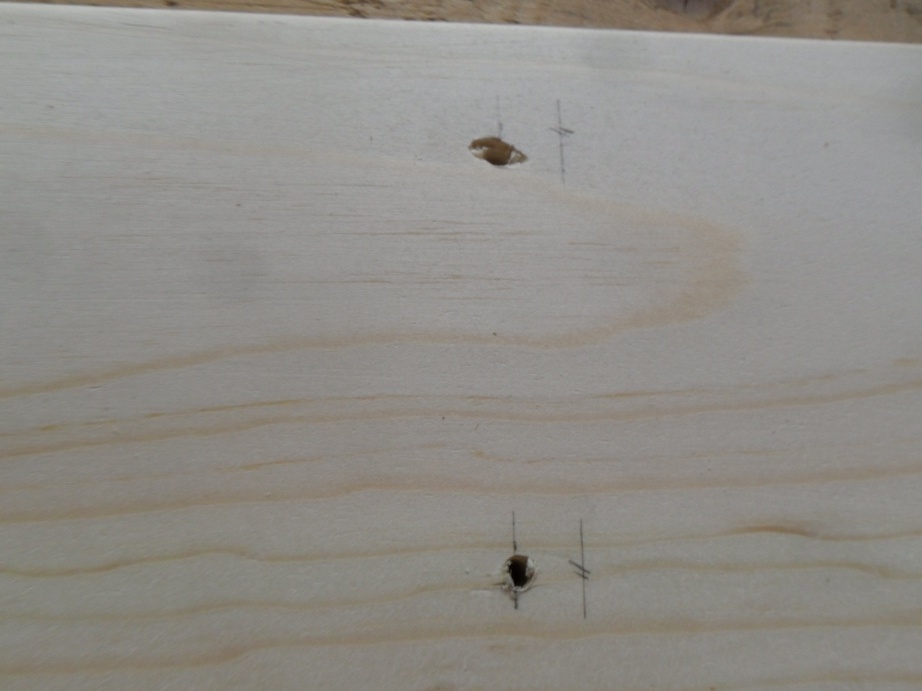
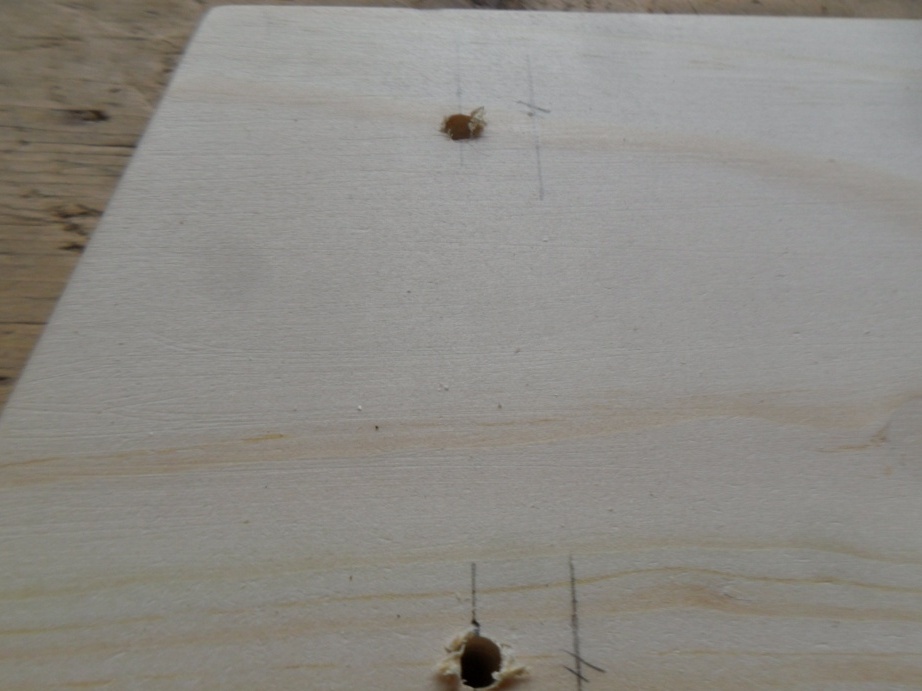
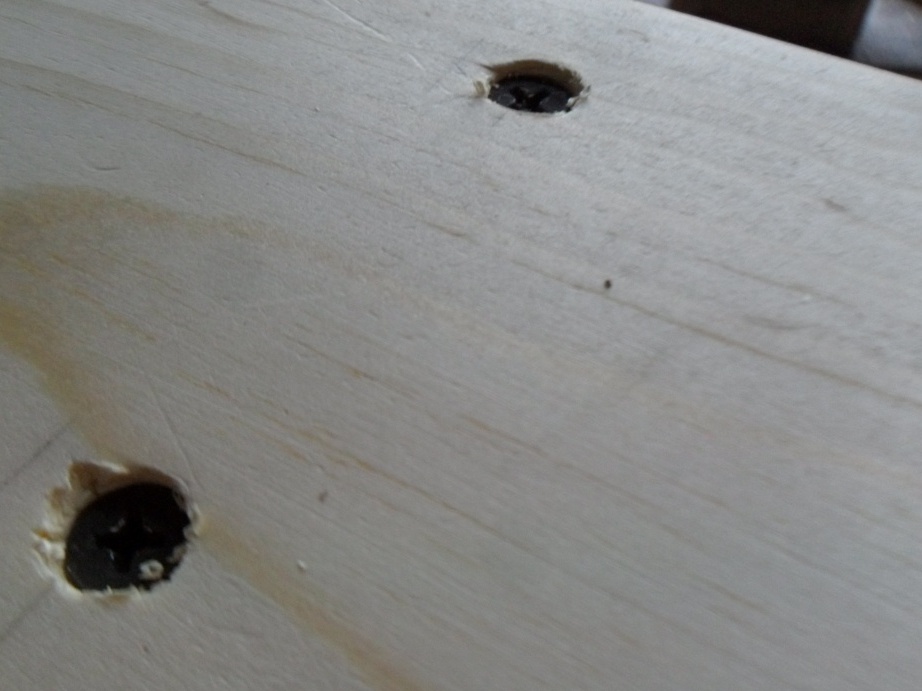
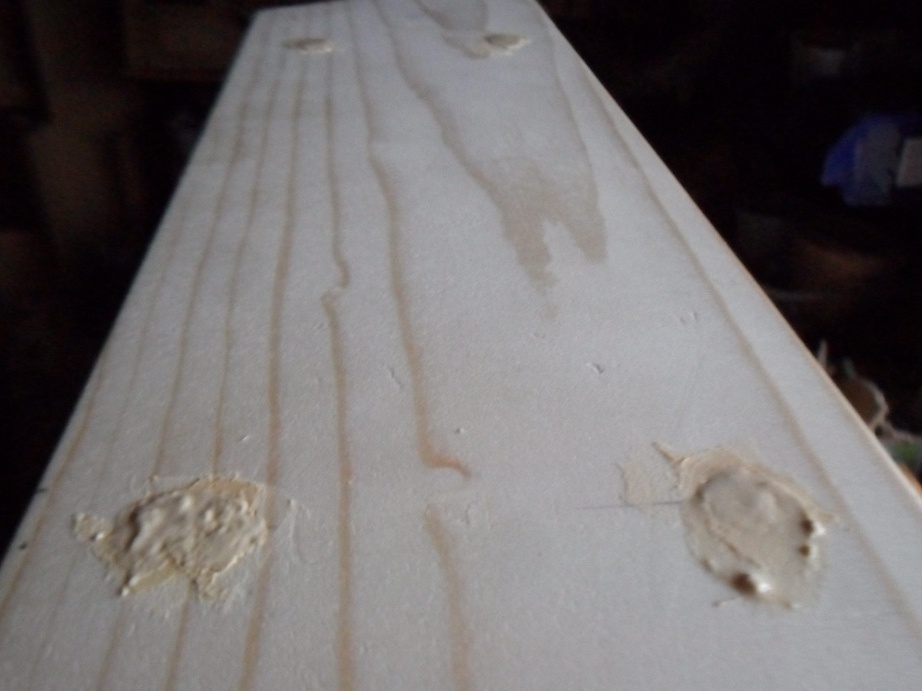
Step 7. Putty.
Initially, the screws were planned to be left in the sidewalls. But in the course of work, it was decided to self-tapping also - leave, but hidden under a small layer of putty. To do this, he dismantled the shelf, drilled holes for the head of the self-tapping screws (the recesses turned out to be not quite round, since the tip of the drill was not fixed in the tree), he polished the boards. Then, having coated the ends with carpentry glue, he connected the horizontal load-bearing parts with the sidewalls and screwed the screws tightly into the former places. Then I put small masses of putty in the recesses (the humps of a viscous substance should turn out, which will then dry out and will be located not lower than the level of the plane of the board). Now you need to let the putty dry for a couple of hours.
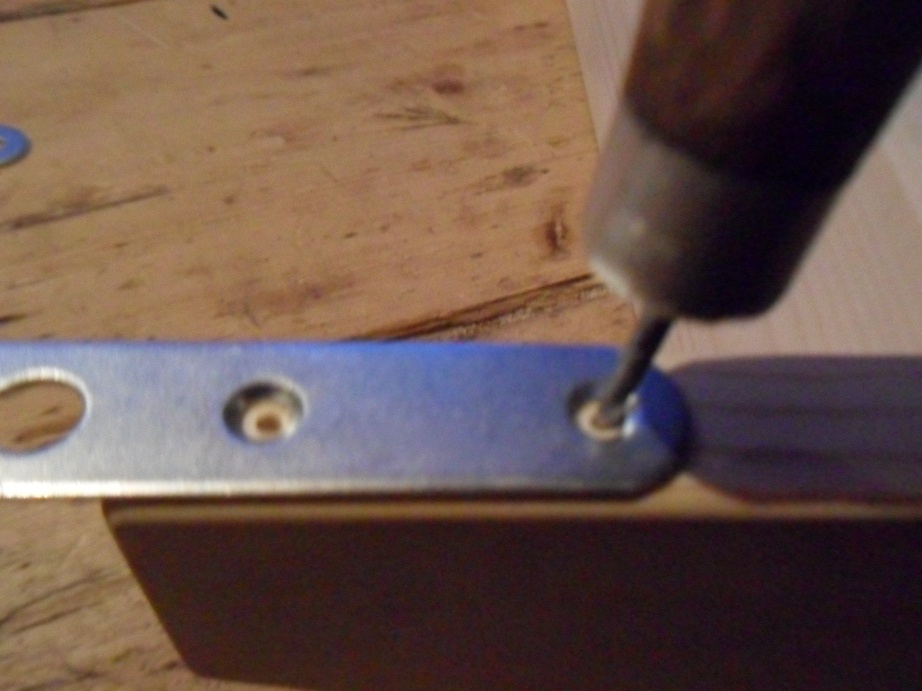
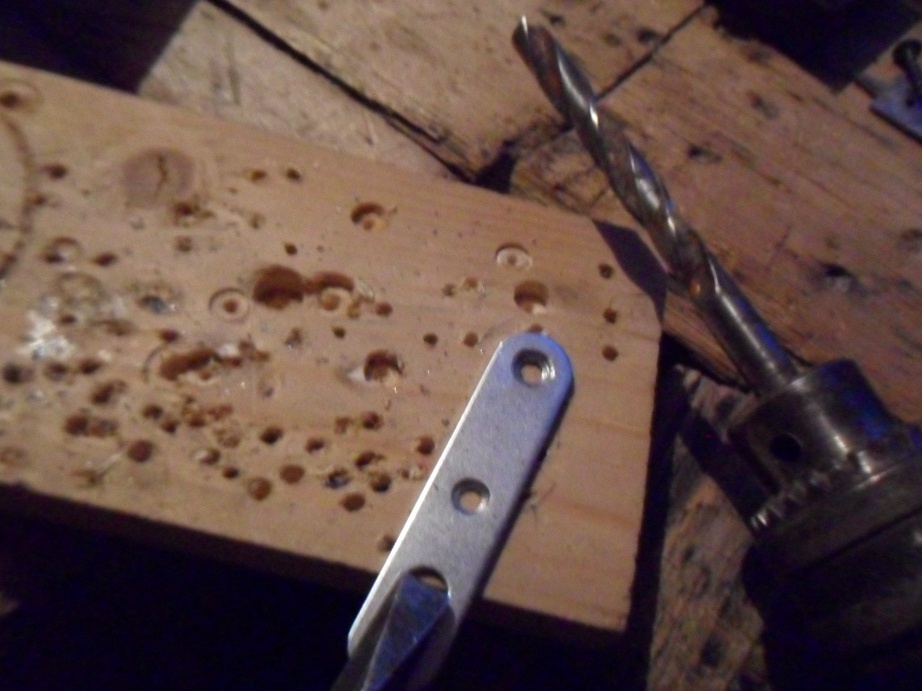
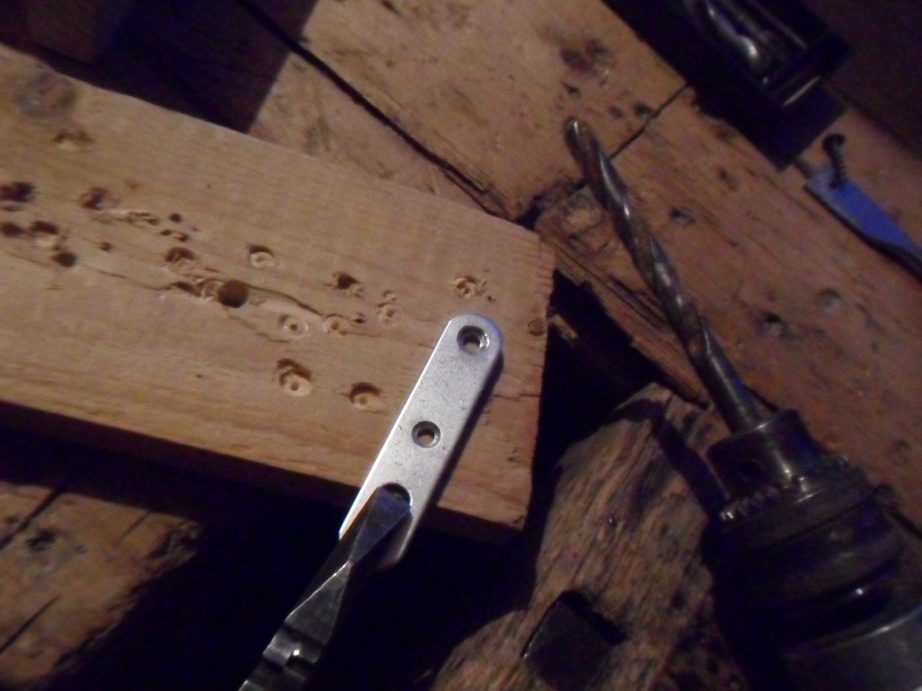
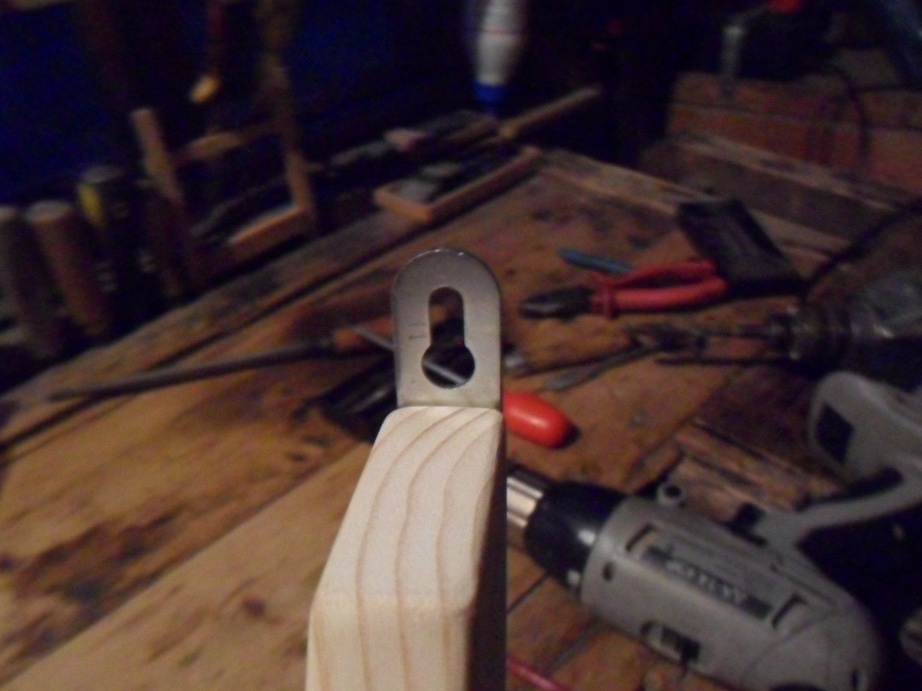
Step 8. Installation of canopies.
After the putty dries, we grind the vertical racks of the shelf. We install canopies, having previously drilled factory openings to a larger width so that the self-tapping screws holding the canopies do not protrude beyond the planes of the latter.
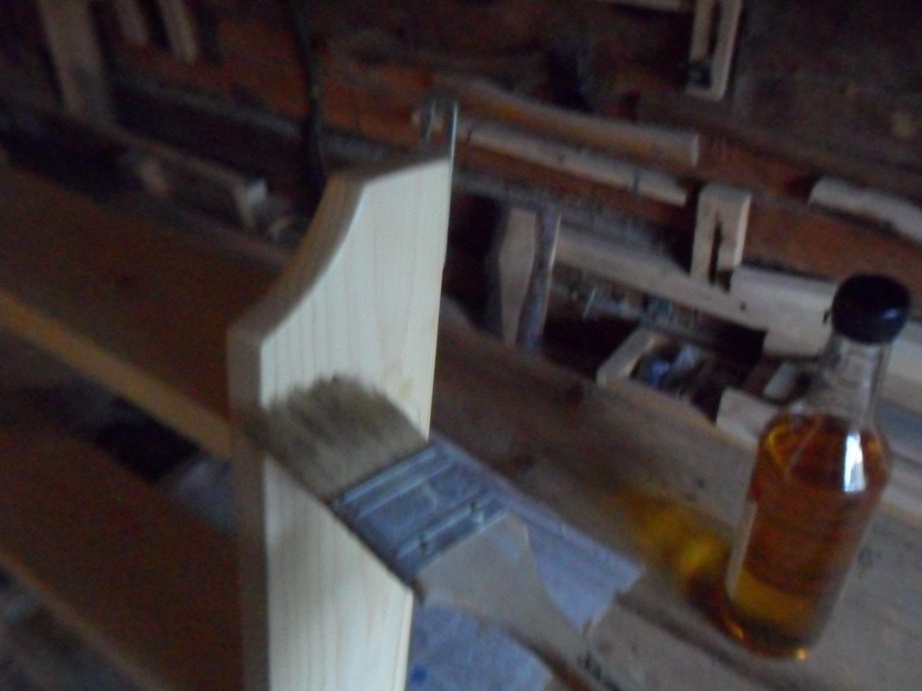
Step 9. Painting with varnish.
Colorless varnish was used for painting. After it dries, it is recommended that the shelf be easily treated with fine-grained emery paper or other grinding material to remove any irregularities or waves that have formed. And paint another layer. The shelf creation process has been successfully completed.
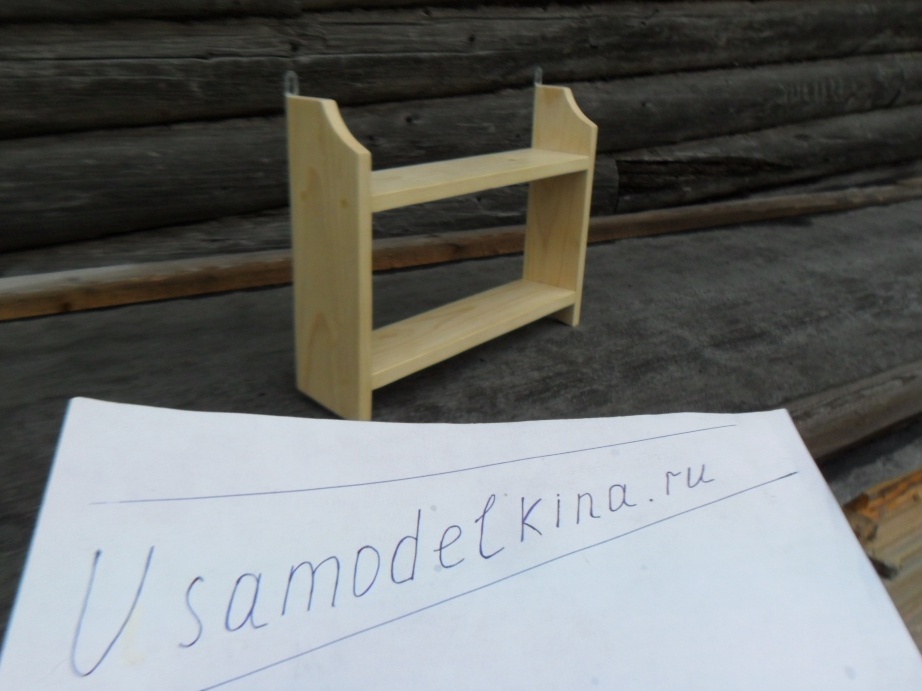
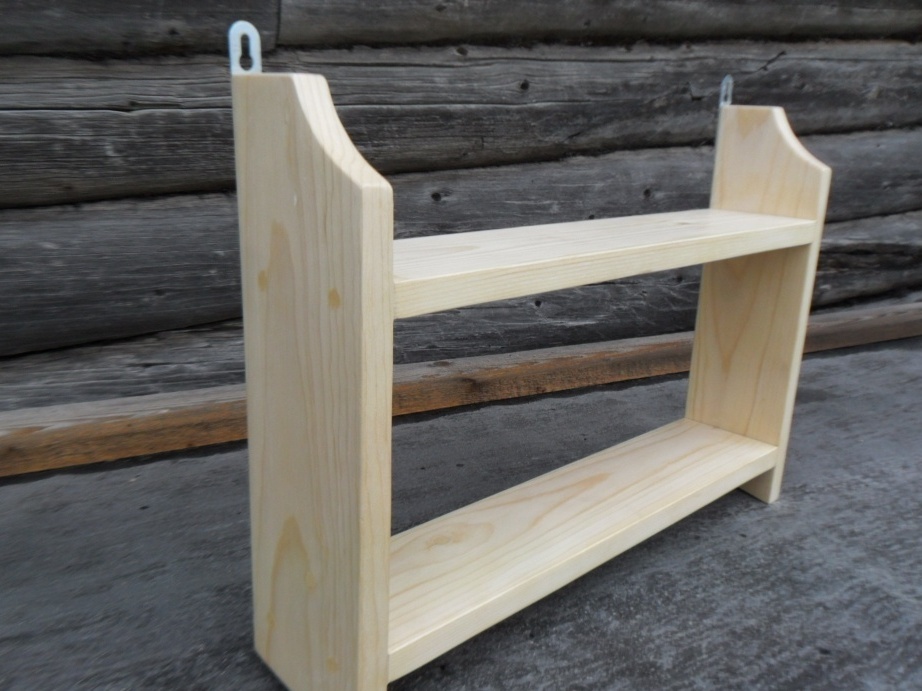
Conclusion
The result was a fairly simple but interesting shelf. Its application can be found in various fields. And the question "what to put on it?" - will not be a problem.