As a joke, the tray of the CD drive is jokingly called, and if you don’t have a sense of humor and you take this joke literally, sooner or later the automatically sliding tray will overturn the cup. The author of Instructables, under the nickname annacg, came up with a stand that will never cause you such a nuisance, and this simple but witty design also has a home-made contact pressure sensor that turns the built-in backlight on and off. For the manufacture of homemade she needed: a cork sheet, a tape from a conductive fabric (can be replaced with foil), masking tape, three LEDs, a three-volt battery (2016, 2025 or 2032), foam, glue.
An annacg cut a square with rounded corners from a cork sheet (you can take a finished cork stand of the same shape), and in the center made a round hole of such a diameter to fit the bottom of the cup. Dividing the circle into three sectors with an angle of 120 degrees each, she made additional recesses for the LEDs at the corresponding points on the perimeter of the hole.
Annacg placed an LED on each of the recesses. She parallelized all three diodes in the same polarity, then connected the cathode connection point with a tape from a conductive fabric to the minus of the battery. To the point of connection of the anodes of the LEDs, she connected a strip of the same tape 10 cm long. She did not connect this strip specifically anywhere. Plus, the batteries are also not connected anywhere.
Then she cut out of thick paper a circle with a diameter similar to a round hole in a cork sheet. She glued the strip extending from the connection point of the anodes to this circle, receiving a drawing in the form of the letter V. She placed the circle in the hole from the side opposite the battery plus, so that the foil was facing the hole. She also recused from this point for verification. The circuit is still not closed - this is done on purpose, but it can be temporarily closed, as shown in the photo, and check the circuit operation at this stage of assembly.
Then, in the middle of the annacg cup, I glued a separator to the conductive fabric - another circle of small diameter of polystyrene foam, previously cut with a thin layer. This separator will open the circuit when removing the cup from the stand.
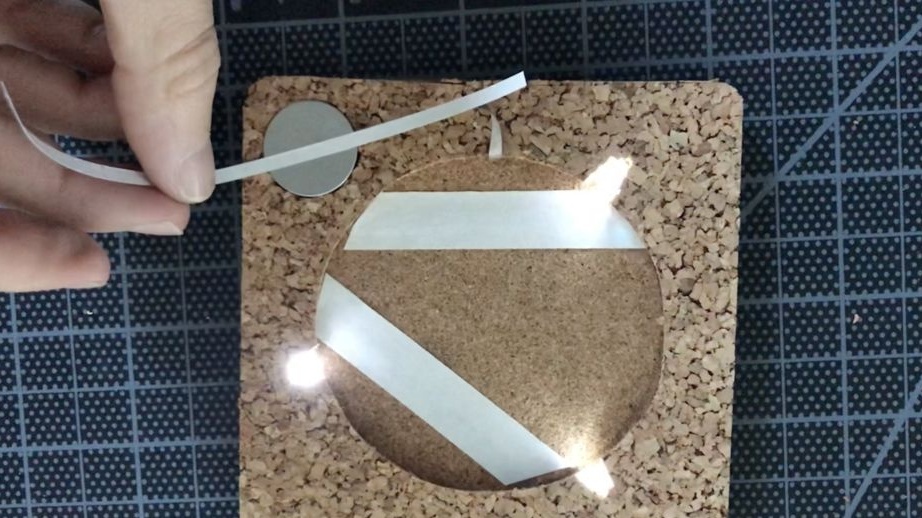
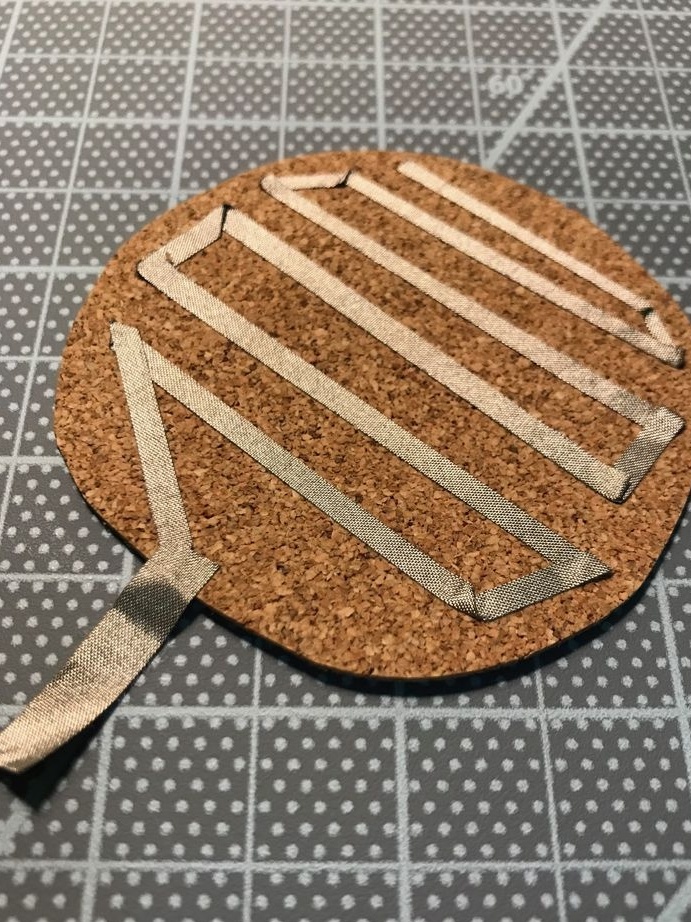
After that, she again cut out of thick paper a large circle with a diameter of a hole in the cork sheet. On it, she made a drawing from a ribbon of conductive fabric that resembled the spiral shape of an old electric stove (see photo), leaving a small “tail” on one side. Orienting the circle with the ribbon inside the hole, she placed it there on the side corresponding to the plus of the battery. With him annacg and connected the "tail".
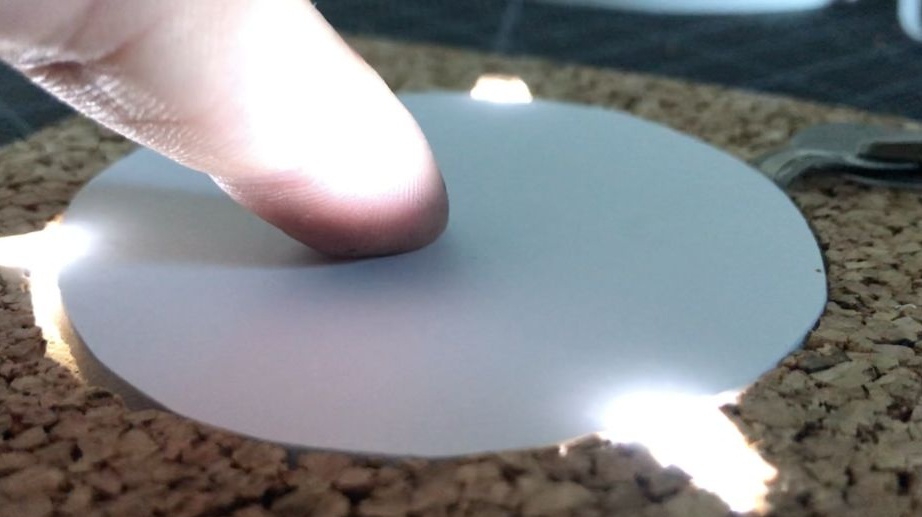
Now the circuit can be checked. Making sure that the short circuit of the battery is not possible with any manipulation of the stand, annacg put the device on the table with the second paper circle up. If you now put a cup in the hole, the LEDs will turn on, and if you remove it, they will turn off.
She closed the second paper circle with a foam circle of the same diameter on top. It will evenly distribute the pressure of the cup and beautifully scatter the light.
After that, annacg cut out two more squares from the cork sheet with rounded corners of the same size as the first. Here you can also take two of the same finished cork coasters. In one of them she cut the same hole as in the first stand, in the other she did not cut anything. With a square with a hole, she sealed the structure on the side of the foam plastic circle, with a square without a hole, on the opposite side.
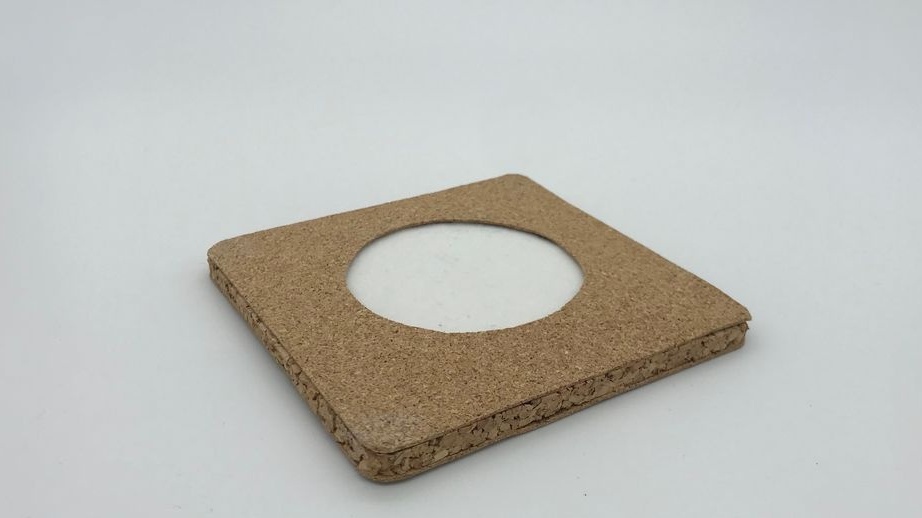
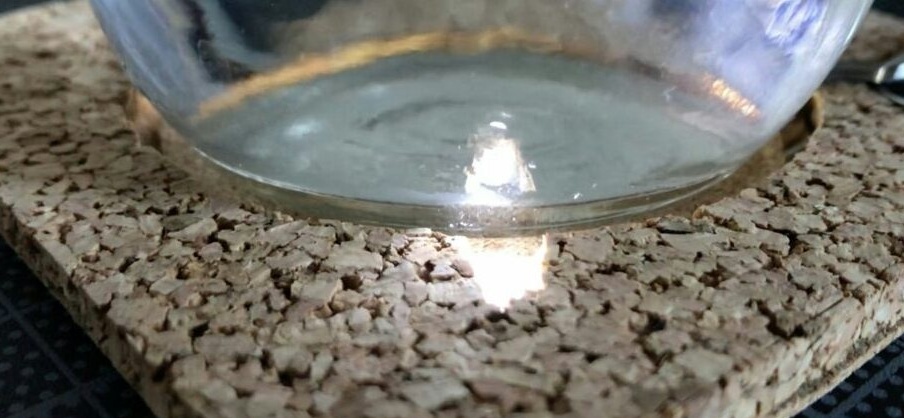
The stand is ready. You can put the cup on the foam and observe a soft glow. Note that there is no smell of IP67 here, so you can not spill coffee on the stand. To replace the battery, you have to carefully glue the layers with a plastic knife (from any fast food) on the corresponding side. After this, you must again make sure that a short circuit is not possible with any manipulation of the stand.
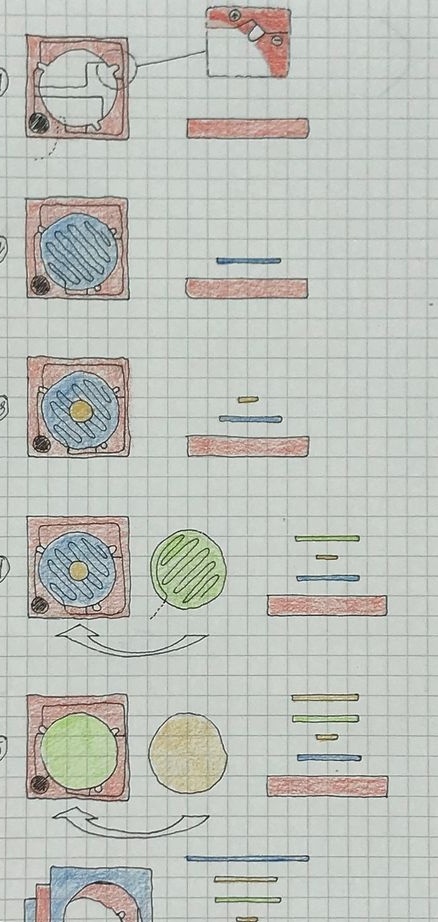
For clarity, annacg showed each of the steps for the manufacture of the structure in the figure. Please note that there the picture on the first mug is depicted the same as on the second (“old electric stove”), and in the photo it has the shape of the letter V. You can do this and that.