
In this article, John, the author of YouTube channel "John Heisz - I Build It" will tell you how he replaced the broken base of the router.
Readers practicing carpentry may have already encountered a problem when a minor tool breakdown or a slight defect that appeared on it prevented the full operation of the machine. Here is a manual milling cutter that has a slight problem with the base / base. And now, what kind of restoration the author offers us.
Materials
- sheet plywood
- Two-component epoxy resin
- Bolts, washers M6
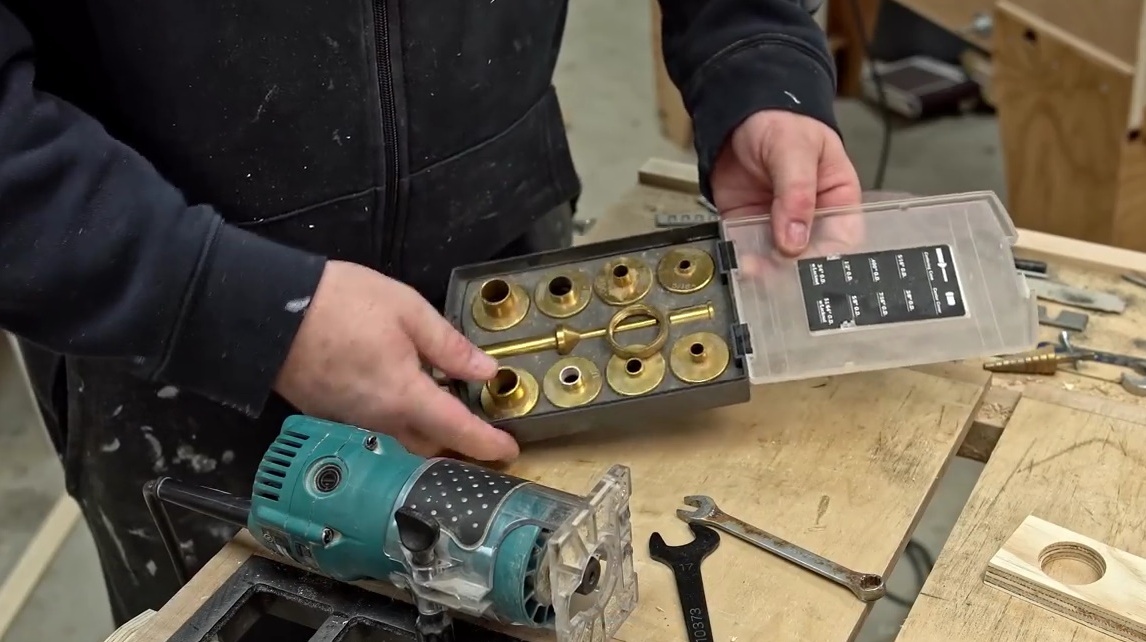
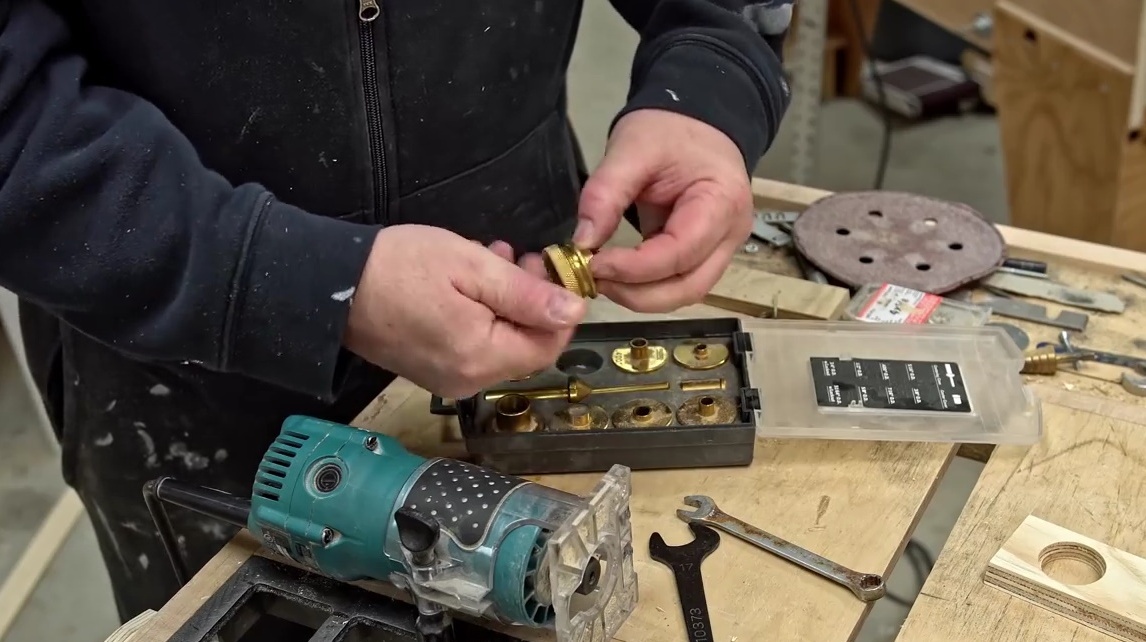
- A set of nozzles for the milling cutter.
Instruments, used by the author.
- Drilling machine
- Band-saw
- Orbital sander
- Grinding machine with oscillator
- Screwdriver
- Forstner drills
- Sandpaper
- Ruler, pencil, Phillips screwdriver.
Manufacturing process.
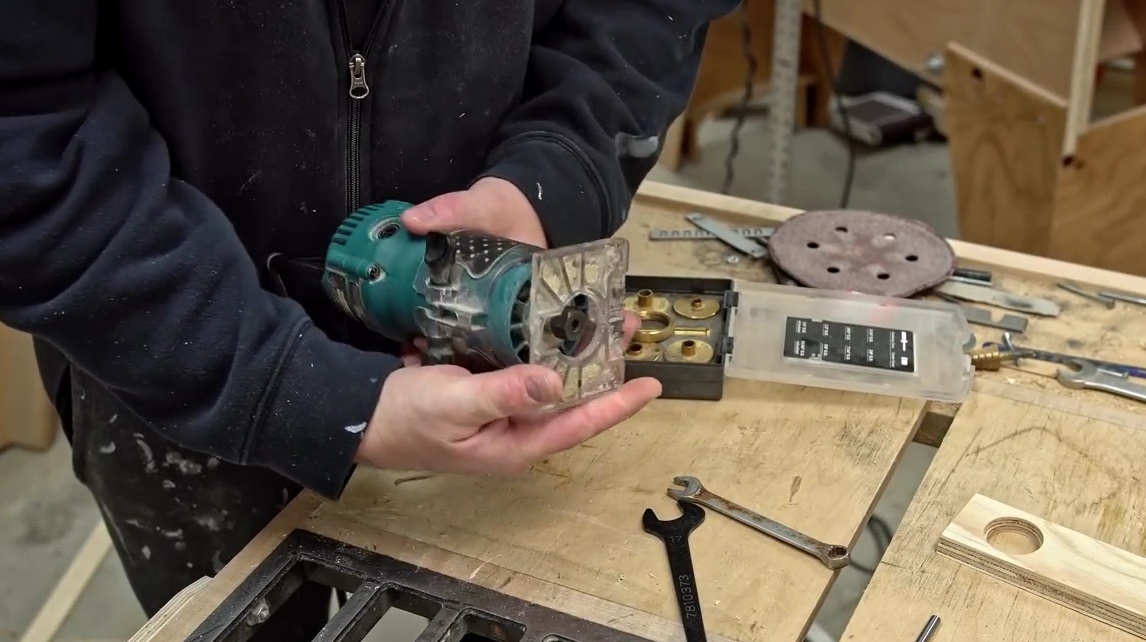
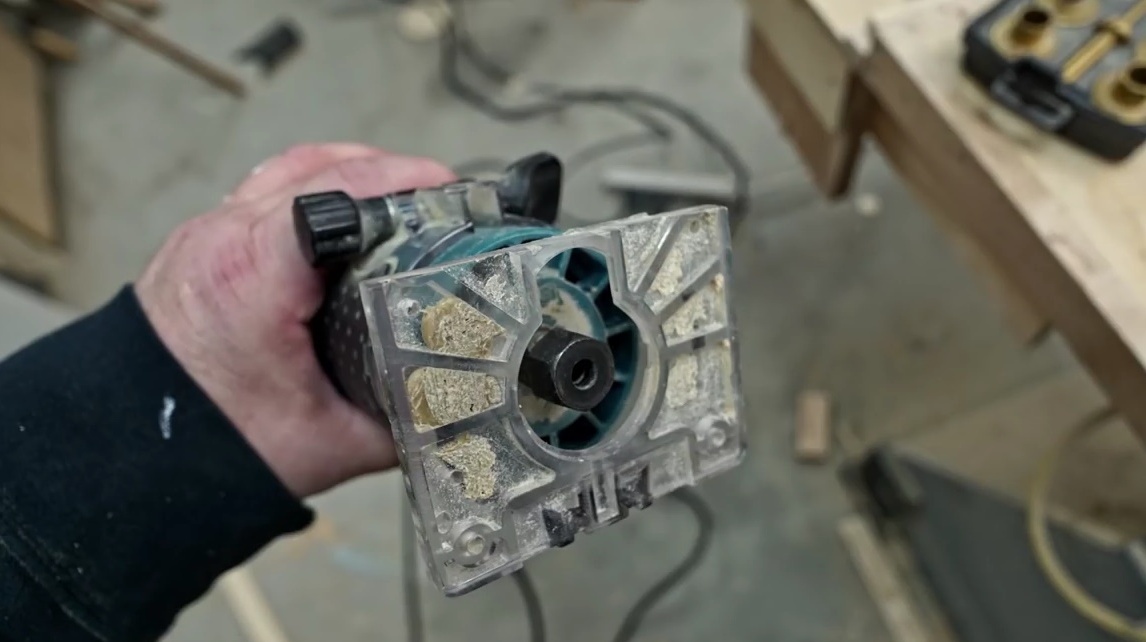
First of all, the master removed the broken "native" plastic black pad. Then he trimmed the remaining upper part of the base a little so that it could fit into the closer space that the author would have to carve.
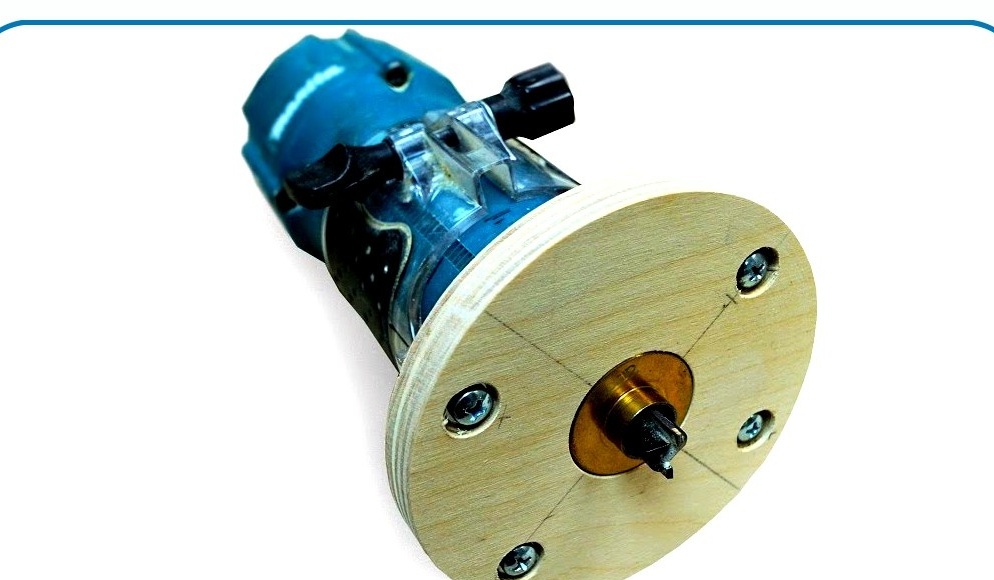
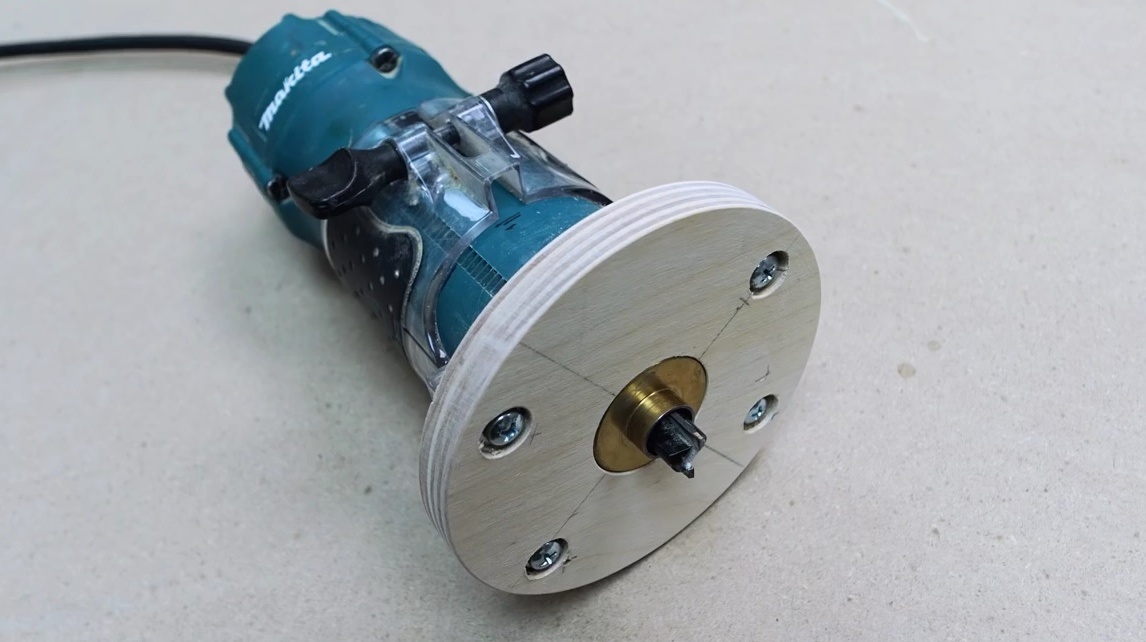
So, John is going to make a completely new base for his milling cutter, and to make it in such a way that you can use restrictive bushings with it.
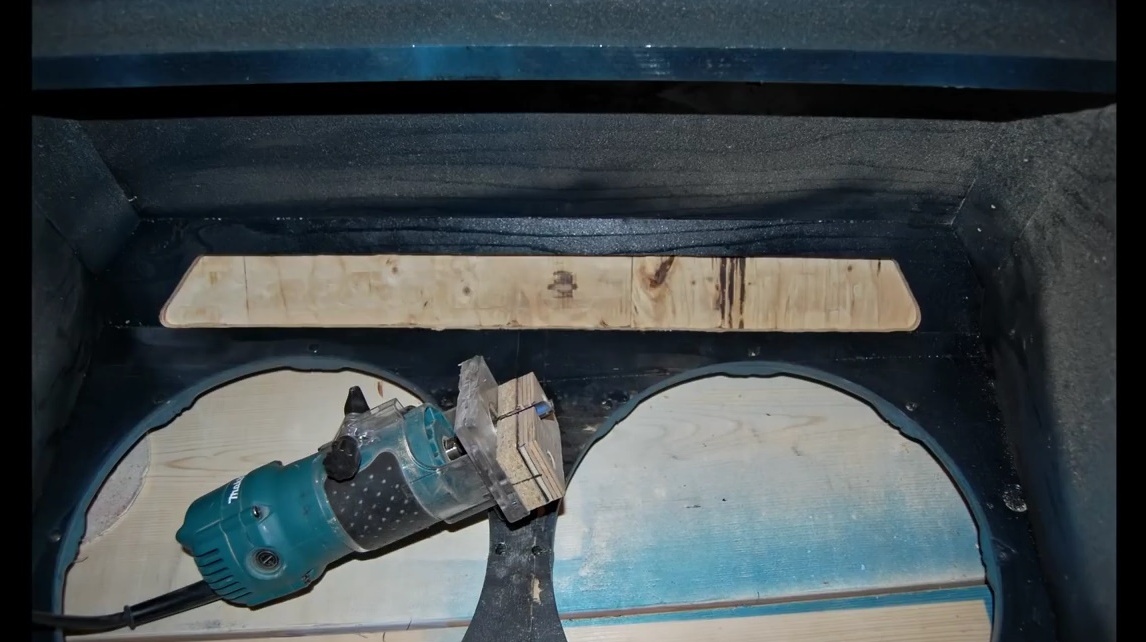
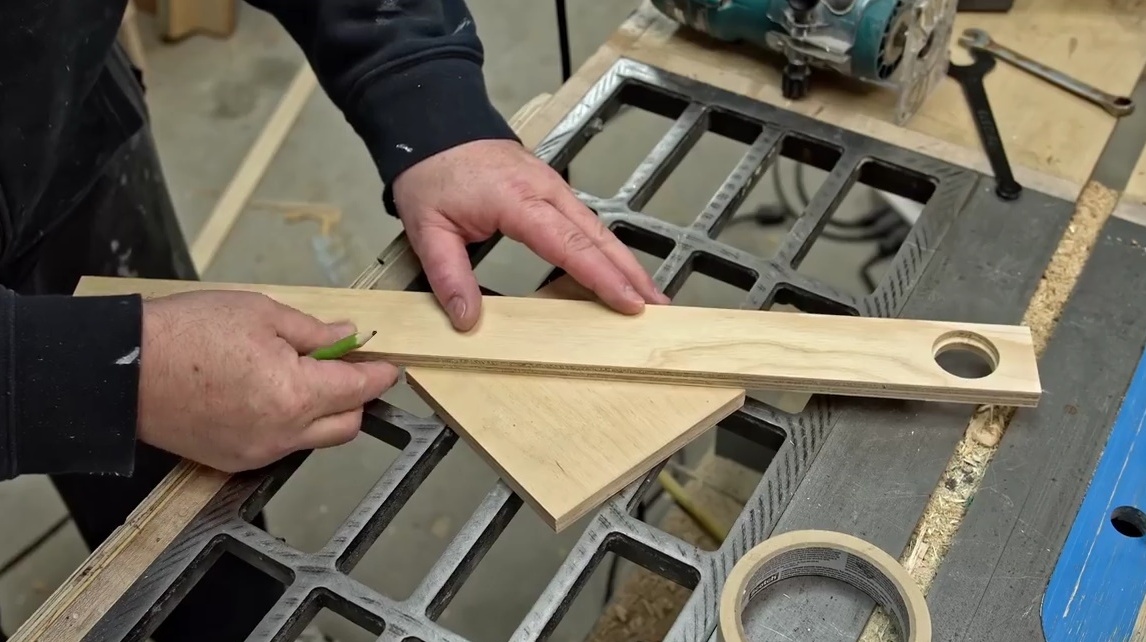
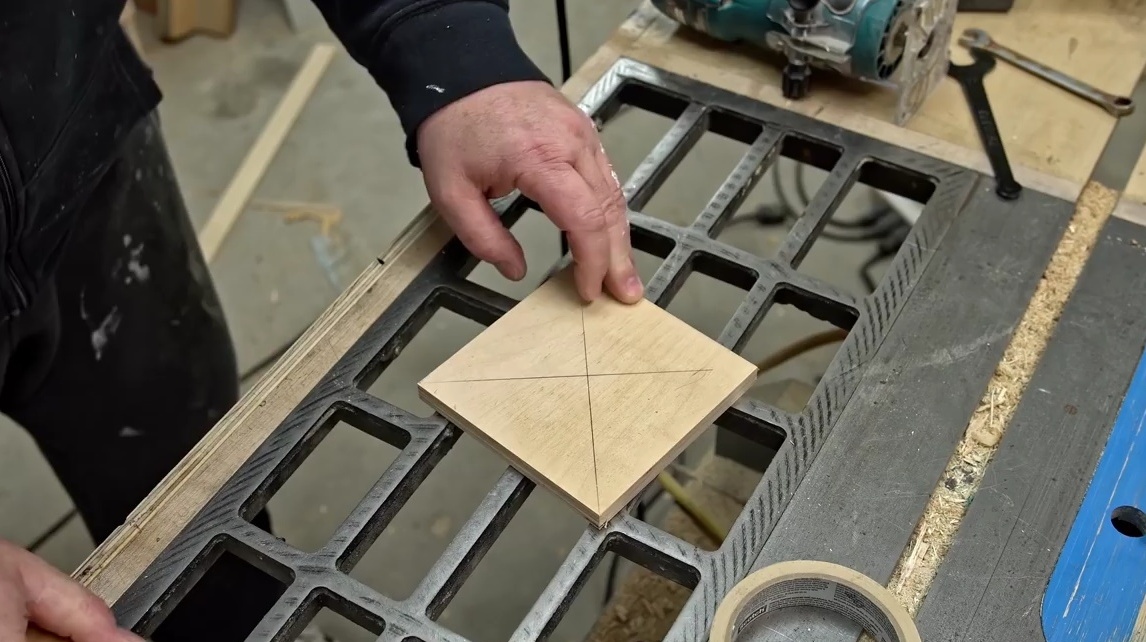
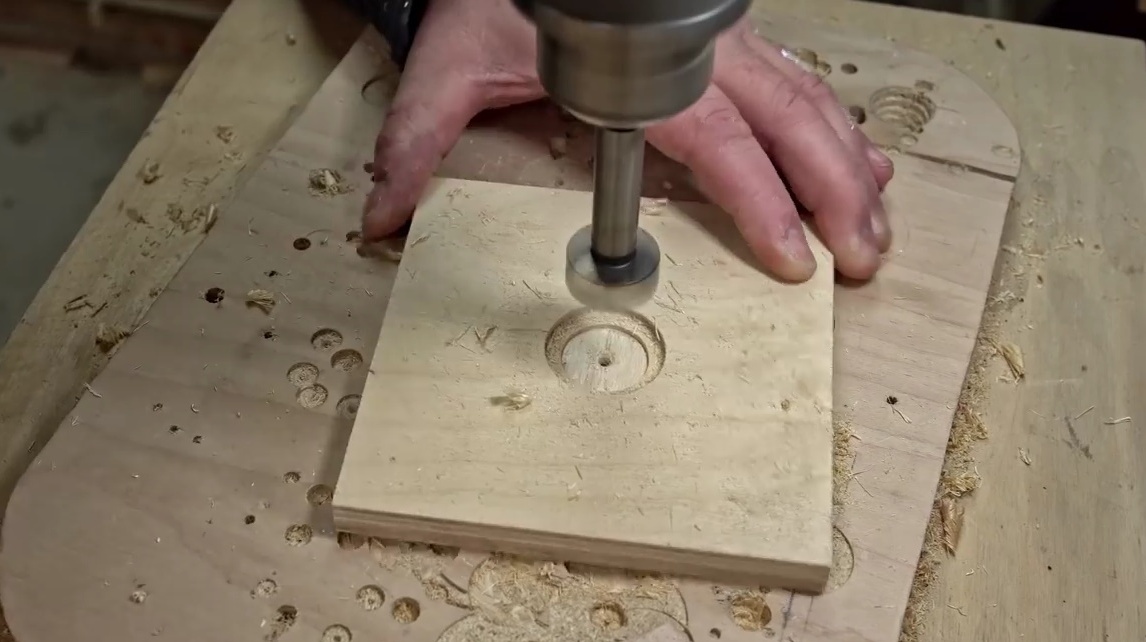
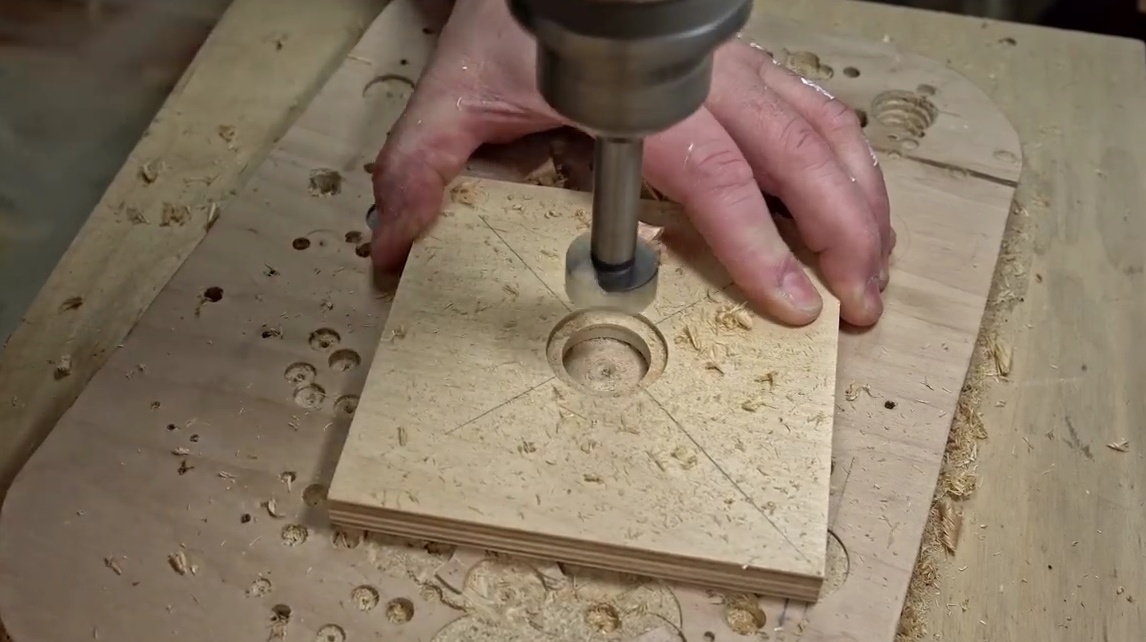
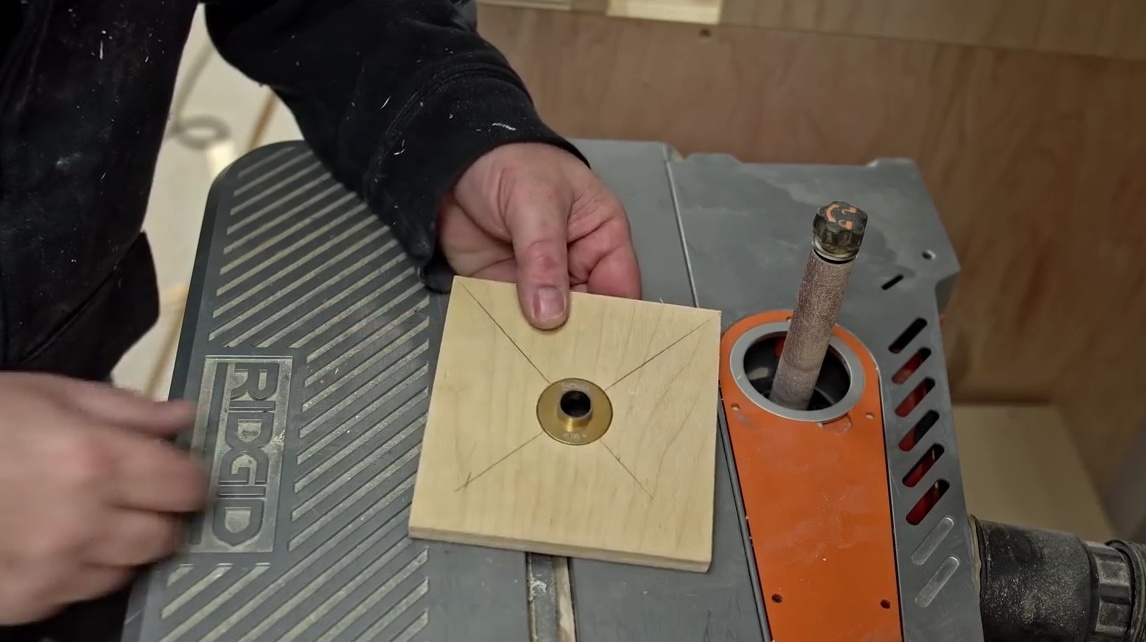
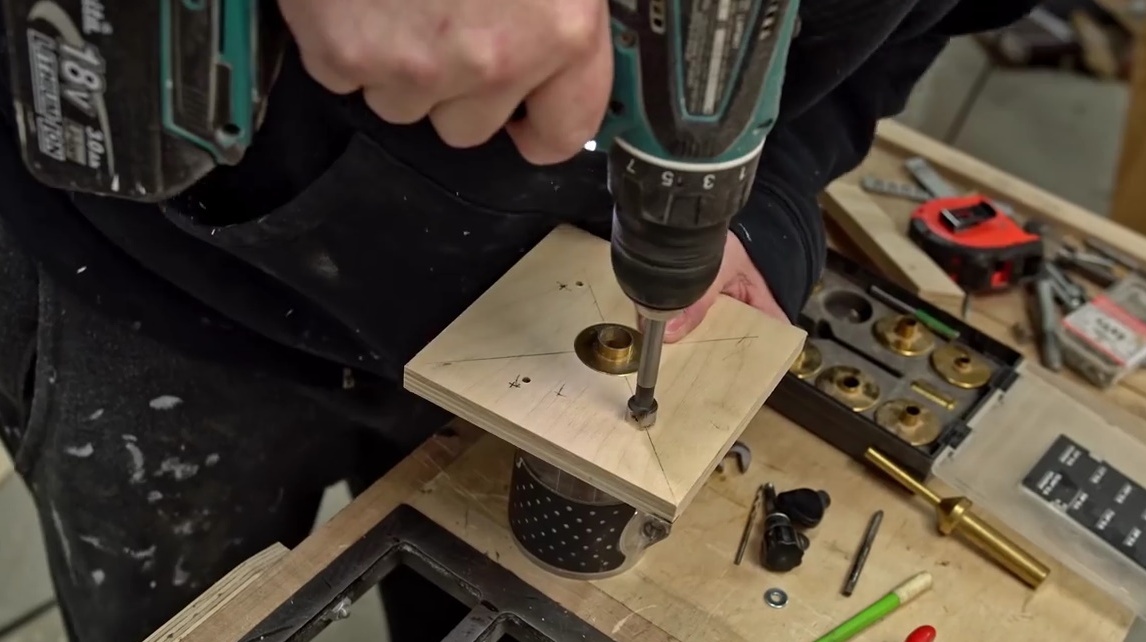
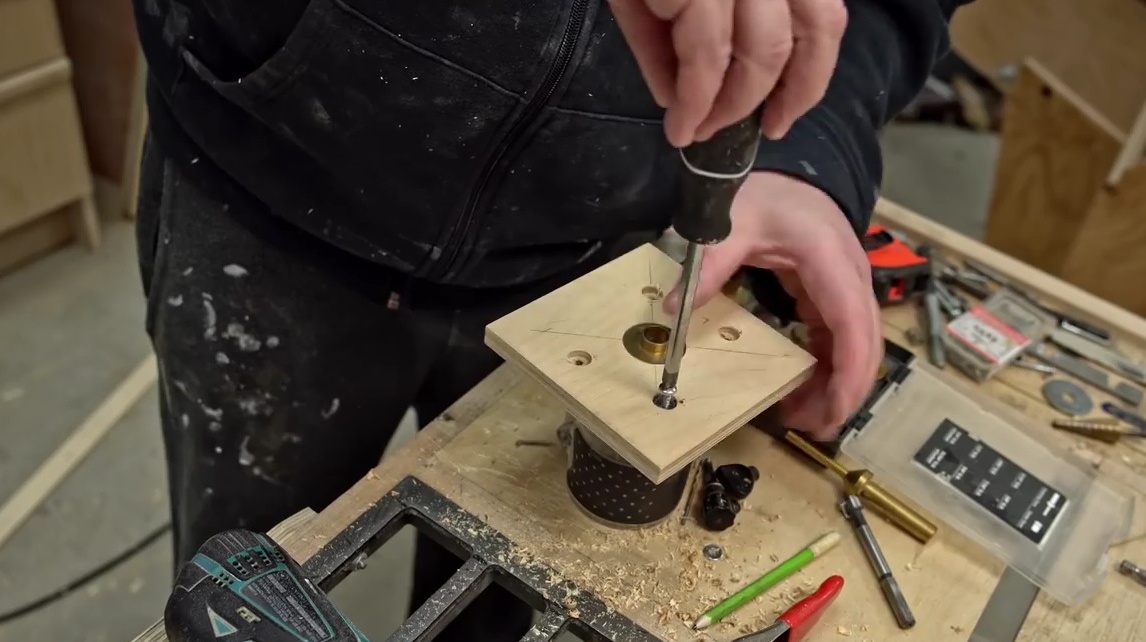
For the sole of the router, the author intends to use plywood from the Baltic birch. The first thing that John will do is to drill a hole in the plywood that would fit exactly in diameter under the bearing nozzles. To accomplish this task, the author marks the center at the intersection of diagonal lines.
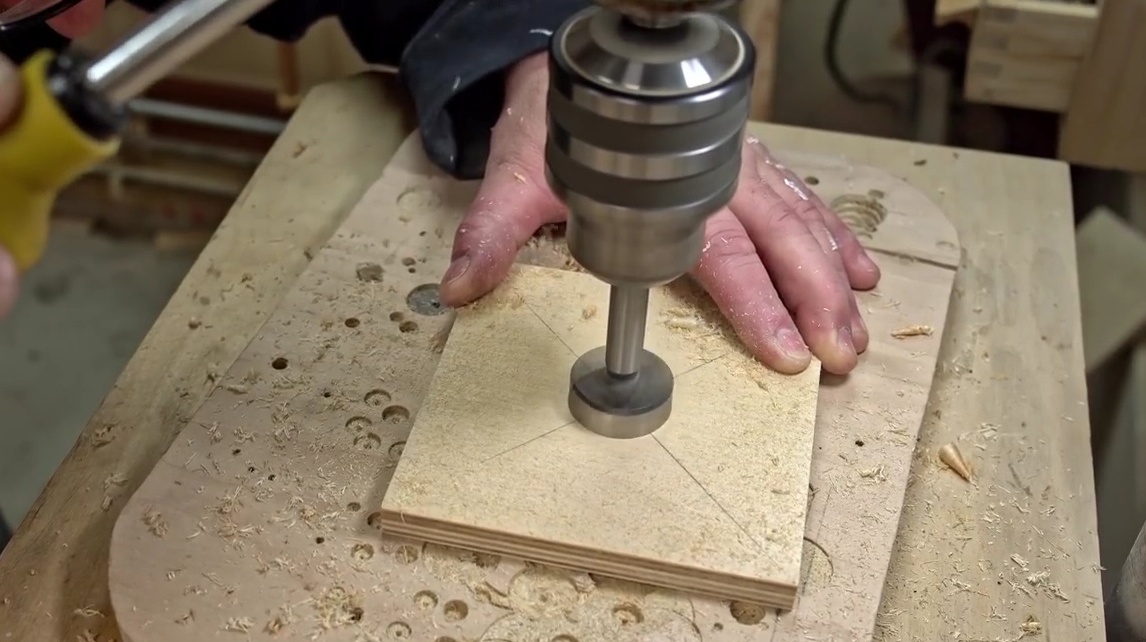
Now he is drilling a very small through hole, which will allow him to later drill oncoming holes on both sides of the board.

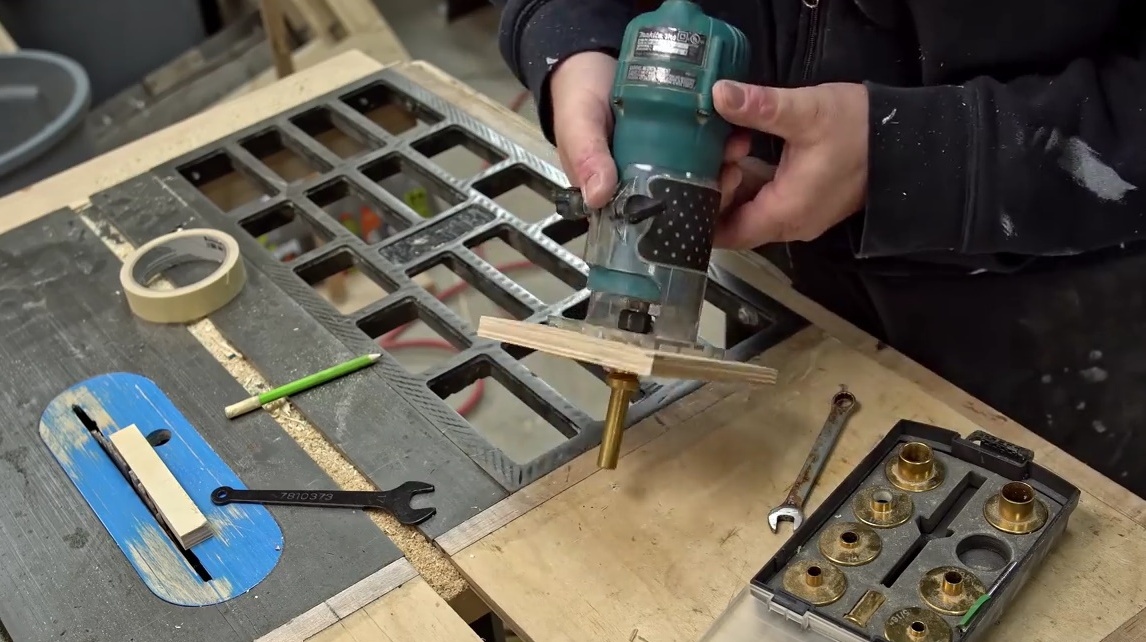
He makes these holes with a Forstner drill, making them on a drilling machine on both sides of the workpiece, but cuts them through and through.
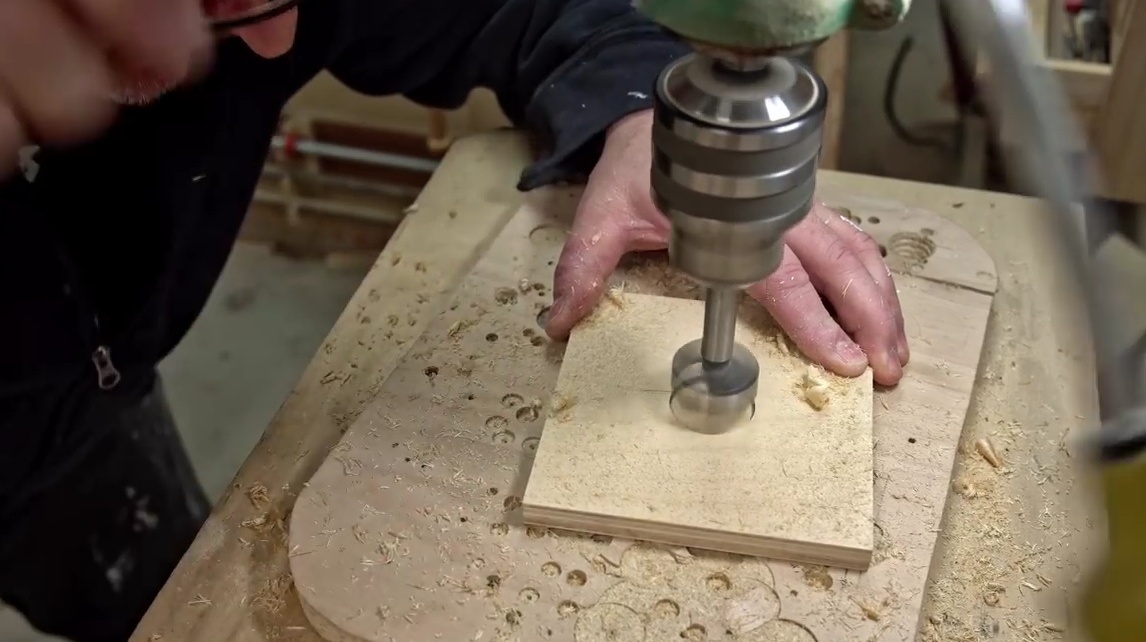
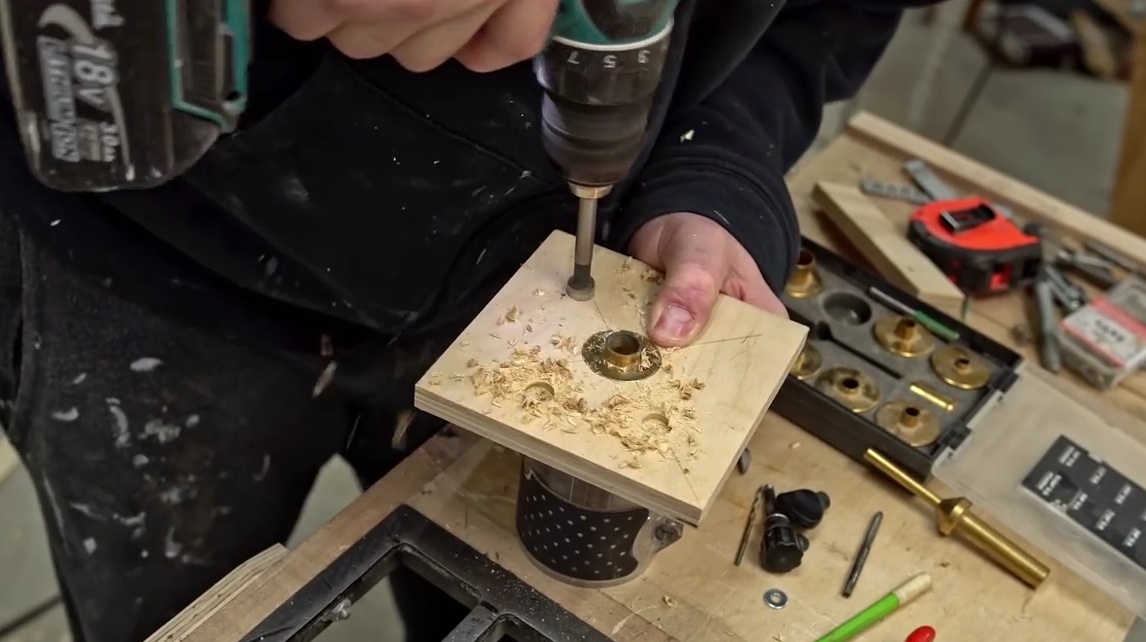
Next, you need another through hole, but only a smaller diameter. Again, drills on both sides so that the edges match as accurately as possible.
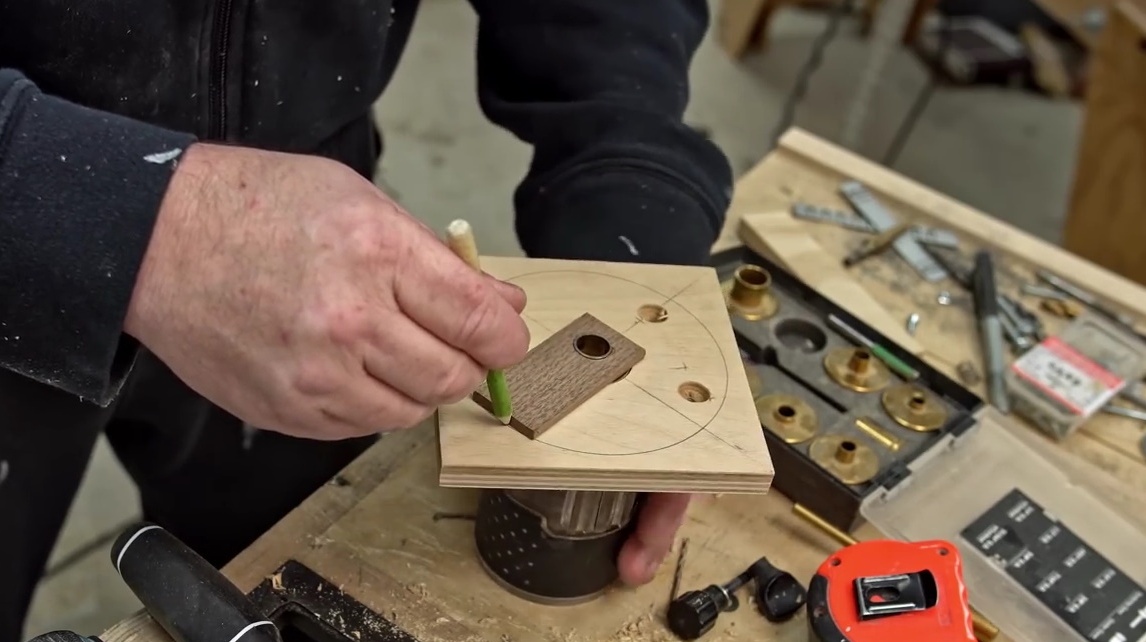
The author did not have a suitable cutter for this, and he went to the trick, first using an inch cutter, and then finished machining the hole on an oscillating grinding machine.
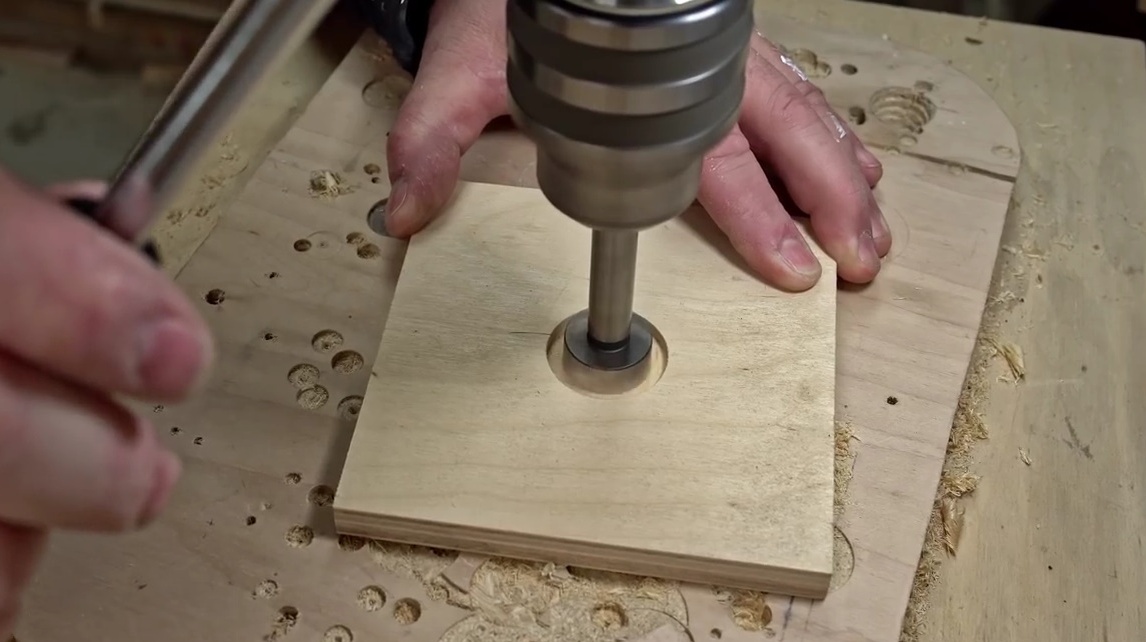
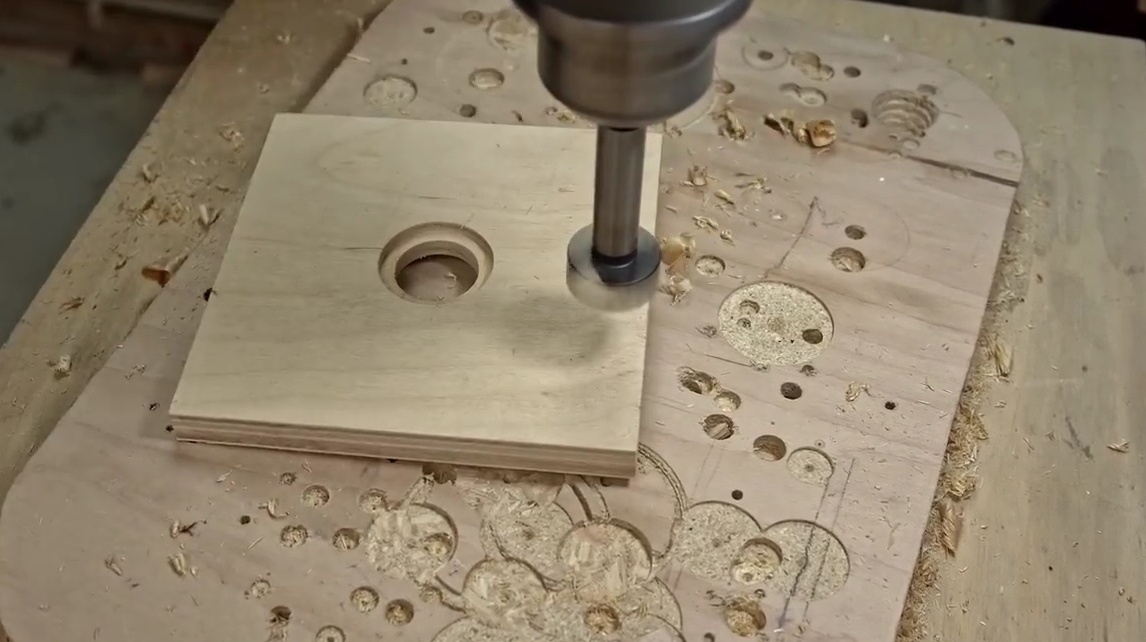
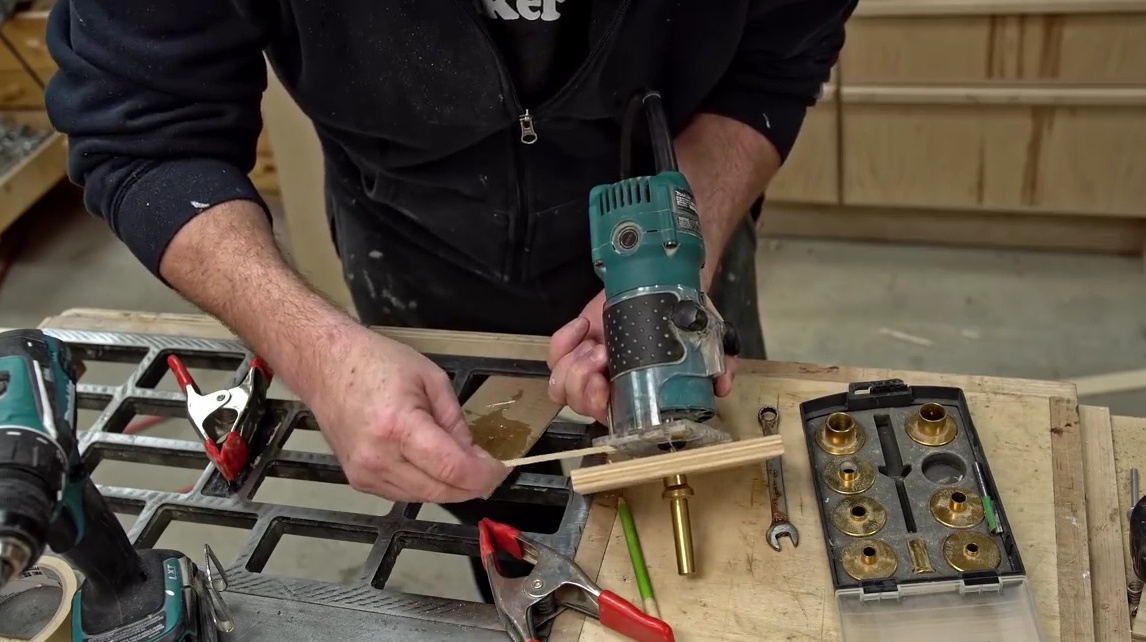
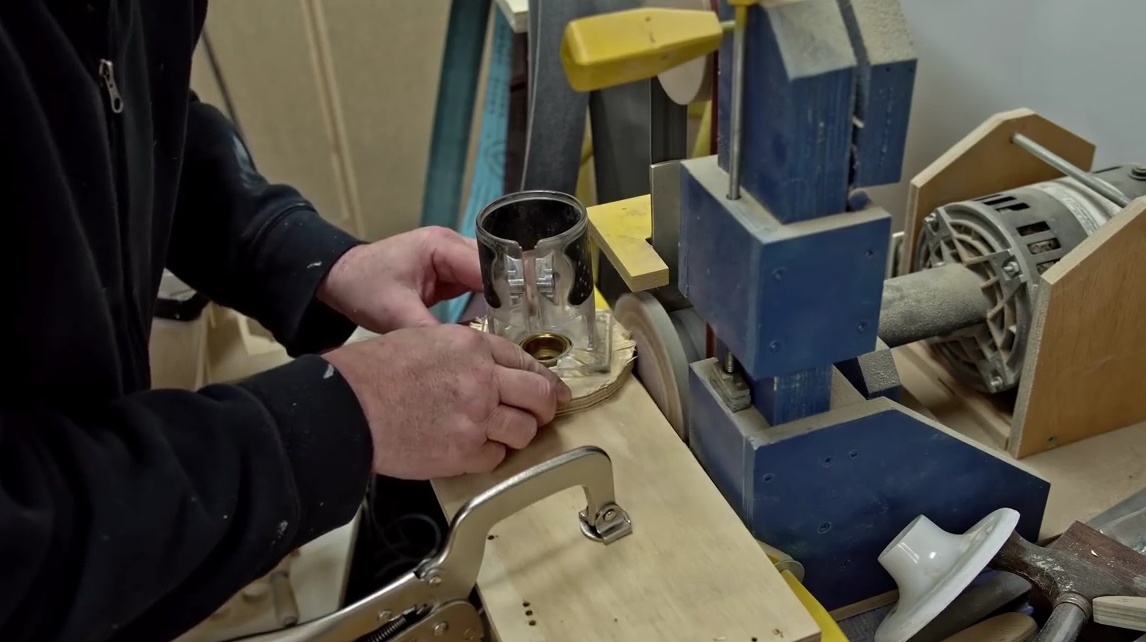
Then, using one of the bushings, mounted on a new base, he inserts a centering stand, taken from a set of bushings, into the milling cutter. Thus, John is trying to center the base relative to the router itself.

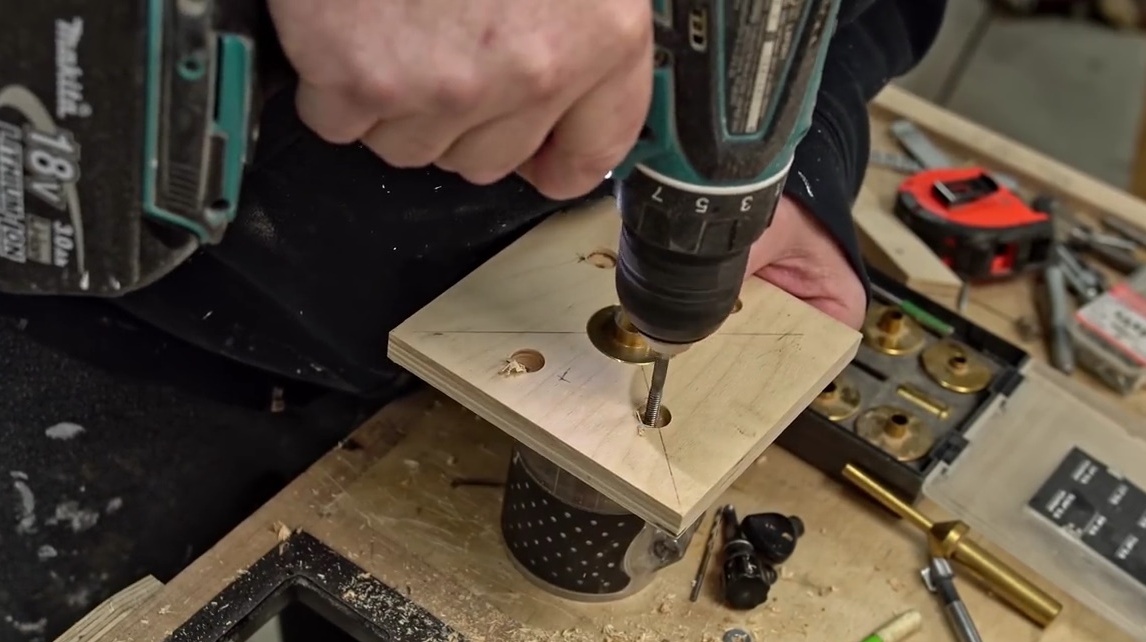
Since the author does not plan to remove this sole in the near future, he decides to put everything on bolts. But before, in order to somehow fix the plywood on the base of the milling cutter, the master smears both surfaces with epoxy.
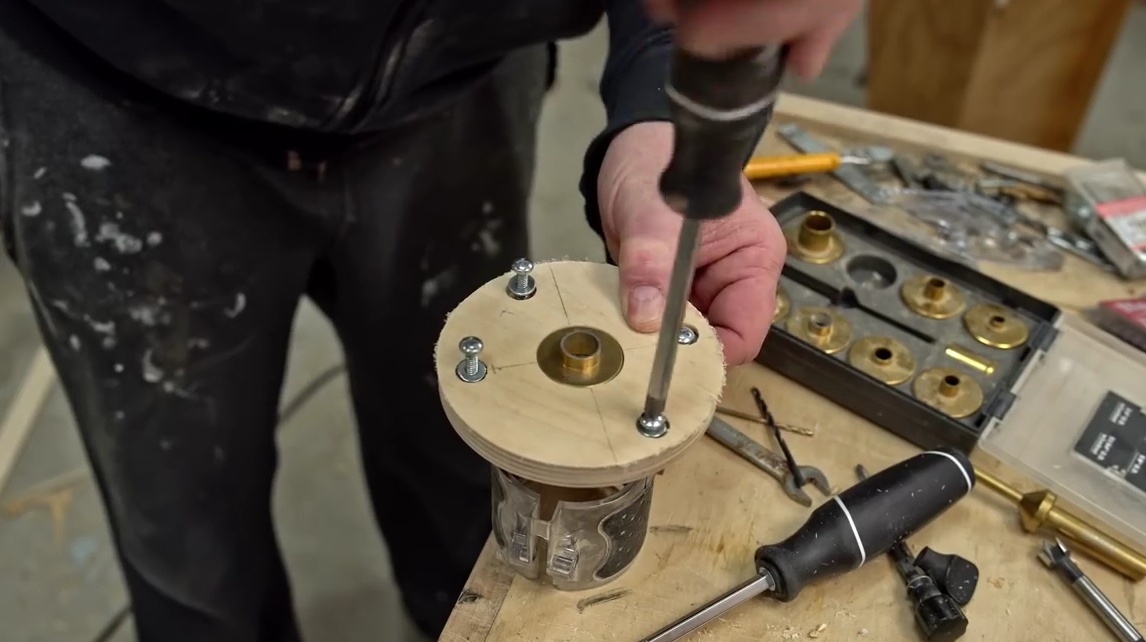
The next step, he drills through holes for installing bolts. During this operation, John removes the all-plastic base nozzle because it is too close to the mill body. The master has to use a drill extension - a tip with a hex shank. Using these extensions (if you have a set), you can extend the drill several times, as well as quickly change the drill to another nozzle.
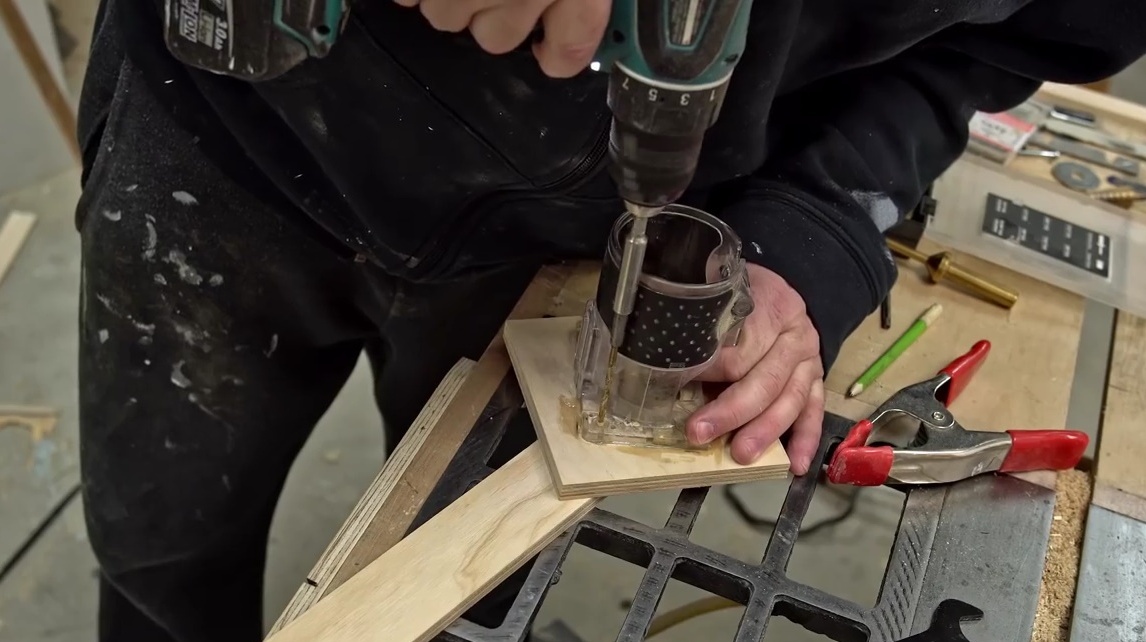
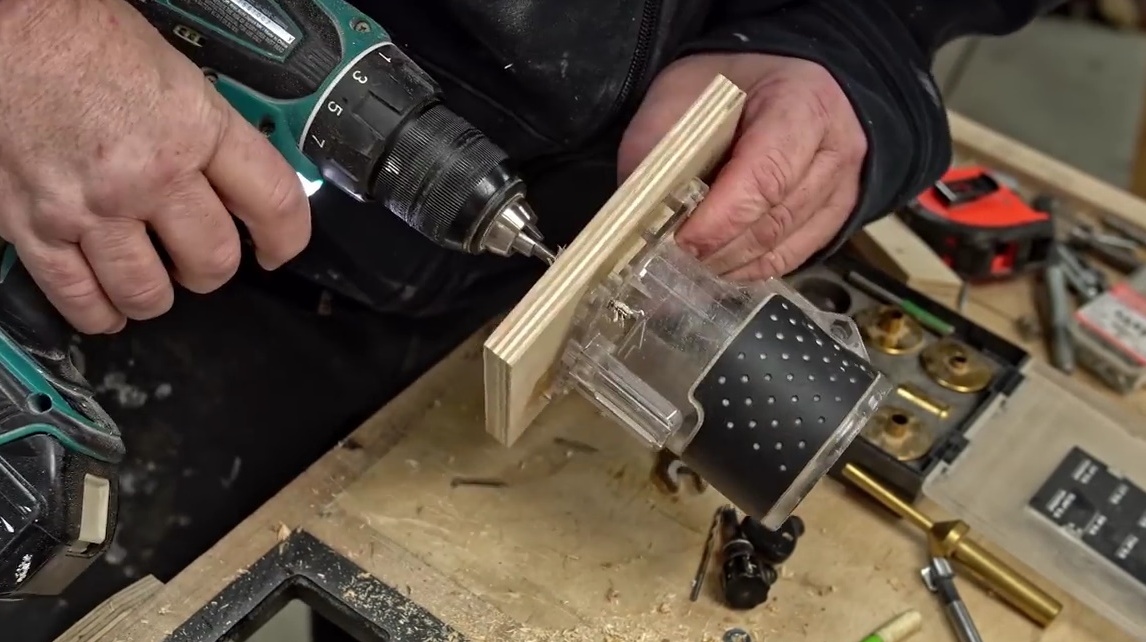
The author then flips the structure upside down and a Forstner drill drills holes for the bolt caps on the opposite side of the plywood board. The reference point is just the holes for the bolts.
Then he cuts the thread under the bolts, passing the plywood through the tap through the tap, and going into the plastic base of the router.
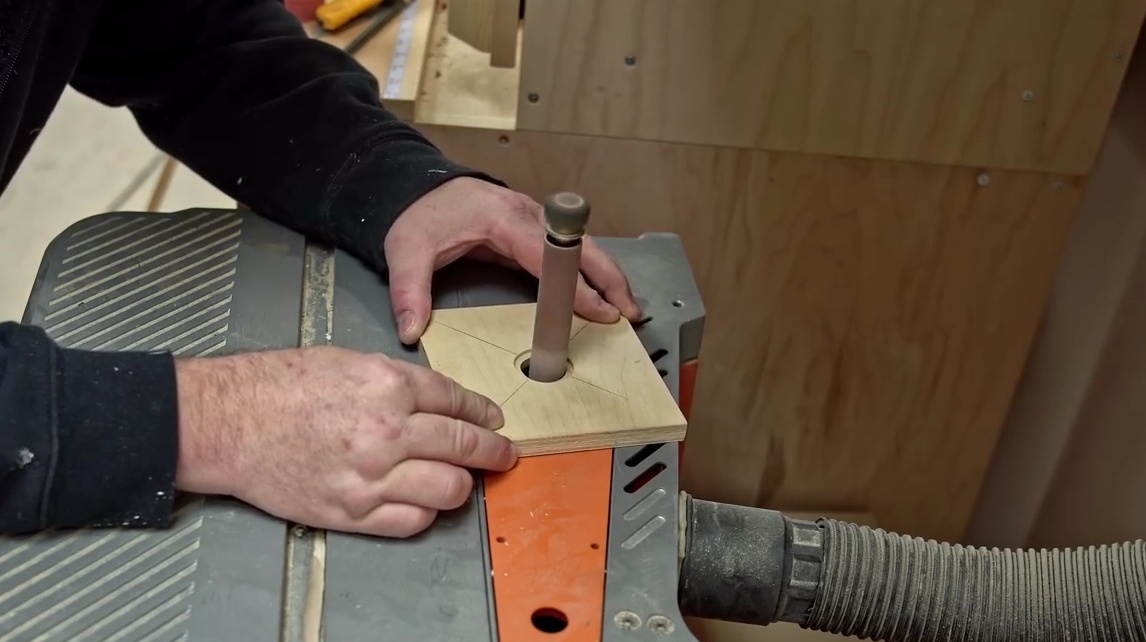
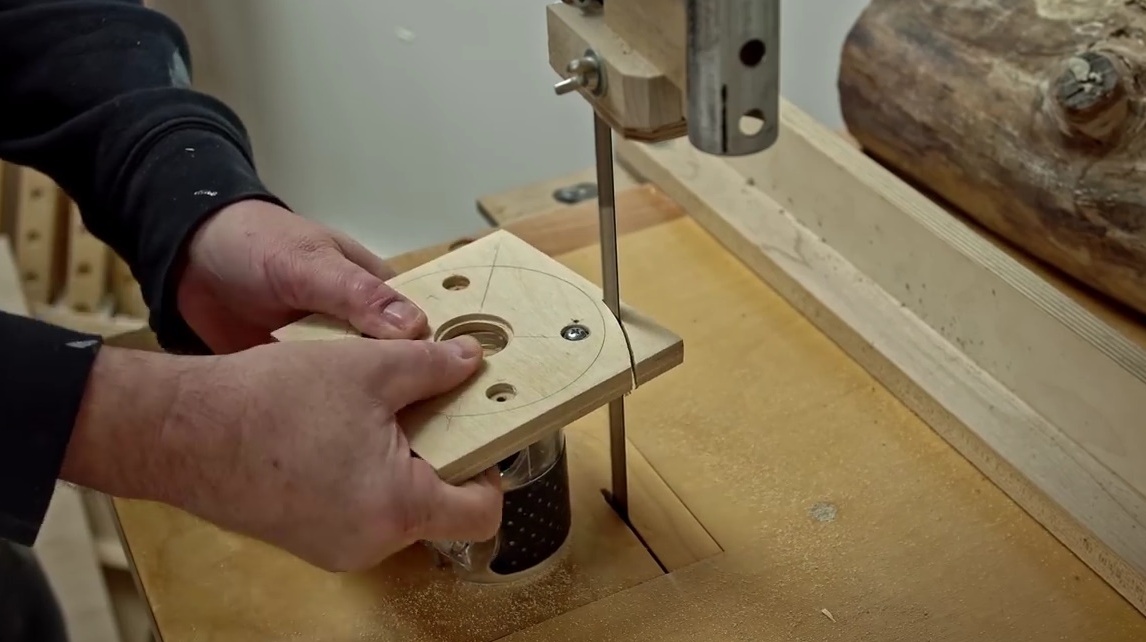
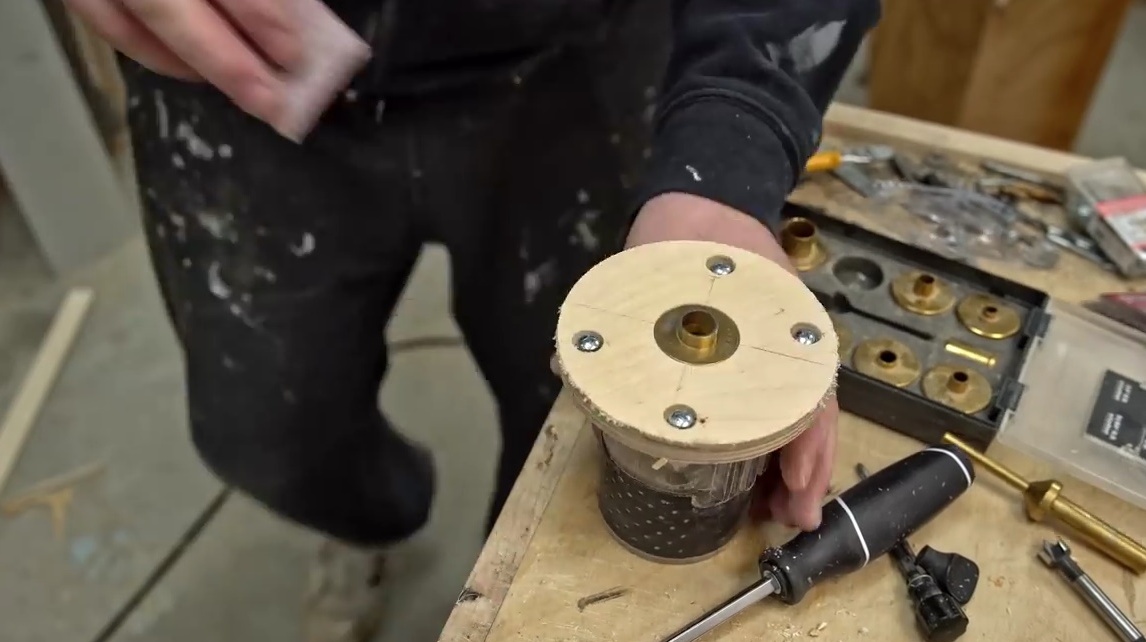
This could finish the project: the plywood board is well centered and fits quite tightly on all four sides. But John wants to make the base round. It only presses the base with one bolt, in case something goes wrong. then at least the thread on the three holes remains intact.
In a small piece of wood, he makes a hole with a 5/8 inch Forstner drill and “cuts” the cutter stop into this hole. Now here is device can be used as compass. It is enough to attach a pencil to the edge. The result was a fairly accurate circle.
On the band saw, the master cuts off everything superfluous very roughly, many chips, burrs have formed.

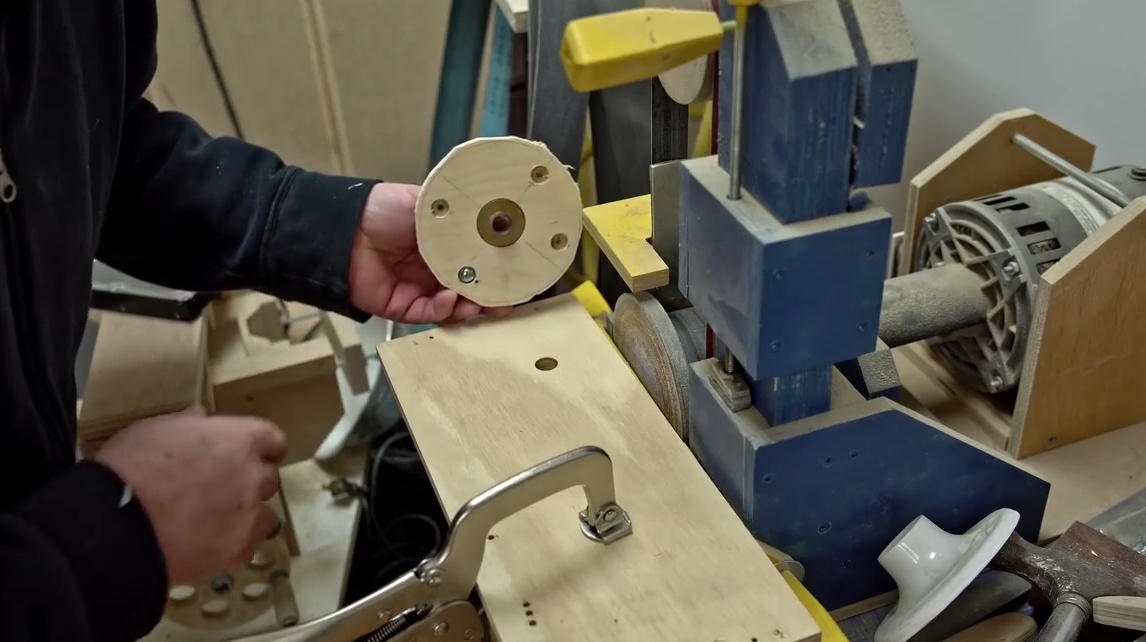
And then it cleans the edges on a disk grinder. The author admits that it would be better to cut according to the template using a milling cutter.

Tightens the bolts through the washers, sanders the edge with sandpaper manually.
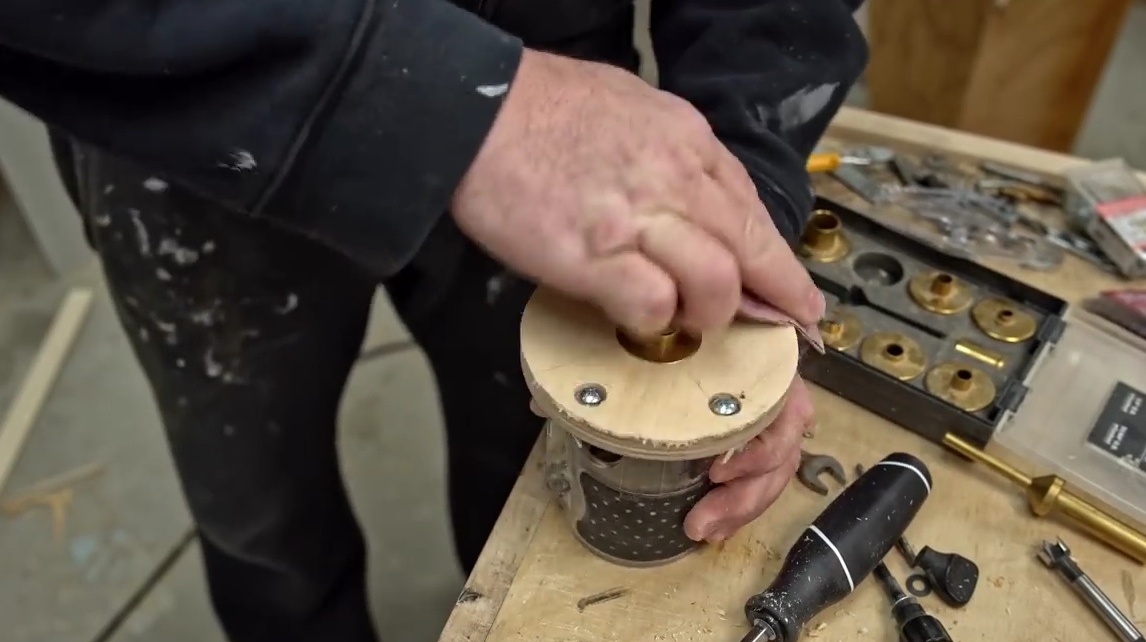
Everything, the new foundation is ready!
Thanks to the author for recommendations on restoring or replacing the sole of a manual milling cutter!
Good mood to you all!