With the advent of cold weather, the issue of heating the workplace sharply arises. IN the garage the most relevant heating system can be considered stove stoves, they come in a wide variety of designs. They are made from barrels, pipes, gas cylinders and generally everything at hand. The heat capacity of such an oven is practically zero, but such an oven warms up the room very well and quickly while it has fuel. If desired, you can configure the process of long burning and the stove will be able to warm you for a whole day.
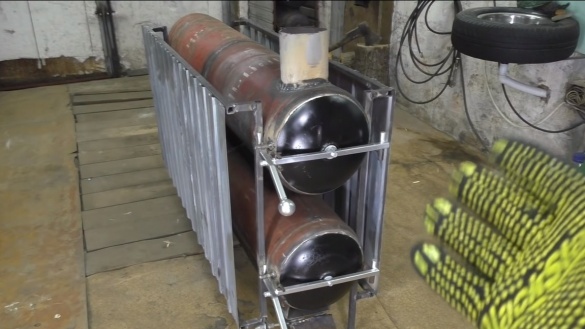
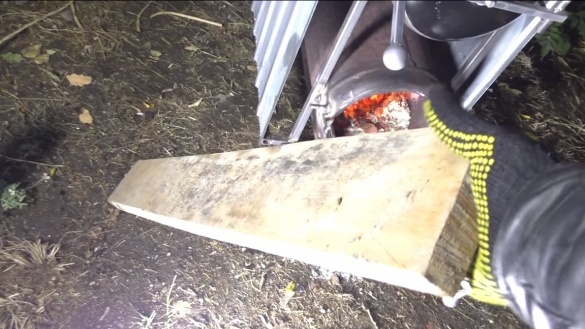
In that instruction, we will discuss how to make a powerful potbelly stove for a garage from gas cylinders, using it, according to the author, you can easily heat a room with an area of 70 square meters. The author also assures that such a furnace is very economical, its efficiency is up to 95%. If you have a small garage, then two cylinders are quite enough for you. Due to the large volume of the furnace chambers, it produces very high heat transfer. Another big plus of the furnace is that you can stick long sticks, boards and so on into it. The length of the furnace is as much as 1.5 m. So, we will consider in more detail how to make such a furnace!
Warning!
When cutting a gas cylinder, there is a possibility of its explosion. Always follow the safety rules and all the recommendations of professionals in this matter. There are tons of ways to make gas cylinder cutting safe. This is washing with water, and burning the cylinder, as well as others.
Materials and tools used by the author:
Material List:
- reinforcement (thickness 12 mm, length 5 m);
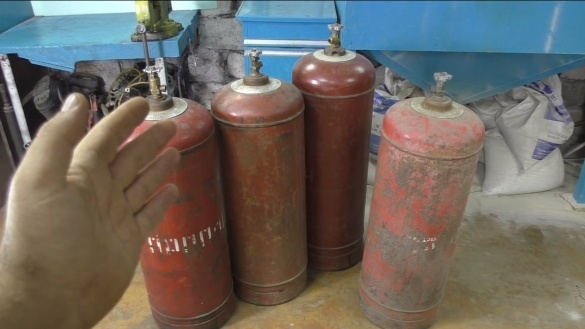
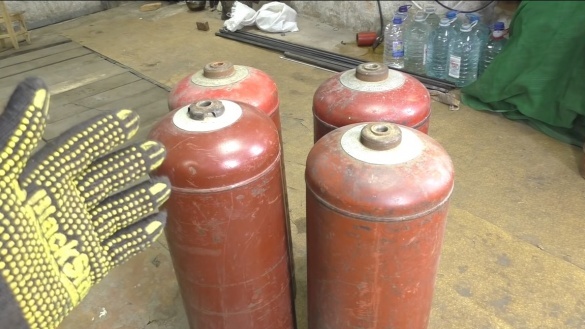
- 4 gas cylinders;
- Sheet steel;
- round timber;
- square steel pipes;
- sheet steel (corrugated board, material for fences, and so on);
- bolts and nuts;
- door hinges (two);
- pipe;
- heat resistant paint.
Tool List:
- grinder;
- drill;
- welding machine;
- marker;
- vise;
- adjustable wrench.
Furnace manufacturing process:
Step one. Turn off the cranes
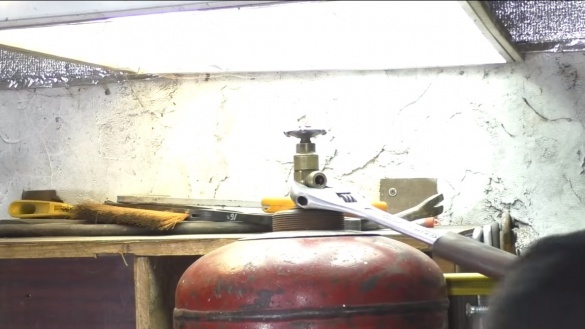
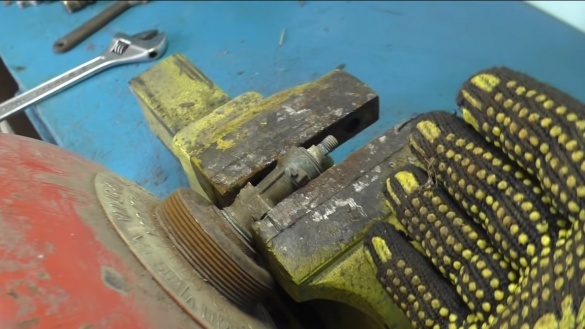
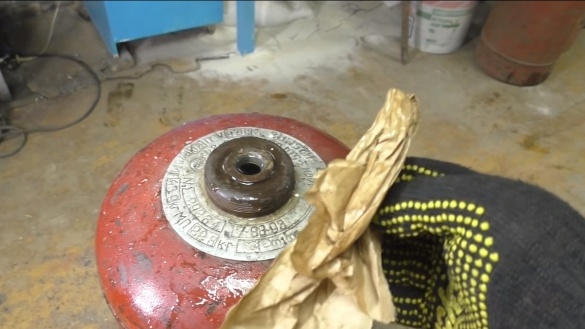
The first thing we have to unscrew the taps from the cylinders. There is a cylinder already quite old, it may not be so easy to do, since the crane pretty much sticks to the cylinder. There are several ways to turn off the tap.
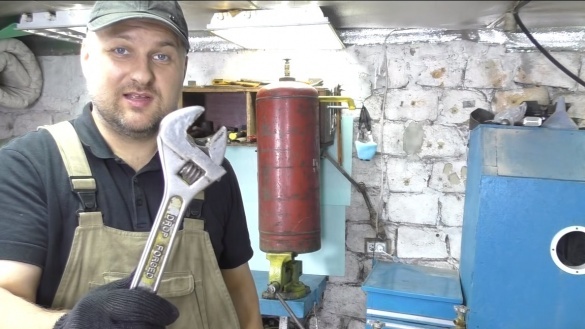
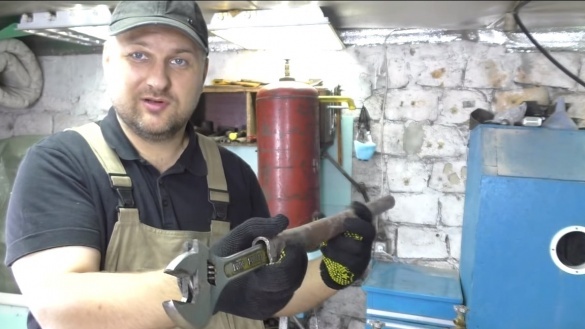
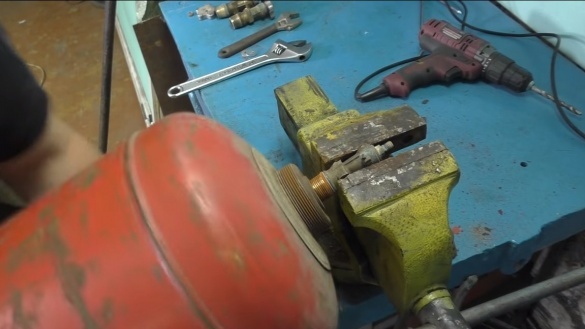
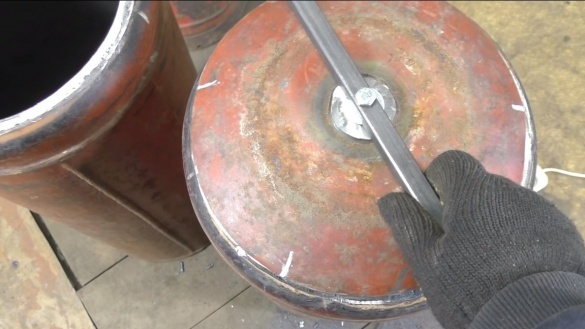
The easiest option is to use an adjustable wrench and a long pipe to be used as a lever. The cylinder itself is fixed in a vise for a stand and we work with a key.In most cases, the crane turns off quite easily.
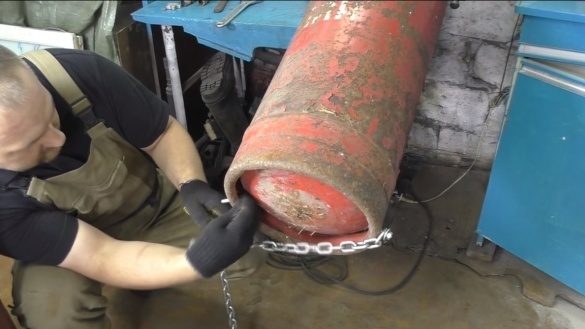
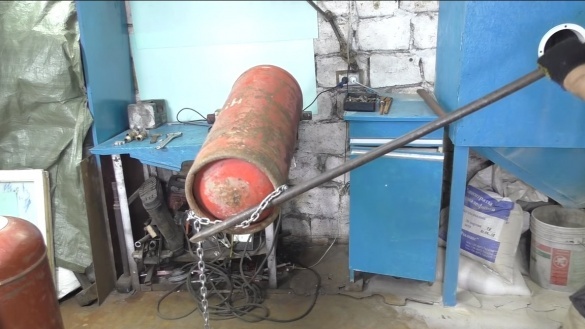
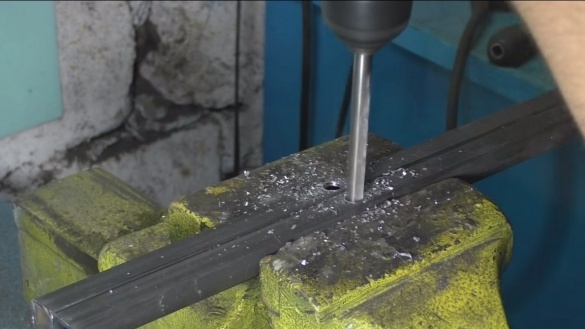
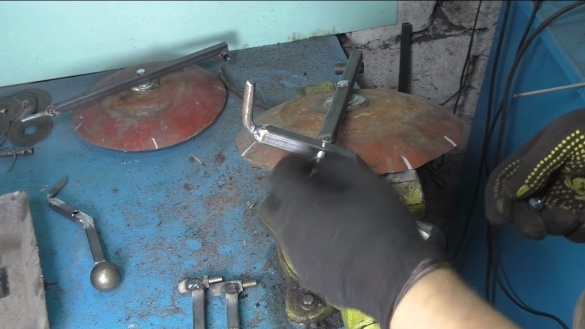
But if the crane does not lend itself in any way, and you have already plucked the slots on it, we hold the valve in a vice, and we will turn the cylinder, then scrap will help us. To catch the crowbar on the cylinder, in the stand we drill holes and install the chain with bolts and nuts. Now we grab the chain with a crowbar and unscrew the crane with a slight movement. You can also weld something to the stand, but this approach is unsafe because you can accidentally burn a balloon and it will explode.
Step Two We use water when cutting
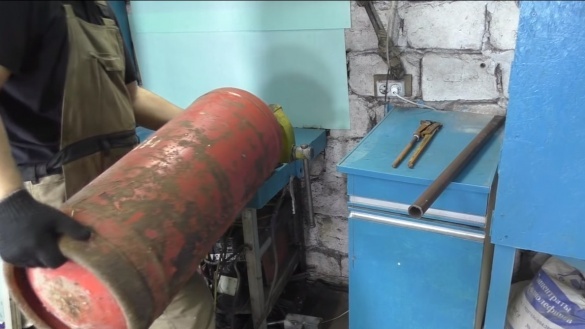
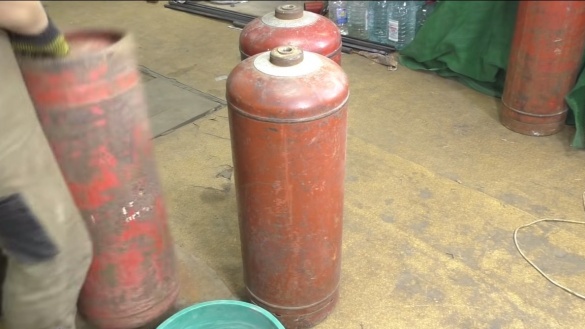
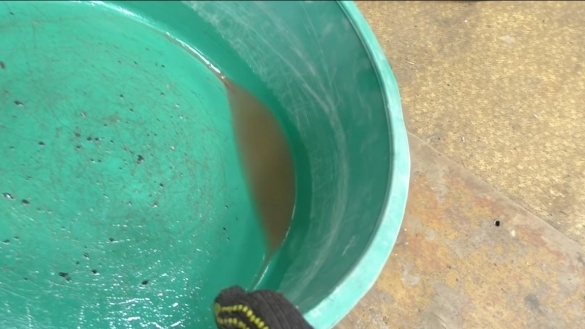
For safe cutting of cylinders we will use water. First we need to drain the contents from the cylinders, the leaked liquid is gasoline. This substance burns well, like gasoline, and also has a very saturated and unpleasant odor. Such work is best done on the street.
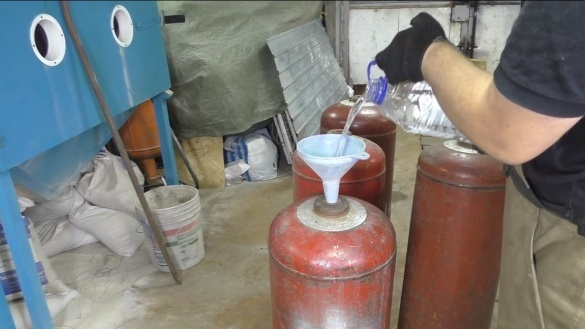
As soon as the gasoline is drained, we wipe the cylinders well with a rag and pour water inside. Water needs to be poured at the very neck. Be careful if the container becomes wet, it may not be water, but gasoline, the substance may catch fire when cutting. As for the explosion, there is nothing to explode thanks to the water inside the cylinder. We will cut cylinders with water inside.
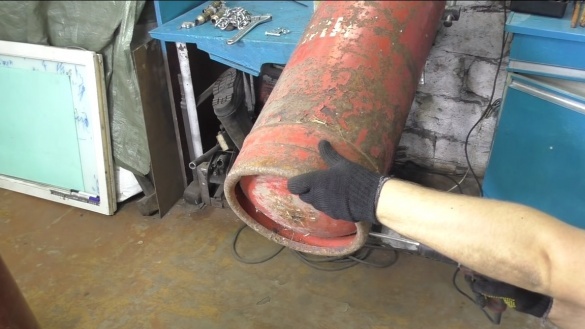
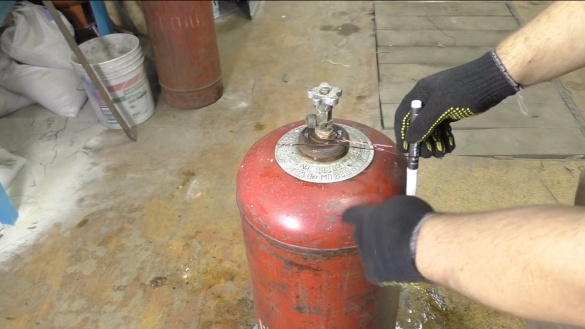
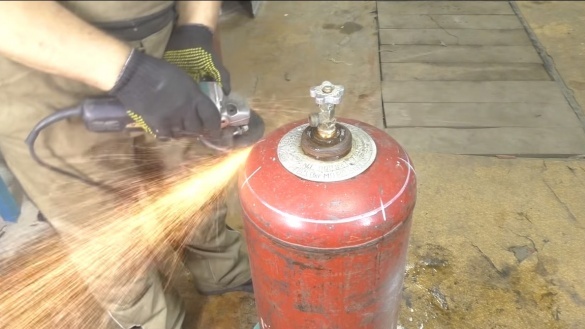
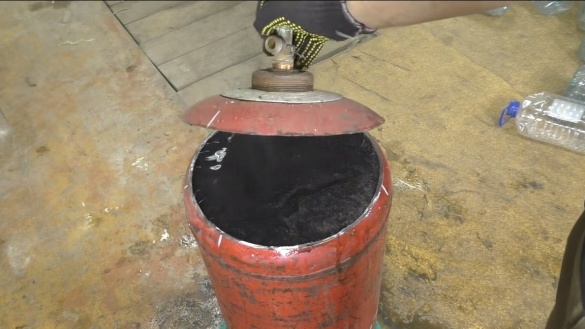
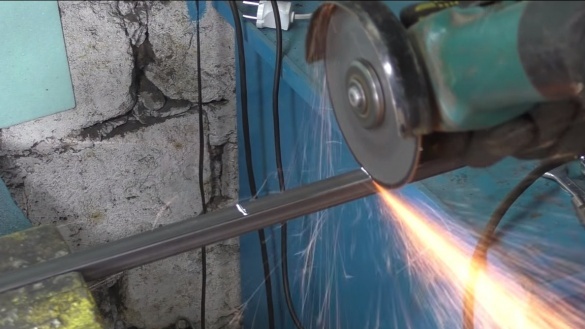
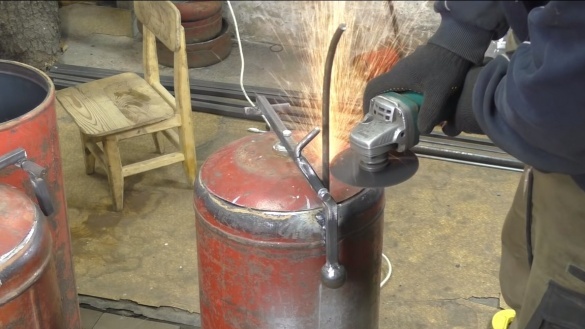
You can start cutting, we need to cut off all the neck bottles, for this we draw a line along which we will cut. The author uses a wire and marker for this. As soon as the neck is cut off from the first balloon, we pour water into the second balloon and similarly cut it. We will need two necks for the manufacture of doors.
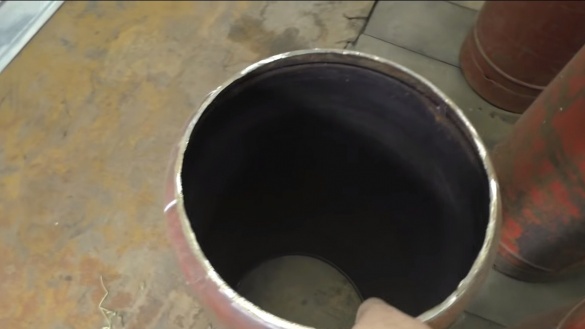
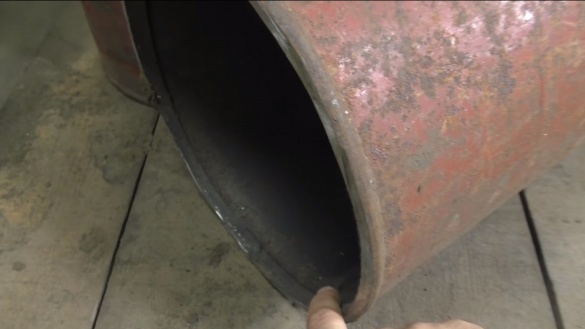
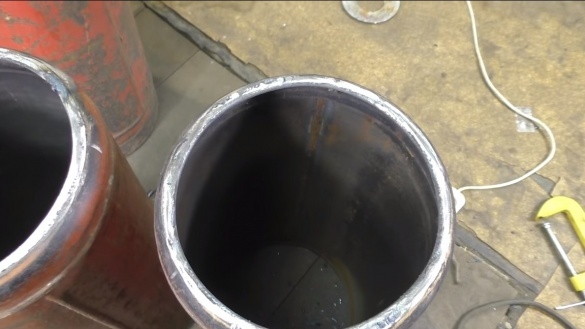
In addition, bottoms will need to be cut off on two cylinders so that they turn into pipes. The author cuts the bottoms at a certain distance from the weld, so that the structure is durable.
Step Three Door manufacturing
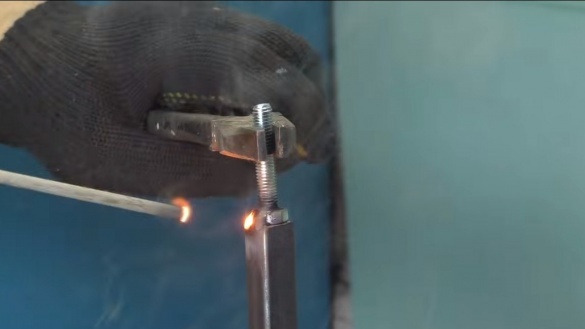
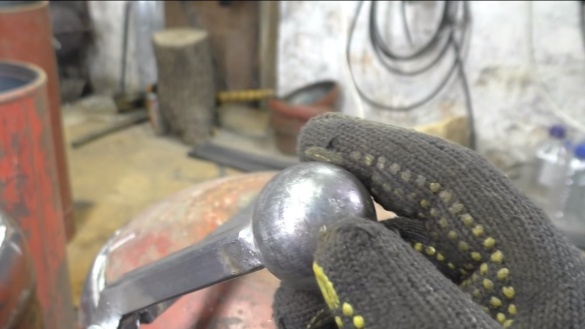
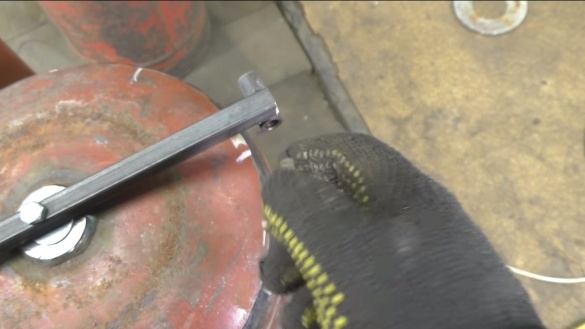
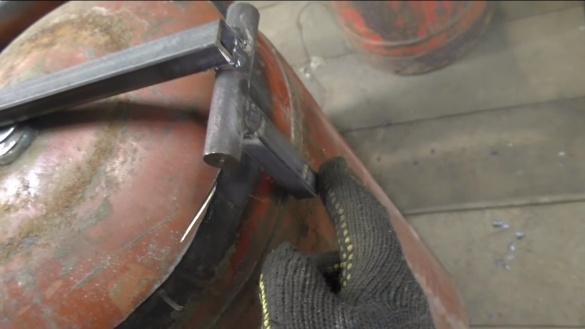
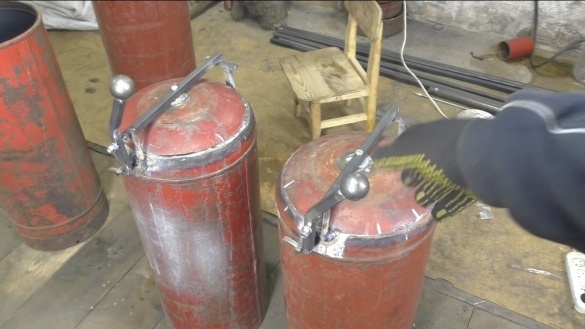
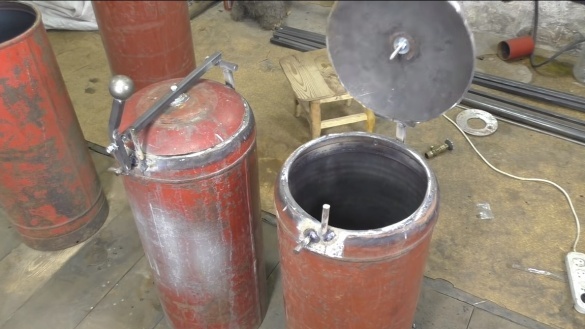
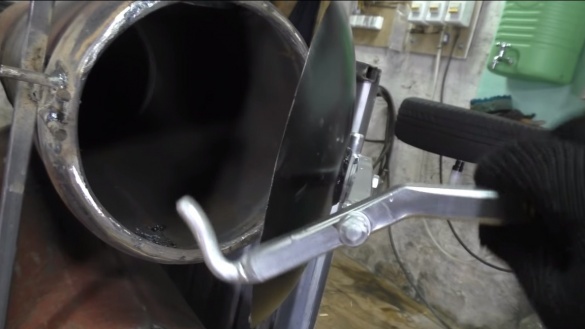
Now you can make the door, for this we need two upper parts of the cylinders that we cut. The handle is made of a square pipe, it is screwed to the door with a bolt and nut. The door will be hung on the door hinge, which can be found in almost any hardware store. The author welded a steel ball to the pen so that the pen looked beautiful, and it was pleasant to tackle it. All other parts of the locking device are made of round timber.
So that the door fits snugly on the cylinder, we need to scald the hole on the cylinder. The author used a steel square rod for this.
Step Four Making an ash pan and blowing
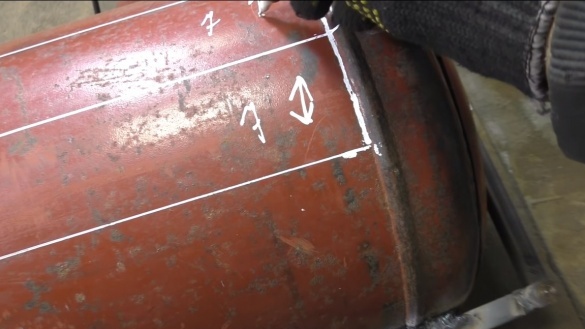
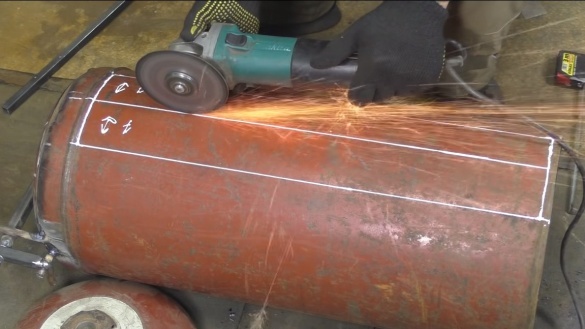
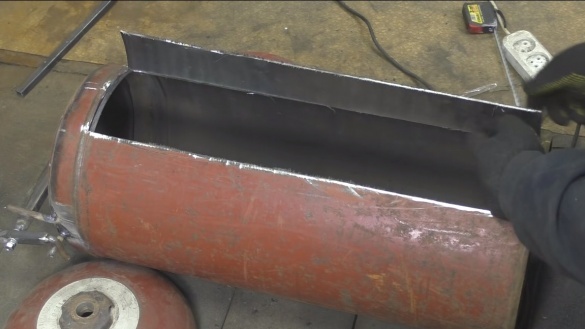
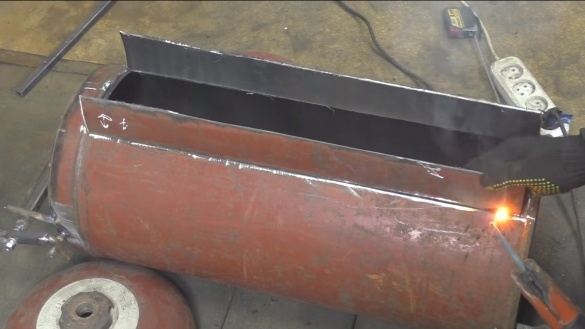
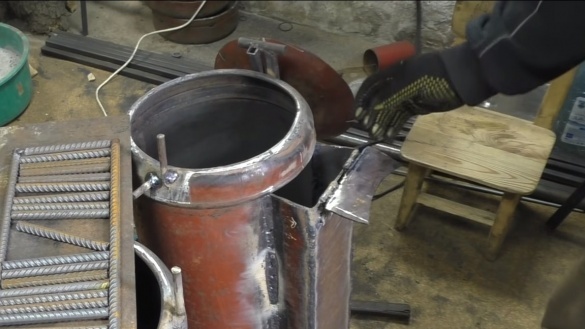
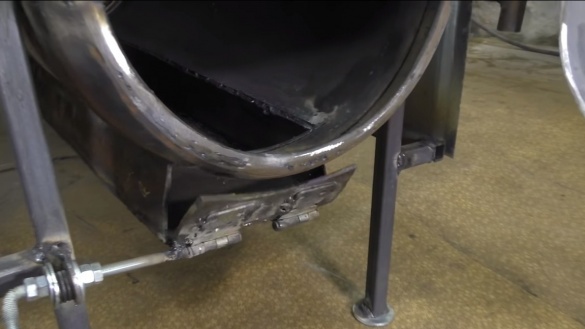
Next, we will make an ash pan and blow it out, for this we take a marker and make markings. An ash pan runs along the entire length of the cylinder, which is a combustion chamber. We take a marker and draw a rectangle with a width of 14 cm, and then divide it lengthwise into two halves of 7 cm each. We arm ourselves with a grinder and start cutting, we should get two halves, which we then weld at right angles to the cylinder. Now it remains to weld along a piece of sheet metal, and we have a ready-made ash pan.
The ash pan must be equipped with a door to control the air supply. Here we will need a piece of sheet metal and steel hinges, everything is fixed by welding.
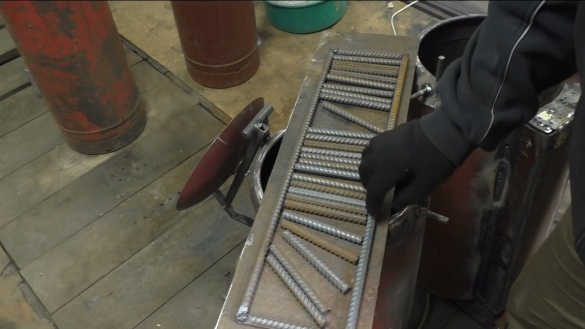
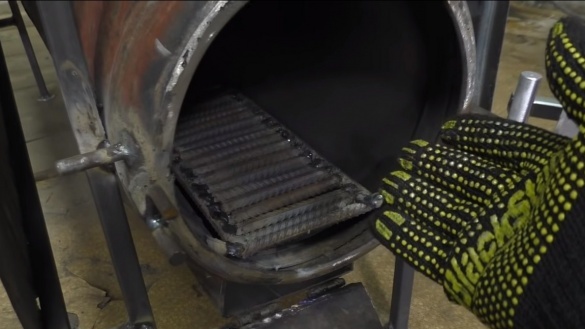
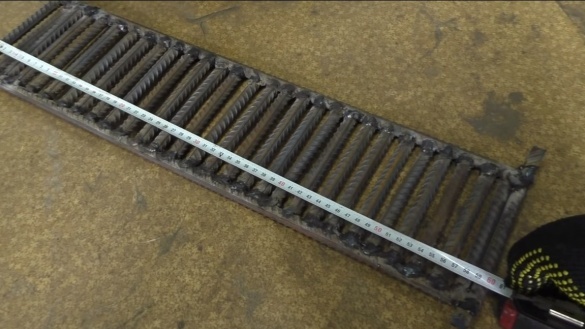
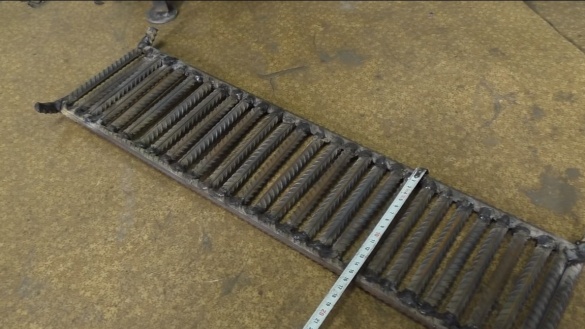
We also need to make grates, here we need reinforcement 12 mm thick. In total, the author needed 5 m of reinforcement. We cut it into pieces and weld. In order to make it easy to install the grates in the oven and take them out, it is necessary to weld guides to it at the edges, which will allow the grates to slide inside the cylinder.
Step Five Assembling a stove
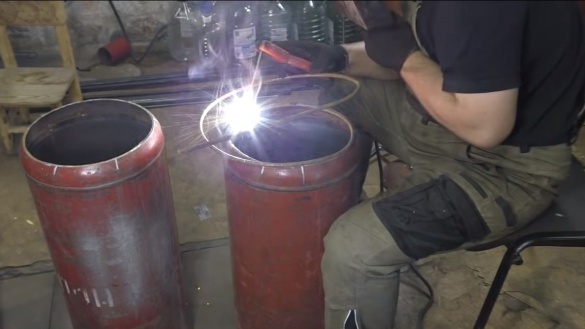
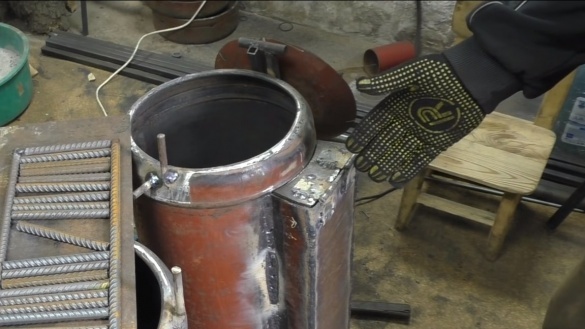
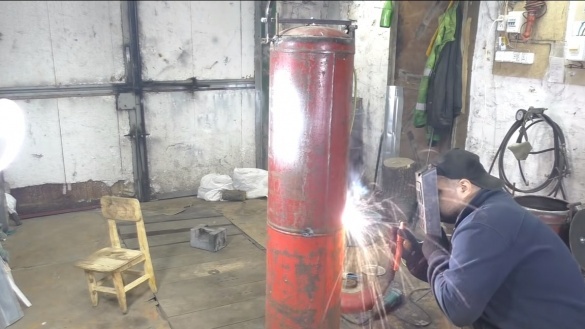
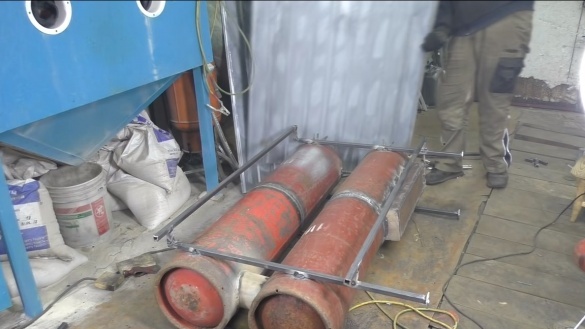
We can start assembling the furnace, for this we need to weld two cylinders together to make two chambers. One chamber will be furnace, and the other one needed to increase the design efficiency. Also, the upper chamber can be used to cook or heat food in it. Here you can easily smoke fish or meat, dry vegetables and fruits.
Then both chambers are connected to each other by a piece of pipe, a kind of coil is obtained. And so that the cylinders are reliably connected to each other, we weld them using square pipes.
Step Six Deflector installation
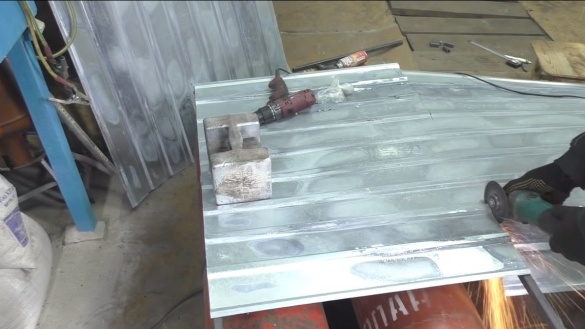
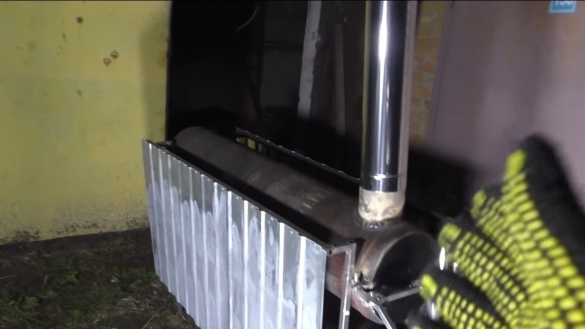
Such a furnace should be well cooled, then its efficiency will increase, and the resource of the furnace will be much larger, since the metal will not burn through. Ideally, such structures should be blown with a fan; the author decided to install a deflector around the furnace. It will allow to capture cold air from the bottom of the furnace and let out hot from above, as a result, good heat transfer will occur. In addition, thanks to such a reflector, the furnace will become safer and the heat transfer will not be so "rigid".
As a deflector we use thin sheet metal, we fasten it using square steel pipes. It is better not to use galvanized metal, since zinc produces toxic gas when heated.
Seventh step. Test
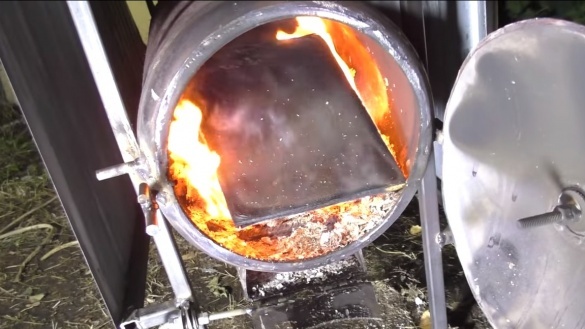
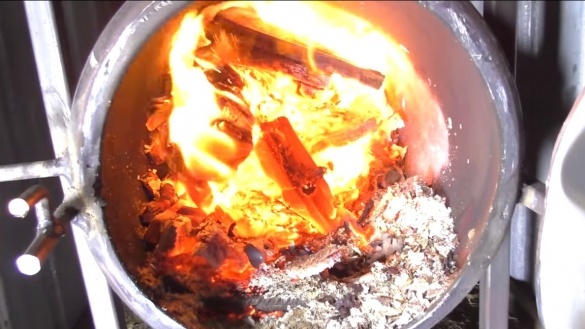
The oven is ready and can be tested. The first furnace test is tedious to carry out on the street, this is necessary so that all the paint is burned from the cylinders. And you can initially clean the cylinders and paint heat-resistant paint.
The experiment showed that the stove burns quite well and heats perfectly. When the stove flares up. Almost no smoke comes from it, which suggests that the fuel burns efficiently.
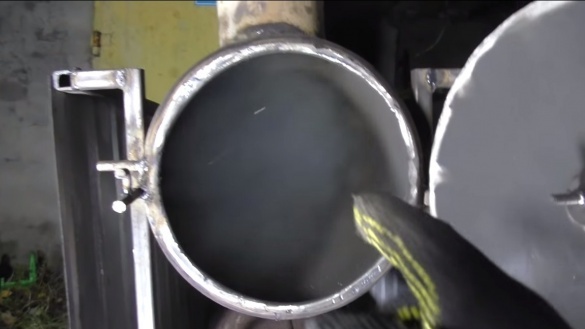
The upper chamber opens, which will allow it to be cleaned of soot, as well as cook in it, smoke and so on.
That's all, the project is over, I hope you liked it. Good luck and creative inspiration, if you decide to repeat it. Do not forget to share your homemade with us!

