
Today we have a restoration. We will try to make a very unique thing out of a very old thing that you definitely can’t buy in the store. The author of this homemade German (YouTube channel "GruzdoV").
Now we are going to restore this old item:
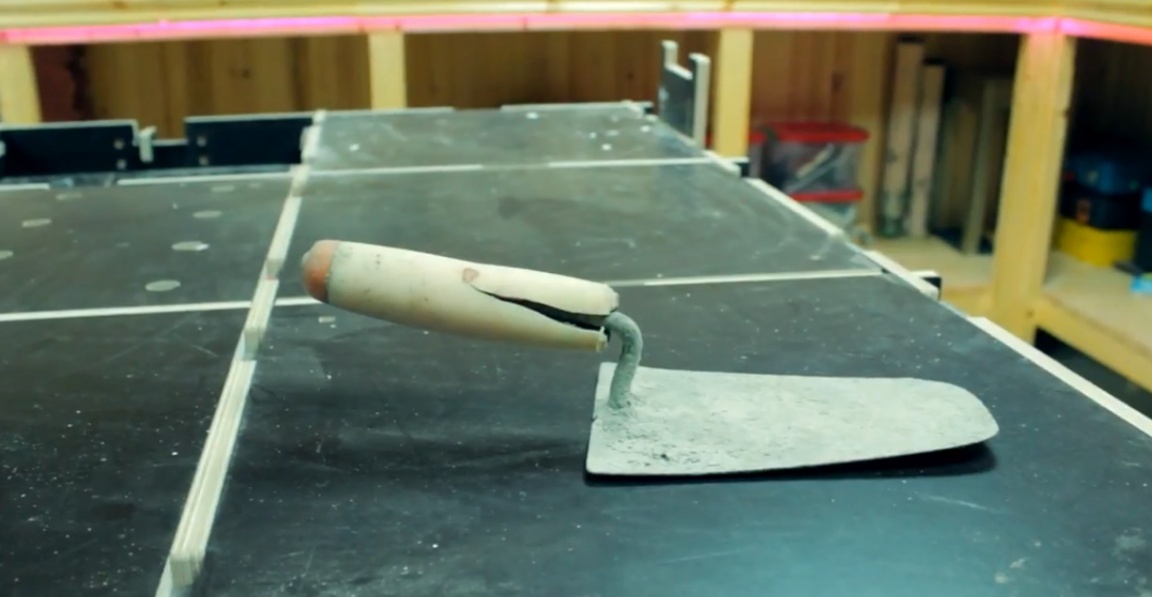

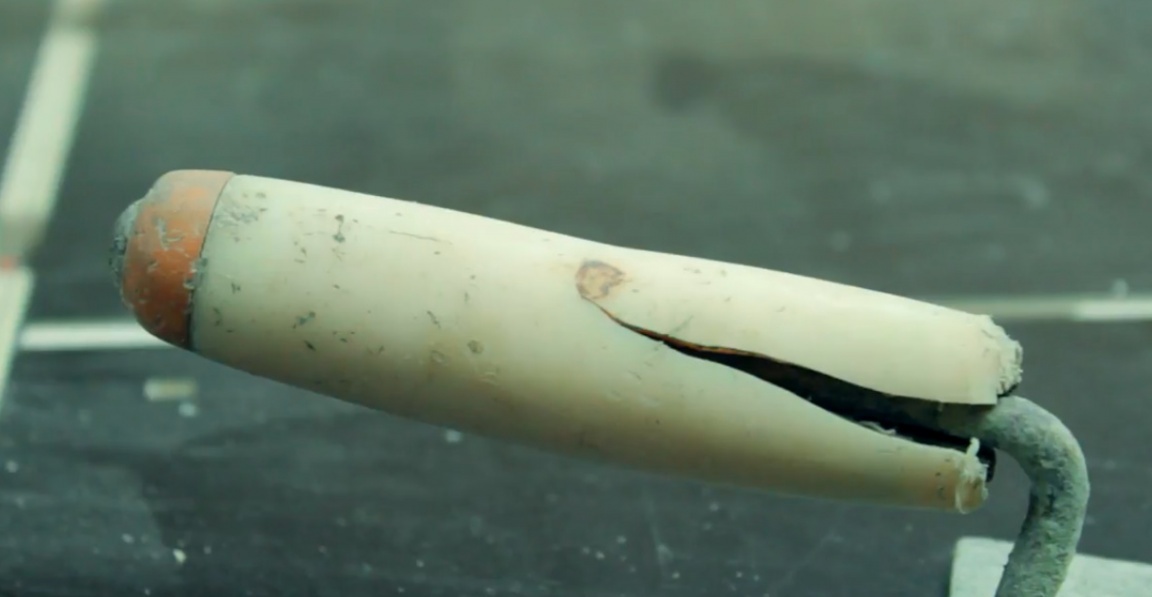
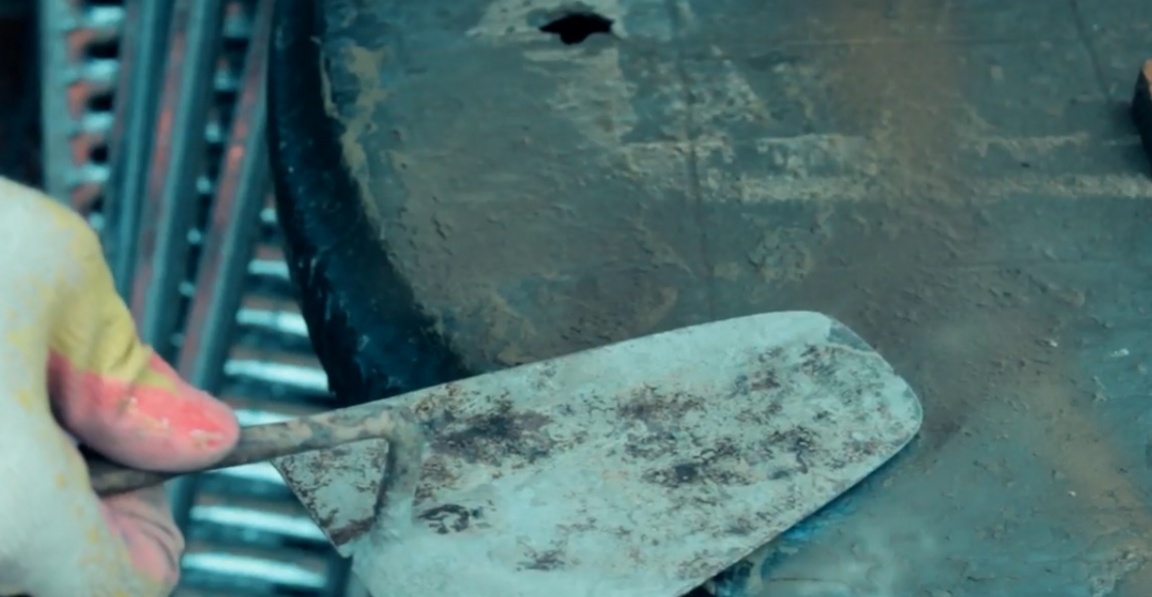
This is a trowel, which was lying in a barn in the village for 10-15 years, probably, for sure. Over time, even the wooden part inside the plastic and the plastic part tore apart from the importance. The author will be engaged in the restoration of such things for the first time in his life, so do not judge strictly. There is no point in restoring the old pen, so we will make a new one from scratch.
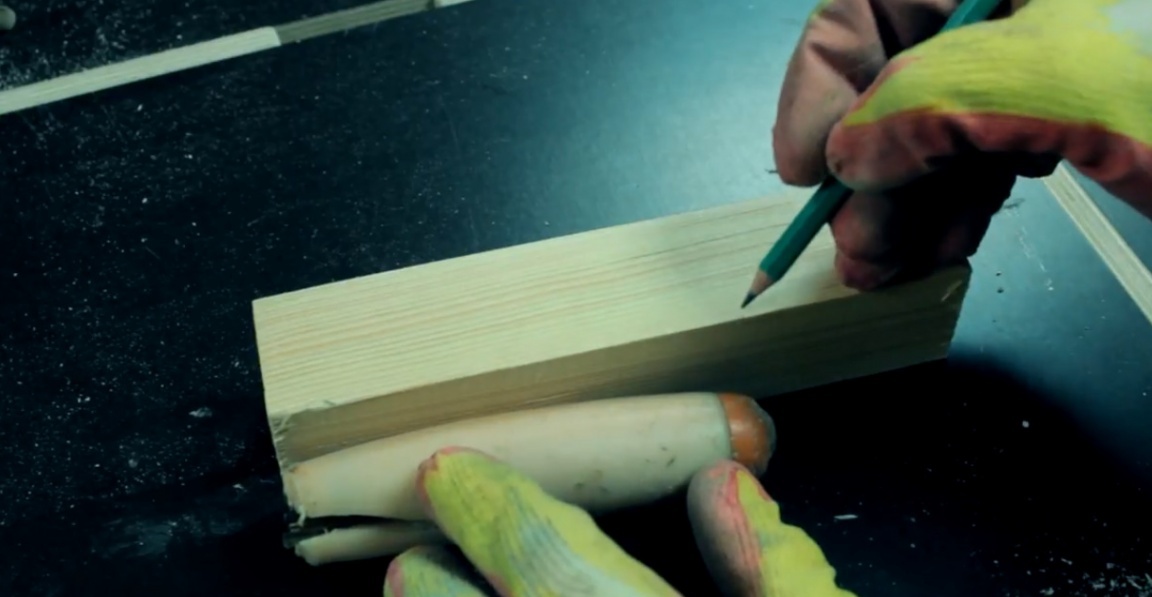
For the manufacture of the handle we will use a bar 40 to 40 mm.
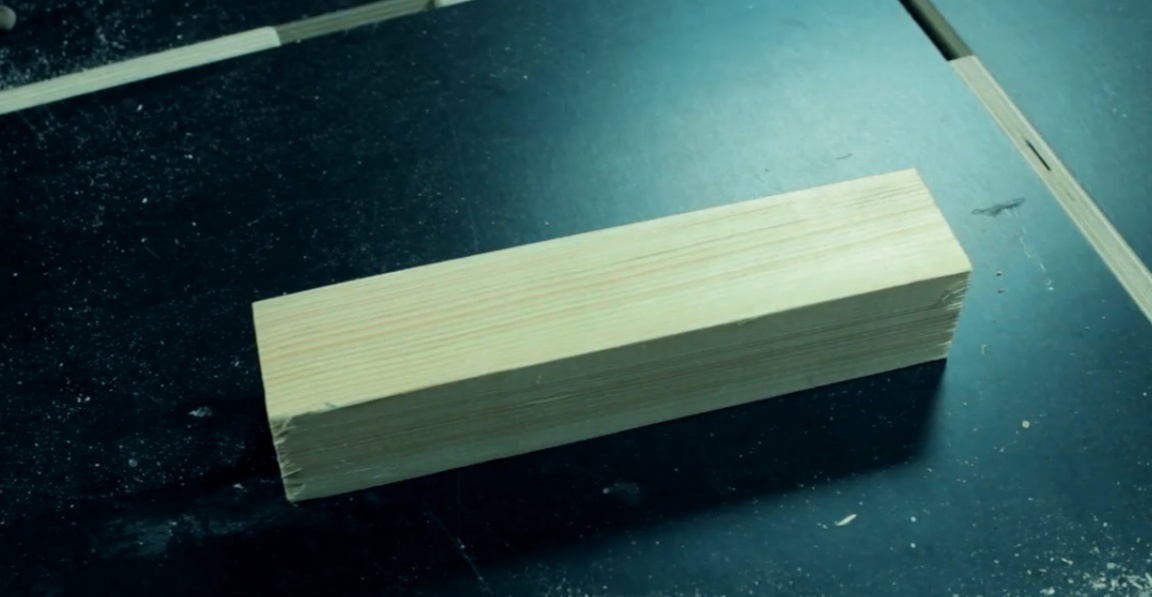
First, use the old pen to roughly outline the future length of the new pen.
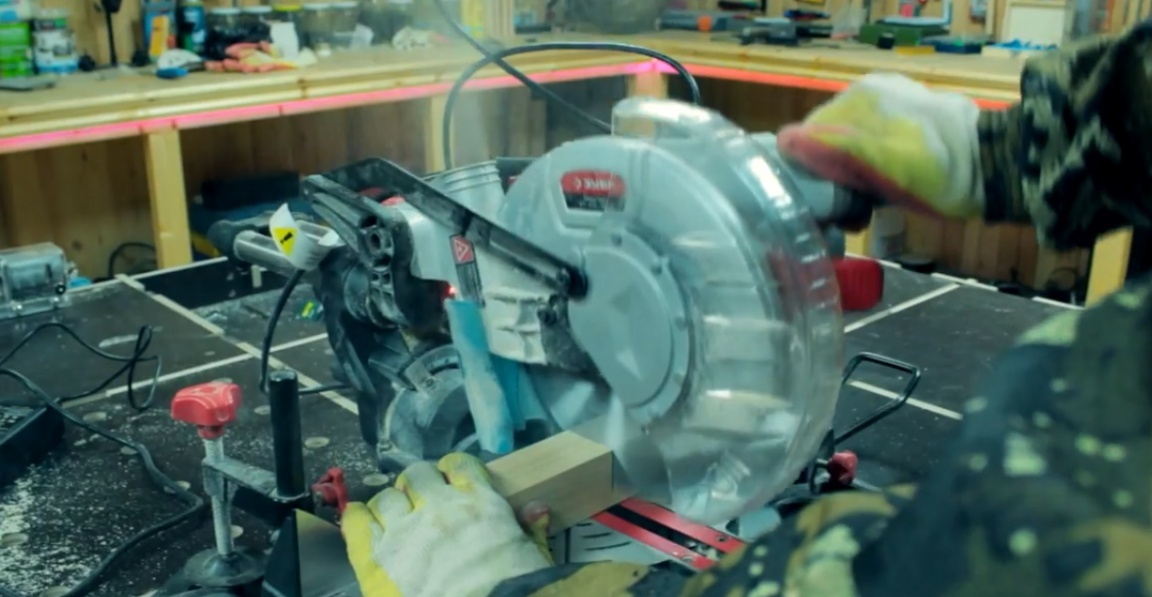
Now the old handle can be discarded, and the workpiece for the new handle is cut off on the miter saw.
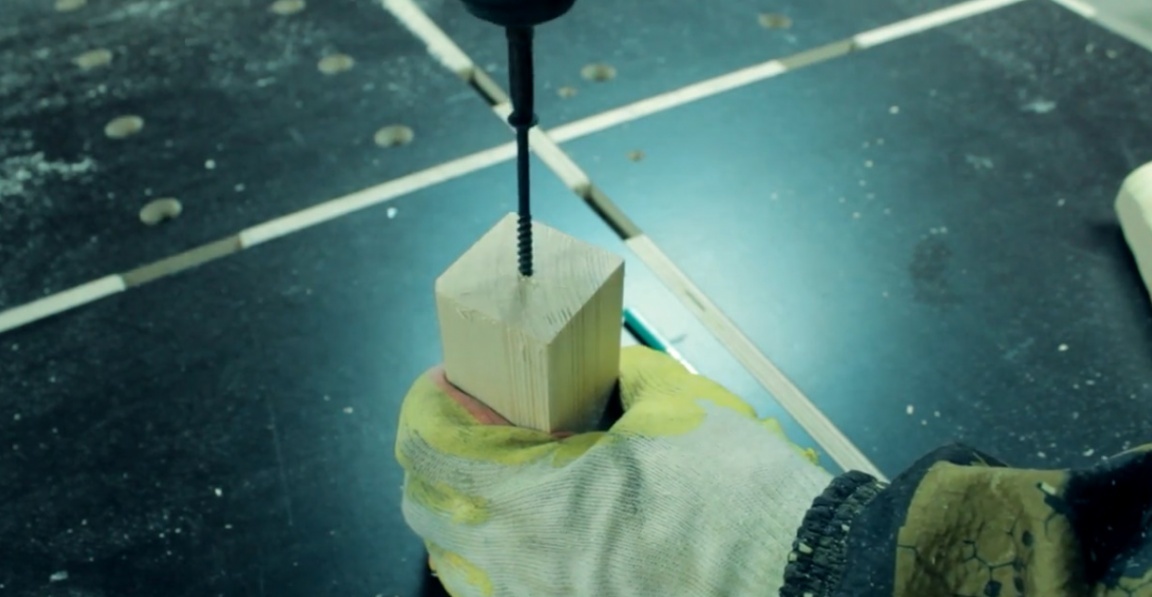
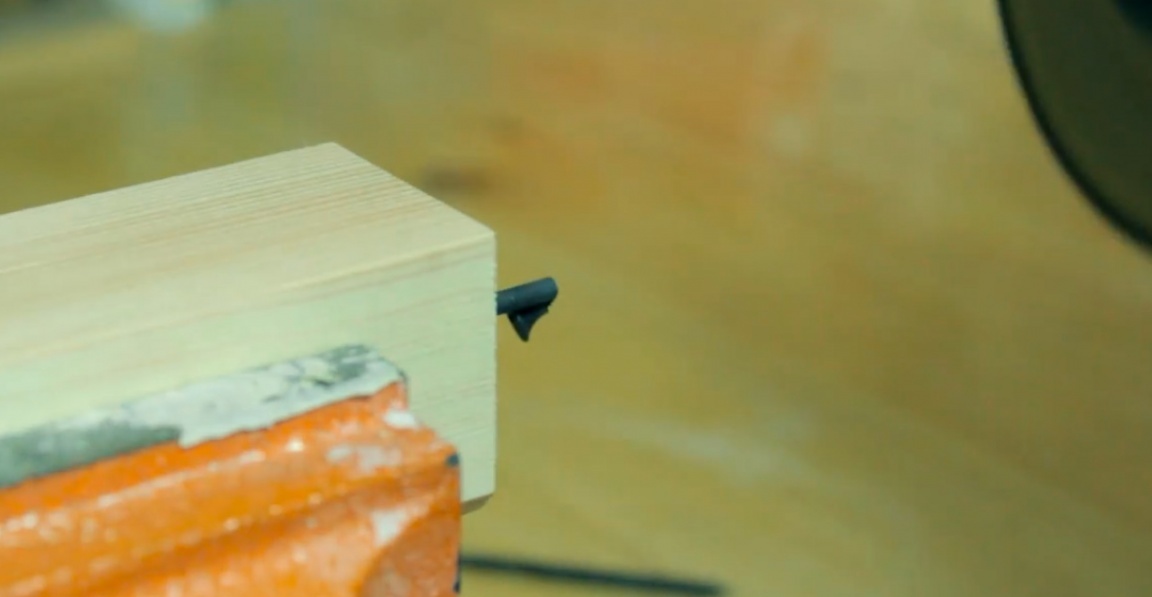
Then, in the center of the future handle, we twist the self-tapping screw, clamp the workpiece in a vice and cut off the head of the self-tapping screw, we will no longer need it.
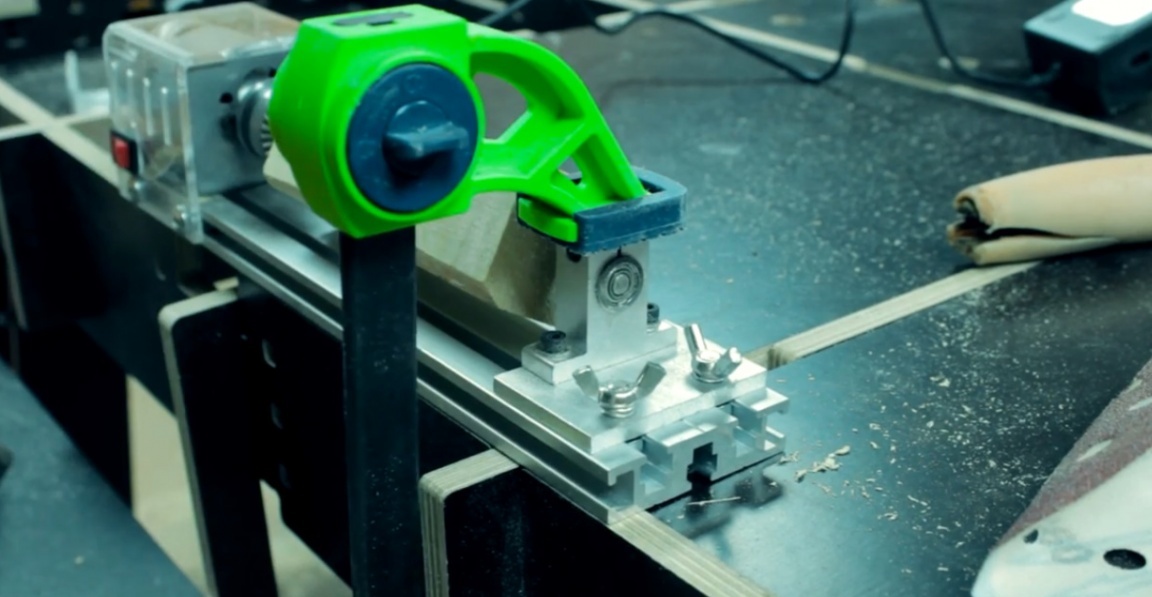
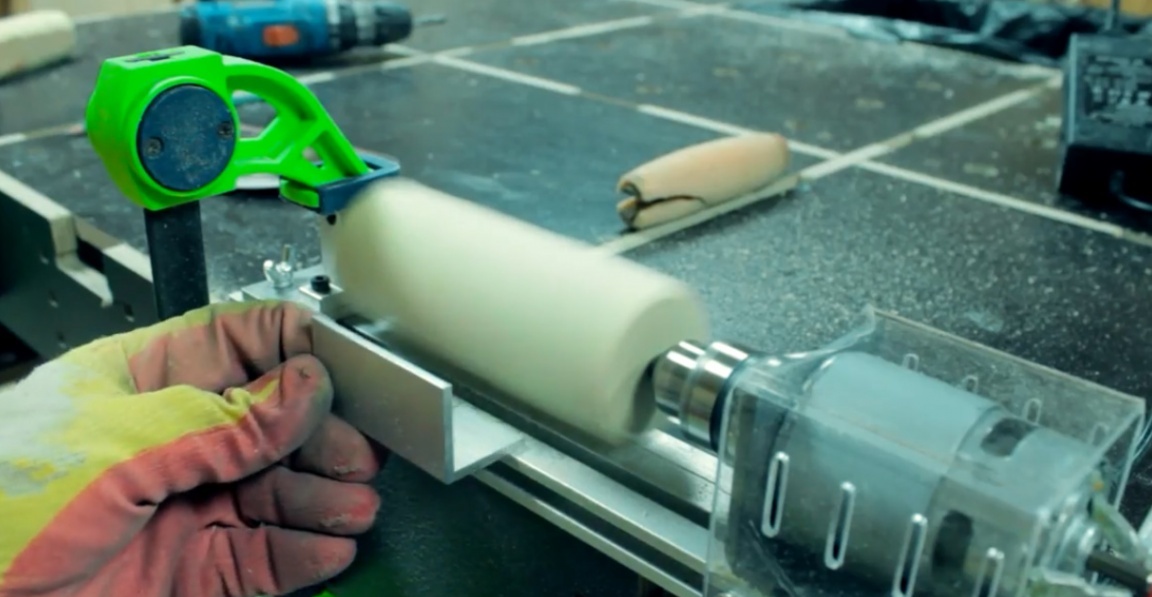
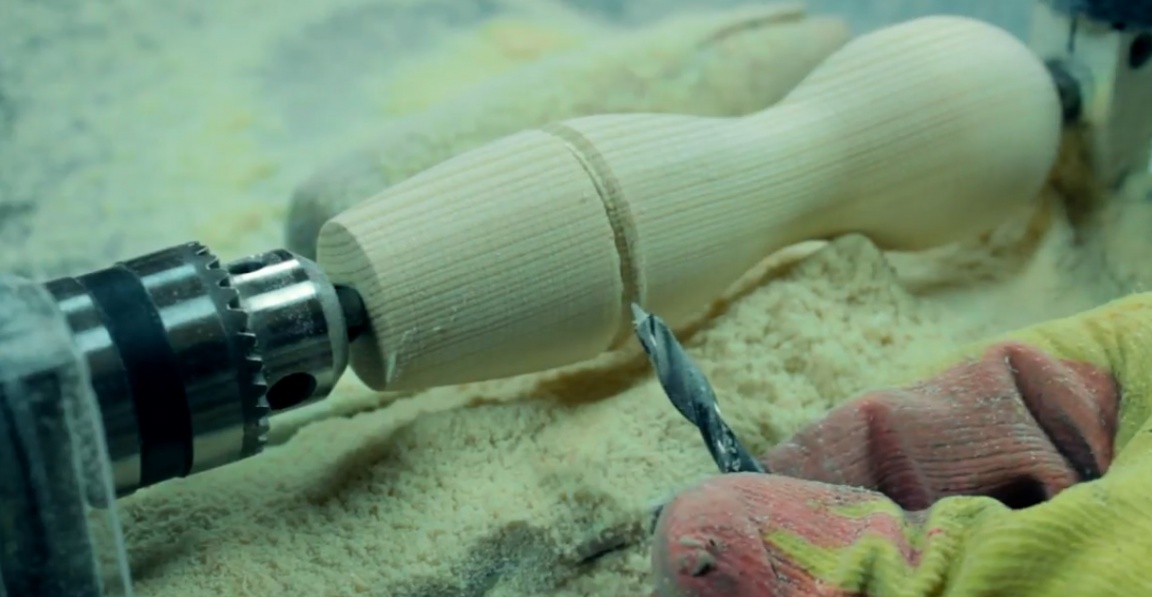
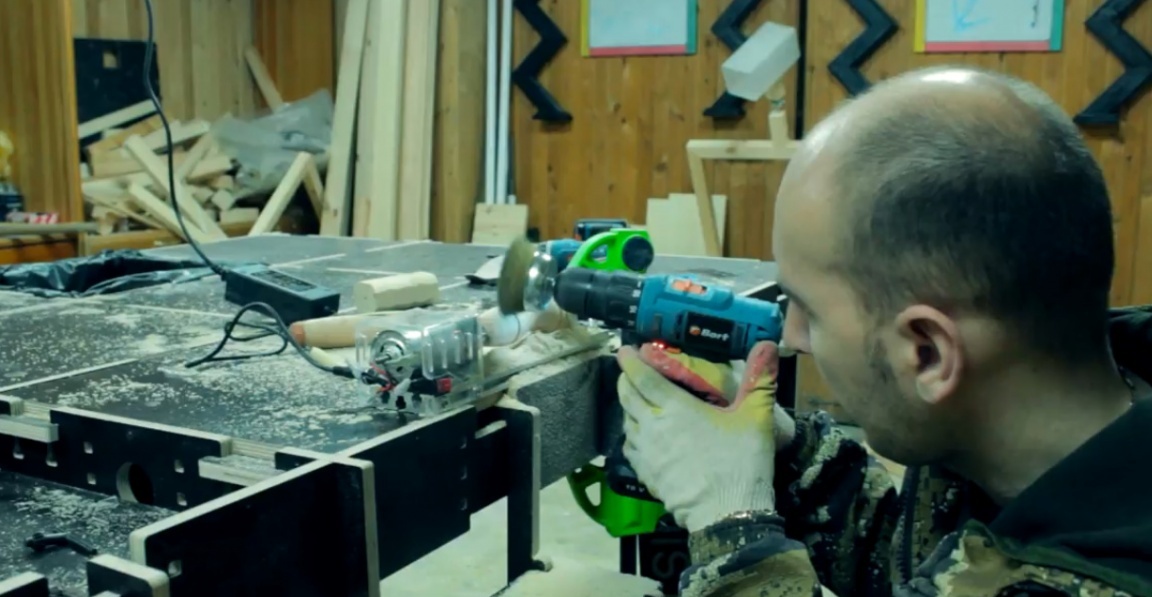
To make a pen, the author will use such a small wood lathe.
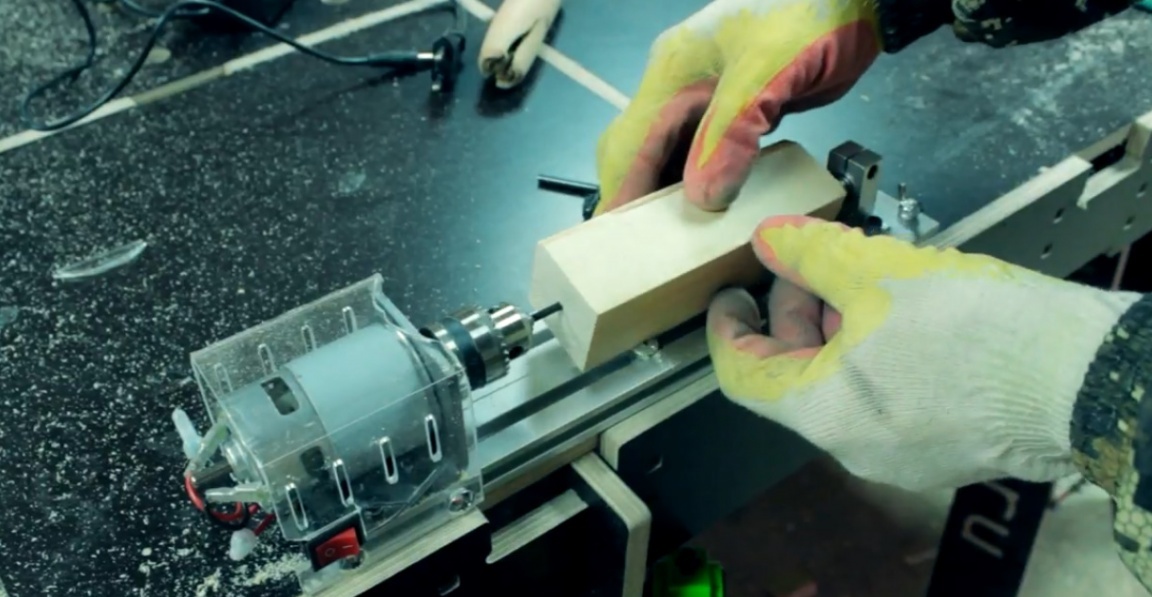
In order for the machine to not run away during operation, it is necessary to press it to the workbench using a clamp.
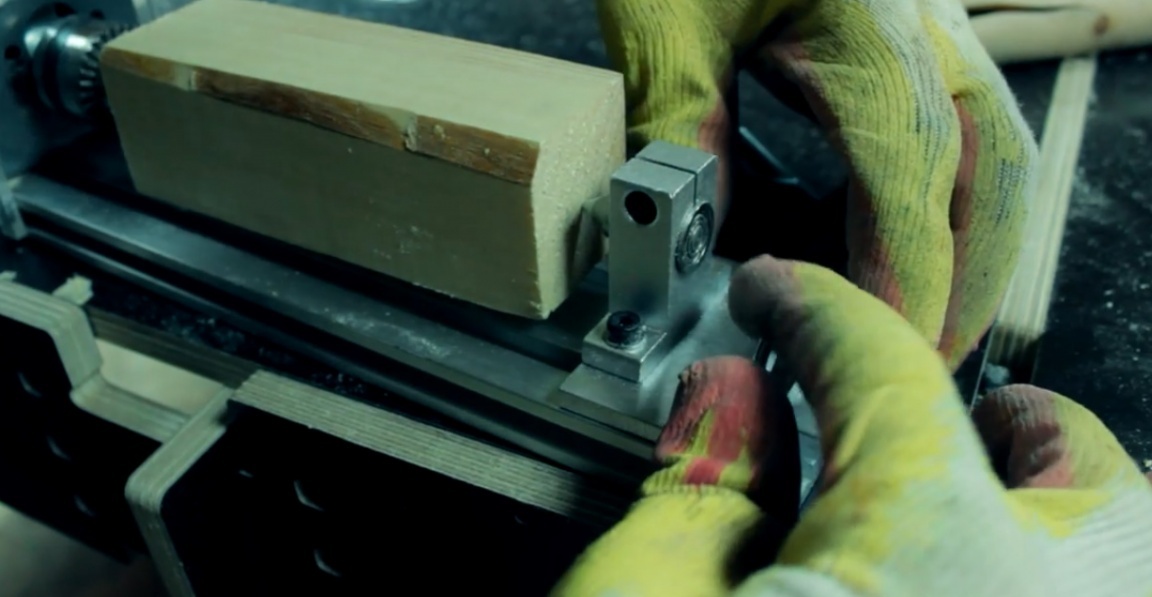
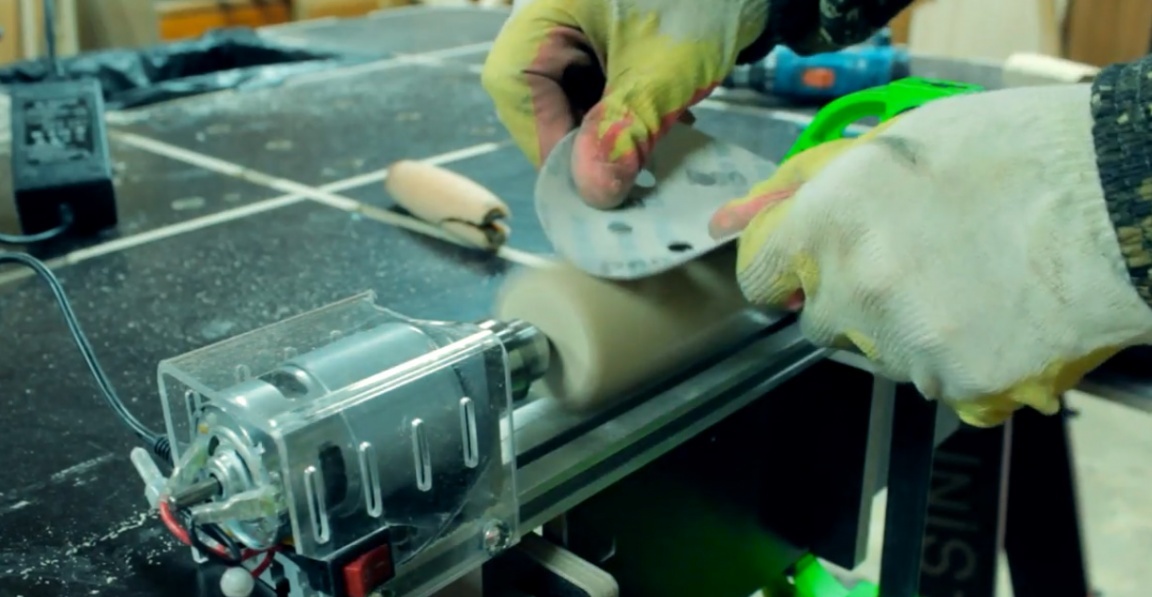
When turning it on for the first time, the master noticed that the workpiece slightly touched the base of the machine and it was decided to use rough sandpaper.
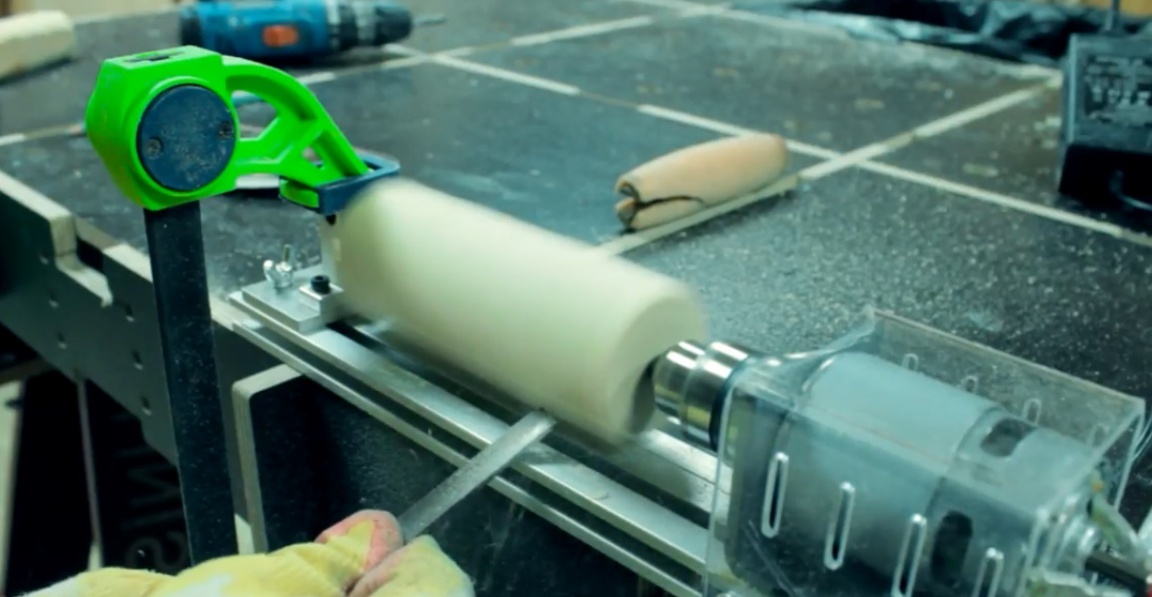
In this case, the author considered it impossible to use a regular thrust pad for various chisels. Therefore, as a support for the chisel, he decided to use the base of the machine, and as you can see, this trick did not work badly, so we proceed to processing.
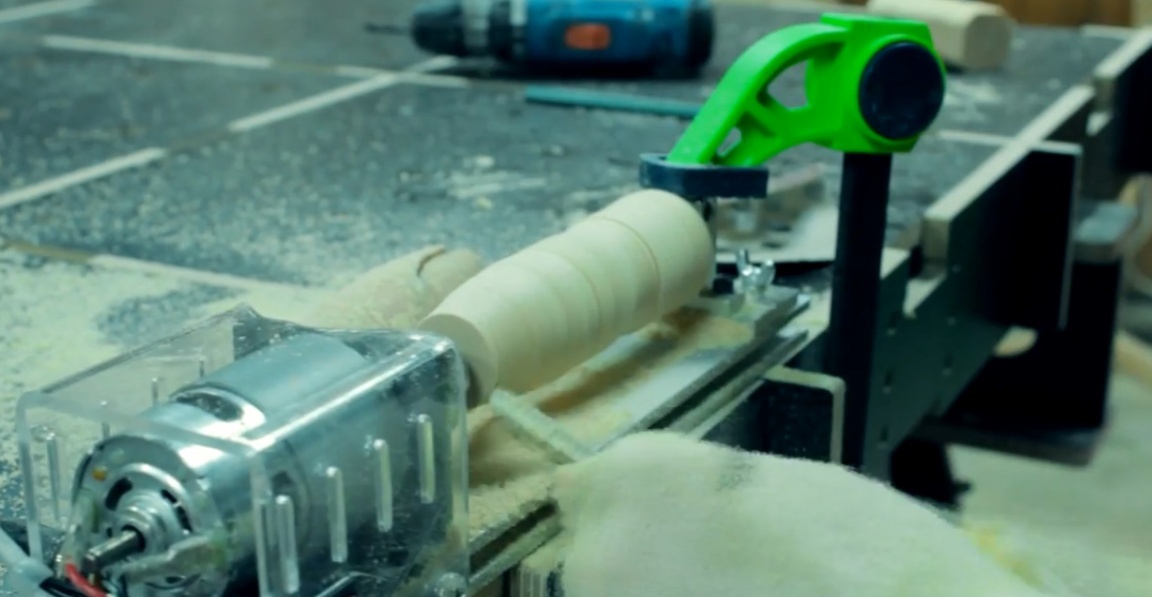
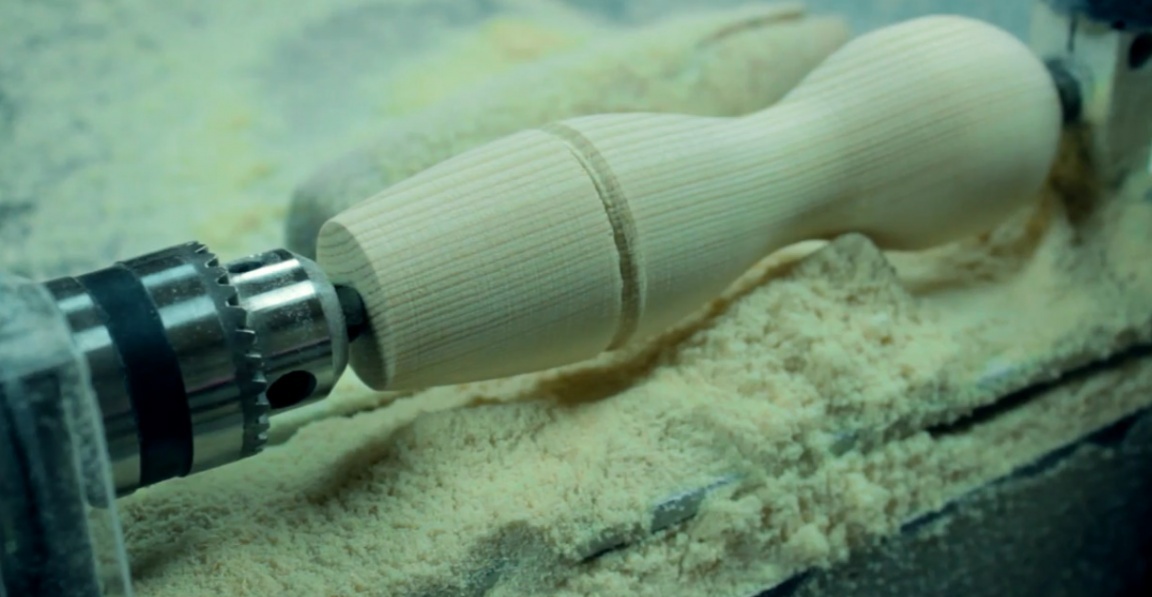
The author made a similar pen for the first time in his life, so it turned out something like this:
Since there are absolutely worthless chisels in the kit for this machine, the master decided to use a wood drill to cut a slot, and this idea oddly enough worked. By the way, this machine was purchased on the website of the Aliexpress online store.
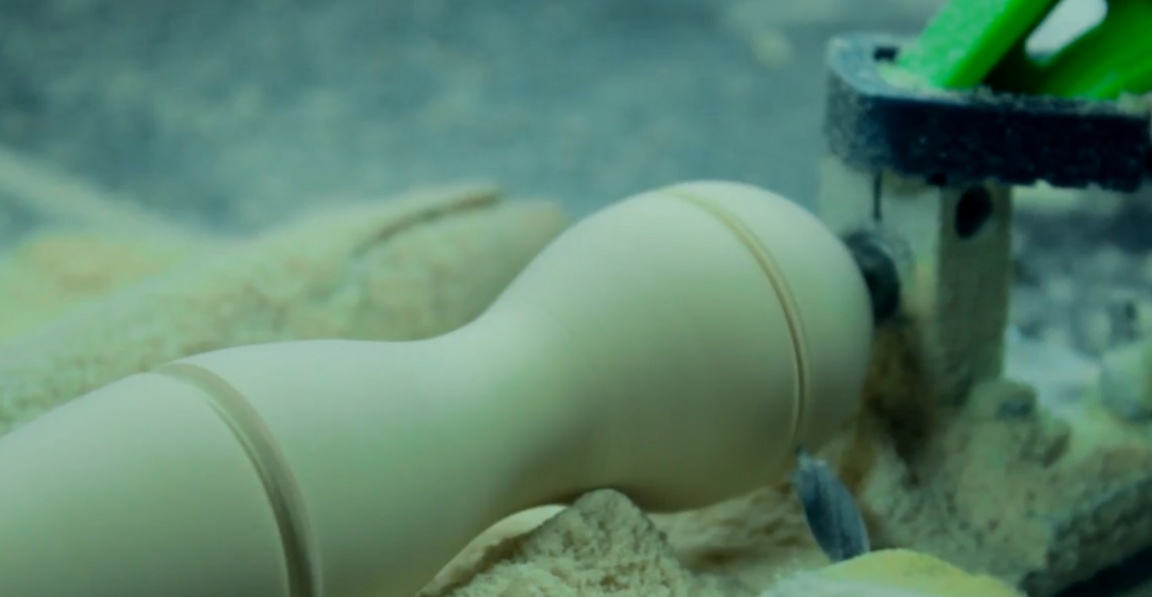
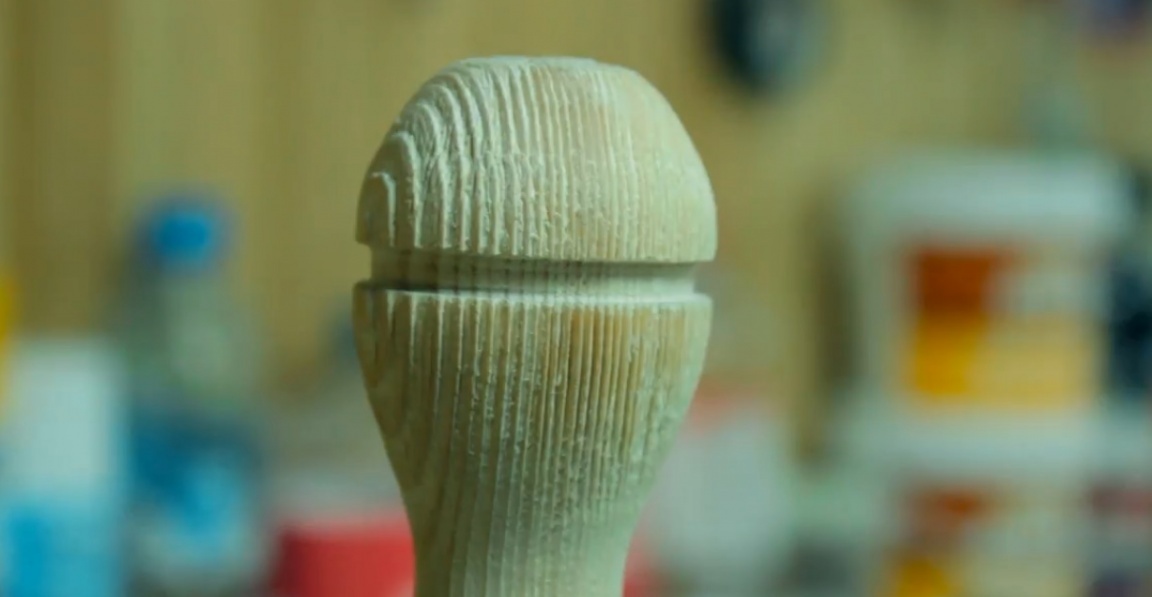
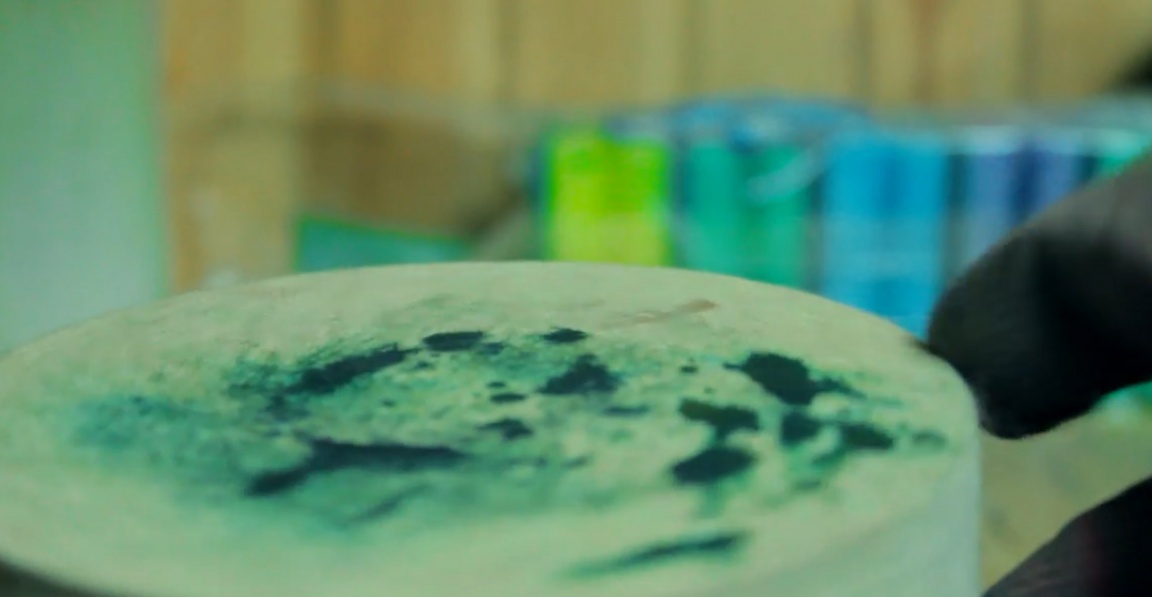
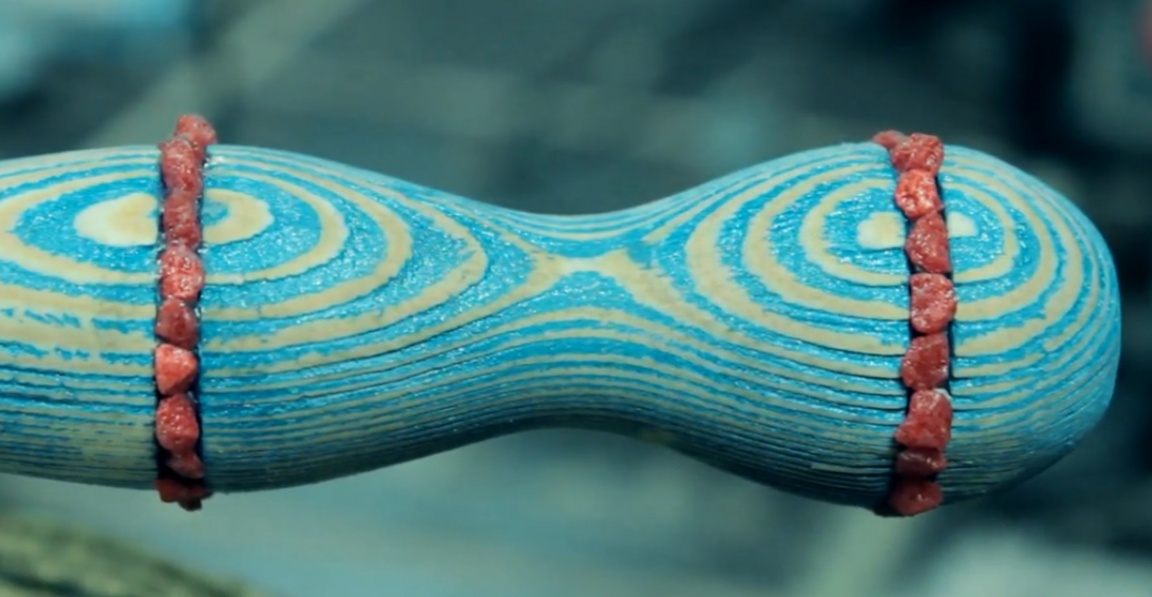
In order to make our pen look as interesting as possible, the author decided to do brushing.
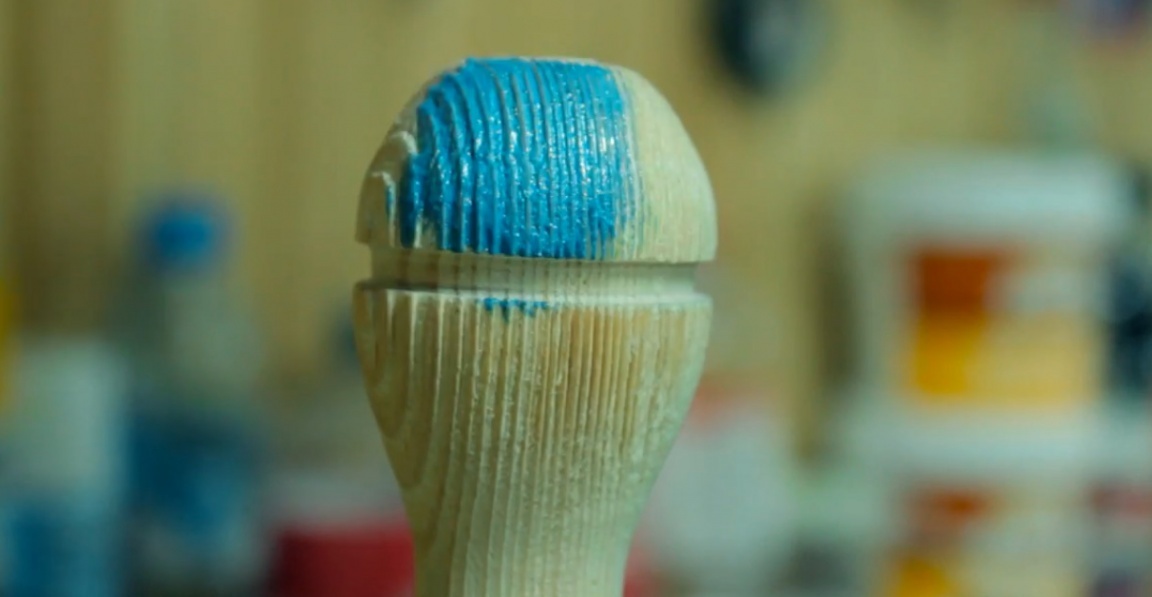
After brushing, we get the result that needs to be painted.
It was decided to paint in blue pearl paint.
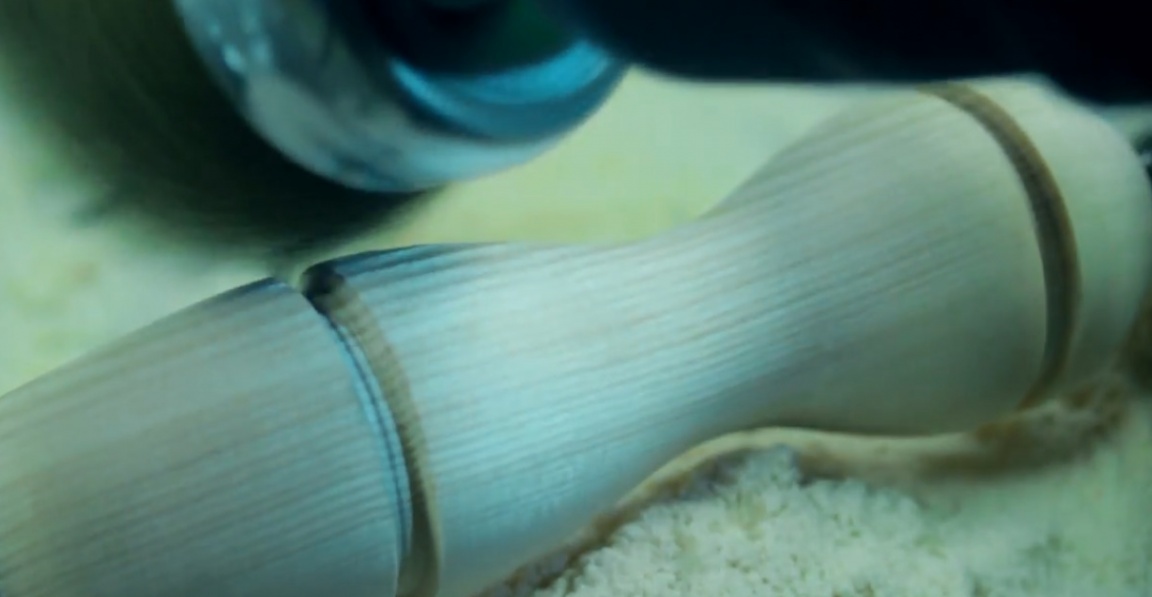
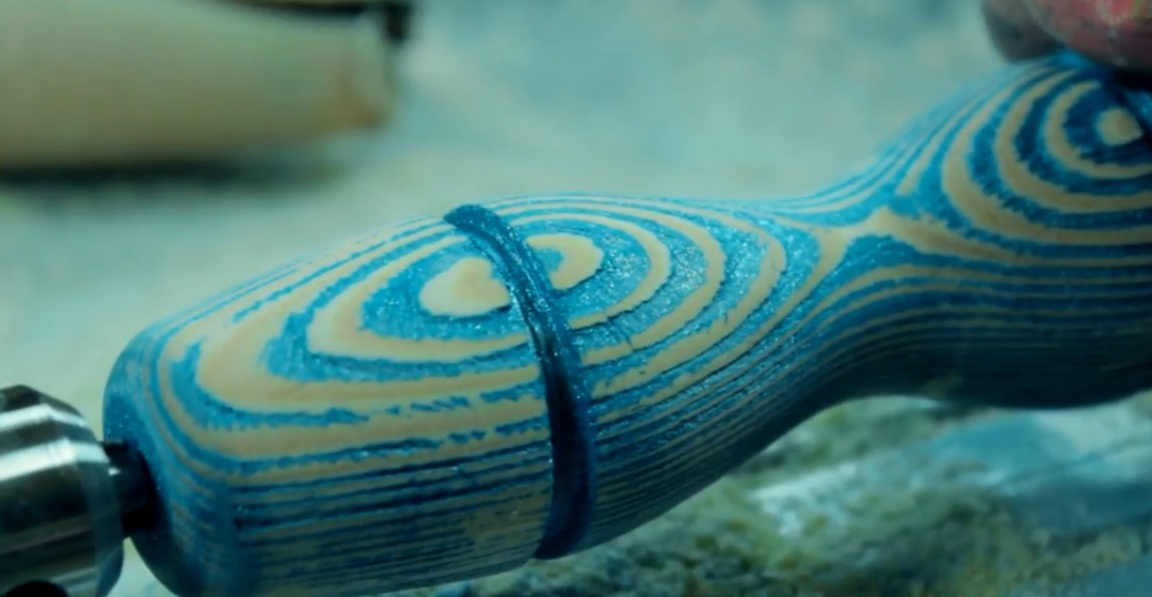
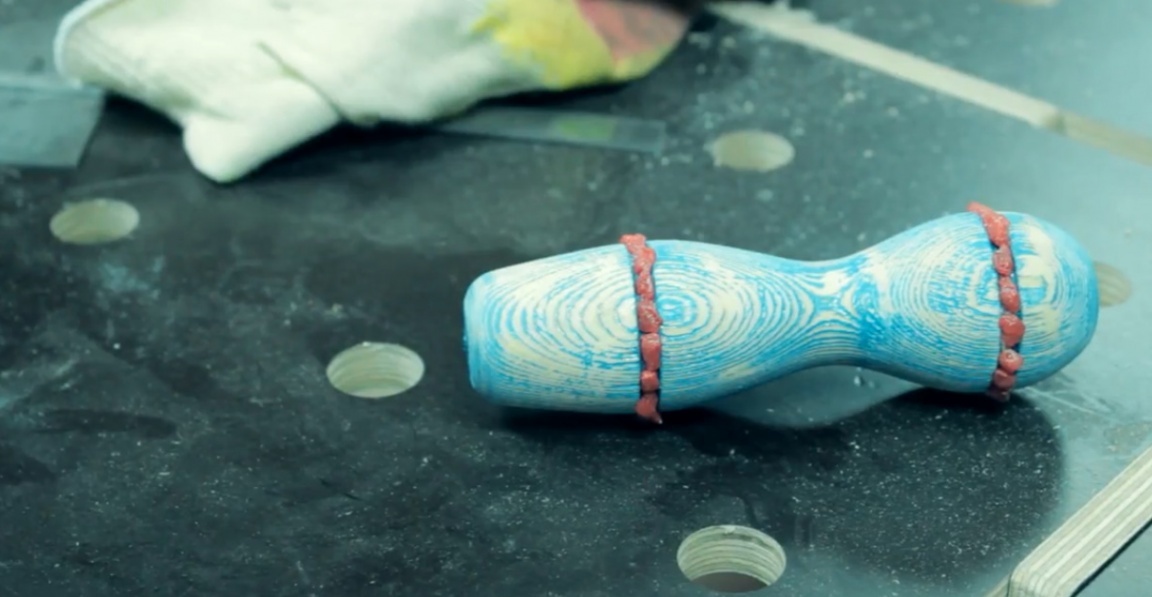
After the paint dries, we return the handle to the machine and go through the 280th sandpaper. At the output, we get this result:

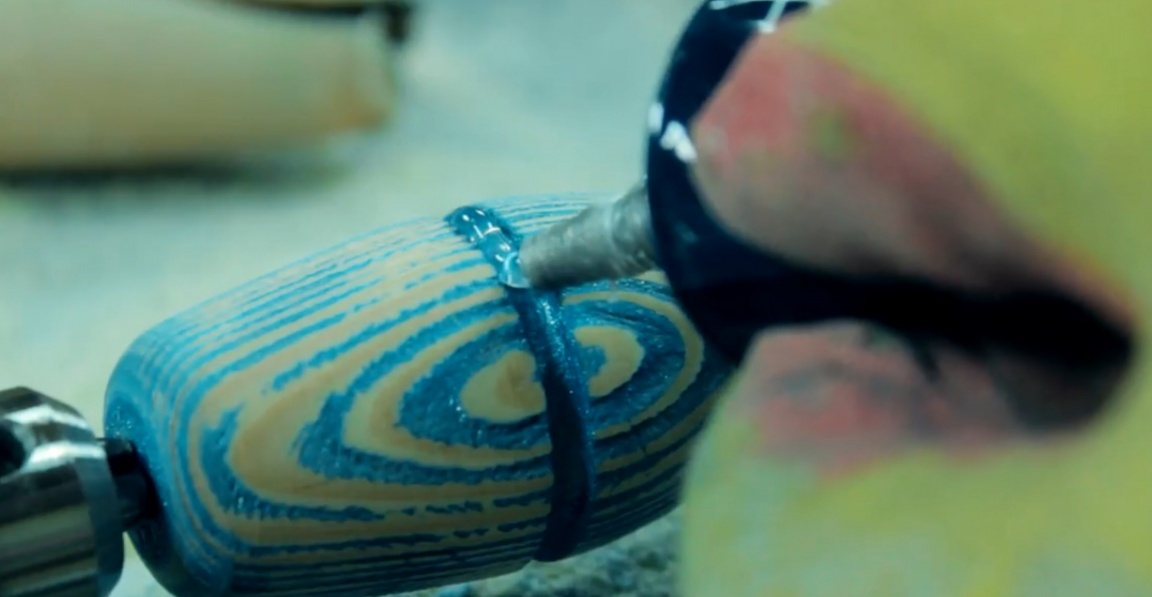
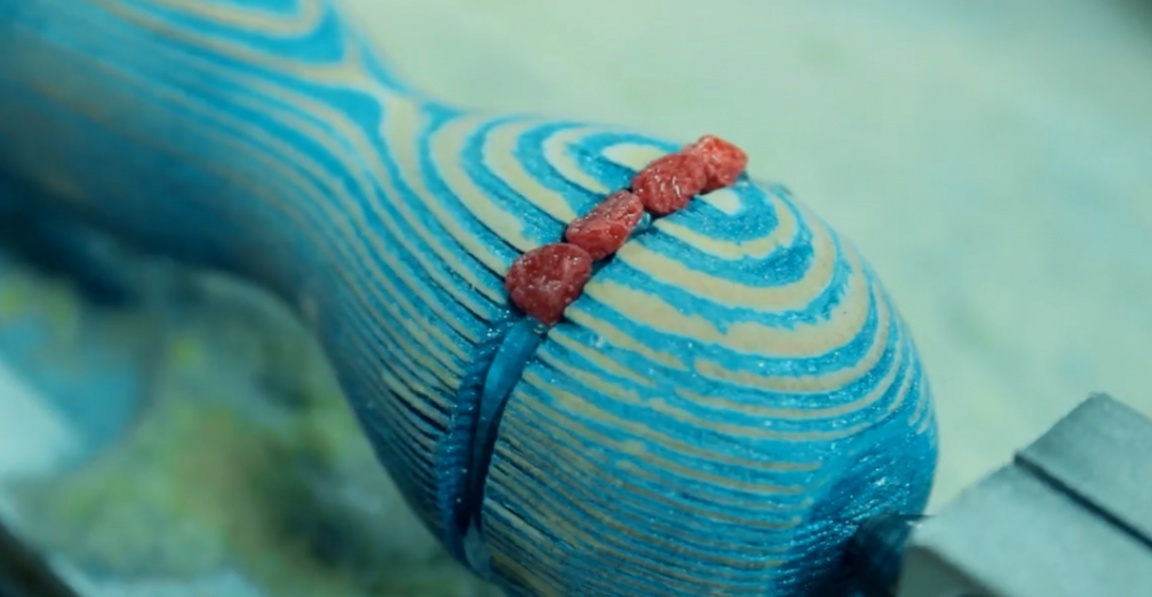
The remaining grooves are filled with transparent glue and on top of the glue we apply red decorative marble chips.
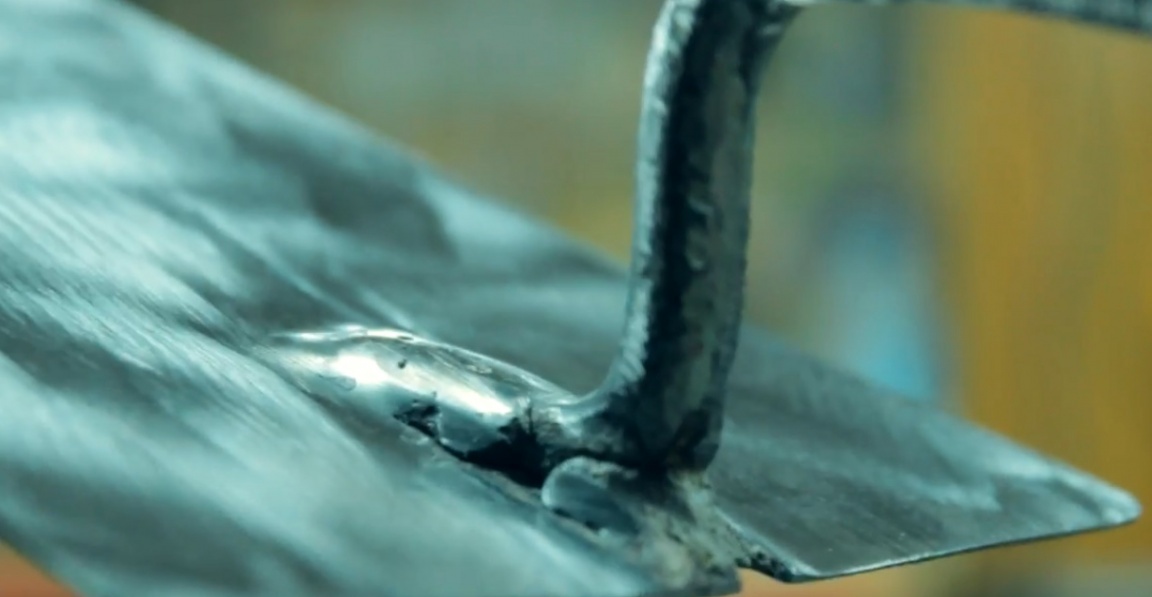
Now leave the pen alone and proceed to restore the spatula. Since the spatula initially has an uneven plane, we restore it with a vise.
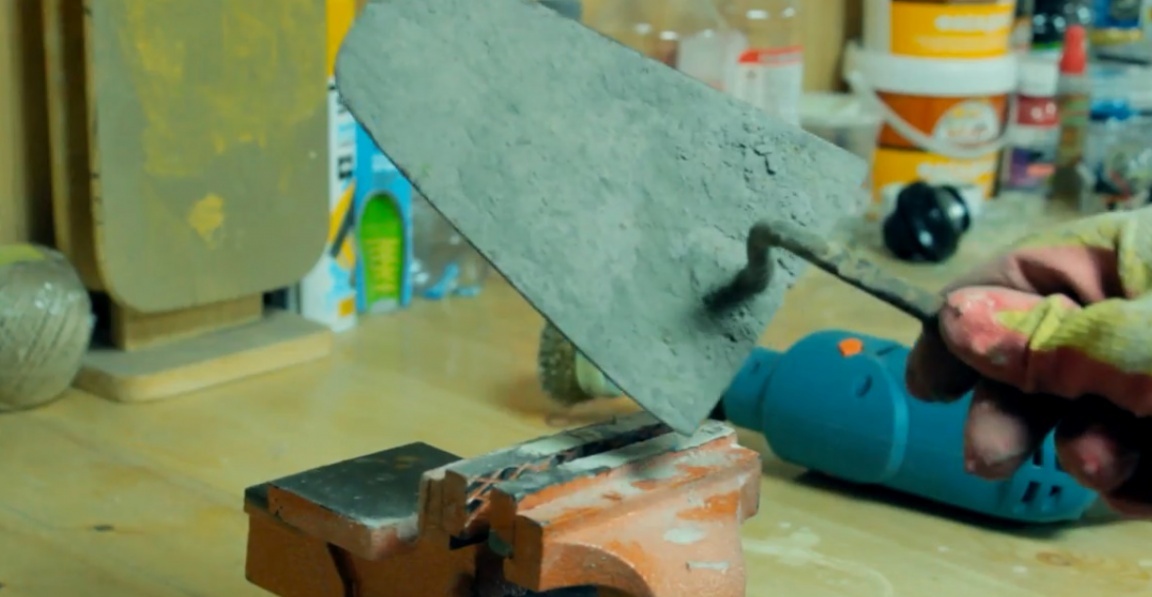
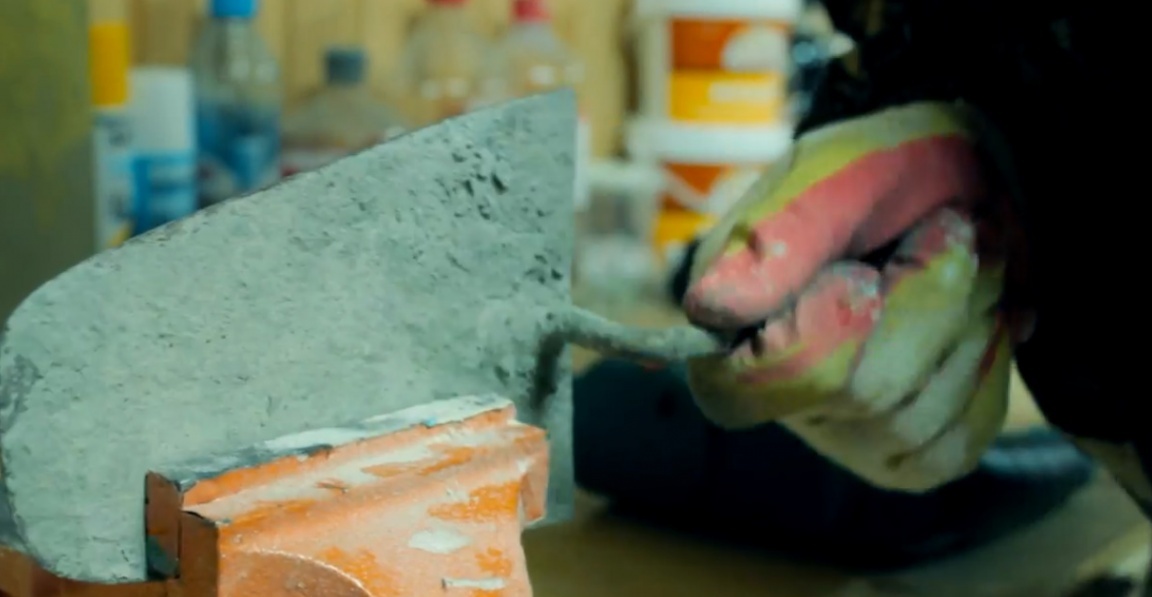
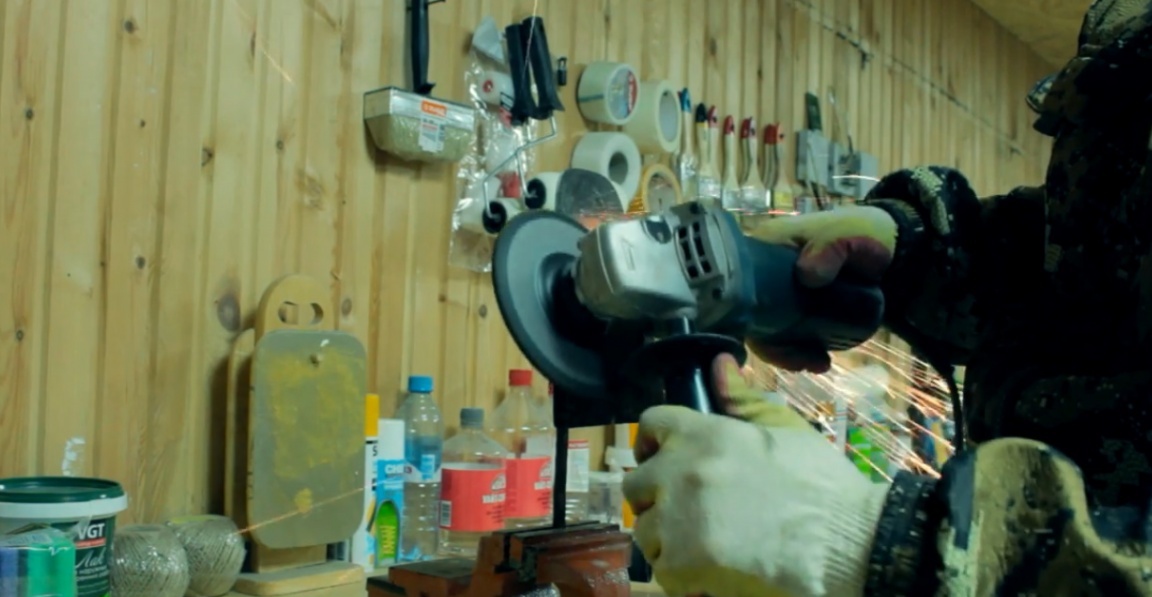
Next, we try using the petal circle to remove the already frozen and deeply ingrained cement and fail. A rough brush for a grinder comes to our aid, which does a little better than a petal disk, but still not good enough. All the same, stuck cement remains, which is removed only with a chisel.
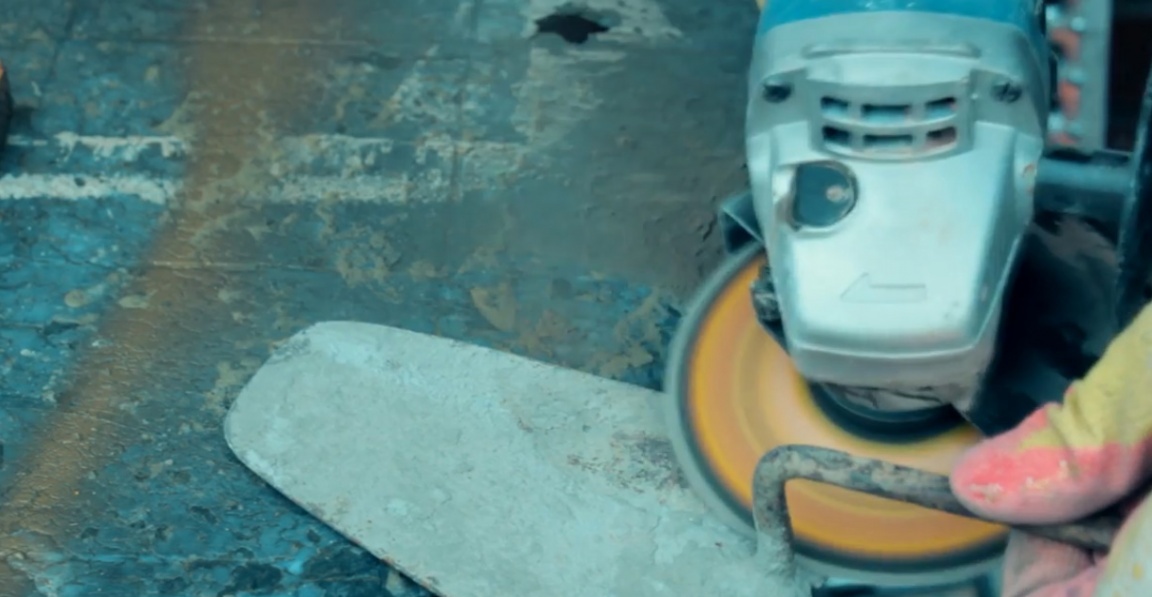
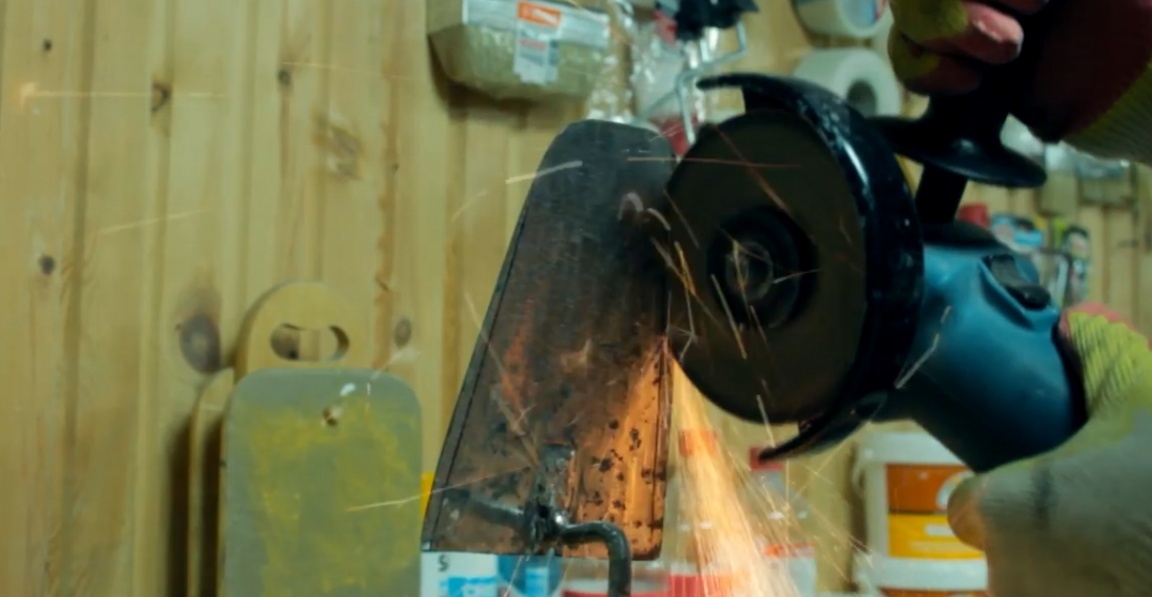
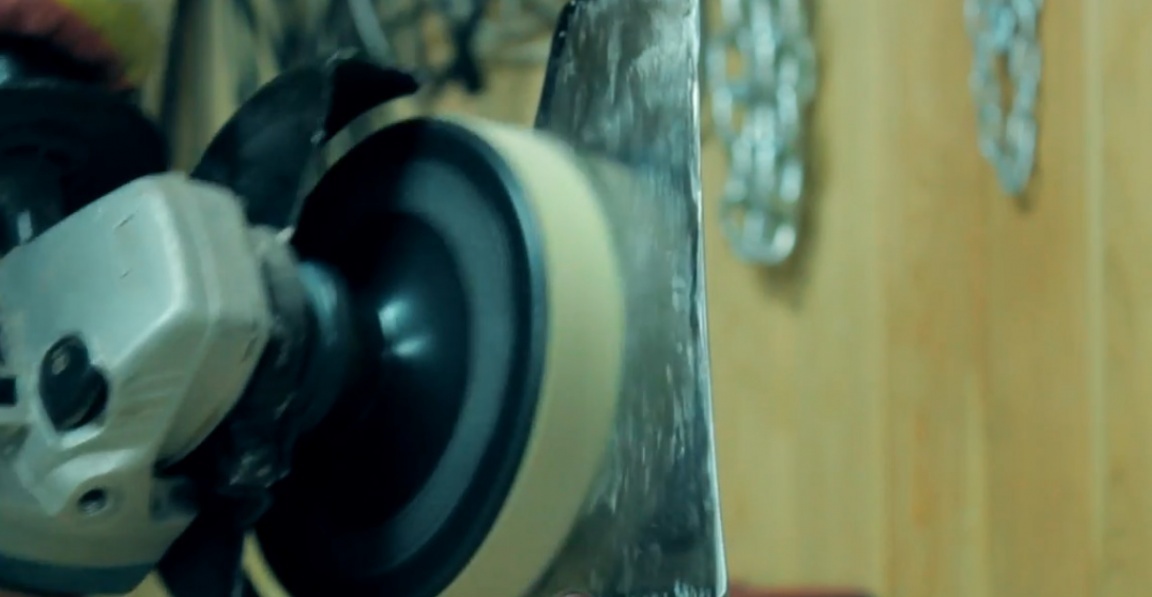
But somehow I didn’t really want to scrape the whole spatula. The last attempt to strip the metal was the use of a coarse grinding wheel, which did a very good job. Of course, after such a cleaning, deep scratches on the metal remained, but we will fix them in the future.
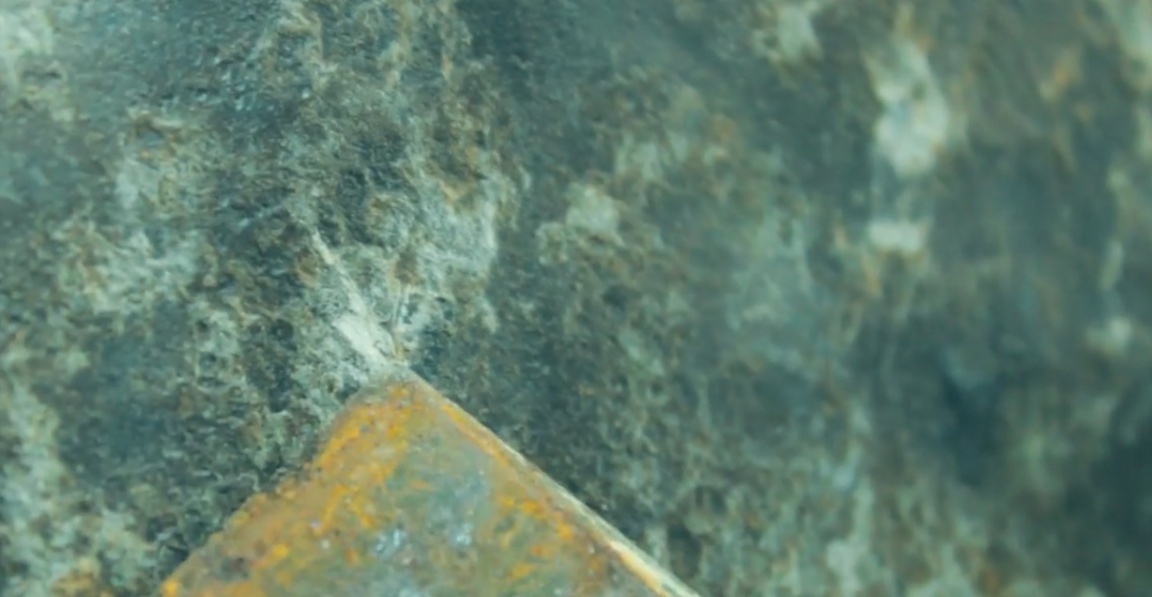
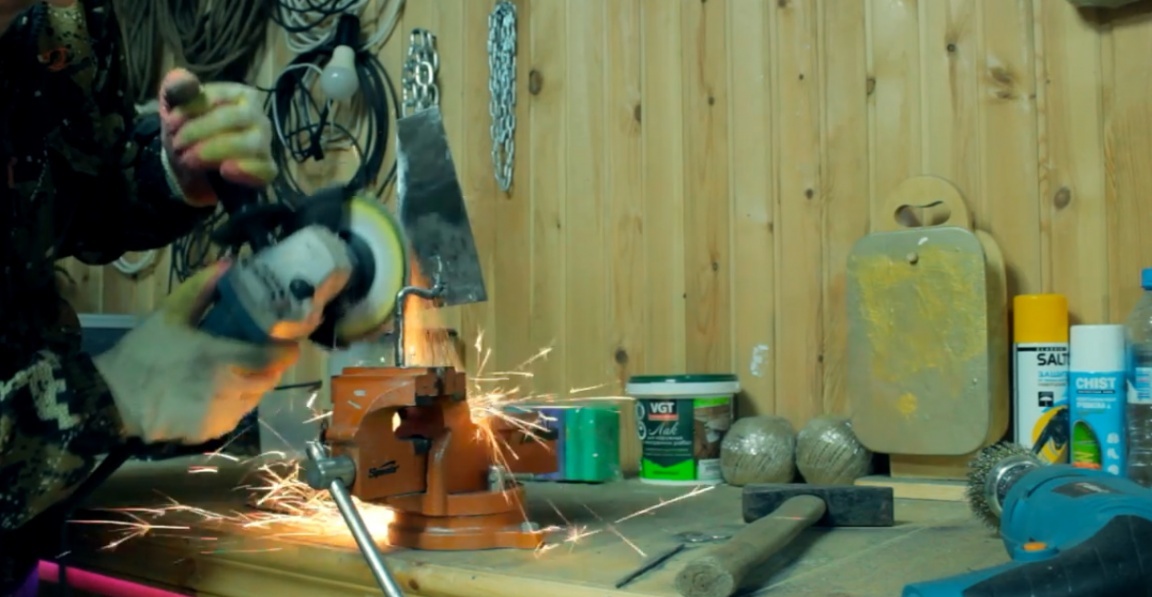
The geometry of our putty knife certainly leaves much to be desired, so we correct it with a protractor, black marker, vise and grinder.

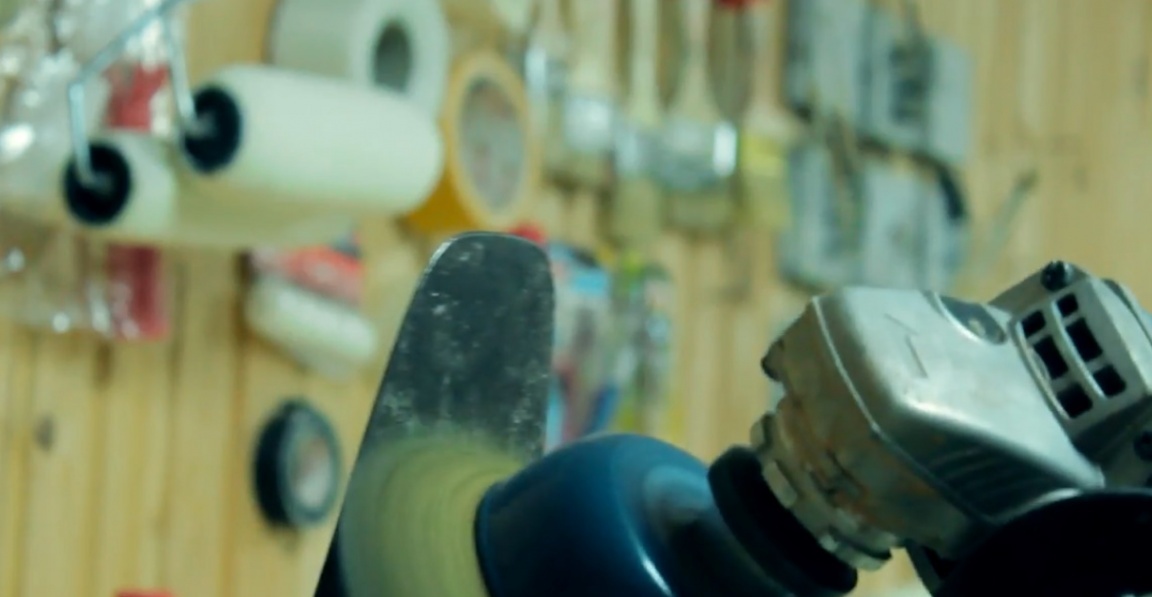
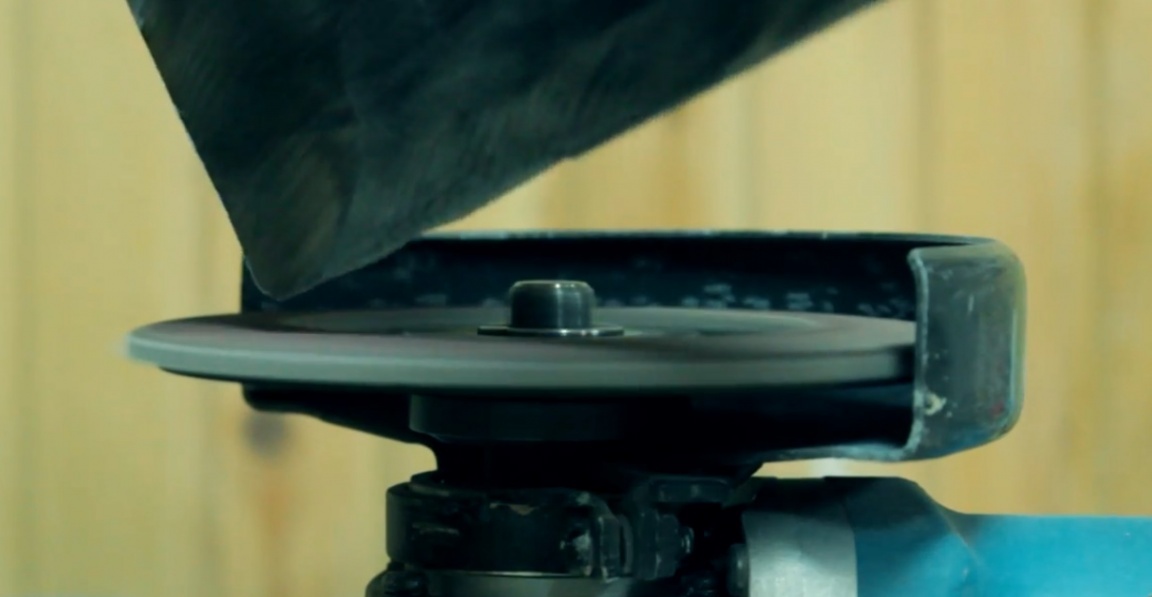
The author carried out further surface treatment using a flap wheel with sandpaper with grains of 60, 100 and 150.
Then the master carefully rounded the sharp corners to give the spatula a more elegant look.
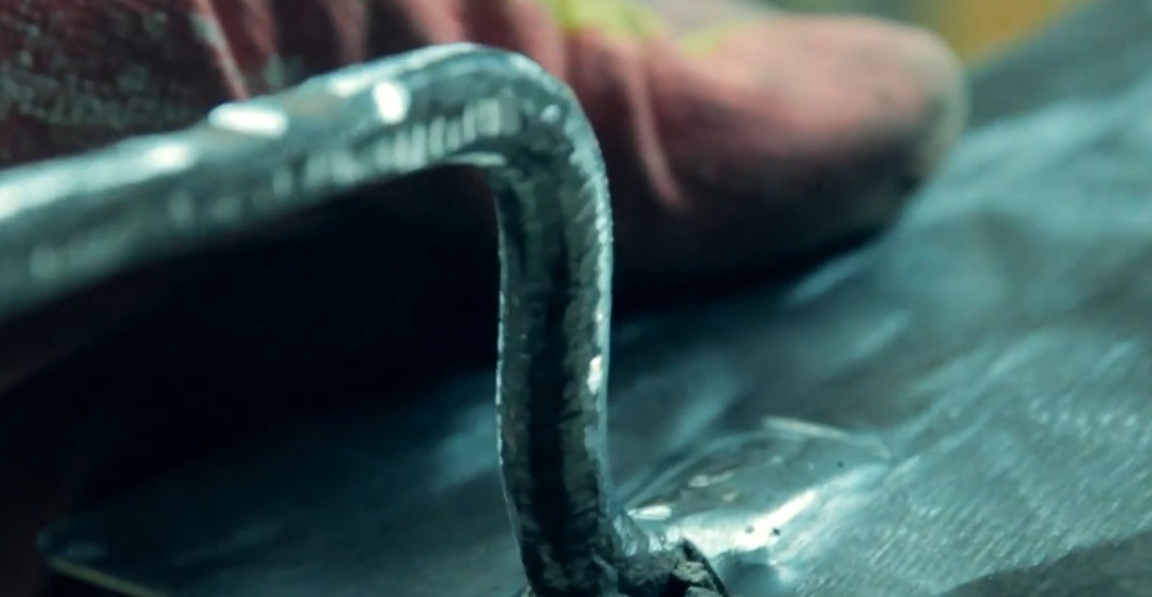
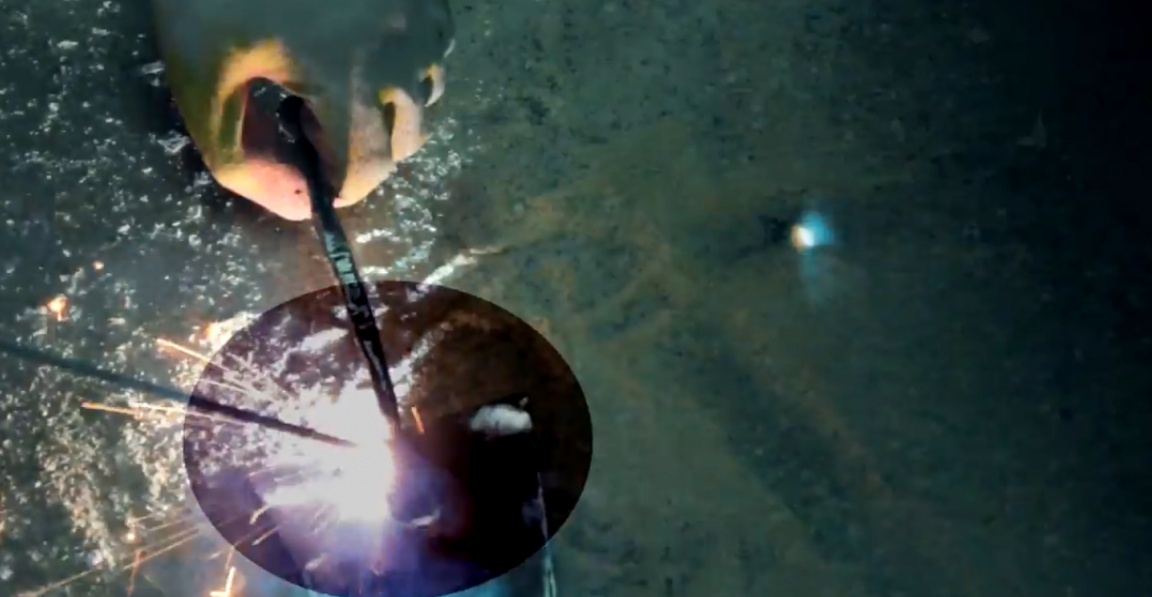
Unfortunately, a poorly cooked spatula handle has deep sinks that cannot be sanded, so I had to boil them.
The author decided to finish the surface polishing with the help of a felt disk and GOI paste. To be honest, polishing was not very successful. The difference between polishing GOI paste and the same sandpaper with 600 grain is not very noticeable.
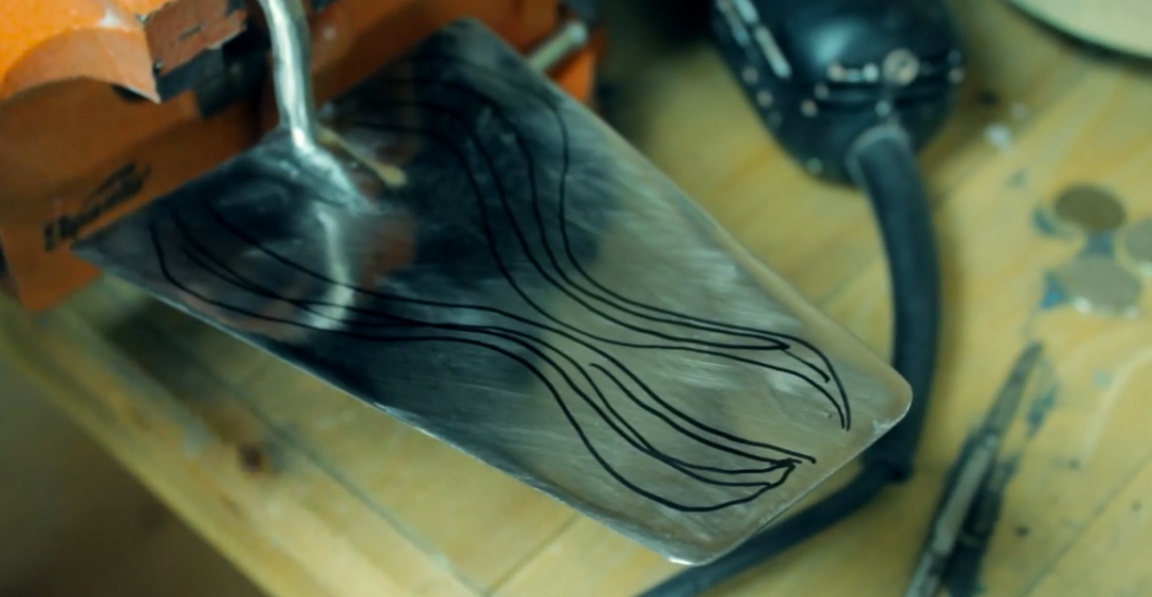
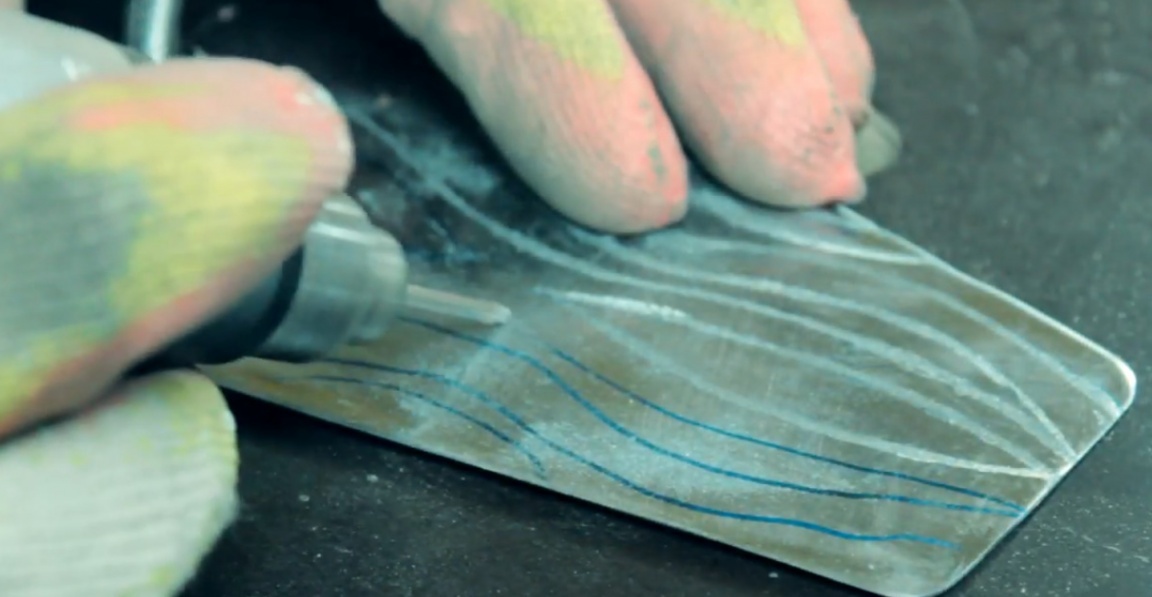
After polishing, a chaotic marker was applied. The author admits that there is no artist from him, so it turned out like this:
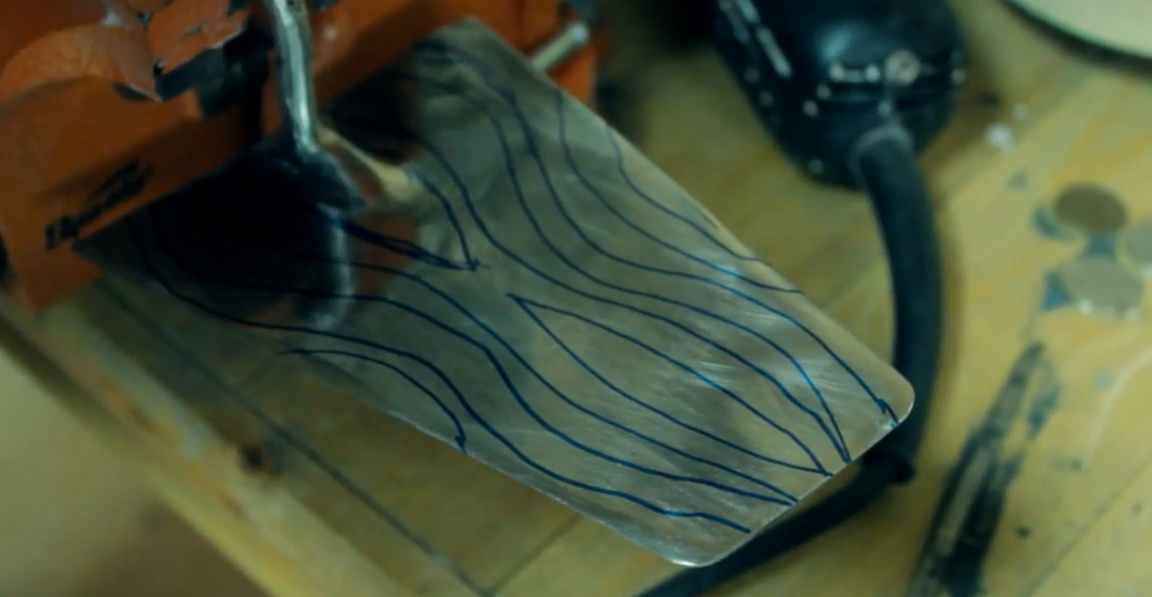
After a bit of training, it turned out like this:
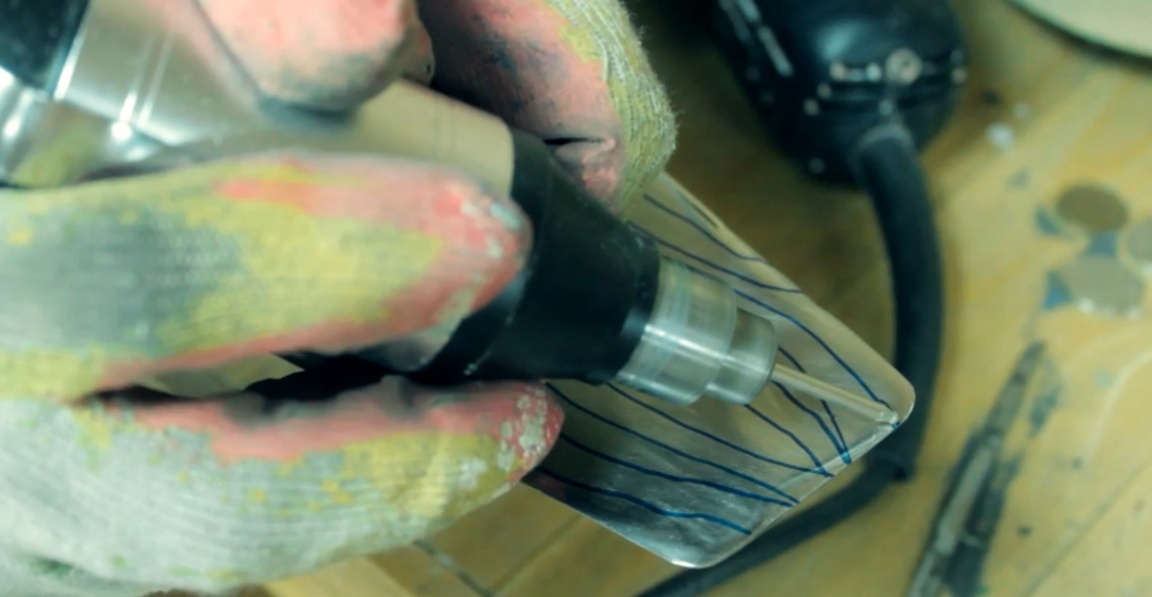
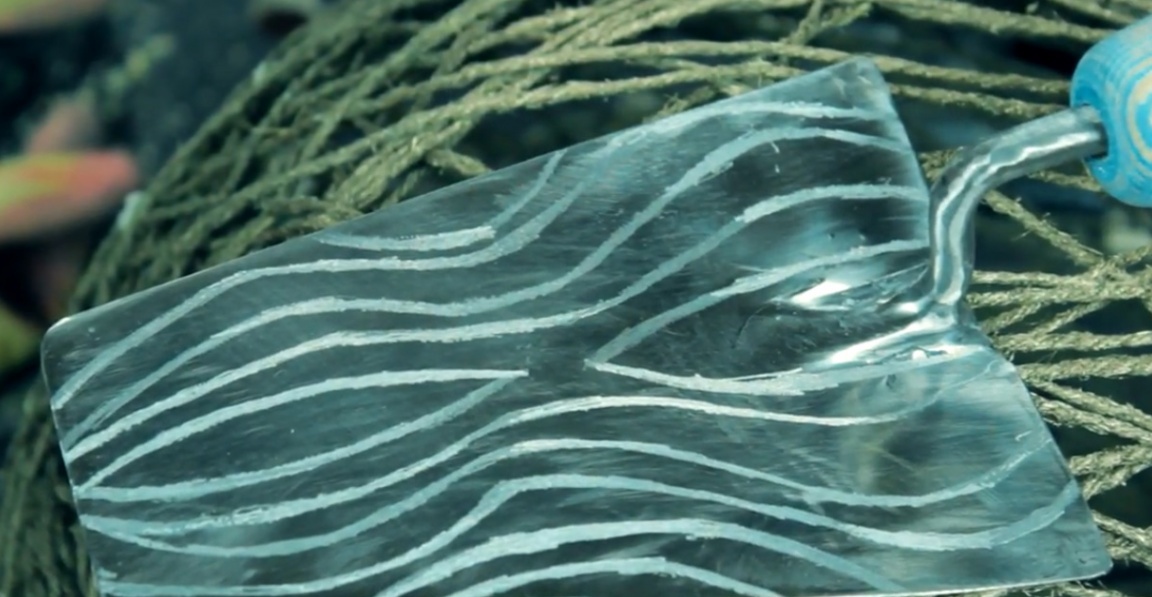
Now we go through this drawing with an engraving nozzle.
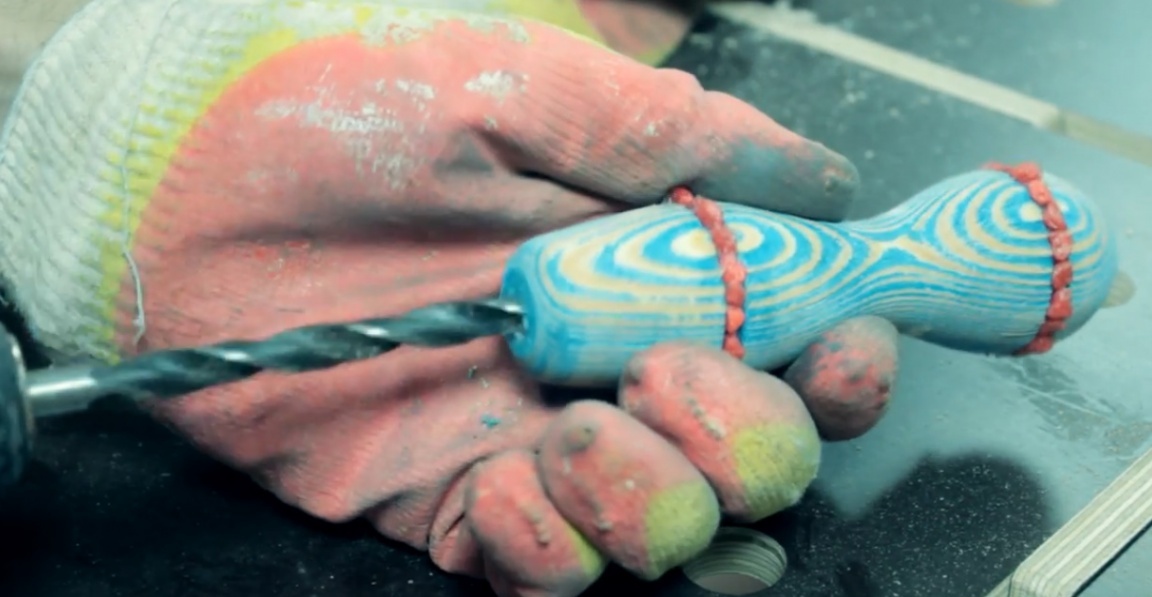
When finished with engraving, we drill a hole in the handle with a drill with a diameter of 8 mm.
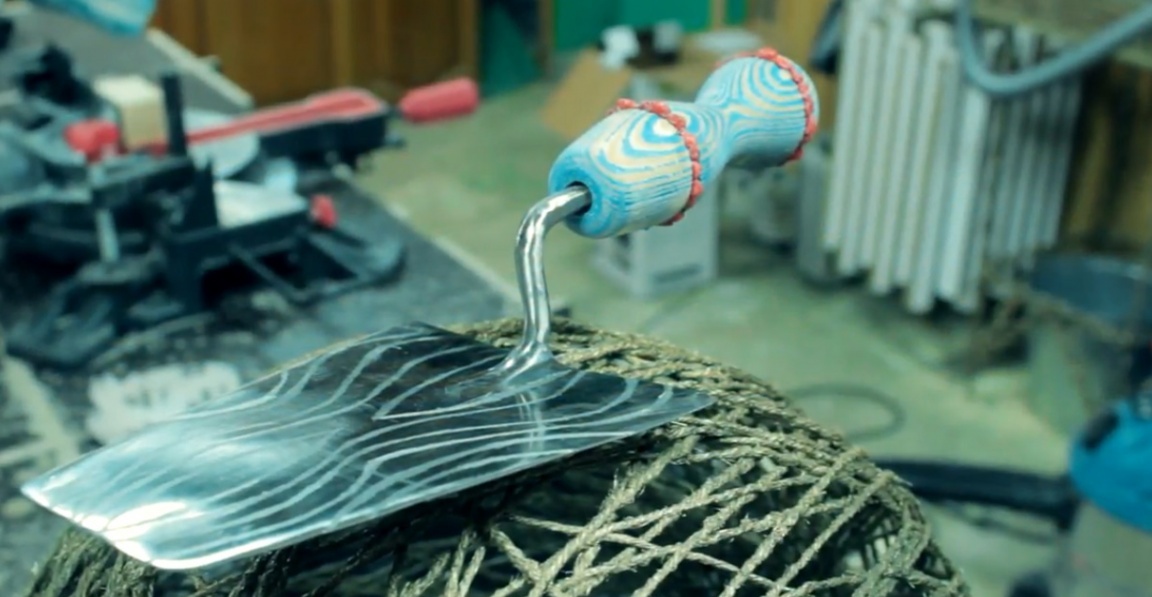
Then put the handle on the spatula and you're done.
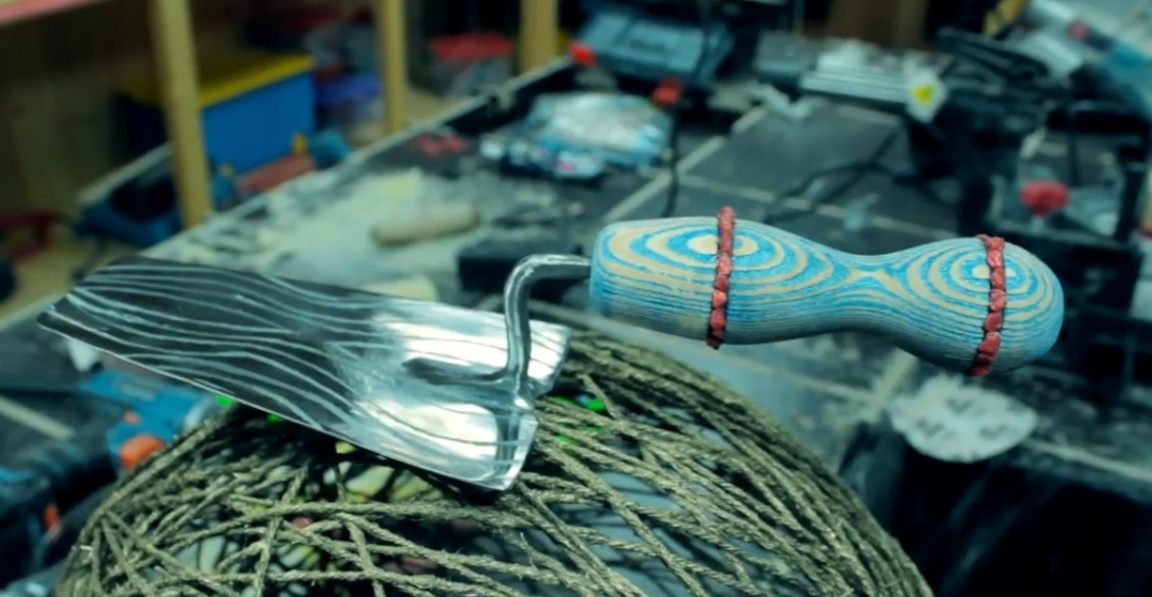
Well, today it turned out to restore the old dead thing, which is not ashamed to present on a professional holiday, for example, on the day of the builder. The author did this procedure for the first time, so do not judge strictly.
Thank you for attention. See you soon!
Video: