
In this article, John, the author of YouTube channel "John Heisz - I Build It", will tell you how to quickly build a table for a circular saw.

In this article, the author will share with you the experience of how to quickly make a VERY temporary circular machine. For work, a half-inch plywood sheet will be used, which John plans to use a second time over time to create an already more permanent version of the same machine.
Materials
- 1/2 inch thick plywood
- A few boards
- beam
- Self-tapping screws
- Circular hand saw
- The switch.
Instruments, used by the author.
- Screwdriver, drill
- Circular hand saw
- Clamps, Phillips screwdriver
- Ruler, pencil.
Manufacturing process.
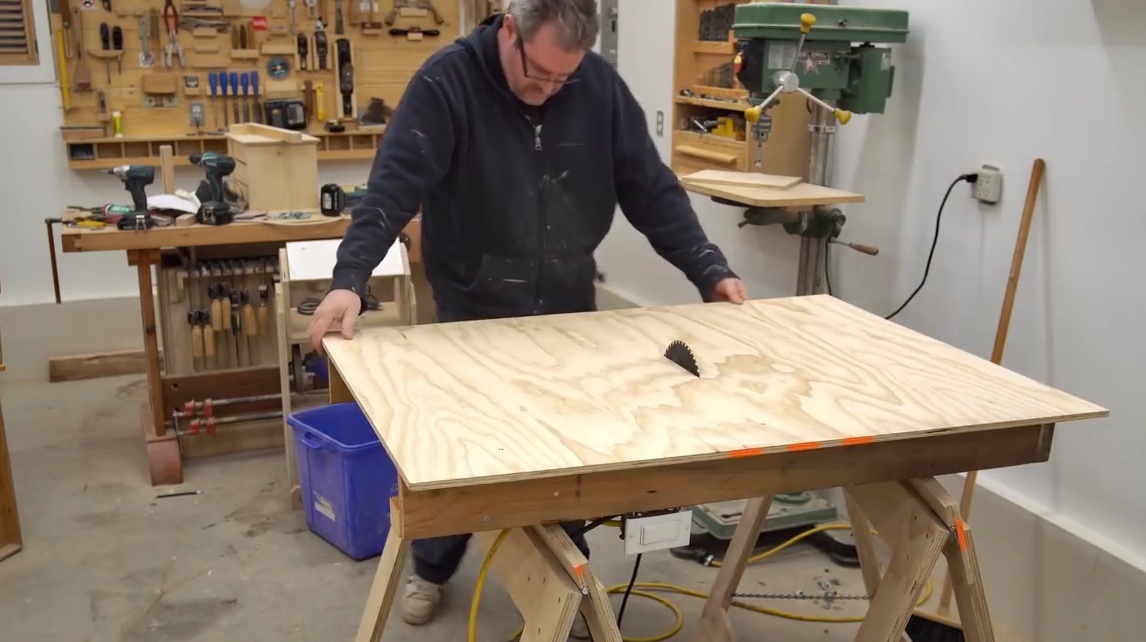
Actually, John has such a sheet of plywood.
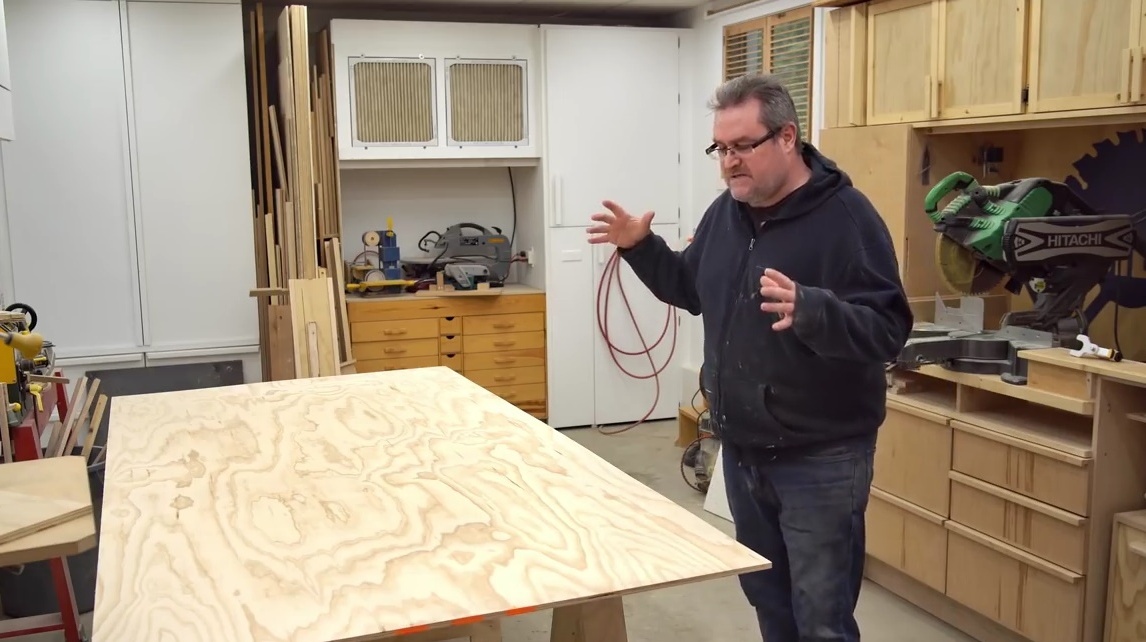
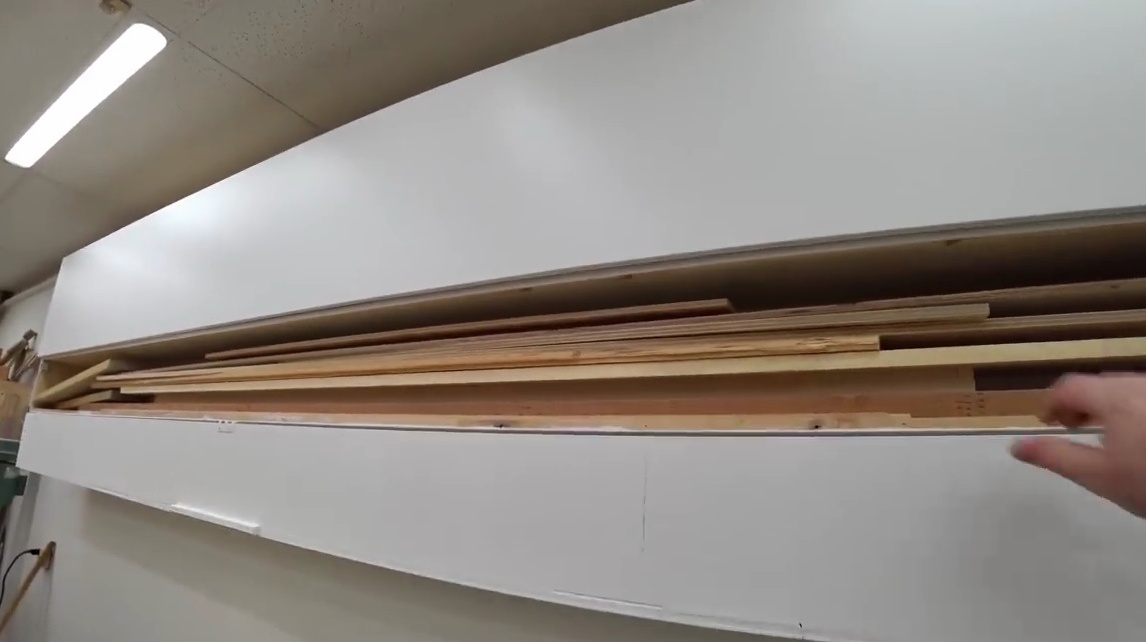
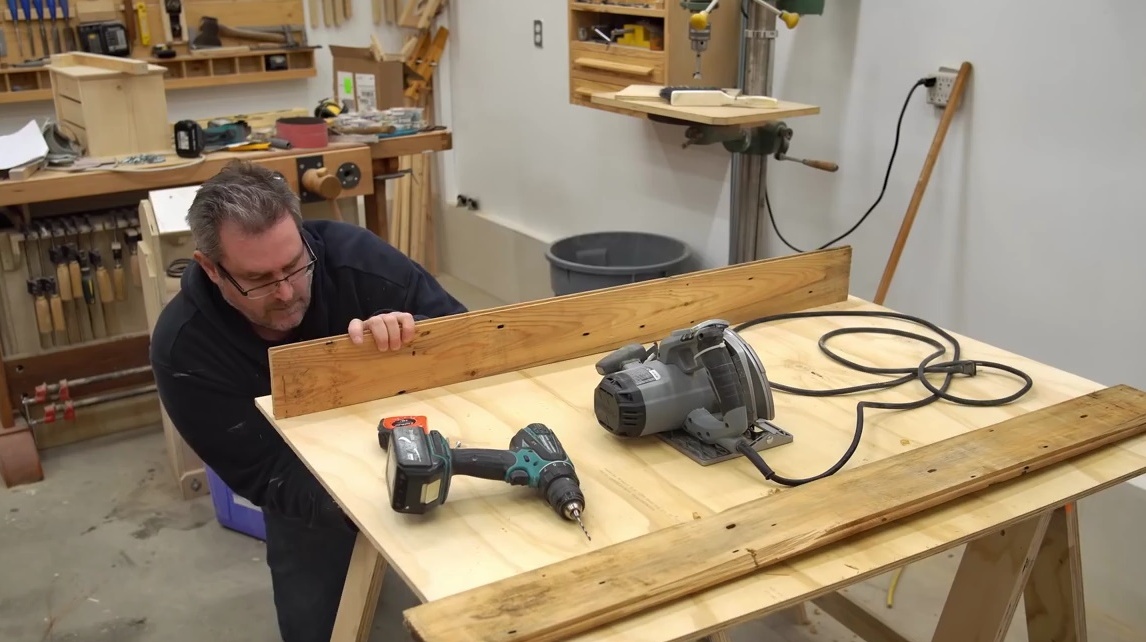
In order to cut the sheet accurately, you need a long ruler or a flat board. He has enough of this business. After fixing the board with clamps to the sheet, he cuts a whole plywood sheet with a circular saw to a length of 36 inches, and this saw will also be part of the machine.
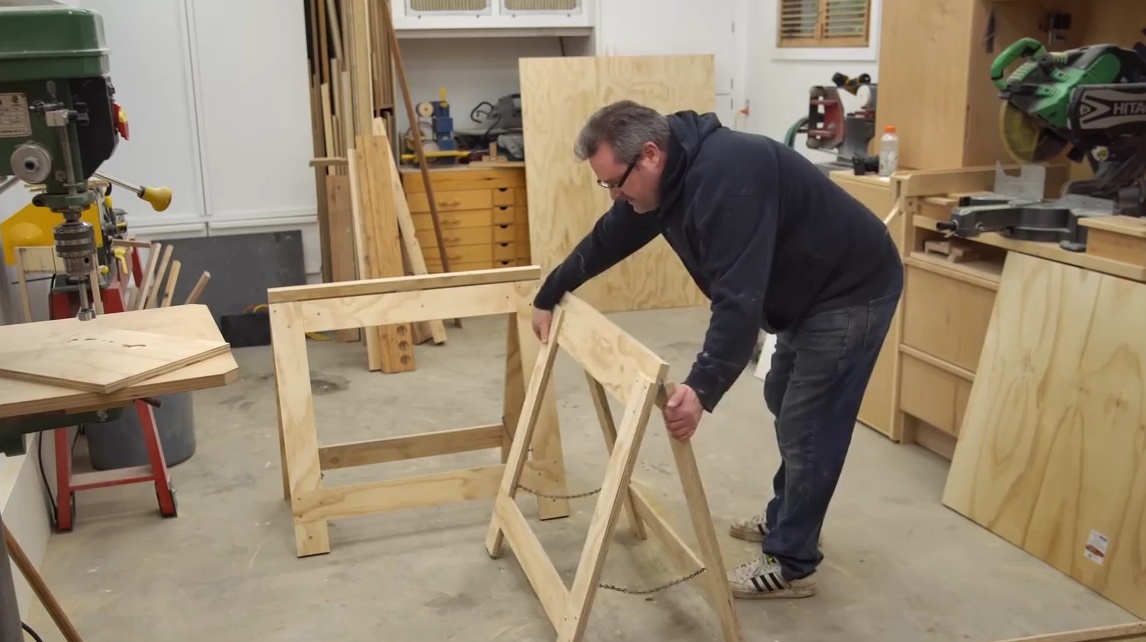
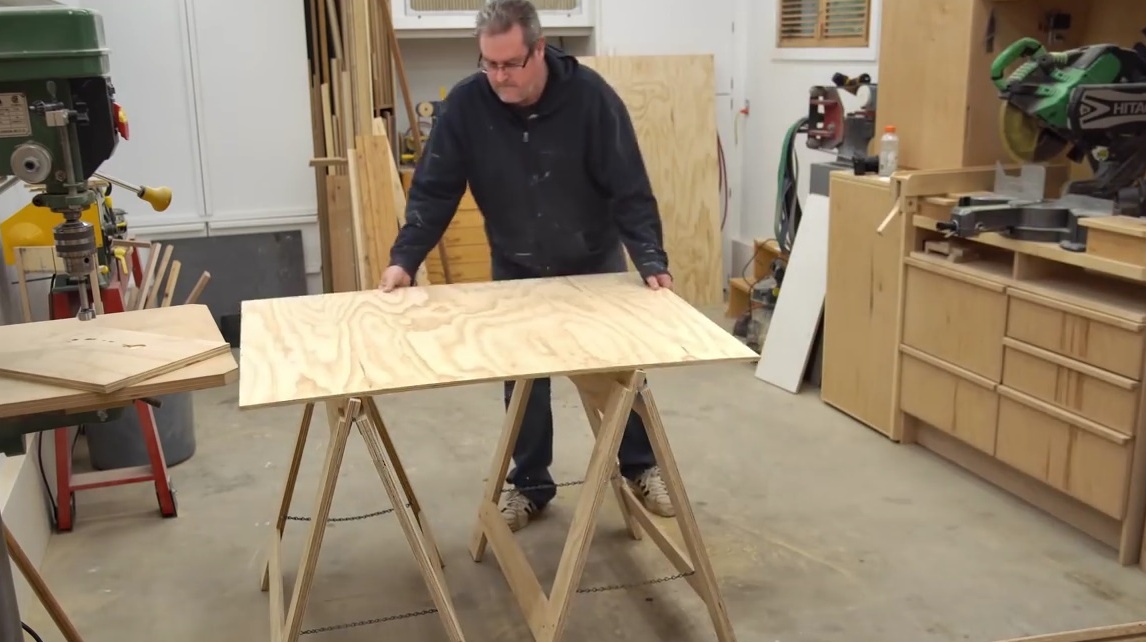
Then he rearranges the sawing goats, and puts the resulting cut on them.
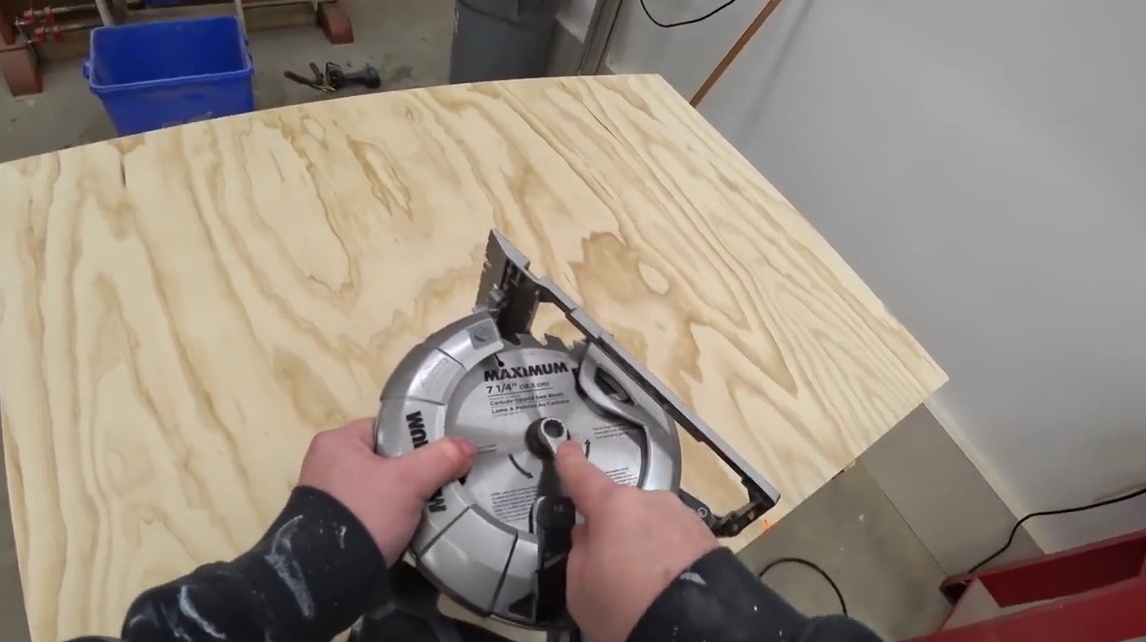
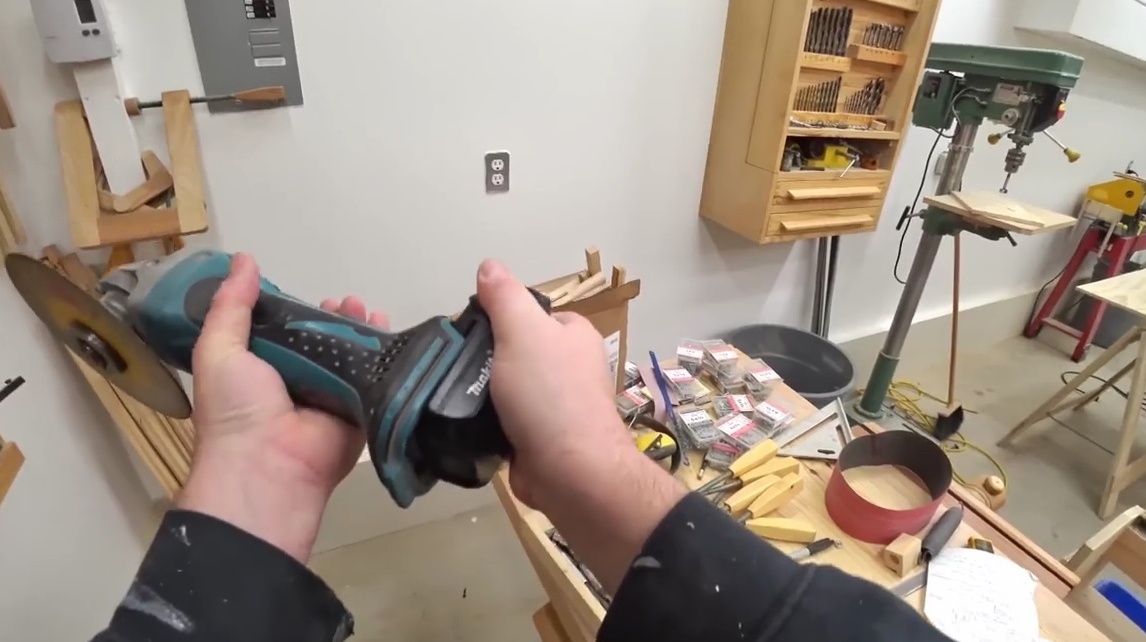
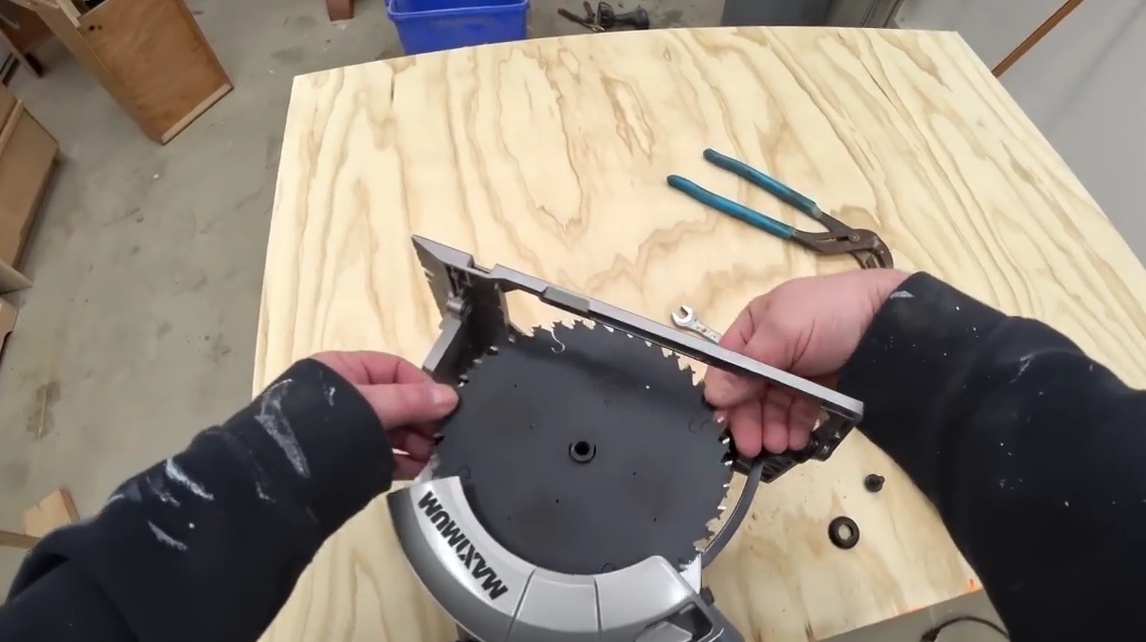
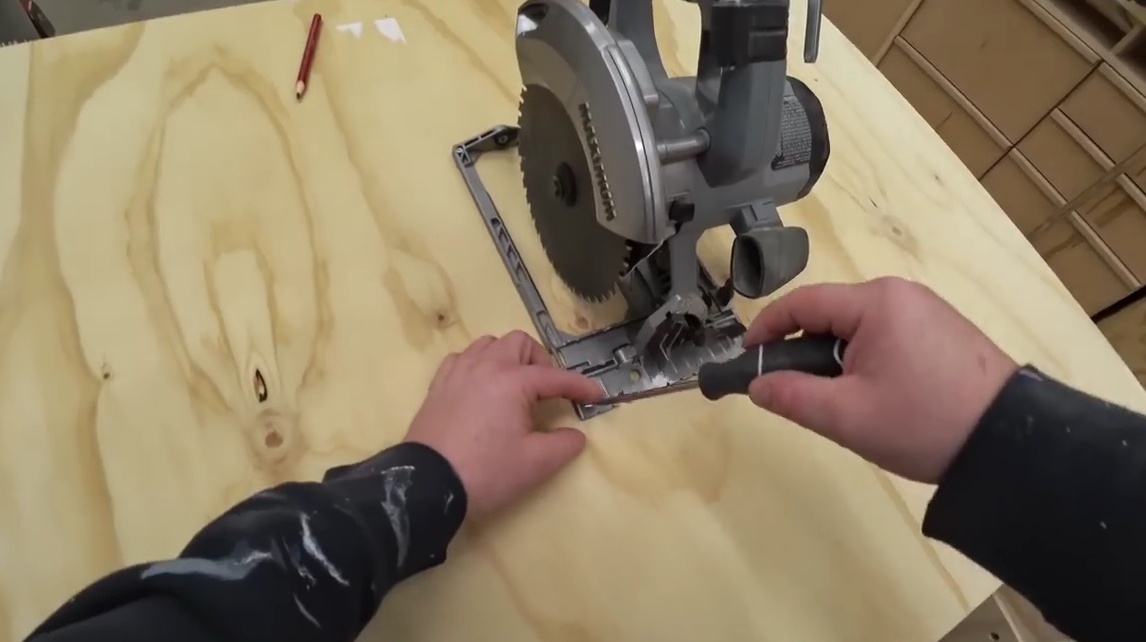
Further, John slightly modifies the circular saw so that it is better suited to the task. What he will do next will seem destructive at first glance, but the saw will not suffer much, and will still be able to perform its functions. So, John first removes the disc and its protection.

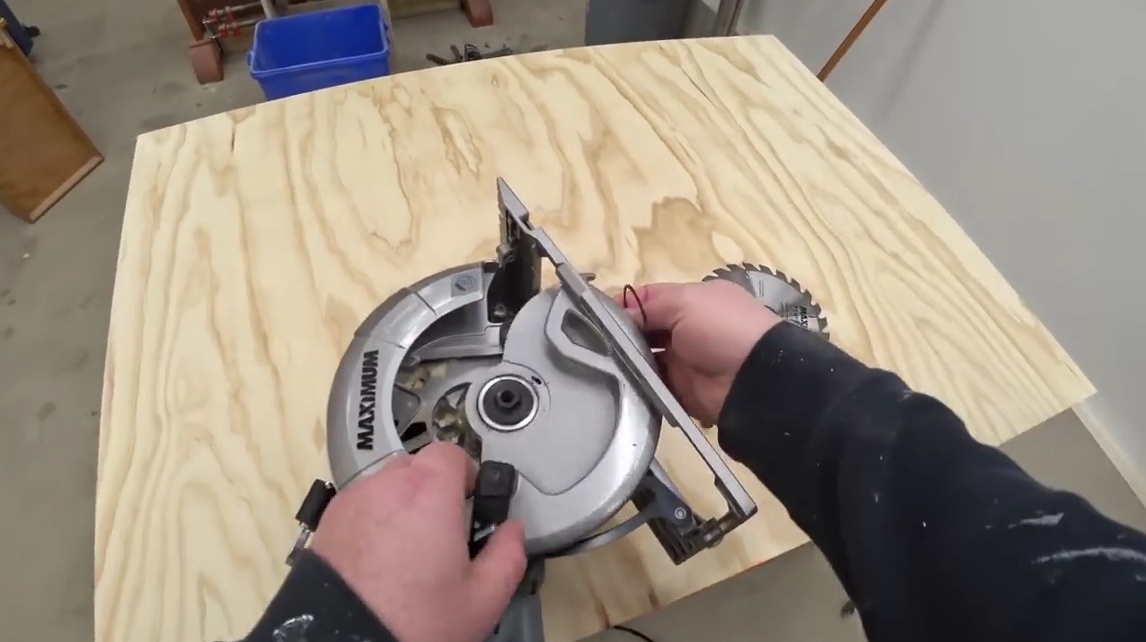
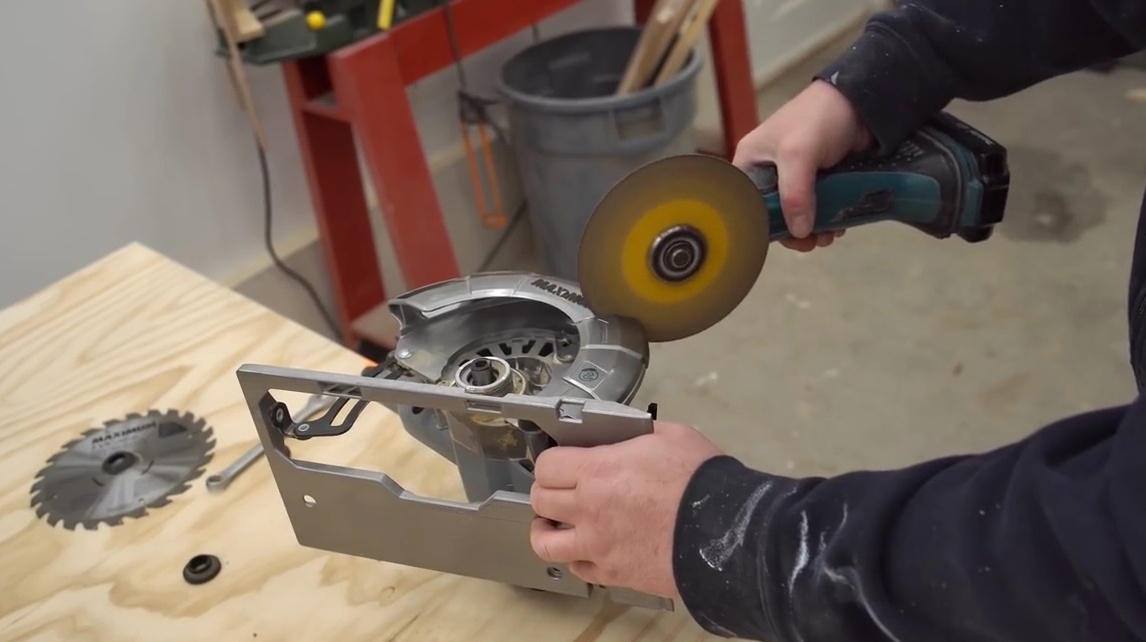
And then, since the saw will be mounted on the bottom side of the table, and its upper part of the disk guard is non-removable, he has to cut off a small portion of it. In this form, it can be used as a circular saw. So, takes the battery grinder.
Note: the author used an inexpensive tool, in addition, he has a backup saw.
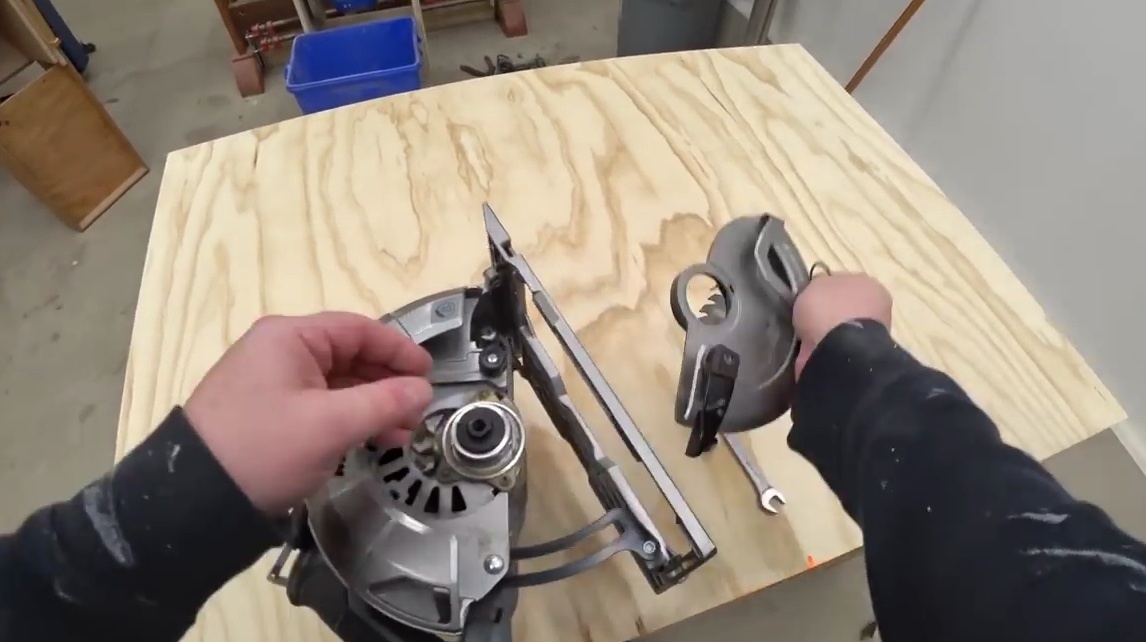
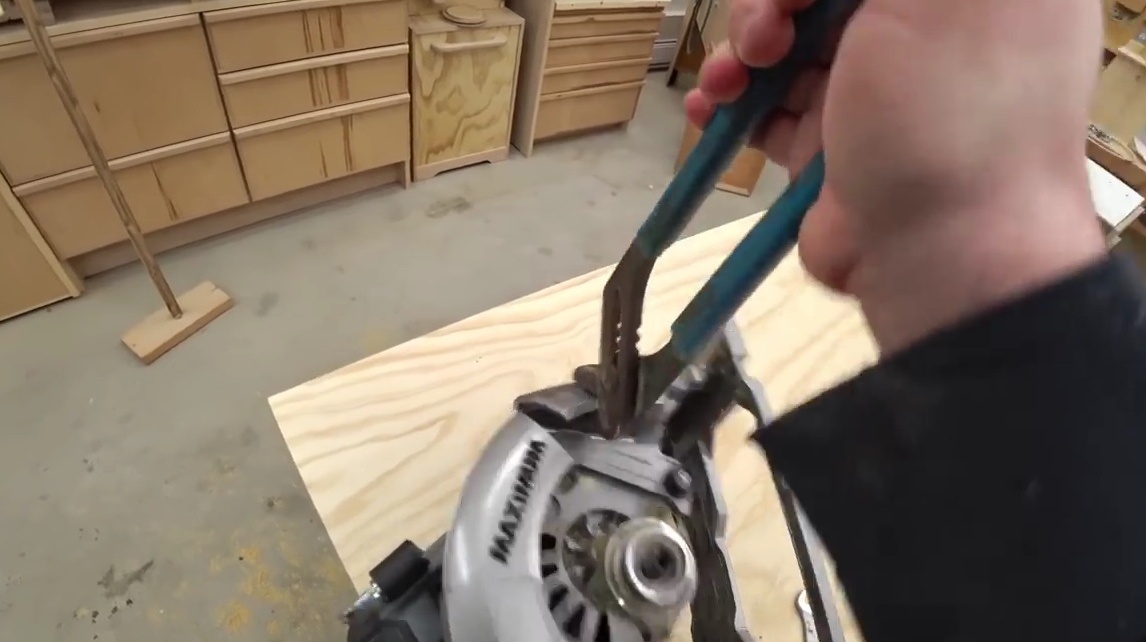
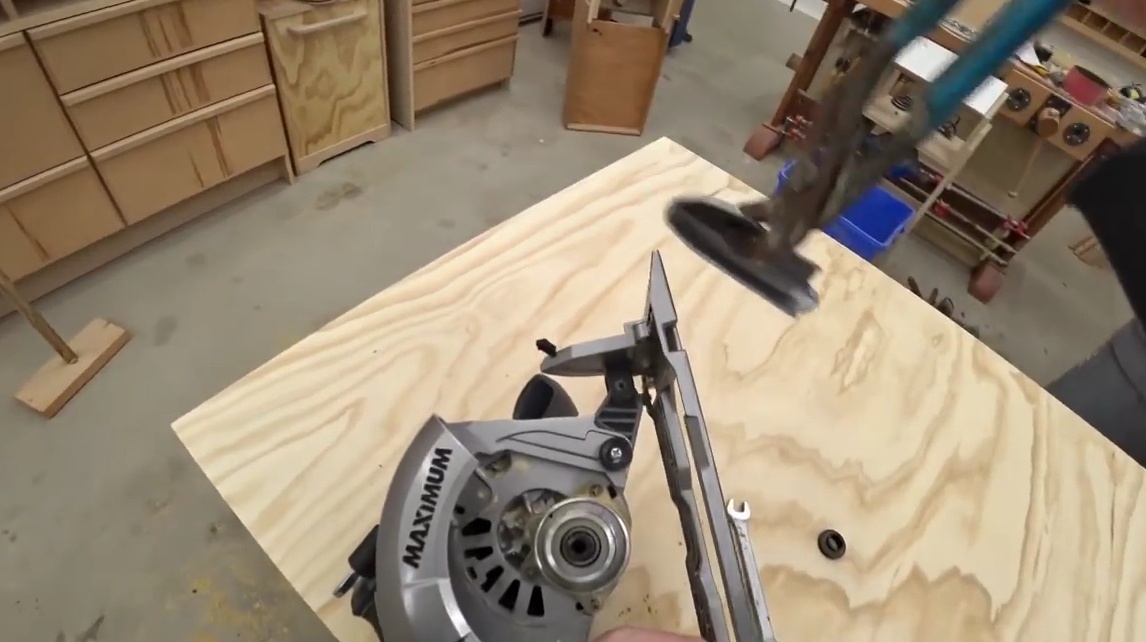
The notched segment is easily broken out by a "crocodile".
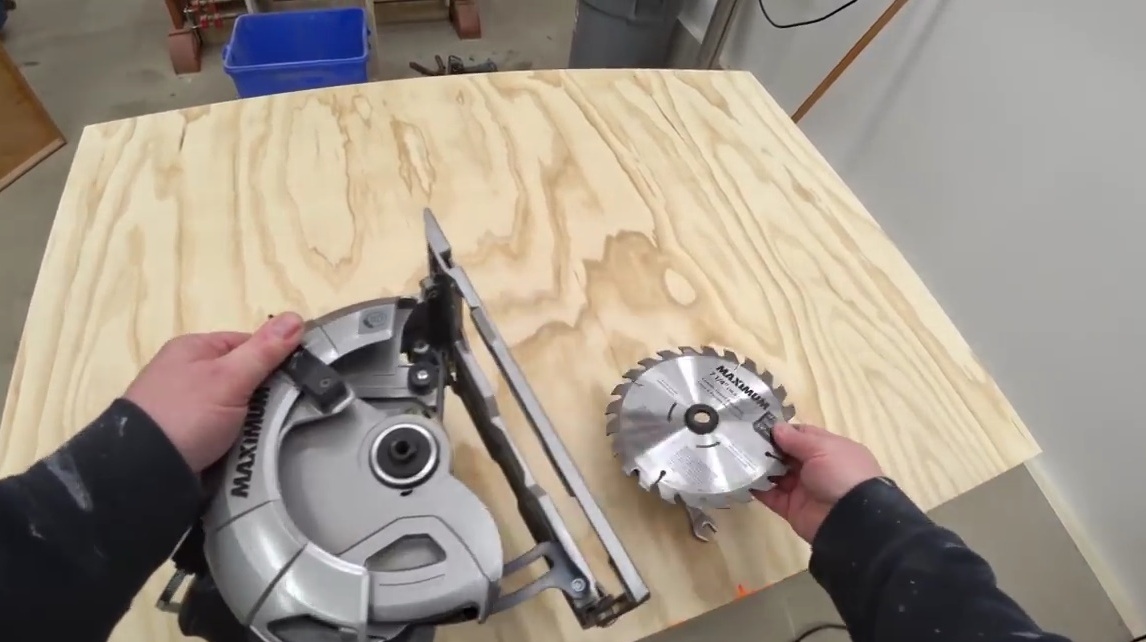
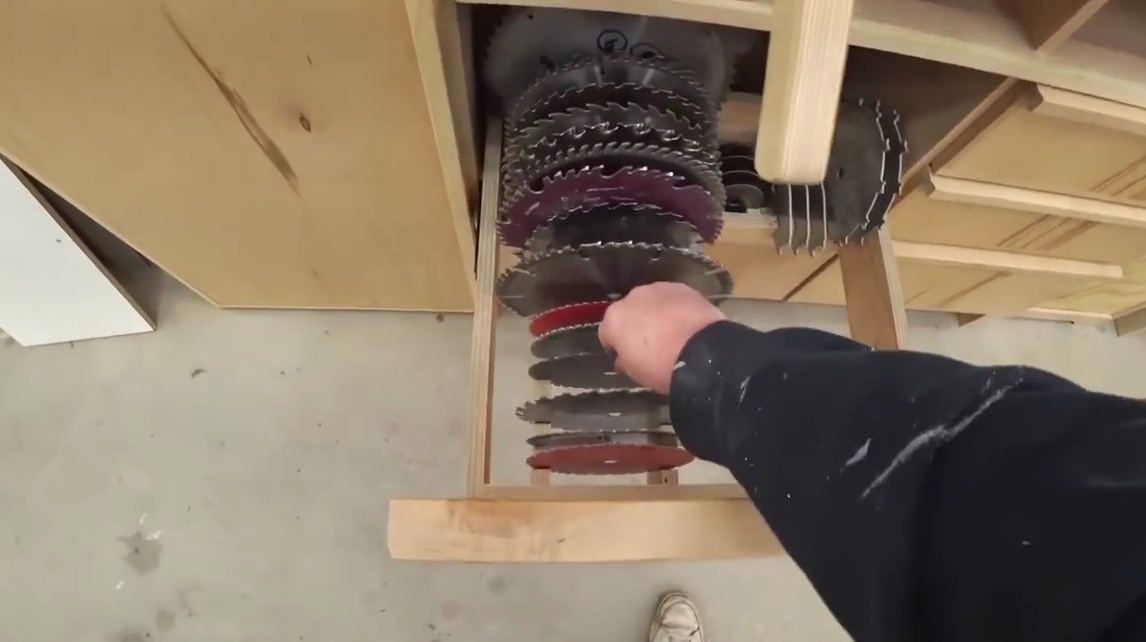
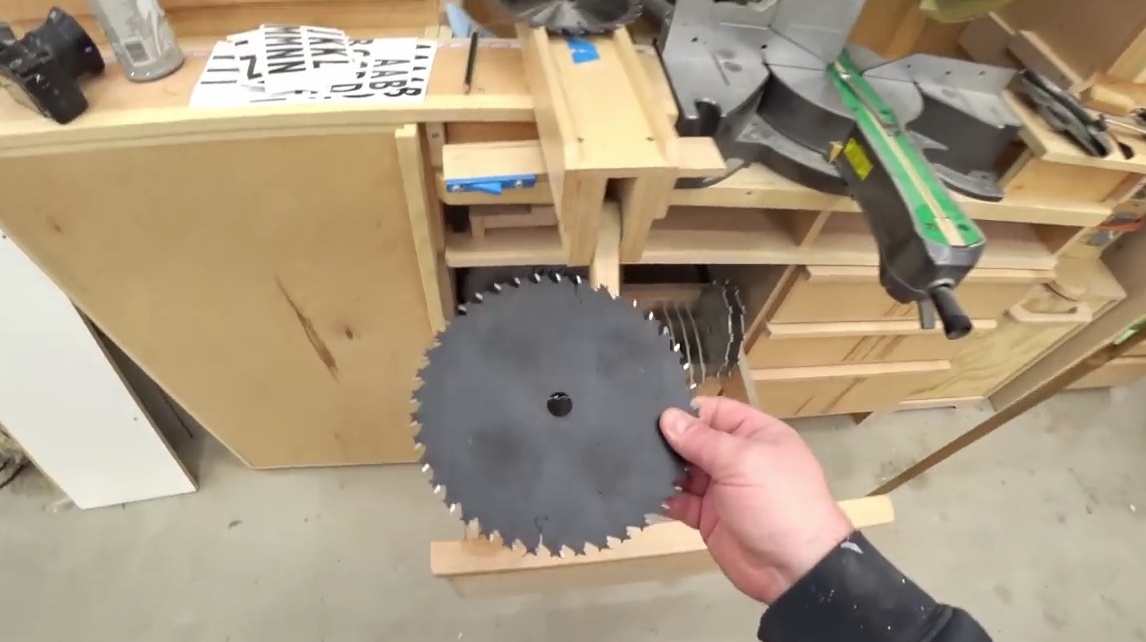
Next, he sets the disk back. However, for this case, he takes another disk, better.
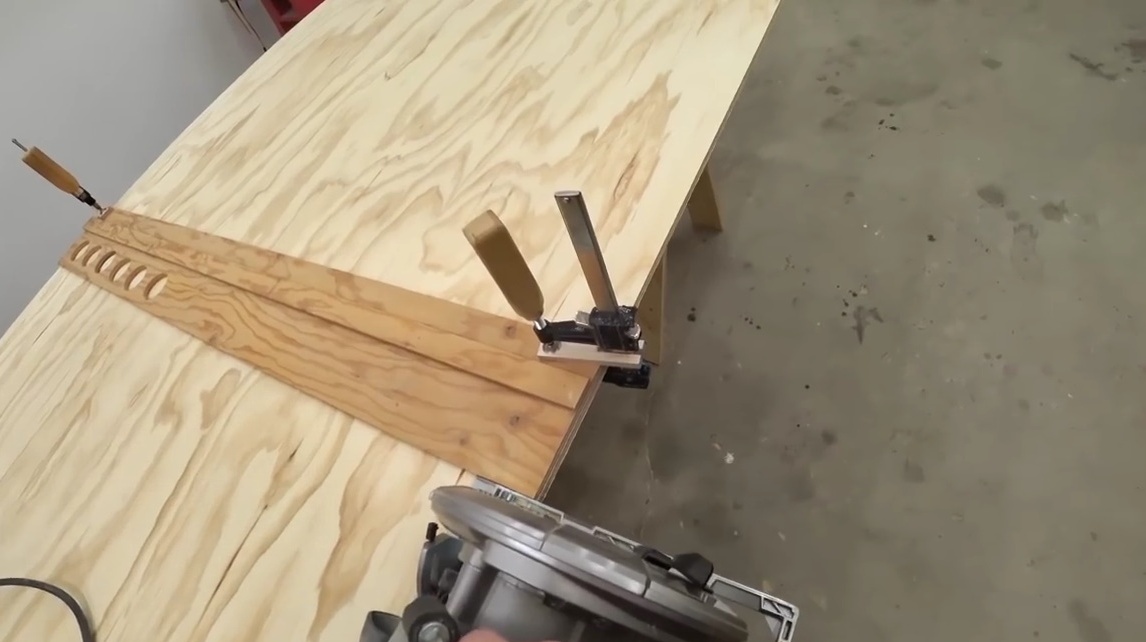
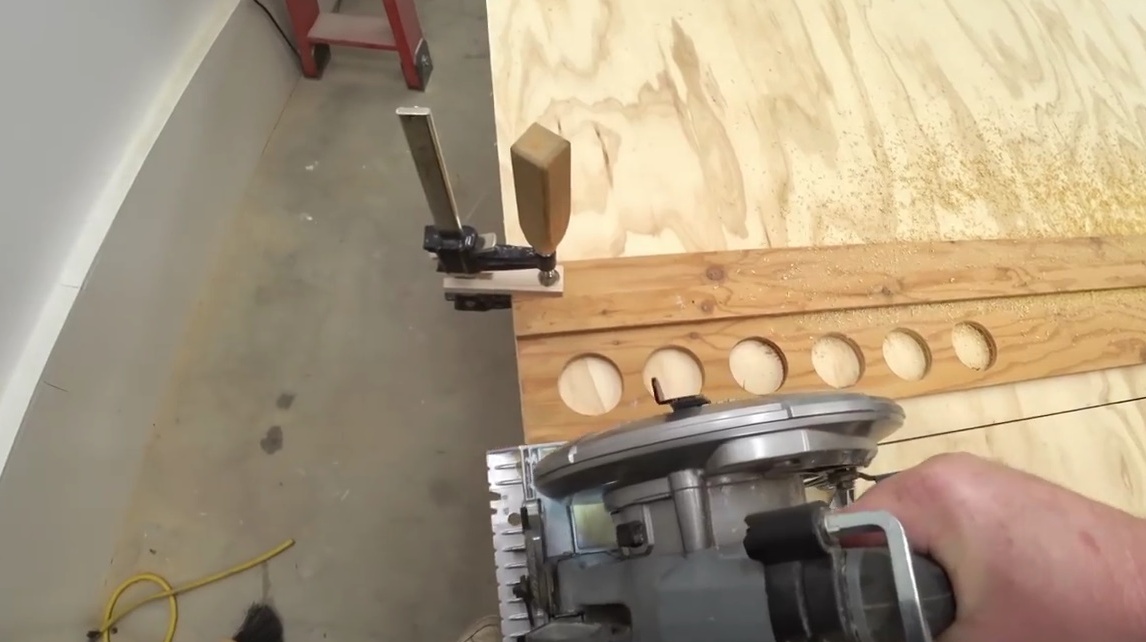
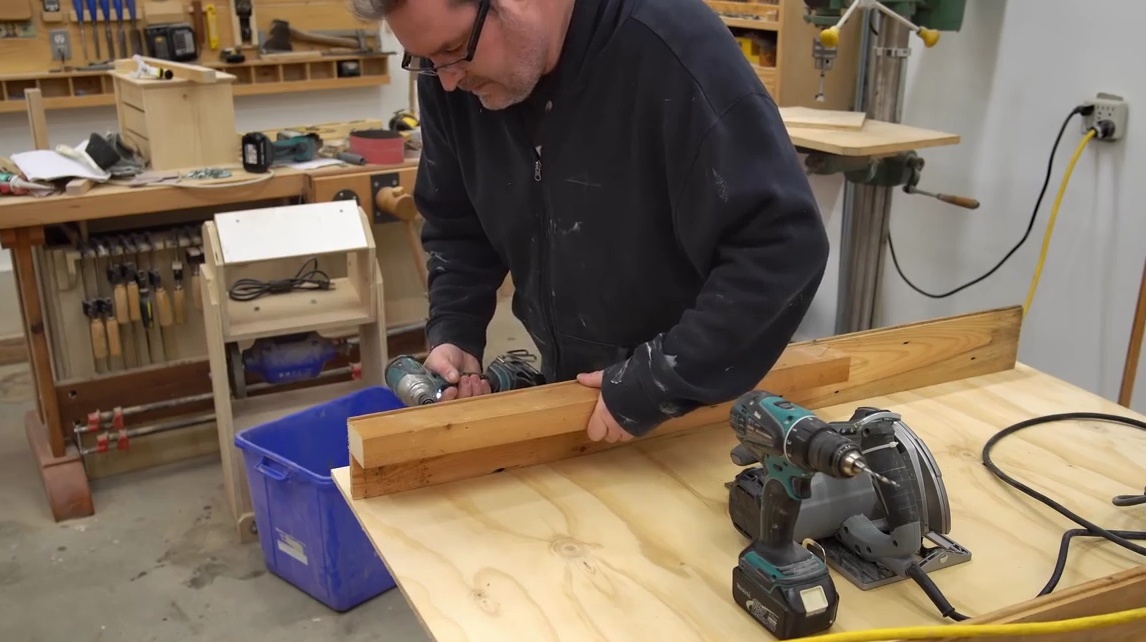
The next quasi-destructive thing that the author will do is drill several holes in the sole of the instrument. Thus, it will be easier to screw it from the bottom to the plywood. And again, this conversion will not affect the functionality of the saw.

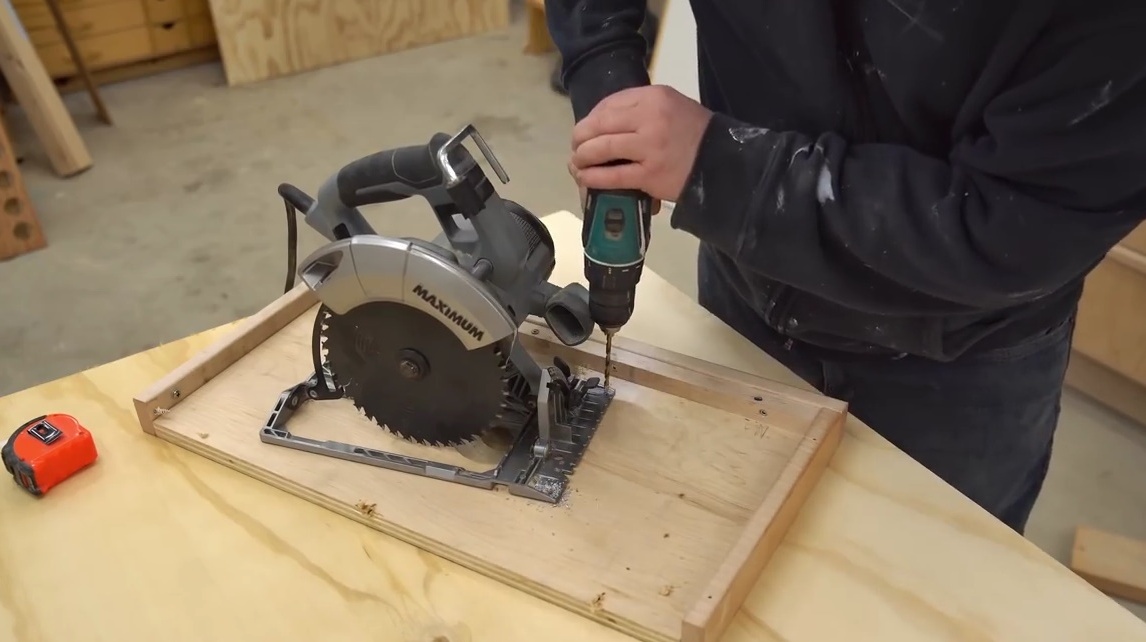
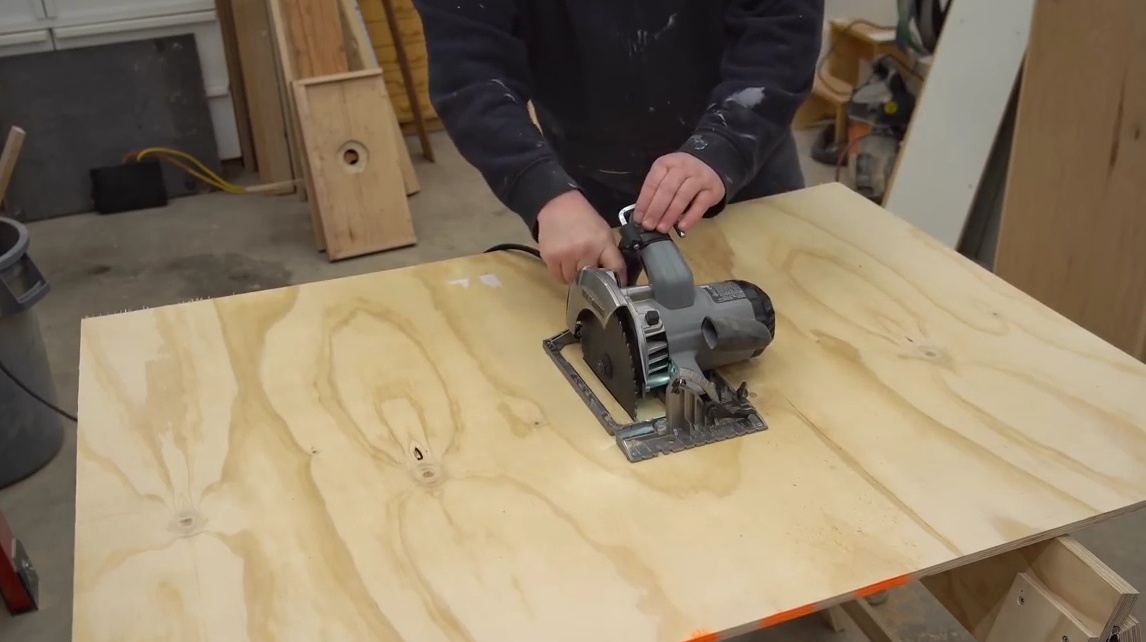
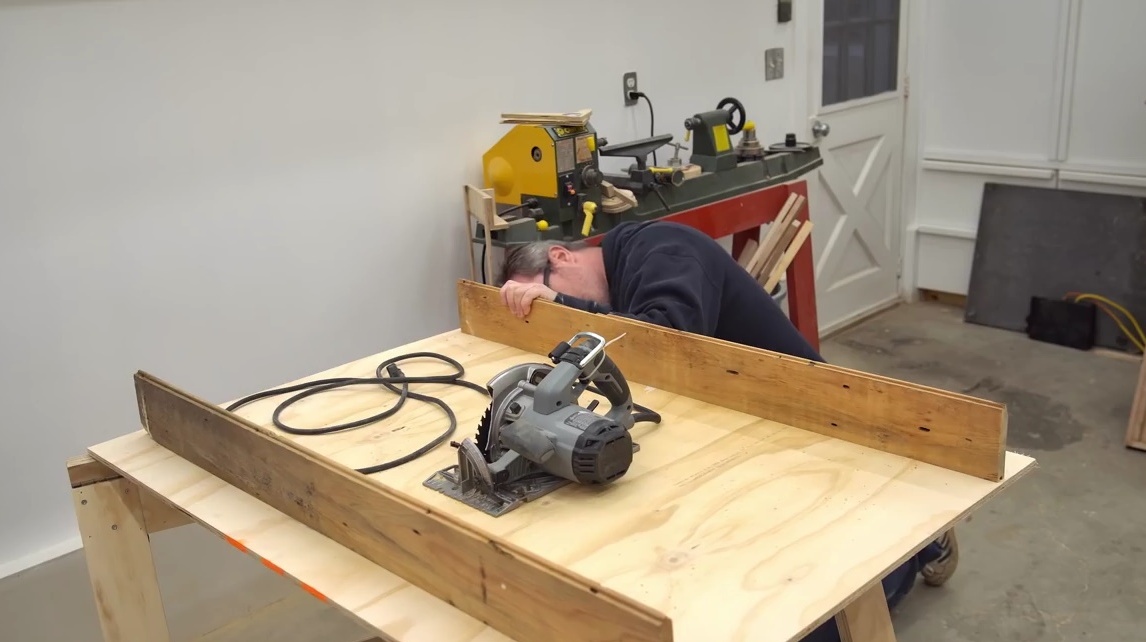
Through the drilled holes, screws are screwed into the plywood sheet, fixing it strictly taking into account the geometry of the sheet.It is important not to take too long, because the working surface can be damaged.

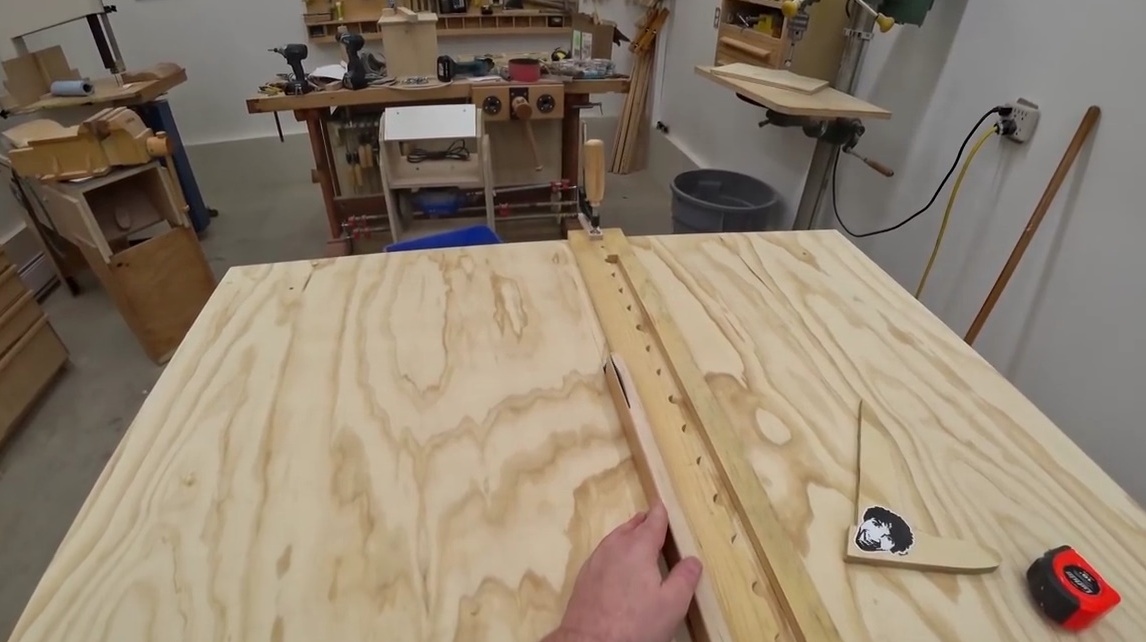
Now that the saw is firmly fixed in place, the author checks that the blade is set at an angle of 90 degrees in the vertical plane. After that, he makes a slot in the plywood sheet with a saw. The saw blade will only be used in a perpendicular position, so do not worry about the groove for tilting the saw.

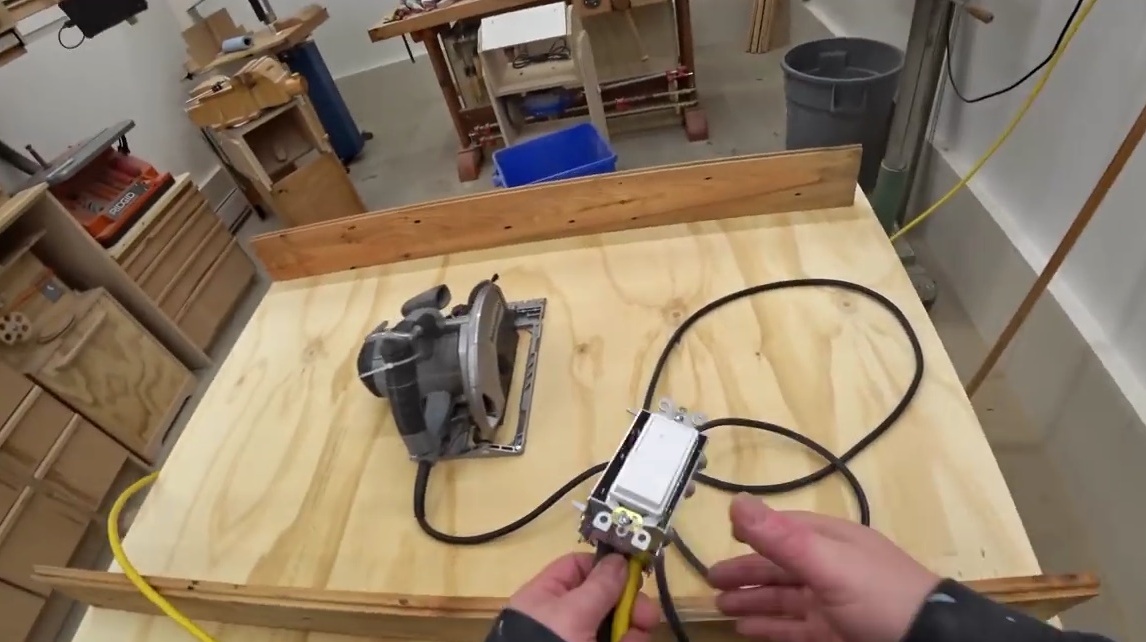
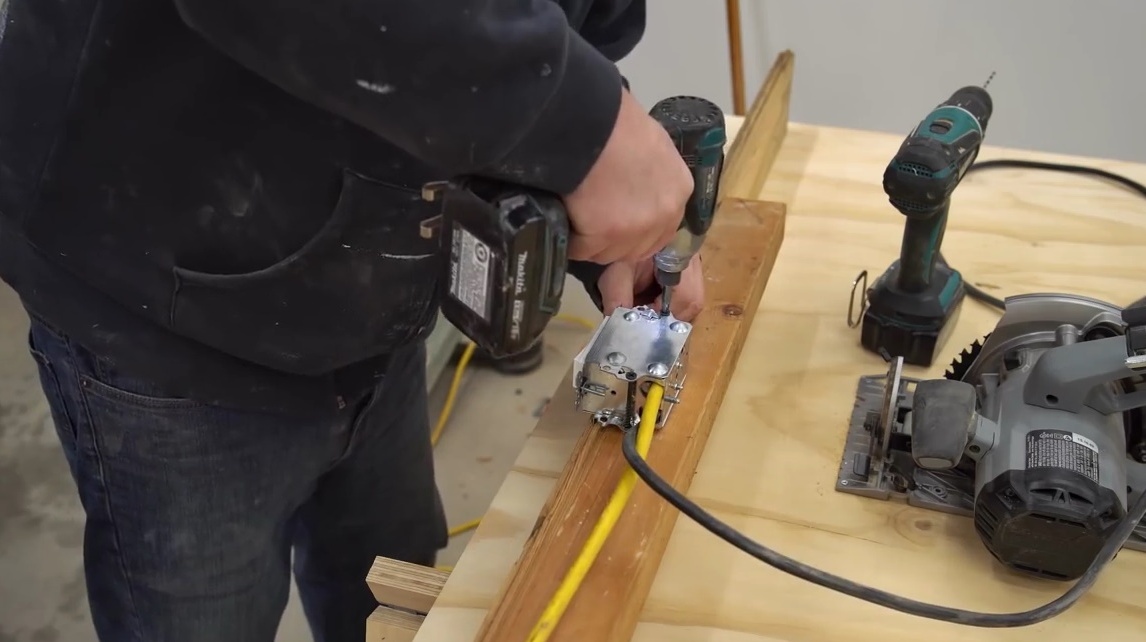
Next, John uses a plastic screed to keep the switch on.
In addition, he has to add several reinforcing beams to the table design, from the front and back of the table so that the plywood does not bend. After drilling holes in the plywood sheet, these crossbars are screwed on.

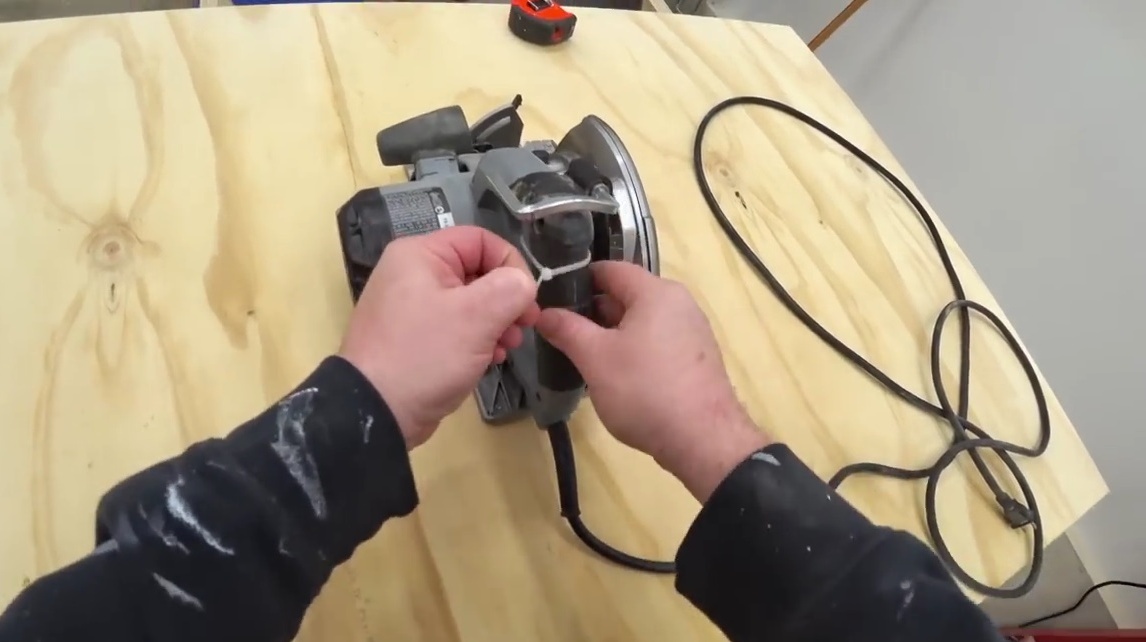
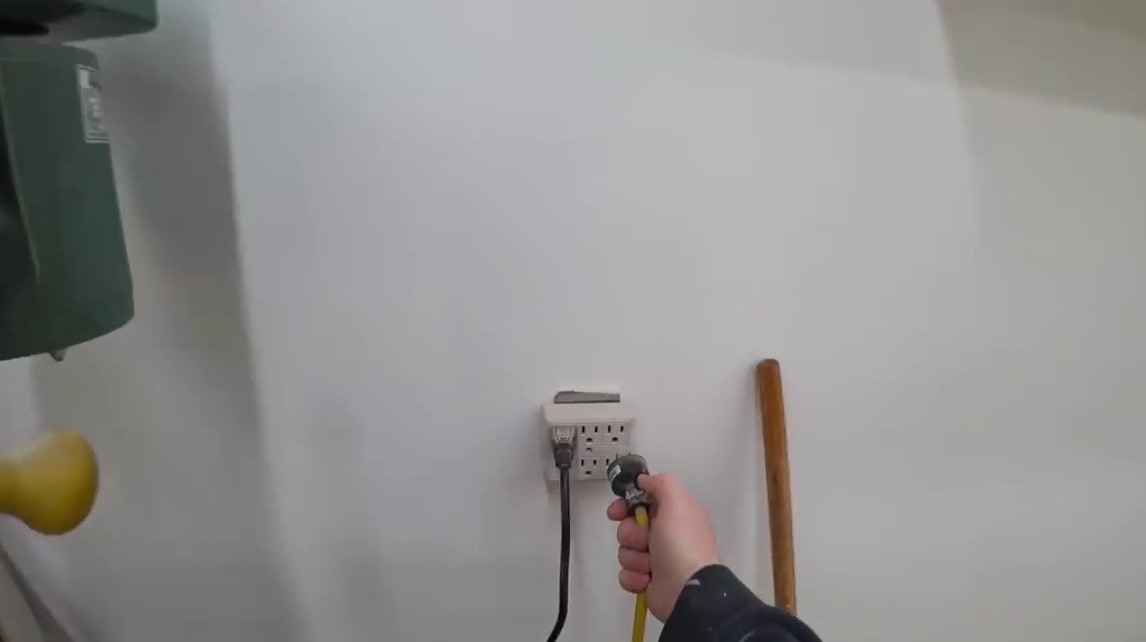
John connects the wire to the switch. He cuts off the original saw cord and uses the cord from the old circular saw to connect to the box, essentially a conventional light switch.

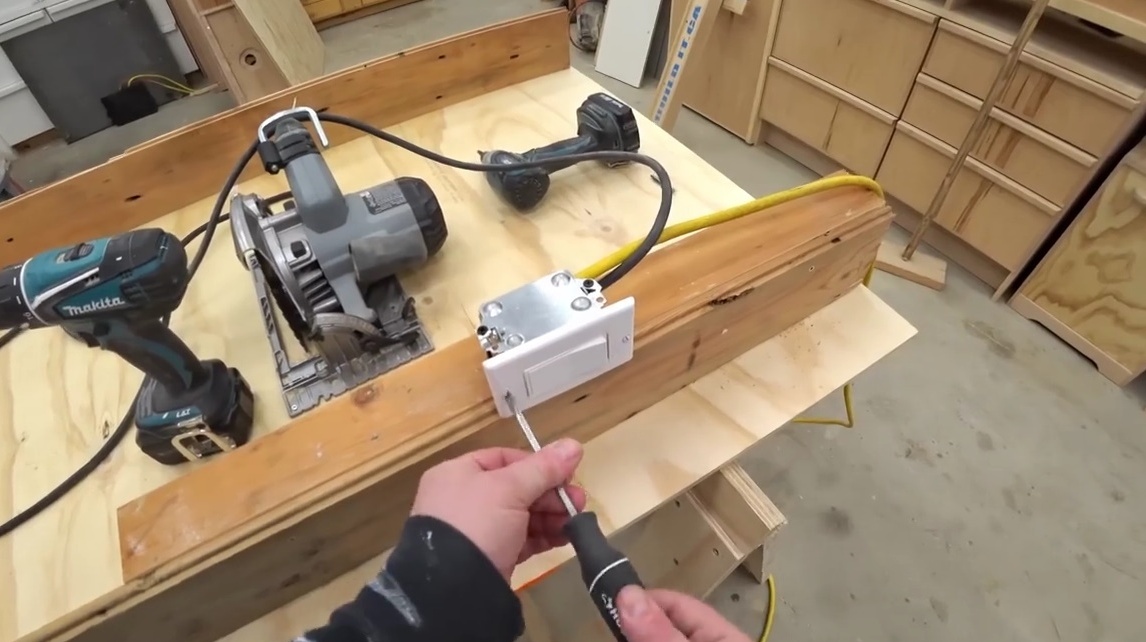
Further, the author adds another wooden crossbar in order to fix the switch on it. If he hangs, there is always the possibility that he can be accidentally turned on with his knee. He closes the switch with a decorative cover.
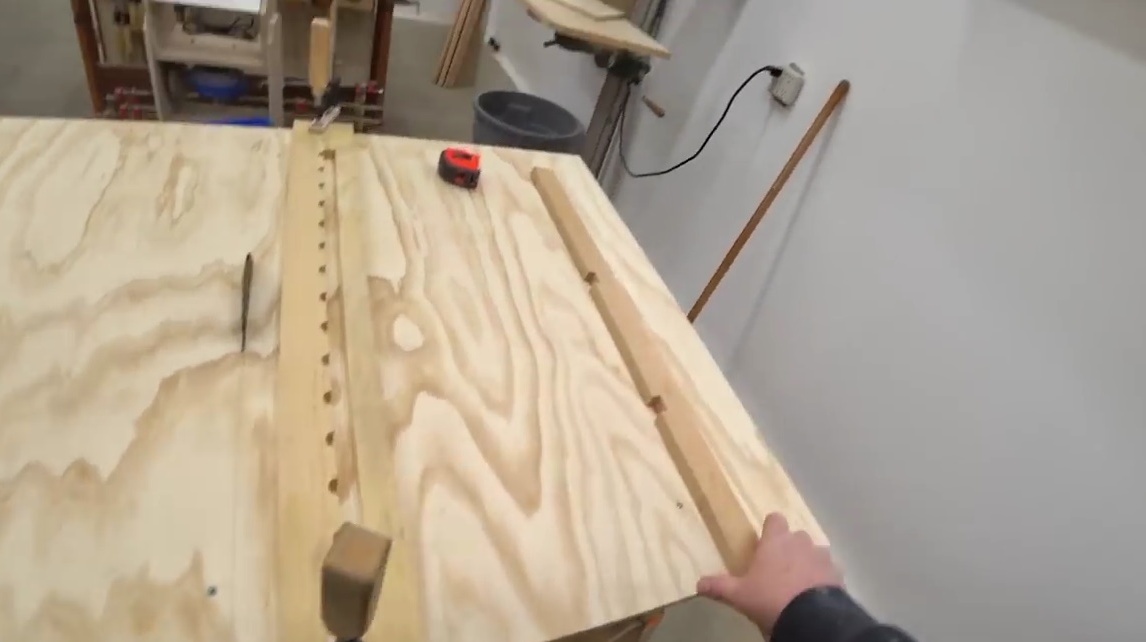
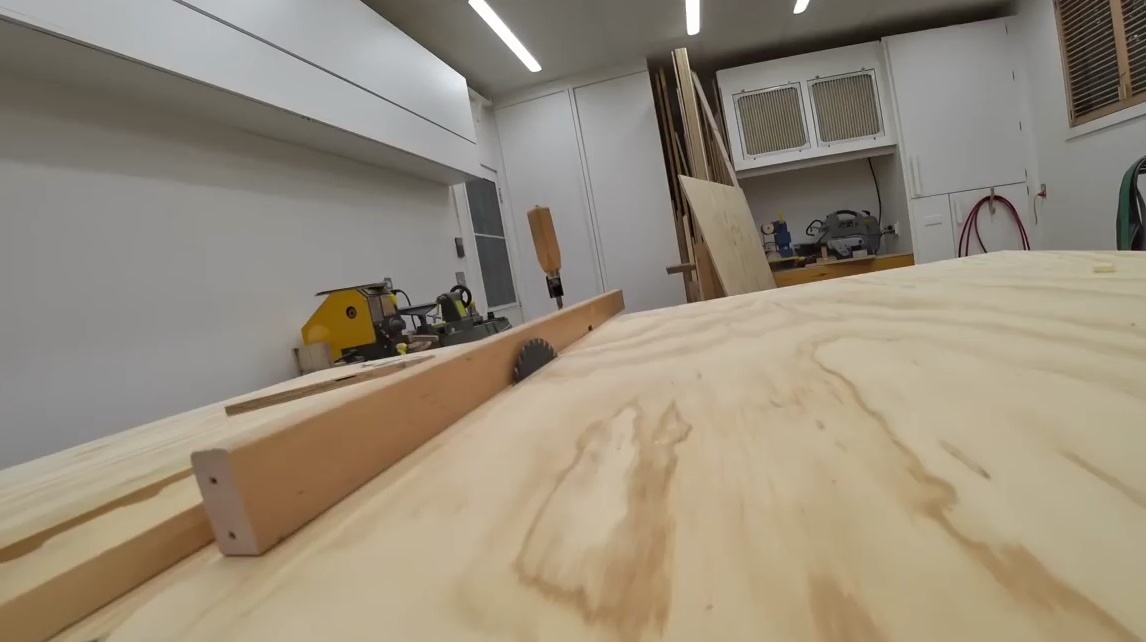
Now that the bottom side of the table is ready, it can be turned on the front side and better mounted on the gantry.
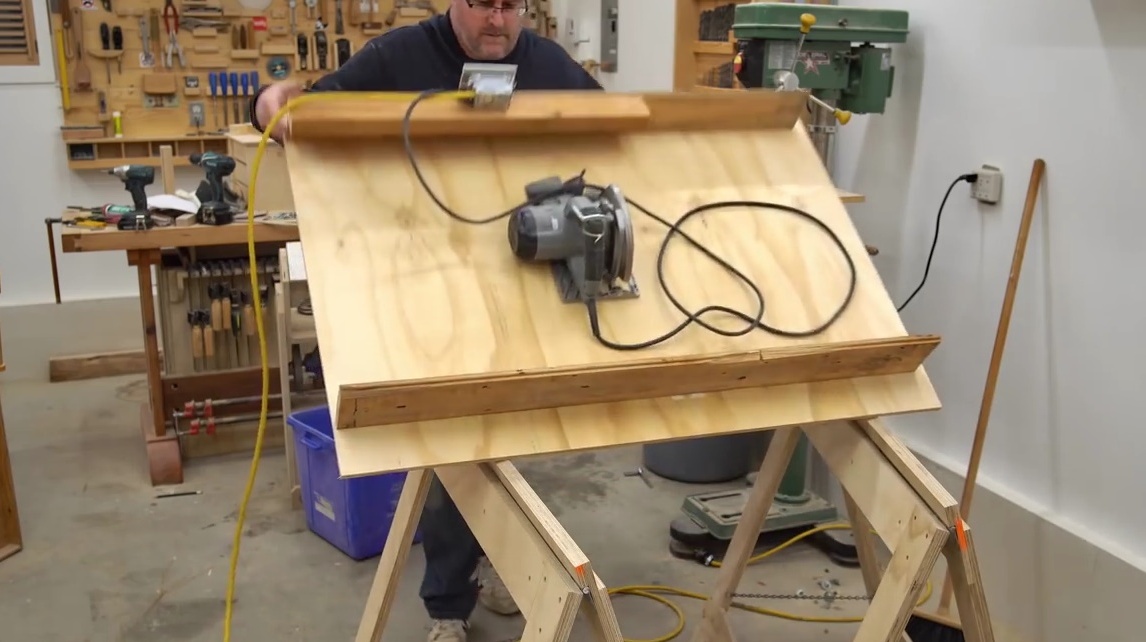
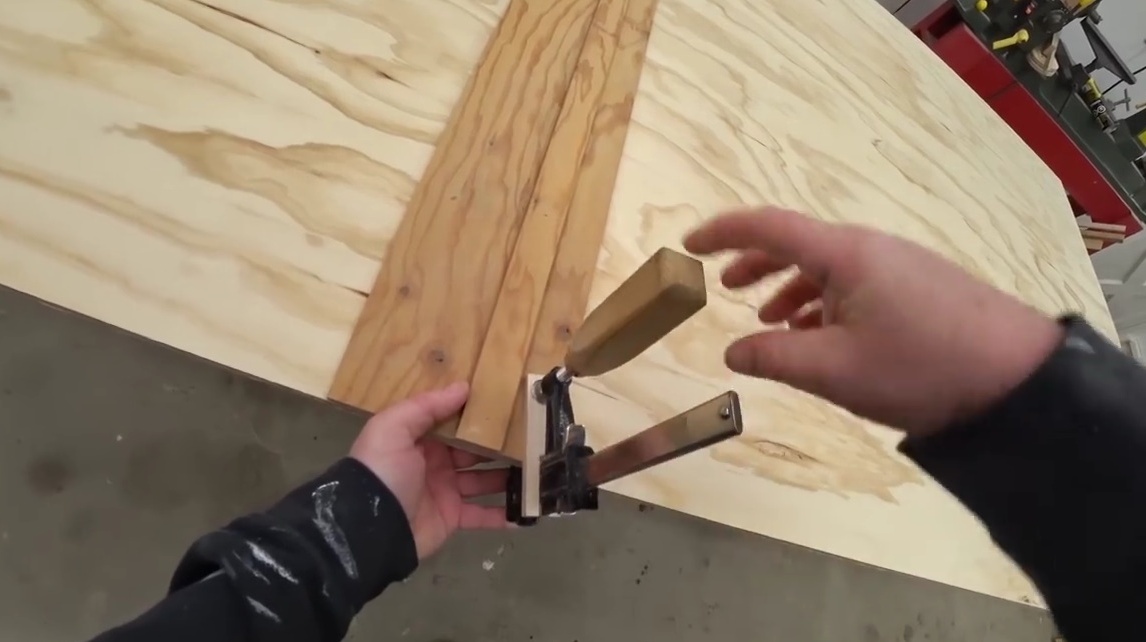
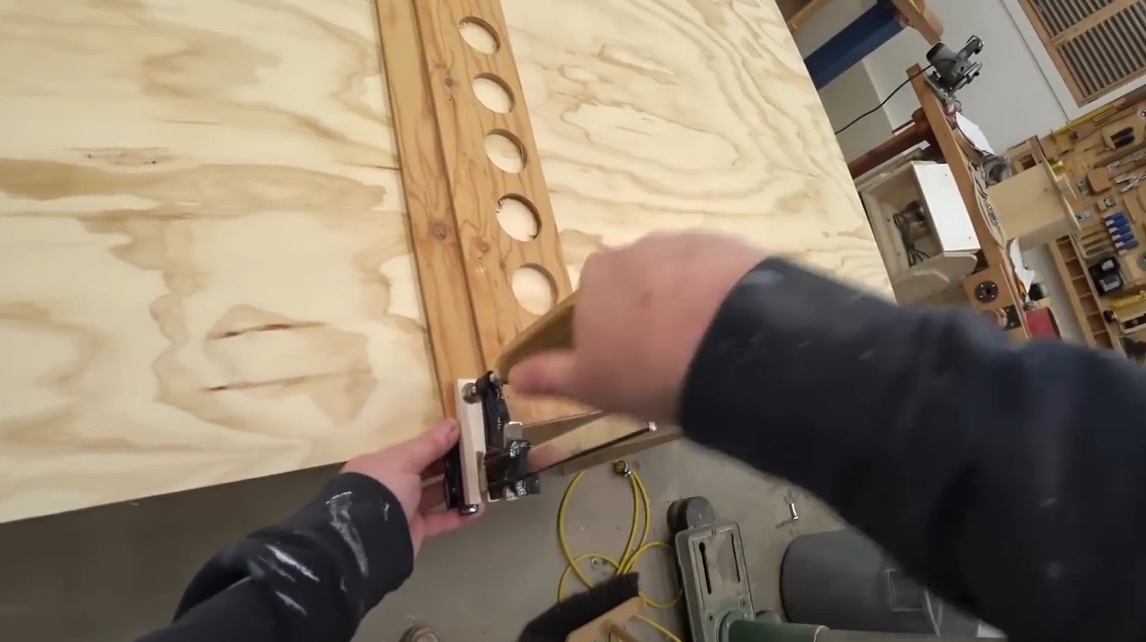
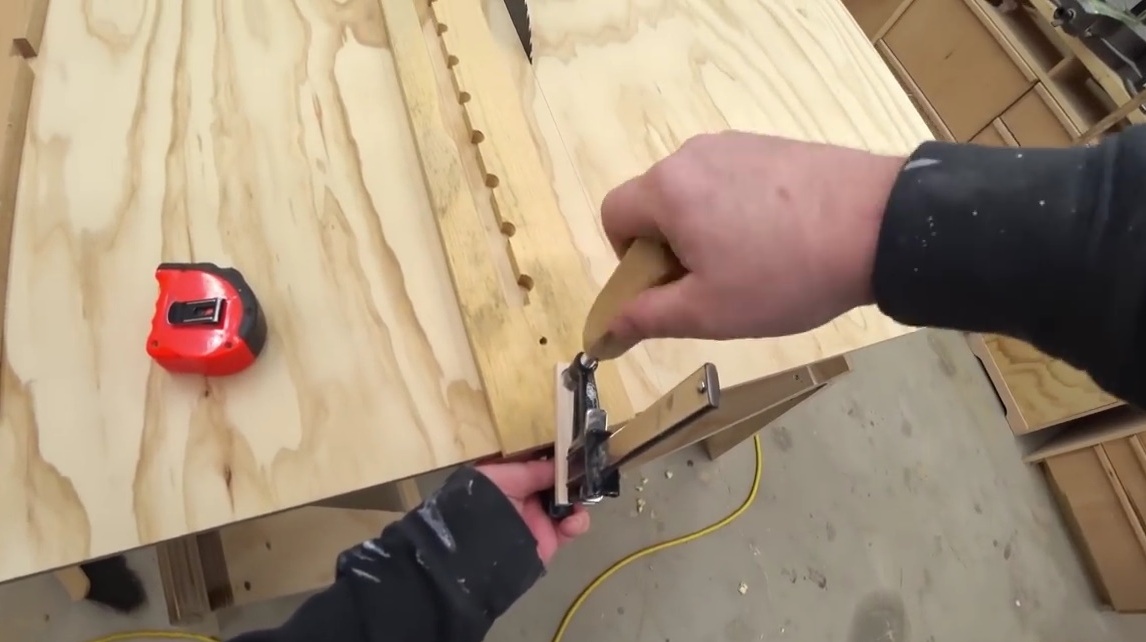
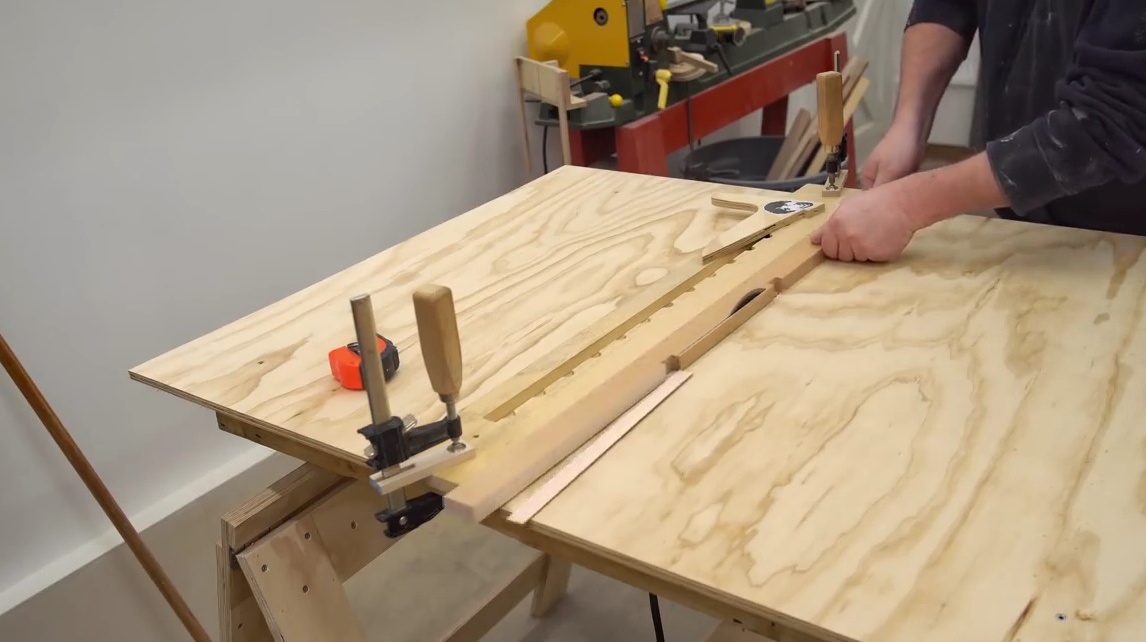
The last step is to install the stop. The author places it right behind the blade of the disk, parallel to it and perpendicular to the edge of the table. Keeping a right angle, he makes markings with a pencil.
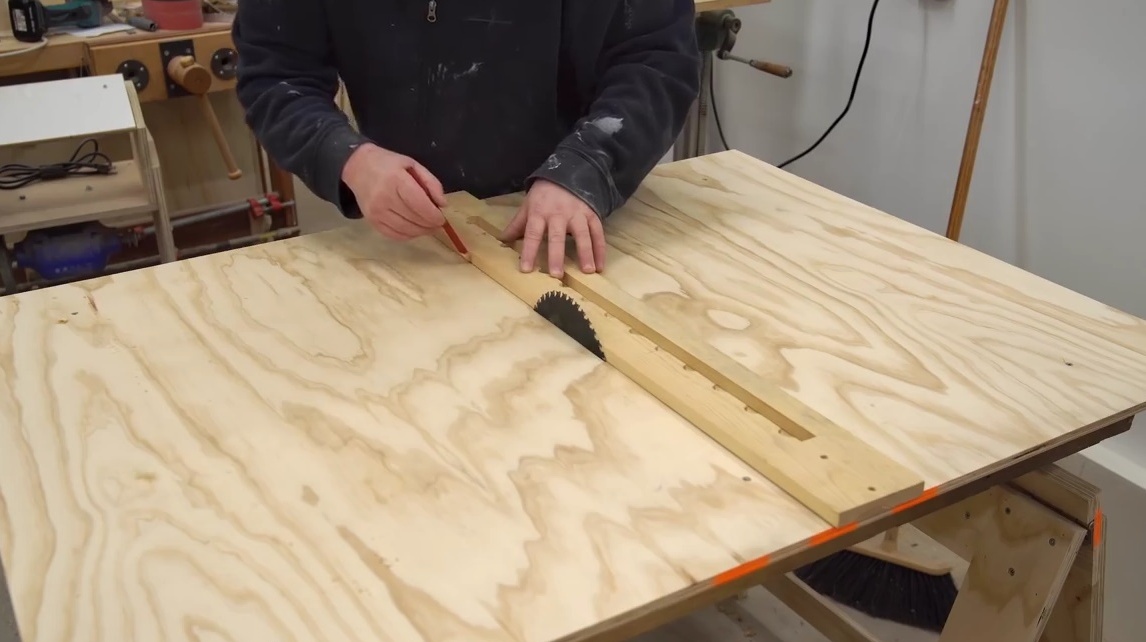
Then he fixes the stop with clamps on both edges of the table in order to quickly test the resulting machine.
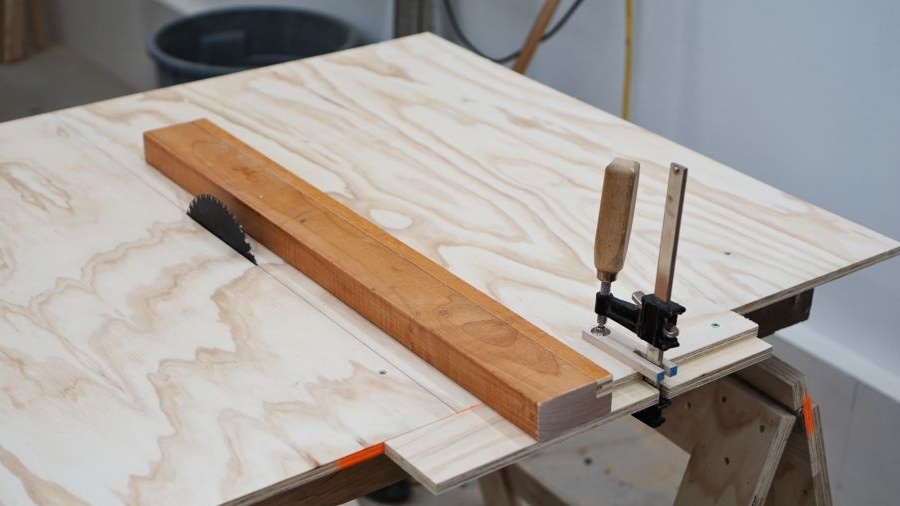
A cut of plywood and even hardwood pass straight through the disk. Not bad!
Of course, the height of the disk can be adjusted.

The saw turned out to be quite powerful and accurate. It easily cuts through material one and a half inches thick, while removing a layer 1 mm thick, without even breaking it.
And a few days later the author made a mobile emphasis, with fixation by one clamp, but more on that, perhaps in the following articles.
Thanks to John for such a simple project, it is very likely that such a table design can be very useful to someone. After all, you can do it literally in 15 minutes.
All good tools, and follow safety precautions!