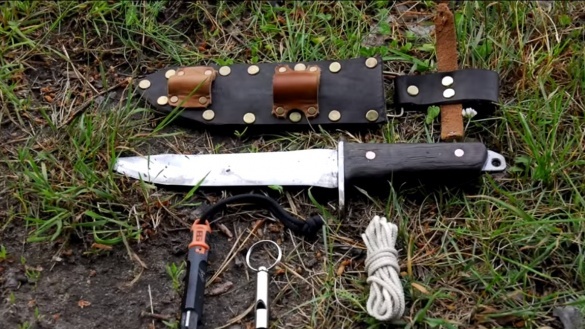
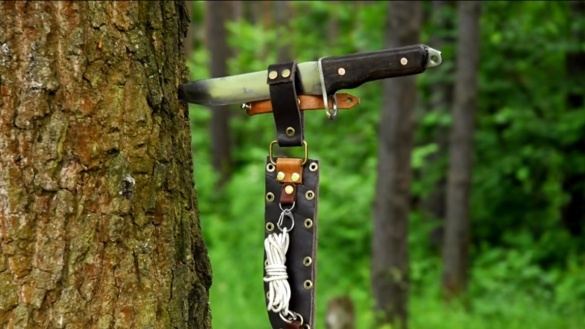
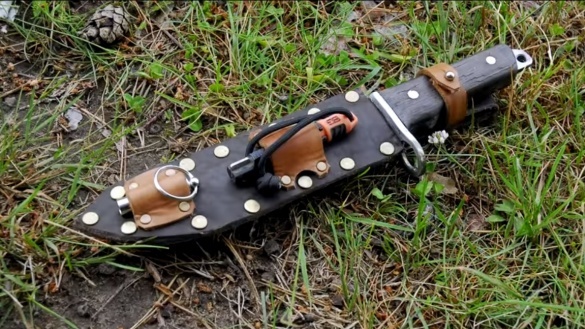
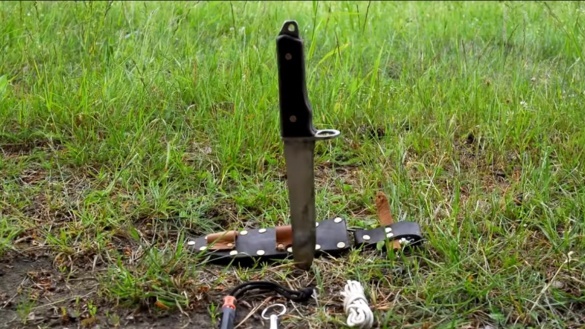
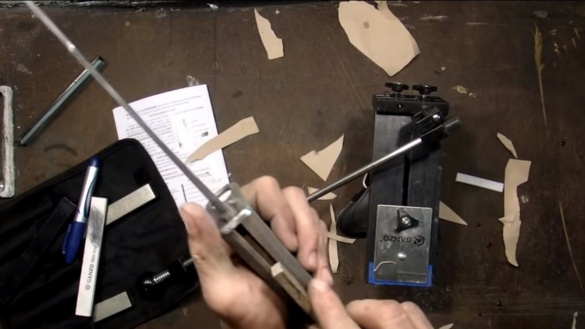
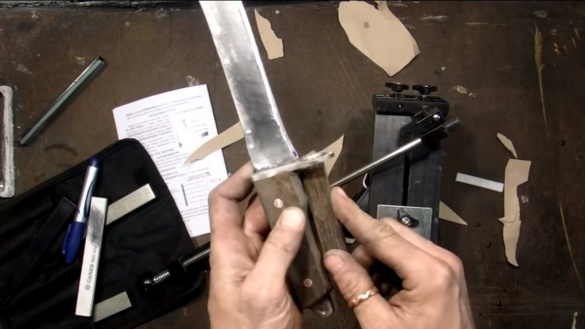
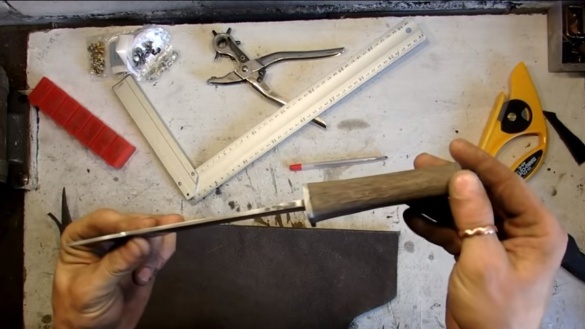
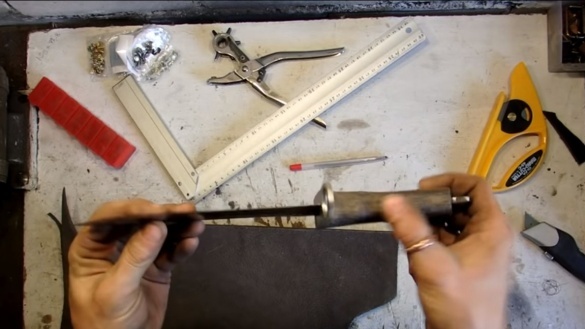
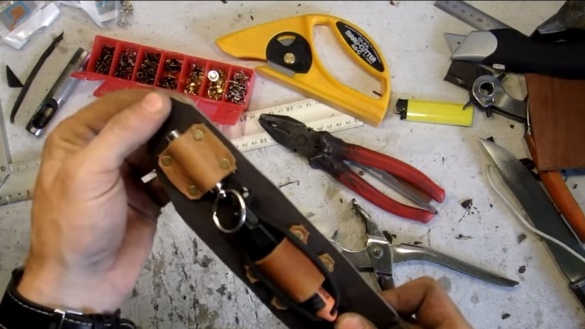
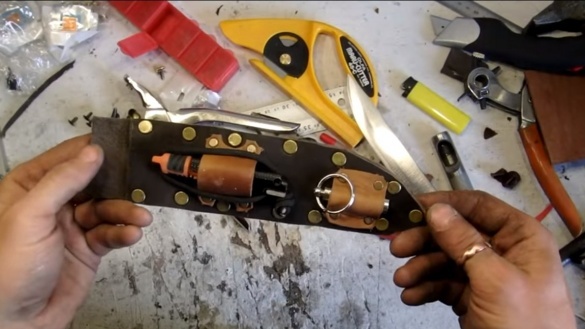
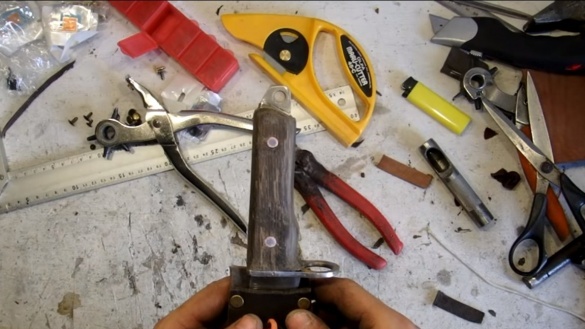
Hello everyone, this time we will learn how do it yourself make a reliable and multifunctional survivalist knife. You can easily turn such a knife into a spear, for this the guard has a special hole for mounting the knife on a stick. And on the sheath of the knife there is a special rope with which the knife can be tied to a stick. In addition, a whistle and a flint are also installed on the scabbard, which will allow to light a fire.
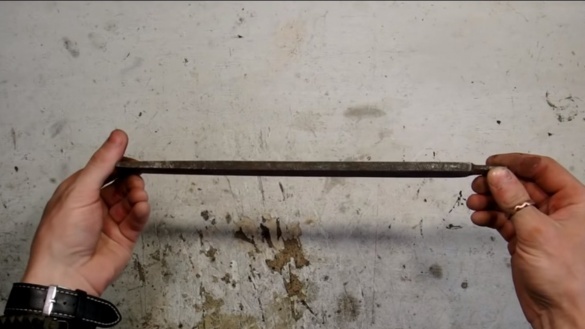
The author used an old file as a starting material for making a blade. As a result, the blade turned out to be hardened, the knife turned out to be strong and sharp as a blade. The handle of the knife is made of oak. The author used a minimal set of tools for making a knife, most of the work was carried out using a grinder. As for the profile of the blade, then the master had to do a little forging. In general, the knife turned out to be reliable, beautiful, and to make it quite easy. Let's consider in more detail how to make such a knife!
Materials and tools used by the author:
Material List:
- old file;
- an oak board or whetstone (for the handle);
- sheet steel or other metal (for shards);
- copper tubes and nails (for pins);
- epoxy adhesive;
- leather for sheath;
- flint;
- whistle;
- the rope.
Tool List:
- blacksmithing supplies;
- Bulgarian (cutting discs, grinding, flap and disk);
- files for metal;
- a tool for cutting wood;
- drill;
- grinding stones;
- a tool for installing rivets;
- scissors.
The process of making a knife:
Step one. We form the main profile
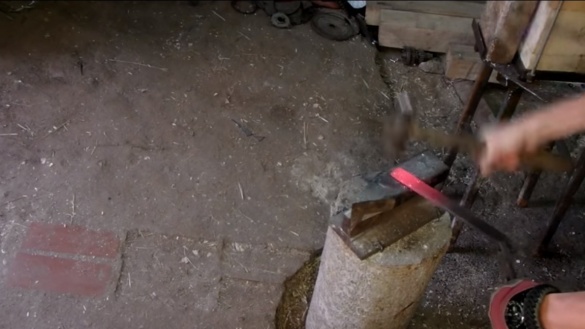
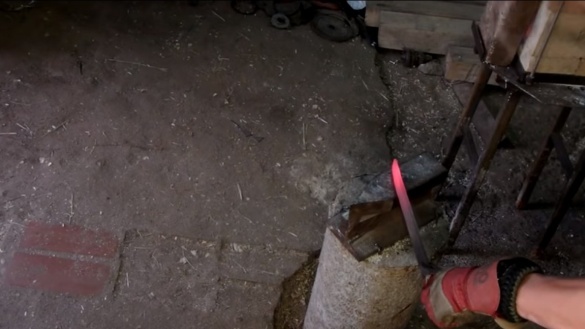
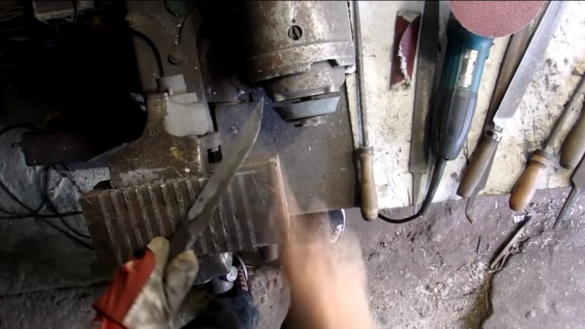
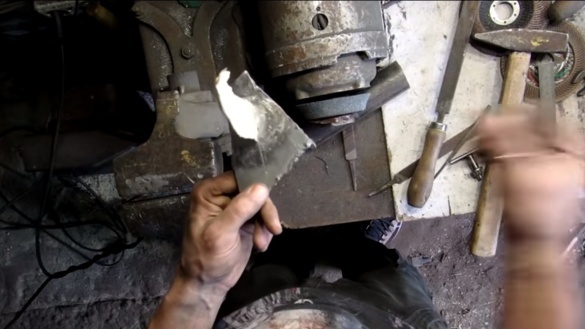
To form the main profile of the blade, the author uses forging. During the forging process, the blade will become wider, and thanks to the forging, the metal will become more durable. We heat up the file, and it works with a hammer on the anvil.
In the end, the author released the metal so that it could be easily machined with hand tools, and holes could be drilled in the handle. For vacation, the file can be heated and left to cool in the oven with it. In principle, you can try to cool the blade in the air. After that, the metal should be taken with a file.
Step Two Modifying the blade
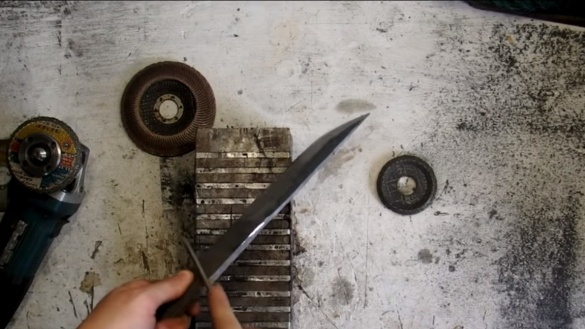
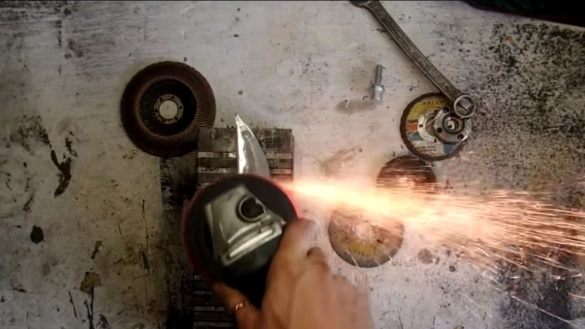
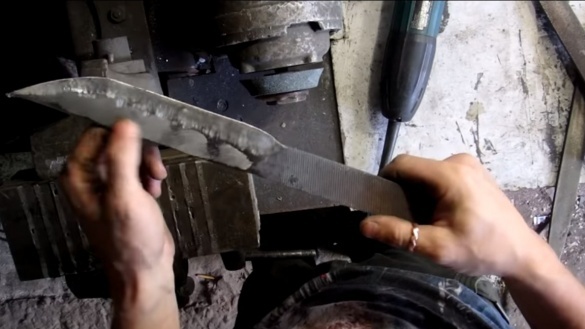
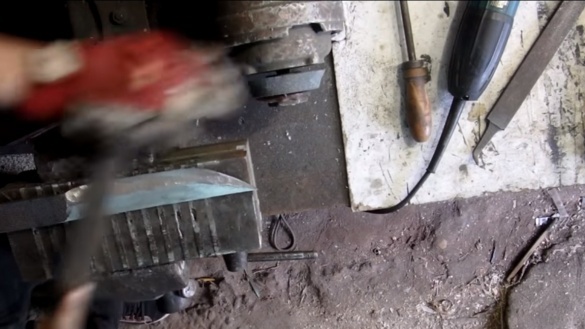
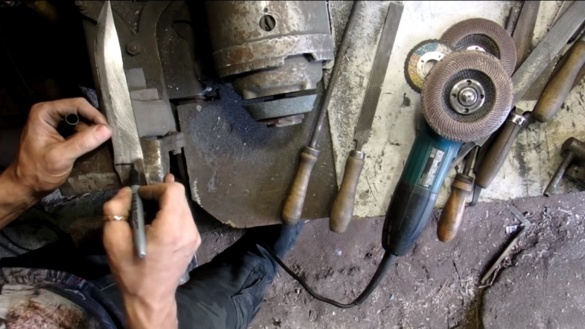
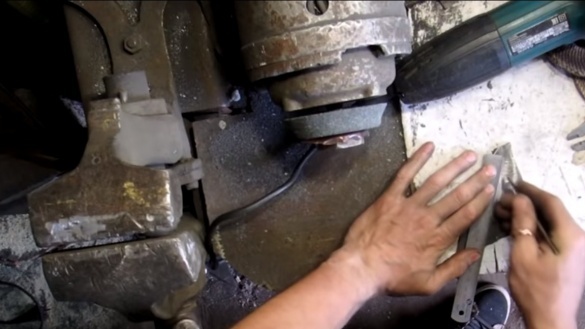
Next, we proceed to grinding the blade, form its final profile. Then a grinder with a grinding disc comes to our aid.Using it is convenient to choose excess metal. Of course, a belt sander is usually used for such purposes, but our author did not find one.
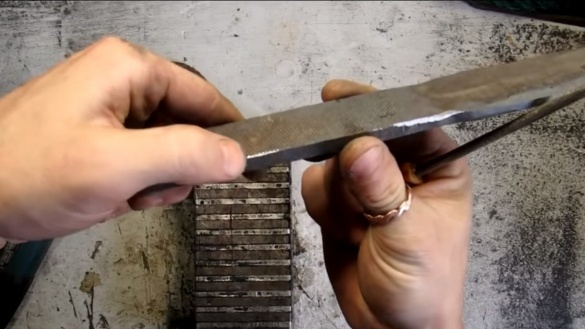
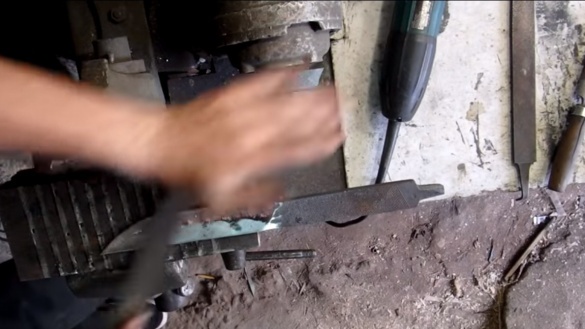
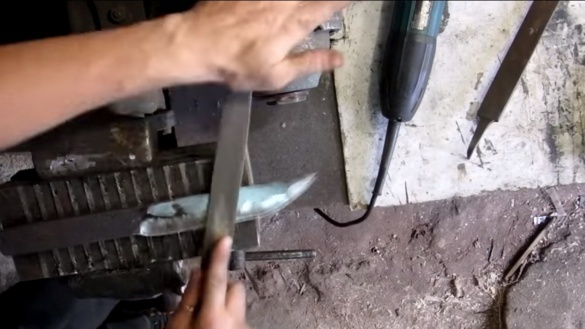
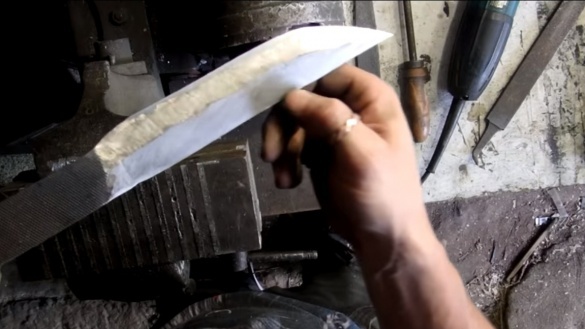
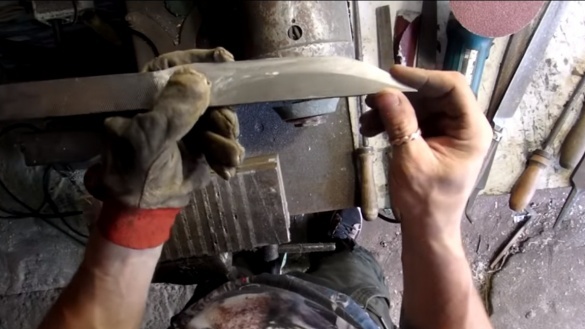
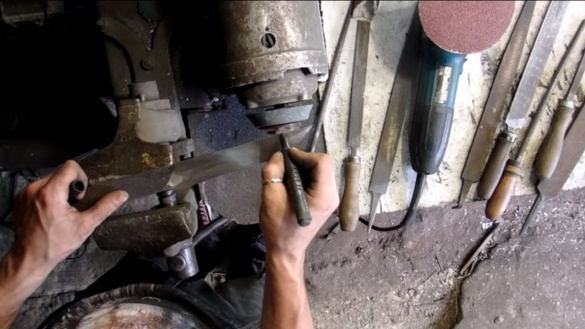
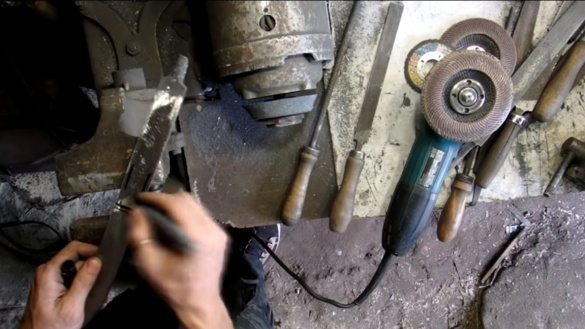
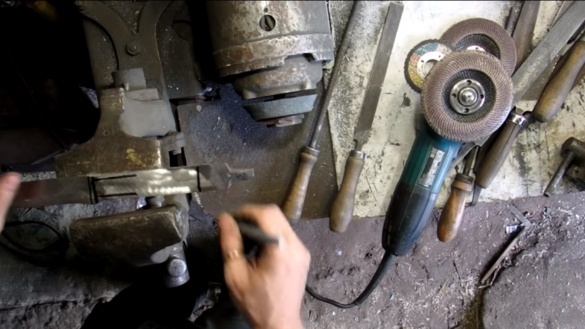
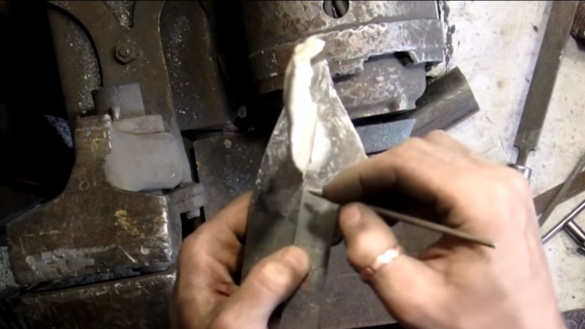
After rough processing, we proceed to a thinner one, it is carried out manually using a flat file for metal.
In a similar way, the author forms bevels, everything is done by eye. Since the blade will still be hardened in the future, you cannot make the blade too thin, as the metal can turn into raw.
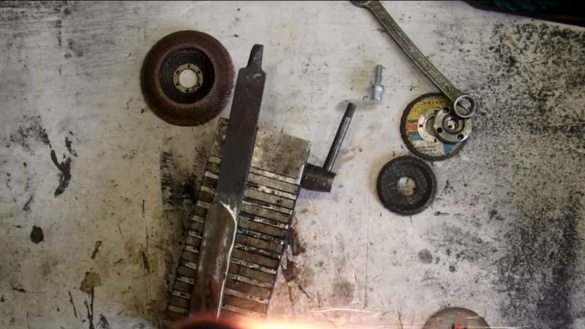
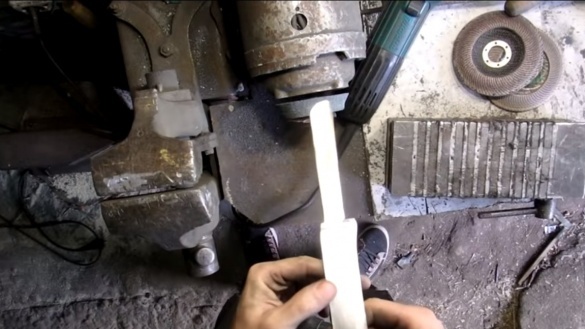
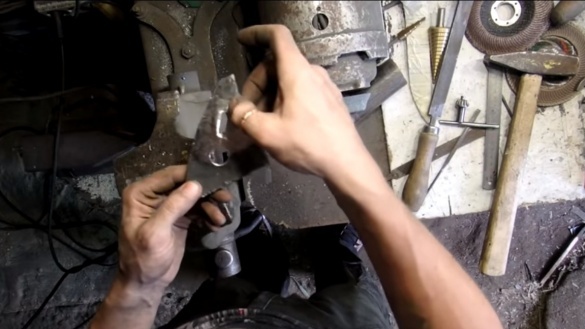
At the end, you need to modify the handle. First, we need to make it thinner, since we do not need excess weight, the mass should be concentrated in the blade, then it will be convenient to chop with a knife. We also make the handle narrower, something like a shank should turn out. The handle will then be glued together and turn into a solid structure.
Step Three Making guards
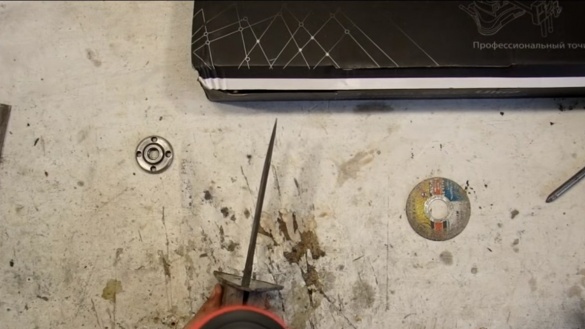
We begin to manufacture a guard for a knife. For such purposes, brass or other soft metal is not suitable, since the guard has a hole for turning the knife into a spear. Stainless steel is well suited for this. We drill a hole in the workpiece and file a slotted hole under the shank with a file. In conclusion, we will need to drill a large diameter hole and finally cut the guard.
Step Four Blade hardening
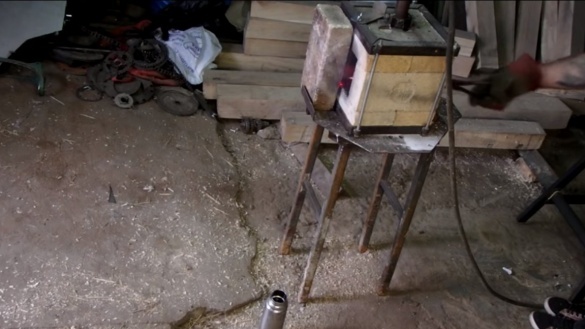
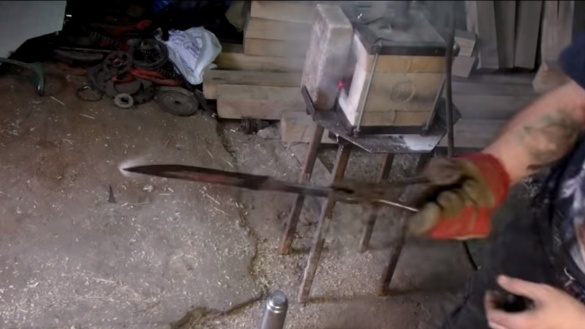
To temper the blade, we need a forge furnace and oil. The author does not temper the blade in water, since in his opinion, with this approach, a lot of cracks form on the blade. We heat the blade to a red glow and lower it into oil. Check if the knife is tempered using a file. If hardening is unsuccessful, we try to heat the metal stronger. If the knife cannot be tempered, it means that the file was used from modern ones, where only the top layer is solid and the metal inside is bad.
After hardening, the blade is supposed to be released, but the author did not do this procedure. If you do not take a vacation, there is a risk that the blade will be too fragile.
Step Five Collect the knife
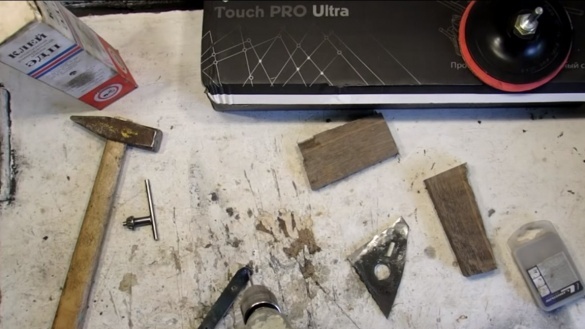
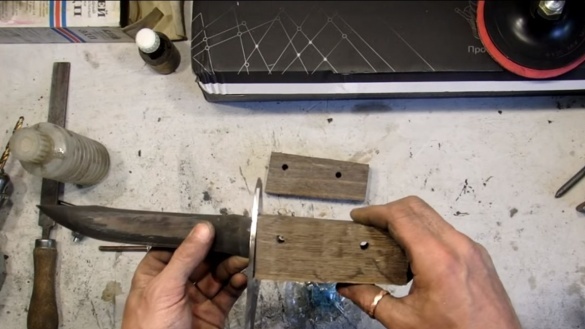
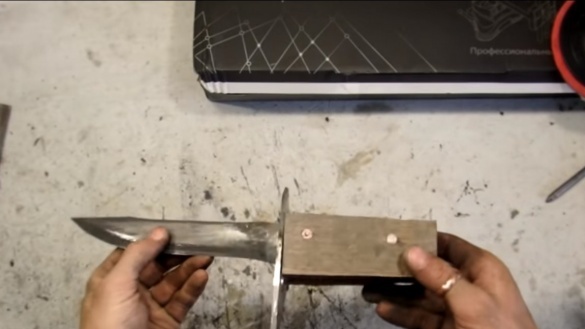
To assemble the knife we need two pads, the author used oak, as well as epoxy glue and pins. We drill holes along the diameter of the pins, for which the author used copper pipes. Inside the tubes, nails of a slightly larger diameter were clogged than the inner hole of the tubes. As a result, the pins turned out to be strong and two-tone. Well, then we collect everything on epoxy glue, tighten with clamps and leave until completely dry.
When the glue dries, give the handle the desired shape using a grinder with a disk nozzle.
Step Six Sharpening
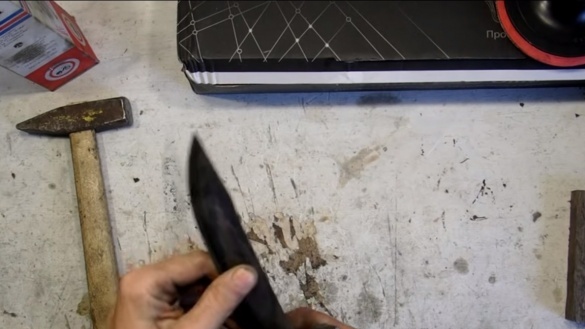
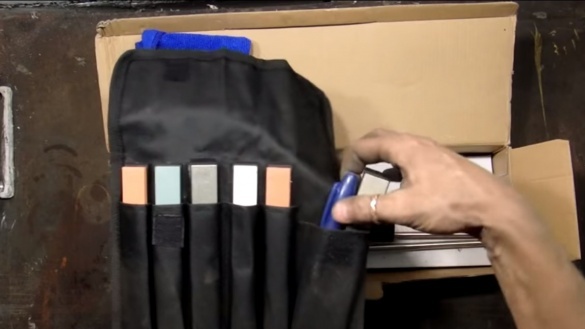
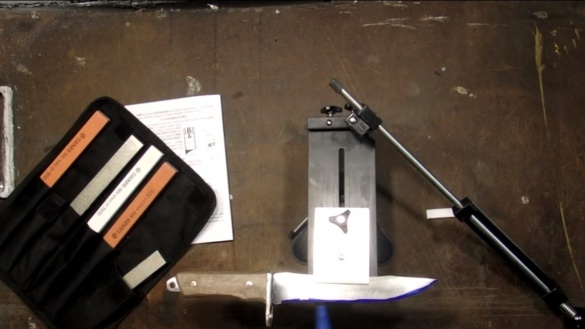
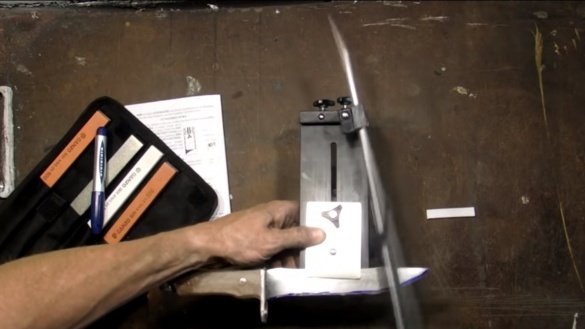
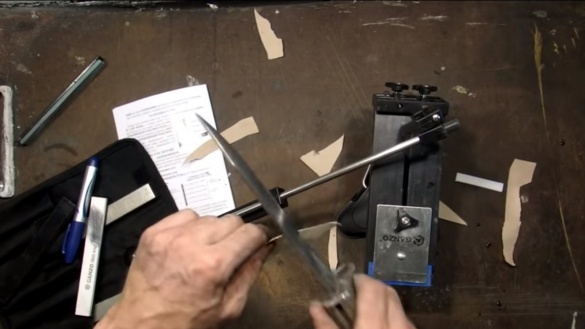
For sharpening a knife, the author has a special machine with grinding stones of different grain sizes. With it, you can sharpen the knife at the desired angle to the state of the blade. The author’s knife was so sharp that it cuts thin paper without difficulty.
Seventh step. Finalization of the handle
On the handle there will be grooves that are the result of the knife shank installed between the overlays. To close these gaps, the author installed in them PVA inserts on the glue, and then aligned the handle, it turned out to be monolithic. As a result, we grind the handle to a perfectly smooth state and impregnate it with oil so that the tree does not absorb moisture. The knife and handle can be polished at the end. During long-term storage of the knife, the blade must be lubricated, otherwise this metal is prone to rapid rusting.
Step Eight. Make the scabbard
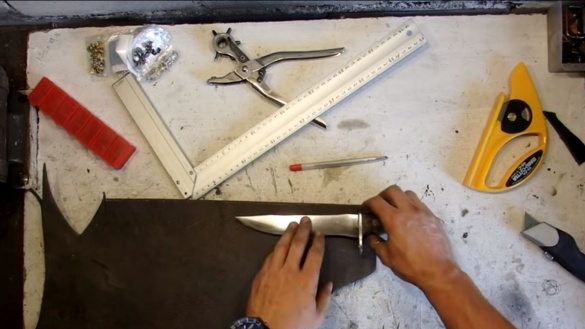
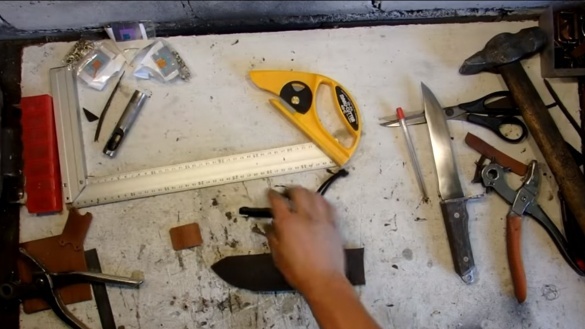
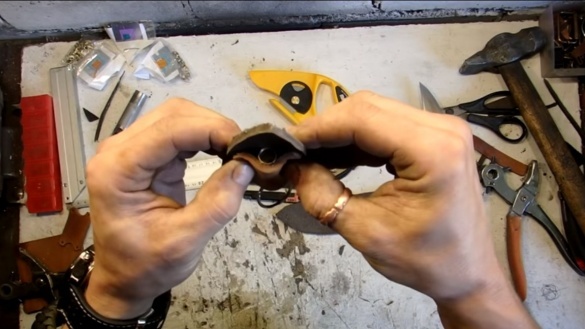
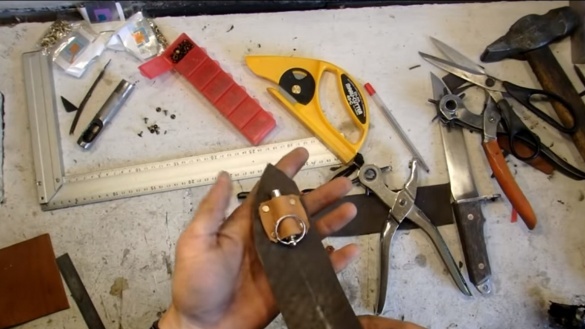
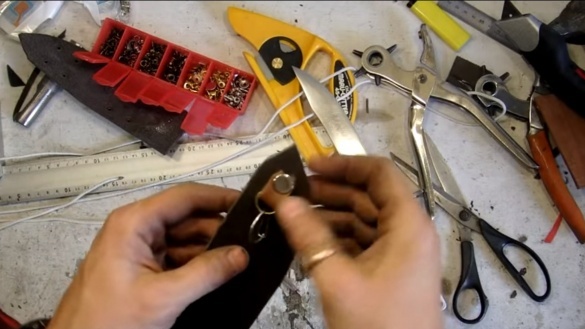
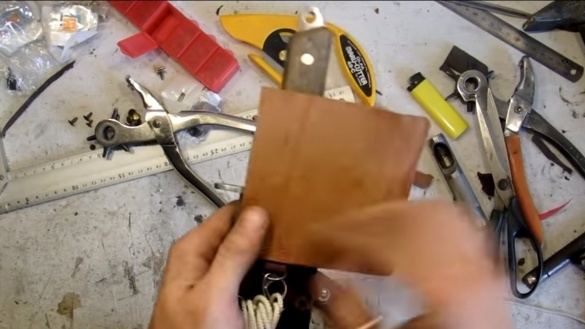
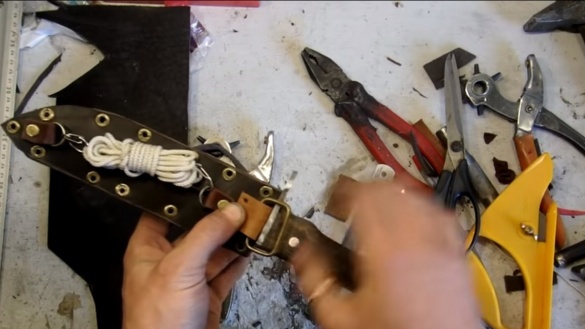
We begin to manufacture the scabbard, the author makes them of leather, and connects everything with rivets. First you need to cut two parts according to the shape and size of the blade. Next, we install loops on these parts so that you can fasten the rope, the whistle, and also fix the flint. Only after that we collect the sheath finally on rivets. At the end, we still need to install a loop with which we will fasten the scabbard to the belt.
Step Nine.Challenges!
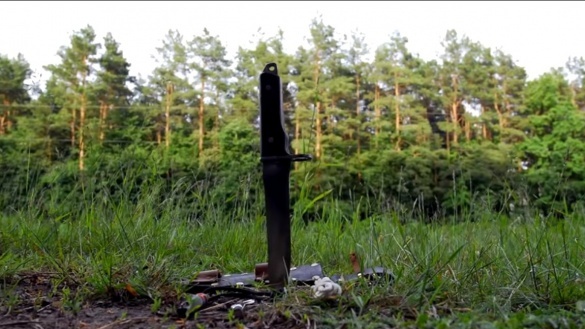
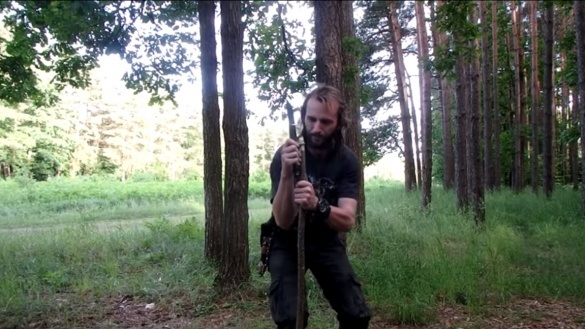
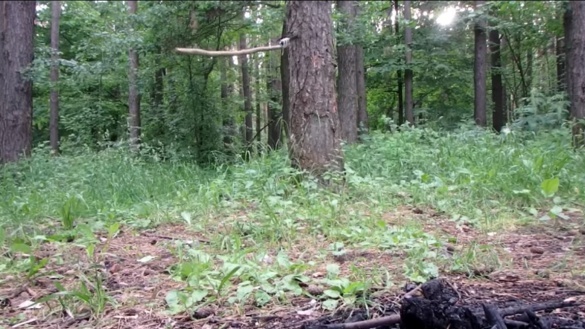
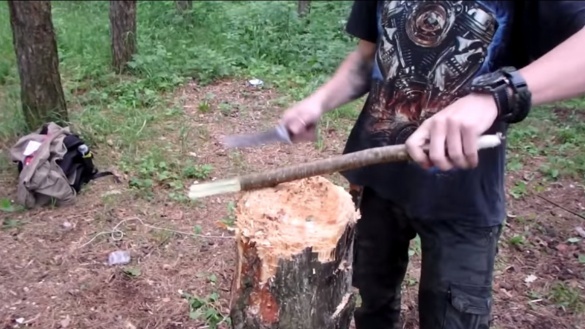
The knife is ready, go to the forest for testing. To begin with, the author tries to make a spear out of a knife. Suitable for such purposes hazel. We cut the stick that is necessary along the length and sharpen the bow to install it in the hole of the guard. That's all, now we securely wind the blade to the spear using the rope that is on the scabbard. The author throws a spear, and it successfully sticks out of a tree. Having gained some experience, you can easily get into a bird, a hare and other prey. Of course, in the wild, fish can be considered the easiest prey.
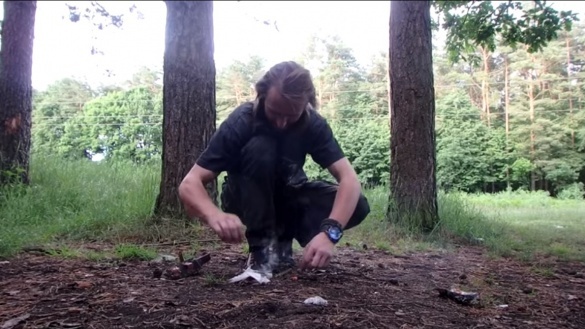
Further, the author tries to light a fire using a flint, which is also mounted on a sheath. But here he befalls failure, it has recently rained and everything around is wet. The way out of the situation is a napkin, which was found in the author’s pocket. Using it to light a fire was not difficult.
That's all, the knife is ready, he showed himself well in testing. The knife looks quite interesting, it is reliable and durable with careful use. Good luck and creative inspiration if you decide to repeat the project. Do not forget to share your homemade with us.

