
Hello everyone, I propose to consider a high-quality, beautiful, strong knife made of stainless steel 40X13 (AISI 420), which you can make do it yourself! To make such a knife is not at all difficult, you need to be patient and have little experience working with metal. Of course, it would be nice to have a belt sander for manufacturing, with it the grinding process goes much faster and better. But in general, nothing special needs to be known for the manufacture of such a masterpiece, we read in more detail below!
Materials and tools used by the author:
Material List:
- stainless steel grade 40X13 (AISI 420);
- wood for linings;
- brass rods for pins;
- copper tube;
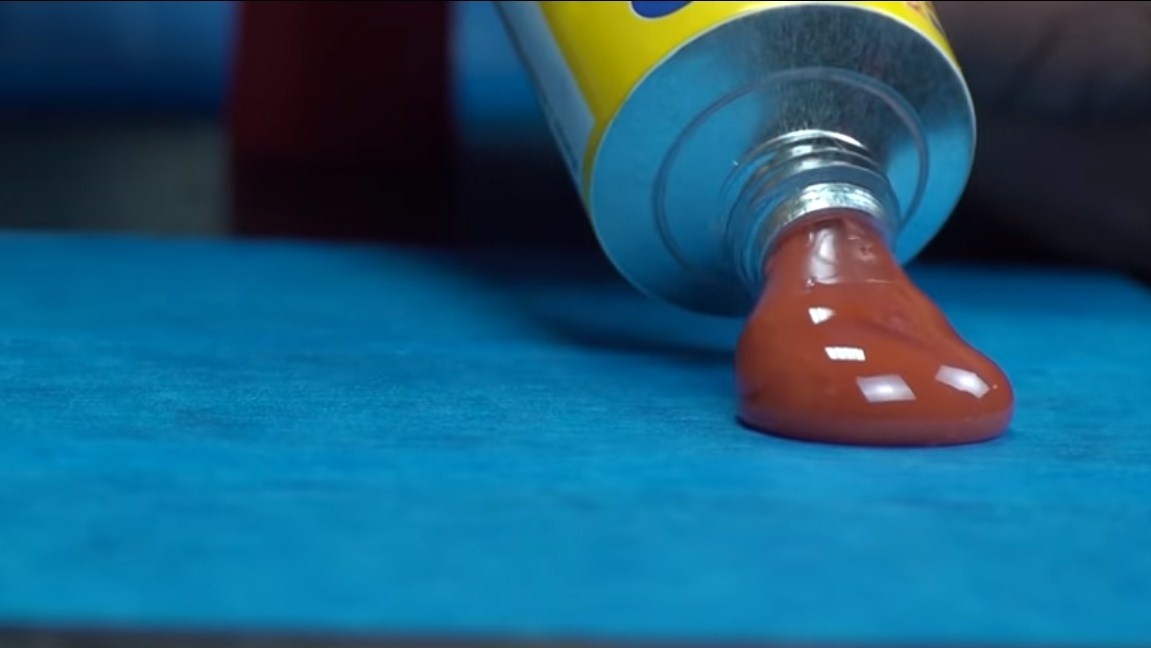
- epoxy adhesive;
- oil for wood impregnation.
Tool List:
- belt sander;
- drill;
- drill;
- sandpaper;
- grinder;
- grinding machine for knives;
- polishing machine;
- vise;
- files;
- marker;
- paper, scissors, pencil (for a template);
- a circular saw;
- clamps;
- oven;
- oven and hardening oil.
The process of making a knife:
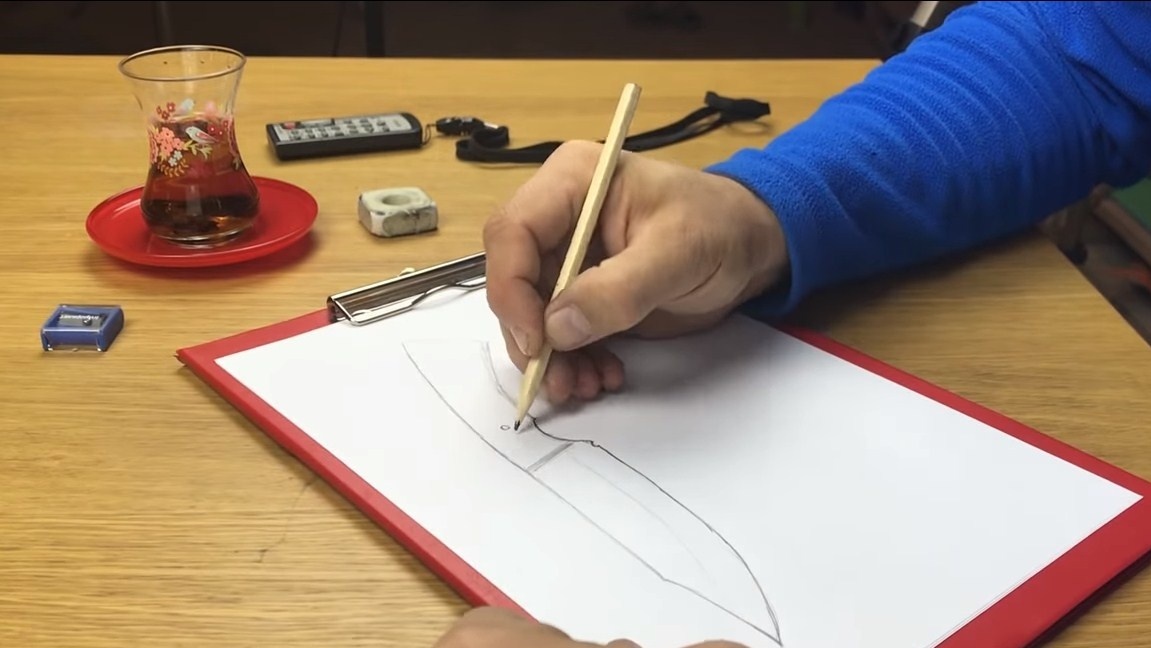
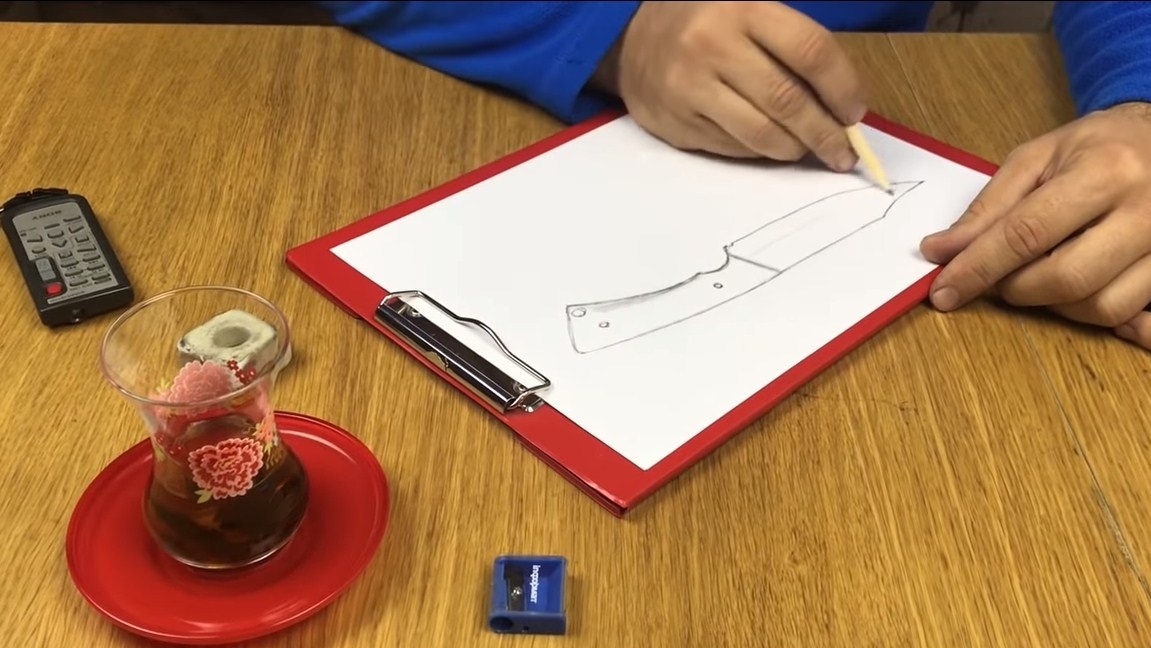
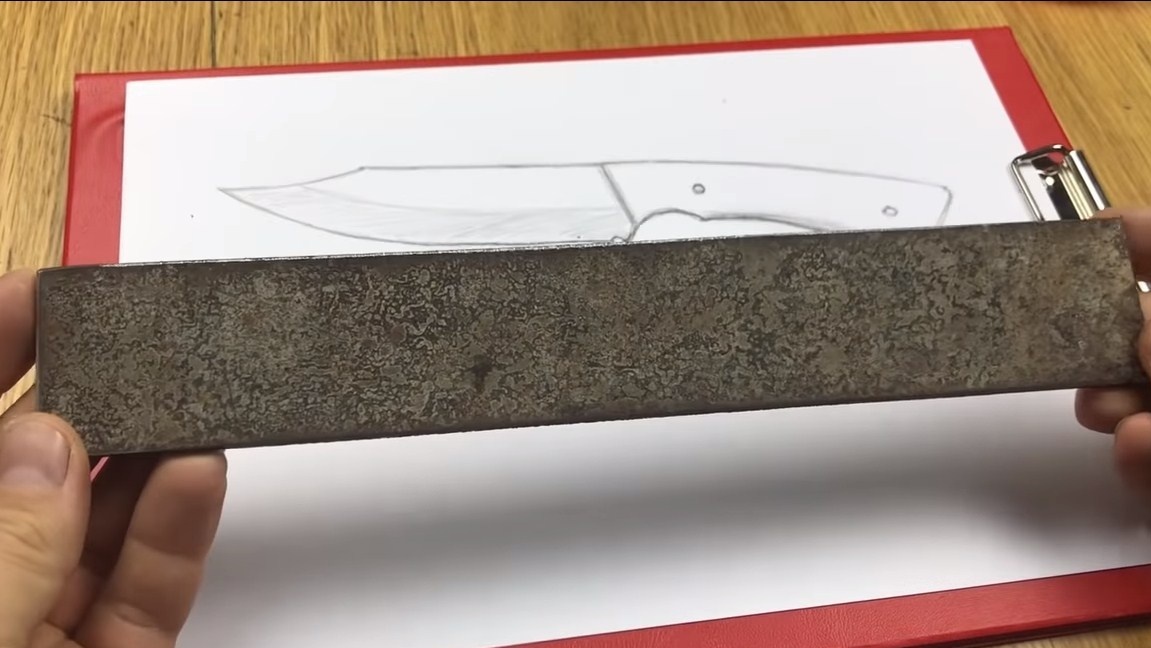
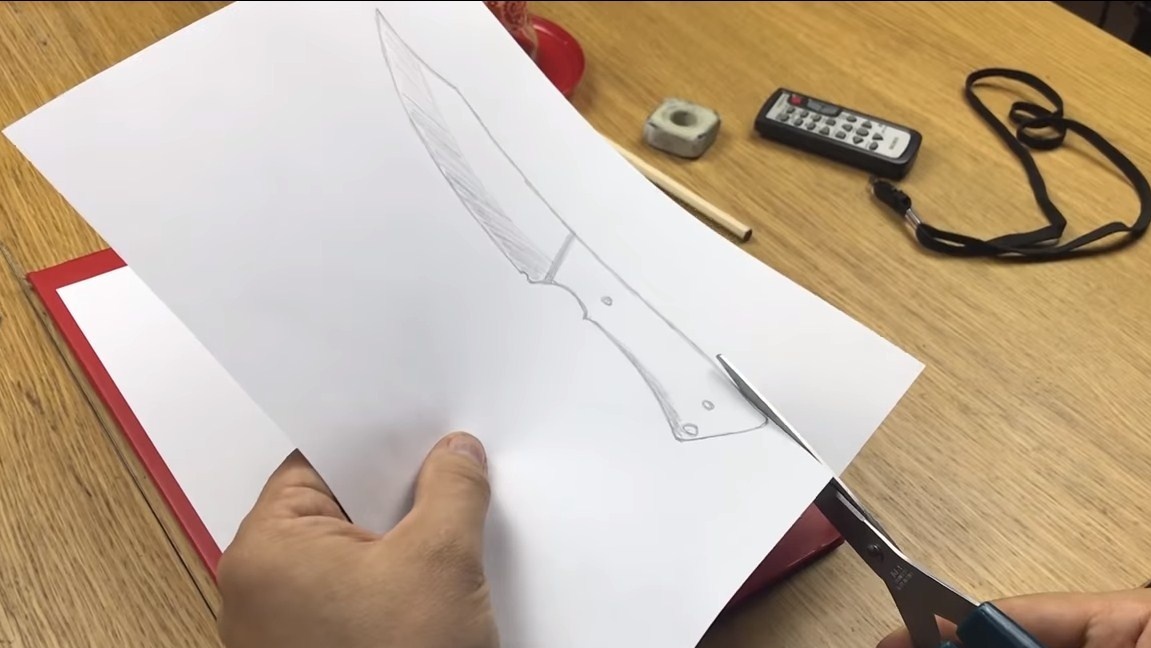
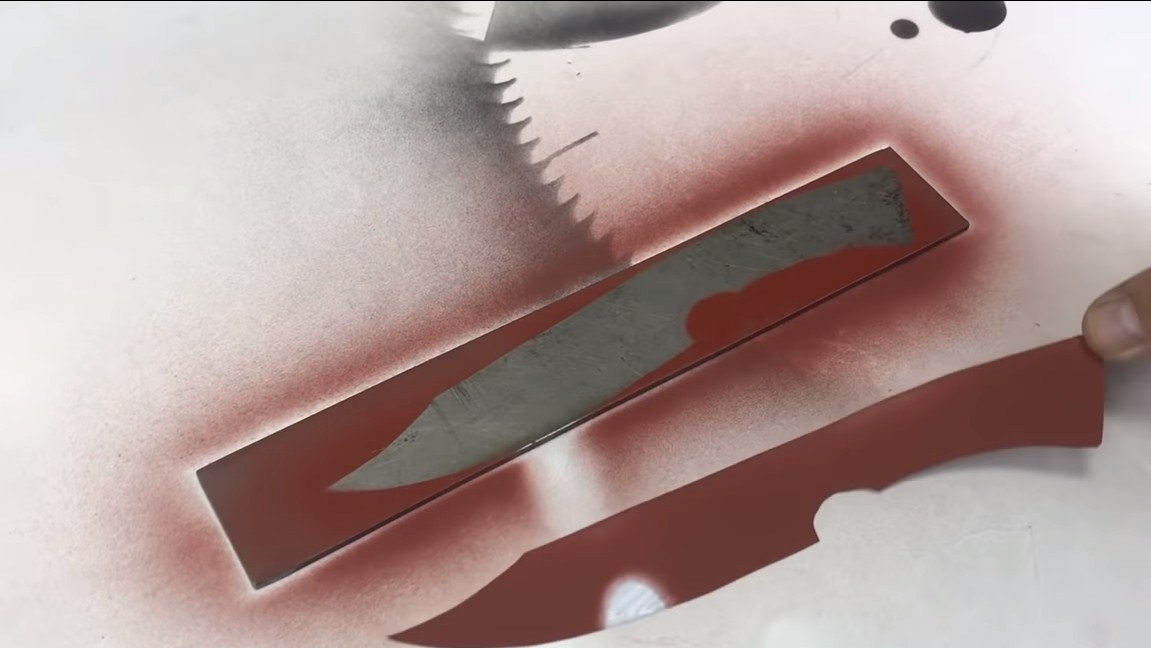
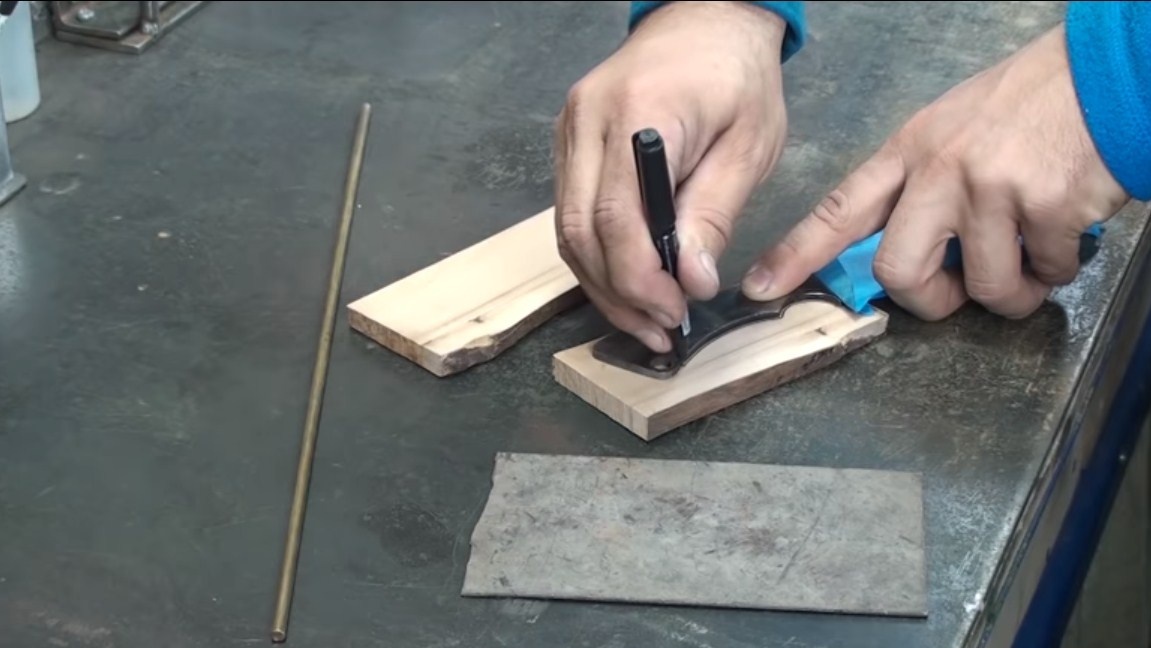
Step one. We make a template and transfer to the workpiece
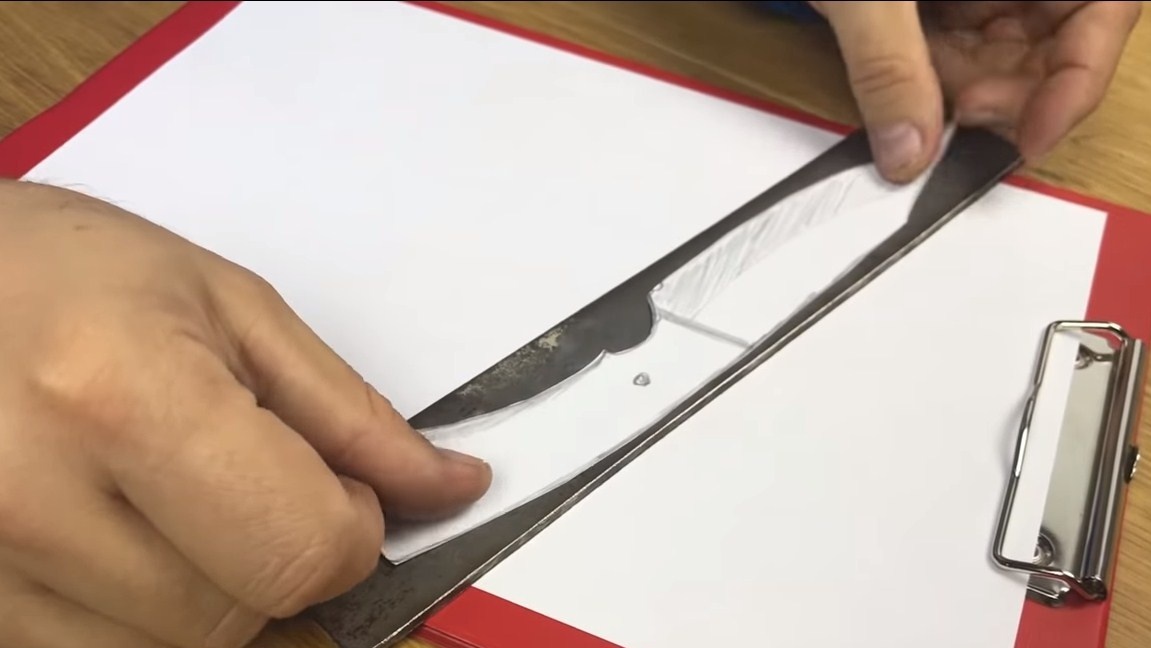
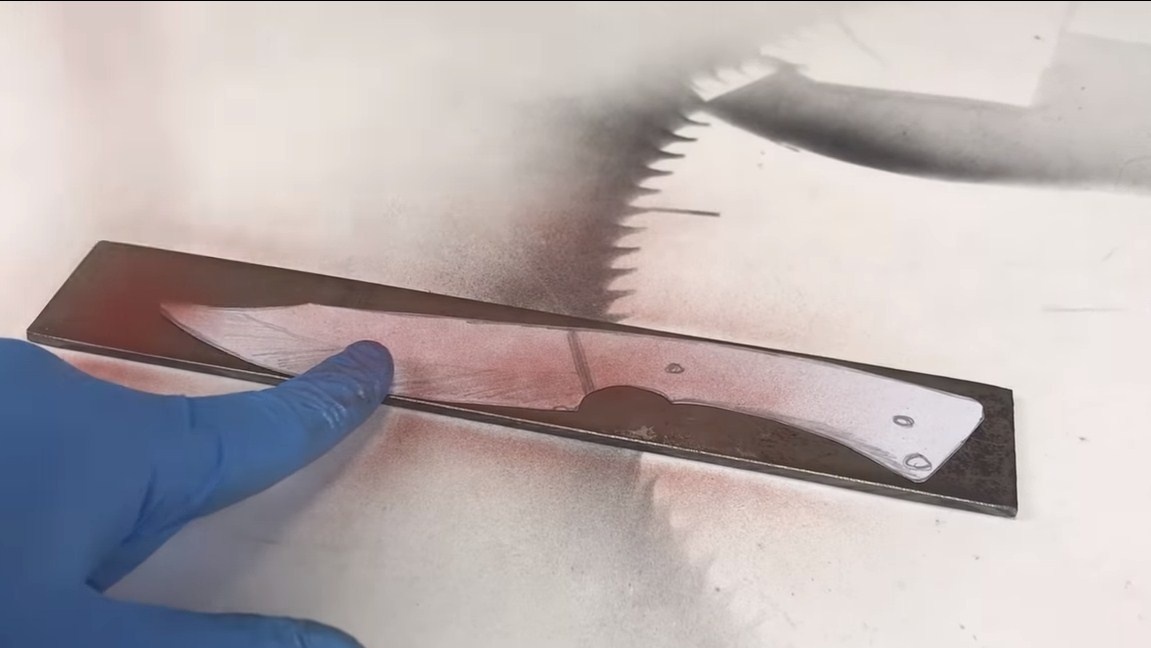
First, we’ll make a knife template, for this we need paper and a pencil. The author draws a knife by hand on paper, this is interesting, the knife is unique. But if you don’t have such talents, you can search for ready-made knife models on the Internet and print them on a printer. The resulting knife is cut with scissors and then transferred to the workpiece. The author attached the template to the metal, and then went on top of a spray can of paint. When the template was removed, we got an excellent pattern on the metal, which we have to cut.
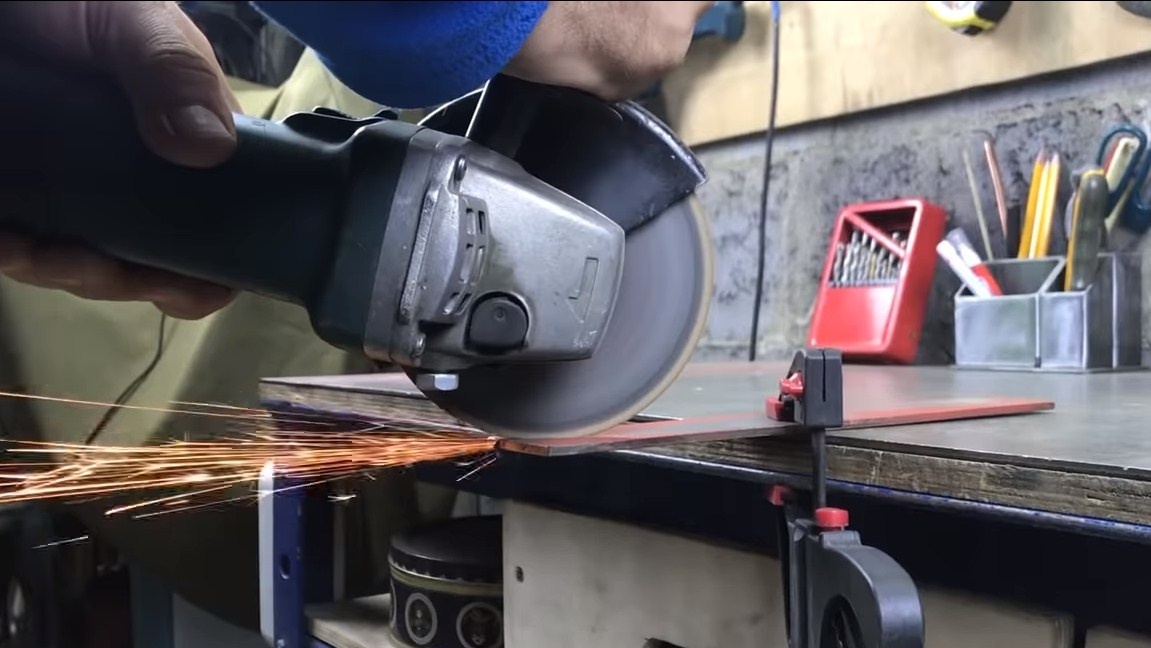
Step Two Making the main knife profile
Next, the author proceeds to cutting, here the grinder was used. If you do not have a belt sander, then you need to work as much as possible with a grinder, so that then there will be less grinding work. After cutting, we go to the belt grinder and process the profile both along the contour and align the plane. Those places where it was not possible to crawl with a tape machine, we process with a drill or files. The blade will heat up quite a lot when grinding, cool it in water.

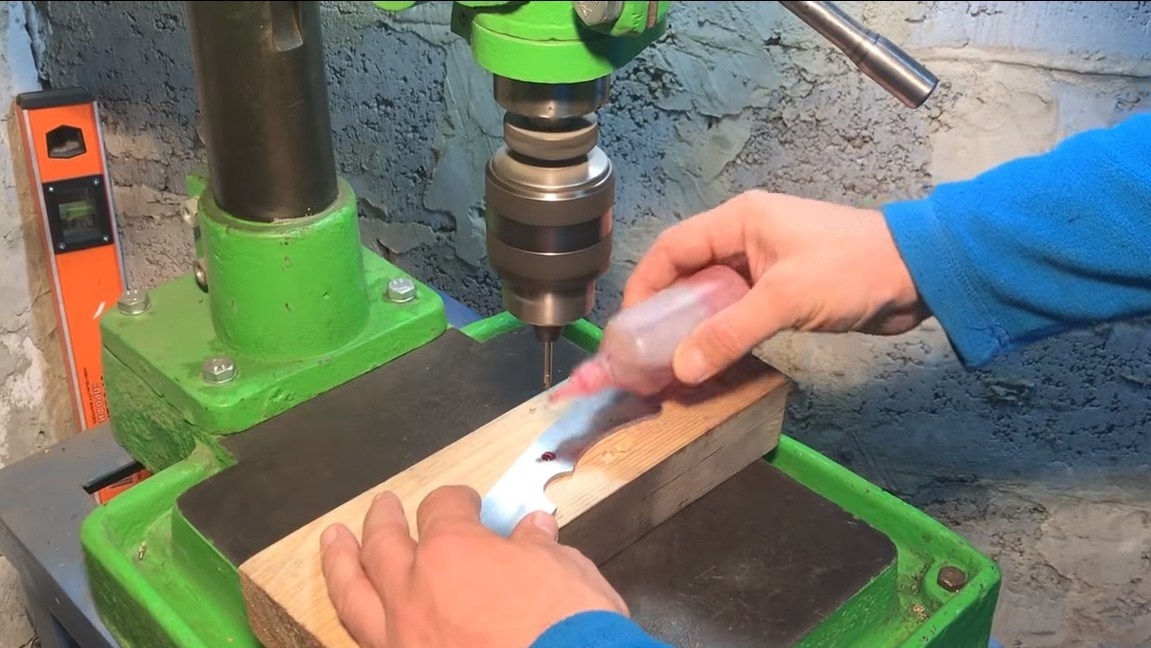
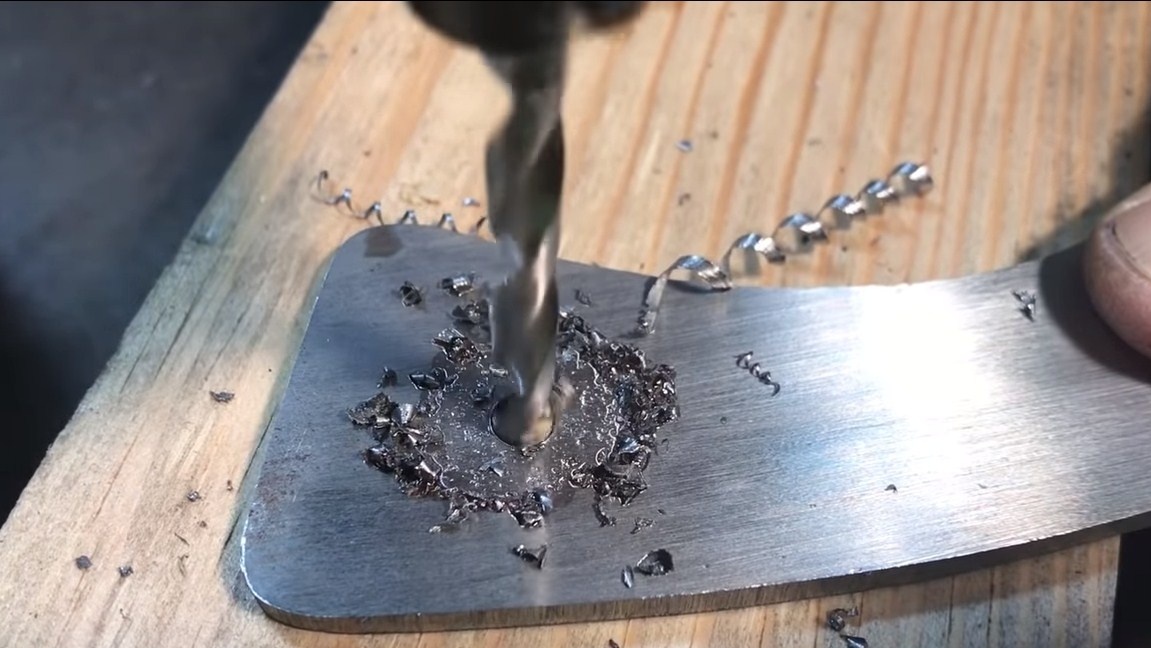
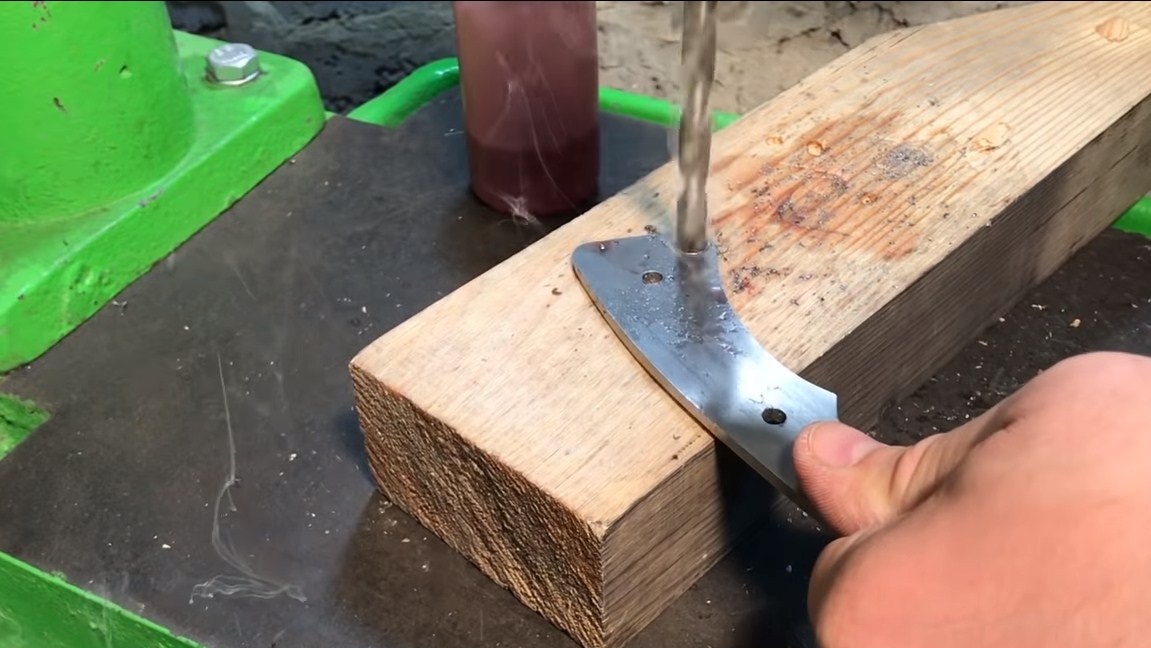
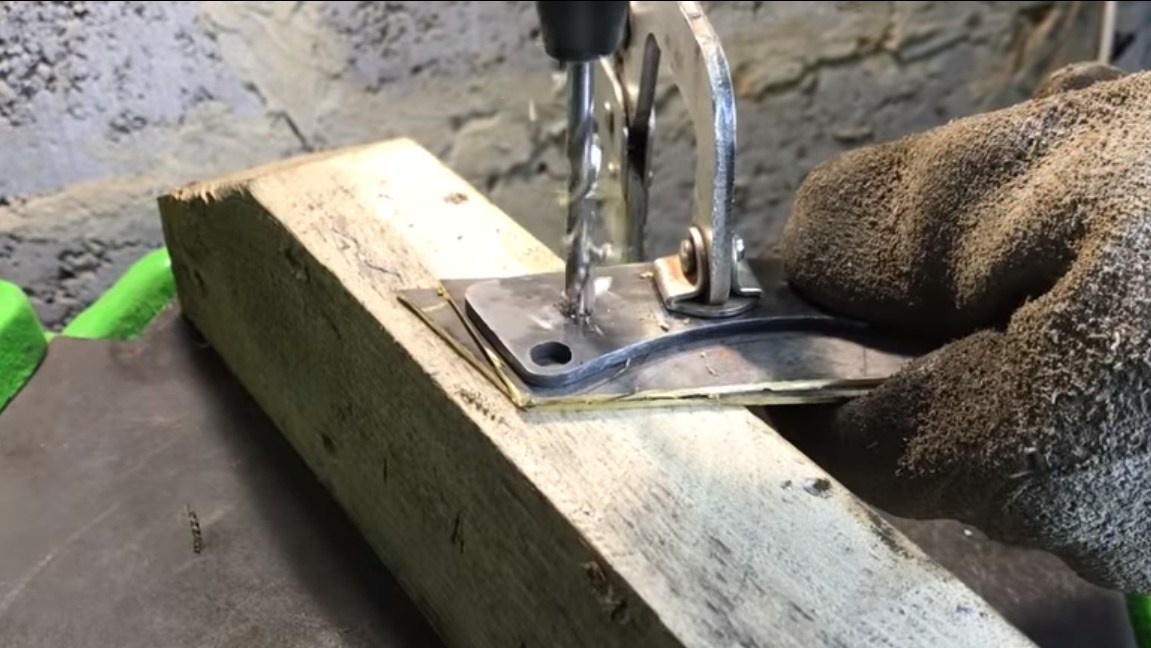
Step Three Holes
Next, drill holes in the handle, we will need them to install the pins. Another hole will be needed to install a copper tube. Such work is best done on a drilling machine.It is best to drill with oil, so the drill will last much longer.
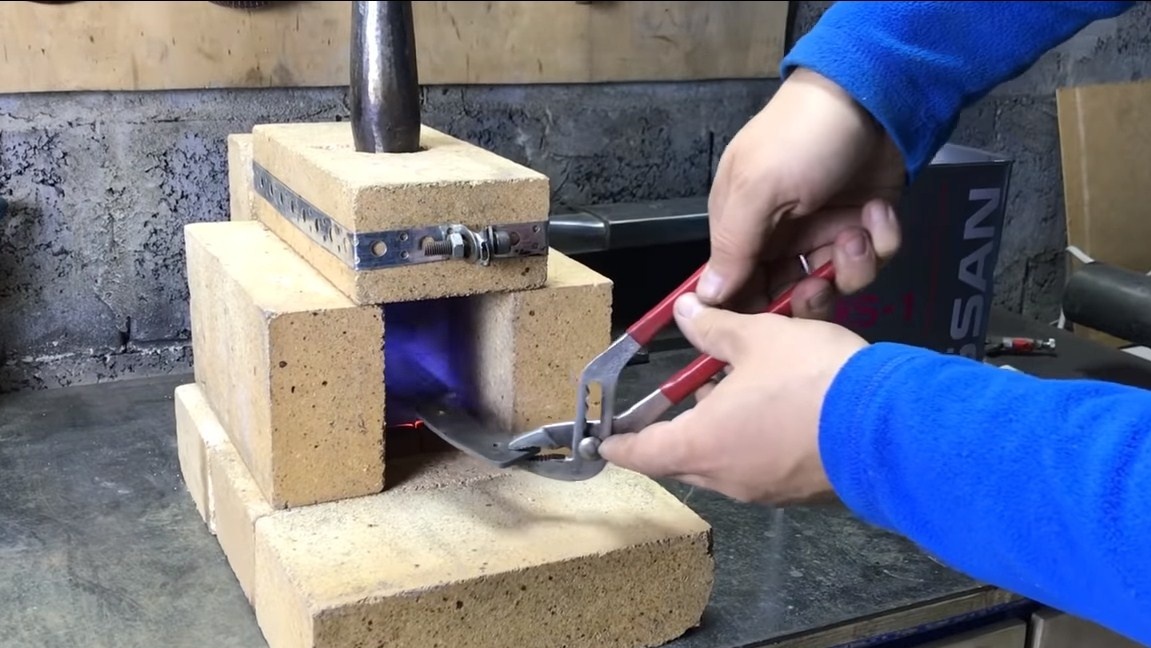
Step Four Heat treatment
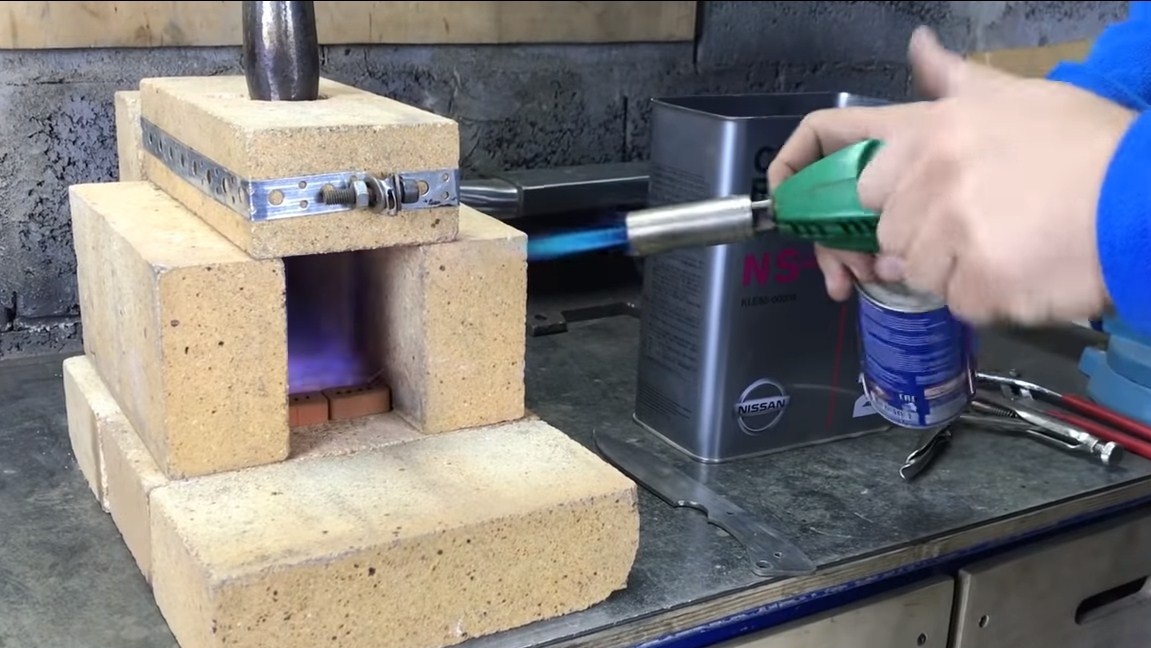
Professional heat treatment includes at least two stages, this is hardening and tempering. Thanks to such procedures, a high-quality blade is obtained, the blade of which does not blunt for a long time and does not break under a large bending load.
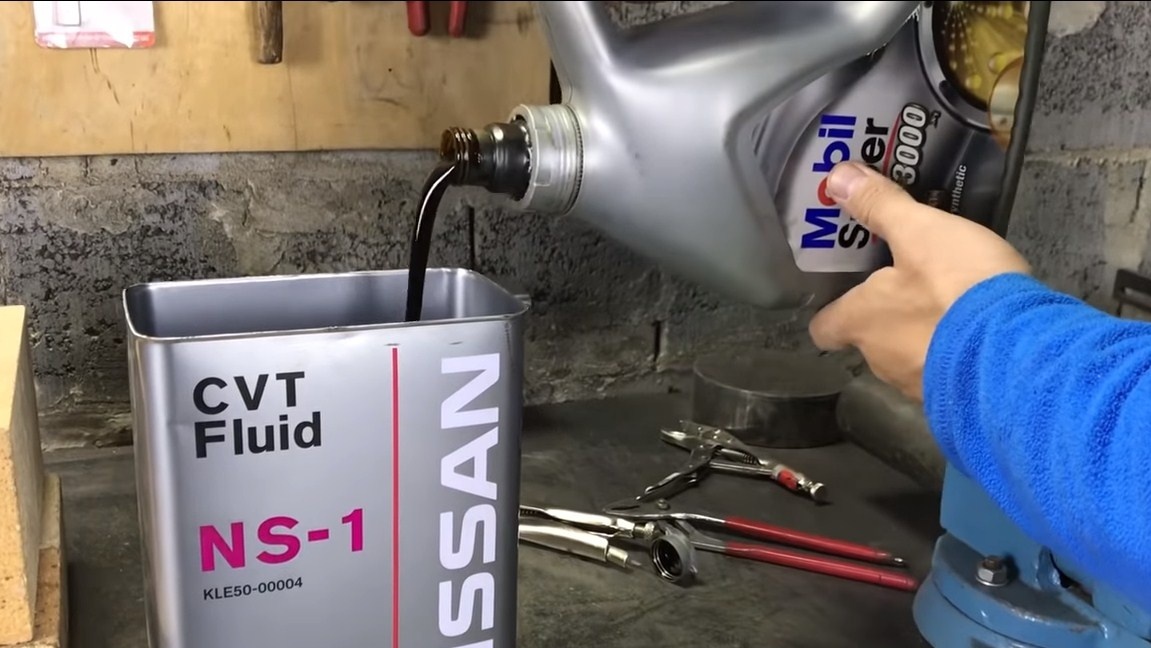
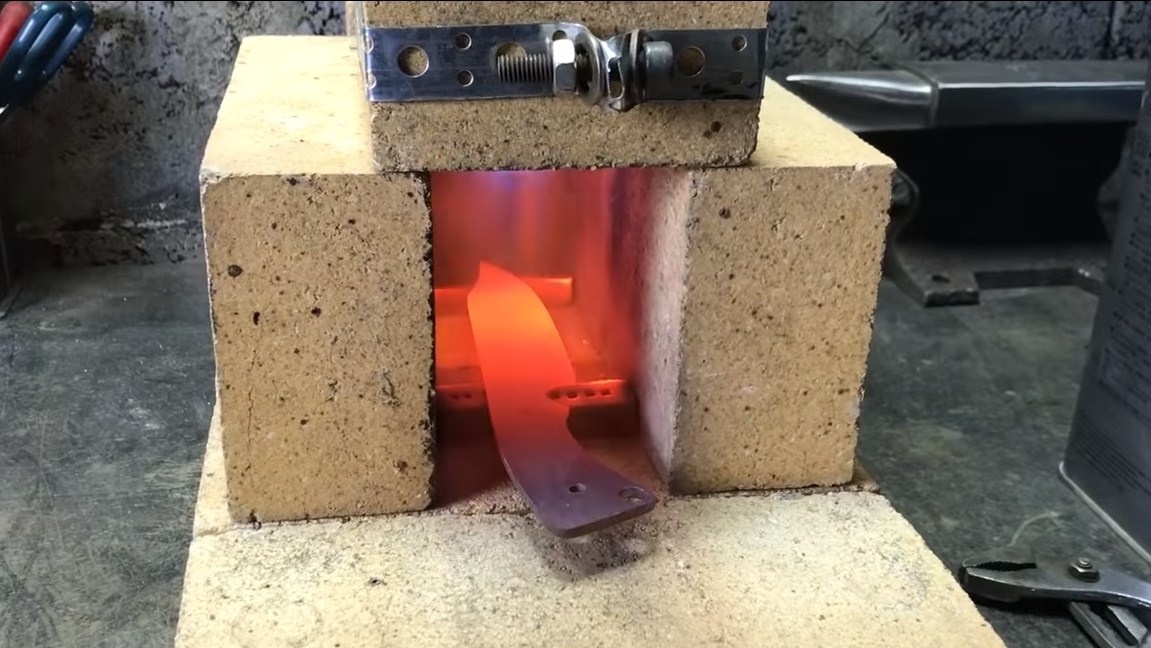
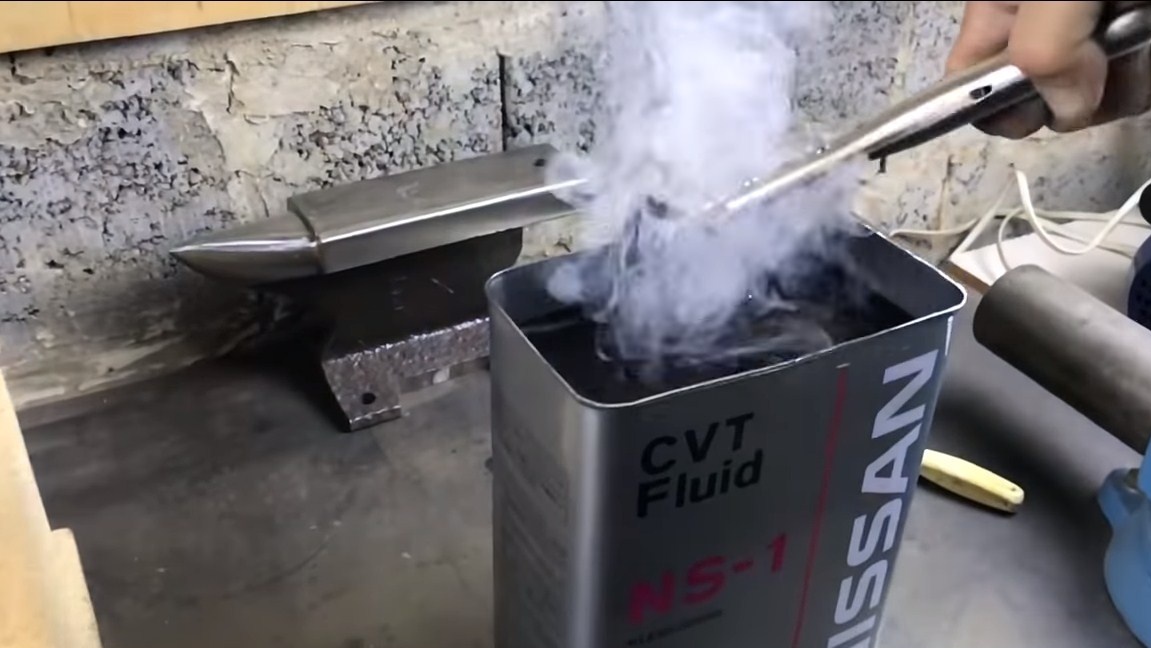
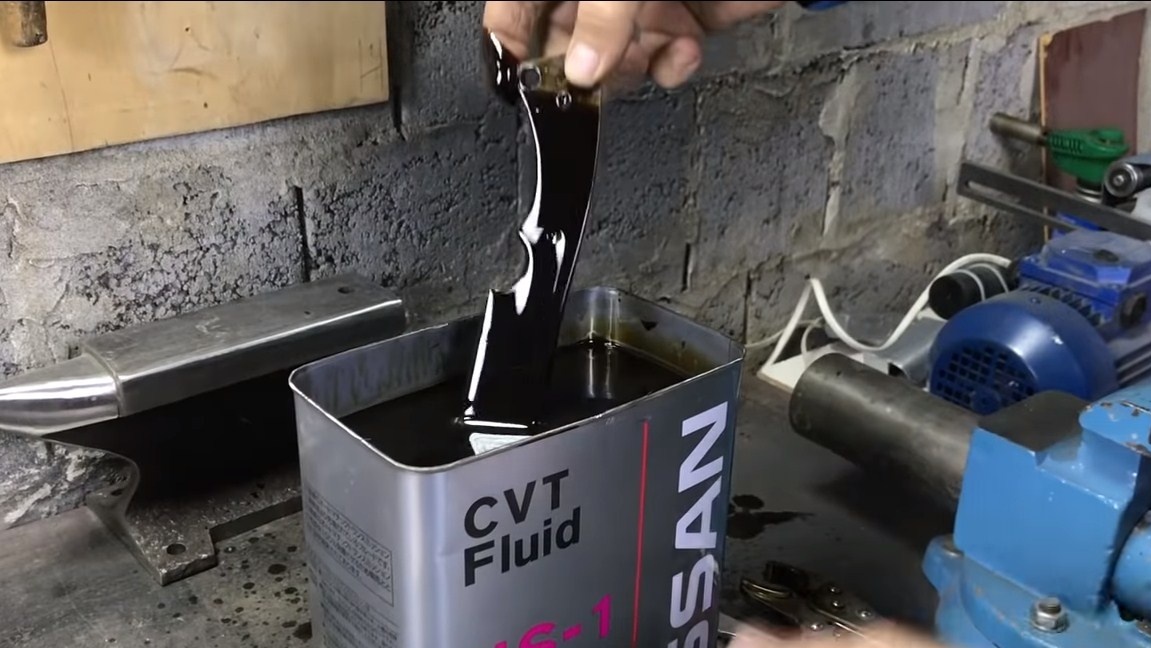
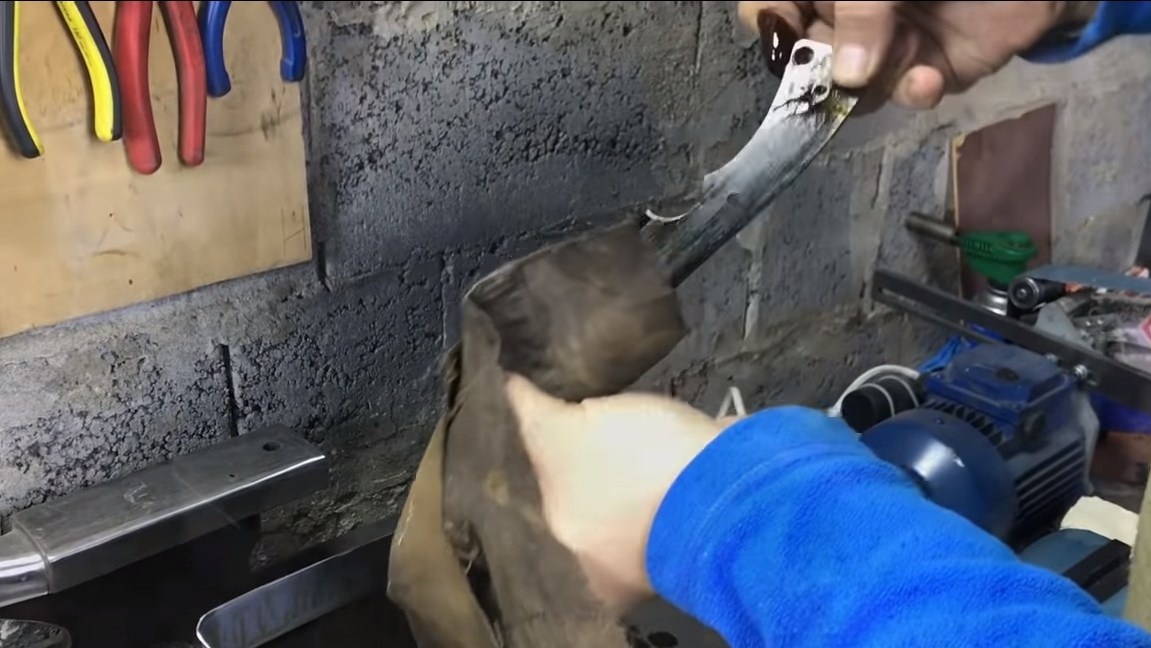
To begin with, we need to harden the blade, heat the metal to a red glow and lower it into oil. Vegetable oil or mineral oil is suitable, the author used automotive testing, judging by the color of the oil.
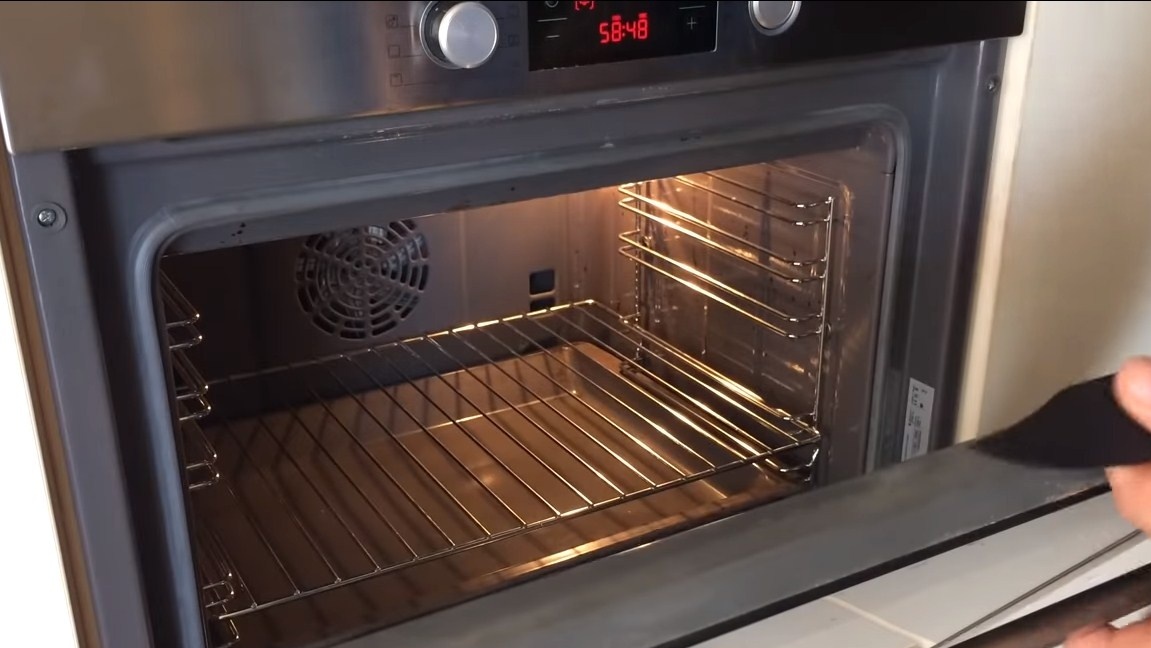
After hardening, we necessarily release the steel so that it begins to spring. This is done in the oven at a temperature of about 200 degrees Celsius, for each steel grade this parameter is individual. To understand whether the vacation turned out, the blade needs to be polished. Upon tempering, the steel becomes a straw color.
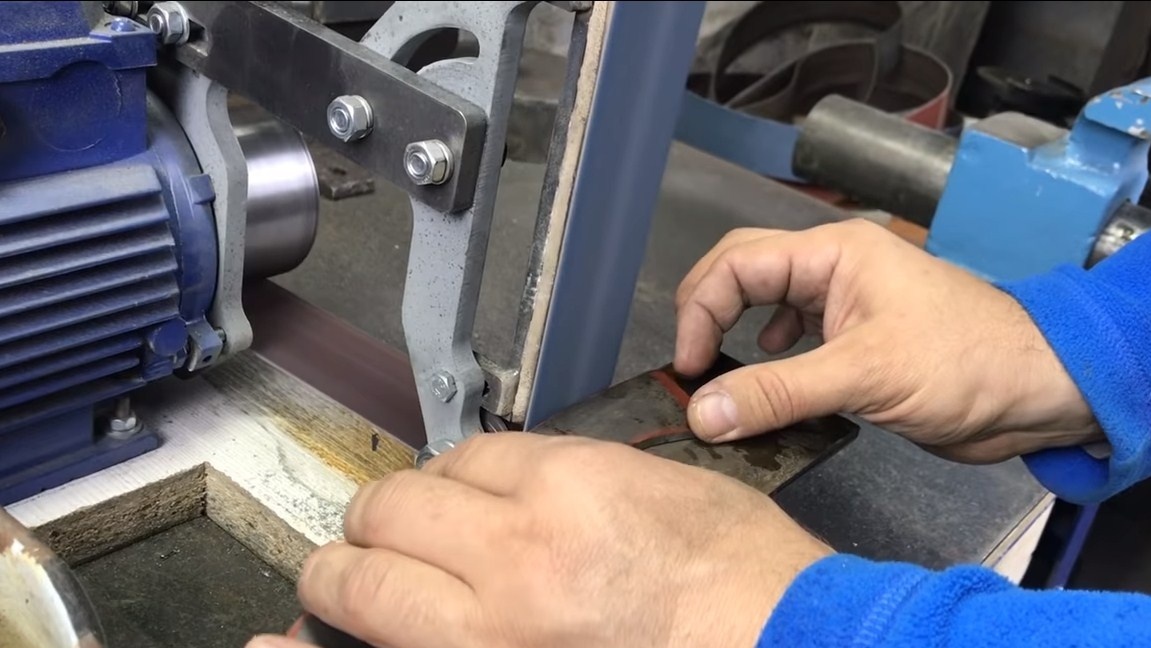
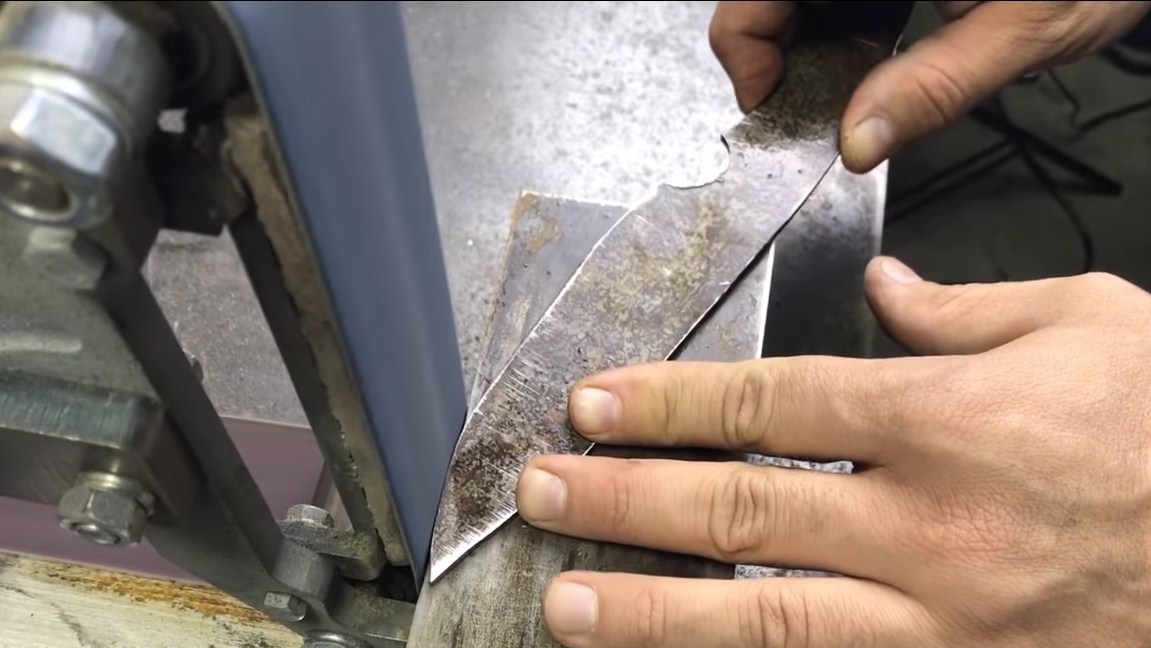
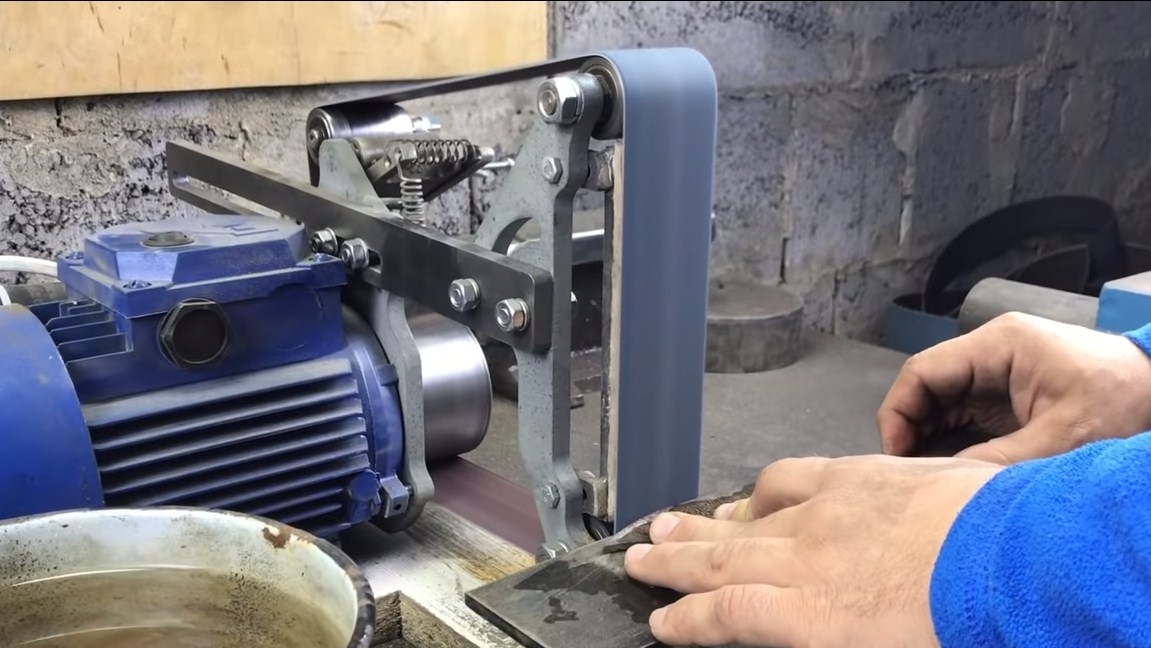
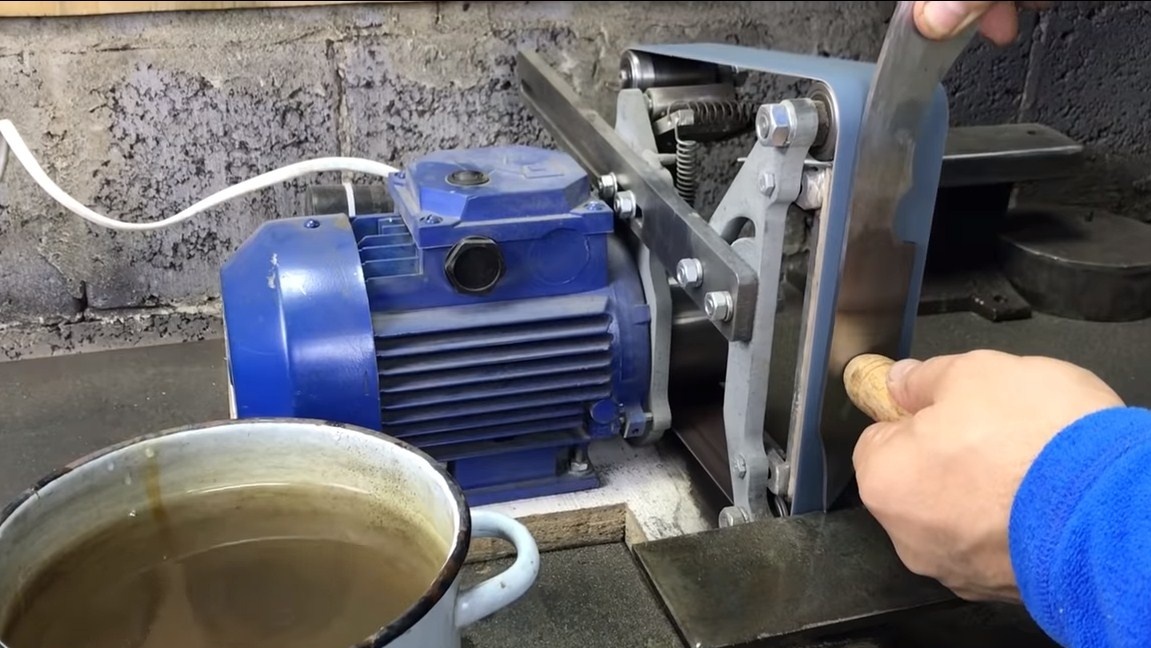
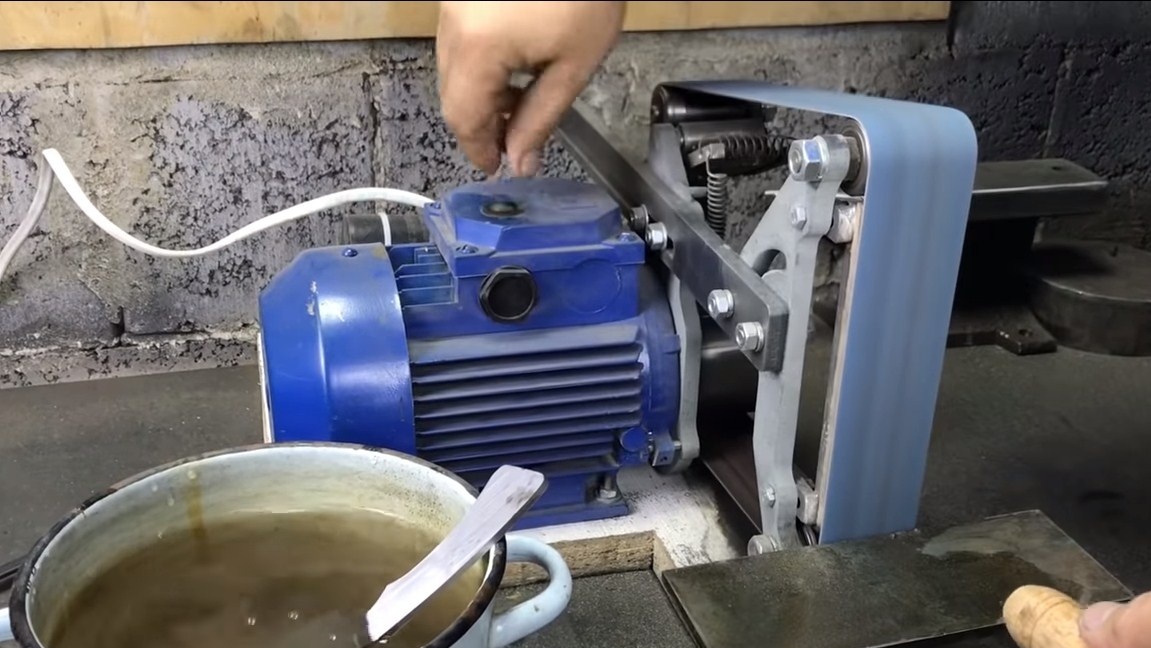
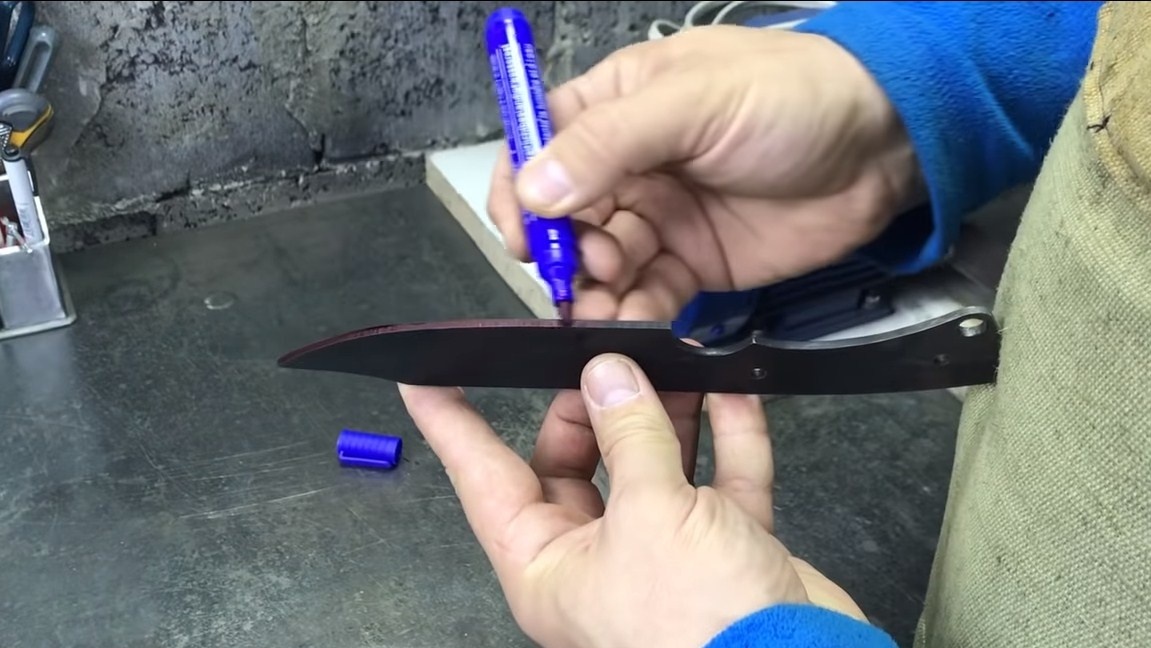
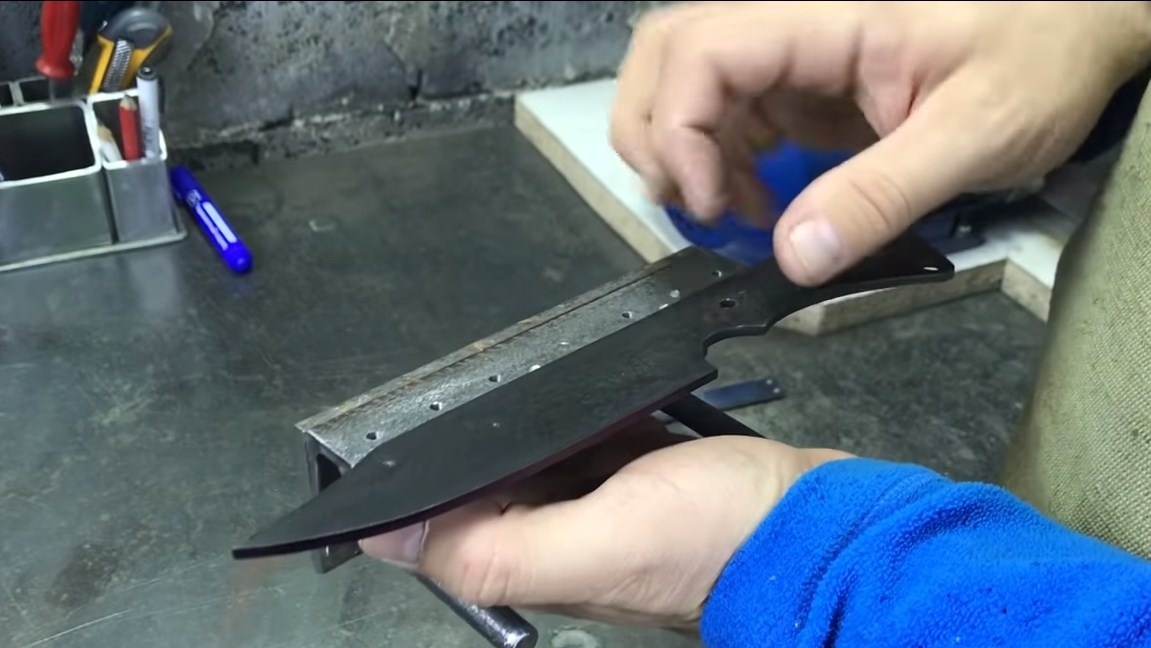
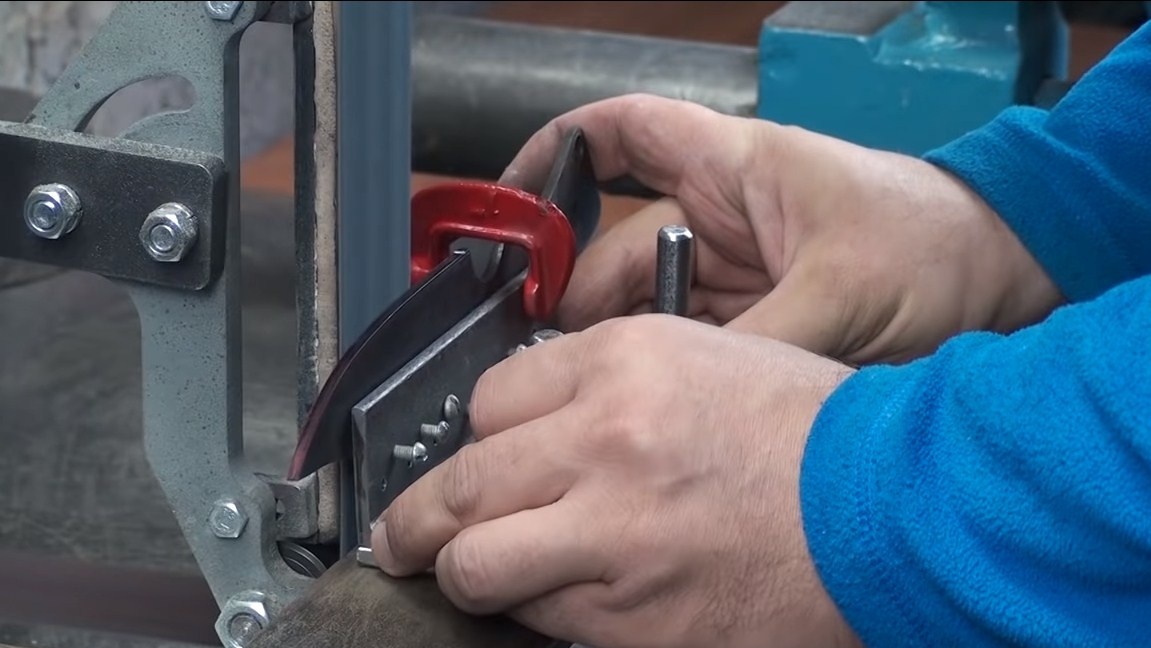
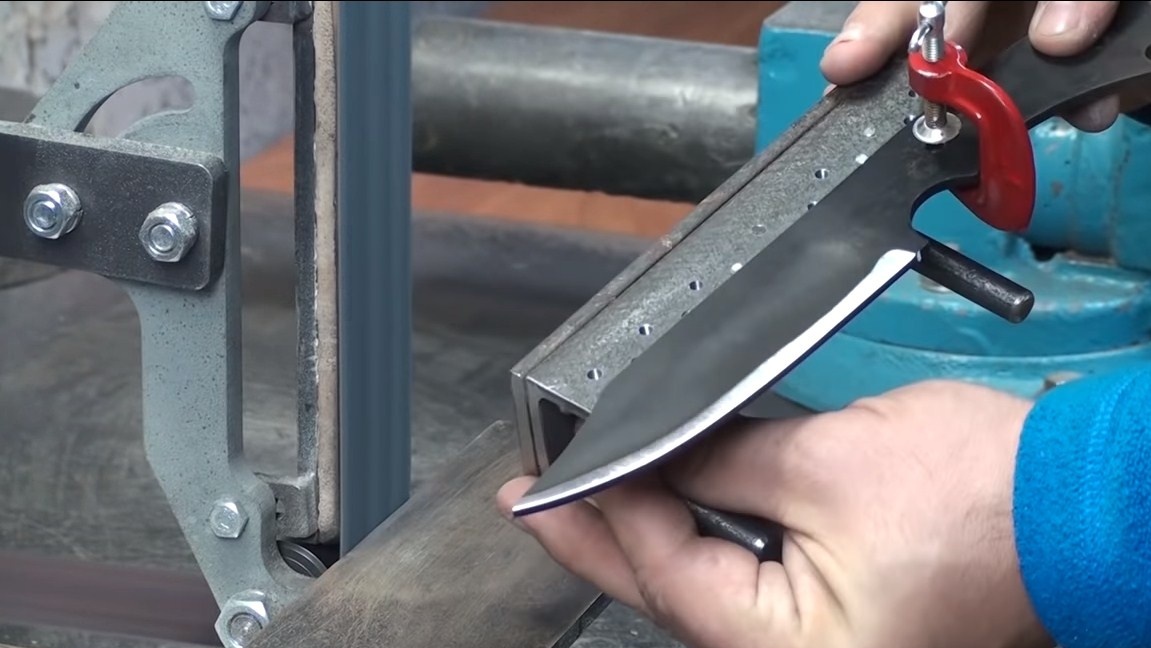
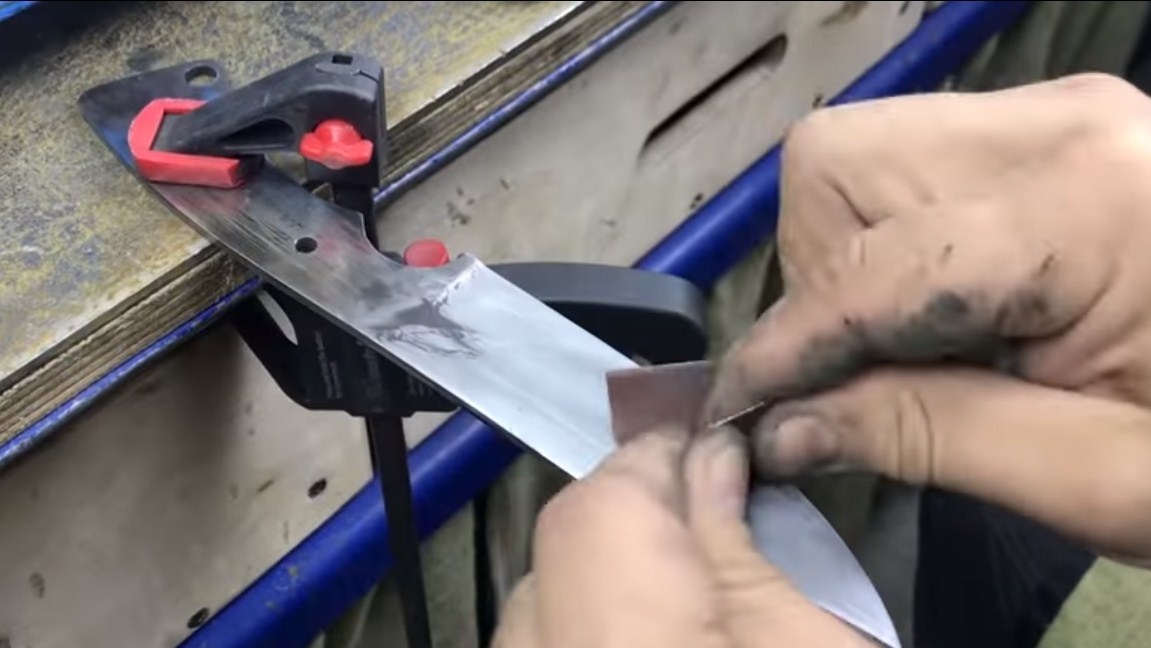
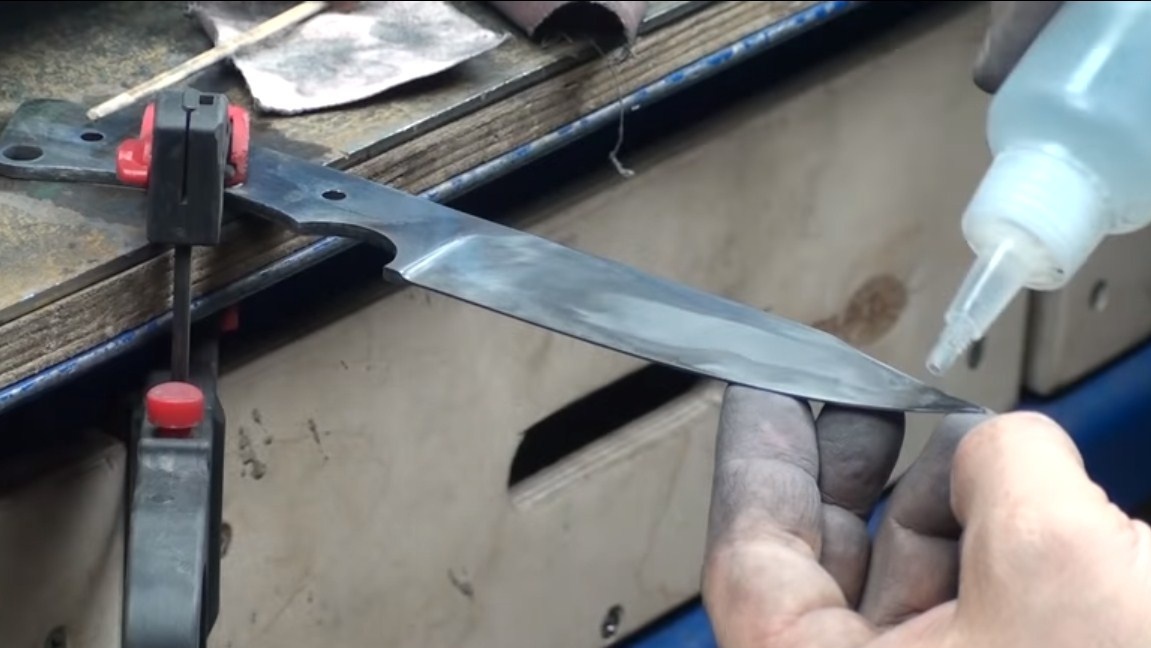
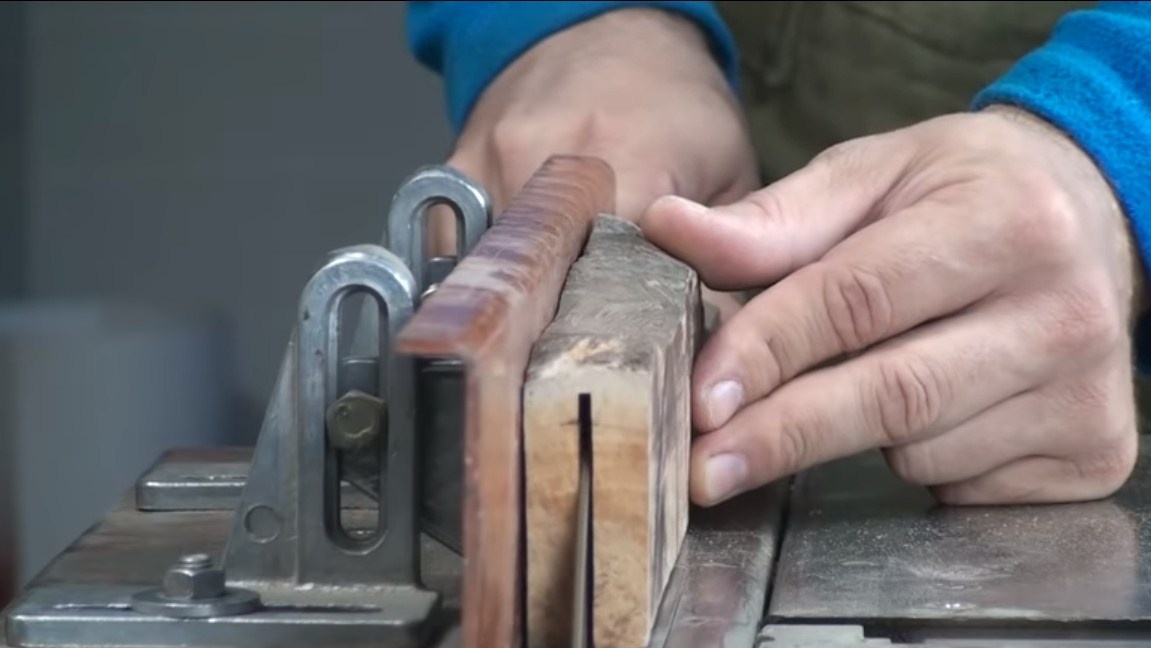
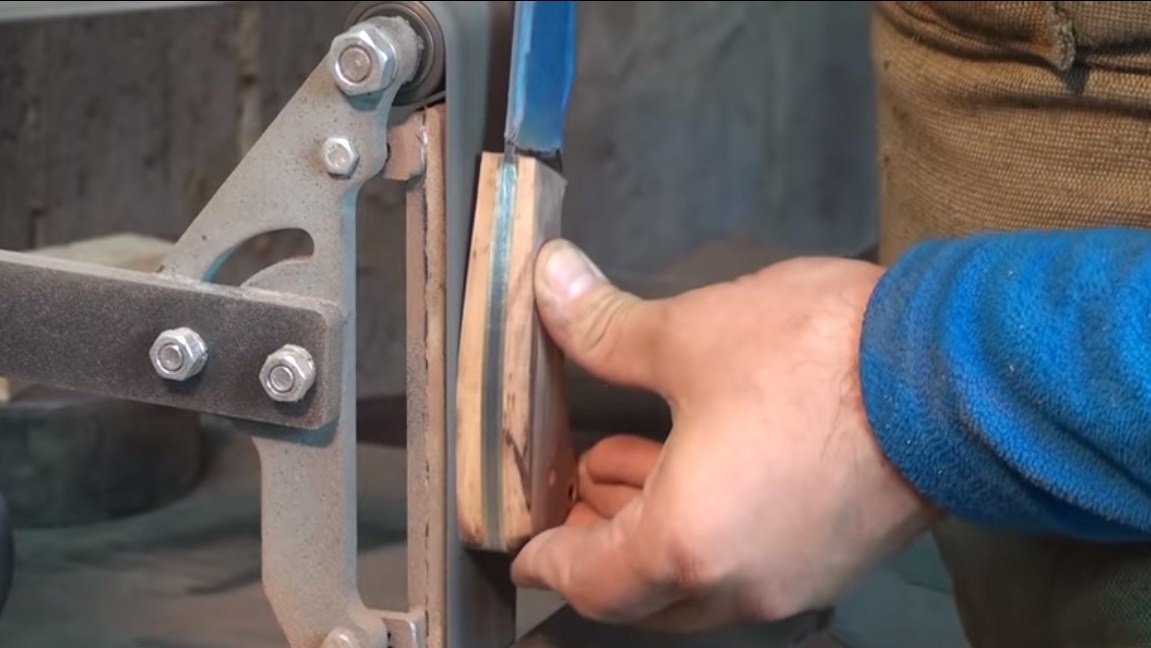
Step Five We form bevels and grind
To create bevels, the author has a special clamp that allows you to set the blade clearly at a certain angle relative to the sanding belt. As a result, the bevels are symmetrical, smooth and of high quality. In the grinding process, the main thing is not to rush, since the blade can be overheated, and a strong tempering of the metal will occur. From time to time we cool the blade in water.
Next, the author polishes the blade manually using sandpaper and water.
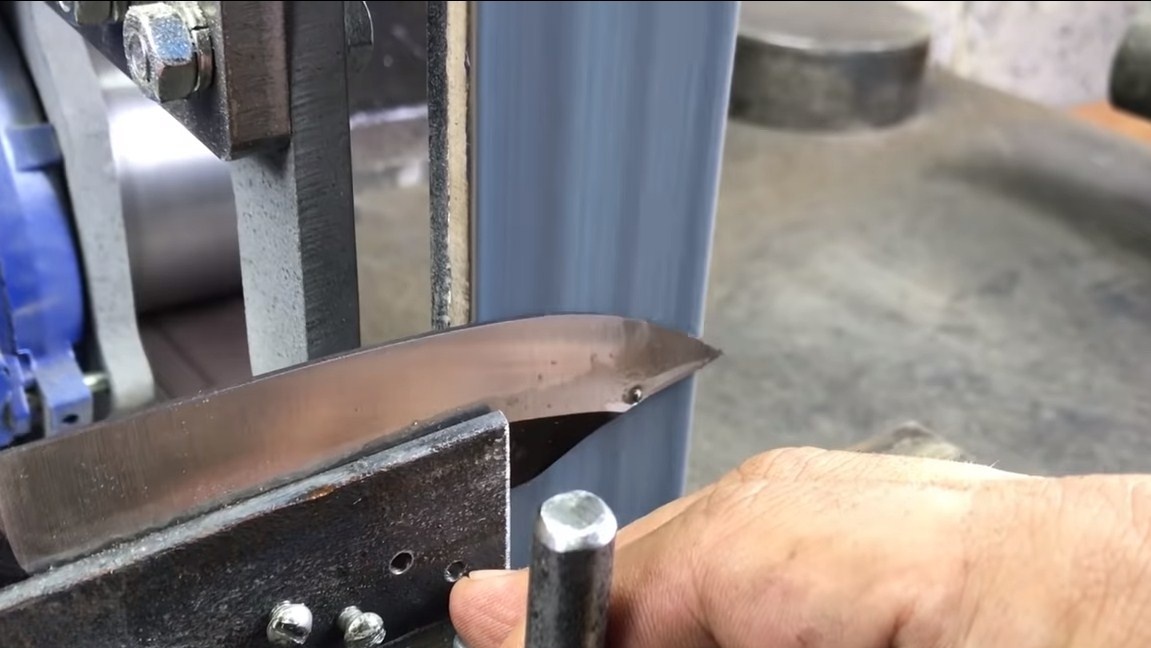
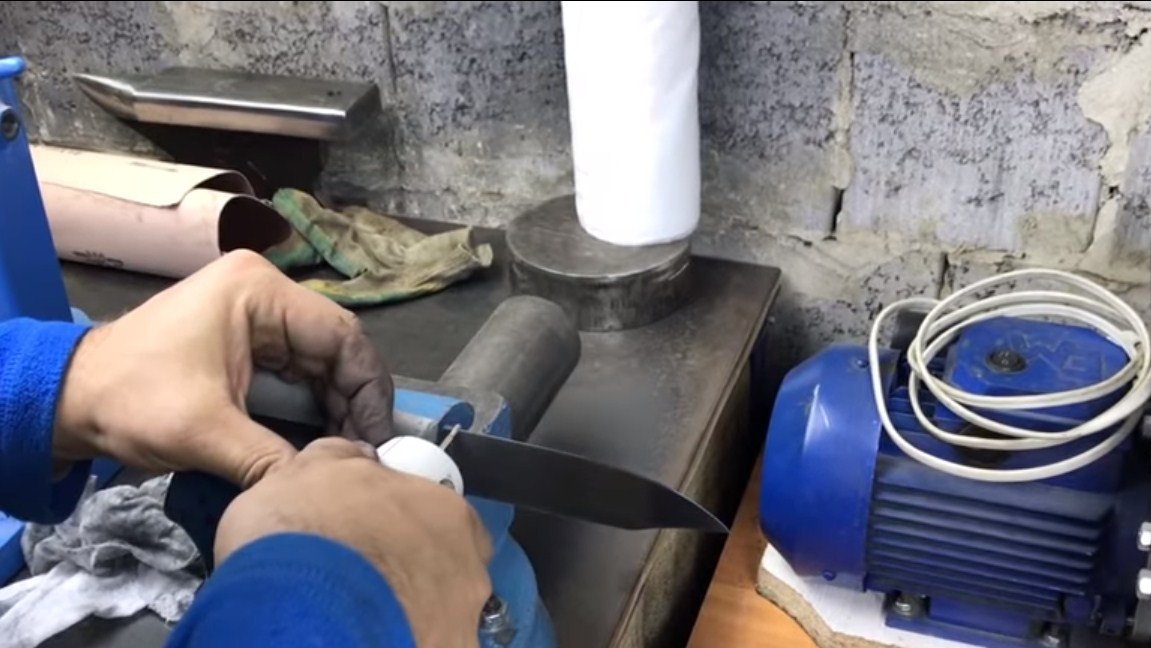
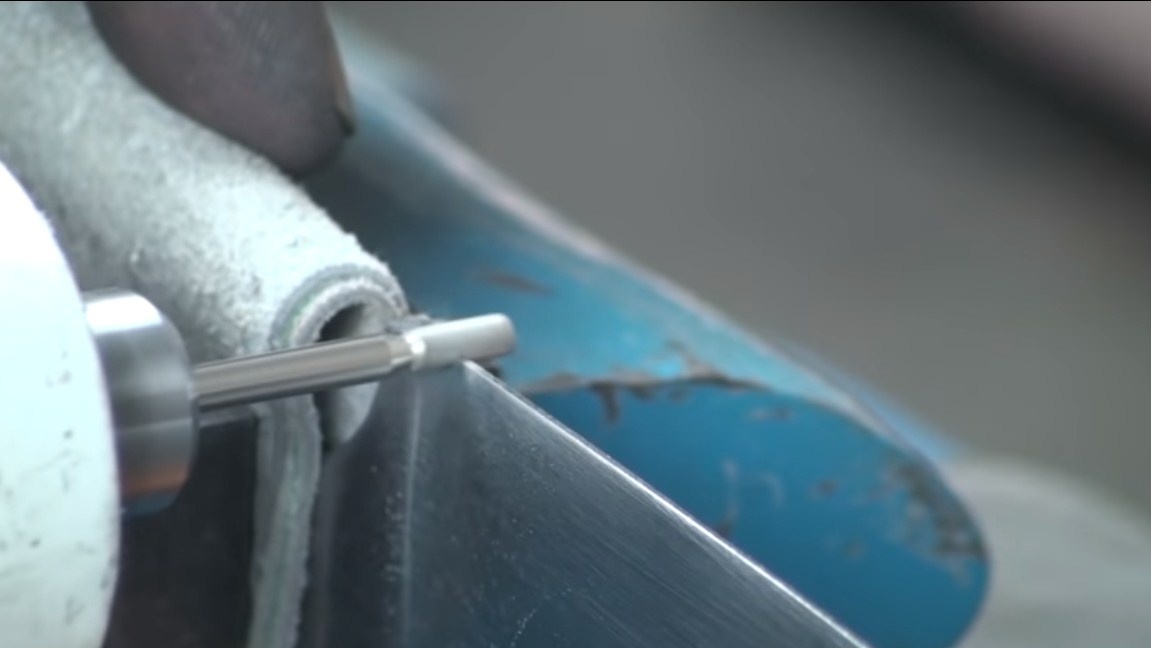
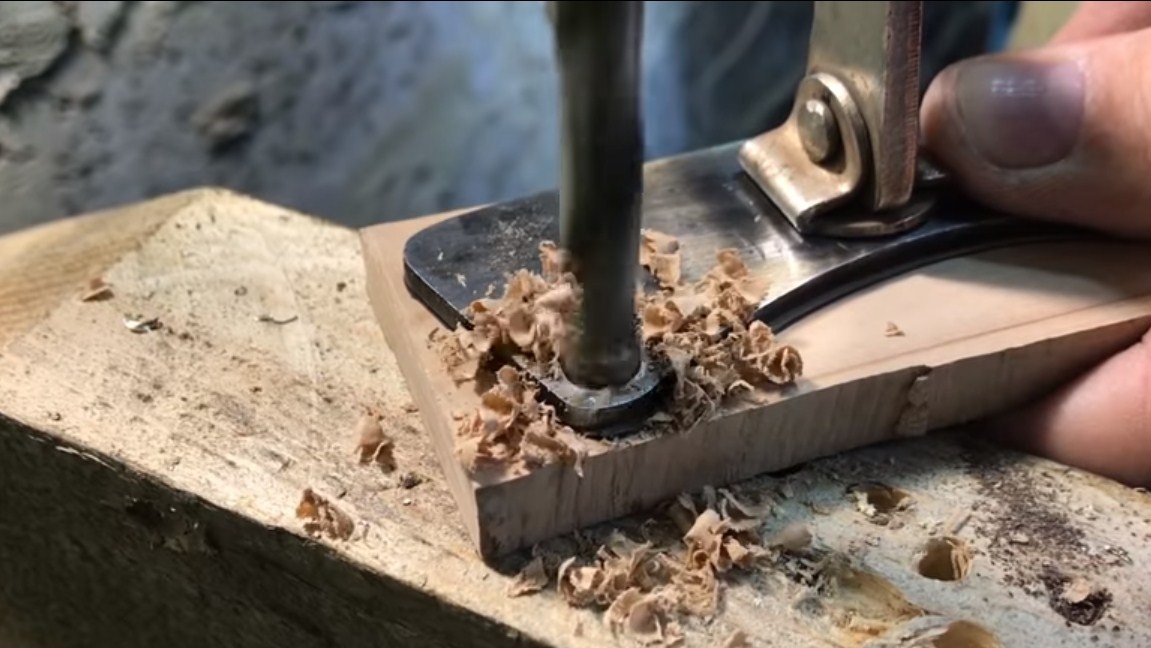
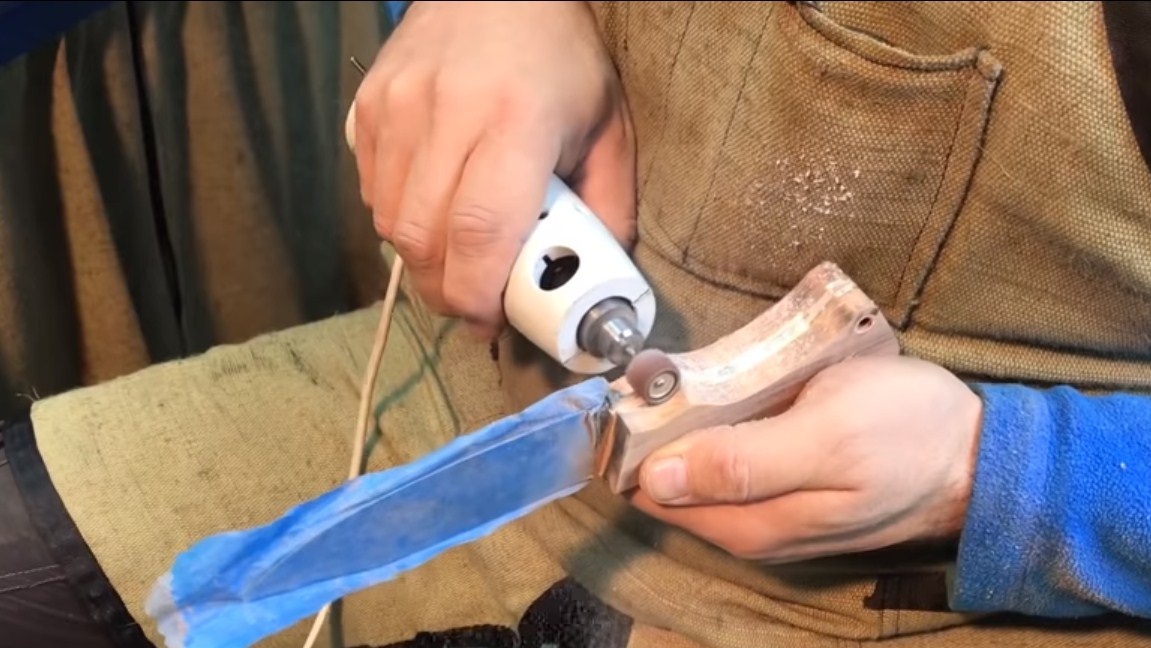
Step Six Notch
If desired, a notch can be made on the blade. For this, the author used a drill with the corresponding nozzle.
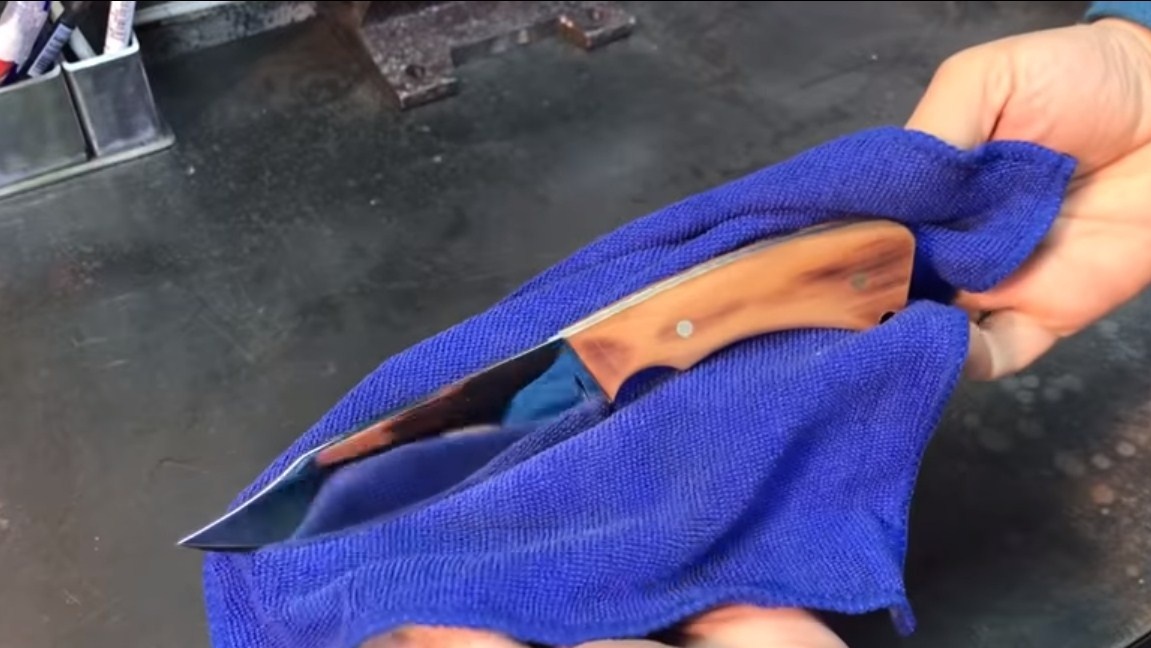
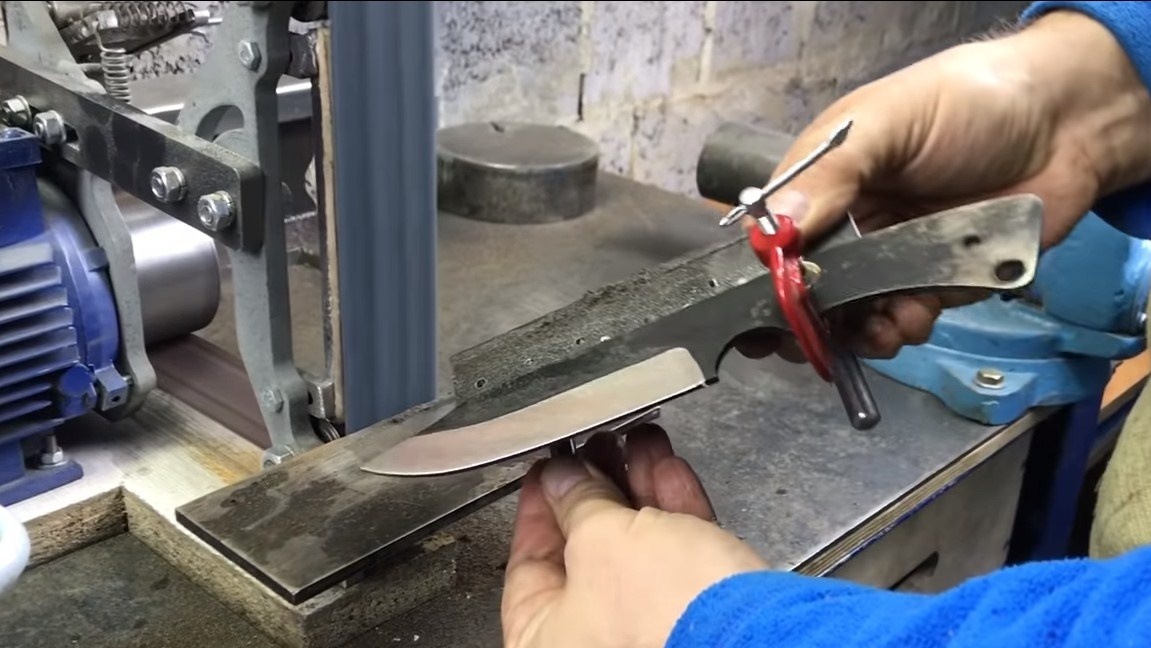
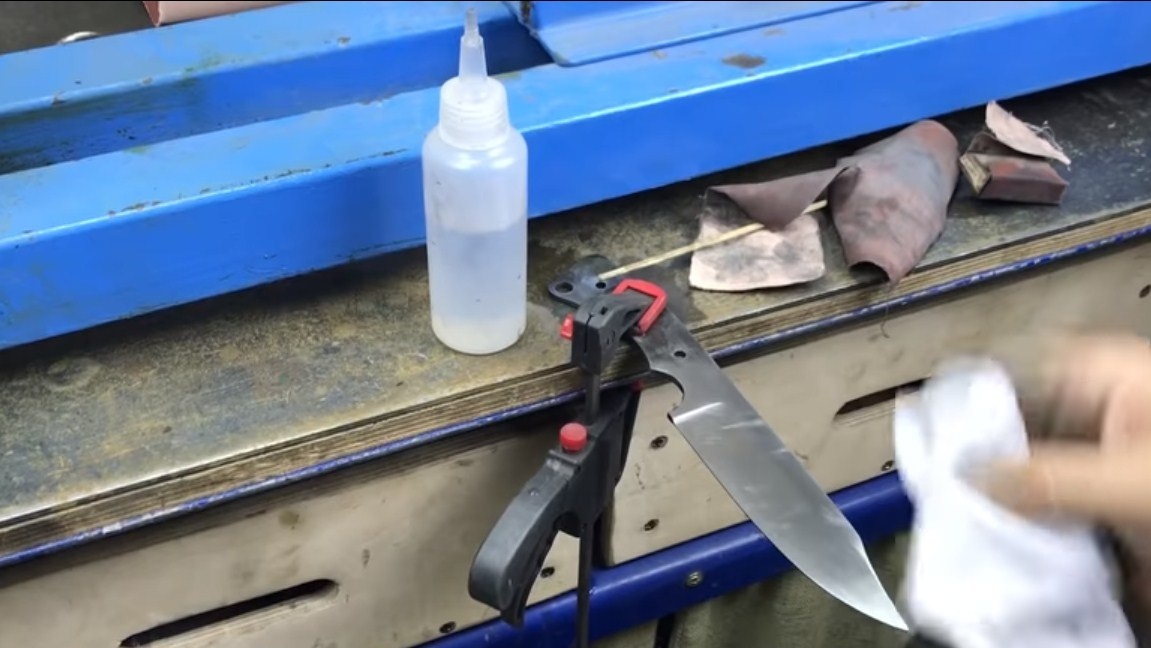
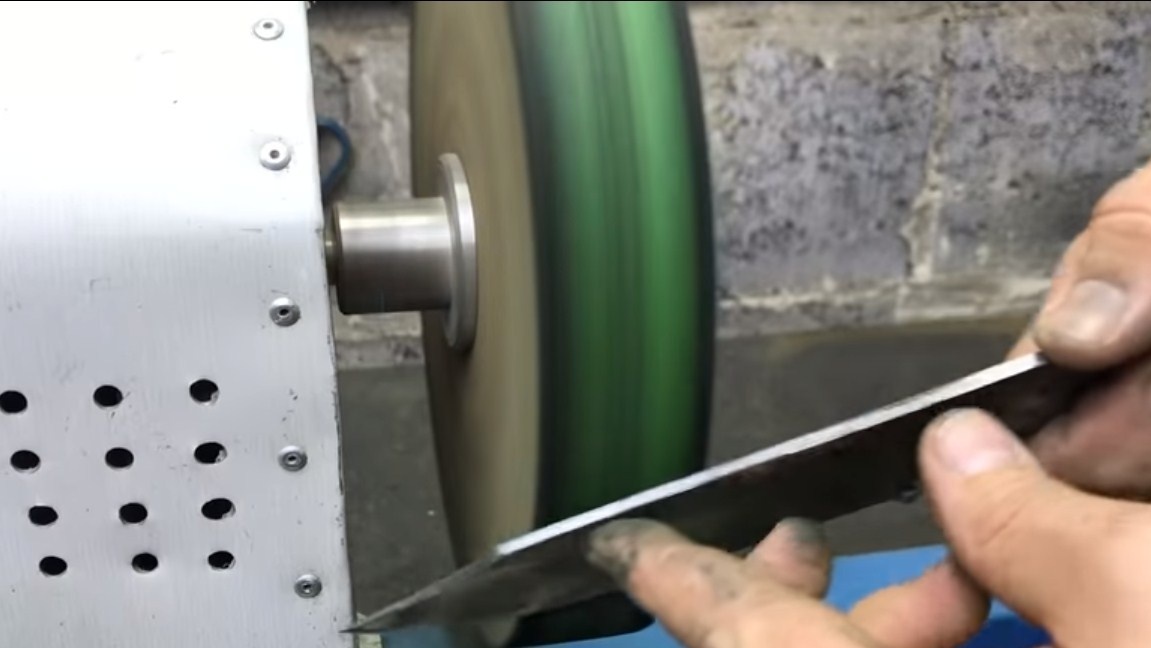
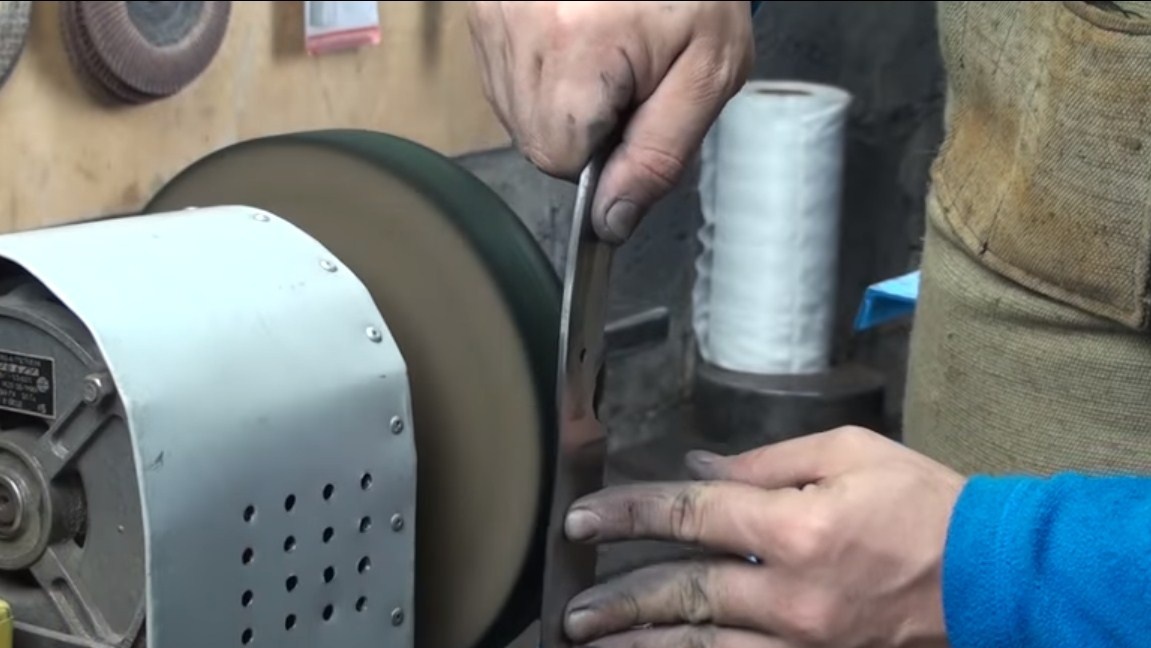
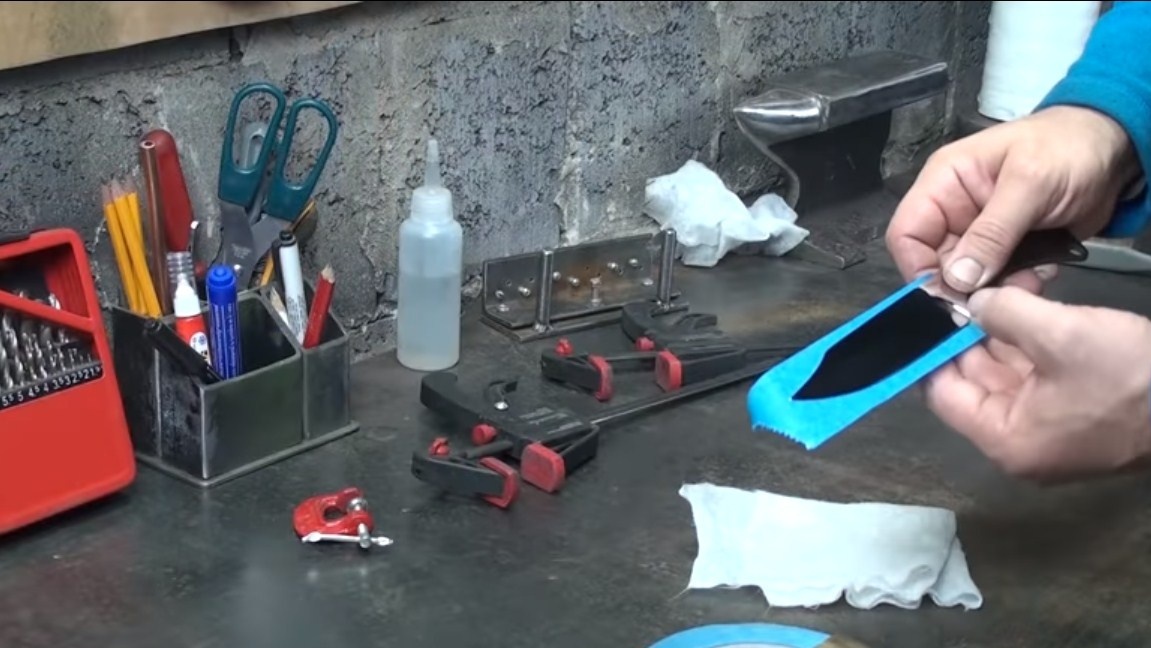
Seventh step. Polishing
We polish the blade to a mirror shine. For these purposes, we need a polishing machine and GOI paste. A little time and effort, now you can look at the blade like in a mirror. After that, we wind it with electrical tape so as not to damage the blade and not cut yourself.

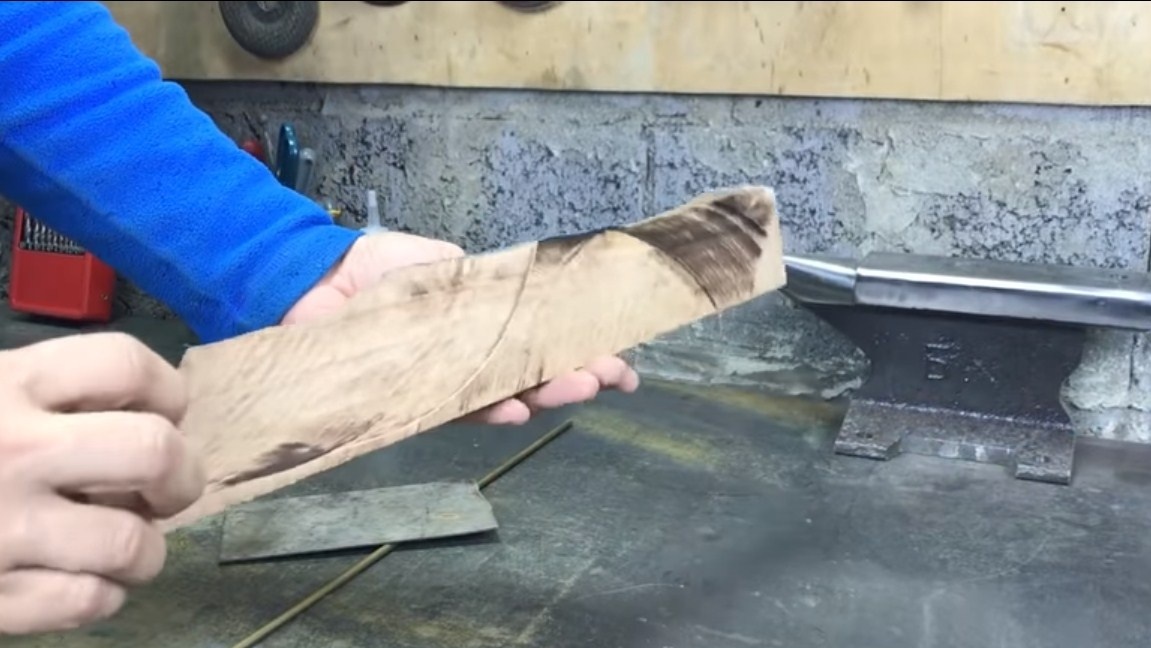
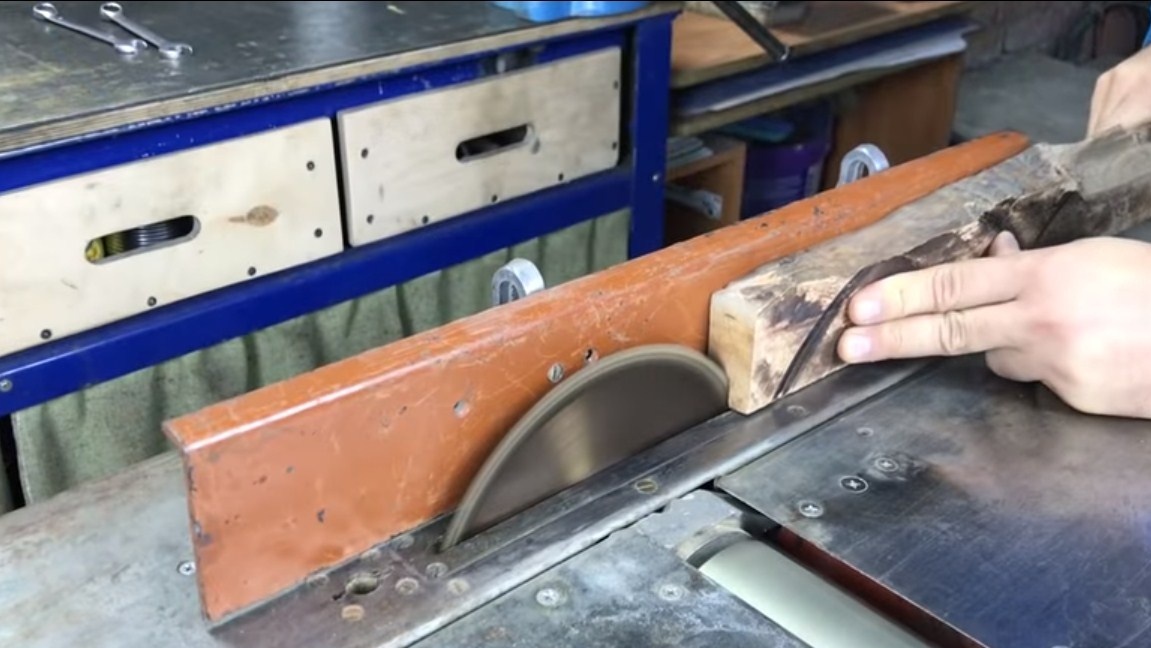
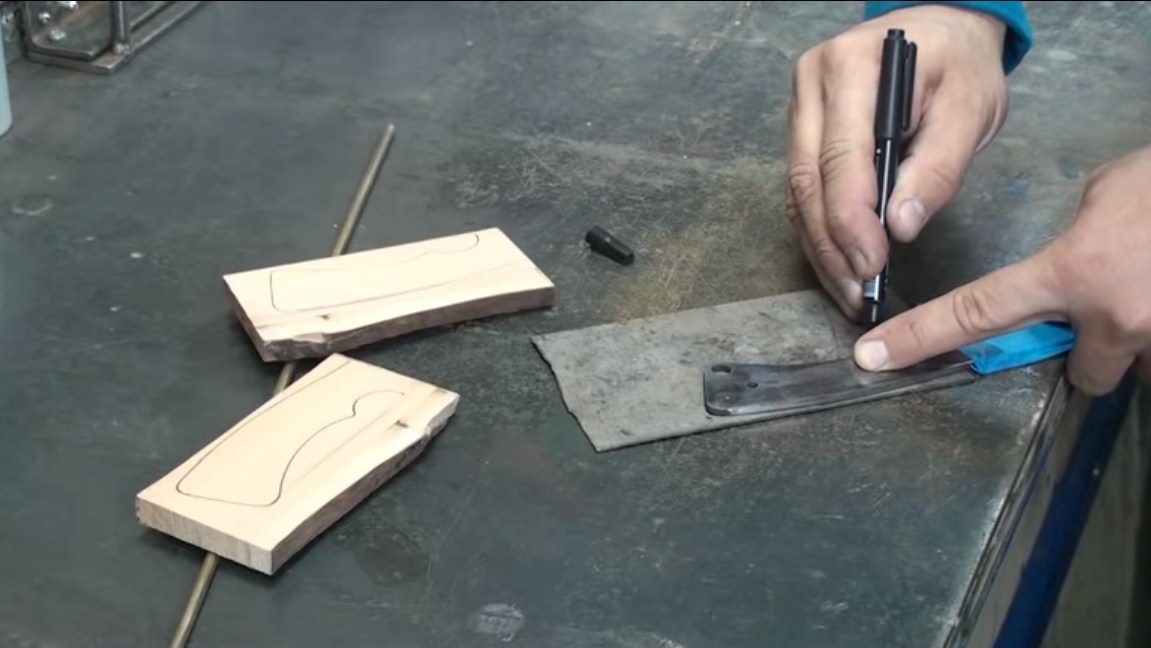
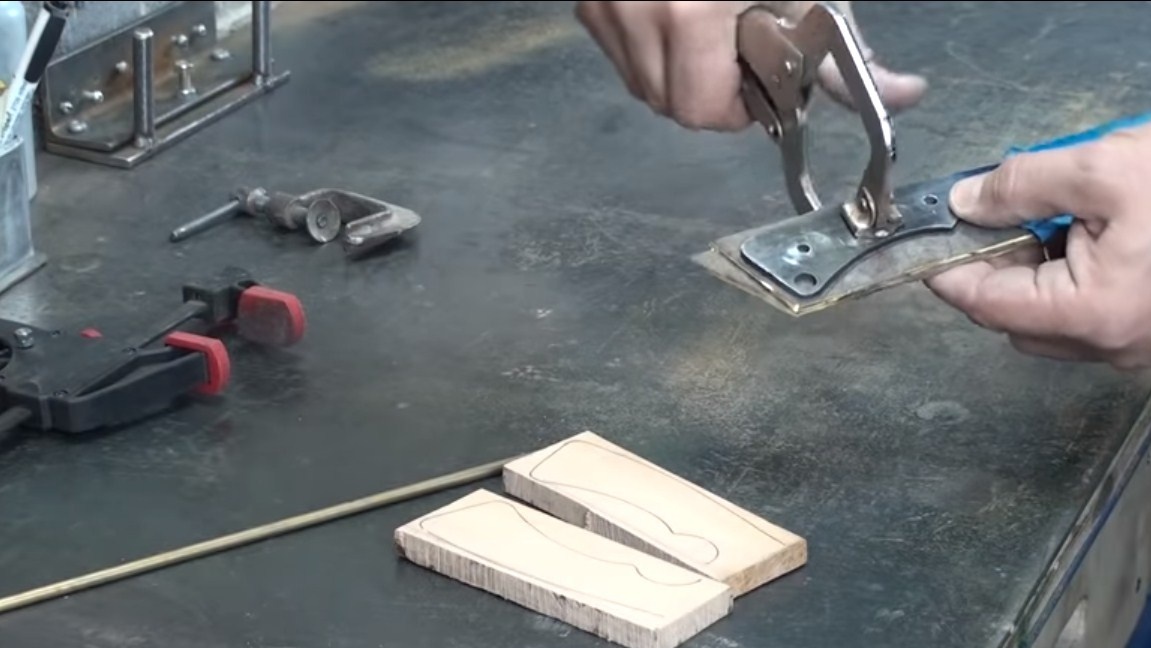
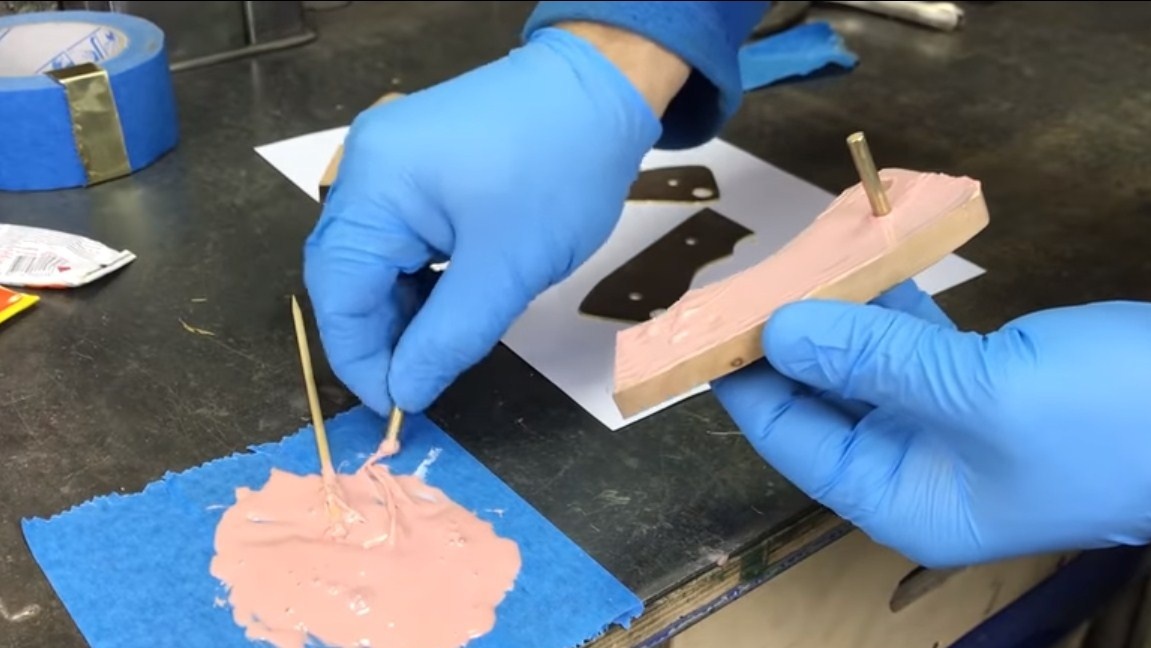
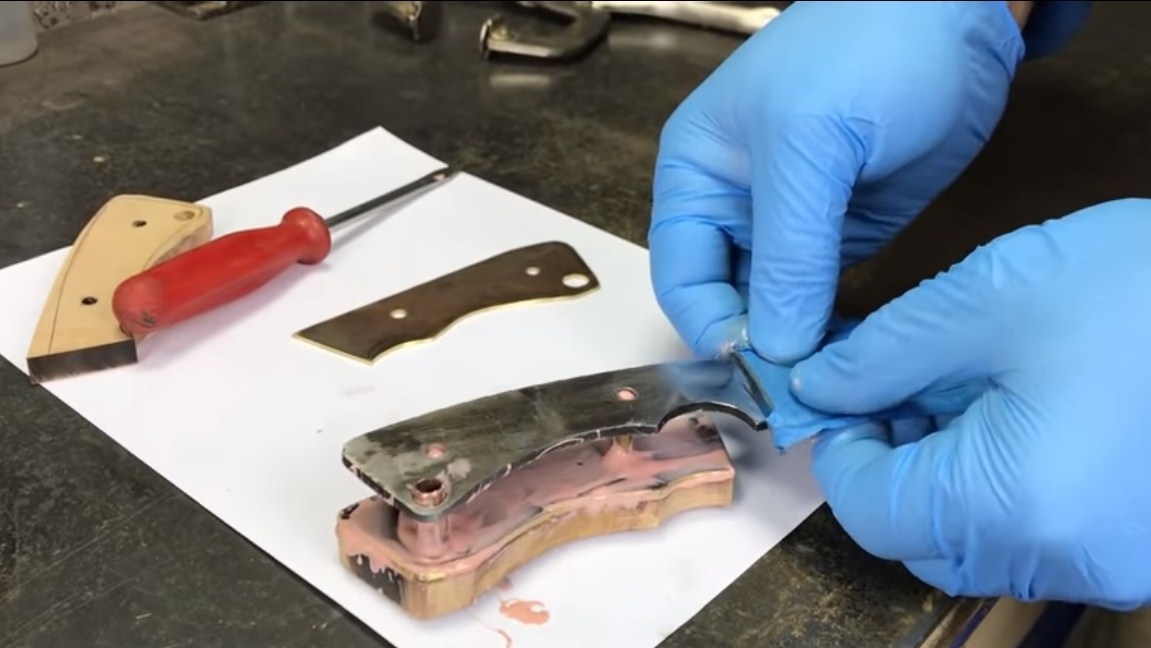
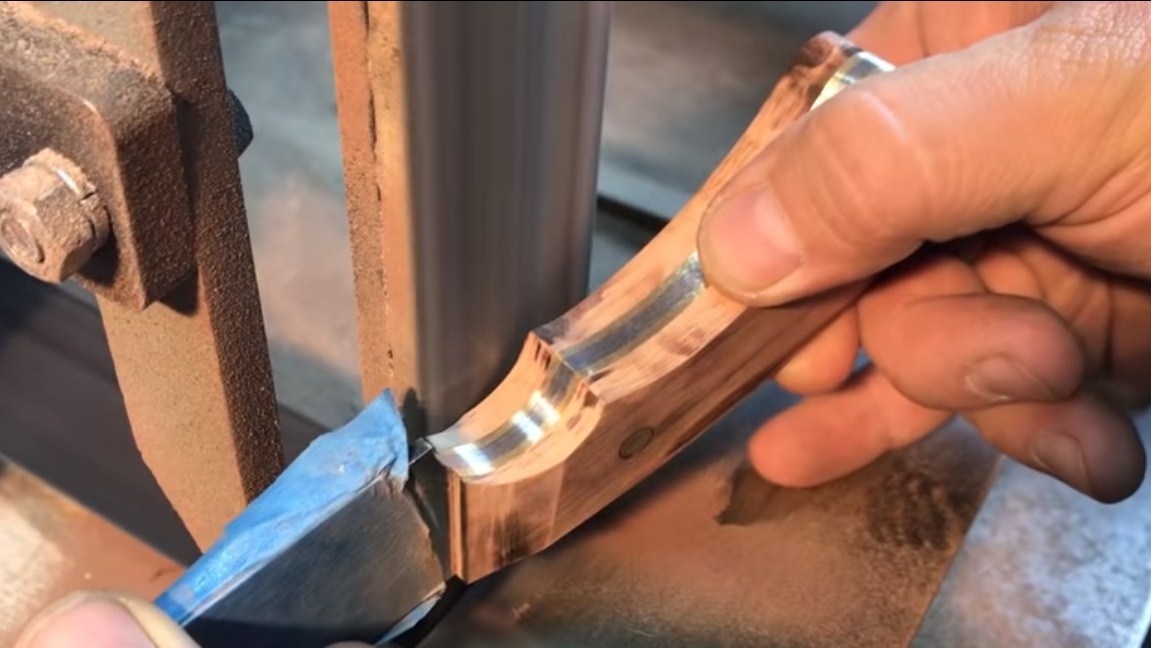
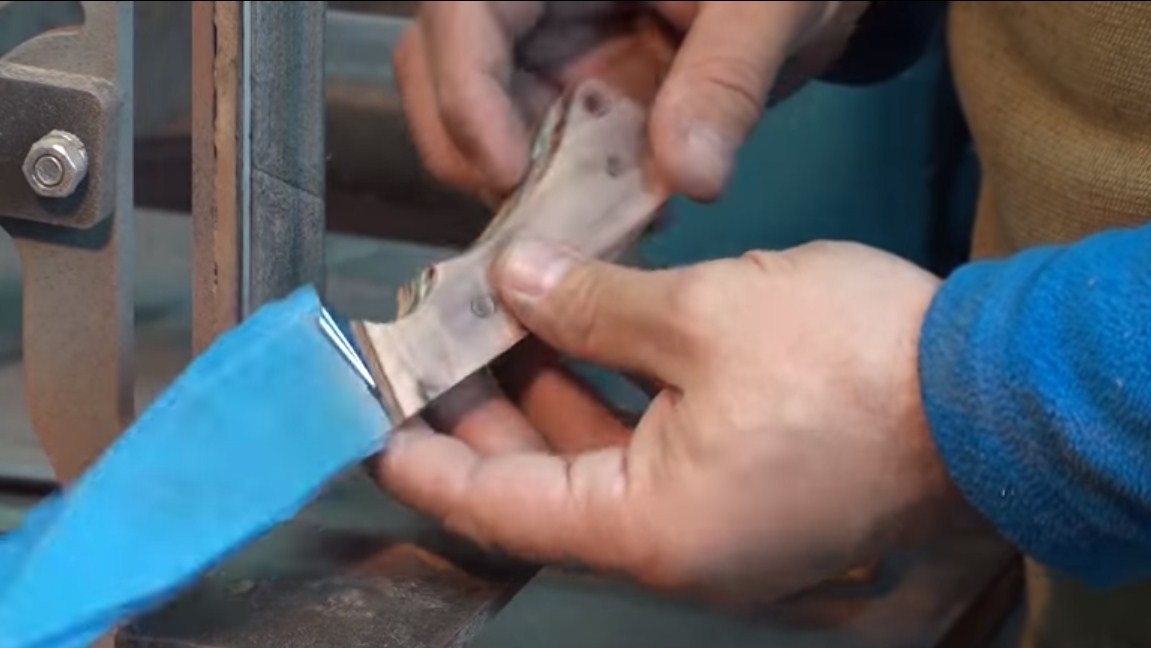
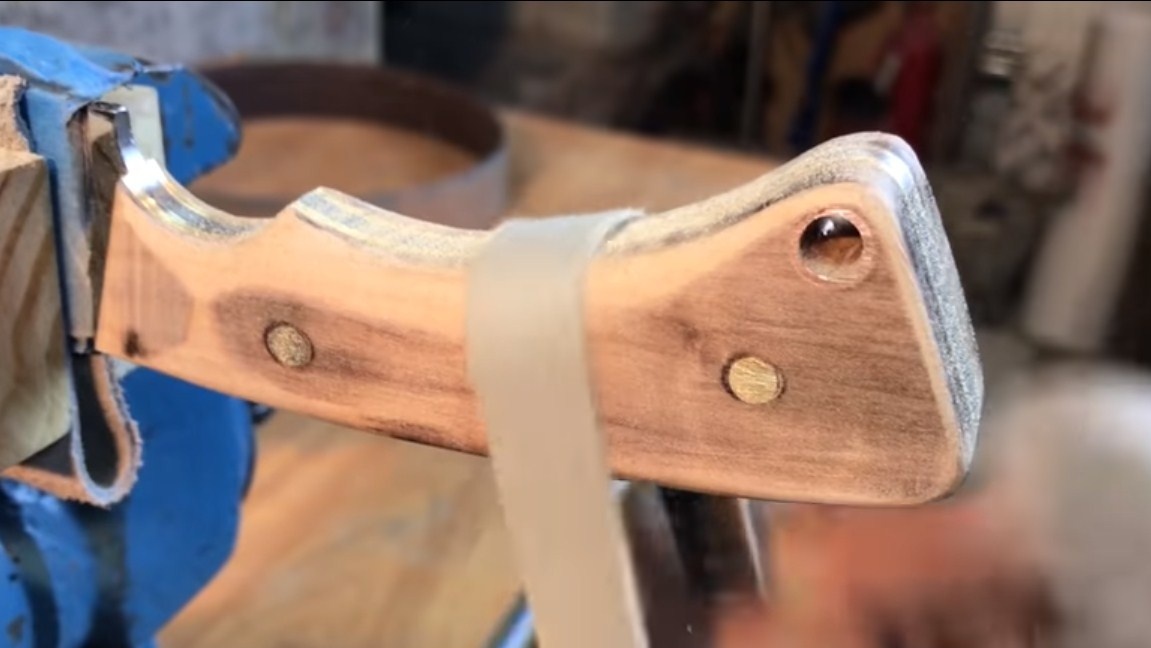
Step Eight. Pen making
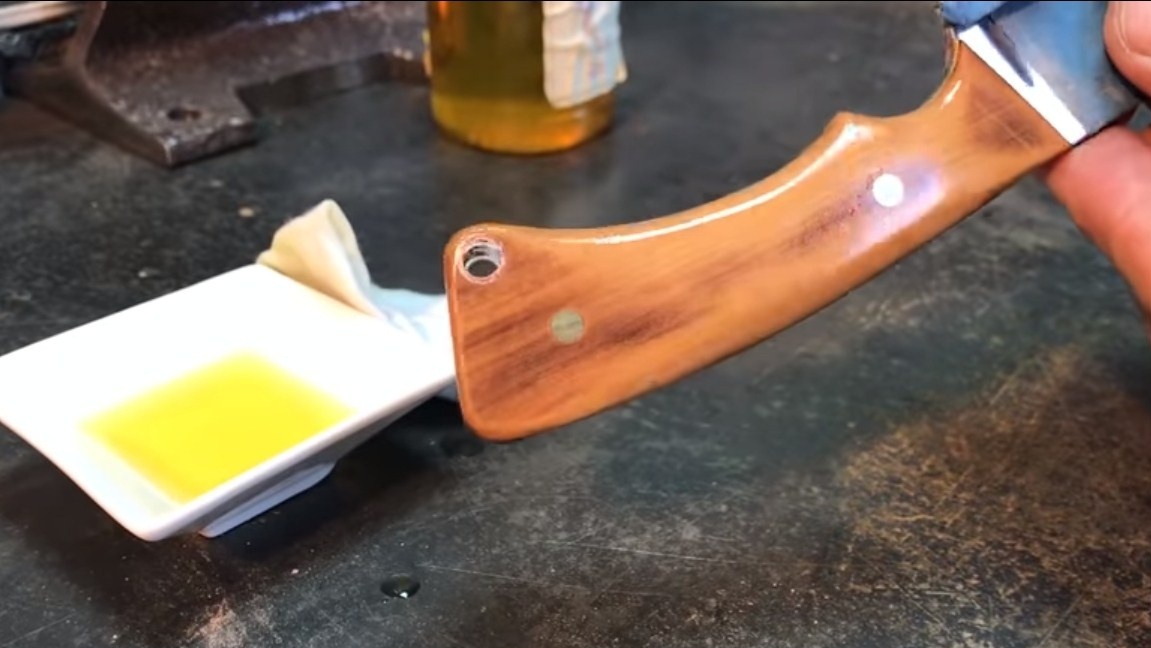
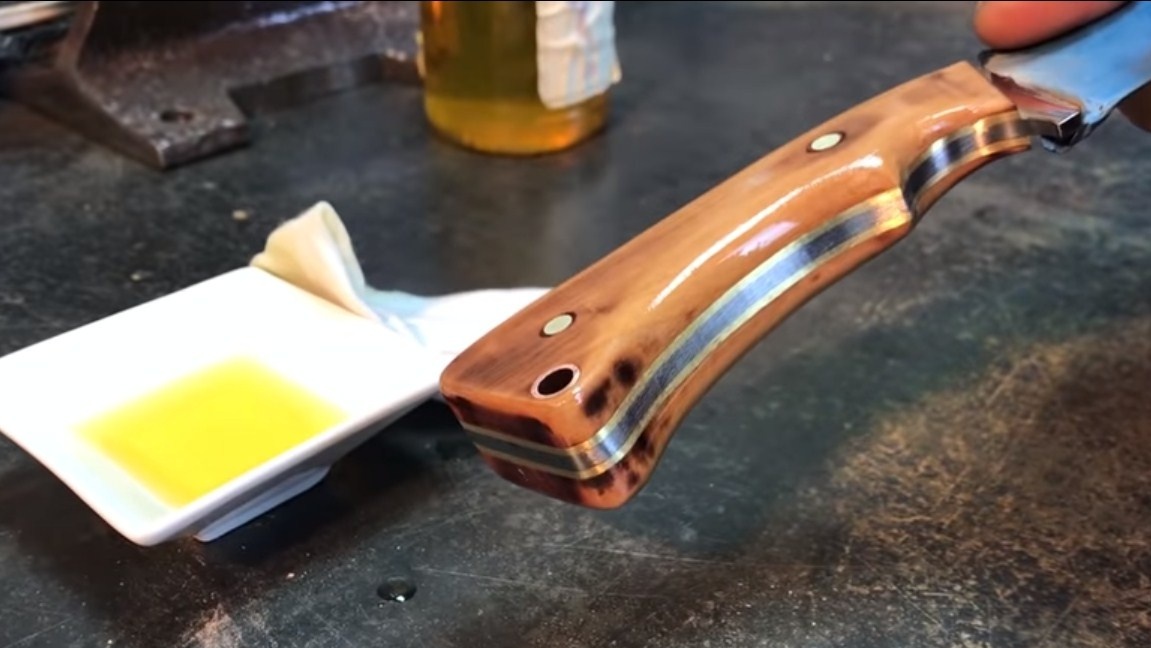
For the handle, cut two pads of beautiful wood. The author also carved two more brass plates, they will be installed in front of wooden plates. With them, the knife looks more beautiful.
Next, drill holes, prepare the pins and the tube. It remains to stir the epoxy and glue the handle.


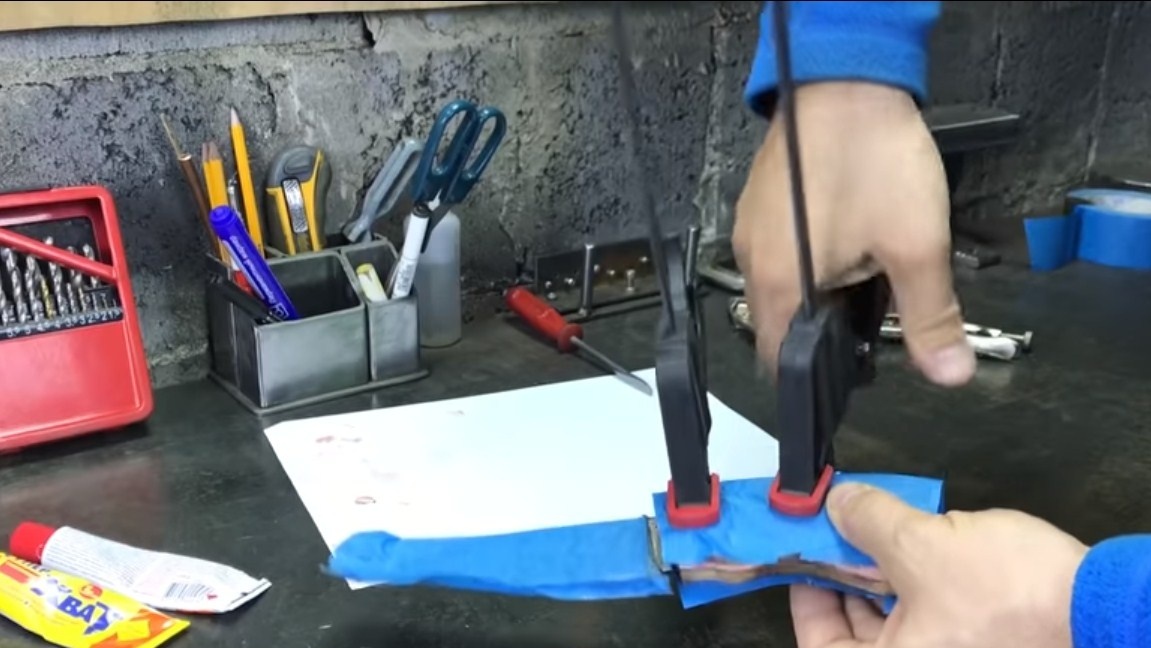
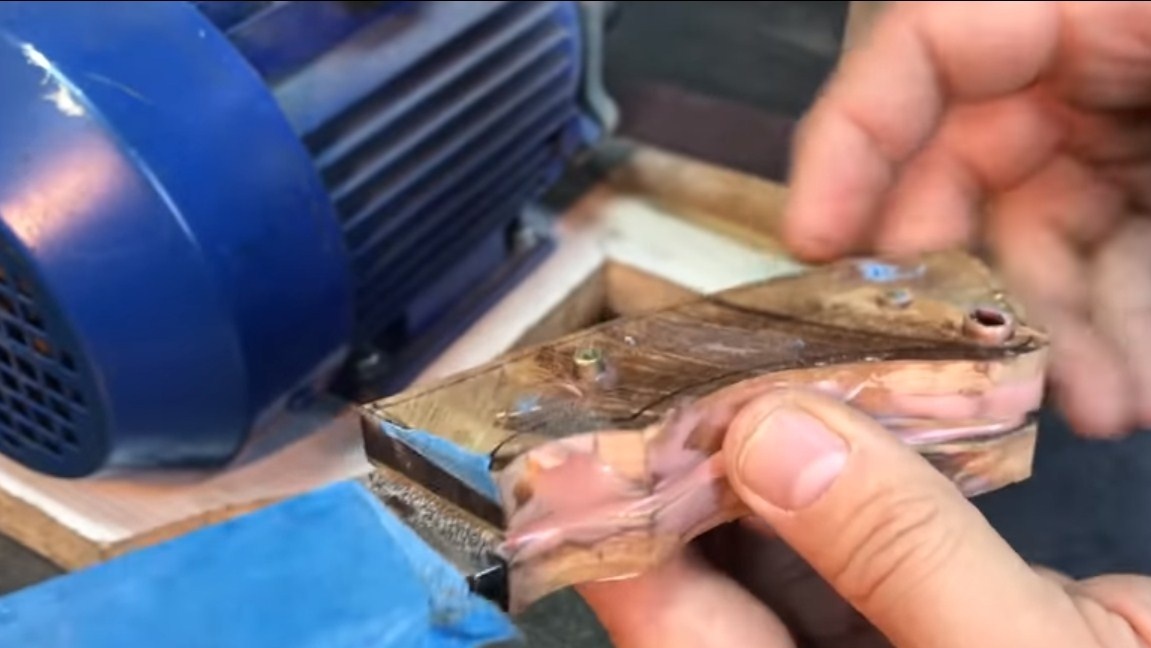
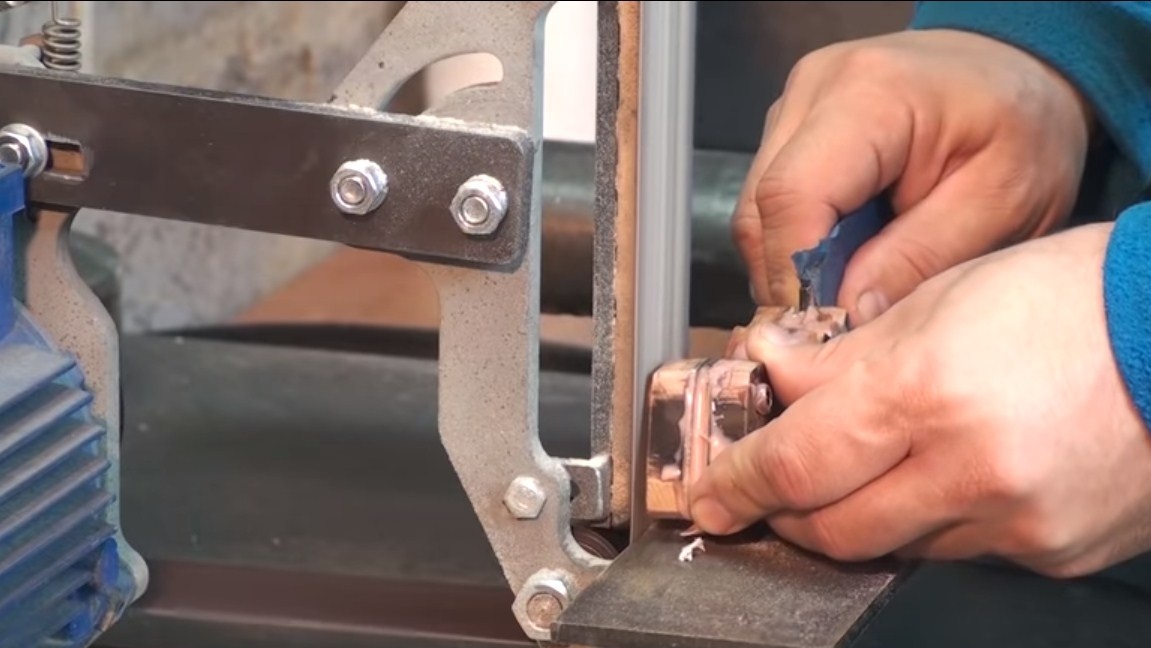
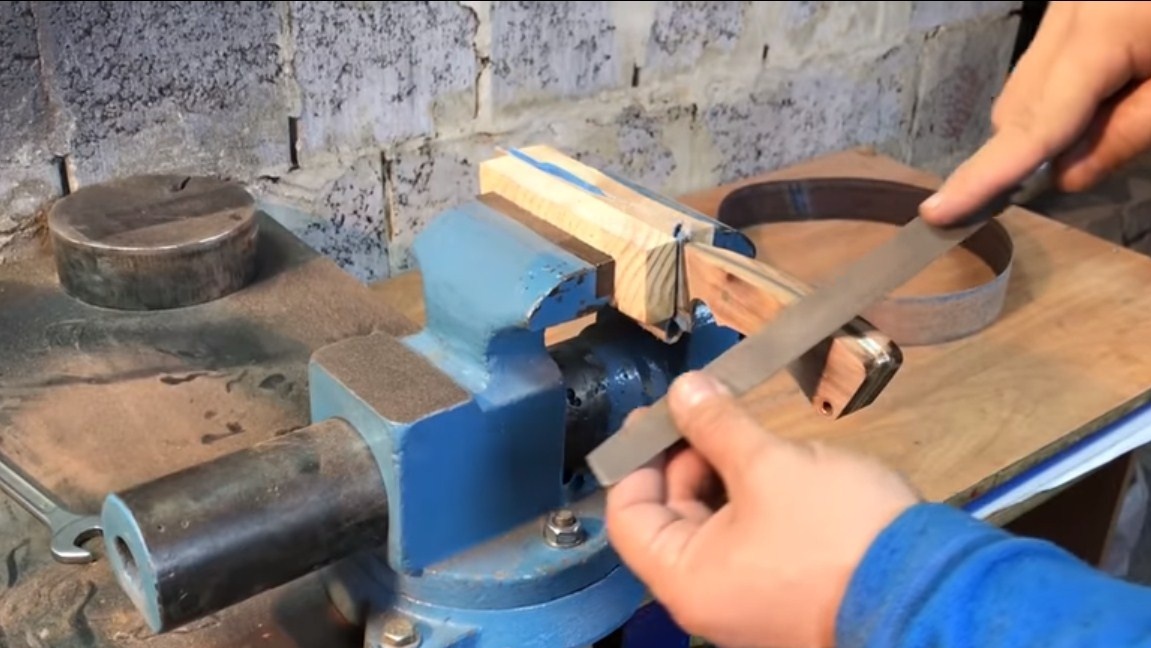
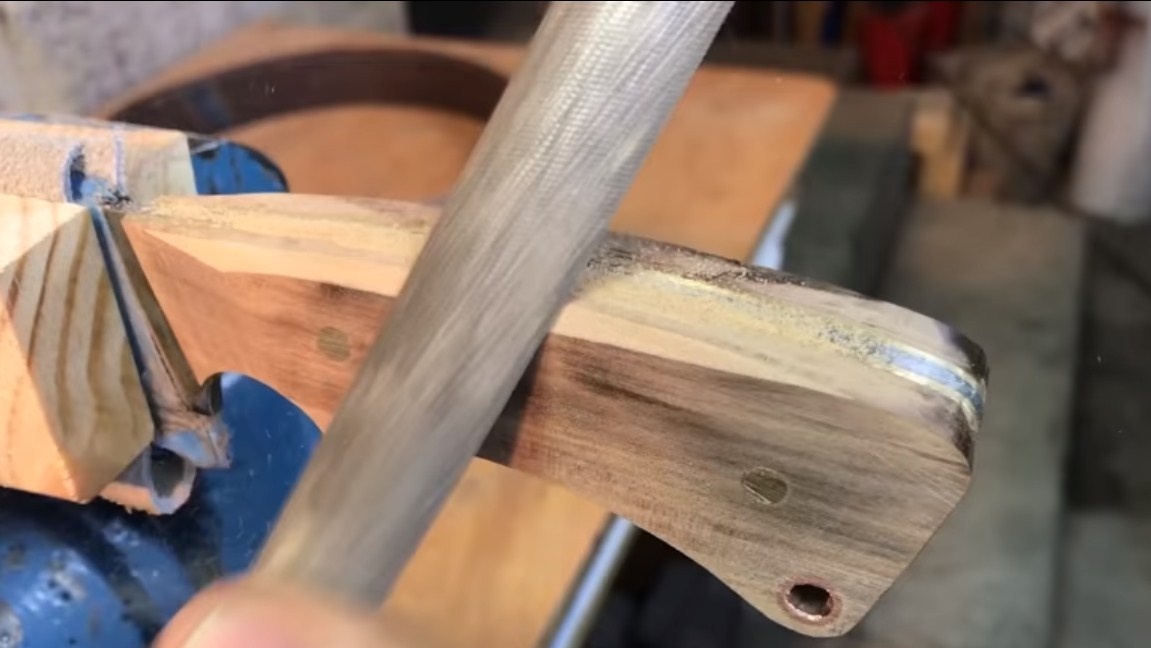
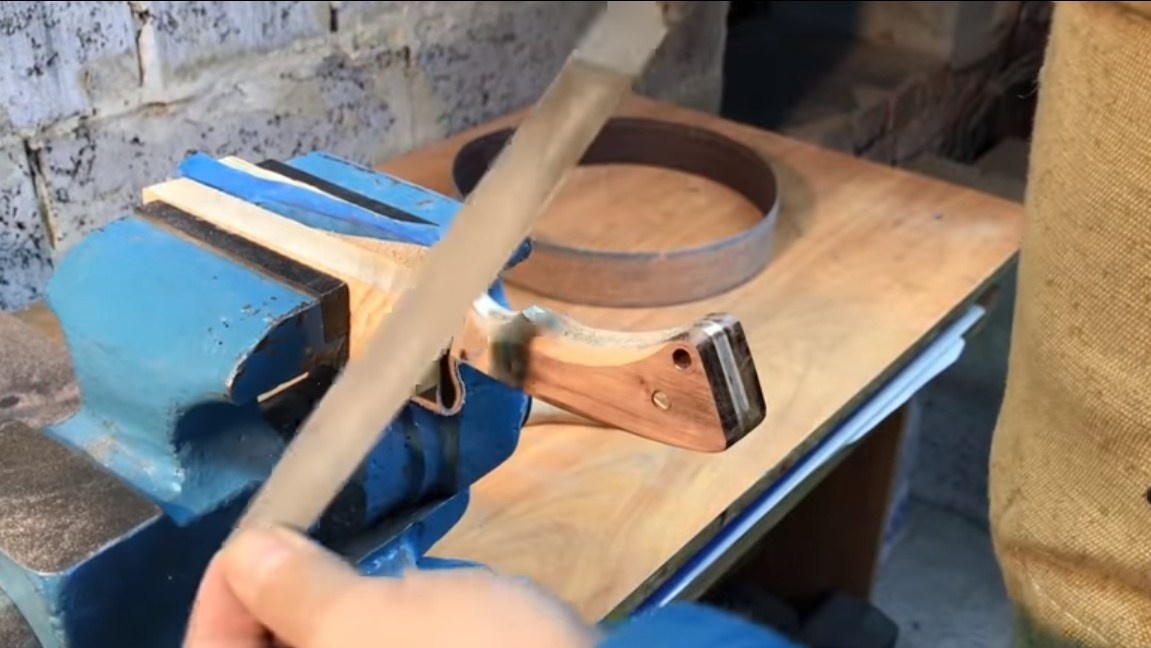
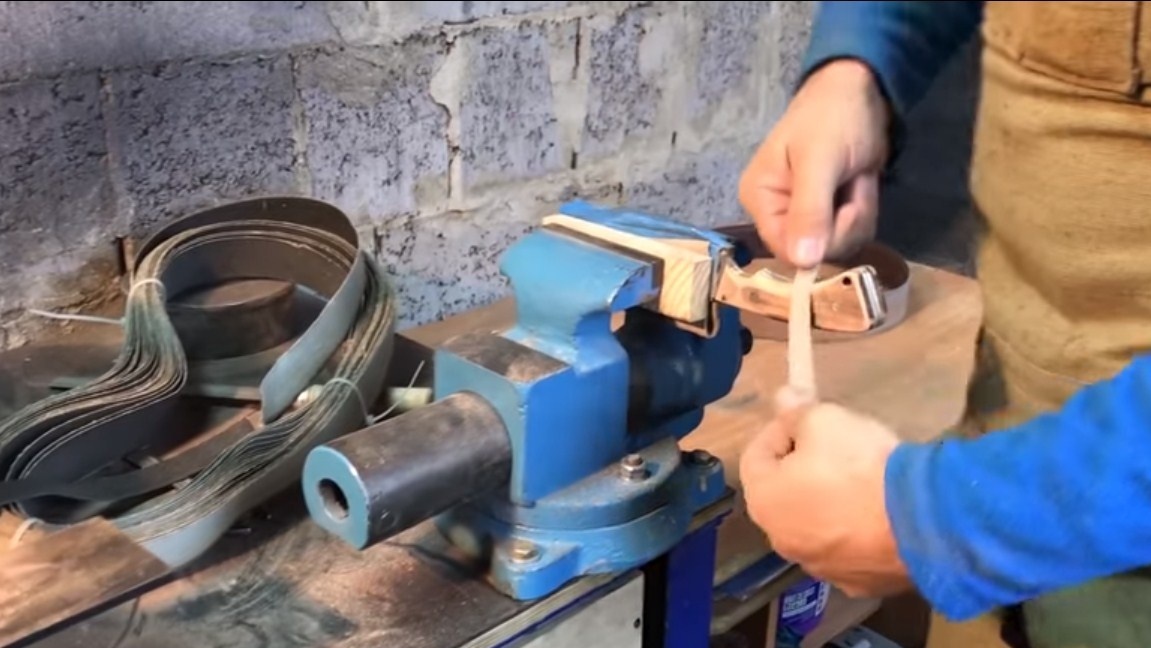
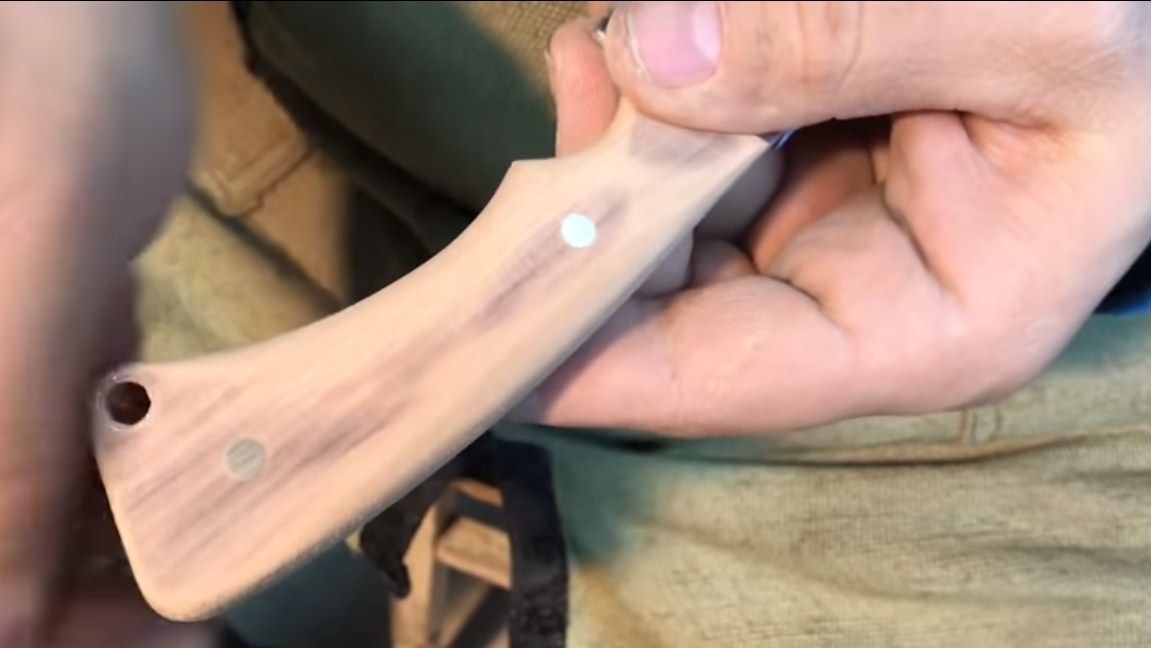
After drying, we form the desired profile of the handle on a tape machine or manually with files. Final processing is carried out manually with sandpaper. The handle should be perfectly smooth.
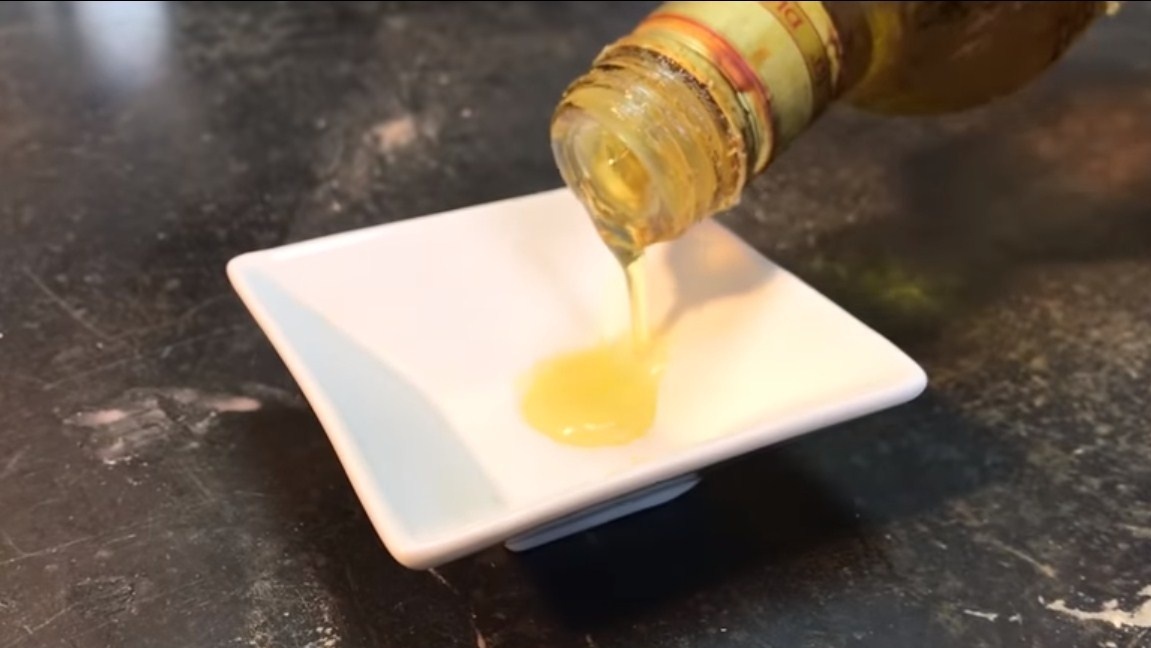
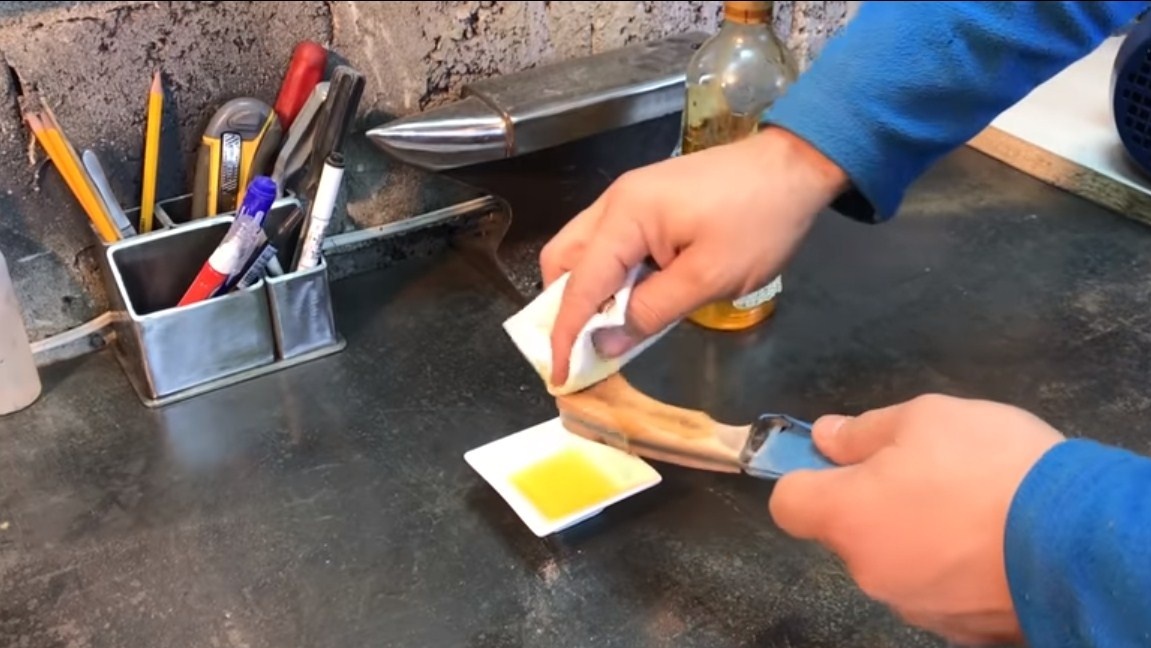
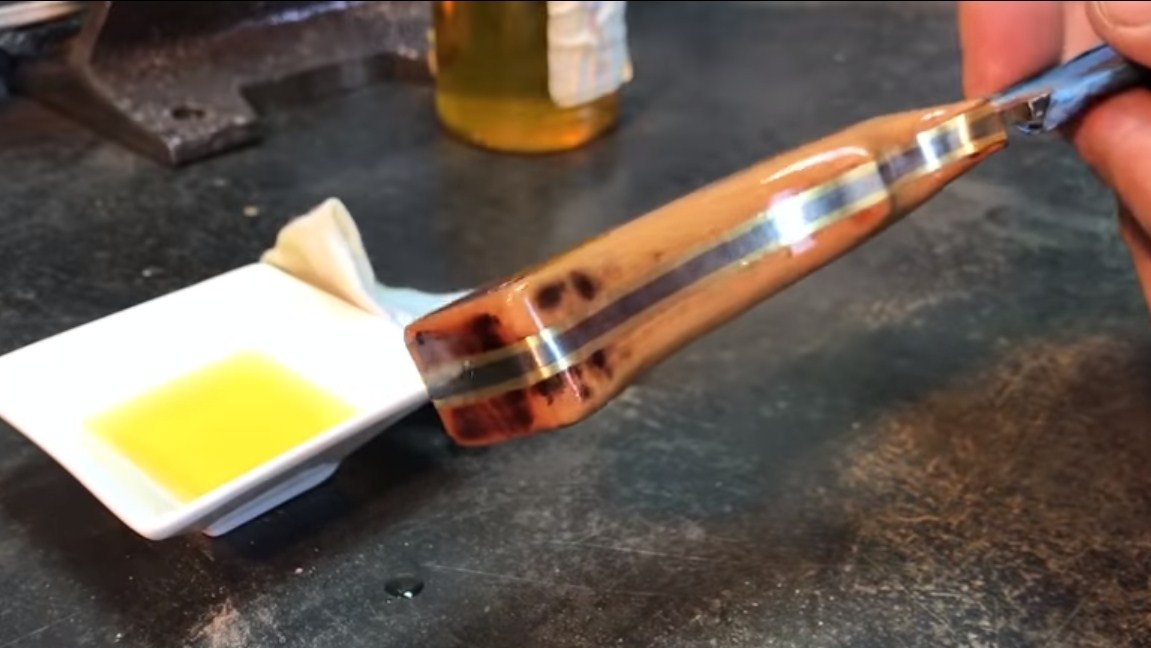
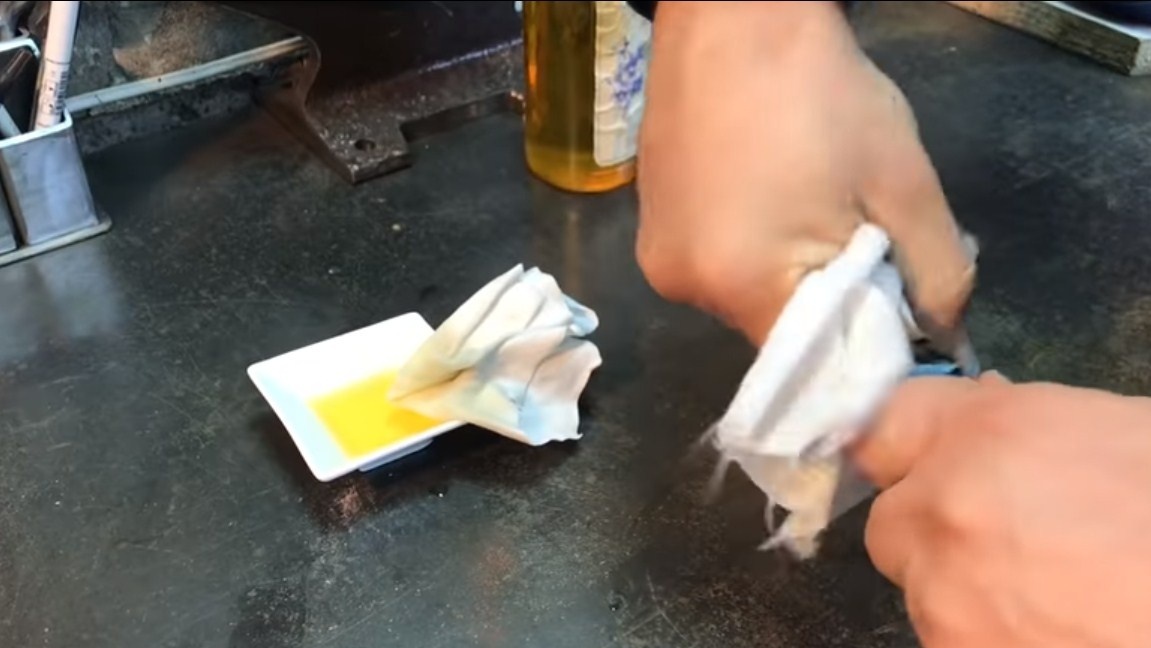
Be sure to soak the handle with oil to protect it from moisture. In addition, wood with oil looks just amazing.

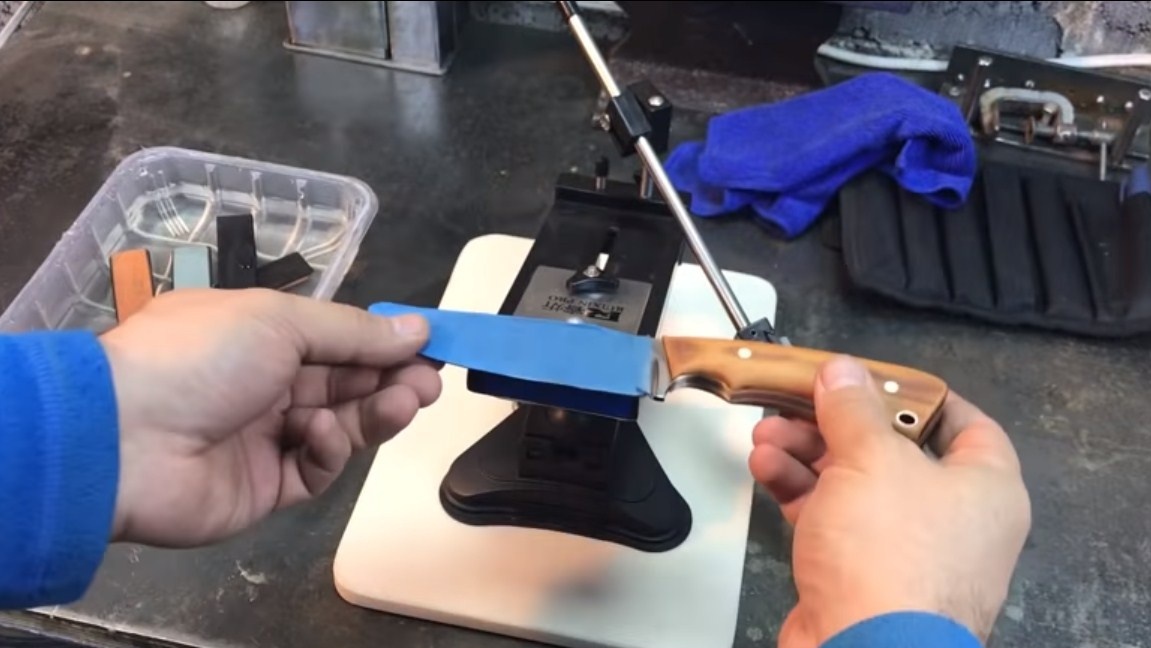
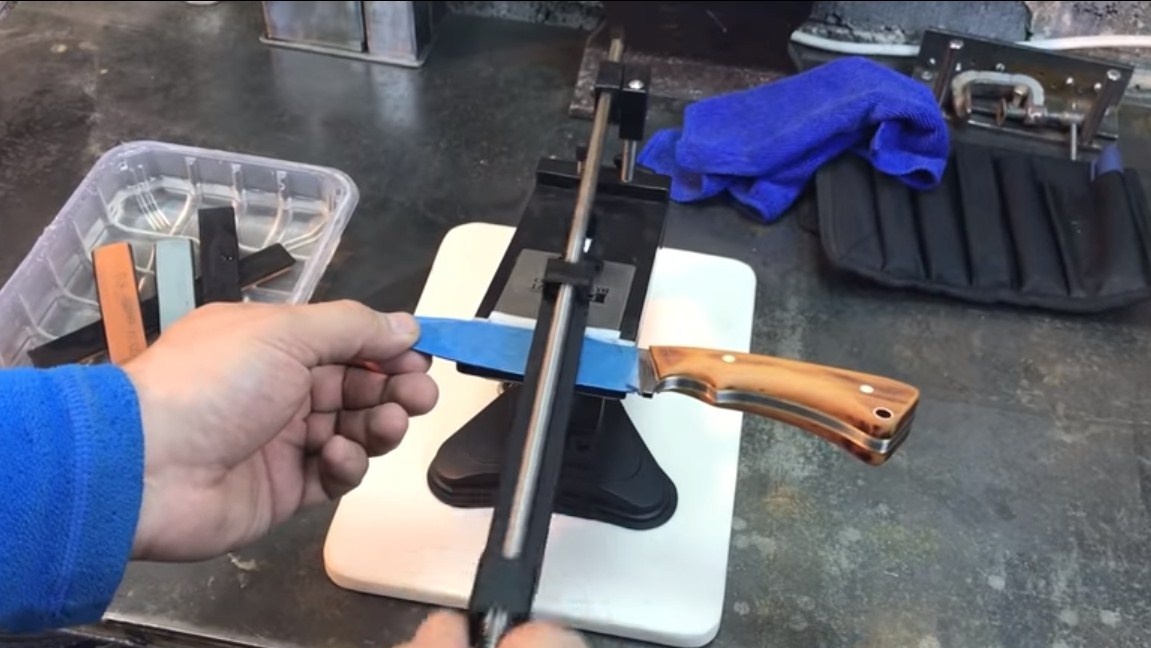
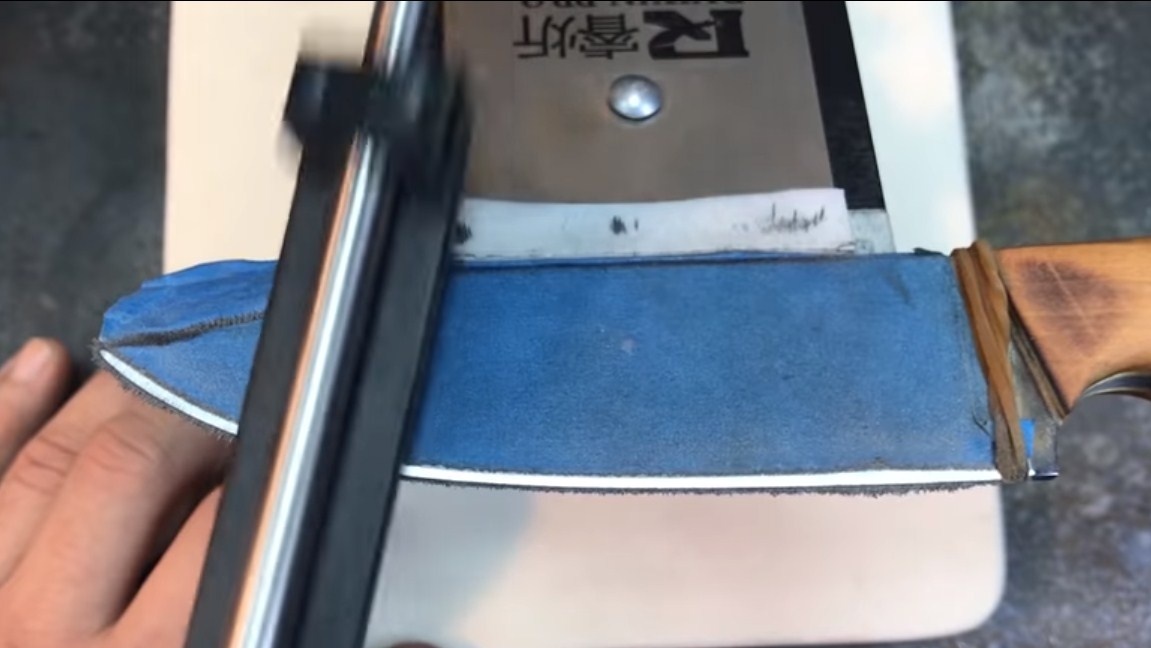
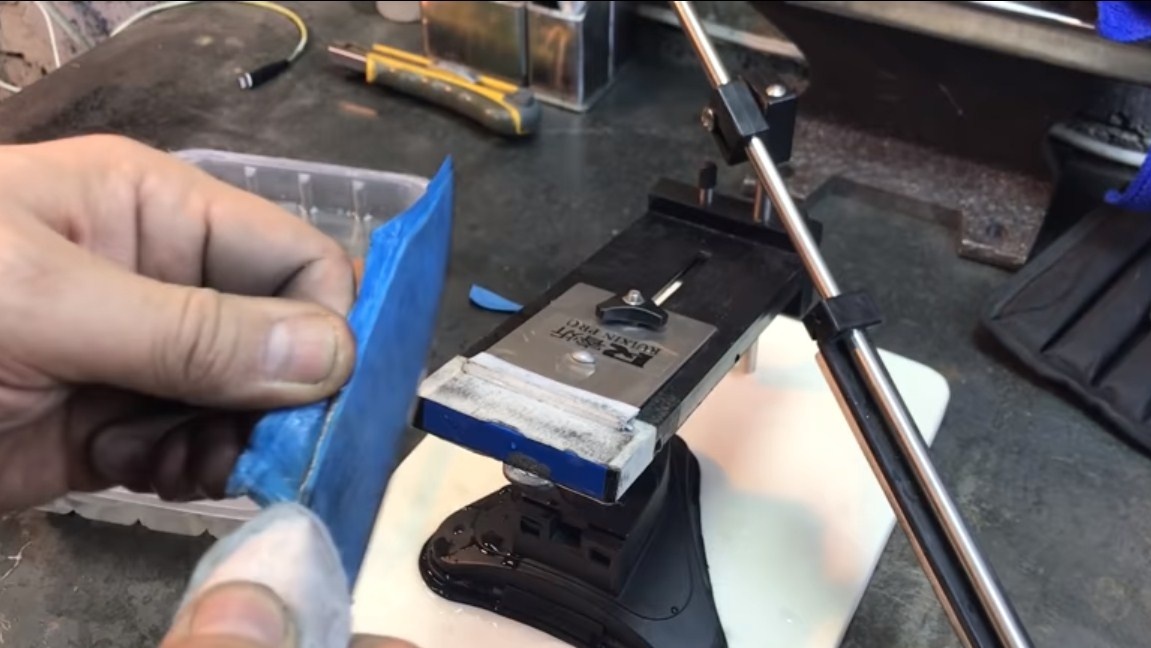
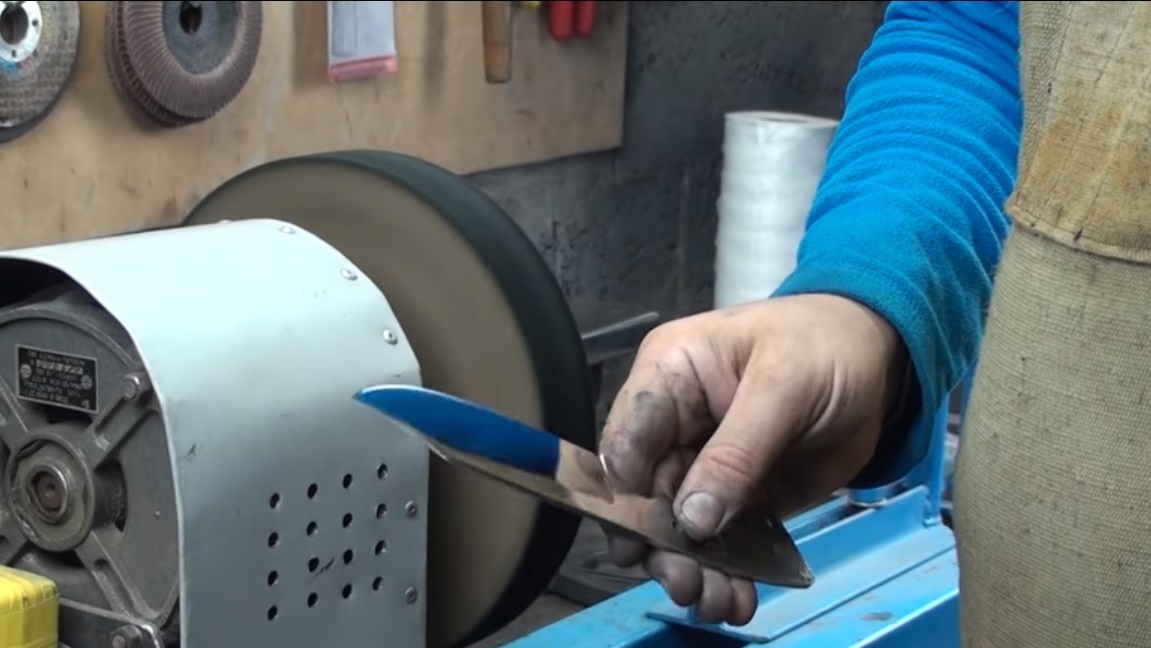
Step Nine. Sharpening
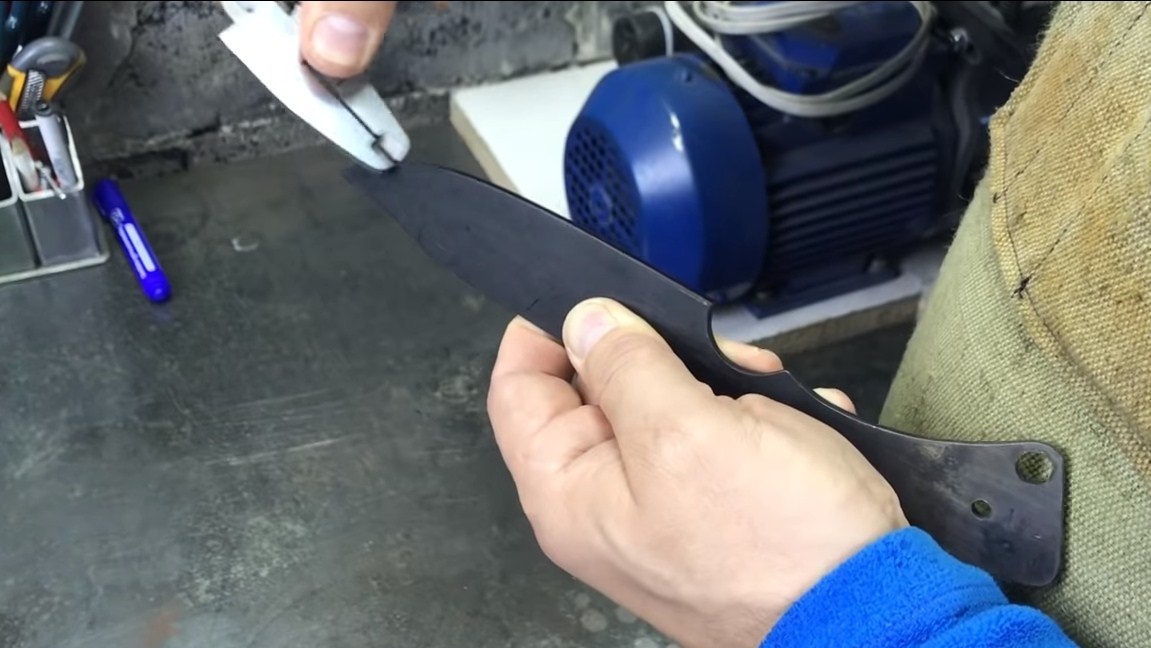
For sharpening, the author has a special machine, grinding stones of different grit are used here. After sharpening, the knife should easily cut the paper.
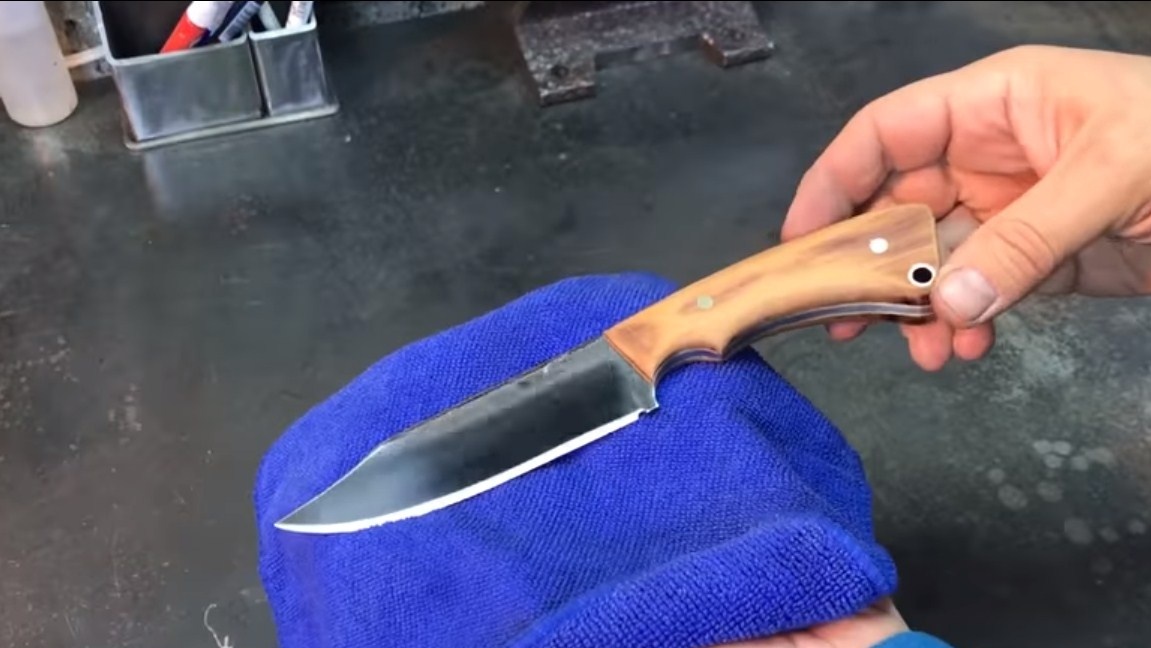
That's all, the knife is ready. Good luck and creative inspiration, if you decide to repeat it!