
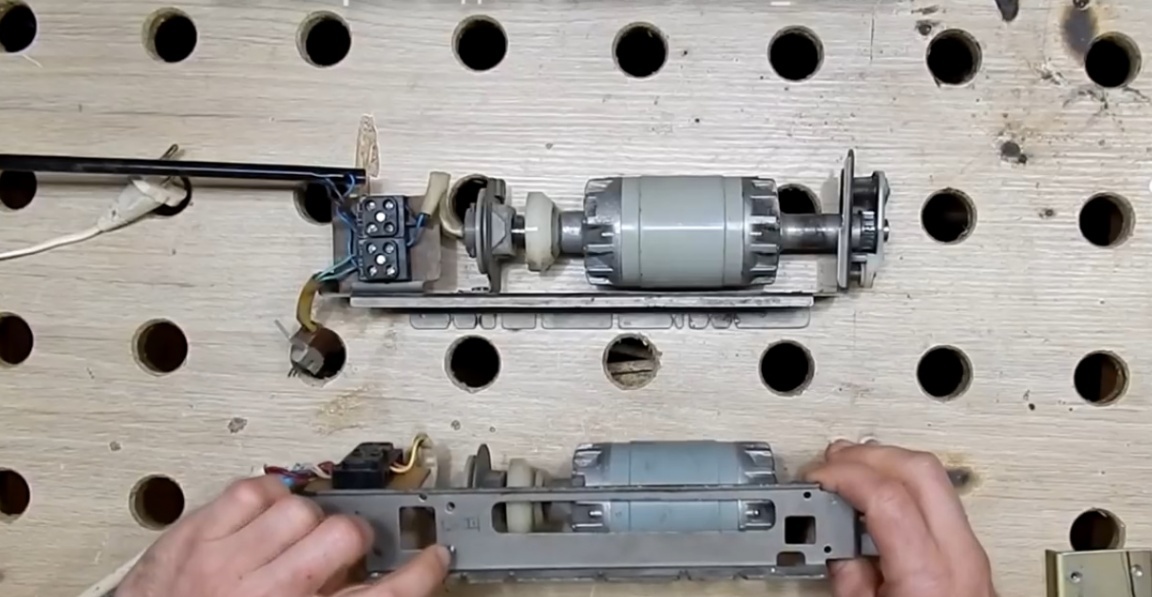
This article will focus on the independent manufacture of the grinder. The author of the YouTube channel GOOD_WOOD, at the request of his subscribers, will conduct an experiment to create a home-made grinder from the engine from the Yatran printing press.

The author began by thinking about how to make this whole structure simpler, but also to make it so that in the end it was possible to pull the tape, and so that it was just possible to change this tape. And at the end of the article you will see what he did in the end.
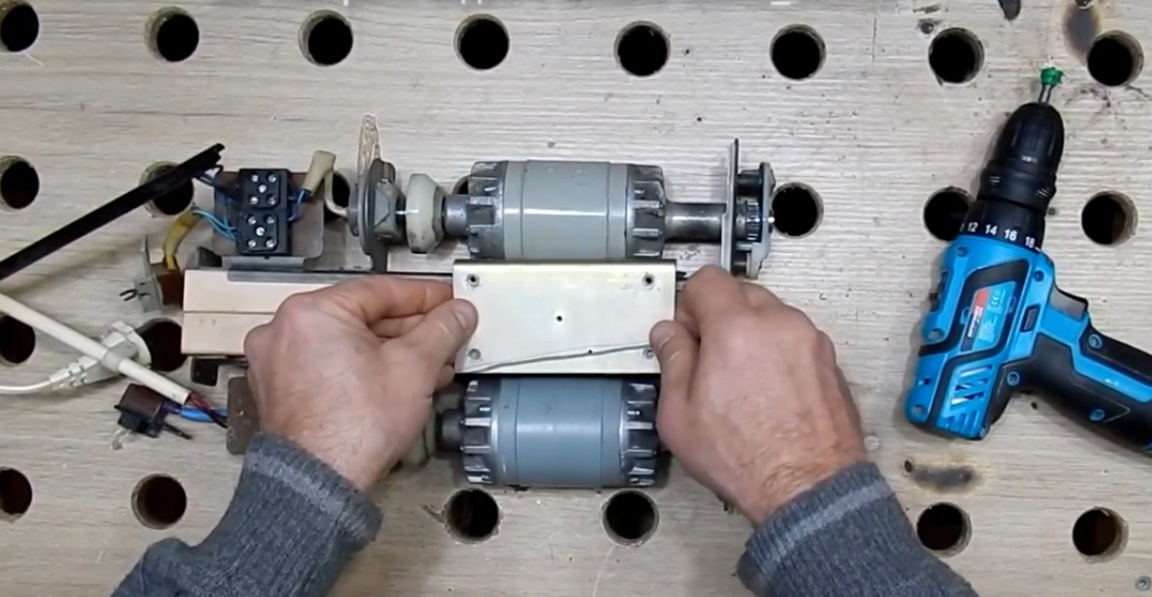
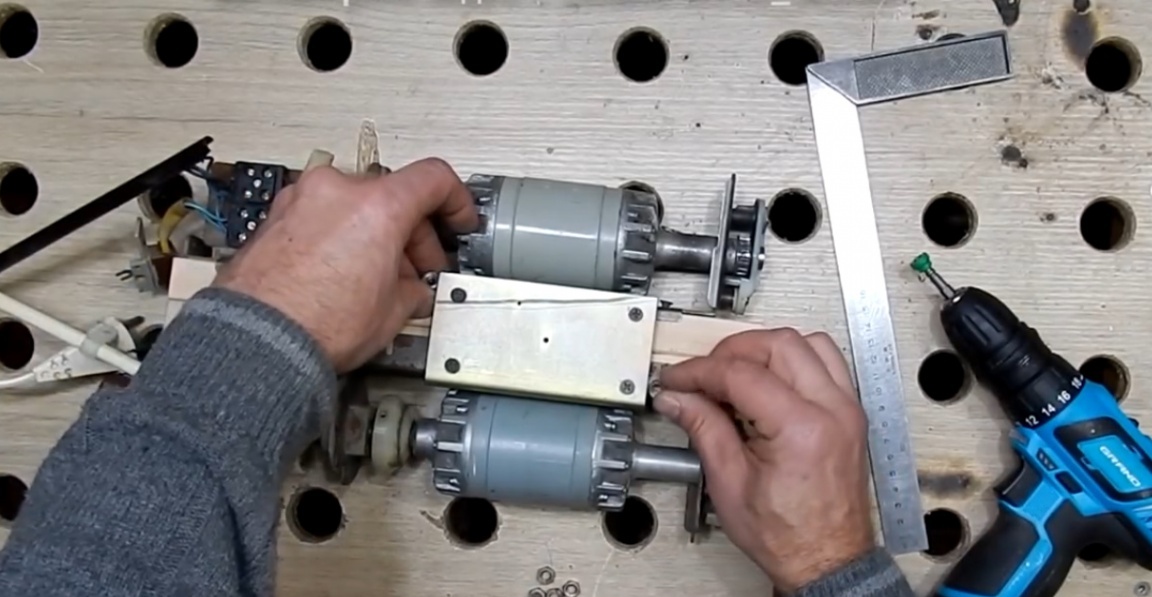
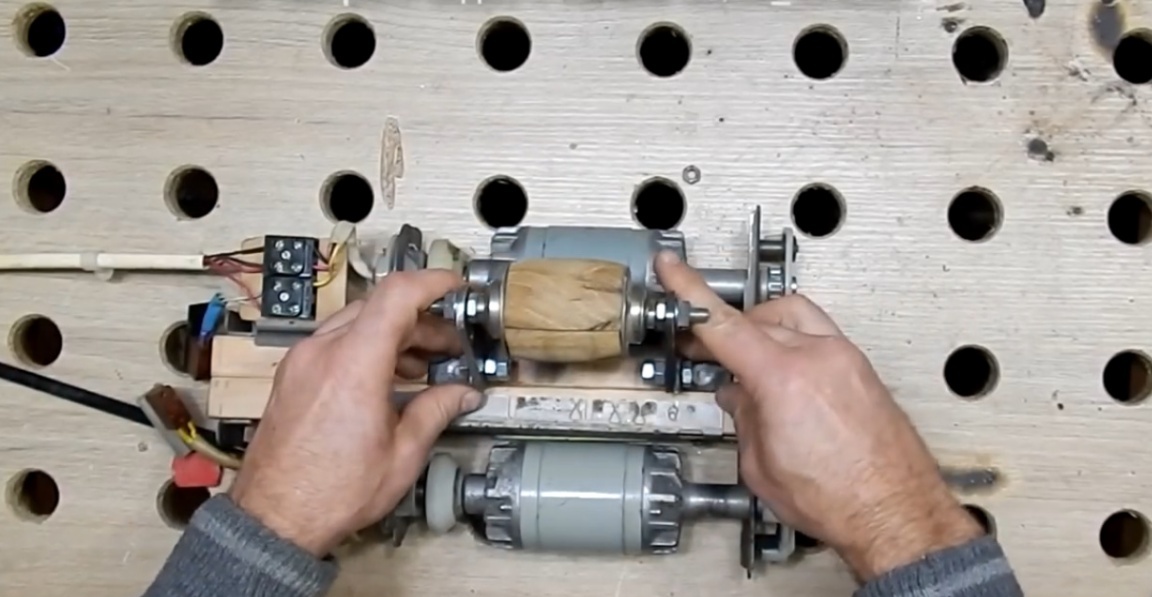
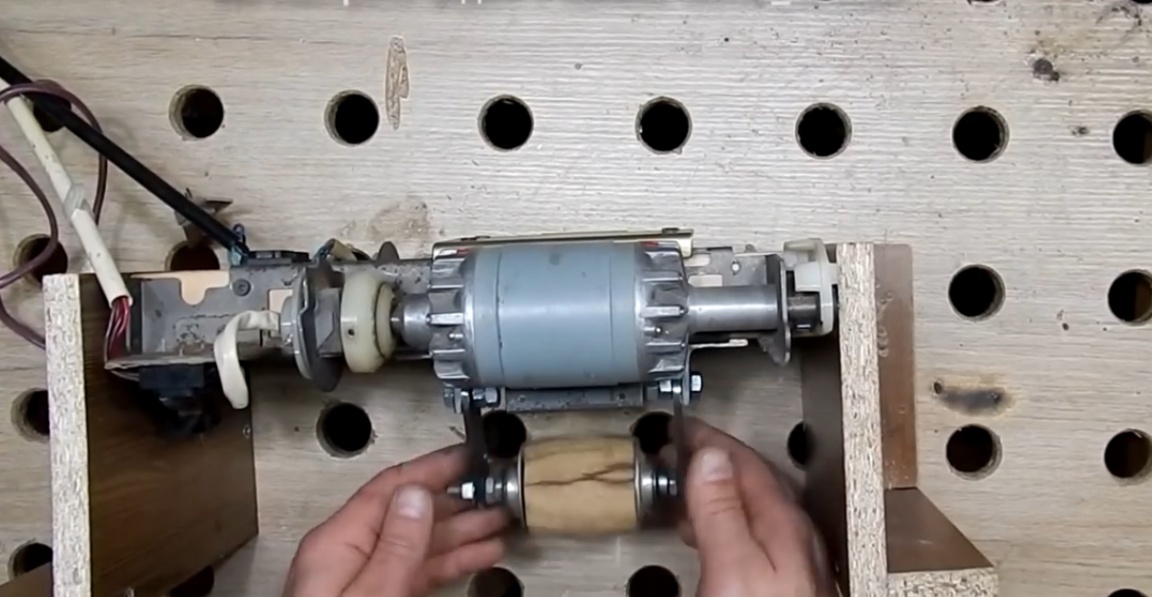
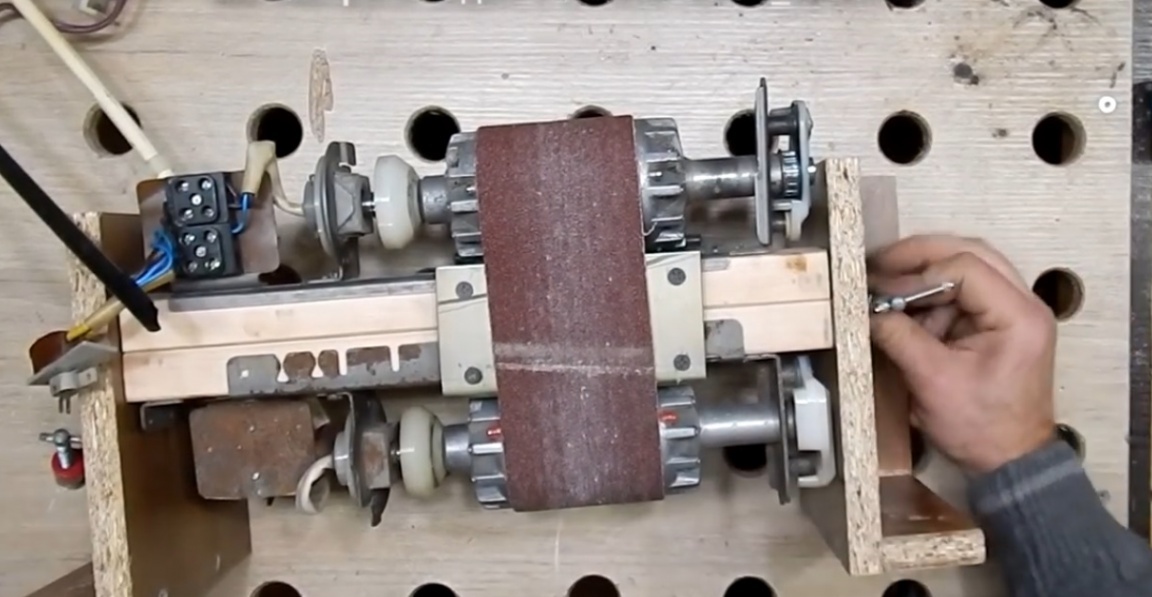
So, we need to arrange these engines in this way in relation to each other:
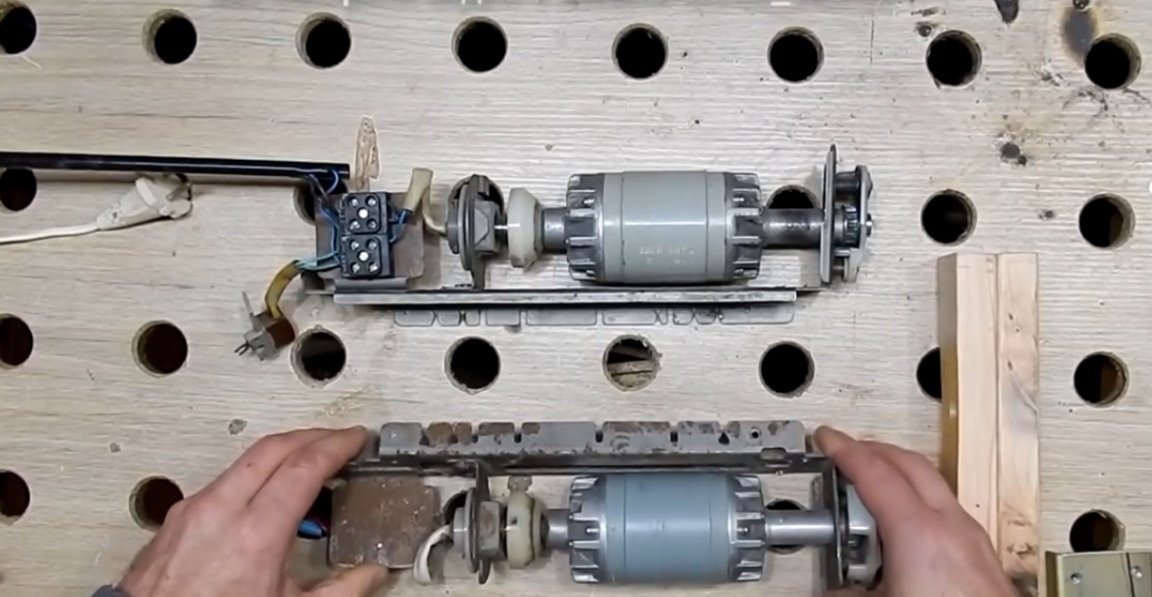
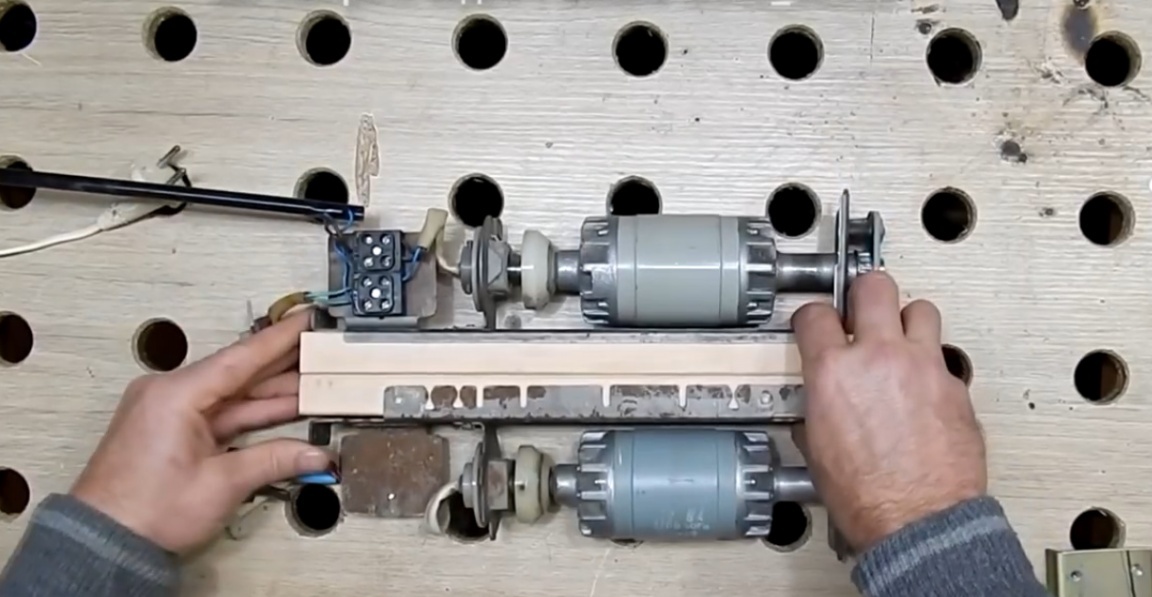
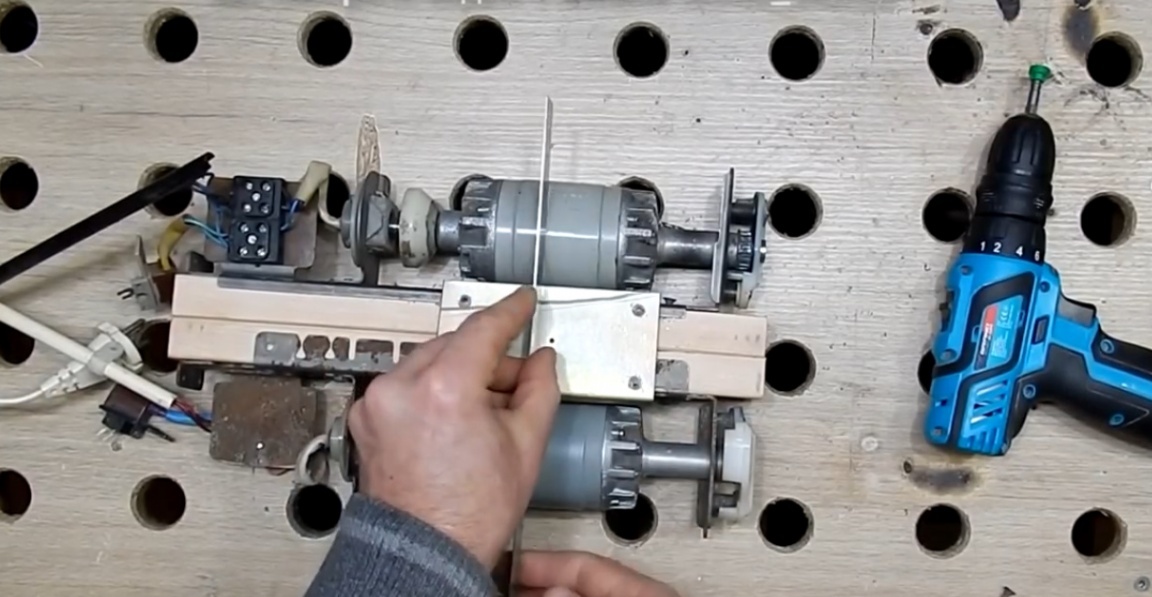
Then they need to be interconnected. The master decided to connect them with two bars (you can use one).
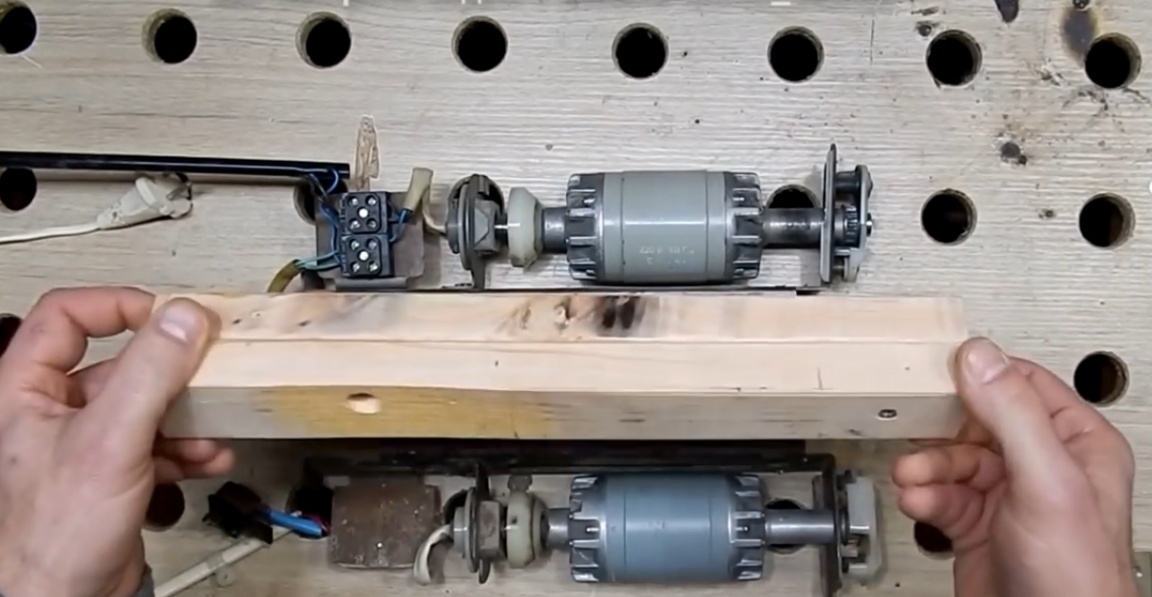
The bars are interconnected. Holes were drilled in the first and second bars. They are necessary so that the bolts on the engine pads do not interfere with connecting the structure together.
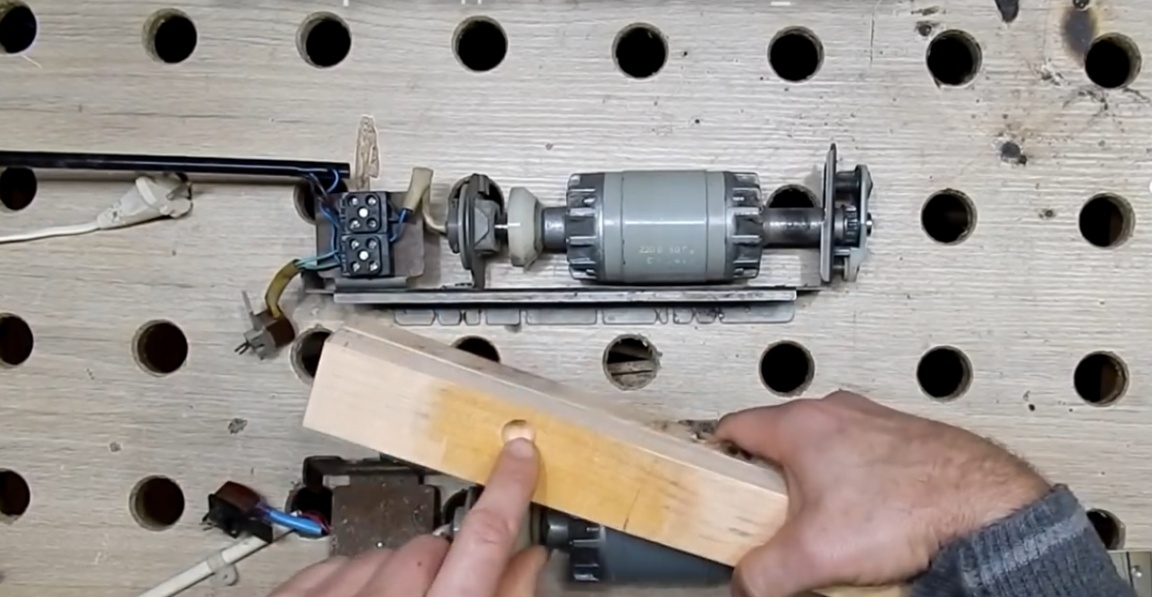
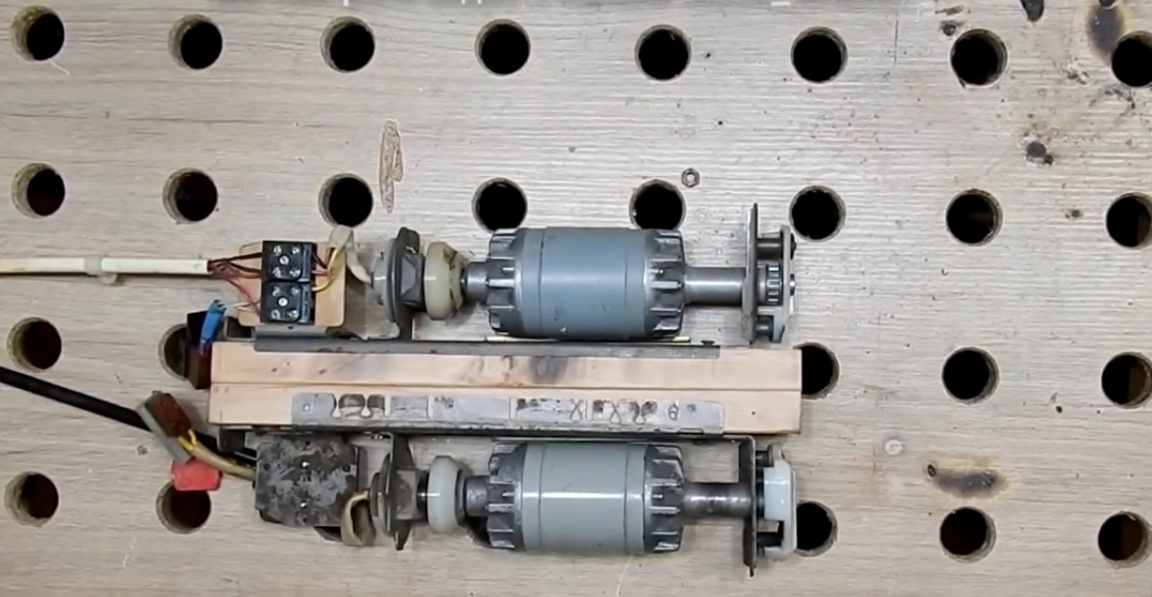
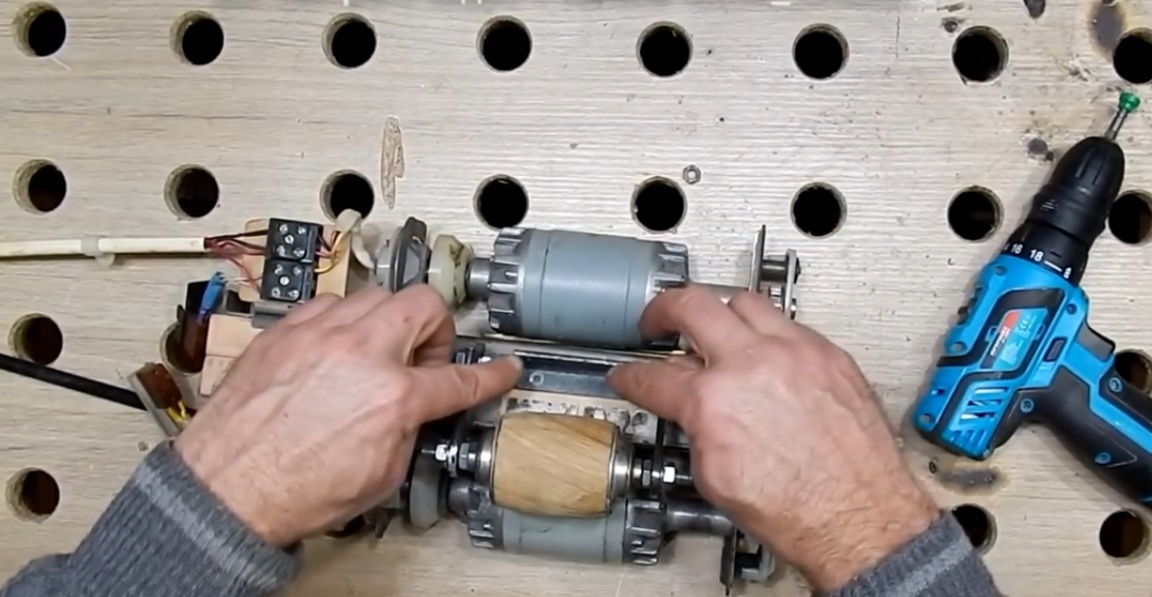
That is, in this way the bar will be located in the center of this structure. Both engines are set exactly in relation to each other so that they are in one line, like this:
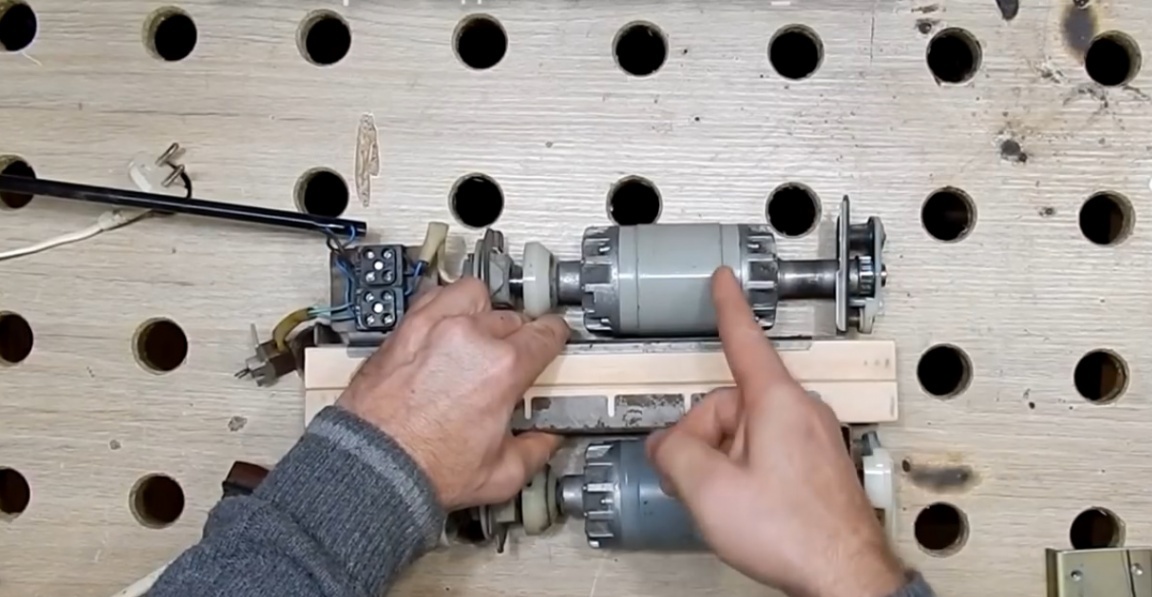
Next, the master fastens them together with clamps.
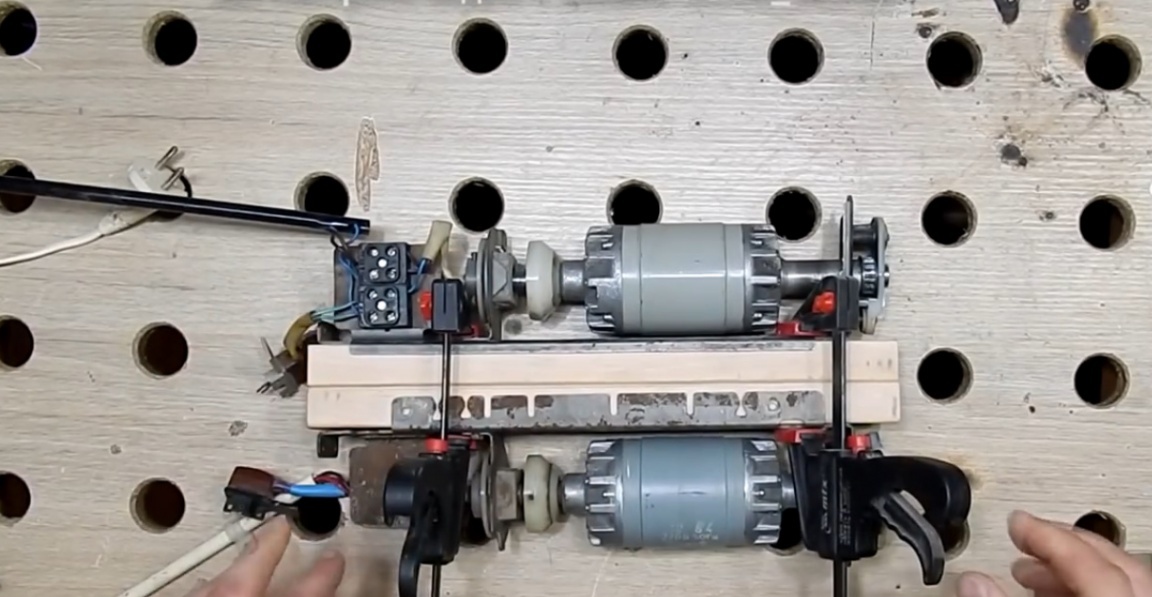
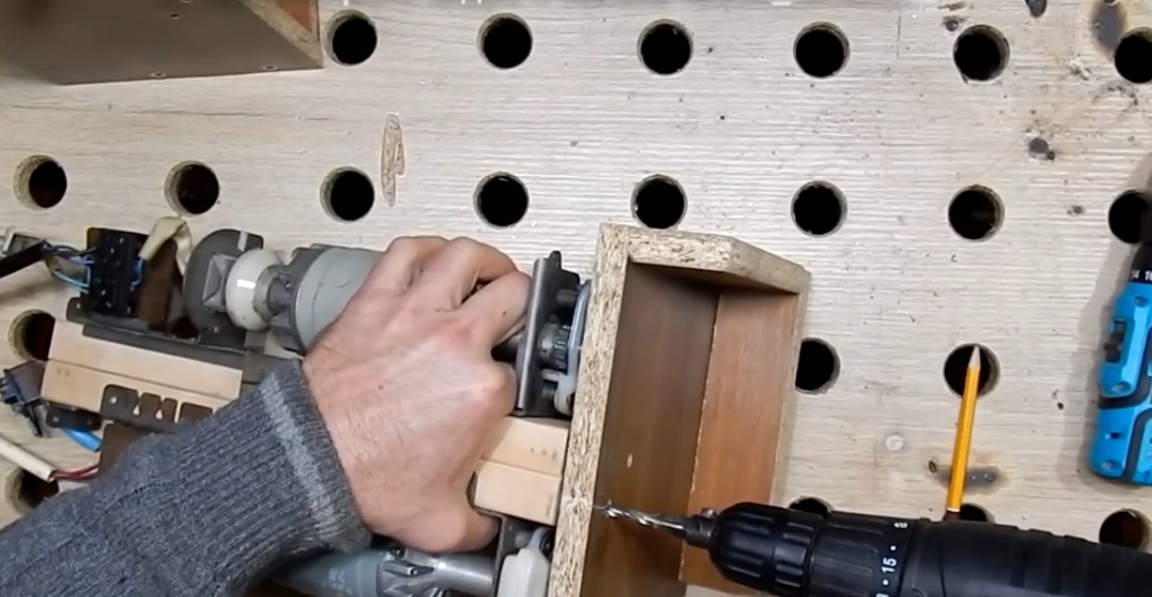
In each engine area we drill an additional hole (it just doesn’t work out in a different way) and tighten it with ordinary screws.
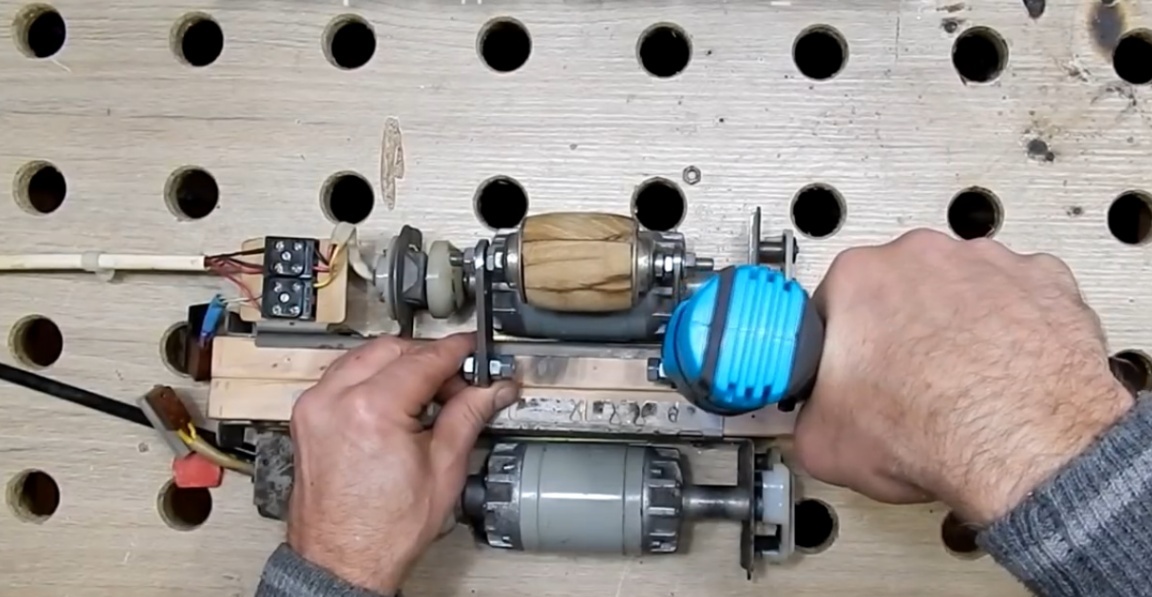
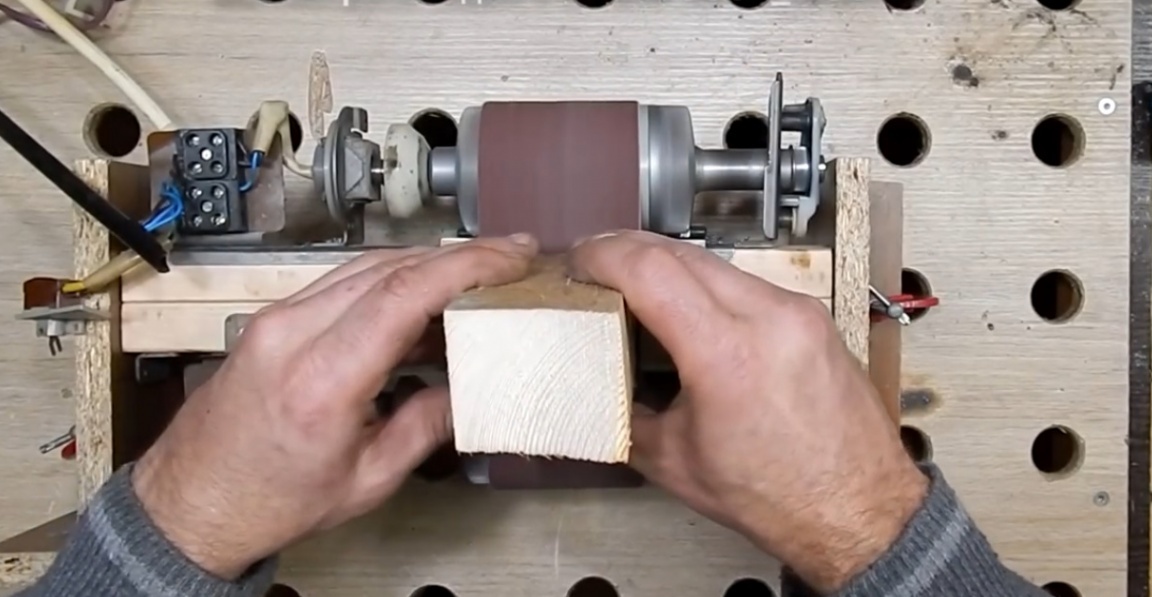
Next, we need to fix an improvised table between the two drive wheels, on which the tape will move and we will grind and sharpen the details we need in this area.
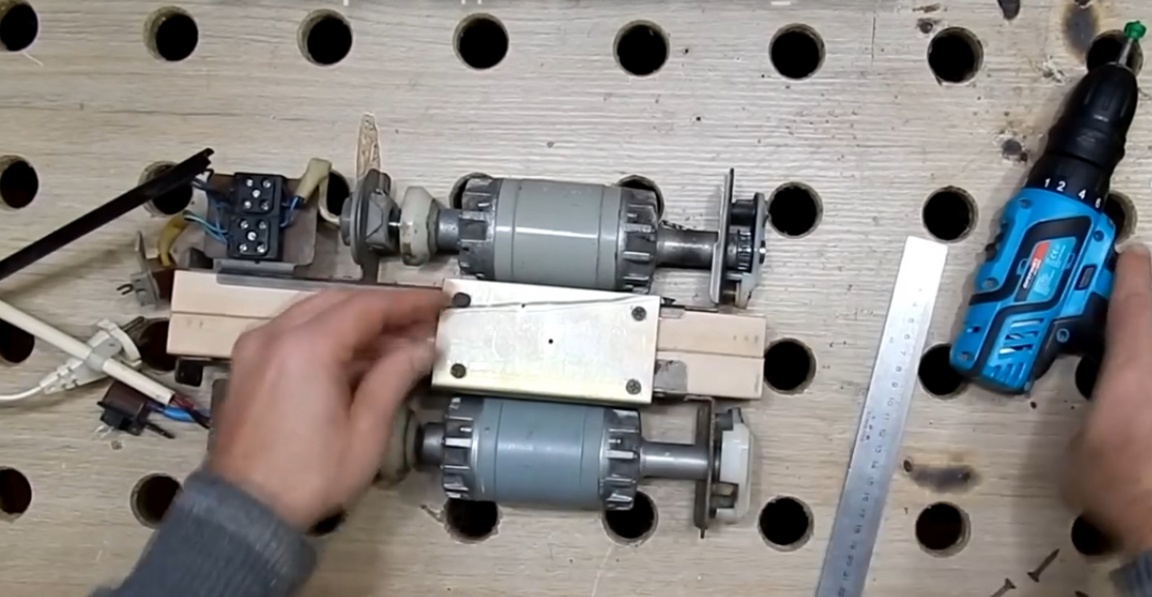
Holes have been drilled and countersunk in this area. And now he needs to fasten the platform through these holes, but in such a way that we have it slightly below the height level of the engines.
In order to set the necessary level of our impromptu table, here you can put washers, nuts, and some similar compensation details like that. That is, first you just need to slightly tighten the screws. Then set the height that we need. Check it with a ruler. If suddenly a little screw was twisted somewhere, it is slightly weakened.And that's about what we get:
Well, now you can attach to the site, well, in principle, everything that works. The author will try to put such washers here:
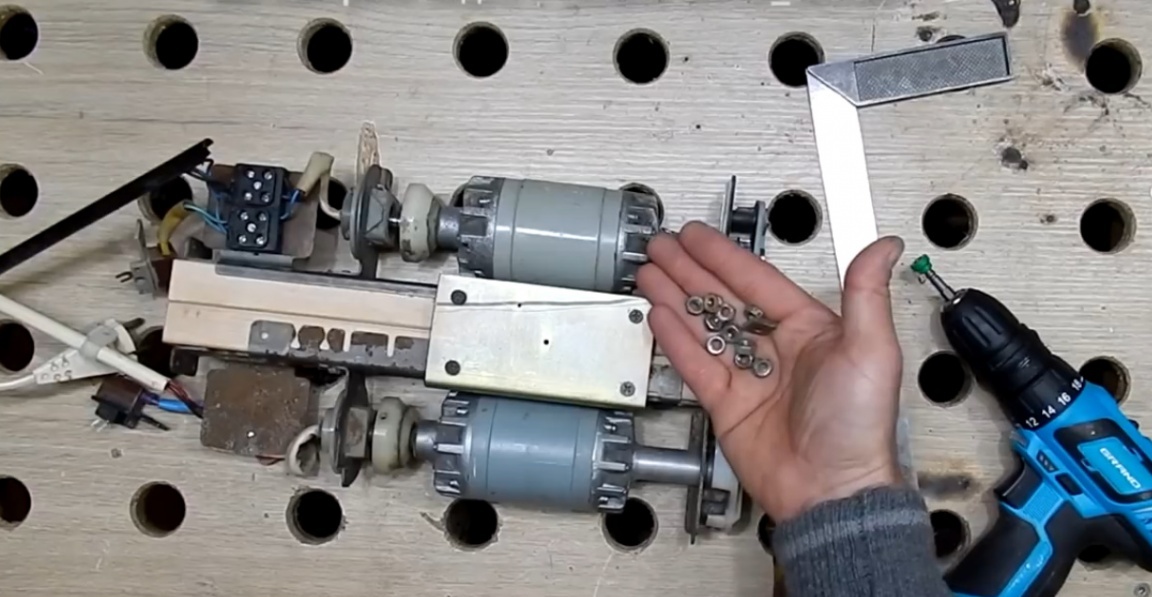
Thus, on the one hand, he needed two washers, on the other, also two, well, and one more from the 2 remaining sides of the table.
As a result, the platform we got at the wheel level.
Now we need to make a tape tensioner. To do this, turn our future machine upside down.
We will have such a wheel with a tension roller.
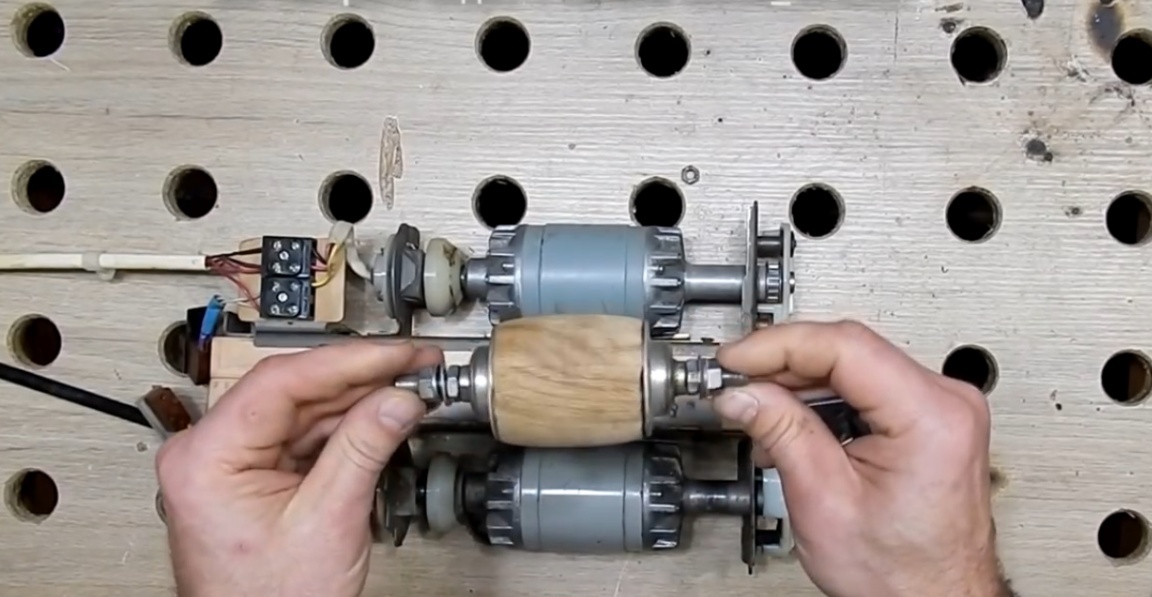
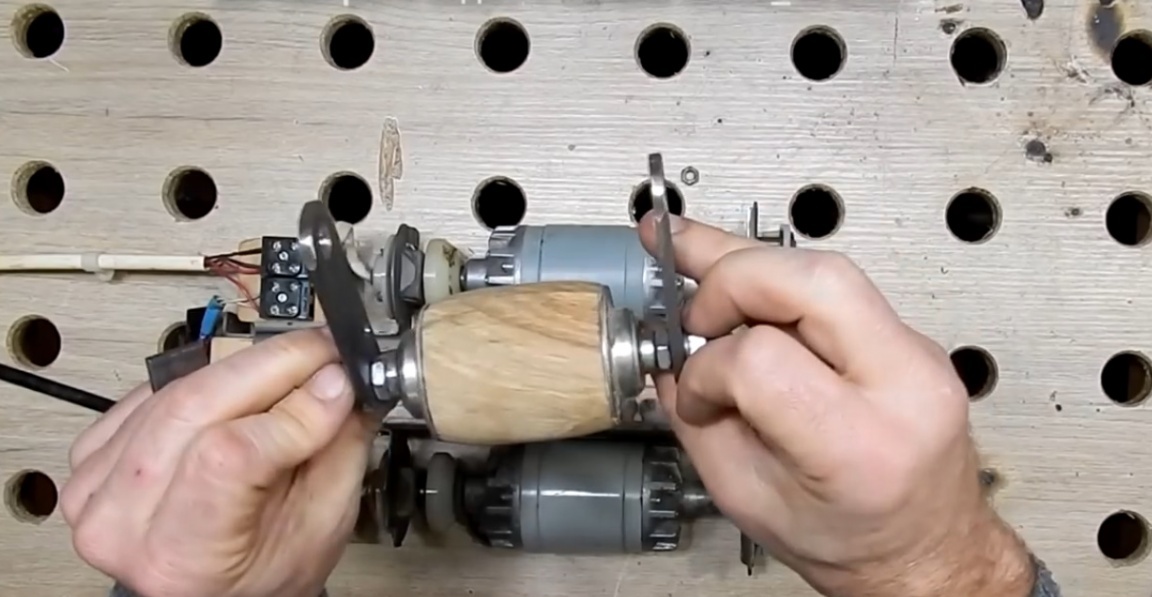
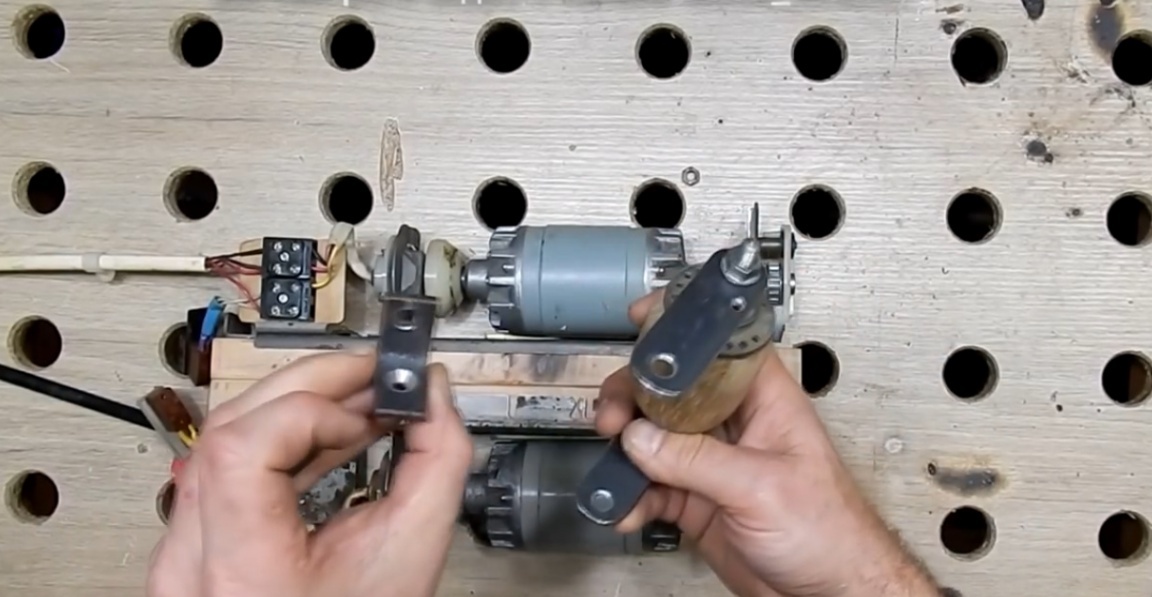
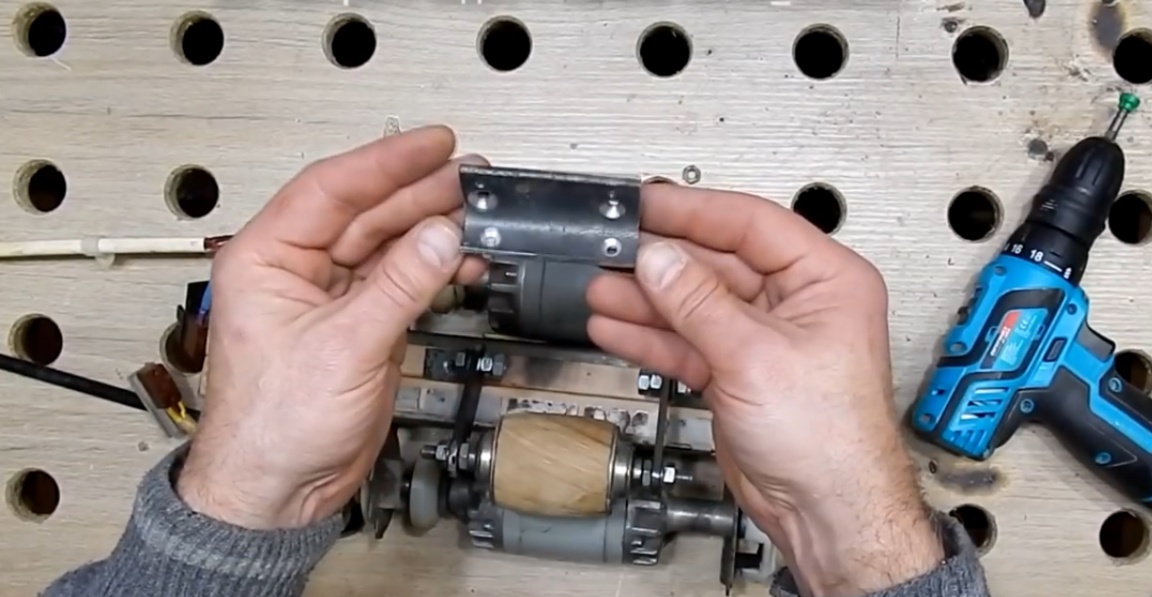
This is the front hub. cycling wheels on which such a wheel made of wood is improvised. Instead, it is quite possible to use (well, not to order turning and everything else) with a few bearings mounted on this axis, for example, the 230s and so on. Also, the master cut out these 2 parts from metal plates:
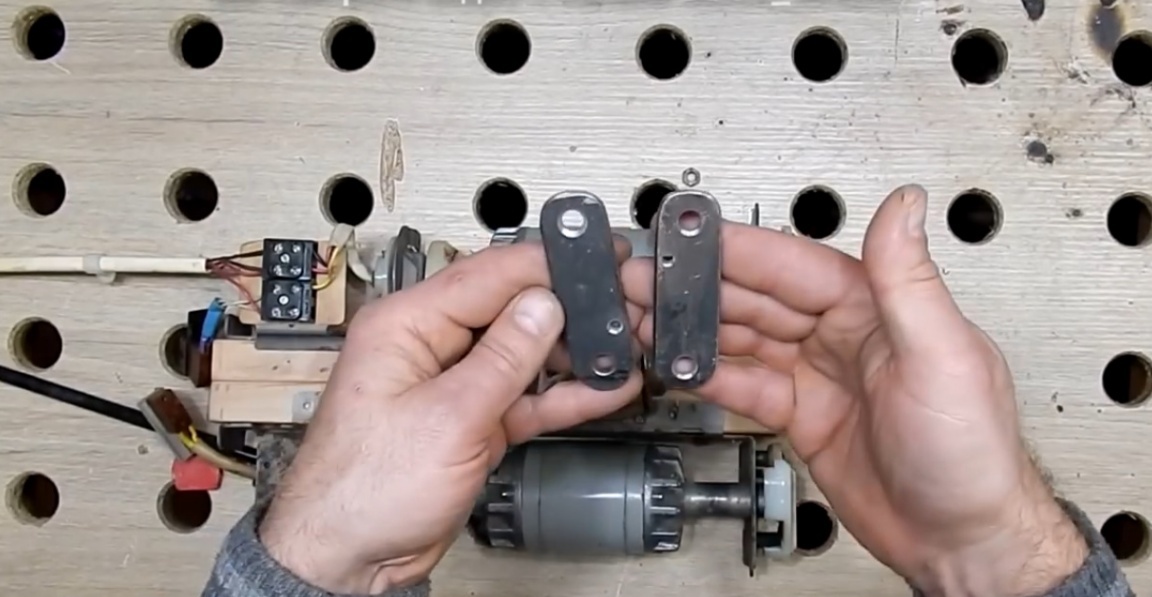
In the details, 2 holes at 8 mm and one hole at 4 mm were drilled, here we will attach the spring itself. Putting it all this way.
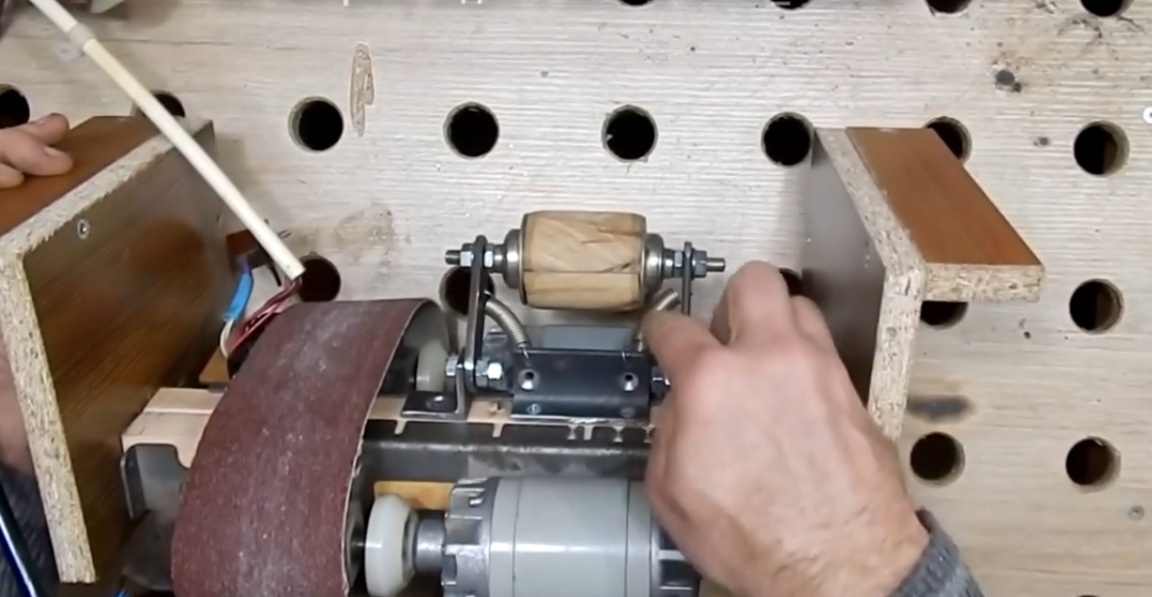
As a result, we got a wheel (roller), suspended on 2 levers. Further, these levers through with the help of corners will be fixed in this way:
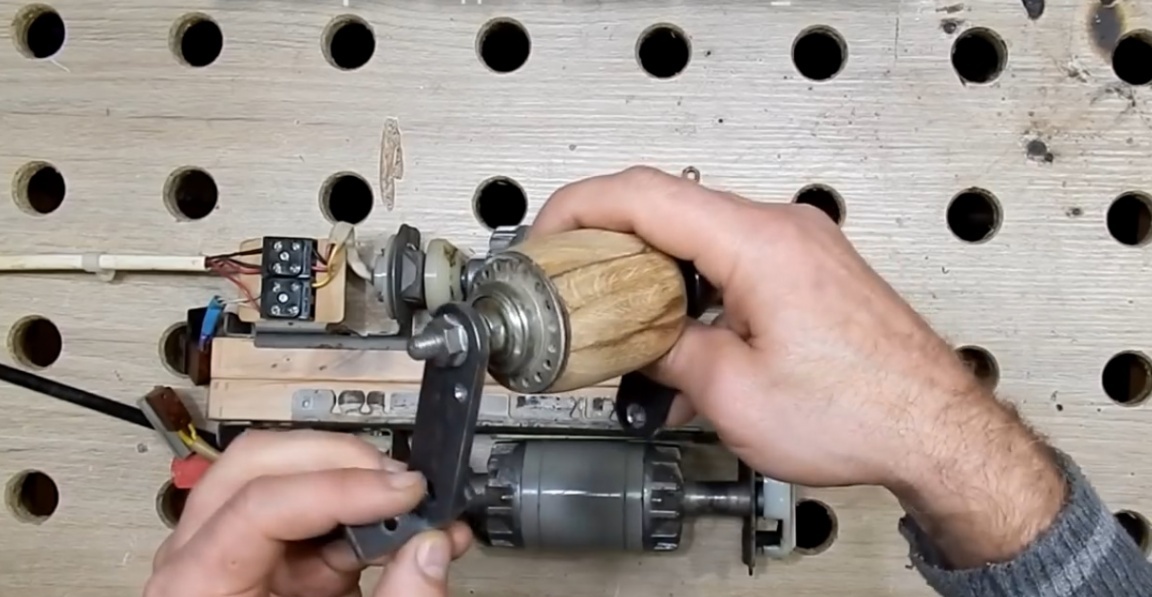
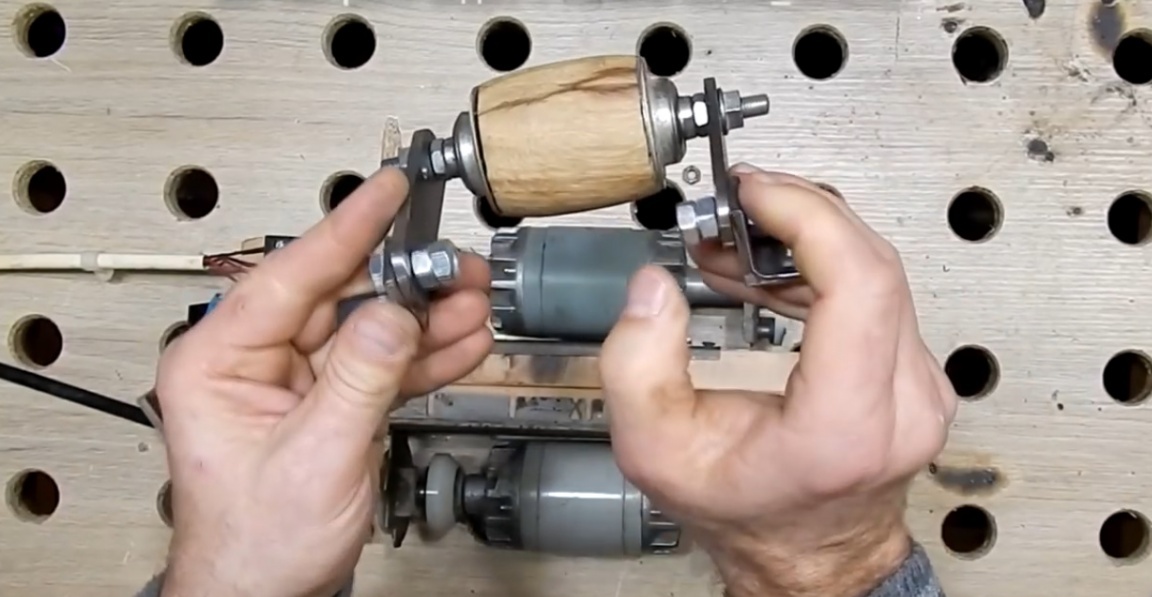
Further, the author assembled the design. The corners rotate freely, that is, the lever itself will be in free movement, controlled by a nut, so that nothing will interfere here, and now we will fix our structure with self-tapping screws. We position the wheel as much as possible in the middle so that its middle coincides as much as possible with the centers of the rotating parts of the engines.

Next, you need to fix such a corner in this area:
Tension springs will be attached to it. Next, we need to fix this entire structure so that it can stand normally on the desktop. For this, the author made 2 such symmetrical designs.
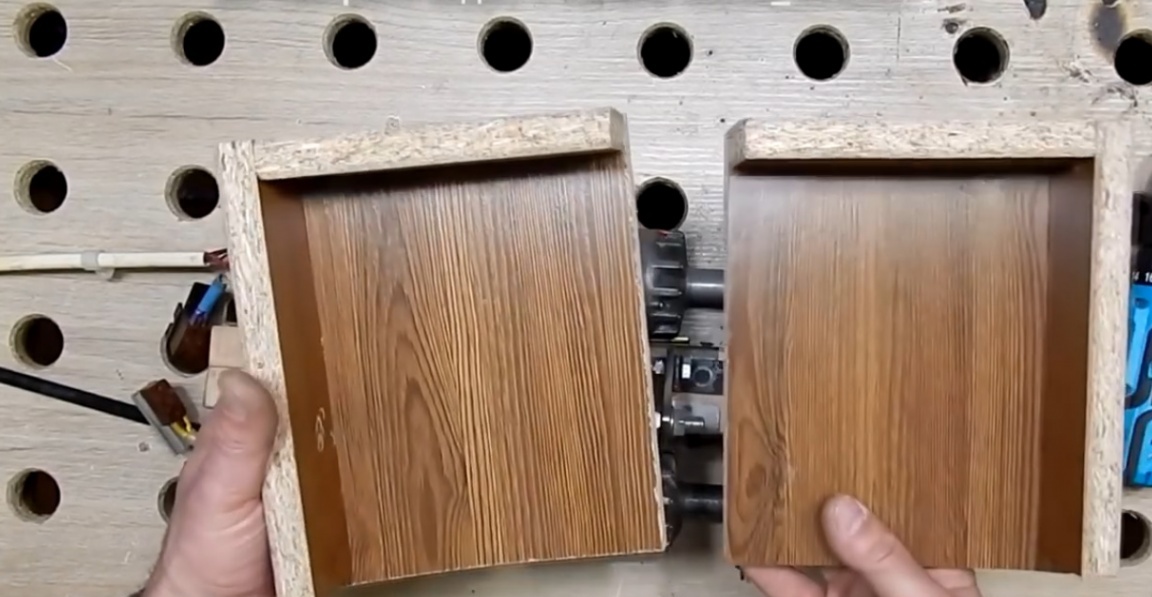
They are made of chipboard. Let's fix it all. In the end, we got this design:
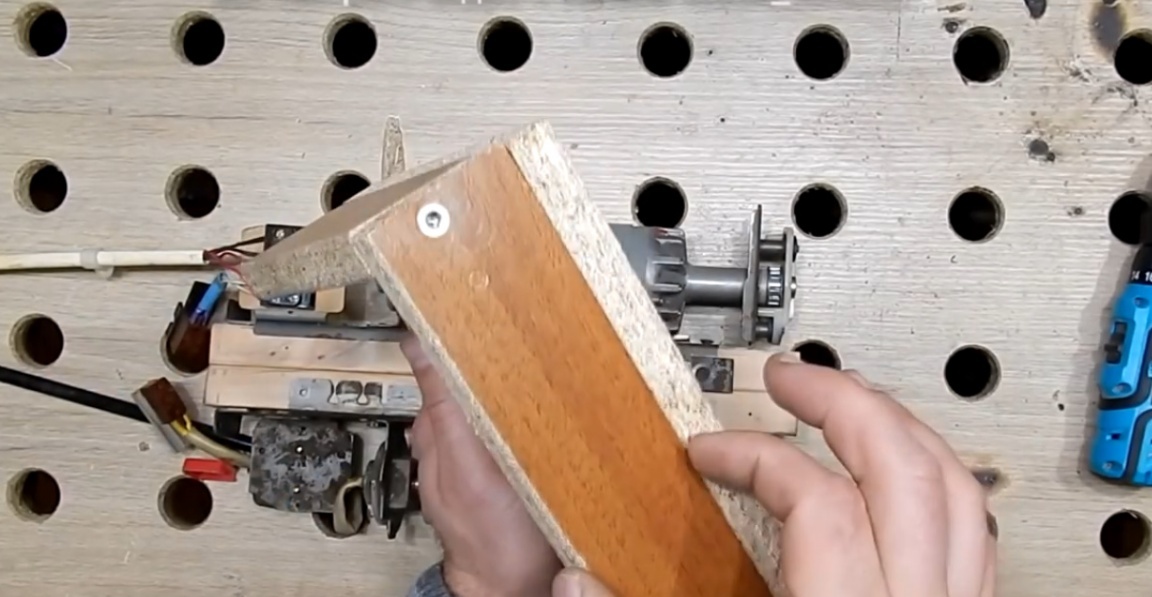
In order to install / change the tape, you need to unscrew one leg, well, in principle, it is mounted on 2 screws, this will not be a particular problem.
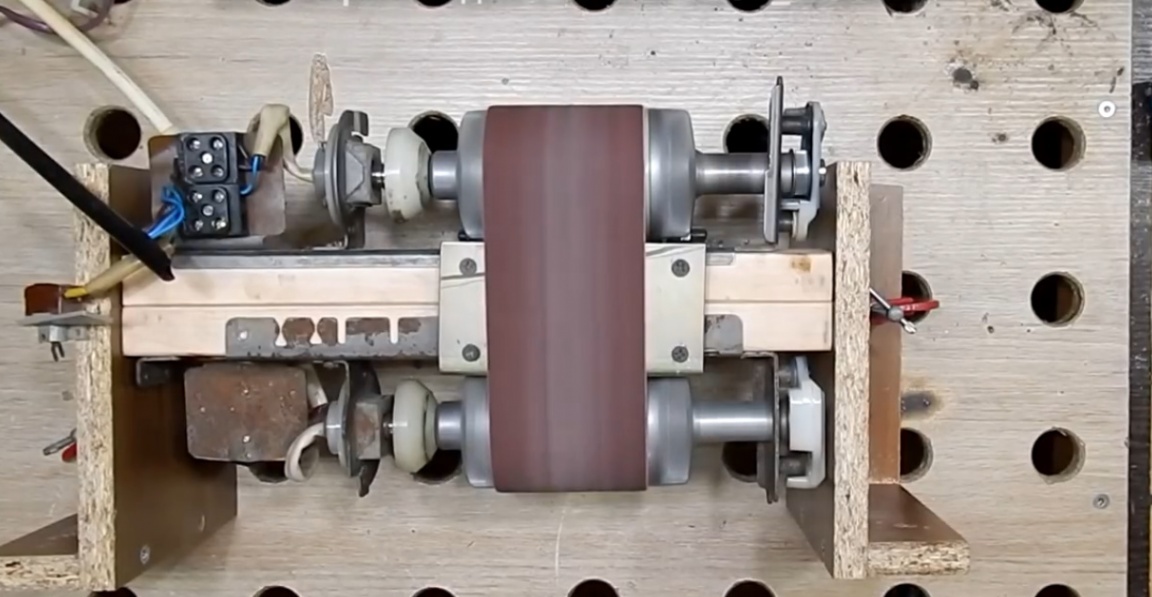
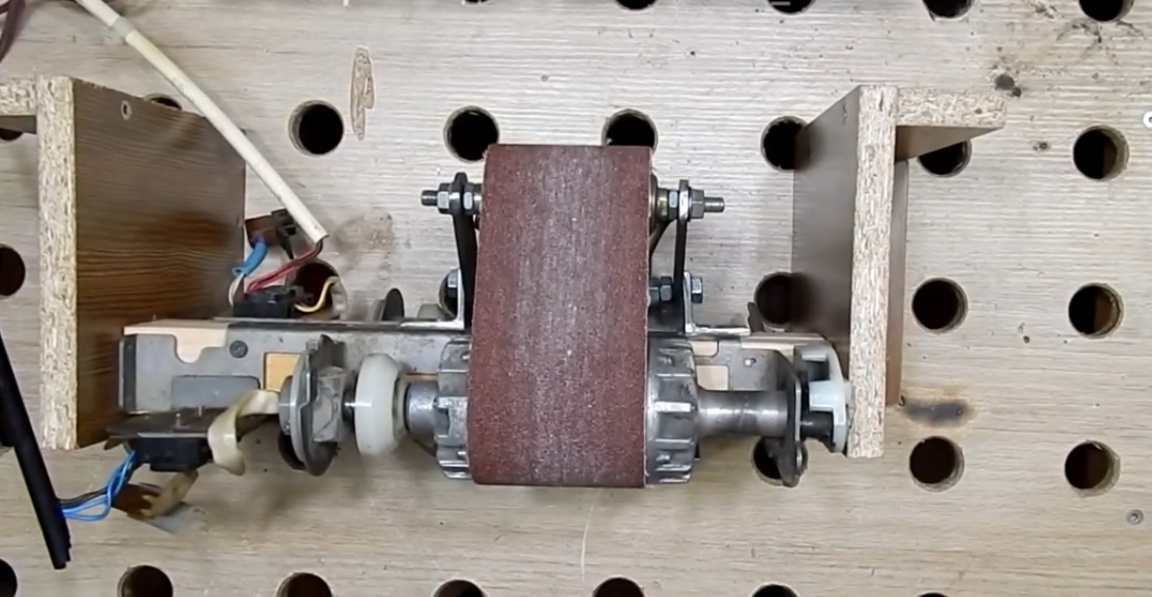
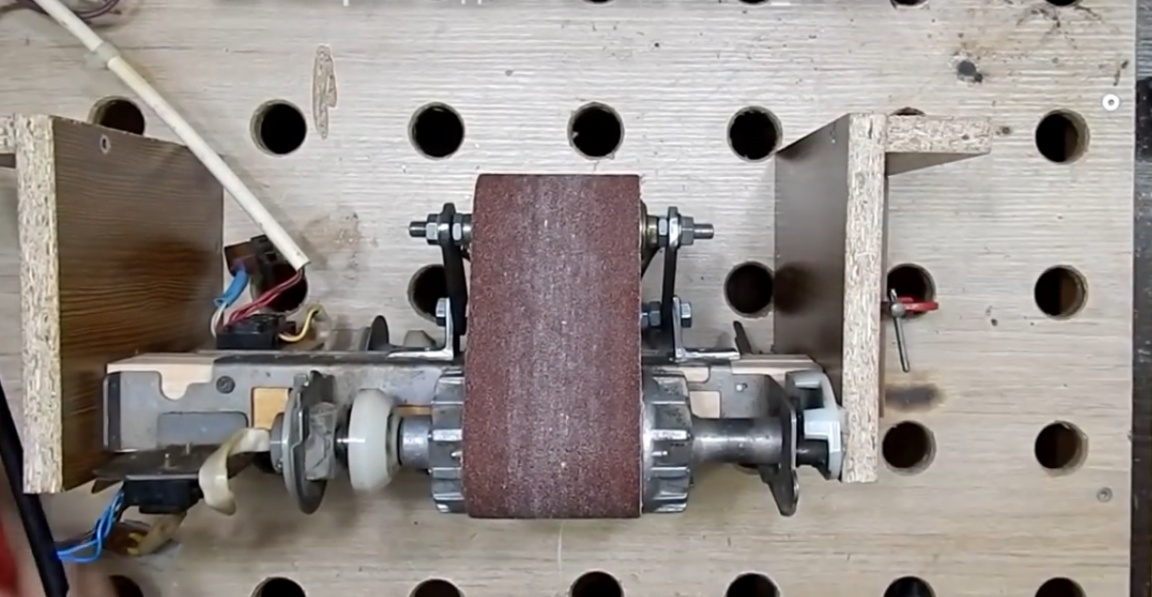
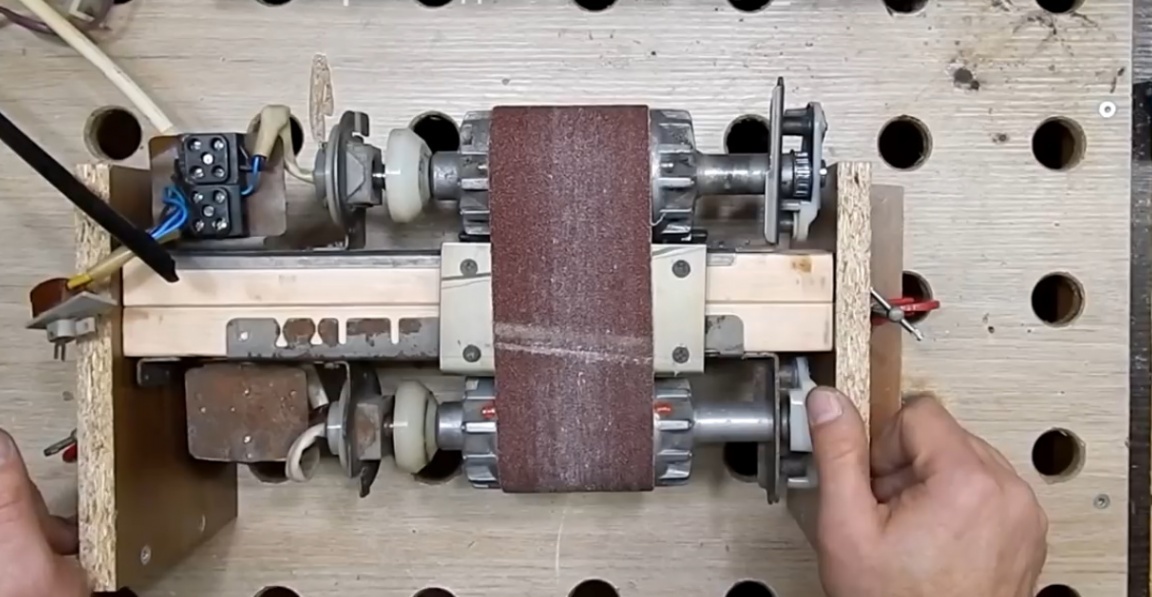
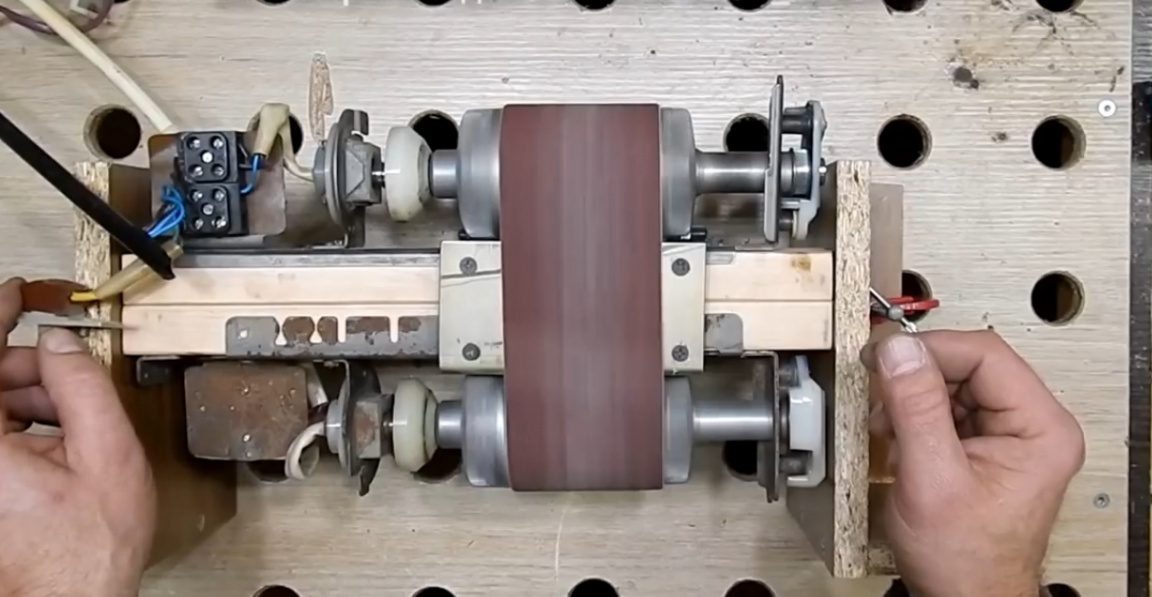
The design is assembled. So it all looks like this:
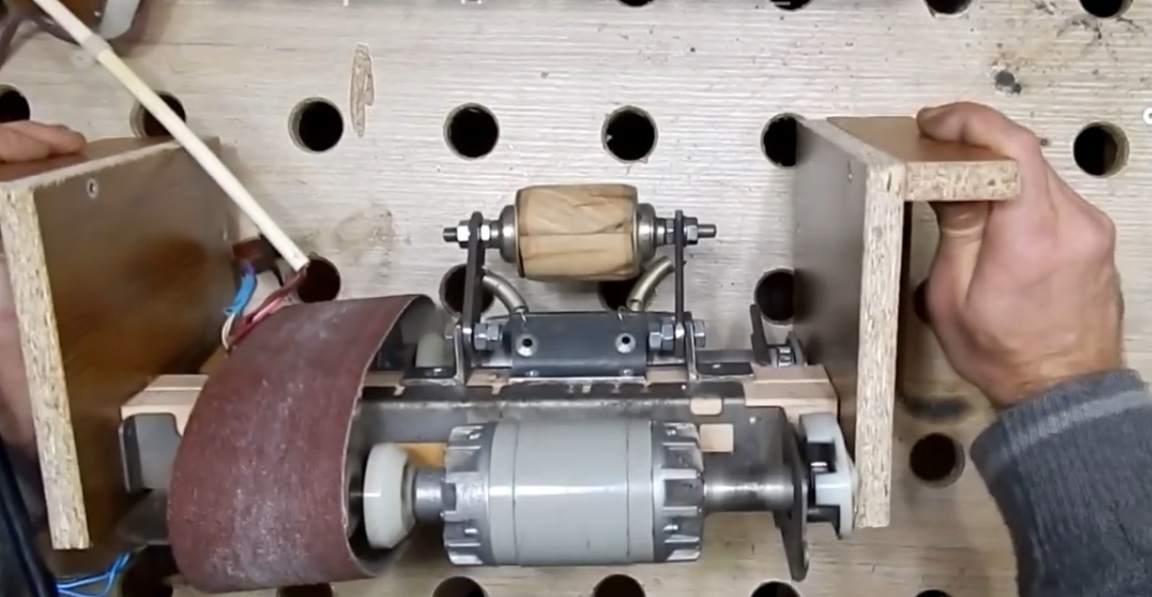
Also, the master put 2 springs on the wheel (roller).
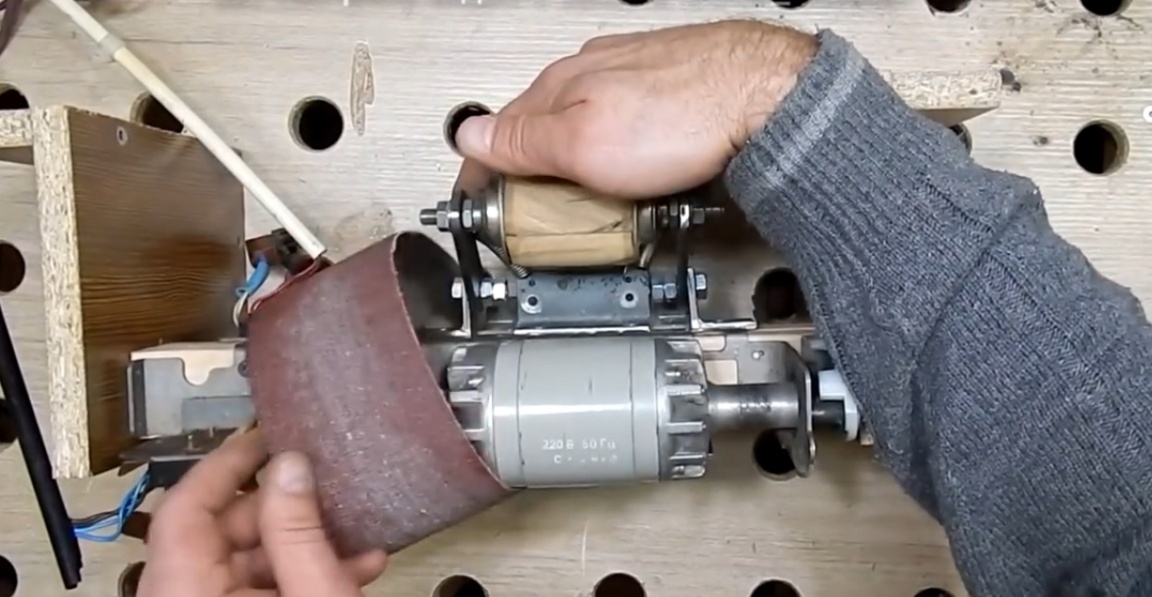
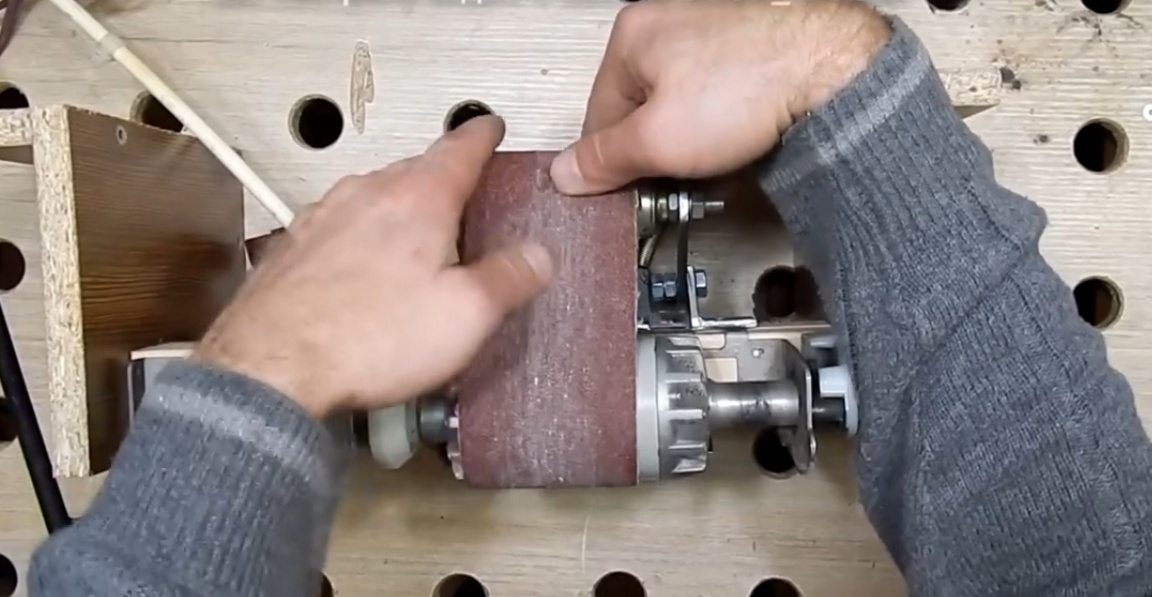
When installing the sanding belt, it is necessary to raise the wheel at the same time. Thus, the springs will be tensioned. Raise the wheel up and install the tape.
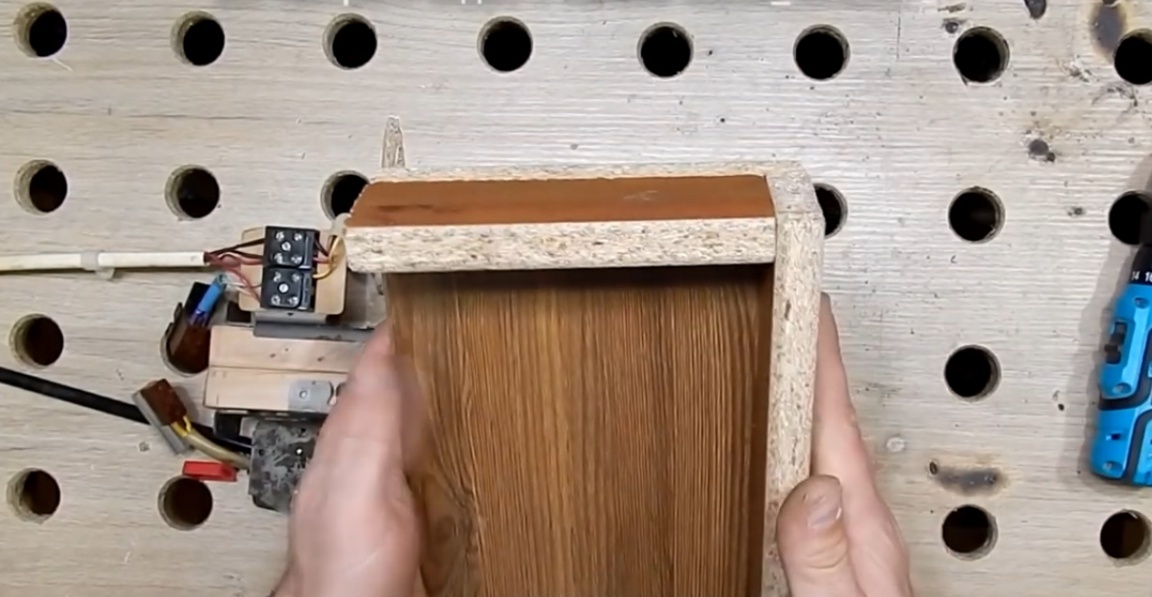
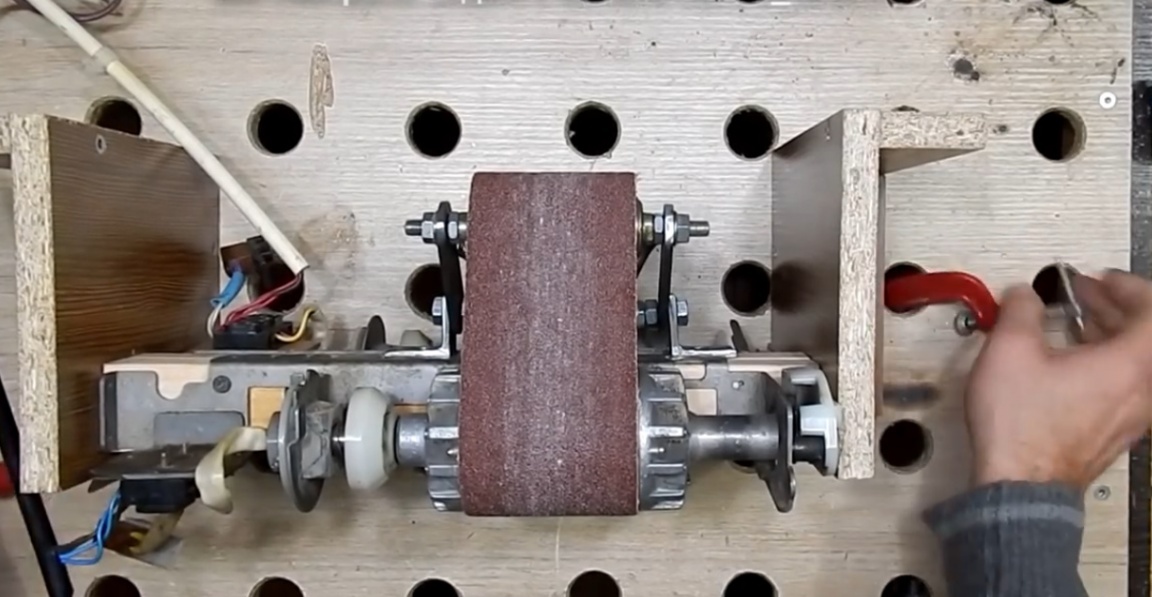
The side pads are made in such a shape so that the grinder can be, firstly, put on a workbench, and secondly, fasten it with clamps. In this way:
That is, now we have the grinder in an upright position. If we need to place it horizontally, then weaken the clamps, turn the machine over and clamp it, fix the whole structure.
As a result, the structure is rigidly fixed. Thus, the machine will not travel around the table. Well, now let's test it. First, start one engine, and then start the second one to help it.
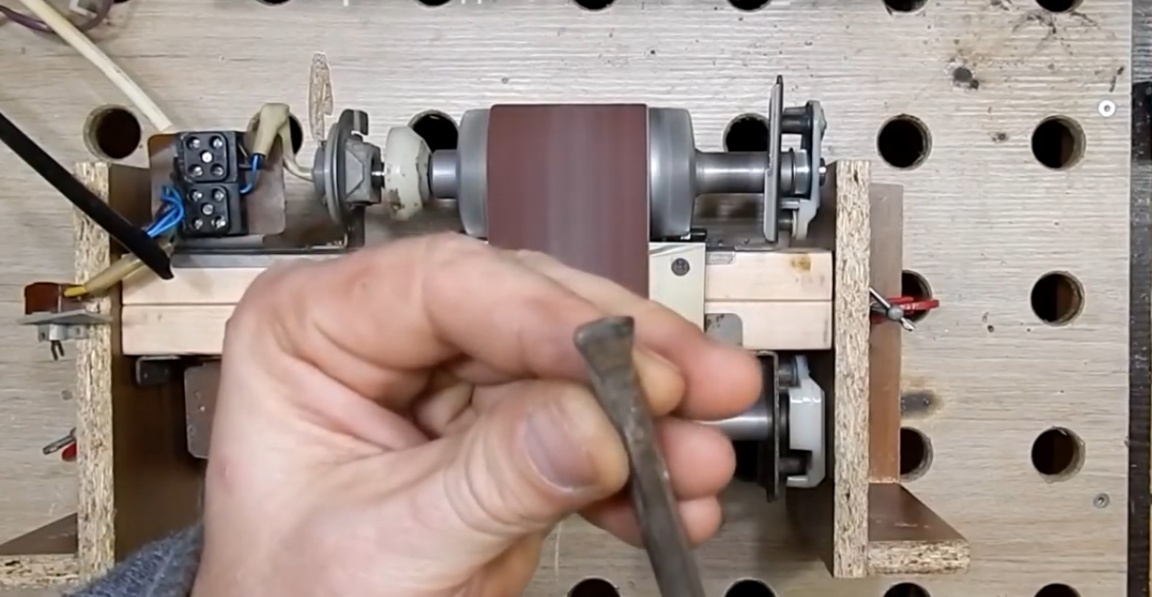
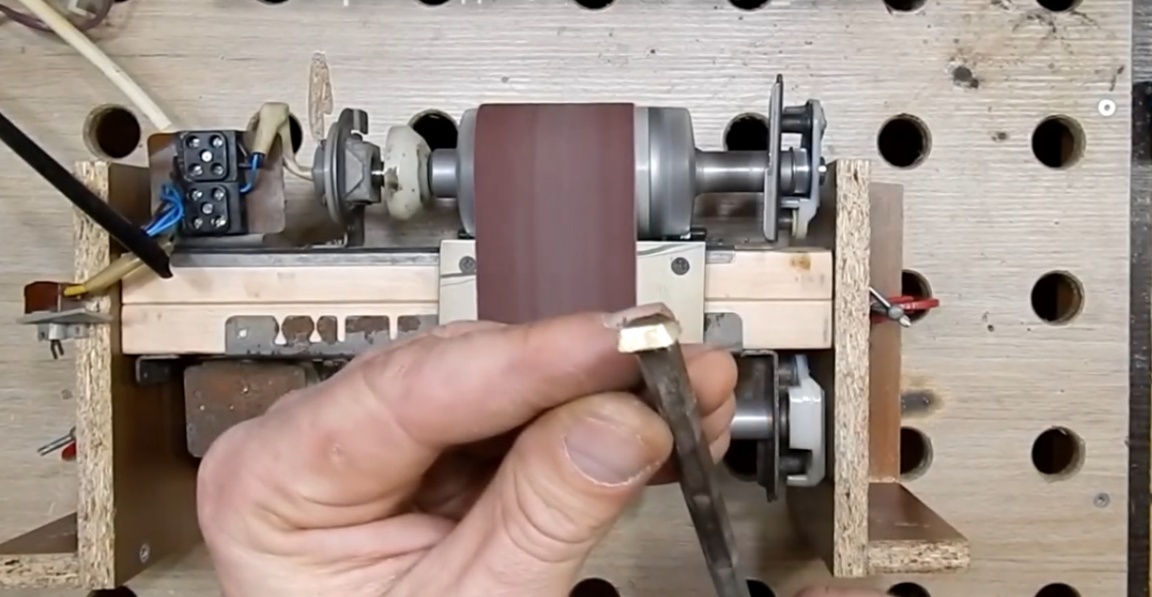
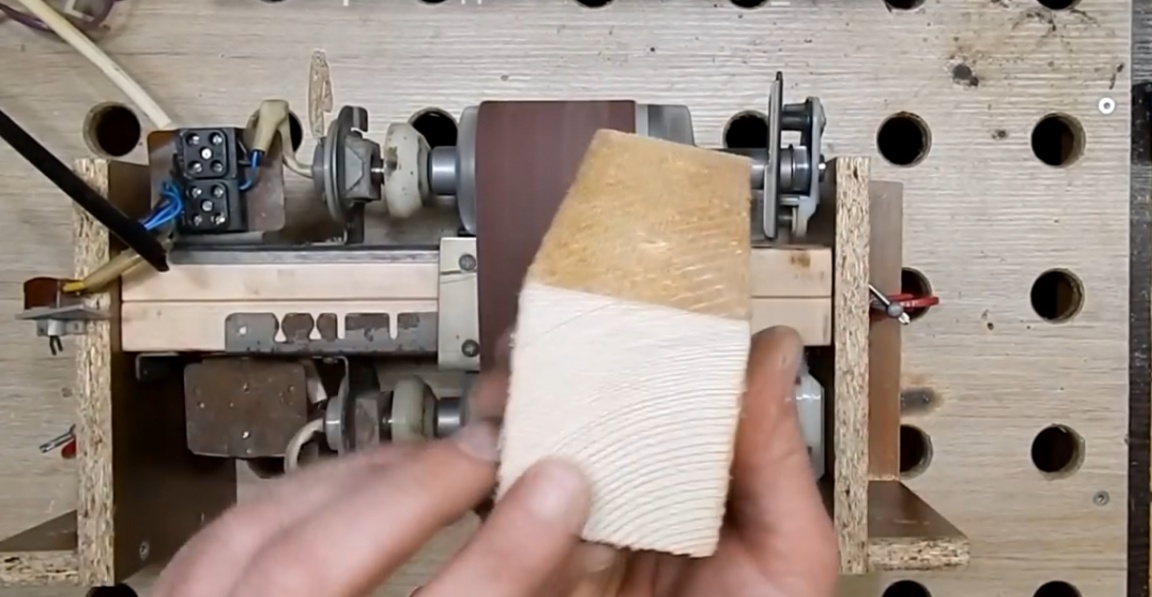
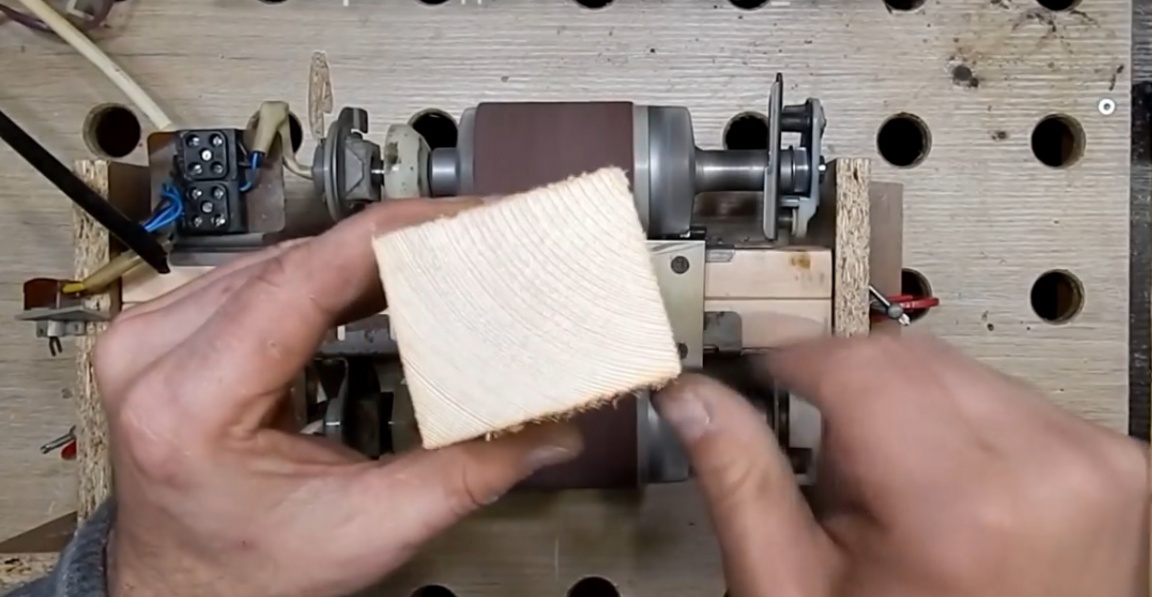
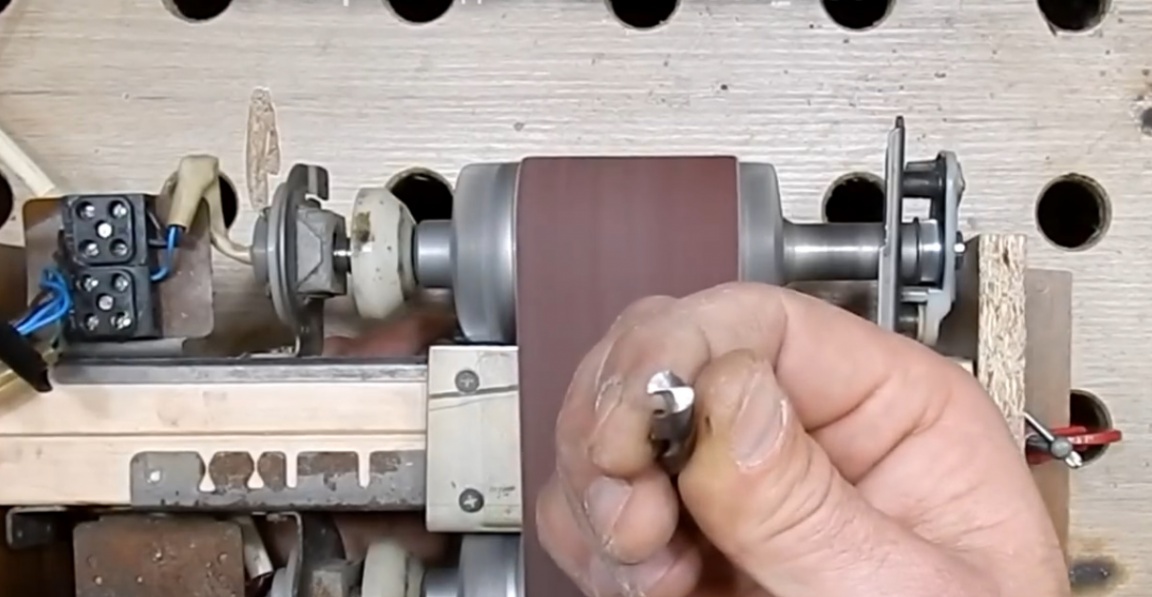
In principle, for some small work, such a home-made grinder on the farm can come in handy. It’s one thing when the engines are just lying around, another thing is when they can be of some use. It is natural for vertical use of the grinder to make some kind of support (platform) in order to work on it. In principle, and with horizontal use, it also sometimes does not hurt to have it. But this is already a matter of fantasy for everyone who wants to do so. The author also warns those who will make such a device for themselves. The belt tension here is very scrupulous, the springs that stand below must be very precisely selected by tension, that is, by the tension itself, set the belt stroke. If one spring is weaker than the other, then the tape will be diverted to one side or the other, depending on which side the spring is weaker. So the tension of the spring, for example, the length or stiffness of the spring, it is necessary to adjust the course of the tape so that during operation it does not lead either to the right or to the left.
That's all. According to the author, the experiment was, in principle, a success. Thank you for attention. See you soon!
Video: