
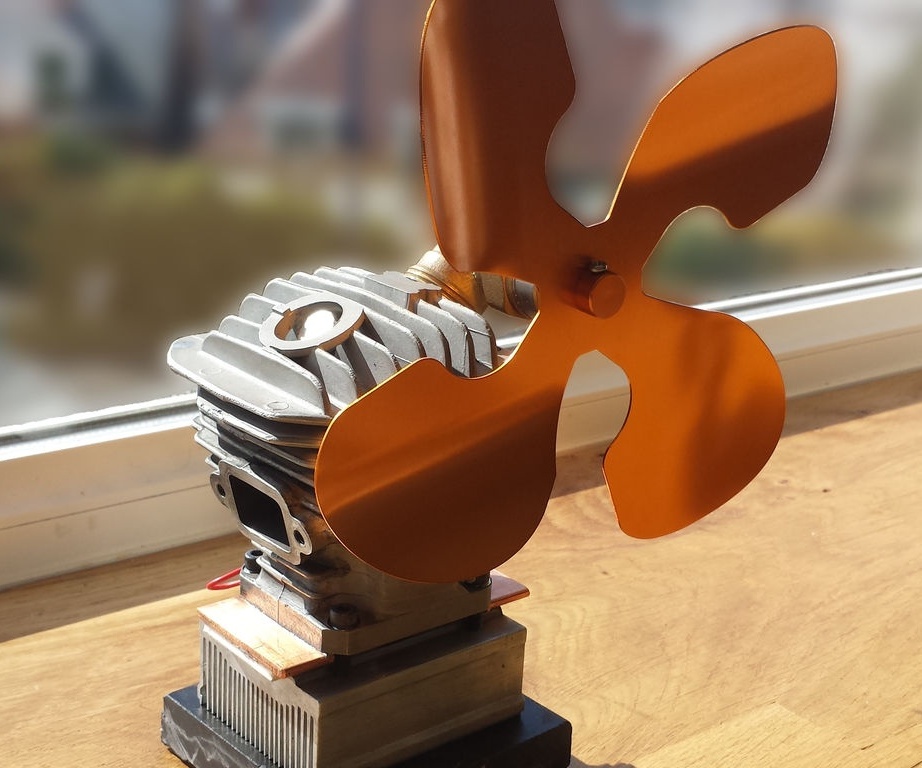
According to the author (or marketers) using convection devices saves up to 17% of fuel. Perhaps the numbers are not entirely reliable, but it is difficult to argue with the fact of saving. In addition, the entire system operates on the heat generated by the furnace, and mains electricity is not consumed. In this case, fans working on Peltier elements are used to create convection, and as an oven we will assume the usual "potbelly stove". The master calls this device "ecofan", implying apparently the economic effect of it.
Tools and materials:
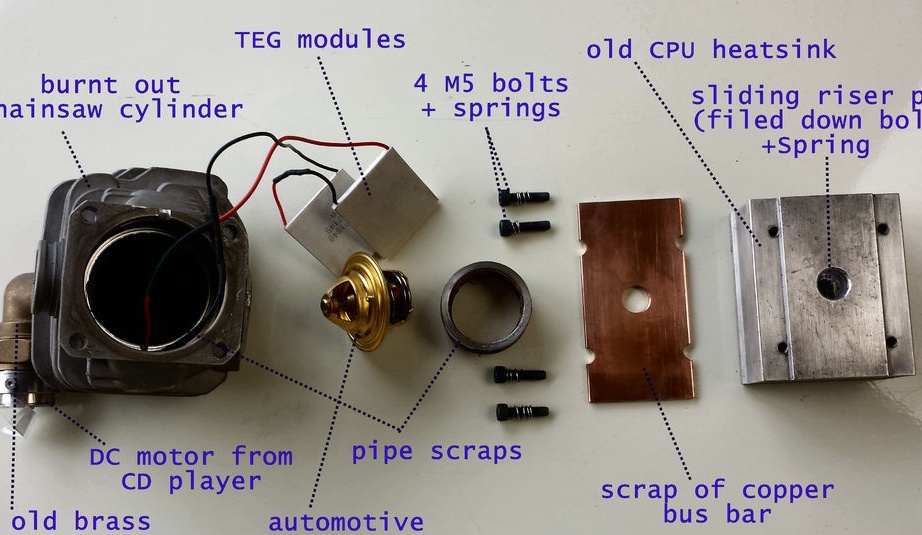
-Cylinder (from a chainsaw);
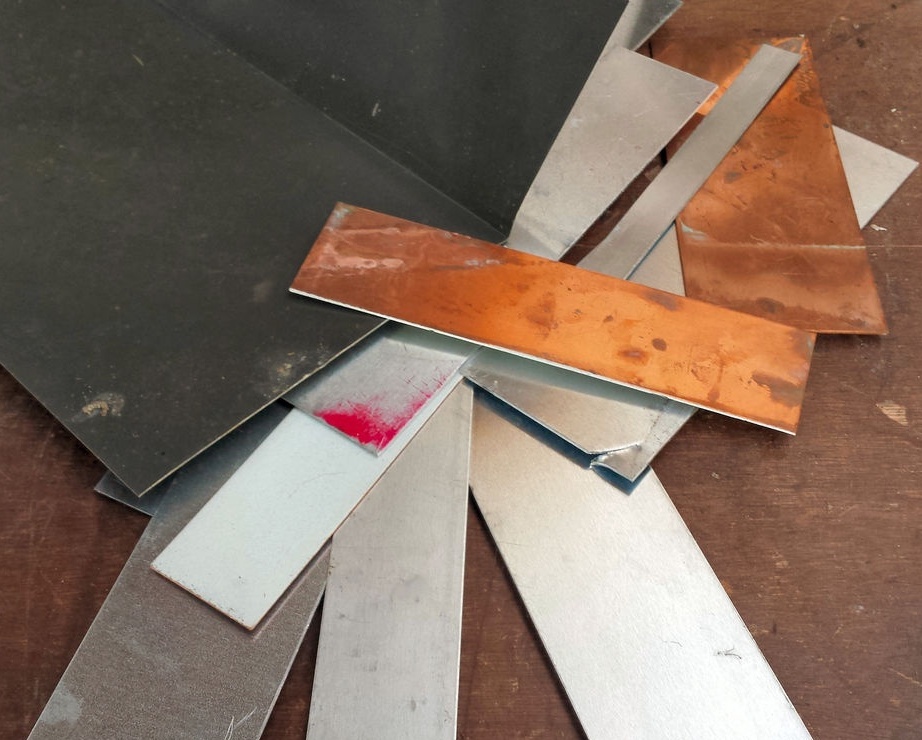
-Metal plate;
-Thermoelectric converters (Peltier elements;)
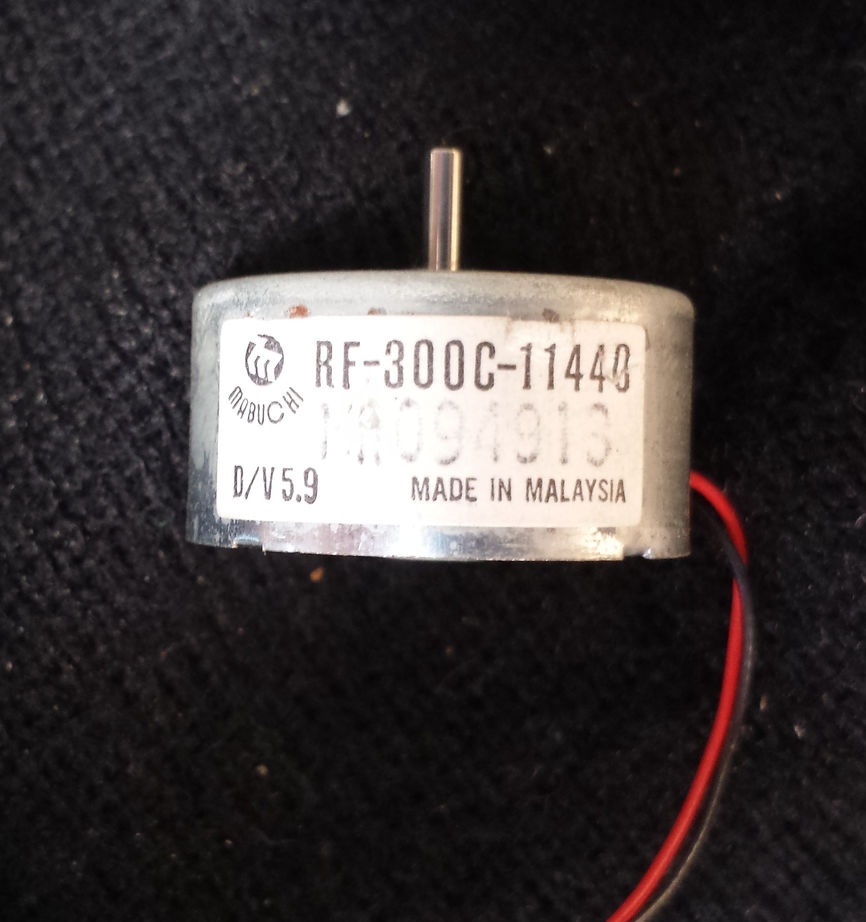
- DC motor 1.5-6 V;
- Car wax thermostat;
- Plumbing connector angular;
-Fan blades (metal;
-Aluminum radiator;
-Fasteners;
- thermal paste;
-Trumpet;
-Insulating tape;
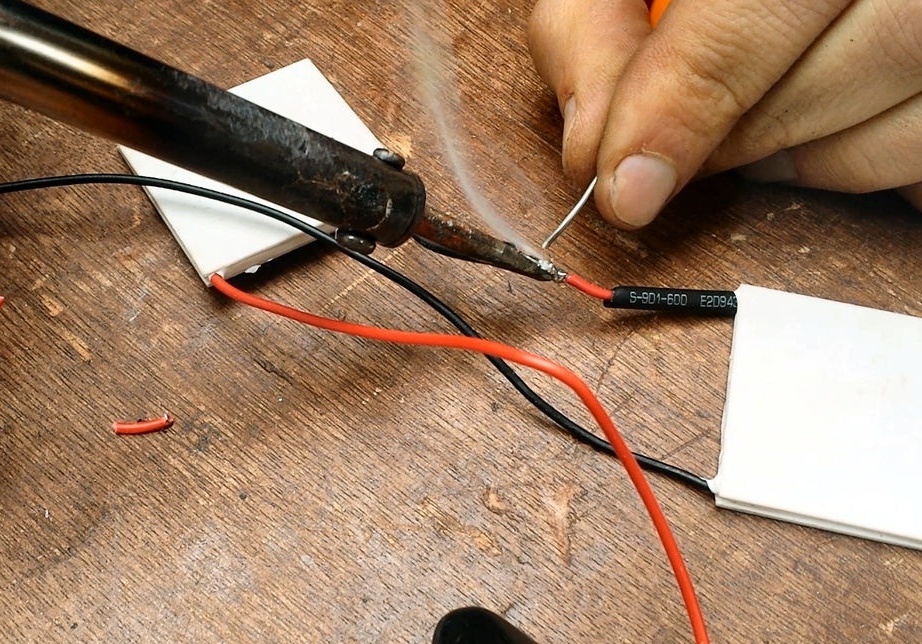
-Soldering accessories;
-Vise;
-Drill;
-Drilling machine;
-Lathe;
-Hammer;
-Spark plug;
-Pliers;
-USHM;
-Marker;
-Sandpaper;
-Bandsaw machine;
-Metal brush;

Step One: Theory
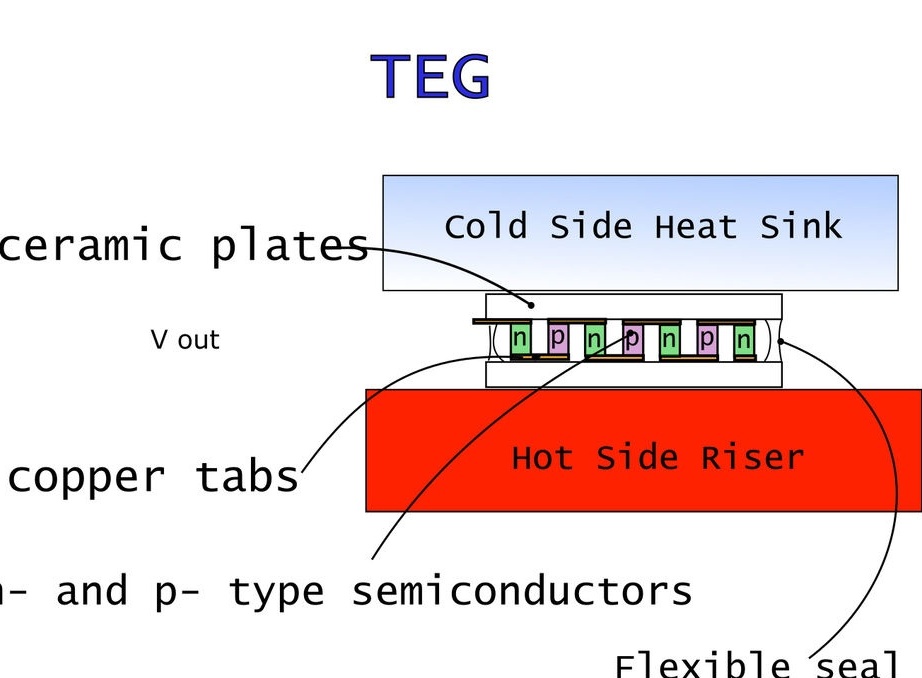
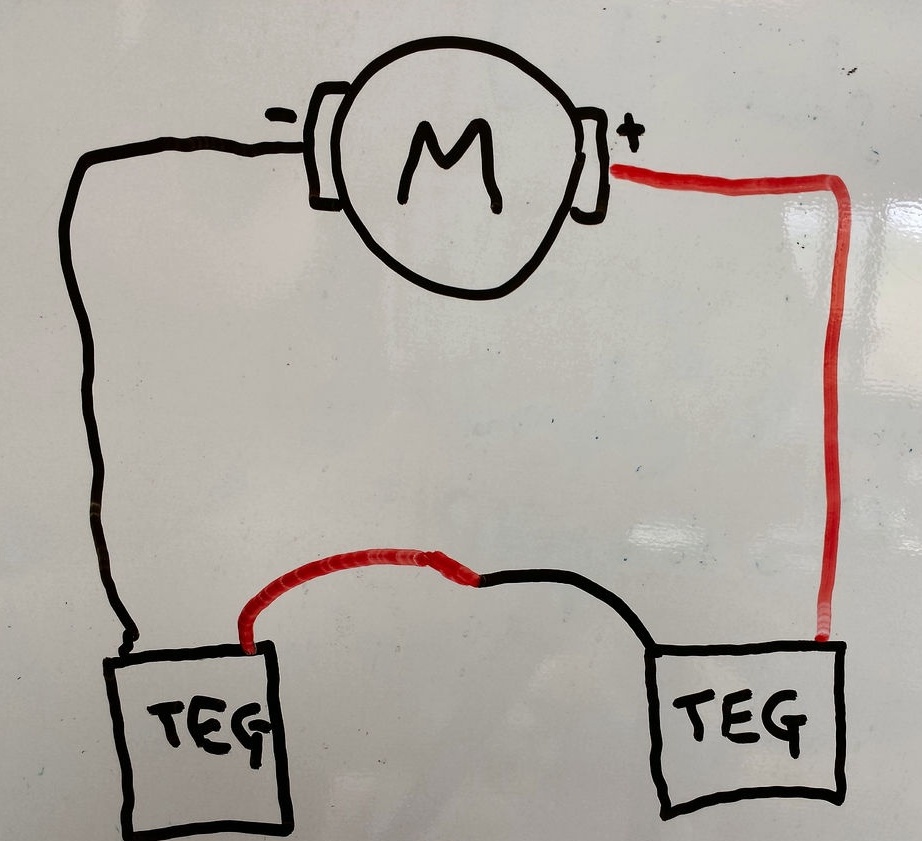
First, let's look at what a thermoelectric converter (Peltier element) is. The element consists of two semiconductor materials with different levels of electron energy in the conduction band. When current flows through the semiconductors in one direction, the contact point of the semiconductors is heated, it is cooled in the other direction. Accordingly, if you heat or cool one side of the cell, current is generated.
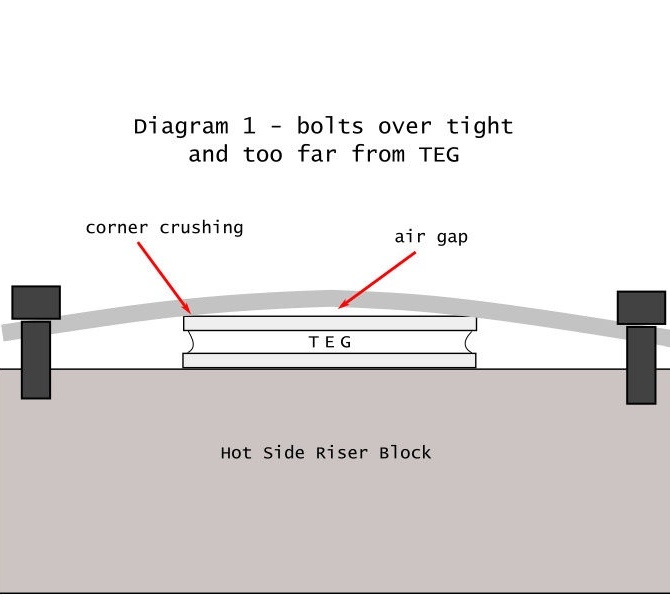
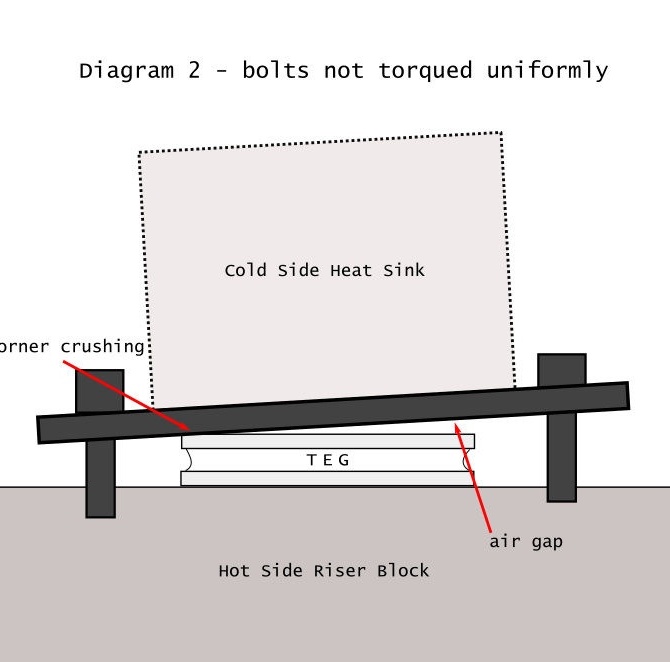
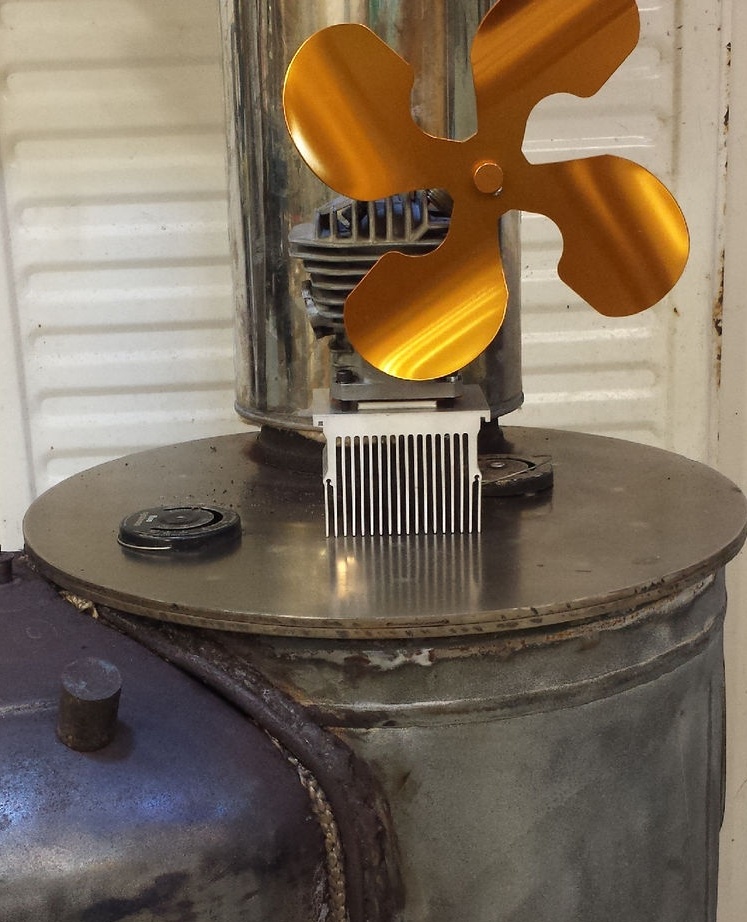
The problem is that even high-quality elements, at temperatures above 150 ° C, and on the surface of the furnace it reaches 300 ° C, are destroyed.
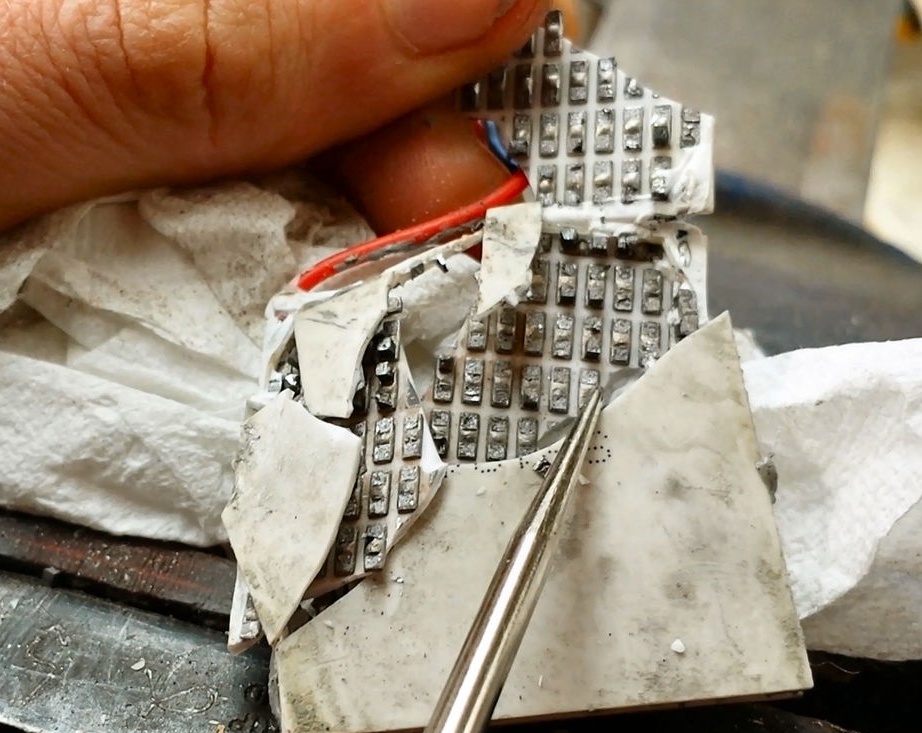
Placing Peltier elements on an aluminum radiator slightly reduces the temperature, but not enough. The master found a way out using a mechanical thermostat from the car’s cooling system in his device. The design of the thermostat has a sealed cylinder with wax. When heated, the wax expands and the stem extends. Thermostat's full response temperature is 110 ° C.
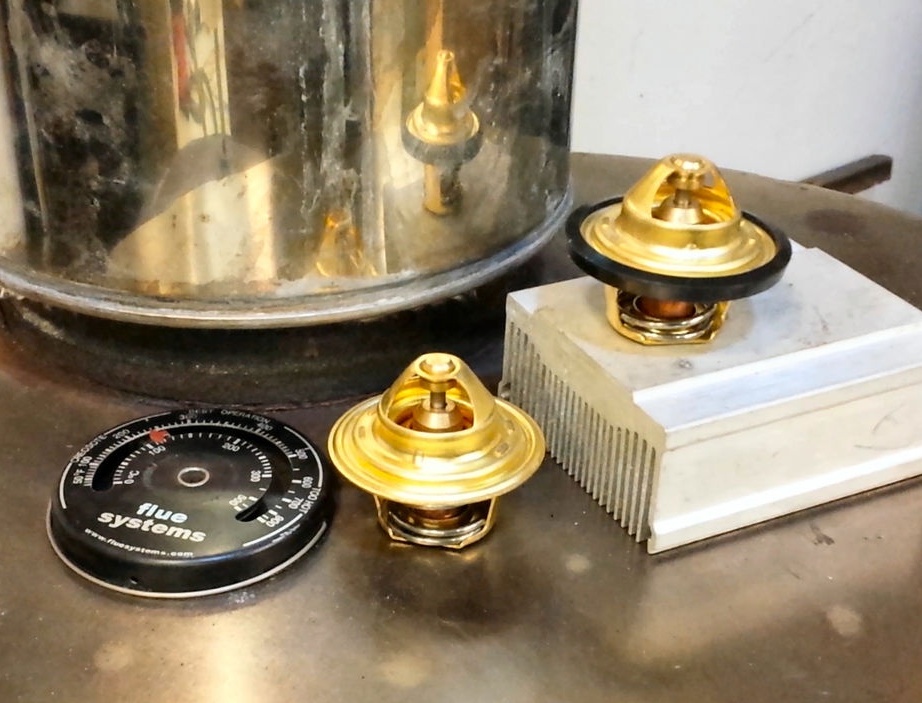

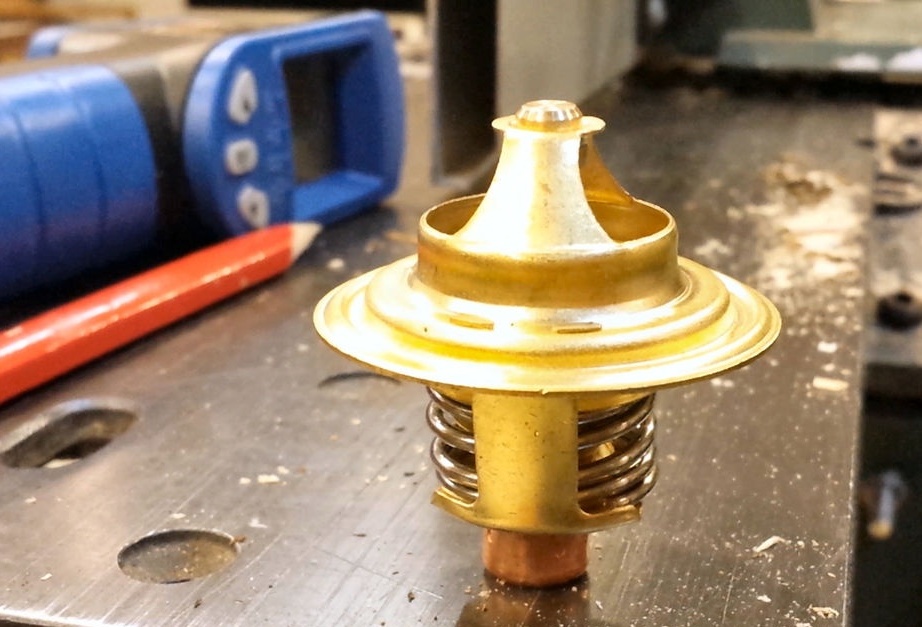
The master installs the thermostat in his device and when it reaches 110 ° C, the thermostat rod extends and lifts the device above the surface of the stove.
Step Two: Engine Installation
The engine can be fixed in several ways.
You can, for example, select a nut for the diameter of the engine and fix it with epoxy.
You can make a simple mount by cutting the tube.
If you have a lathe, you can turn the engine seat out of the tube and fasten it with a screw.

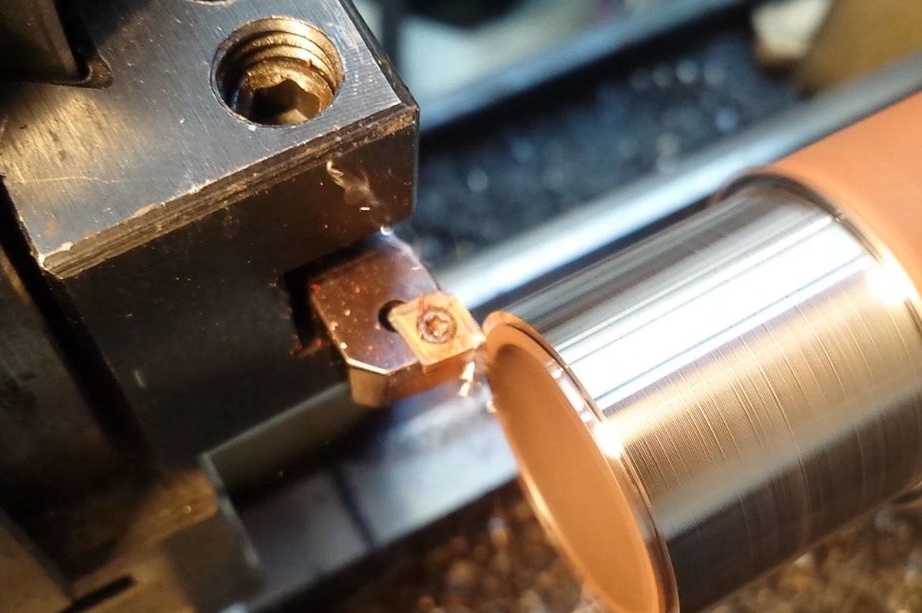

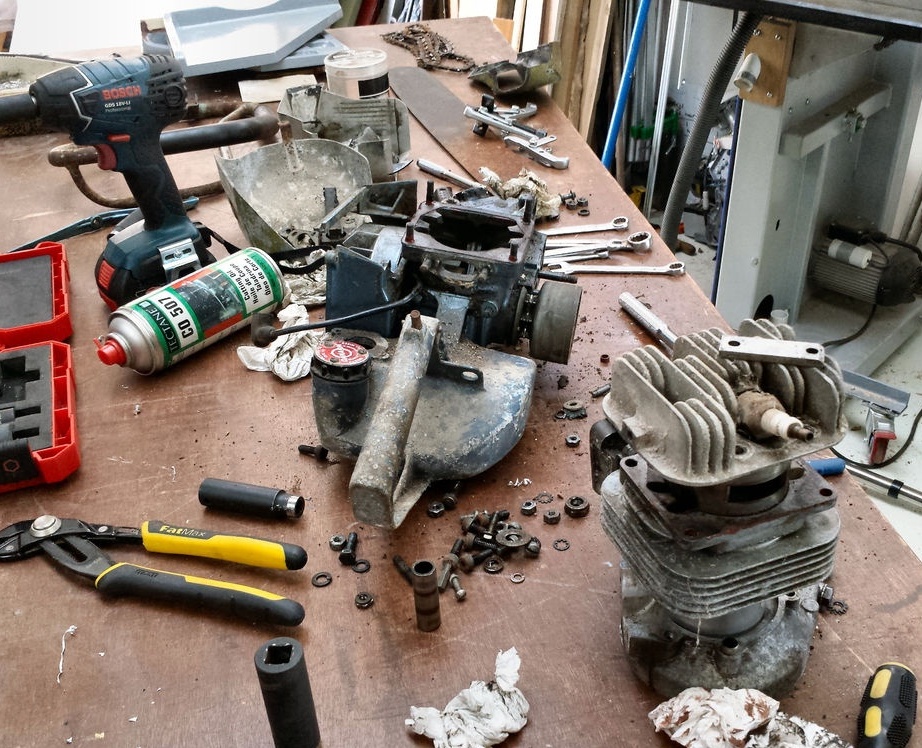
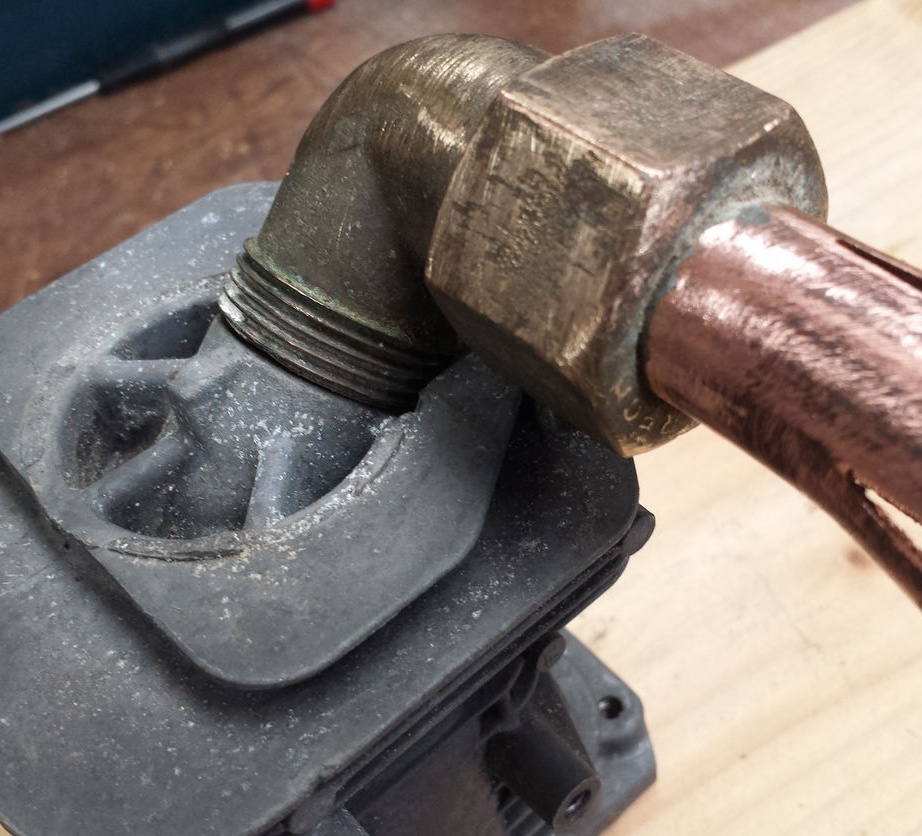
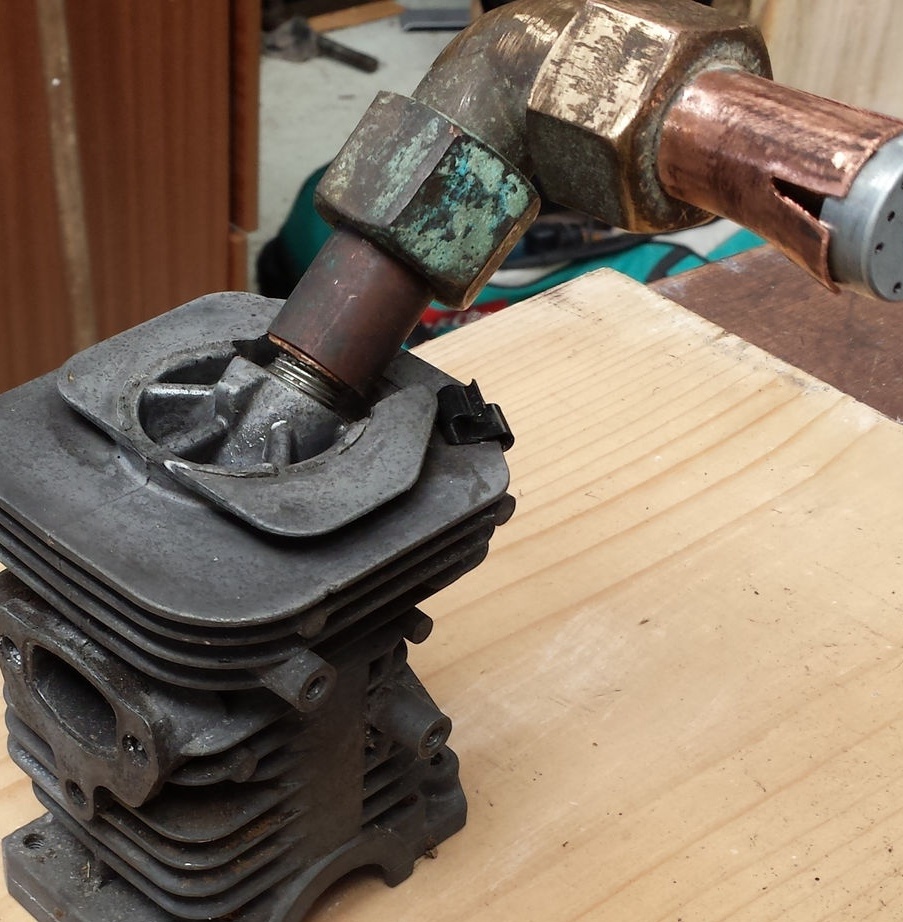
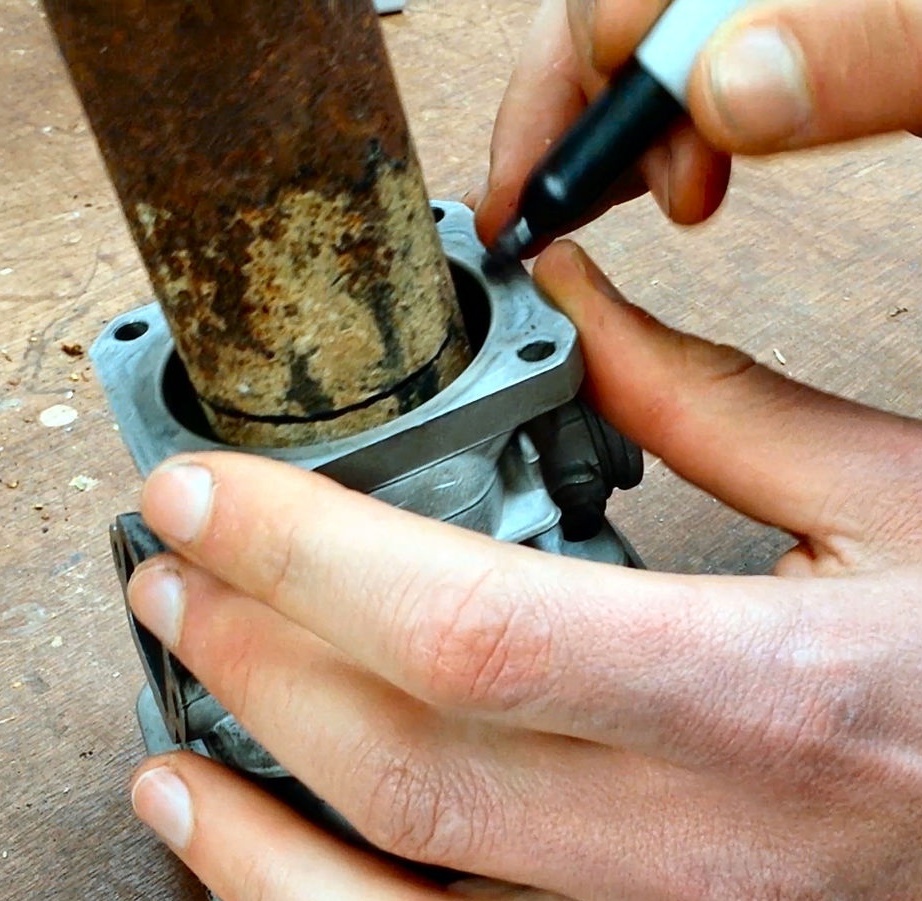
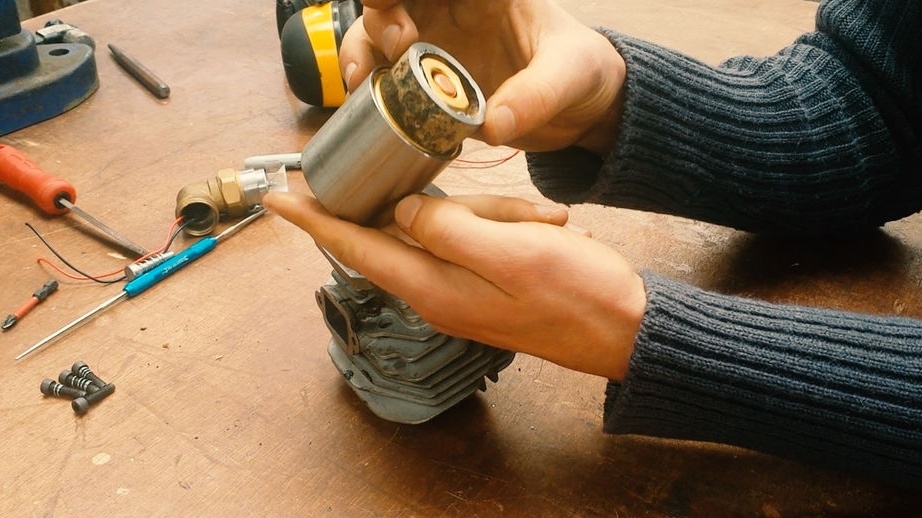
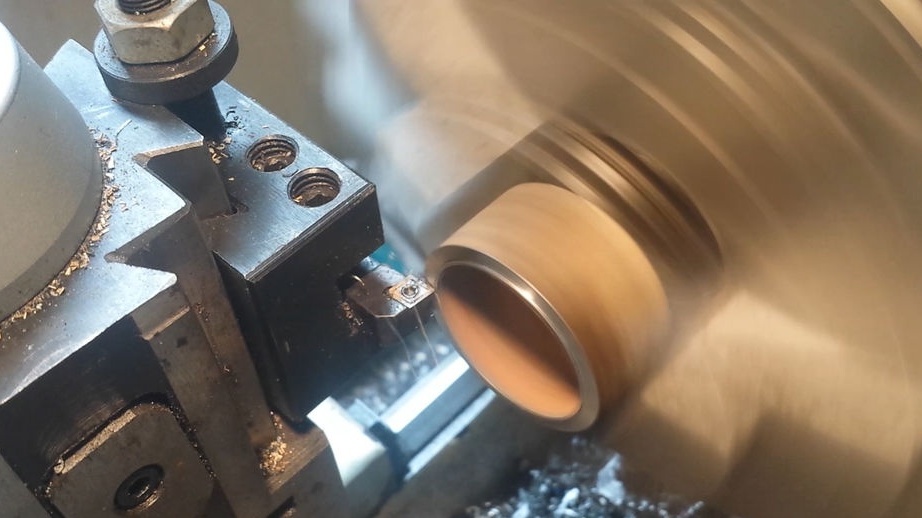
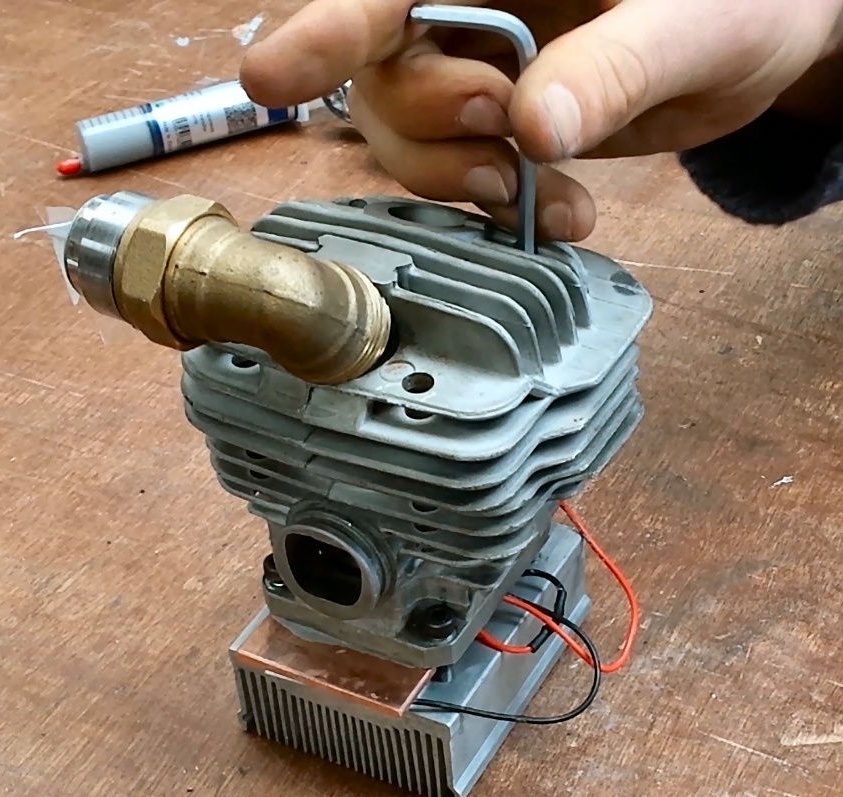
Step Three: Attach the Knee to the Cylinder
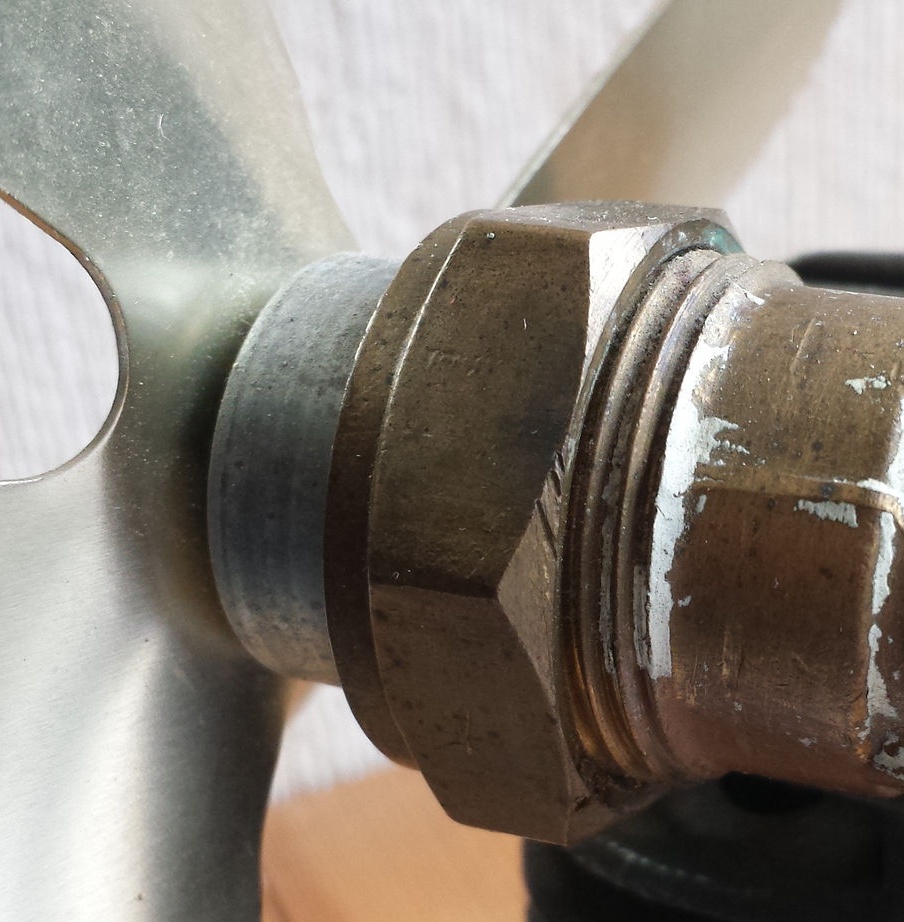
The engine is fixed and now you need to fix the knee on the cylinder head. Through the cylinder and elbow, wires to the engine will be laid. There are also several ways here.
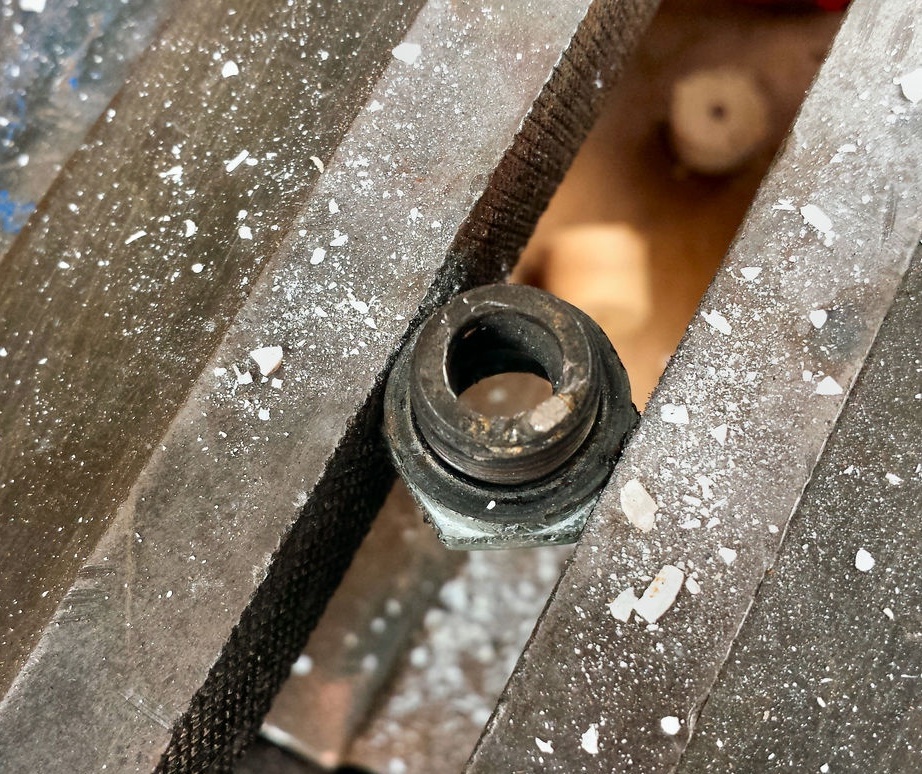
If there is an ebb on the head, screw the threaded part into the ebb rib.
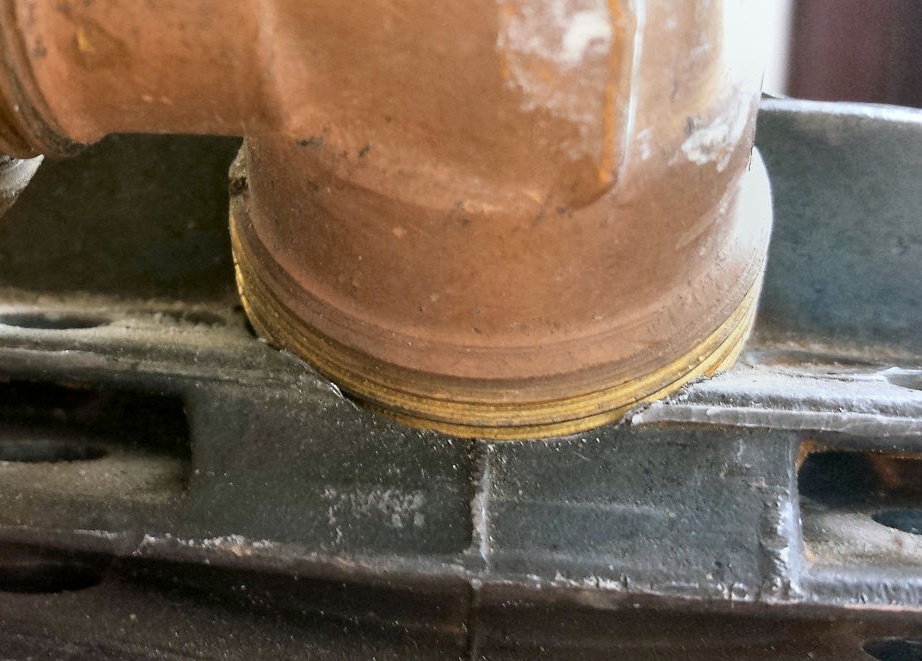
Use adapter sleeve.
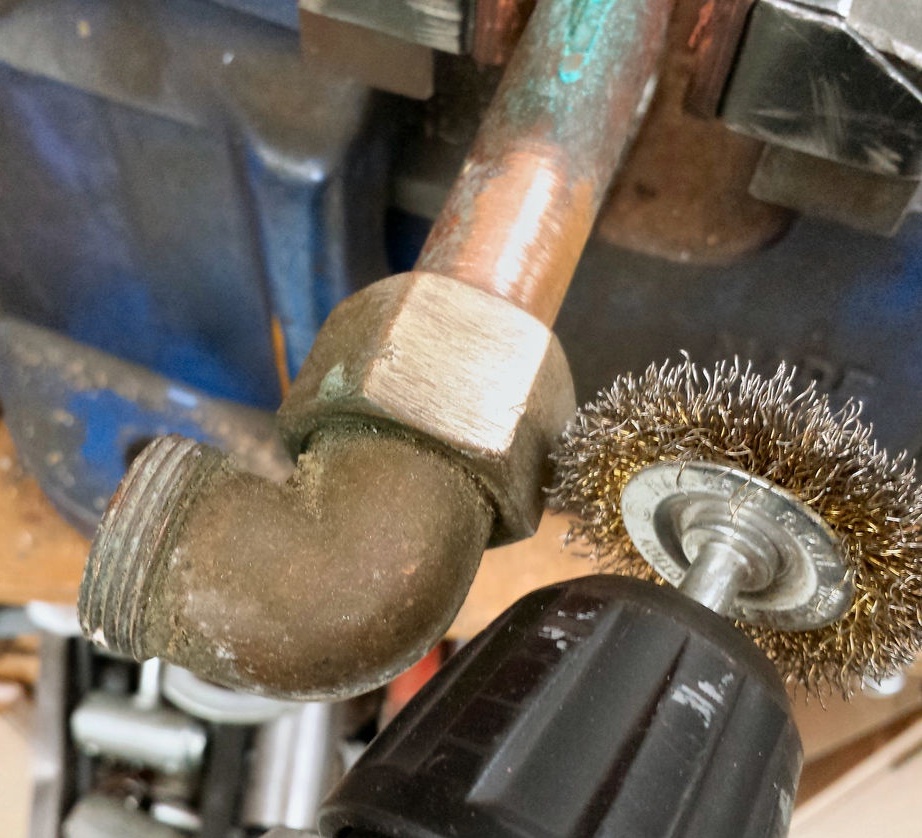
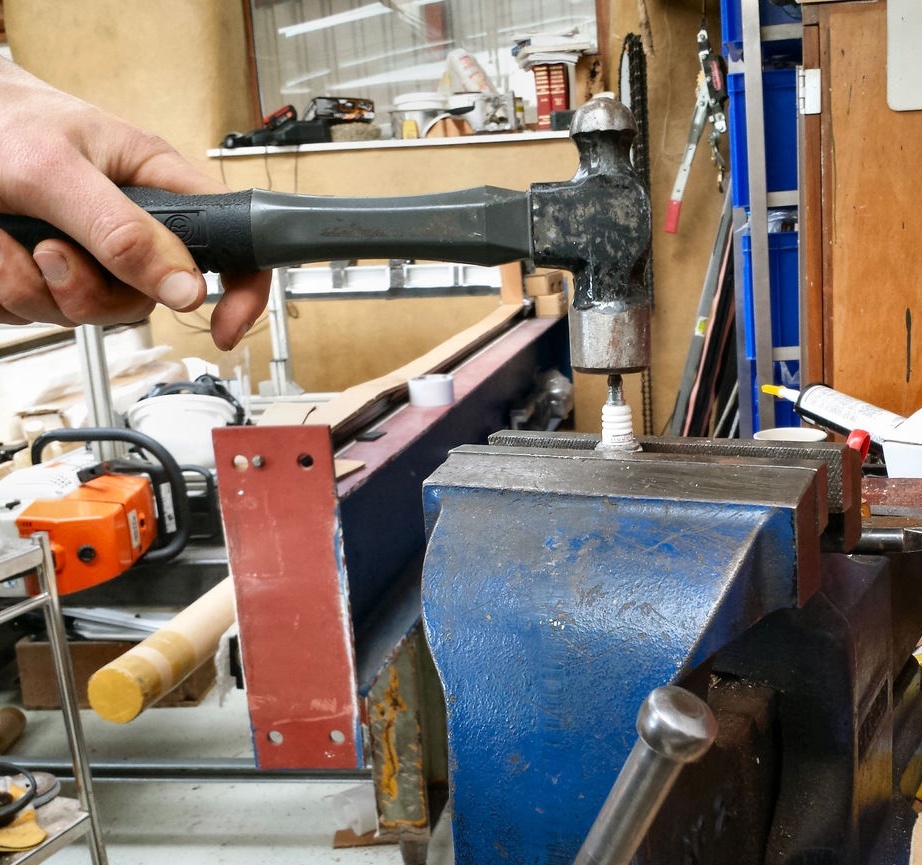
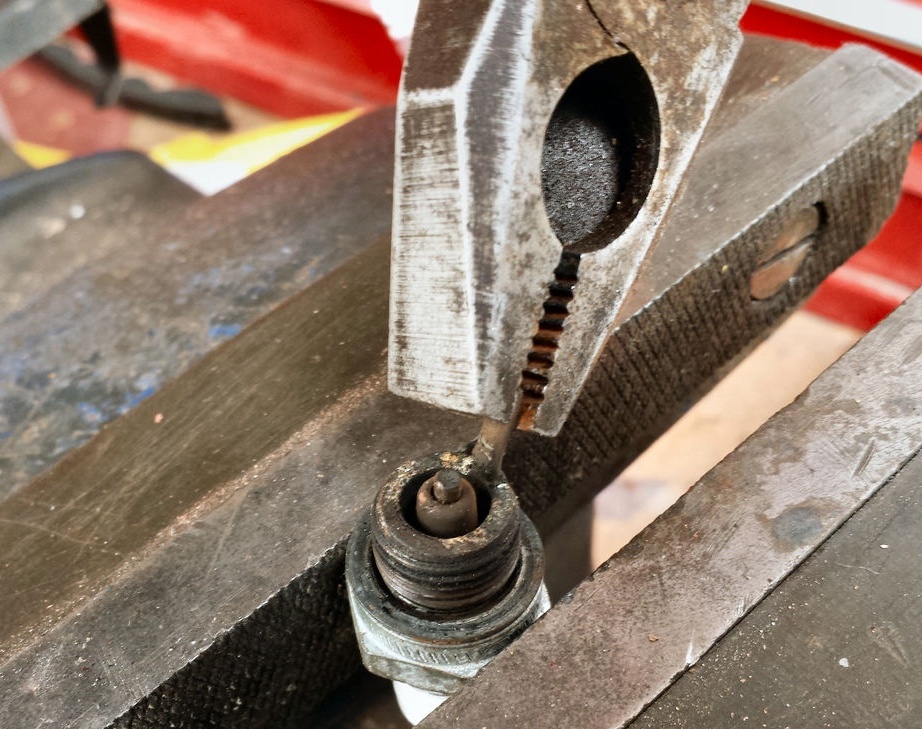
You can knock out a ceramic insulator from a candle and remove the electrode. Then squeeze the end of the tube around the candle nut and screw it into the head.
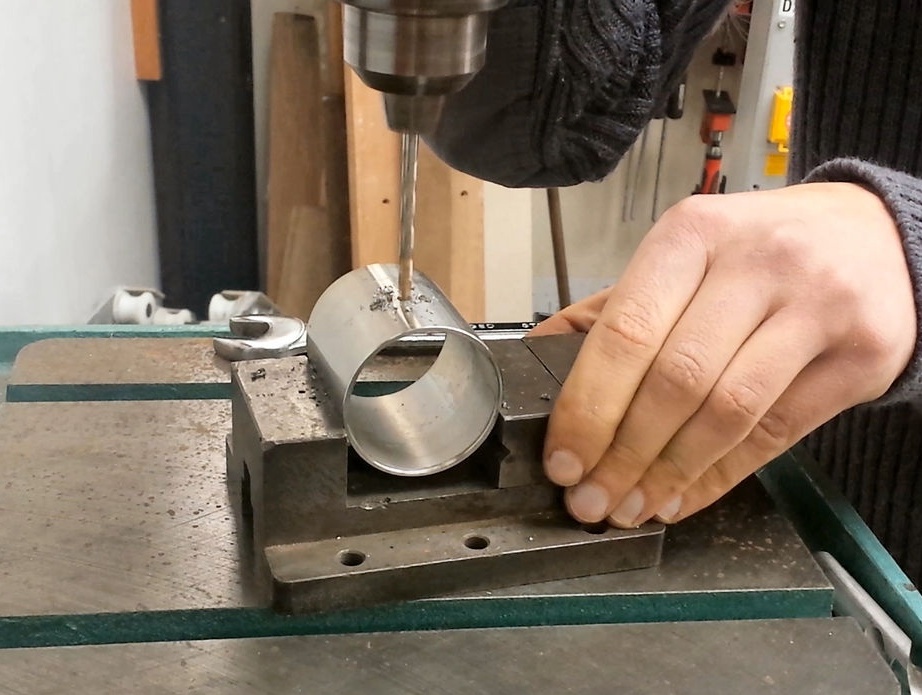
Step Four: Radiator
As a radiator, you can use radiators from the computer cooling system. Before choosing, the master tests their thermal conductivity.

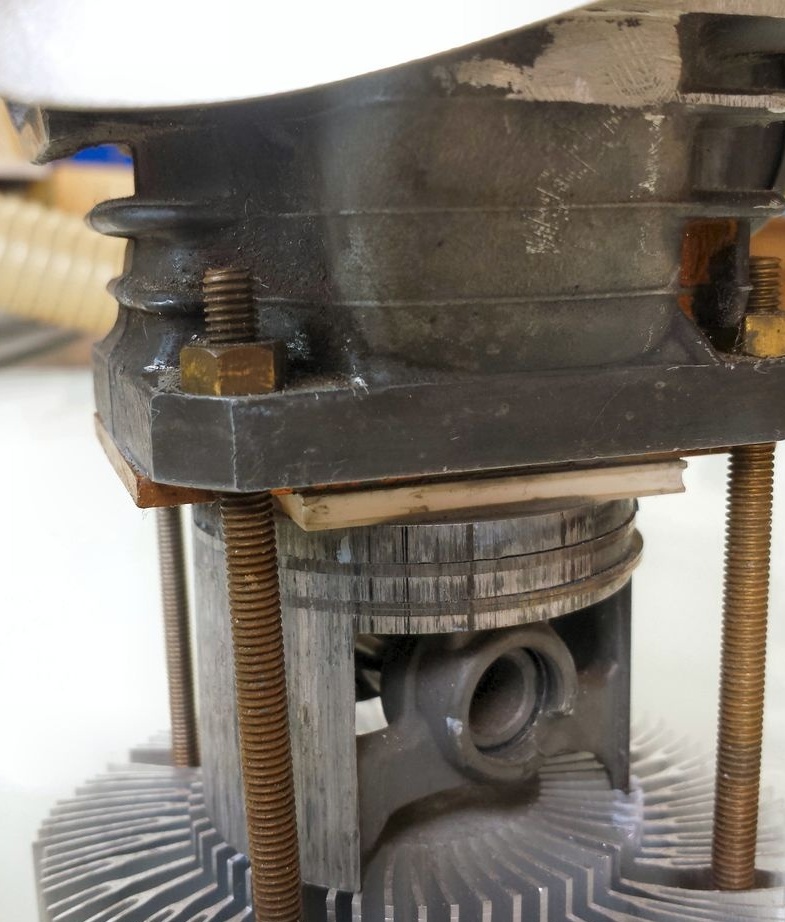
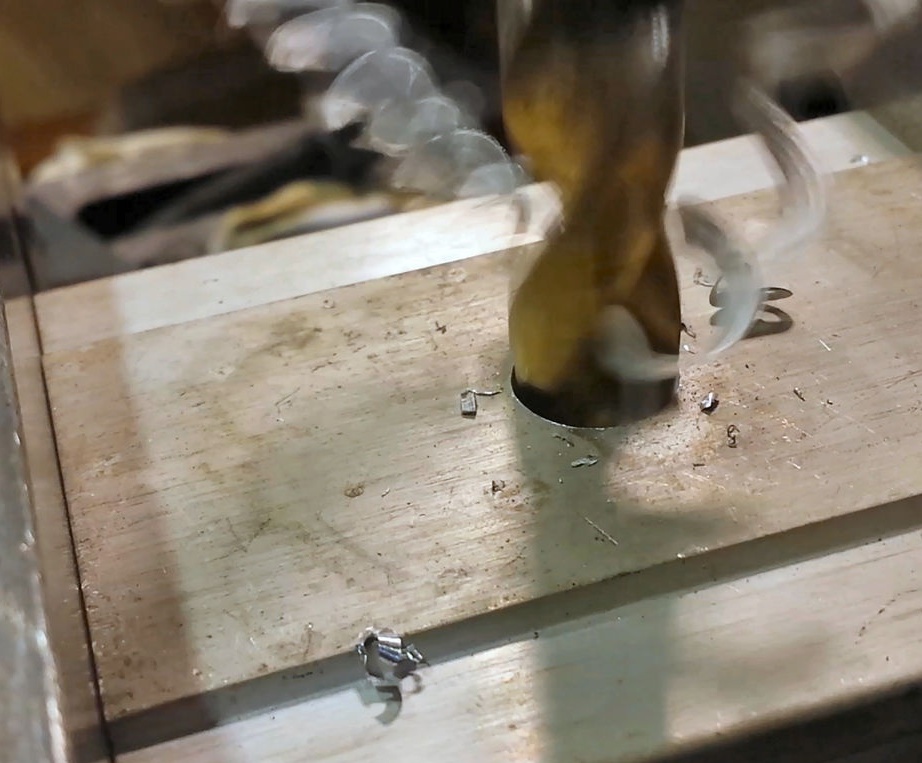
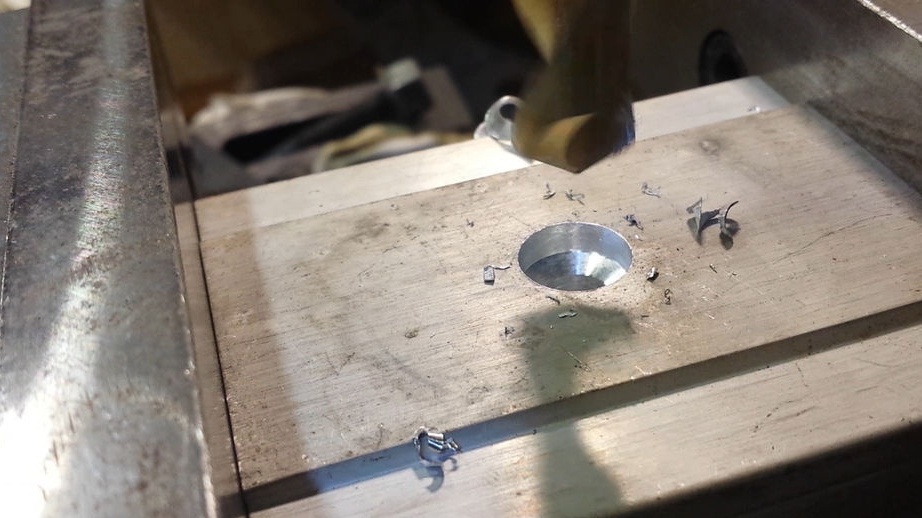
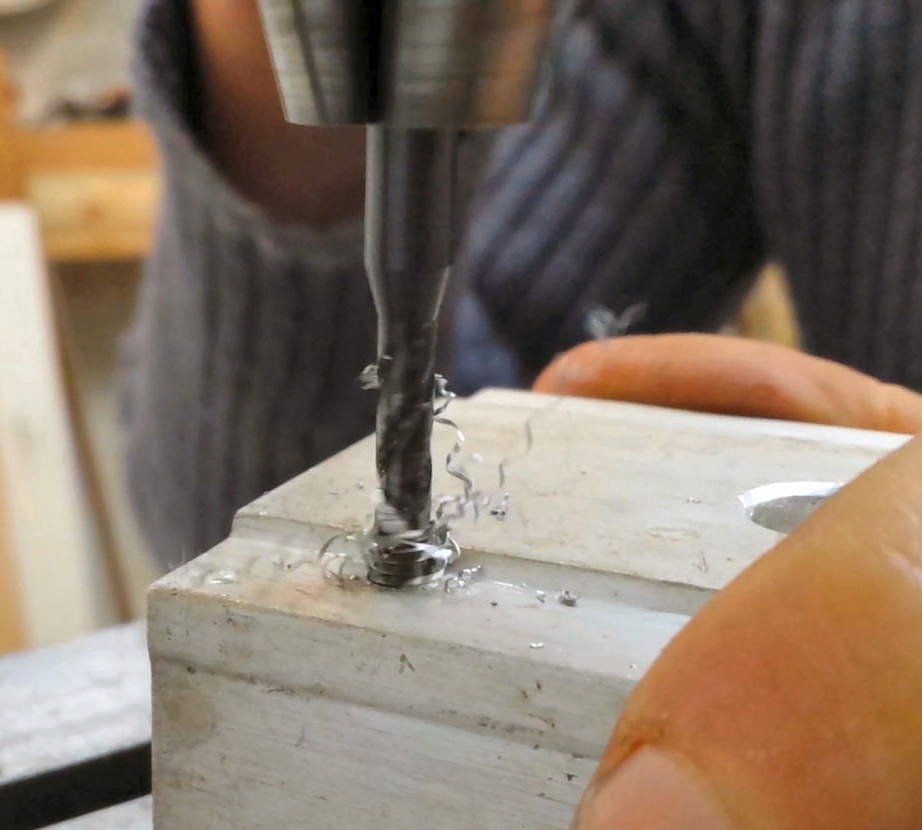
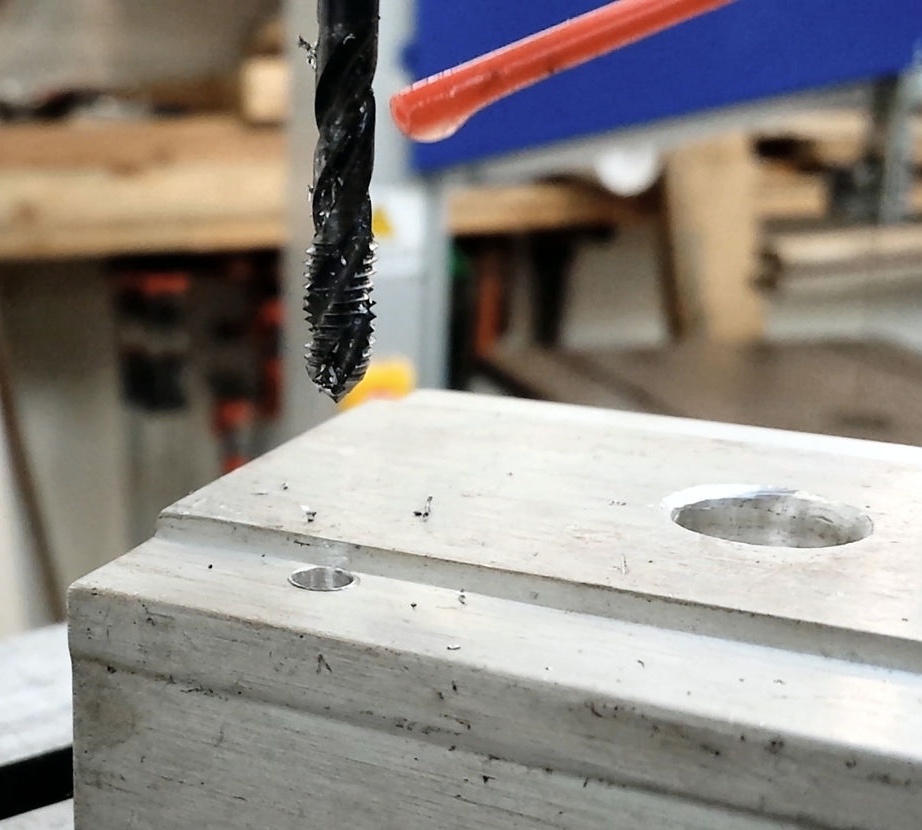
A hole for the stem is drilled in the center of the radiator. Then, using a gasket as a template, drills holes for fastening. Cut the threads in the holes.

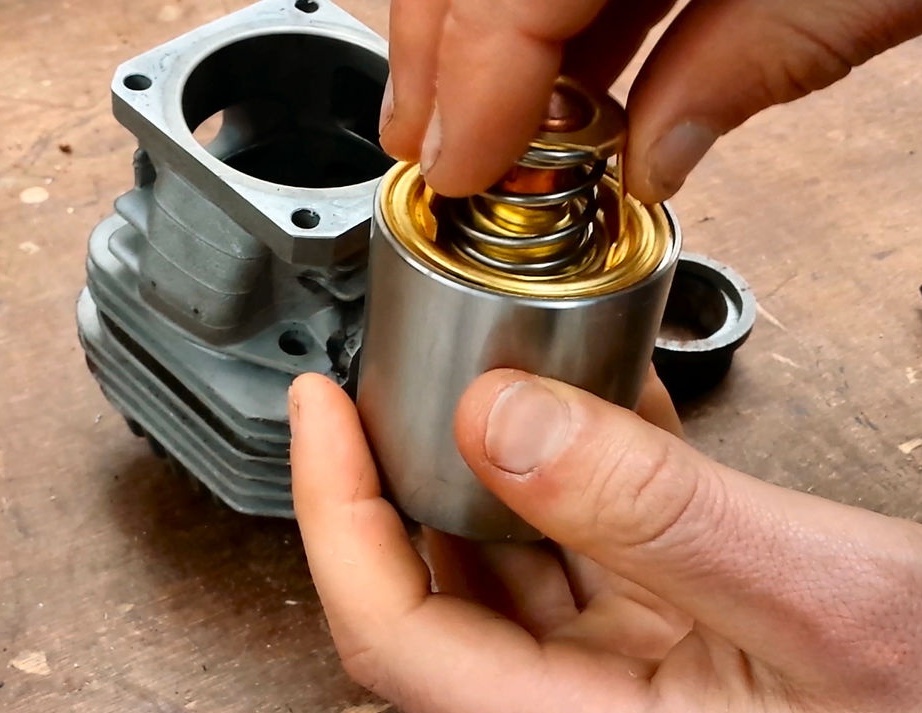
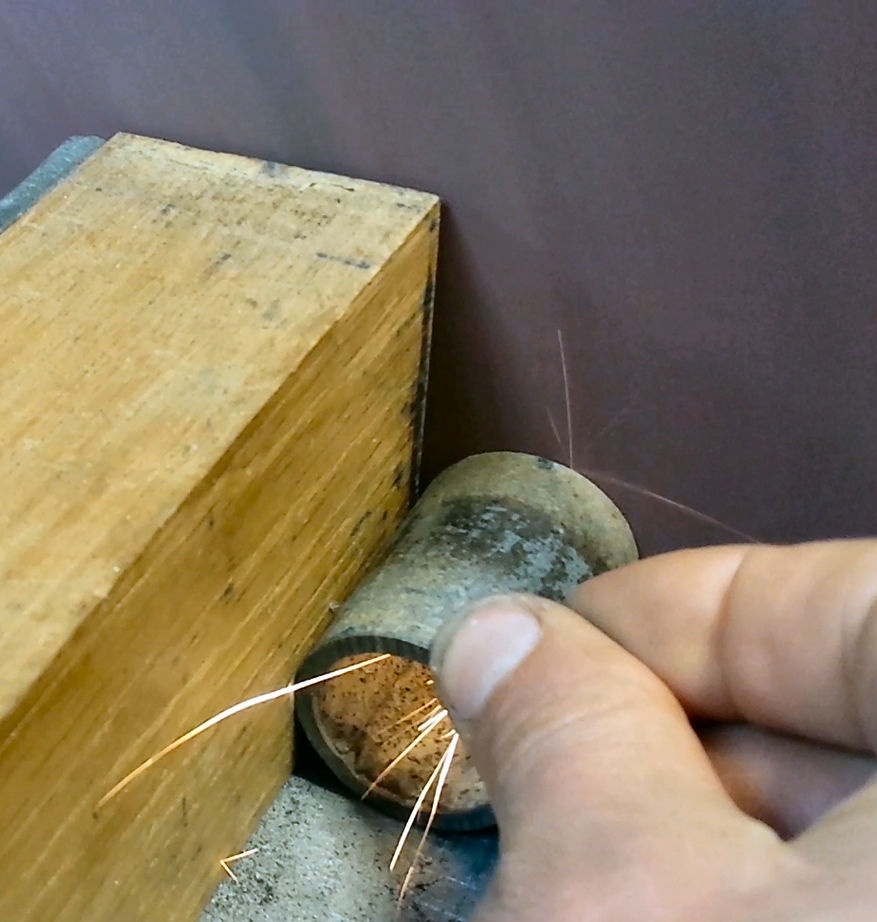
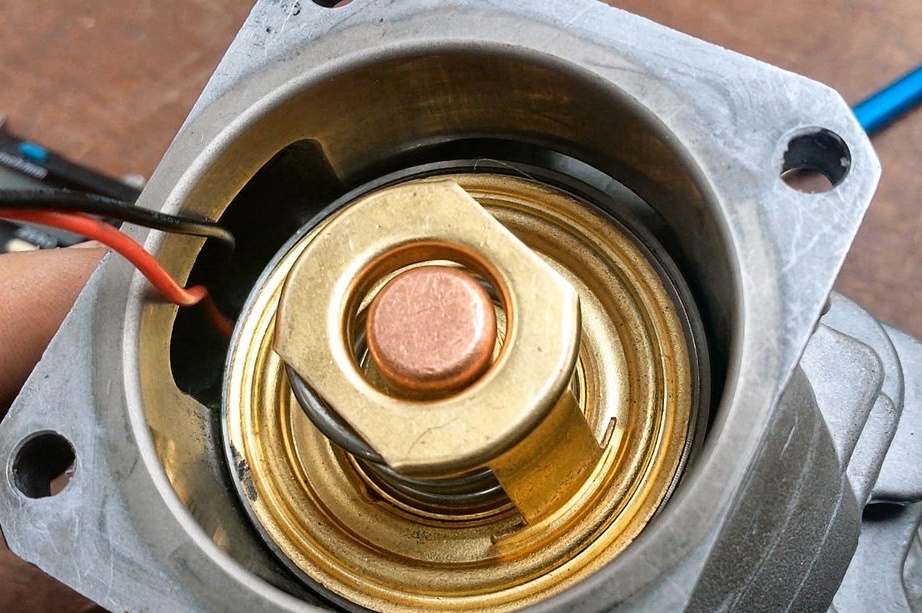
Step Five: Thermostat
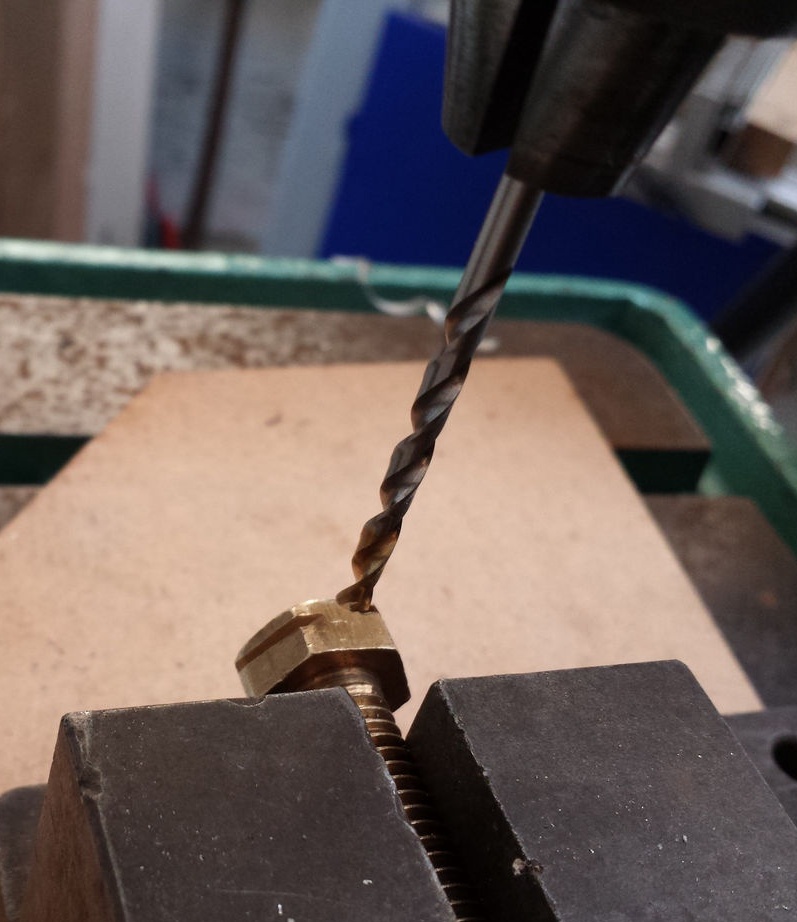
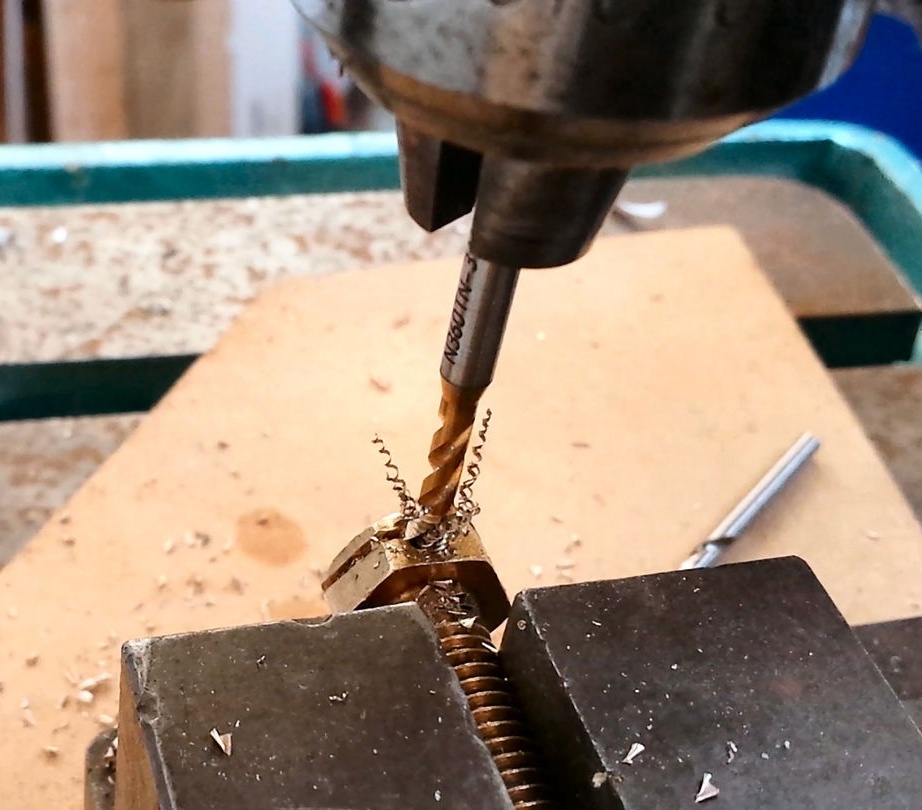
A bolt makes a stock.
Makes a sleeve for the thermostat.
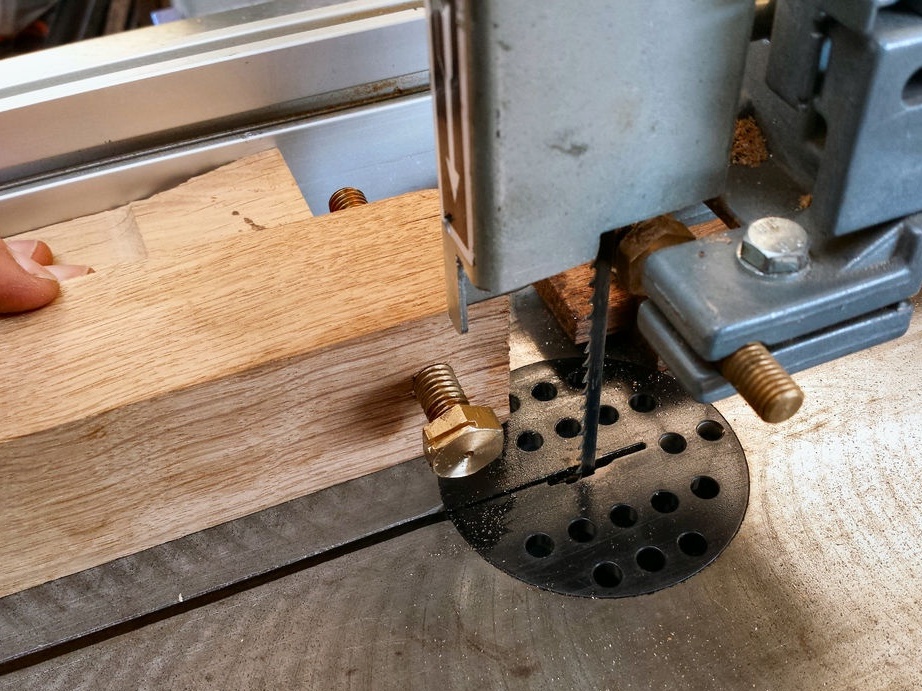
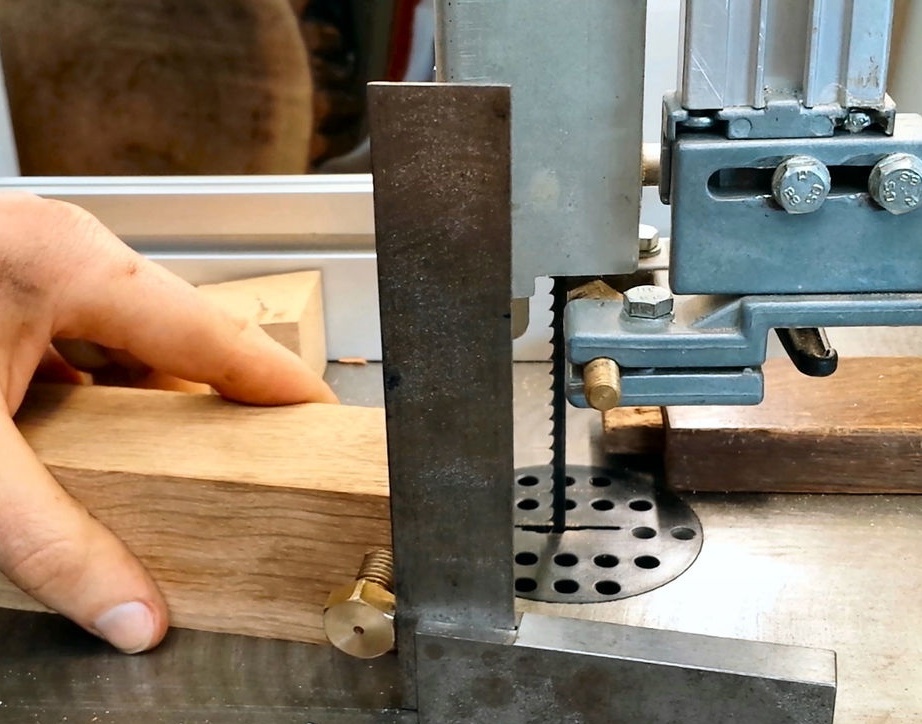
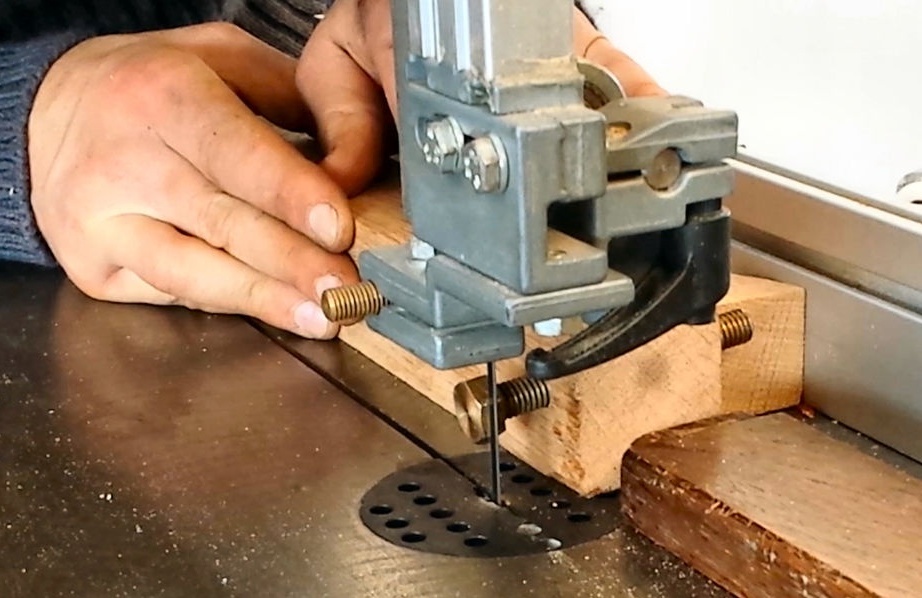
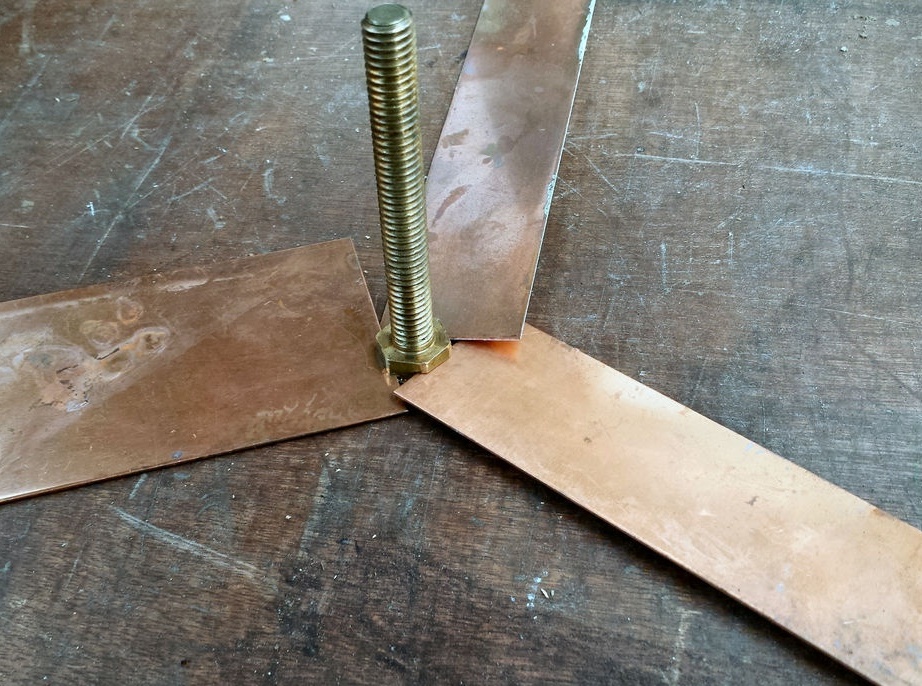
Step Six: Plate
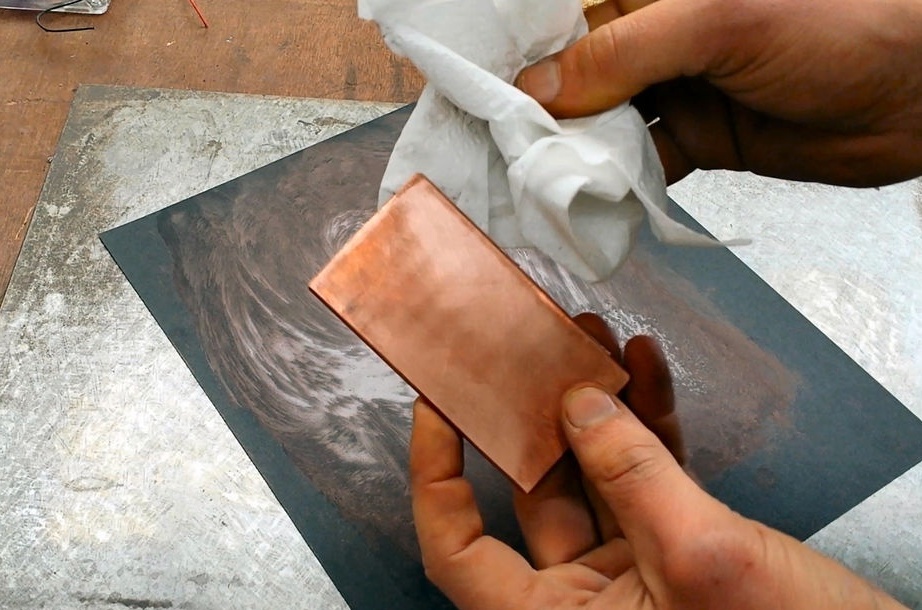
A hole is drilled in the center of the copper plate. On the sides makes selections for mounting bolts.
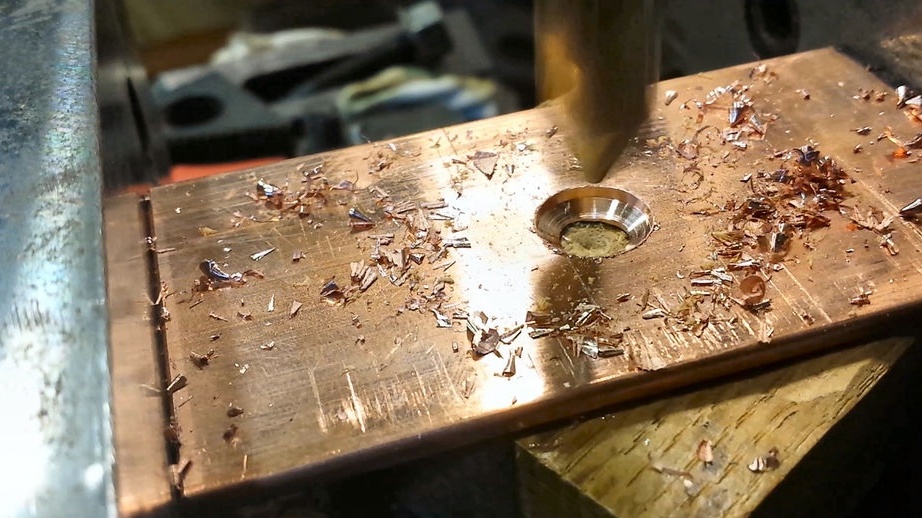
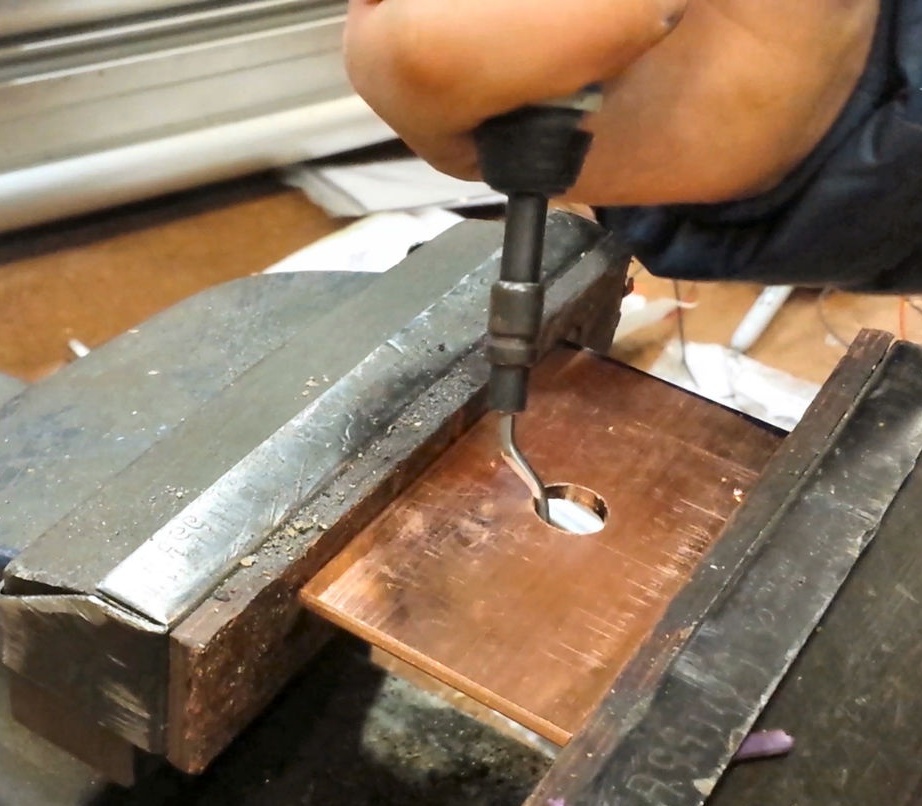
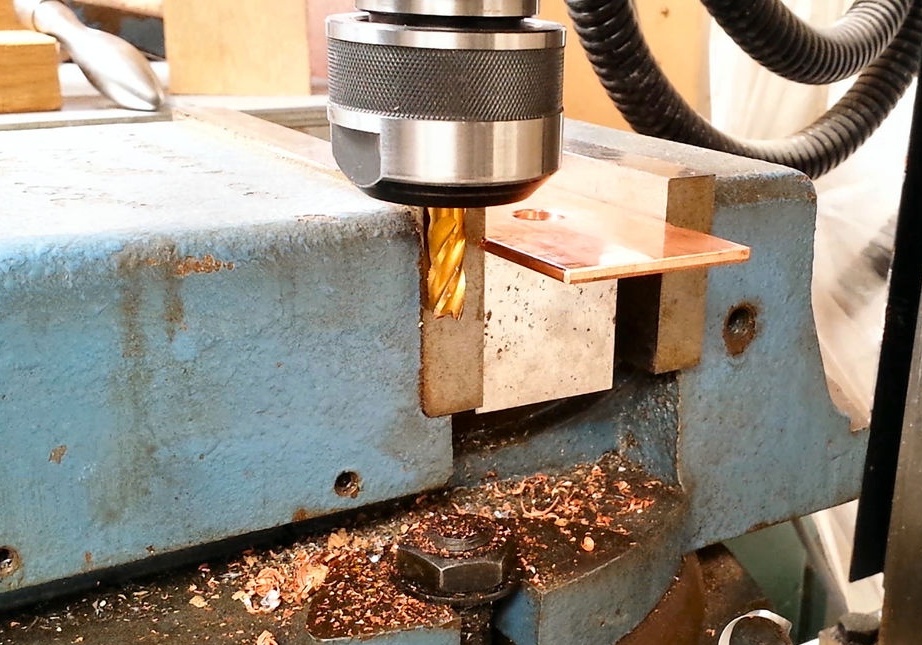
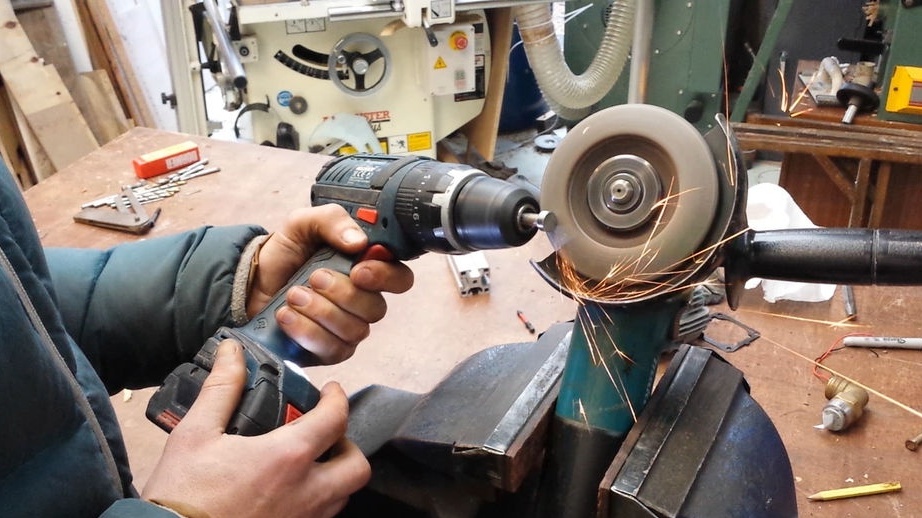
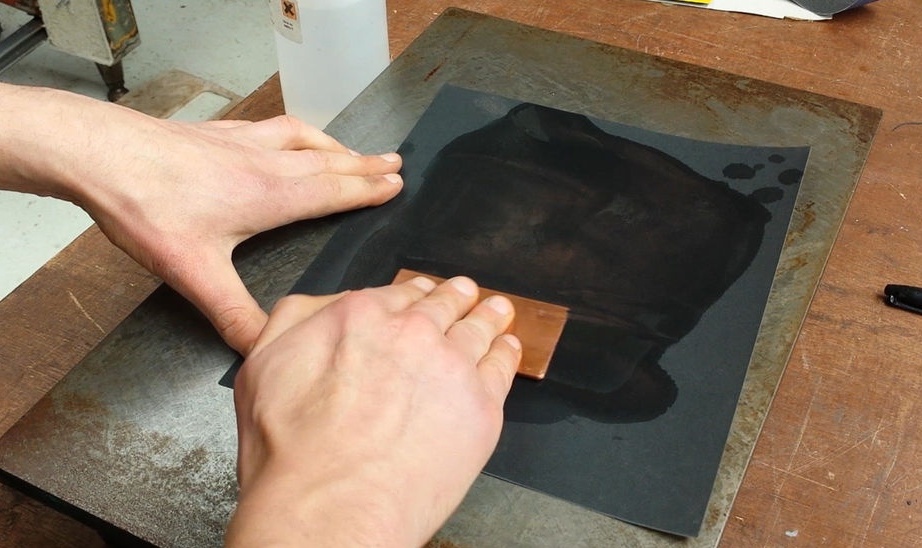
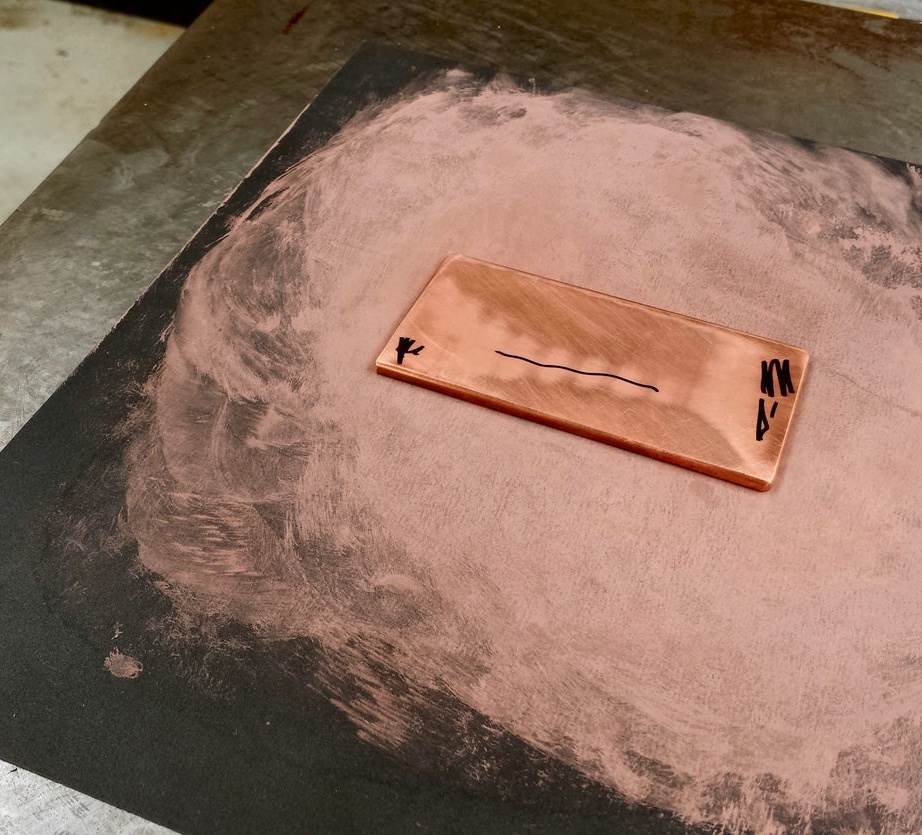
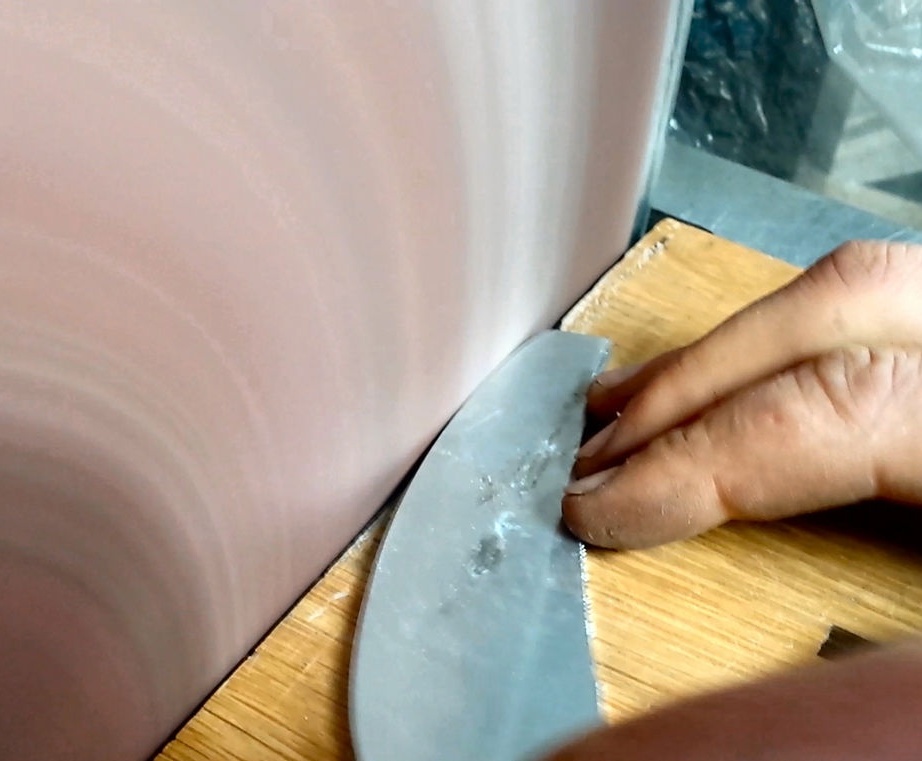
Now you need to grind the plate, for better pairing with the radiator and Peltier elements.
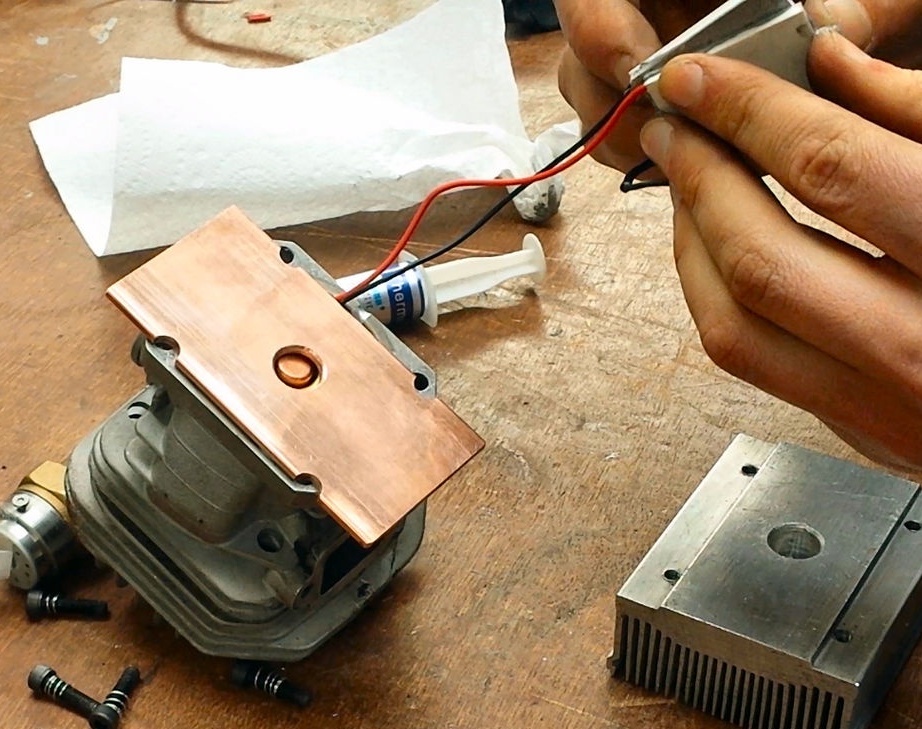
Seventh step: installing Peltier elements
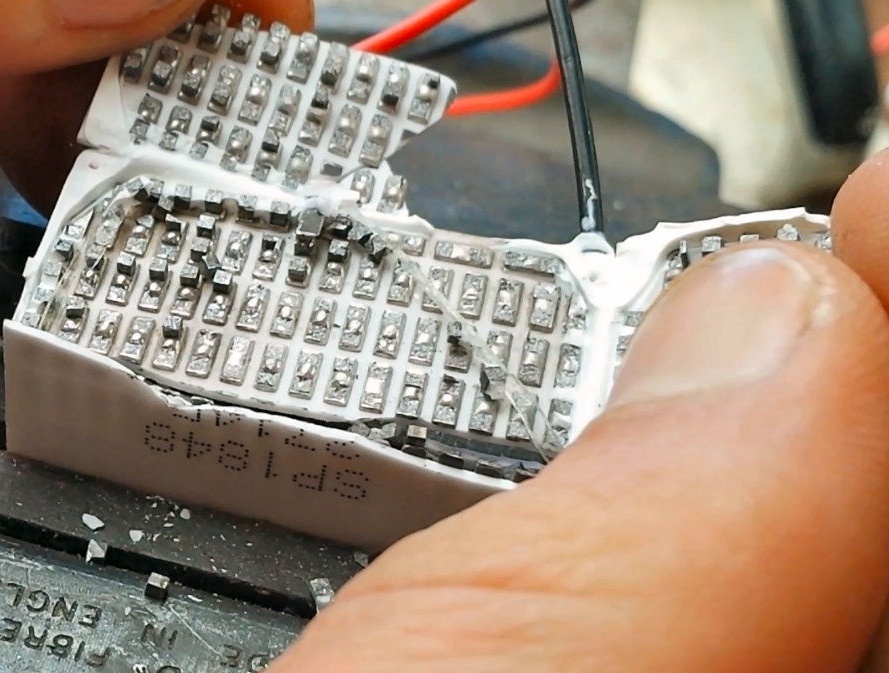
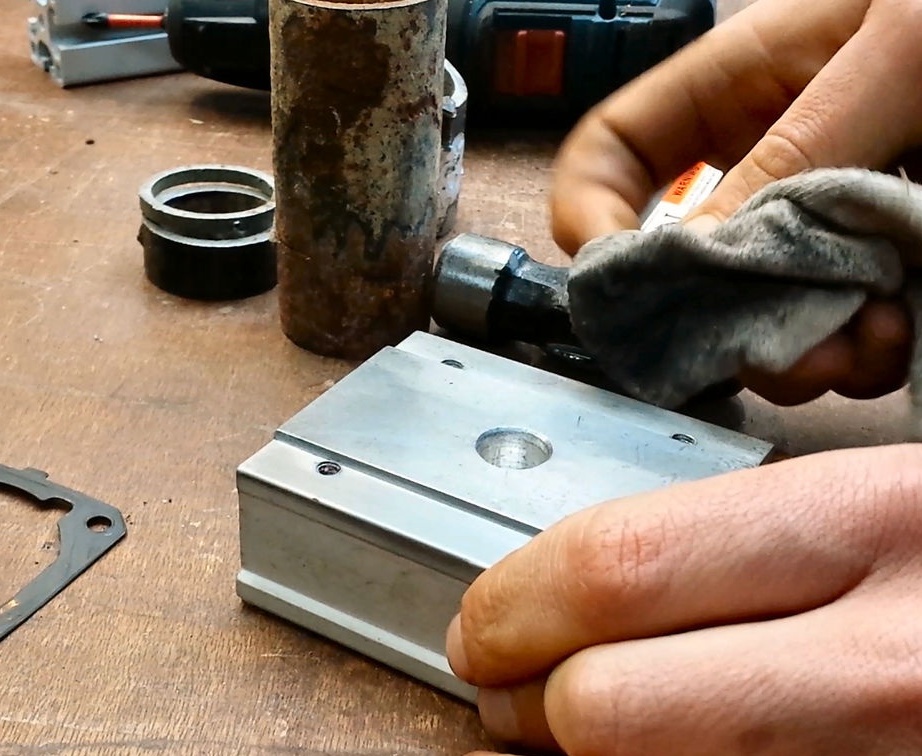
Mounts wires inside the cylinder between the engine and thermoelectric converters.
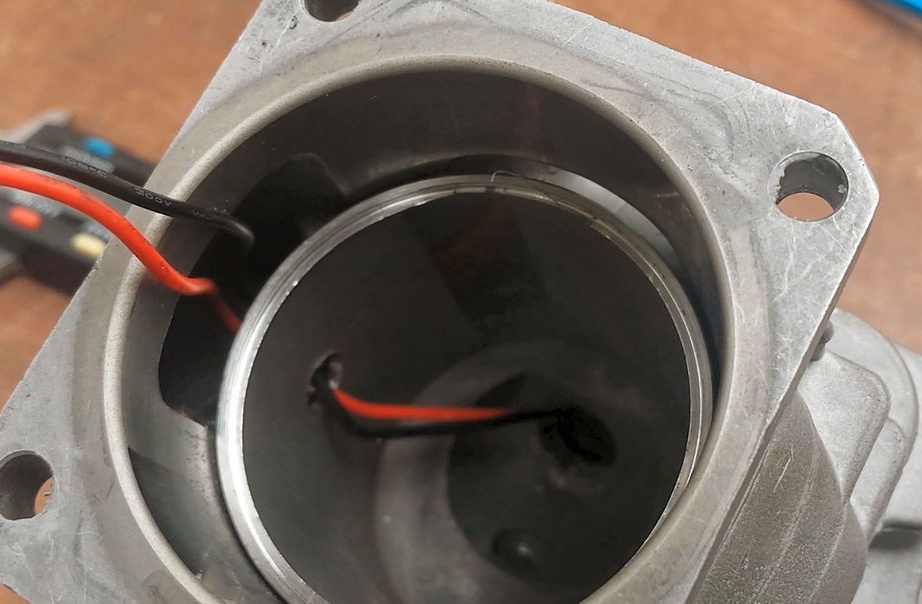

Apply thermal grease to mating surfaces.
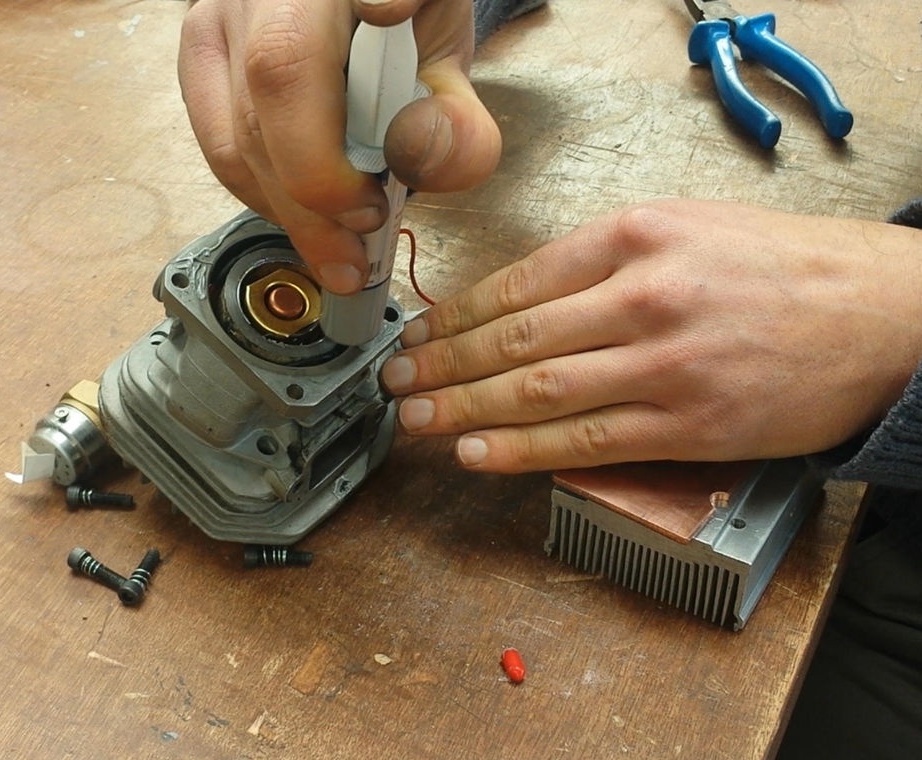

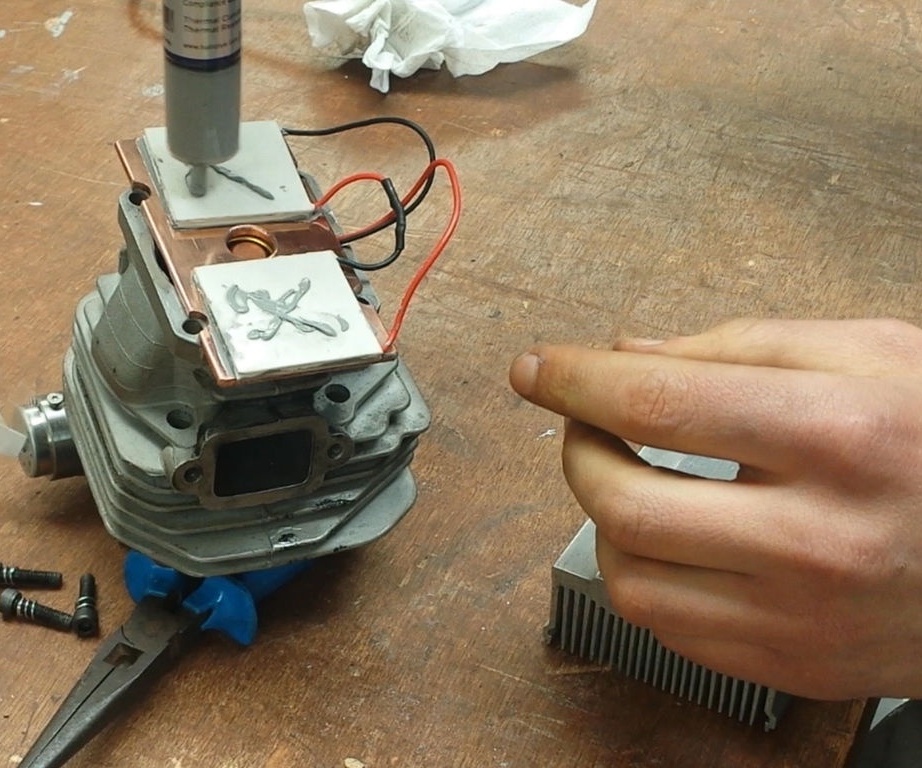
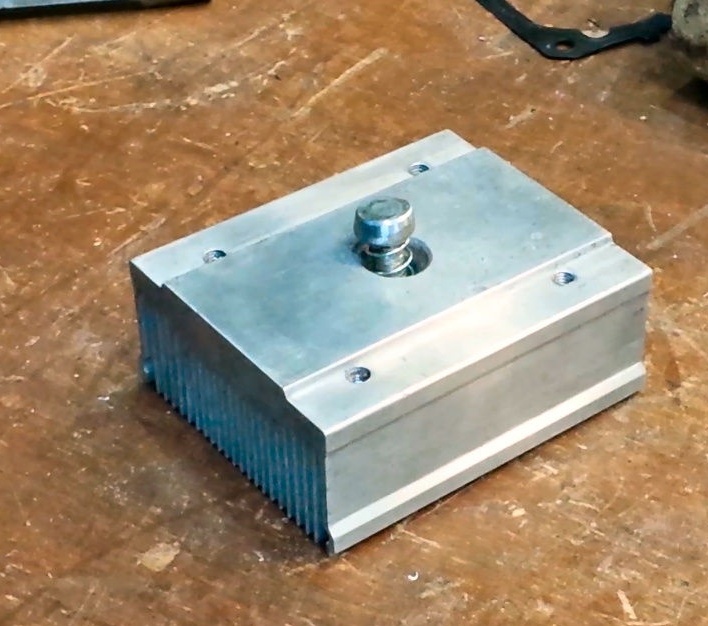
Assembles a knot.
Step Eight: Screw
Now you need to put the screw. But before you put it, it still needs to be made.
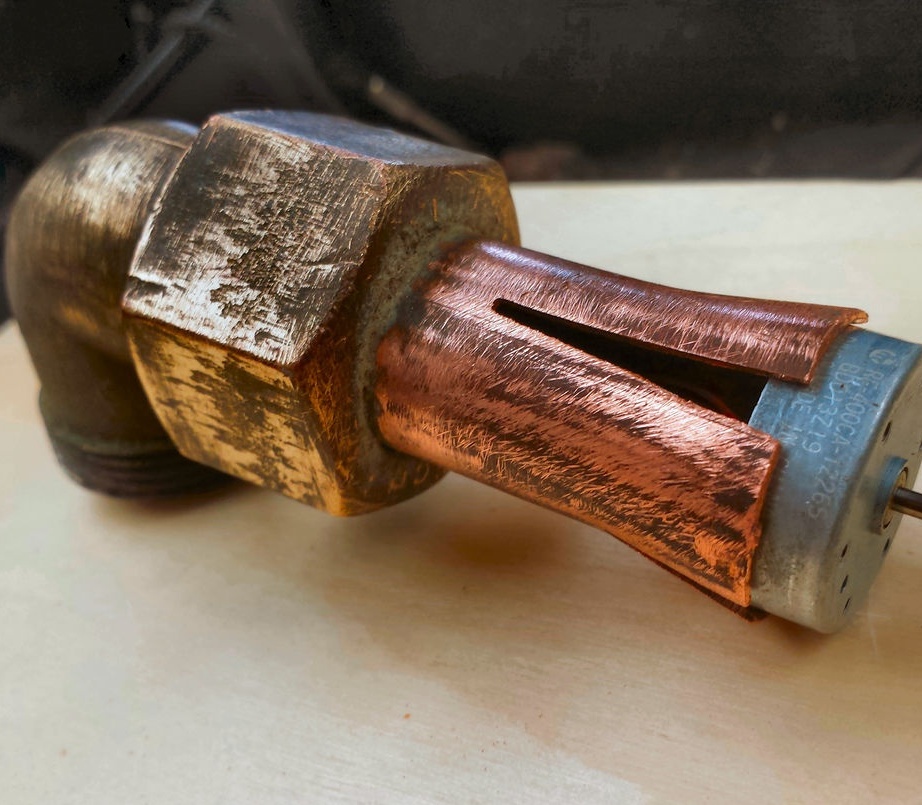
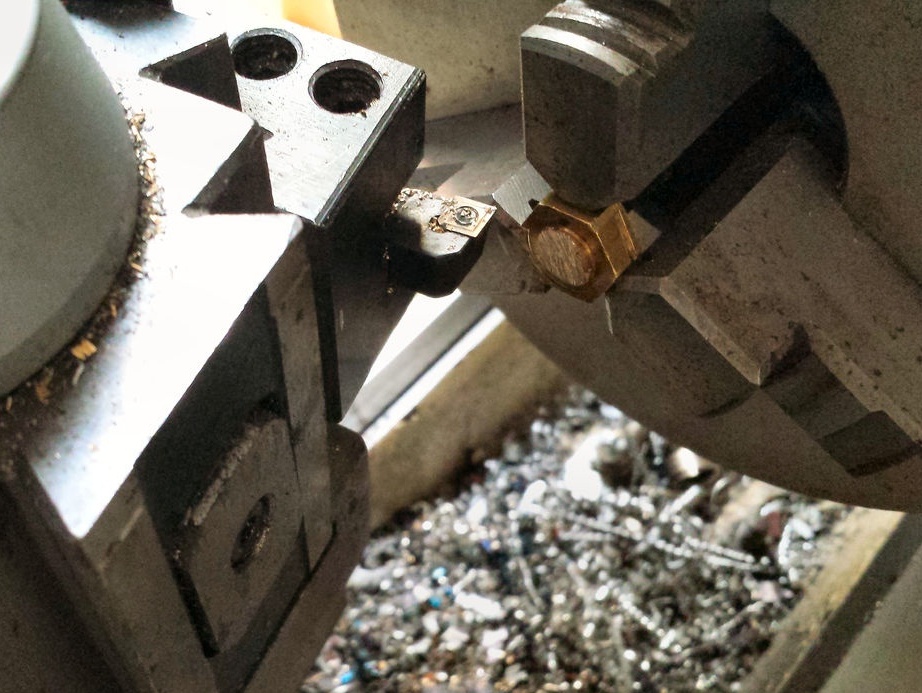
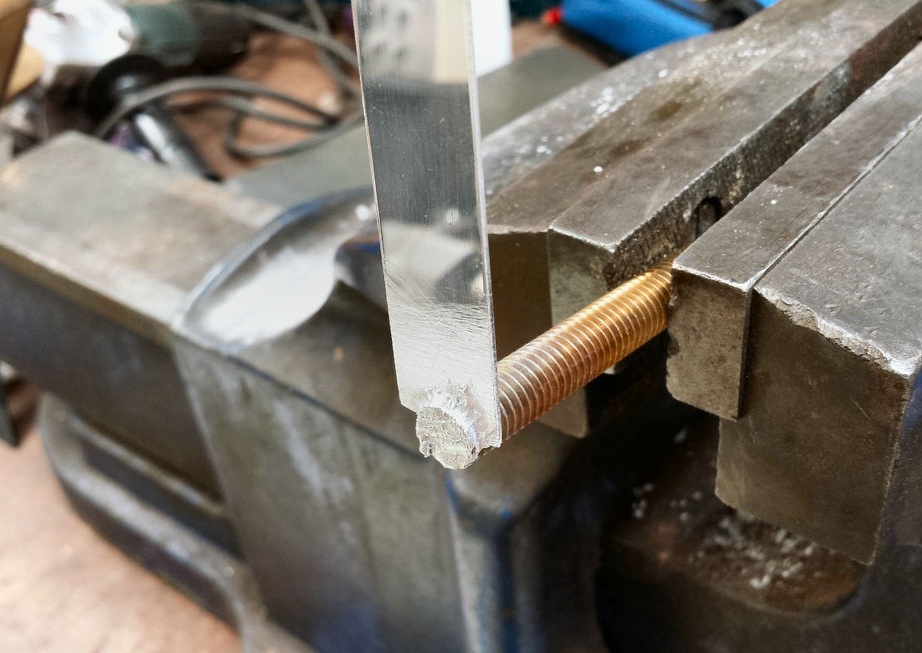
First makes a hub. Tightens the bolt in the lathe, and drills a hole in the bolt head.
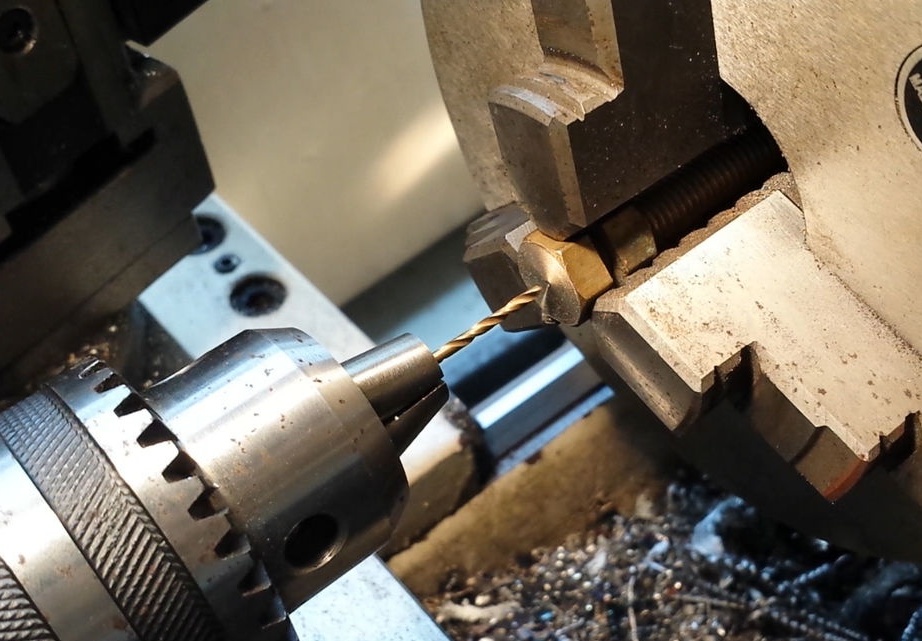
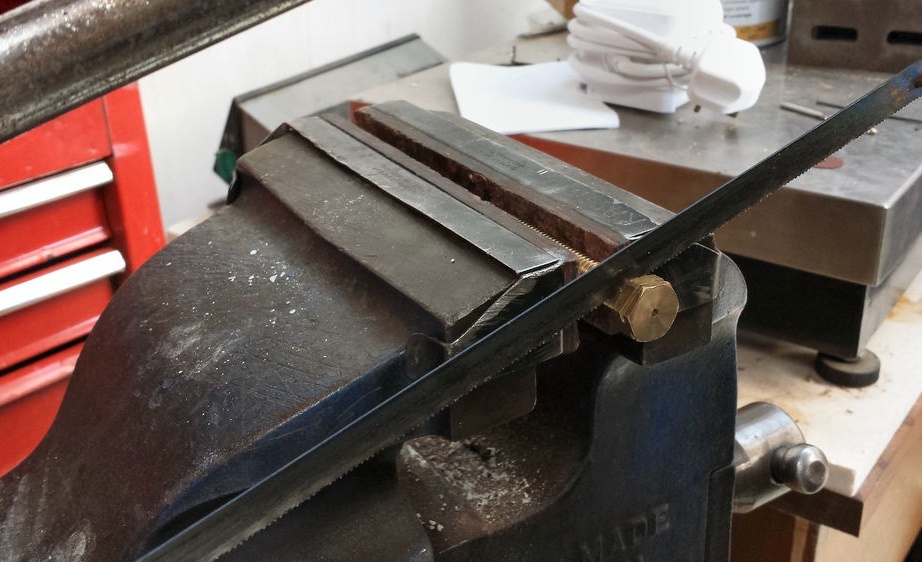
Then, on the edges of the head of the bolt makes cuts.
Drills a hole for the mounting screw. Cuts off the bolt head.
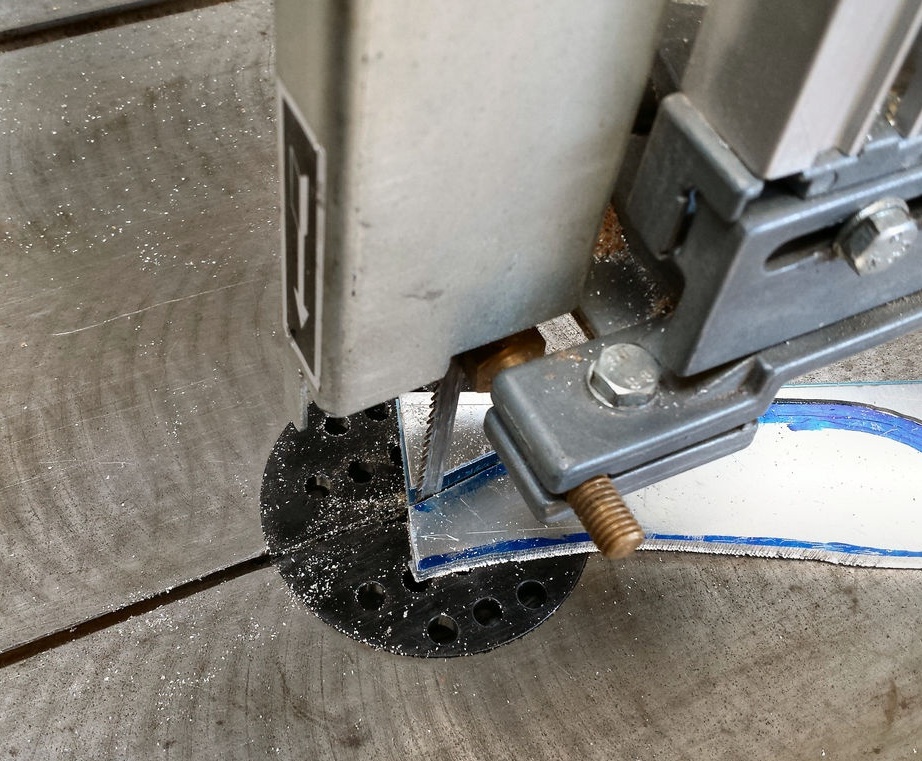
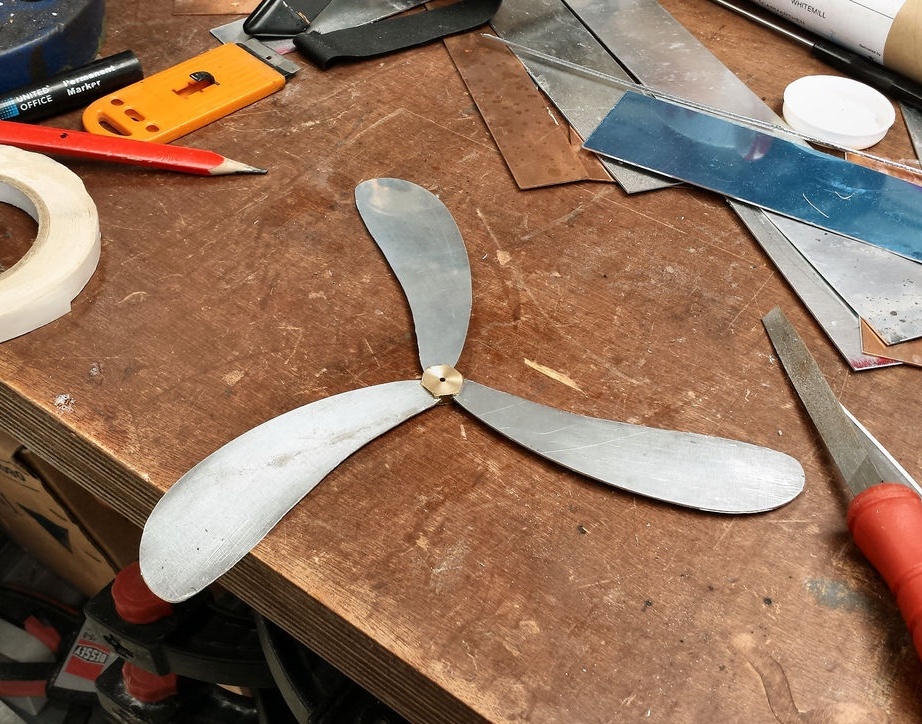
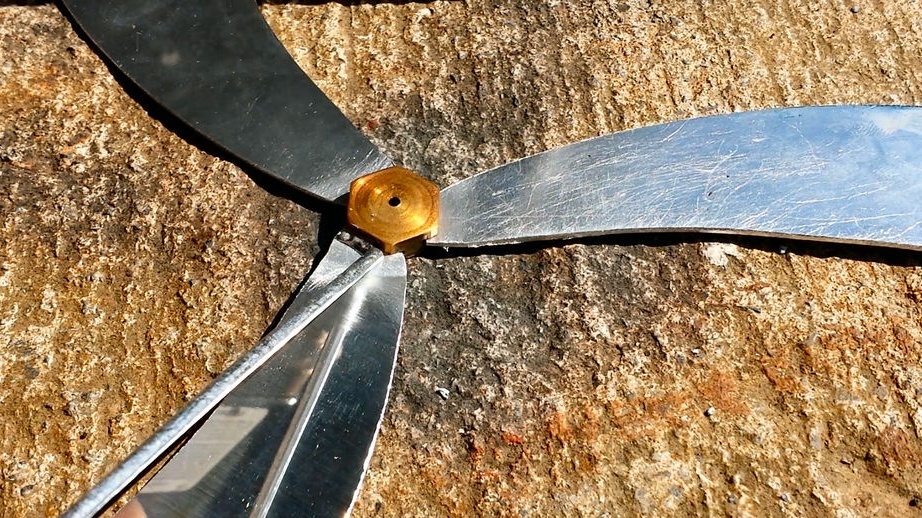
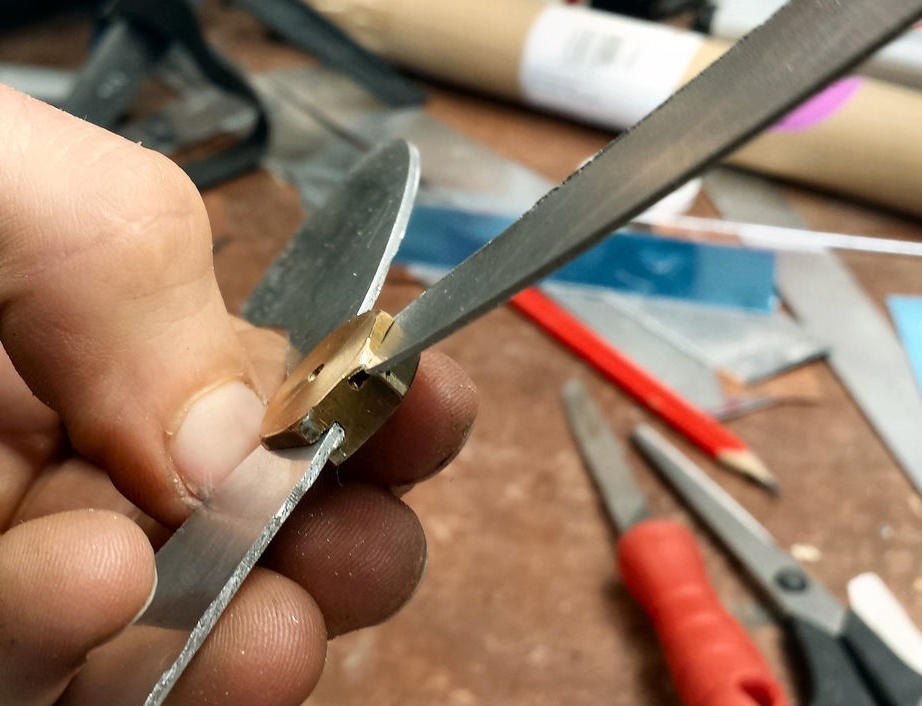
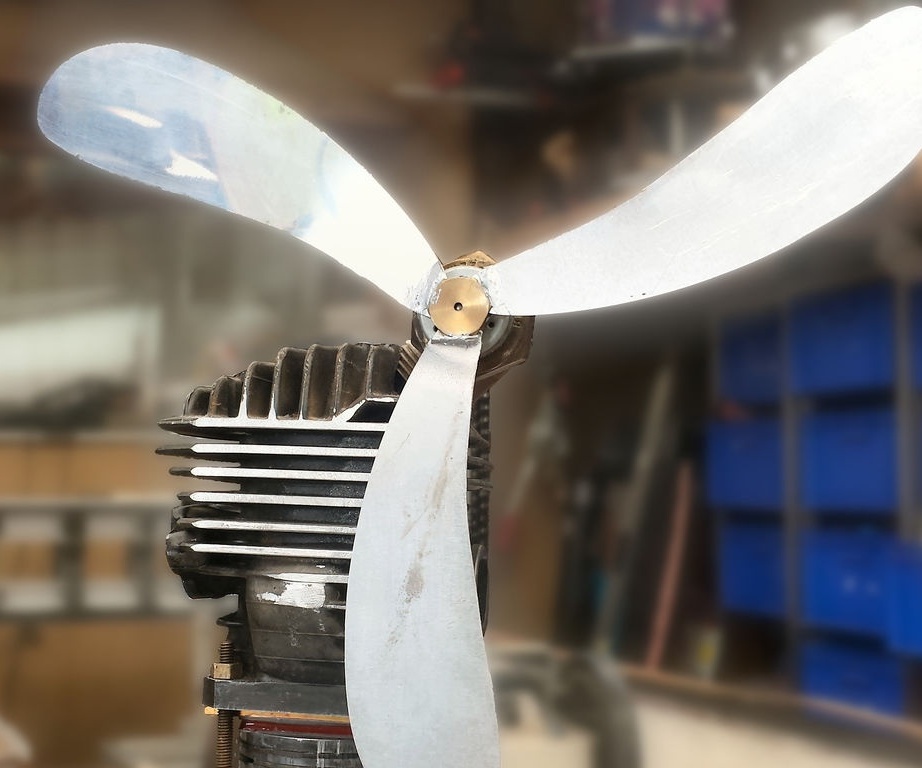
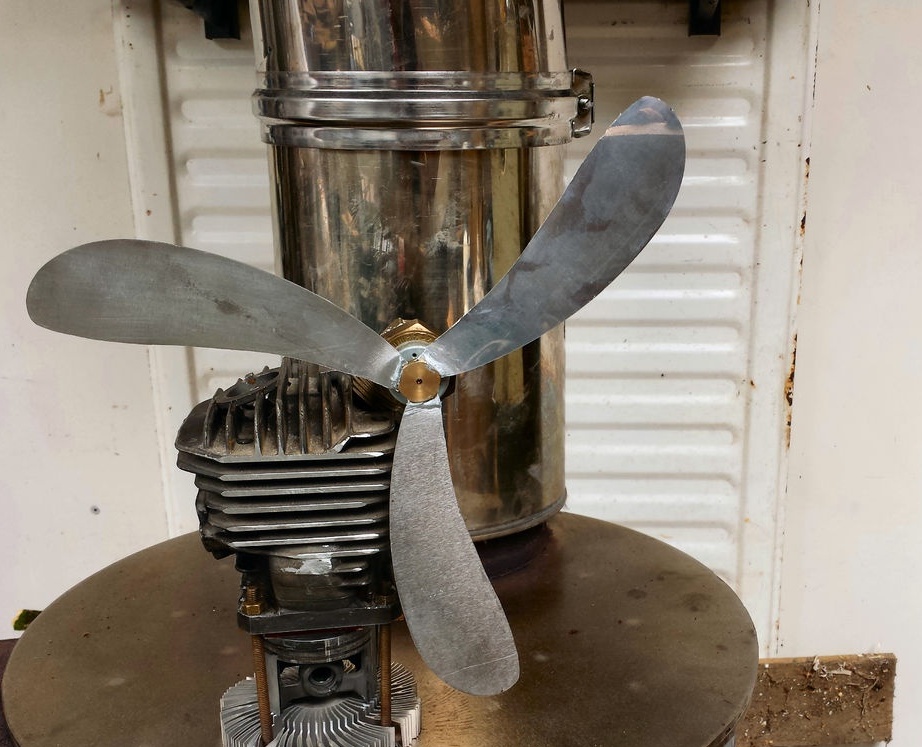
Cuts the blades. The master decided to make the blades of aluminum.

Before soldering the blades to the hub, the master checks the strength of the solder on the threaded part of the bolt.
After making sure that the connection is firm, the master solders the blades to the hub.

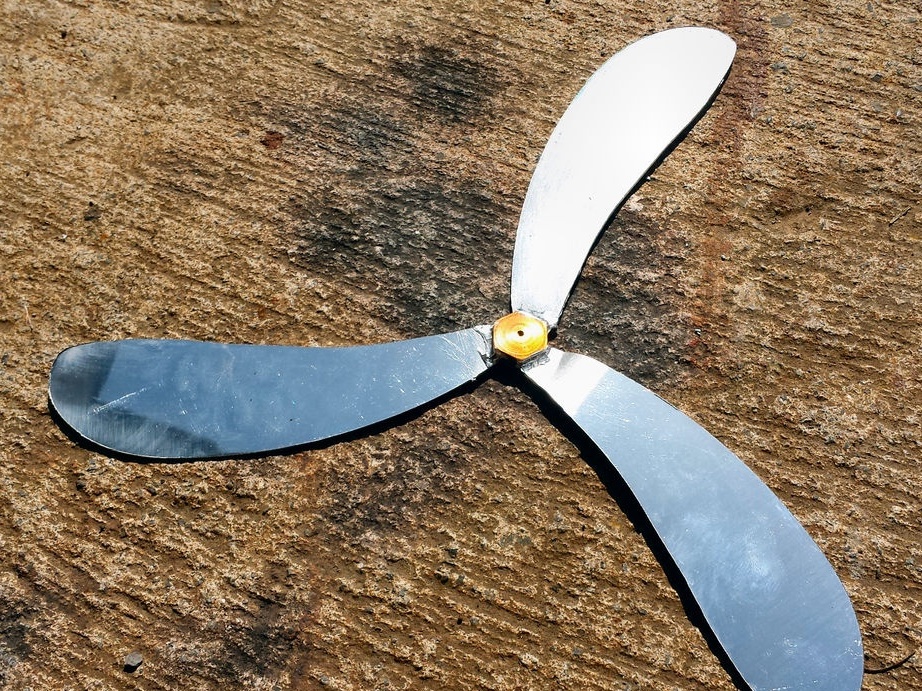
Installs a screw on the motor shaft and tightens the locking screw.
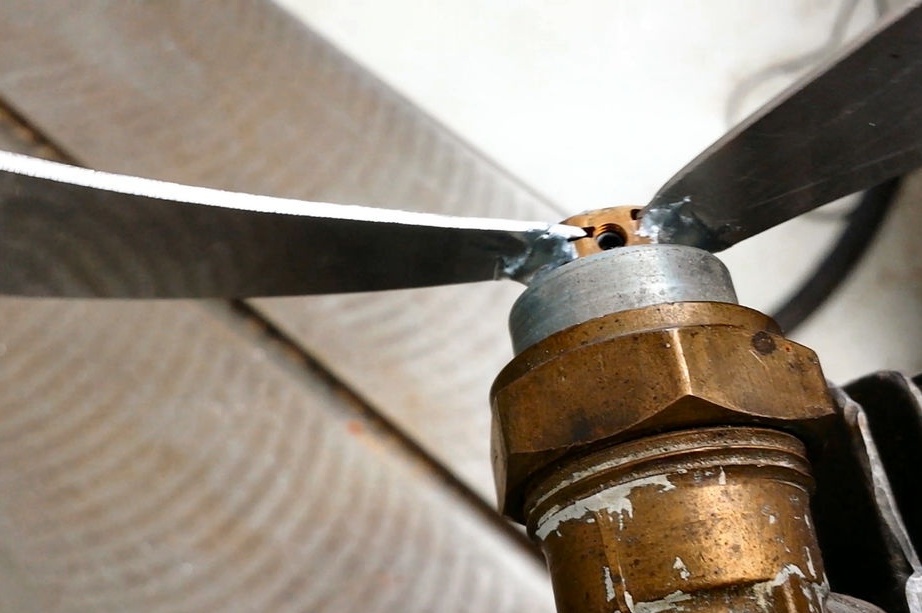
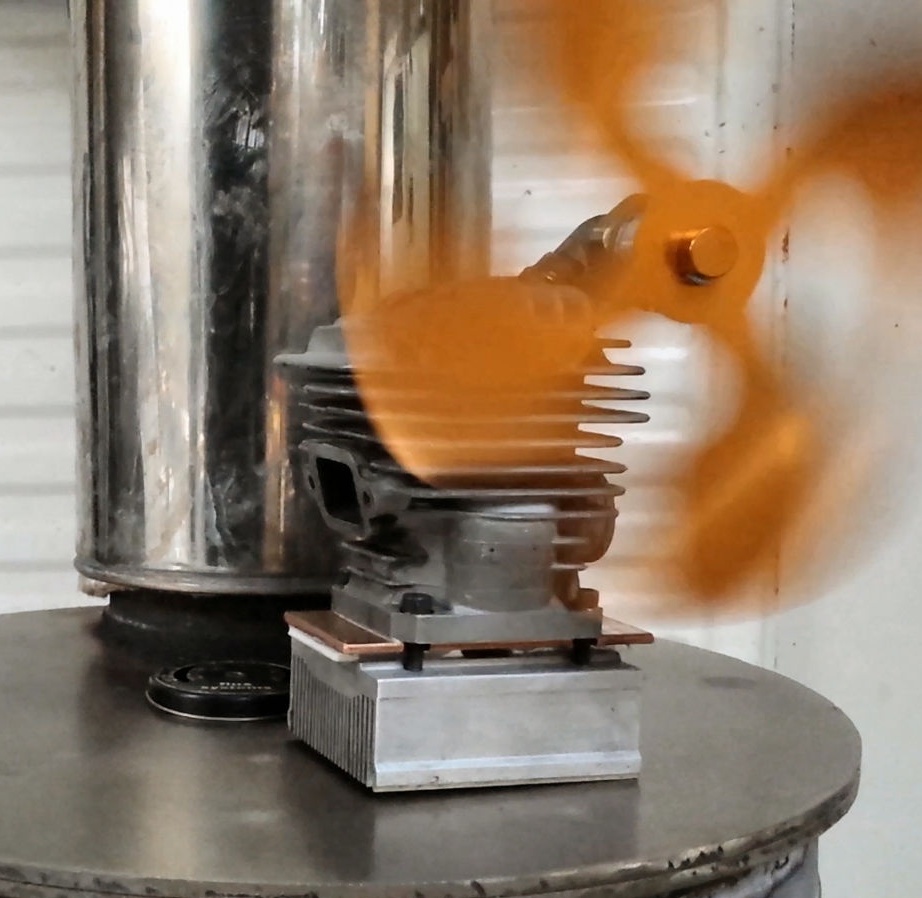
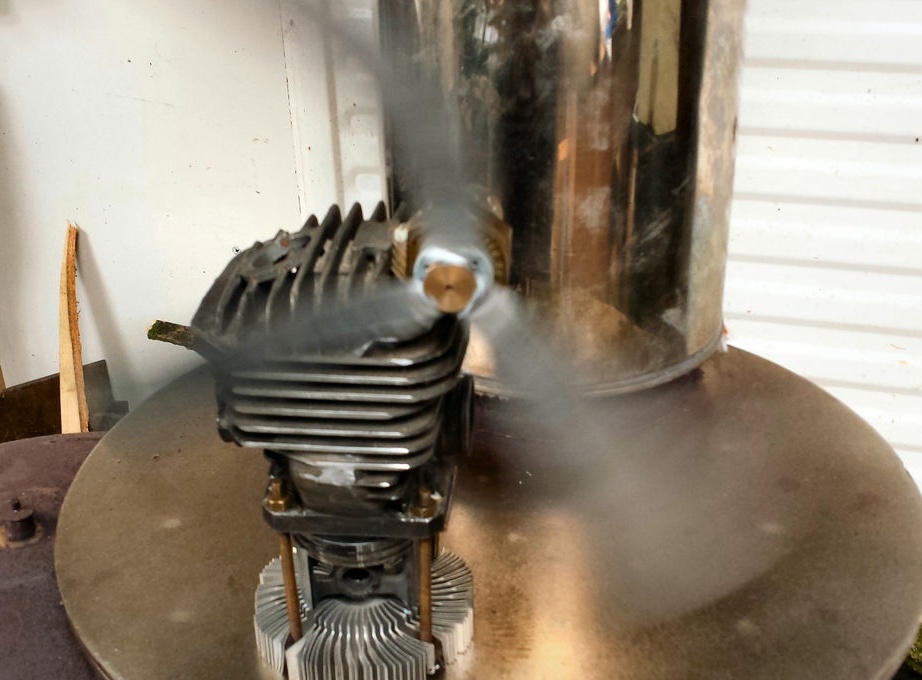
Now it remains to test the device. In general, the master is satisfied with the work of the product.
As you can see in the photo, the master is trying various models of screws, made independently and purchased screw.
Below are three videos.
Making a device without a thermostat.
Making a device with a thermostat.
Making a screw.