
Today, we are together with the author of the YouTube channel Electronics and Co. Schemes and devices ”we will produce a unique tool - high precision core. You just can't buy one in the store.
Necessary materials and tools:
1) A metal segment (something like a rod) is preferably made of normal high-carbon steel. You can use a sword;
2) Adapter adapter from SDS to drill chuck;
3) Sleeve (preferably made of brass, bronze or copper);
4) Spring;
5) Drills for metal;
6) Drilling machine;
7) gas burner;
8) File.
In general, for the manufacture of this miracle tool, we need some piece of steel bar. Of course, it is best to use one of normal high-carbon steel. The author decided to use a fragment of some unknown instrument. This is how it looks:
Of course, other options are also suitable for this purpose, for example, you can use a sword.
True, there is one condition, the length of the tap or other similar part should be 90-100 millimeters.
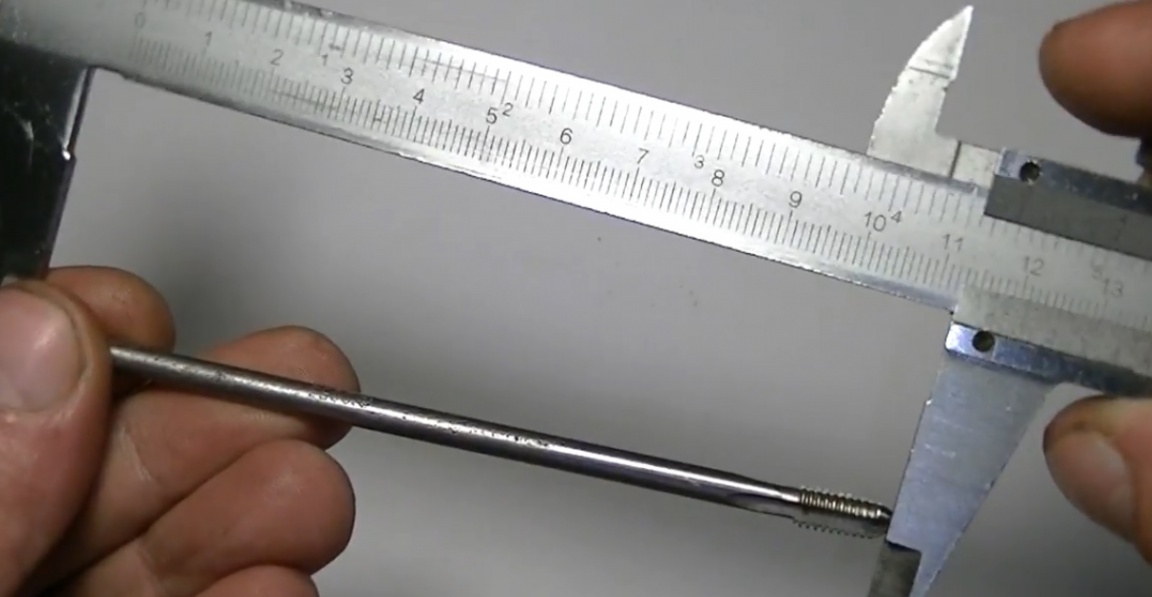
Accordingly, a simple tap will not work, but a machine tap, for example, will do.
So let's get started. To begin with, using a household gas stove, we warm up the workpiece.
I am sure that you guessed what it is for. Who did not guess - I will explain, it is necessary to remove the hardening. The process of hardening / tempering of metal, by the way, is described in detail in the famous book by Nikolai Alekseevich Ostrovsky “How steel was hardened”. The author recommends that beginners read it at their leisure.
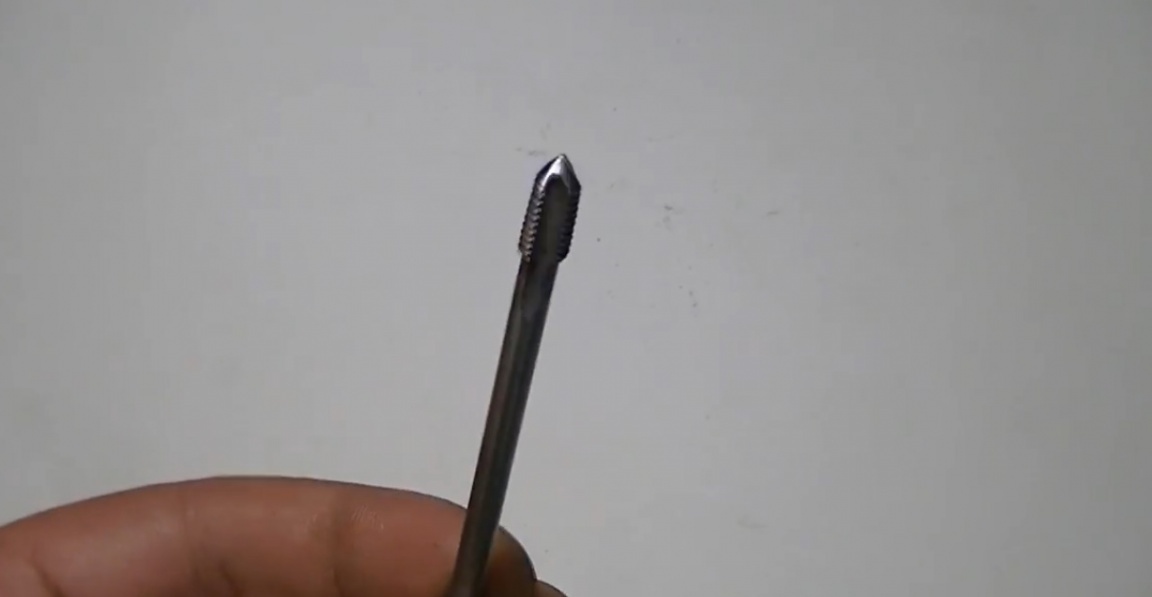
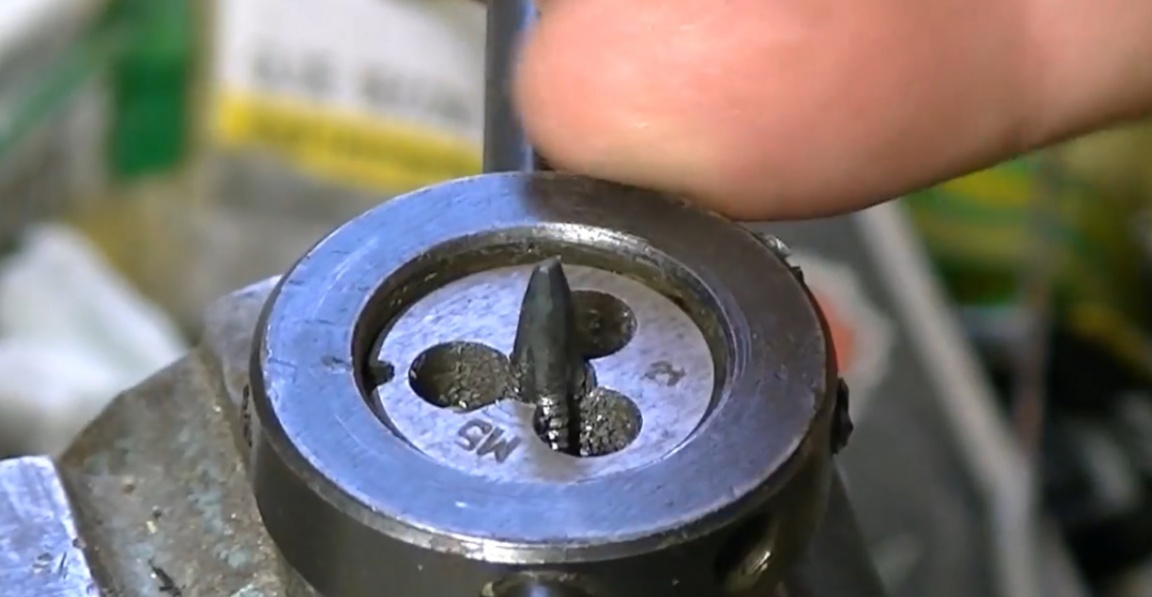
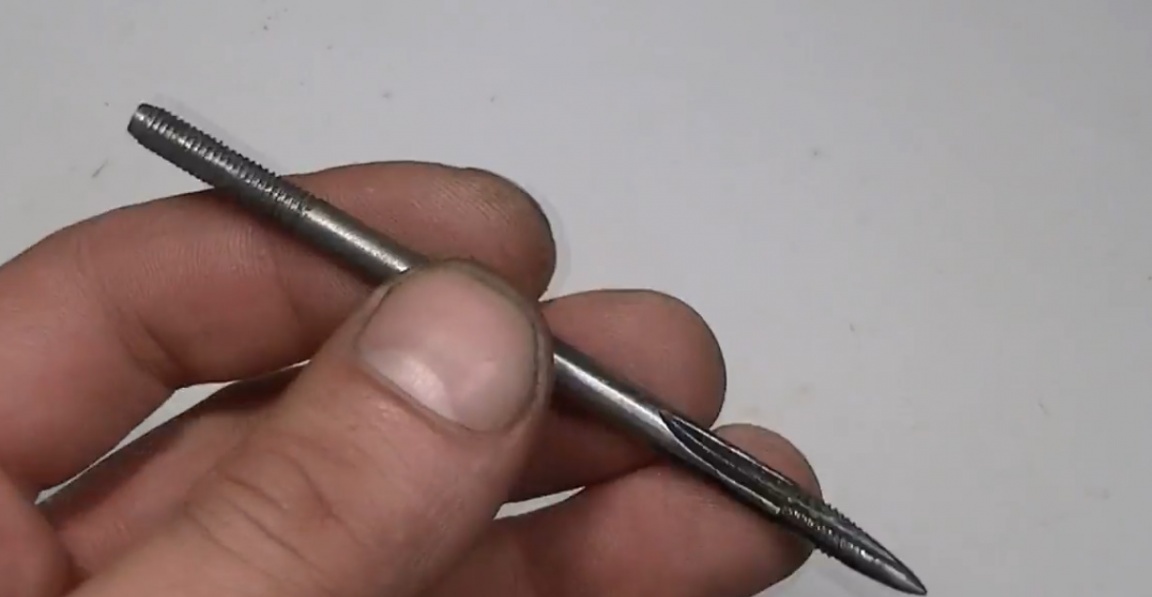
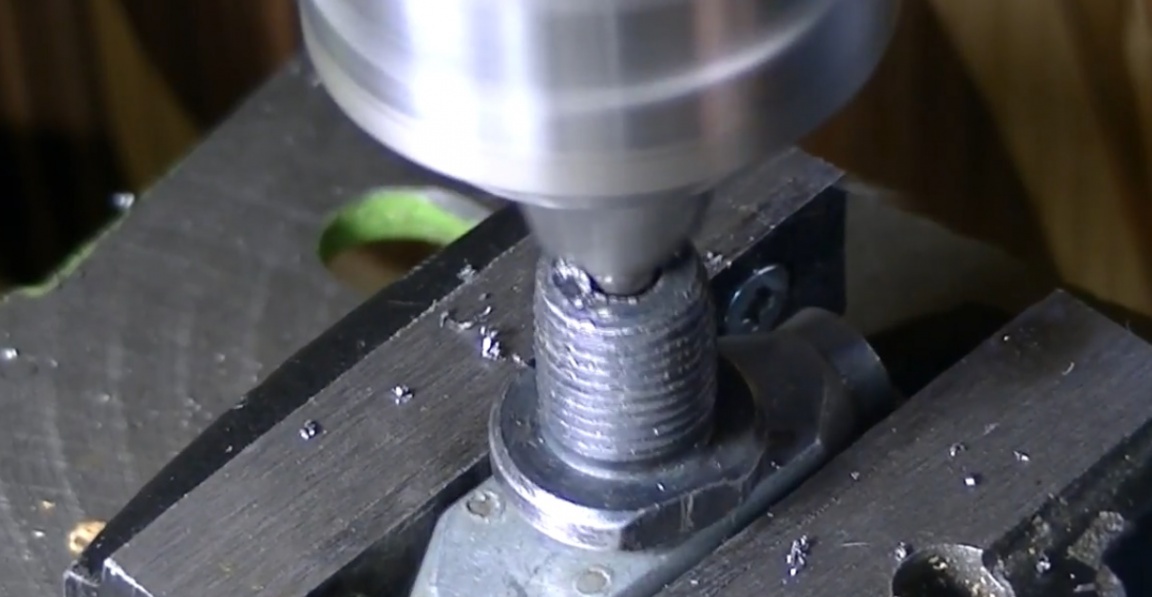
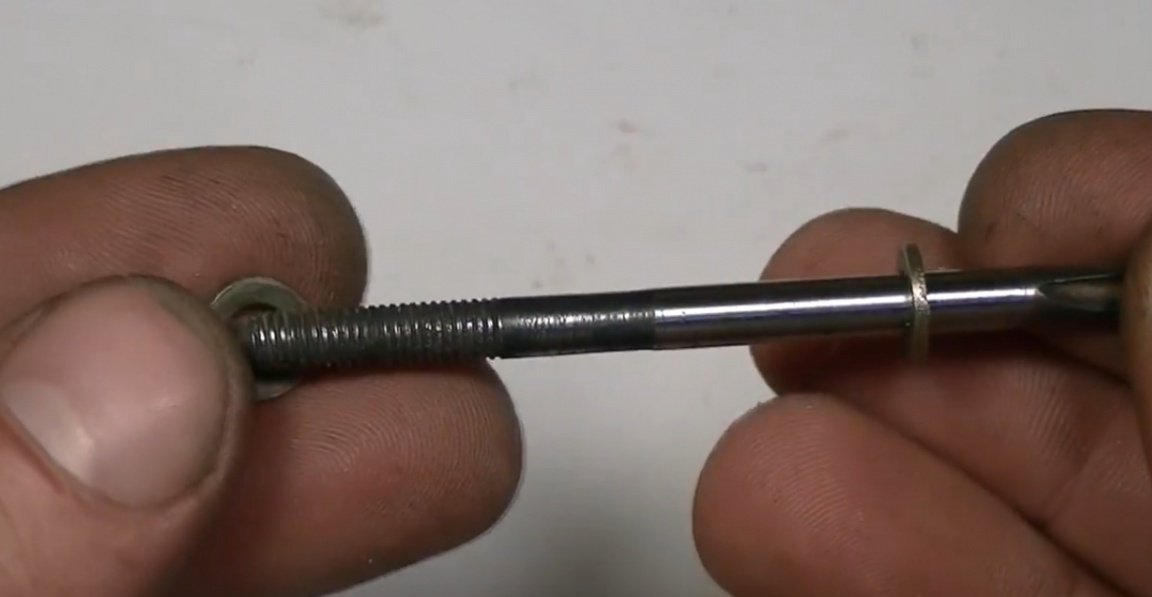
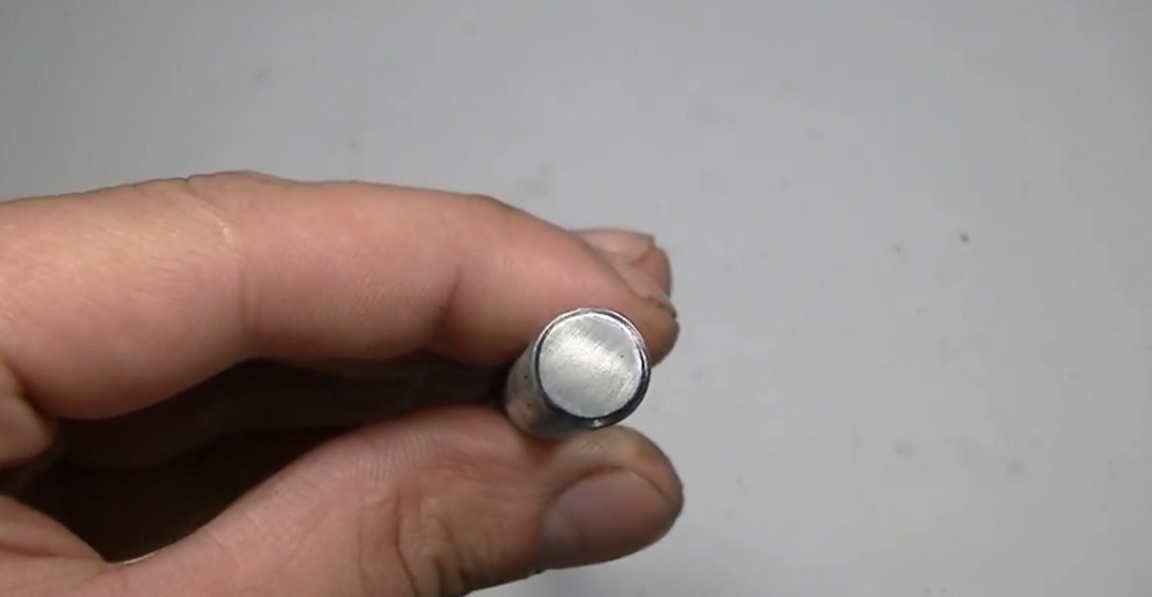
The item has cooled, the vacation was successful. Now you need to cut the thread m5. There is no need for a long thread, 6-7 mm is enough.
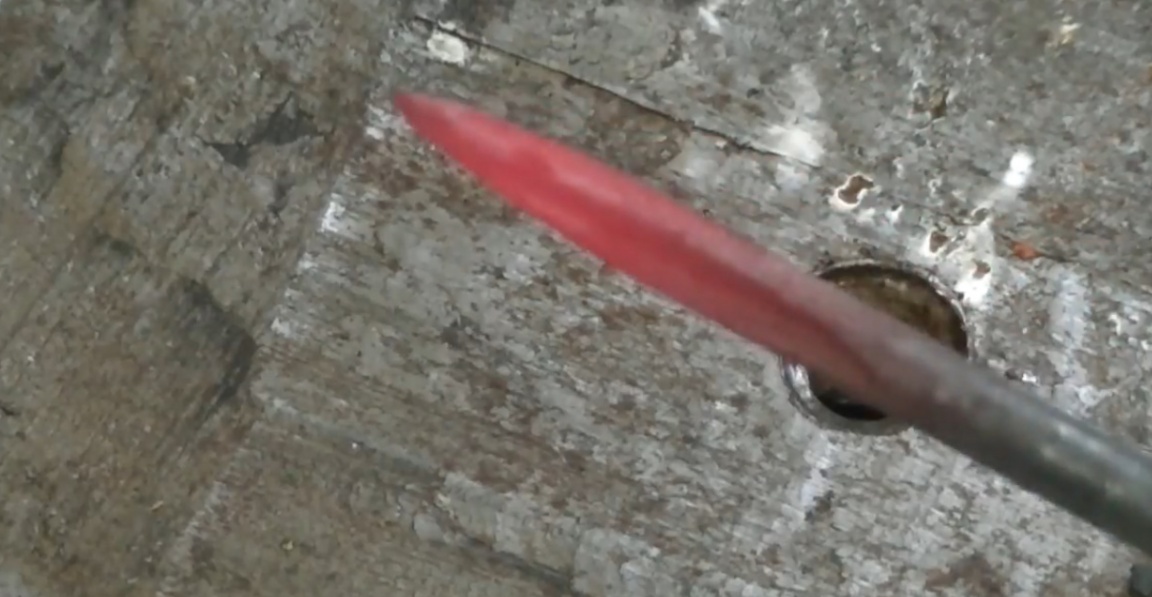
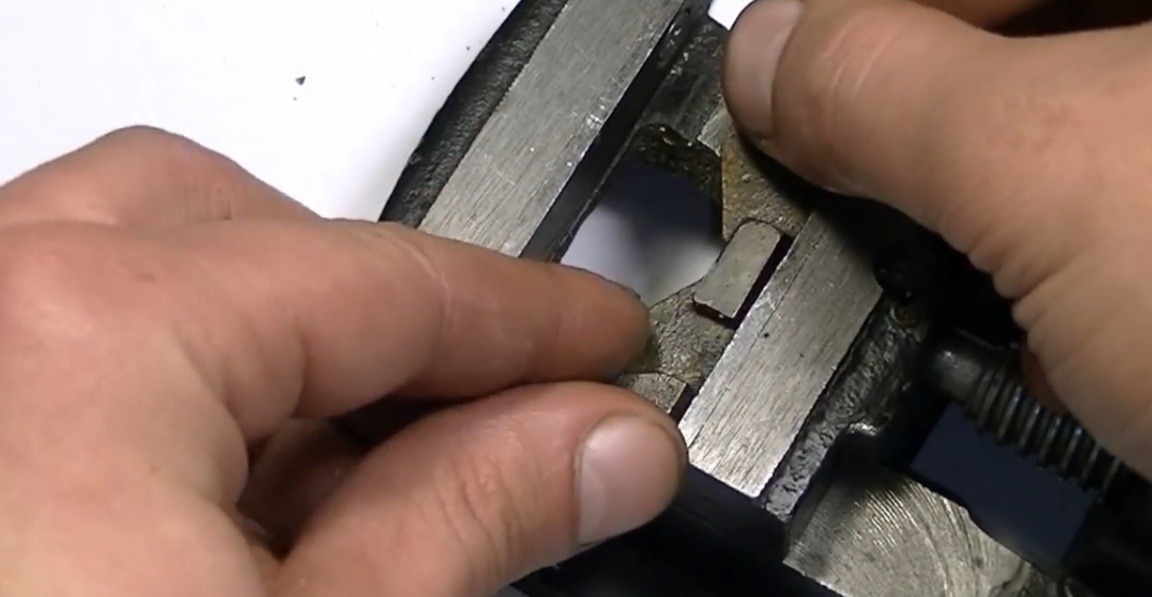
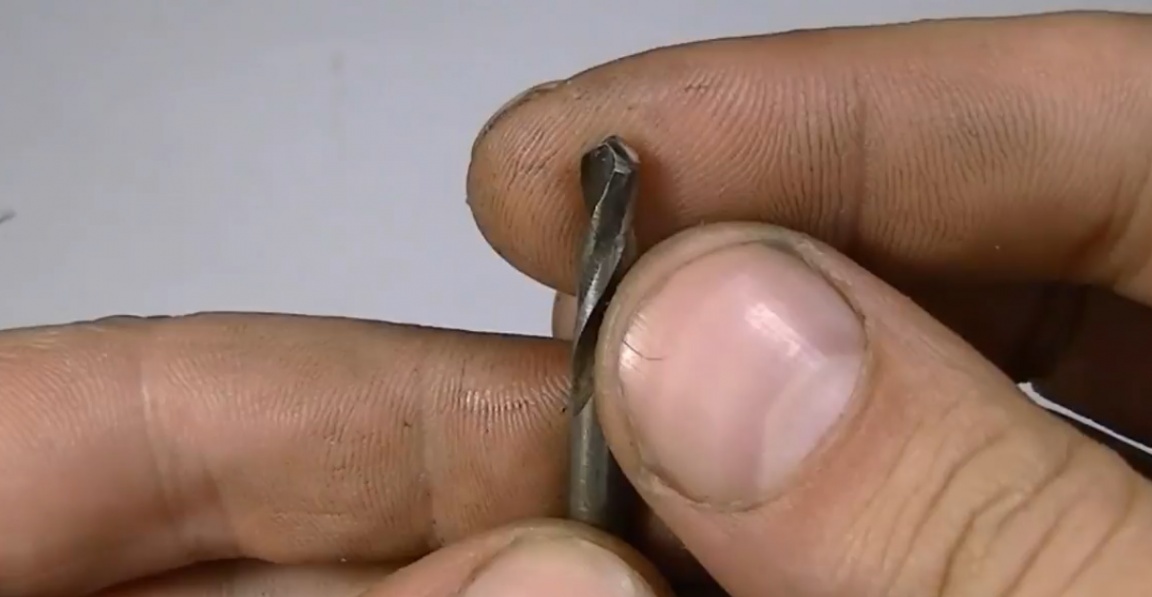
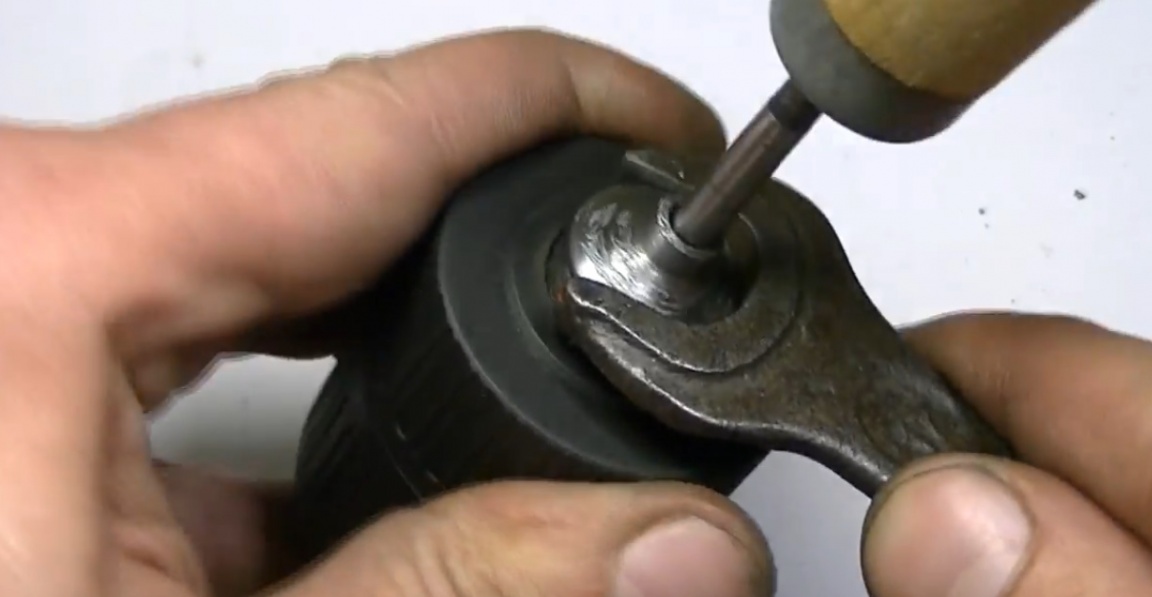
Then you need to sharpen the tip of the future tool using a drilling machine and needle file.
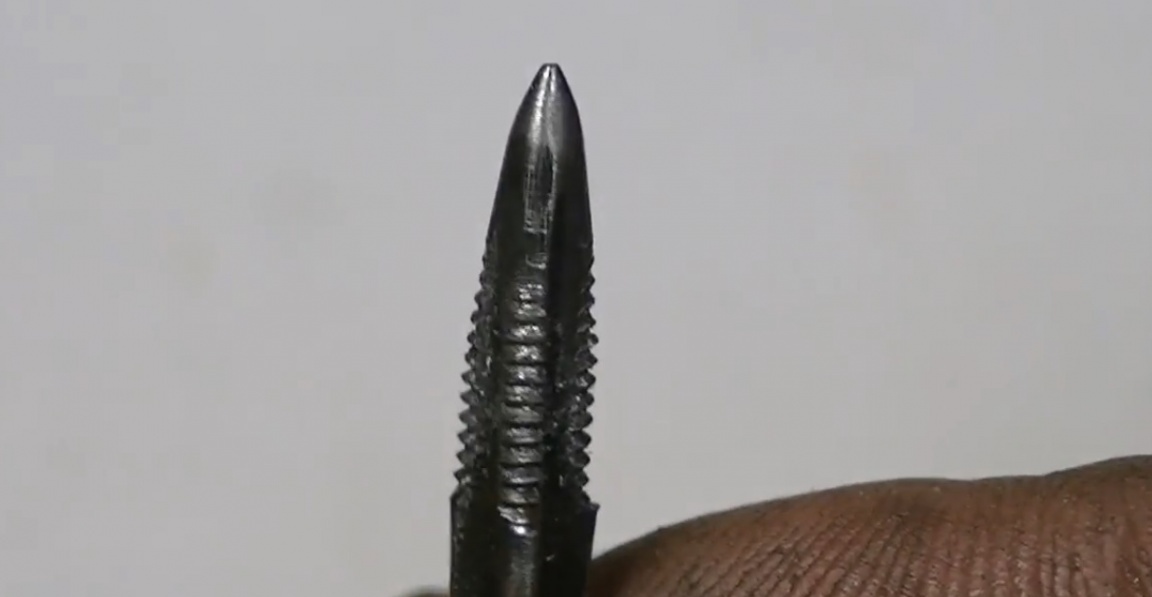
Next, we cut the thread on the opposite side. Thread m5, thread length 15 mm.
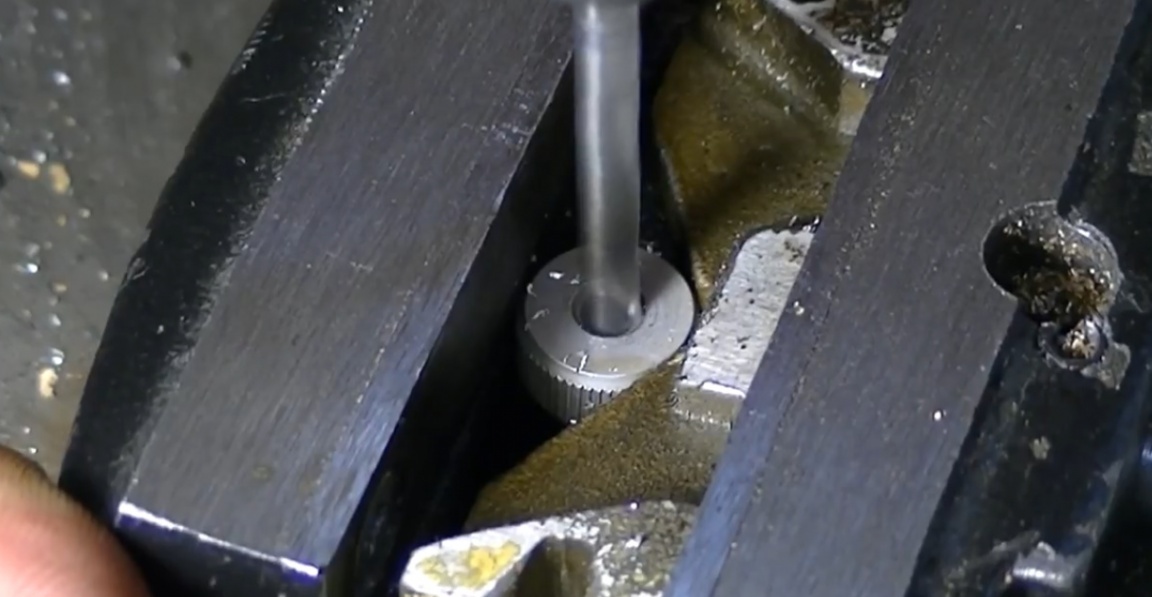
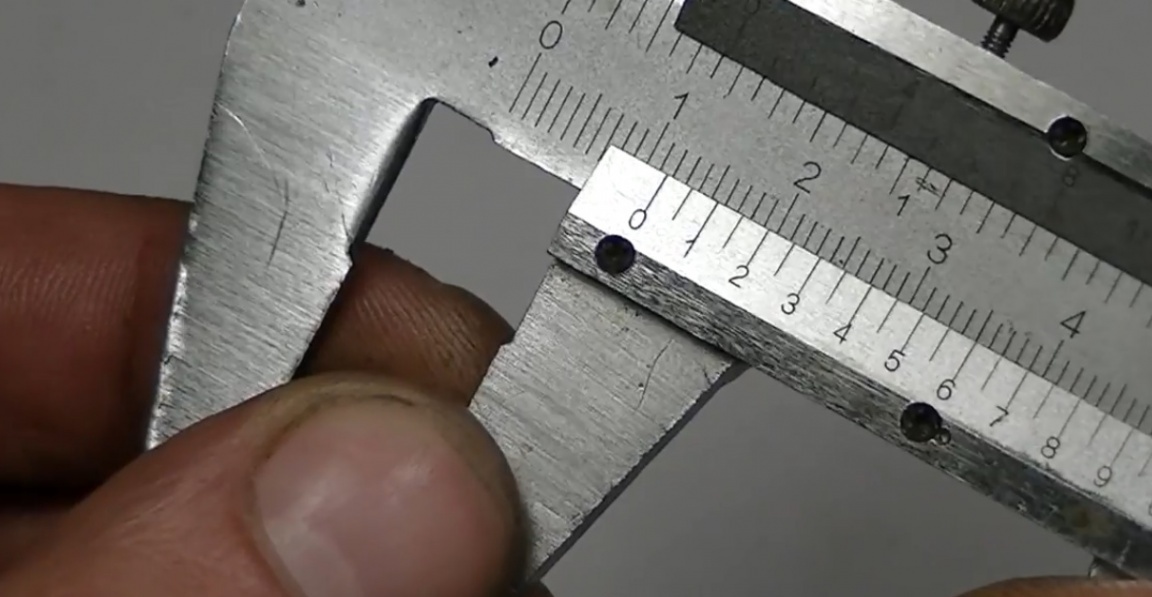
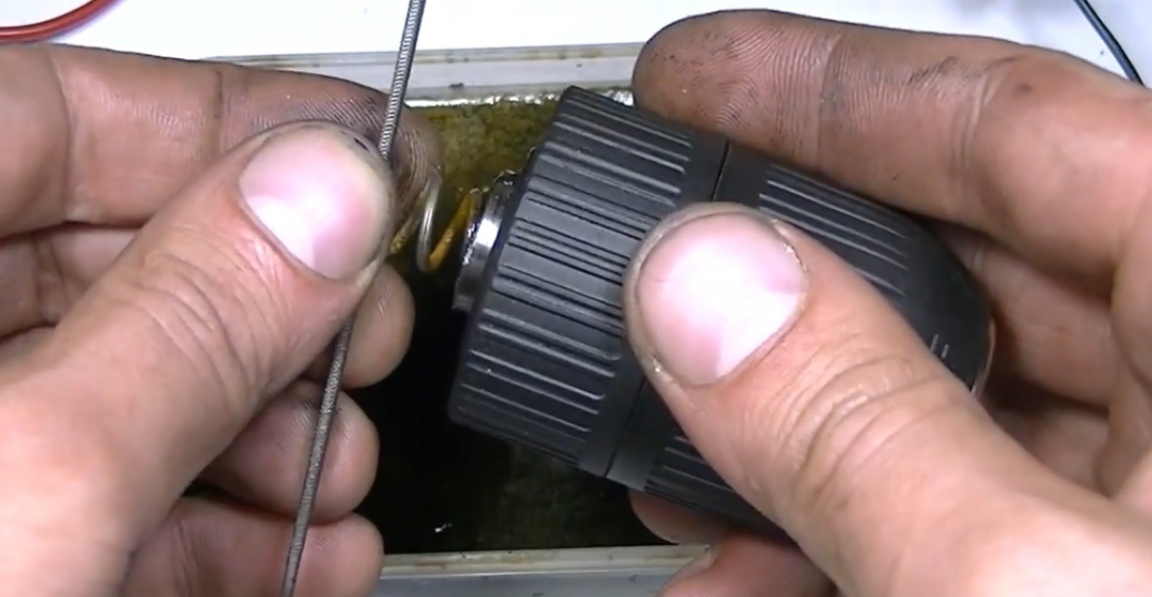
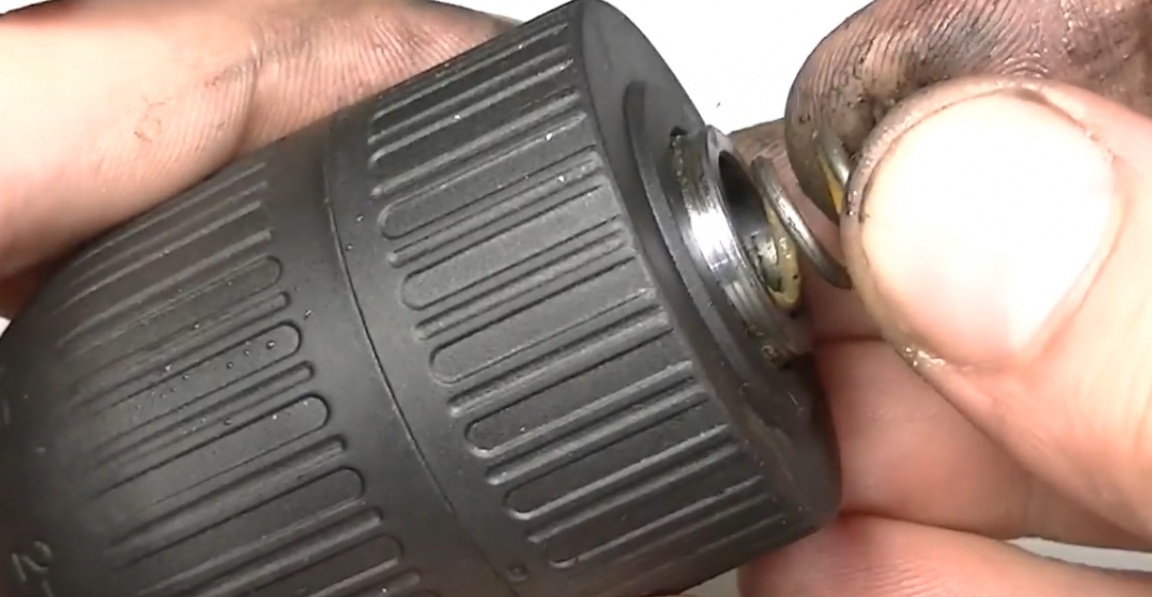
Next, we need a sleeve with an outer diameter of 12 mm. Of course, it is better to use a sleeve made of brass, bronze or copper, but the author has only aluminum in stock. But nothing, with a stretch, but it will do.
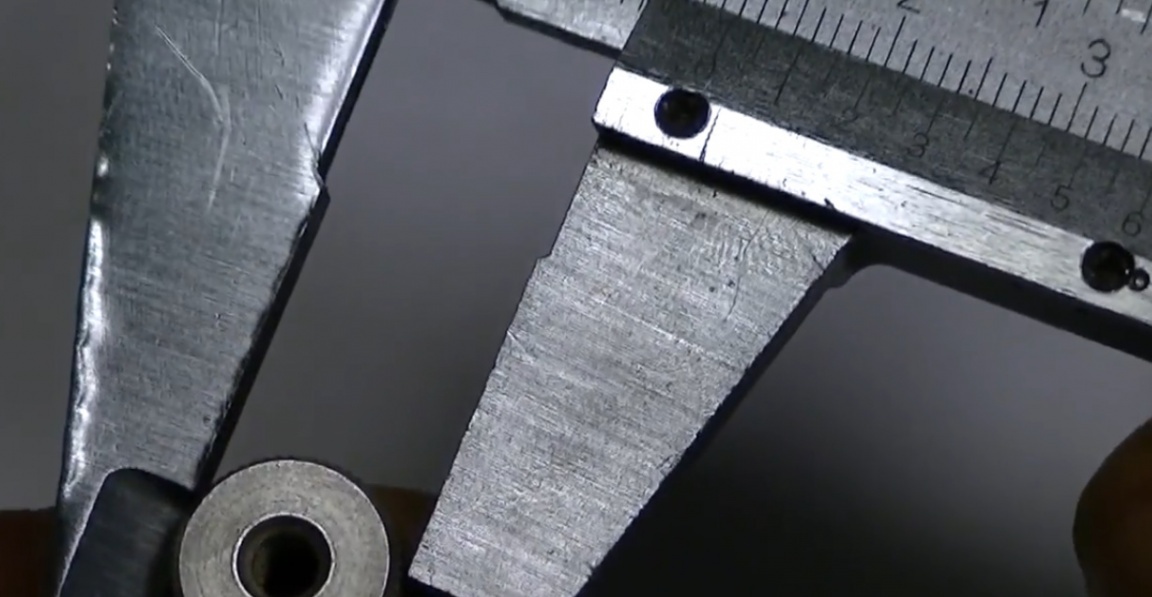
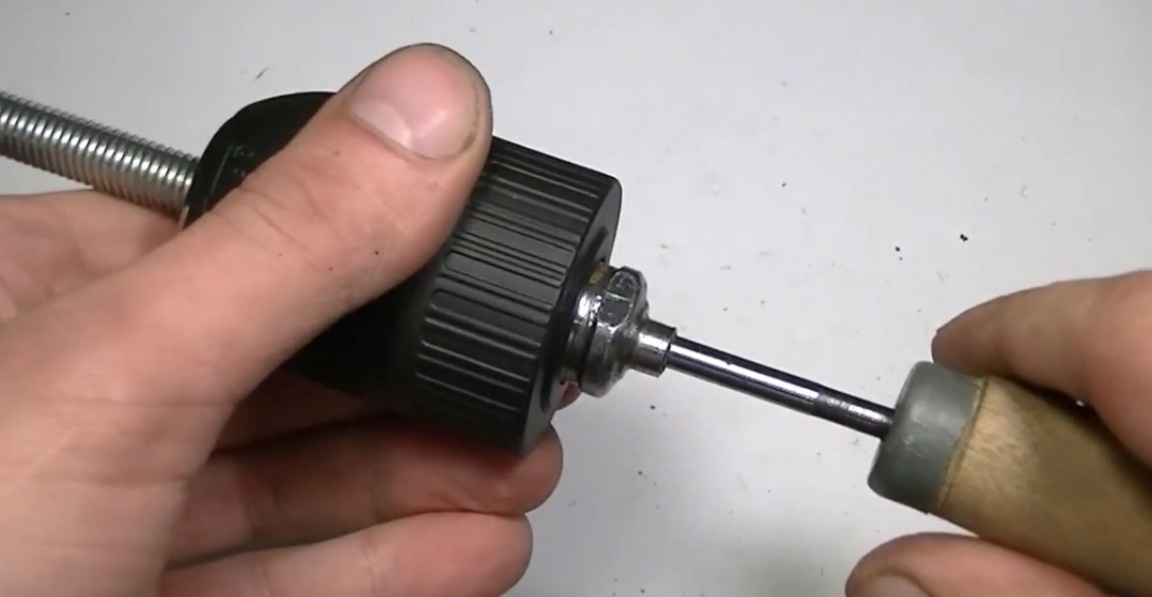
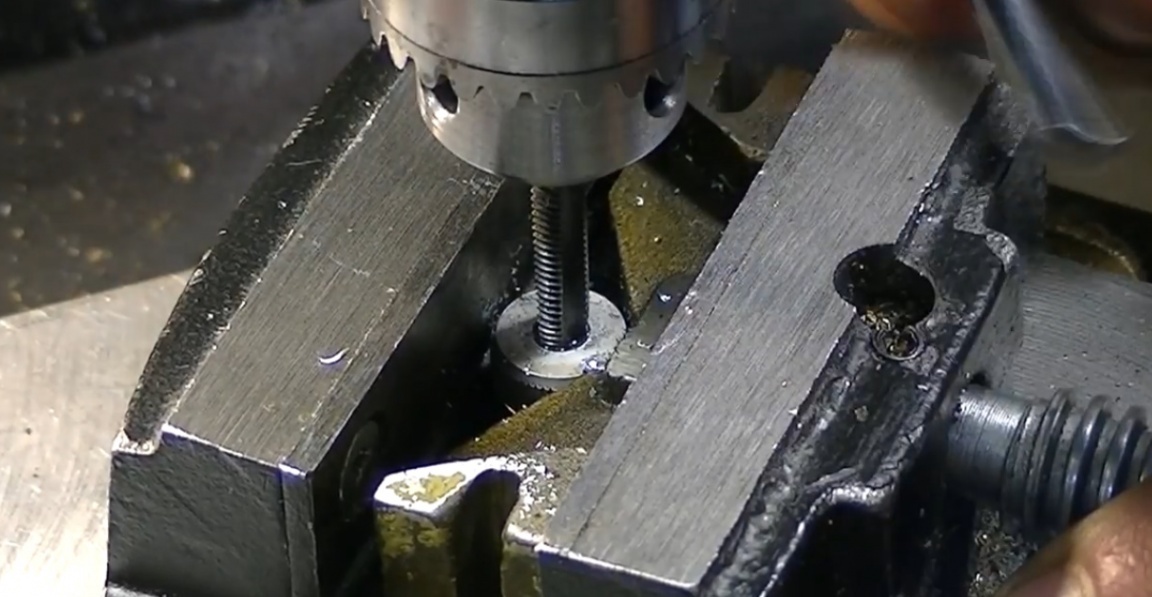
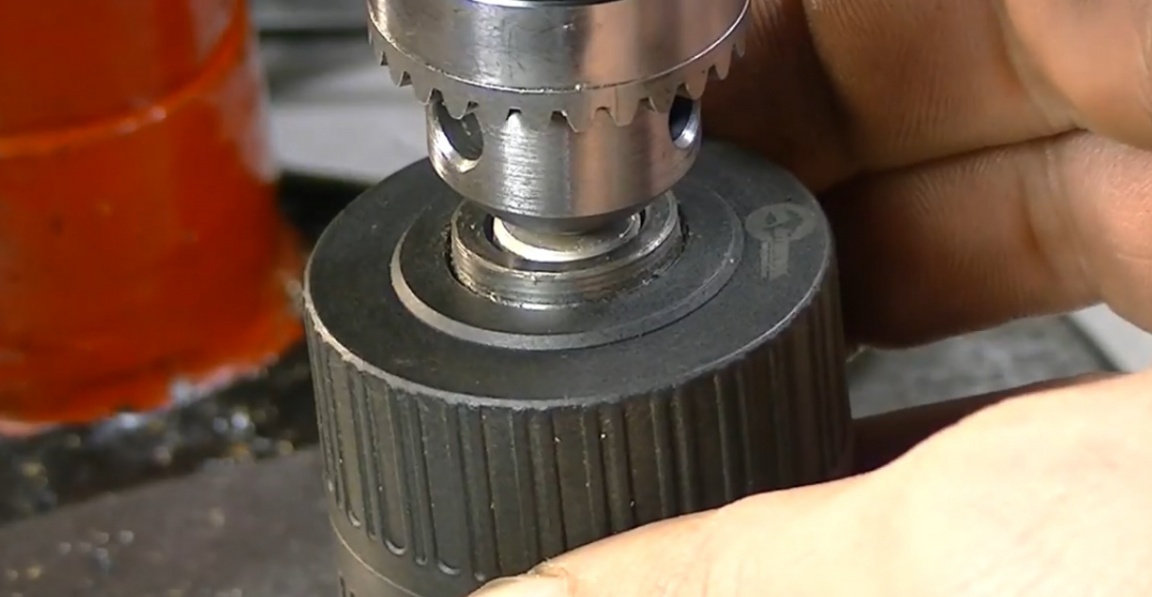
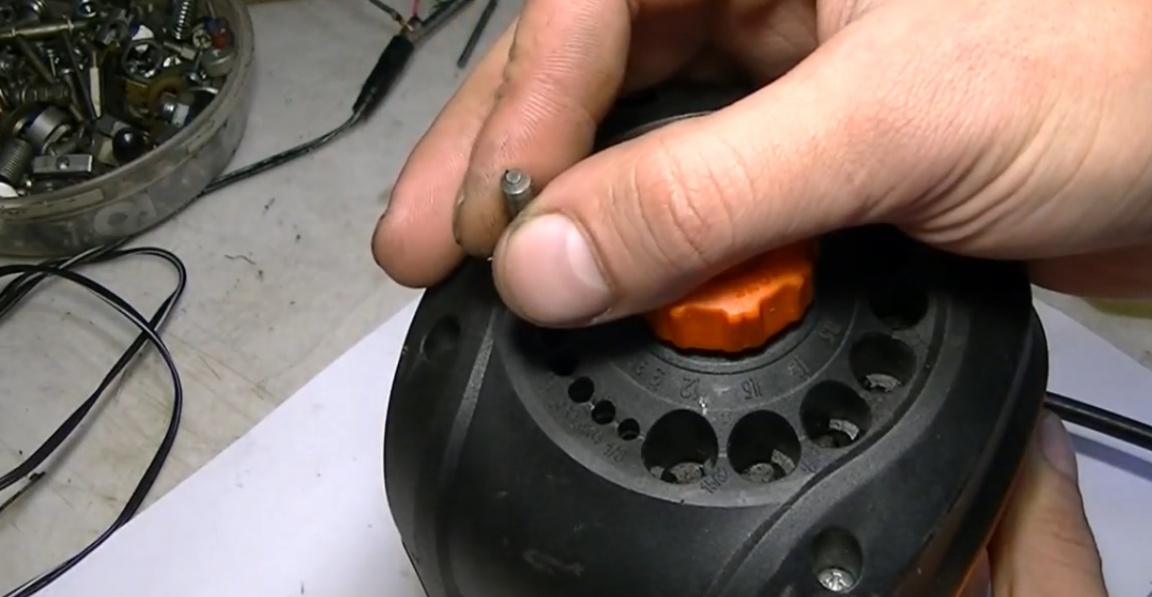
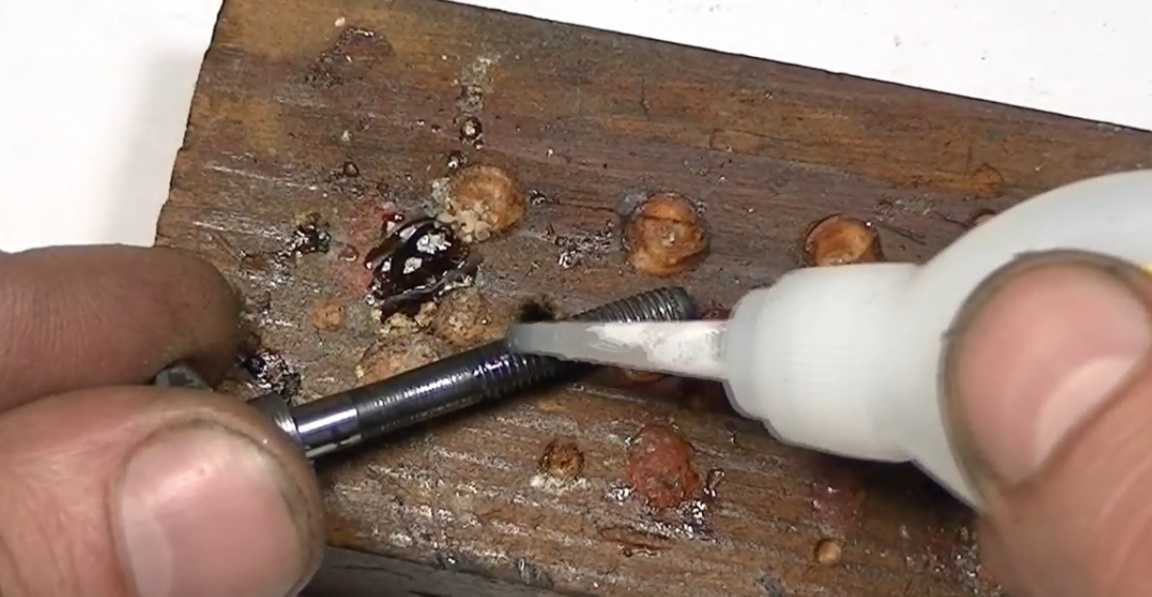
The current task is to drill a hole in the sleeve and cut the m5 thread in it. The workpiece is round and just like that you can’t squeeze it in a vice. That is why it is necessary to use an additional clip.
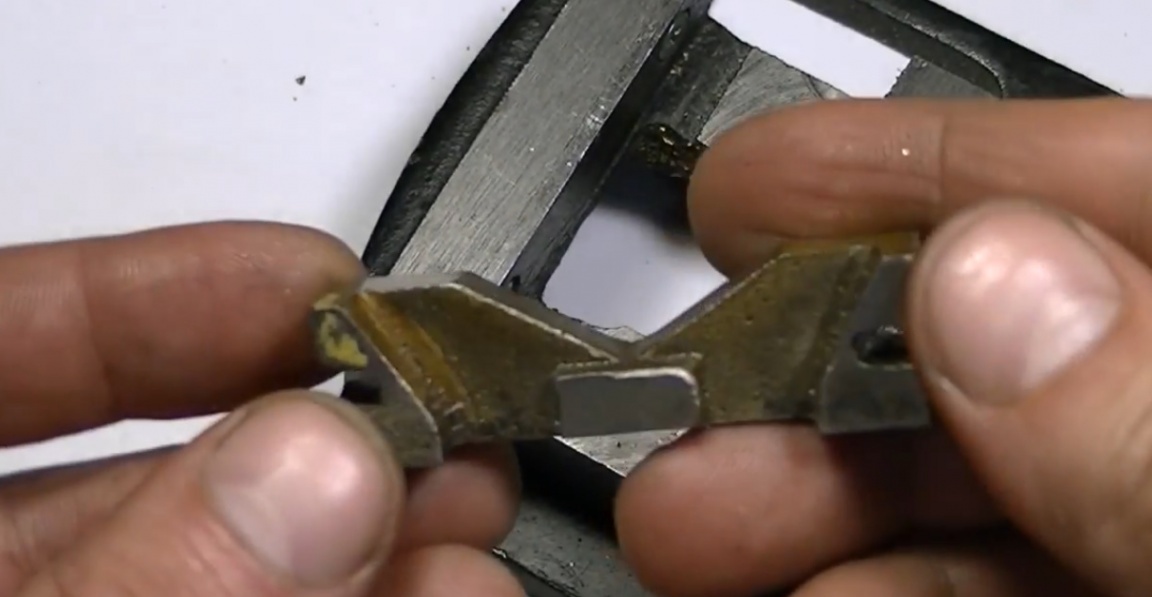
By the way, this part is from some electric motor, so as they say from the masters: “Do not throw away old rubbish and non-working engines, in particular.Don’t throw anything away at all. ”
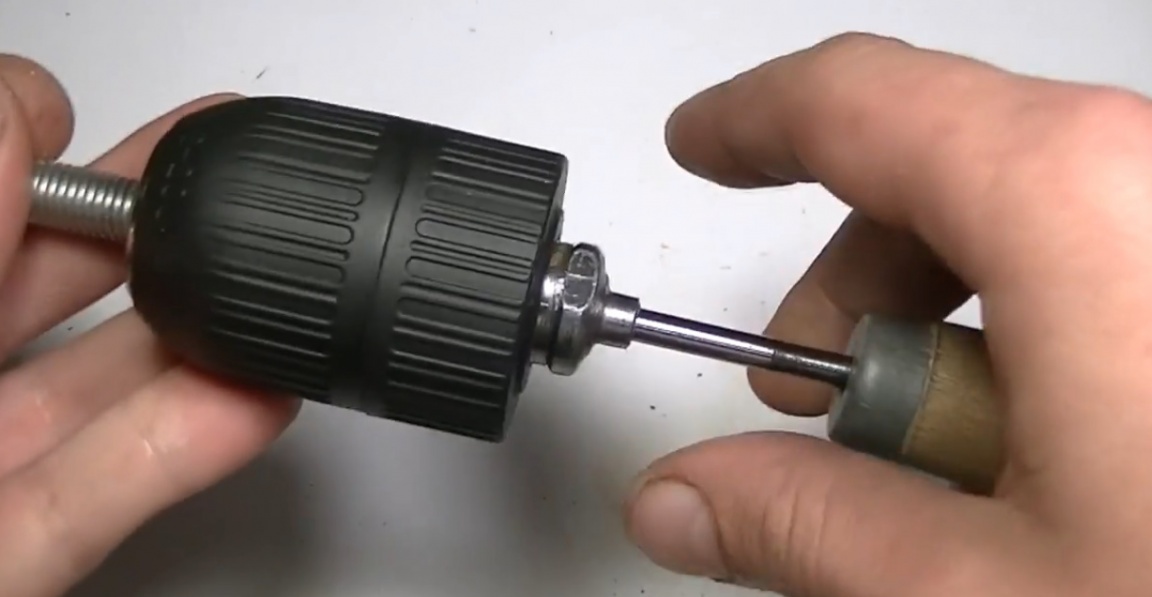
Next, we screw a screw into the sleeve, clamp the whole thing on a drilling machine and grind the file. Our task is to achieve such a diameter of the sleeve so that it can freely, but without significant backlash, move in the bore of the drill chuck.
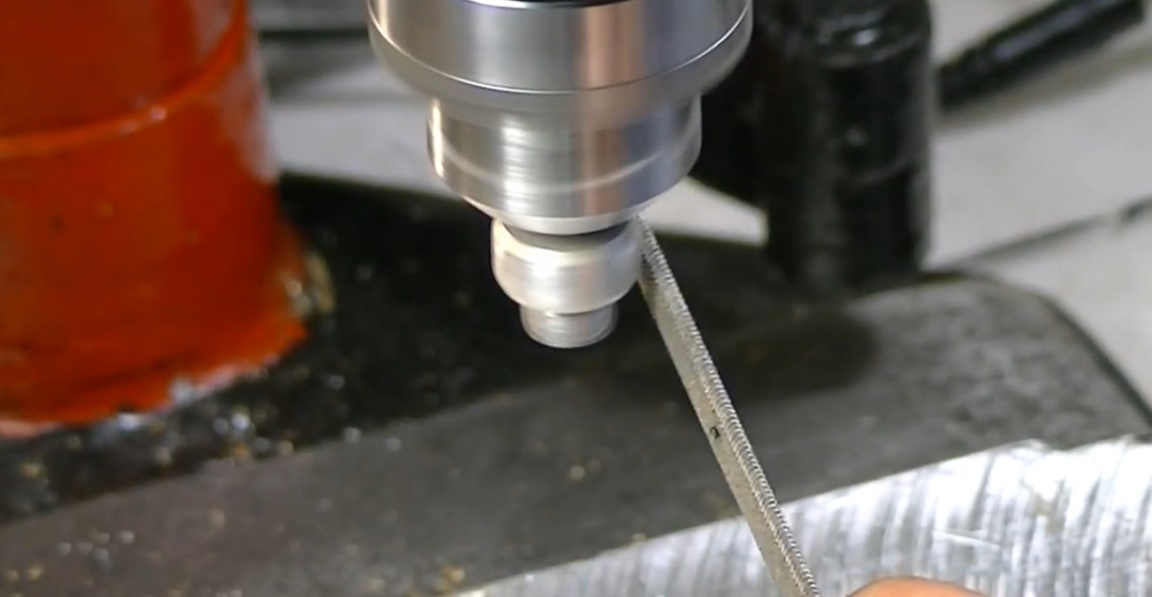
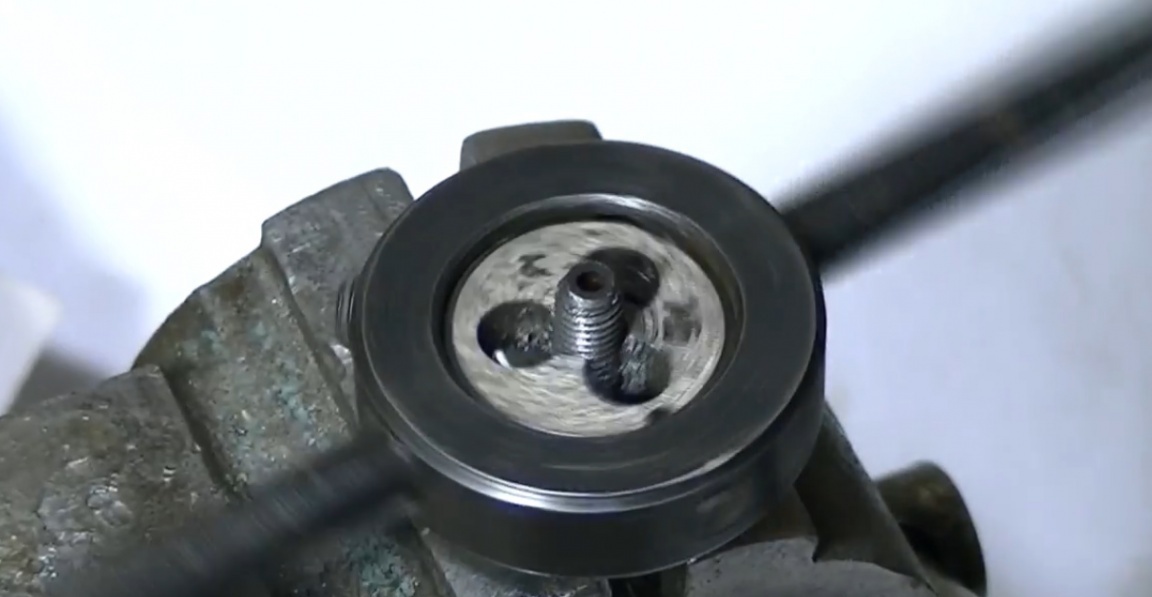
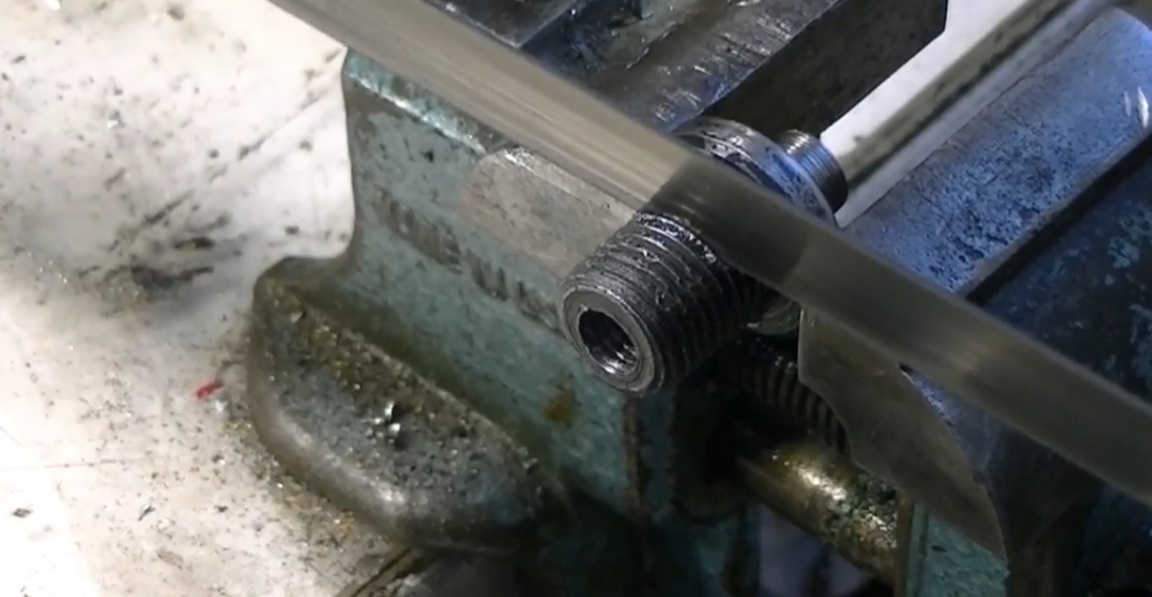
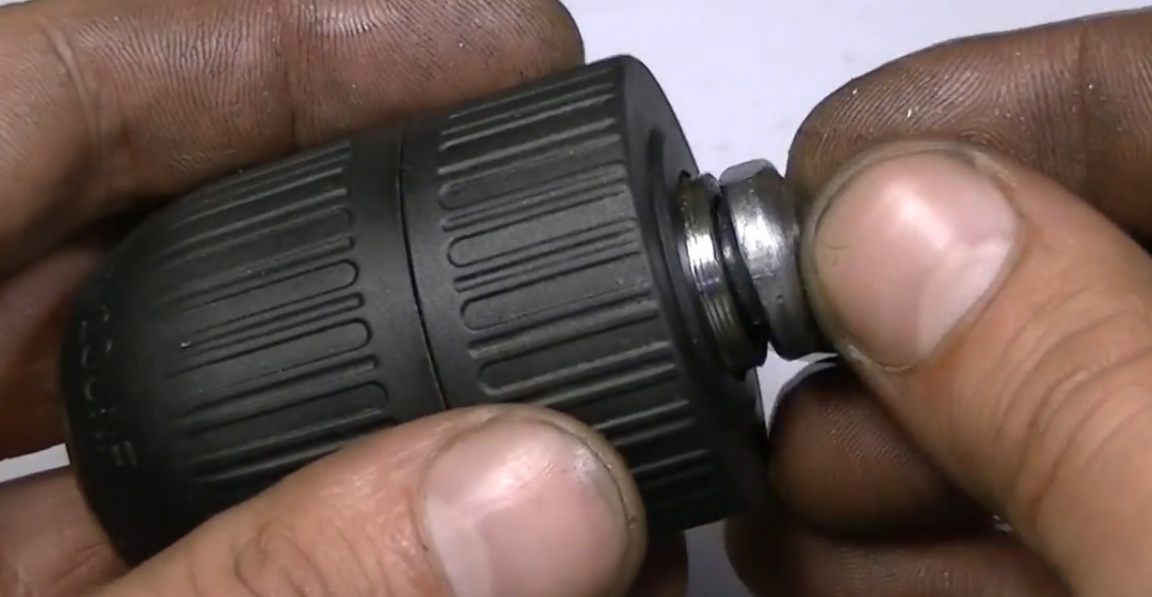
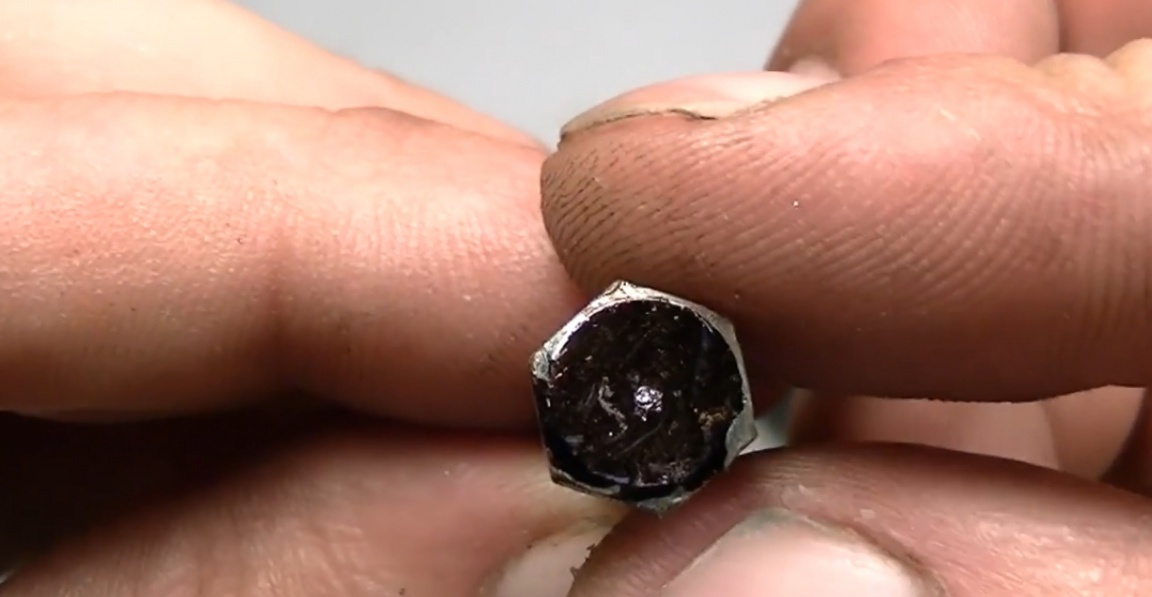
Go to the next step. A certain refinement of the adapter from sds to the drill chuck. You can buy such an adapter without any problems at any store selling power tools or building materials. The issue price is less than 20 hryvnias (as of 11/09/18 approximately 50 rubles).
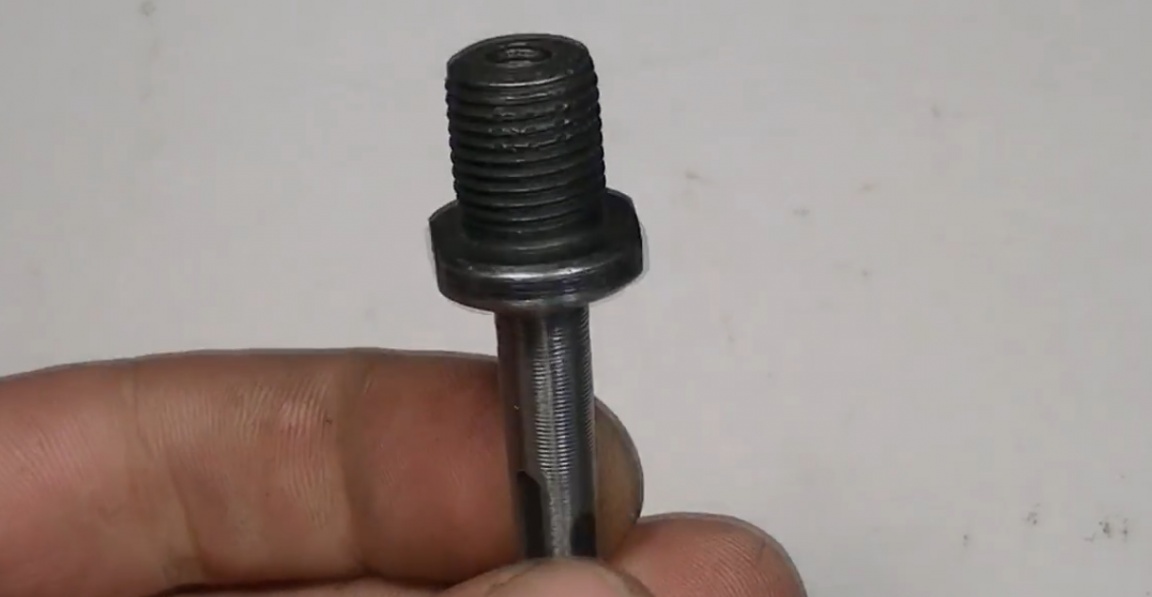
When the metal is released, you can safely cut off the unwanted shank.
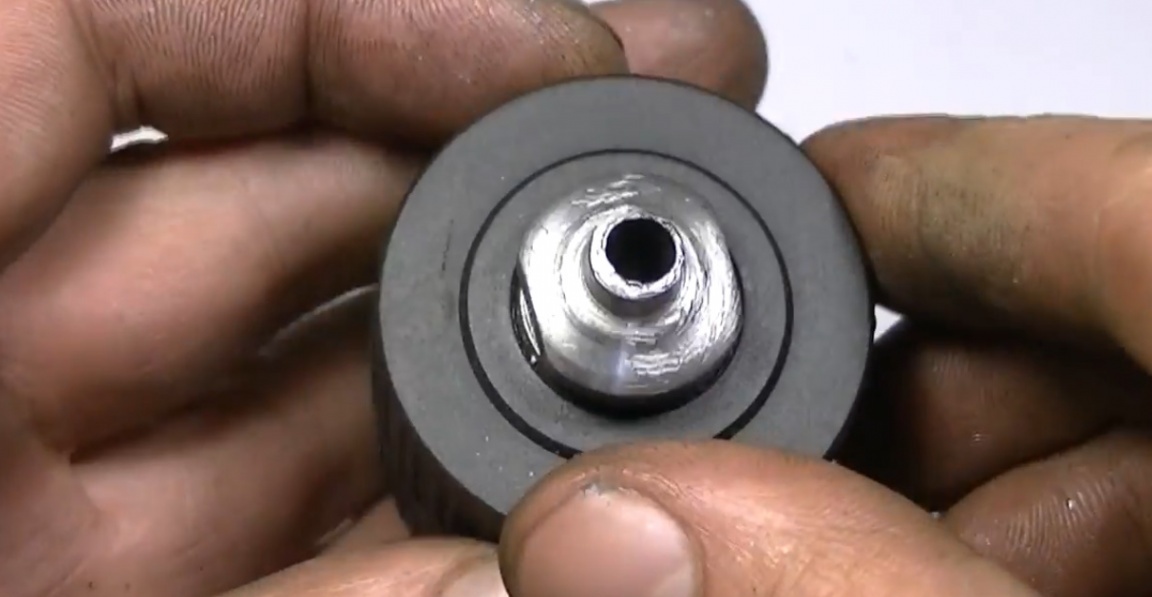
Then the author tried to drill a through hole in the resulting part, but he did not succeed.
The drill appeared to be dull. But it's okay - it's fixable.
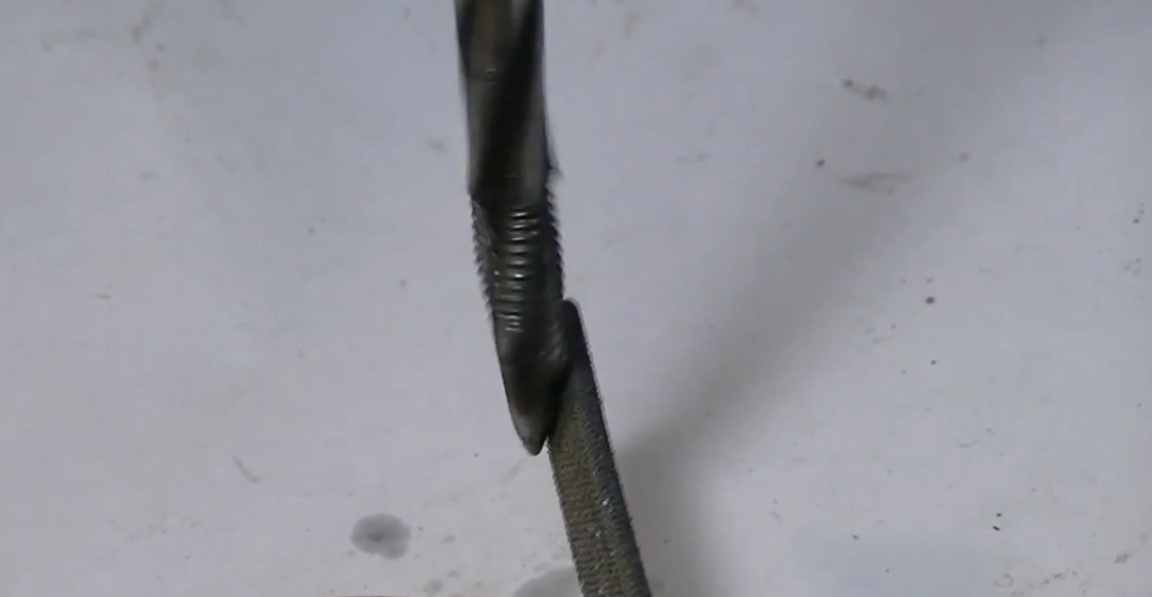
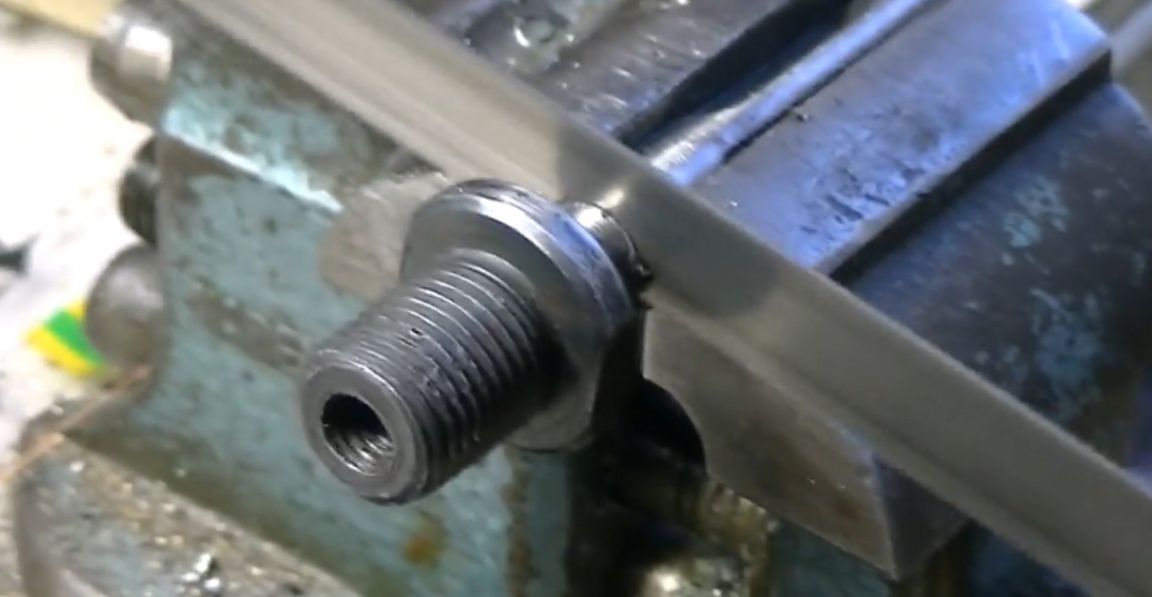
Then again we shorten the part, we leave literally 2-3 turns of thread. The author tries to make the cut as accurately as possible, because he does not have such a die, well, in case of which, to drive the thread out.
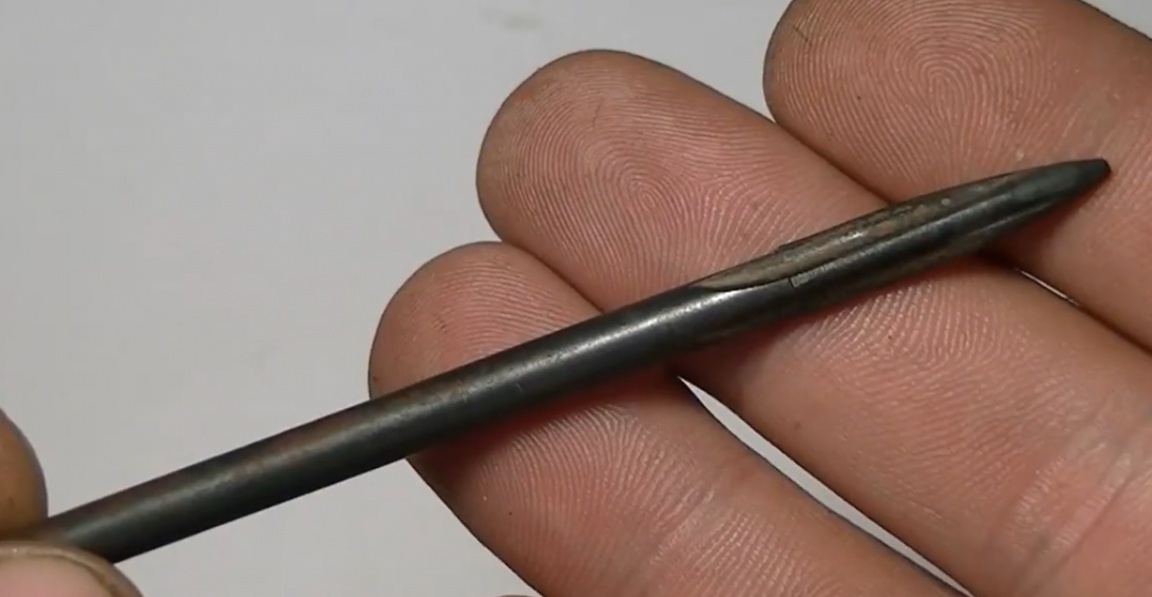
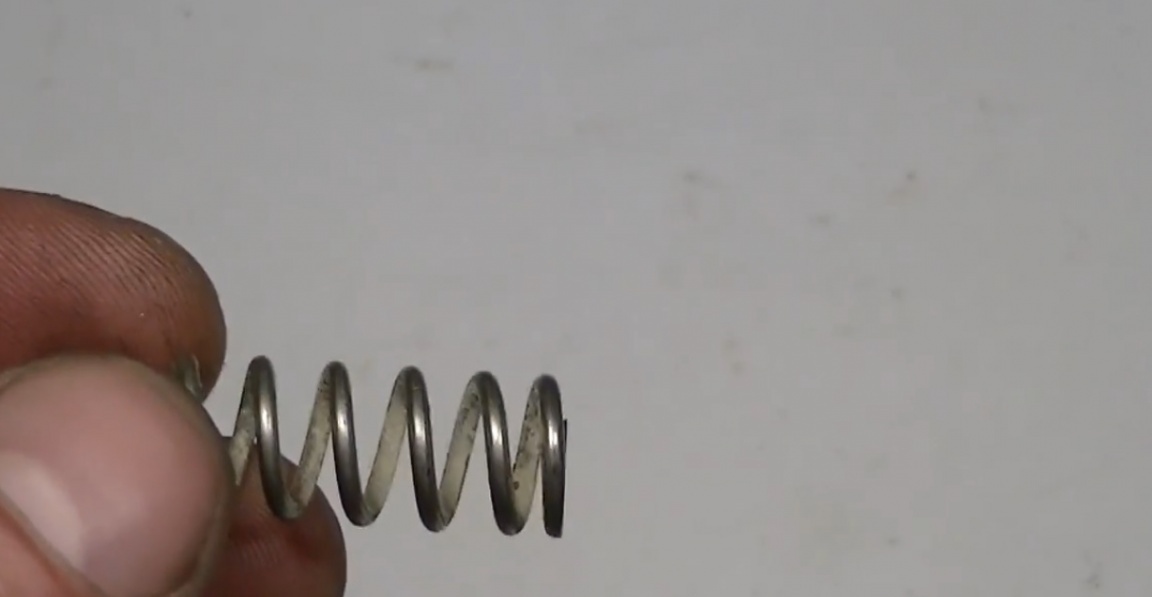
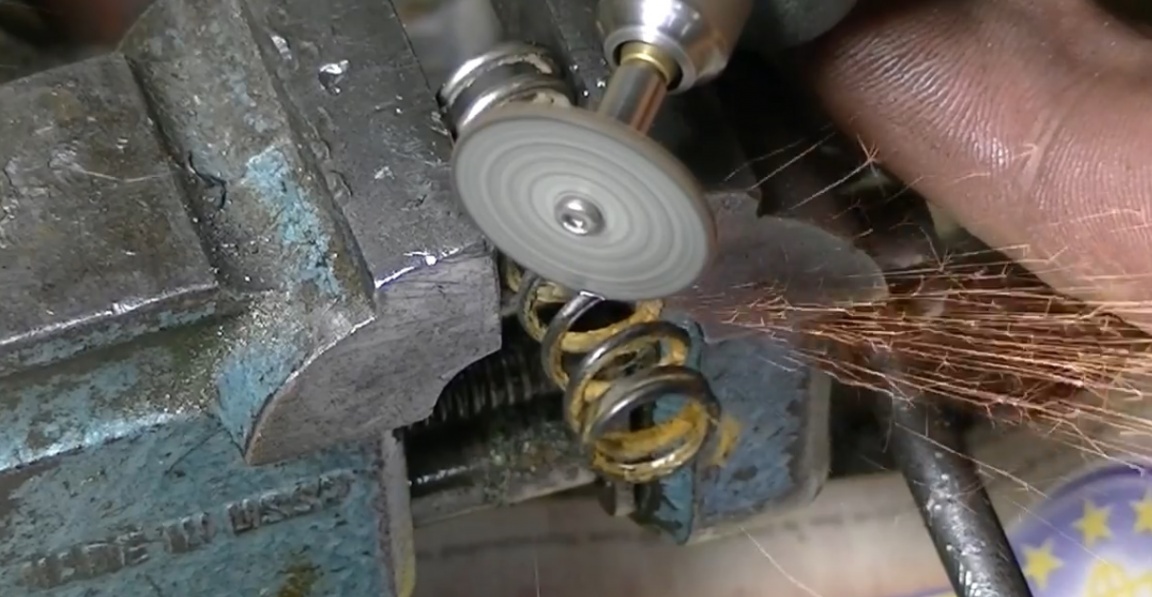
Next, we have to solve the following problem. The thing is that we need a spring with an external diameter of about 10.5 mm. That is, a spring, but it is too big.
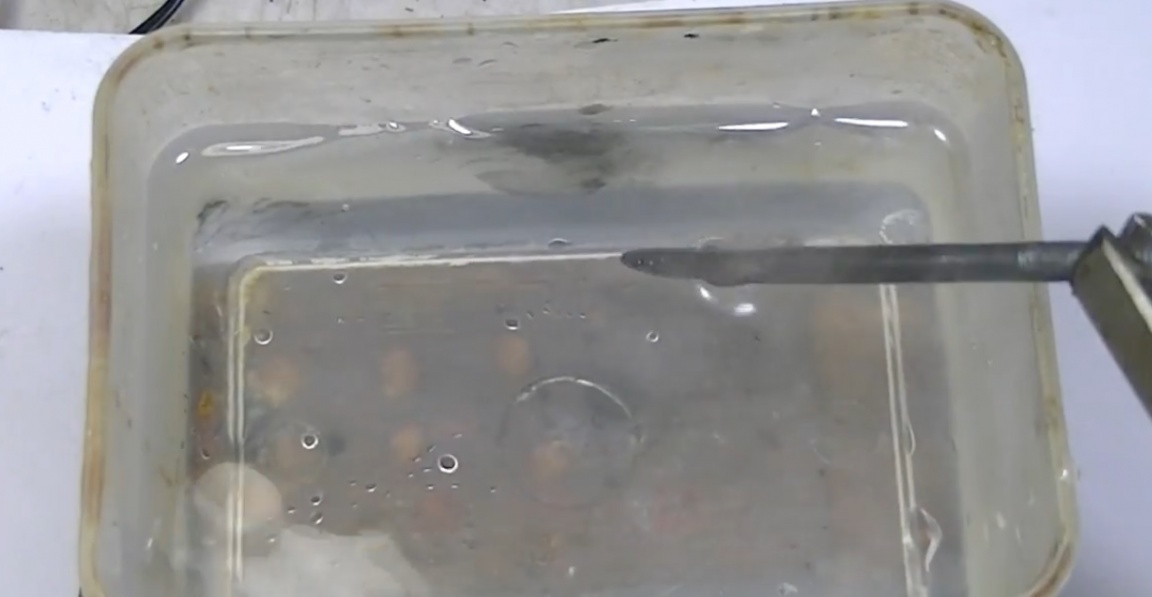
The only way out of this situation, according to the author, is chemical etching. As an electrolyte, we will use a strong saline solution. The proportions are approximately the following: 200 ml of water and 3 teaspoons of table salt.
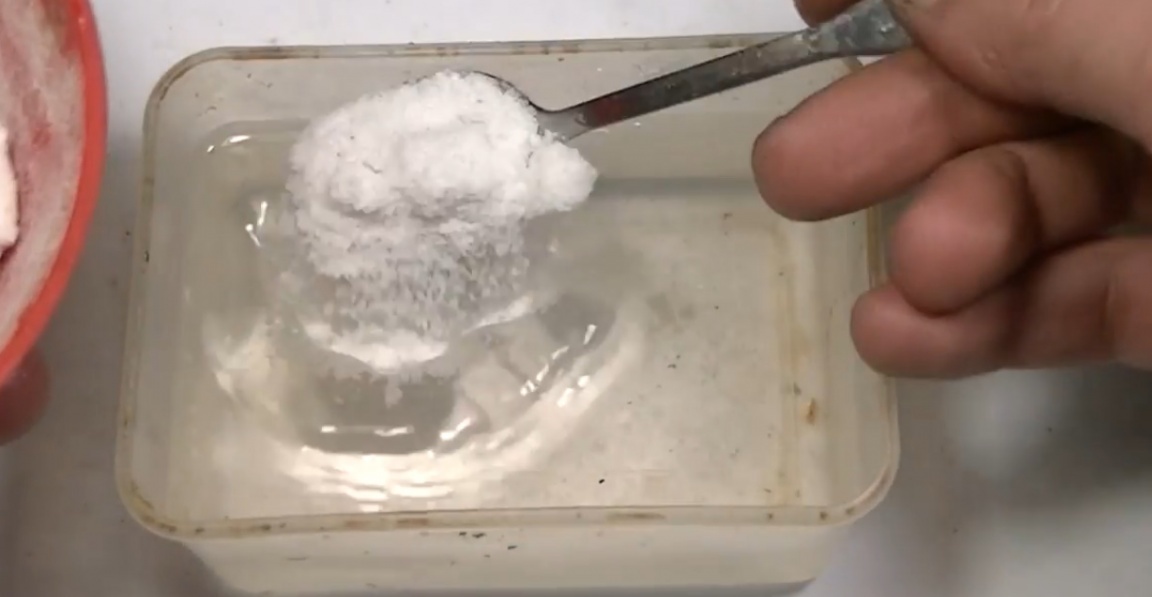
Mix everything thoroughly. Now connect the minus (-) of the power source to the nail, and the plus (+) to the spring. We wait until the steel begins to pickle.
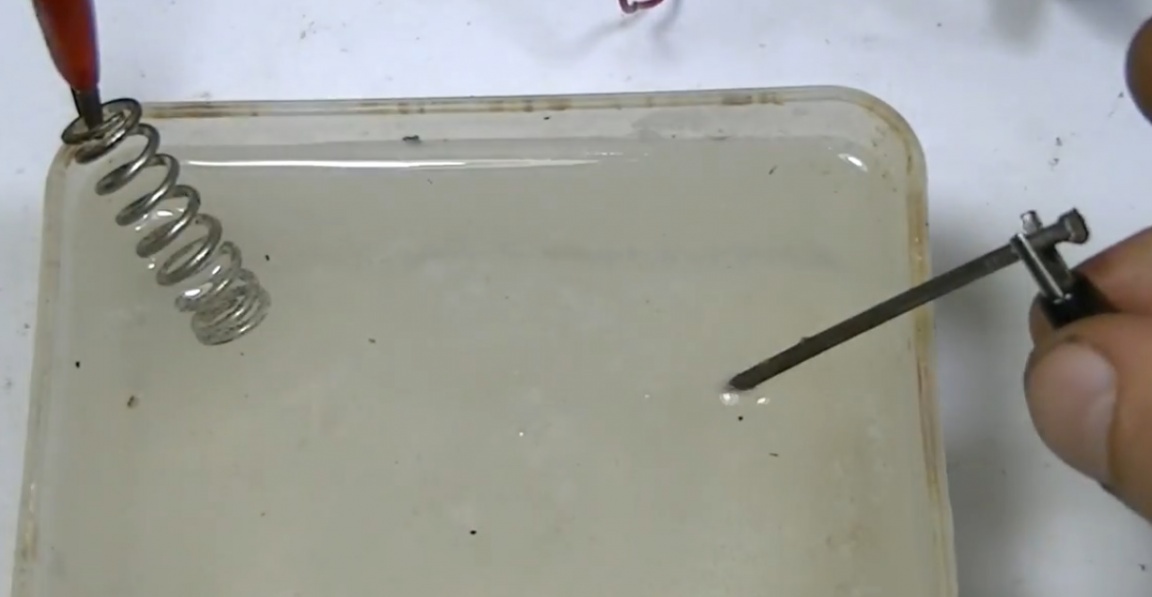
The power supply voltage is 12V at a current of 500 mA. Unfortunately, the author’s laboratory power supply ordered a long life. The author cannot supply more voltage, he simply has no where to get it from, there is no such power supply. Therefore, he temporarily connected a 12-volt adapter from the router. In this regard, the author had doubts about this etching; it may take a very long time to wait.
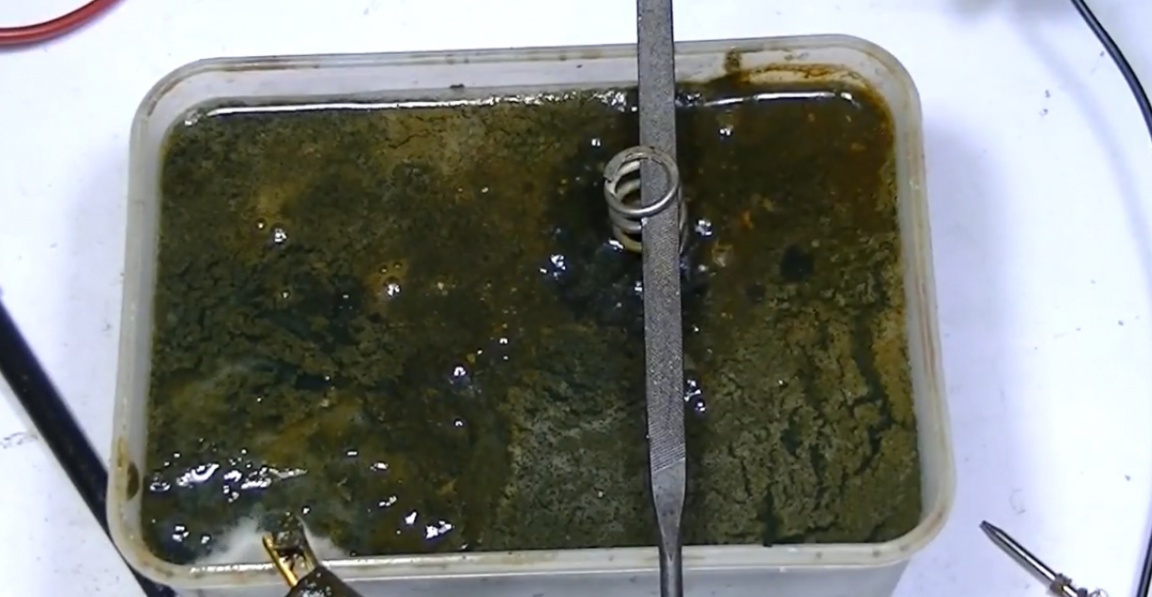
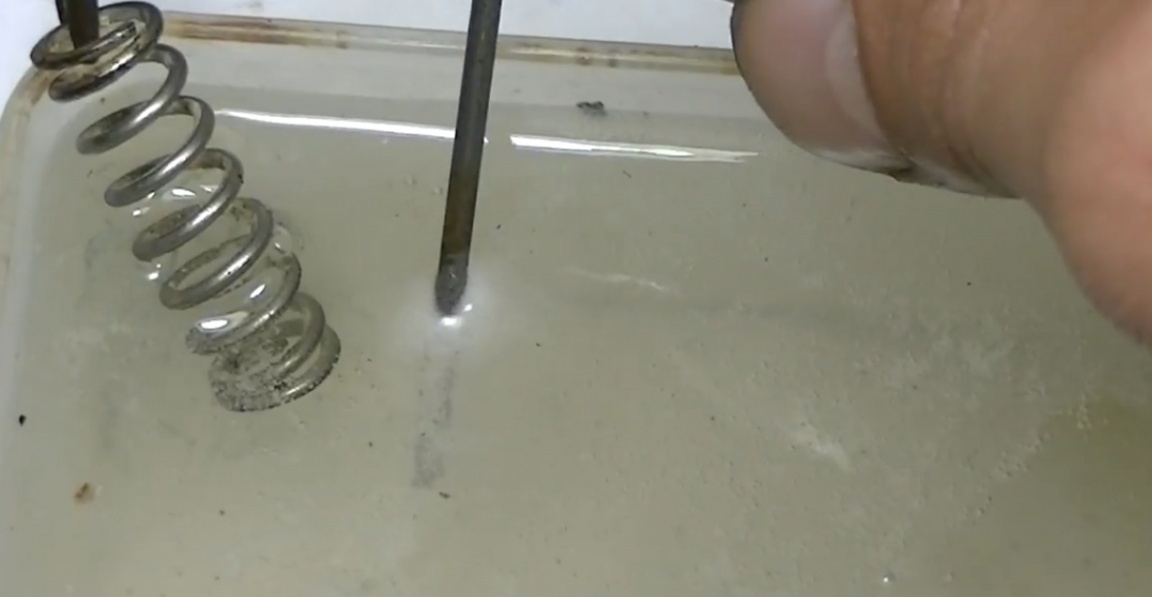
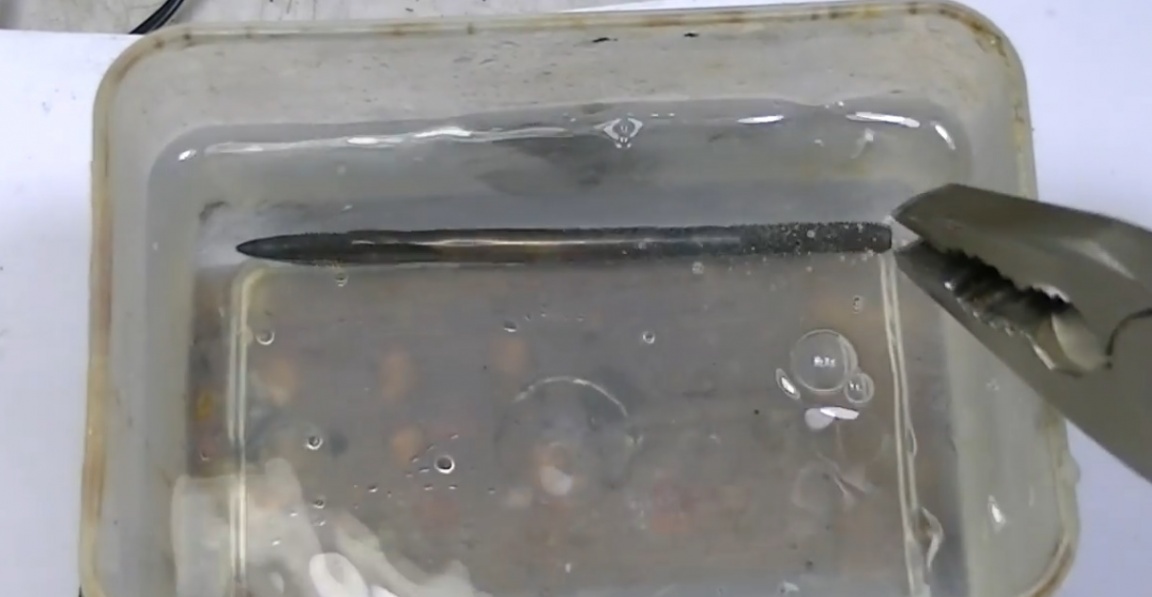
Yes, the color resembles a swamp. Now let's check what happened. Wow, the etching was quite successful. From now on, the spring enters the cartridge just fine.
Next, cut a length of 10 mm from the spring.
Then we again warm up the recognizable part and dip it into the water.
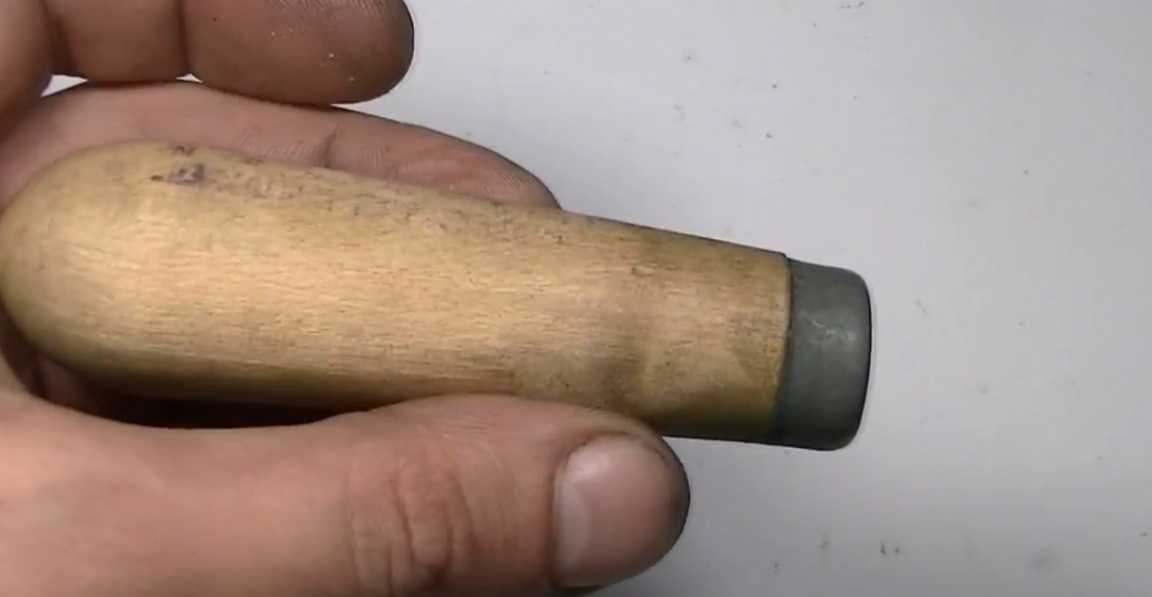
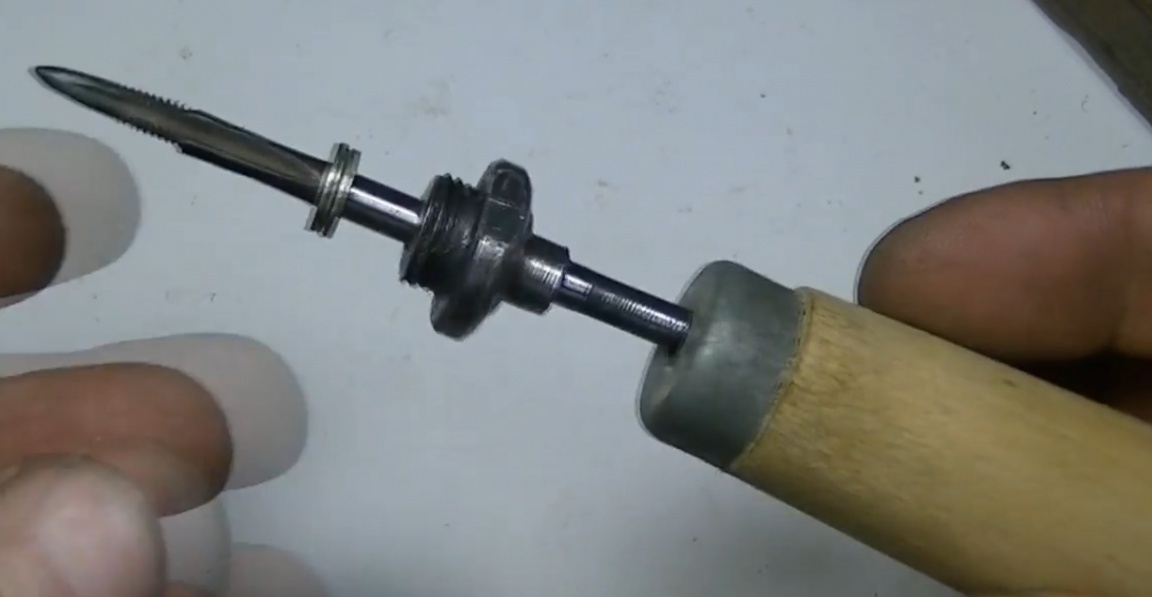
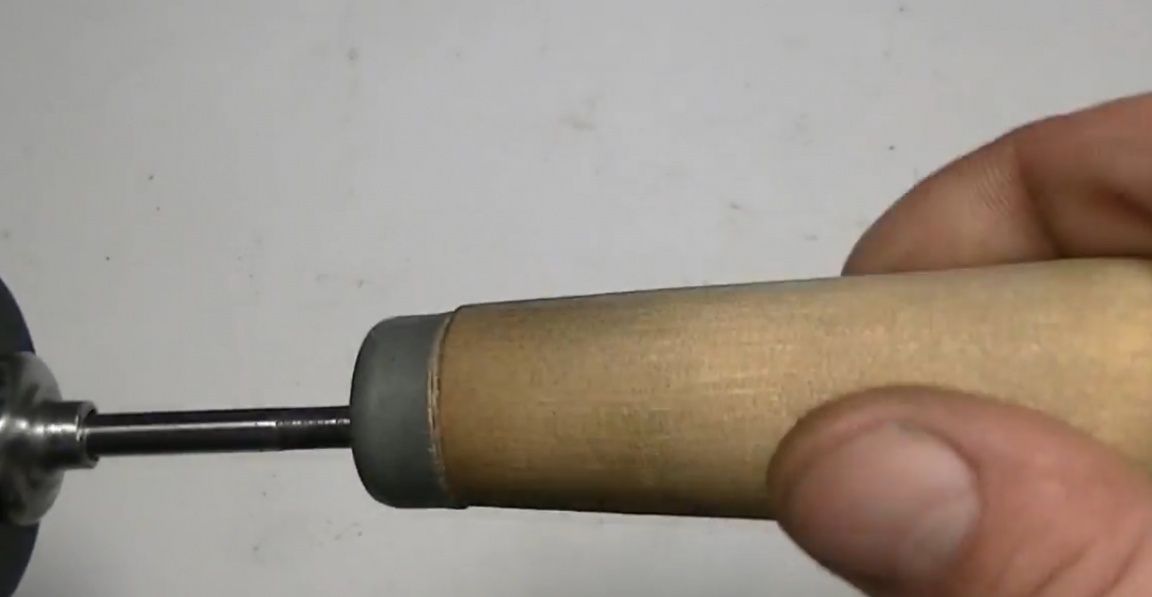
The main goal is to harden the tip. Quenching is a mandatory operation, because the durability and ease of use of the tool depend on this. By the way, and if we are talking about convenience, then for convenience the author prepared a standard handle for a file with a drilled axial hole.
We cut the thread in the handle, although in truth, you cannot call this a full-fledged thread.
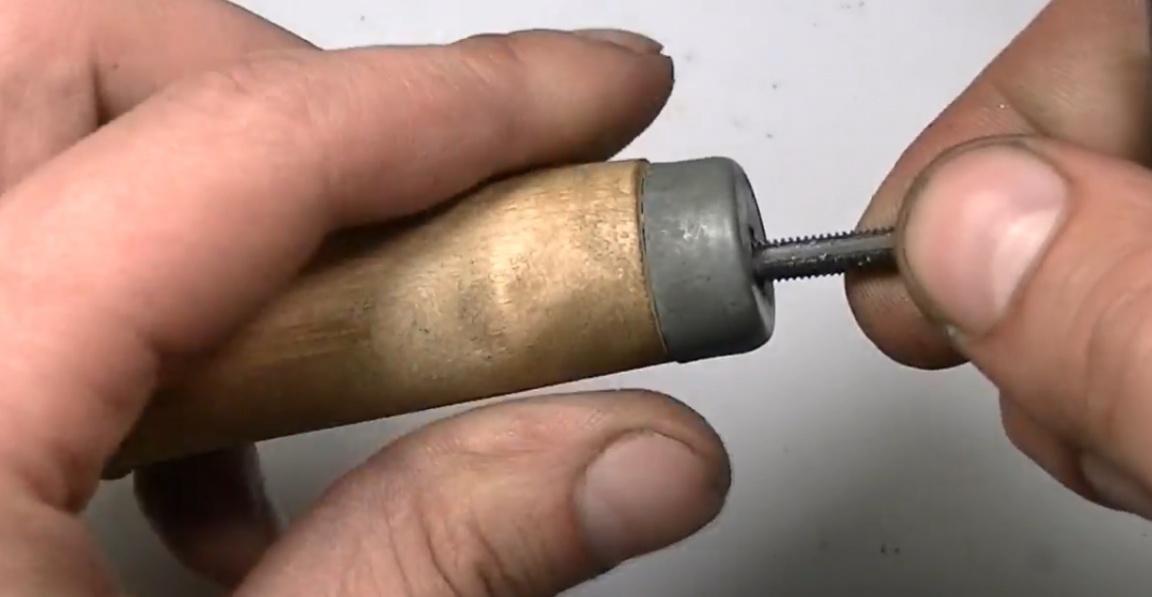
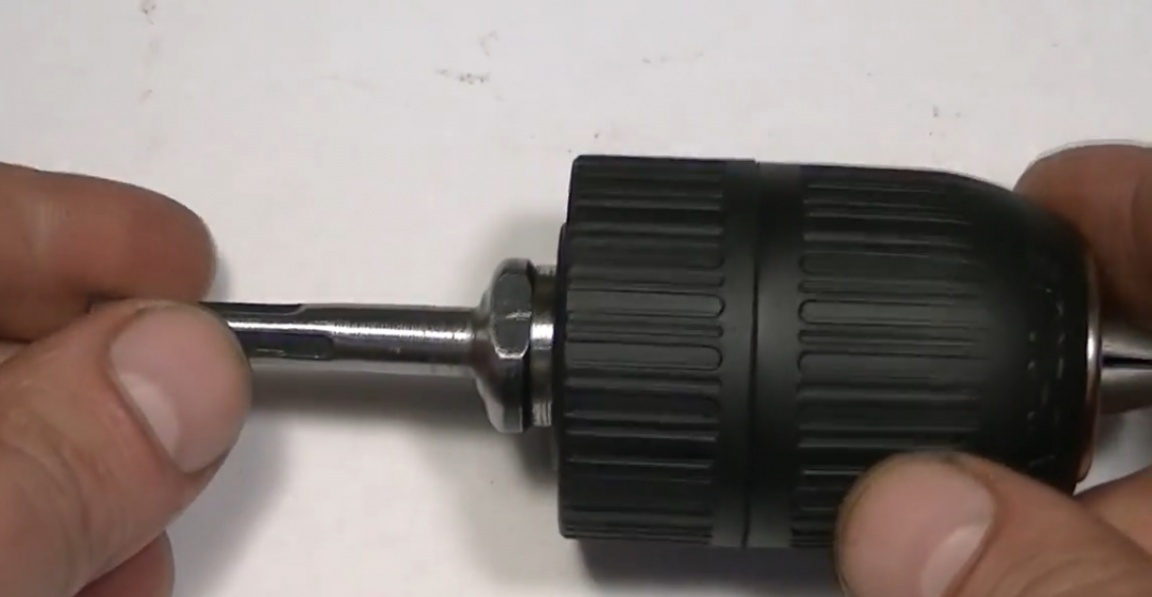
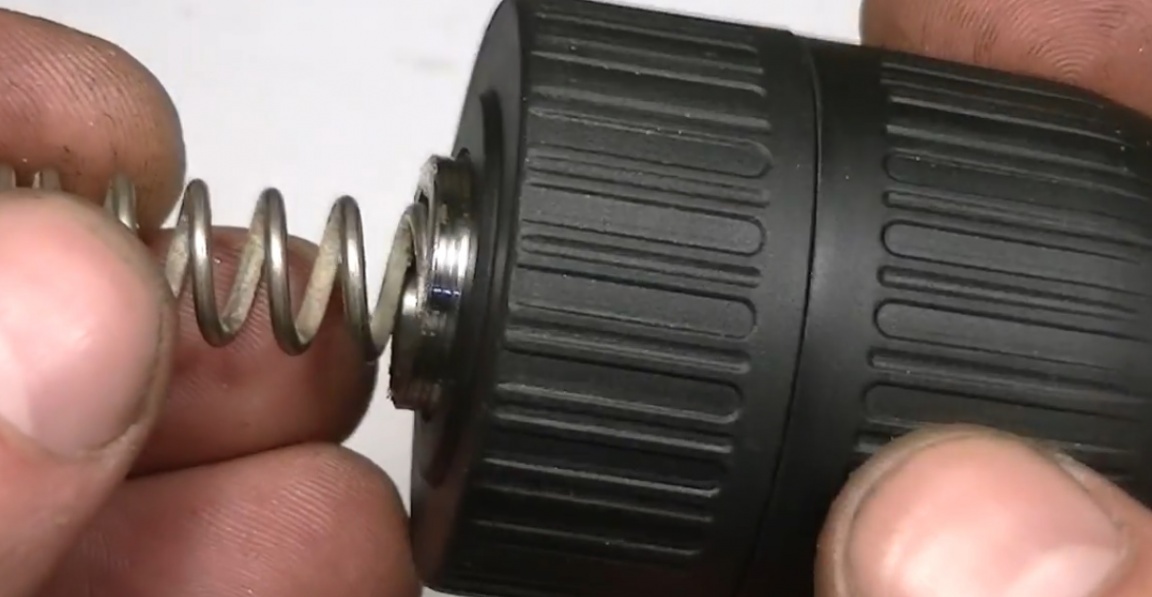
Well, that’s all, the constituent elements are ready, you can assemble everything into a single whole.
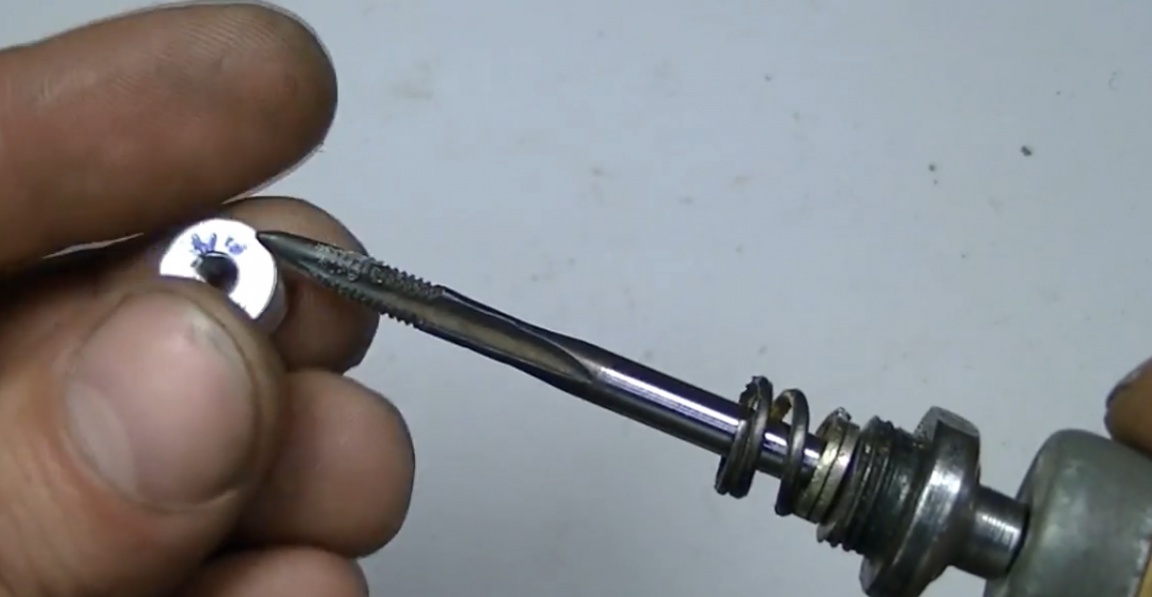
Kern is ready, let's test him. For example, there is a hairpin and we need to drill an axial hole in it.
How to quickly find and tilt the center? Yes, of course, with the help of this device. To do this, we pull the handle and hold it in this position. At the same time, we install and fix the pin in the cartridge. Then release the pen. That's all, the center is found and clearly marked.

Well, of course, before drilling it is better to play it safe and shandarah again with a core at the intended point, so it will be more reliable. You can also turn the knob a few more times.
Then the markup will be even more distinct.
The author took about 3-4 hours to make this device, but this is taking into account smoke breaks and tea parties, and similar joys of life. But it was worth it, because later this home-made device can save a lot of time and most importantly nerves. Nerves above all, nerves must be protected.
Well, that’s all. Thank you for attention. See you soon!
Video: