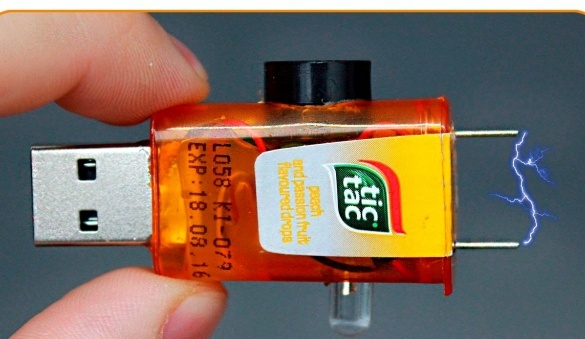
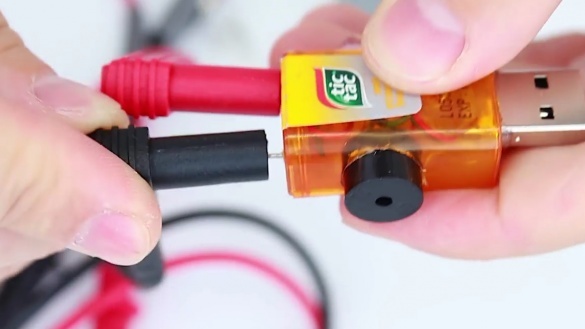
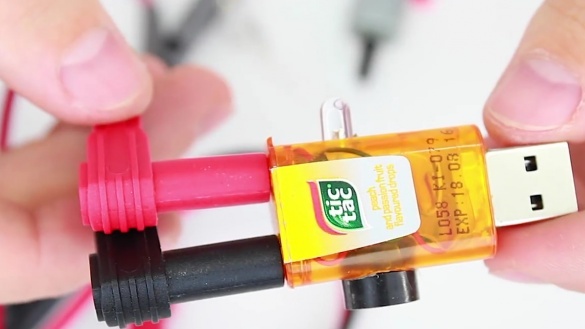
In this article, the author of the YouTube channel "all ideas" Roman, will show you how to make the simplest Tester - a USB-powered dongle.
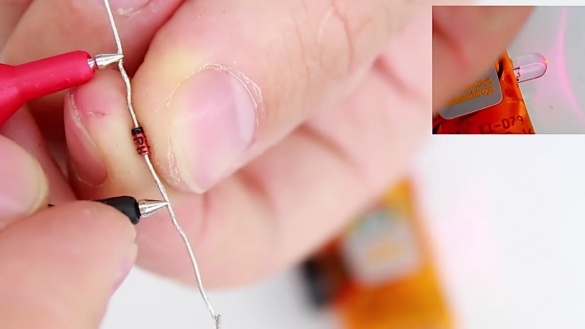
With it, you can check the polarity of the diode and its performance, as well as the integrity of incandescent lamps, motor windings and wires.
The device is equipped with sound and light indication.
Homemade does not take much time to manufacture.
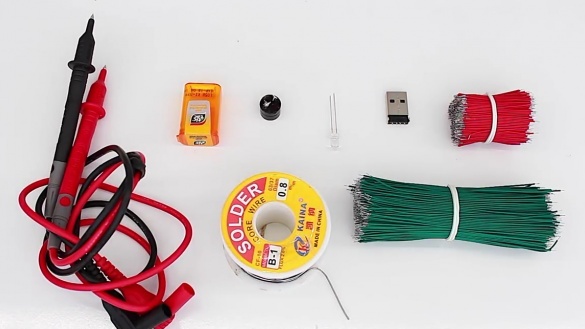
Materials
- Buzzer, or 5V squeaker
- Light-emitting diode
- USB connector
- A pair of paper clips
- Several wiring
- Probes
- A box of chocolates, or any suitable one.
Instruments, used by the author.
- glue gun
- Soldering iron, solder
- Engraver.
Manufacturing process.
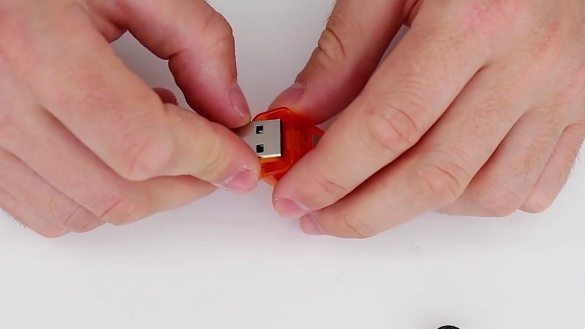
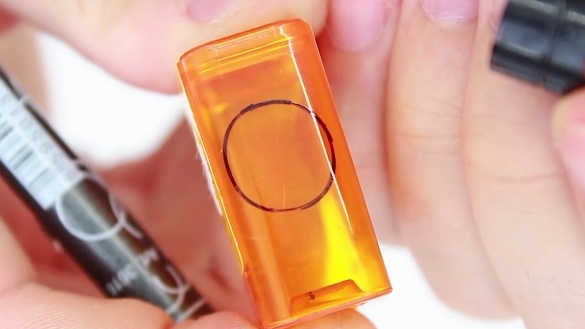
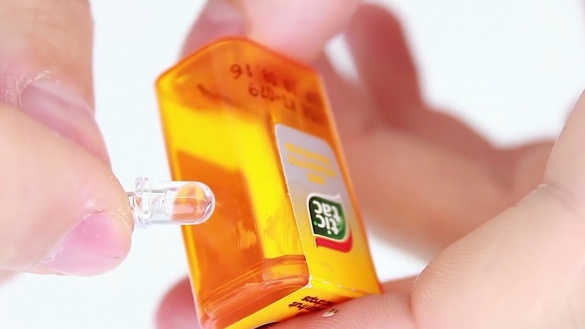
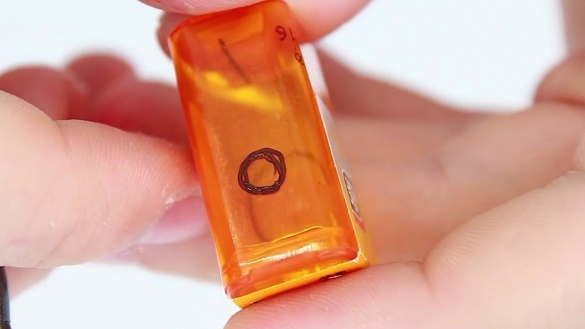
First of all, as always, Roman marks the footprints for the USB connector, tweeter, LED and contact terminals.
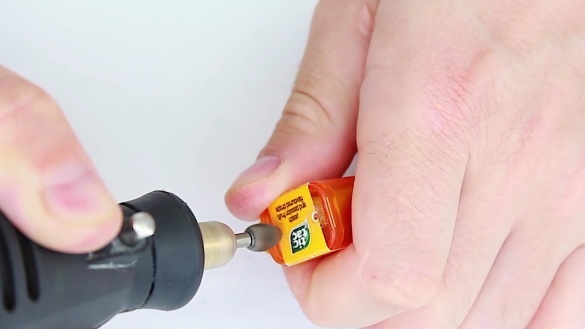
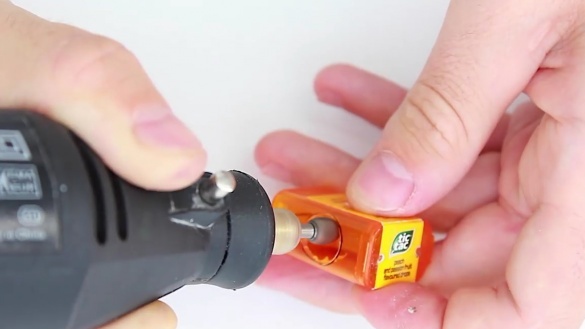
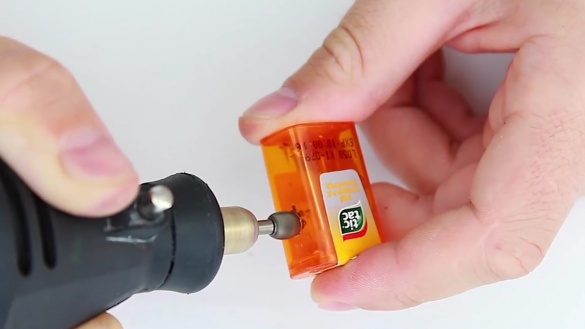
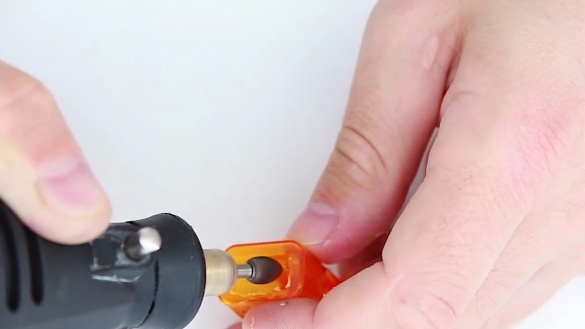
Cut the necessary holes with an engraver.
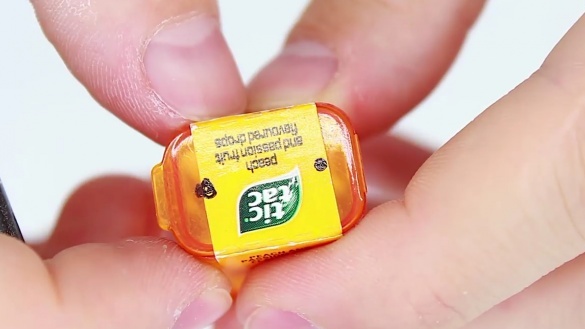
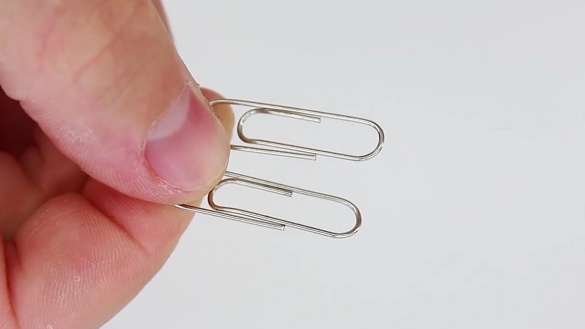
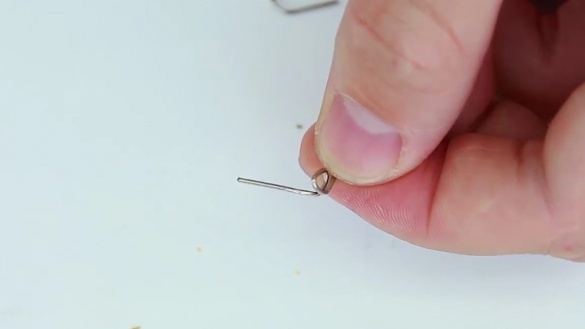
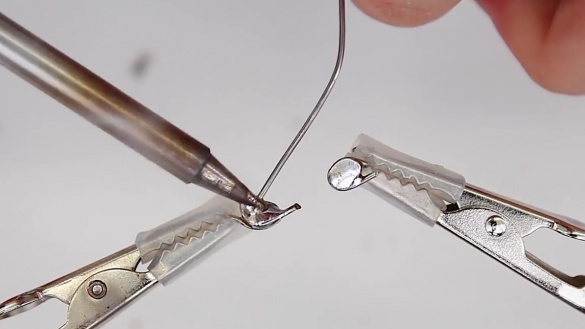
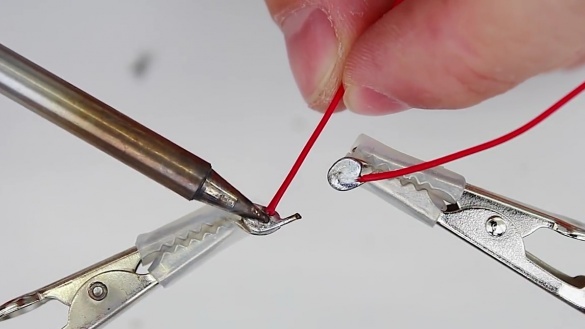
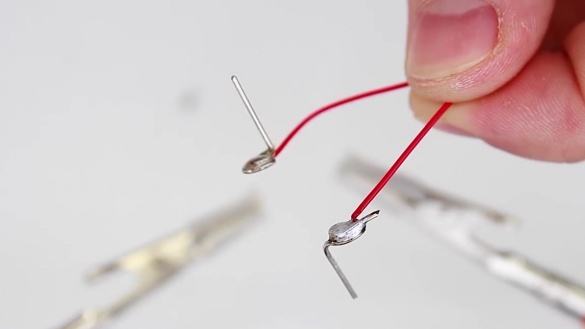
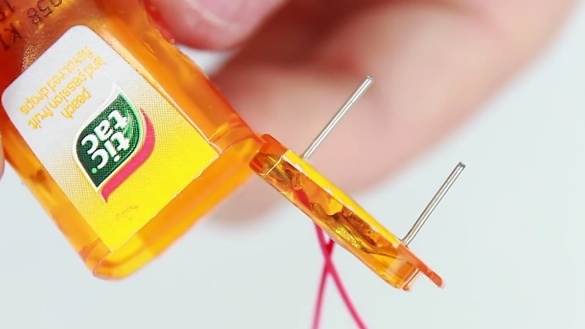
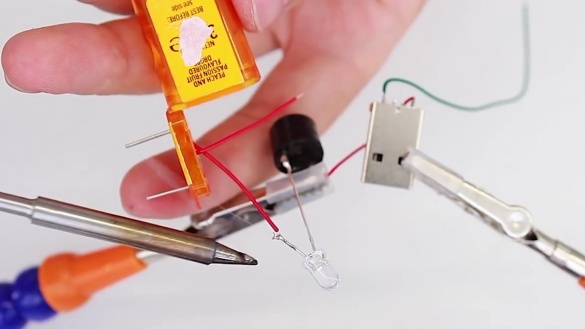
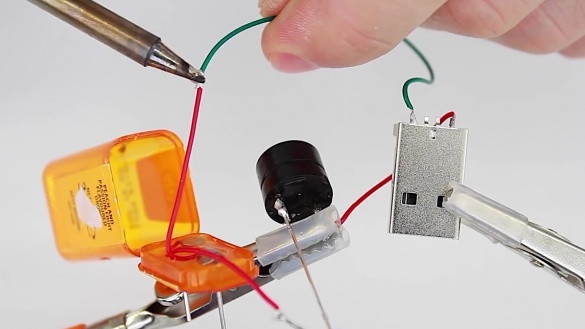
From two staples makes blanks for contact terminals.
Then he tins them, and solders wires to them.
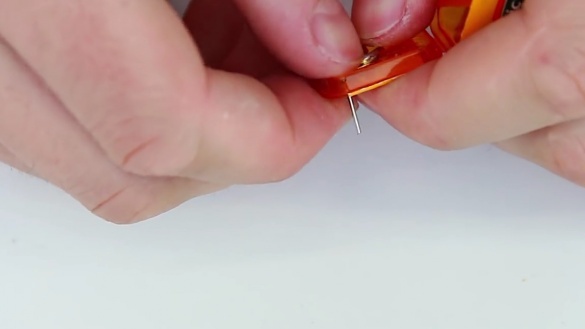
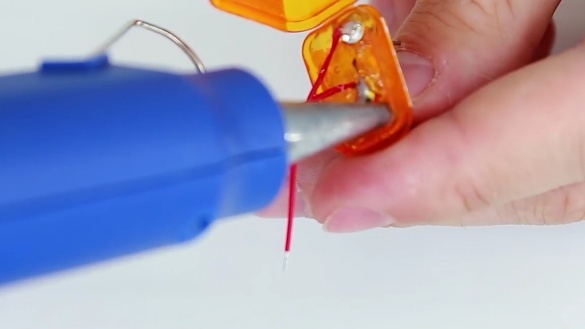
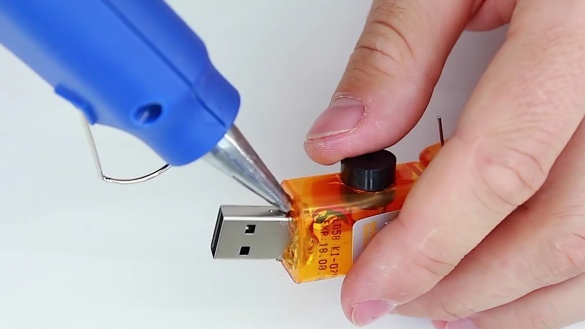
Next, thread the pins through the holes in the lid. And pour hot melt from the gun.
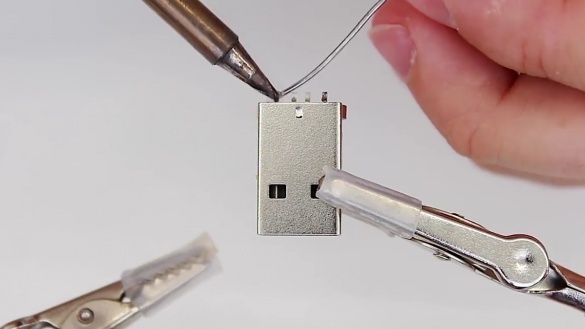
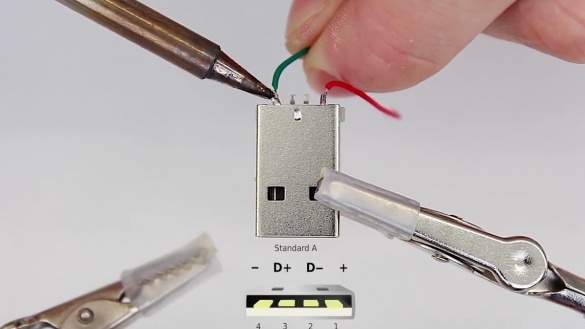
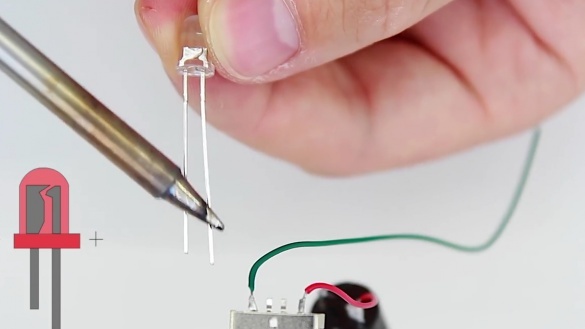
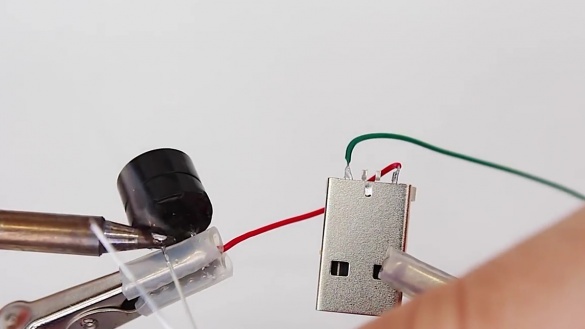
Solder the wires to the USB connector. Be careful, observe the polarity!
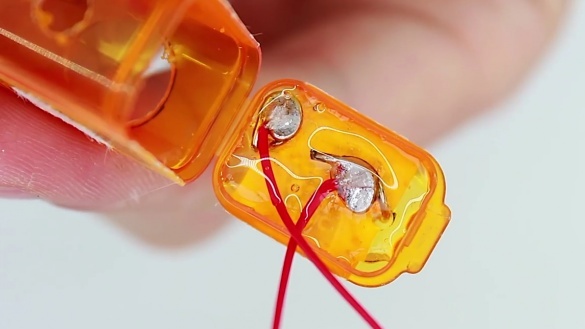
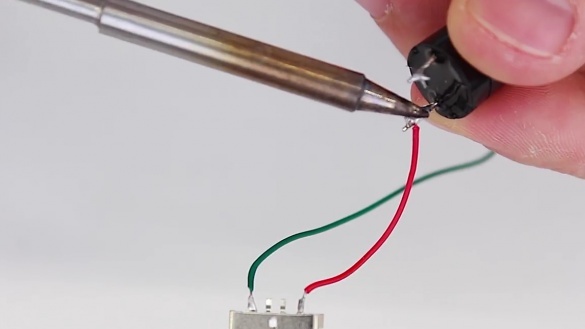
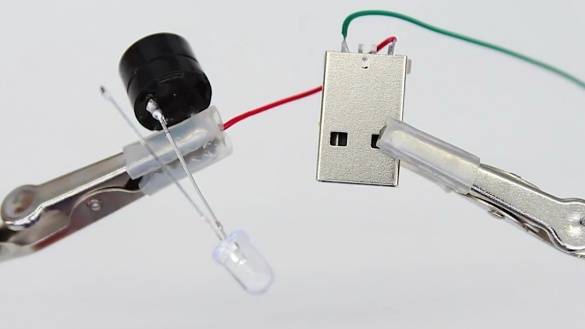
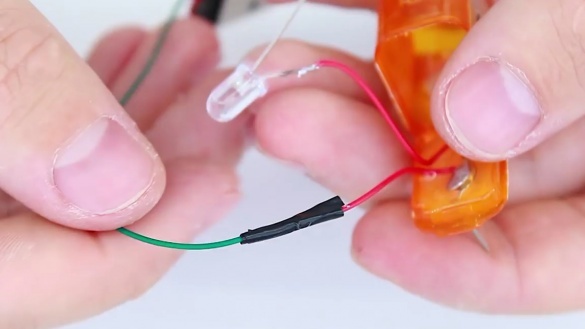
Now Roman is assembling the circuit. The positive wire is to the positive terminal of the tweeter. Then, plus the LED - to minus the tweeter.
It remains to solder the minus of the LED to the wire from one terminal, and the minus from USB to the second.
Well, insulate the junction. Although you could just solder the wire from one of the terminals directly to the minus USB.
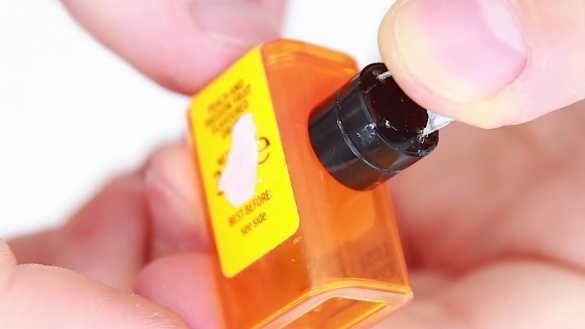
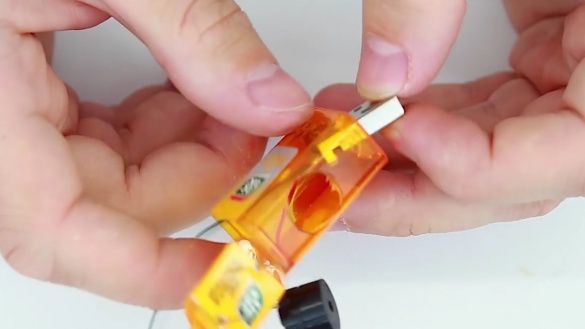
Inserts all the elements of the circuit into its holes and fills with hot glue.
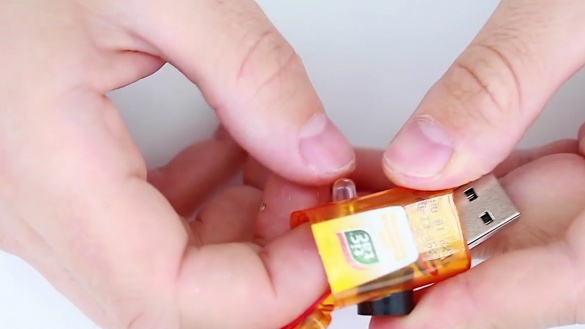
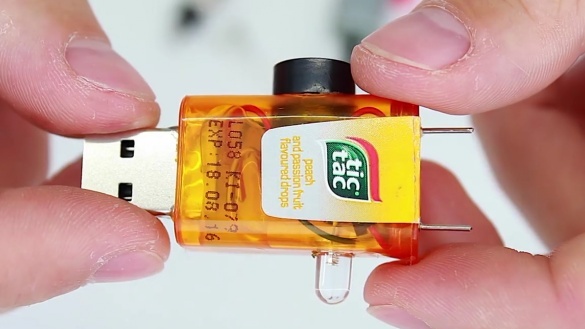
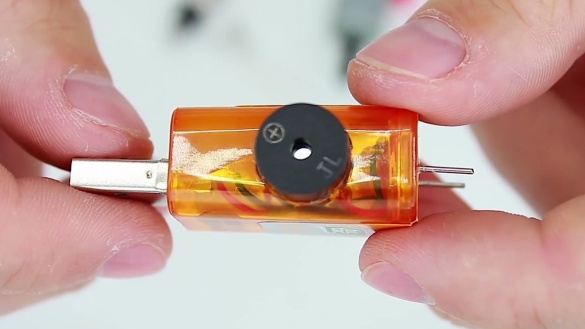
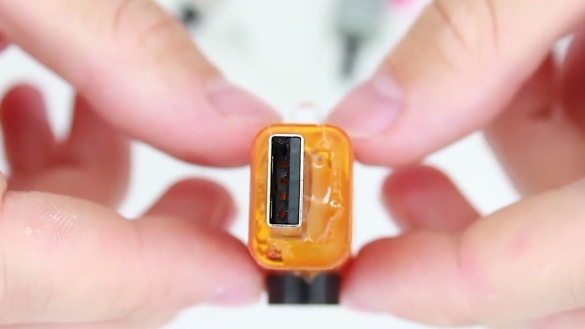
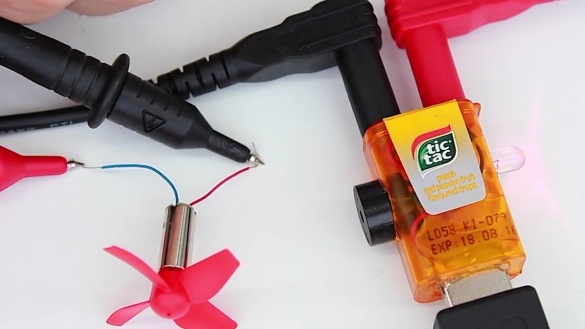
That's it, this is how the finished mini-tester looks like.
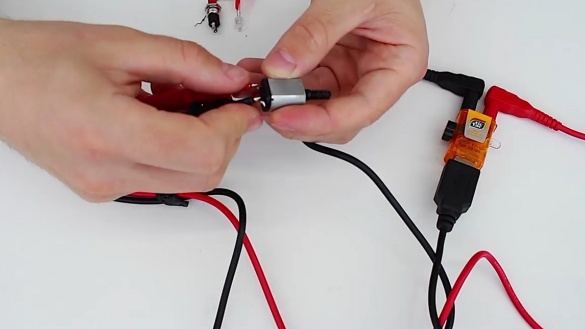
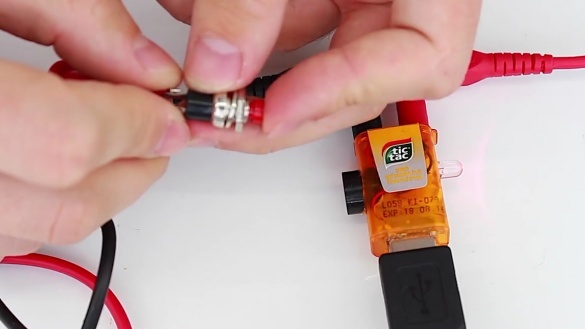
Connects terminals to pins. To check the diodes, note the location of the terminal poles.
Well, and checks a few different details. Everything works!
In this device, instead of a USB connector, you can install two CR2032 batteries, and it will become autonomous.
Thanks to Roman for an interesting idea!
Good luck to everyone and good mood!

