
Good day to all dear friends! In today's article I would like to consider a very interesting idea homemade. Namely, this article will describe in detail how to make a carpentry vacuum cleaner. Why carpentry you ask? Because its body will consist of plywood, and this vacuum cleaner itself is best used for carpentry needs. For example, to clean your workplace after work, from such garbage as sawdust and small slivers. It should also be added that this homemade product will actually consist of trash, for sure you can find all the materials in your midst among old things and forgotten remnants from any repairs. In general, the homemade product is very interesting, so let's not pull with a long introduction, let's go!
For this homemade product we need:
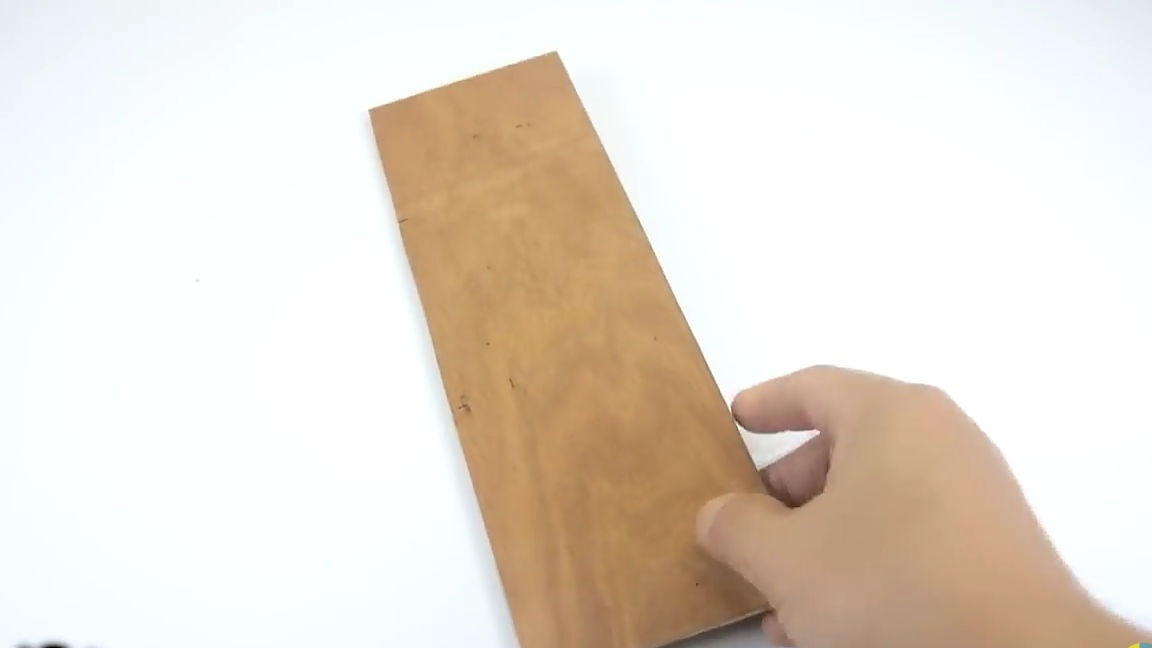
- A sheet of thin plywood or the one that you have (one sheet of 1 * 1m will be quite enough)
- Computer fans used to cool an 8pcs processor
- Mesh
- switch
- The wire
- Shank (ordinary for a garden shovel)
- Furniture nails
- Small screws
- Varnish, wood impregnation or just paint (something to make the wooden product buried as long as possible)
- DC power supply at 12V and not less than 1A.
Of the tools we will also need:
- Hot glue
- Soldering iron and solder
- electrical tape
- Electric jigsaw or ordinary manual
- Screwdriver and drill with the necessary set of drills
- Hammer
- Double adhesive tape
- scissors
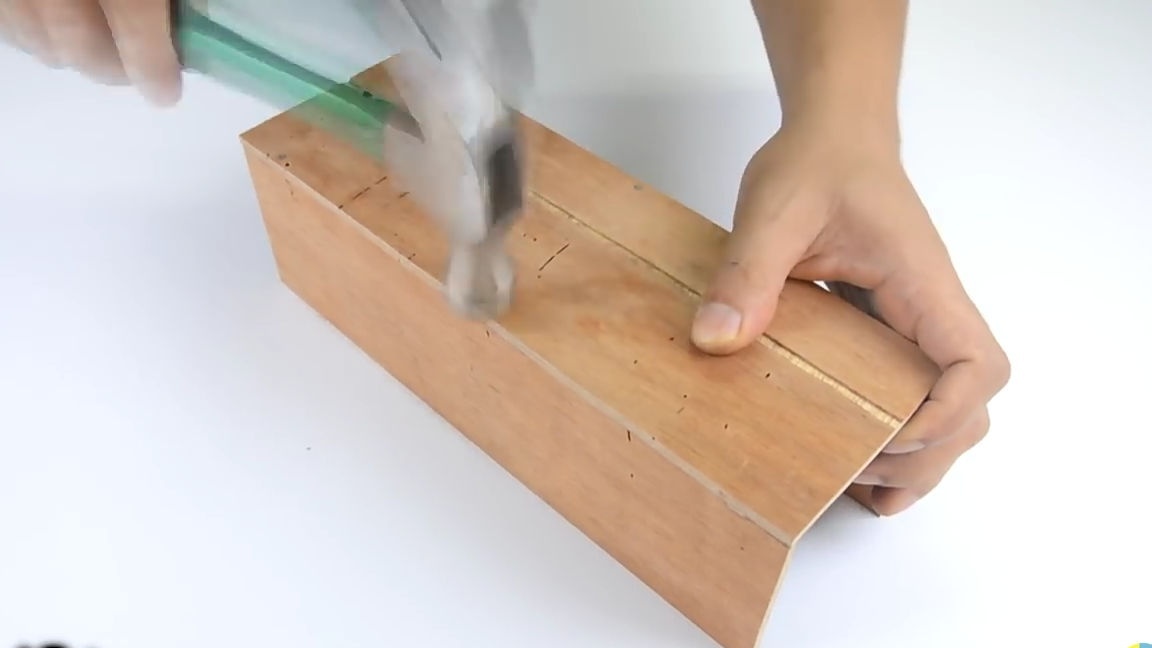
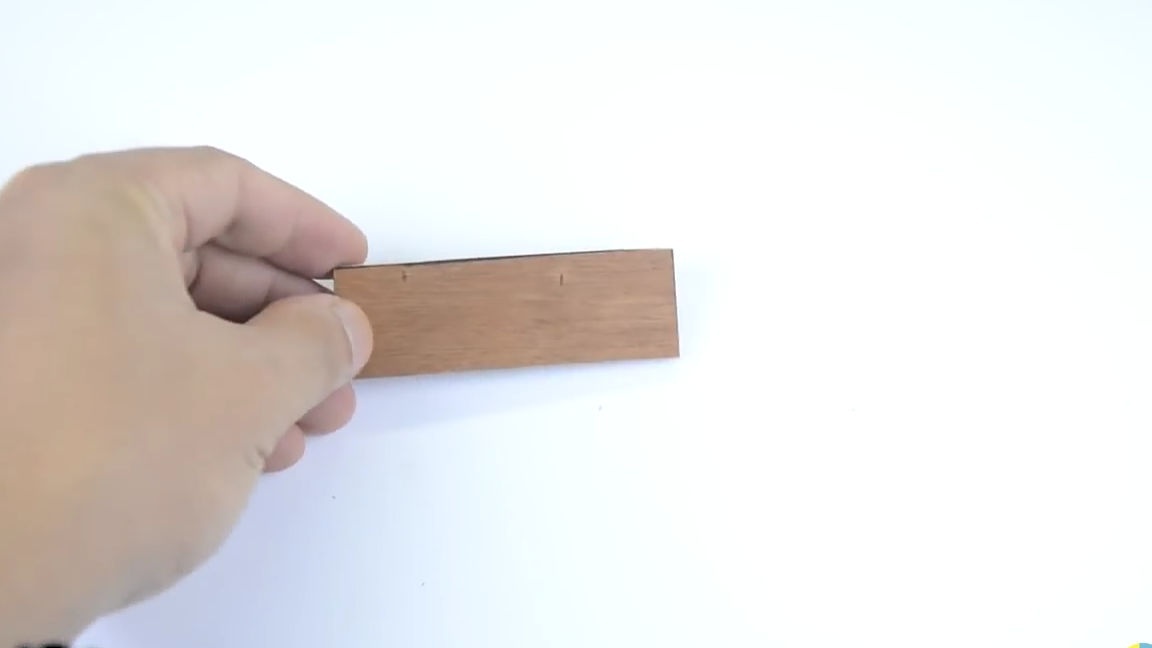
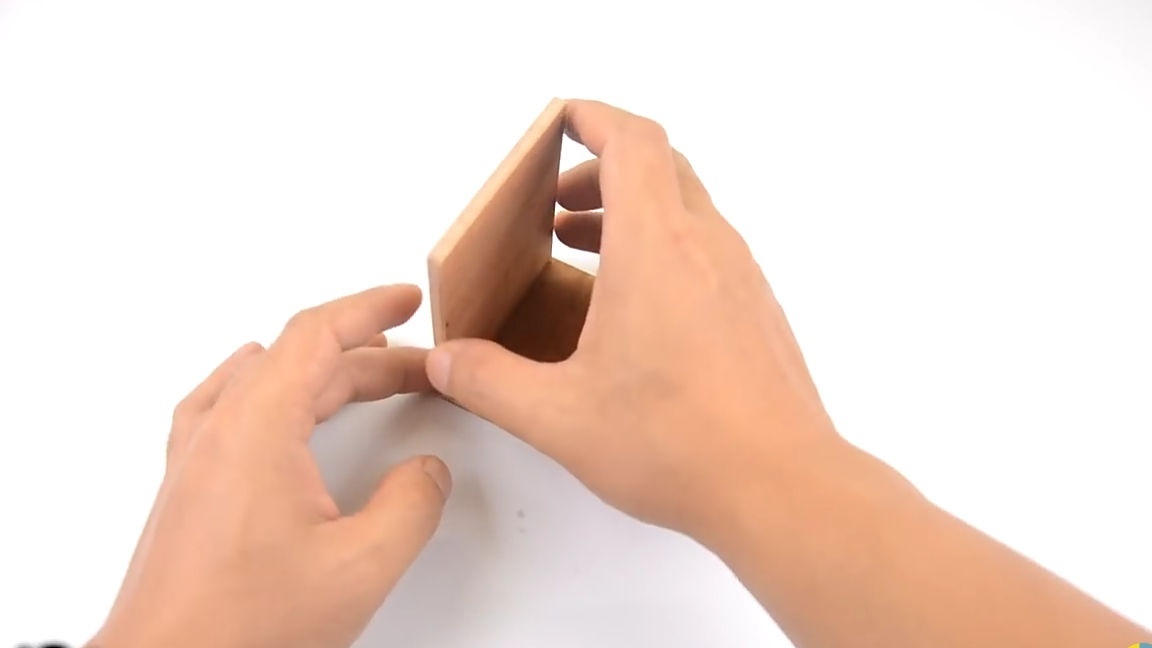
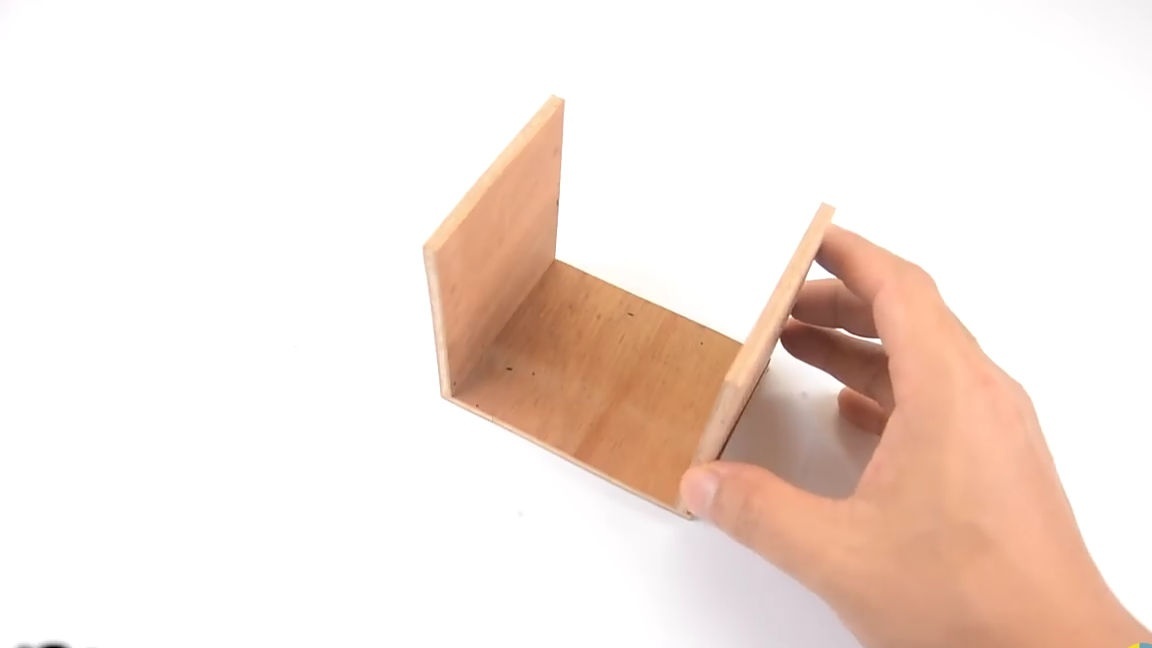
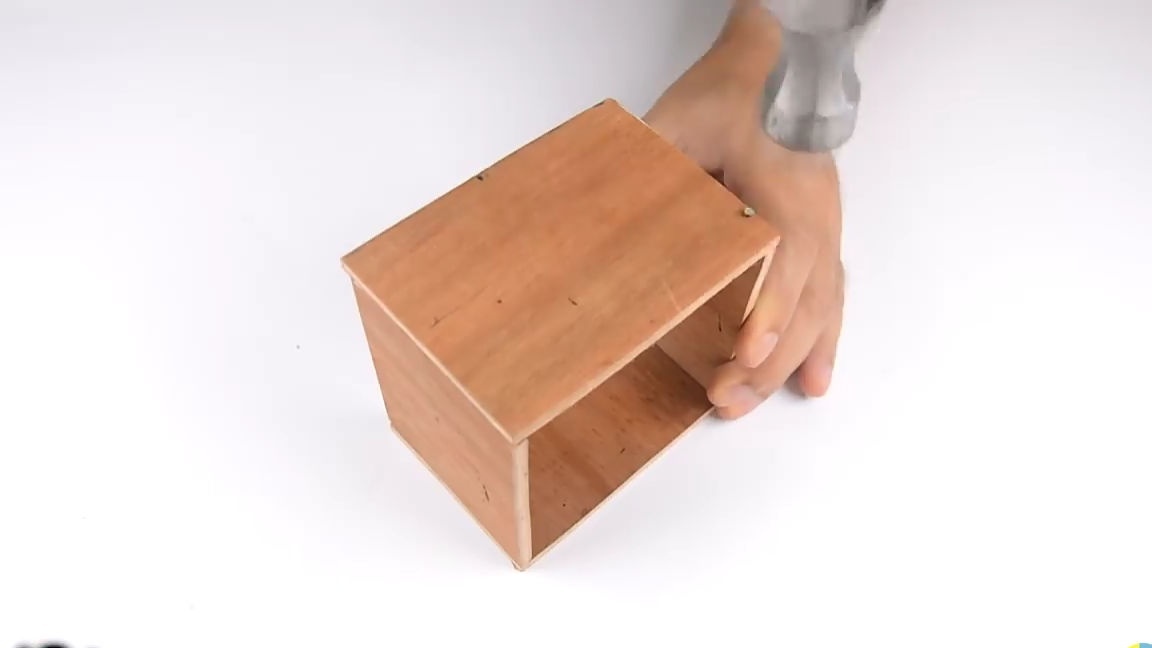
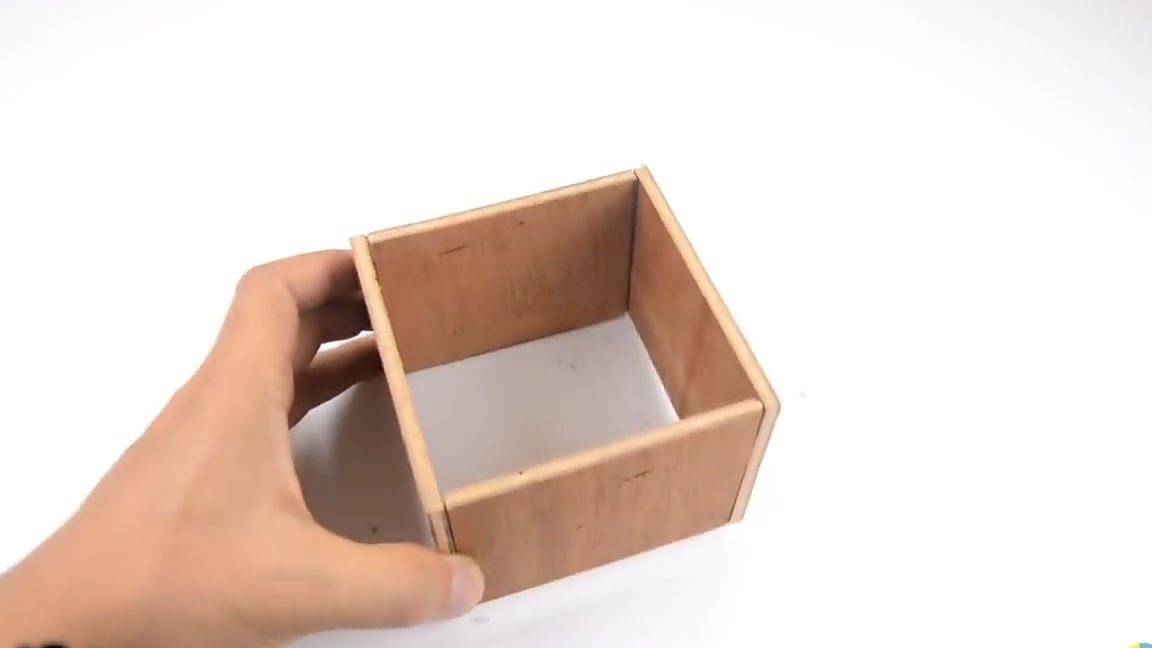
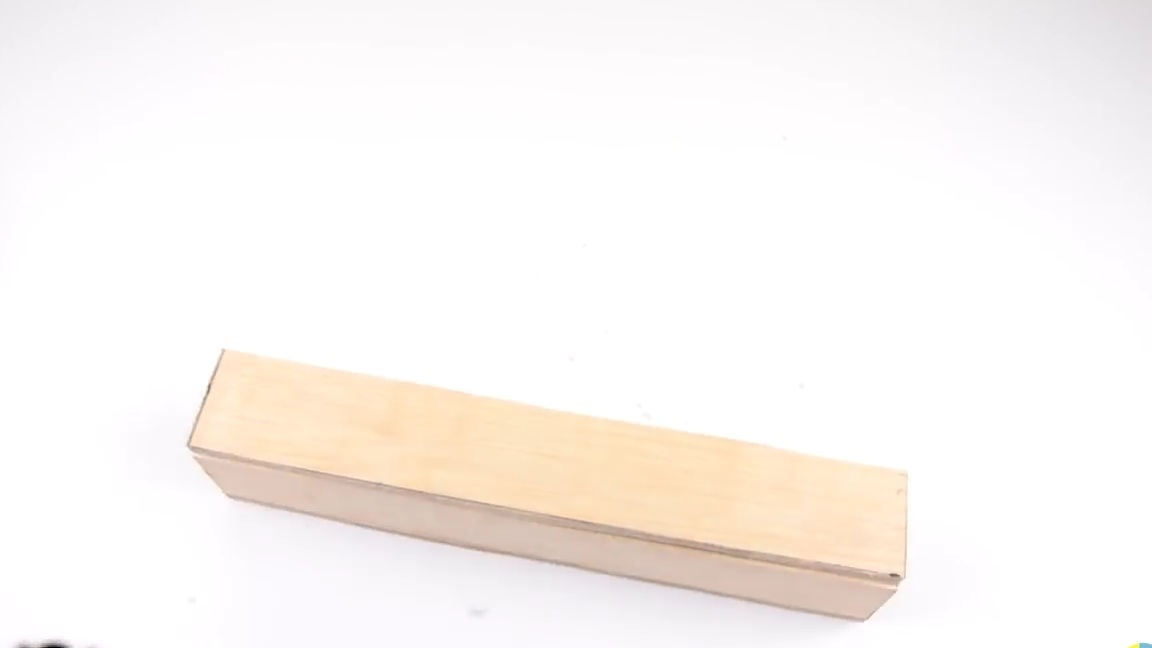
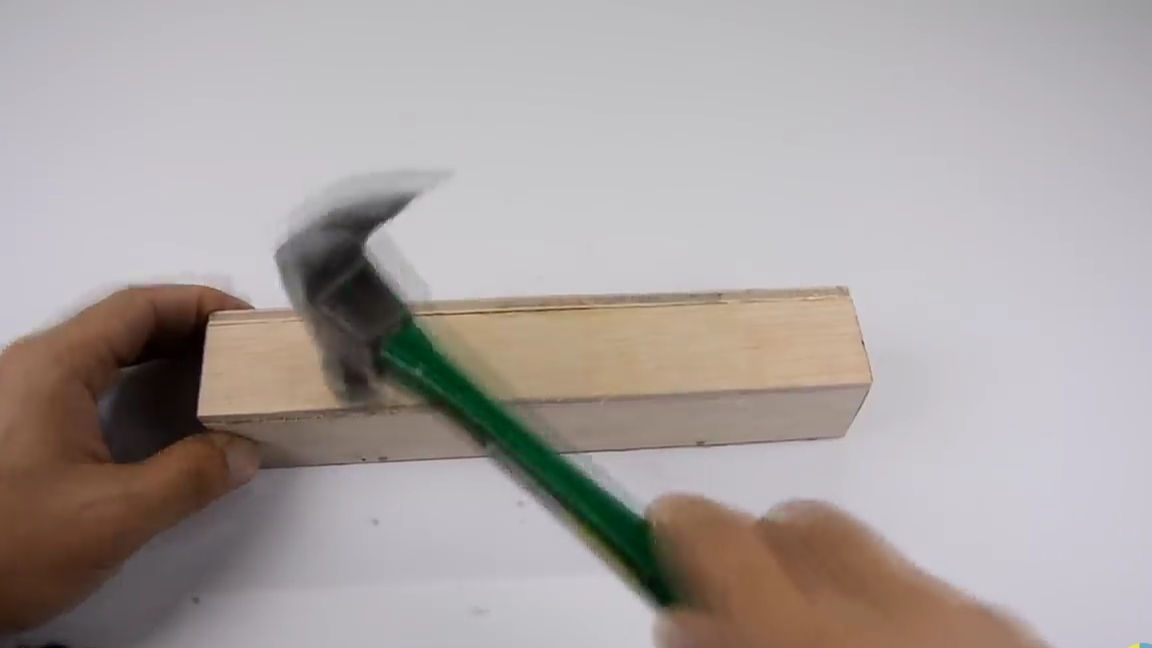
To begin with, four rectangles should be cut out of a plywood sheet, the size of which should be such that when they are connected into one volumetric rectangle, eight computer coolers in a row can fit in and not hang out. For cutting all plywood parts, I highly recommend the use of a jigsaw since, using it, it will turn out as quickly and accurately as possible. But if you don’t have one, then you can get by with an ordinary manual jigsaw, but, for example, with a hacksaw for metal. Connect the cut rectangles, as shown in the photo below. We will connect the elements with furniture nails and a hammer.
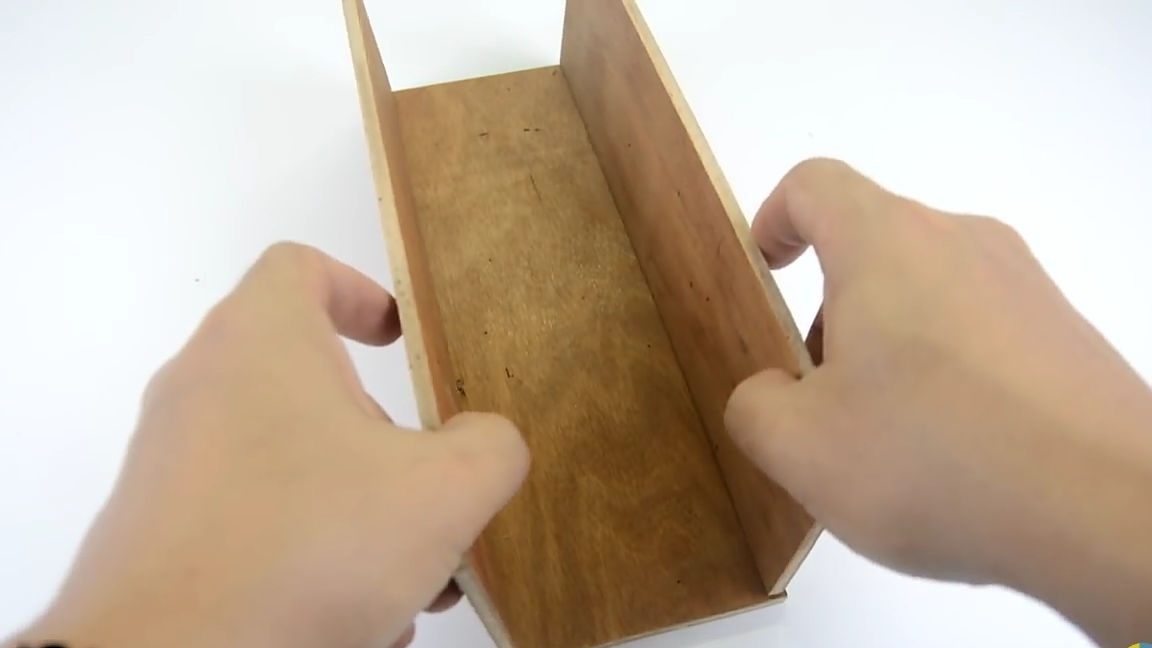
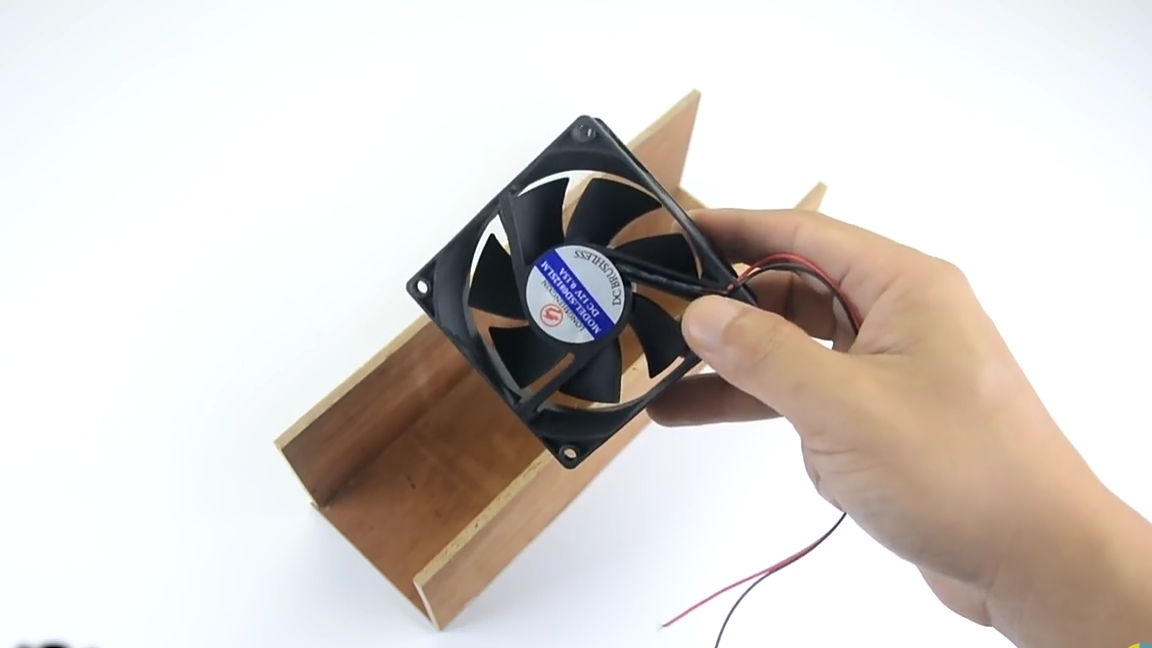
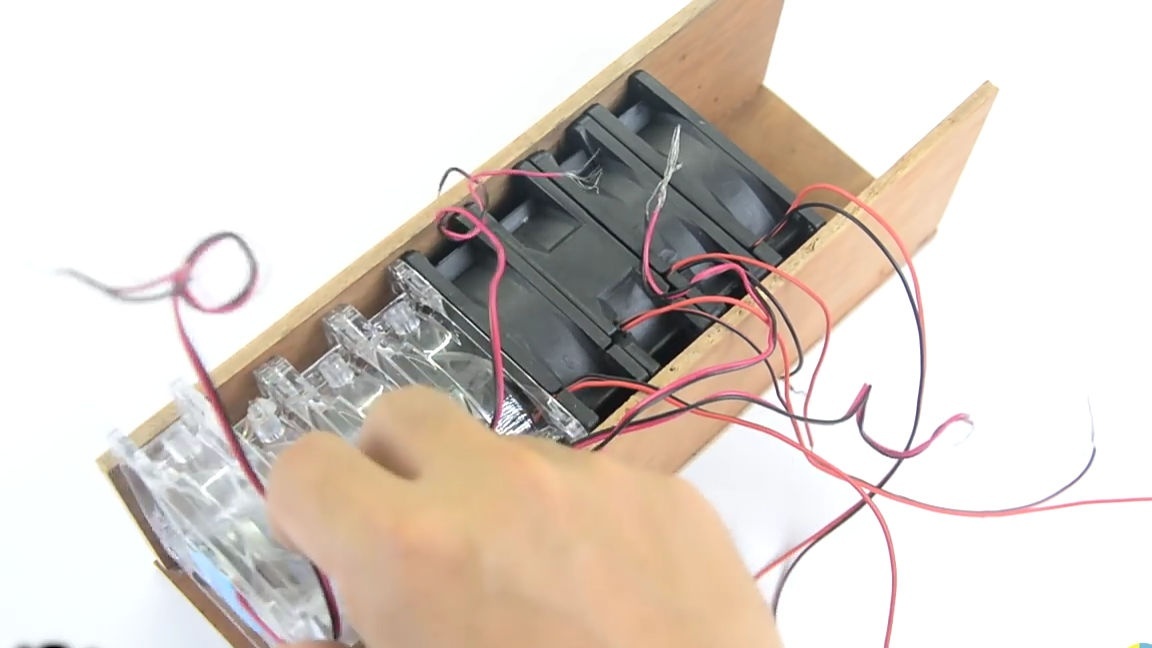
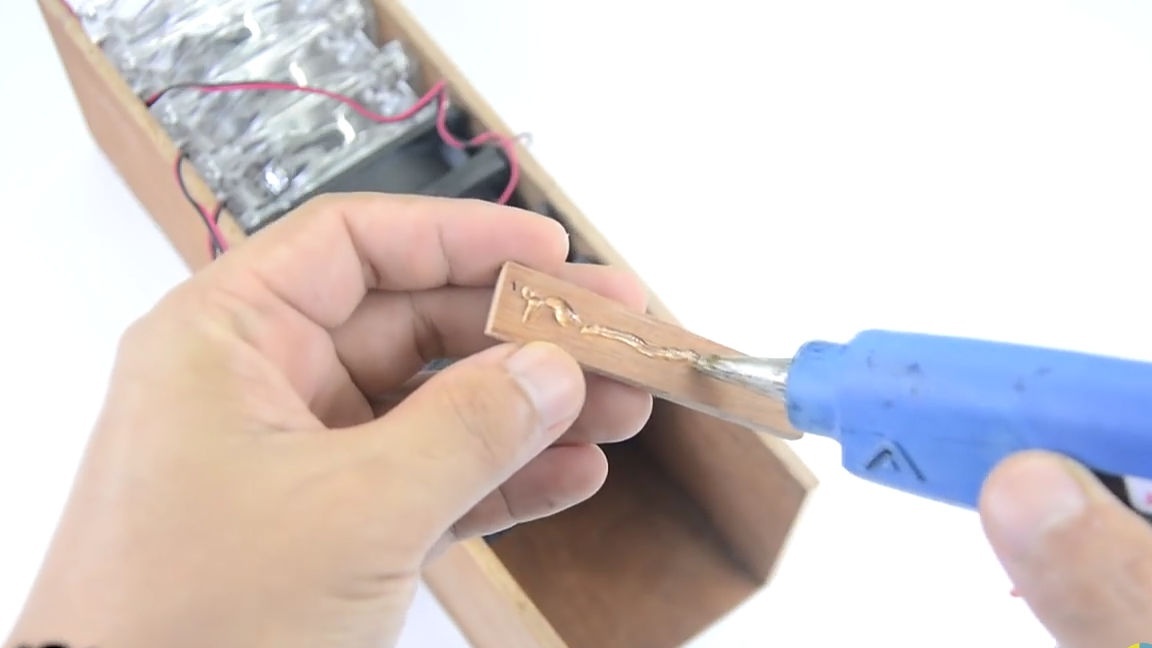
Then for the next step we should take computer fans, which are used to cool the processor in the computer in the amount of 8 pcs.And then we install the fans in a row so that they all blow in one direction. Further, in order for them to sit in their place and not move inside the structure, they should be fixed; for this, we cut out plywood rectangles as long as a fan and about one centimeter wide. Glue the cut rectangles using hot-melt adhesive to the places indicated in the photo so that as a result the fans are clamped and tightly in contact with each other.
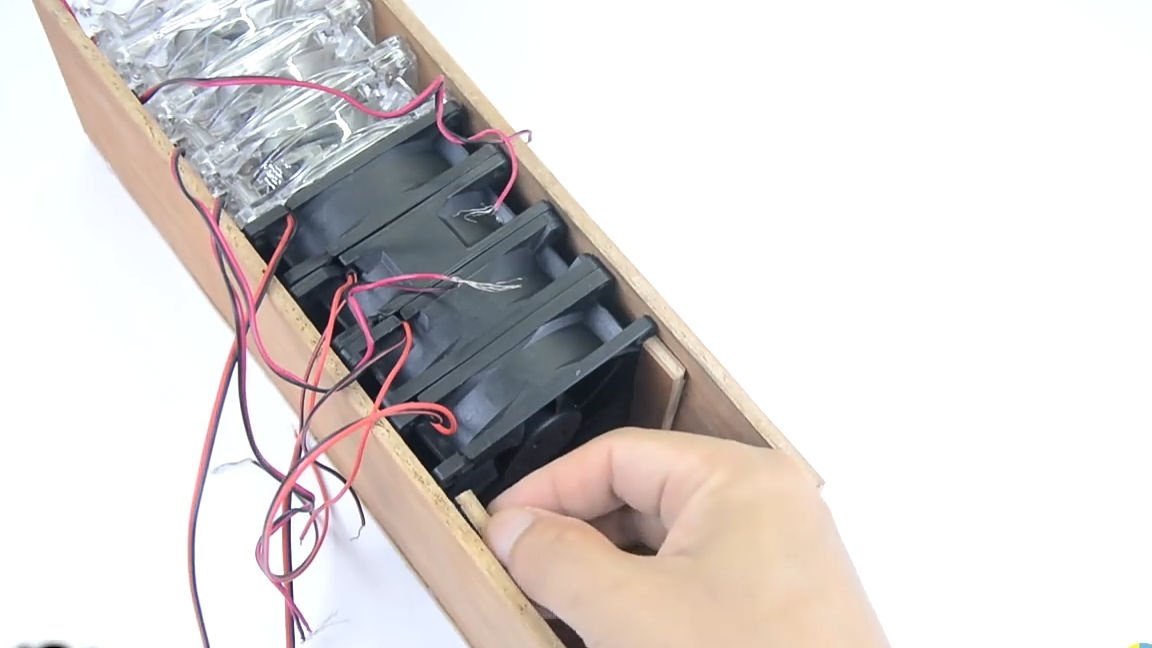
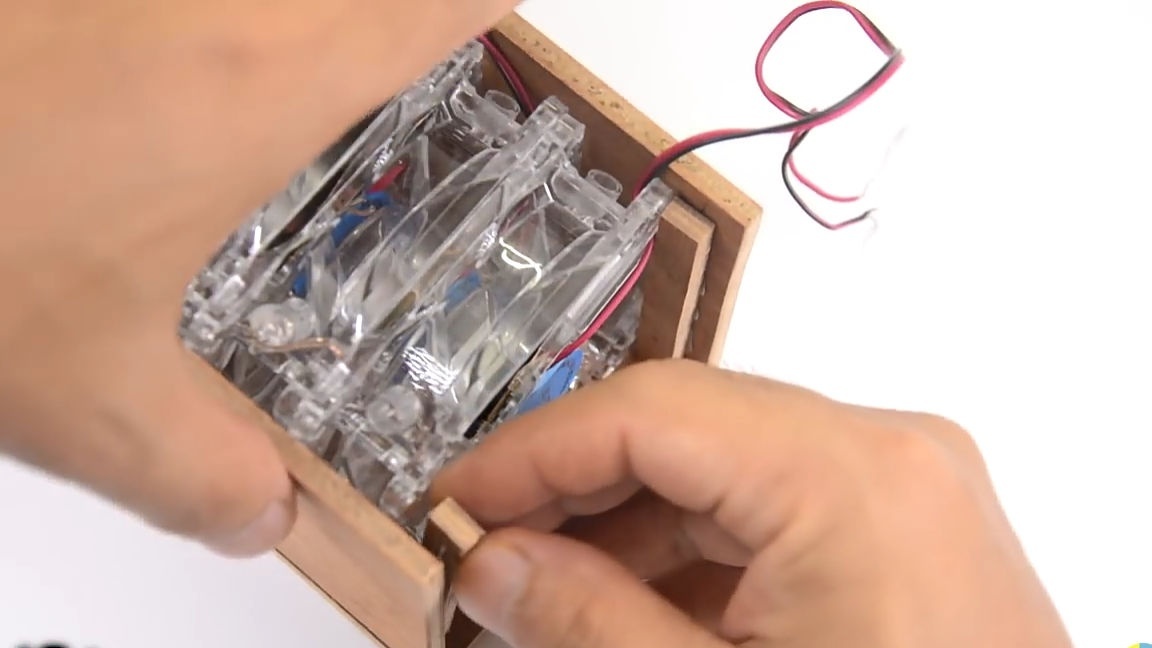
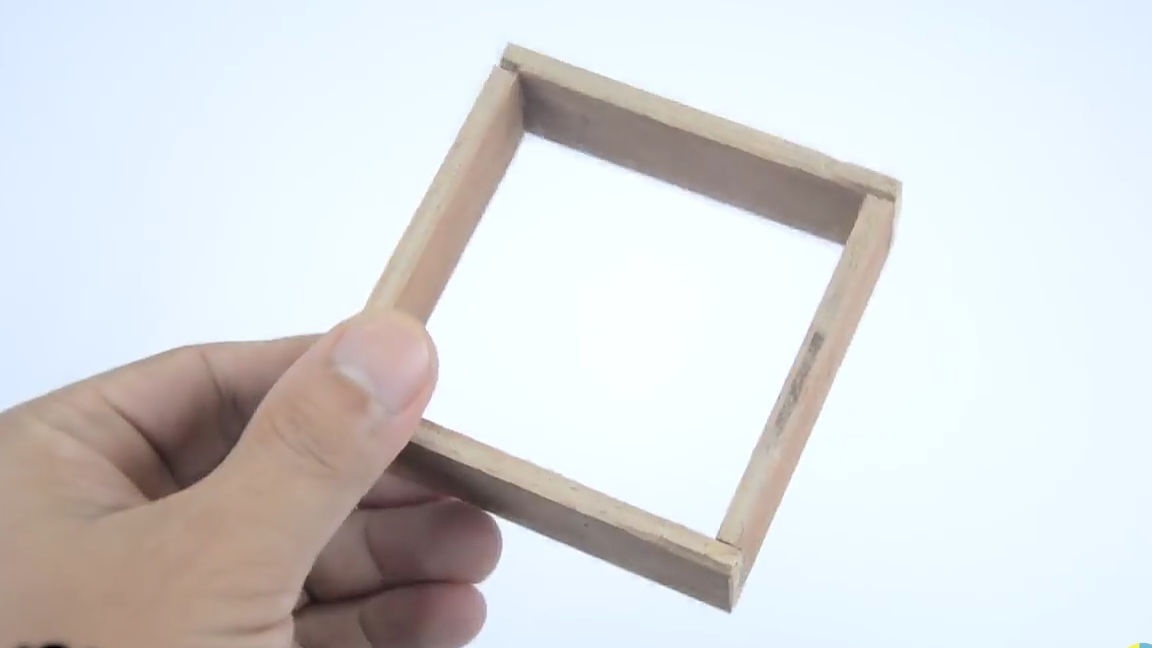
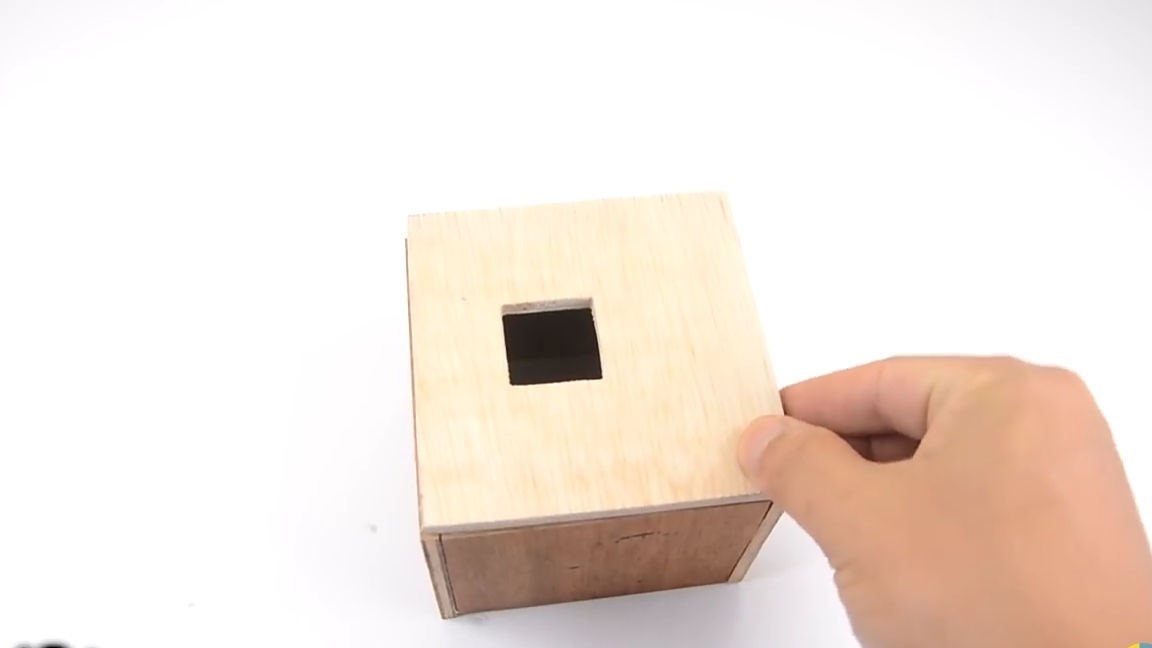
The next step is to make a “net” that will filter the air flow generated by the fans and separate the garbage that has got there. To do this, we first need a mesh. The mesh can be either aluminum from the sieve, or from the old tulle, the size of the holes in the mesh should satisfy your needs, that is, depending on what, you are going to use this homemade product, or rather what kind of garbage you are going to clean it. Having decided and choosing the optimal mesh, you should make an element on which it will be mounted. To do this, we cut four rectangles from plywood, which, in turn, are connected to each other with a hammer and furniture nails into a certain square. The size of this square should be such that it can fit inside the workpiece with fans. The resulting square around the perimeter should be glued with double adhesive tape, on which we glue the mesh.
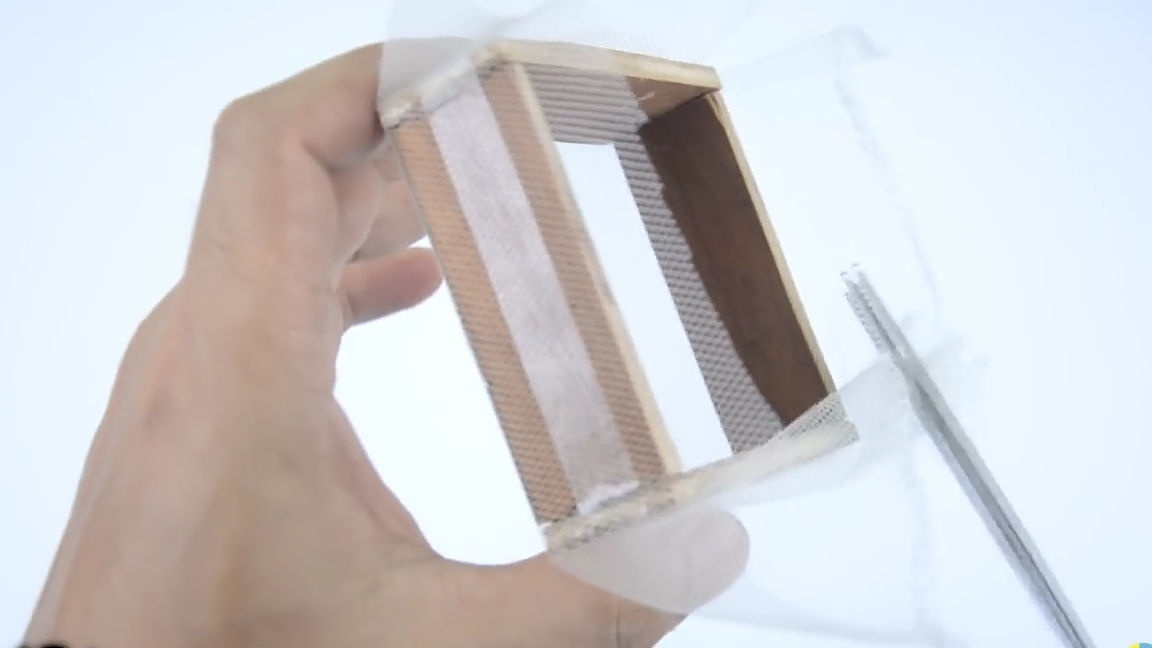

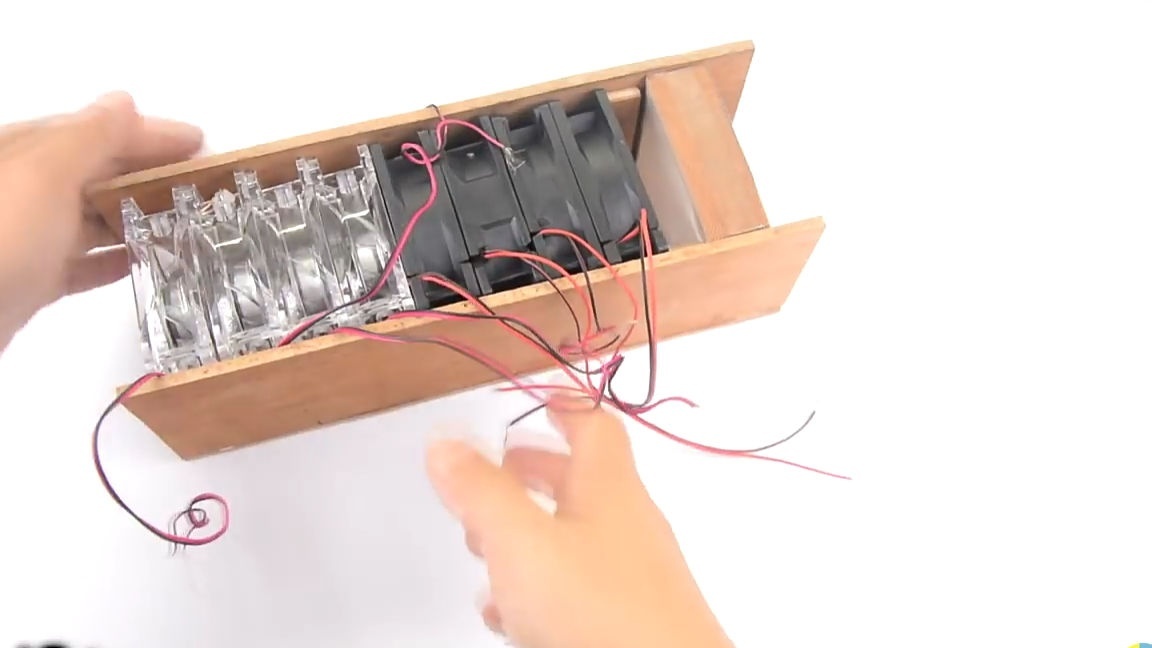
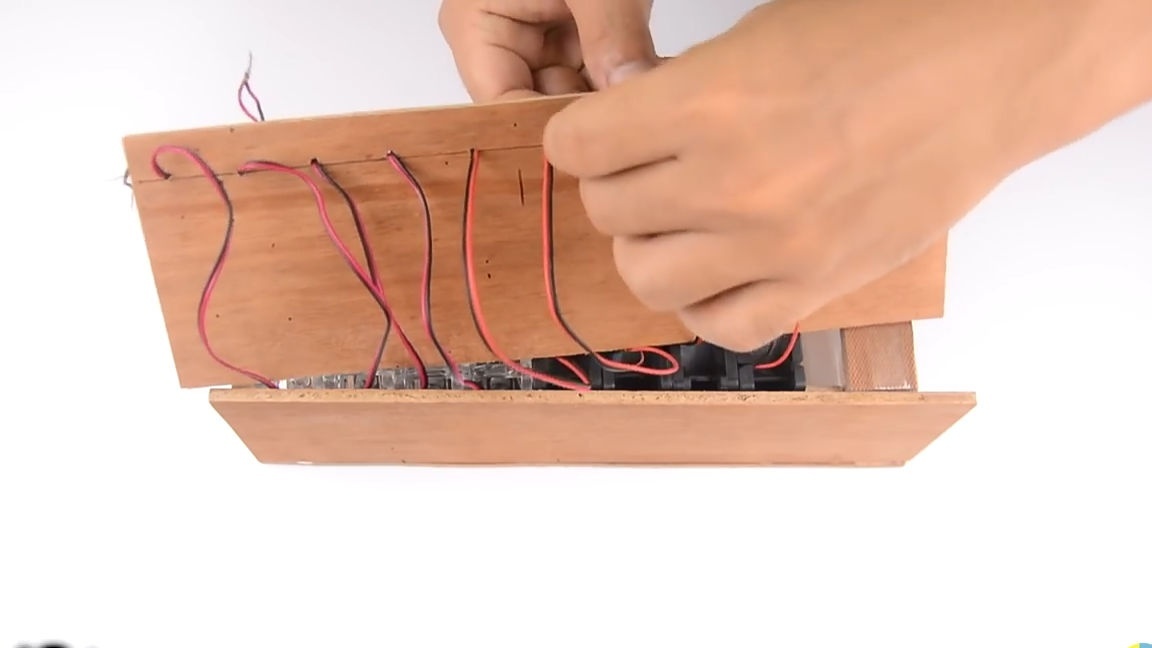
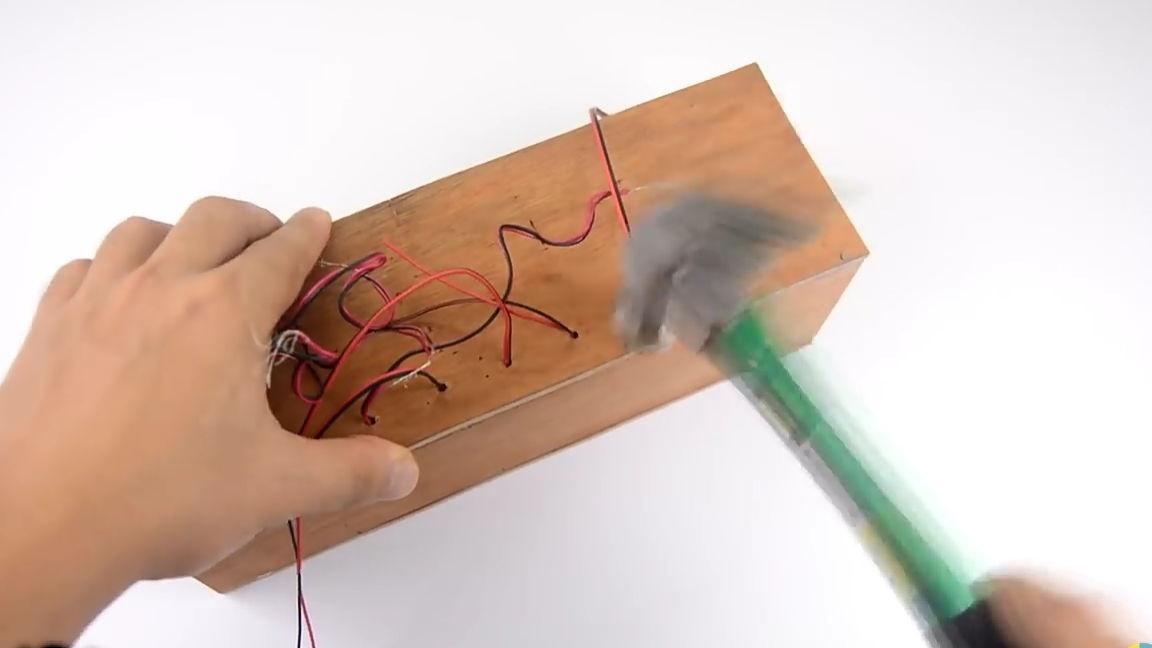
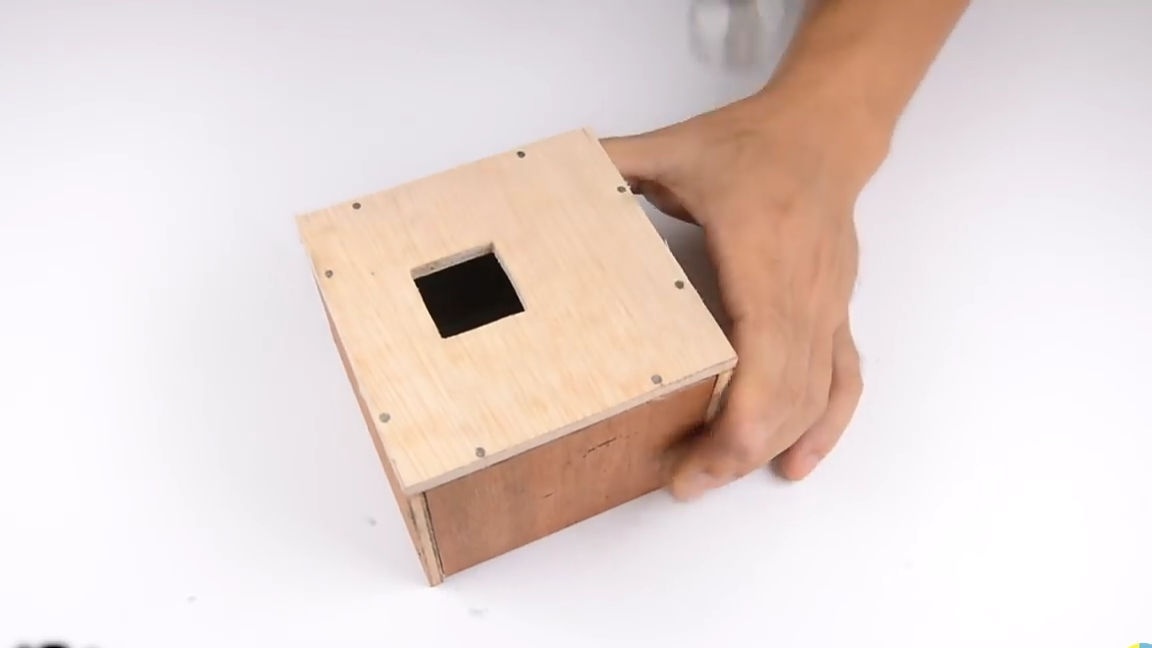
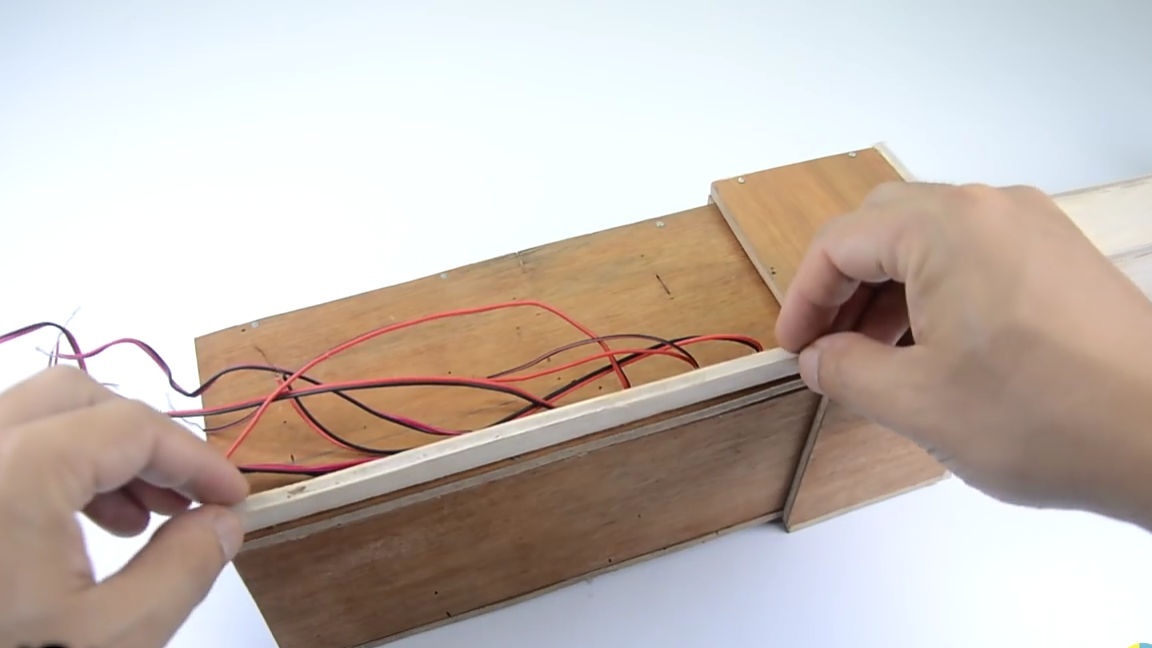
In the upper rectangle covering the main part with fans, holes should be made in the amount of 8 pcs., For laying wires from the fans through them. We put the wires into the holes just done and finally fix the last rectangle with furniture nails and a hammer.
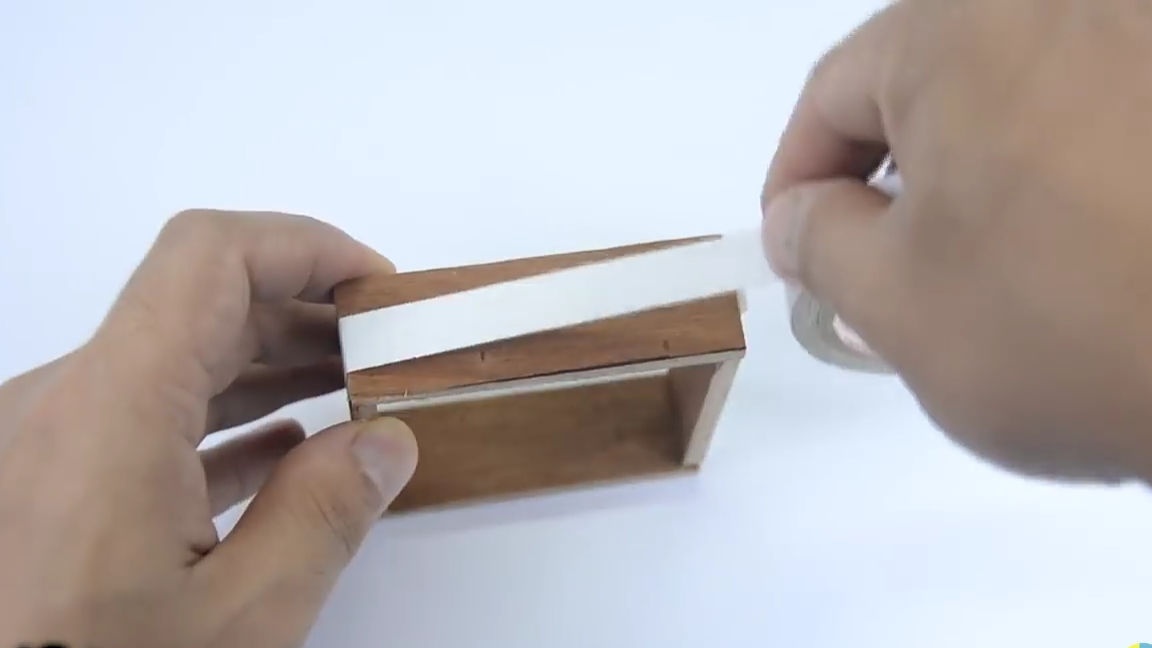
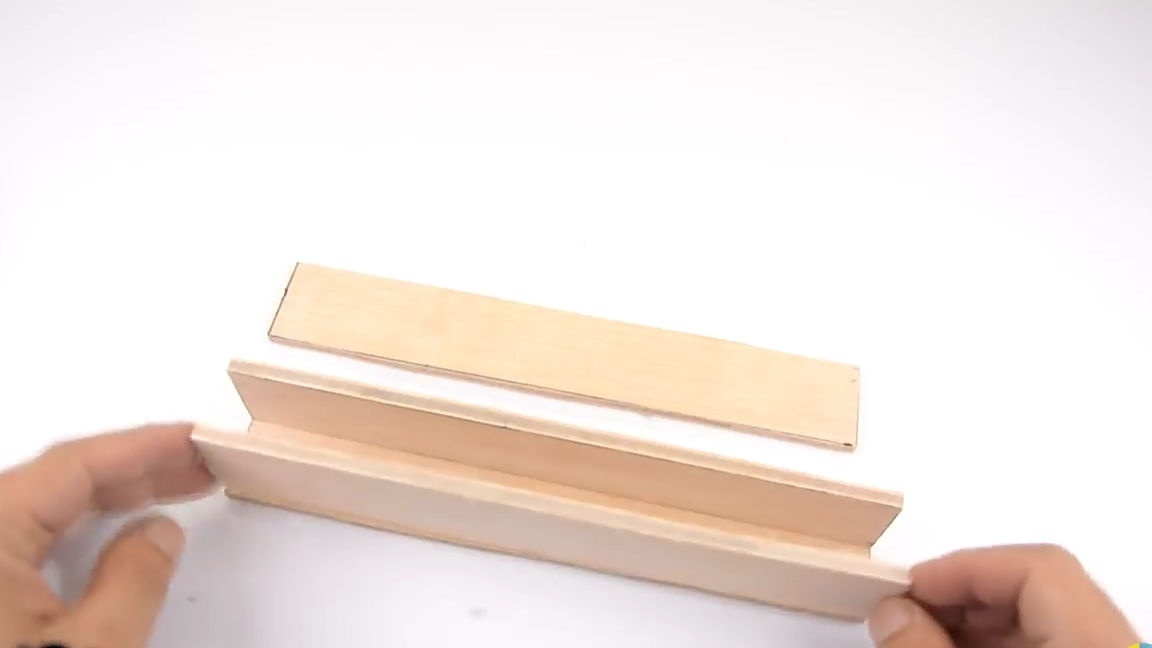
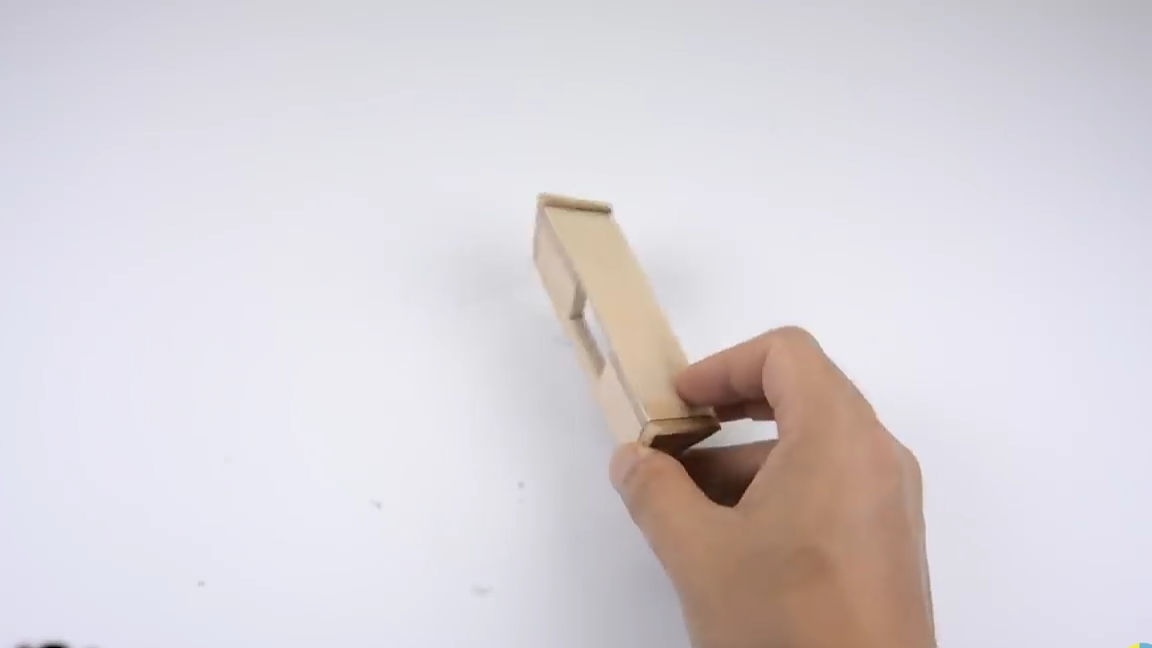
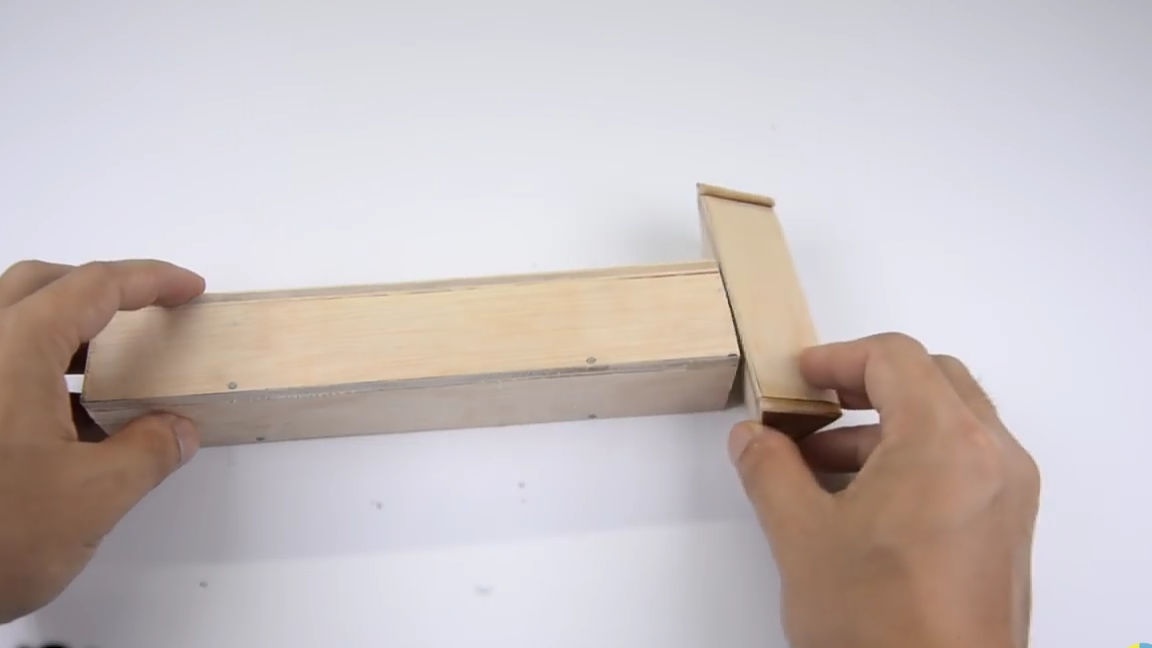
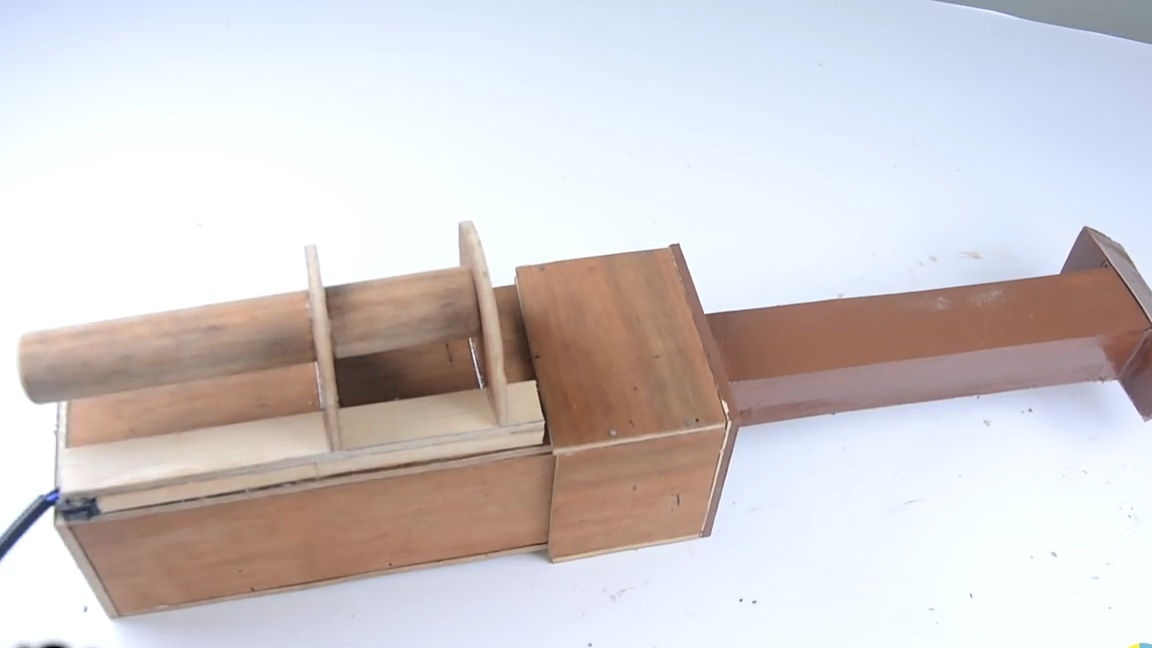
After that, we should make a kind of “sleeve” or adapter with which the suction end of the vacuum cleaner will be connected to the part with fans. To do this, we cut out four rectangles from the same plywood sheet, the length of which, when they are connected to each other, would be equal to the external width of the part with the fans, and the width is about 10 cm. This is necessary so that the two parts of the vacuum cleaner fit tightly into each other and do not hang out.
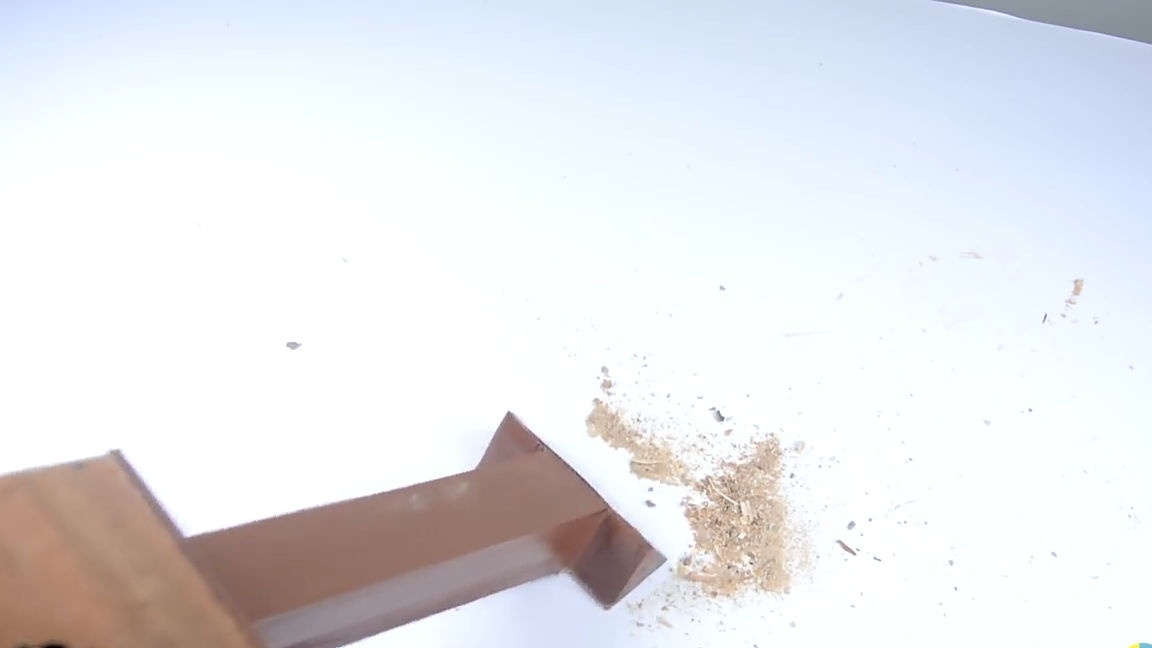
Then we cut out a square from plywood, with the help of which it would be possible to close one of the sides of the part just made. In the cut out plywood square, a hole should be made, offset to one of the sides. The hole will serve as an entrance to the sucked up garbage, it was required to be displaced so that holding the vacuum cleaner with the hole upward, the garbage would accumulate from the bottom and not fall back, that is, this part would also act as a container for the garbage to be collected.
Next, we collect the “nose” of the vacuum cleaner itself, for this we cut four rectangles of such a length that you need for the comfortable use of this vacuum cleaner, and the width should be equal to the width of the square hole made a step earlier. The newly cut rectangles from plywood should be combined into one element as shown in the photo below. Connect the rectangles with each other, like the rest of the elements, using small furniture nails and a hammer. Then, at the place indicated in the photo, we glue the just-made element (“nose”), this time we will connect the elements together using a very hot hot glue.

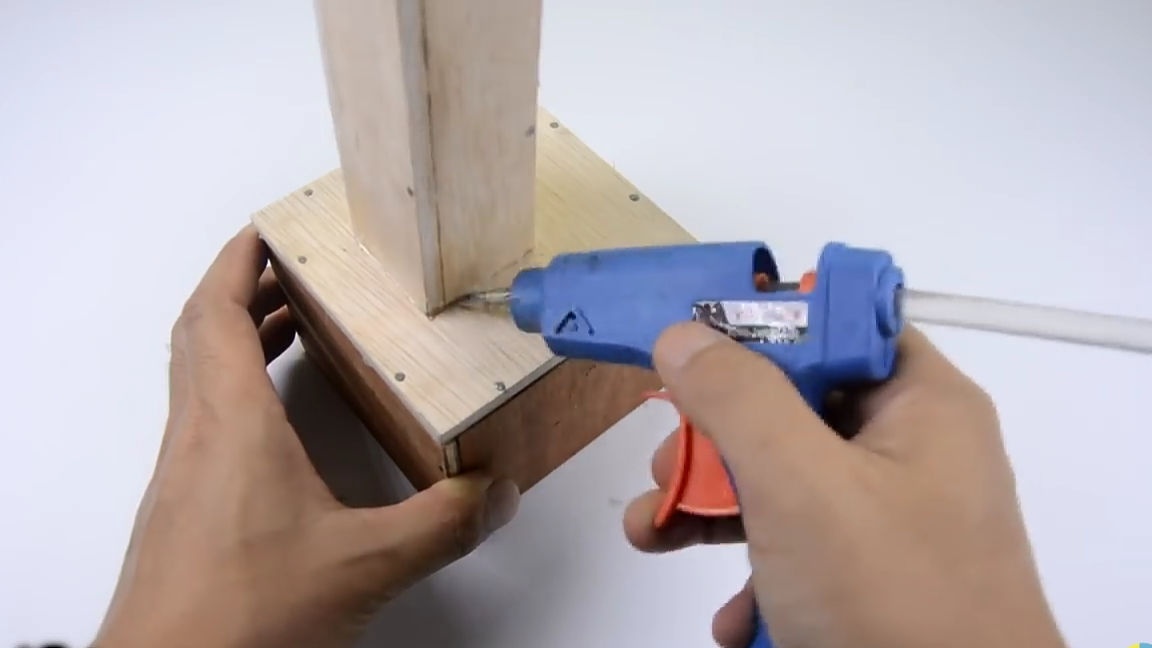
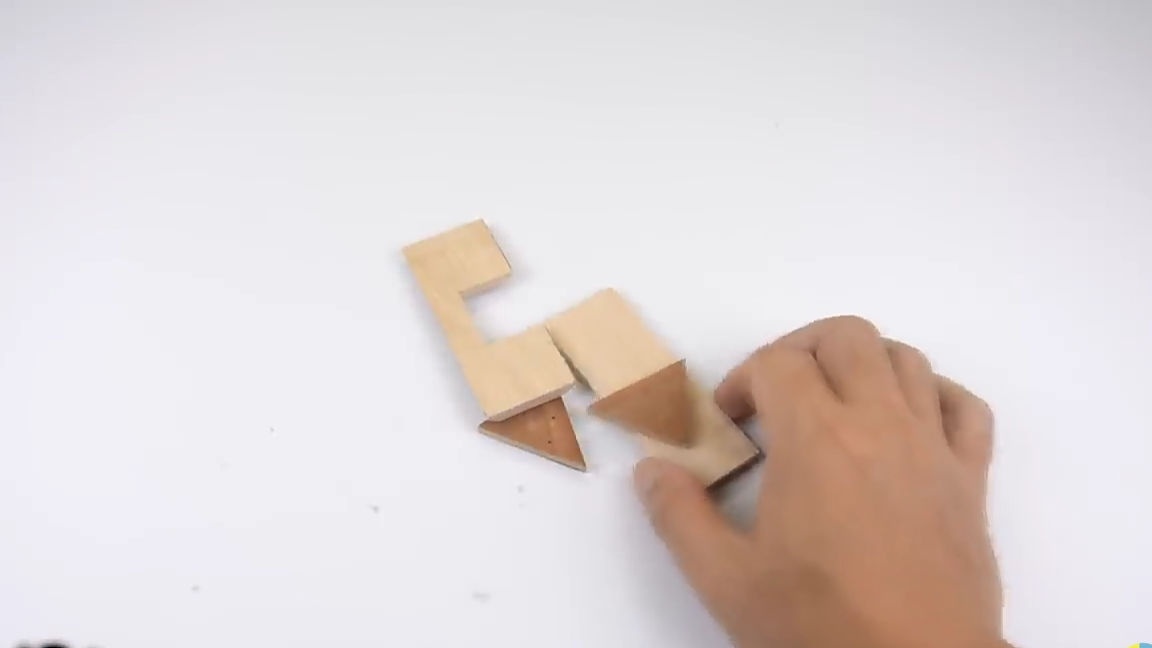
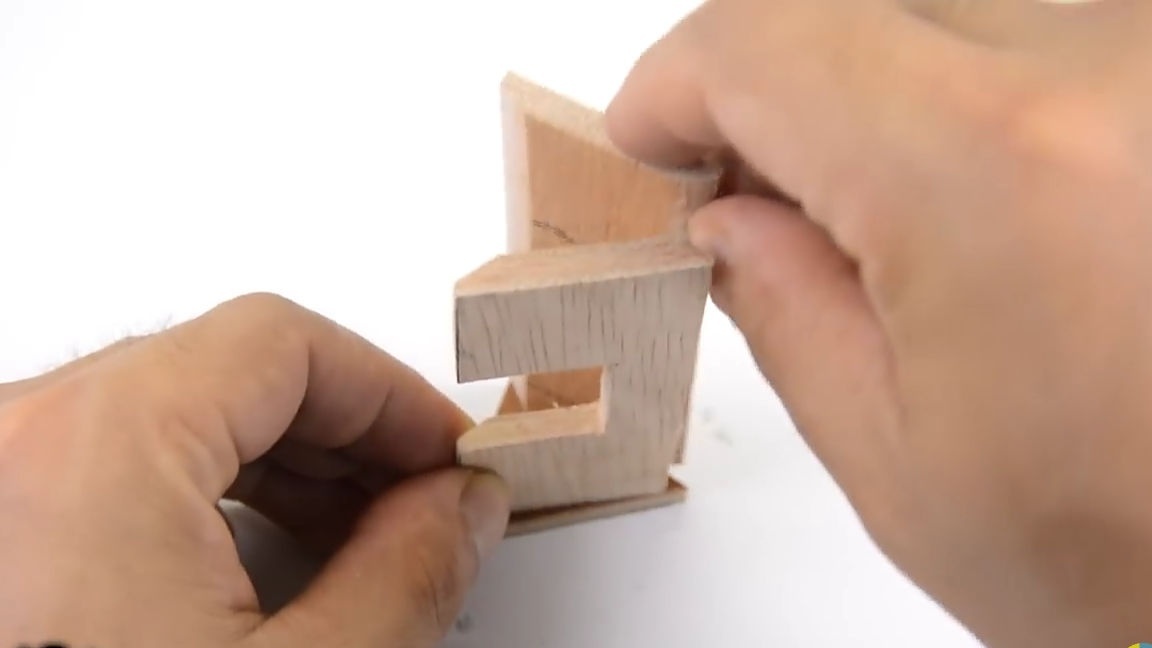
Next, we should make a “nozzle” for the vacuum cleaner. To make it, we need to cut out two identical isosceles triangles and two identical rectangles, exactly in the center in one of the rectangles we should cut a square hole of such a size that it was possible to insert a newly made “nose” into it. We connect the newly cut elements using hot-melt adhesive.And then we connect the two workpieces together so that the "nose" of the vacuum cleaner is in the upper part, and the nozzle is looking down. We connect these parts with hot-melt adhesive.
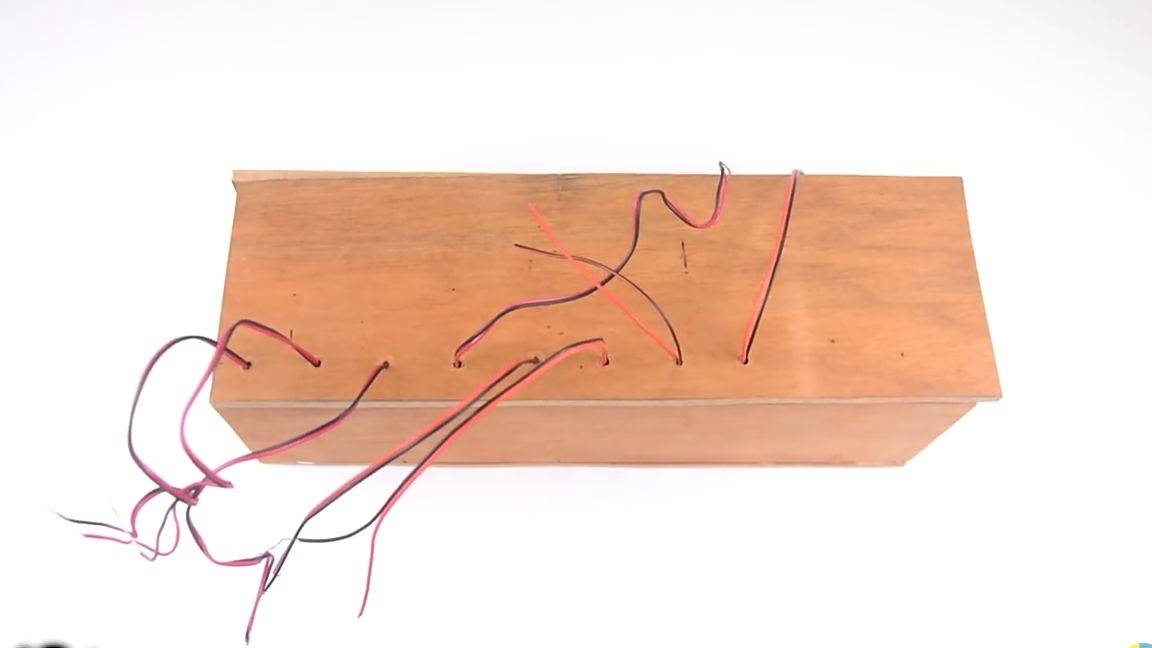
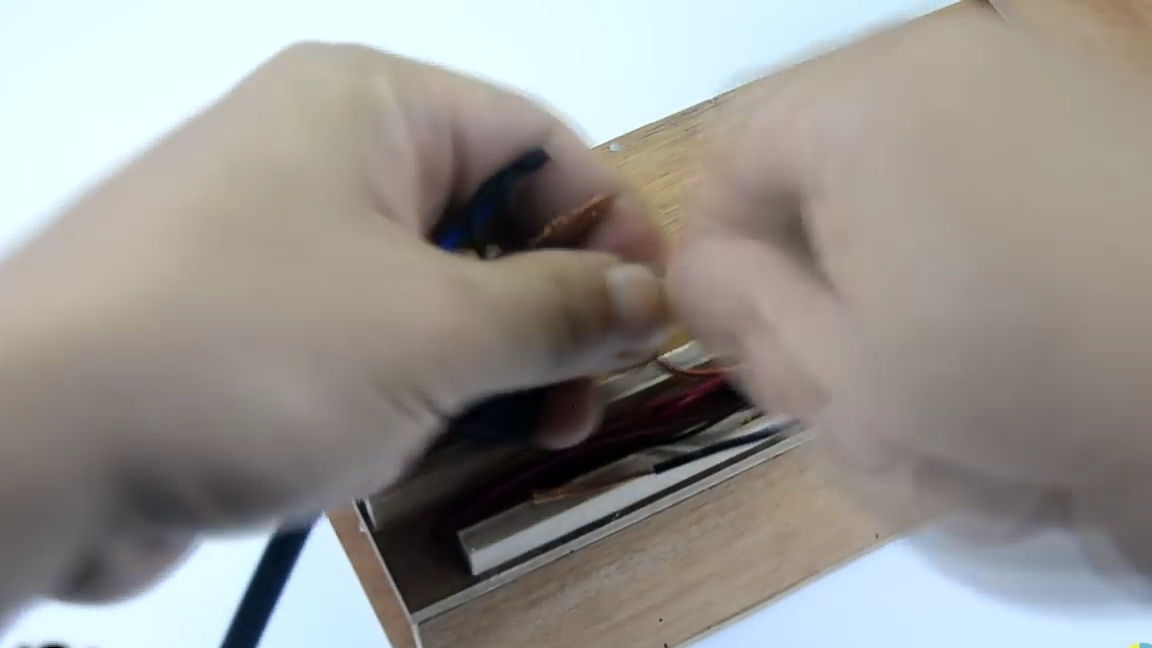
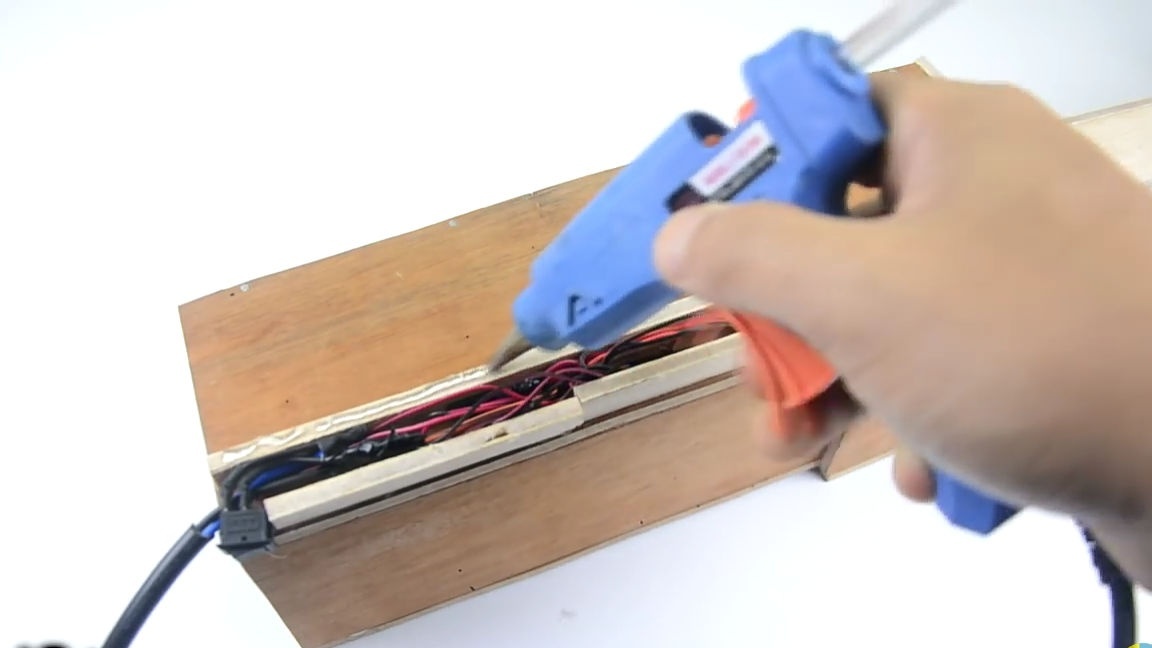
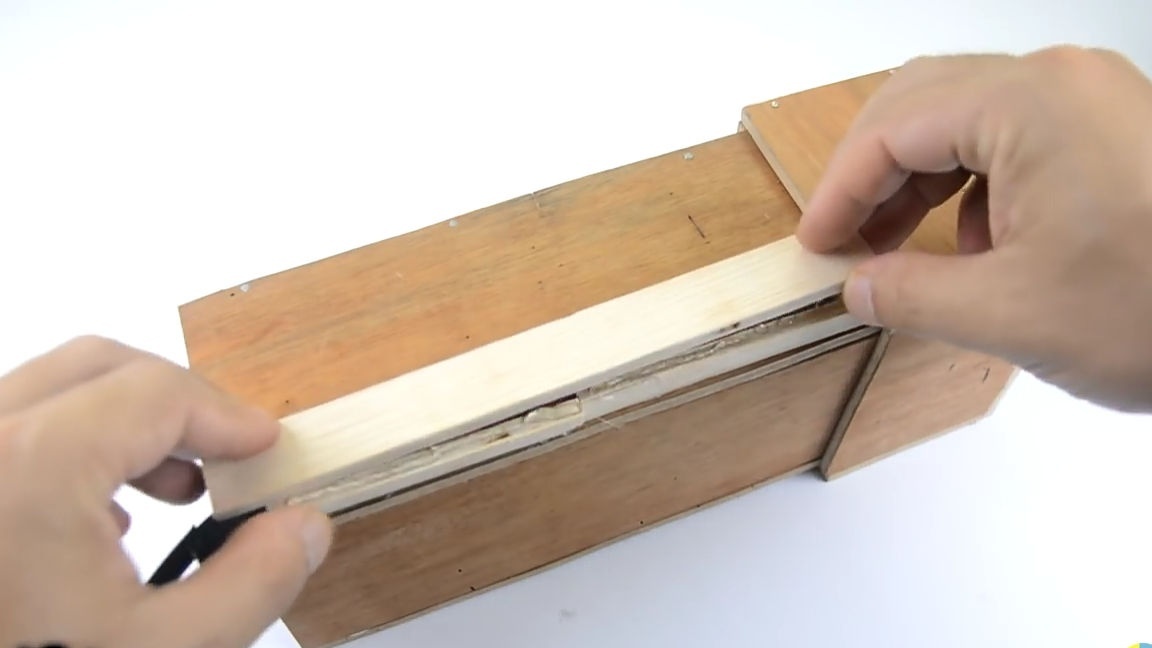
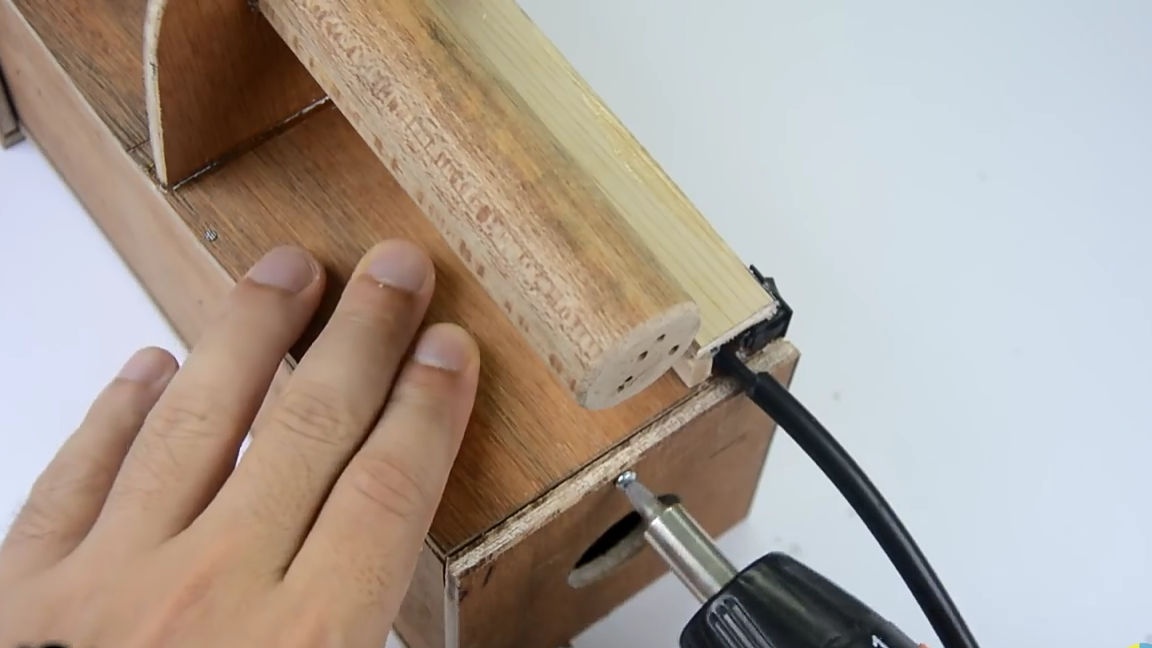
We connect the two parts of the vacuum cleaner and continue the assembly itself. For aesthetics, you should hide the wires so that they are not visible. To do this, you can use an ordinary cable groove in which you would have to make the required number of through holes in order to insert wires through them and carefully place them there. The author of the homemade did not find this, and therefore he simply decided to make it out of plywood. See the step-by-step photos below, everything is easy and simple, you can do without comments. We connect all the fans, while not forgetting to add a switch to the circuit.

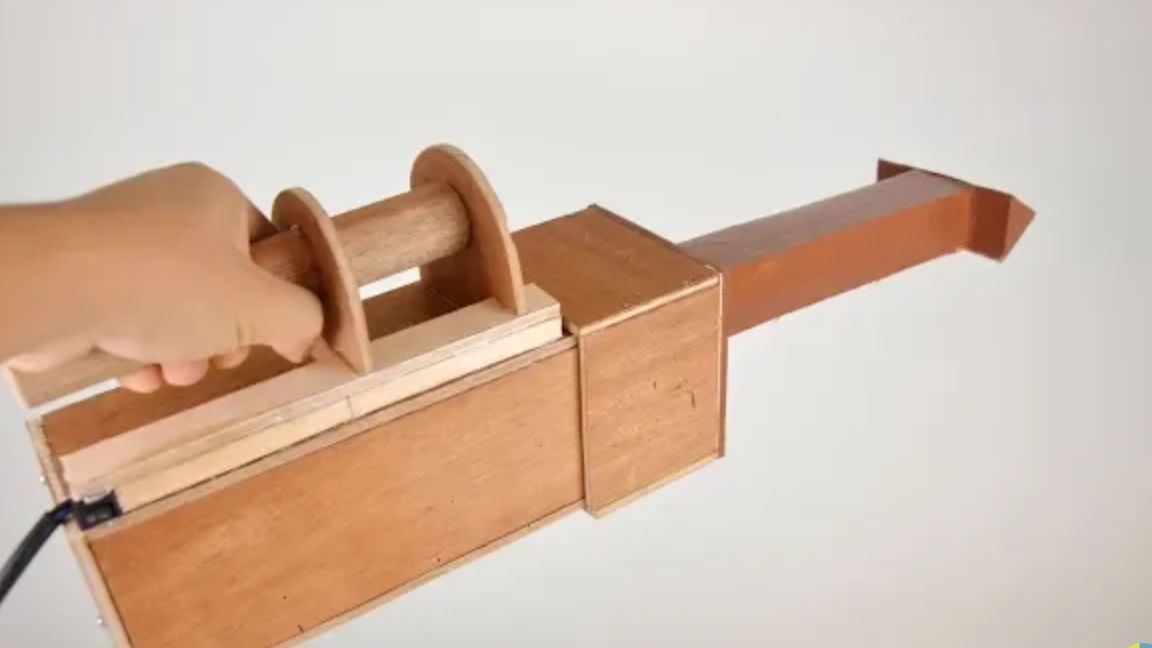
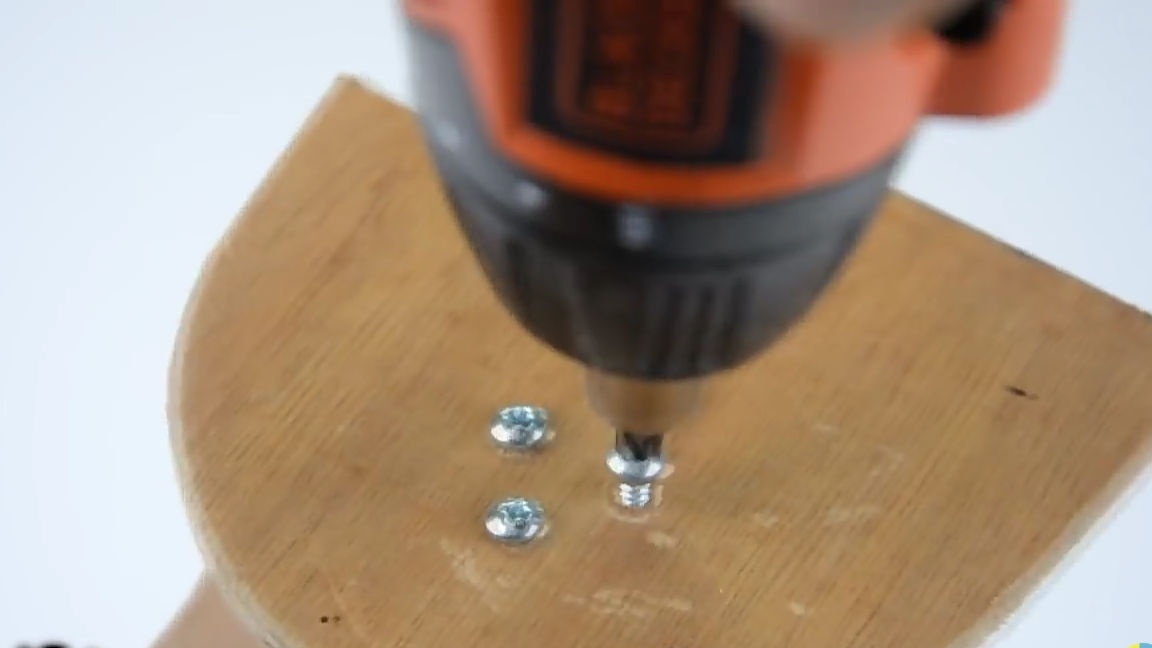
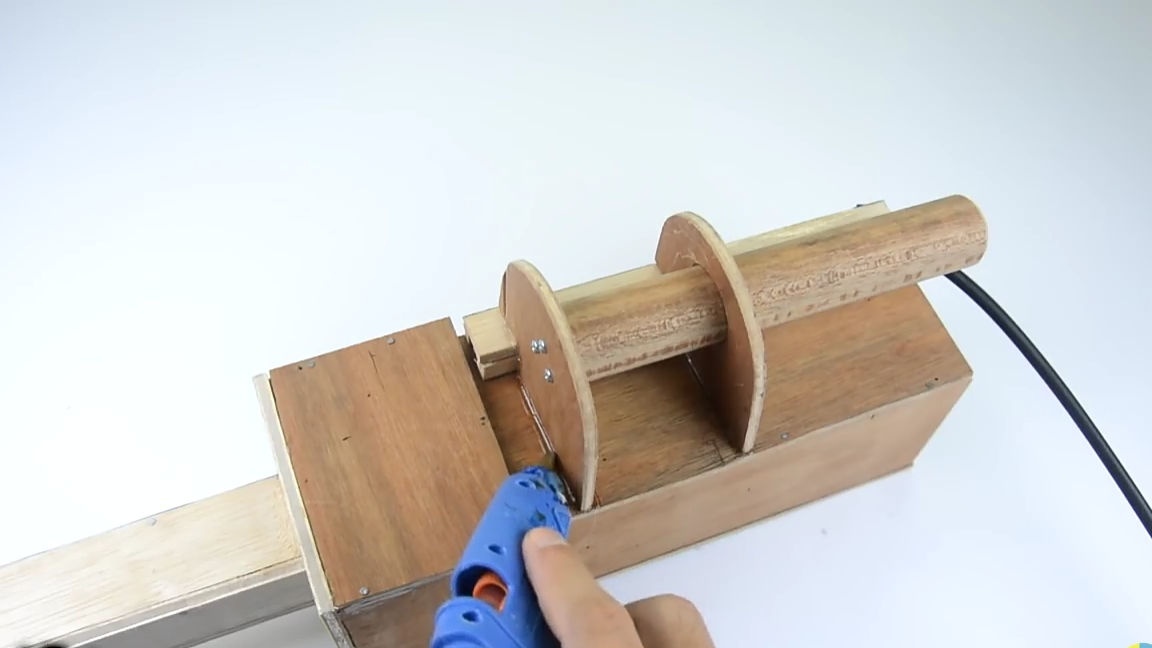
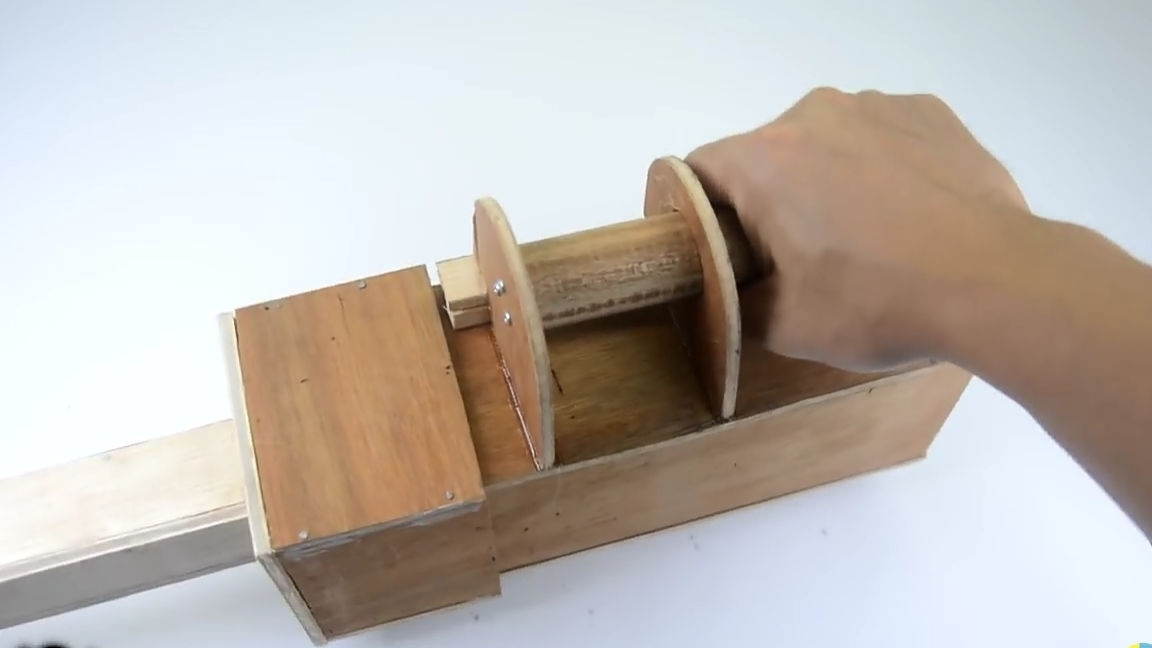
At the end, we will make a handle from the handle, the same as in the photo below. And in order to protect the fans from the side where the air comes out, we add a cover with a round hole in the center. And also we will process the homemade product with some protective compound so that it can be preserved as long as possible.

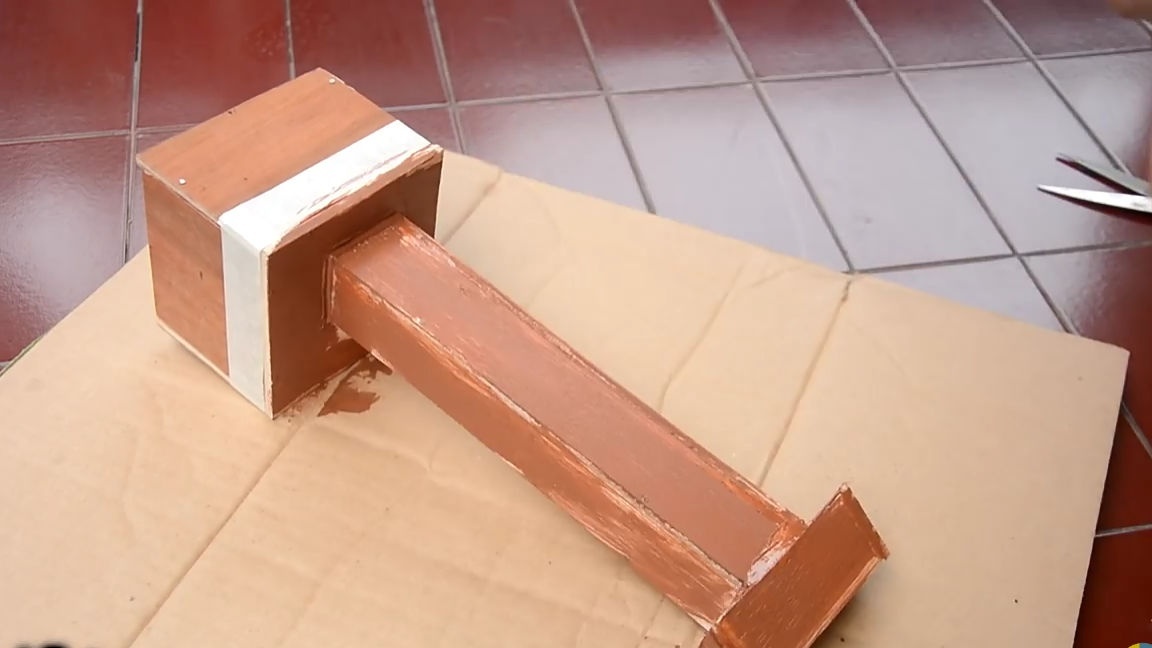
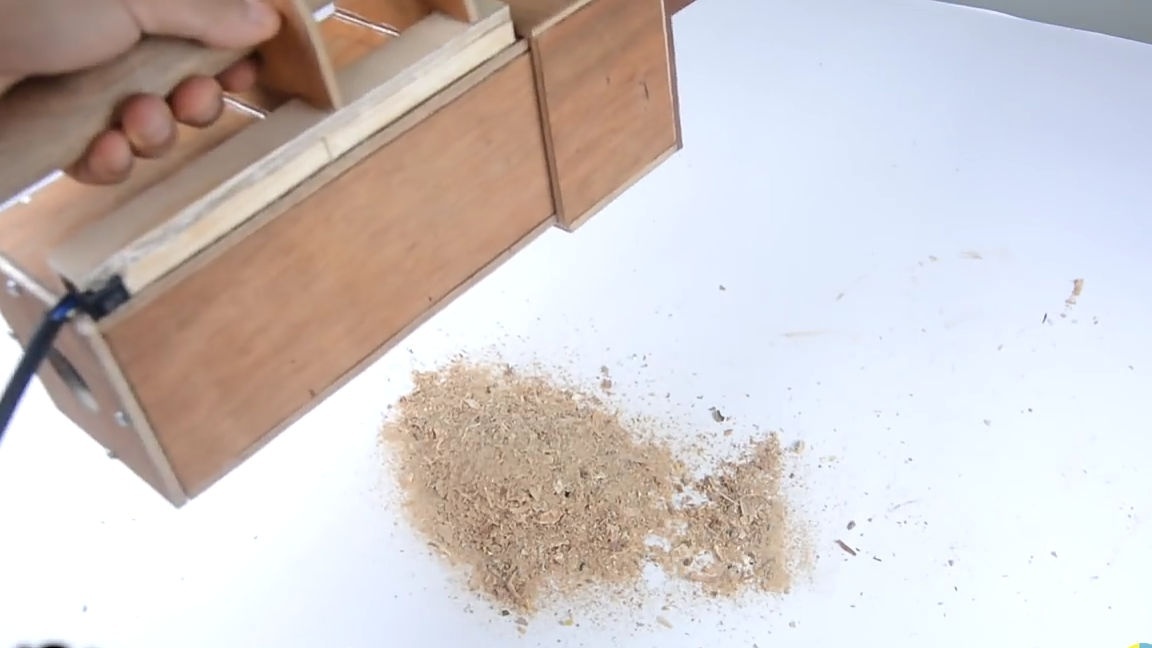
All is ready! It remains to connect the power and check the performance of the homemade product. As a result, we got a homemade product that can help you clean your workshop.
Here is a video from the author with a detailed assembly and testing of this homemade product:
Well, thank you all for your attention and good luck in future projects, friends!