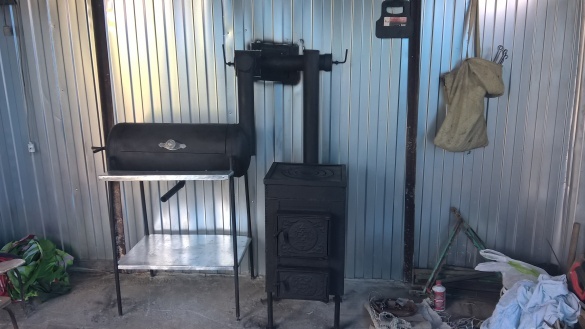
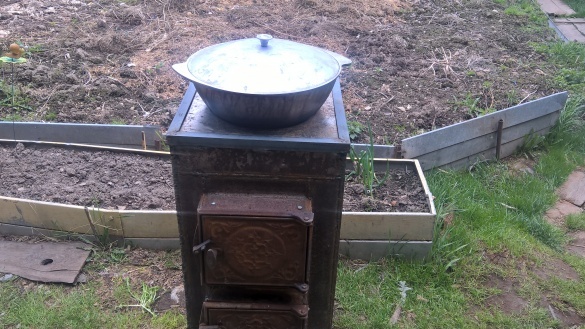
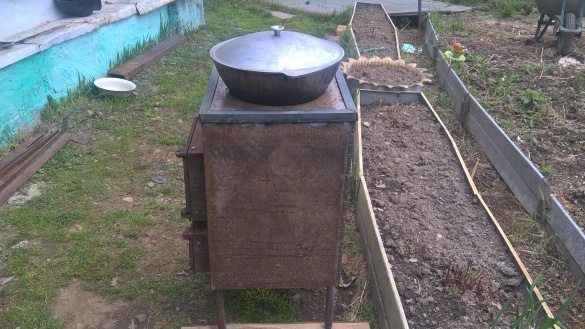
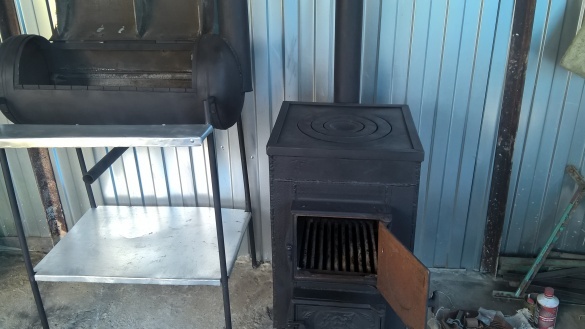
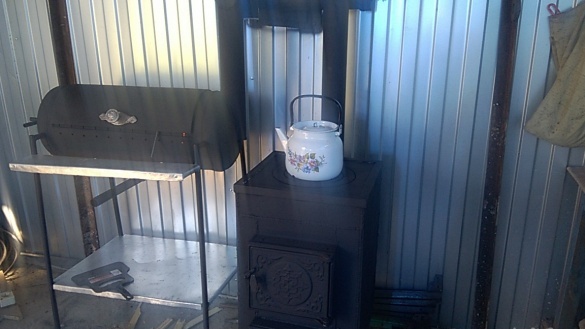
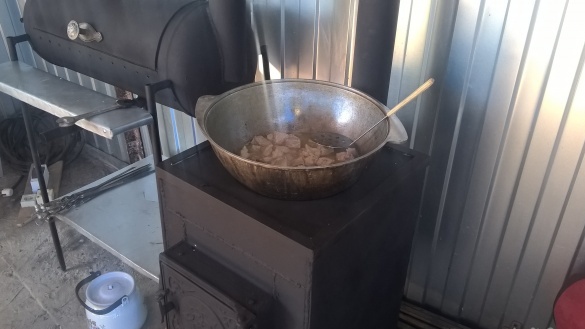
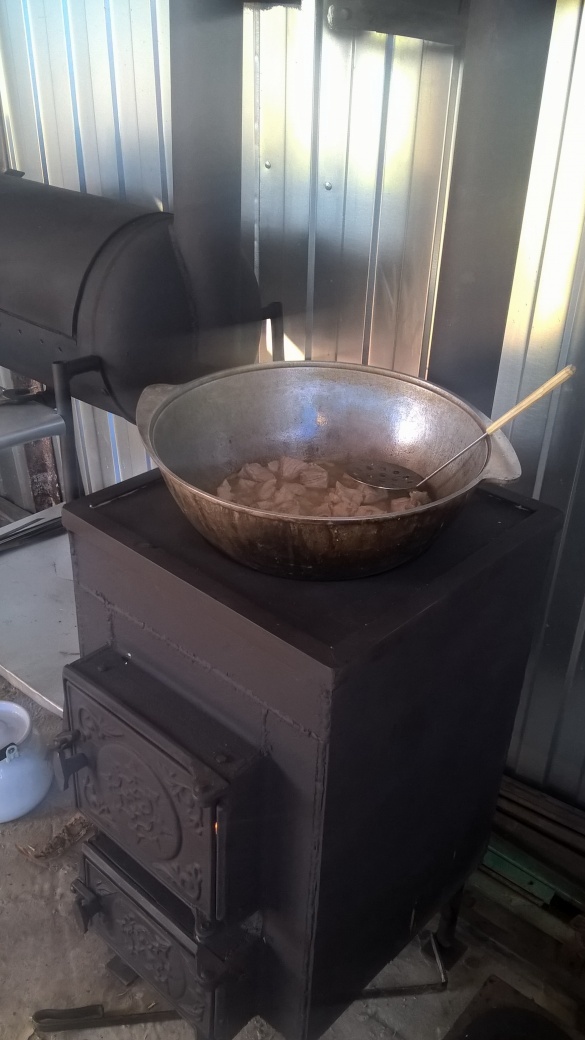
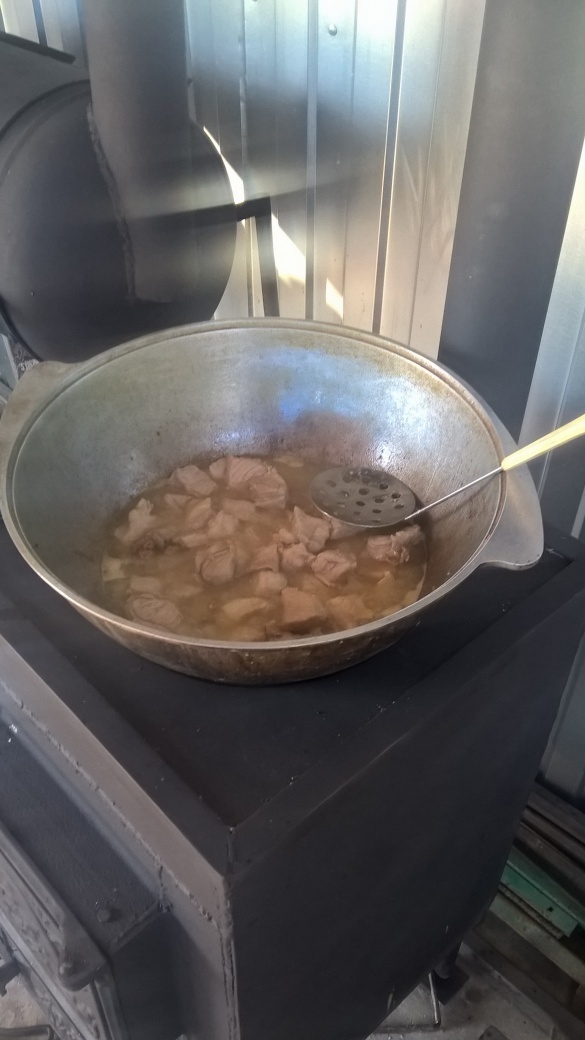
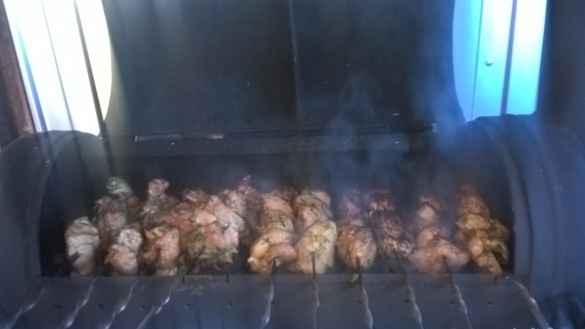
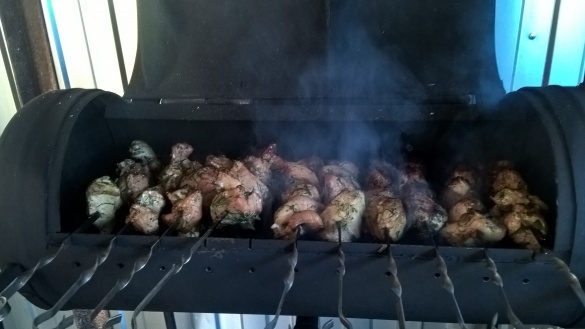
Barbecue grill is a food cooked on a fire, which has taste and seductive aroma. People who have country the site is seriously starting to think about building a barbecue and cooking complex, which would be nice to relax and of course eat a delicious barbecue or barbecue with a special taste and rich smell.
If the cauldron is metal and portable for such a barbecue is not required construction significant complex and often just bought at the store. However, create a barbecue do it yourself not so difficult.
Video:
Tools and materials:
1. Iron sheet (800 by 1400 mm, thickness 10 mm)
2. 50 liter gas bottle
3. Iron corner (60 to 60 mm, thickness 3 mm, length 4 m)
4. Iron corner (25 by 25 mm, thickness 3 mm, length 3 m, 20 cm)
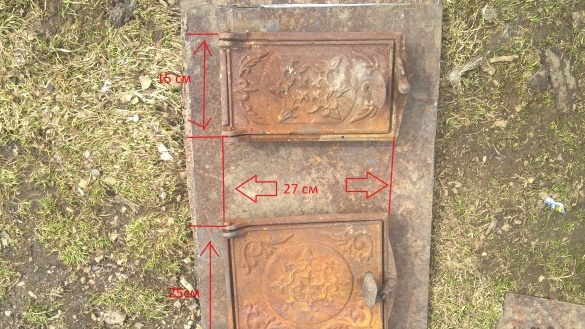
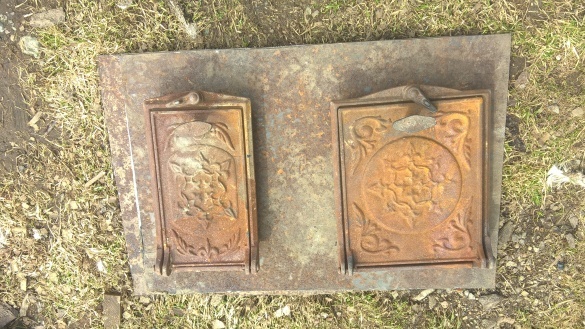
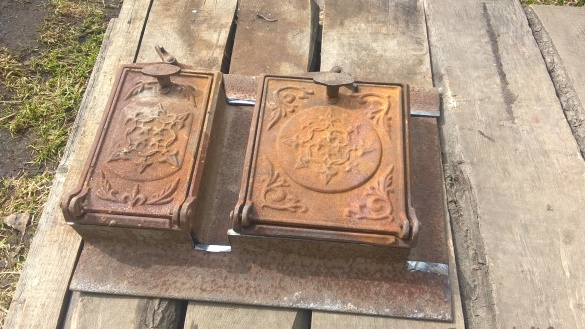
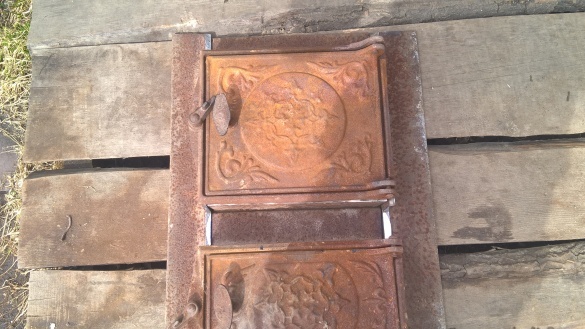
5. Cast-iron doors (270 by 250 mm) (270 by 150 mm)
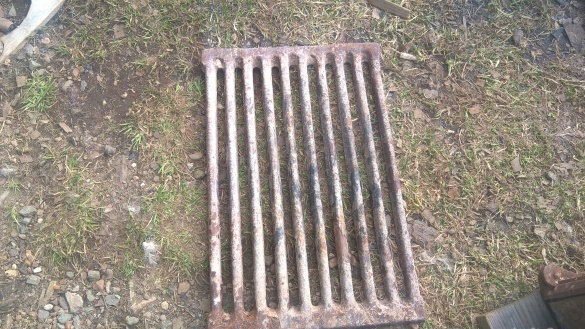
6. Cast iron plate (400 to 400 mm)
7. Cast iron spool
8. Iron pipe (diameter 90 mm, length 3 m)
9. Iron pipe (diameter 20 mm, length 9 m)
10. Iron pipe (diameter 30 mm, length 150 mm)
11. Iron pipe (diameter 80 mm, length 500 mm)
12. Stainless pipe (diameter 200 mm, length 3 m)
13. Iron pipe (diameter 150mm, length 30 cm)
14. Galvanized iron (750 to 750 mm)
15. Bolts nuts and small things in place.
16. The handle is aluminum
17. Drill
18. The welding machine
19. Bulgarian
First step:
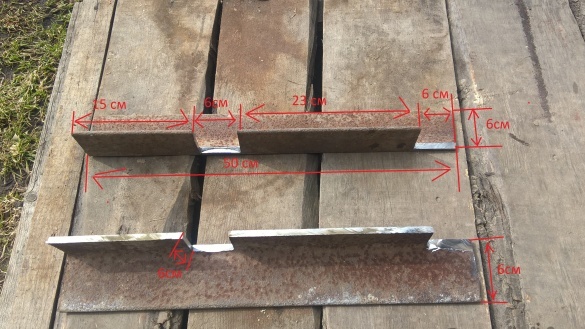
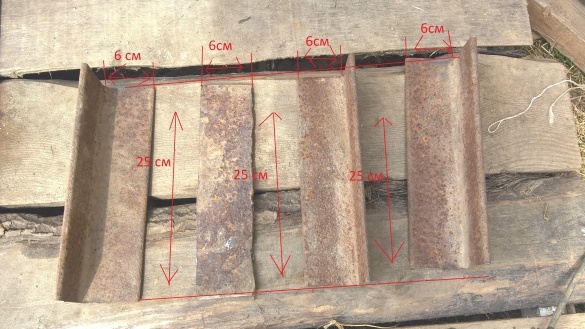
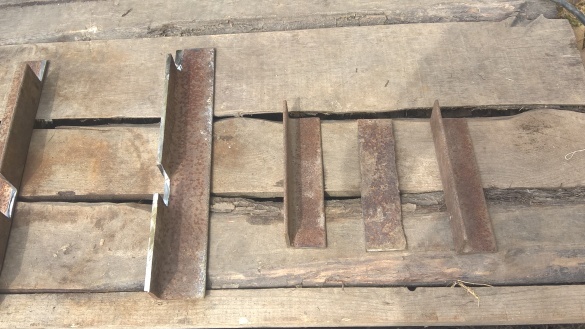
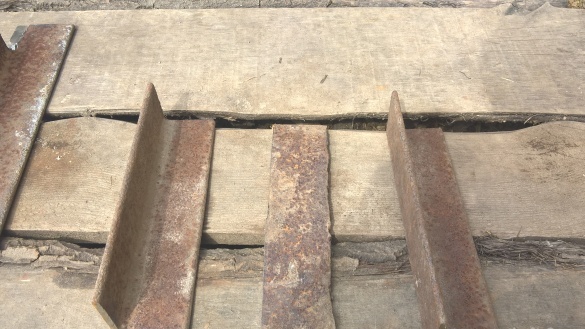
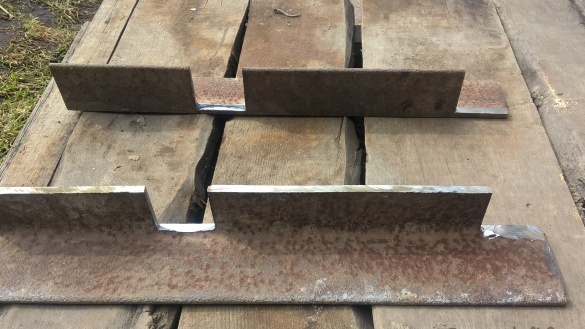
I cut the blanks as in the drawings.
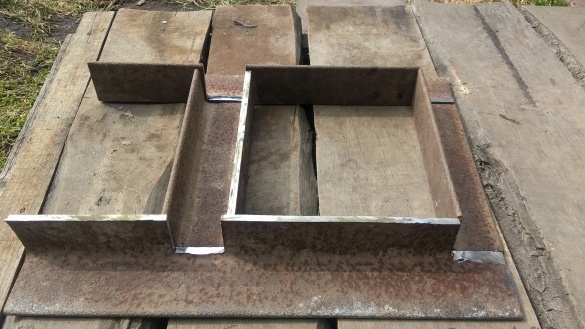
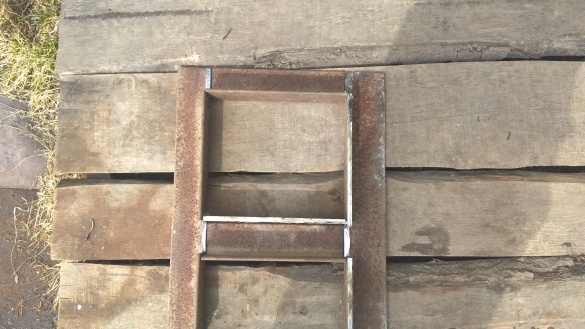
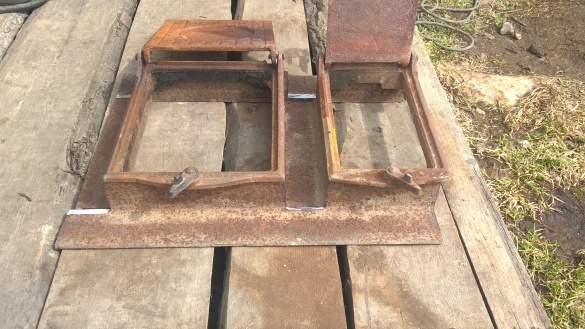
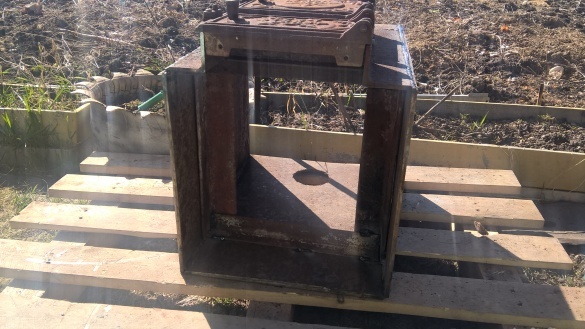
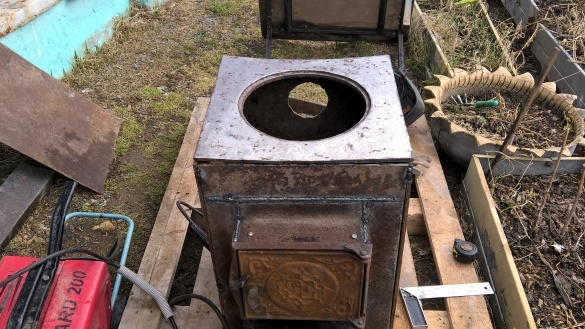
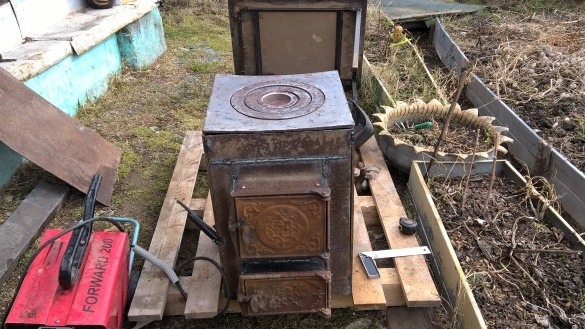
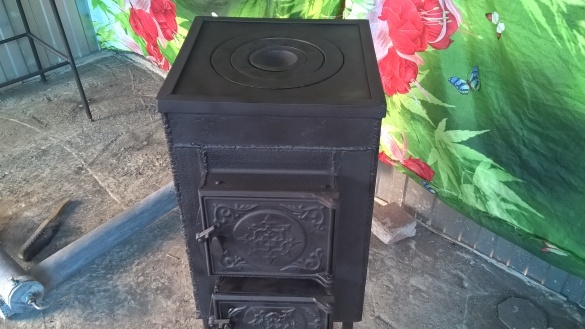
I took all the blanks and folded them in such a way that in the middle there was a u-shaped piece of iron from a plate and a corner, and just a corner on top.
Cooked them together.
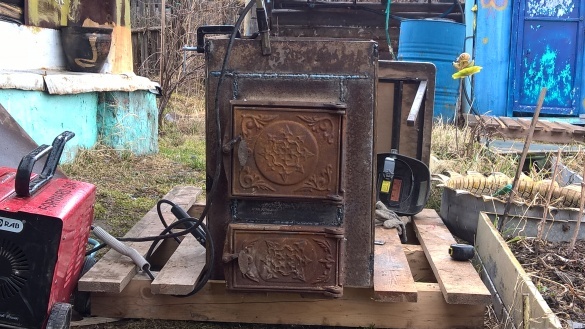
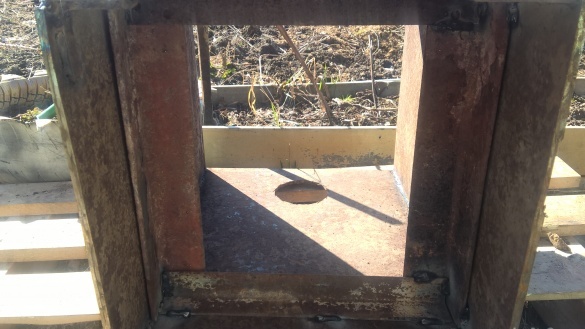
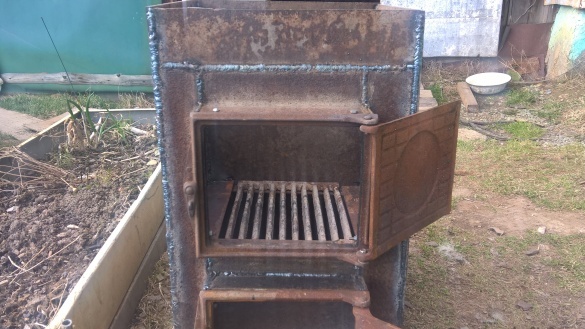
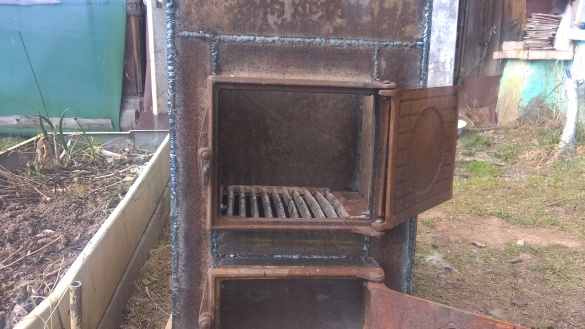
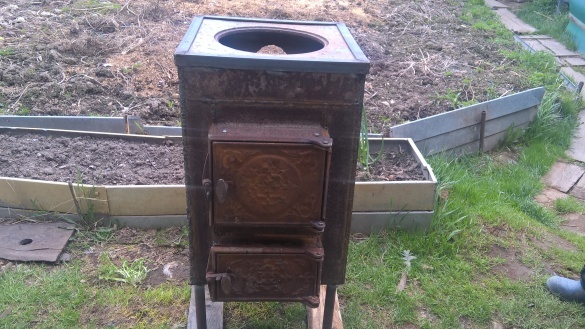
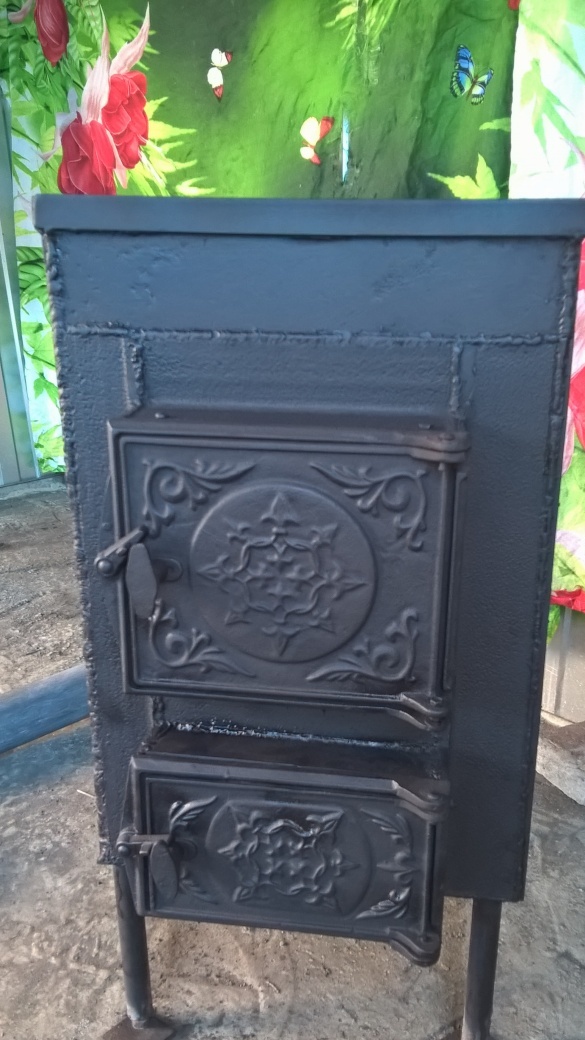
He took the cast-iron doors and bolted them to the workpiece.
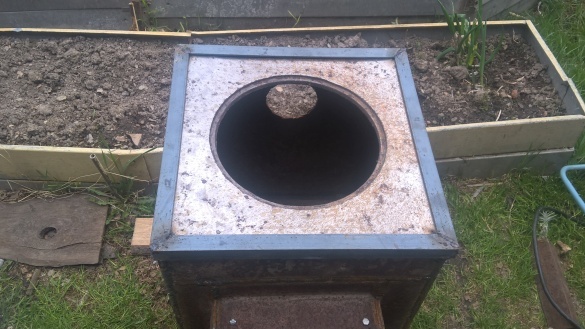
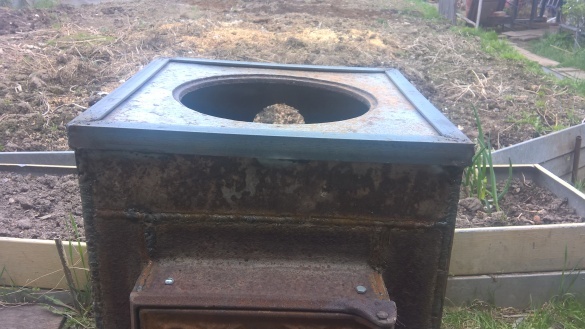
I cut a piece of iron 400 per 100 mm and welded it to the top of the wall.
Second step:
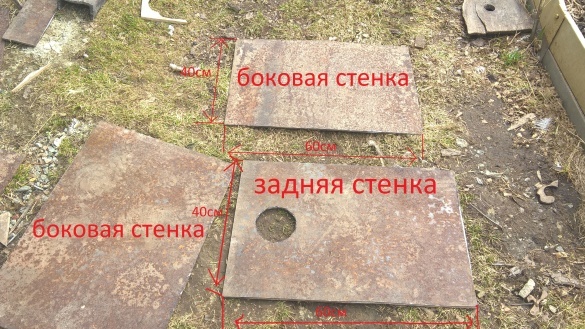
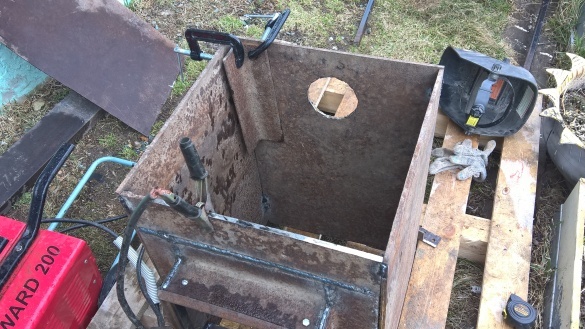
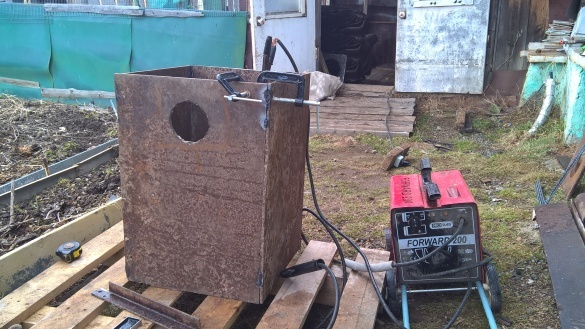
He took a sheet of metal, and cut out 3 identical rectangles with sides of 600 by 400 mm. I made a hole in one rectangle, 8 cm from the top in the middle of the width.
Third step:
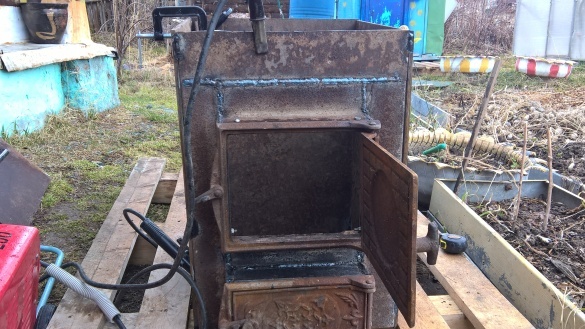
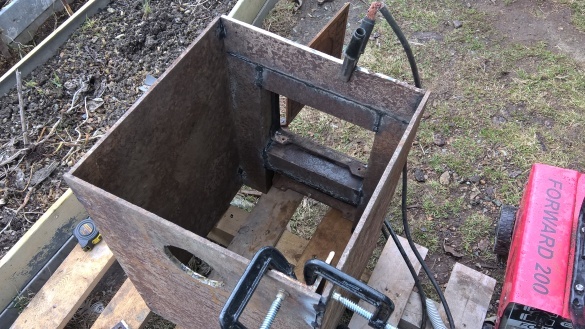
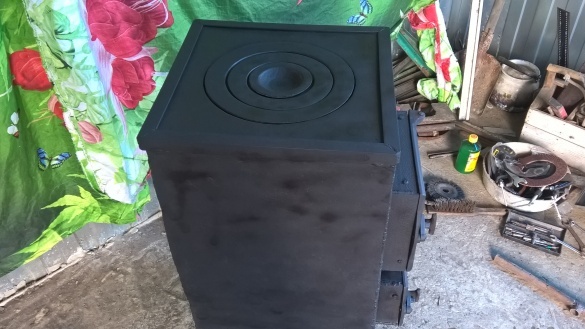
Welded all the walls of the stove at an angle of 90 degrees.
Fourth step:
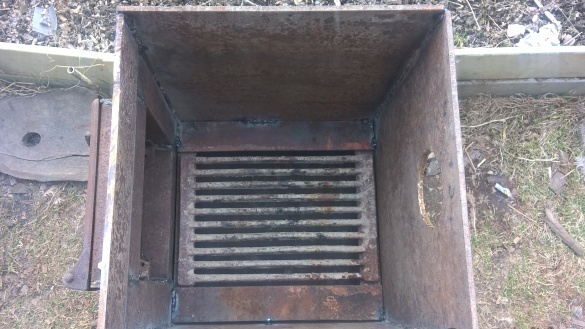
Welded corners 60 to 60 mm inside the stove under the spool. So that it is at the same height as the door.
Fifth step:
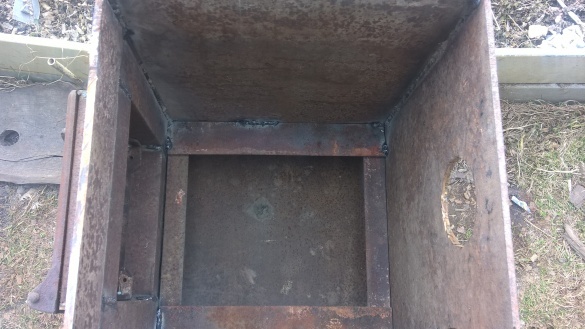
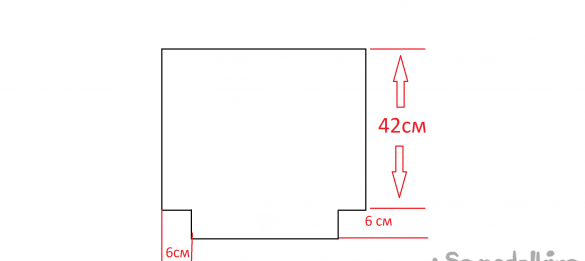
Cut the bottom according to the drawing. And welded it to the stove
Sixth step:
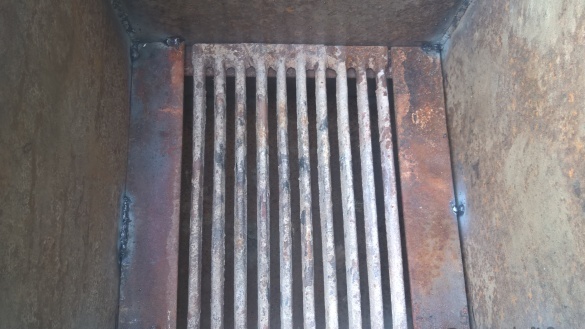
Using the corners of 25 mm, attached a cast-iron plate.
Seventh step:
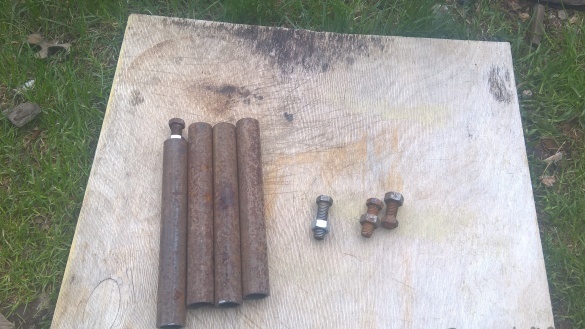
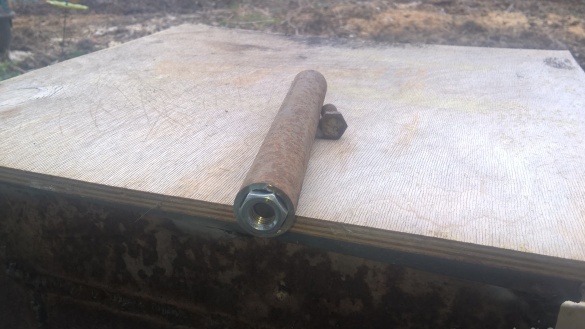
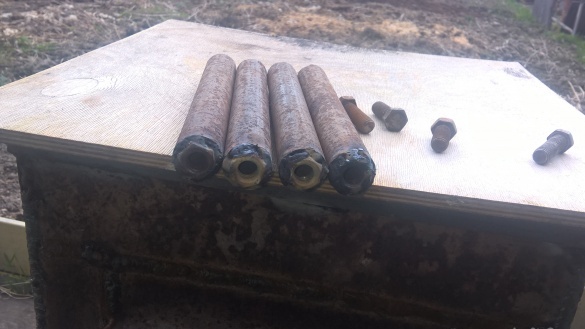
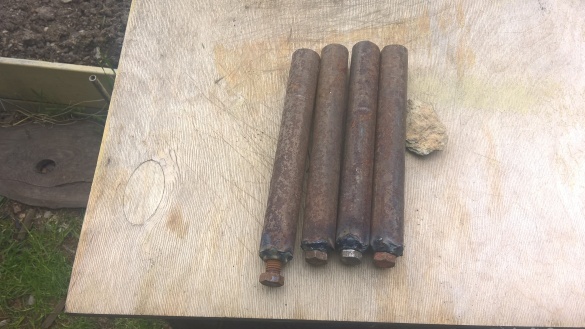
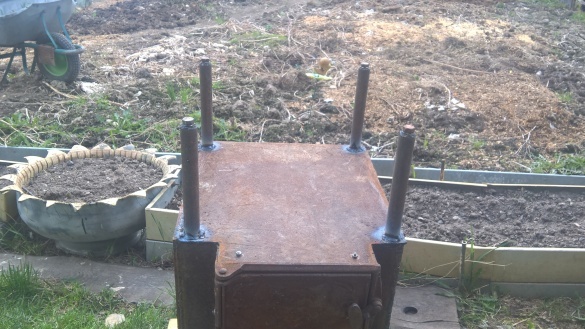
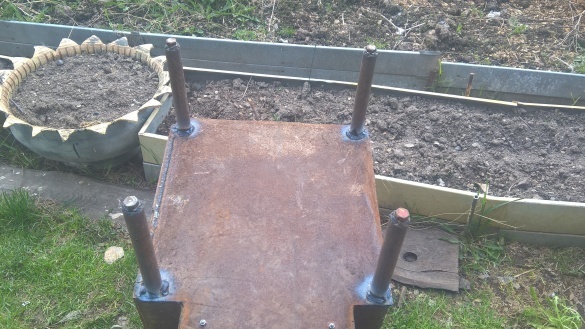
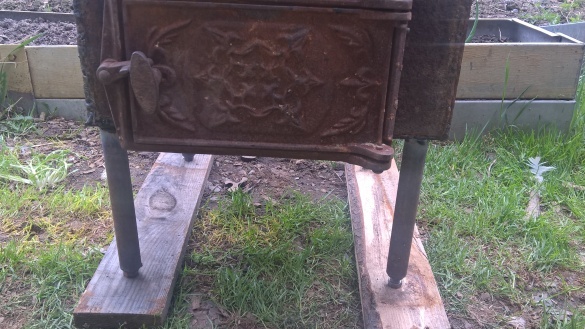
I cut four identical legs from the pipe and welded nuts inside them. And then I welded the resulting workpieces to the bottom of the stove at an angle of 90 degrees, we got adjustable legs.
We pass to the gas cylinder.
The eighth step:
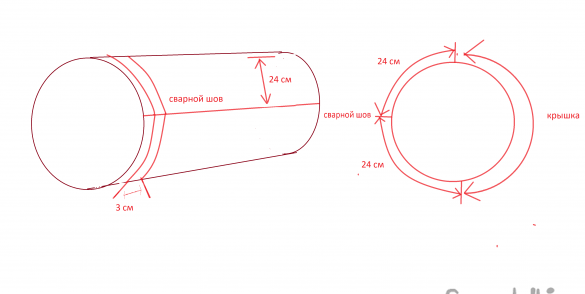
I made the markup as in the drawing.
The ninth step:
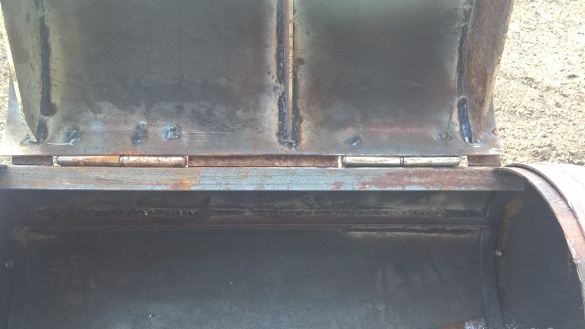
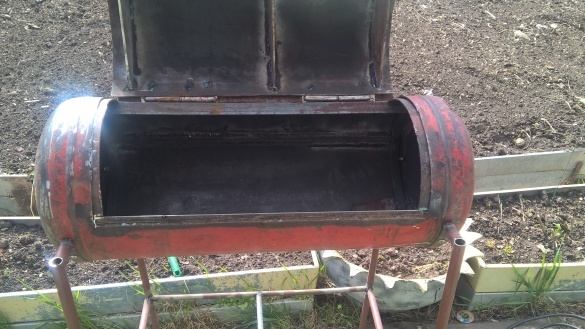
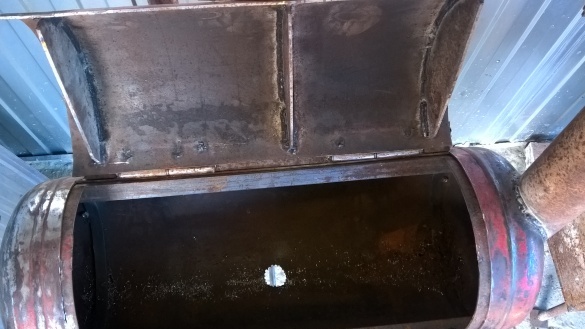
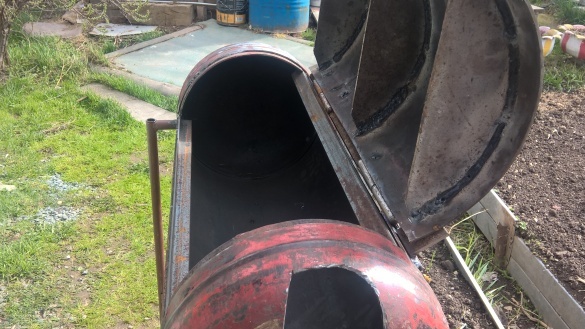
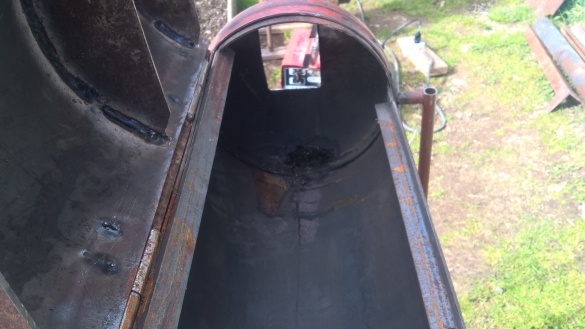
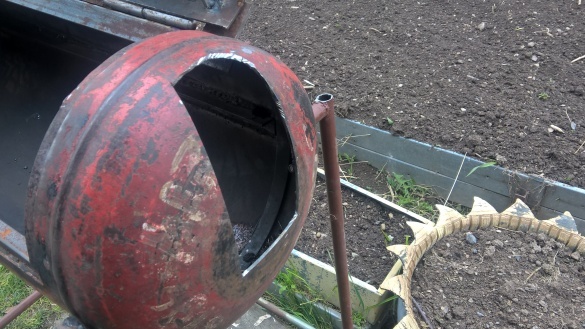
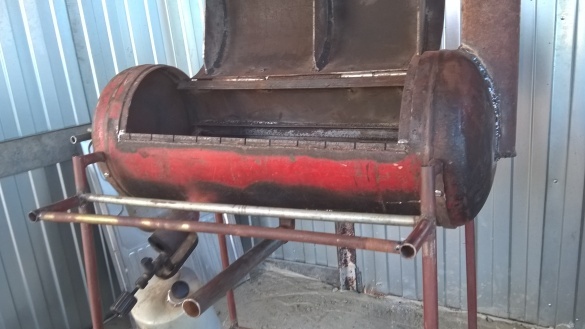
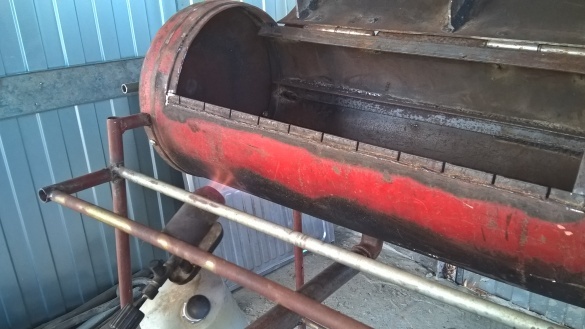
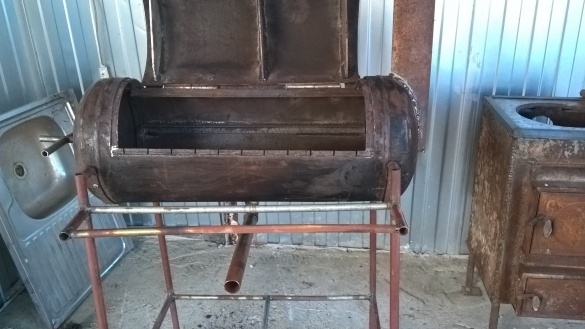
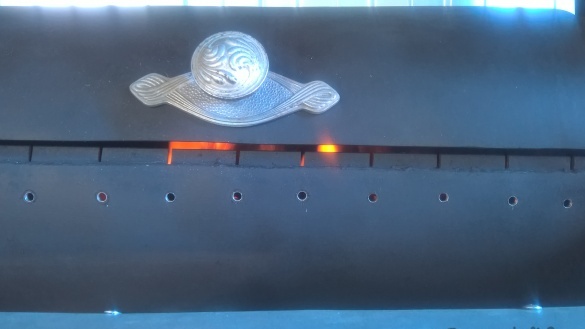
After marking, I sawed one long line and screwed the hinges so as not to lose the groove. And then I saw off the rest.
Tenth step:
I cut stiffeners for the grill cover so that the lid does not lead when heated and welds them.
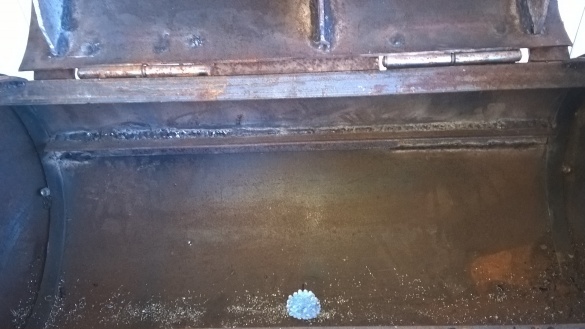
At the back of the container, next to the hinges, welded corners so that the cap does not fall far back.
I cut out arcs to close the gaps between the door and the cylinder on the sides and two corners along the length of the door above and below, welded from the inside to the cylinder.
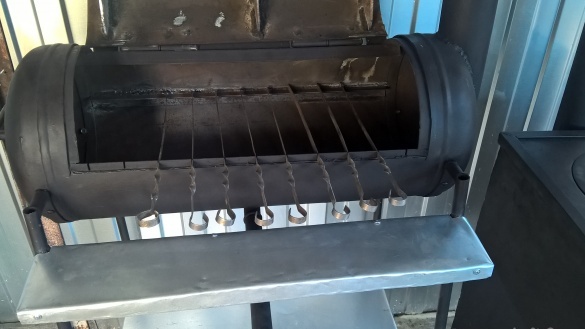
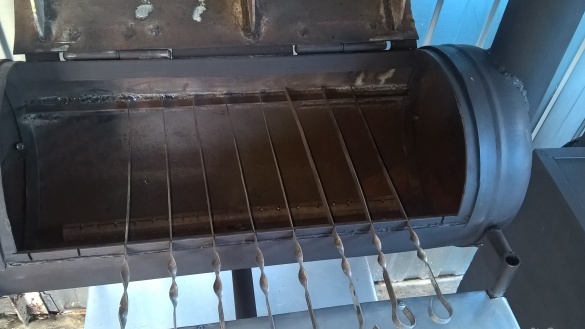
A corner was welded to the back wall inside the cylinder to maintain the skewers.
Eleventh step:
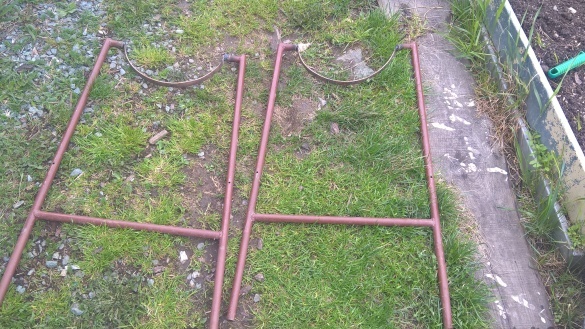
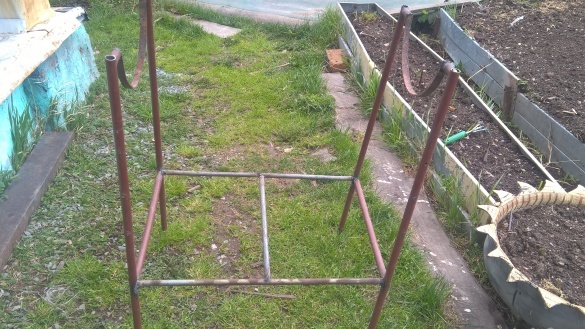
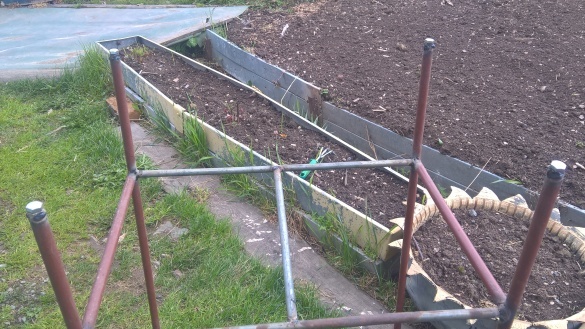
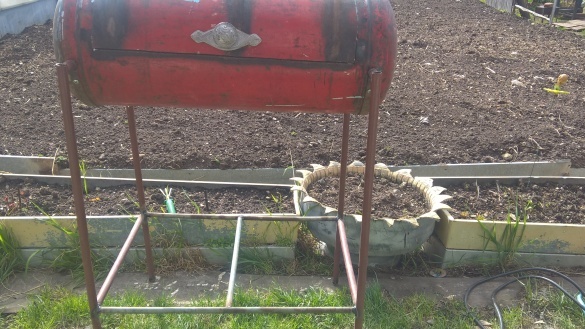
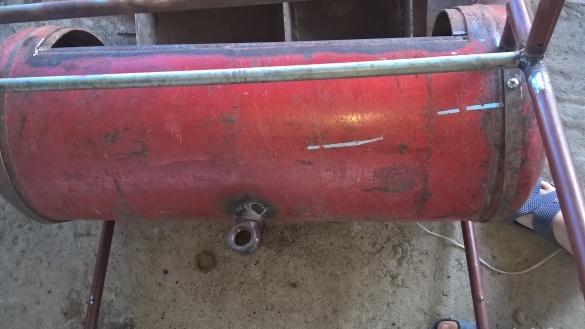
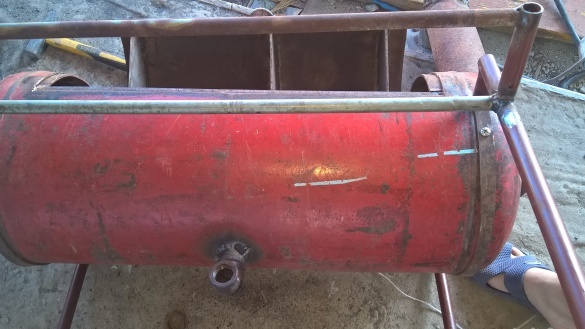
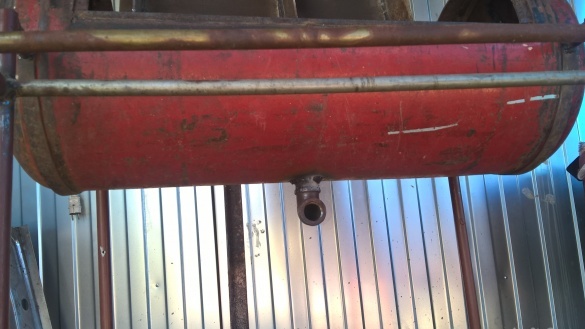
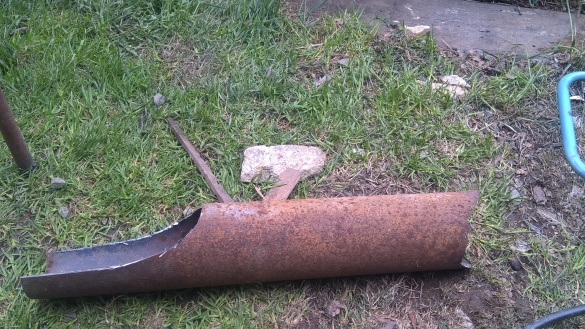
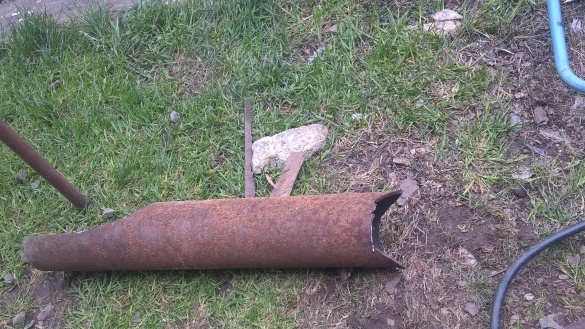
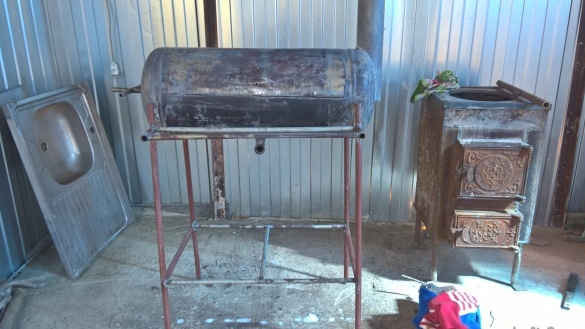
From a pipe, I cooked a stand for the future brazier. I cut two strips and bent them under the diameter of the cylinder. The bottom of the coasters made a shelf. I made adjustable legs in the same way as I did them for the stove.
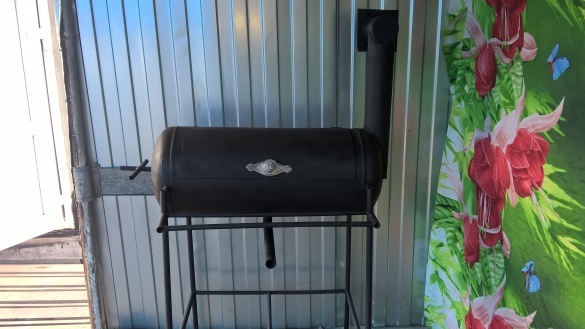
The stand is ready, I attached the brazier with the help of bolts.
Twelfth step:
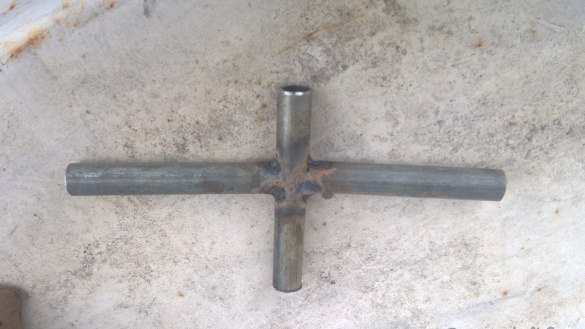
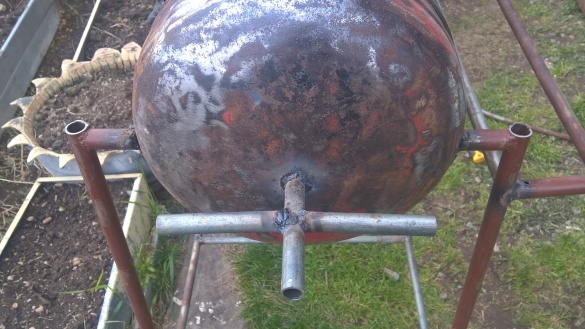
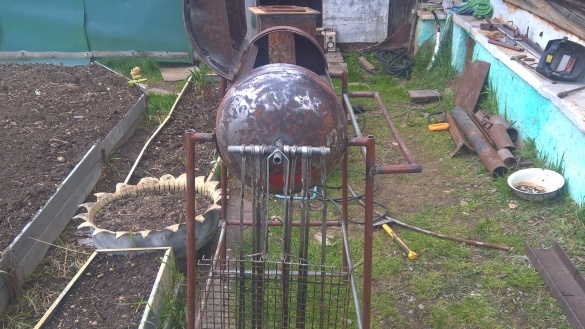
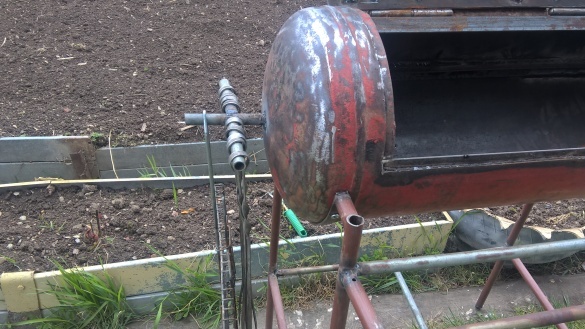
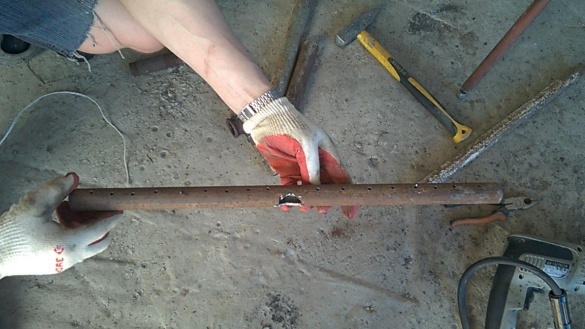
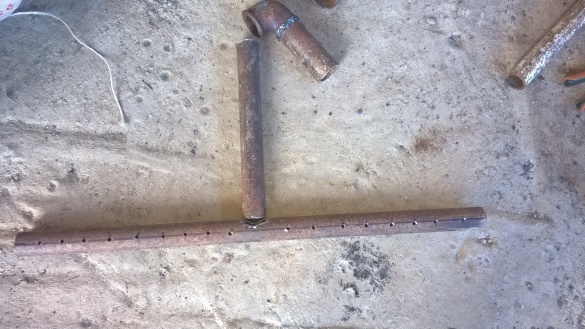
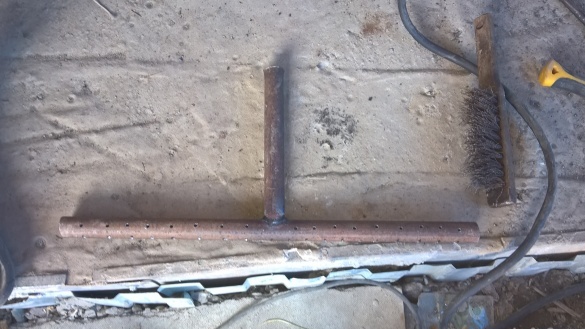
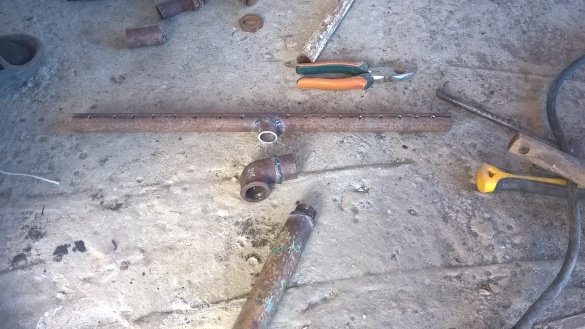
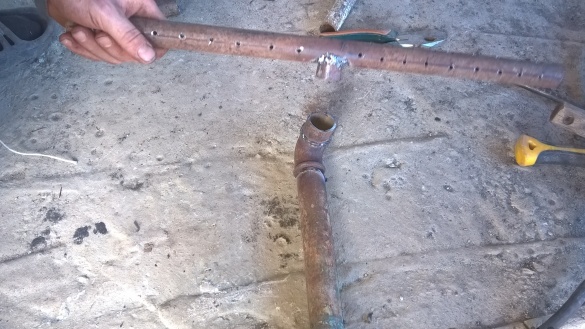
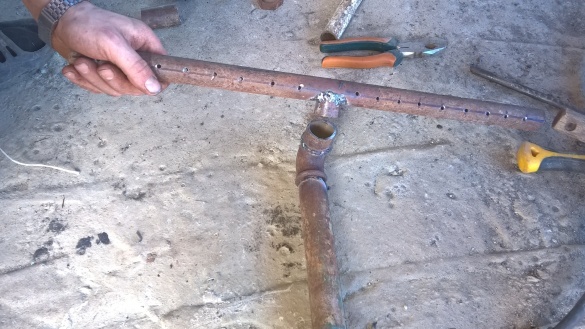
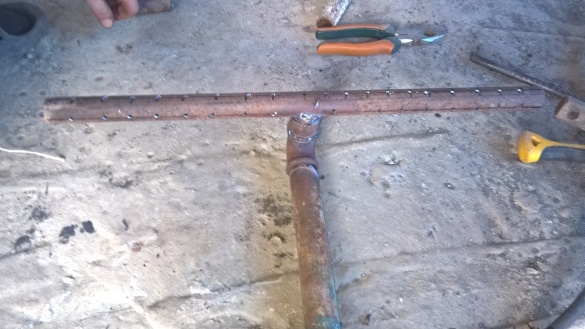
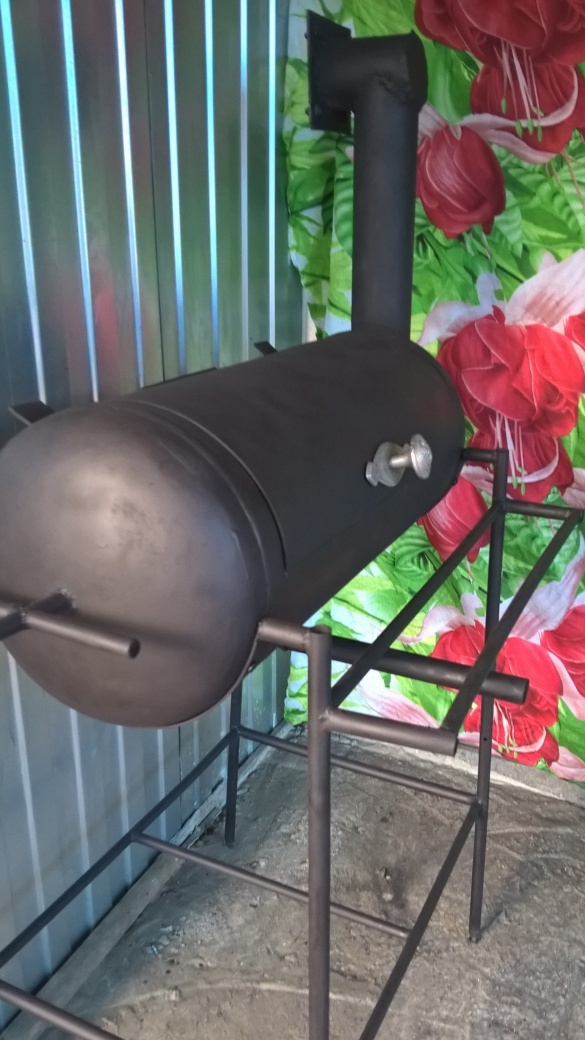
I welded a cross from pipes and welded them from the left side of the barbecue and got a place for skewers and grills.
He took another pipe and made a small table in front of the barbecue.
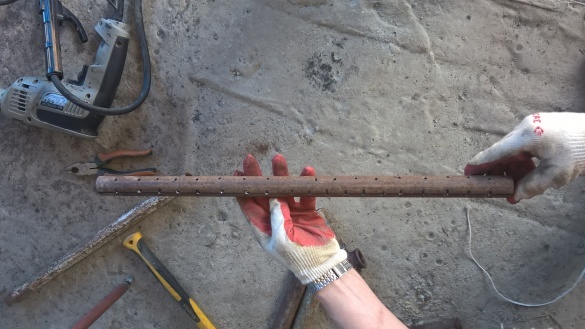
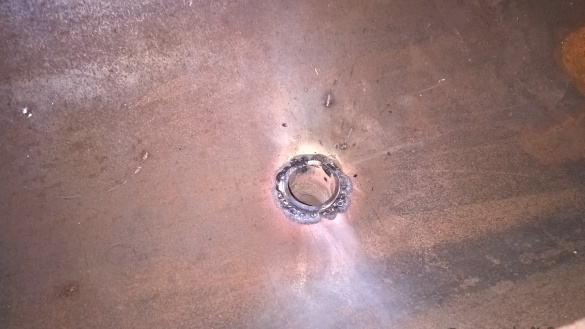
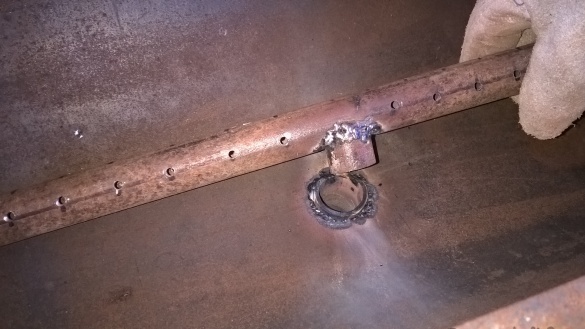
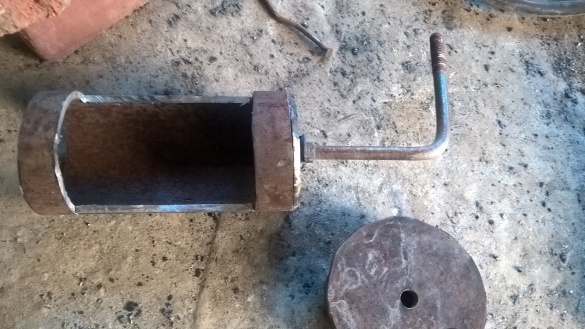
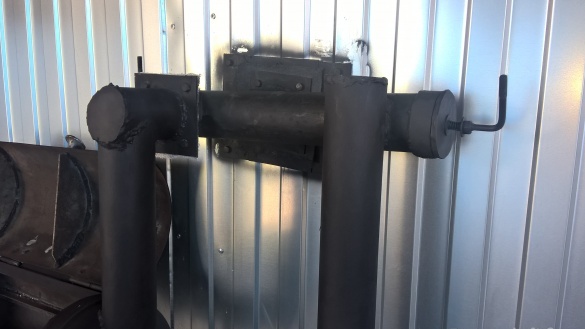
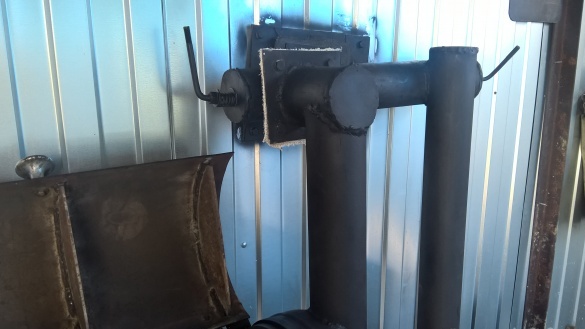
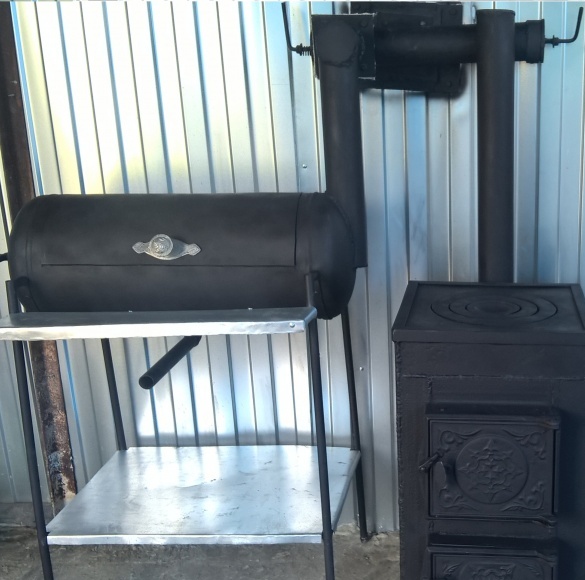
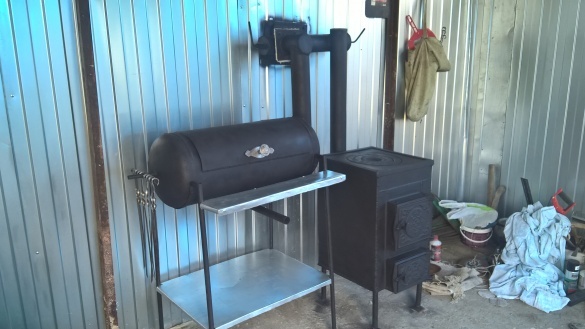
I also made a system of blowing, as shown in the photo.
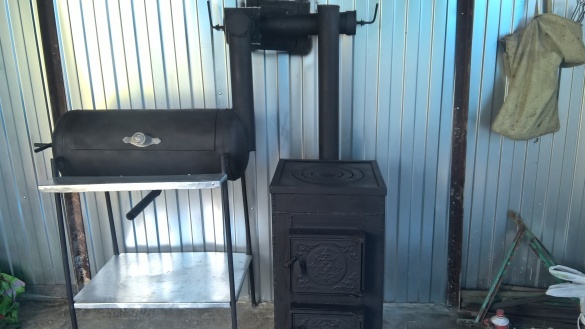
Making a single chimney.
The thirteenth step:
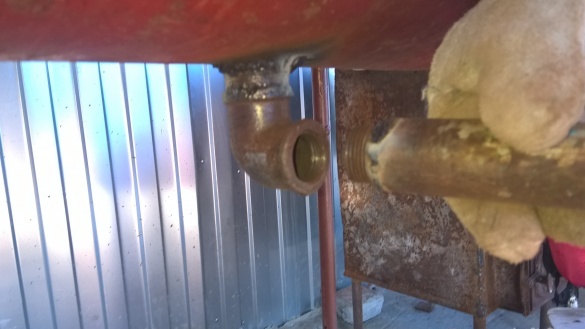
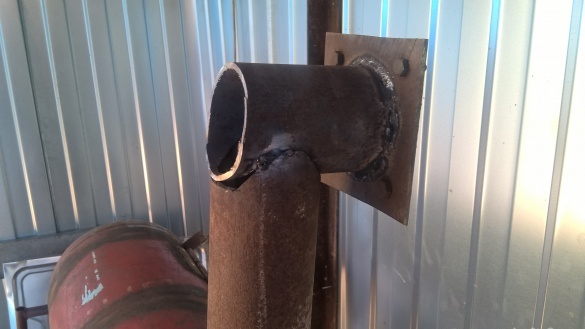
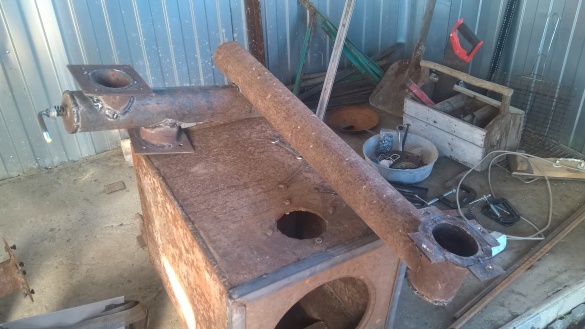
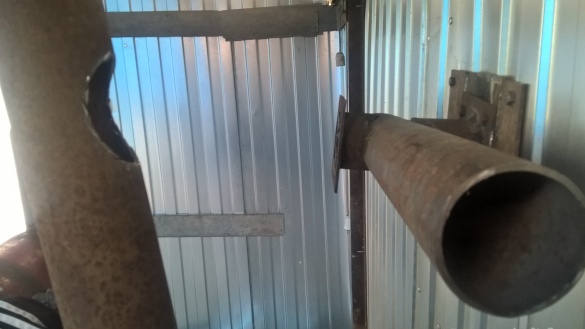
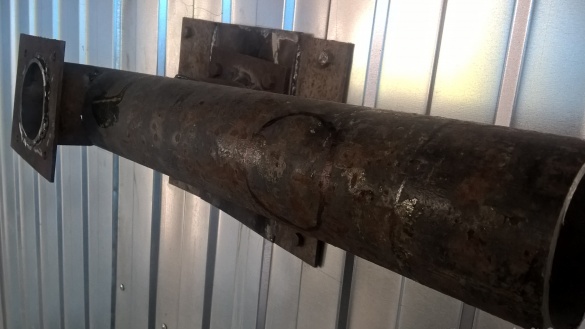
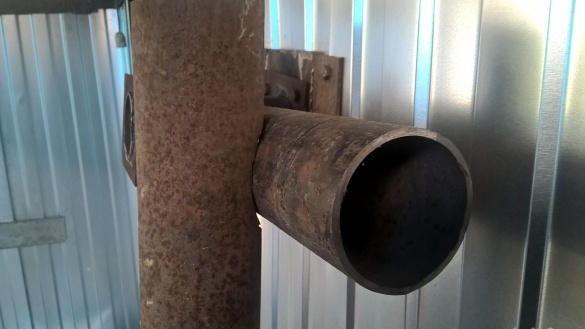
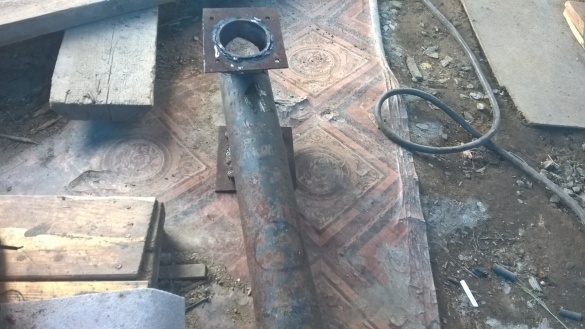
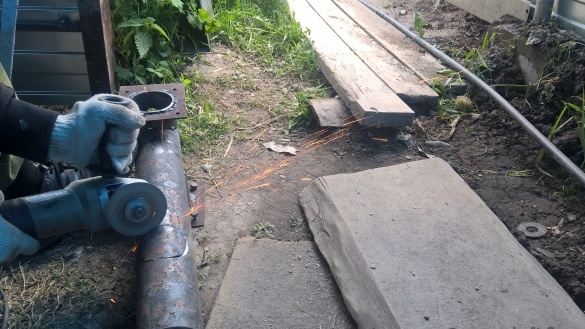
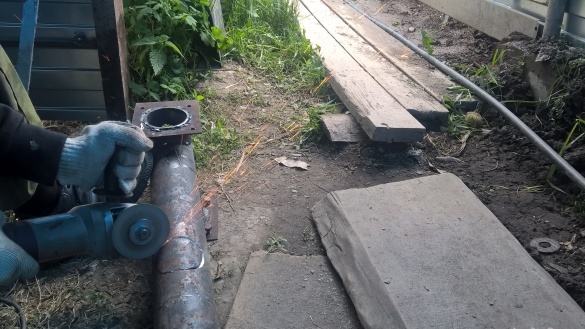
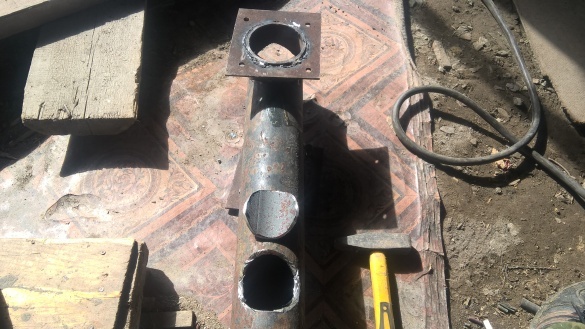
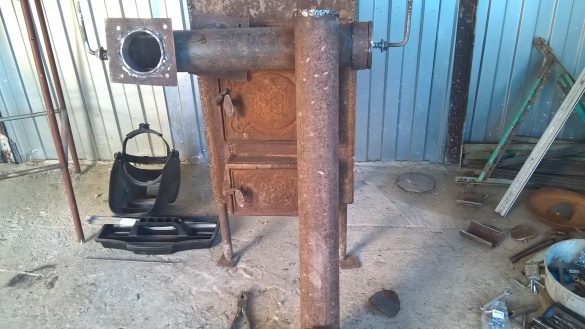
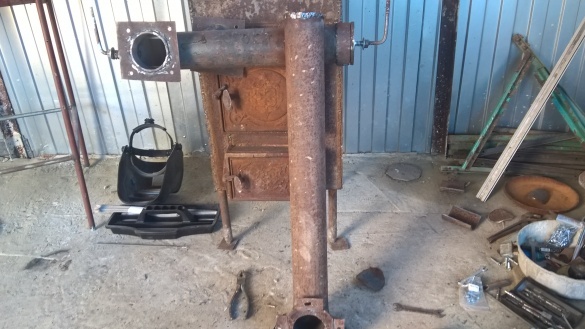
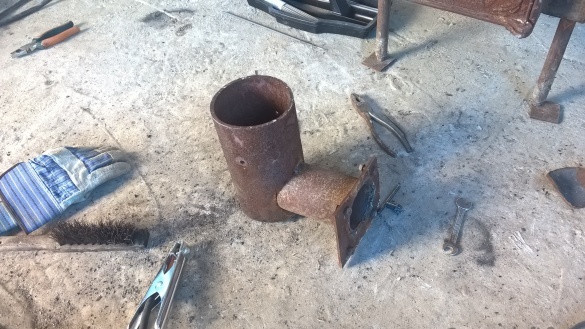
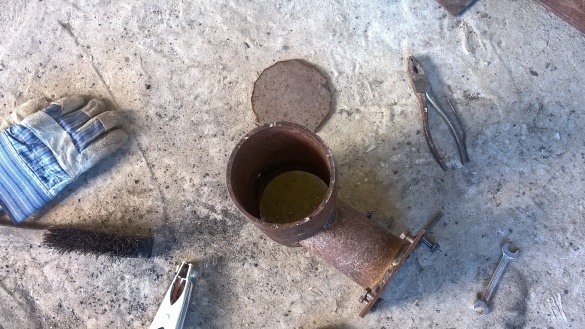
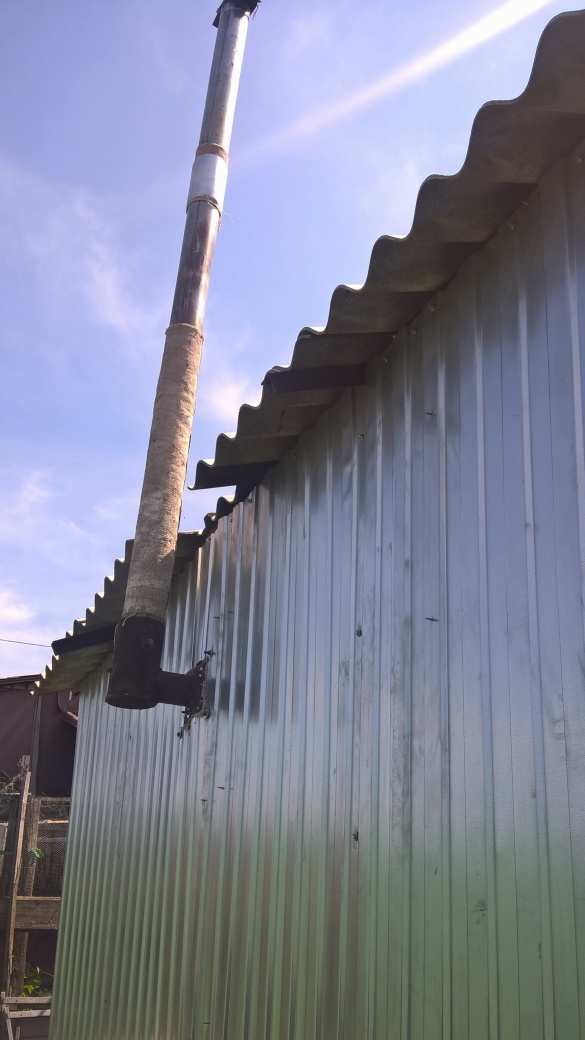
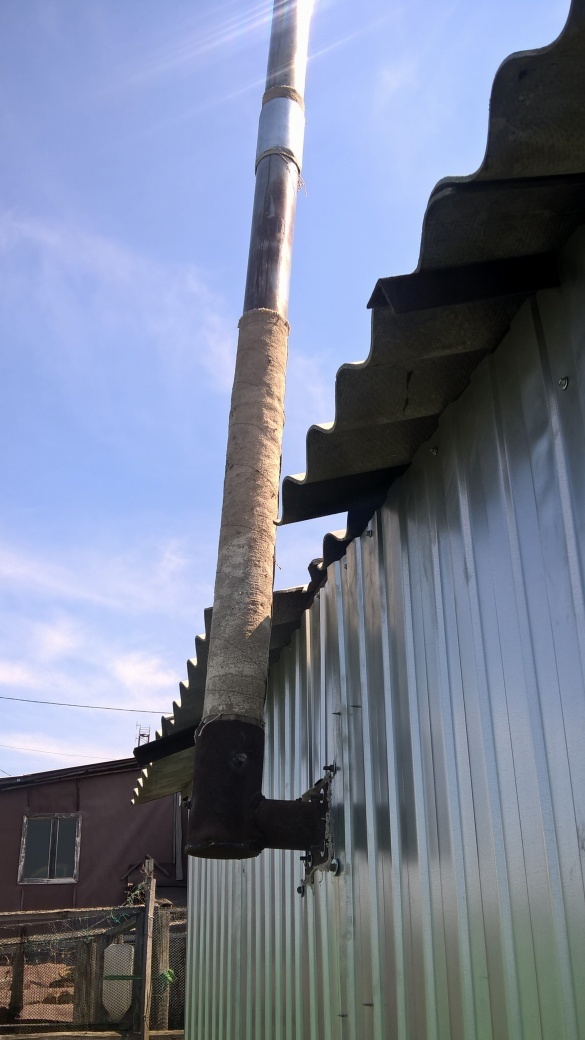
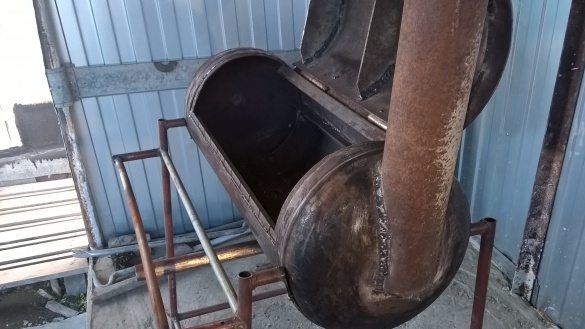
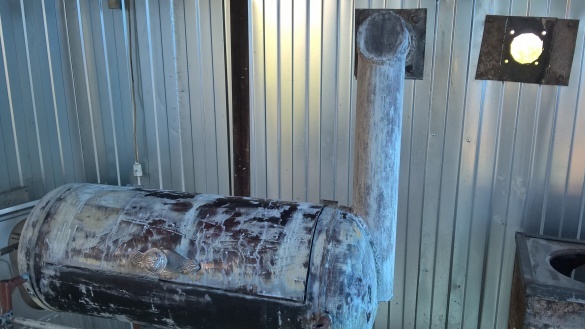
I cut a hole under the pipe on the right side of the barbecue. And then I fitted a 40 cm long pipe to this hole and welded it so that it looked up. I took 3 pipes of 1-20 cm and 2 pipes of 15 cm, to each of them a plate was welded to one end for connection with other parts of the chimney with bolts. One of them, which I welded to the pipe 20 cm out of the barbecue, as in the photo.
Fourteenth Step:
Then I took another workpiece and welded to it a pipe 70 cm long, as in the photo. Then he took it and combined it with the stove (there was a previously cut hole in the back), drilled 4 holes in the plate and in the stove and fixed the pipe with bolts.
Fifteenth step:
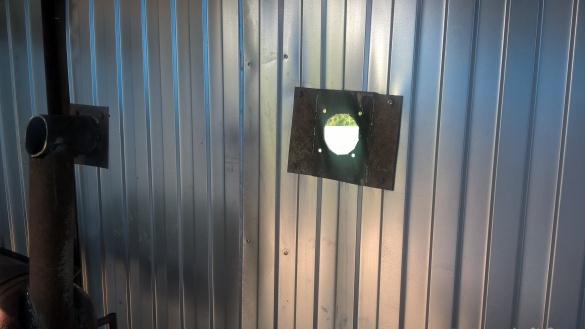
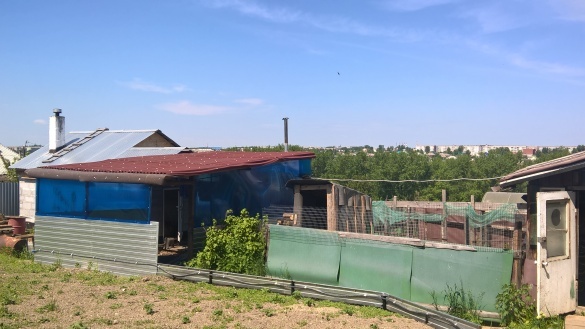
In the veranda made an exit under the chimney.
Painting everything
Sixteenth step:
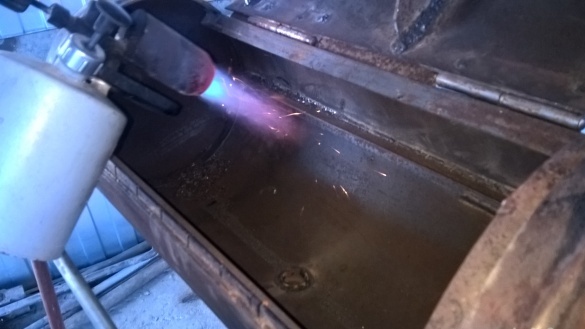
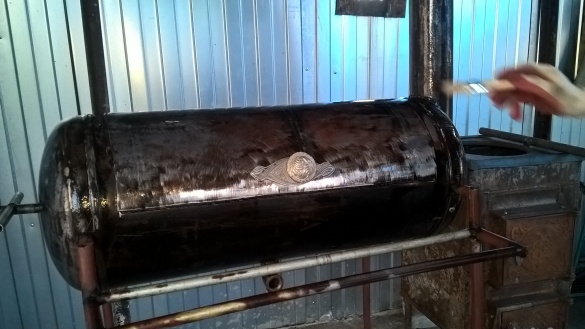
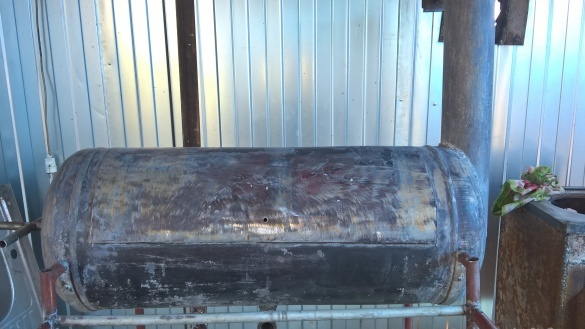
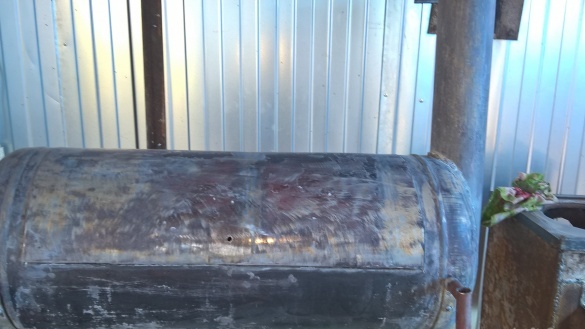
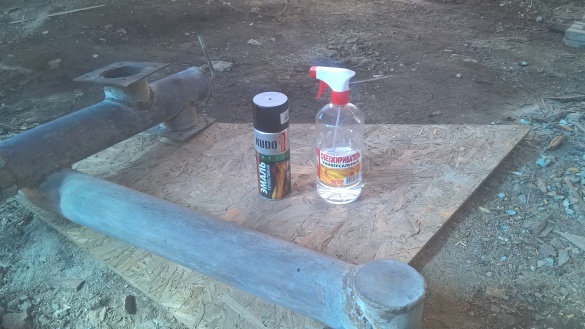
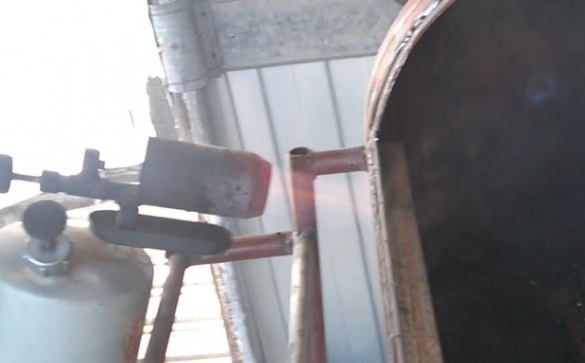
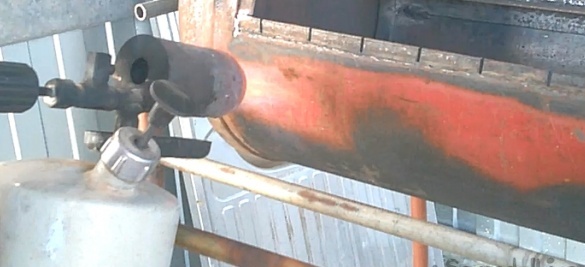
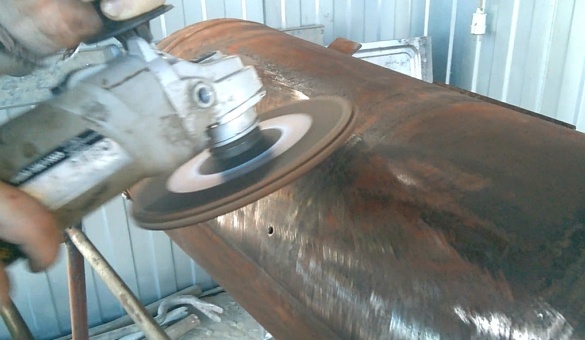
Before painting the barbecue, I first burned the balloon with a blowtorch, then cleaned it, wiped it and degreased it with a special tool. Then he covered it with refractory paint from a spray can.
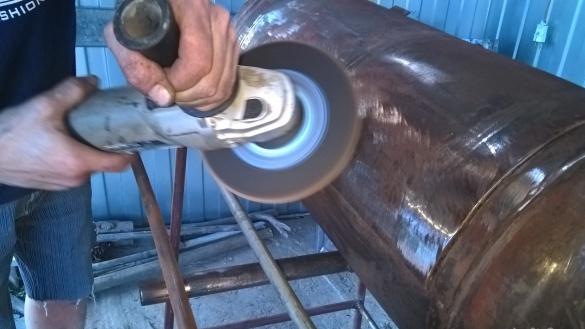
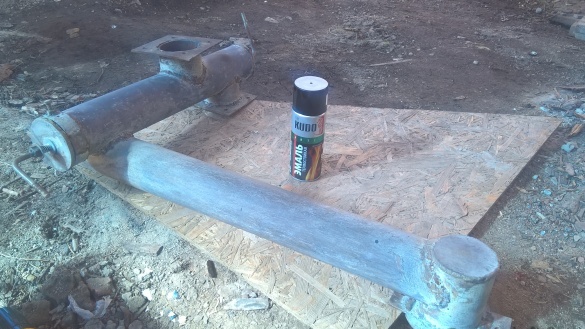
He cleaned the stove and pipe from large rust using a grinder and sandpaper, then coated it with a mixture of rust, then also degreased and painted it.


