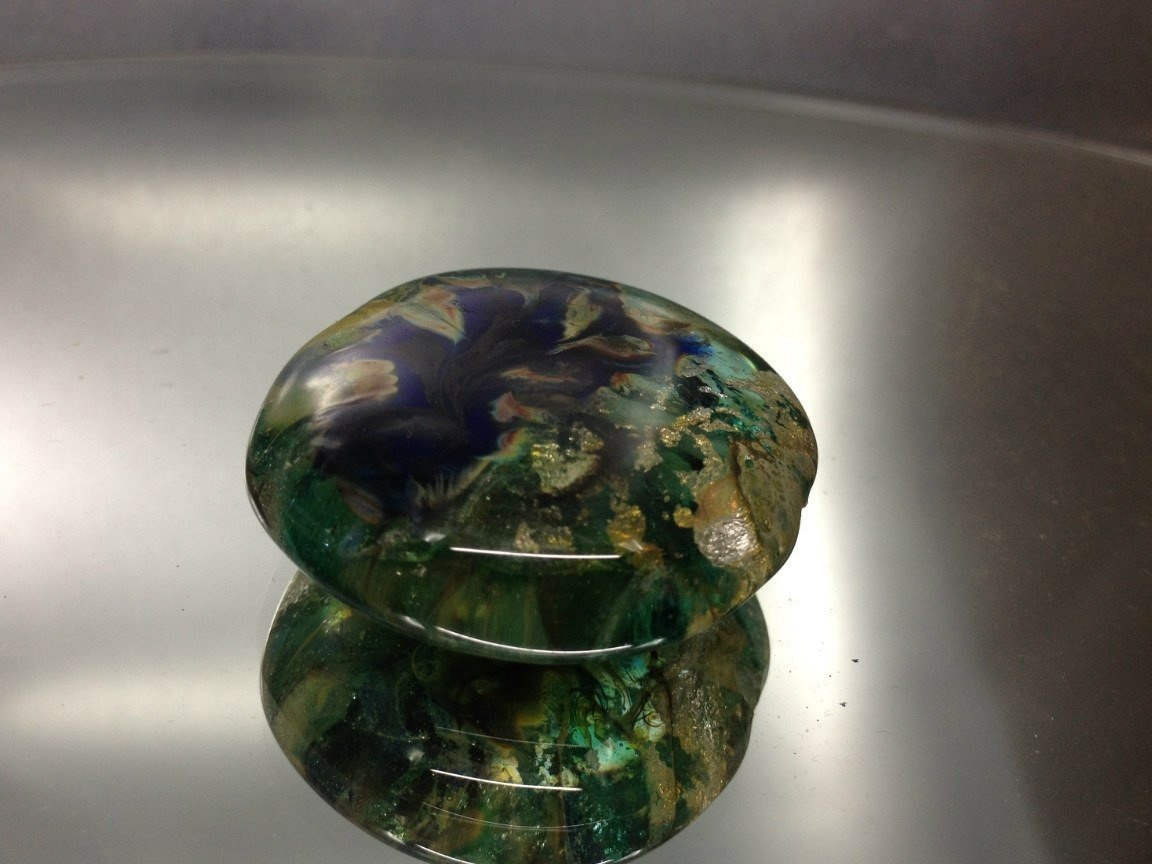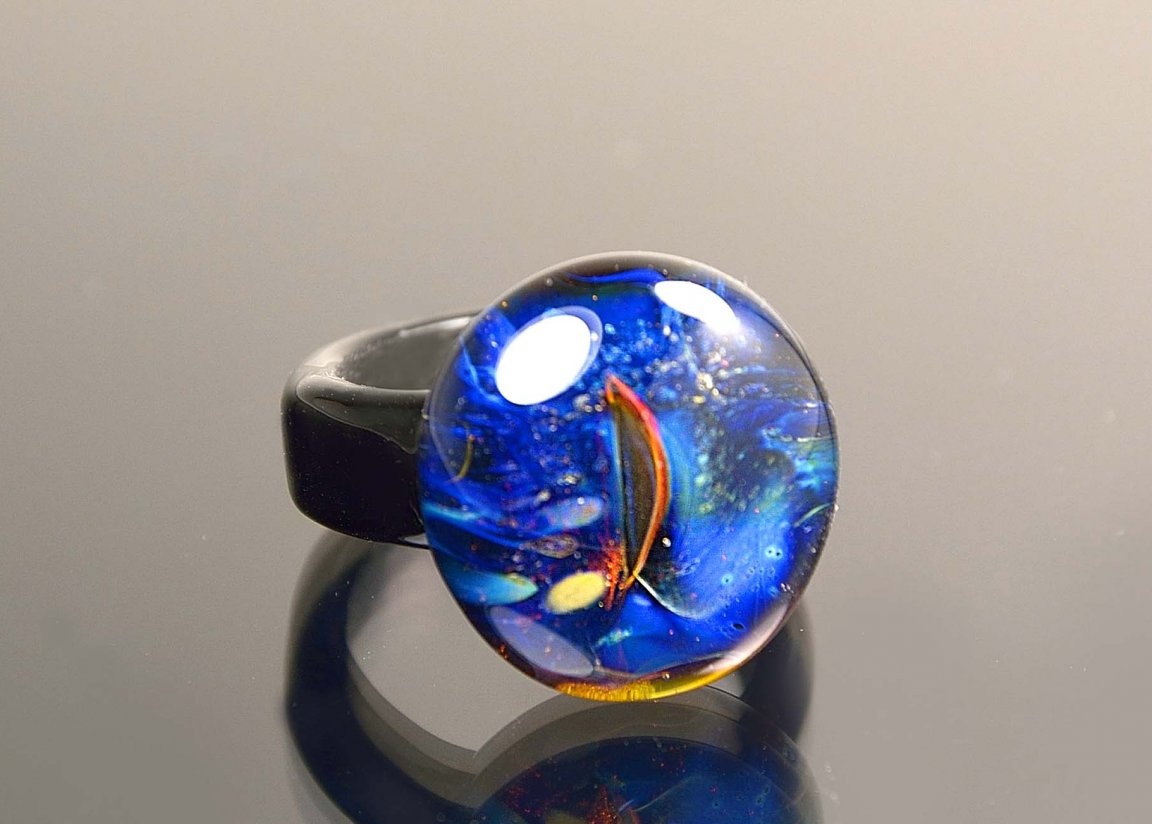
Jewelry complements the wardrobe and emphasizes subtle notes of character. Good and beautiful jewelry is very expensive, but the emotions of presenting such a gift are simply priceless. The problem ... but we the inhabitants of our sitewho can find a way out of any situation. After all, many people have old glass bottles of colored glass at home, glass pebbles lying around for decoration, and you can make really beautiful jewelry out of them, of course not from precious stones, but still. Therefore, I bring to your attention an article on how a craftsman creates jewelry from glass bottles do it yourself.
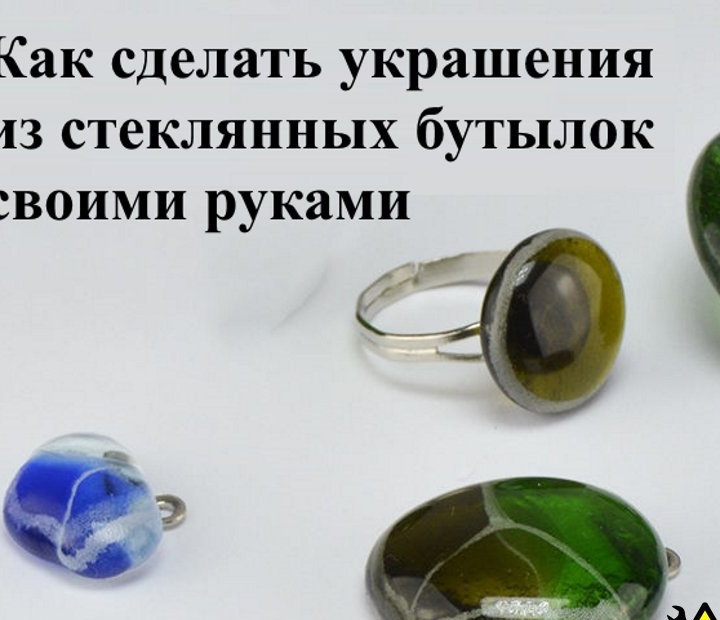
Devices and materials:
- Ceramic crucible;
- Glass bottles;
- Blanks for jewelry (rings without stone, pendants without cores, eyelets for pendants, etc.)
- Paper for furnaces.
Step 1: Glass containers
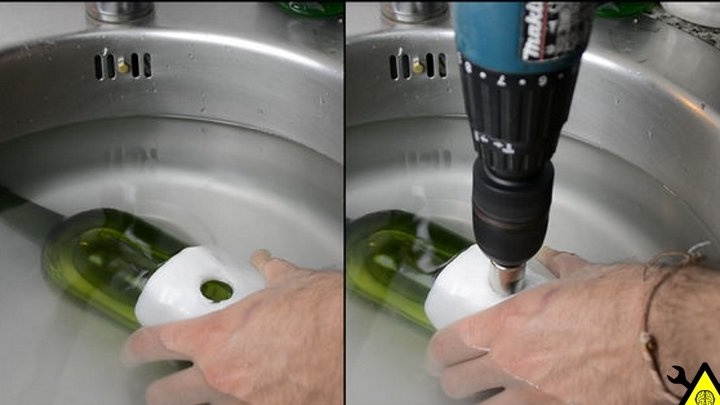
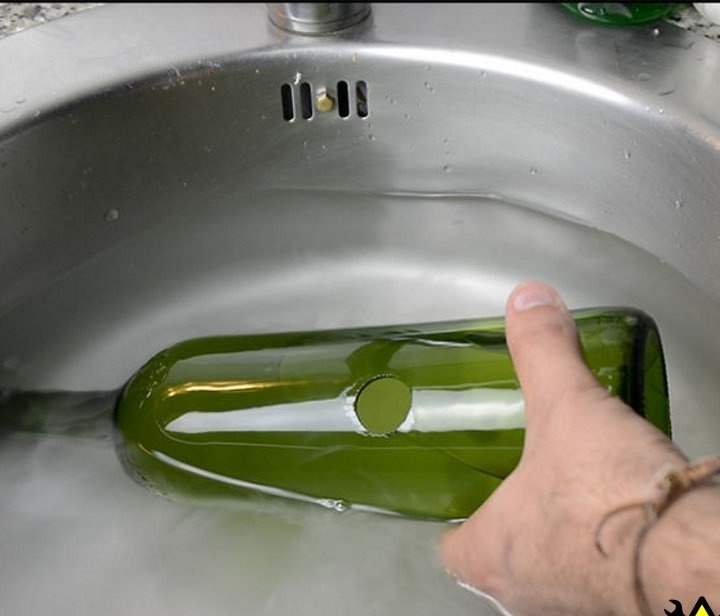
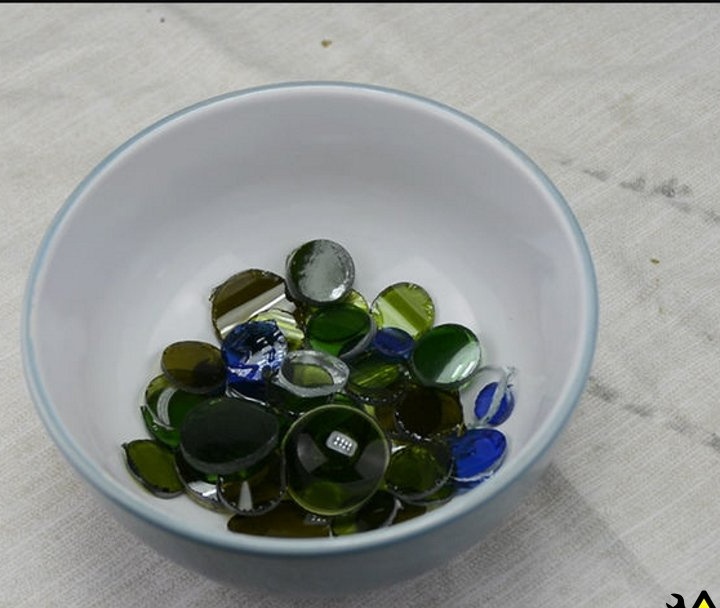
As composite materials, the author uses glass fragments from bottles of four different colors (green, green with a touch, white (transparent) and blue). He drills round pieces of glass. You can also use colored glass pebbles or a glass stone for the aquarium, before this, break it with a hammer into small crumbs, when using such a colored glass crumb, you can achieve different effects, but you can not use only crumbs in the product since all colors are mixed and not always, but in most cases it turns out an ugly mix of everything in a row, looking like gouache mixed with each other.
Step 2: Oven Paper
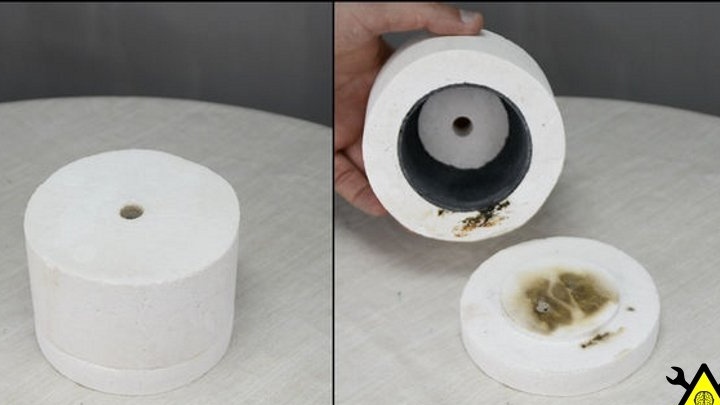
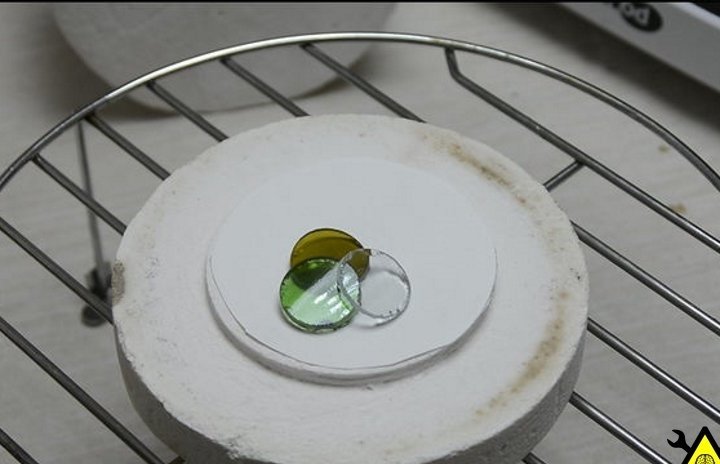
The author places several layers of paper on the bottom of the crucible. This prevents glass from sticking to the ceramic.
You can mix different colors to get peculiar effects. He decided to take three different colors of glass.
Step 3: Melting
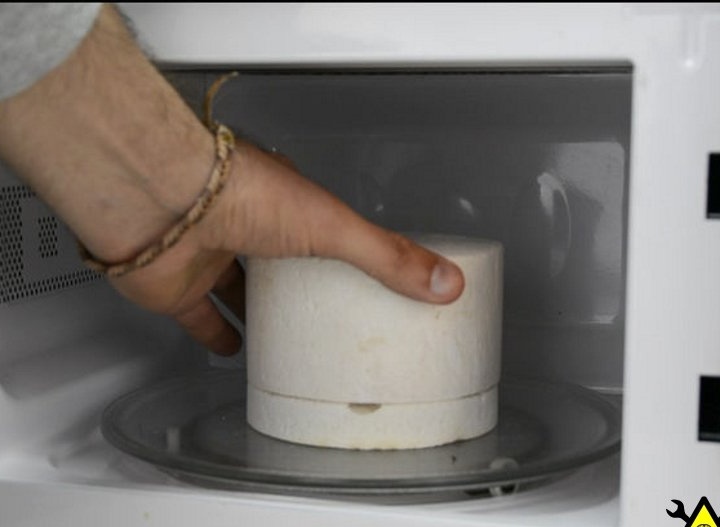
He puts the lower part of the crucible in the microwave and checks that the glass is placed as needed, then puts on the upper part.
Turns on the microwave for a few minutes at high power.
The time required to melt the glass will vary from the microwave model and the glass used.
It took about 5 minutes to fuse the glass.
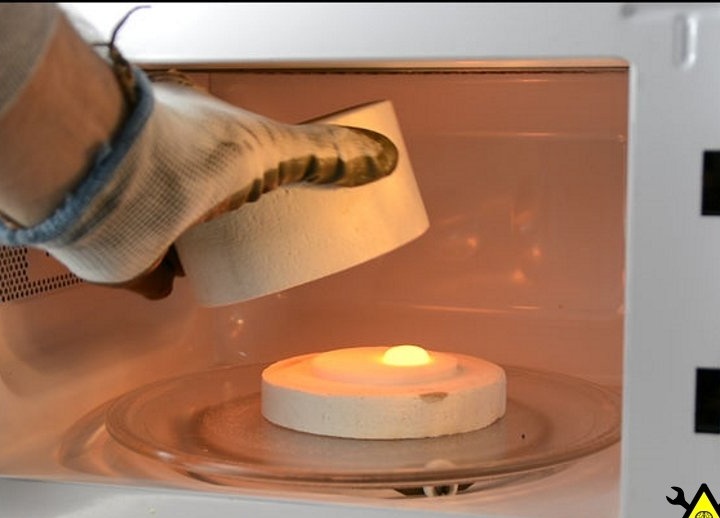
When the glass almost "melts" (the author carried out a process control every 10-15 seconds), protective gloves and glasses should be worn (to avoid personal injury). Carefully lift the top and look at the workpiece.
Also, the glass can be melted by simply placing pieces of glass on the stove paper and melting them with a burner on the anvil (if any) or just putting stove paper on a piece of metal, and pieces of glass on it and melt it all on the ground (preferably in sand). Also, while the glass is in the process of melting, it is possible to add glass chips of different colors to it and thereby achieve some kind of intended pattern on the product or just a brighter color palette.
Step 4: Cooling
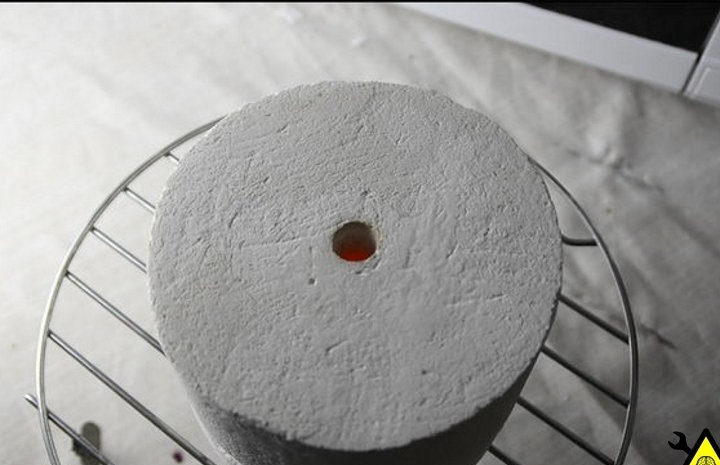
After the glass melts, the author removes the crucible from the microwave and leaves it to cool (it takes about 20-30 minutes to cool completely).
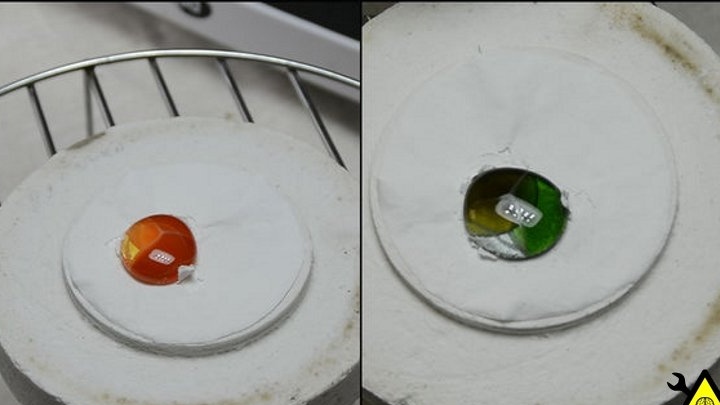
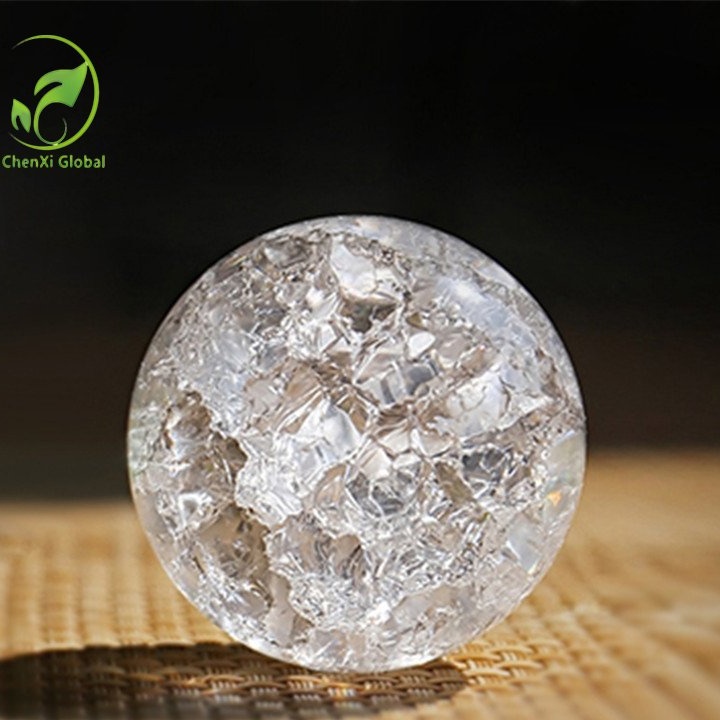
You can put a ceramic crucible only on a heat-resistant surface! Glass is not iron, it cools for a long time, it will not work to quickly cool it in water or oil! It all cracks, although with the help of a burner it is possible to melt the top layer of glass and somehow glue it, while cracks remain in the middle and the so-called "Venetian Glass" is obtained
Step 5: assembling jewelry
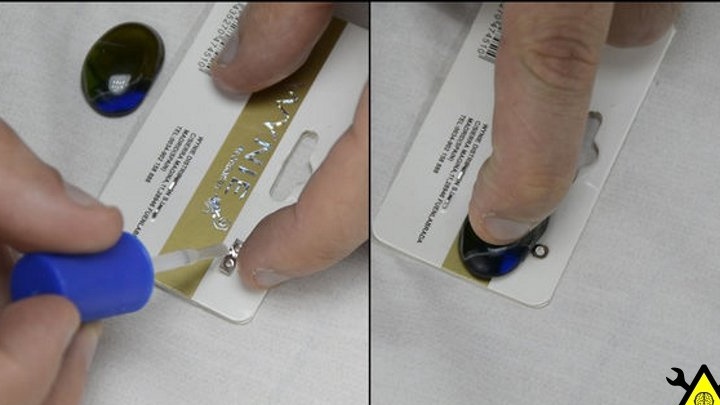
The author collects jewelry - glues stones into rings, inserts into the middle of pendants, glues rings for attachment to a chain, etc.
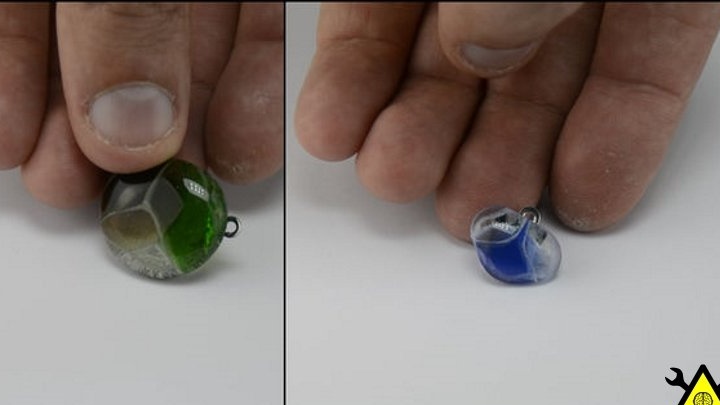
This brief guide to creating a simple but beautiful decoration is over.
If you fill your hand, you can create such beauty with your own hands.

