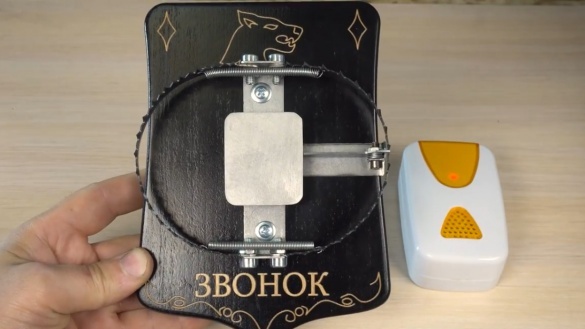
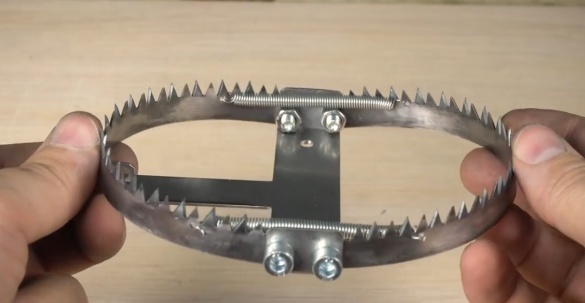
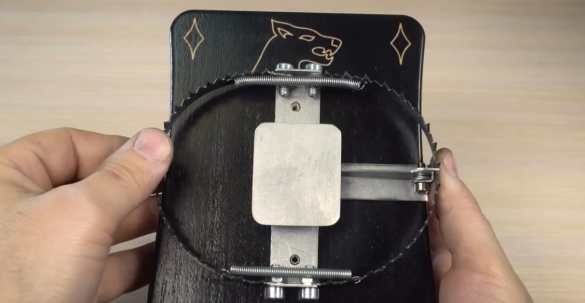
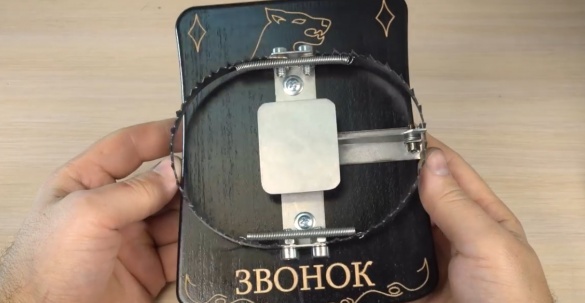
Today we will make a doorbell button, which not everyone dares to press.
Necessary materials and tools:
1. Board (the author used the beech);
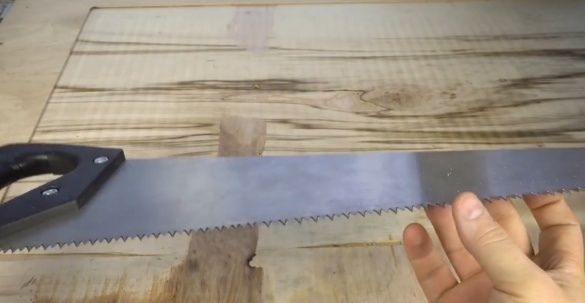
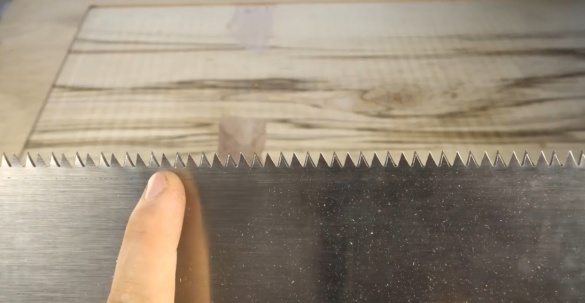
2. Hacksaw with medium teeth;
3. Trowel;
4. Bushing (the master used brass);
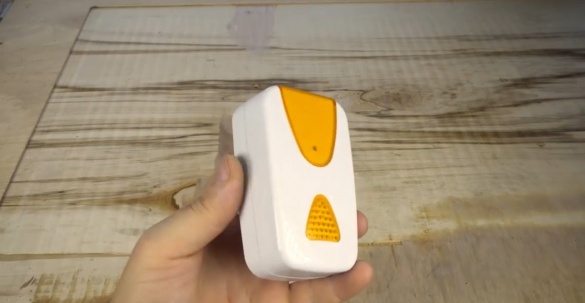
5. Wireless doorbell.
For the manufacture of this homemade, the author used professional machines and tools. But even if you do not have a minimum set of machines, then all this is quite easy to repeat manually. But naturally, this will take you more time, as the machines make life easier for the master.
The idea itself is quite simple. The button should look original and not cause a desire to press it once again. This original homemade product is the copyright project of YouTube channel "Lefty".
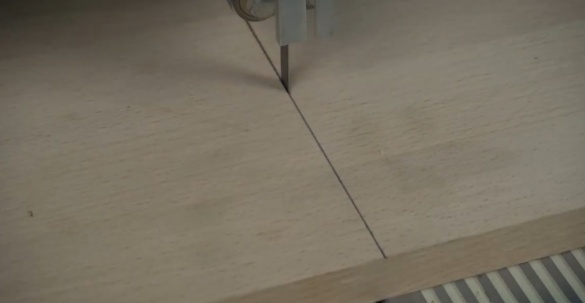
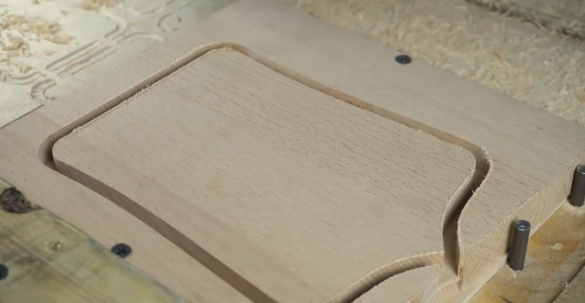
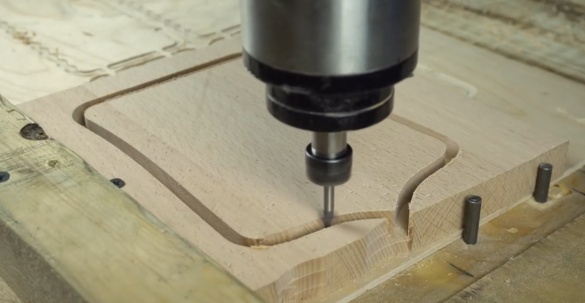
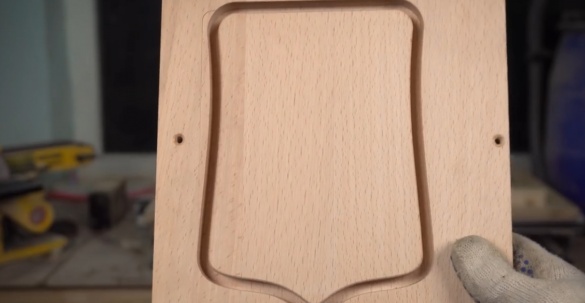
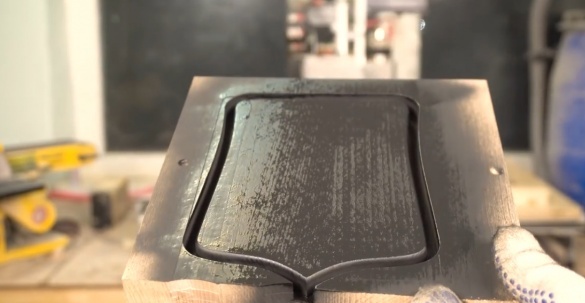
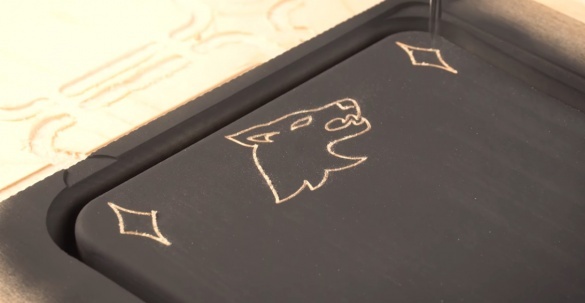
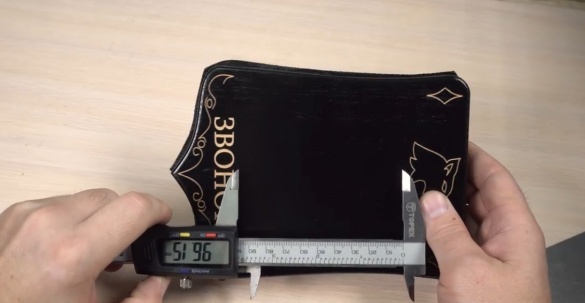
Since the author is not an artist, according to him, he is just learning, he did not bother much and cut out the base on the machine.
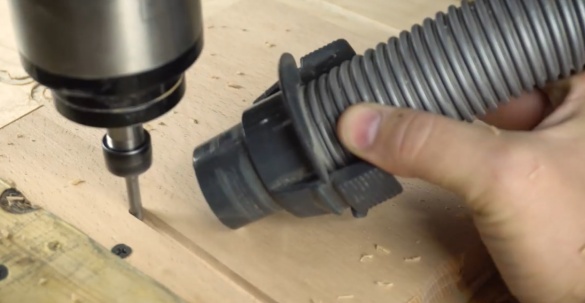
The beech is milled perfectly, it is quite dense and contains little pile.
We pass the edge with a rounded cutter without unnecessary curls.
The author is pretty cool about carving of furniture, loves minimalism or hi-tech more, something like, the simpler, the cooler.
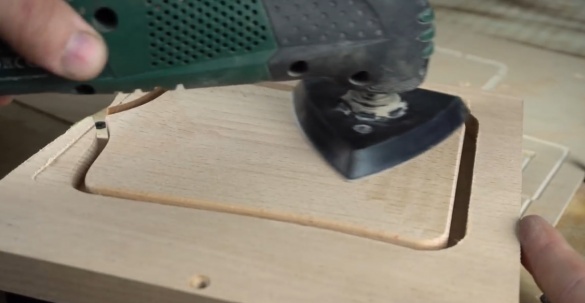
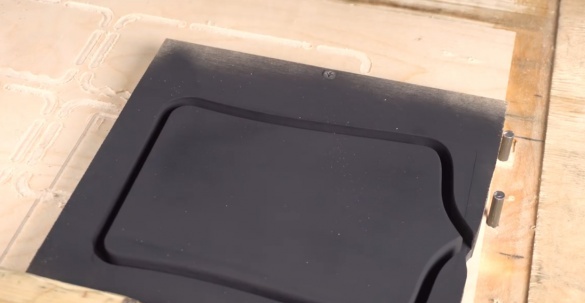
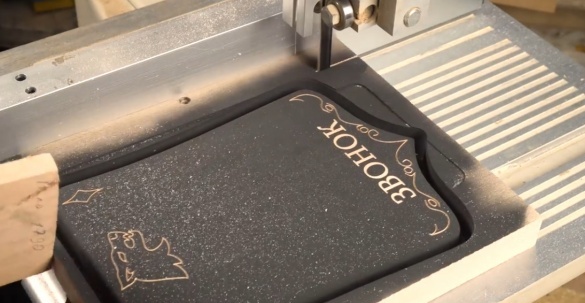
Then we grind it and cover it all with black paint and protective varnish, and then milling it again. In general, of course, you can get by with one chisel, but the machines make life easier.
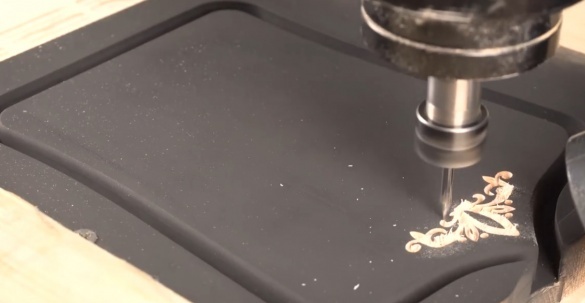
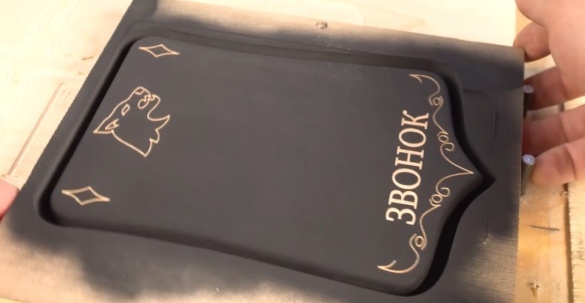
Next, you need to apply an ornament. Sometimes you draw something on the computer, and it seems rather original, but when you start to translate it into a tree, you understand that this is not so. In this case, the author at first also tried a complex ornament, but subsequently replaced it with a simpler one. The first option was this:
As a result, the author decided to do this:
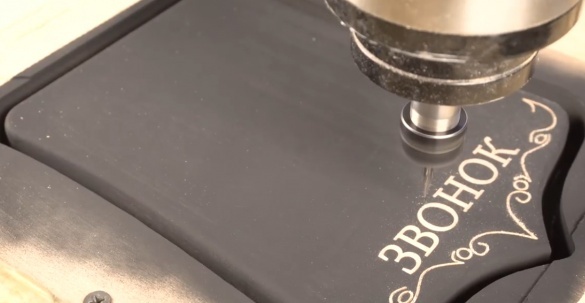
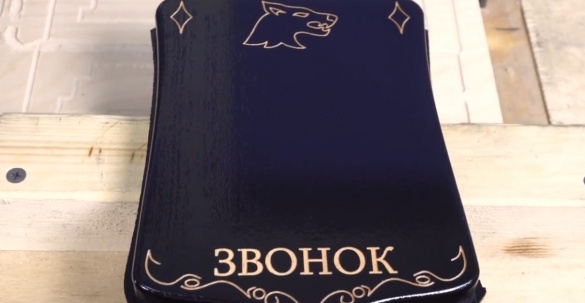
And in order for people to understand exactly what is in front of them, you need to write this word - “Call”. On top we’ll apply such a picture:
Now all this needs to be cut and varnished.
Even if there is no minimum set of machines, all this is quite easy to do manually.Of course, it would be better to use the varnish with a matte effect, but nonetheless glossy is also nothing.
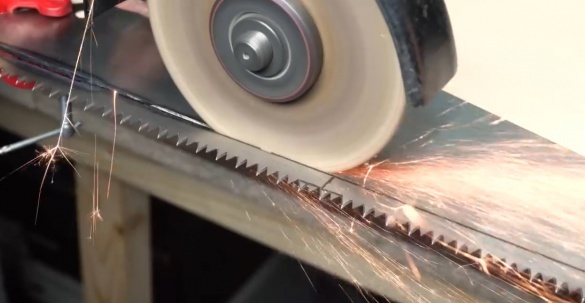
Also, for this homemade work, the author bought a hacksaw with medium teeth and a wireless doorbell.
The sound is certainly not ice, but it will do. We also need this tool:
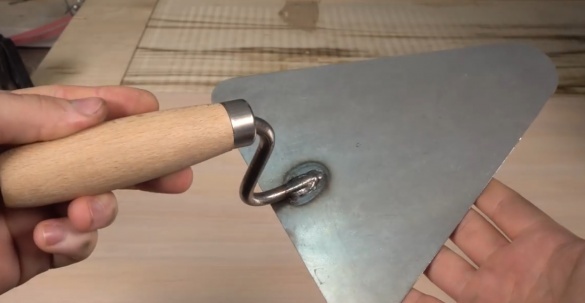
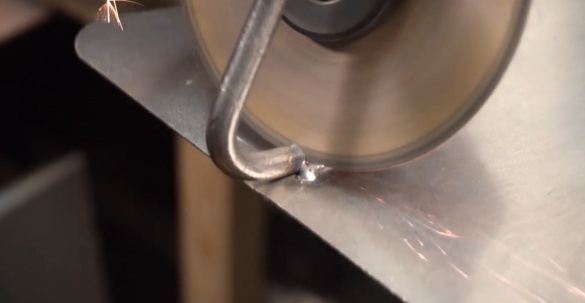
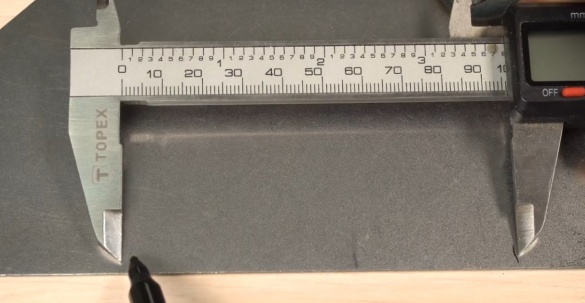
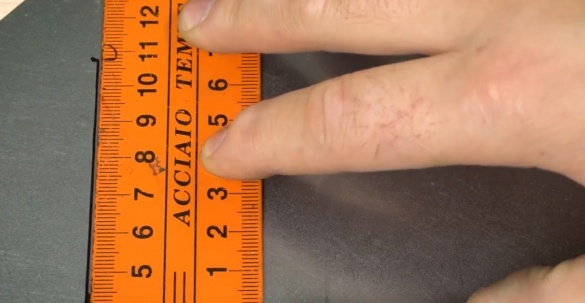
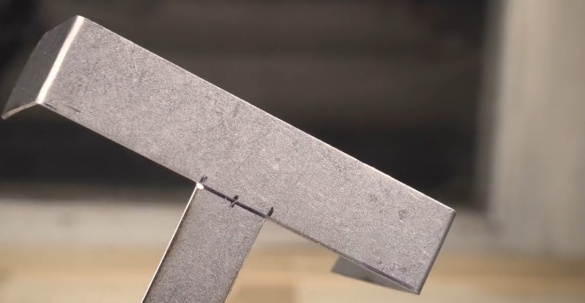
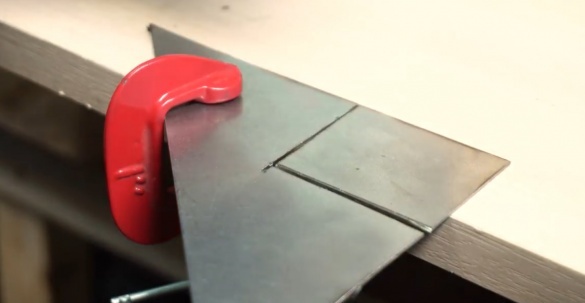
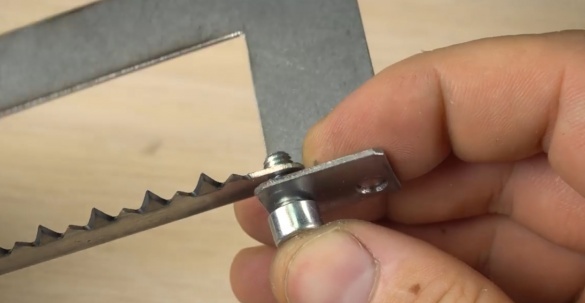
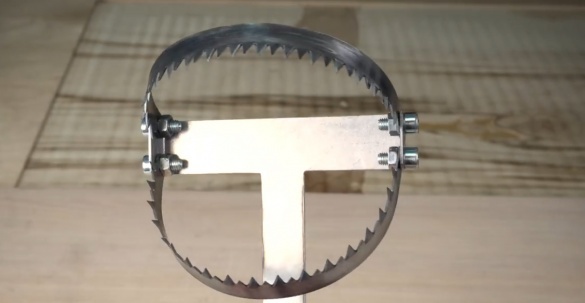
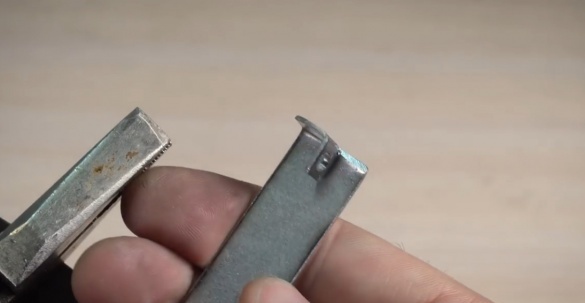
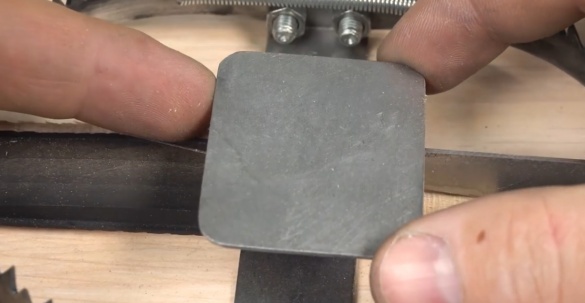
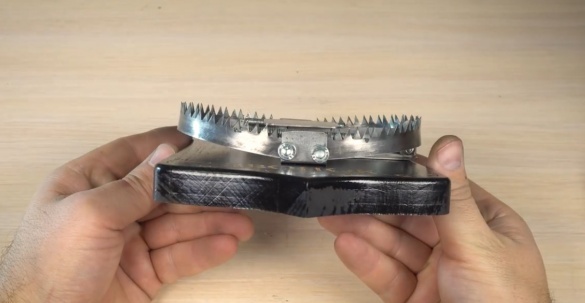
This is a trowel, from it we will make the basis for a trap. To do this, first cut off the handle, we do not need it and measure what the maximum sizes can be.
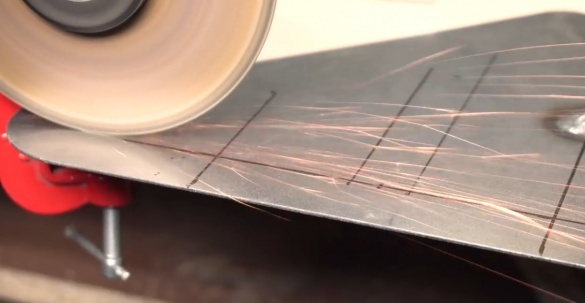
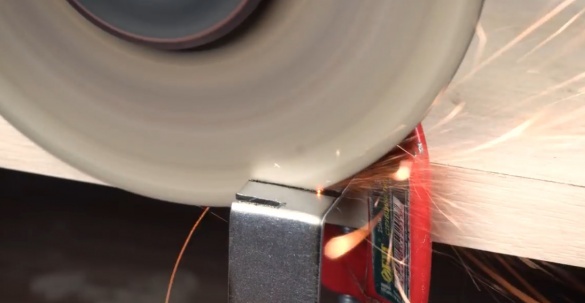
Transfer to metal and cut.
As you know, traps come in completely different designs. We will imitate it only partially. It is easier with the base - it is not red-hot, but with a hacksaw it will be more difficult.
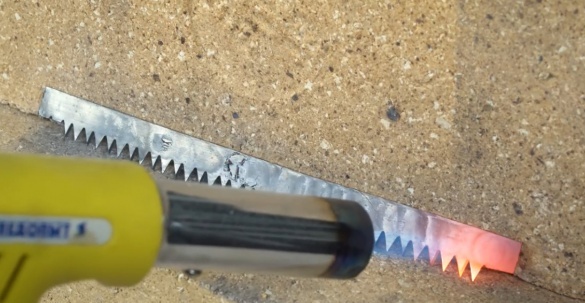
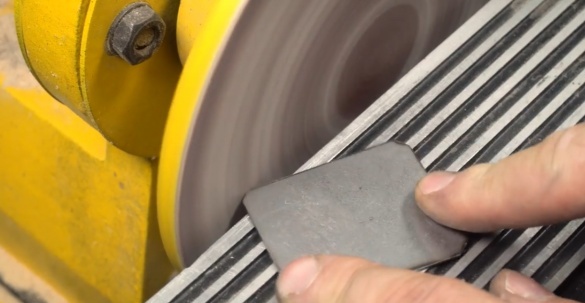
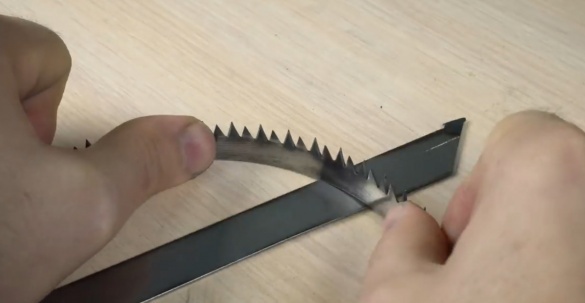
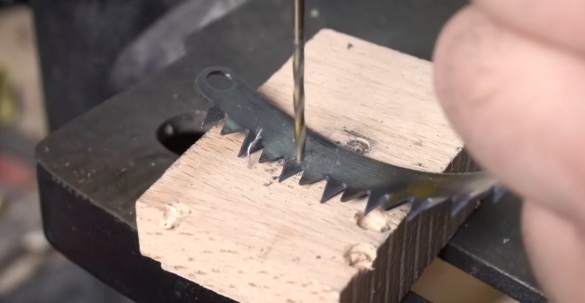
First, cut off 2 even segments, but to bend and drill them you need to release the metal. We make a vacation with a conventional gas burner.
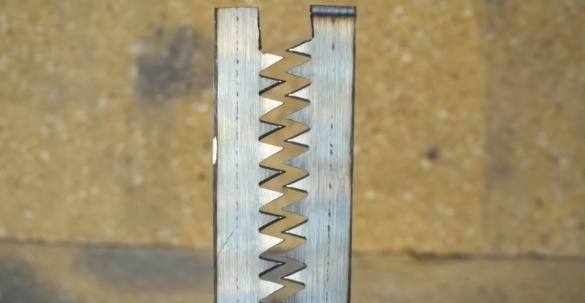
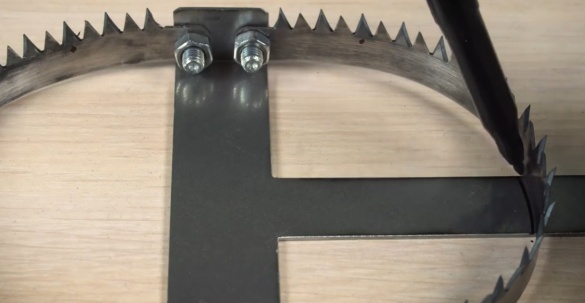
Then, from the remains of the base of the trowel, we cut out such a detail:
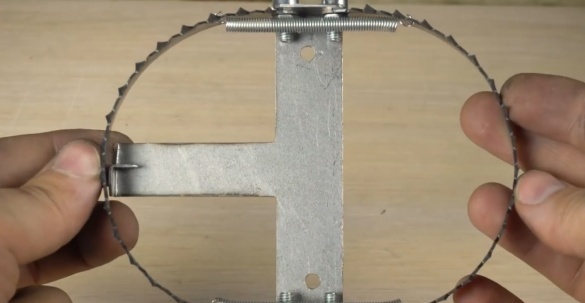
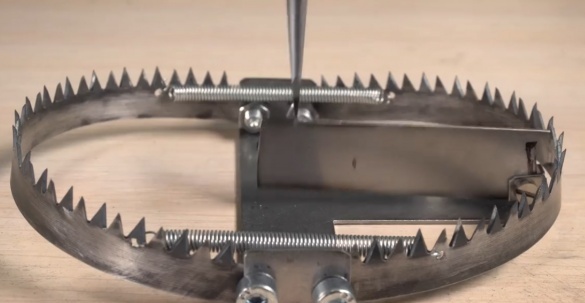
This will be the main trigger for the trap and part-time button of our original home-made doorbell.
At first, the author wanted to paint everything in one color of metal, but then he considered that this was more plausible.
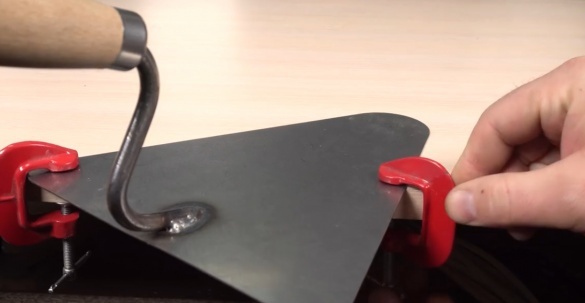
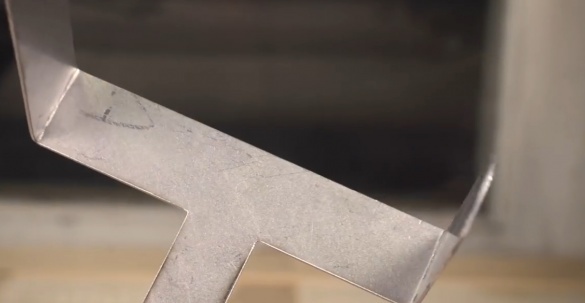
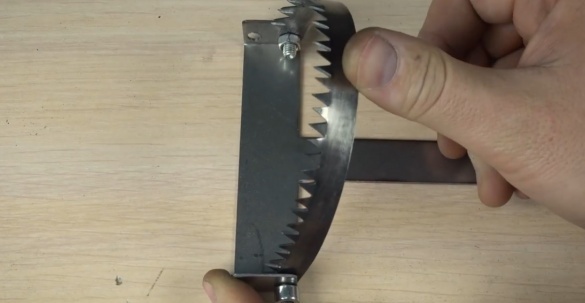
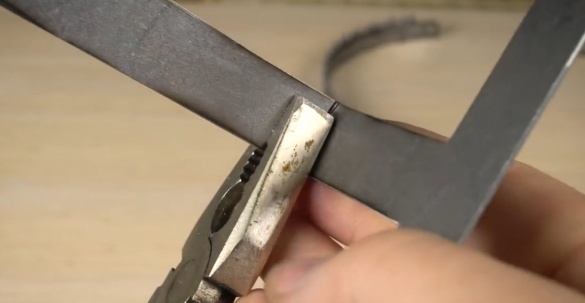
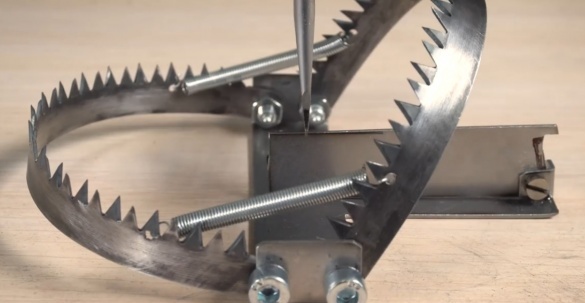
Now everything needs to be bent and clamped, almost everything is like in a big trap.
Next, we prepare the mounts for the pseudo-trigger, well, or whatever it is called correctly.
A person who is friends with physics or at least once held a trap in his hands will immediately understand that he will not be able to work.
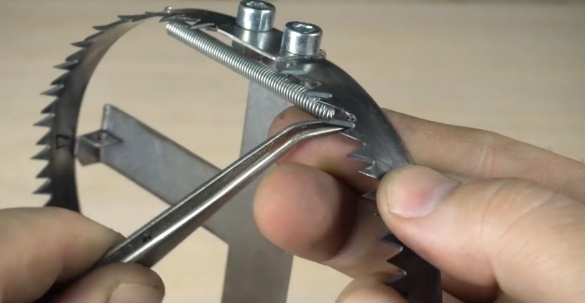
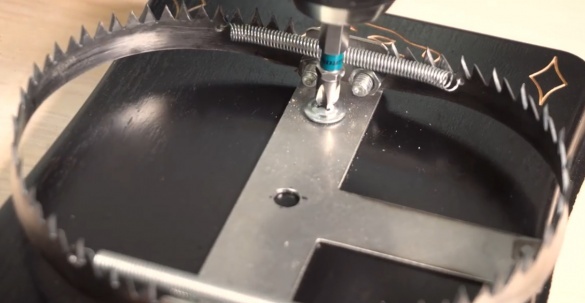
For greater credibility, we add extended springs, well, the trigger itself, which should imitate the real one as much as possible.
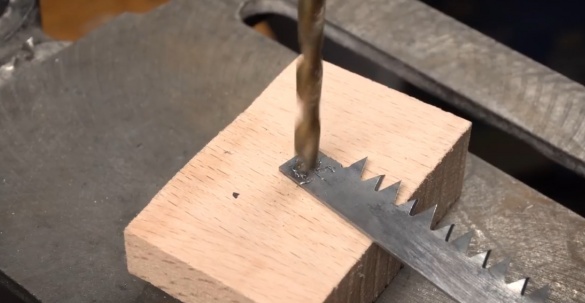
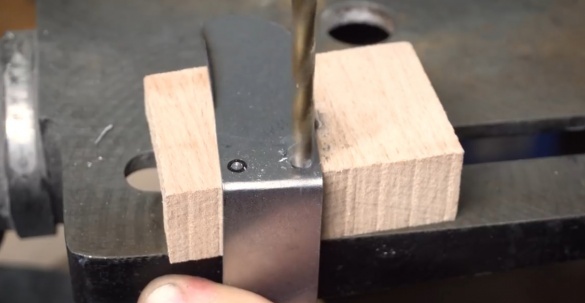
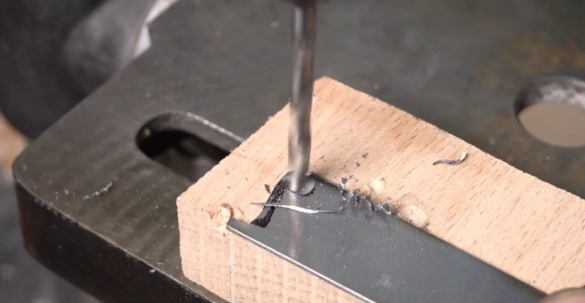
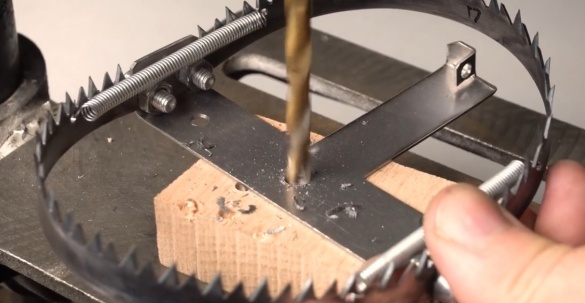
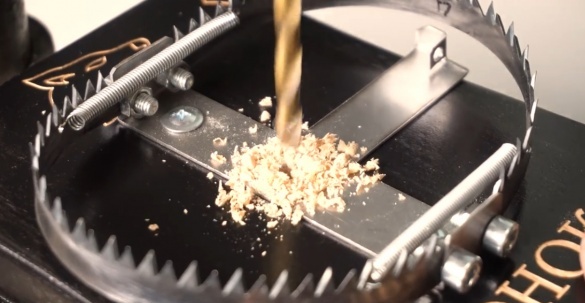
In the center, you need to drill a hole through which the button will be pressed from the opposite side. First in the metal.
And then in the tree.
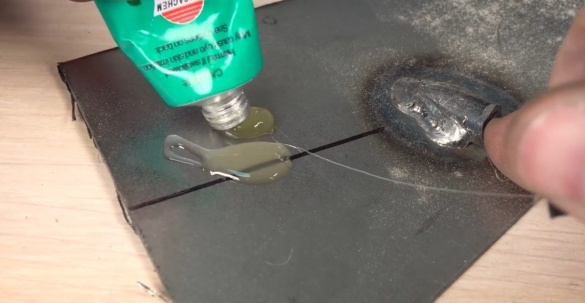
Gluing metal is certainly not the noblest thing, but in this case we will have small loads, and the author did not want to solder.
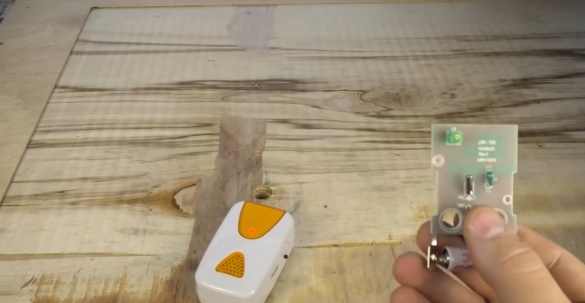
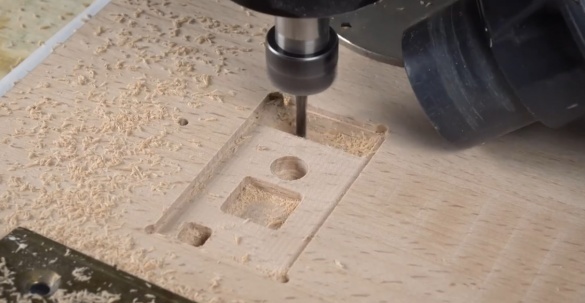
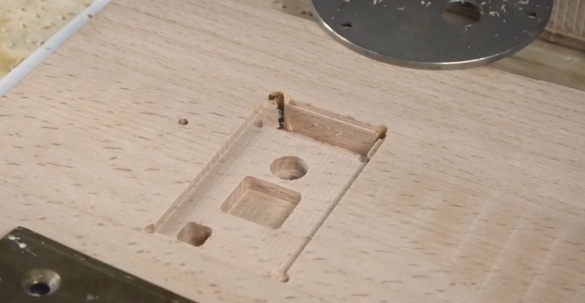
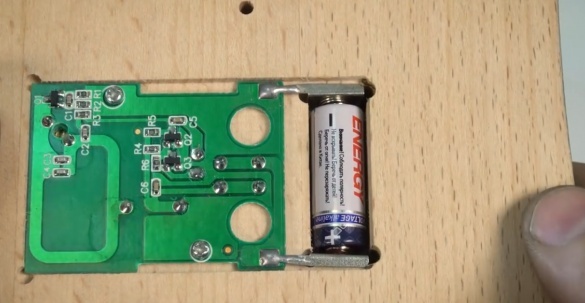
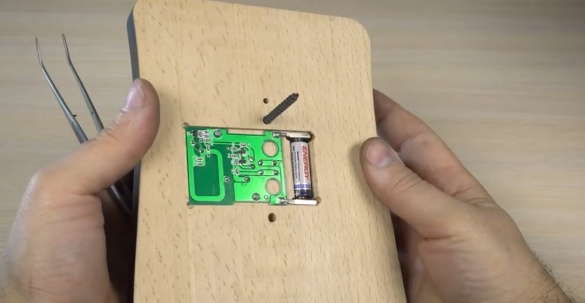
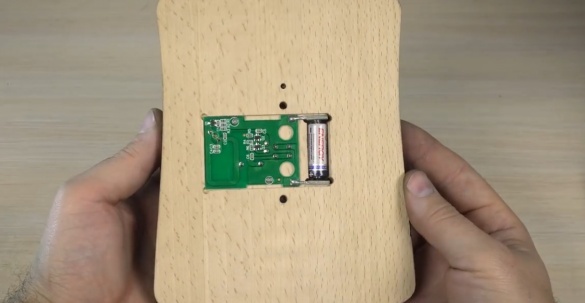
On the reverse side, you must place the signal transmitter board with a button. To do this, you need to prepare places for them with the help of a mill.
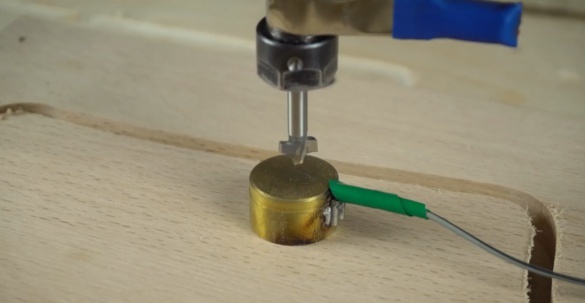
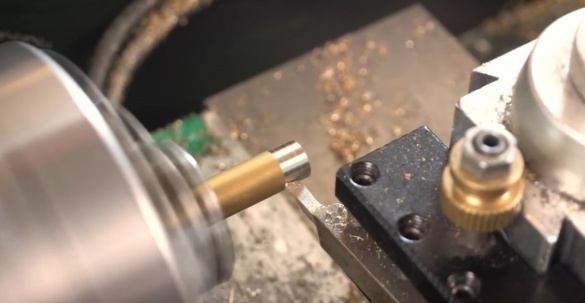
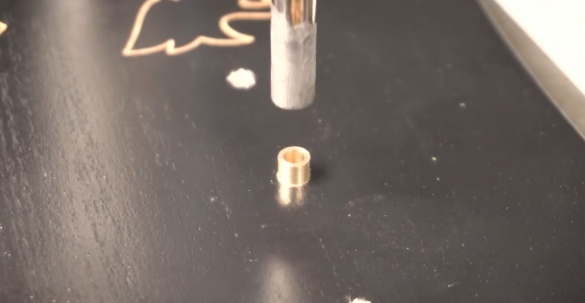
The bushing is again made of brass, so that everything is pressed well and runs smoothly.
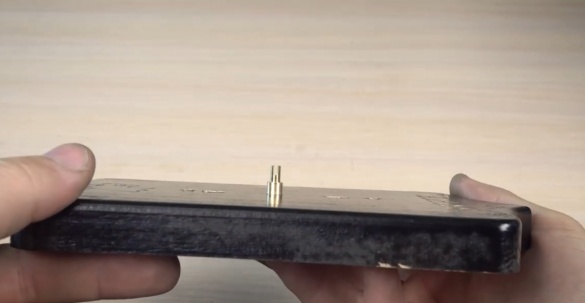
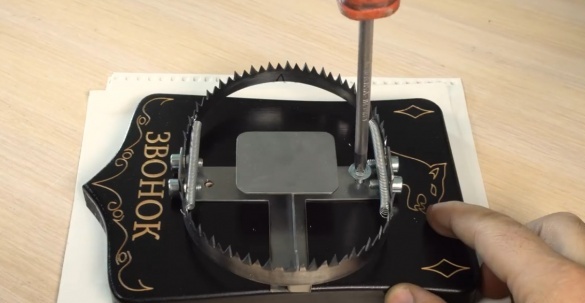
We press the sleeve in the center where the button will be located.
It is better to make a back protective cover for the board, but this is, so to speak, a pilot option.
Self-tapping screws for wall mounting will be hidden under the trap.
Now set the central stem, which will press the button.
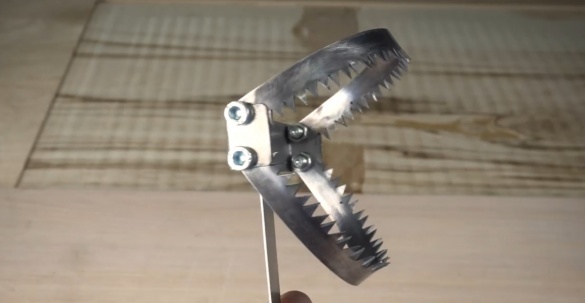
That's it. It turned out quite angrily - that's for sure. In general, just in case, it's better to just knock on the door.
Thank you for attention. See you soon!
Video:

