
This article will be interesting to all craftsmen who have a drilling machine.
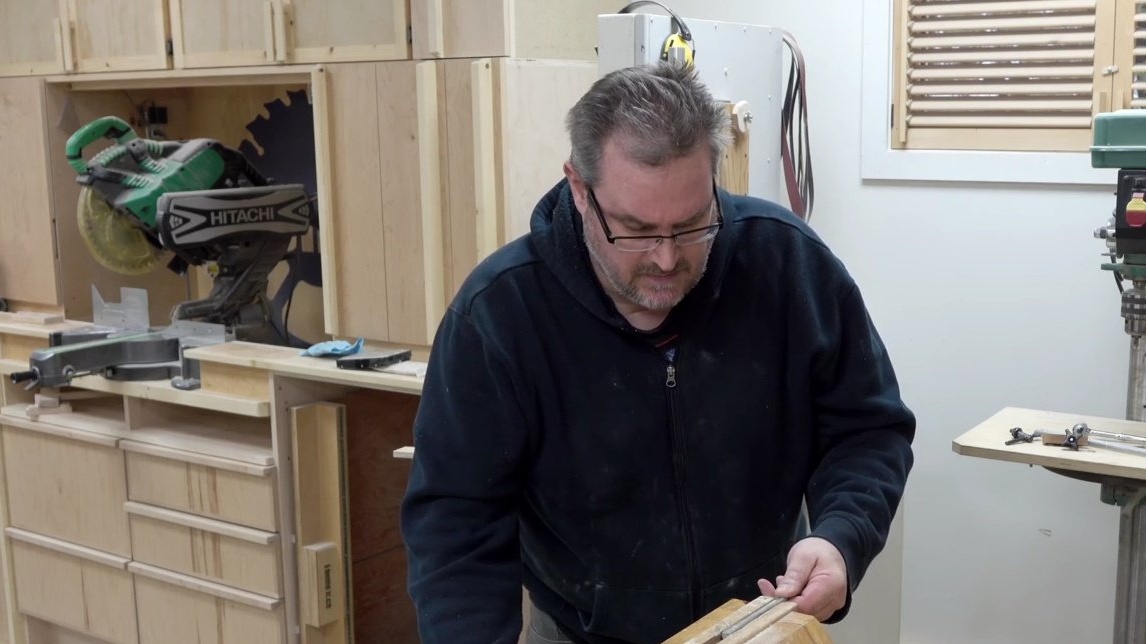
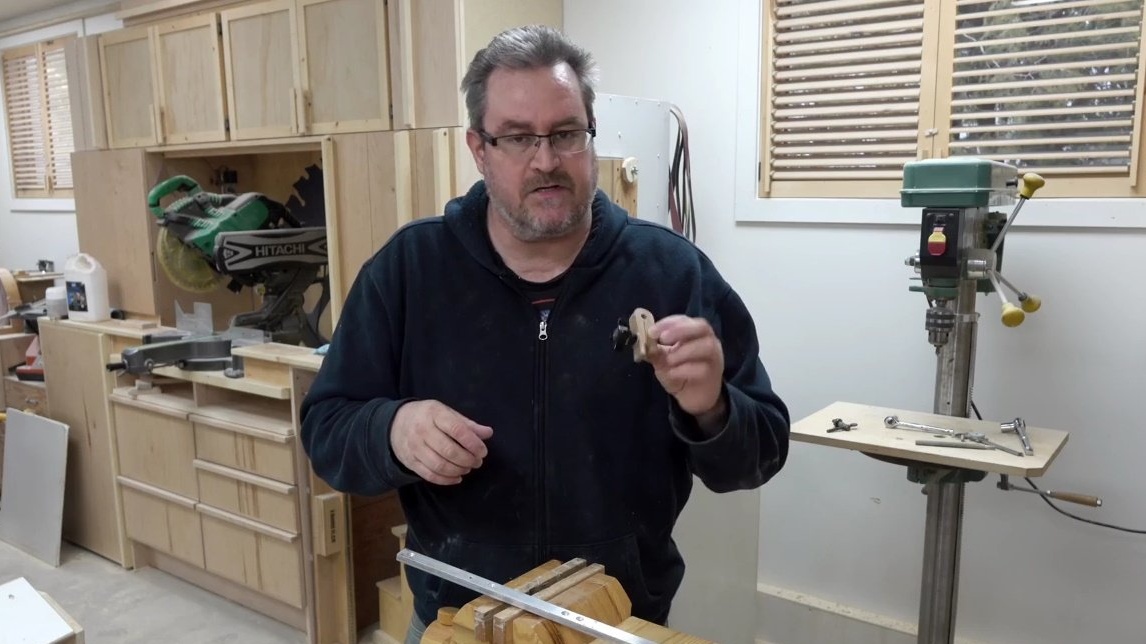
In it, John, the author of YouTube channel "John Heisz - I Build It", offers you a very useful device for a drilling machine - this is a limiter for the depth of drilling. He is also the holder of a key for the cartridge.
This model served the master for several years, the only problem was he was made of wood. And since he had been sliding along the threaded rod all this time, he had worn out a little and was no longer holding it as it should. And so John decides to do something similar, but from aluminum. Previously, there were two clamping nuts on the device, but the master hated them, because they constantly had to be tightened and untwisted, adjusting to the necessary clamping force.

Materials
- Aluminum beam
- M6 bolt with square headrest, lamb with nut
- Bolt M6.
Instruments, used by the author.
- Drilling machine
- A circular saw
- Screwdriver
- Hacksaw
- Tap, step drill
- Vise, clamps, wrenches, hammer
- Phillips screwdriver, core.
Manufacturing process.
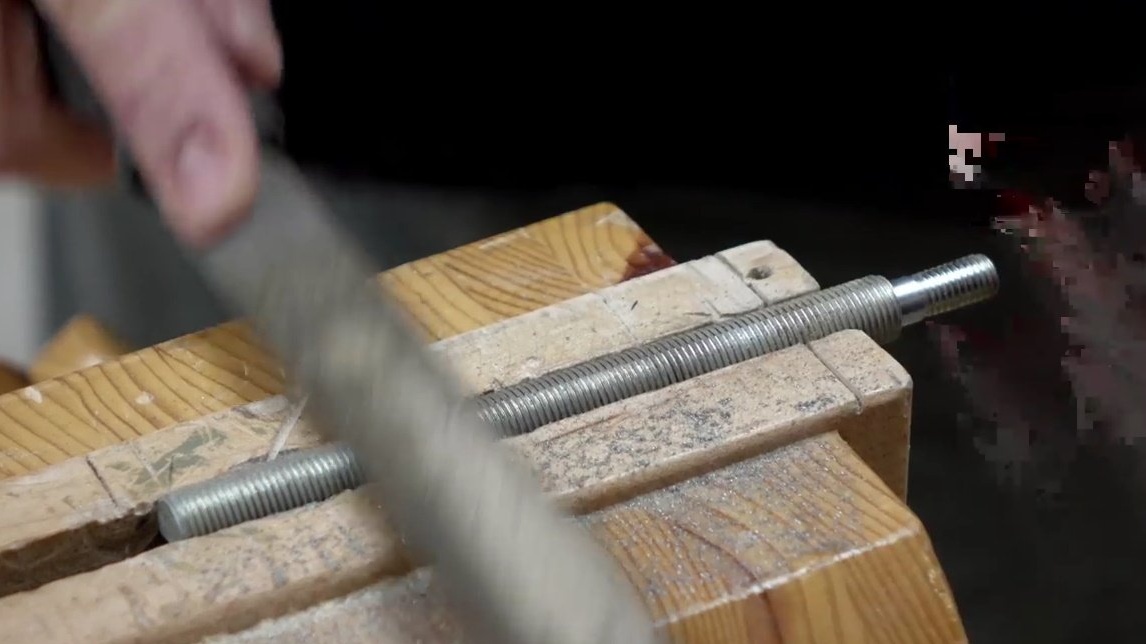
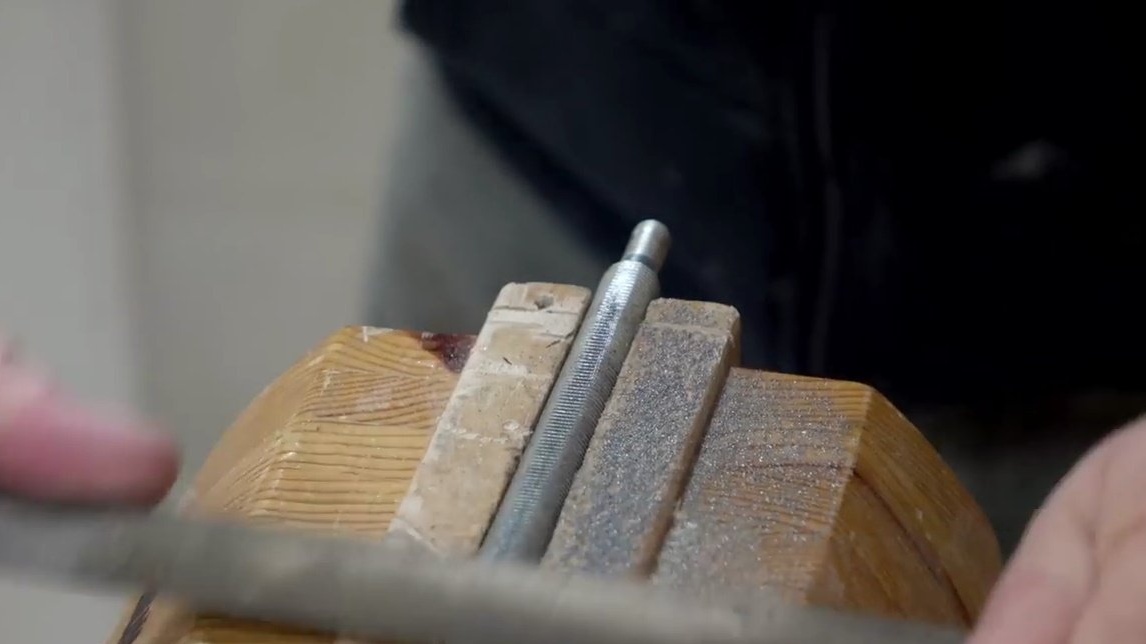
First of all, the master removes the guide pin from the device, which he is going to smooth out from both (diametrically opposite) sides. To do this, he clamps the product in a vice and performs all other work exclusively with a file. Here, the author notes, one does not have to bring everything to the ideal. The main thing is to get rid of sharp chipping, and partially grind the thread. Then he flips the rod back and does the same. By the way, John also made a vise himself, however, a wooden vise looks original.

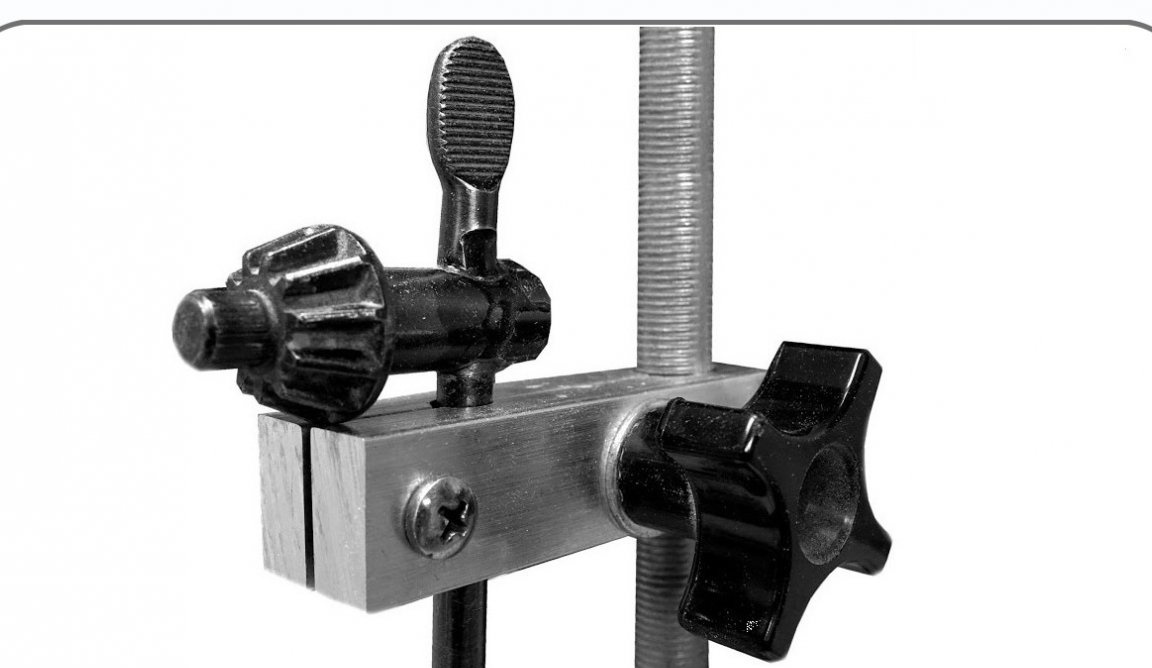
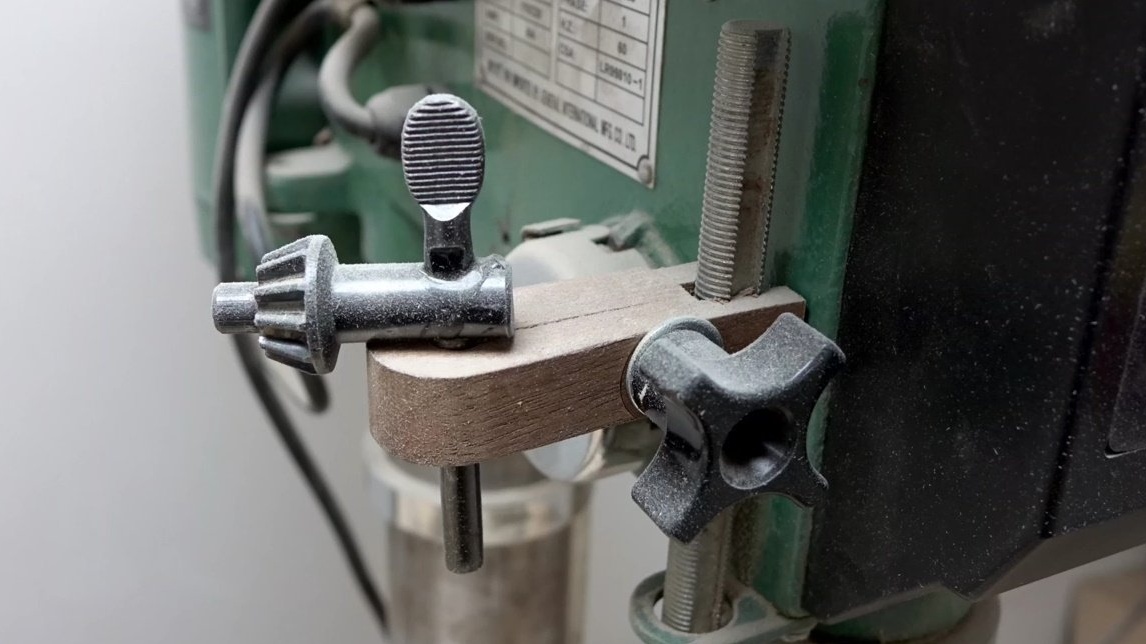
In the original wooden structure, John is impressed by the size, as well as the length of the product, the place where you can insert the key for the cartridge, and where the pen is. He is going to use all these elements of the "native" design as a sample.
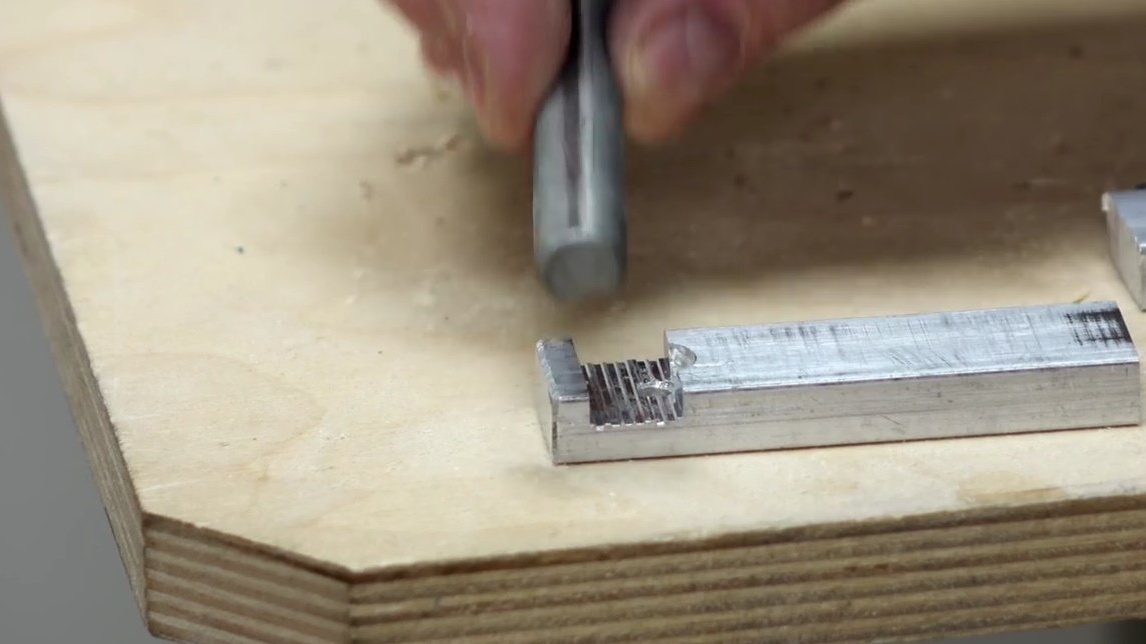
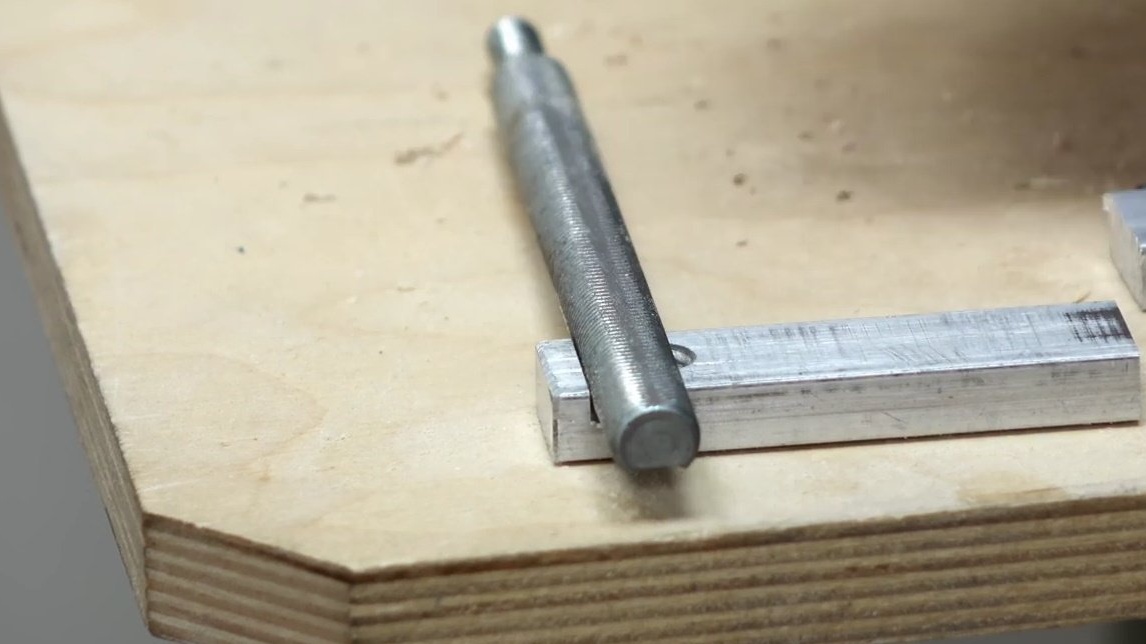
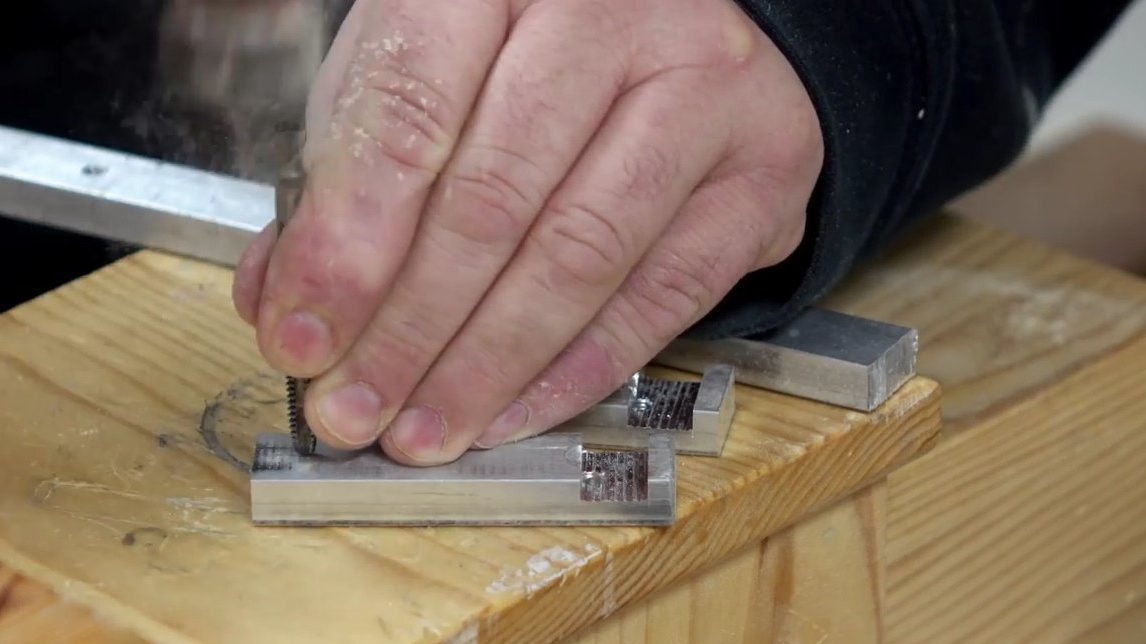
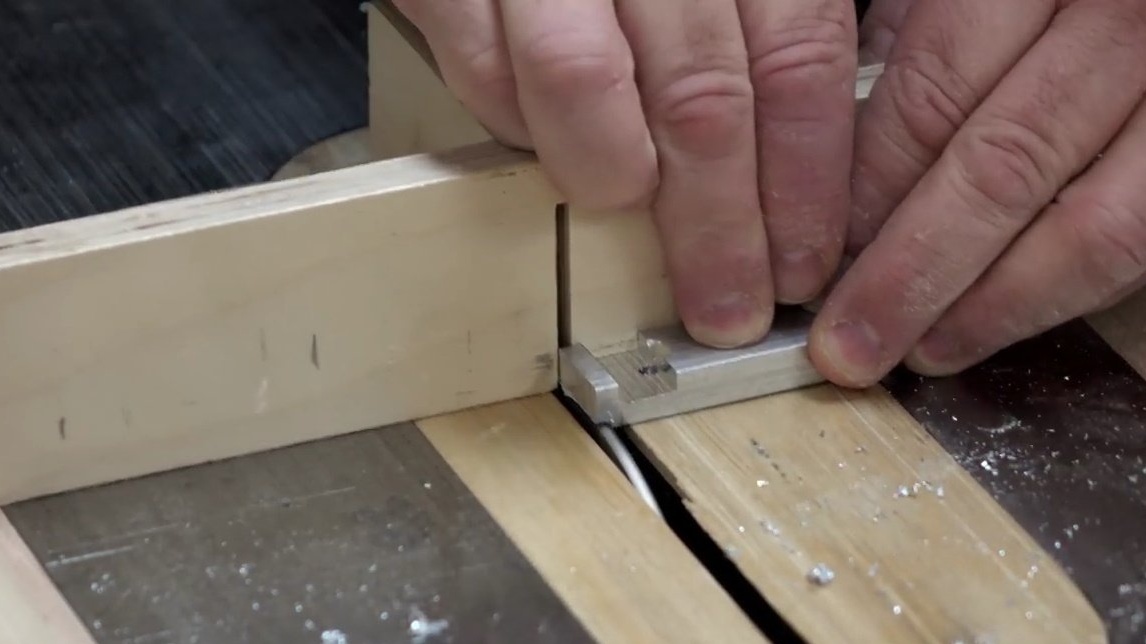
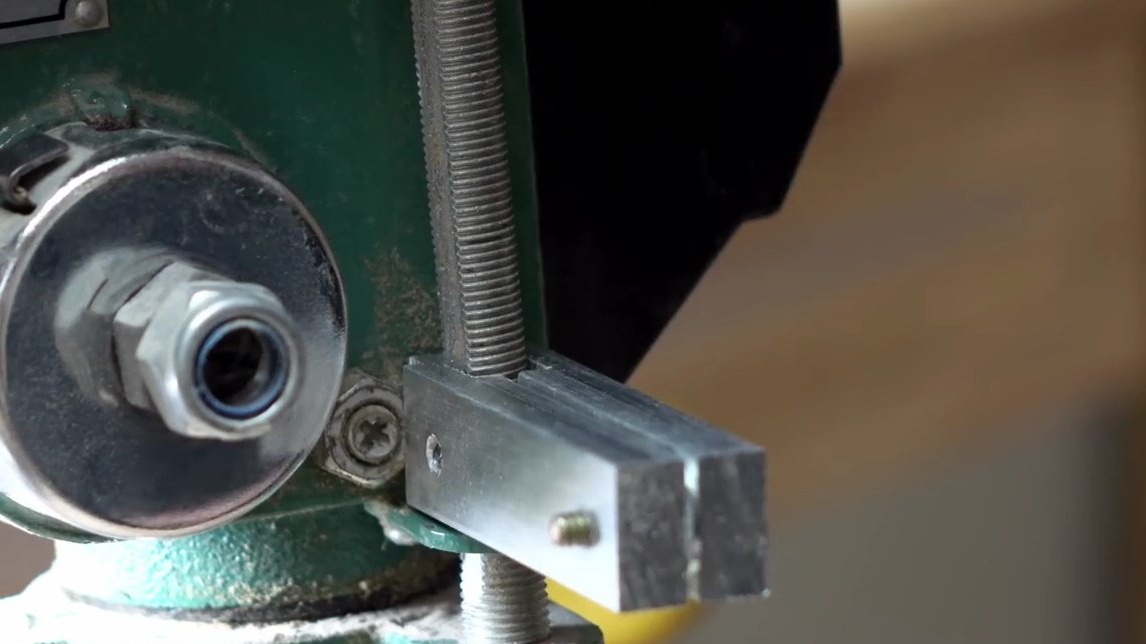
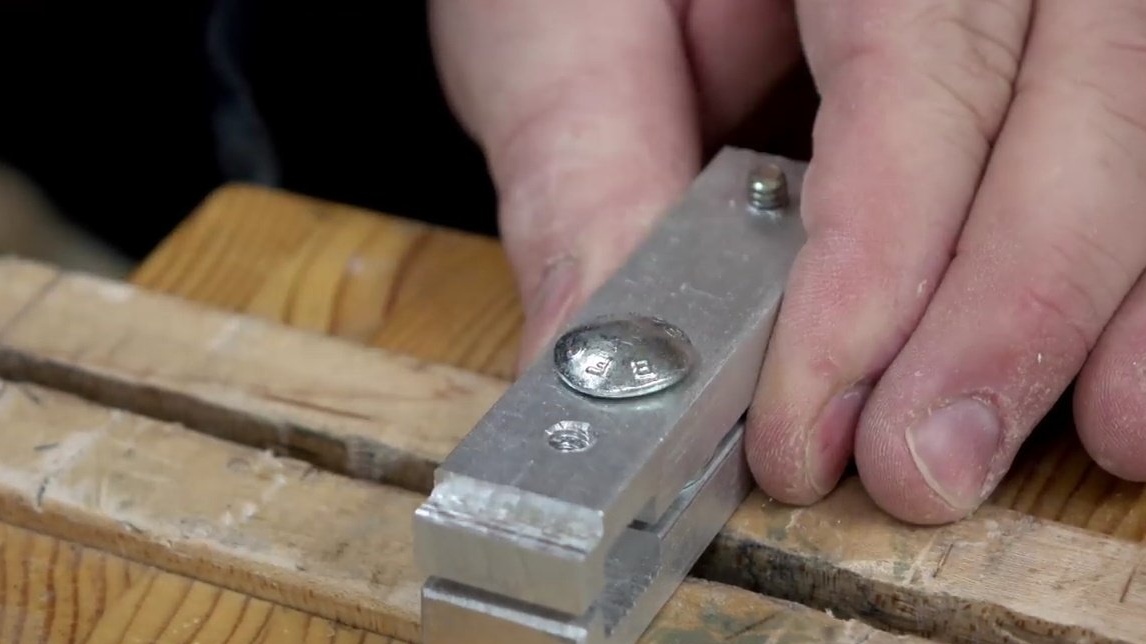
The next step, John cuts out two pieces of aluminum of the desired length and makes notes on them to make small cutouts in each of them. An iron rod must stand in these cutouts so that it can be pressed, and this would be a durable device.
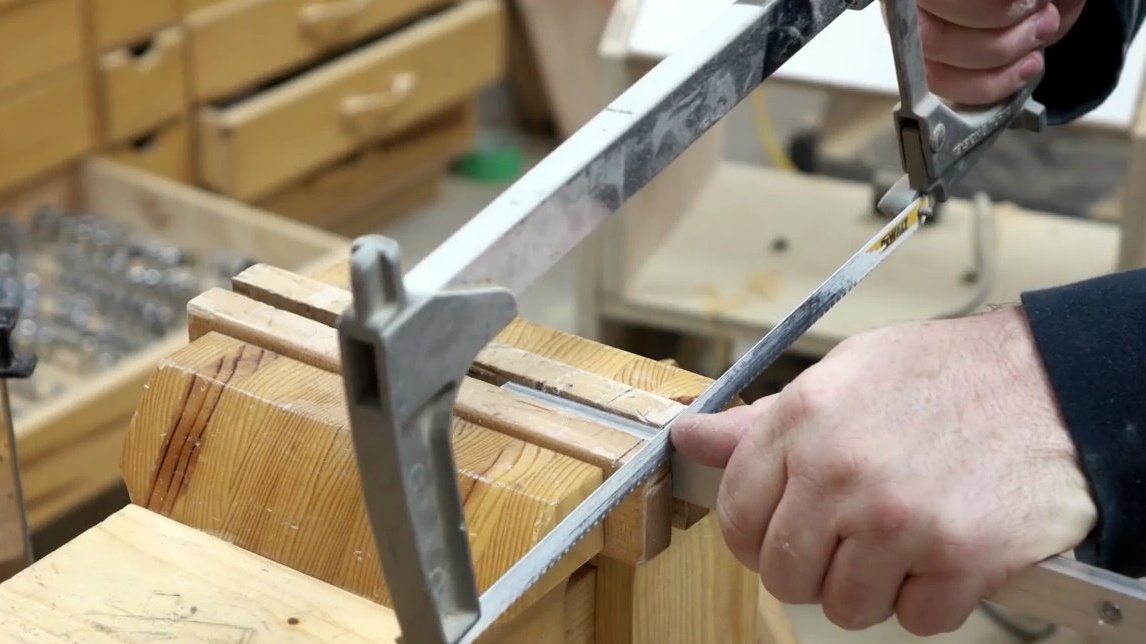
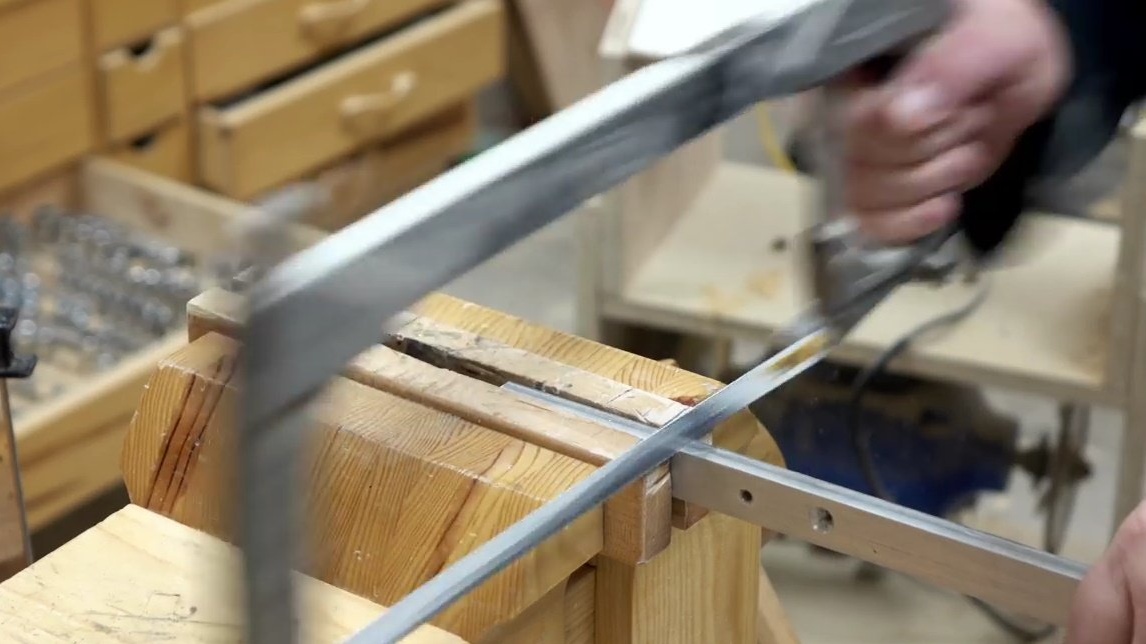
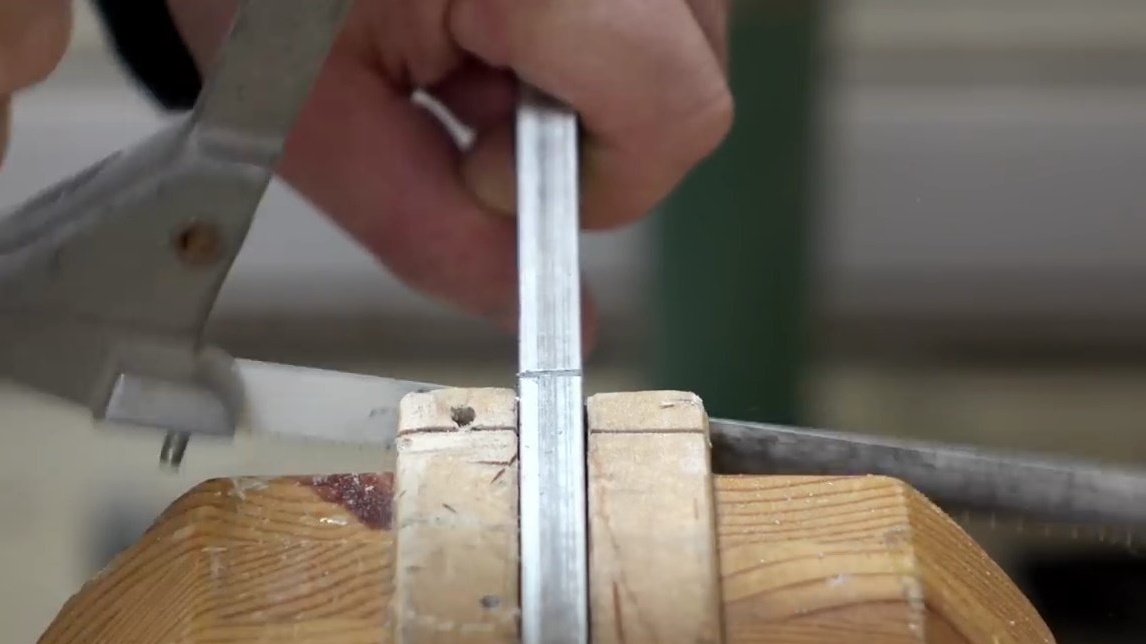
These grooves could be done manually, but the master has the right equipment for this. He inserts a special disc for working on metal.So he manages to save a significant amount of time. In order to get a groove of sufficient width, John processes the workpiece in several passes on a circular saw.
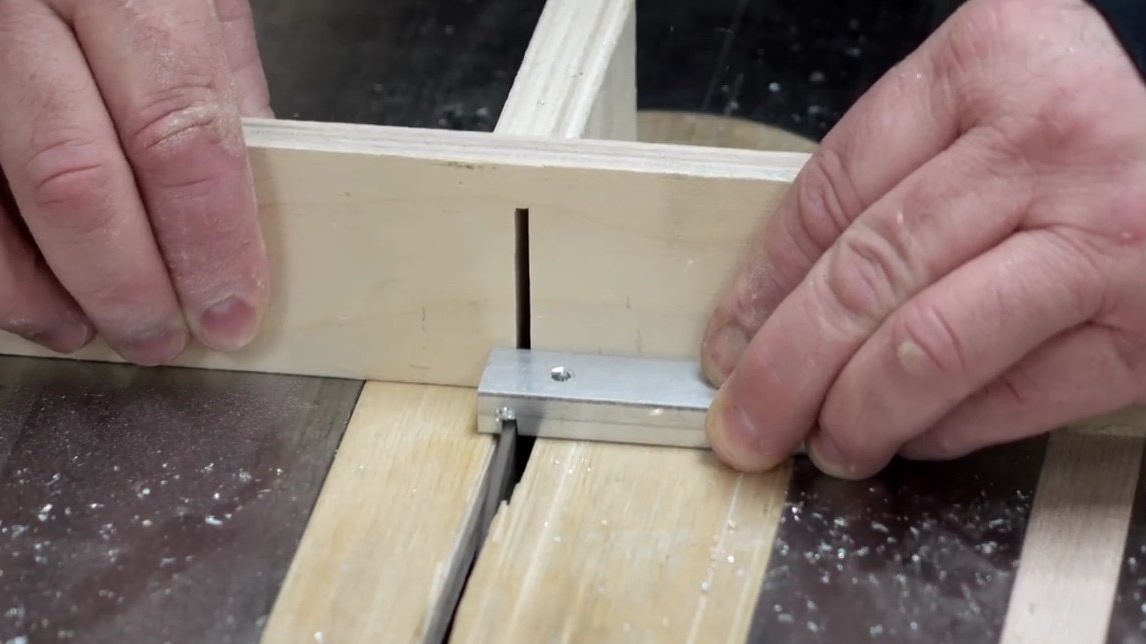
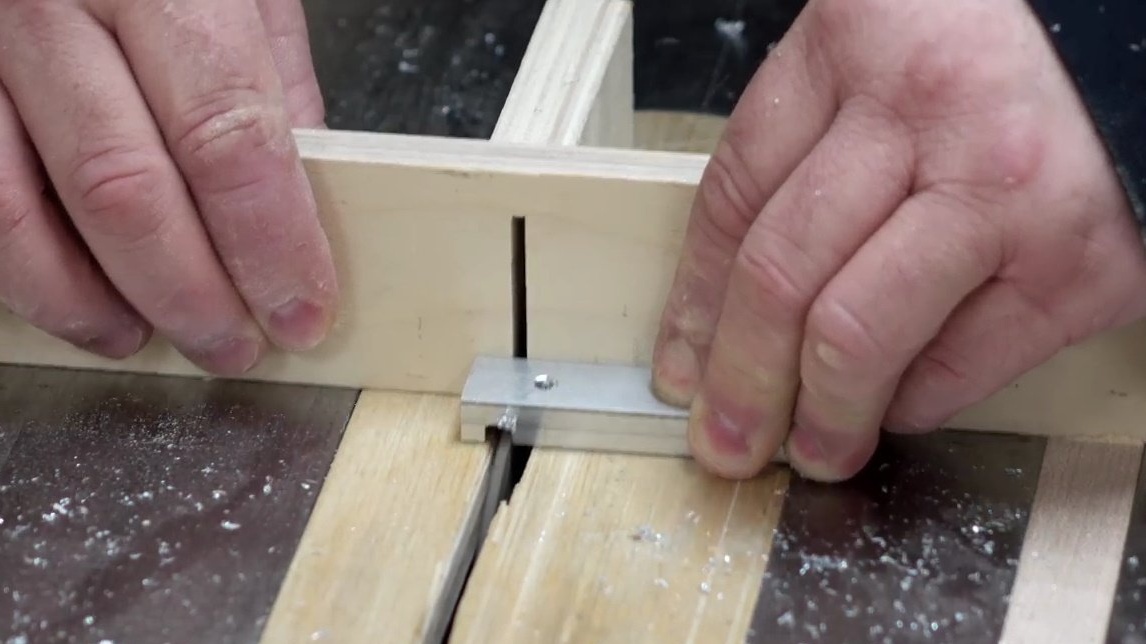
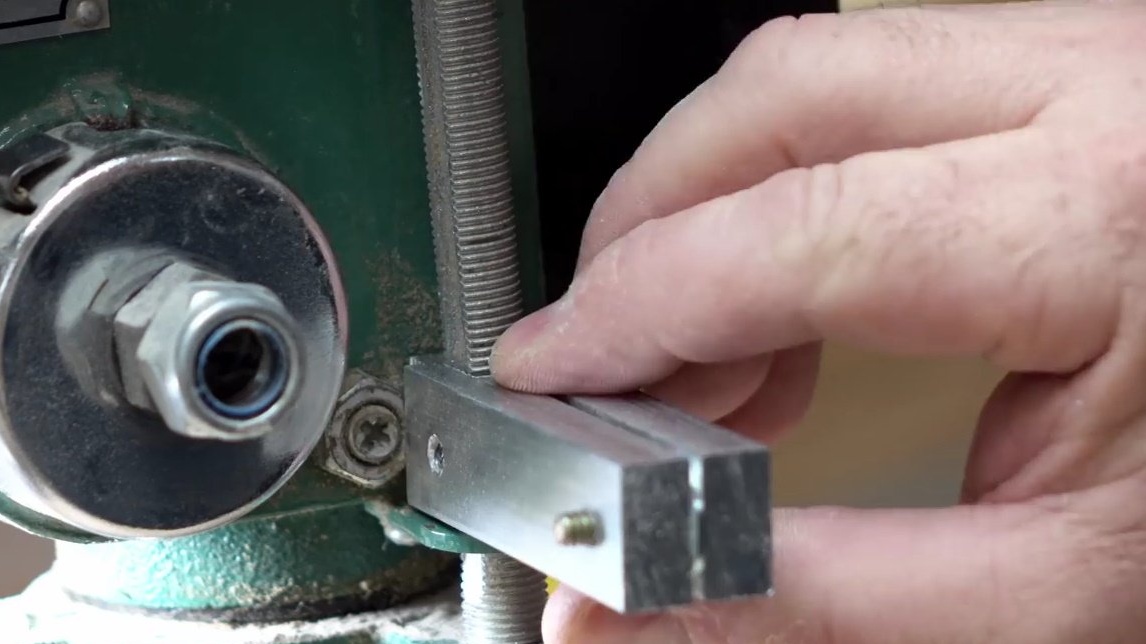
So, the details are great for each other. Now the author is going to insert a quarter inch between the two aluminum plates to create a small spatial gap. With the thought that this structure should move along the steel rod, that is, slide rather gently up and down on it. And if you clamp these aluminum plates or pull them with the thumb of a regulator, they will firmly fix in a certain position.
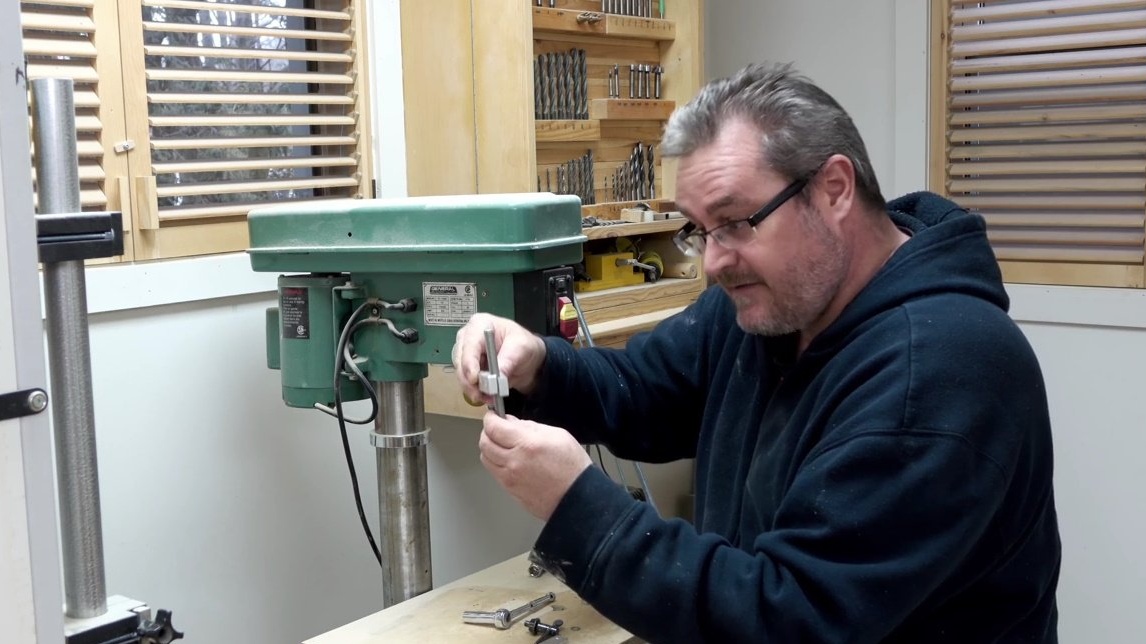
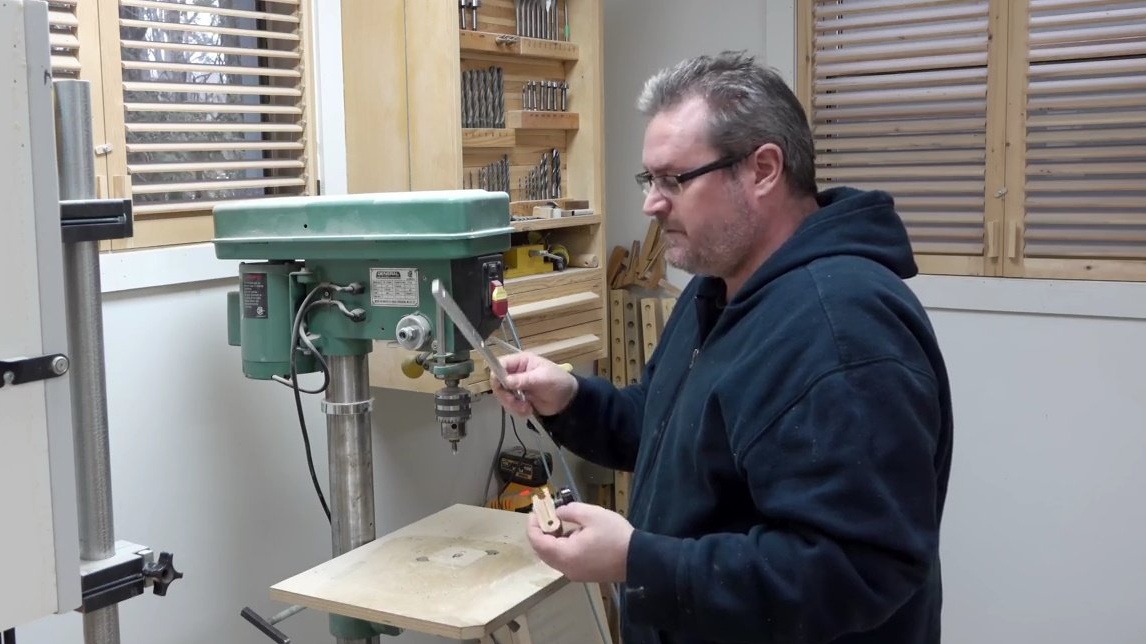
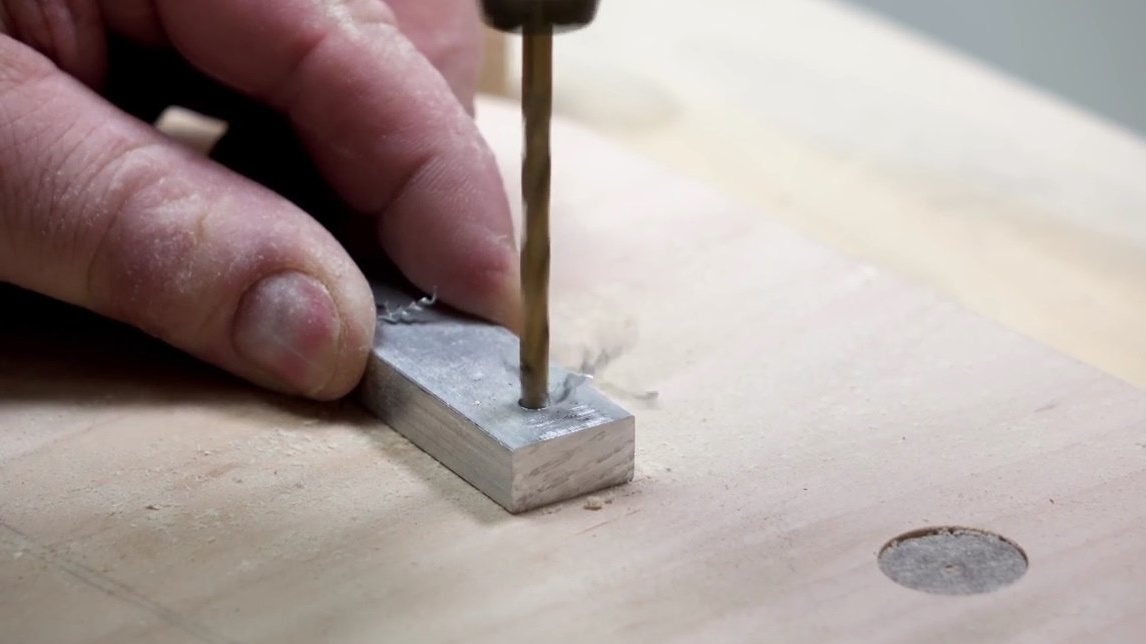
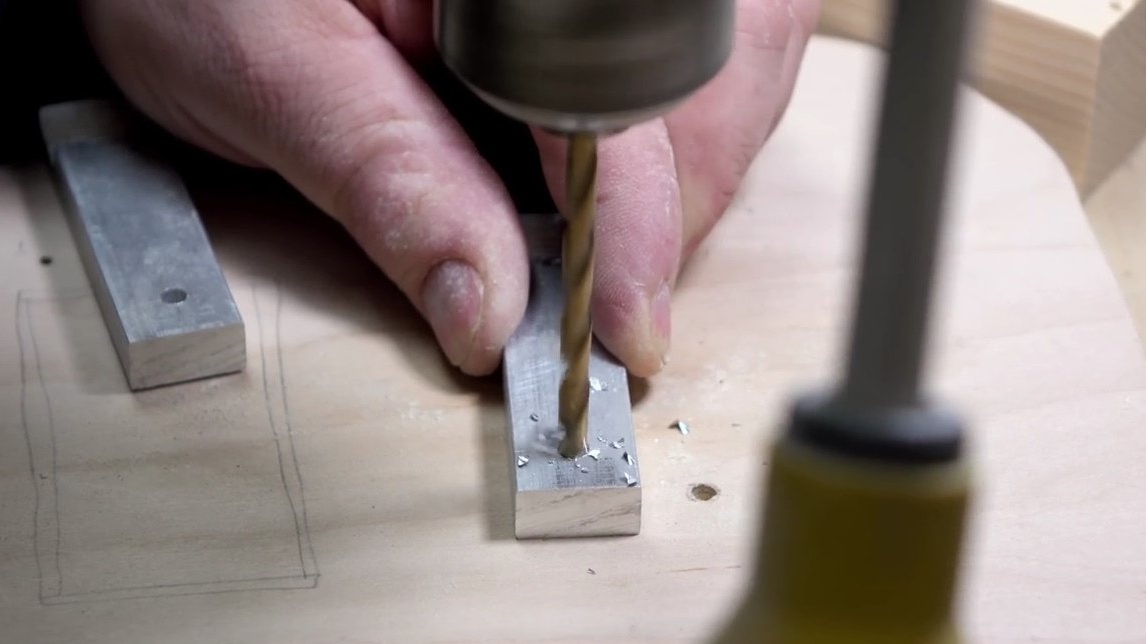
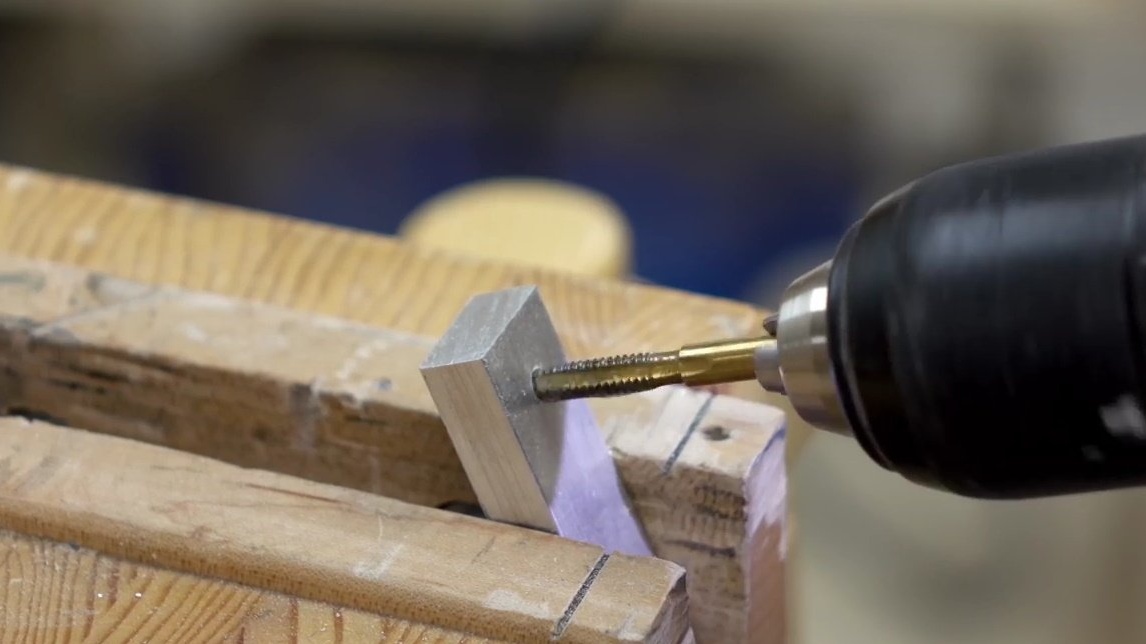
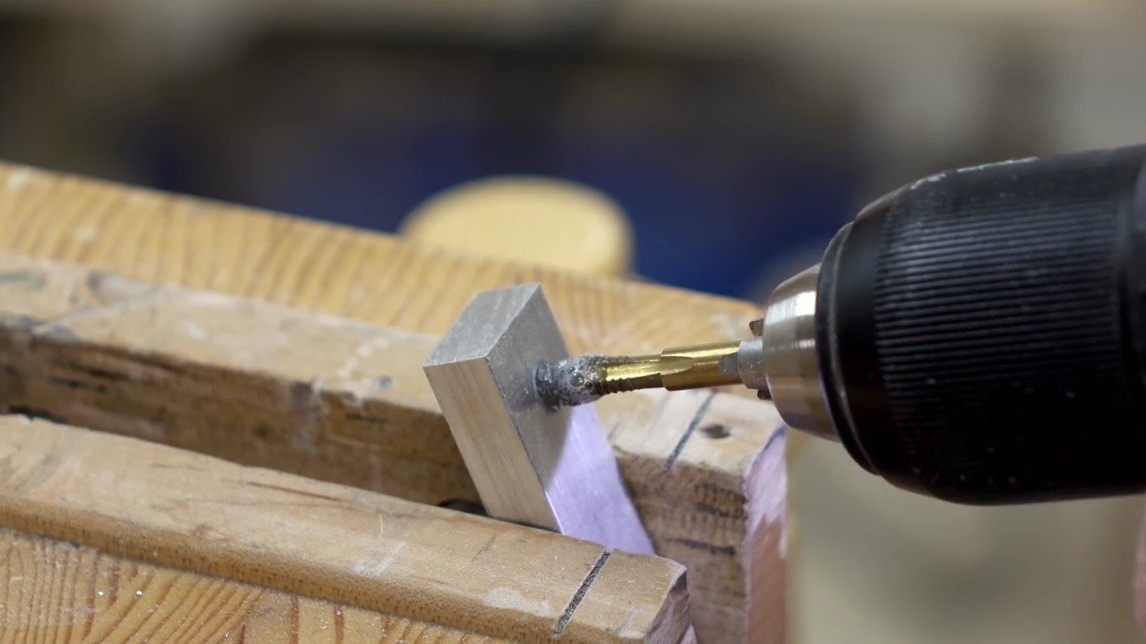
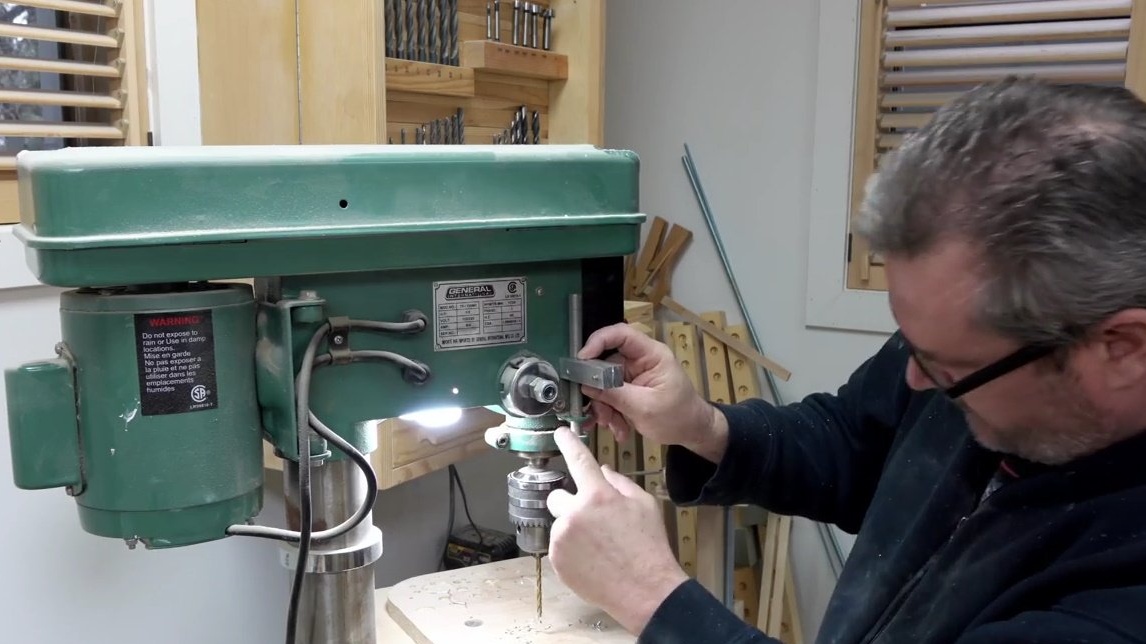
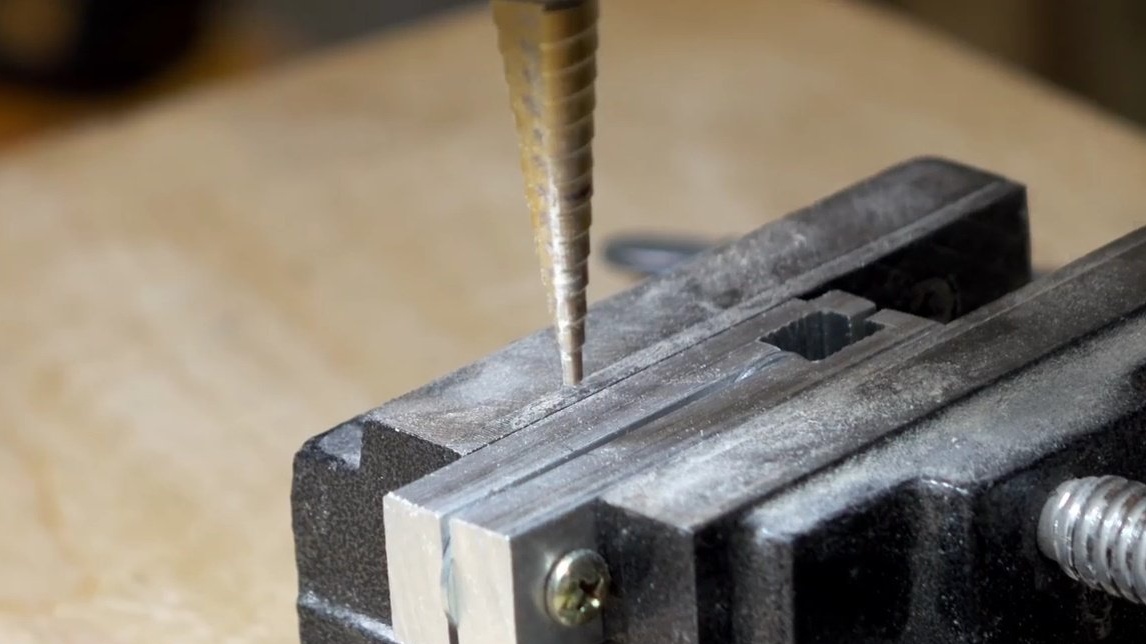
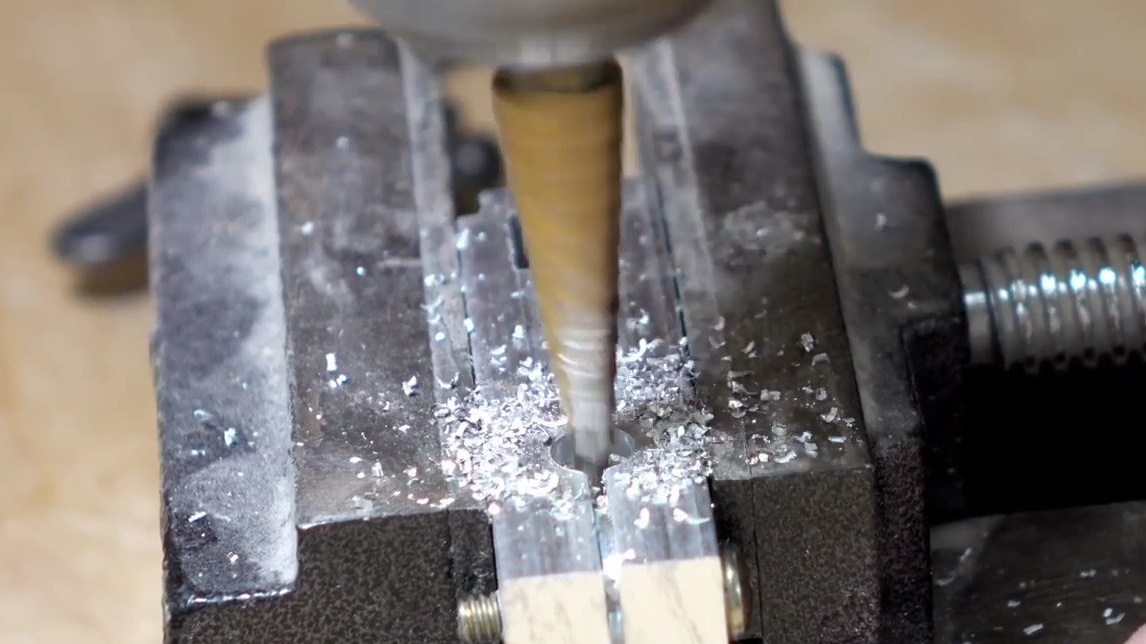
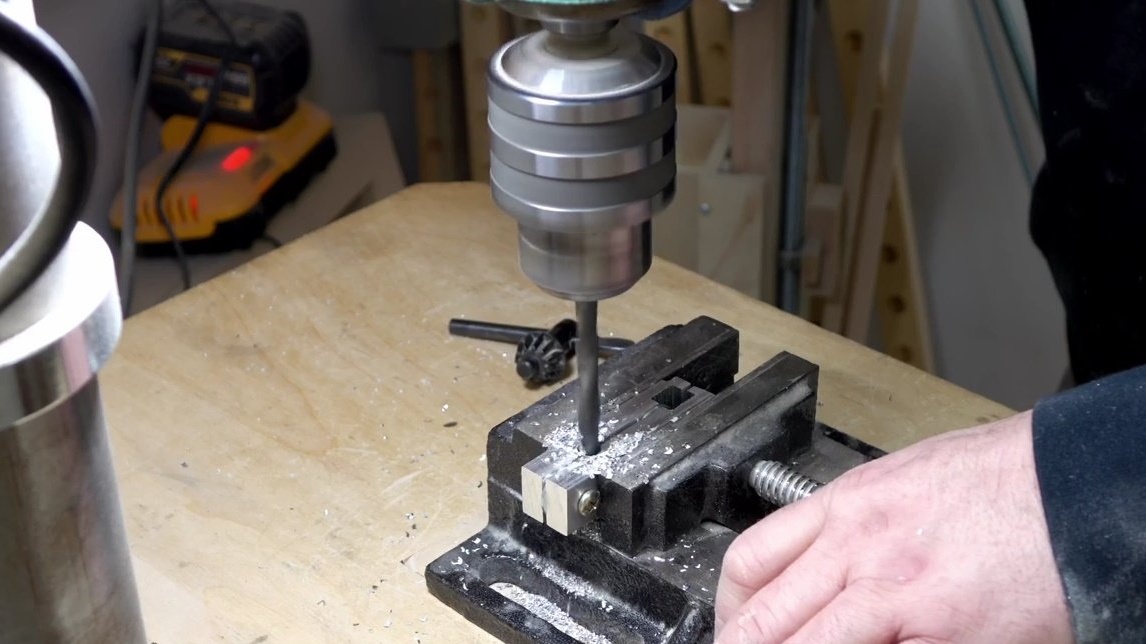
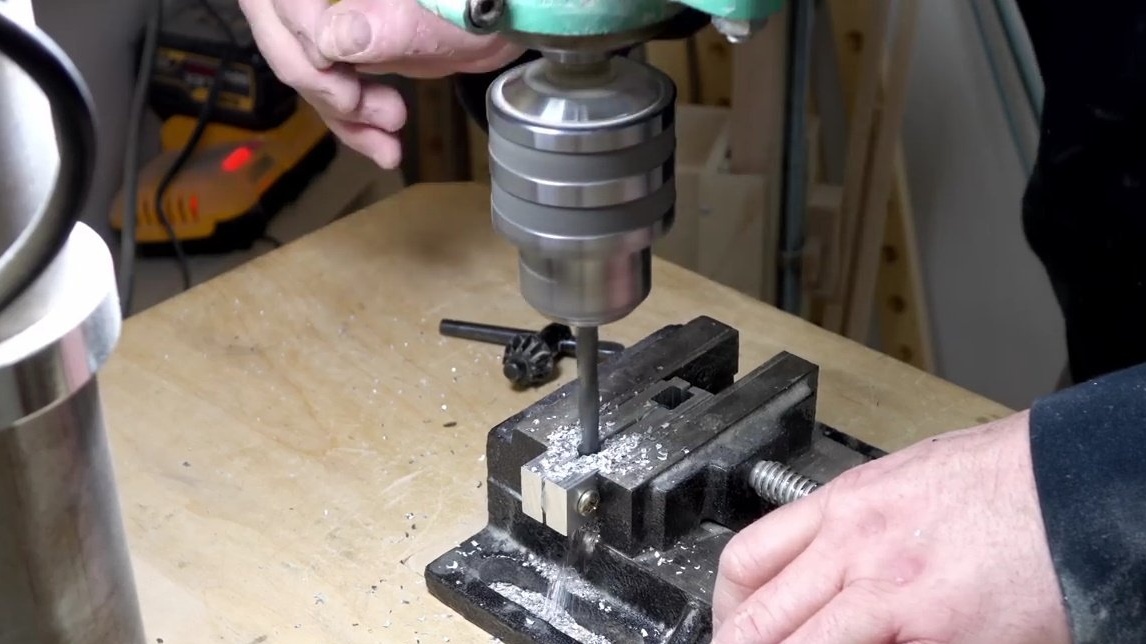
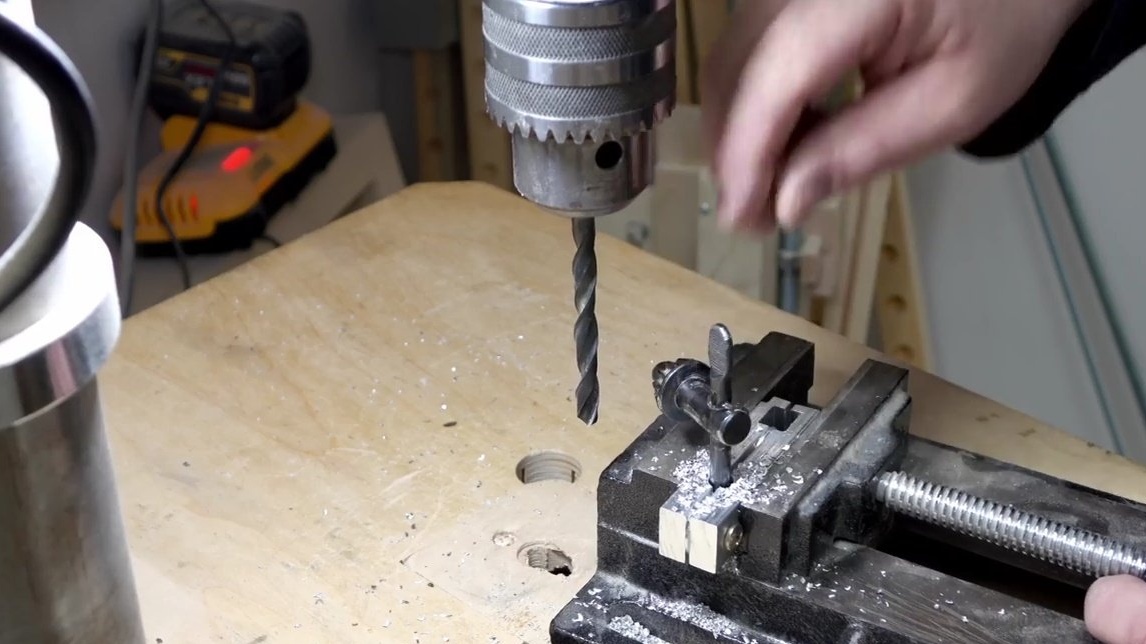
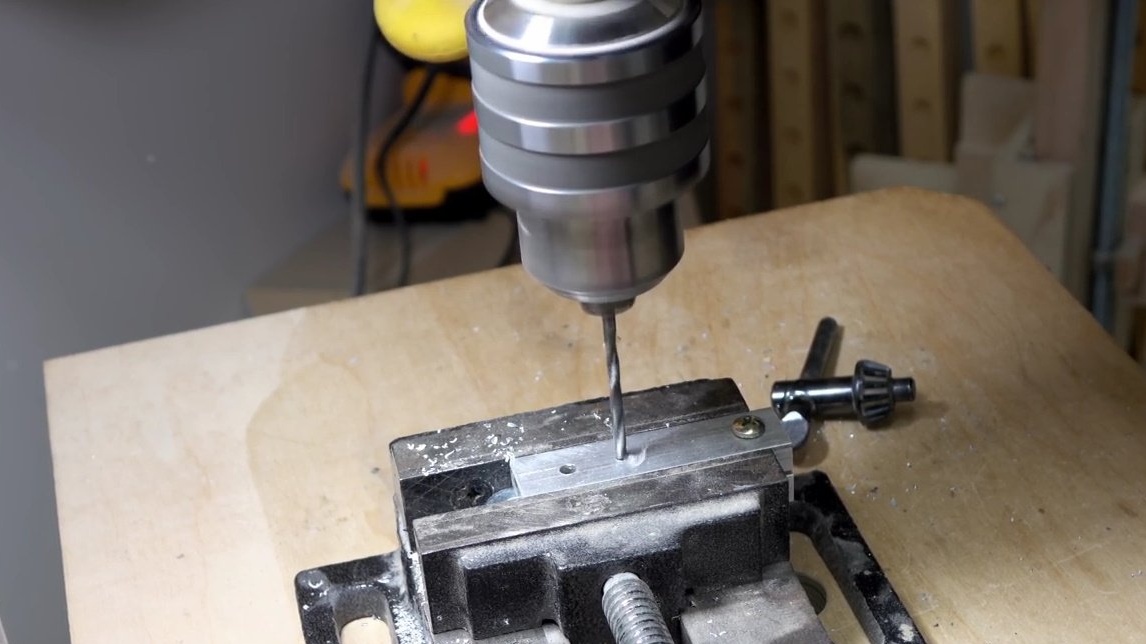
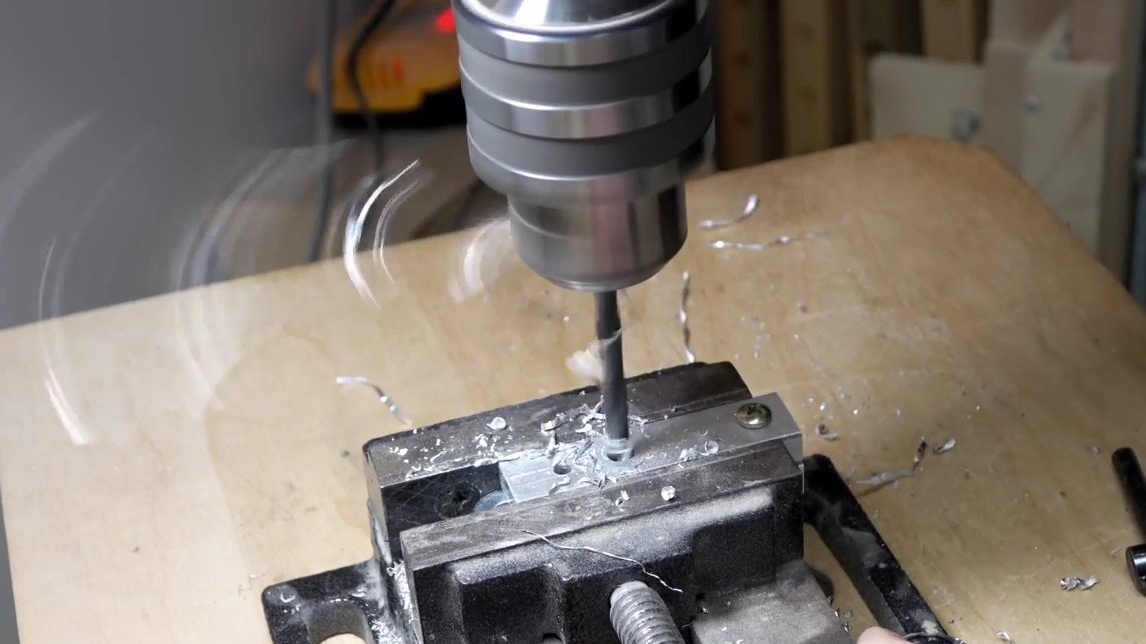
Next, John drills two holes at the other end of the plates, after turning the mark of their exact location. And drills a 5/32 inch hole for the thread and a 3/16 inch hole for the bolts. Then cuts the thread with a tap. Smaller holes he once again passes a drill.


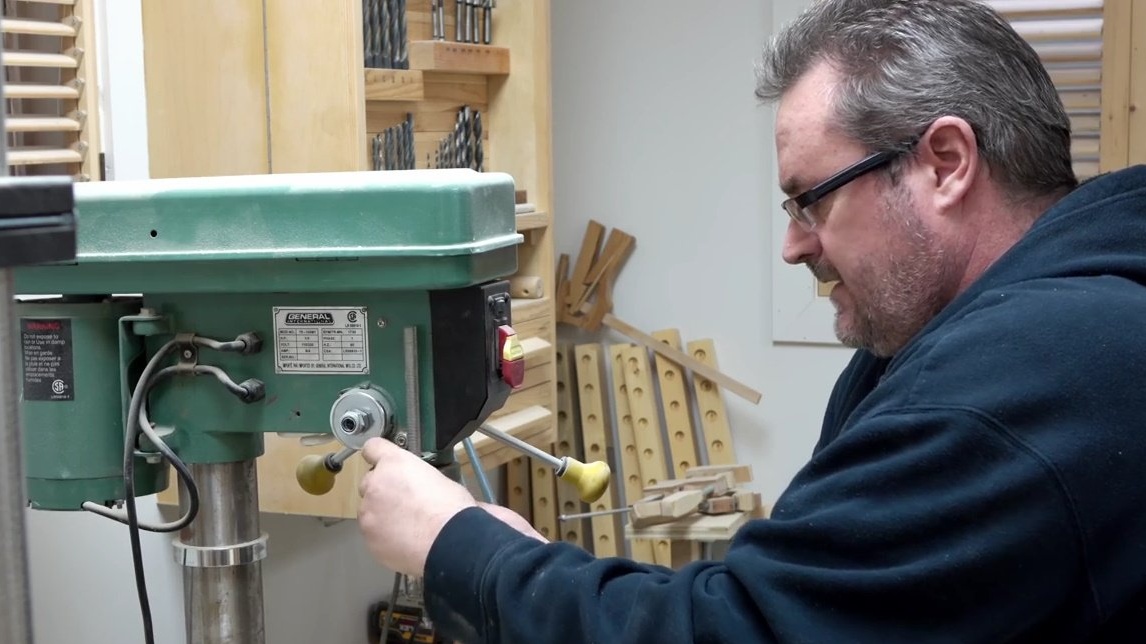
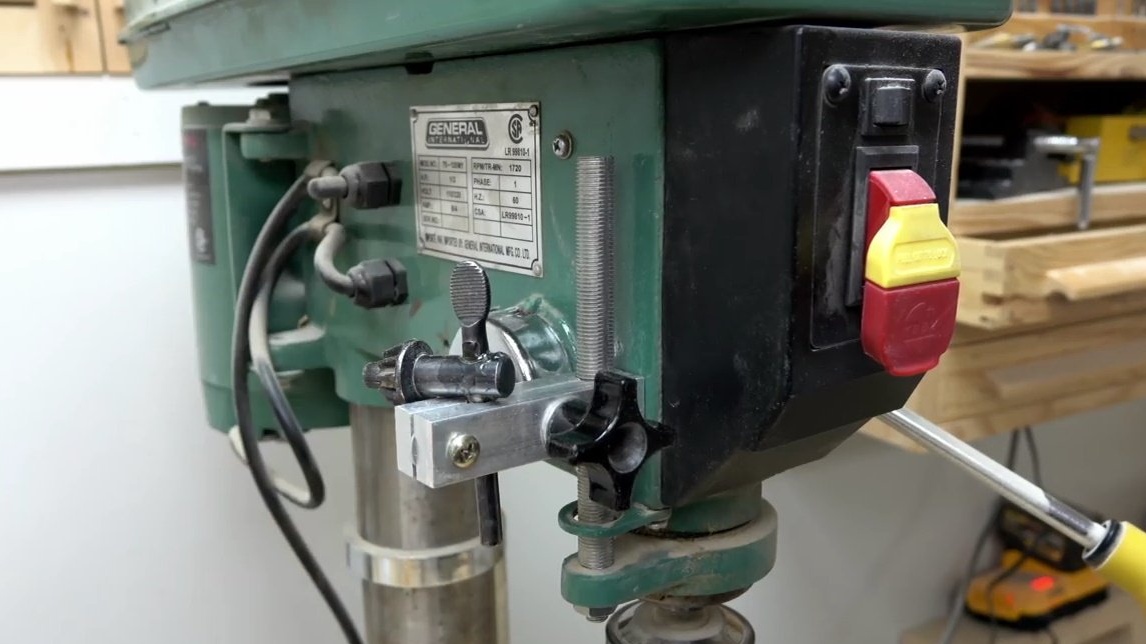
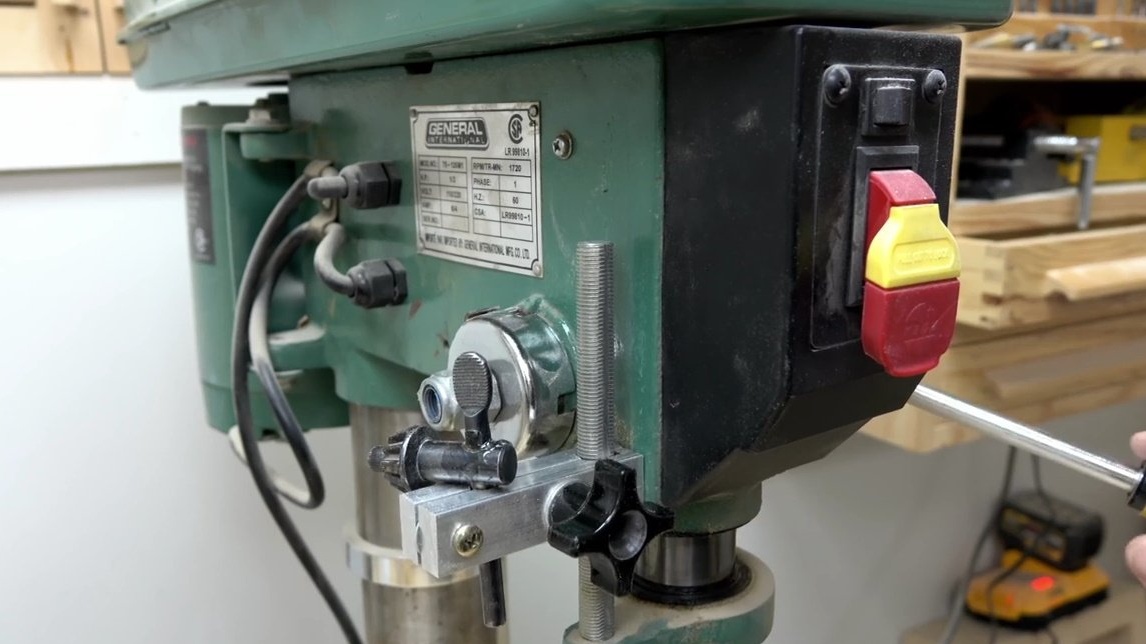
Now the author installs the structure in place, on the drilling machine, and then a small problem arises: when it goes down, it rests on the nut. The craftsman has to cut a little in this part, making a small groove with a circular saw.
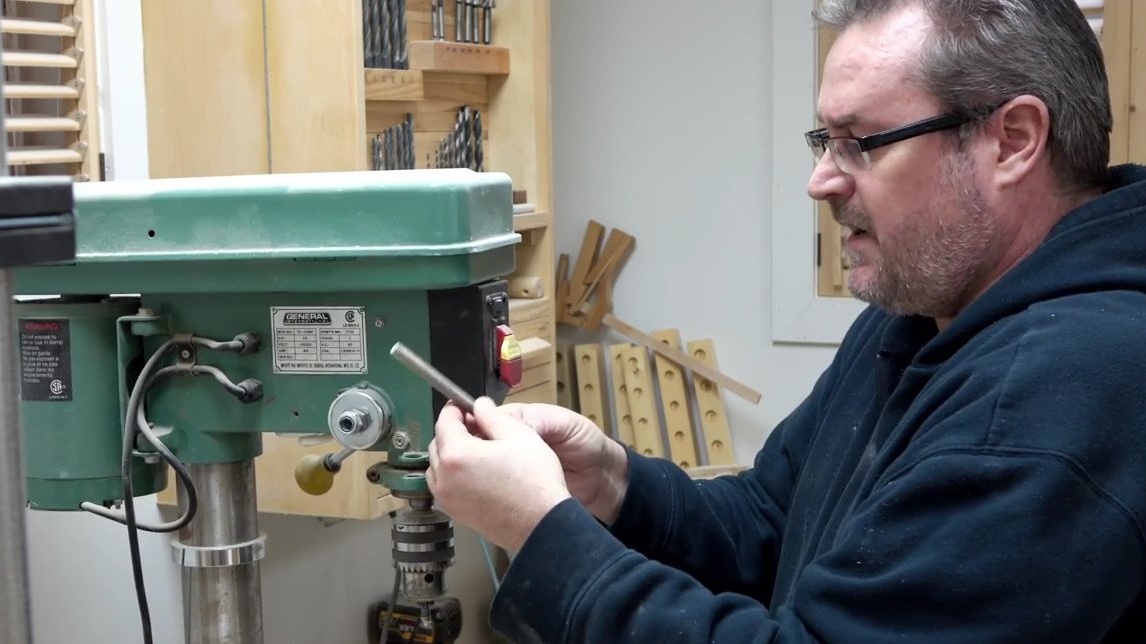
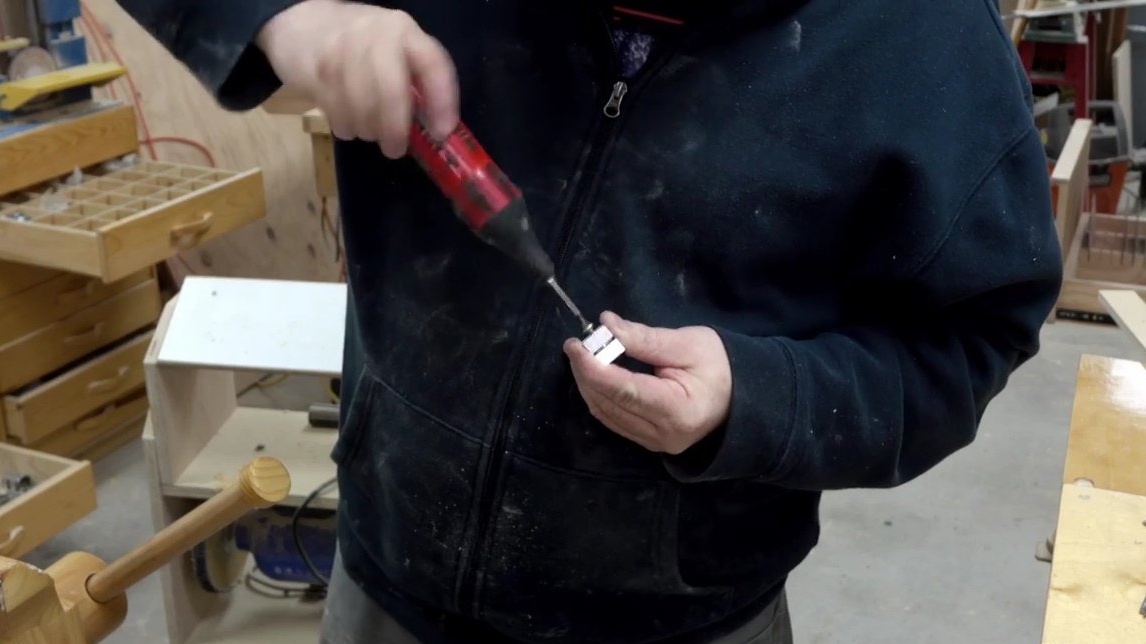
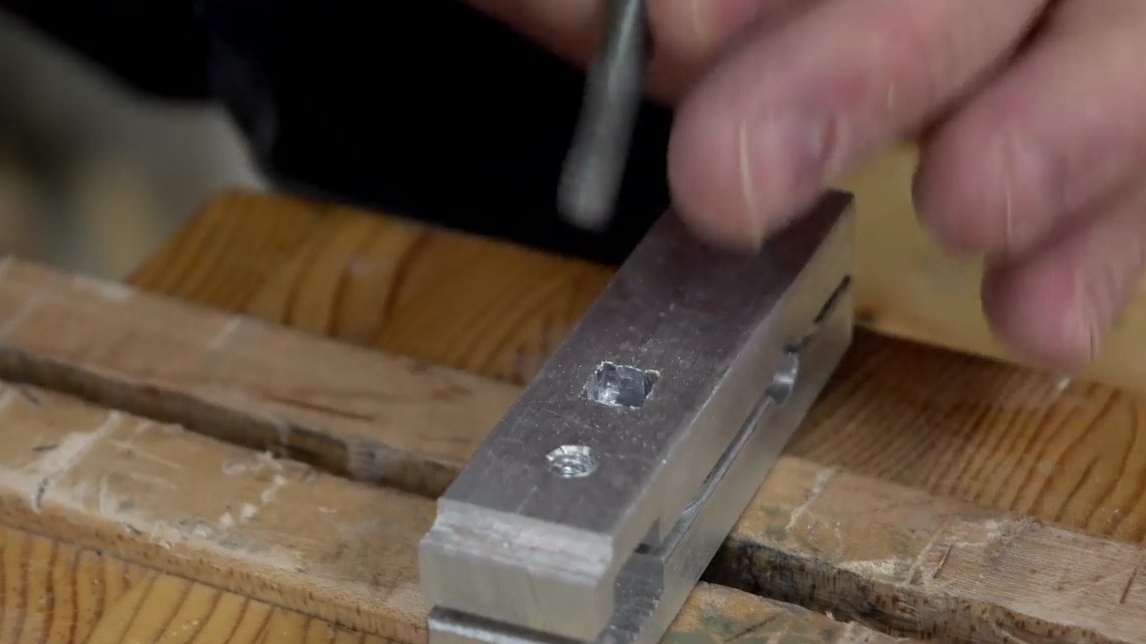
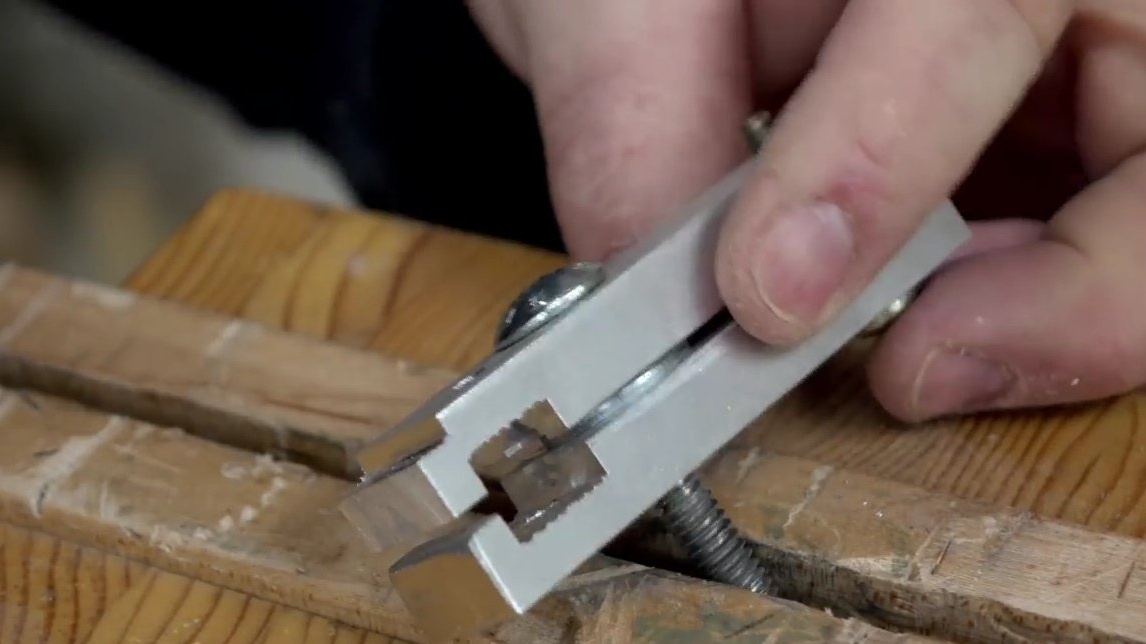
Then you need to make a hole for the key. John doesn’t want the key to be too tight to be easily pulled out and returned. So he makes a hole with a little hike. Compared to the handle diameter of this key, it will be slightly larger in diameter. And he begins to drill with a step drill, just in the place of the gap between the plates. Then it passes through a conventional drill.

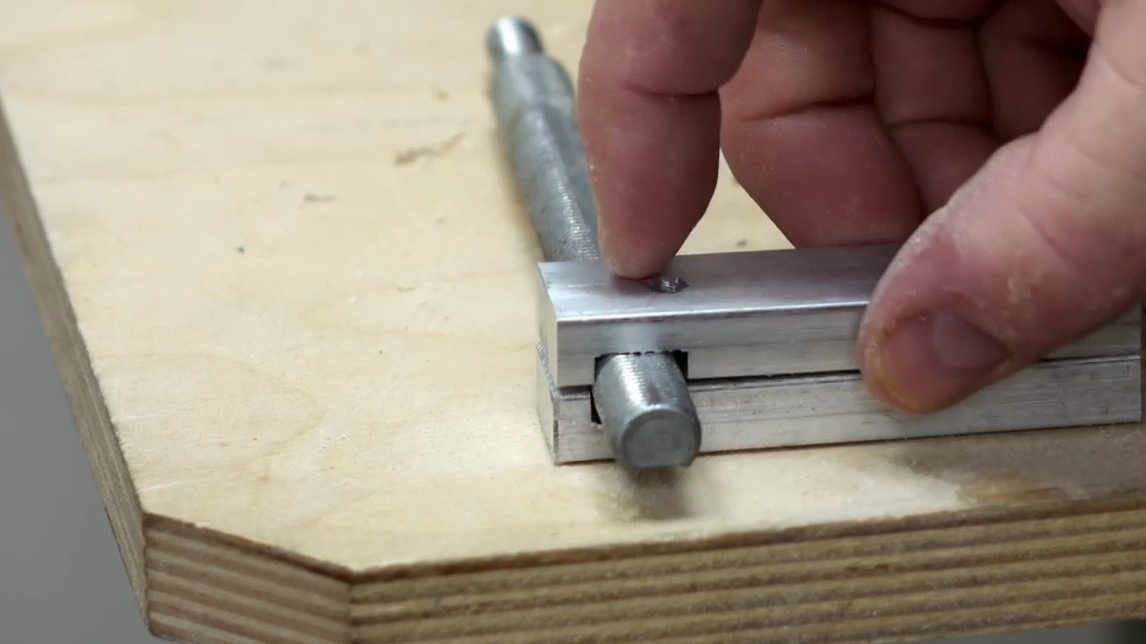
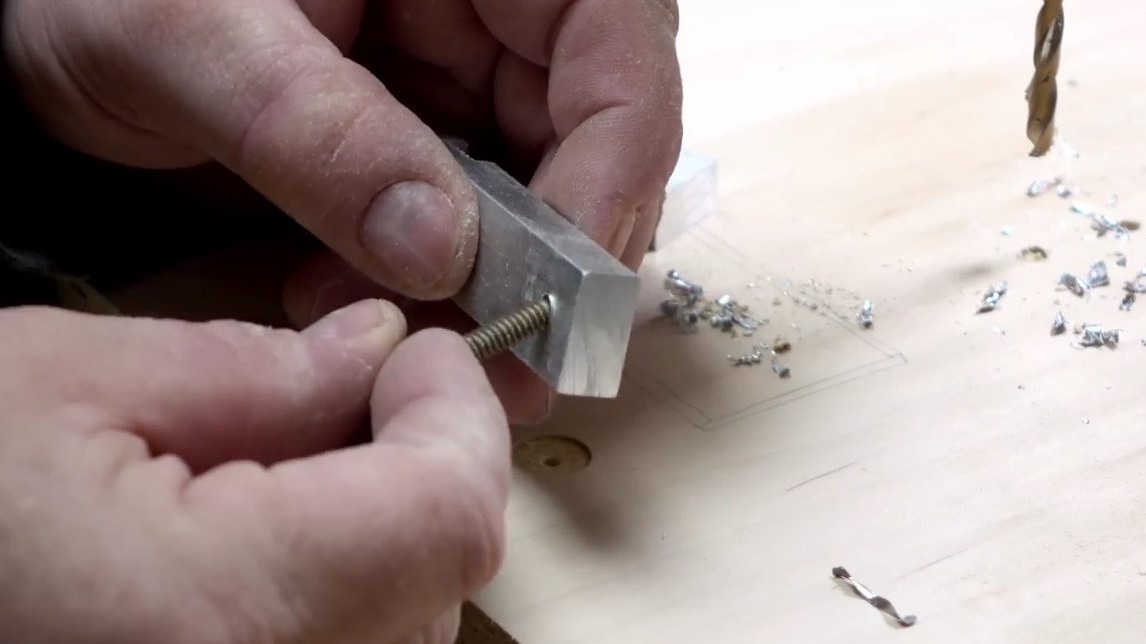
Next, he will need another hole for a bolt with a square headrest, which will press parts of the structure to the shaft. The author intentionally made a hole with an allowance in the hope that he would be able to drive the square part of the bolt there. To do this, he selects a quarter inch bolt.
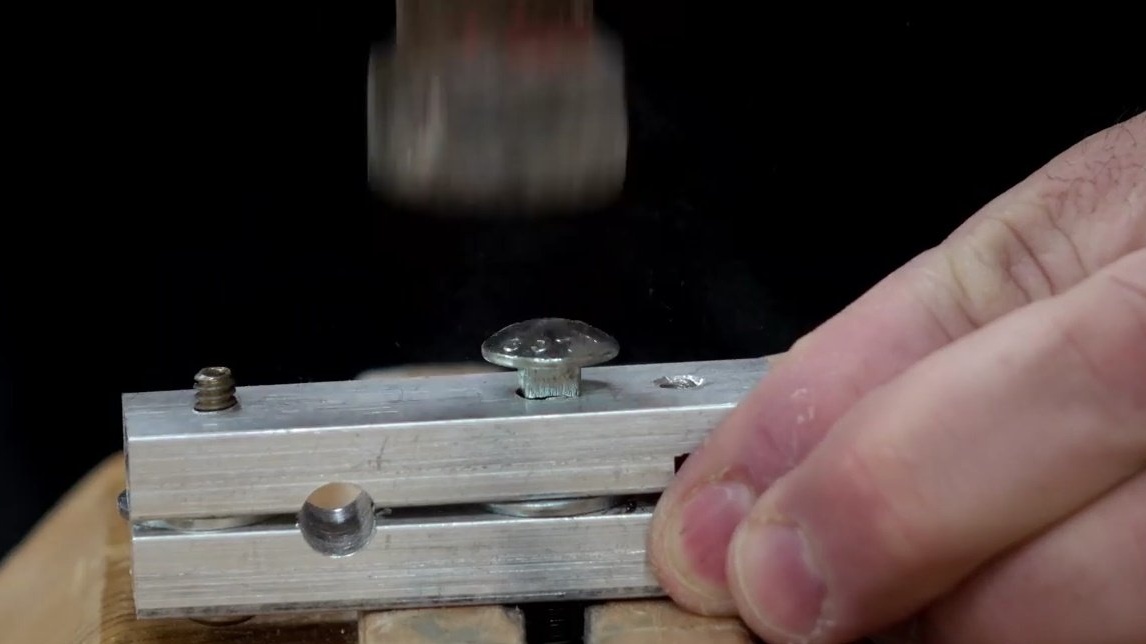
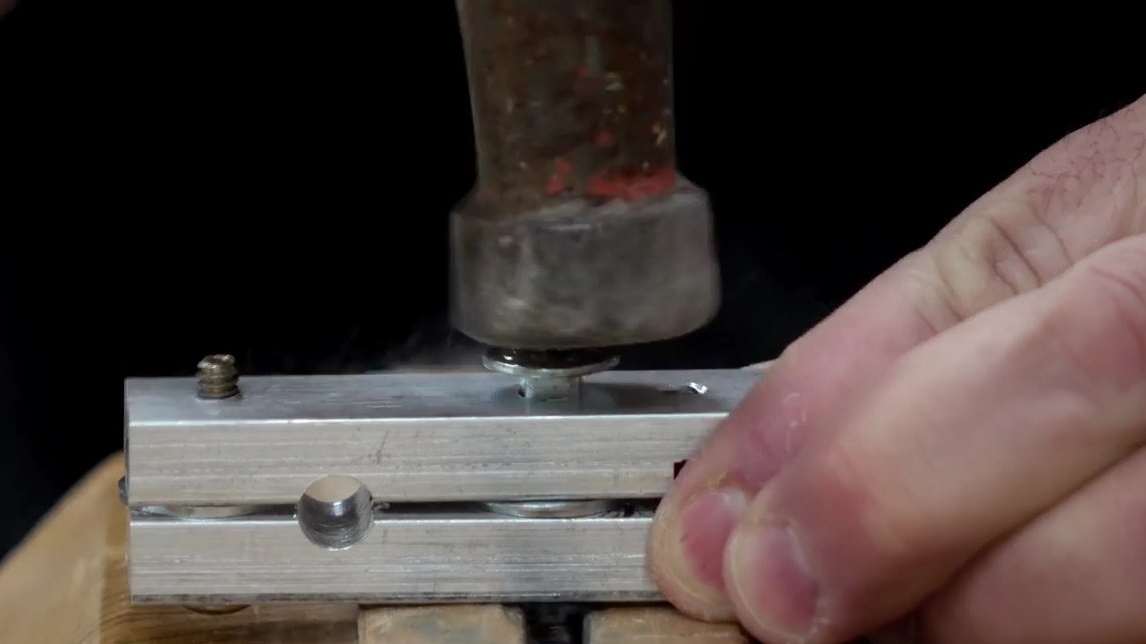
On the first attempt to drive the square headrest of the bolt completely failed, so the master took advantage of the good old chisel, slightly leveling the edges of the hole. Now the headrest of the bolt will enter without any problems.

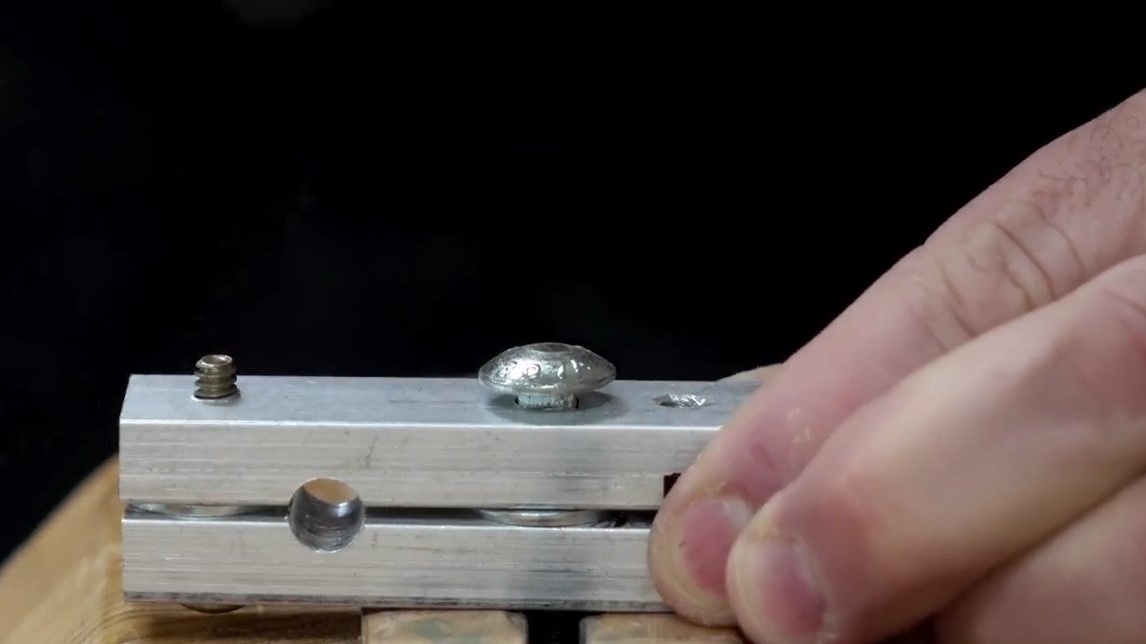
Now he adjusts the handle - the lamb. String the clamp on the steel bar and clamp it on the bar with a handle. At the end, John inserts the key, he will always be there, "at hand", it is very convenient - and will not be lost. Among other things, it also works as an upper limiter.
Thanks to John for an interesting improvement on the drilling machine!
Happy creative work and good mood!