
This article will be interesting to all the residents of our sites, who are annoyed by the flickering of rotating fan blades. And in principle, as an original design solution for organizing comfort.
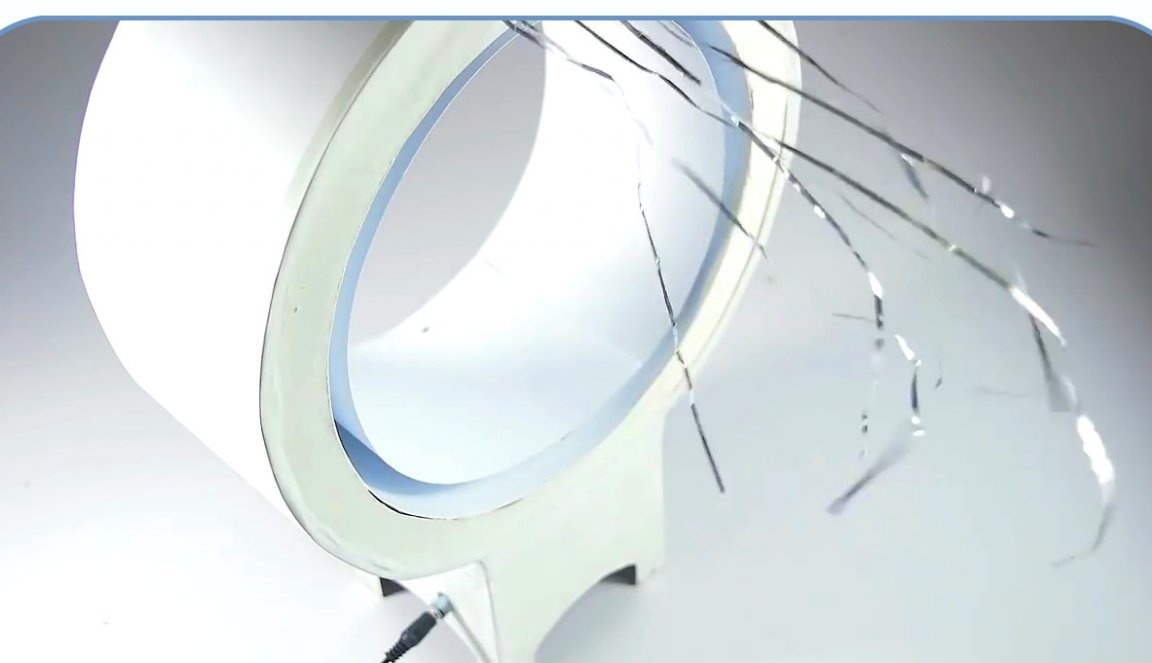
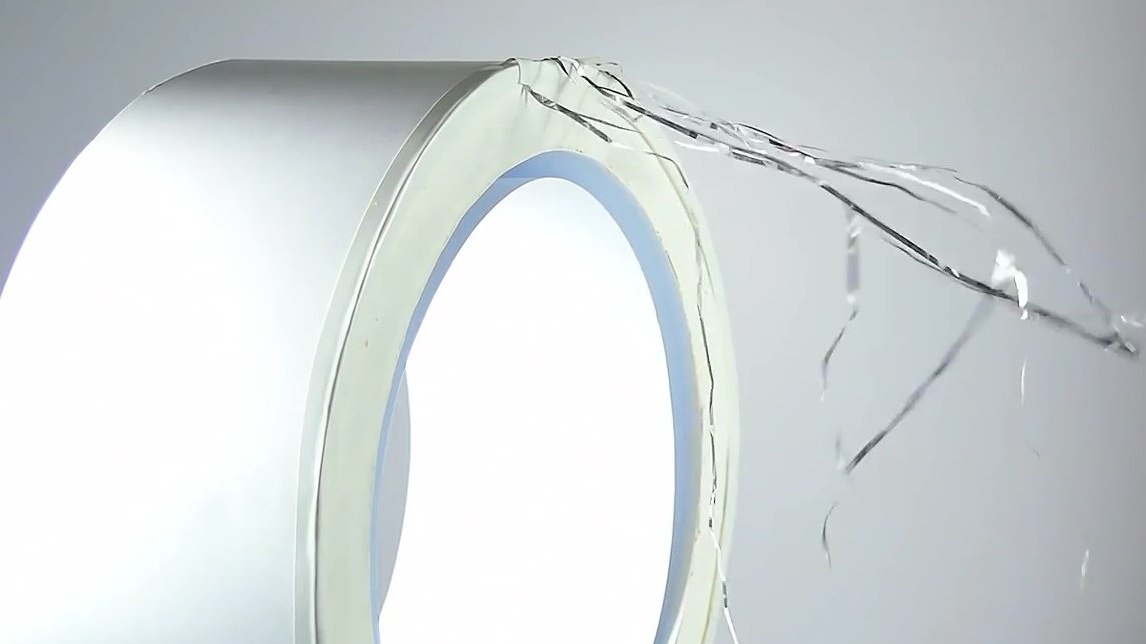
In it, Roman, the author of the YouTube channel "all ideas", brings to your attention a very interesting fan design. Sometimes such a fan is mistakenly called bladeless. This is not true for the reason that his blades are hidden inside the base. For this type of fan, the airflow is more uniform and smooth.
Even a schoolboy can do this homemade work. There should not be any special difficulties with the tools and the electrical circuit.
Materials
- Sheet of thick cardboard, fiberboard
- A sheet of thick paper or whatman paper
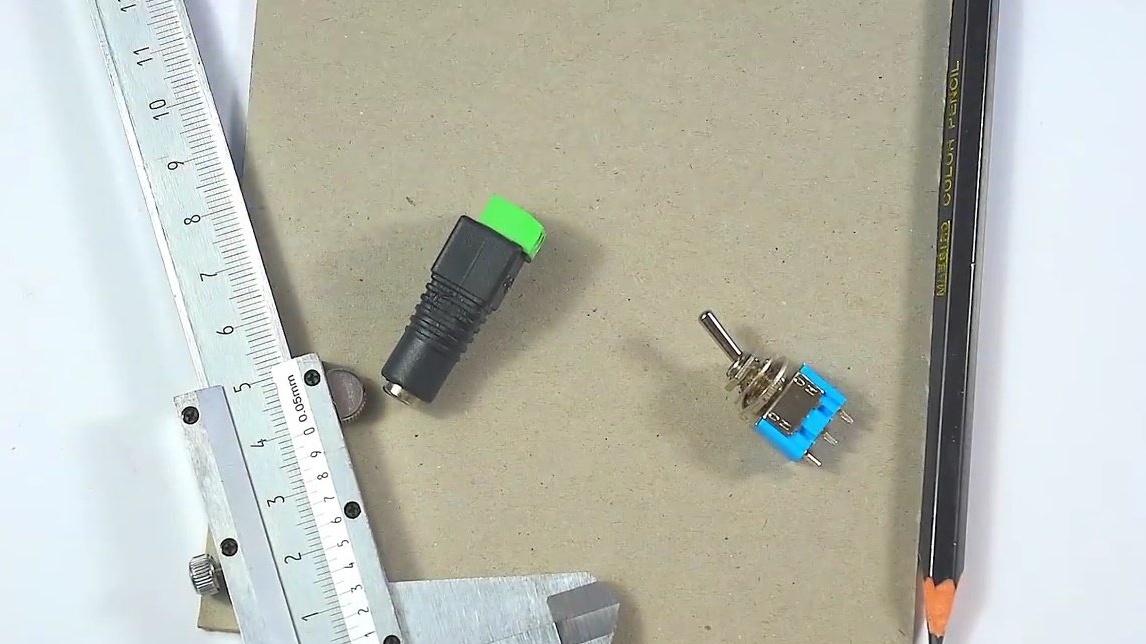
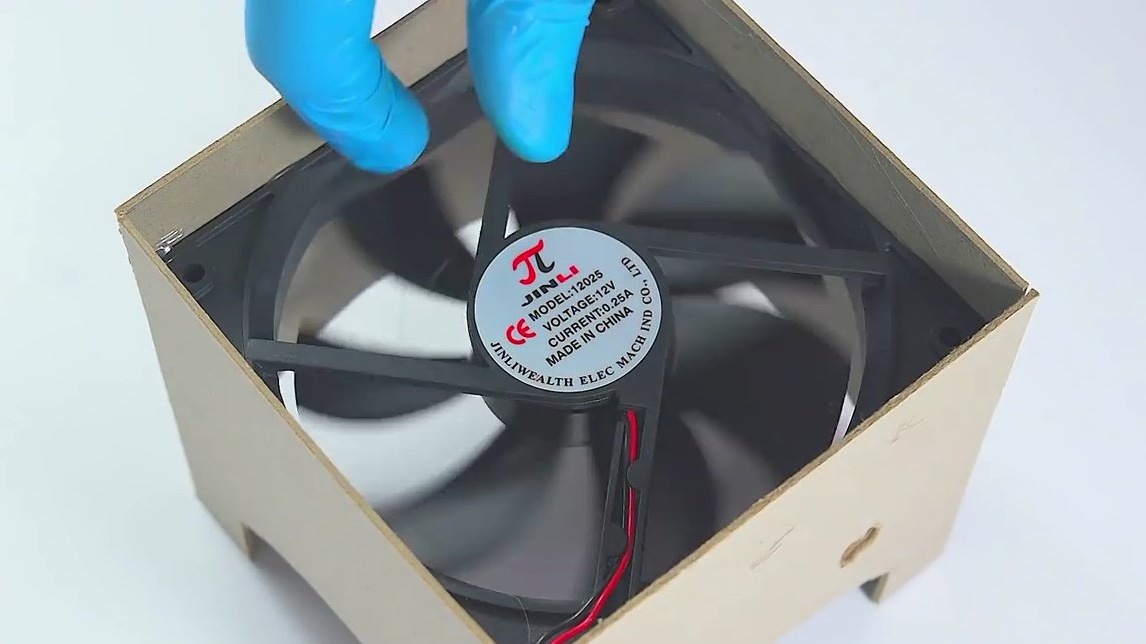
- 120 mm fan

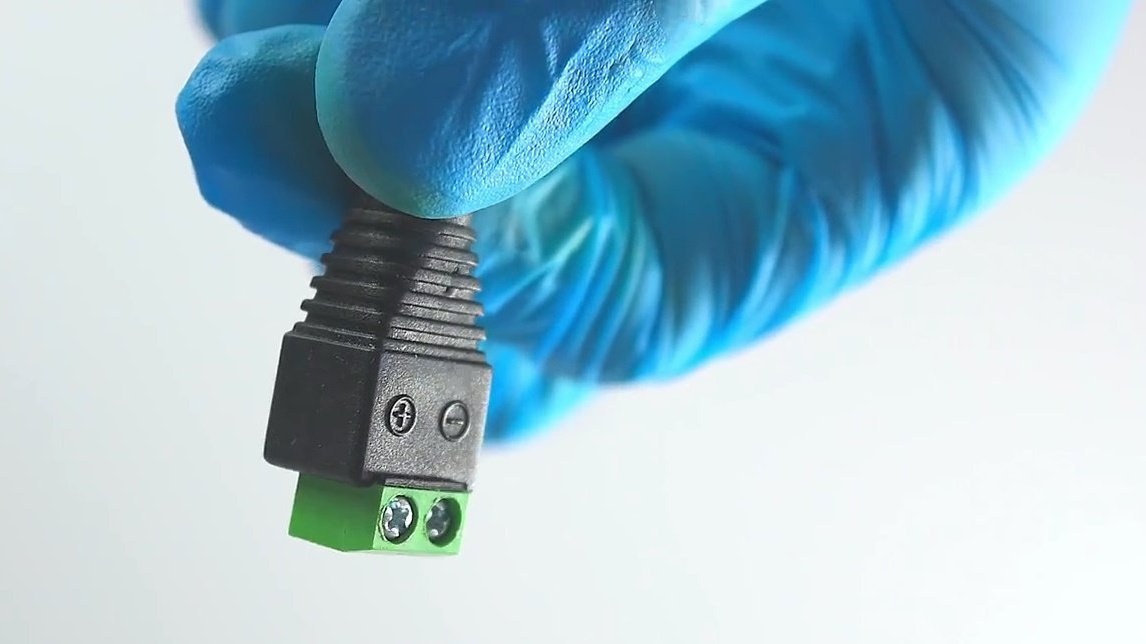
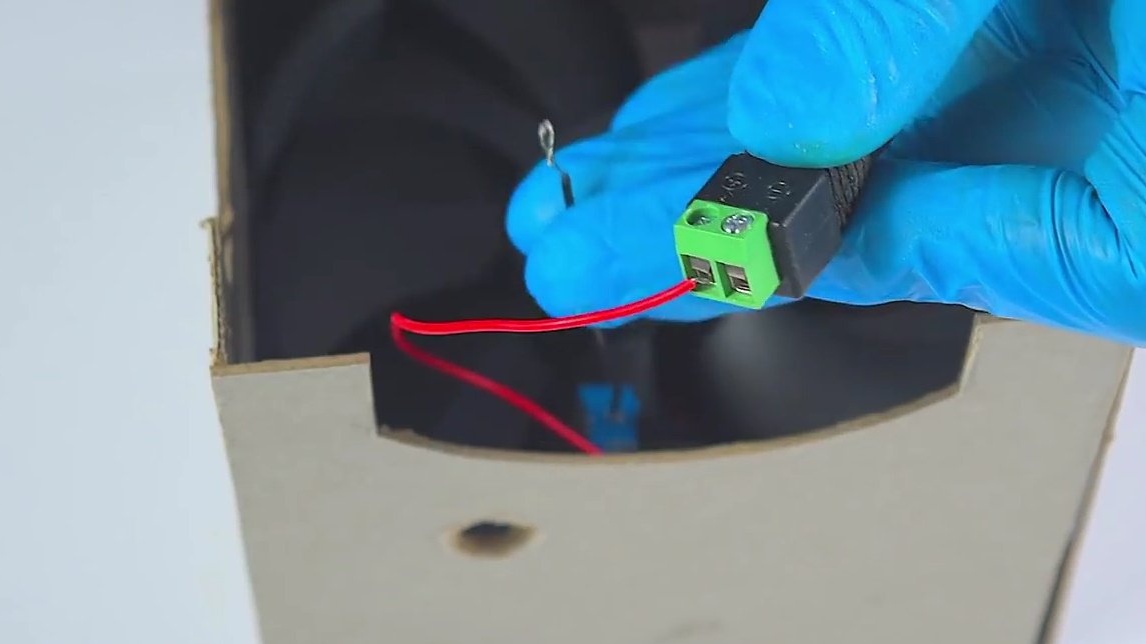
- Power connector
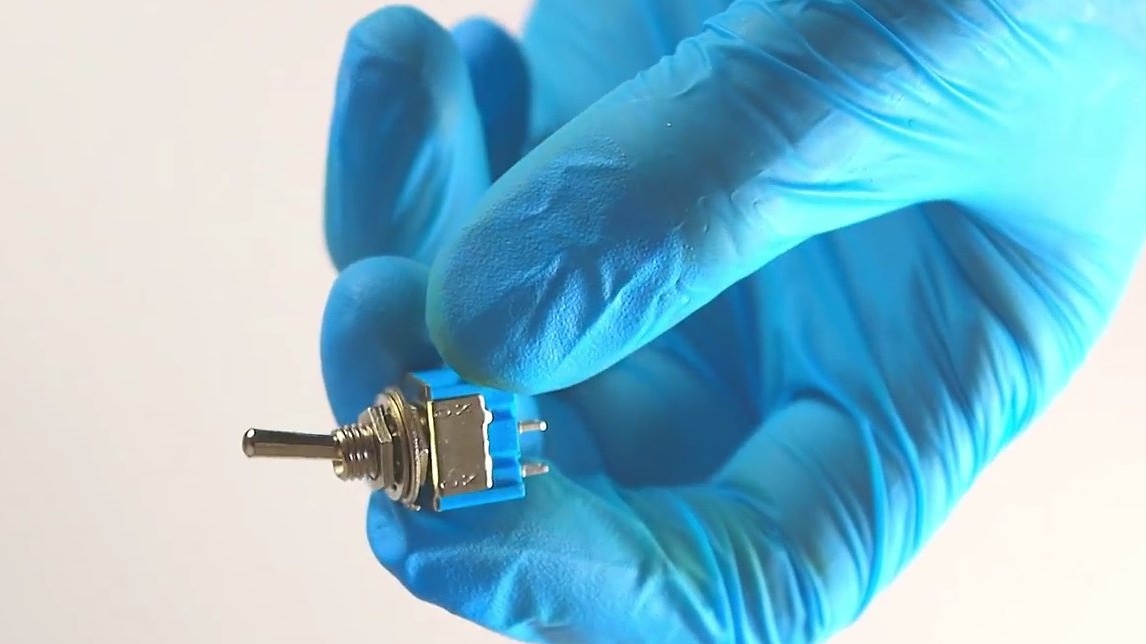
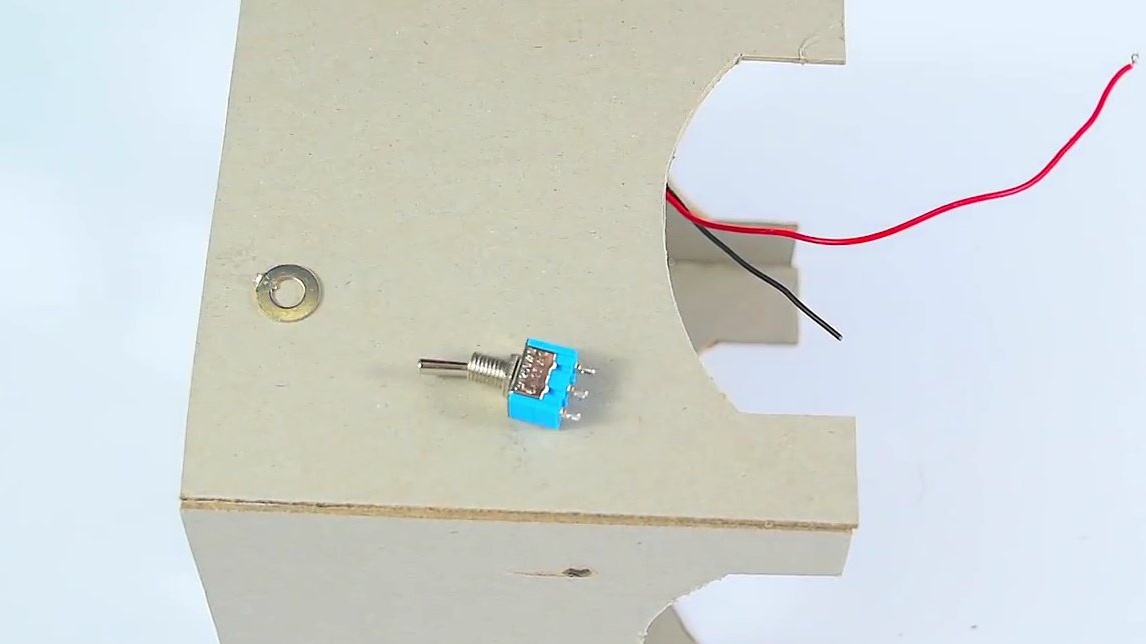
- switch
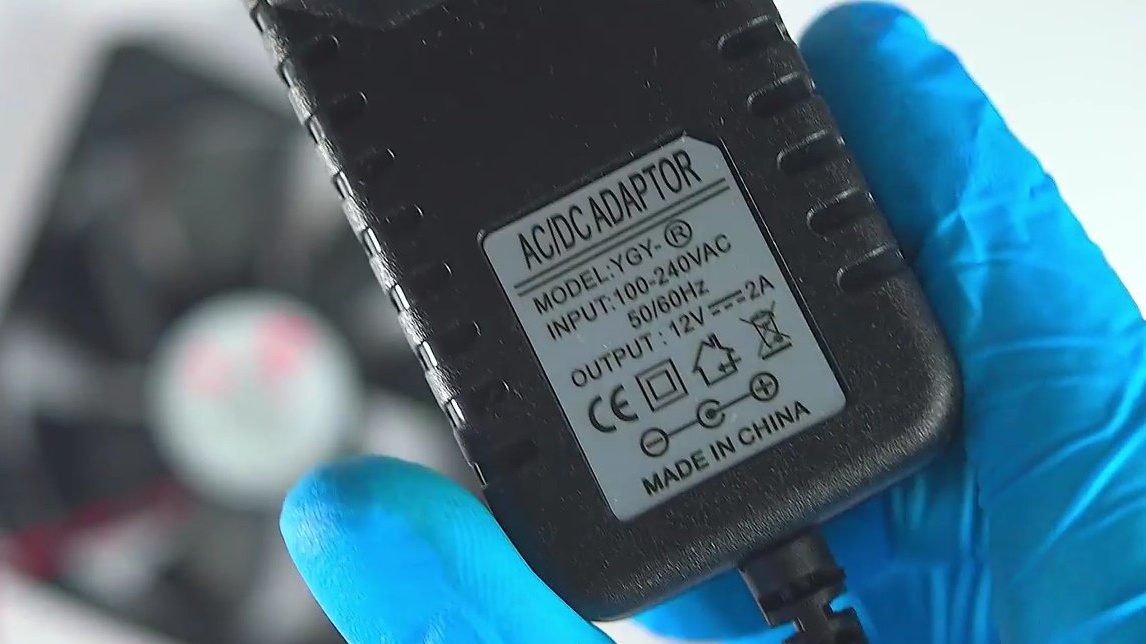
- 12 volt power supply
- Paint.
Instruments, used by the author.
- glue gun
- brush
- Crosshead screwdriver
- vernier caliper
- pliers
- Knife, pencil, ruler, compass.
Manufacturing process.
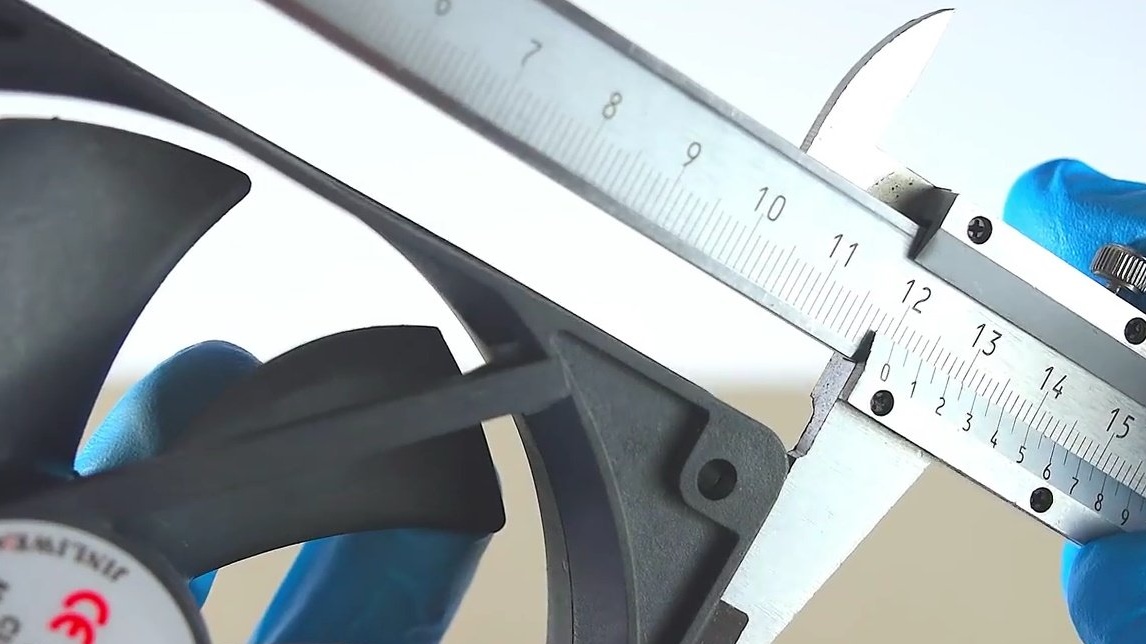
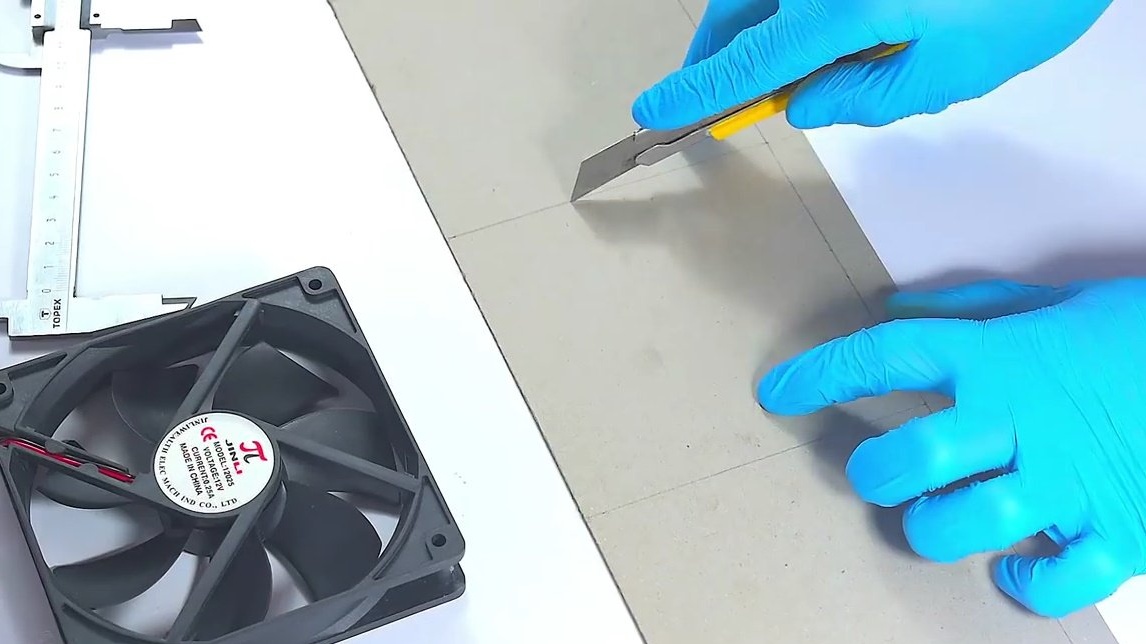
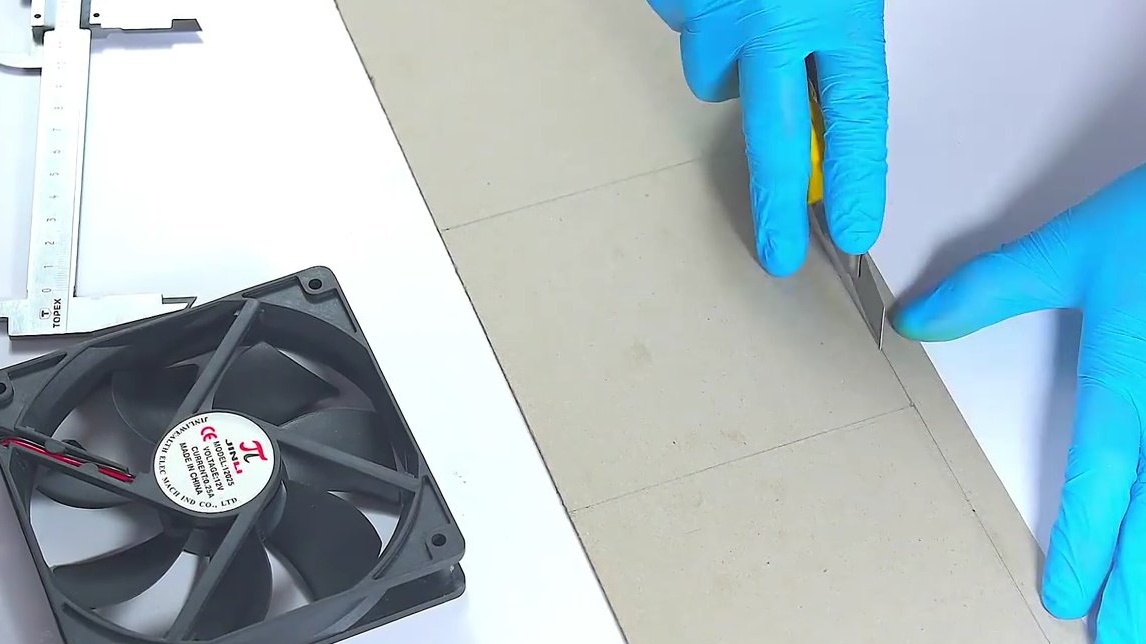
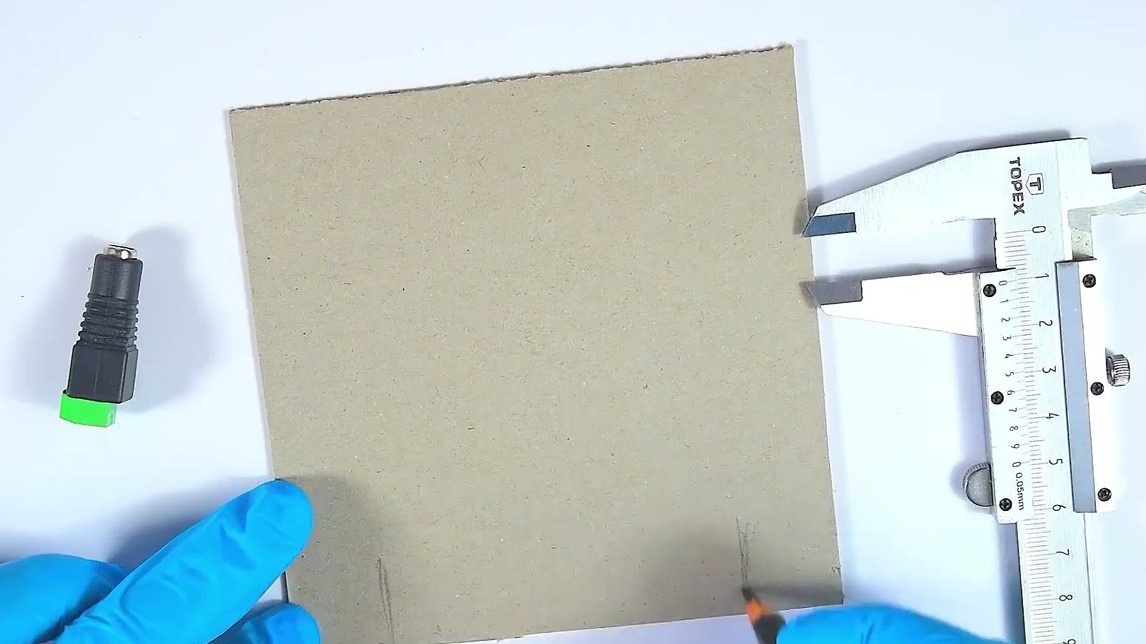
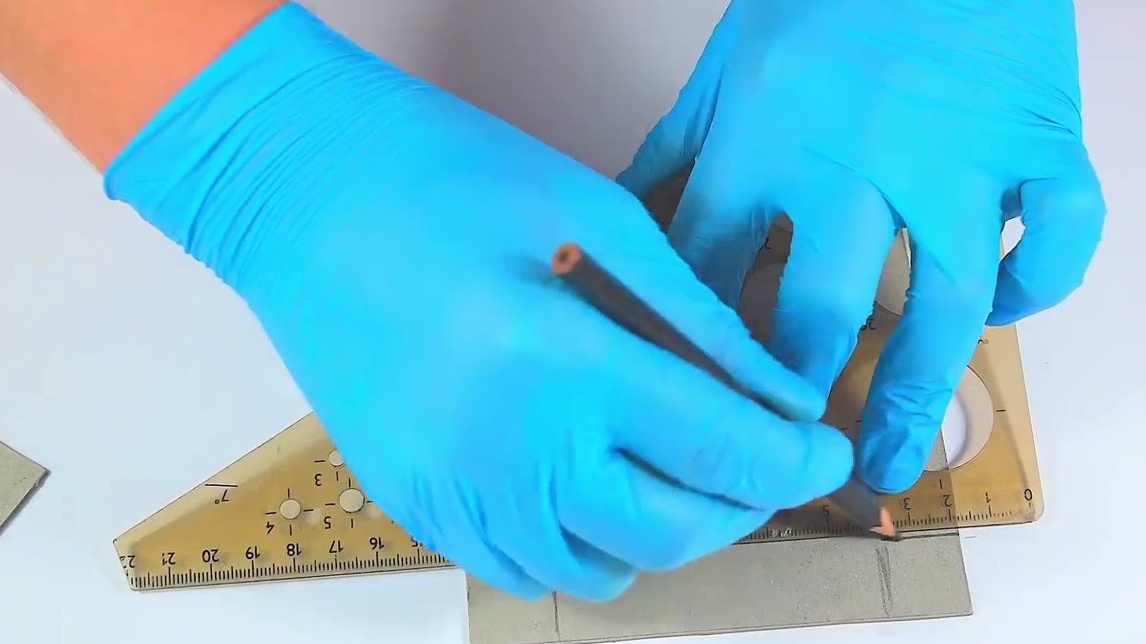
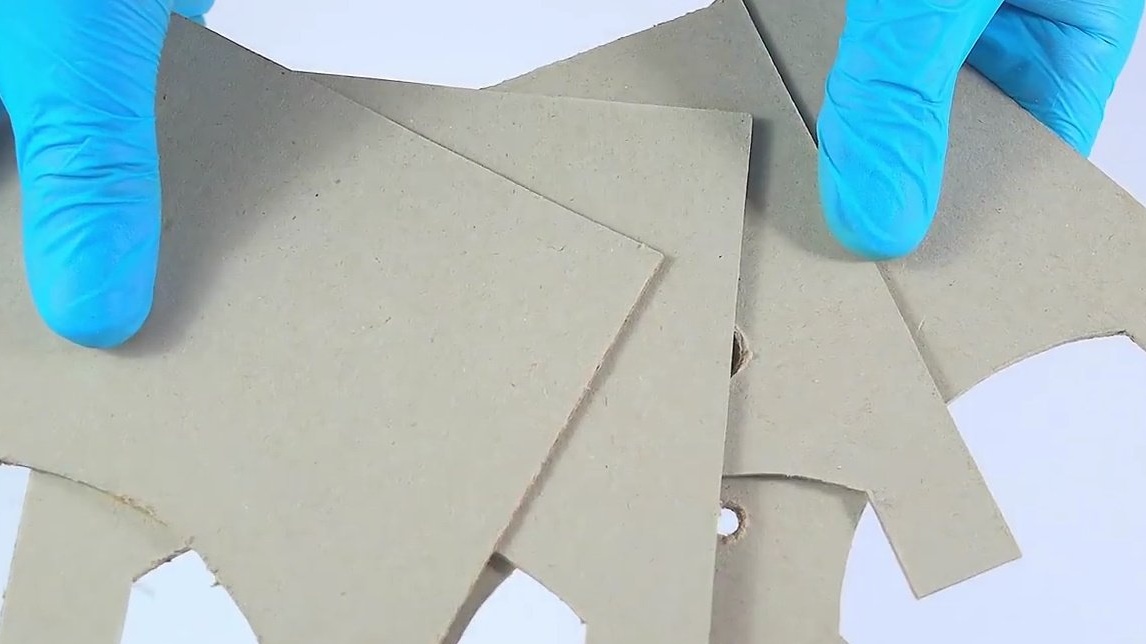
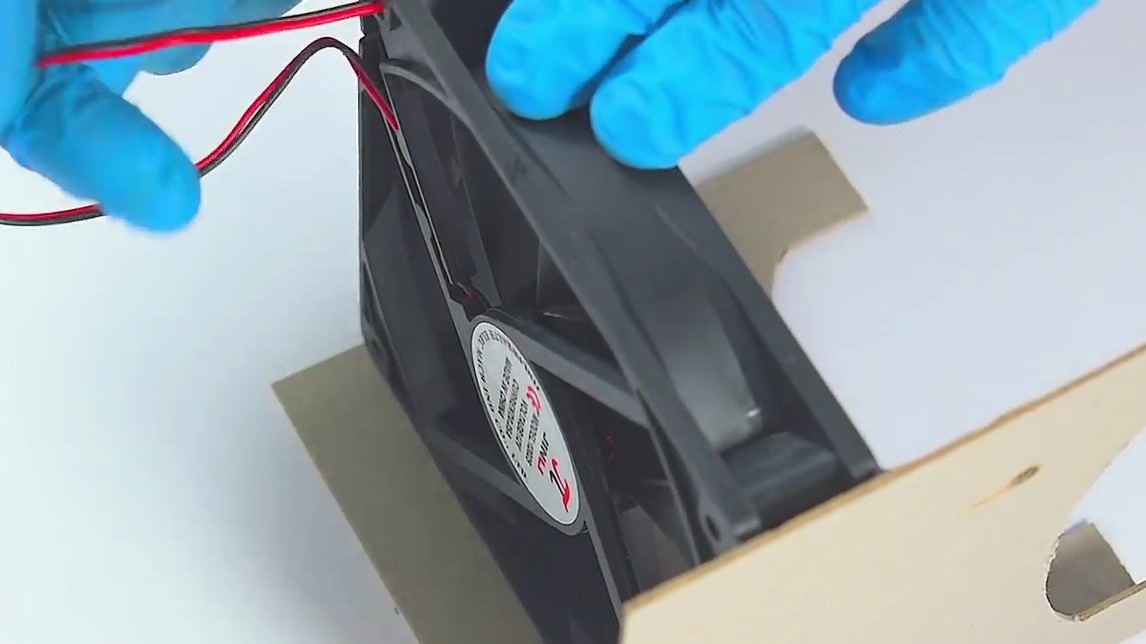
To begin with, Roman measured the parameters of the fan casing - 120 mm on the sides. The dimensions of the case are not of fundamental importance, you can use any "computer" fan, you just need to adjust the dimensions of the other parts of the case. Then I marked four blanks on the cardboard for the base of the case, and cut them out with the help of a clerical knife.

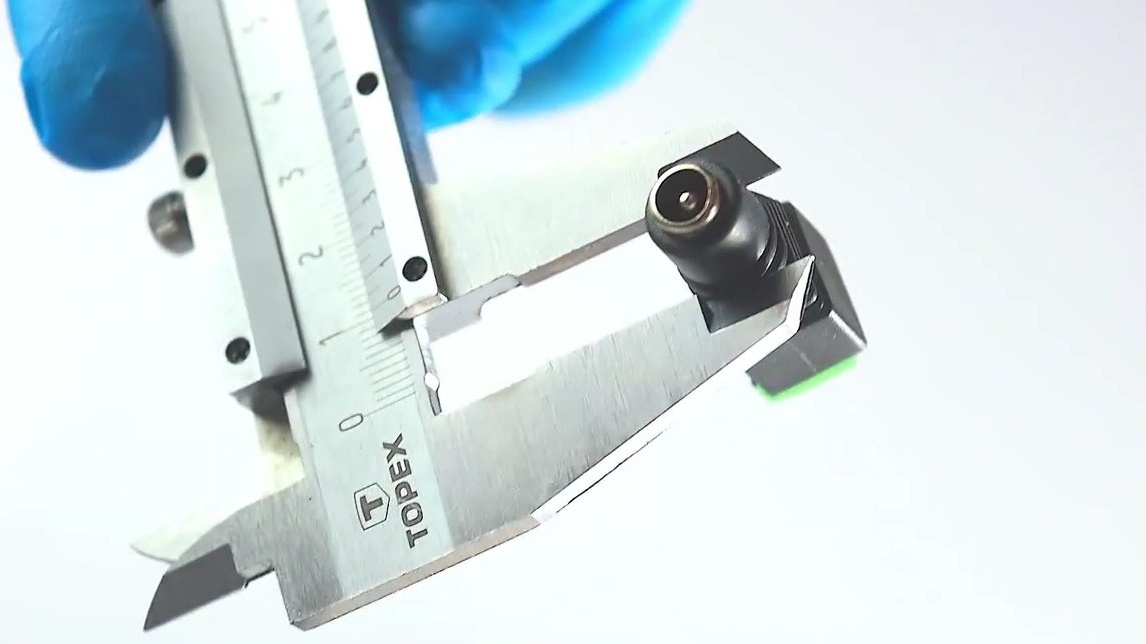
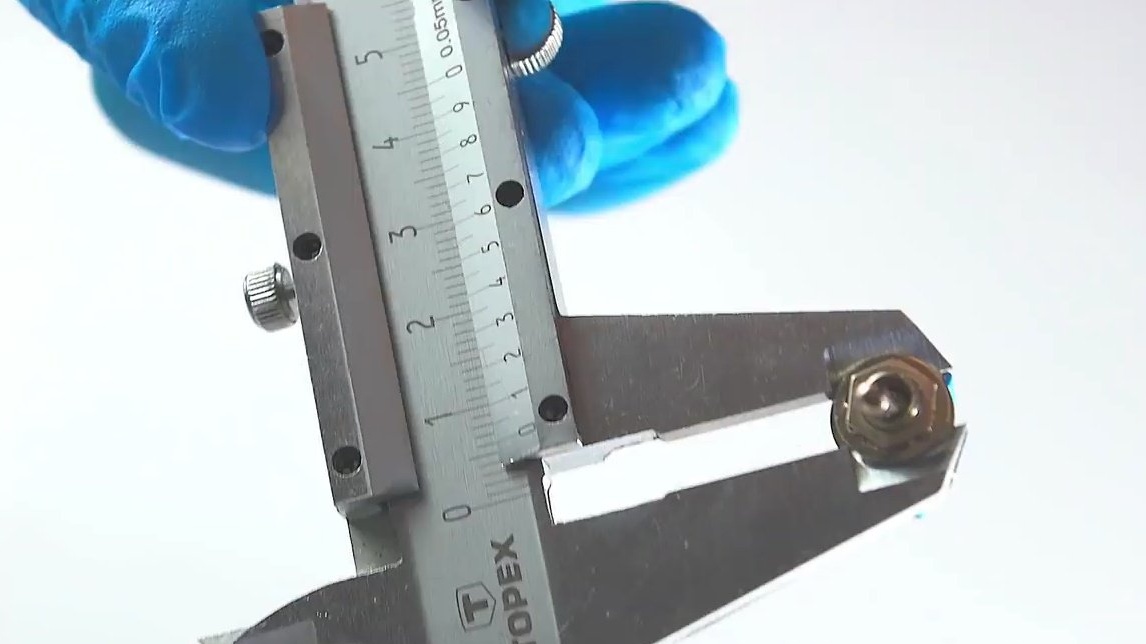
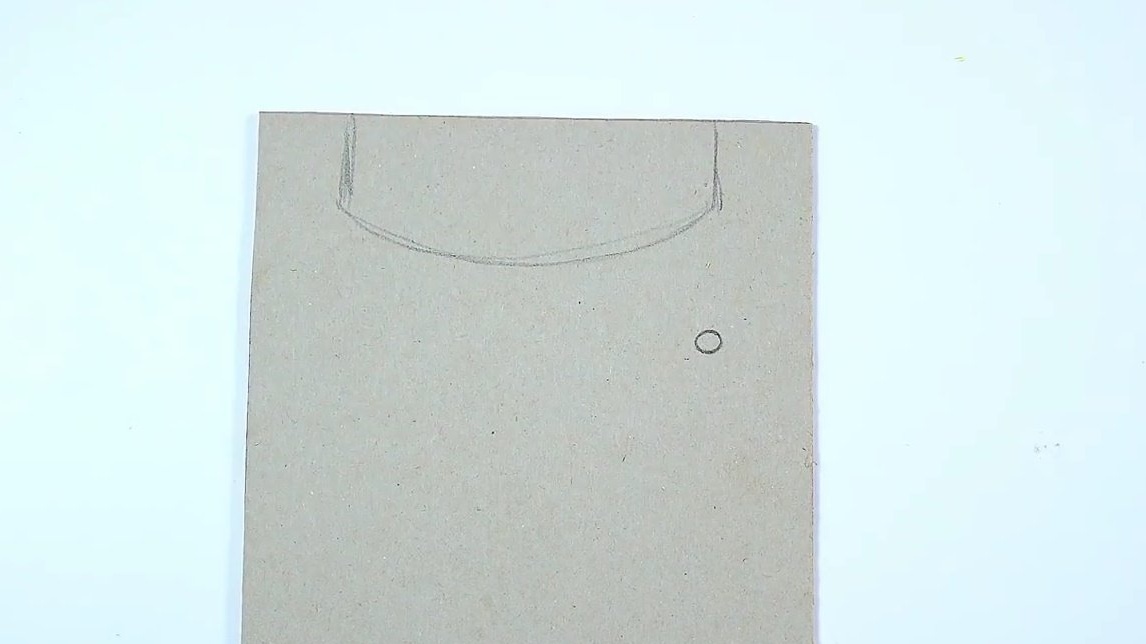
It also measures the diameters of the connector - 12 mm and the switch - 10 mm.
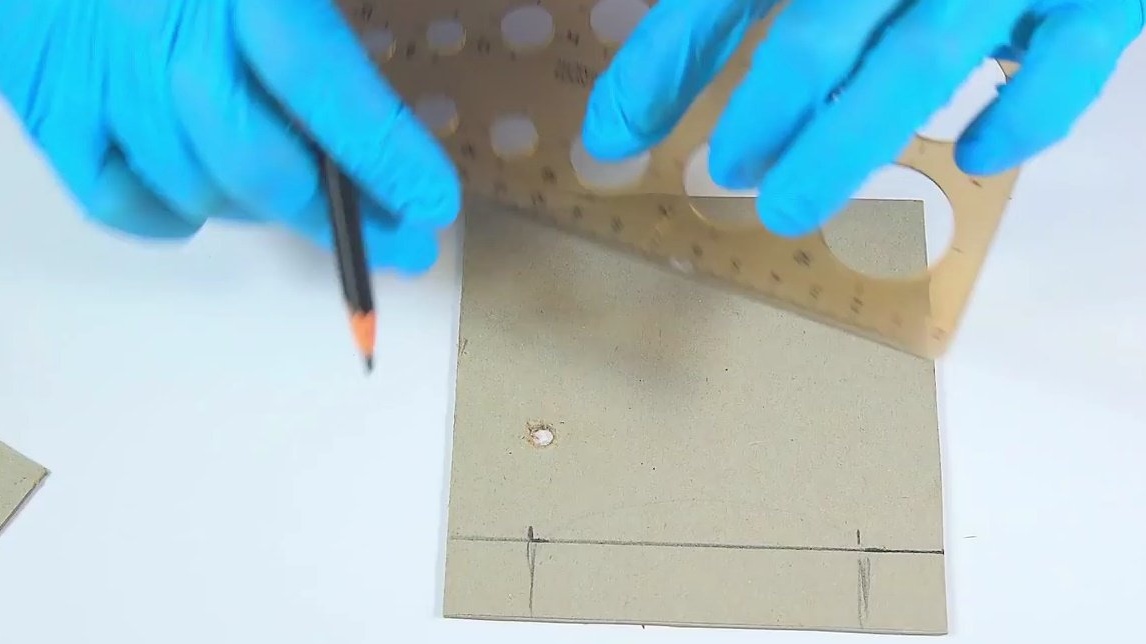
Then marks on the blanks for holes.
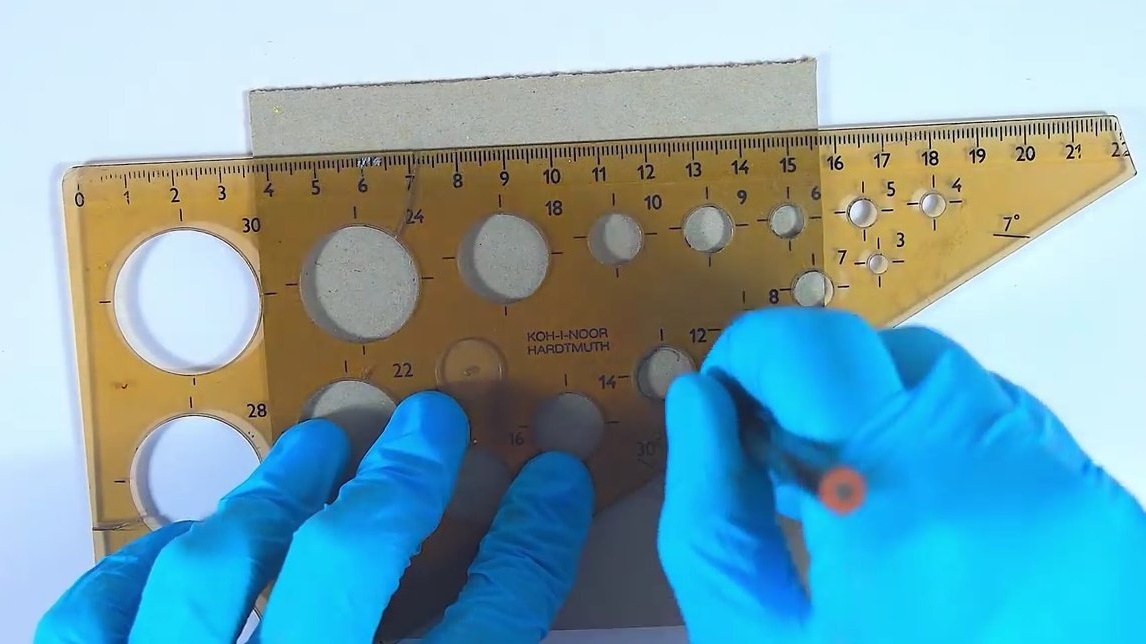
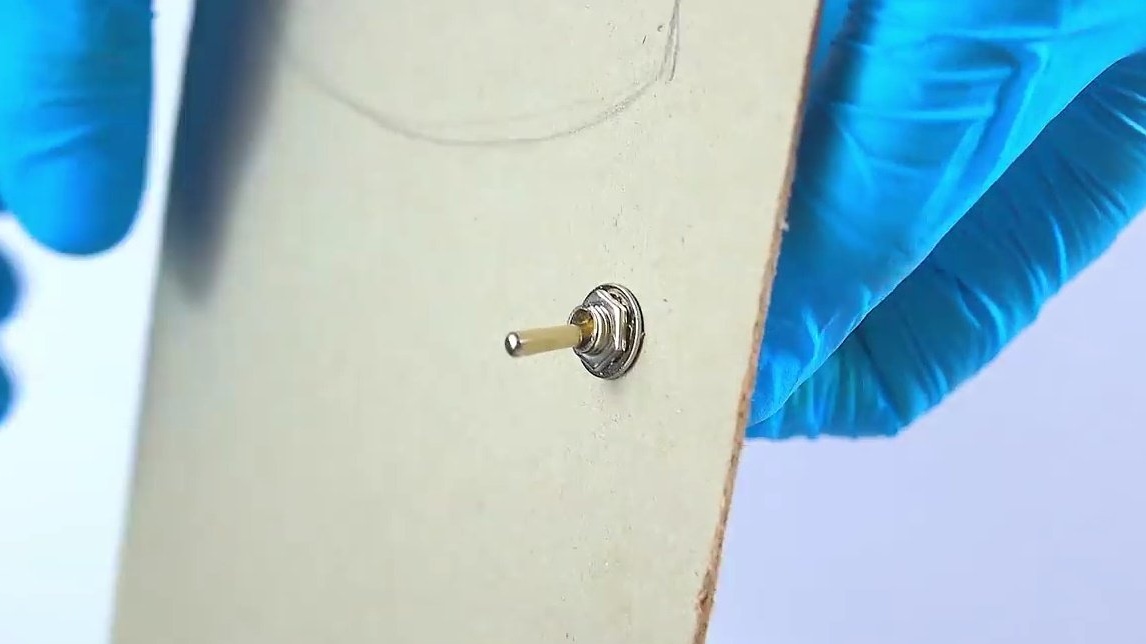
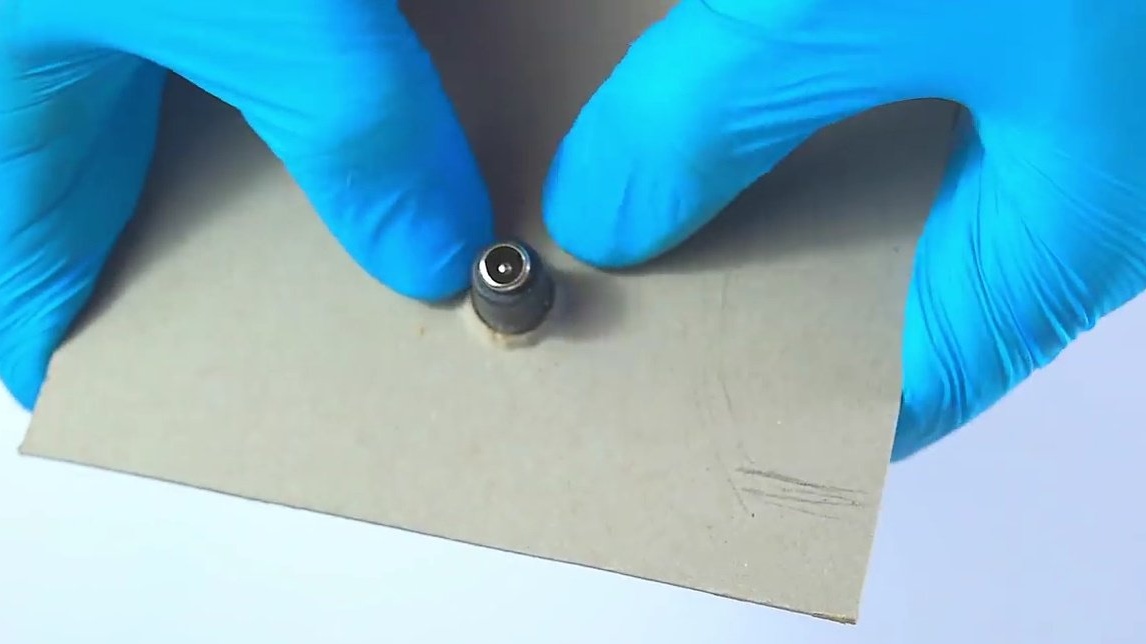
After making holes, inserts parts into them.
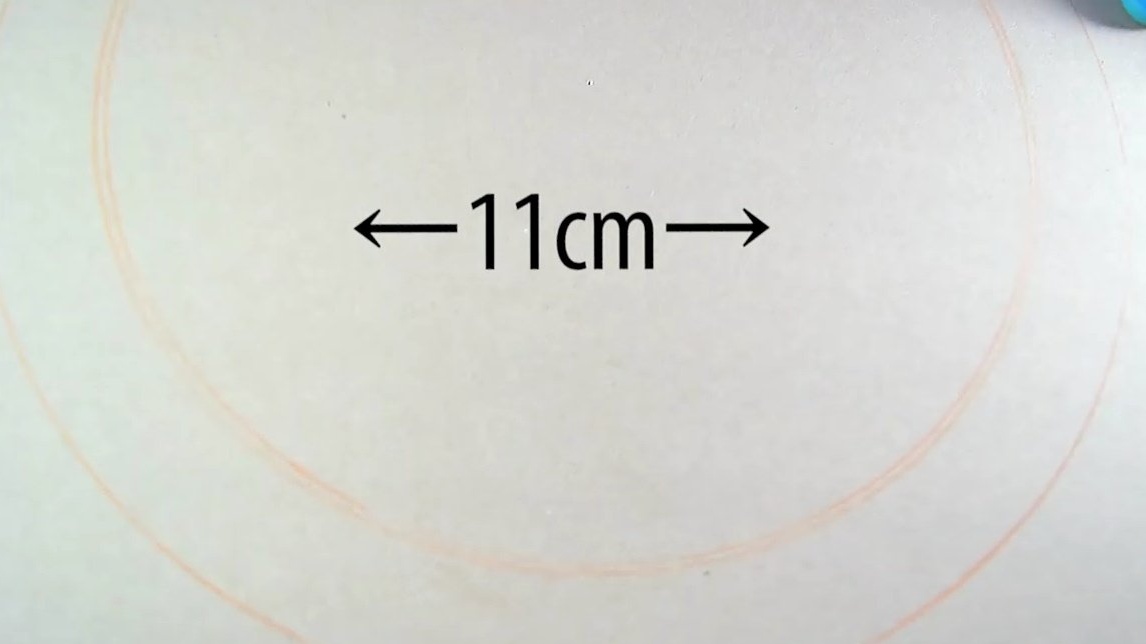
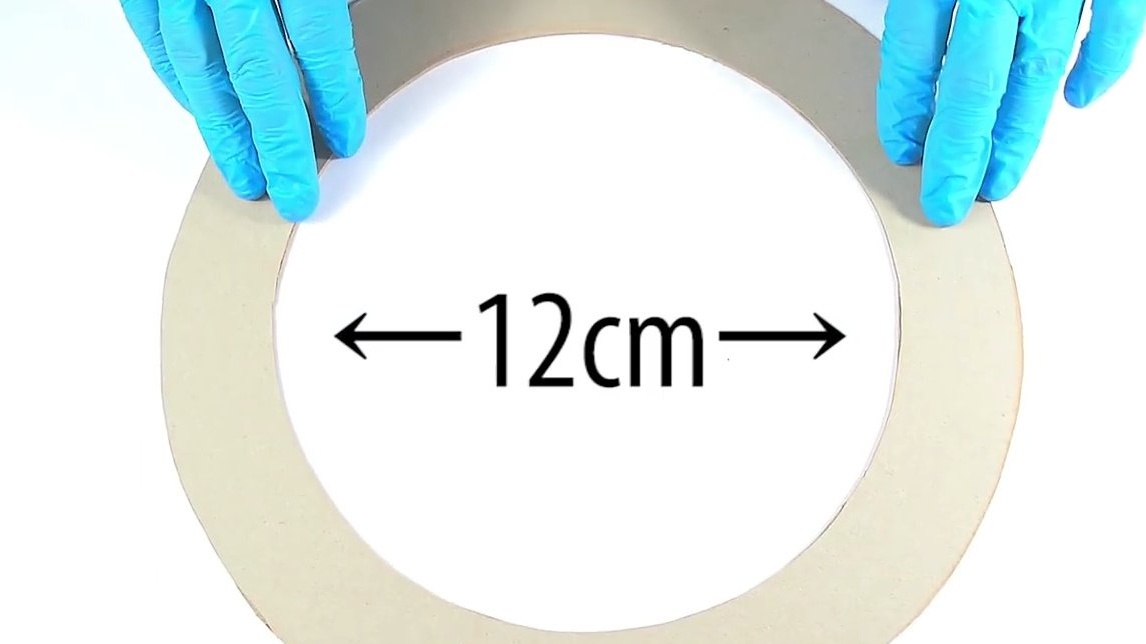
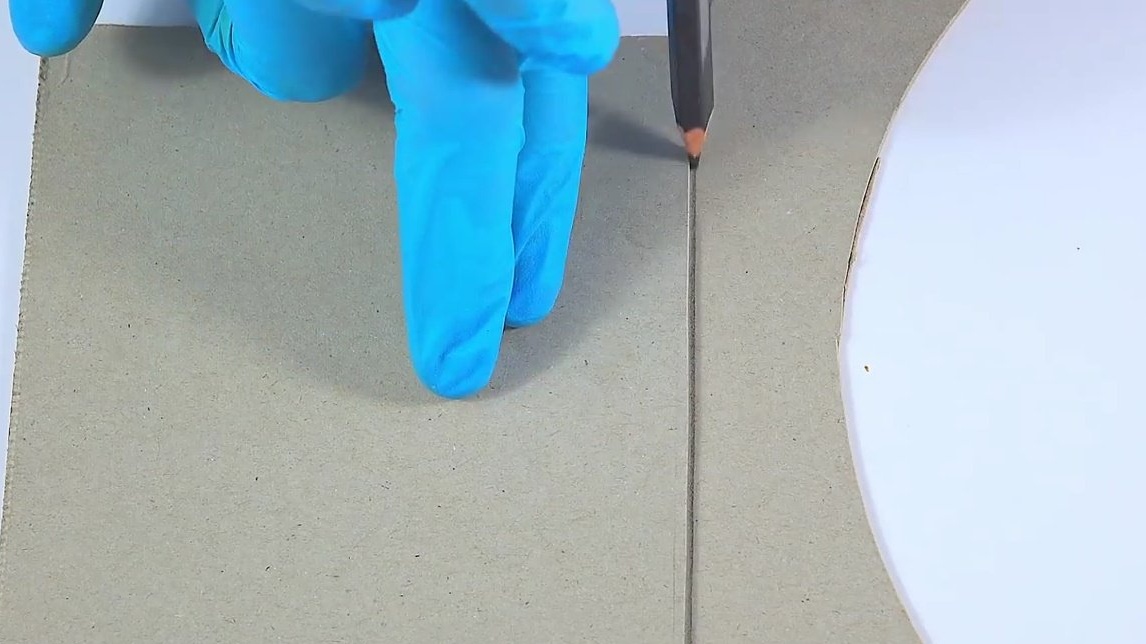
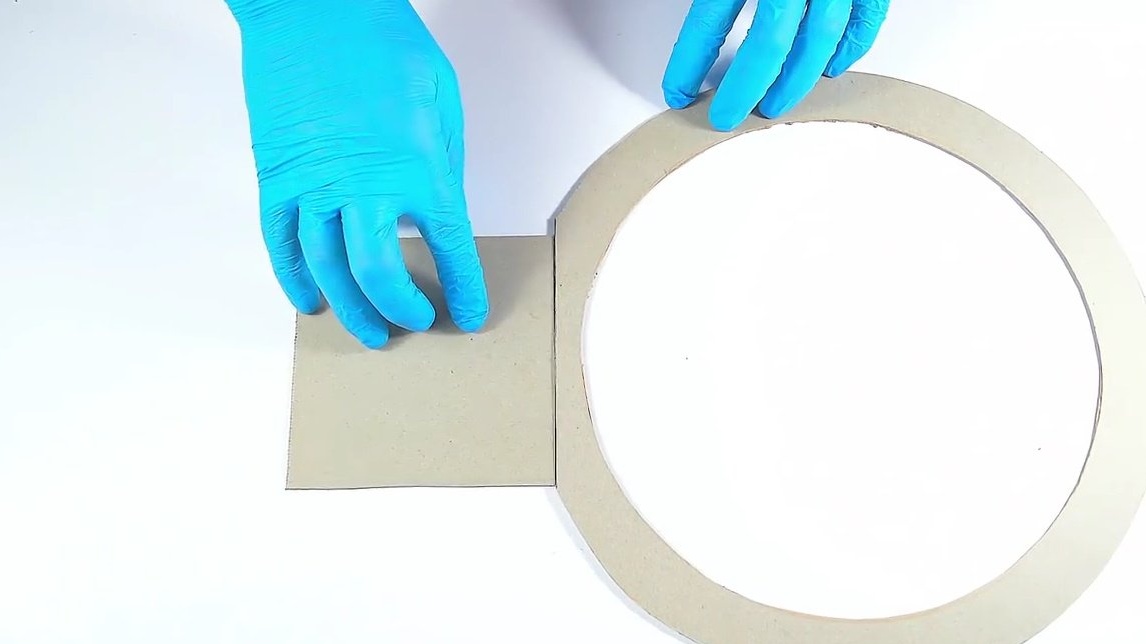
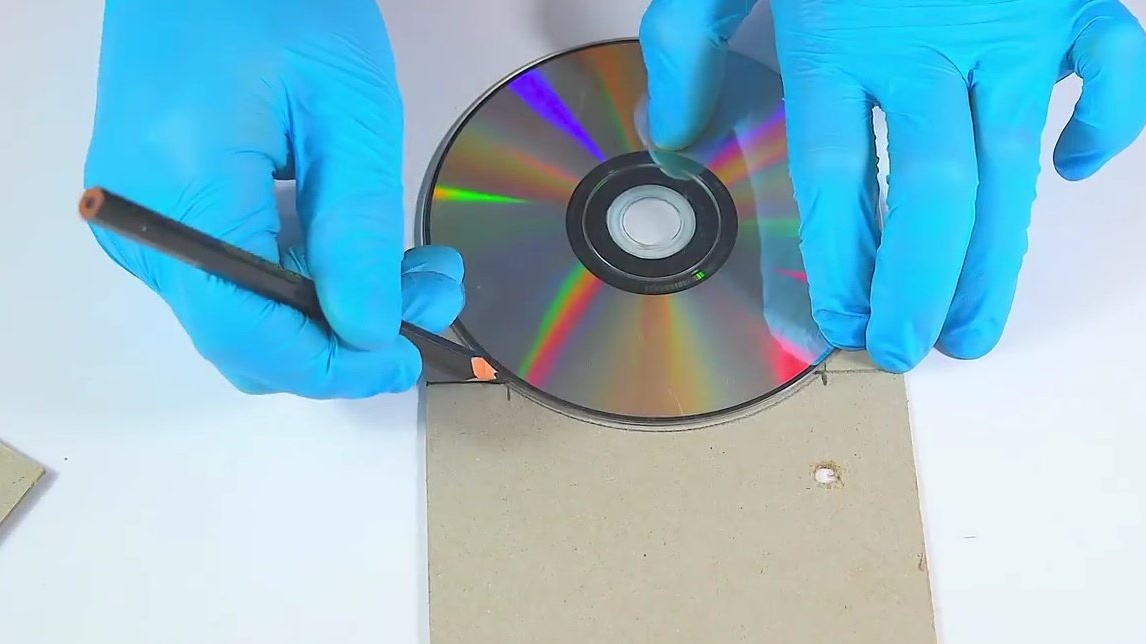
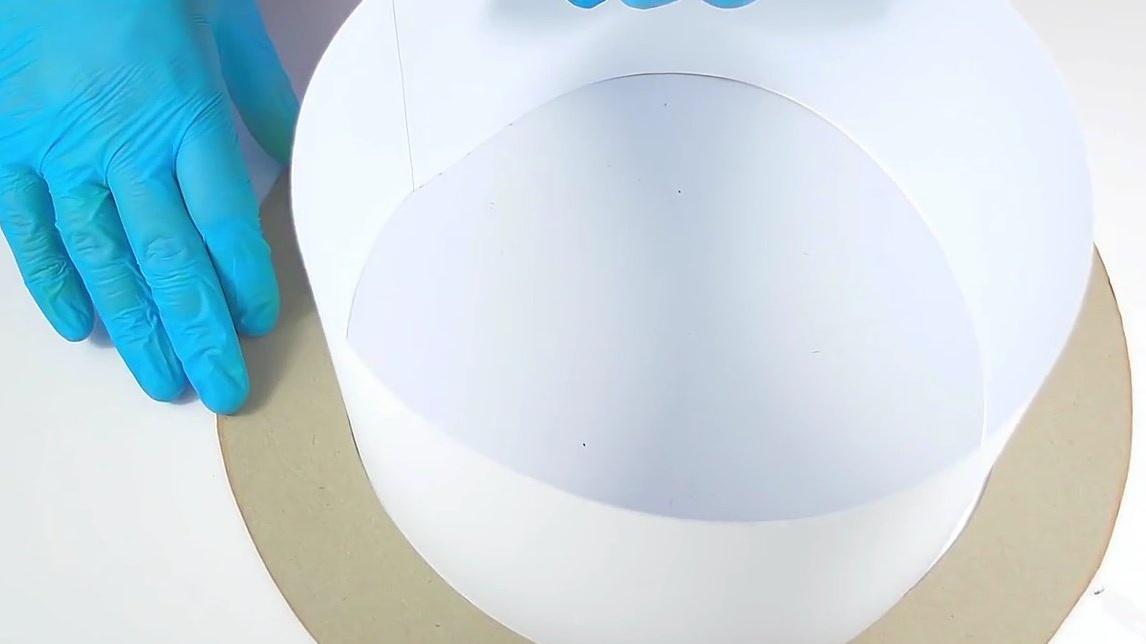
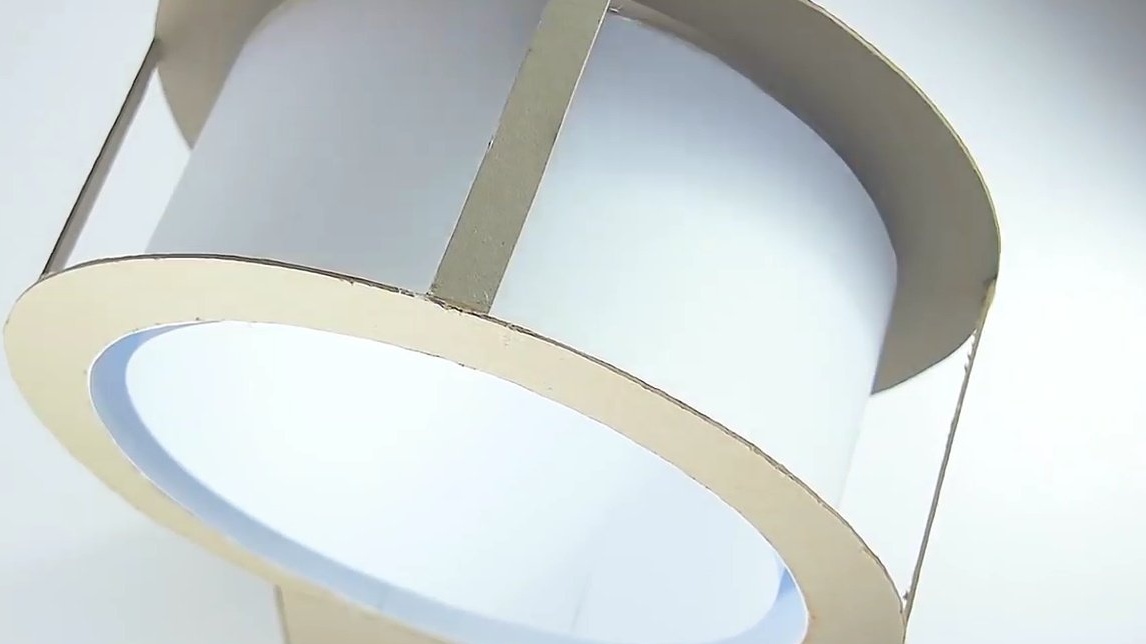
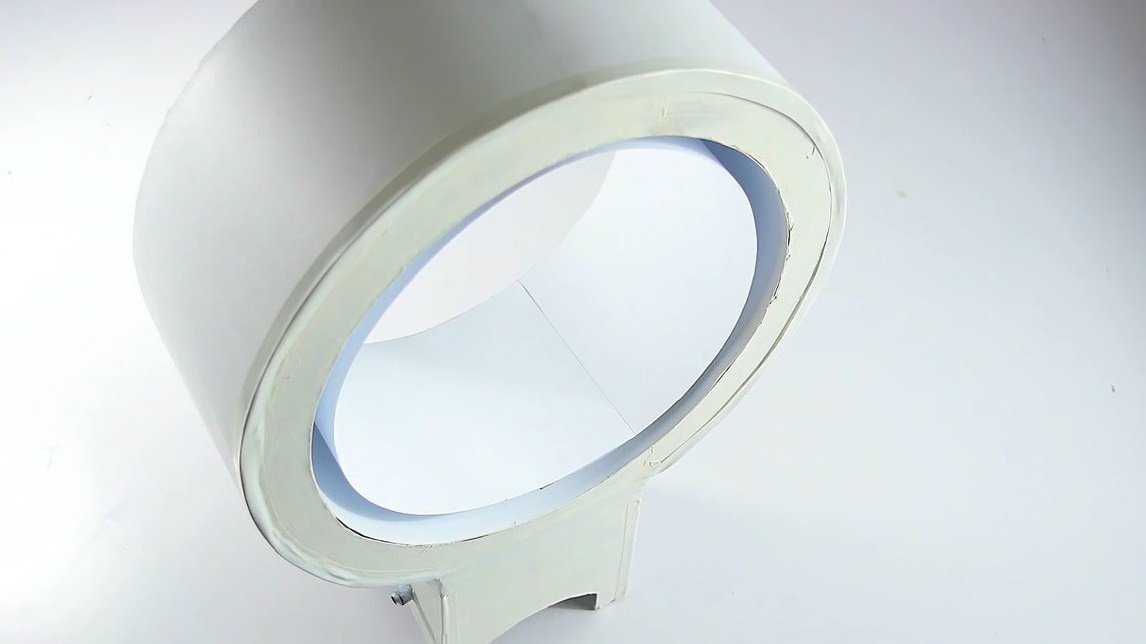
Now you need to make the case itself, or rather the front and back walls. The outer diameter will be the same, and the inner 12 cm and 11 cm, respectively.
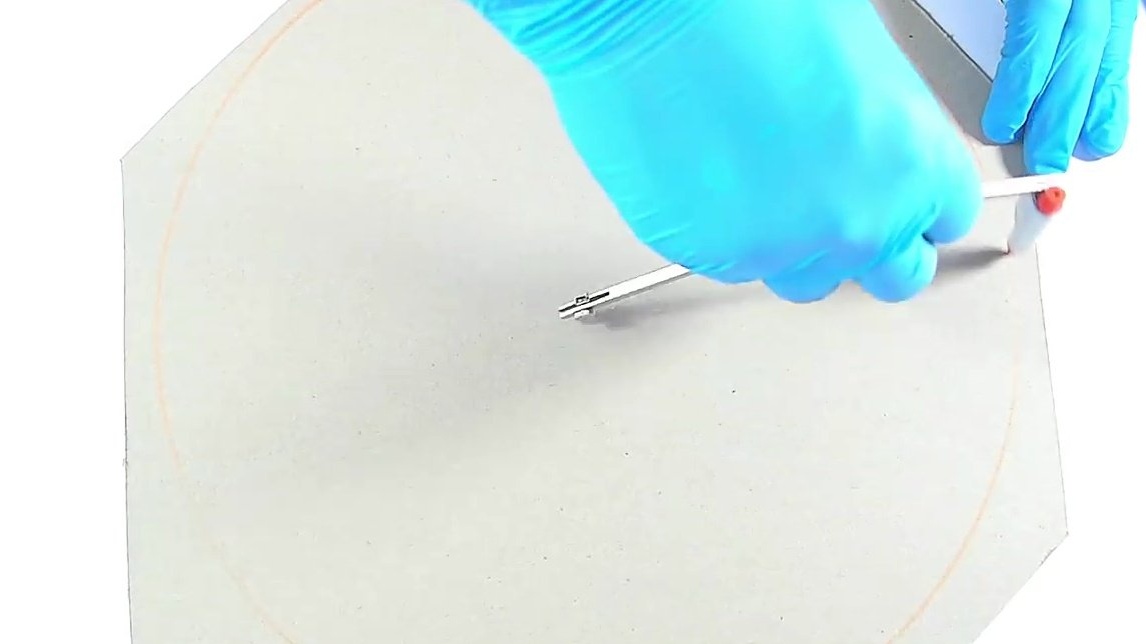
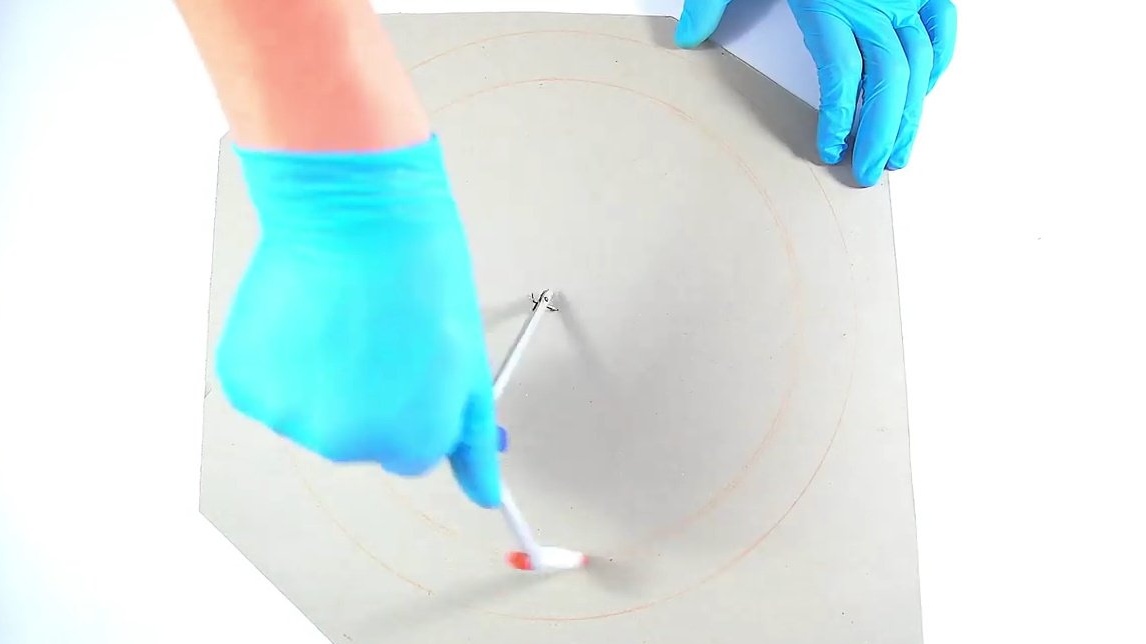
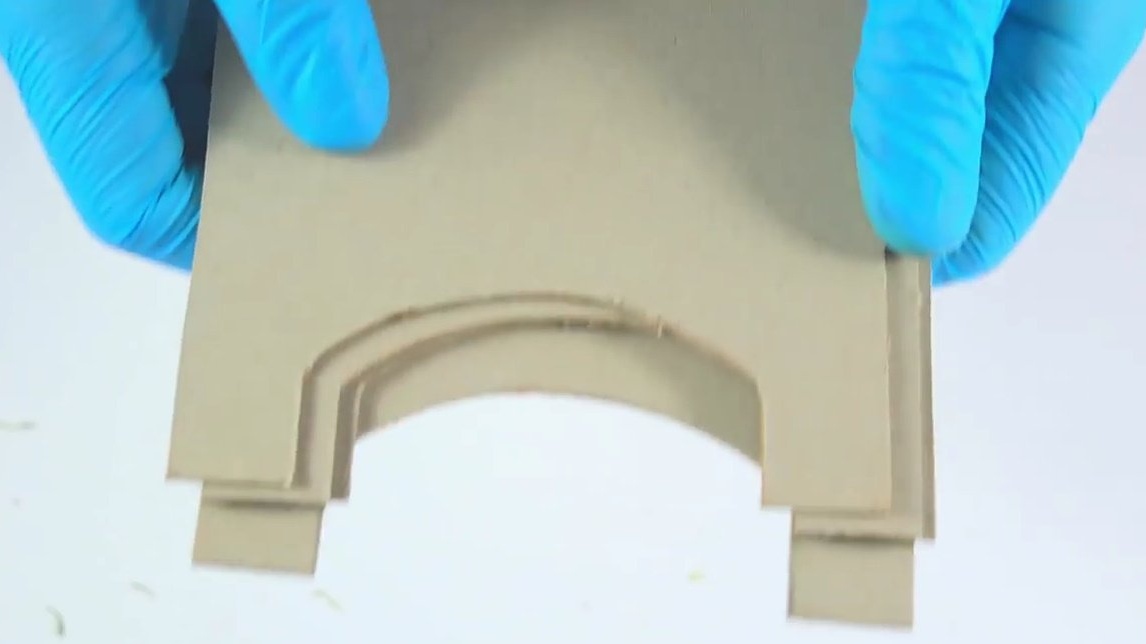
Slices on the prepared circles the junction with the base.

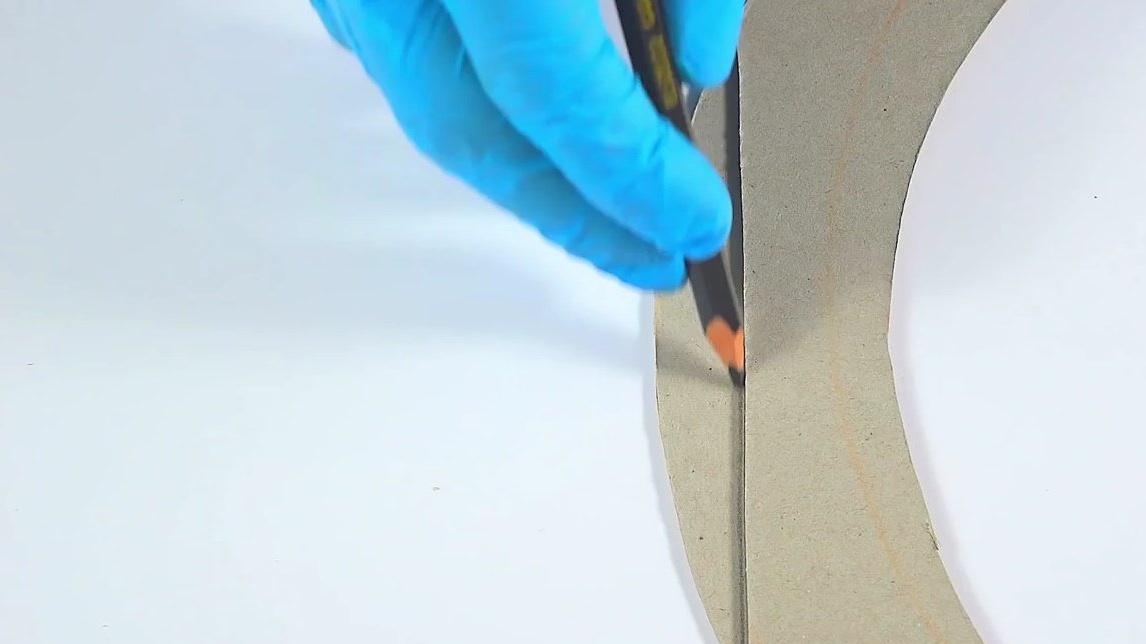
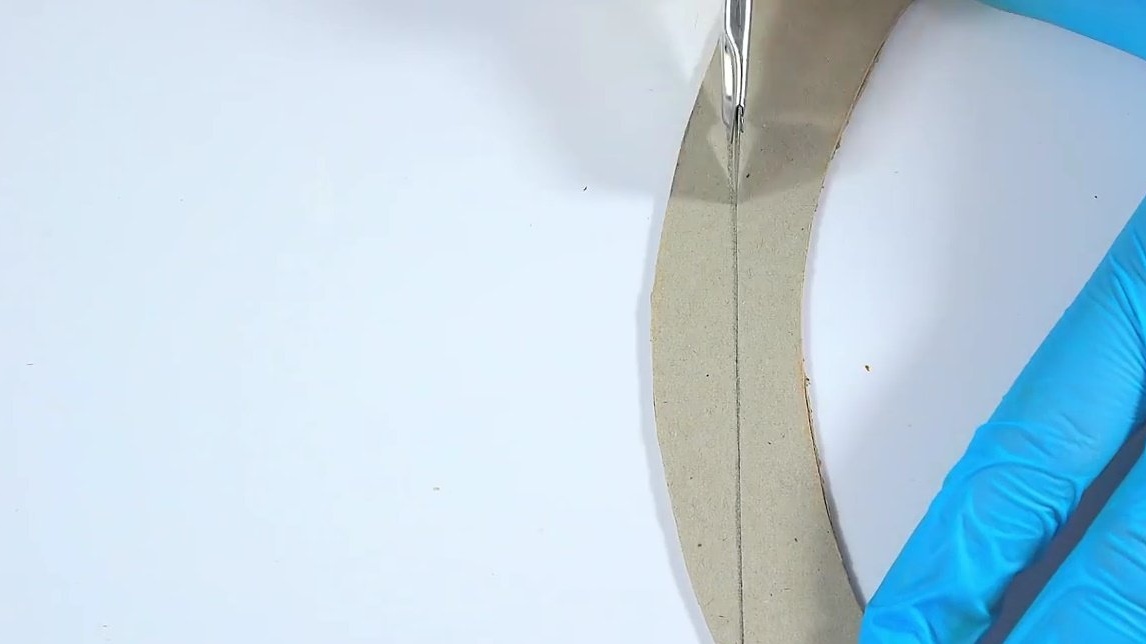
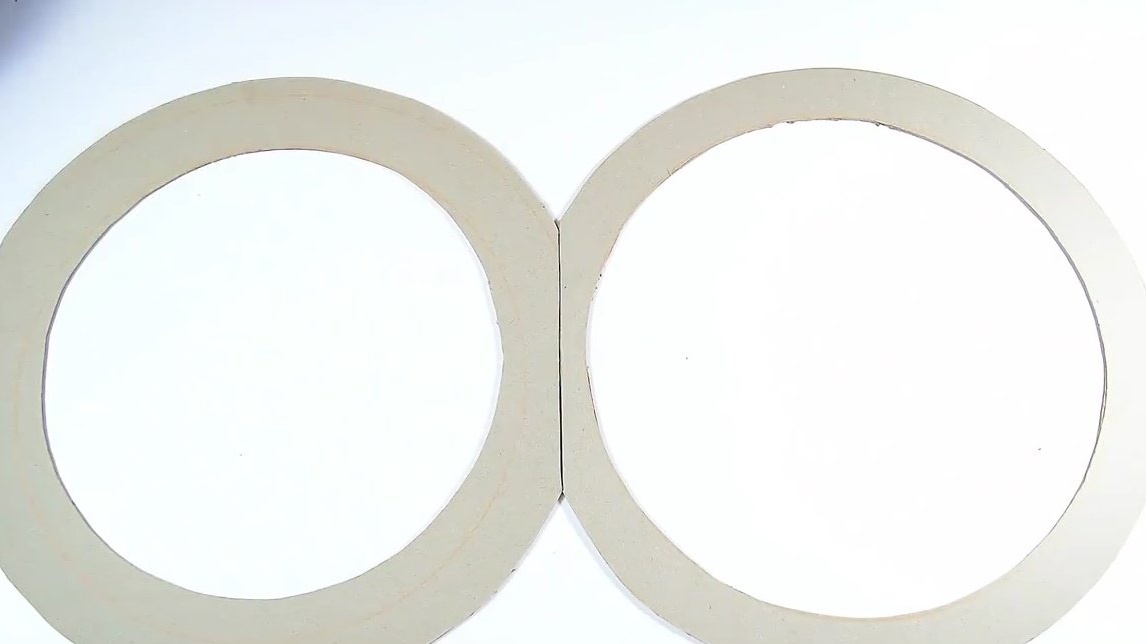
These are the details of the case.
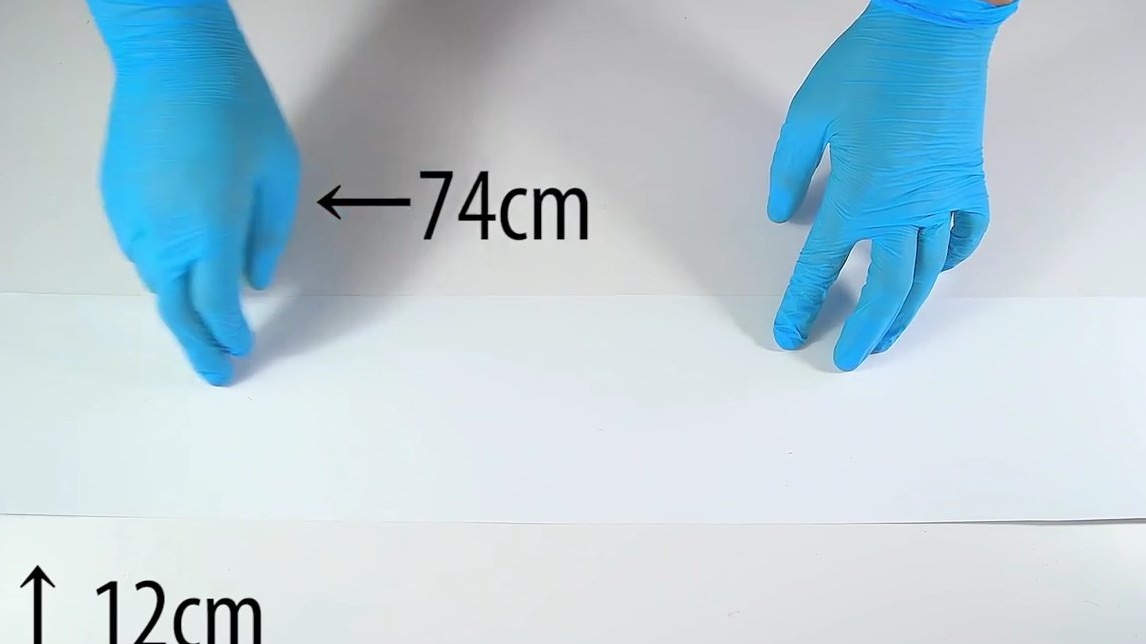
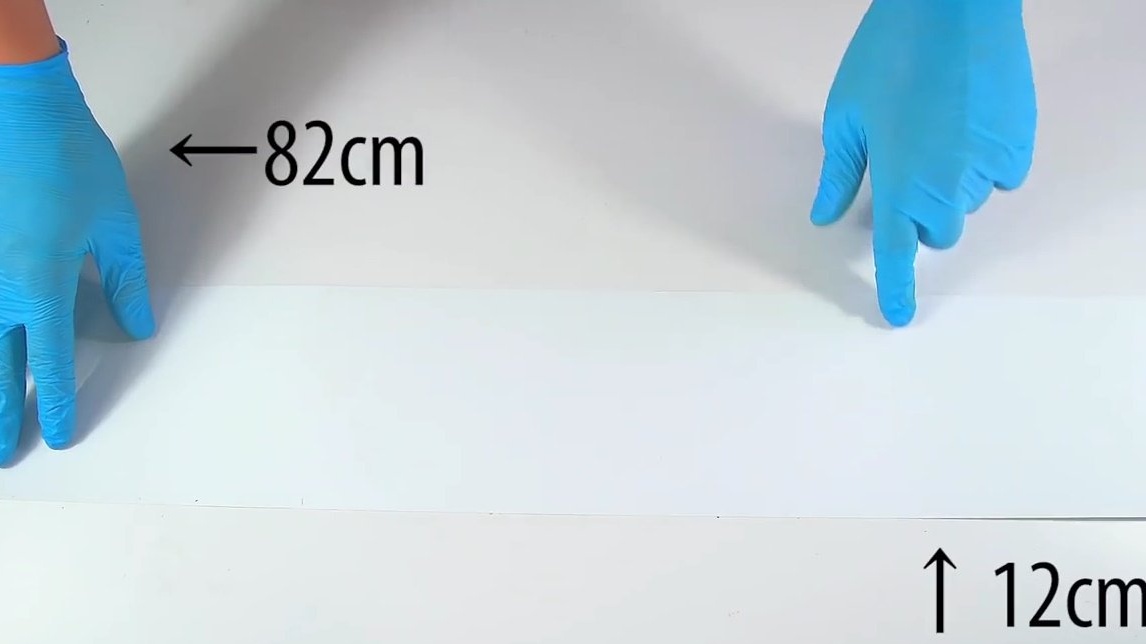
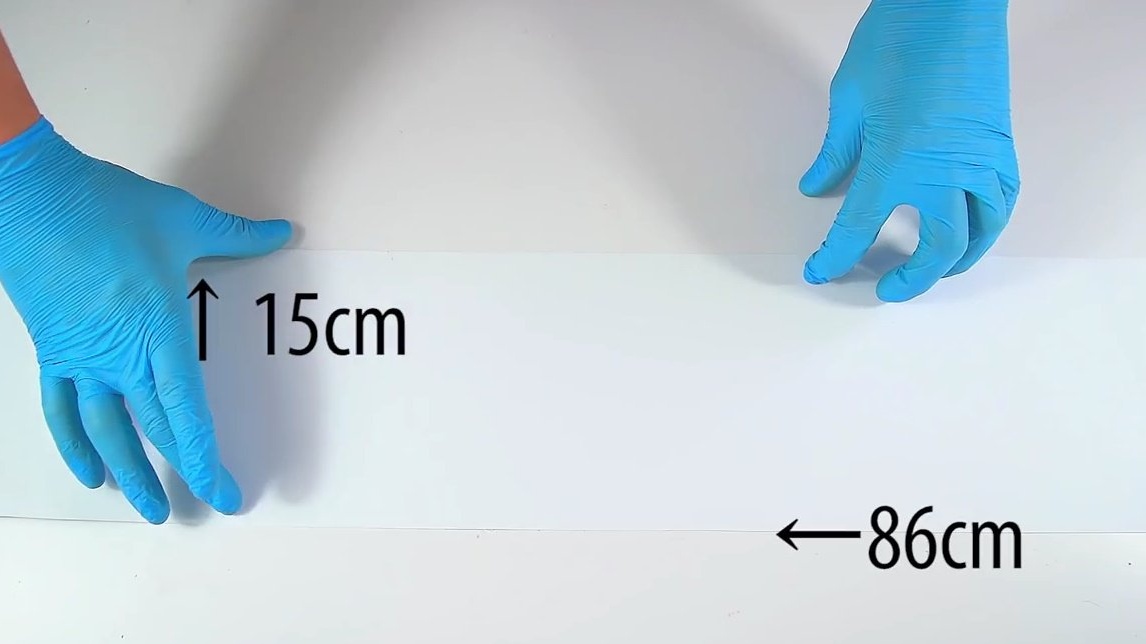
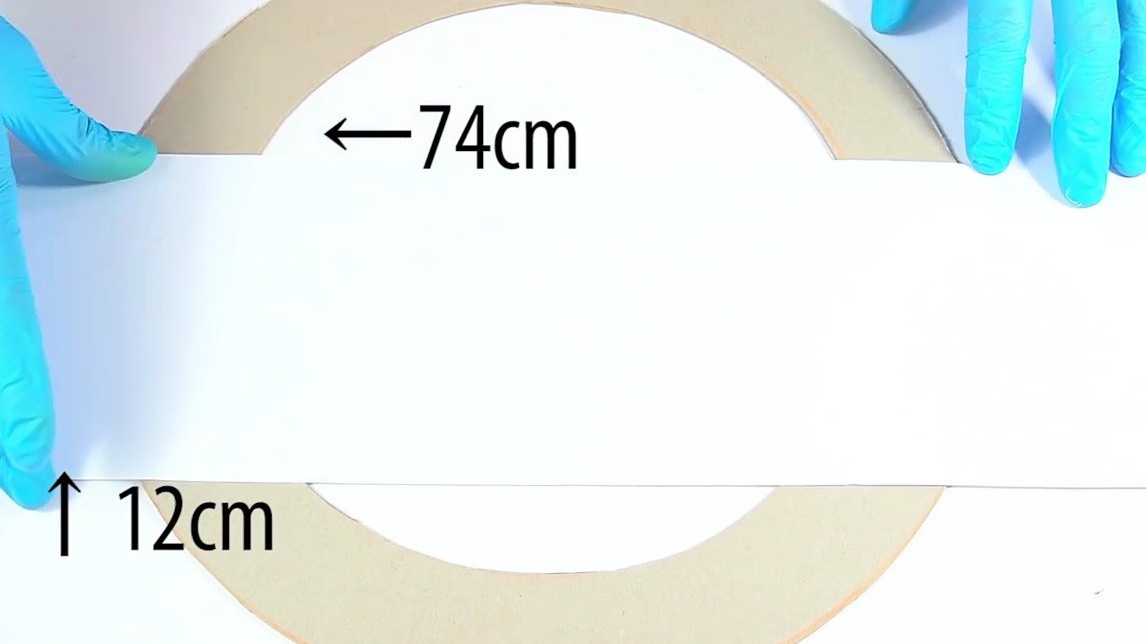
Next, you need to cut three stripes from the Whatman paper.74X12, 82X12 and 15X86 cm. The first two strips will be attached to the inner parts of the rings, and the last will be the outer part of the body.
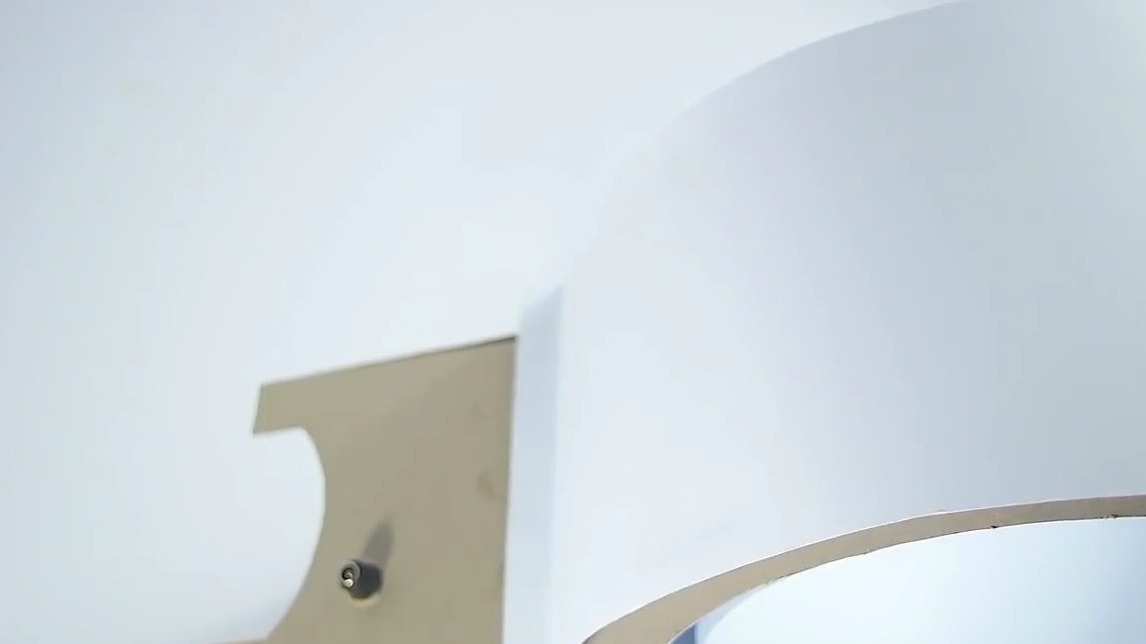
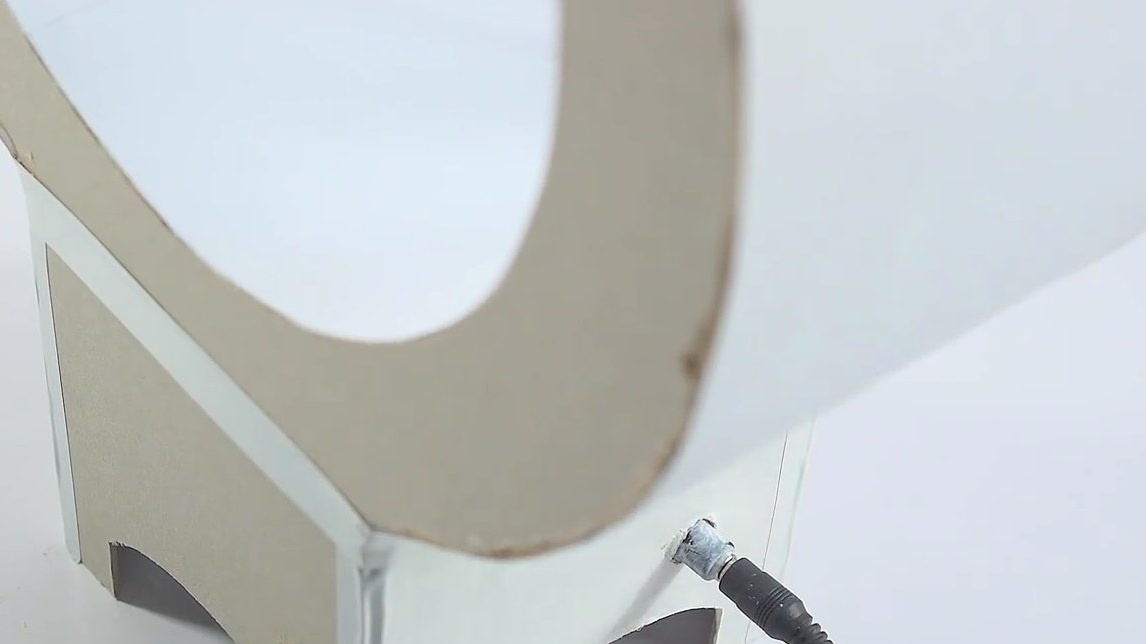
It is necessary to further refine the base blanks, make them legs, and openings for the incoming air flow.
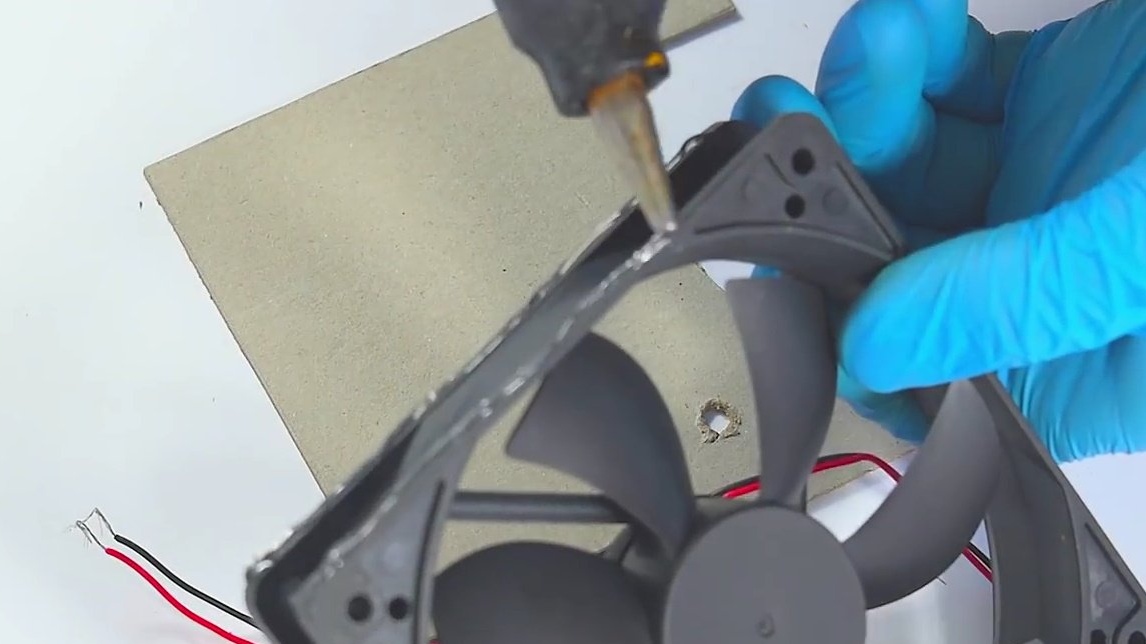
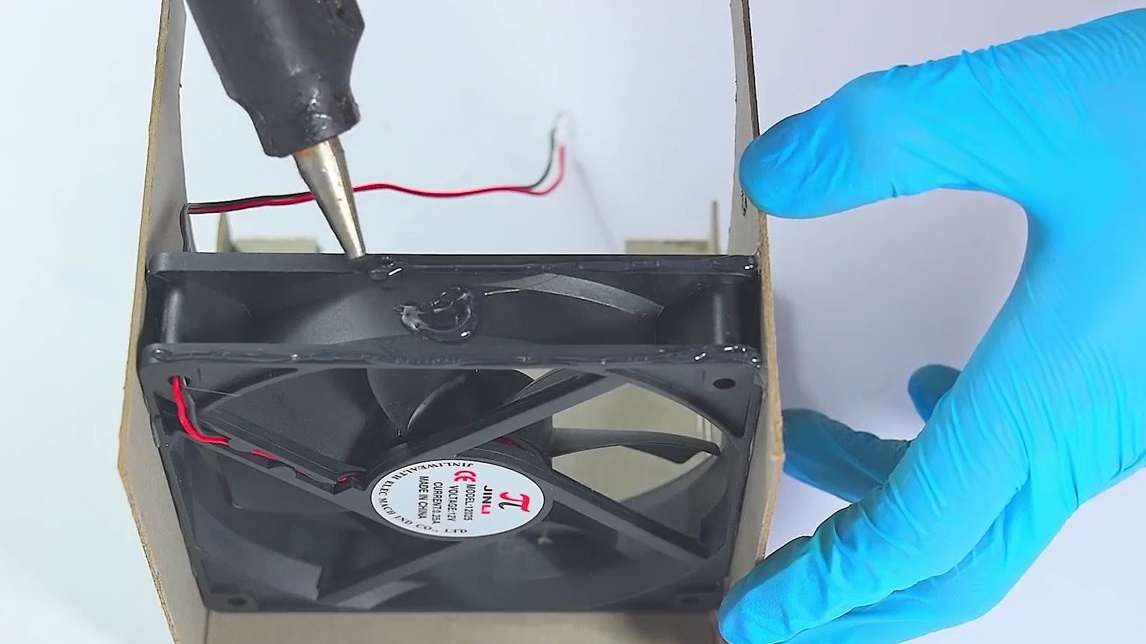
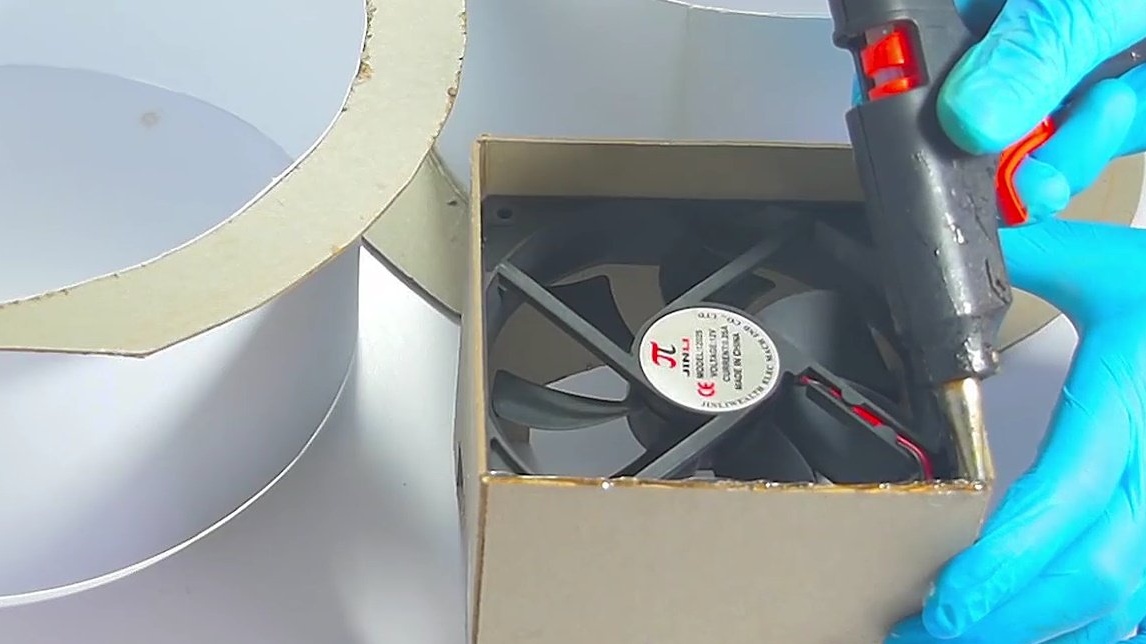
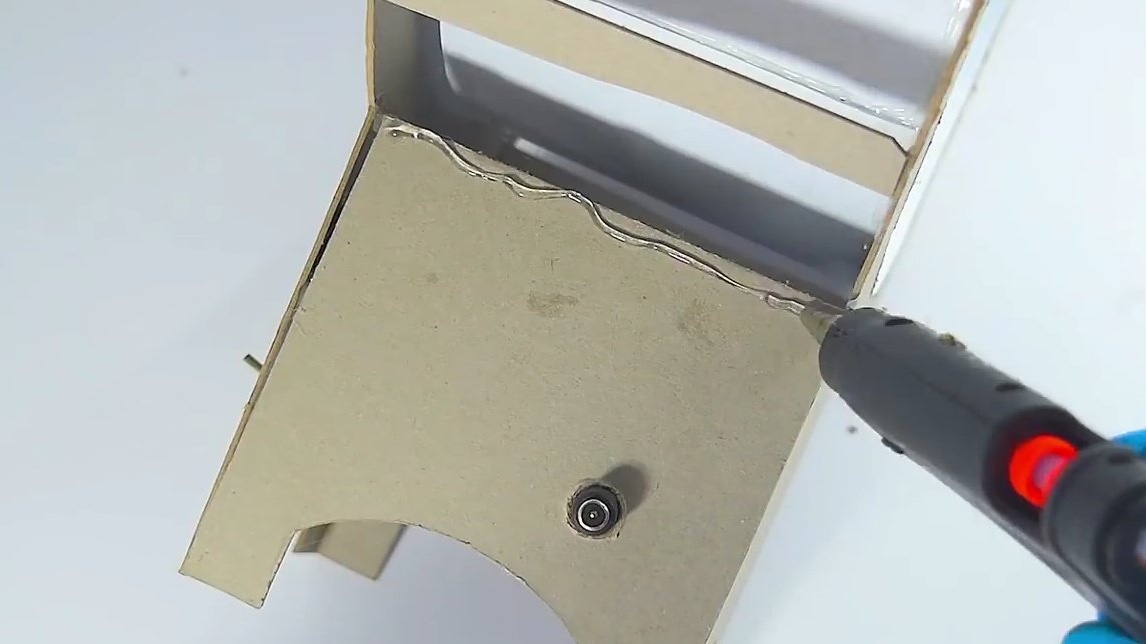
It's time to start gluing. Using a glue gun, glue one side of the base to the fan. Moreover, the air will blow in the direction where the white sticker is located.
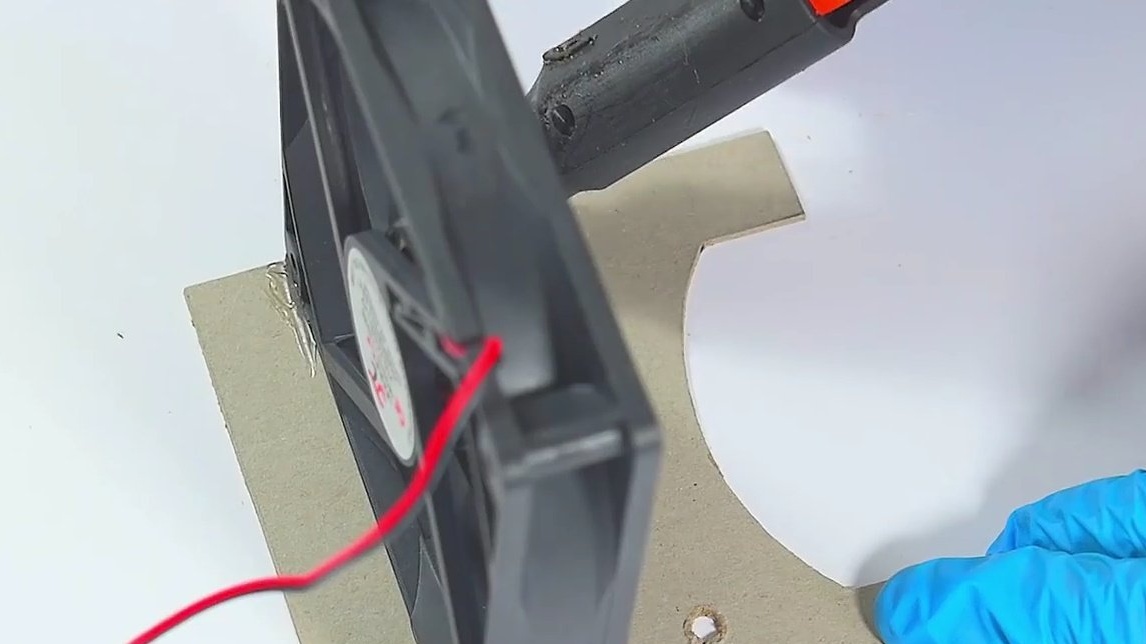
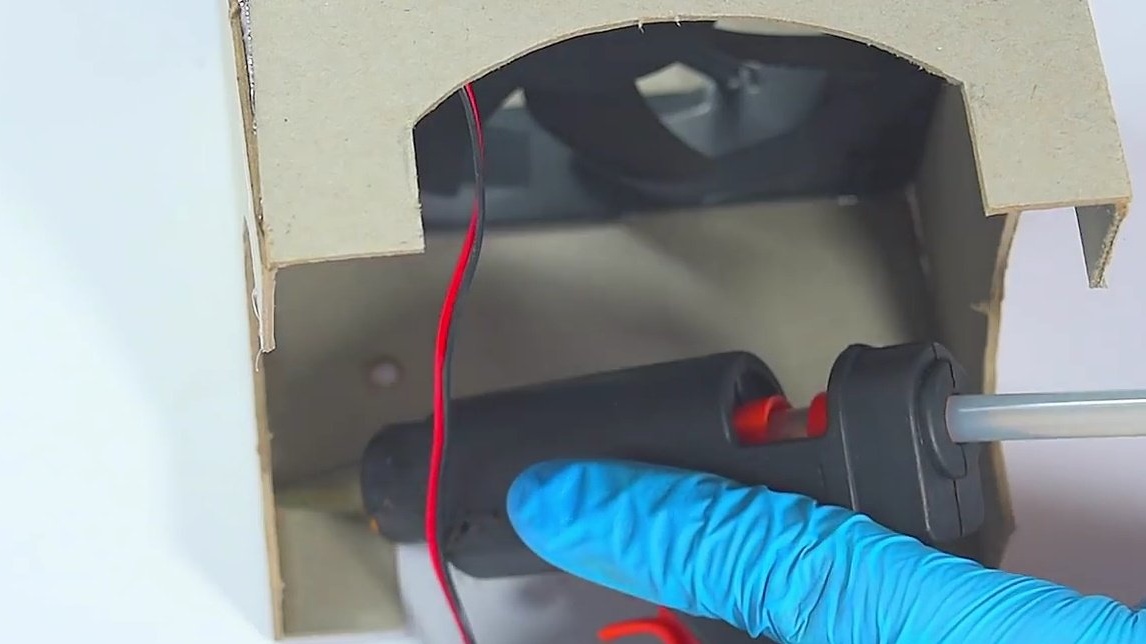
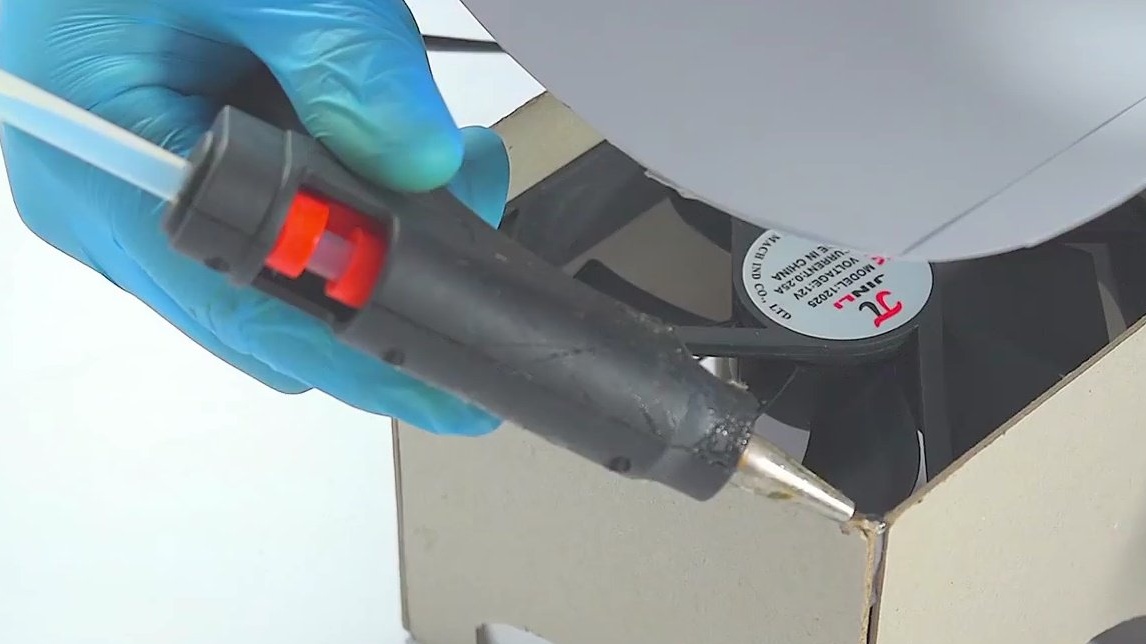
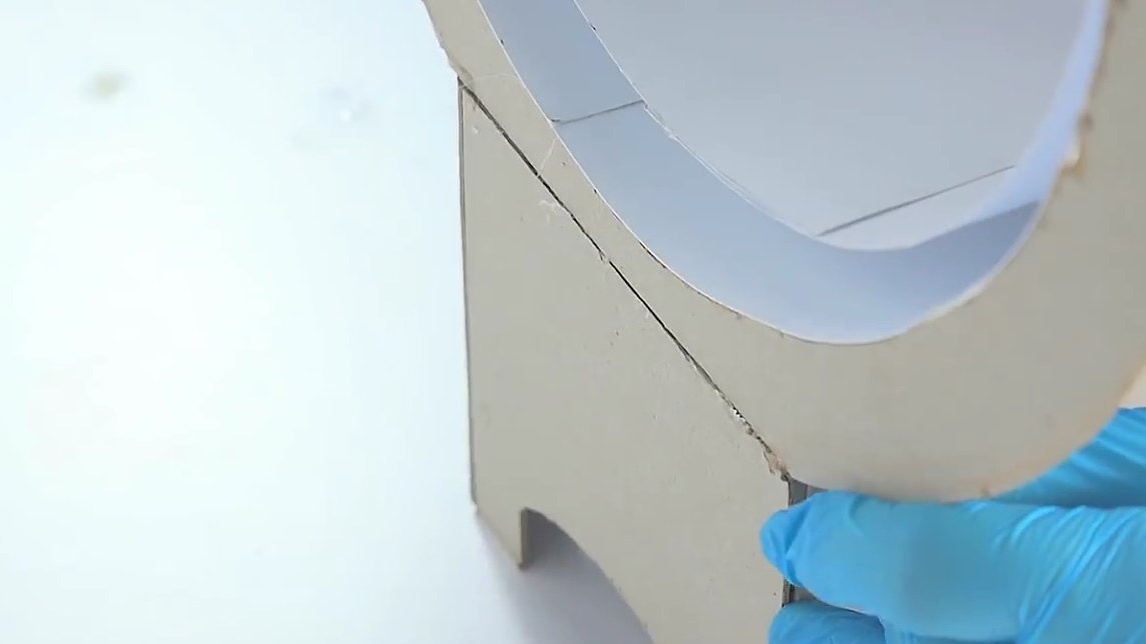
He removes the wires through the mounting holes, and glues all the other walls of the base. Carefully glues the joints of the walls.
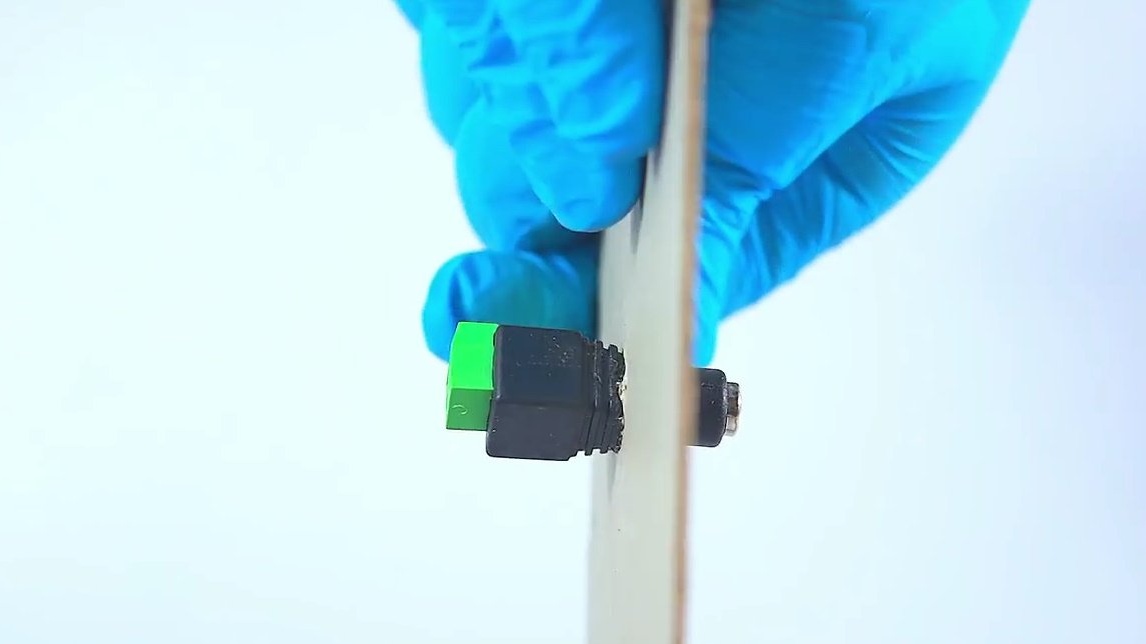
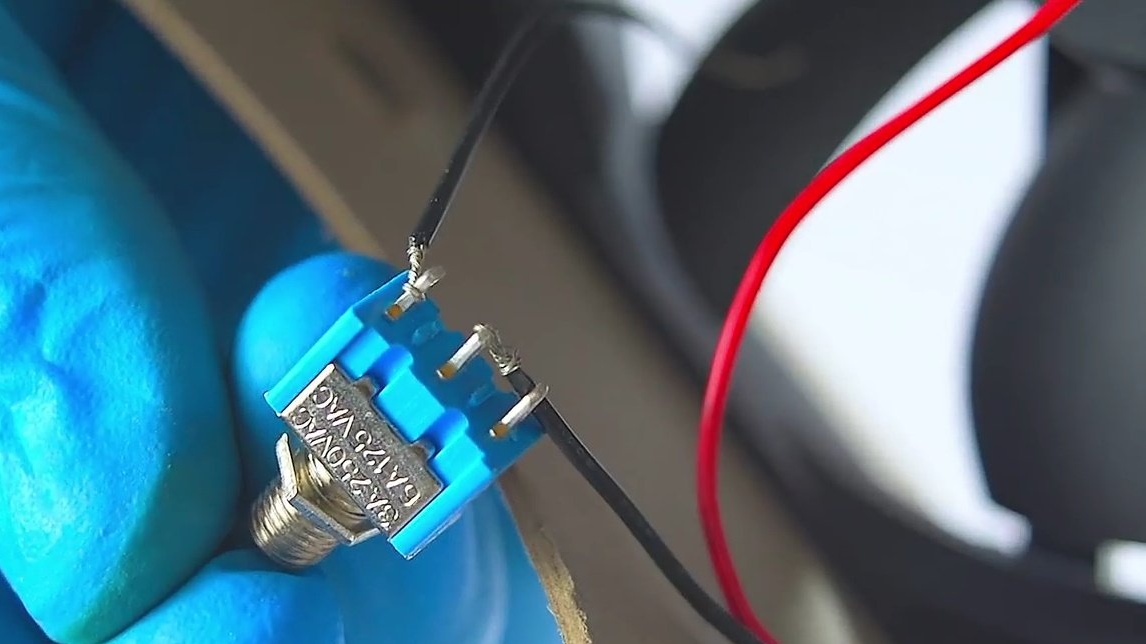
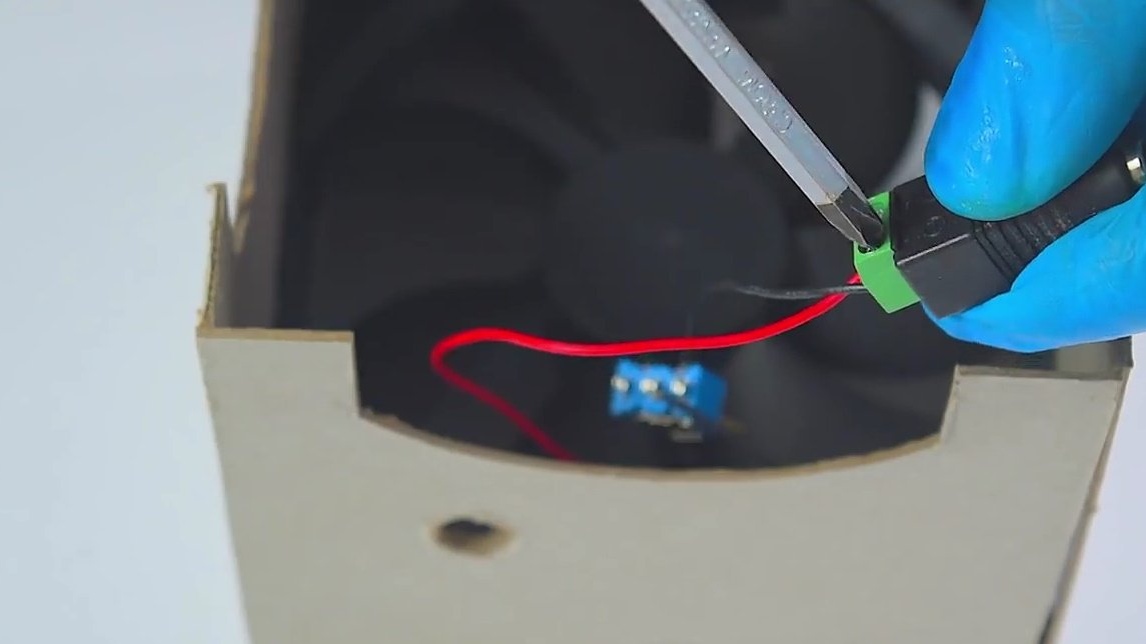
It's time to connect the switch, fan and power connector. All connections are made sequentially, observing polarity. It is advisable to solder and insulate the contacts on the switch.
And on the power connector, the wires are simply clamped "screw".
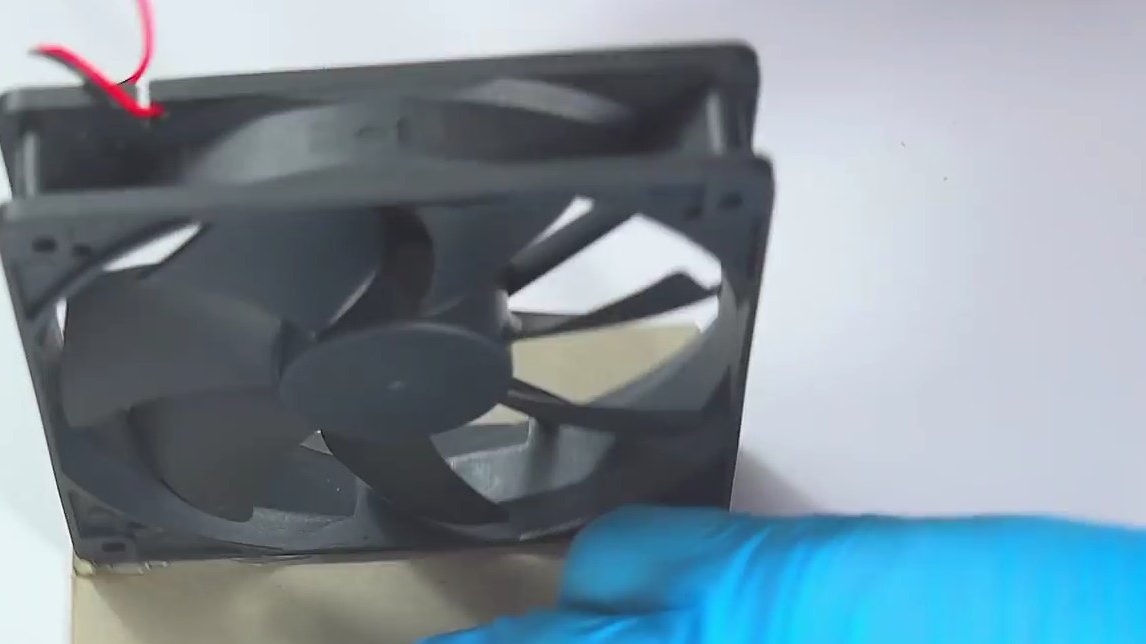
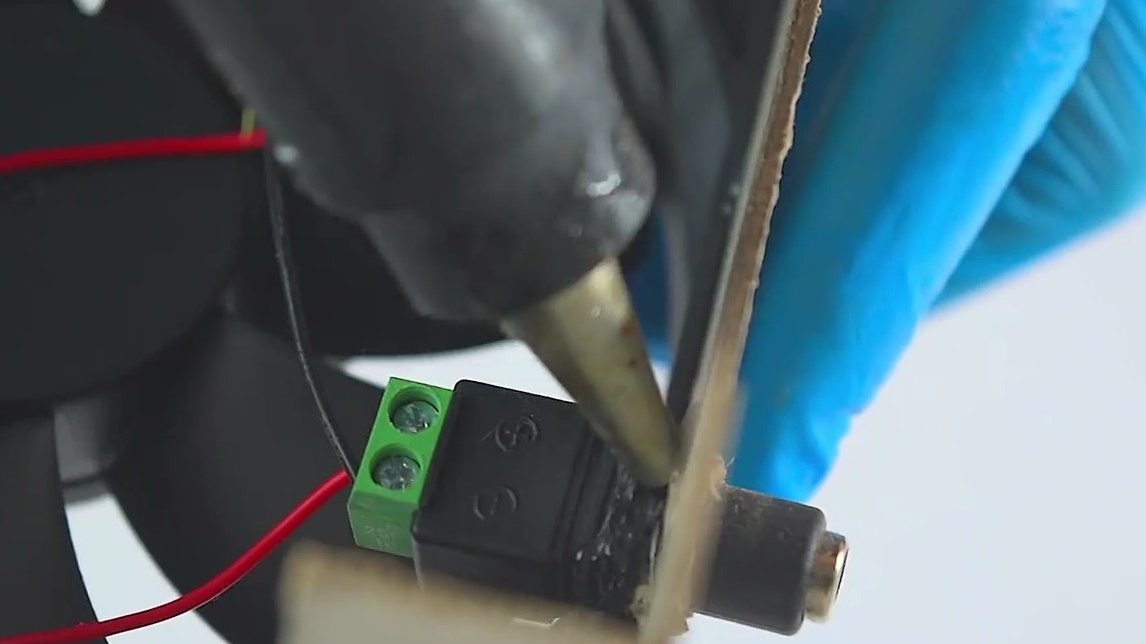
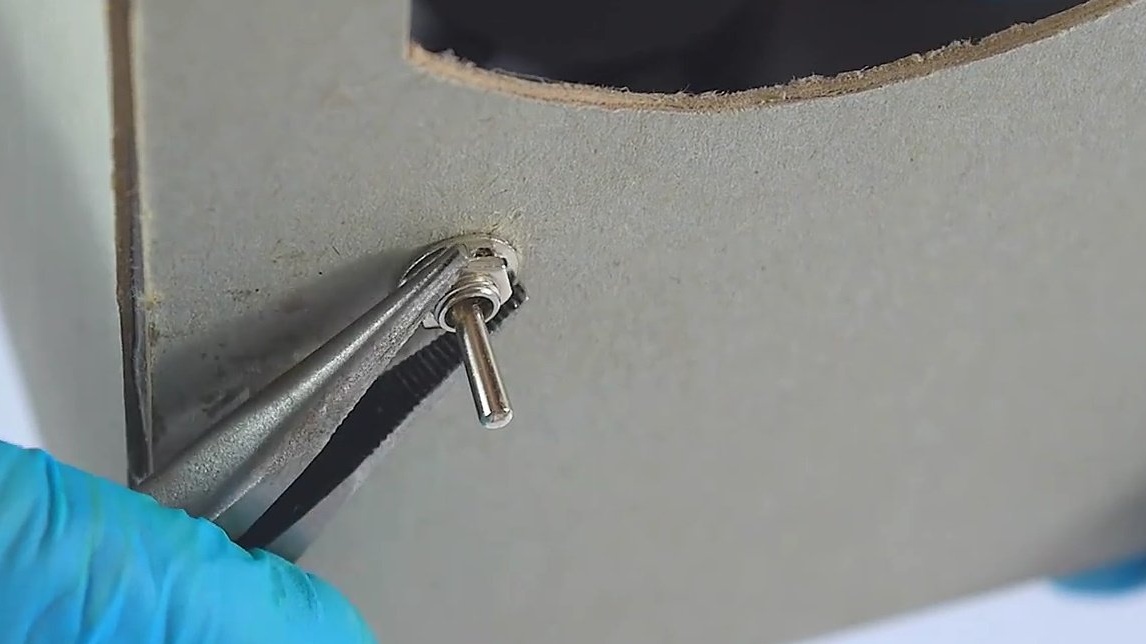
Then glues the connector, and clamps the switch with a nut. The base is ready, you can check the performance.


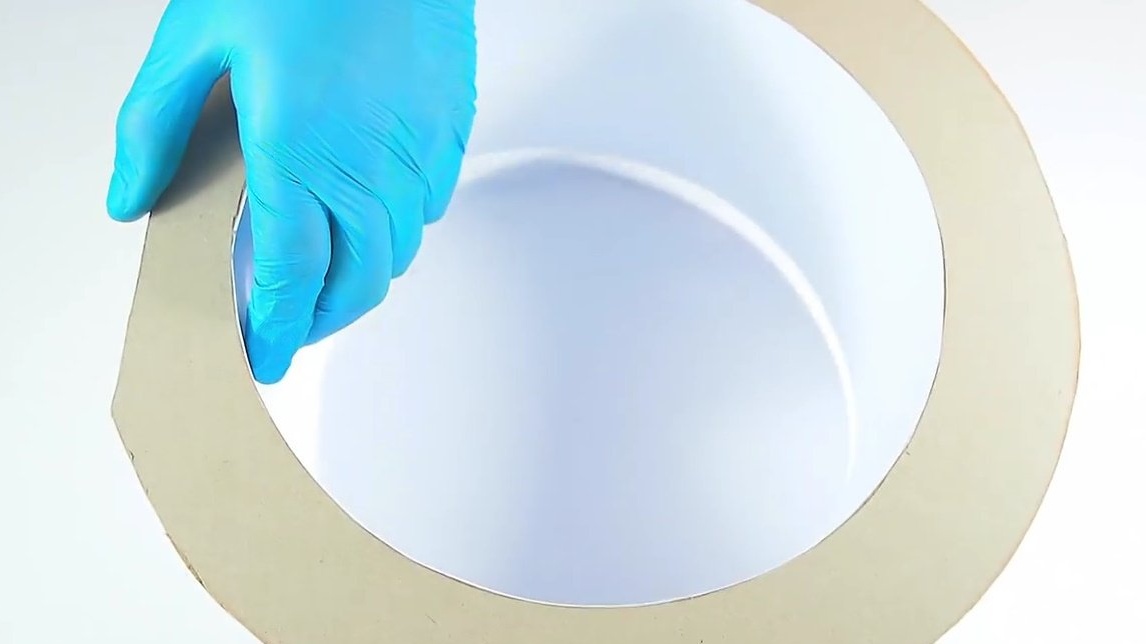
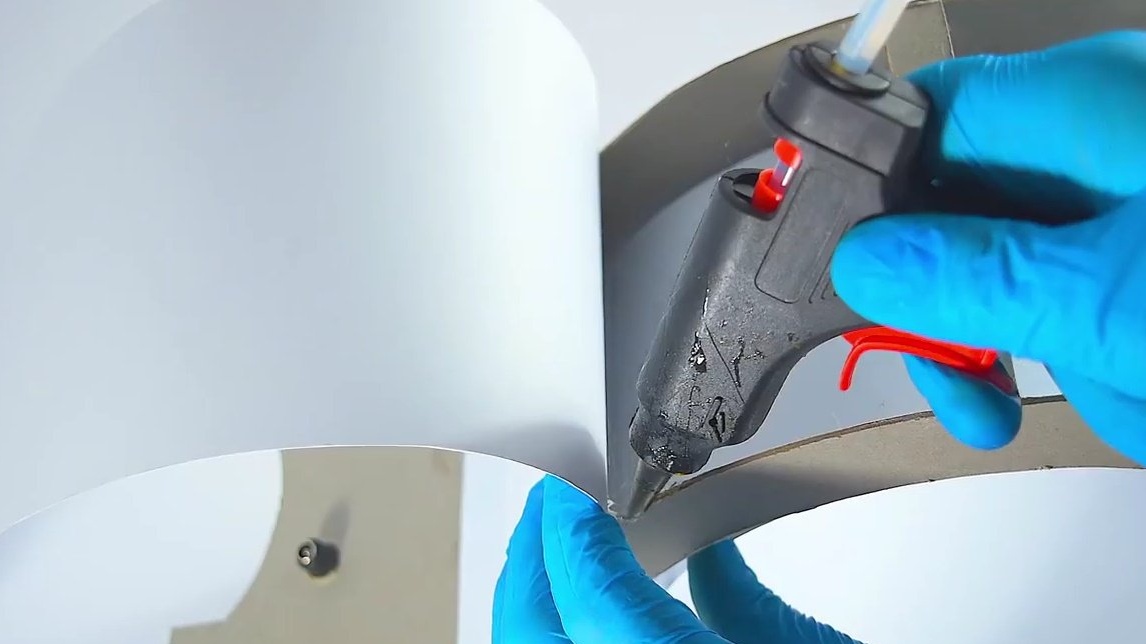
Next, Roman glues a piece of whatman 74X12 cm to the inner side of the back wall.


It should be like this. Moreover, all joints should be glued very well.

The same thing repeats for the front wall of the body, only glues a strip of 82X12 cm already.
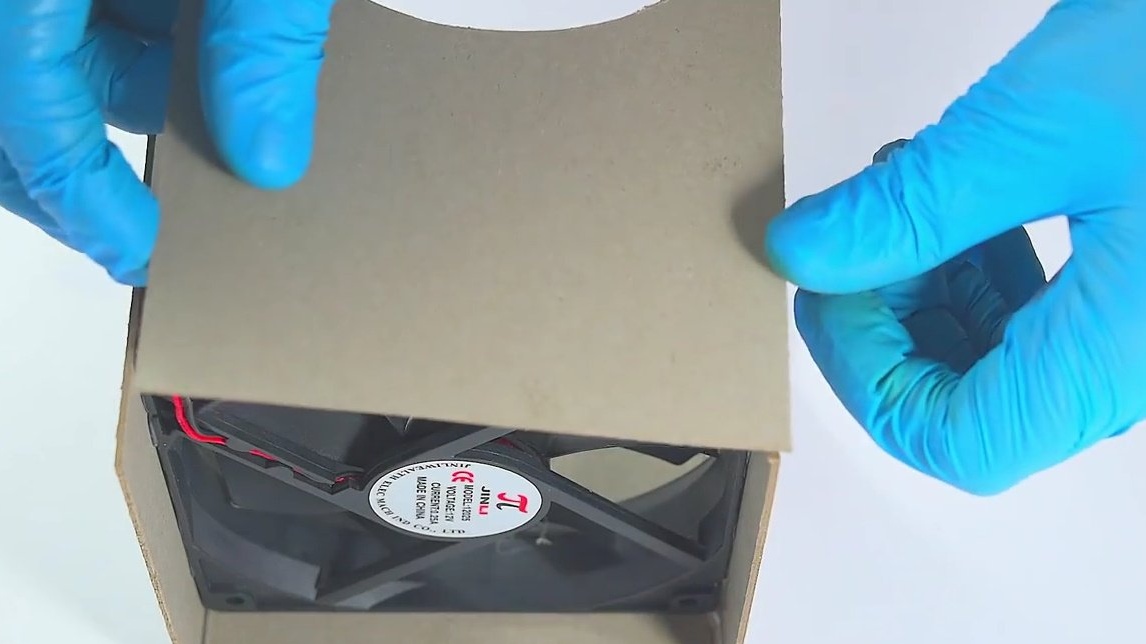
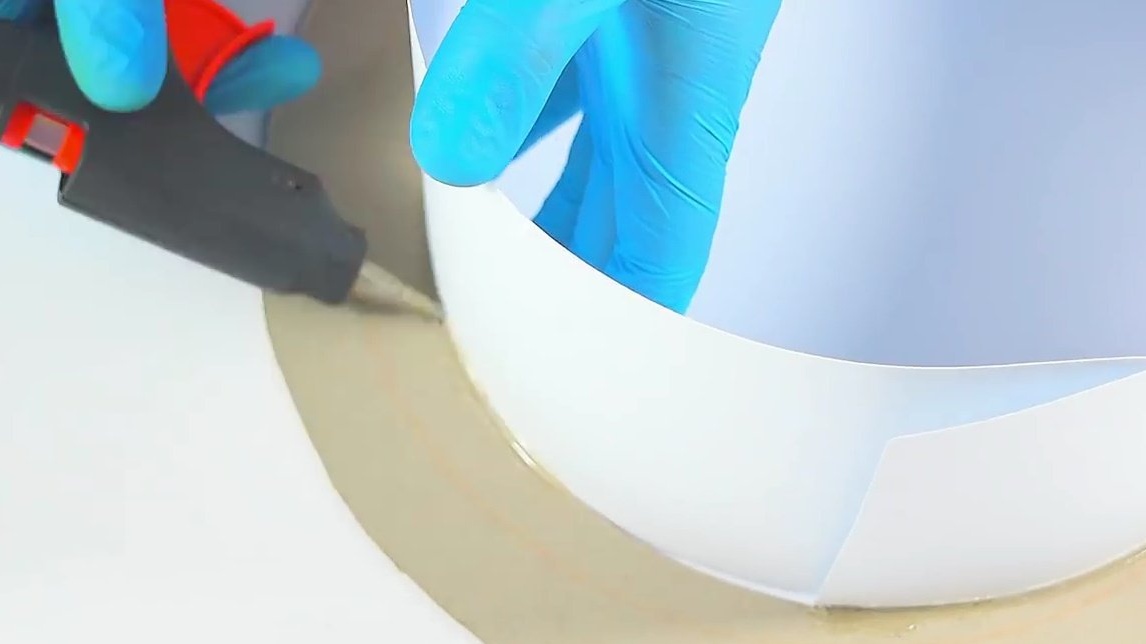
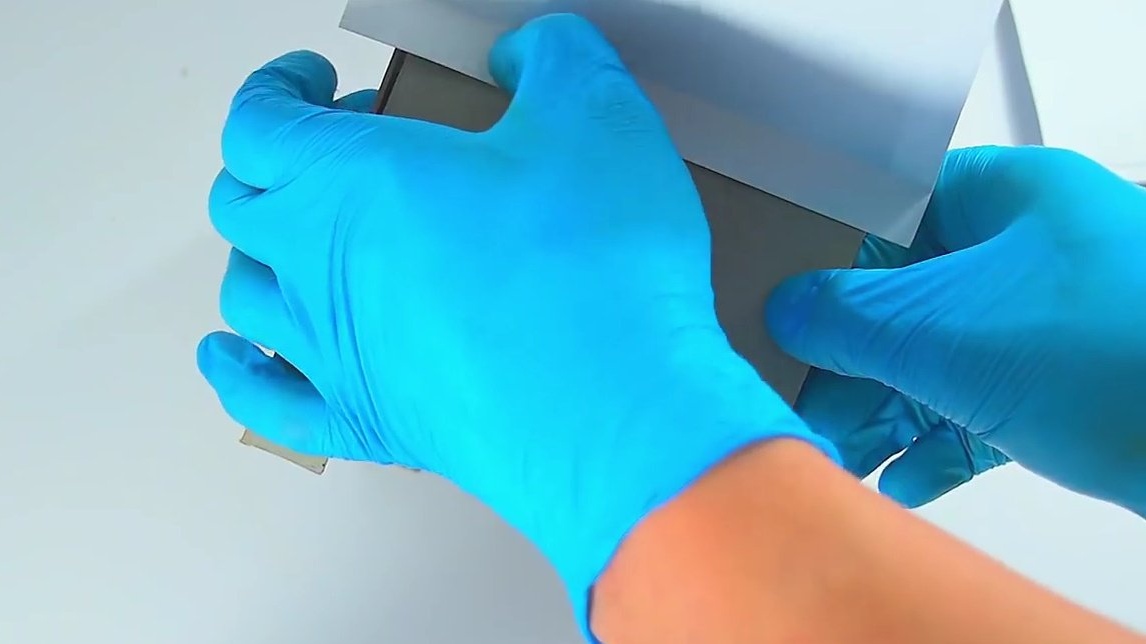
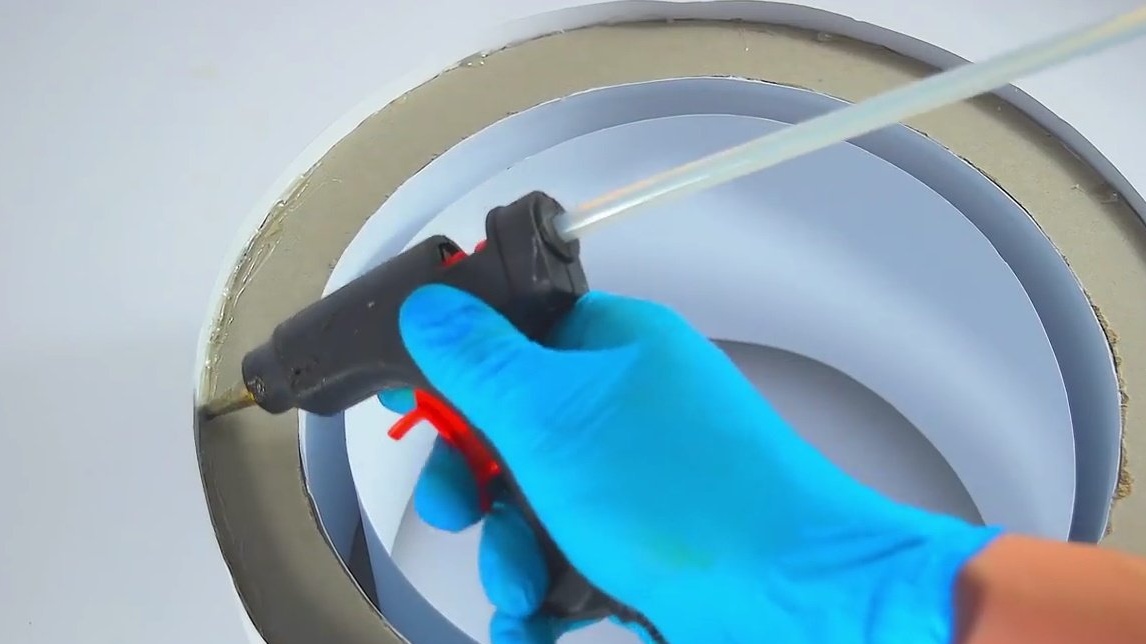
Now glues the walls of the housing to the base.
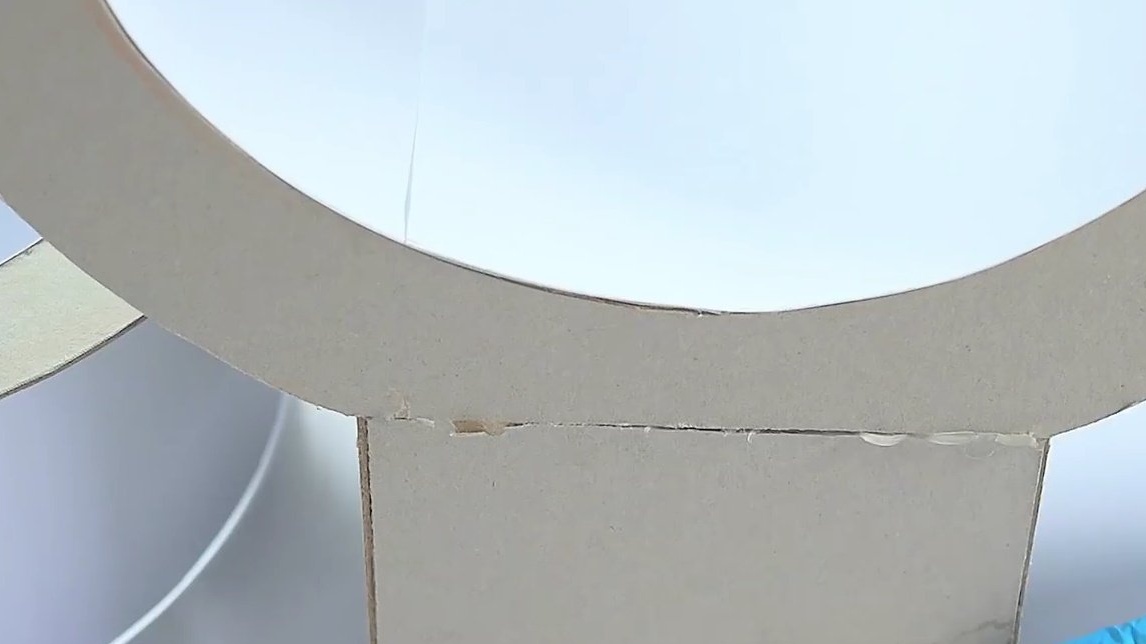
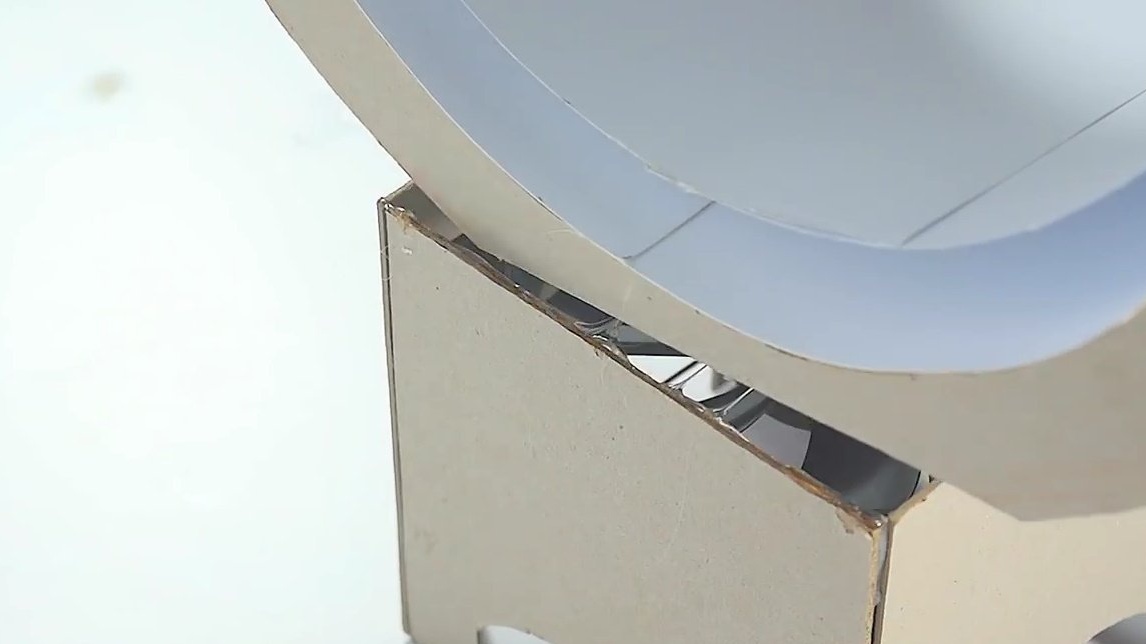
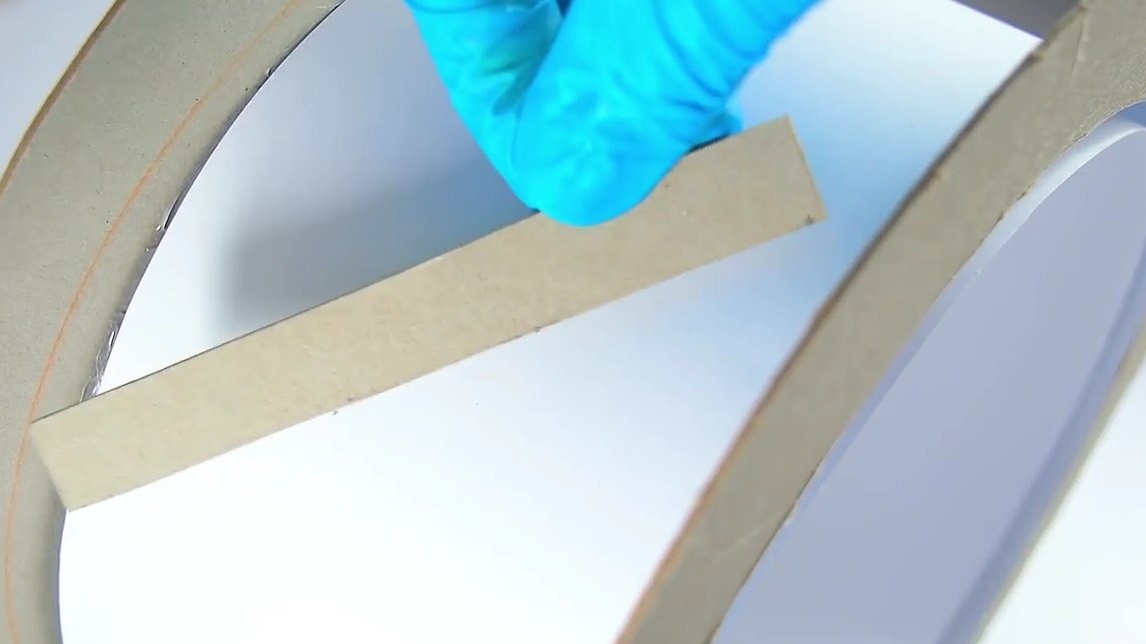
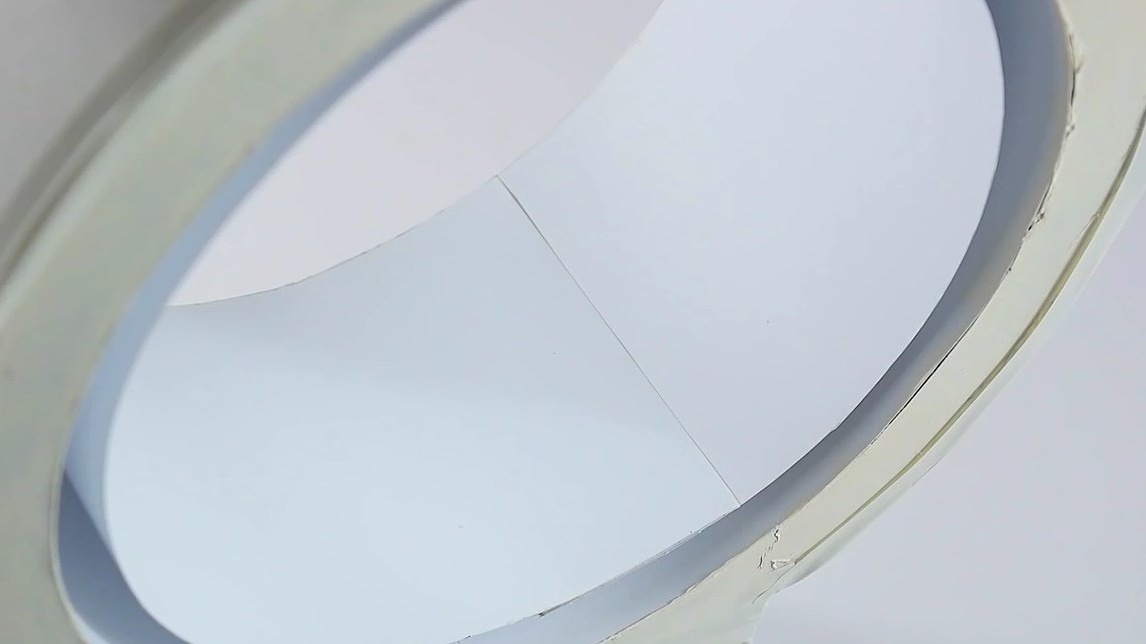
To connect the front and rear walls to each other, cuts strips of cardboard a little shorter than 86 cm and connects the walls by gluing strips. Moreover, there must be a gap between the ring from the Whatman paper and the back wall.
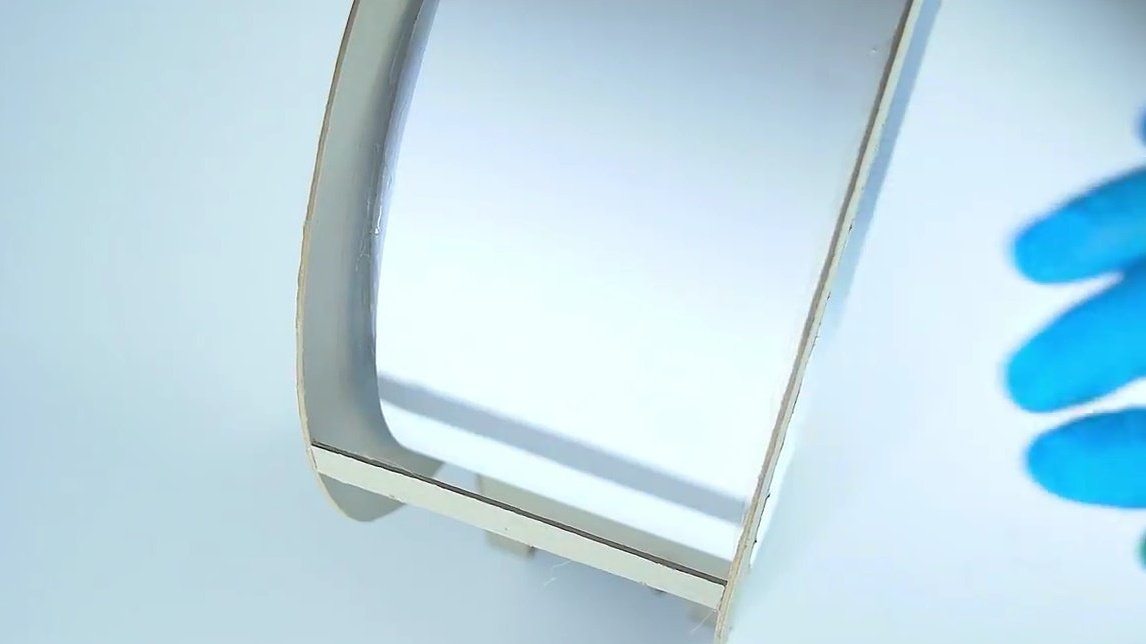
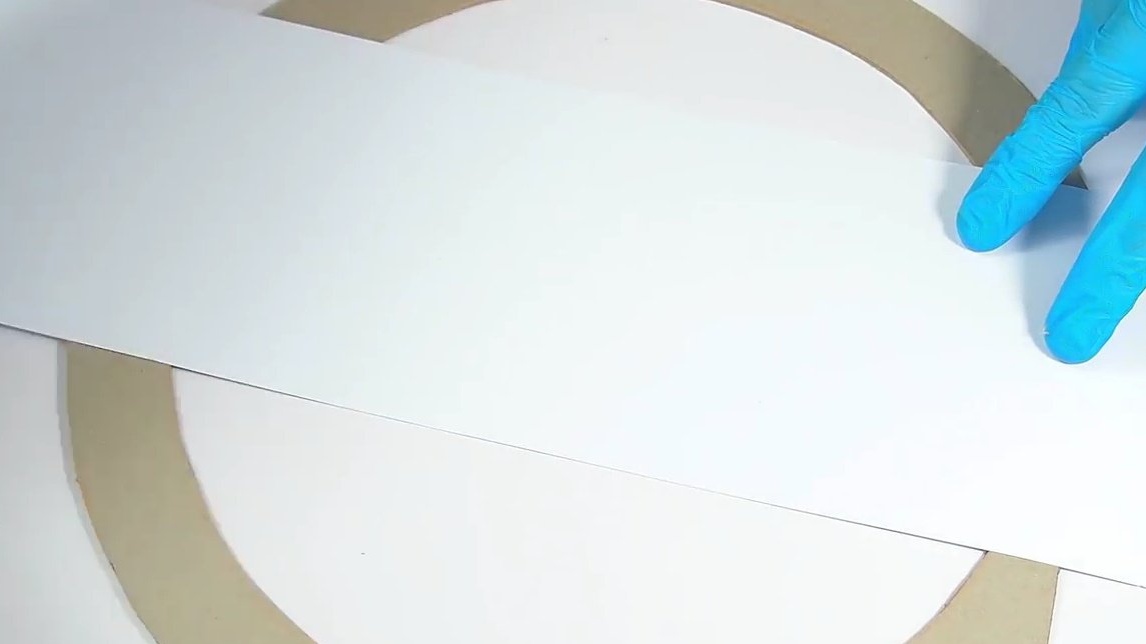
The design is almost ready, it remains to glue the outer part of the body.
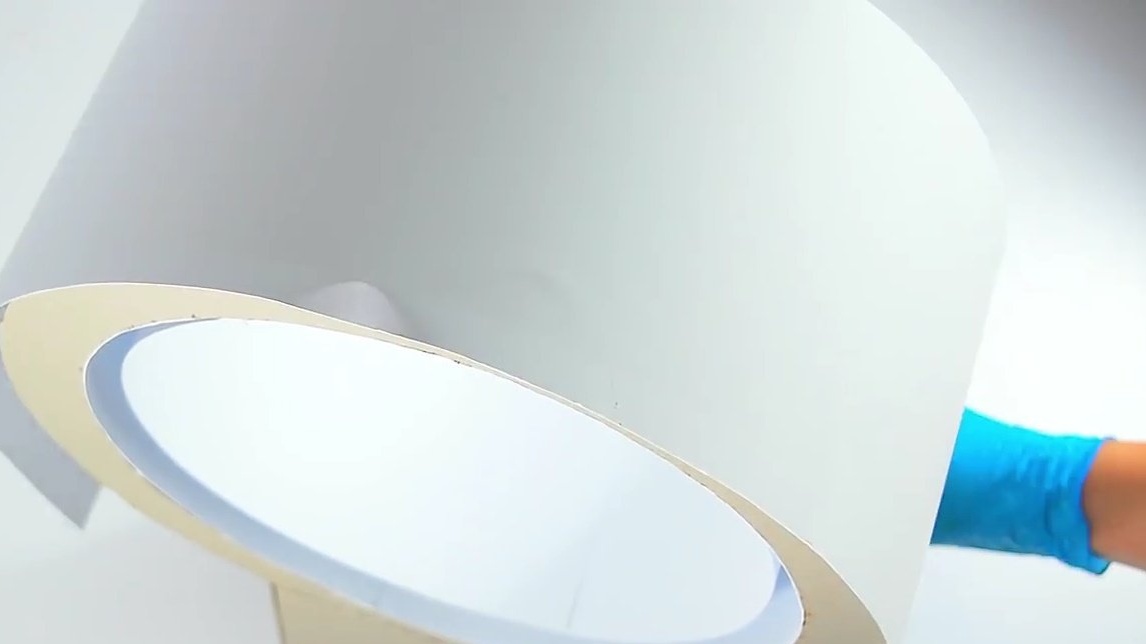
Glues the last sheet 15X86 cm.
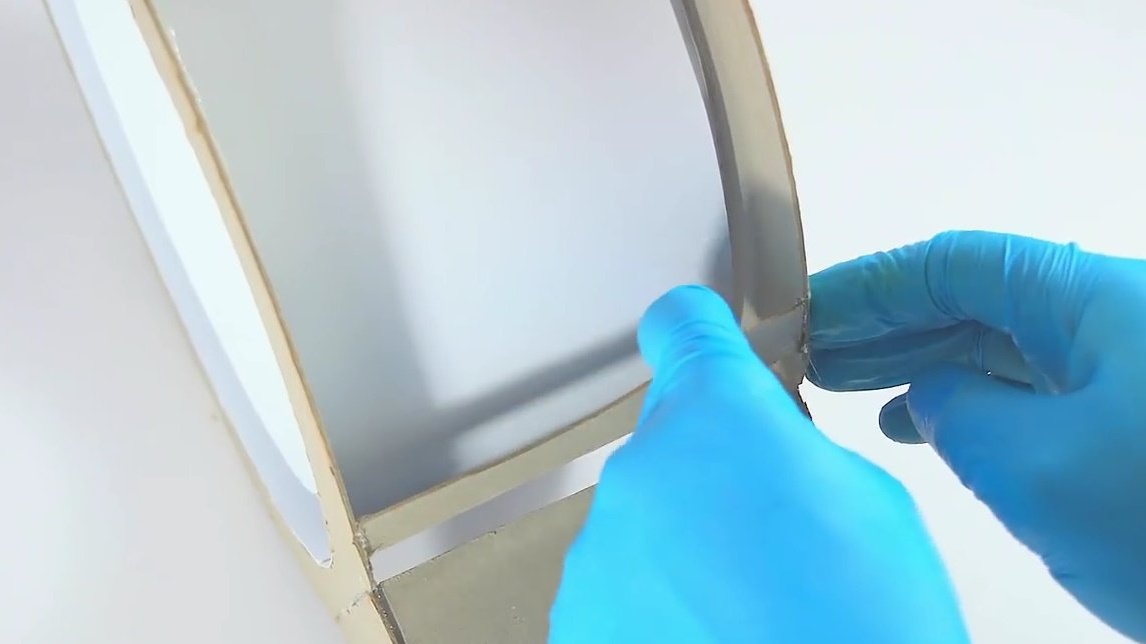
Finally glues the joint of the housing and the front wall.
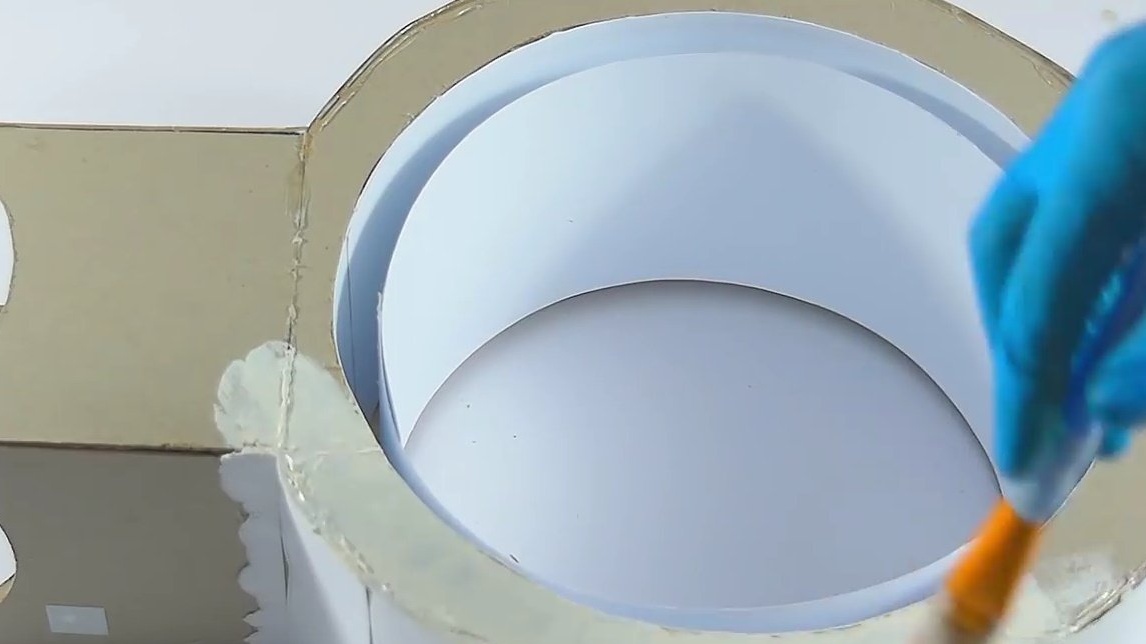
There is literally the final touch. This is a body painting. The author did not particularly bother and opened the surface of the case with gouache. Of course, you can use other colors.
In terms of optimizing this design, all parts of the body should be made of more durable materials. You should also place the power connector on the back of the base.
And under the base of the case, you can install a small container with essential oil. Then this fan automatically becomes an aroma lamp.
Thanks to Roman for the original fan design!
All comfort and good mood!