
This article will be of interest to all the craftsmen who work with wood.
In it, John, the author of the YouTube channel "John Heisz - I Build It", offers you a very simple design of a carpentry scraper.
John recently replaced knives in the thicknesser, the time has come ... But throwing these knives just like that, it's a pity. It really hurts good steel! The first thing that occurred to the master was to use them a second time for other needs. To make a knife out of them is hardly possible in view of these holes. But a scraper, like this one, can turn out quite! In addition, for this scraper it is necessary to buy blades, before he had sharpened them several times.
Materials
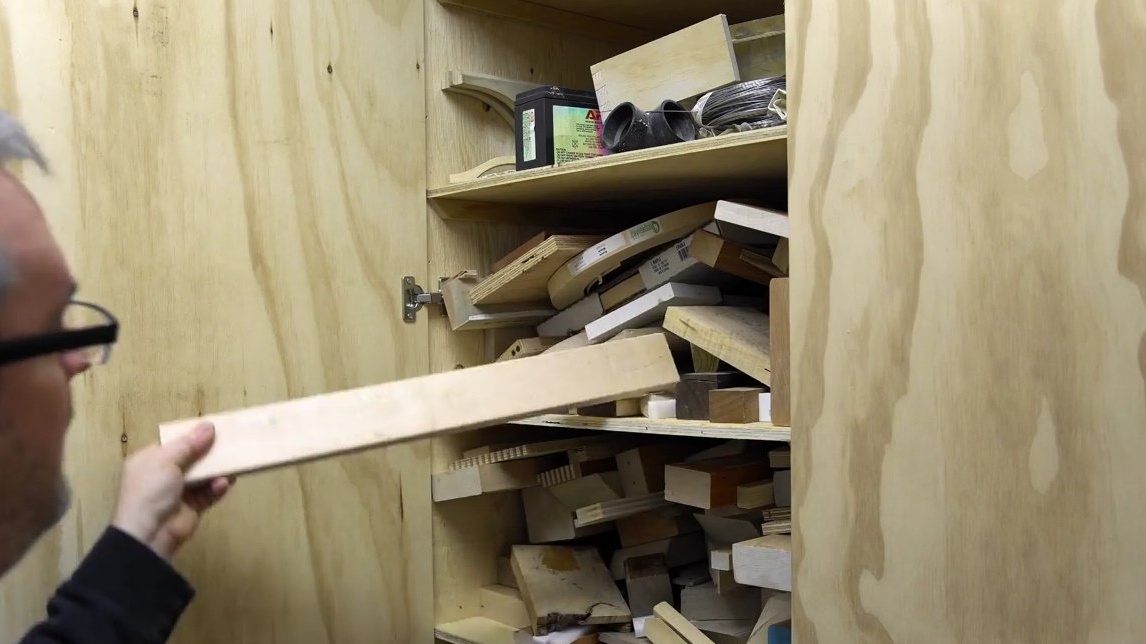
- Board 20-25 mm from hard wood
- Old blade from the thicknesser
- Double-sided stud M6 with woodcarving - 2 pcs.
- Bolt M6
- Liquid Nails.
Instruments, used by the author.
- Drilling machine
- Bulgarian, cutting wheels
- Band-saw
- Countersink nozzle
- Milling machine
- Orbital sander
- Vise, keys
- Roulette, marker
- Sandpaper.
Manufacturing process.
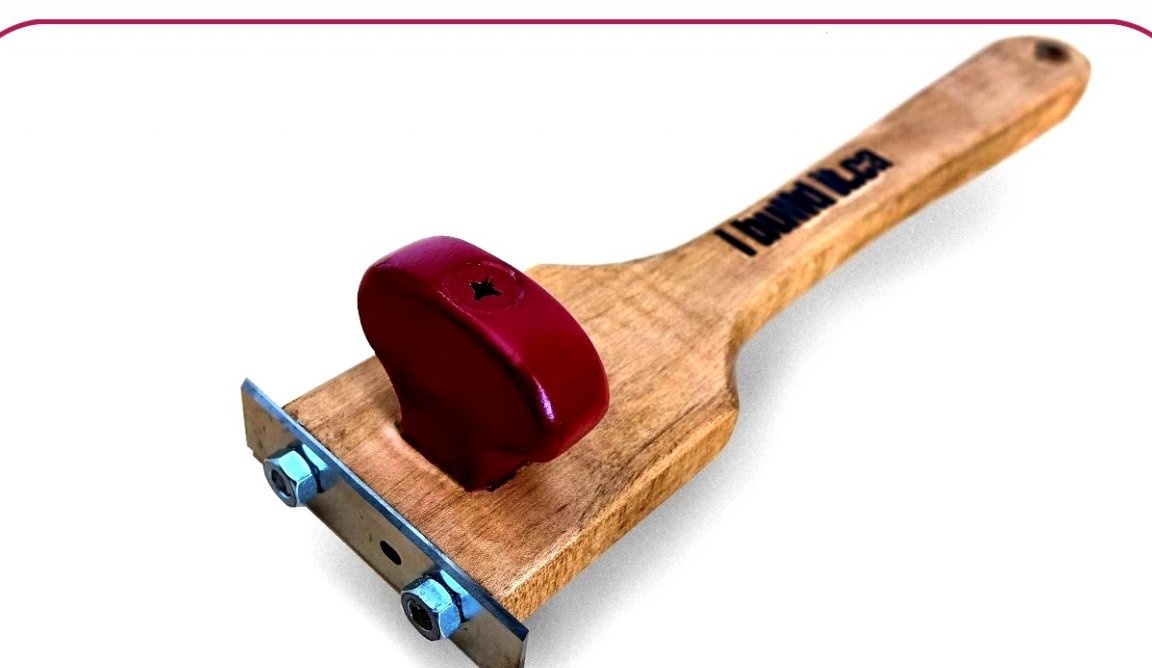
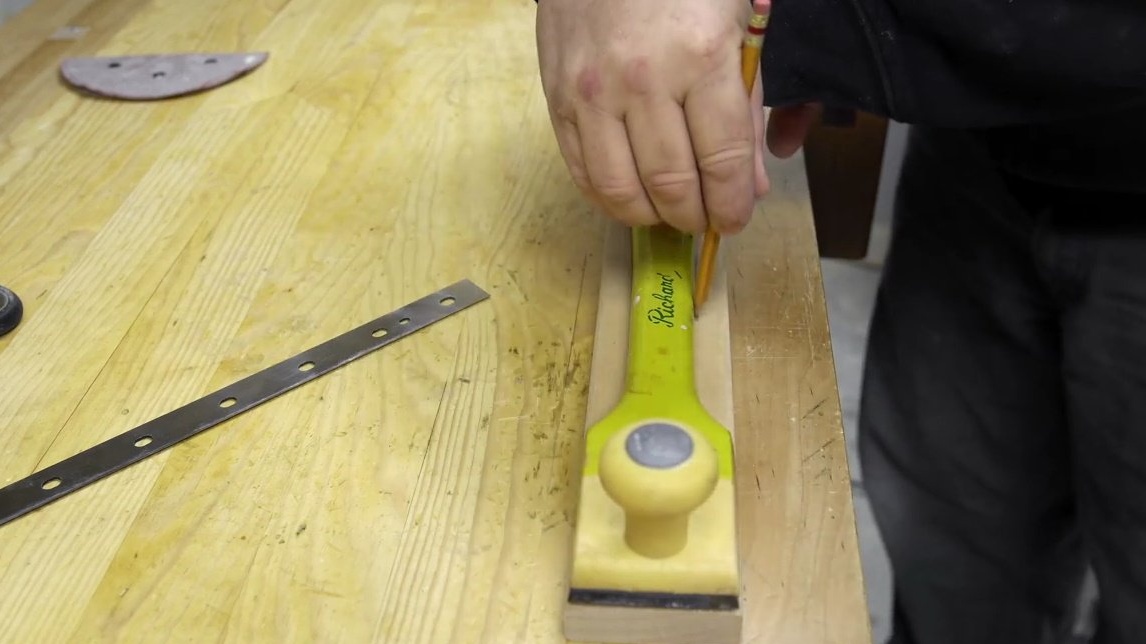
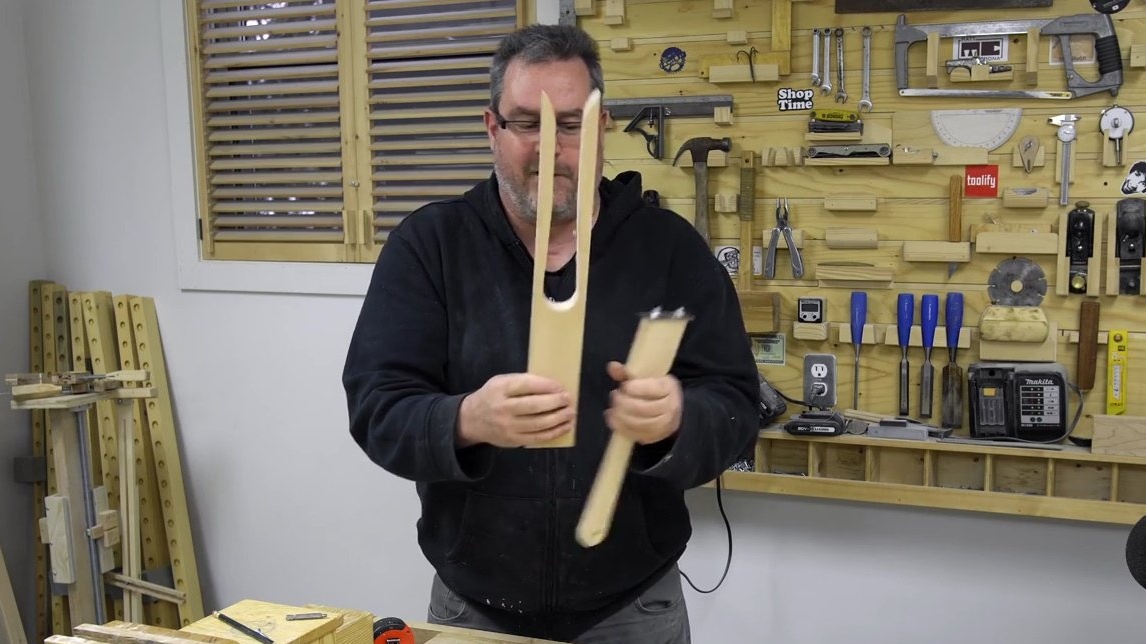
The original scraper has two cutting edges, and such a round handle on top, which is very convenient, especially when you have to scrape off the paint from the surface and need considerable effort, such as when cleaning rough wooden surfaces or scraping off glue.
The author intends to make a similar scraper do it yourself, using as an existing template. It will have the same dimensions and the same handle on top.
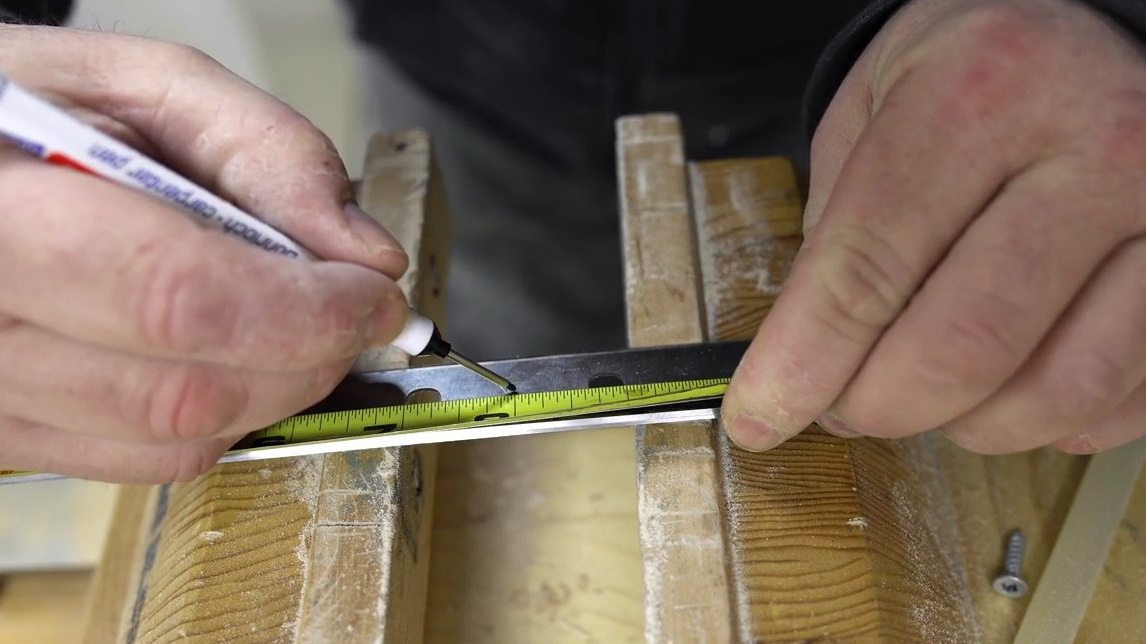
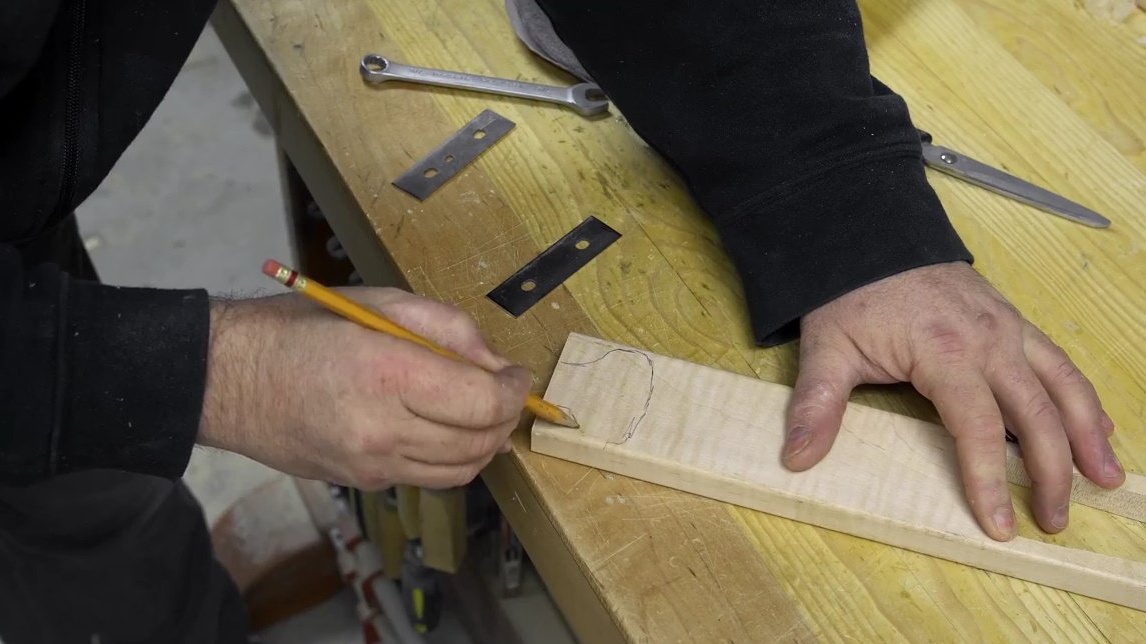
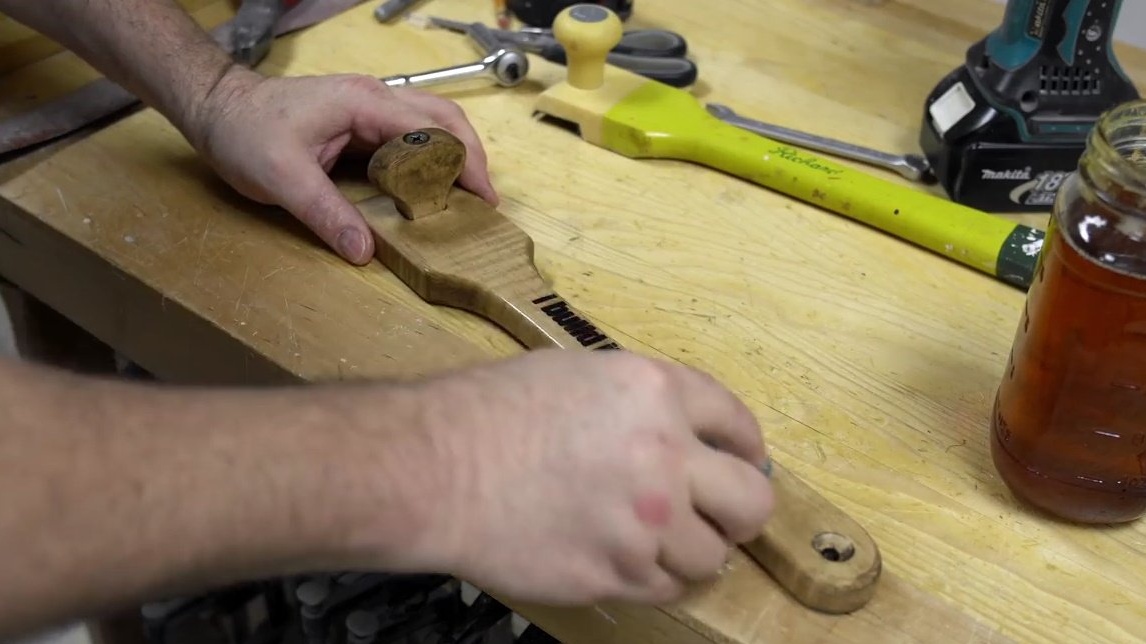
John picks up a similarly sized board and marks it out using a purchased scraper as a template.


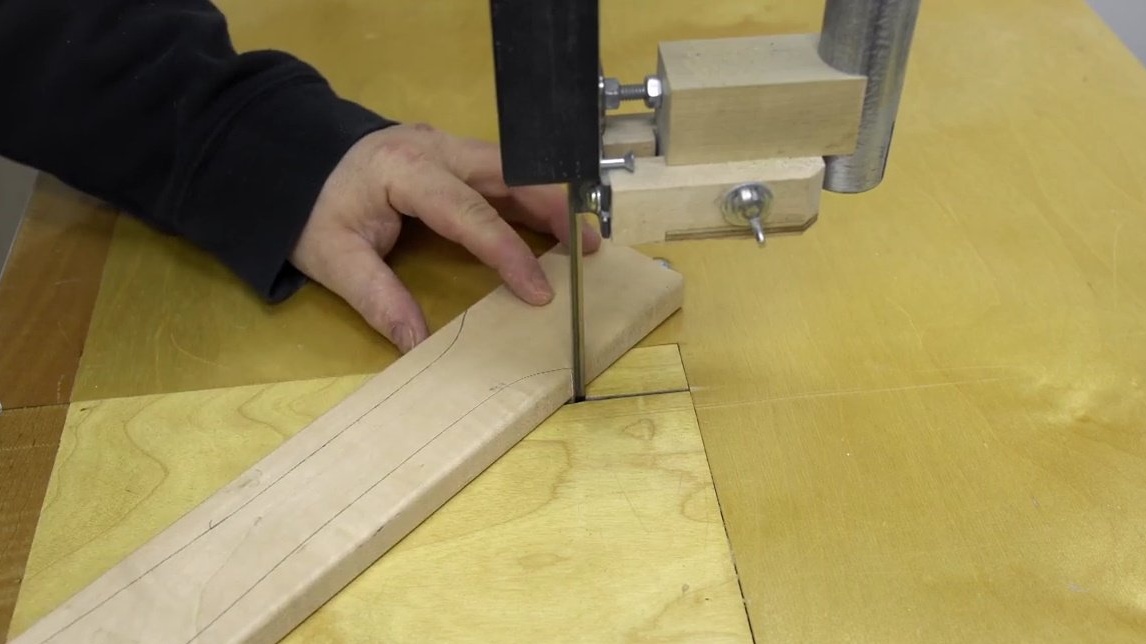
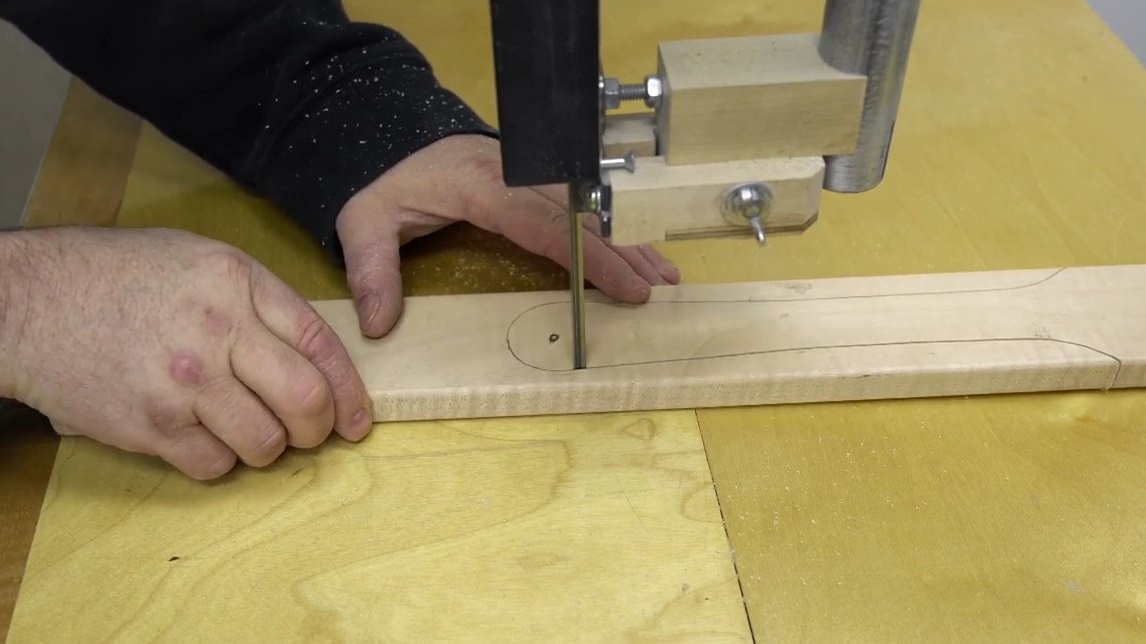
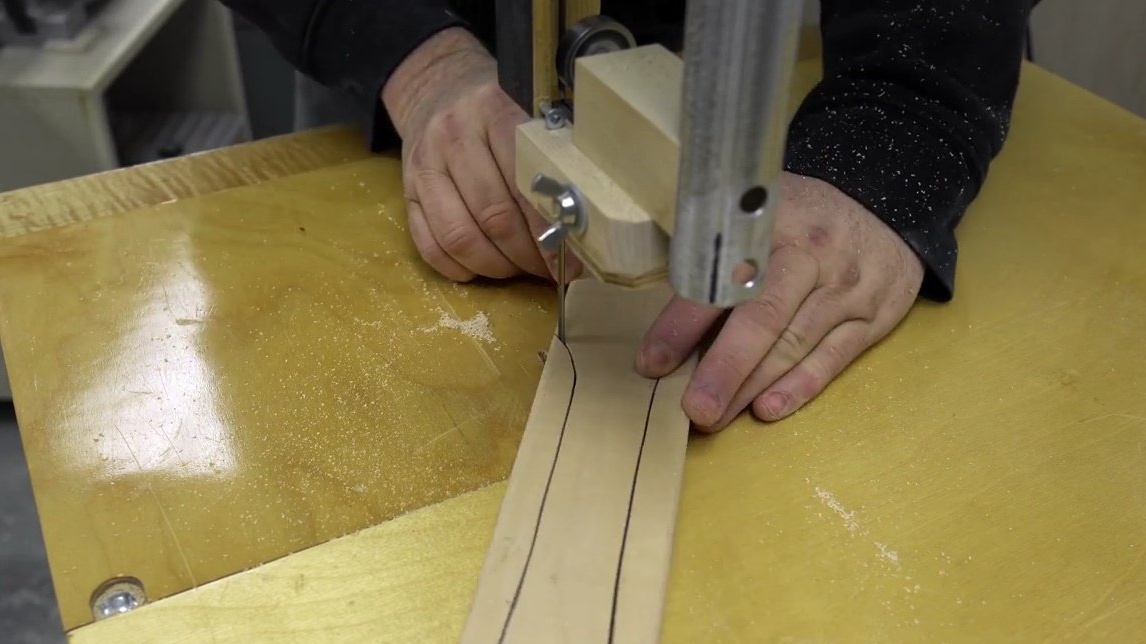
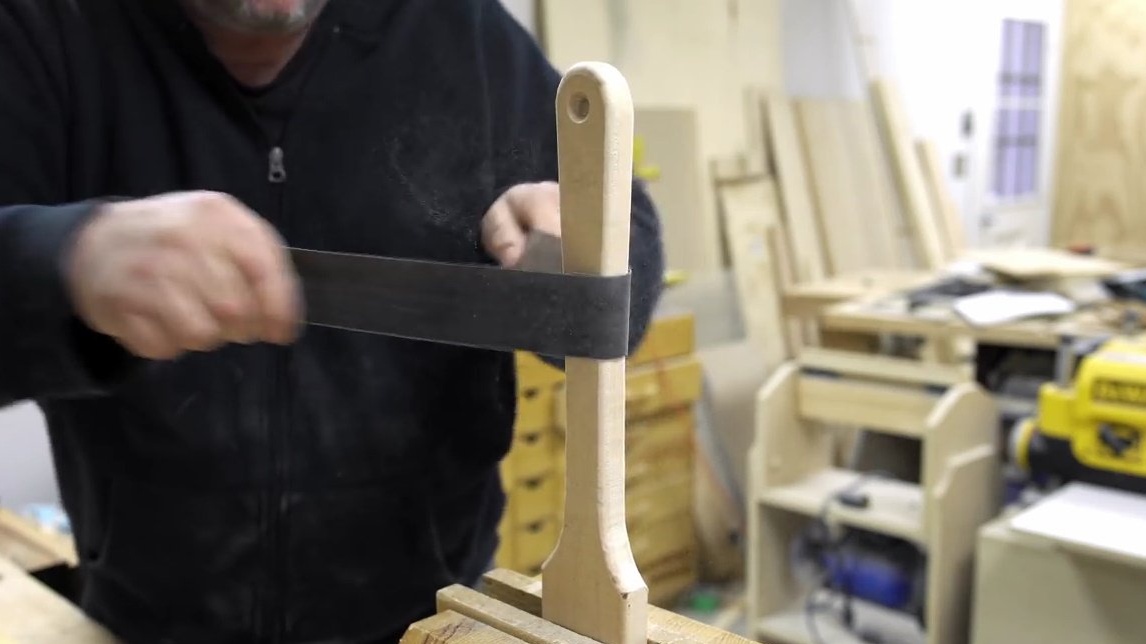
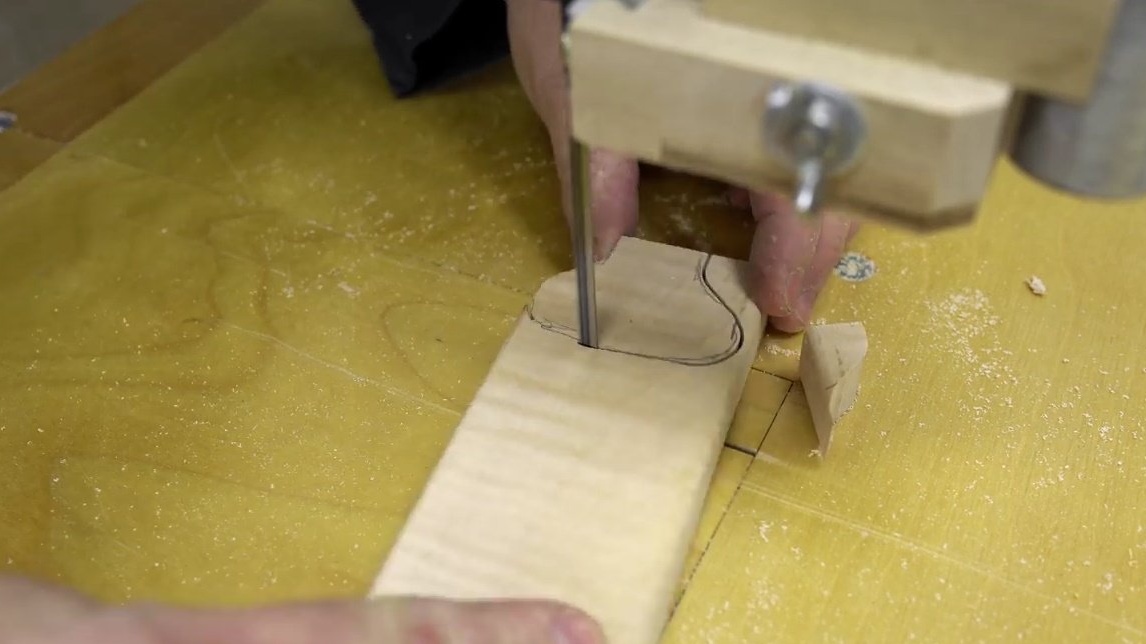
Then cuts the workpiece for the scraper handle on a band saw.
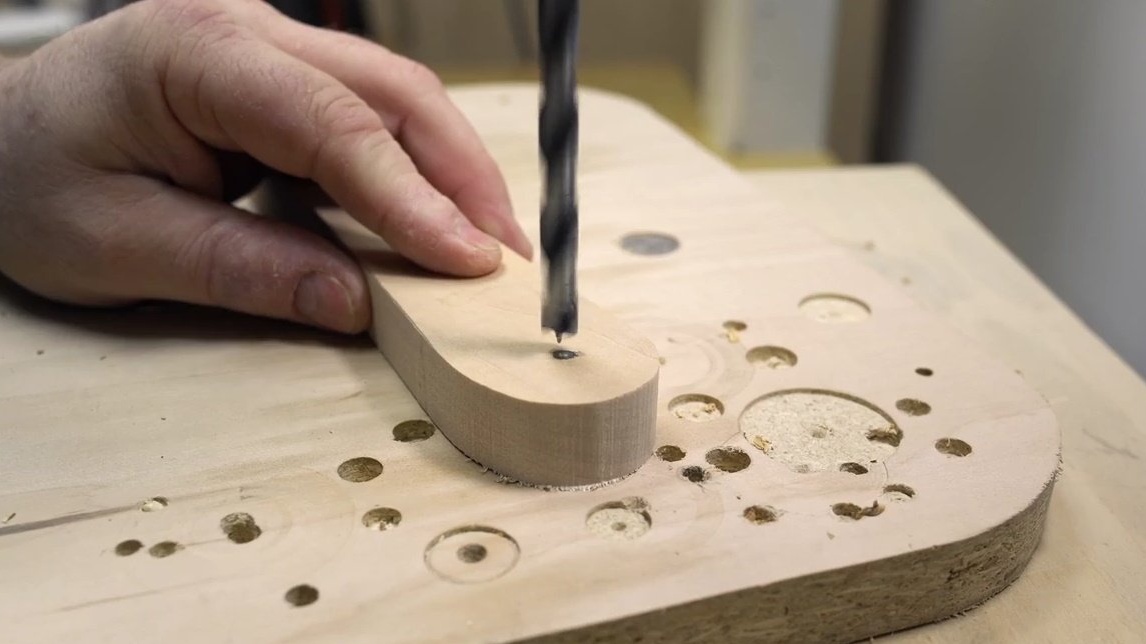
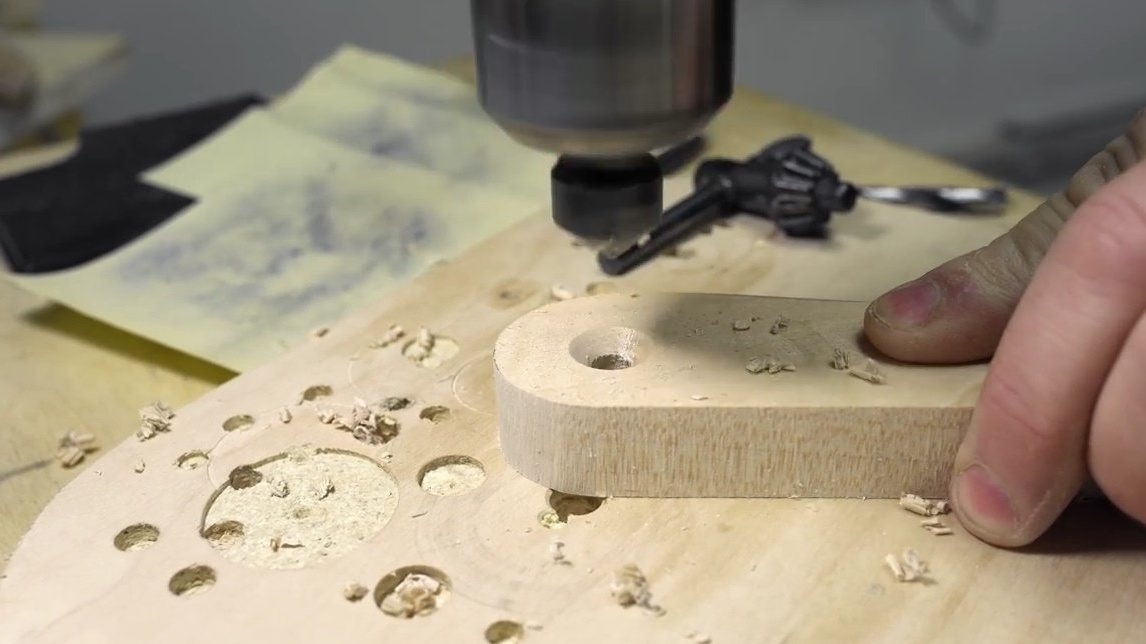
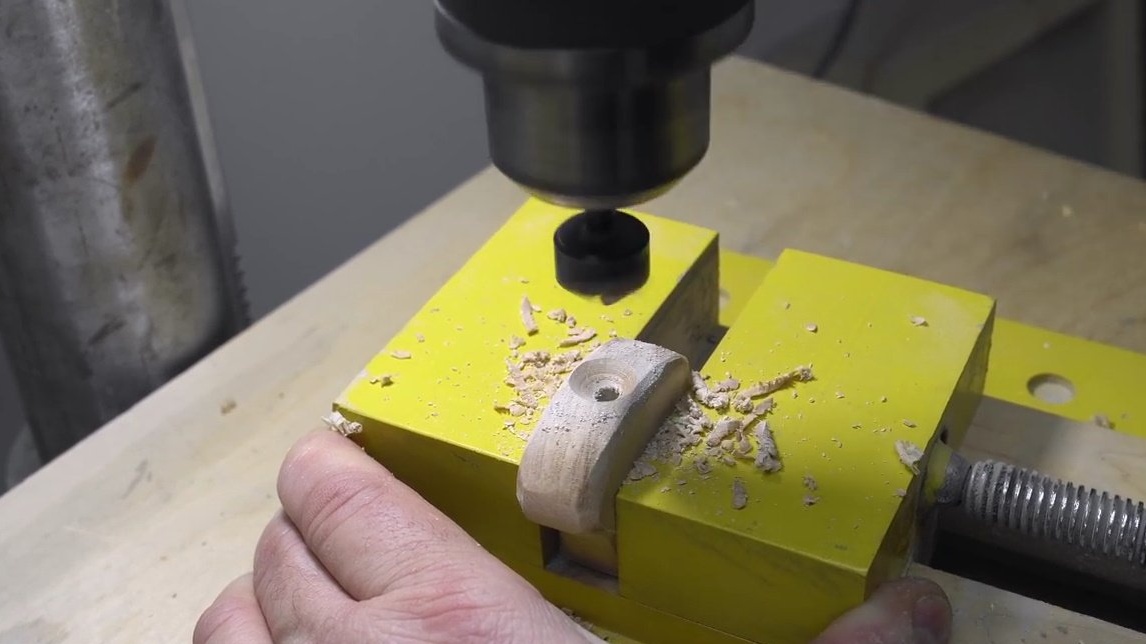
Then he drills a hole for hanging, countersinks it.
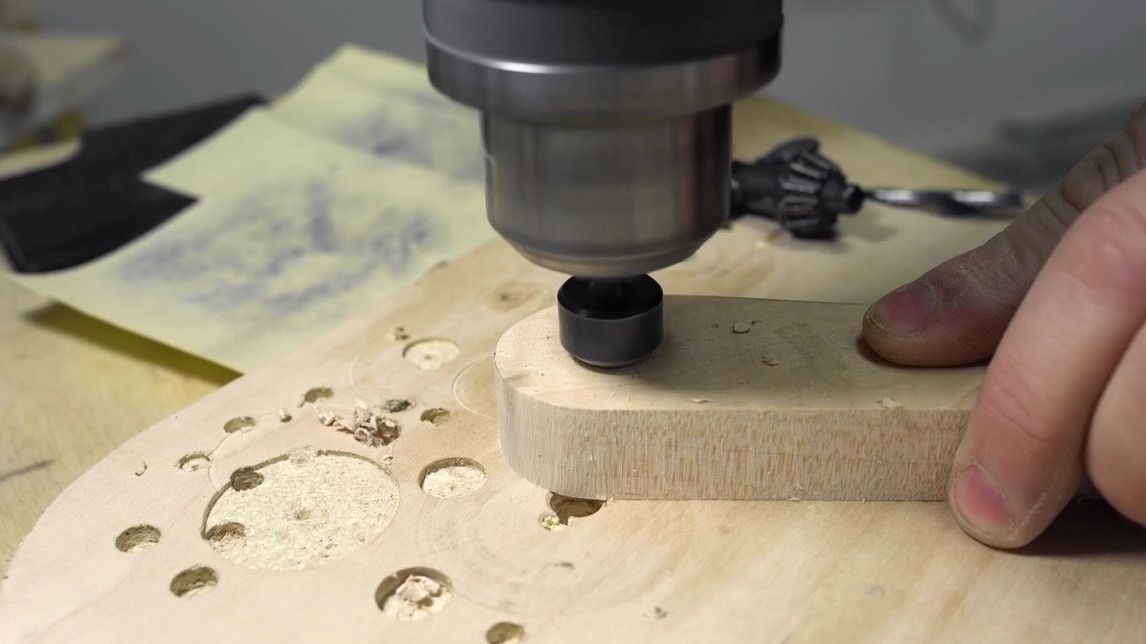
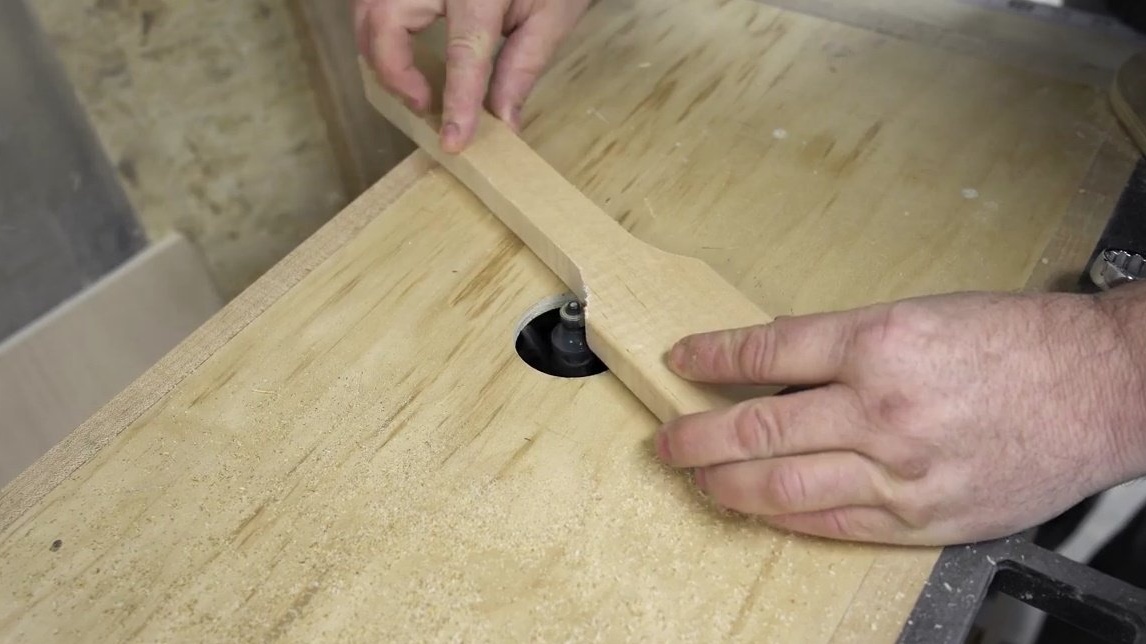
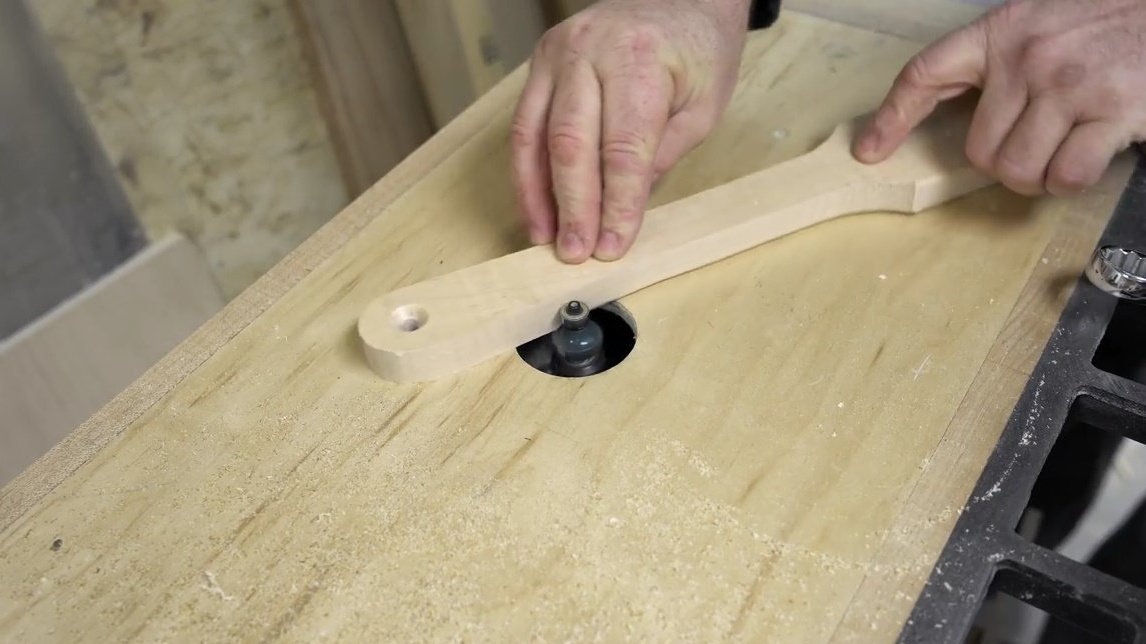
The edges of the handle are processed on a milling machine, giving them rounded edges.
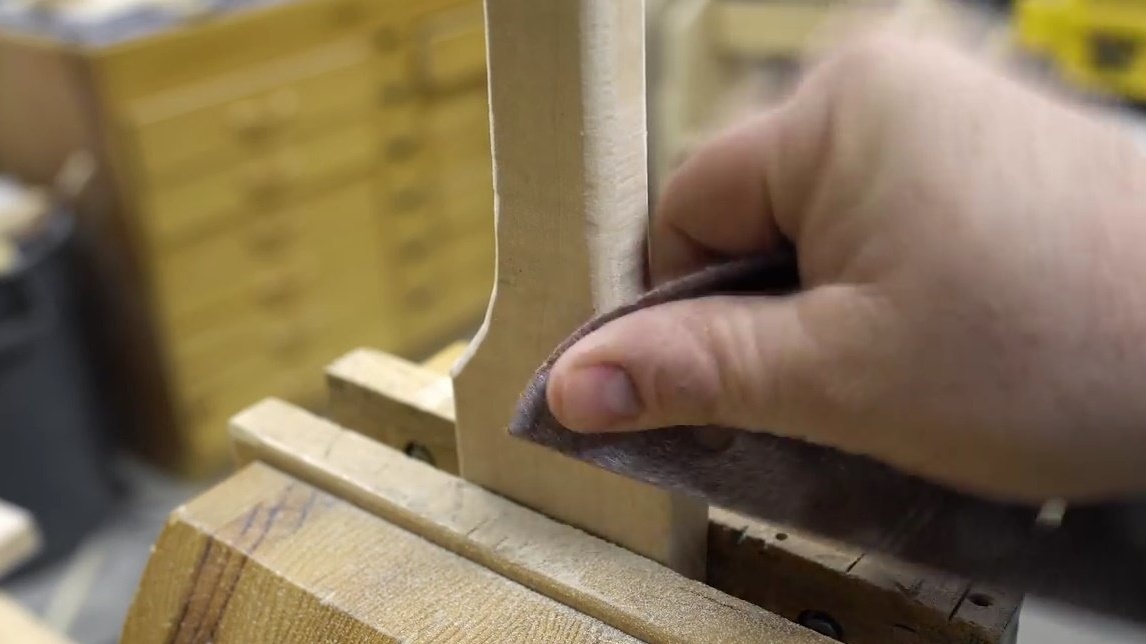
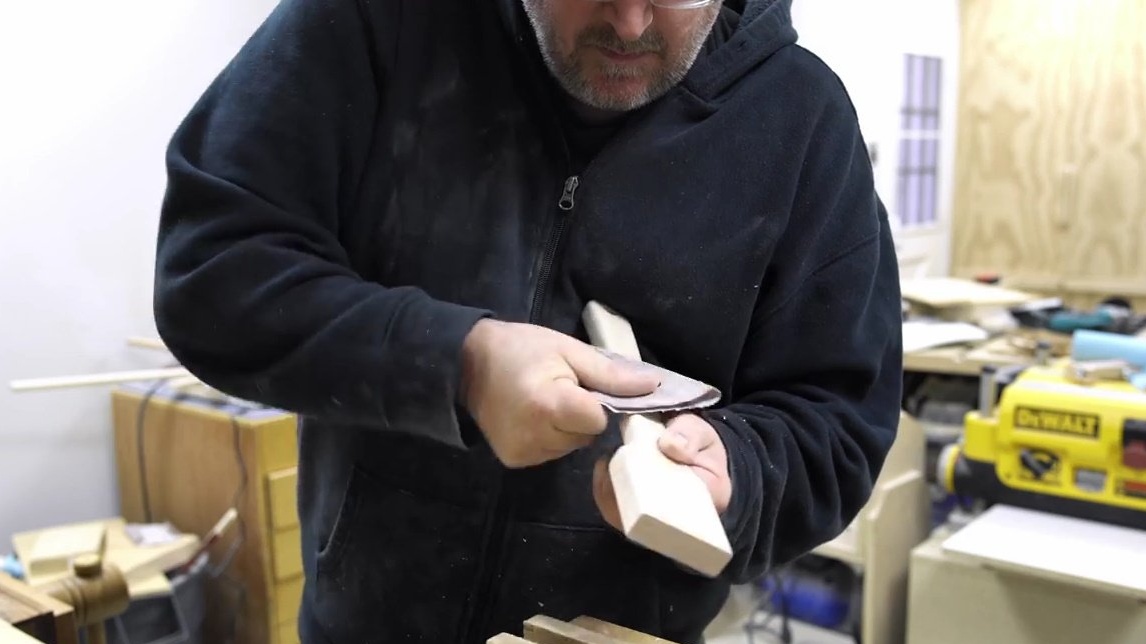
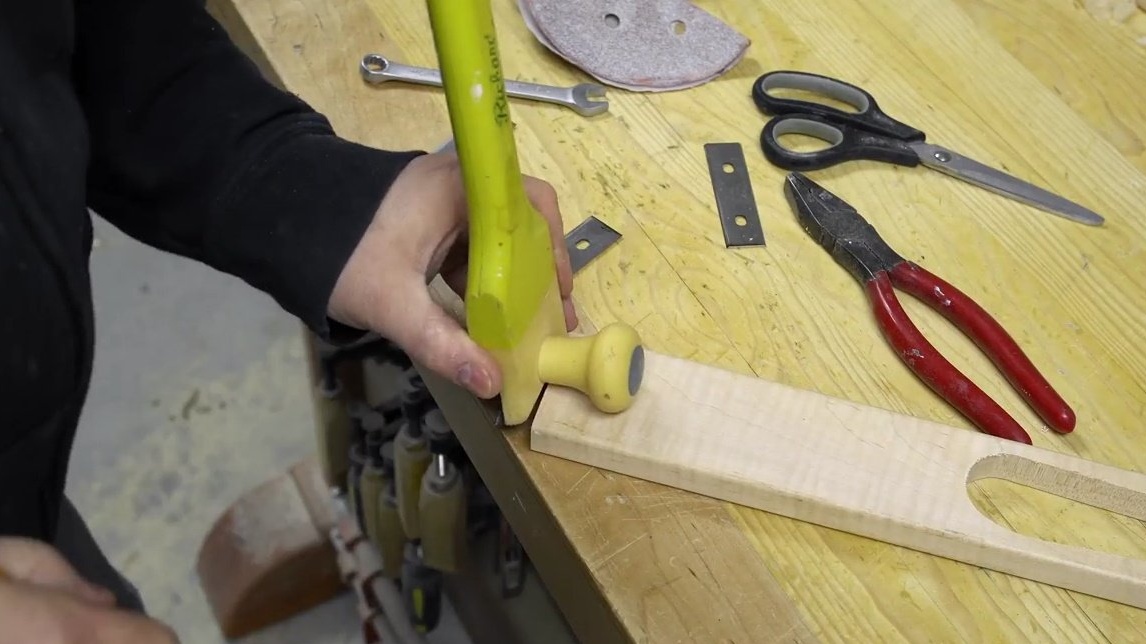
Clamps the workpiece in a vice, polishes with a strip of sandpaper.
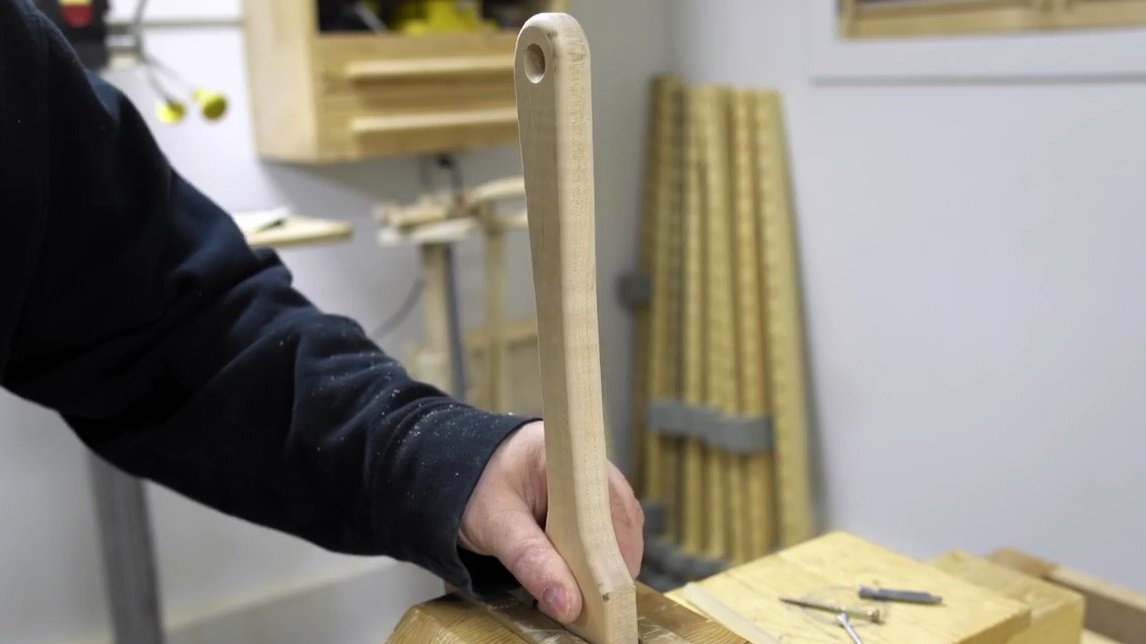
Minor fillets and flaws are eliminated by trimming sandpaper. Now the handle is ready, sanded and smoothed.
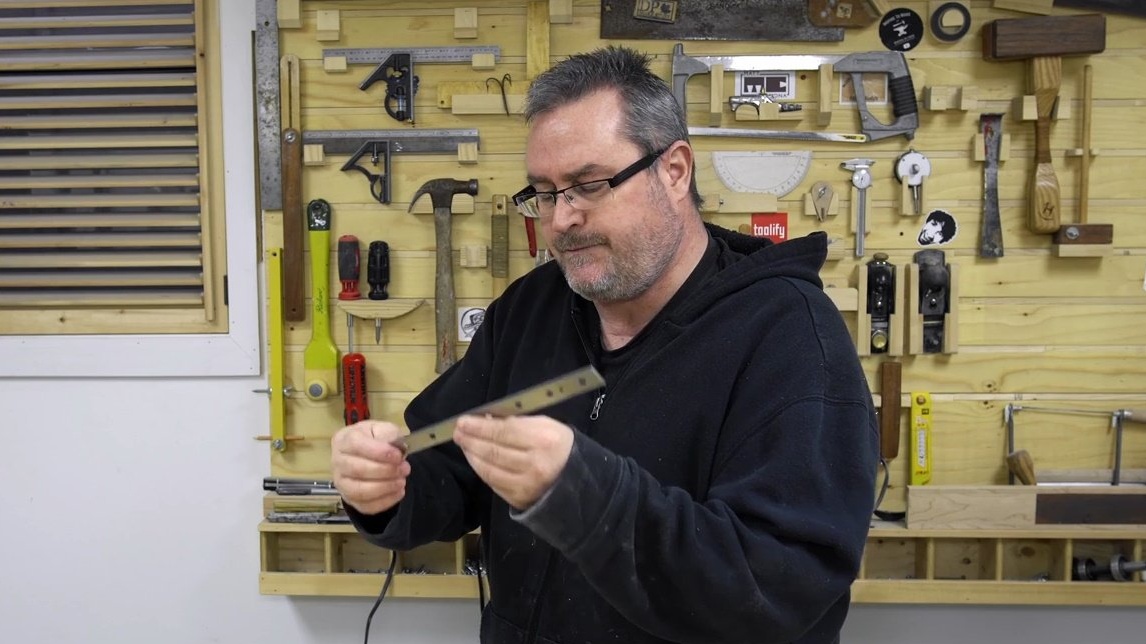
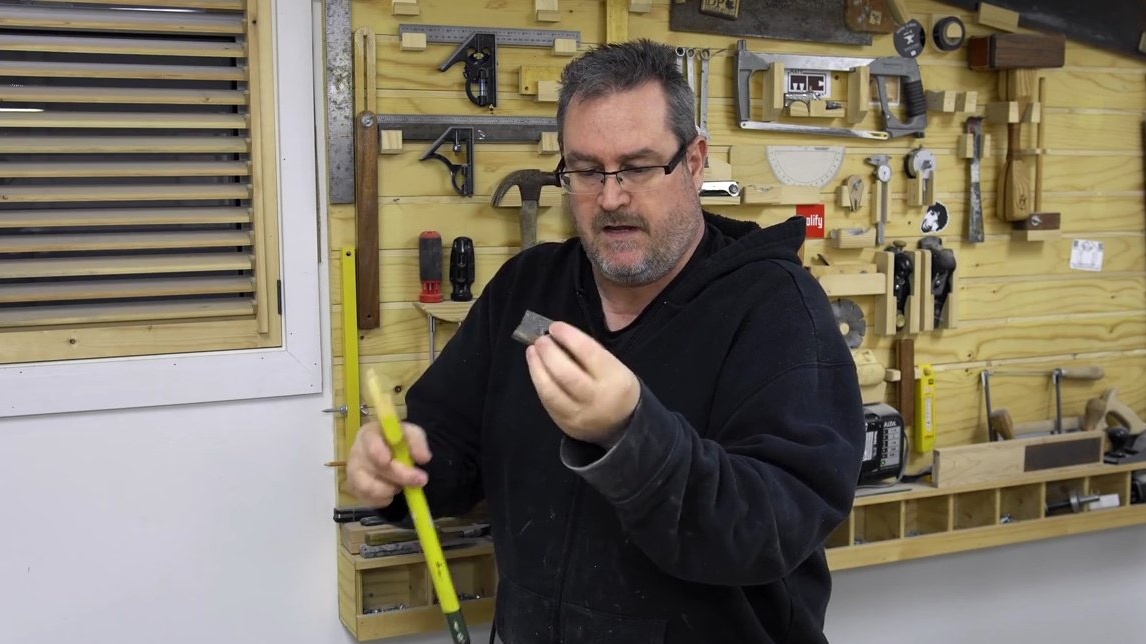
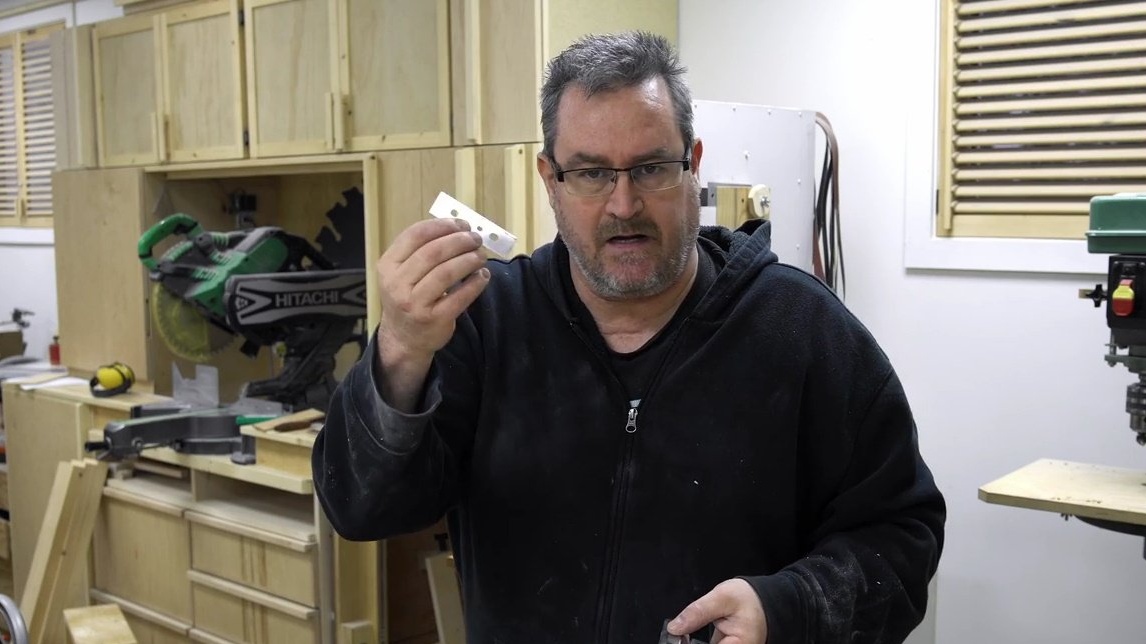
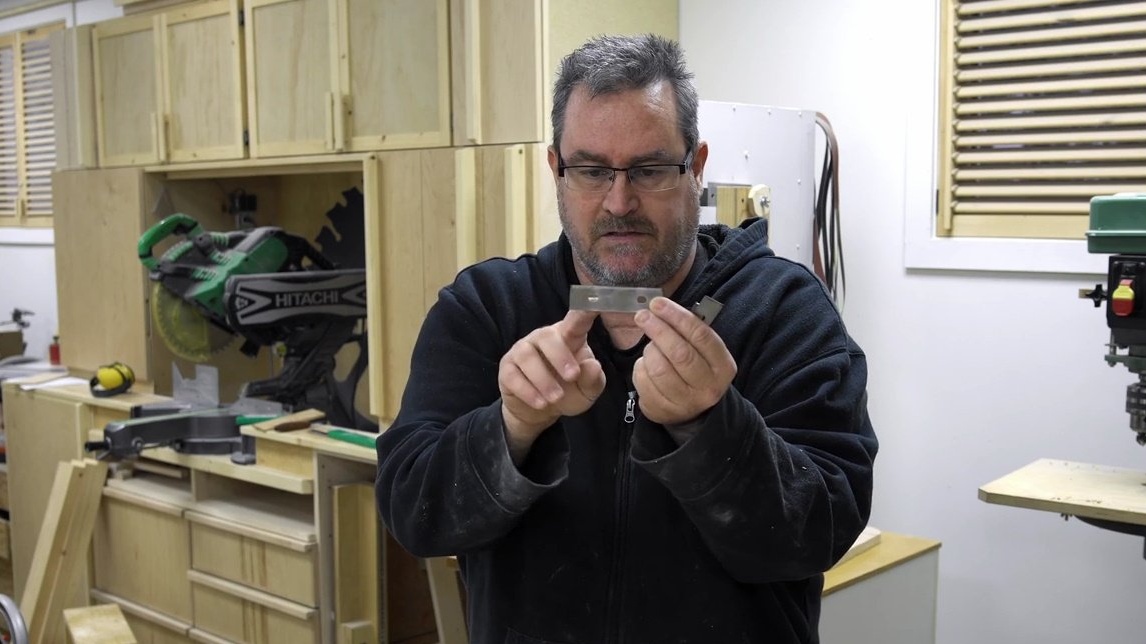
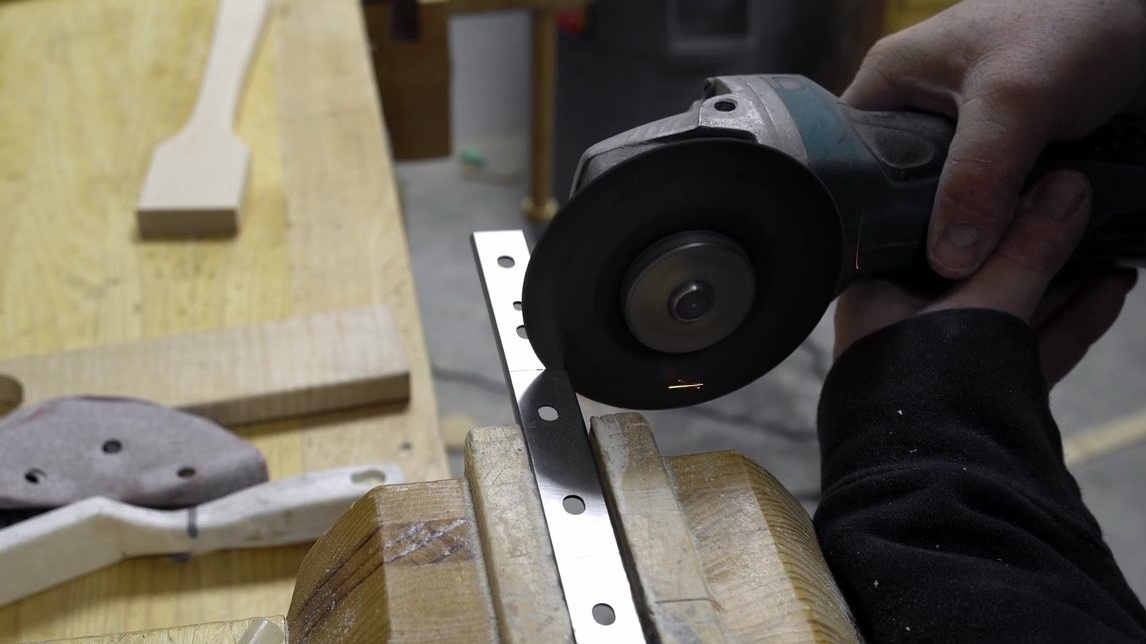
The master himself cuts the blade into 4 equal parts using a grinder with a cutting disc for metal. This was possible due to the fact that the holes in the blade are equally spaced from each other.
It would be very difficult to make such holes yourself, these are the characteristics of this steel. And these holes are needed to install the blade at the end of the scraper.

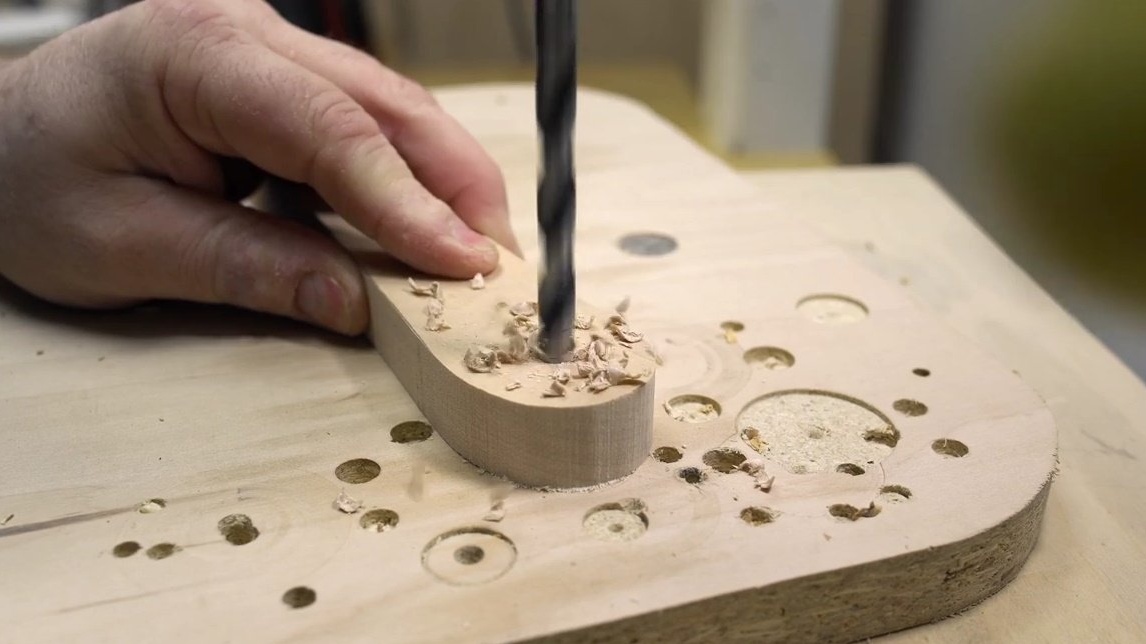
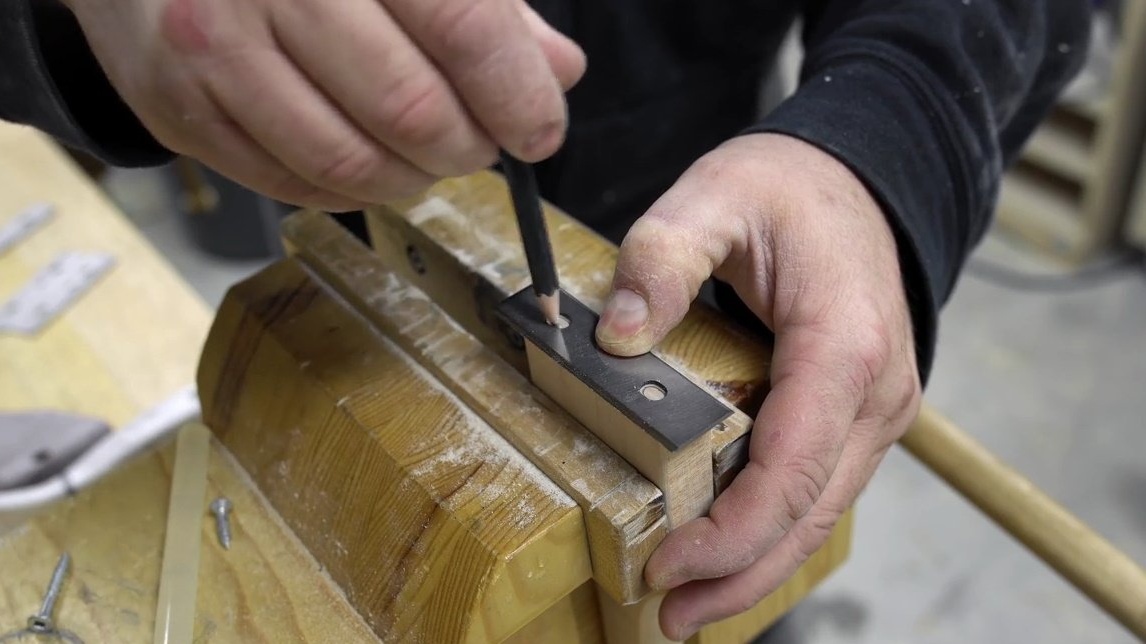
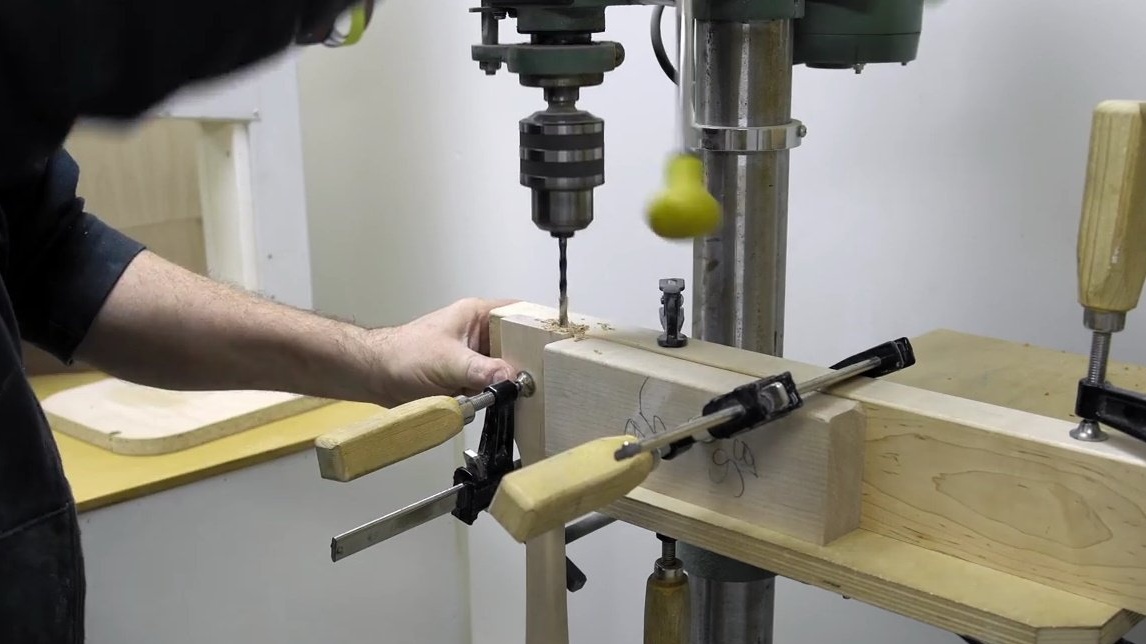
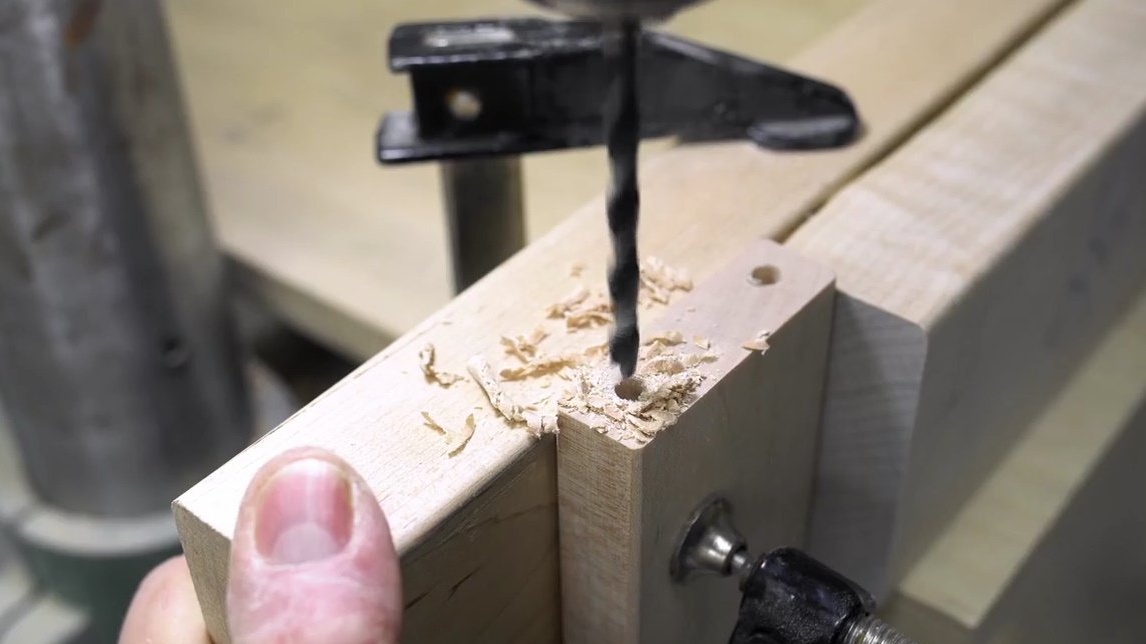
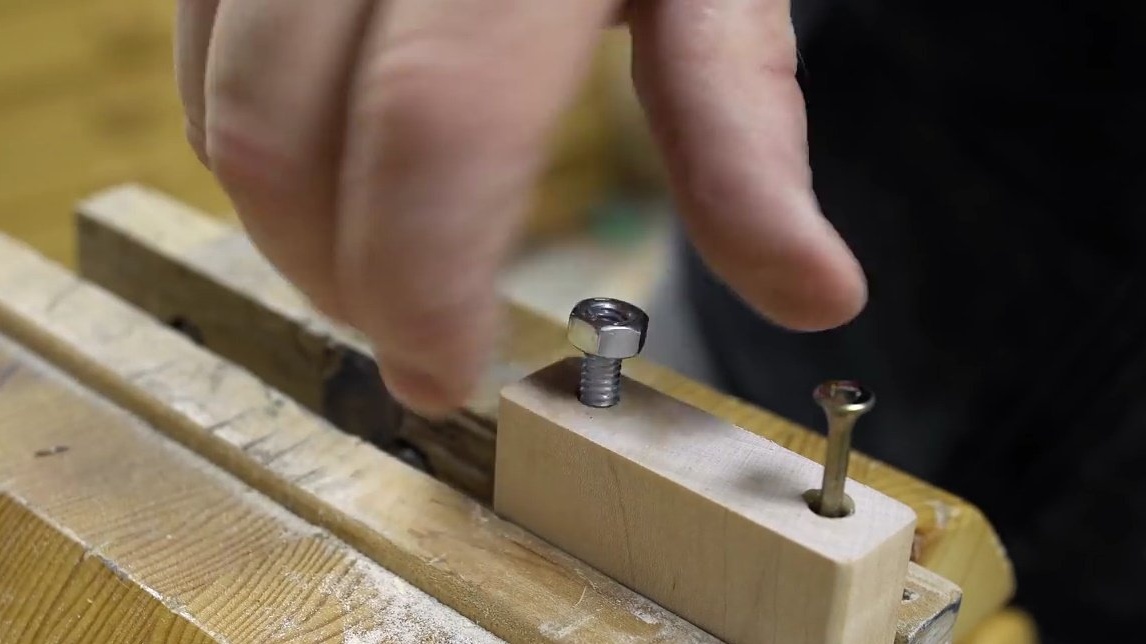
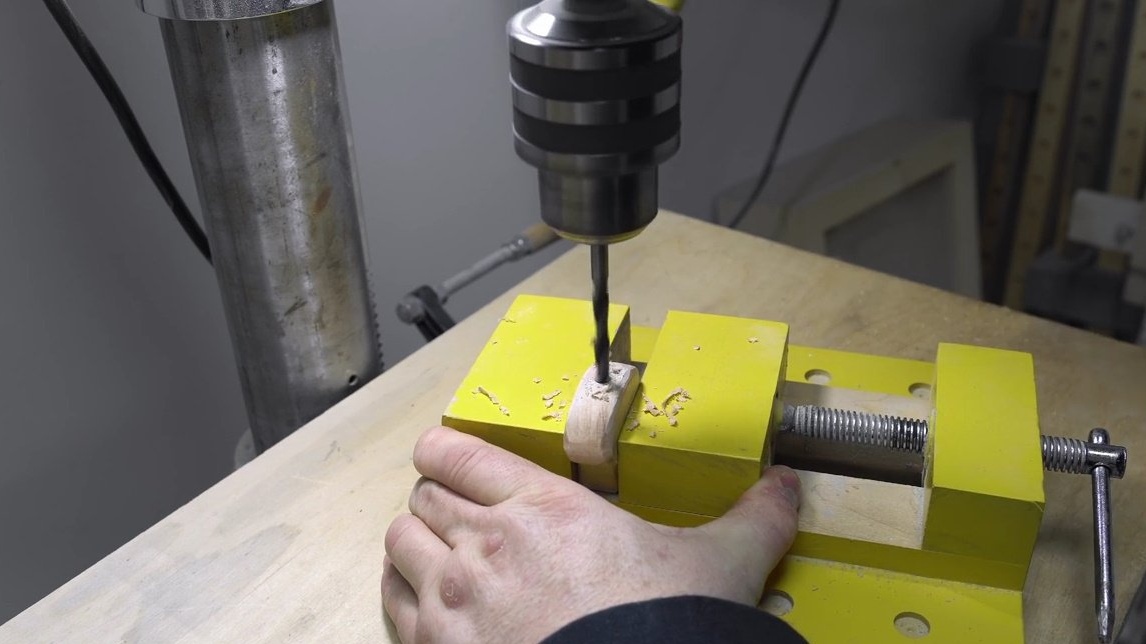
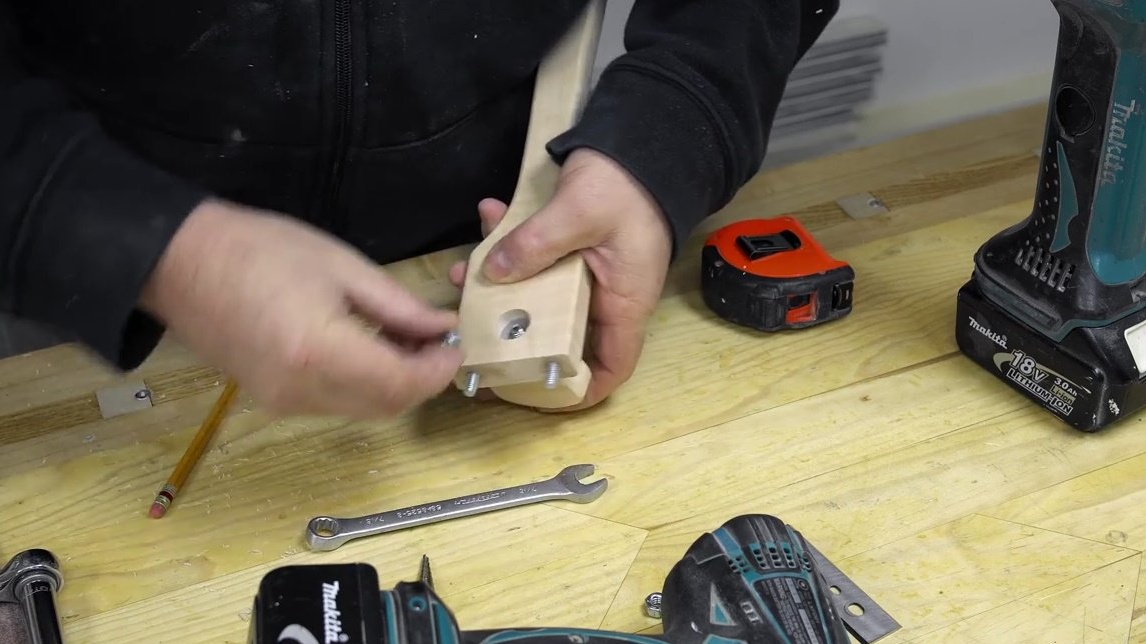
The author outlines the contour of the holes for the clamping bolts exactly in those places of the handle where they should be, and then drills them on a drilling machine. The workpiece should be placed strictly in an upright position, which will allow the drill to go exactly in the handle array.
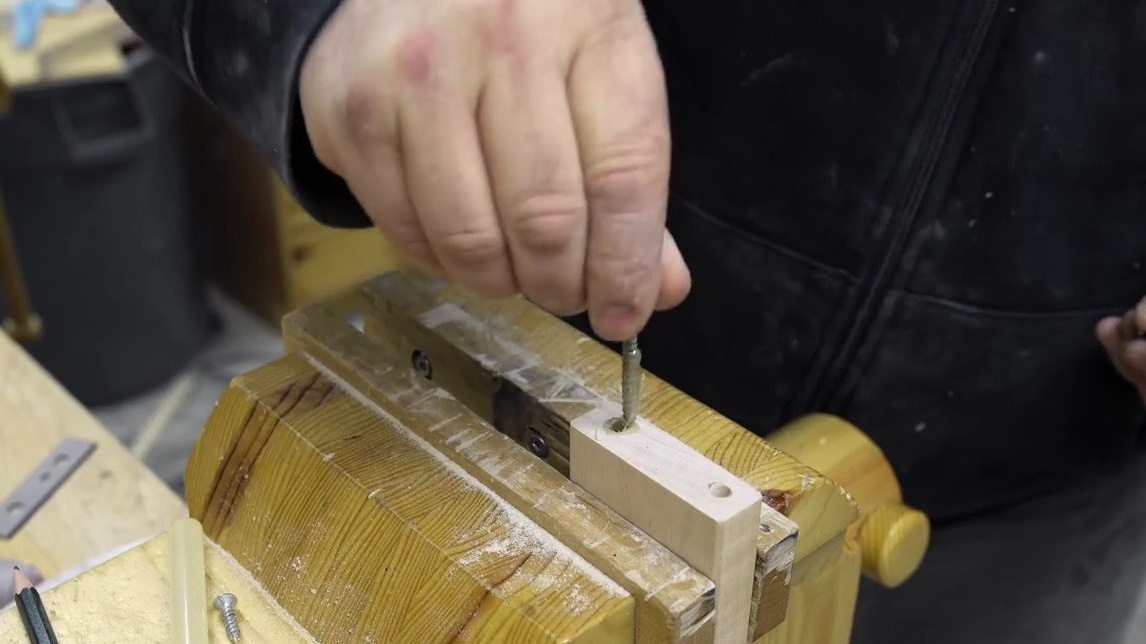
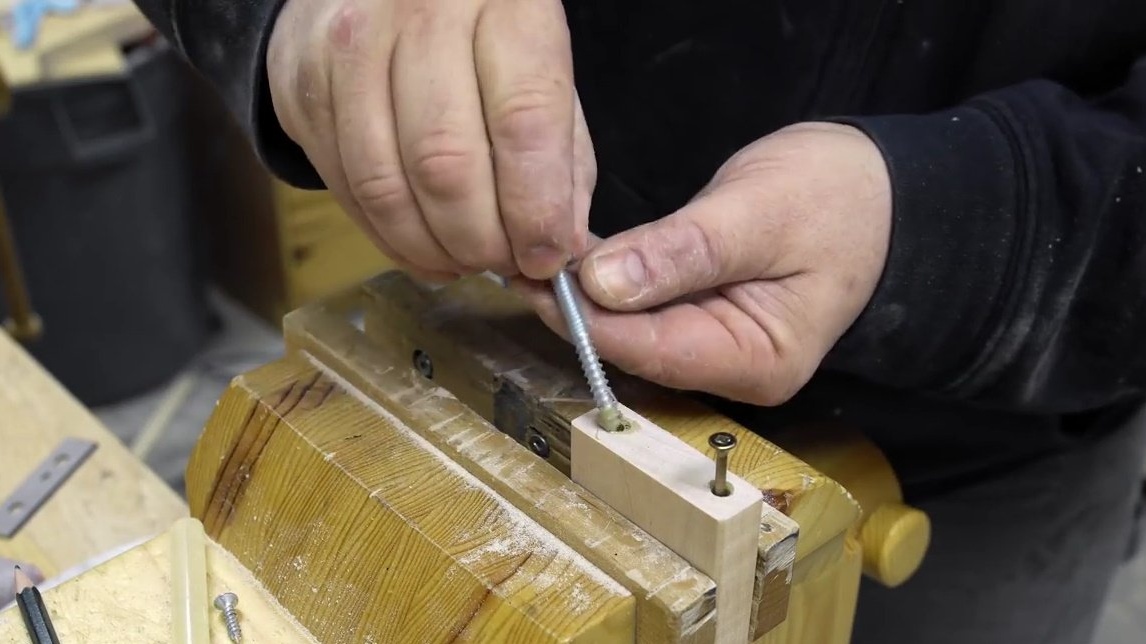
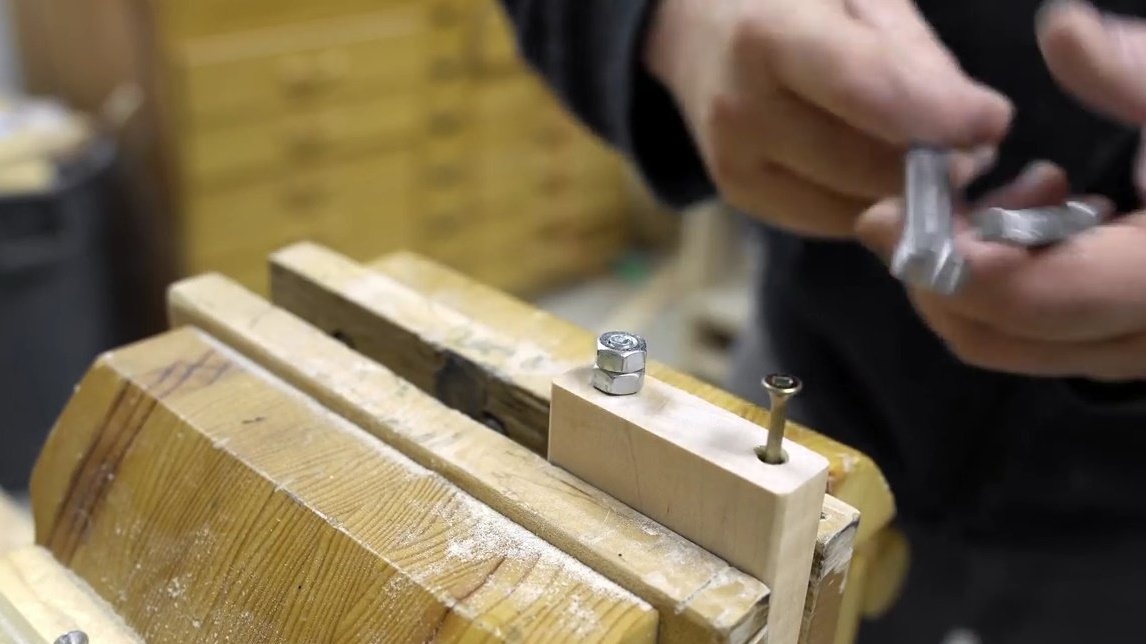
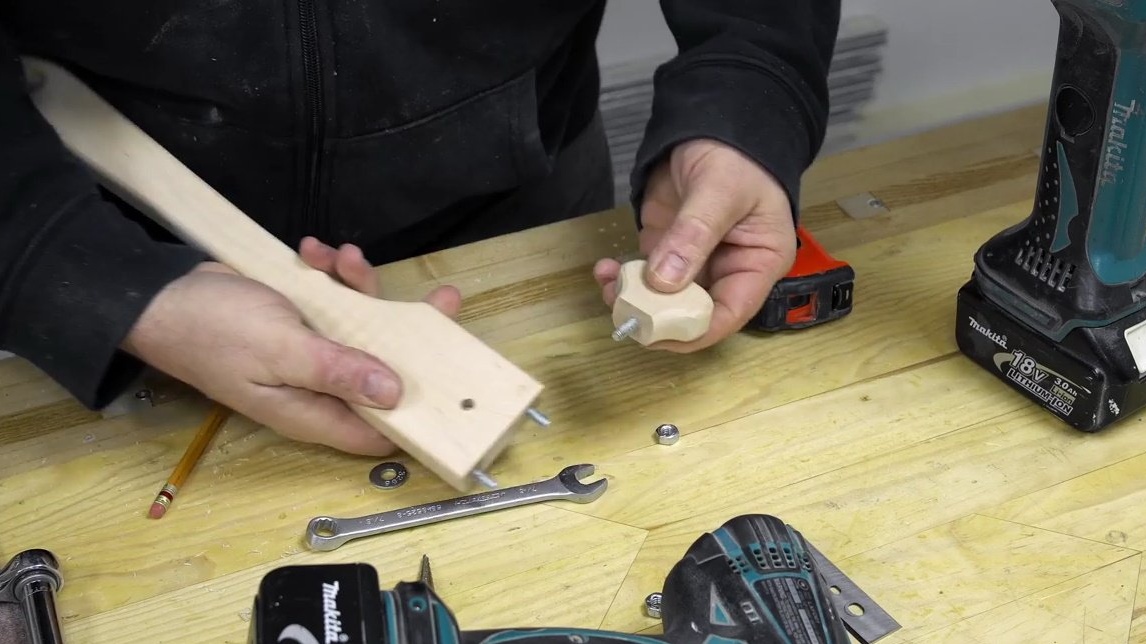
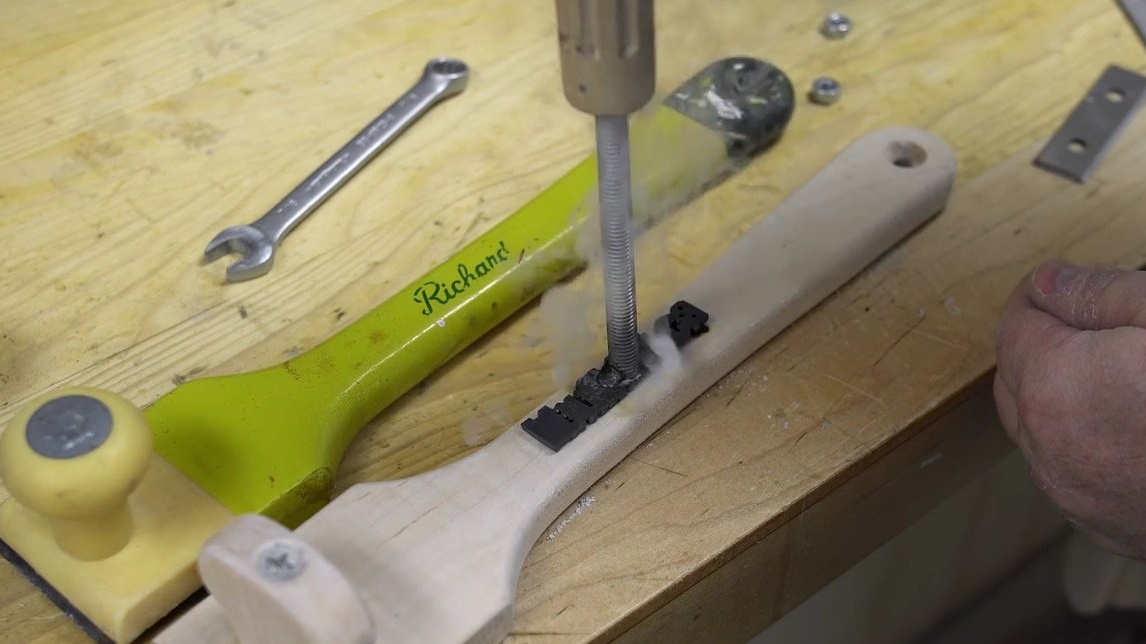
There are several ways to secure the blade to the holder so that they remain removable. Perhaps the worst option is ordinary wood screws. They wear out quickly and become loose. In this project, the author will use such quarter-inch studs with wood carvings, a quarter of an inch (M6), which he glues into the holes.
The author also uses "liquid nails", lubricates them with threads on bolts. So they are much easier to screw in. In addition, this will provide the bolts with a secure fit.
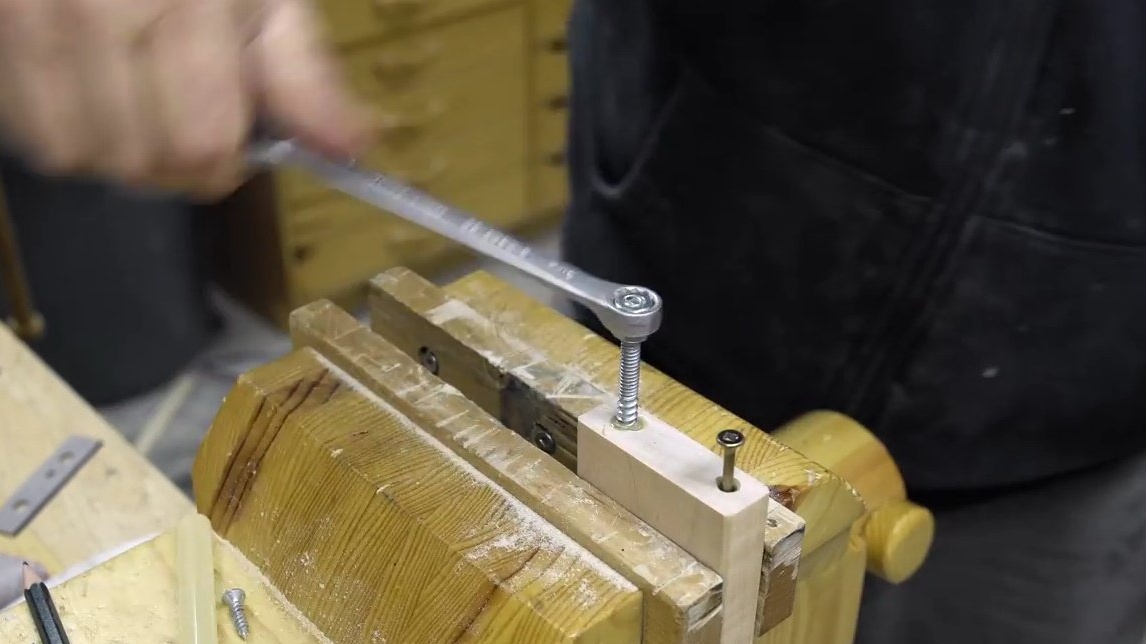
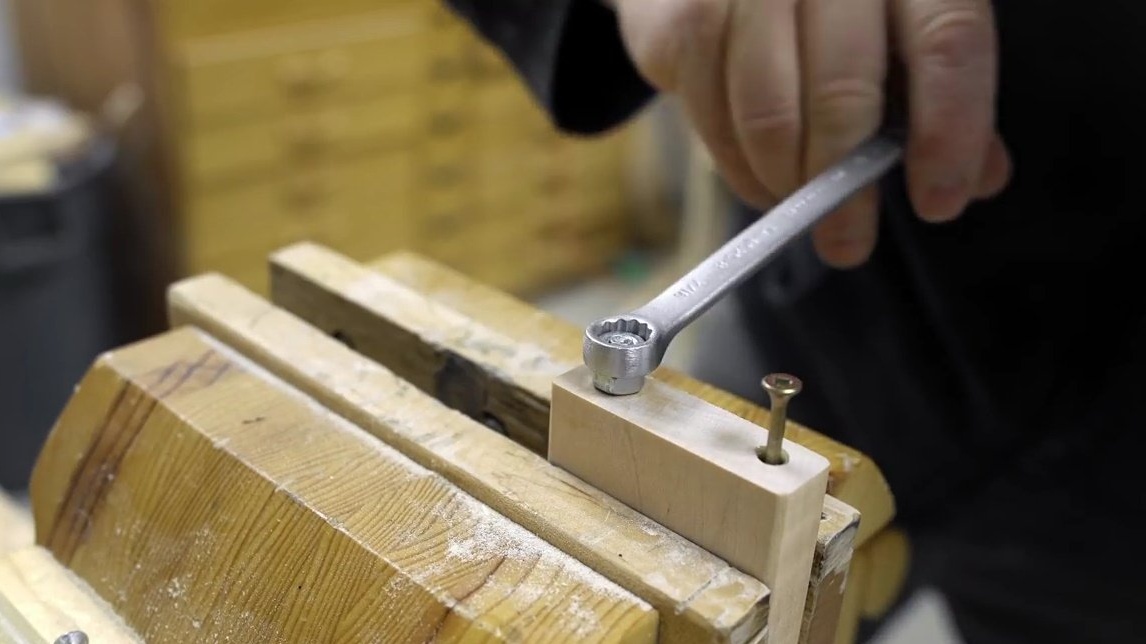
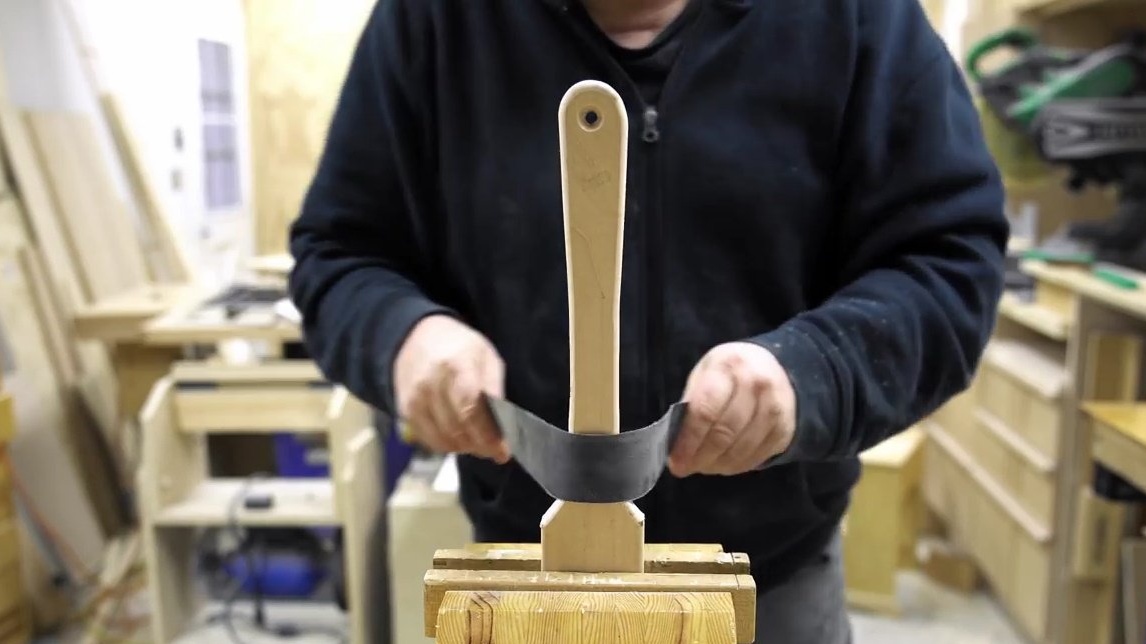
Having screwed the studs, sets the blade and fixes it with nuts.
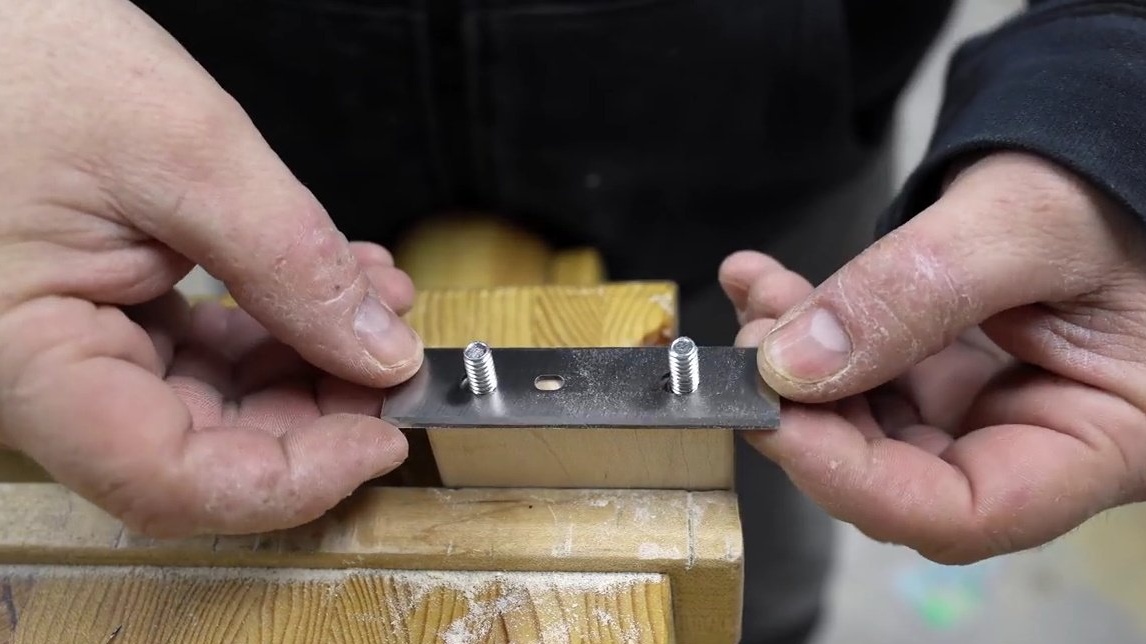
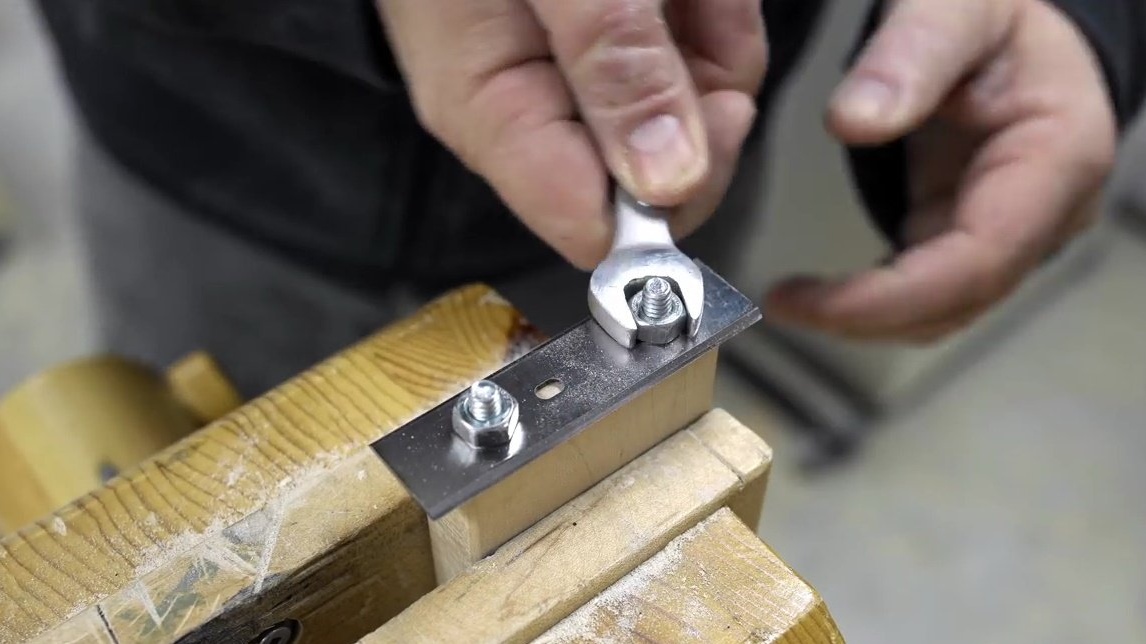
The blade cuts perfectly! Even with a slight pressure on the tool.
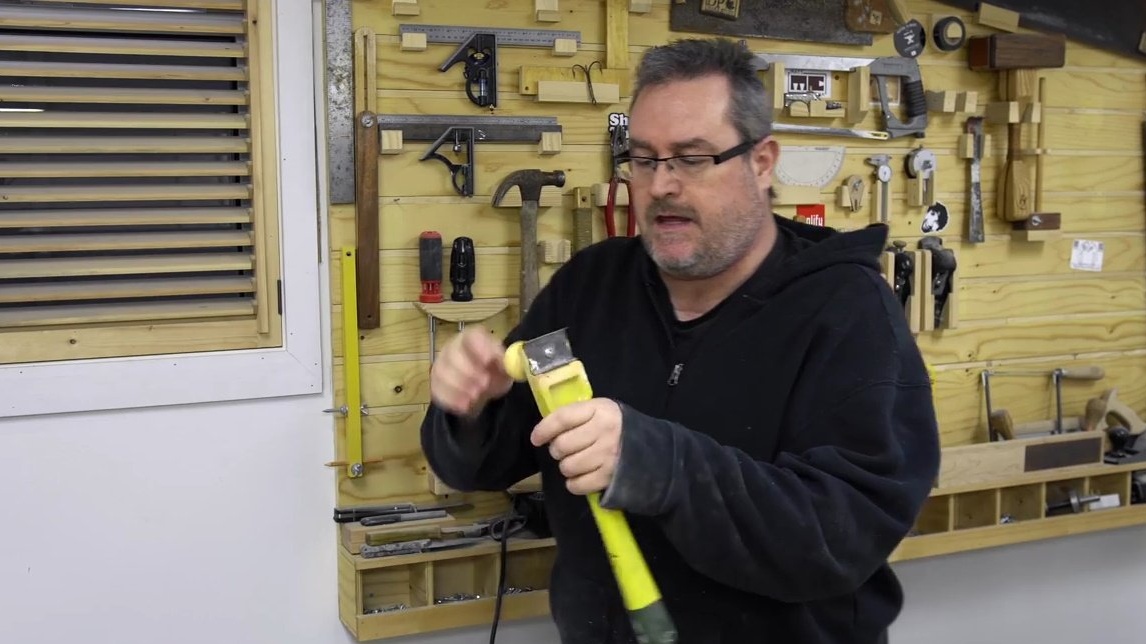
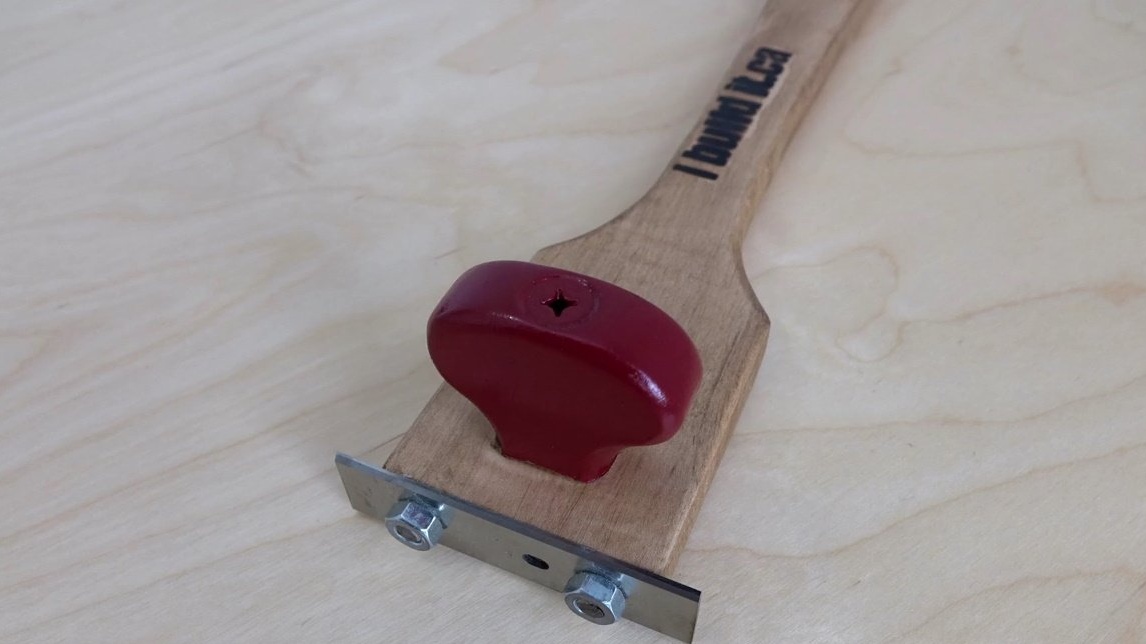
But John still wants to attach this pen for convenience. He takes a piece of the board from which the base of the scraper was previously carved. Yes, by the way, the trim is like a tuning fork.
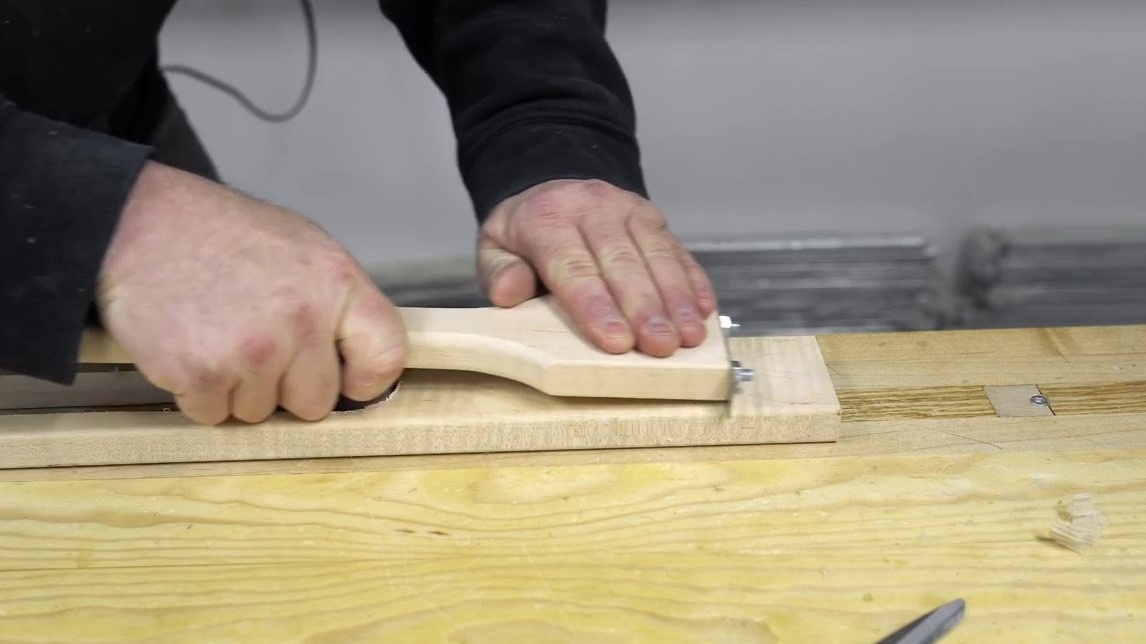
Its handle will be flatter than the original, but wider. So he compensates for its volume. Marks the blank for the handle, cuts out on a band saw.
The author cleans the edges on an orbital sander.

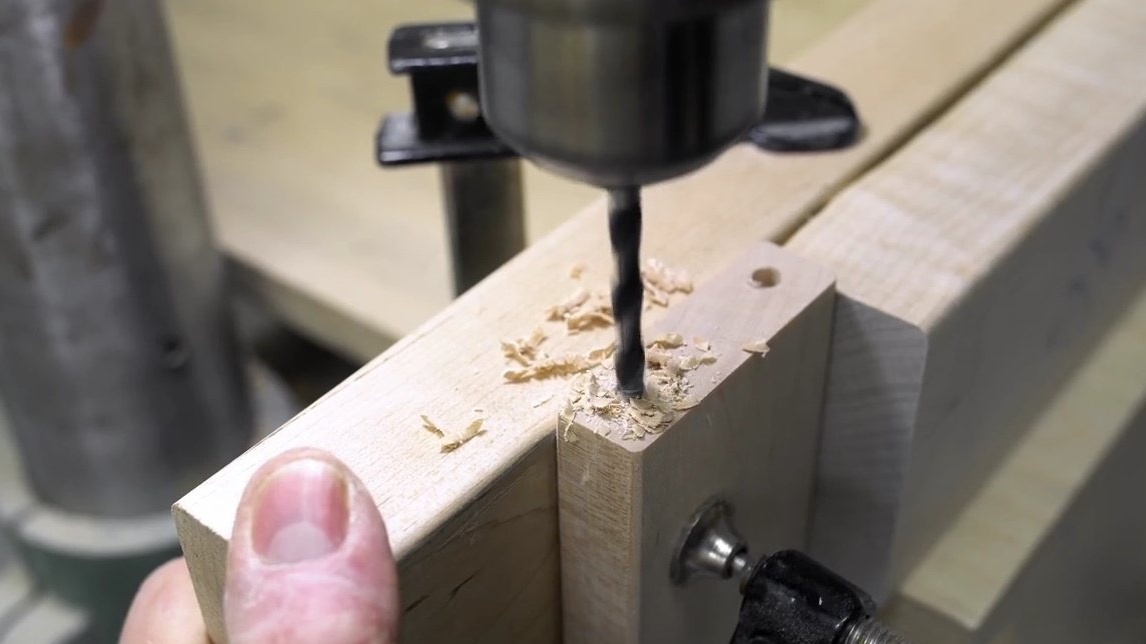
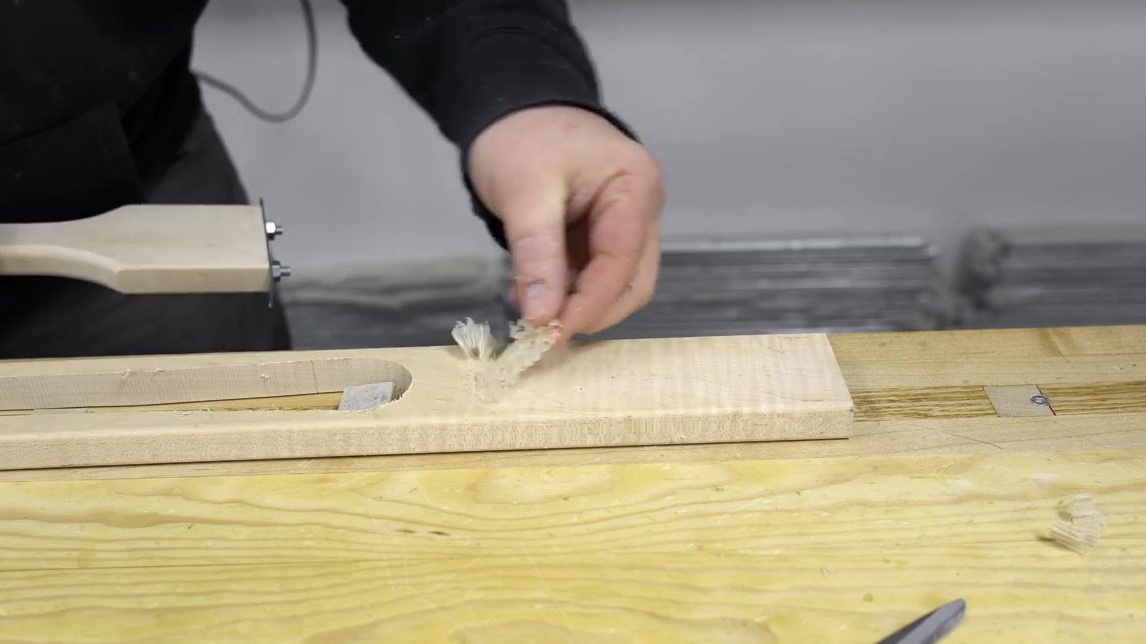
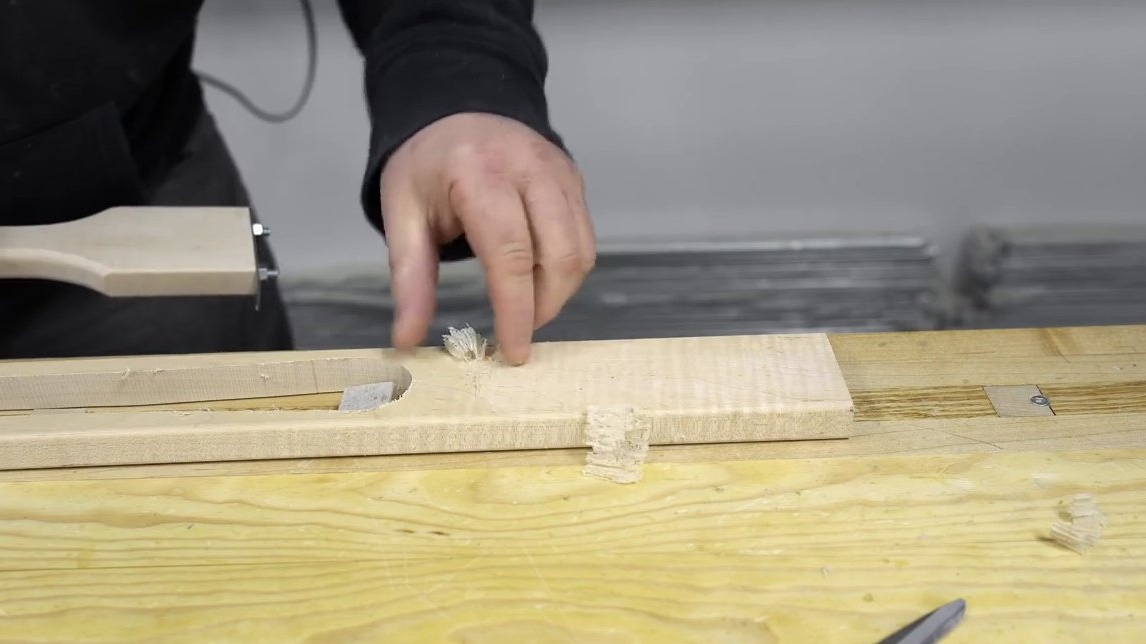
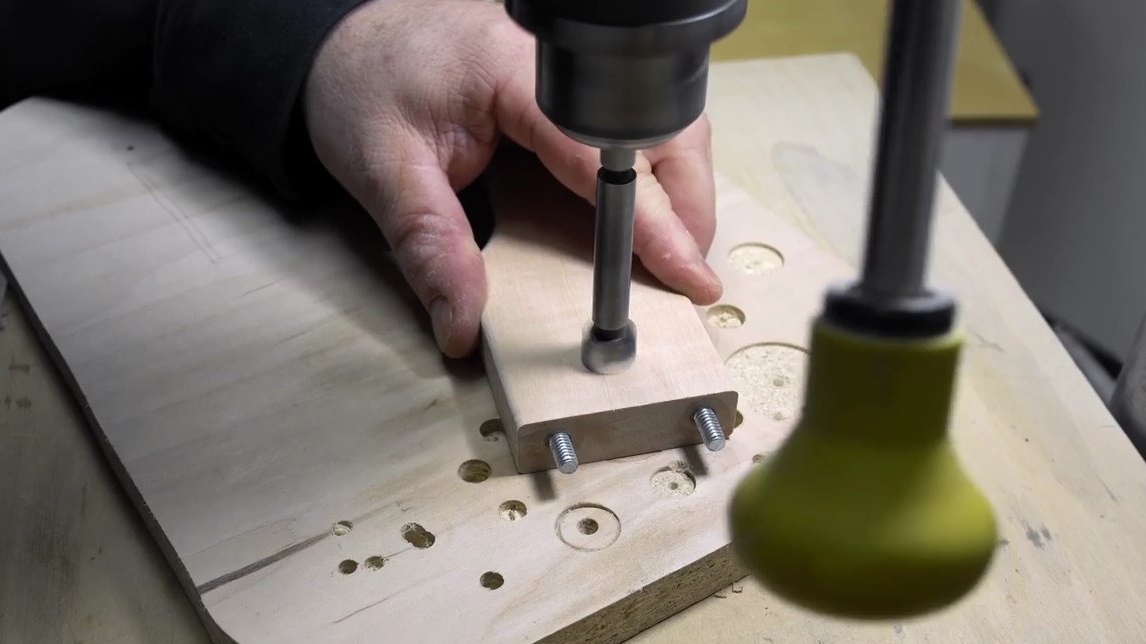
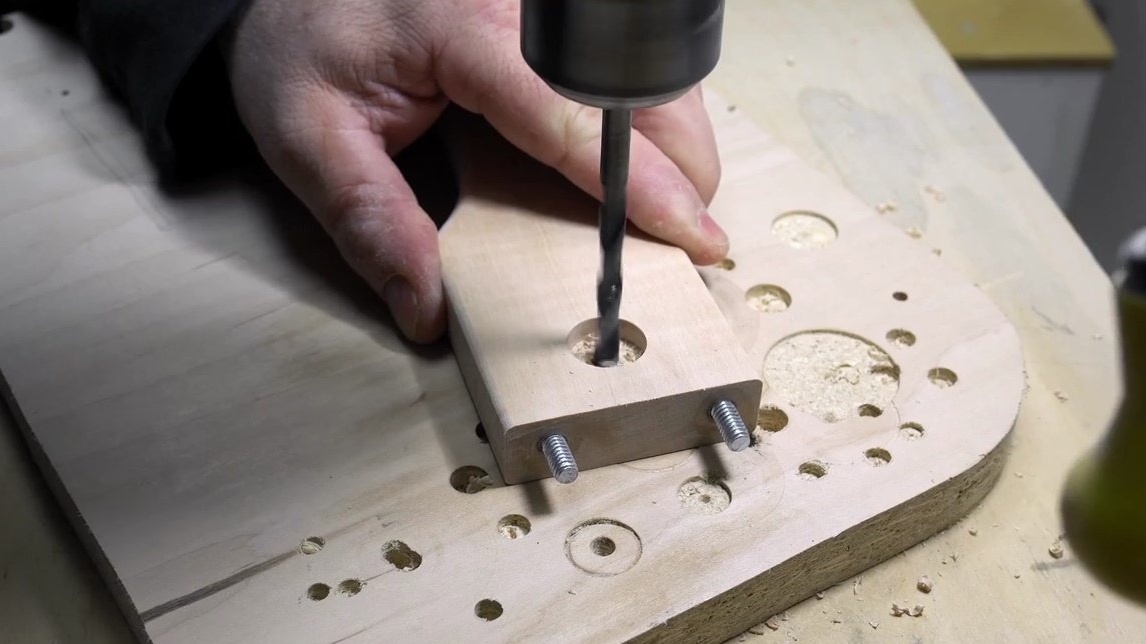
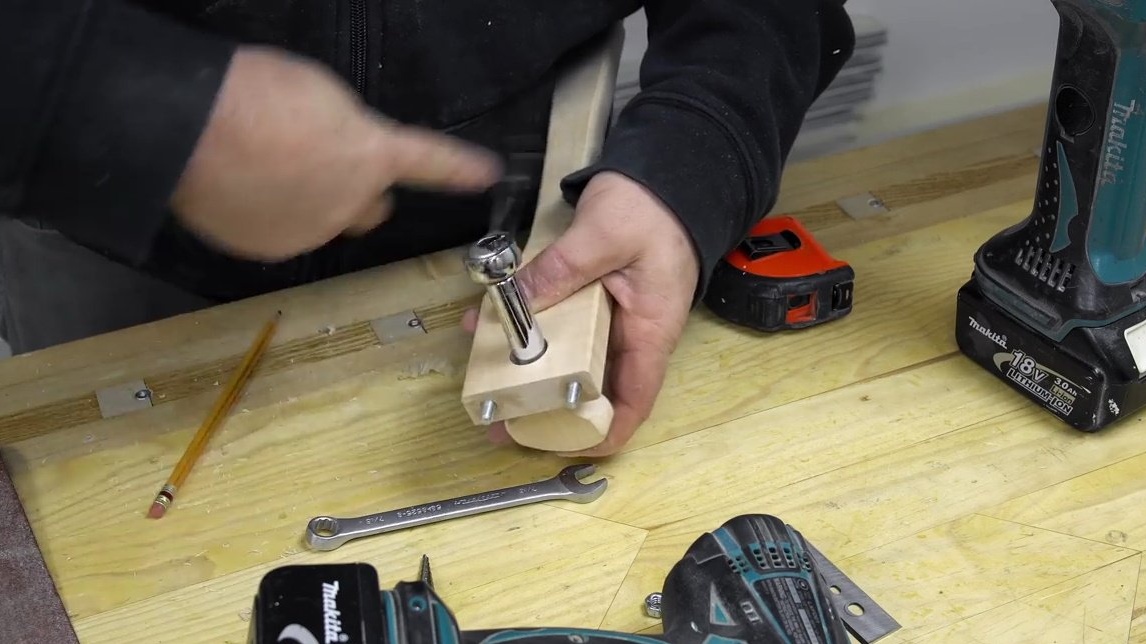
Now he is drilling a hole for the bolt, which must go through the handle, then go through the handle of the scraper. On the back of the scraper, he countersinks the hole for the nut with a Forstner drill, which will turn out to be quite large, and will need to be deepened. And then it drills the bolt hole itself.
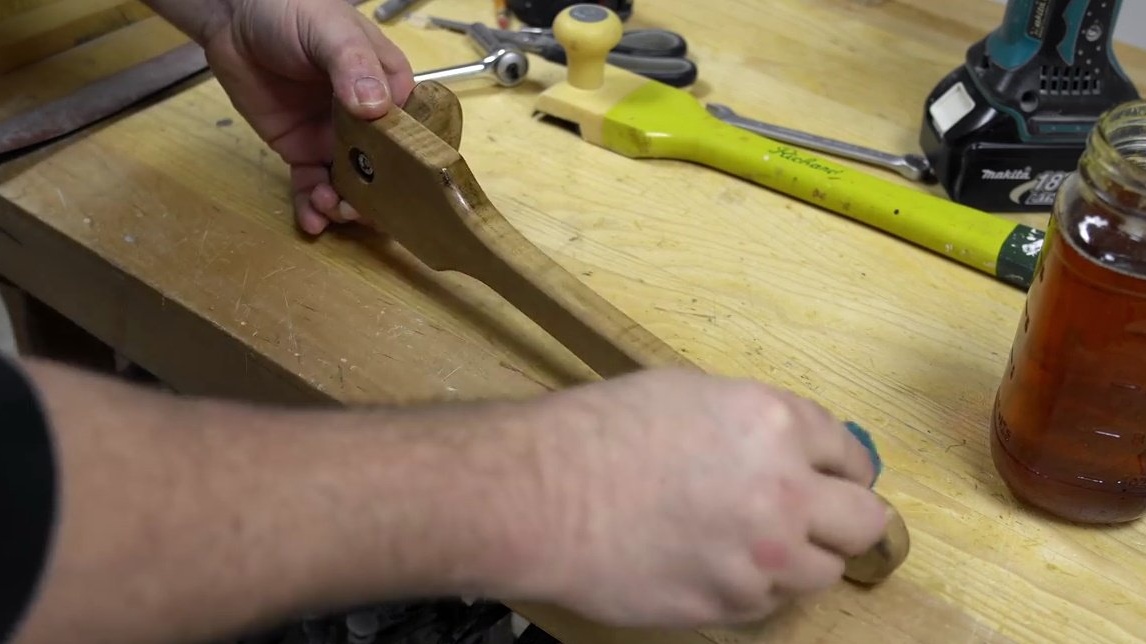
He again resorts to building glue and sits a bolt and nut on it. Now she does not come off.
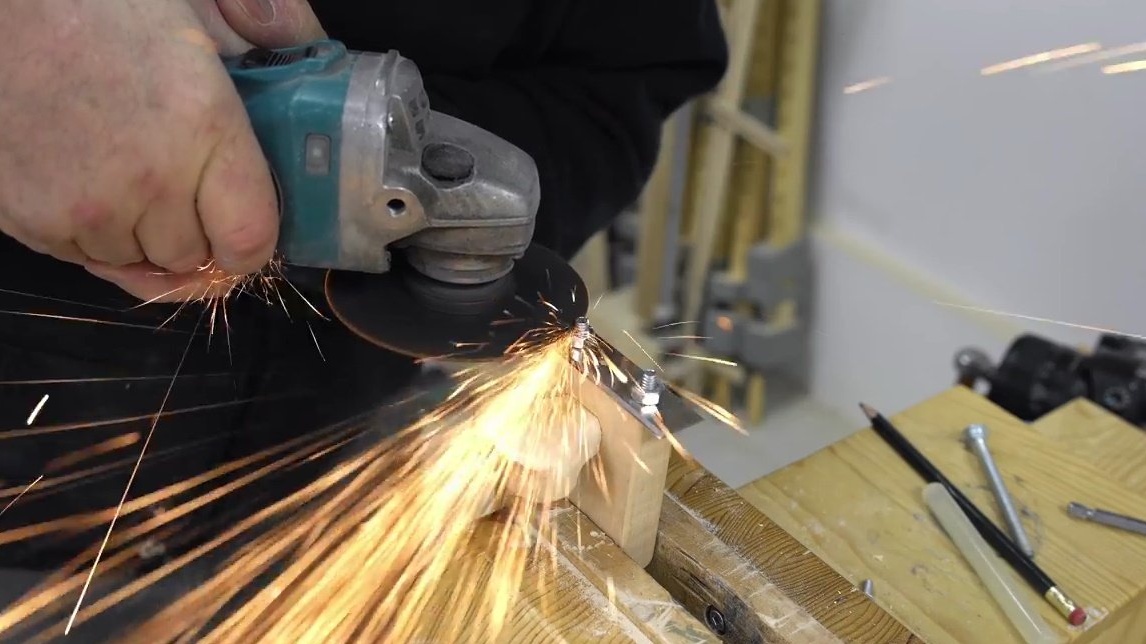
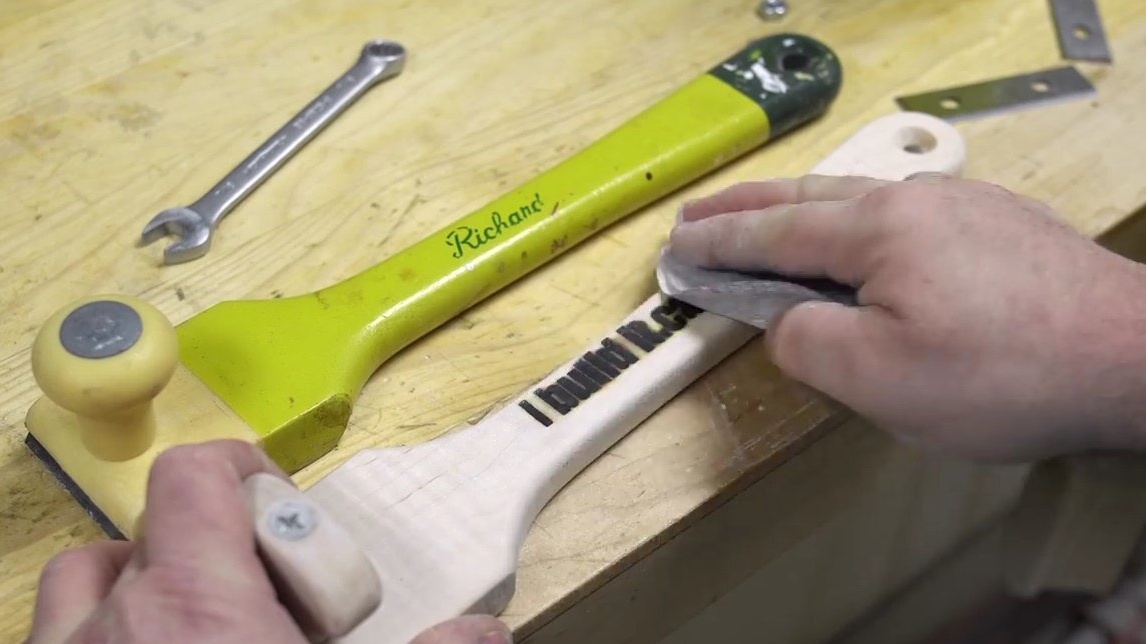
Trim the mounting bolts along the length of the grinder.
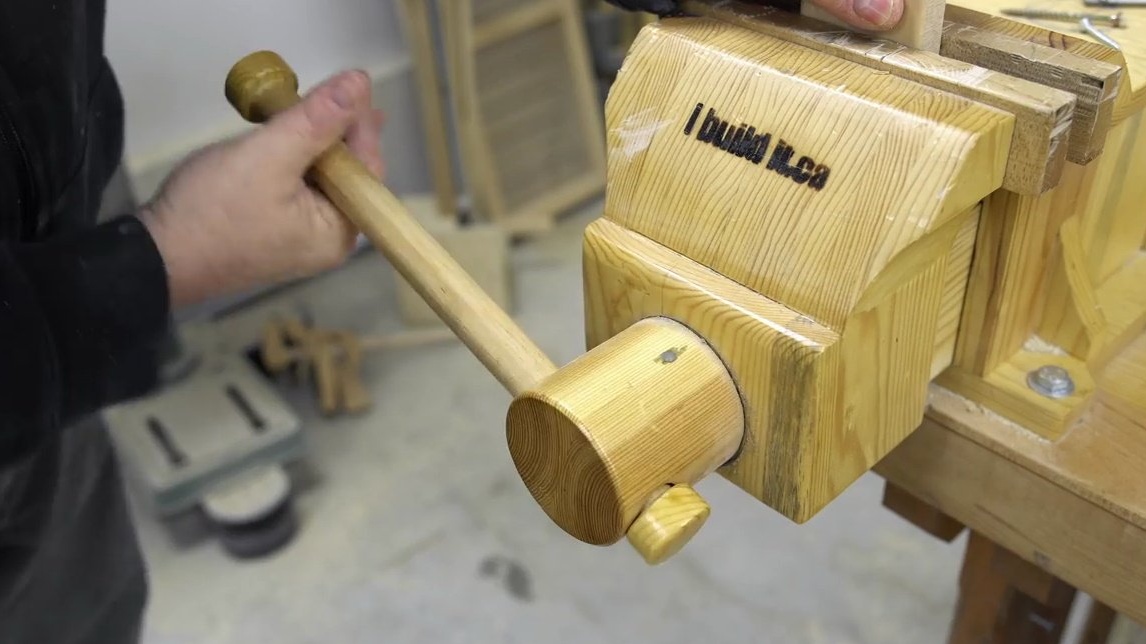
Then puts his signature stamp.
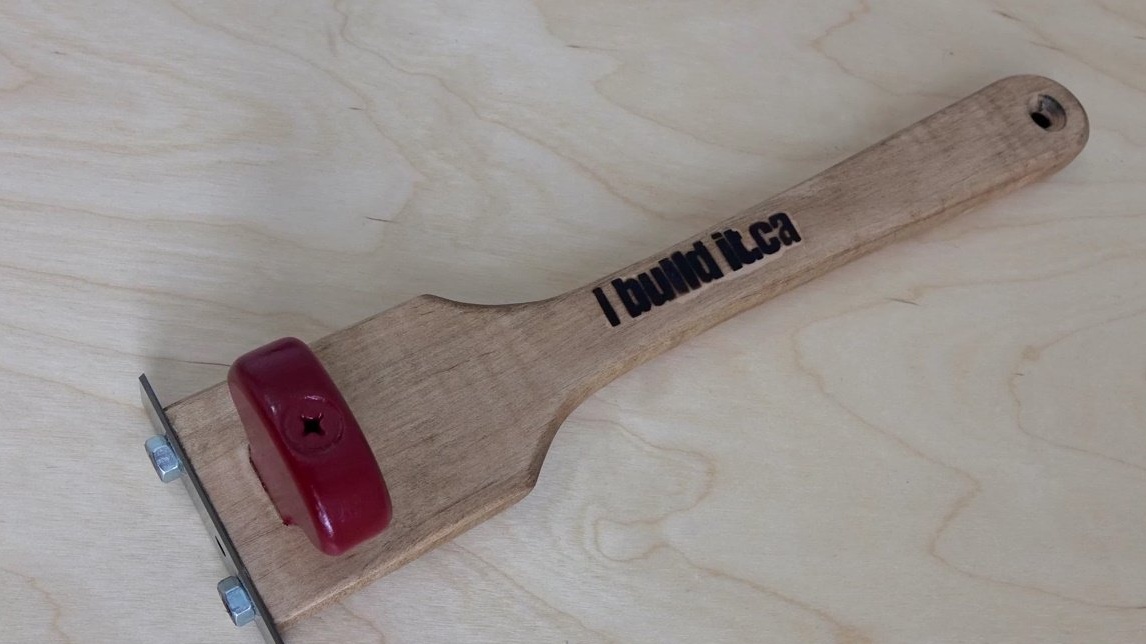
In the end, the author covers his product with a stain, and then with two layers of linseed oil to protect the wood from moisture and pests. And the pen opens with paint - so it looks more solid!
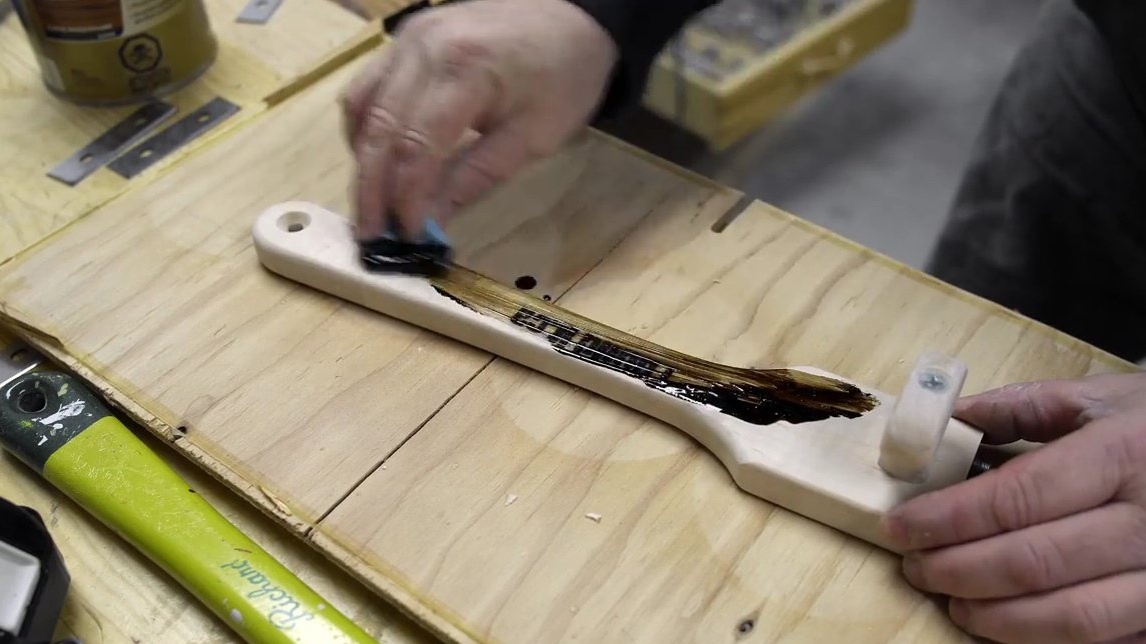
Here is the finished view of the scraper.

Thanks to John for the master class!
All good mood and successful homemade!