

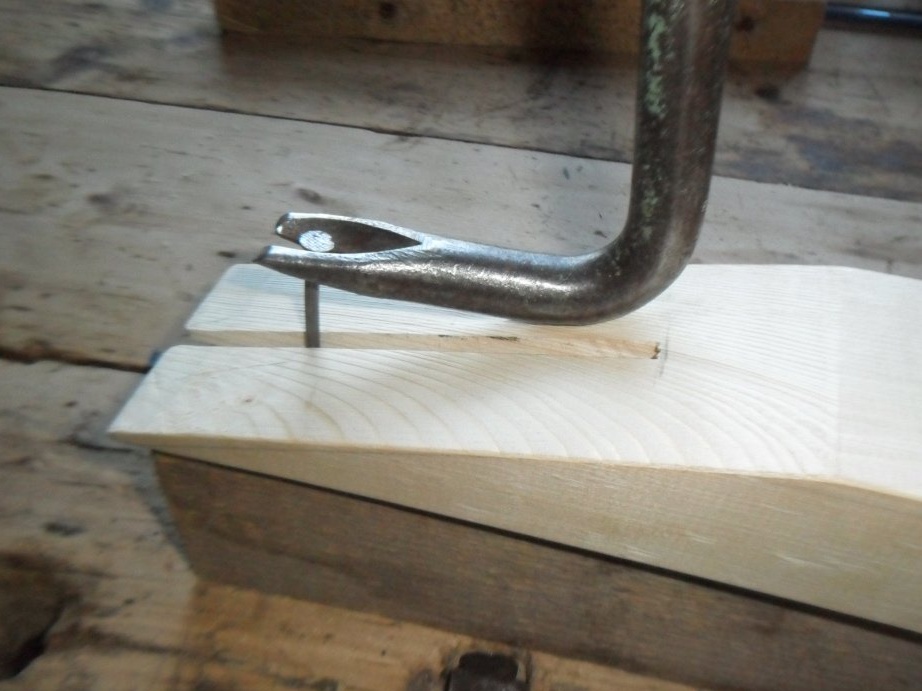
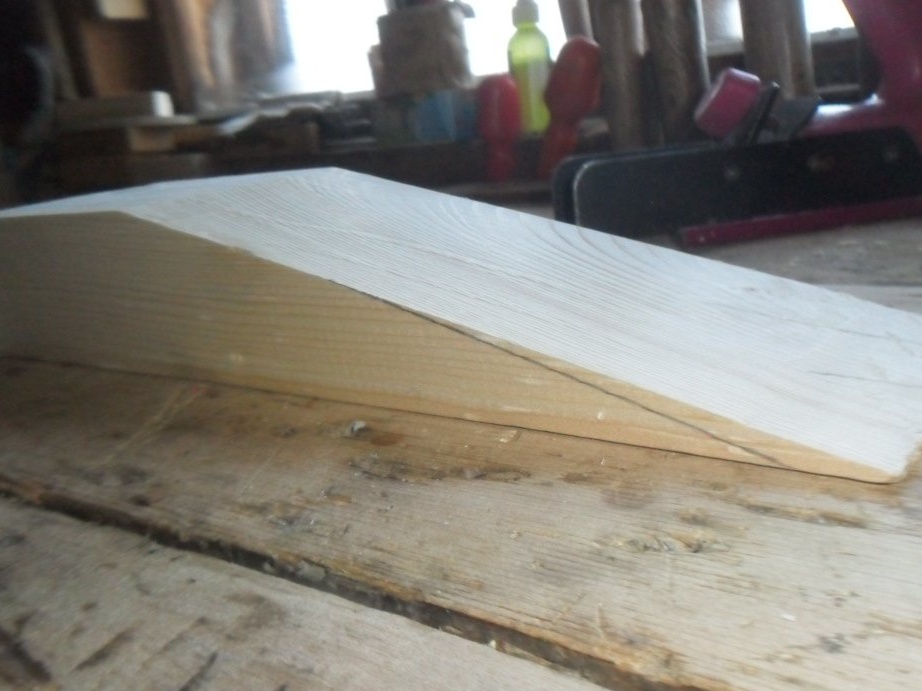
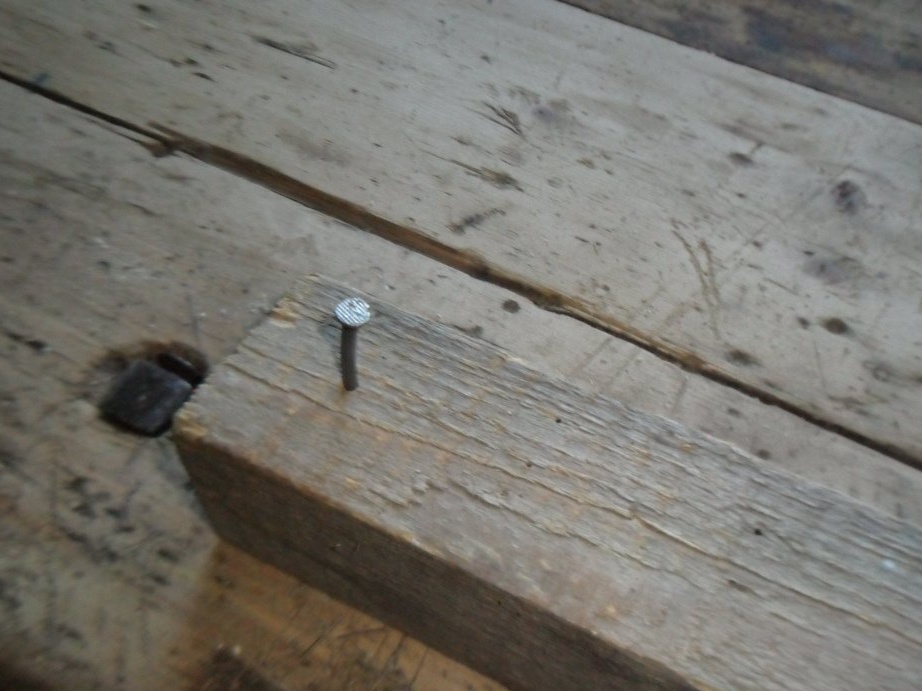
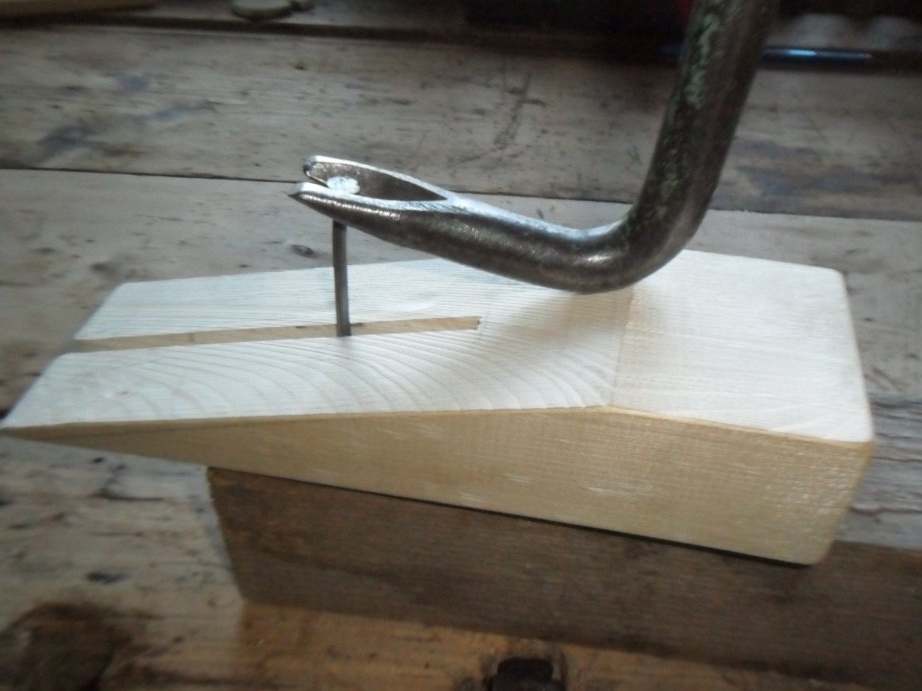
When pulling nails from a tree, you often have to put something under the working surface of the nail clipper: a bar, plywood, a hammer and other hard materials. But they can easily help, provided that the nail is not too big. Pulling out long nails, a person is faced with certain inconveniences. In order not to experience great difficulties when working with a nail gun, it is proposed to use a wedge-shaped stand with a slit for the free passage of the nail. In such a device, the position of the nail clipper depends on the height of the metal product being pulled out: the larger it is, the nail is located deeper in the slot of the wooden support, and the nail clipper is farther from the pointed beginning of the wedge.
In the work I needed the following tools and materials:
Instruments:
1) a pencil;
2) a ruler;
3) a hacksaw for wood;
4) manual planer;
5) sandpaper;
6) planer-planer;
7) bench vise;
8) ax;
9) a square;
10) nail clipper.
Materials:
1) bar 26 x 4.5 x 7 cm;
2) a nail (100 mm).
Manufacturing process:
Step 1. Planing a beam.
First you need to trim the beam on the machine from all sides. So that the planes are parallel, the beam can be guided by pressing it along the set square on the machine.


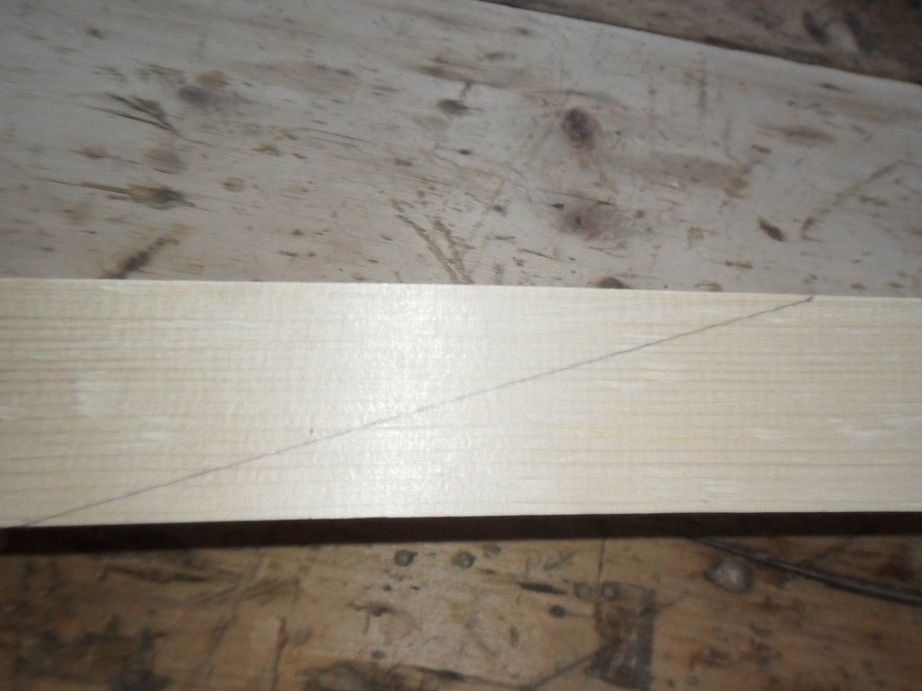
Step 2. Outlining the beam and rough processing of the plane.
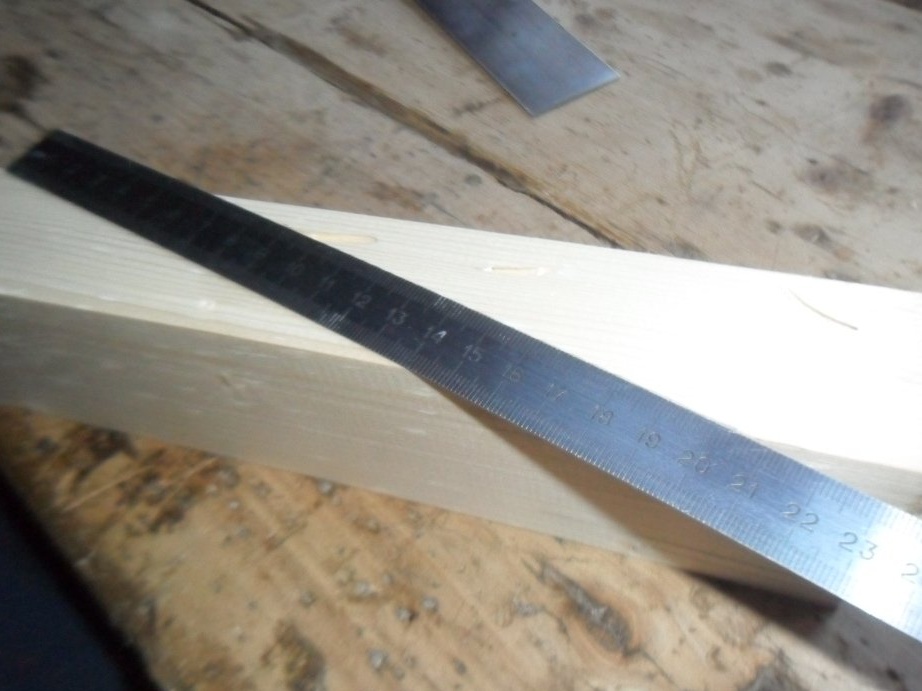
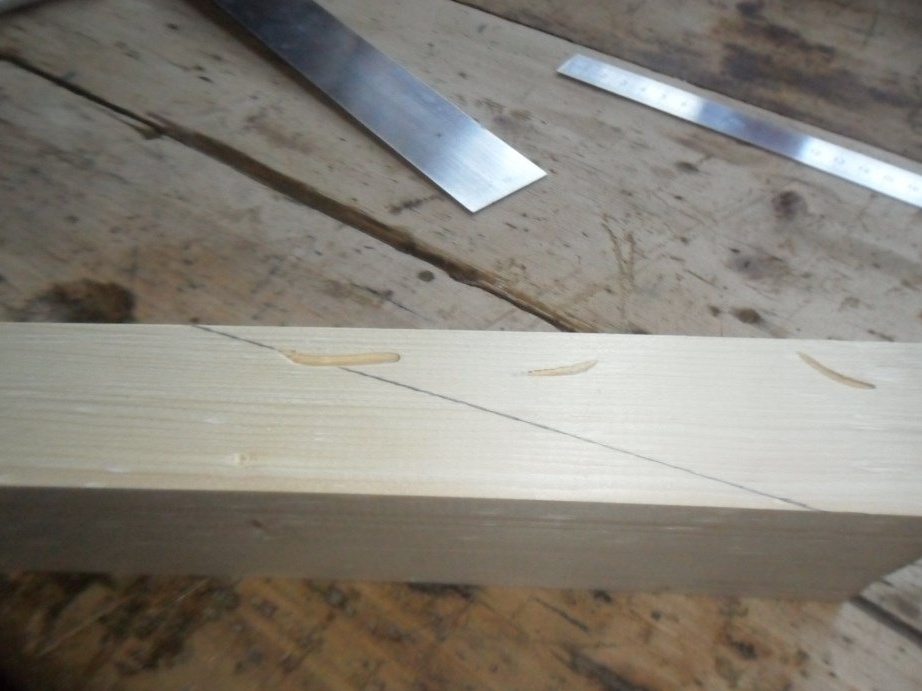
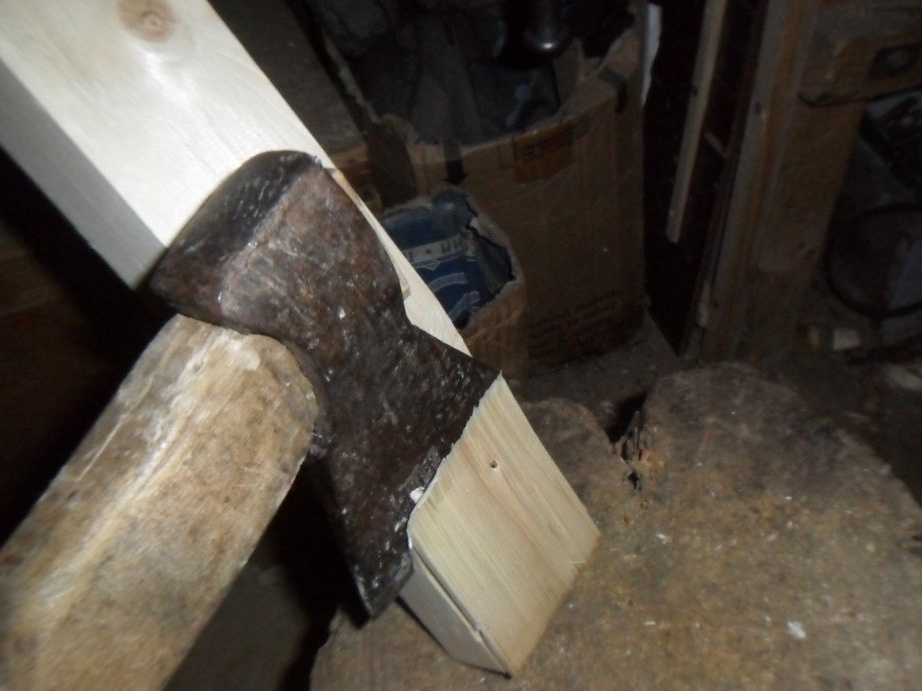
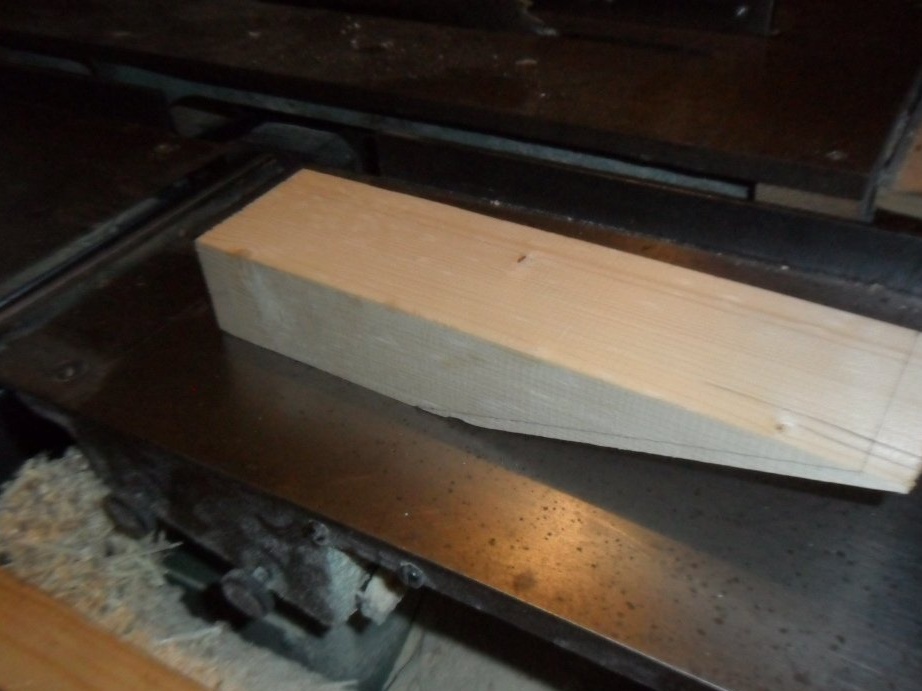
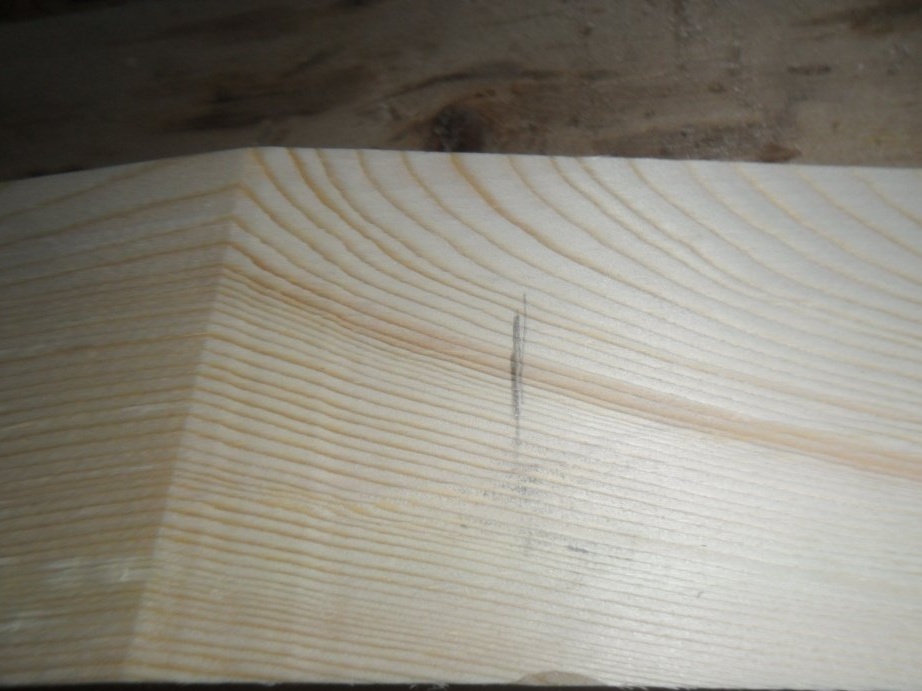
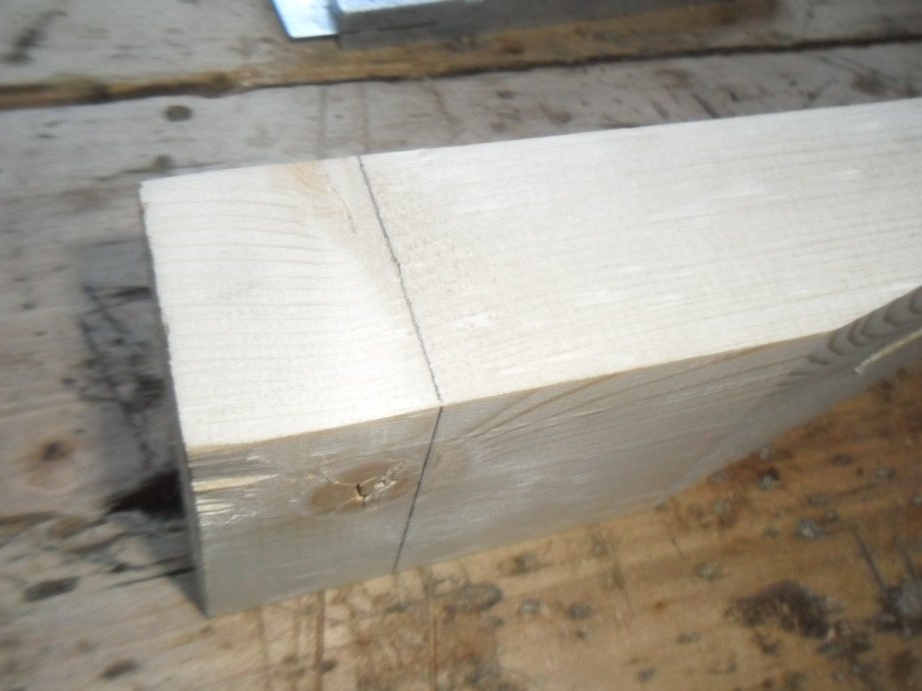
The angle of the beam will be approximately 15 °. We draw oblique lines on both sides. After that, with an ax, we squeeze the excess part of the tree so that over the lines there remains a wooden stock 5 mm thick.
Step 3. Finishing the planer.
We process a chipped surface with a manual planer for its subsequent and final planing on the machine.
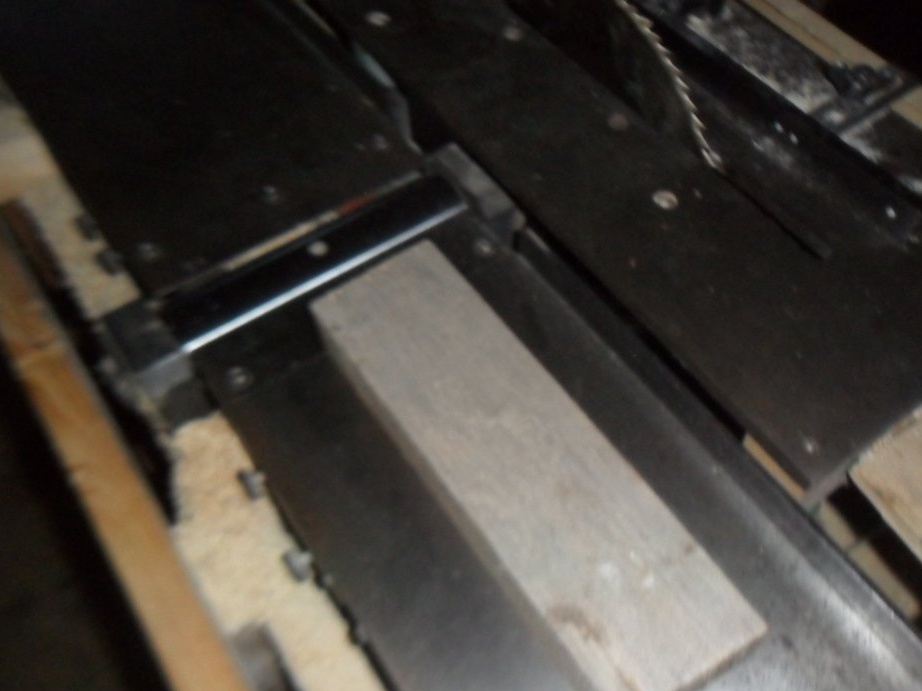
Step 4. Planing the inclined plane of the workpiece on the machine.
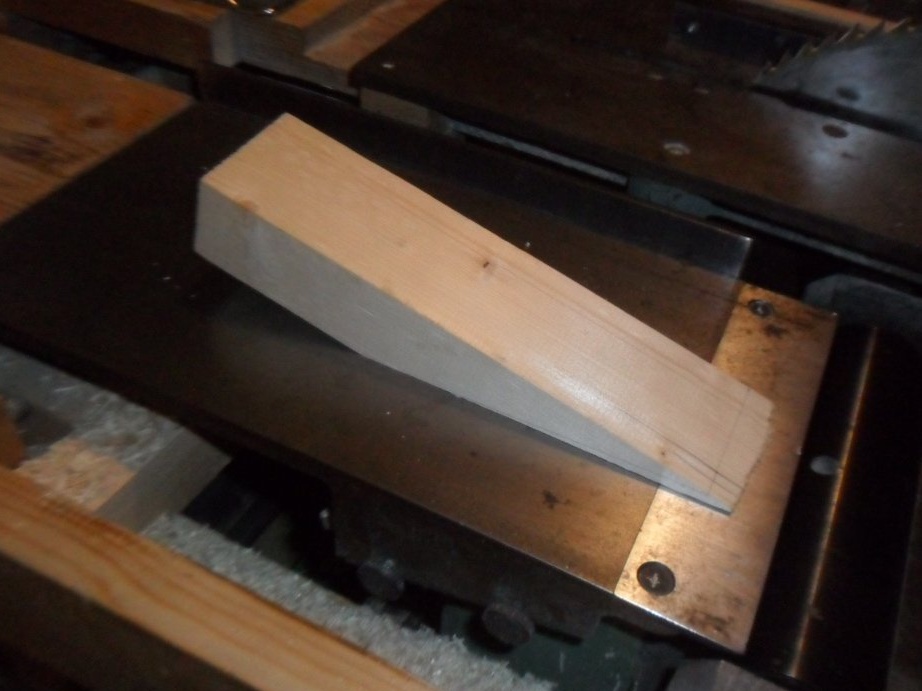
We skip the part several times along the knives of the jointing shaft (the high part - in the direction of movement).
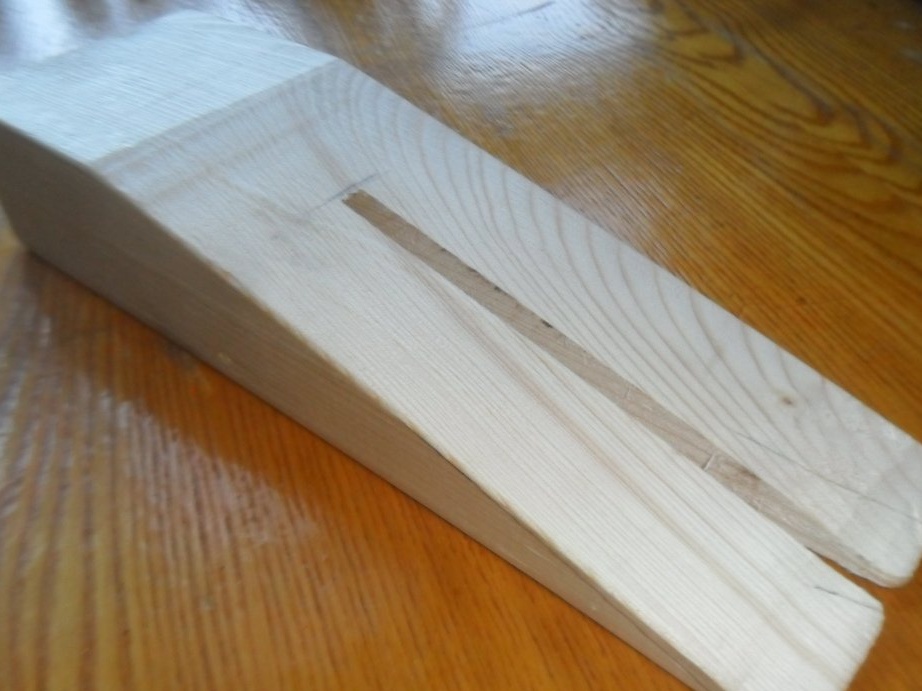
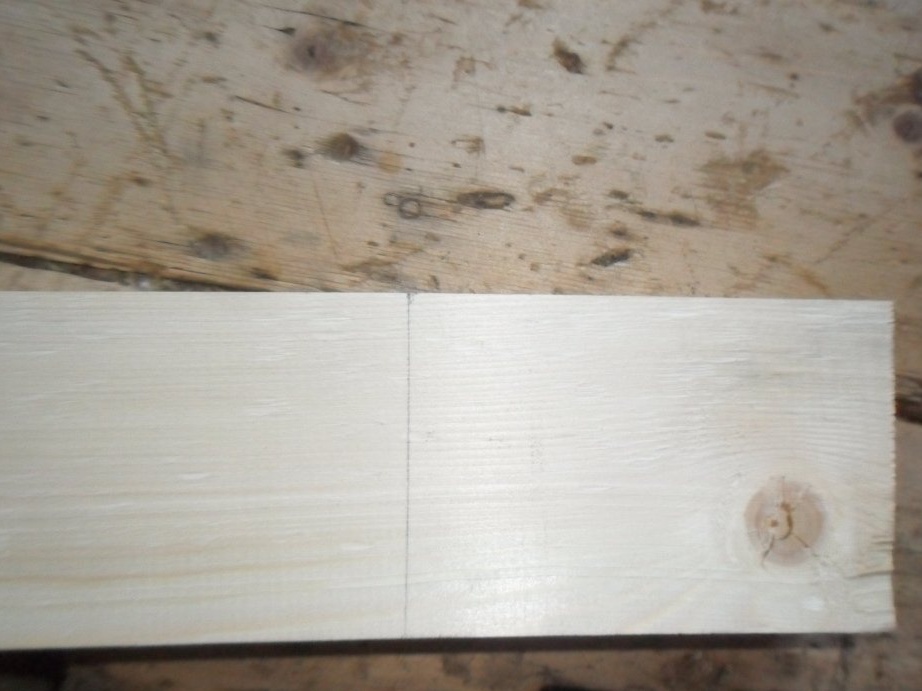
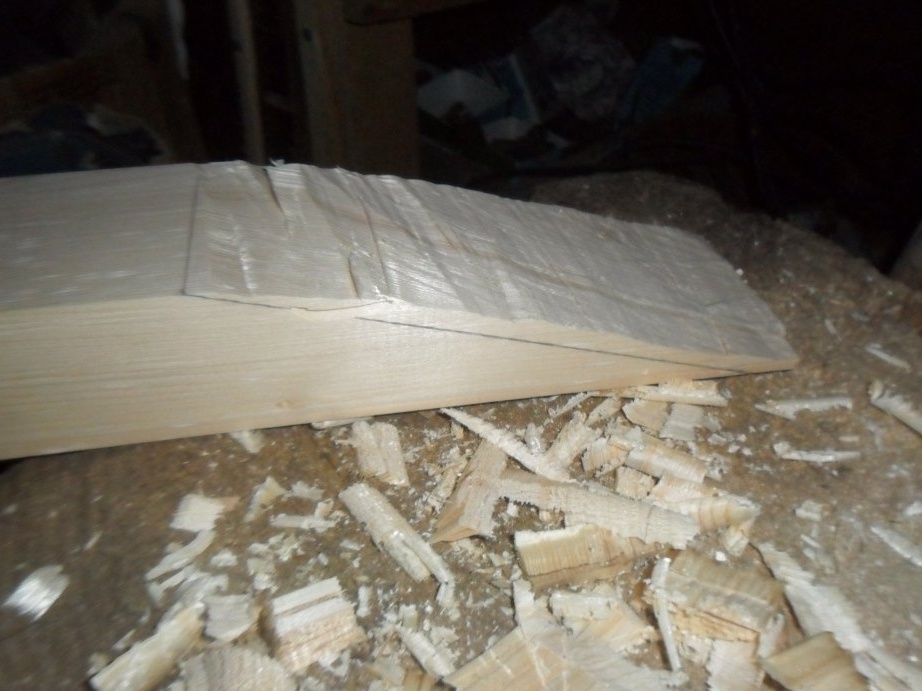
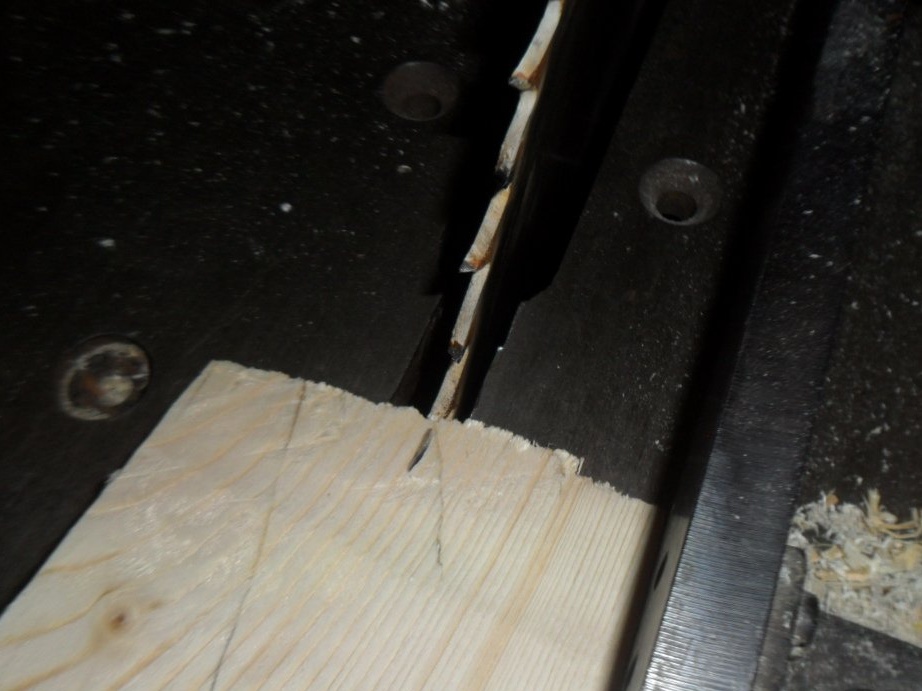
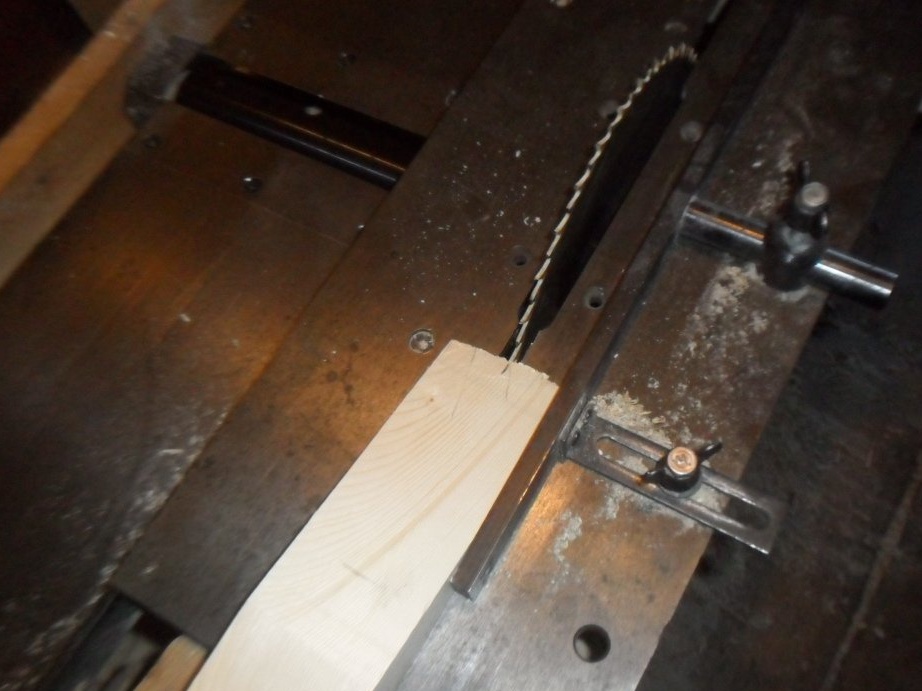
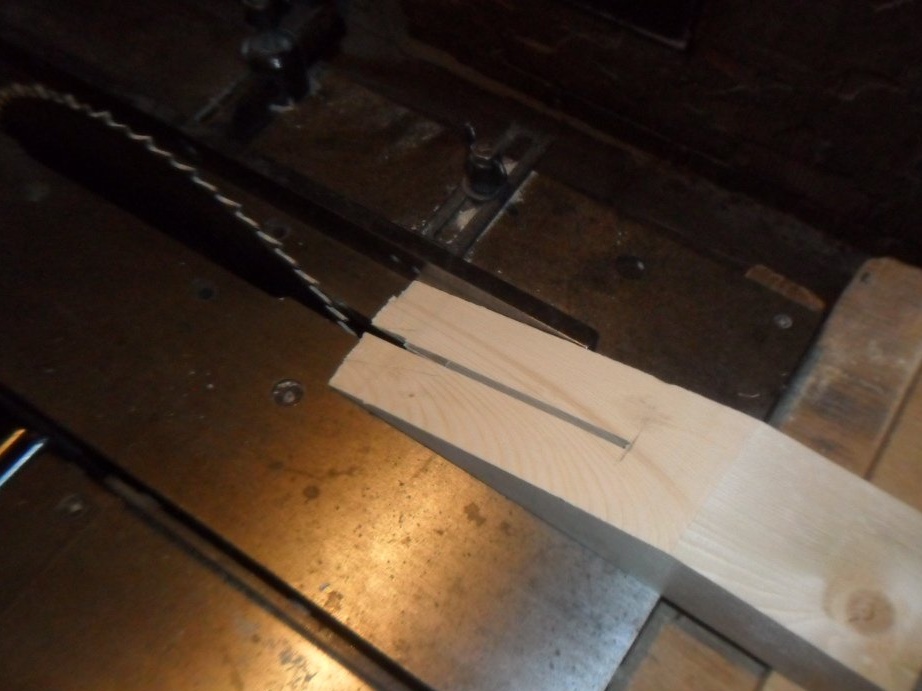
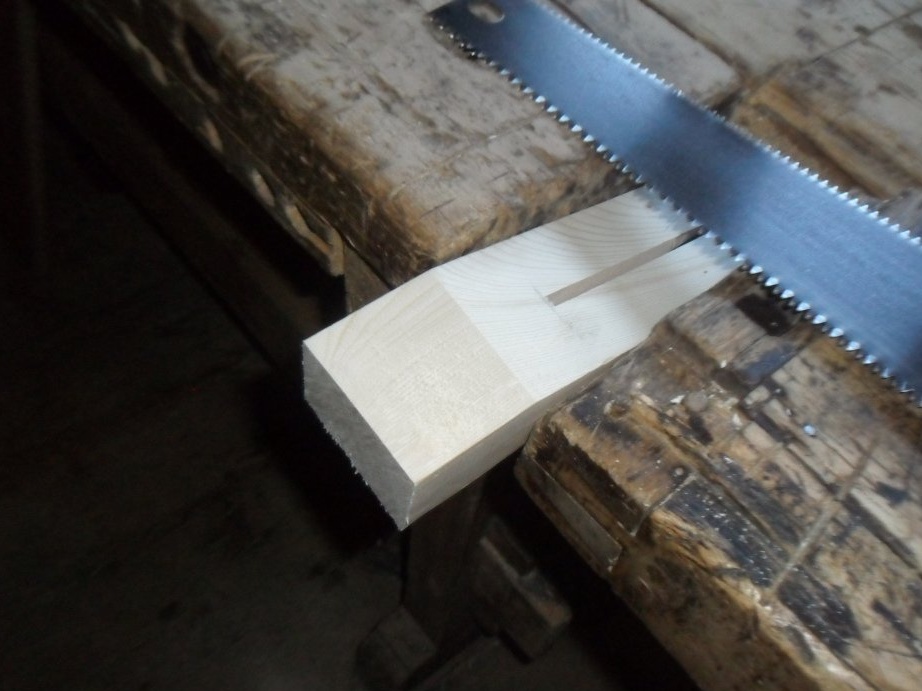
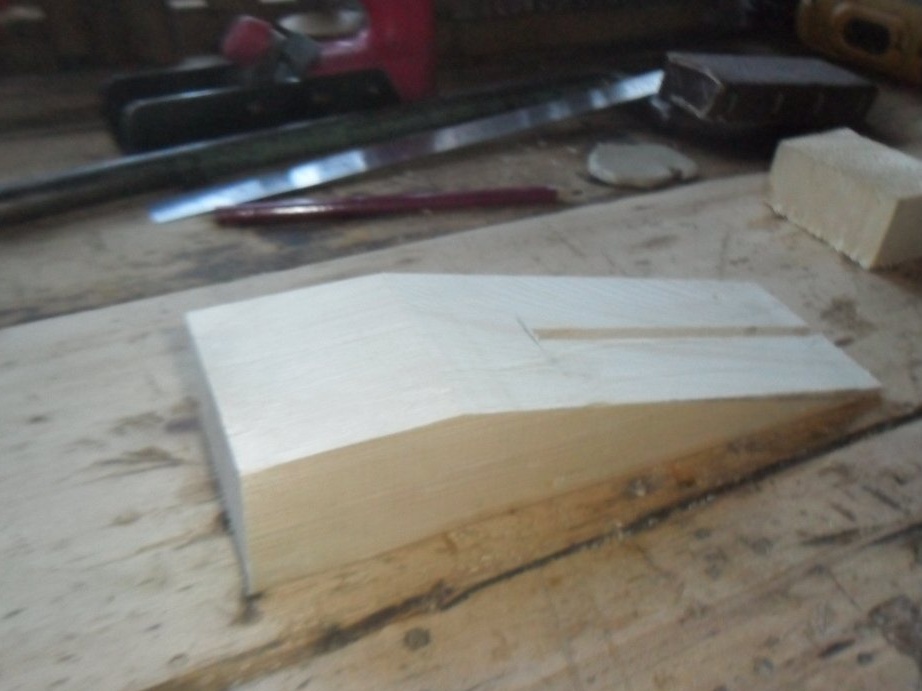
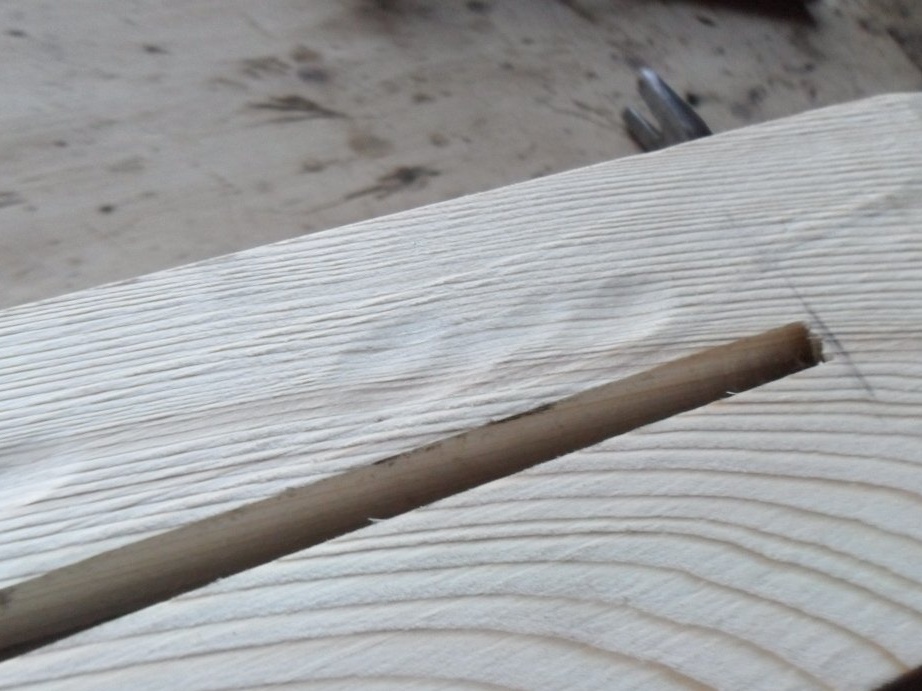
Step 5. Sawing the part along the fibers.
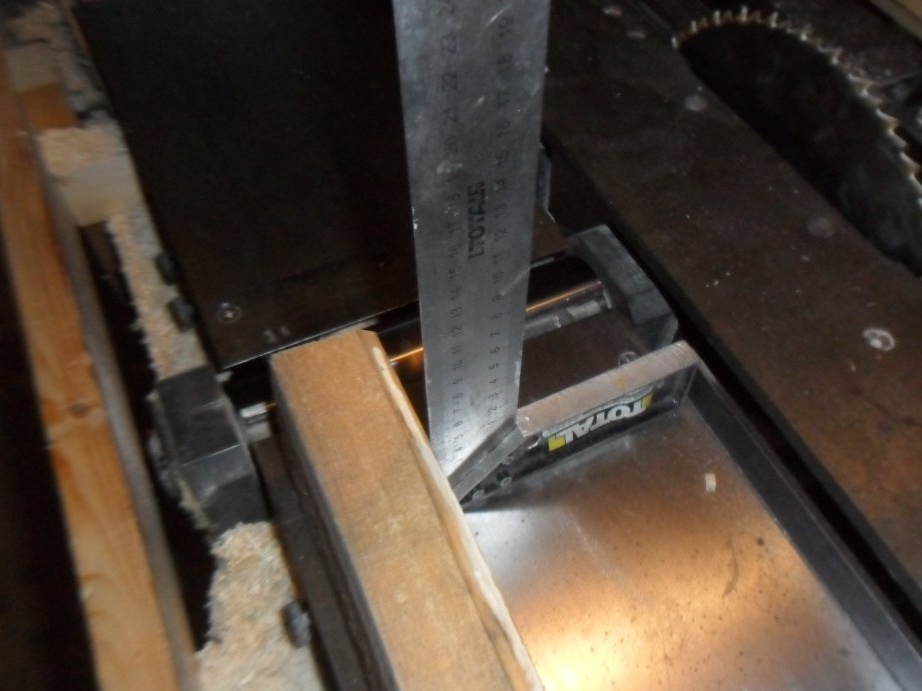
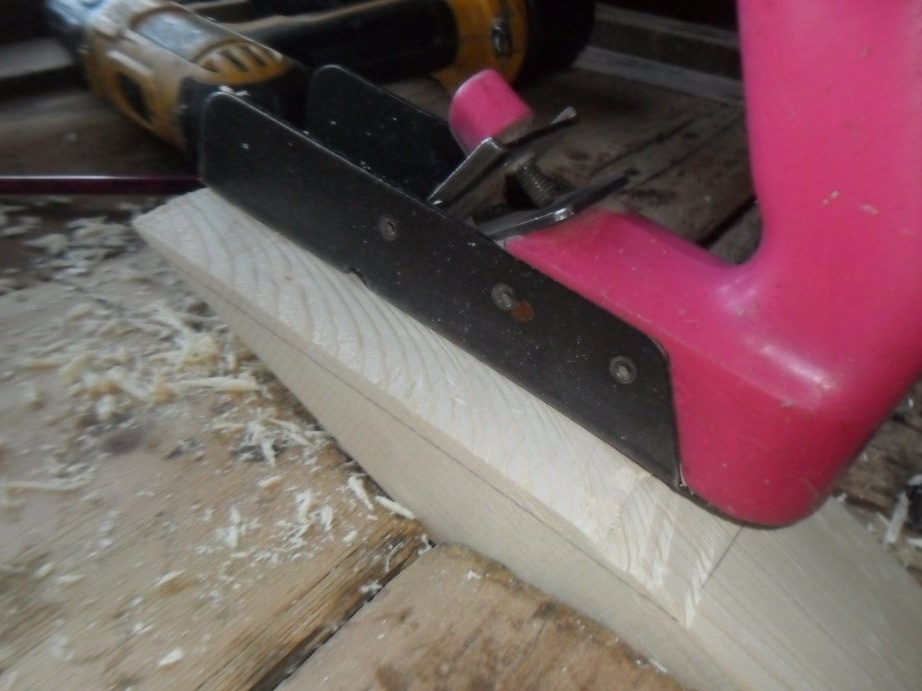
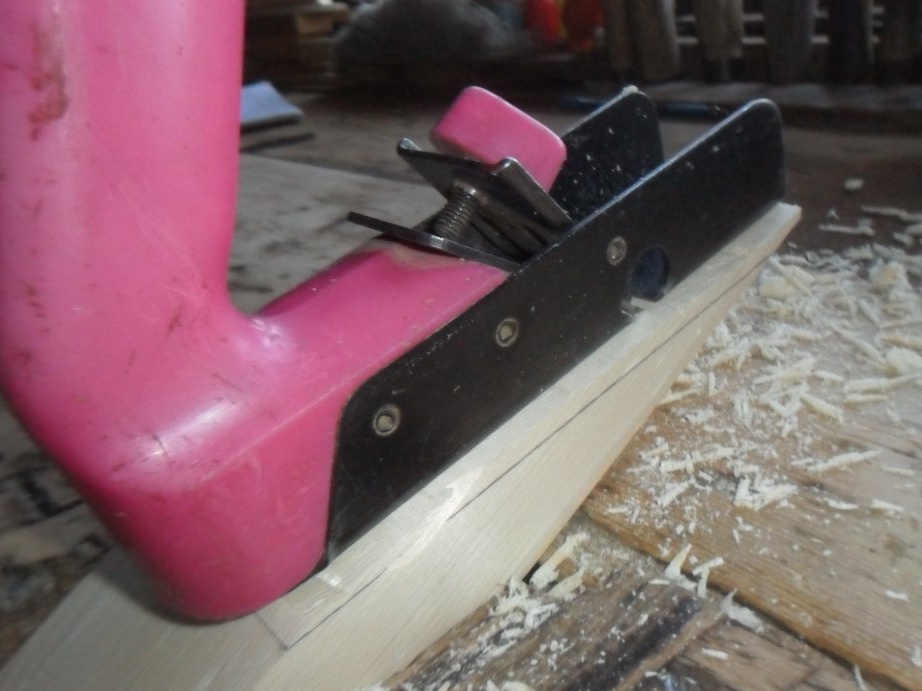
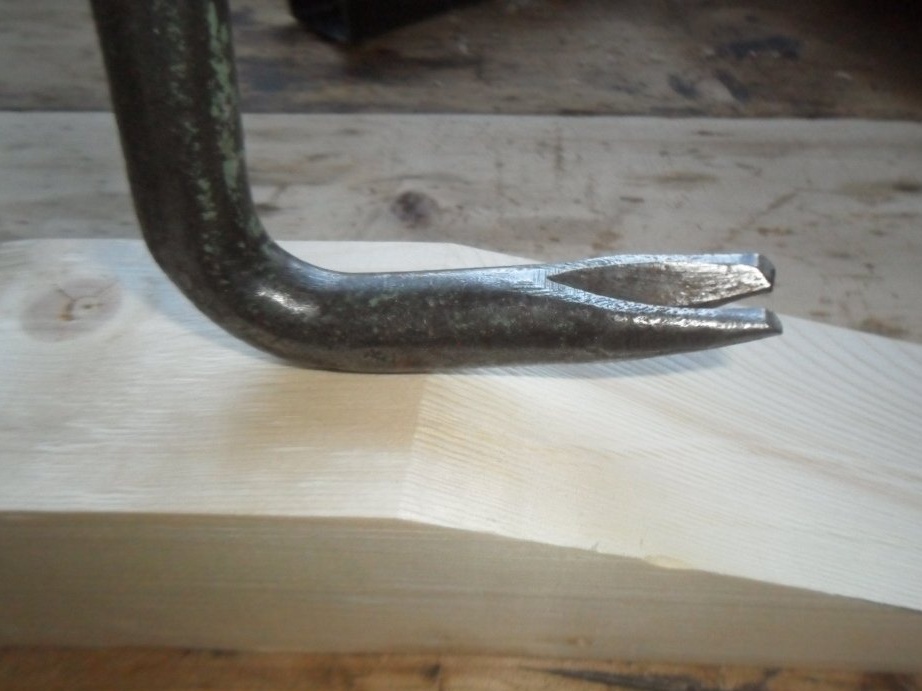
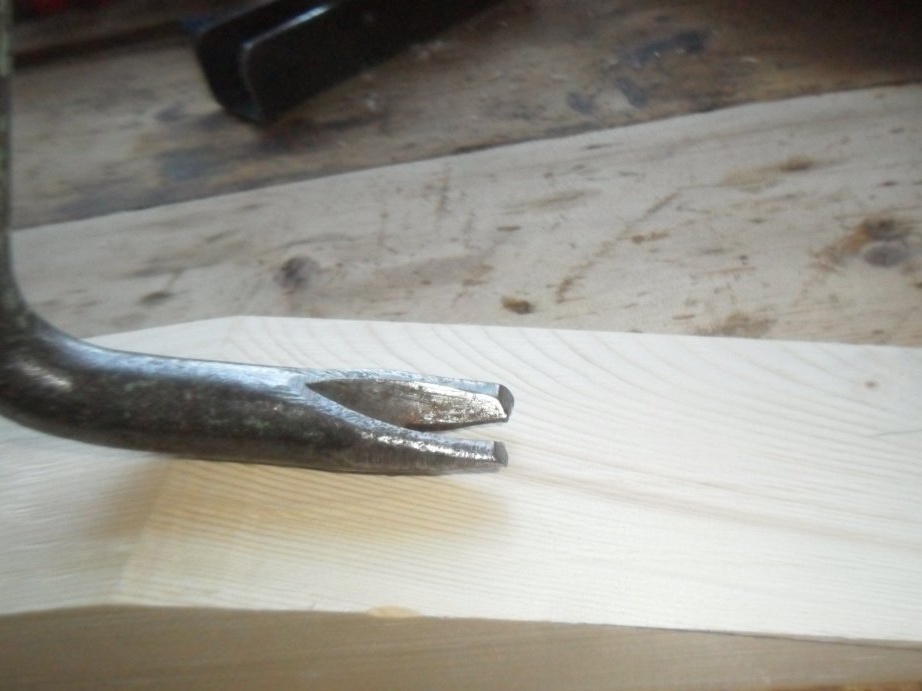
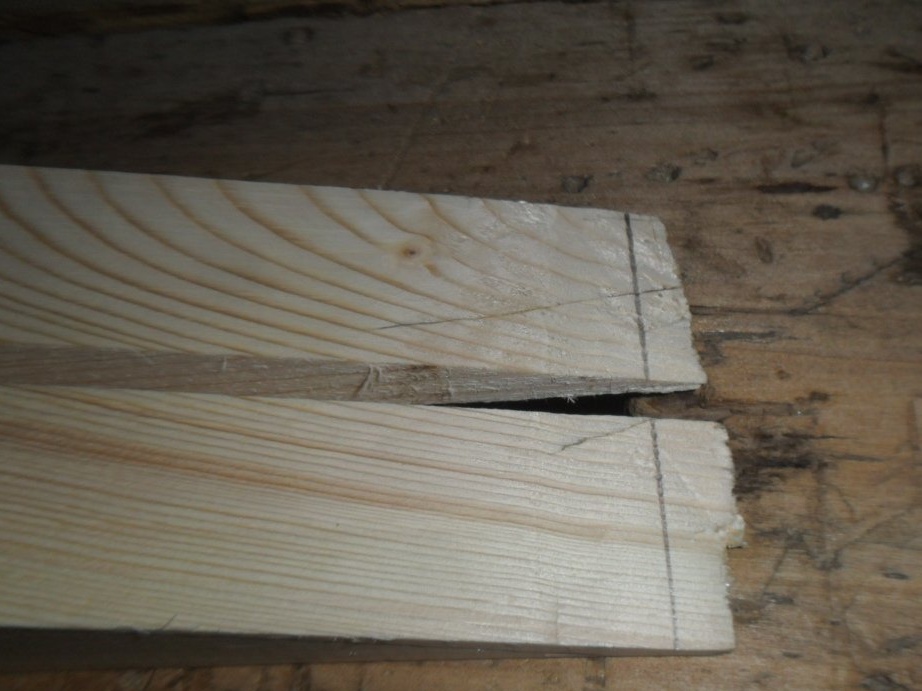
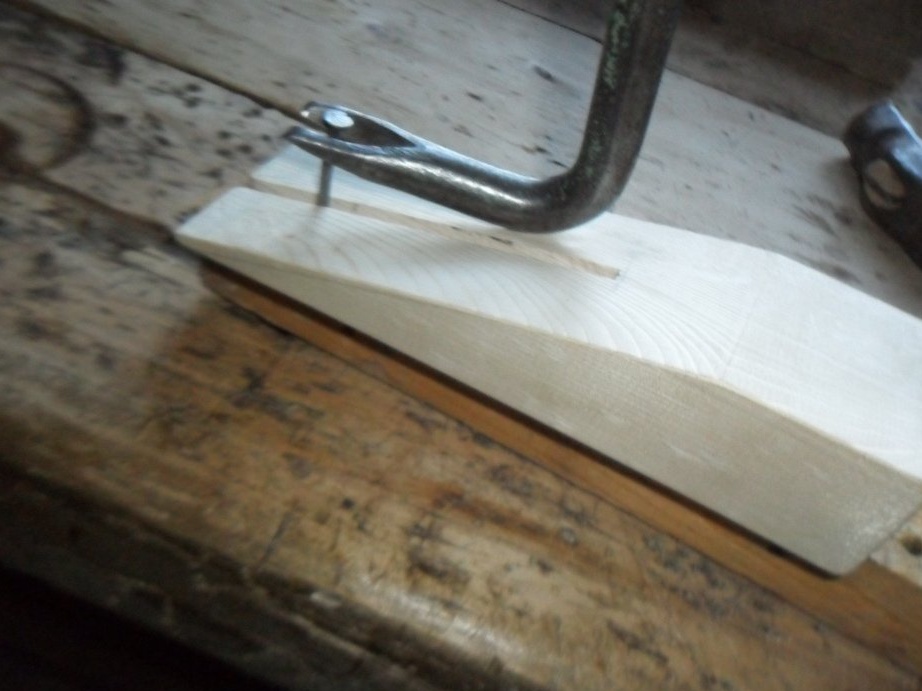
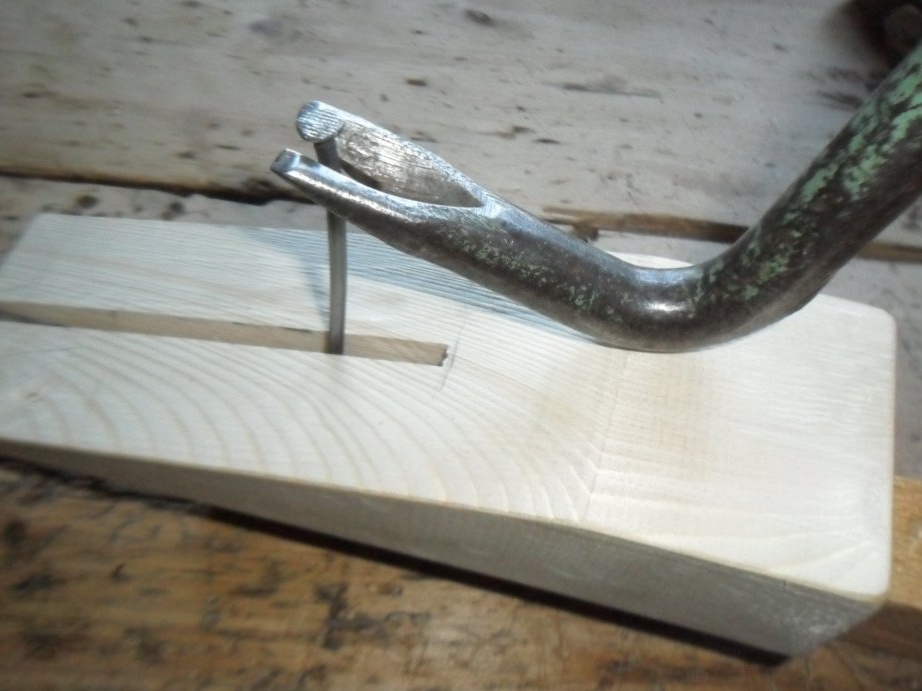
To understand where it is enough to cut the part, we apply the back side of the working part of the nail clipper to the place where the upper and inclined planes of the workpiece descend and mark the place where the end of the nail clipper is located. Next, we drive the wedge through the saw blade to the marked line. After the first act, we move the emphasis closer to the disk 3 mm and repeat the action - sawed. The result was a 6 mm wide cut.

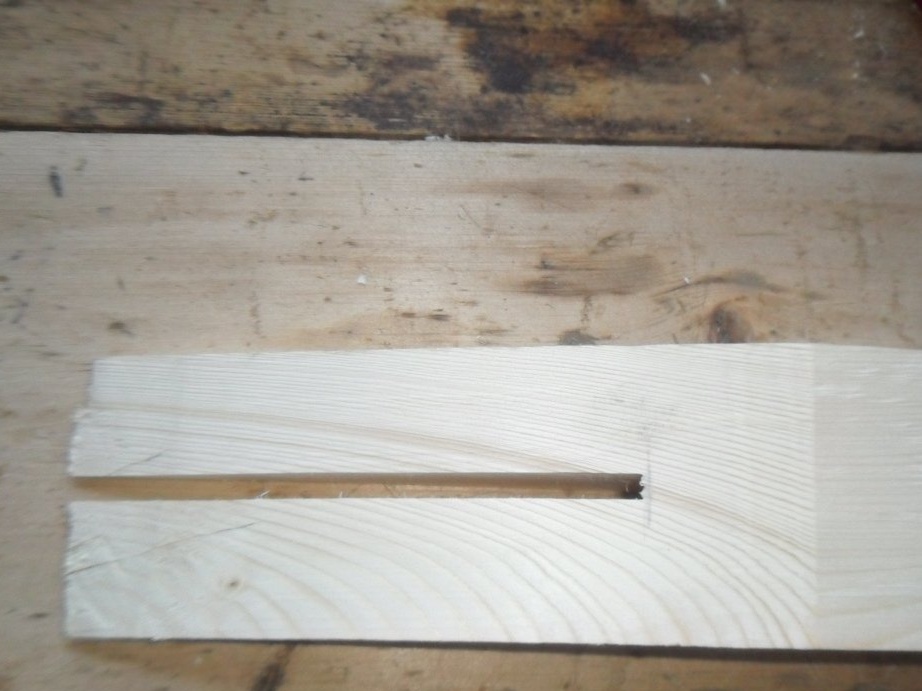
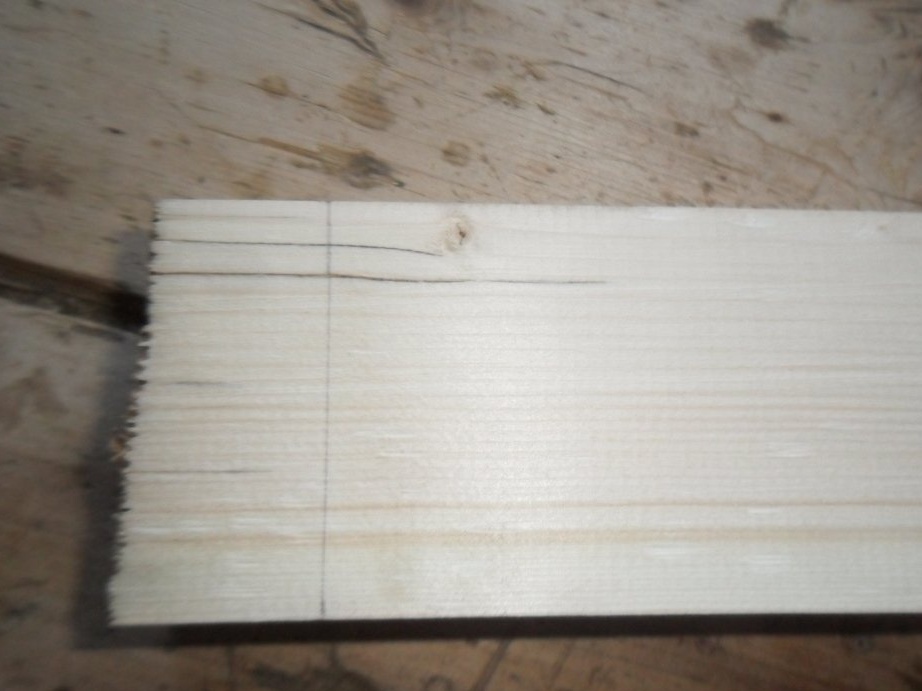
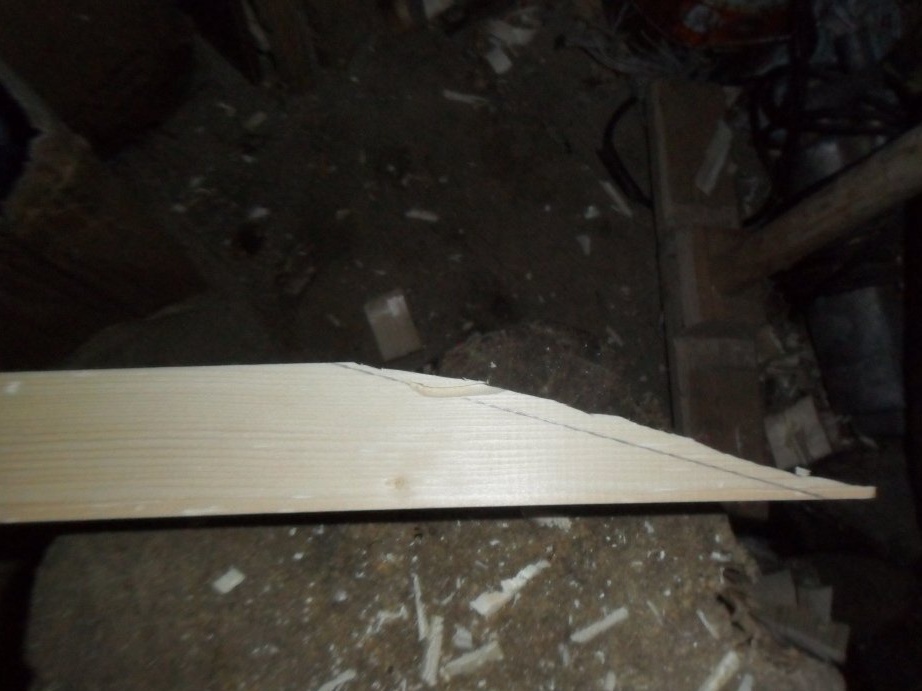
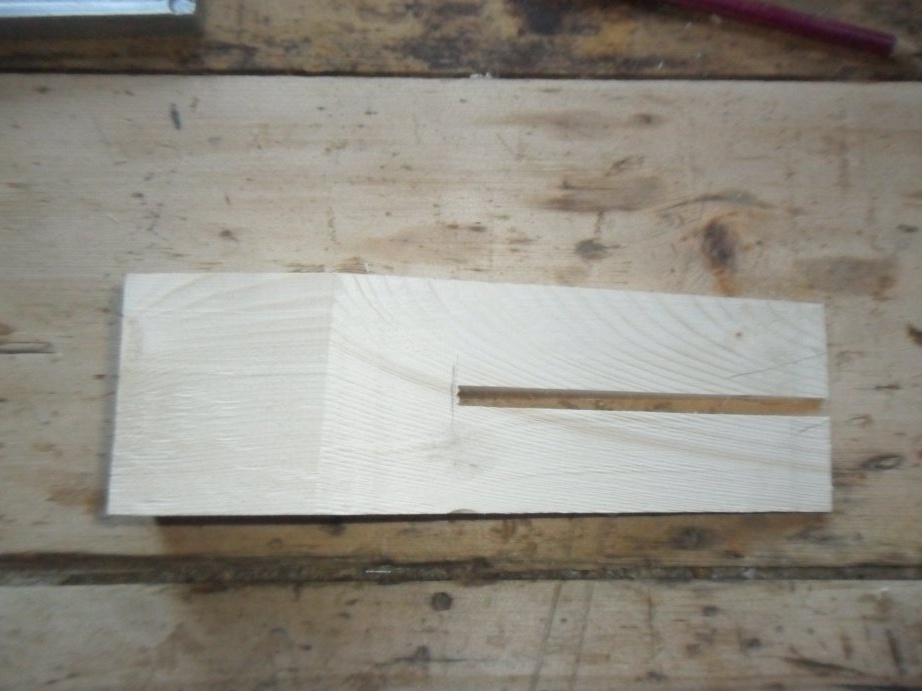
Step 6. Sawing off the ends.
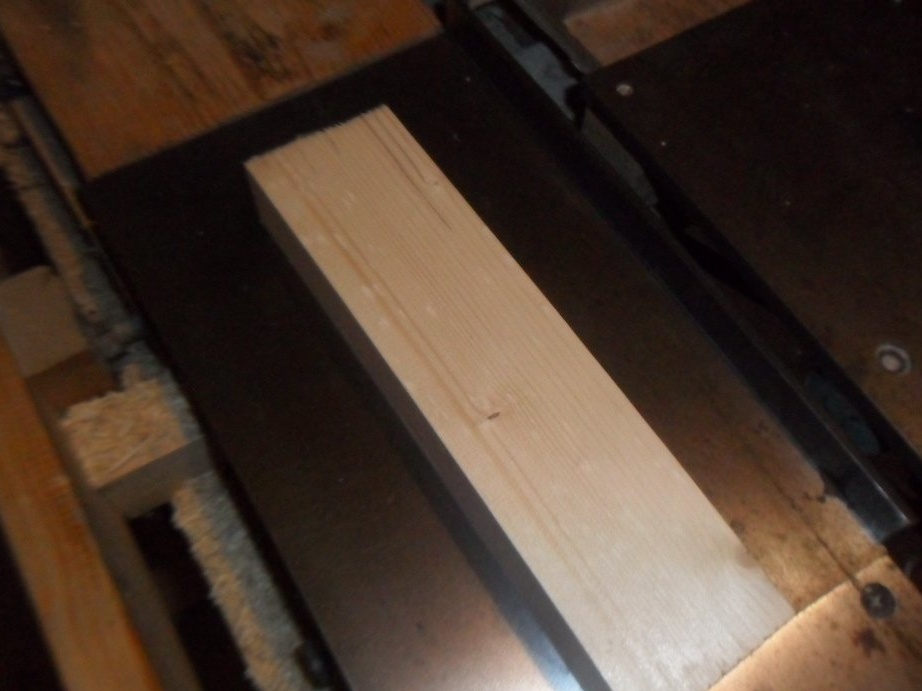
The most important thing is done: the wedge, in principle, can be used, but it is better to bring it to a decent appearance. To do this, saw off the ends.It is desirable, strictly perpendicular to two adjacent planes - thanks to such ends, the wedge can be used for other purposes. Thus, we have a wedge-shaped stand 21 cm long.
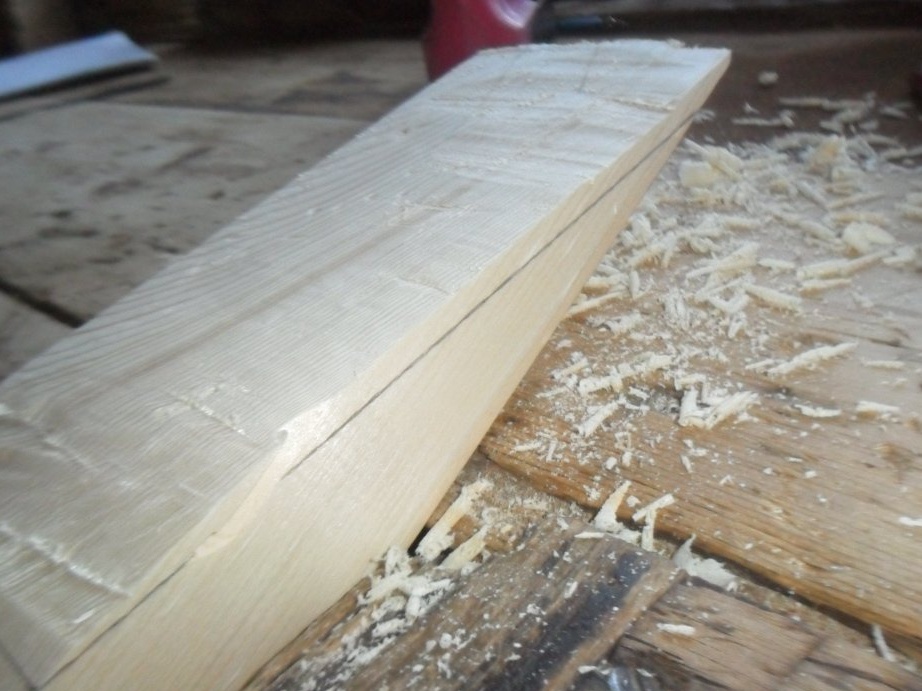
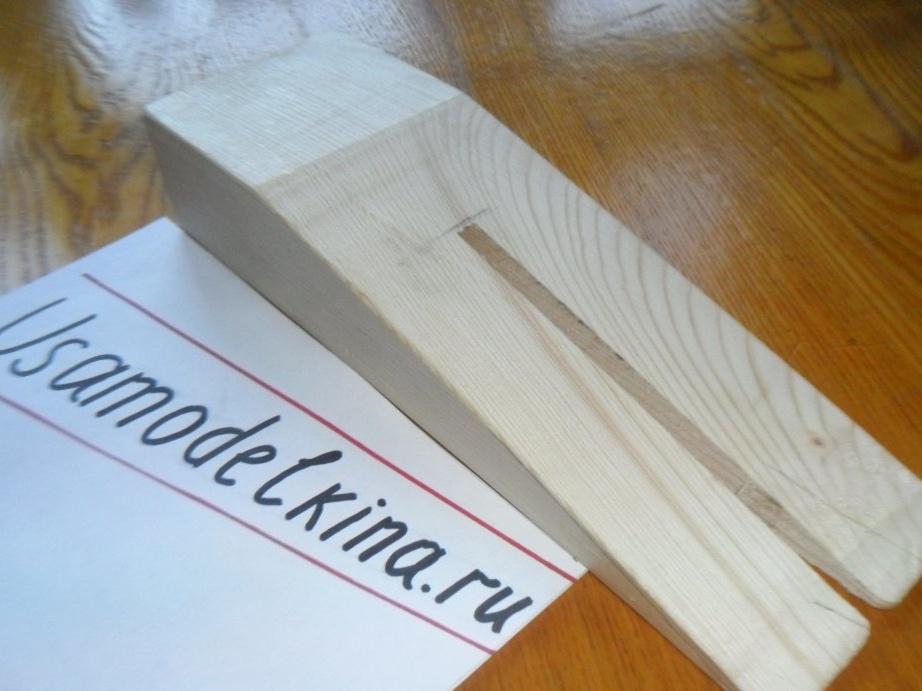
Step 7. Processing the edges of the wedge with sandpaper.
For the convenience of using the device, it is necessary to smooth the sharp joints of the faces with sandpaper. Now everything is ready - the wedge for stopping the nail clipper is ready.


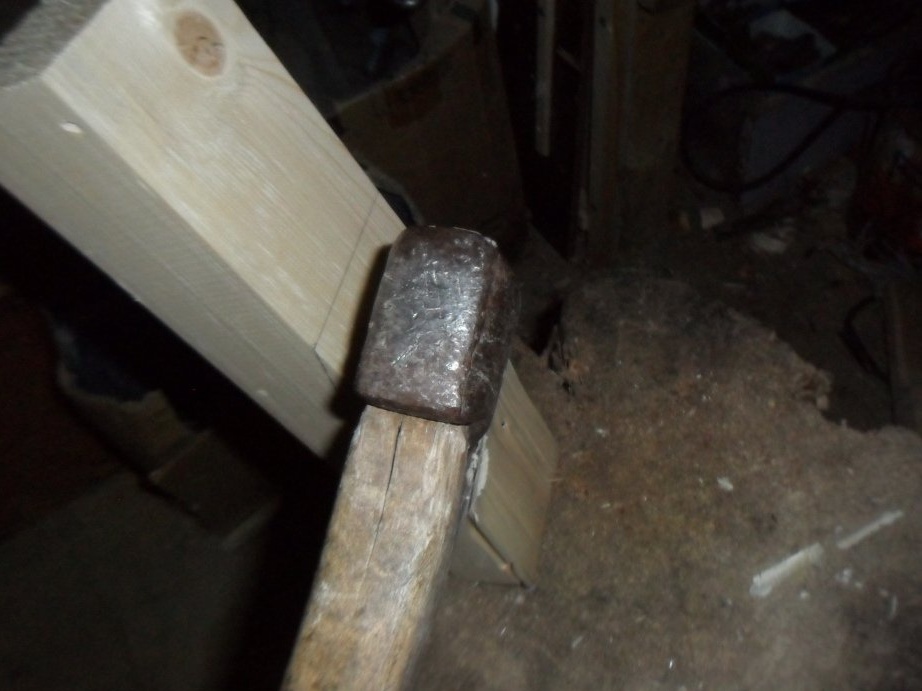
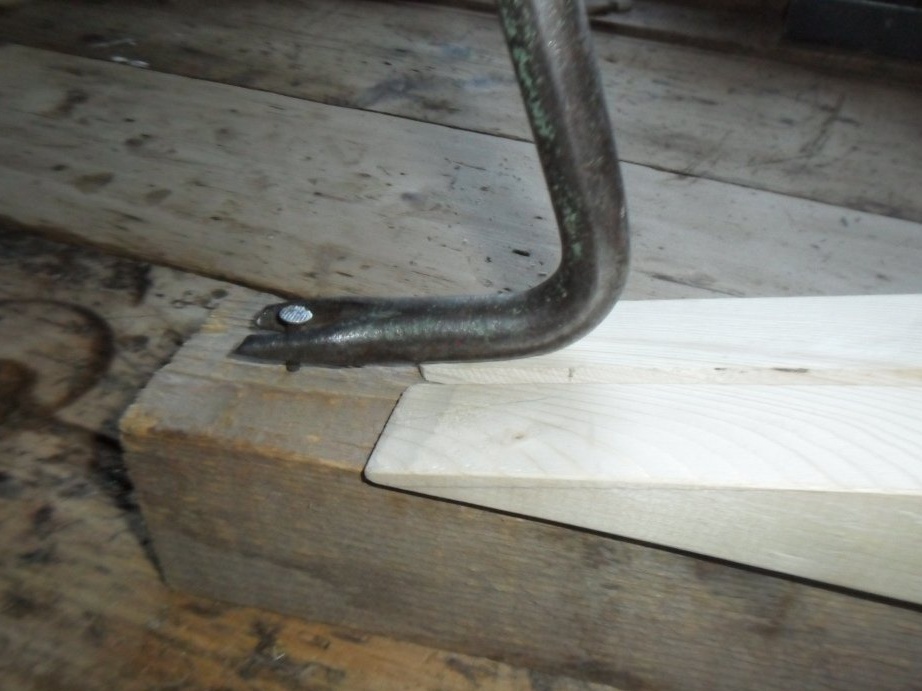
Step 8. Verification fixtures In action.
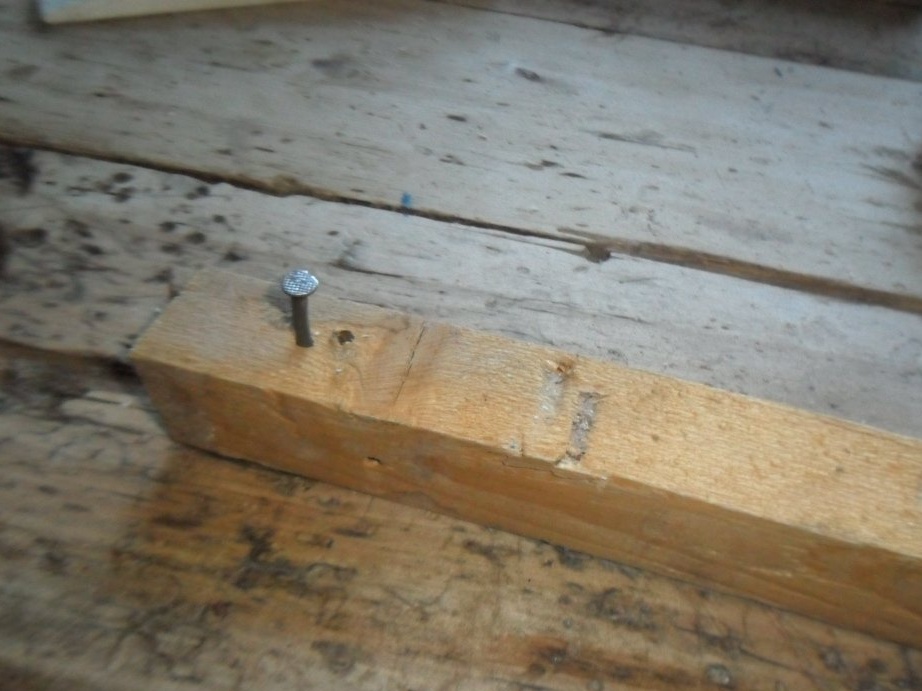
It is worth checking how effective the wedge is when pulling out nails. We take two different sizes of slats, and we will alternately pull out the driven nail. As the height of the outgoing nail increases, we move the wedge in its direction. In this case, the nail came out quite easily; but the nail clipper left a few dents on the stand.
Conclusion
This device is quite convenient and effective to use. There is also a second manufacturing option: to make two identical wedge-shaped parts and fasten them by inserting a gasket with a thickness equal to the width of the through recess necessary for the free passage of the nail between them from a wooden massif or plywood. Probably, after numerous uses of the device, it will not get the best look. In this case, from above it is possible to hammer plates - for example, from plywood. A wedge made of hard wood (birch, alder, mountain ash, bird cherry, etc.) is also a suitable option. The width of the cut stand may be larger - depending on the thickness of the nail. Using such a device, it is possible to take out nails not only with a nail gun, but also with other grasping tools, such as pliers, pliers or wire cutters.