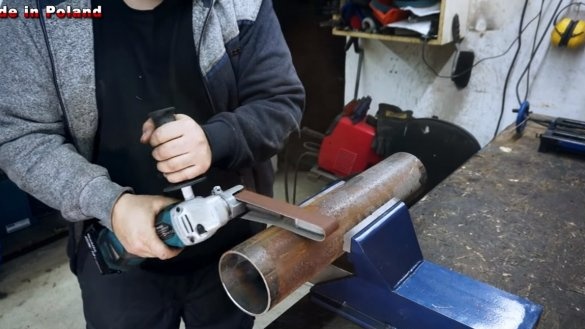
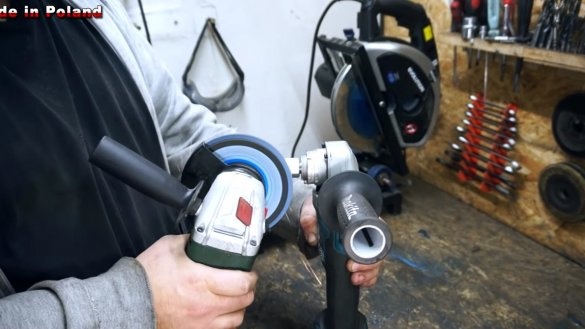
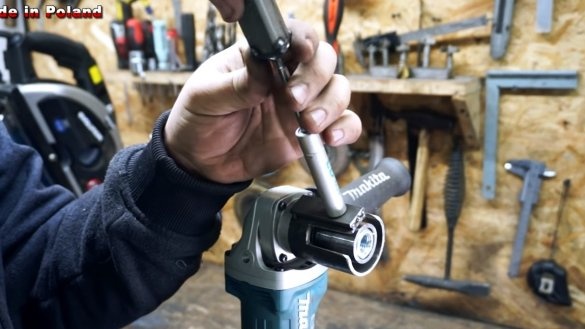
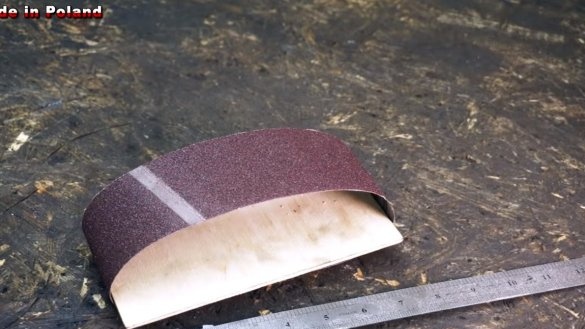
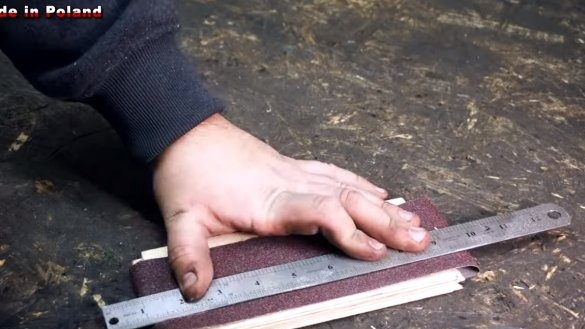
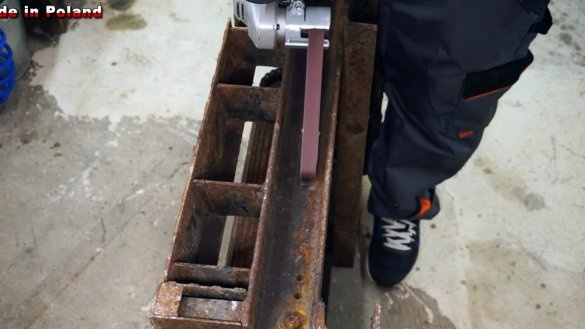
Greetings to fans to craft. In this instruction we will consider how to expand the functionality of our faithful tool - the grinder. We will turn it into a small but nimble electric file. Using it, it is very convenient to grind in hard-to-reach places, clean pipes from rust, and so on. You can install a narrow tape and a wide one on the device, depending on the operating conditions. Tapes are used from a manual belt sander, the tape is cut with a clerical knife.
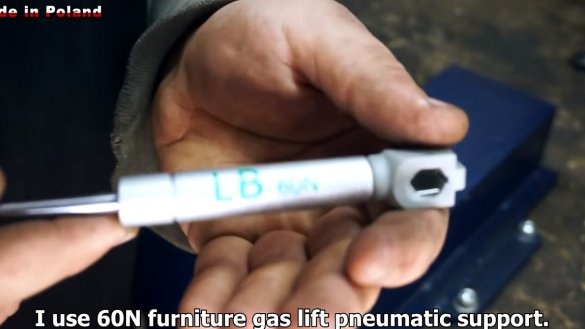
The nozzle design is very simple, it is easy to remove and tape is easy to install on it. The furniture gas spring 60N is used as the basis, it is she who pulls the tape. All other parts are worth a penny, and you will find most of them in the workshop. Let's consider in more detail how to make such a nozzle!
Materials and tools used by the author:
Material List:
- a tape from a manual grinder;
- furniture gas spring 60N;
- square steel pipe;
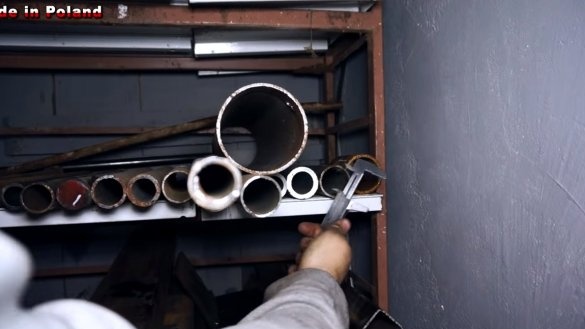
- round pipe;
- nut (under the axis of the grinder);
- two bearings (for driven roller);
- a bolt with nuts and other trifles.
Tool List:
- grinder;
- belt sander;
- grinder;
- drill;
- marker;
- vernier caliper;
- pendulum saw;
- vise;
- tap for threading.
Manufacturing process homemade:
Step one. Clamp making
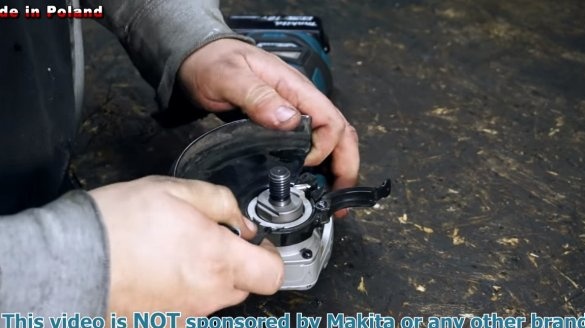
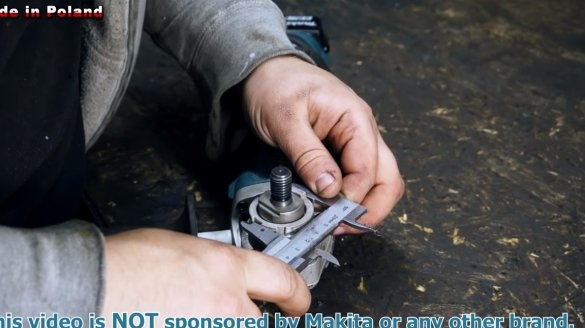
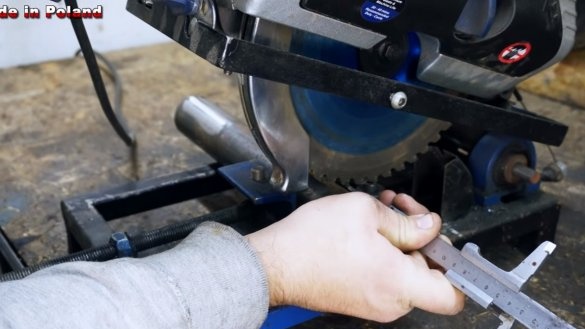
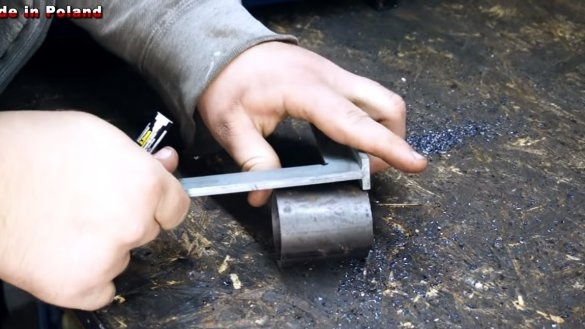
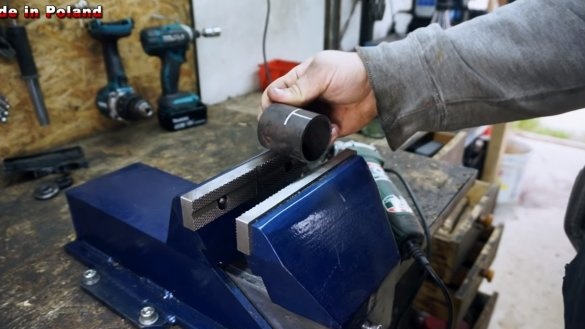
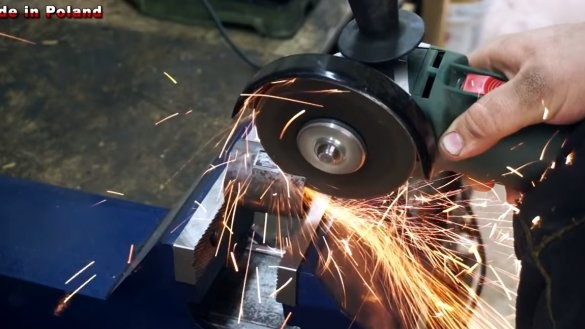
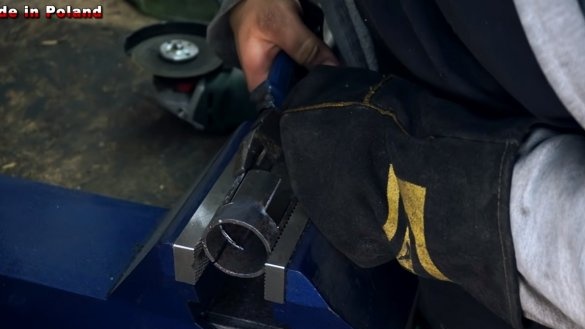
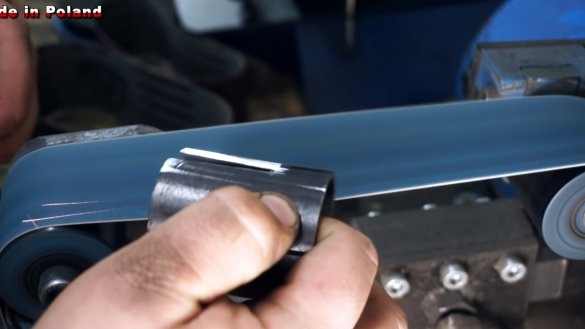
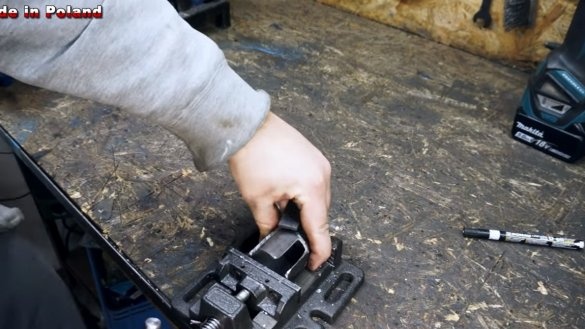
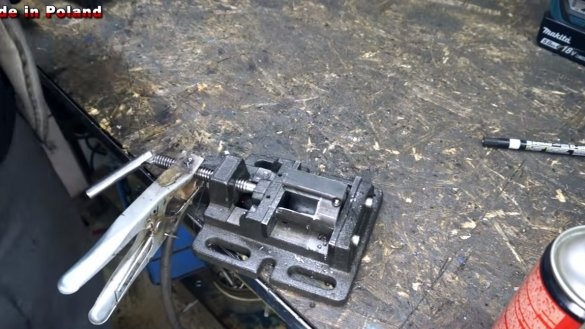
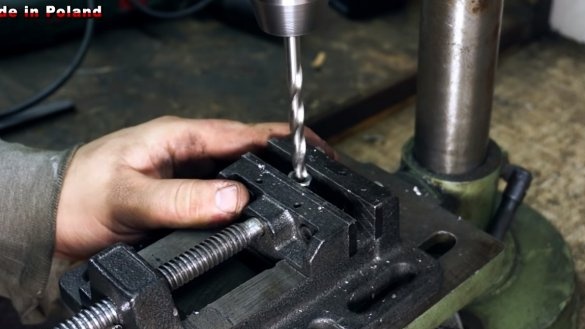
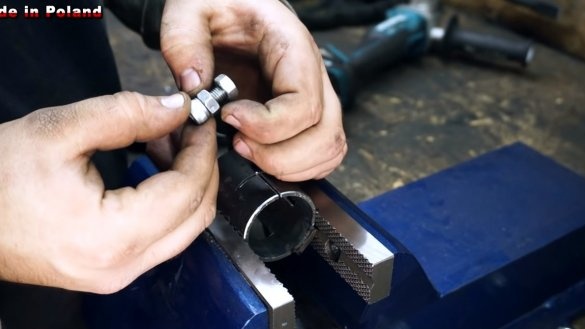
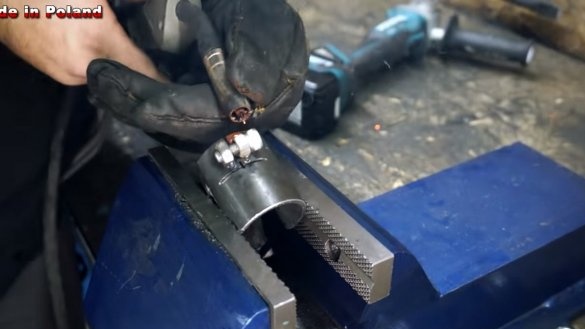
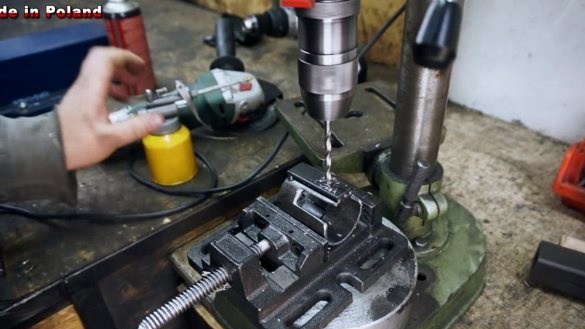
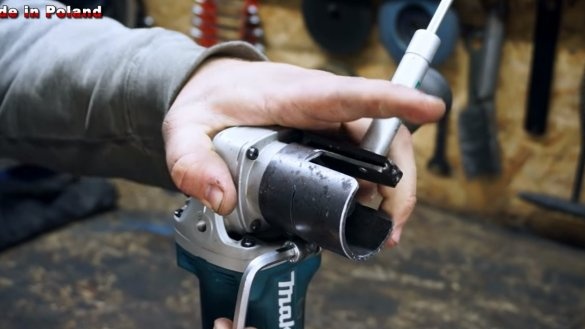
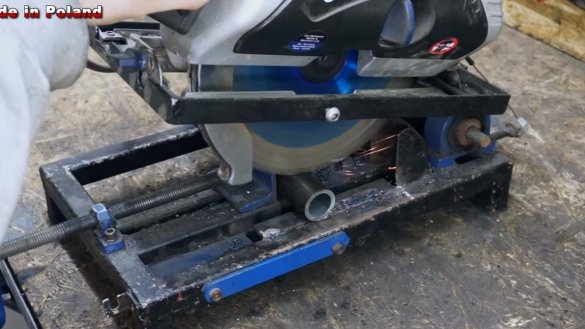
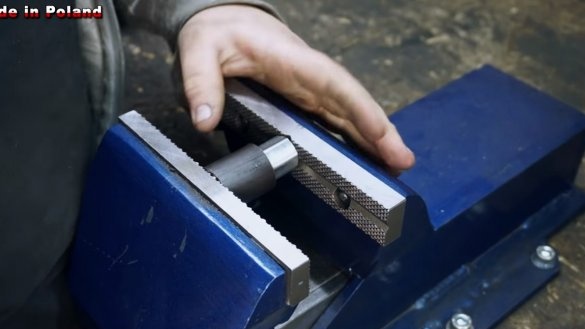
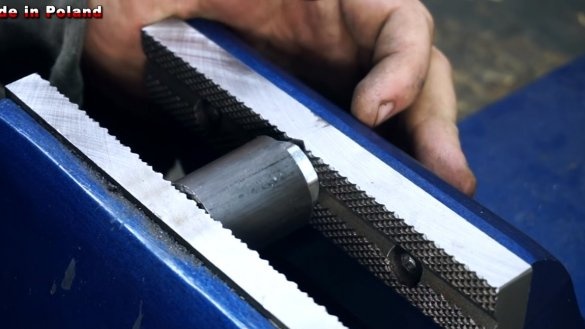
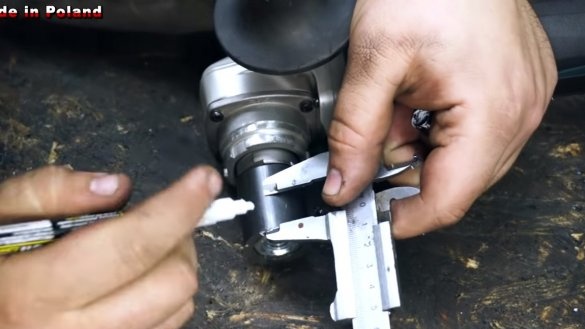
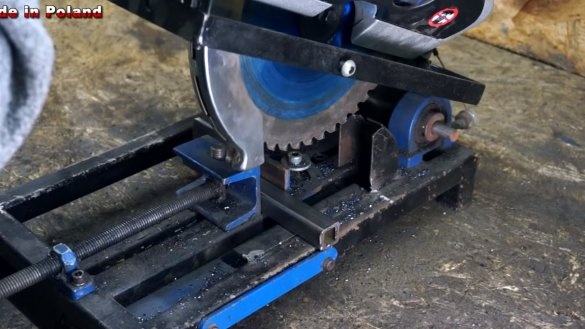
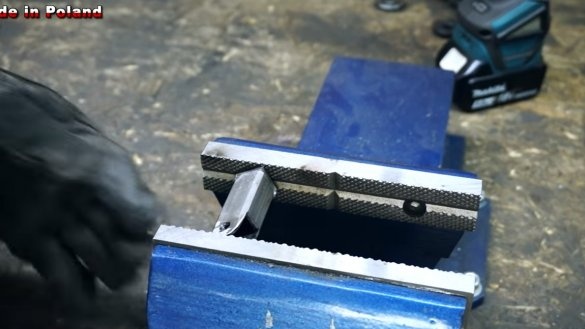
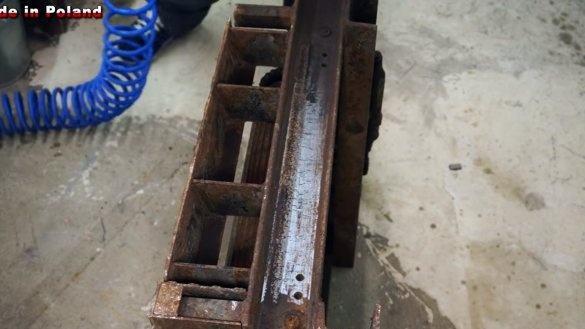
First of all, we will make a clamp, it will be the basis on which all the details of the device will be fixed. The clamp is installed instead of the grinder guard. To make it, we need a piece of round pipe of suitable diameter. We cut it along, and also cut out the grooves, depending on the gear housing of the grinder. In order for our clamp to be clamped, we weld two drilled nuts to it in place of a longitudinal section. Now the clamp can be pulled off with a bolt and nut.
Step Two Tensioner
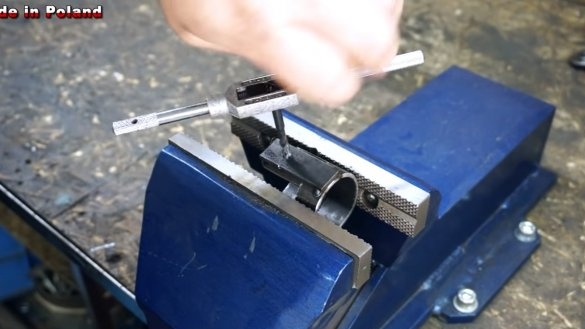
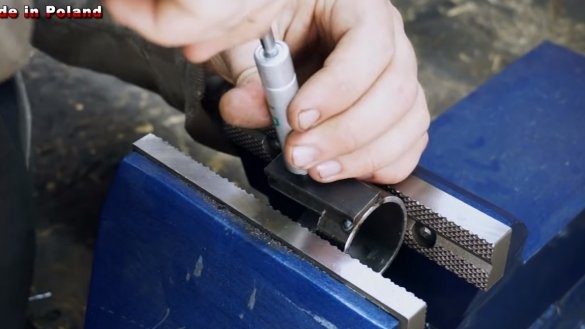
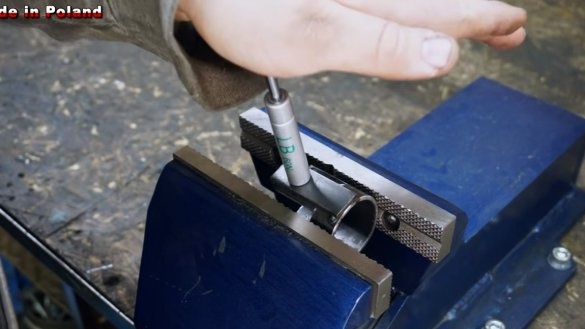
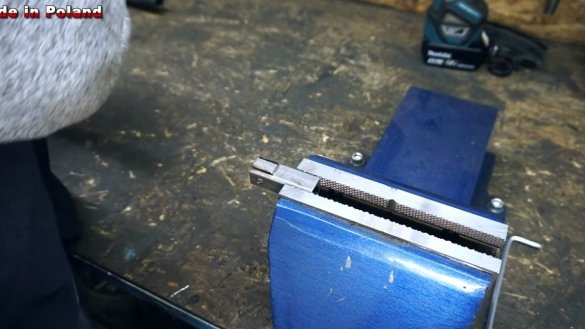
As a tensioner, the author used a gas spring from of furniture 60N. If there is none, you can pick up the tube, install a spring inside, but of course it’s easier to just buy a furniture gas spring. We unscrew the excess from the spring, we will have axles with threads at the ends. To install a gas spring on the clamp, we weld a steel plate to the clamp, drill a hole in it and cut the thread. Now it remains just to screw the spring to the plate.
Step Three Lead roller
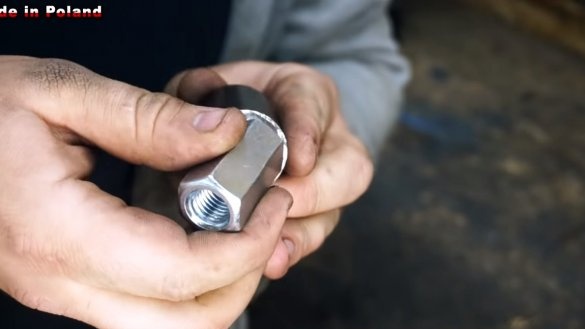
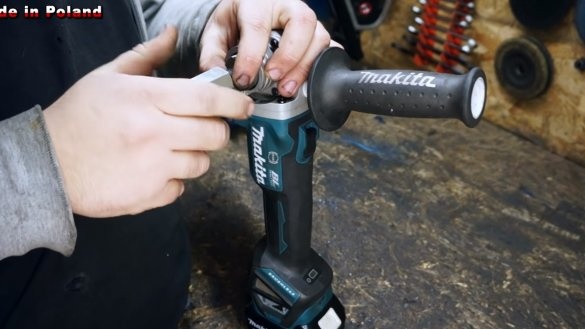
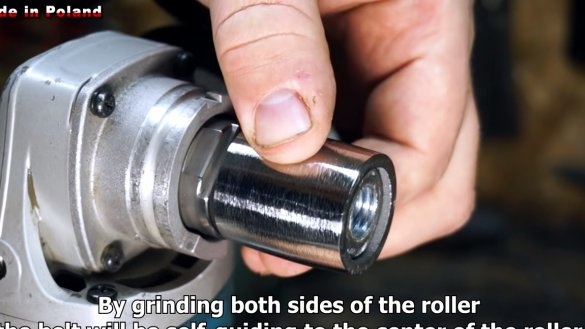
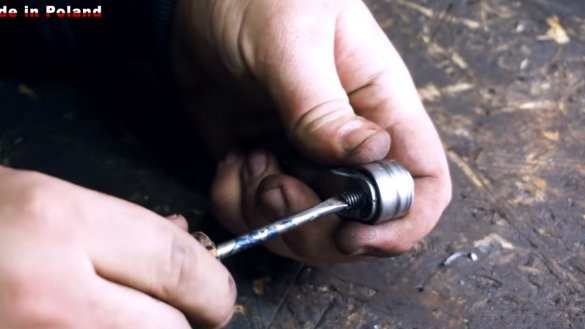
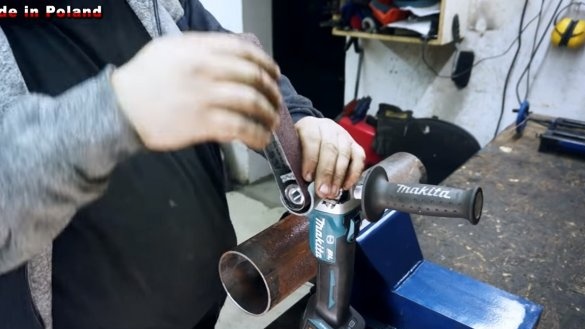
We proceed to the manufacture of the leading roller, it is metal by the author.To make it, you will need a nut and a piece of round pipe. We screw the nut on the axis of the grinder and turn it on. Next, with the help of another included grinder, grind the edges of the nut so that it fits tightly into the metal pipe. The author pressed the pipe onto the nut with a vise, an additional fastening was not needed, but you can grab it by welding.
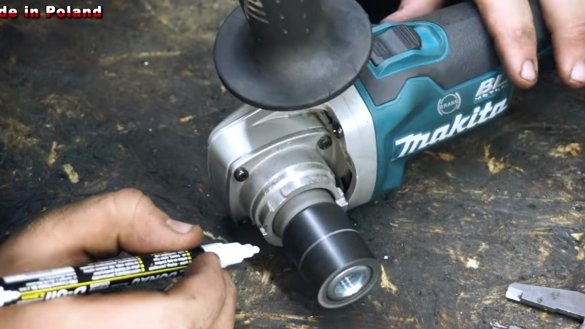
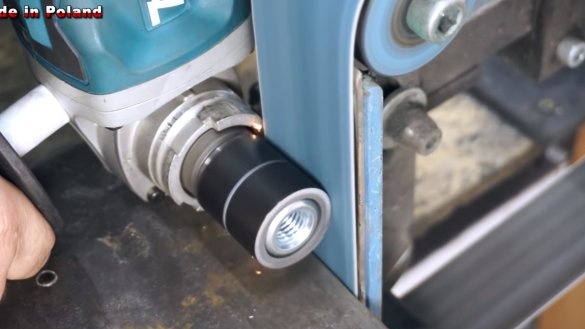
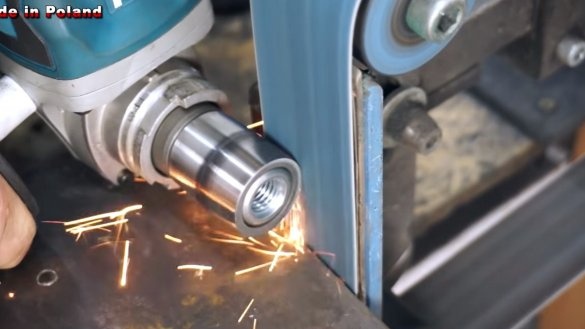
Now it remains to set the correct profile of the roller, it should be as thick as possible in the center and narrow at the edges so that the belt always goes clearly in the center. We turn on the grinder with the roller installed and grind the excess using a belt sander. It is more convenient to do this if you draw a thick center line on the roller.
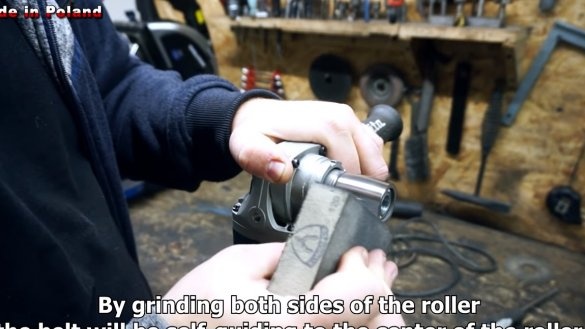
At the end, we process the roller with sandpaper to remove gross irregularities. Polishing it is not necessary, this will reduce the adhesion to the paper.
Step Four Driven roller
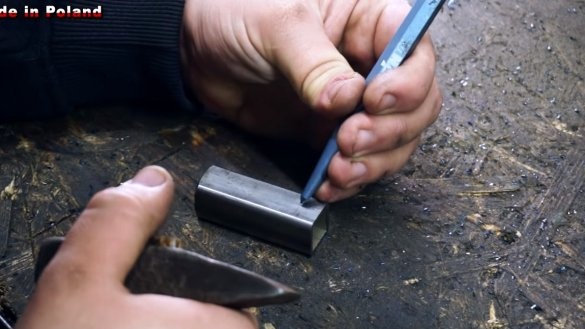
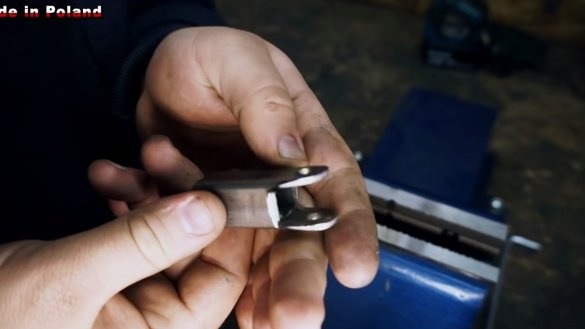
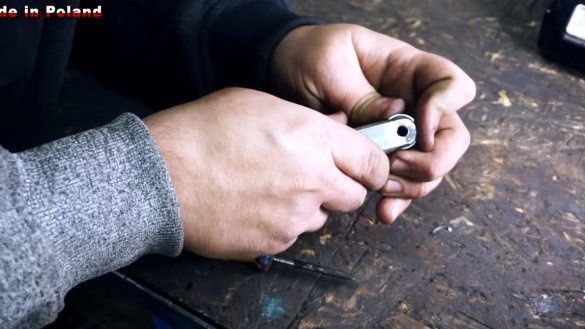
At the other end of the gas spring, a driven roller is installed, which consists of two bearings. For bearings, you need to make a bracket, the author makes it from a piece of a square pipe. We install bearings on an axis, it can be a bolt or just a steel rod.
On the other hand, we weld a nut to install the part on the spring.
Step Five Assembly and testing
The homemade product is ready, it remains to cut off the sanding belt, take a clerical knife and cut a strip of the desired width from the sanding belt for grinders. To handle hard-to-reach spots, the tape can be set narrow, and for pipe processing, for example, the tape can be set wide. When processing pipes, the tape bends and captures more area.
That's all, the project is over, I hope you liked it, and you found useful information for yourself. Good luck and creative inspiration, if you decide to repeat it. Do not forget to share your homemade products and best practices with us!

