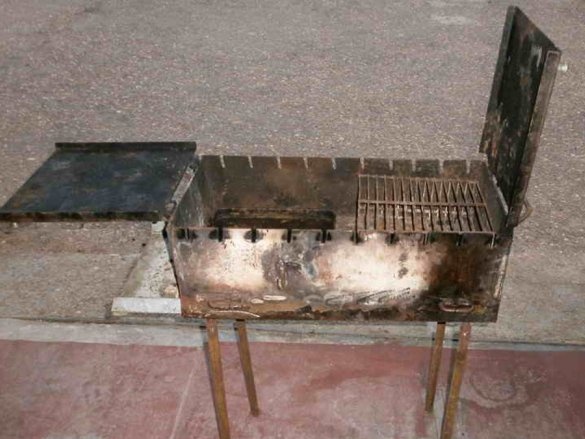
At one time I cooked a full barbecue. From thick steel, so as not to burn out, on long legs, to cook at full height, with “wings-halves” of the lid, acting as a table. He is good for everyone, but weight and dimensions are something.
The spouse, who was tired of the “iron box, which occupies a third of the trunk” and weighs 46 kg, set a tough condition: “come up with something compact for the next season, otherwise I’ll buy a folding barbecue in the nearest supermarket myself.” And since until the spring, the time of outings and picnics remained at that time about 4 months, I sat down in search.
The choice fell on the rocket, or as it is also called, a jet furnace. But the more I searched, sorted through the drawings and diagrams, the more often I caught myself thinking: and not cheaper, it will be easier to order it ready. And of course, thanks to a search on Yandex and relevant advertising, I came across an offer of Ognivo furnaces. From the site, as well as from the comments, I realized that people love their products.
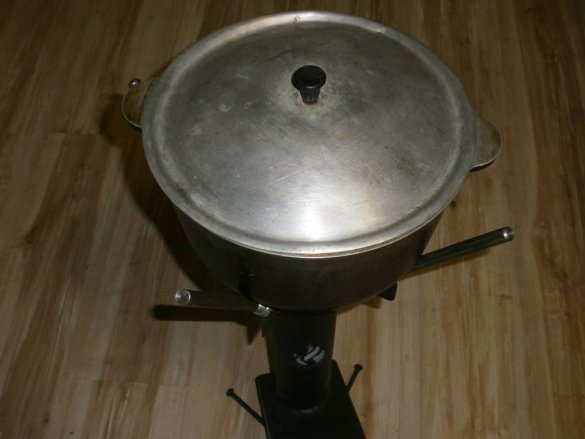
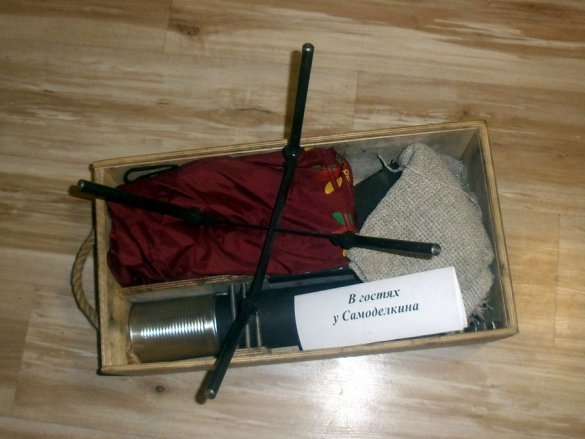
I chose on the basis of "the most compact", so I ordered the "Small breadwinner". At that time, she walked standardly with a poker, a door, legs, a simple cross-shaped divider, and a wooden box. With delivery to Sevastopol, this option came out 2,400 rubles. But here's a bad luck: my favorite 5-liter cauldron with a round bottom, stood on this uncomplicated divider made of two metal plates, very uncertain and flimsy. You stroke it, it will fall when cooking pilaf or stirring the roast. And if so, then it needs to be improved: do not buy the optional Corona nozzle, which is slightly smaller in size than the entire furnace assembly.
The idea is very simple, but today has proven its effectiveness several times.
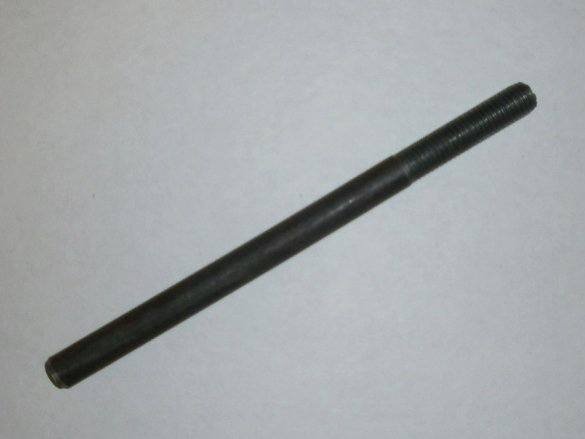
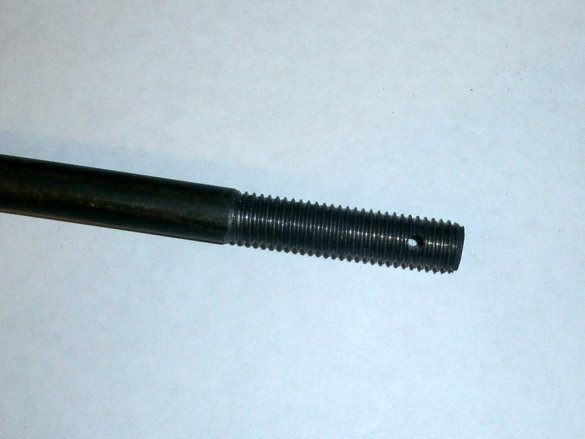
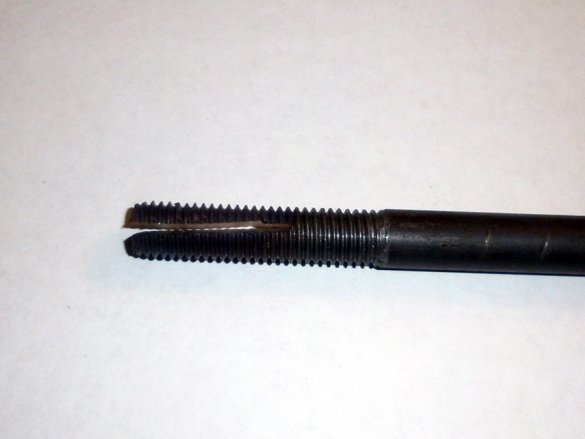
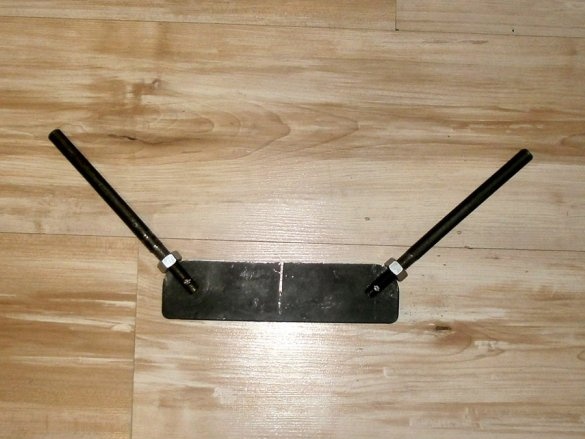
To begin with, I made 4 studs with a diameter of 12 and a length of 200 mm, at one end of which a thread was cut. Its length of 50 mm was enough "with the head."
Having screwed the nut (it will then remove the burrs), stepping 10 mm from the edge, drilled a hole with a 4 mm drill.
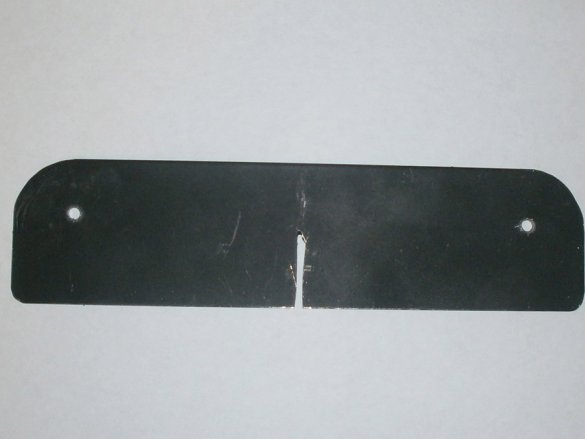
Then the grinder made a cut to a depth of 30 mm. It turned out sloppy, but as it turned out later, it doesn’t matter. The only thing is that the cutting disc should not be thinner than the divider plates themselves: otherwise you will have to expand the cut.
In the plates I rounded the edges with a radius of 20 mm, and in the center where I put the compass needle, I drilled a 4 mm hole.
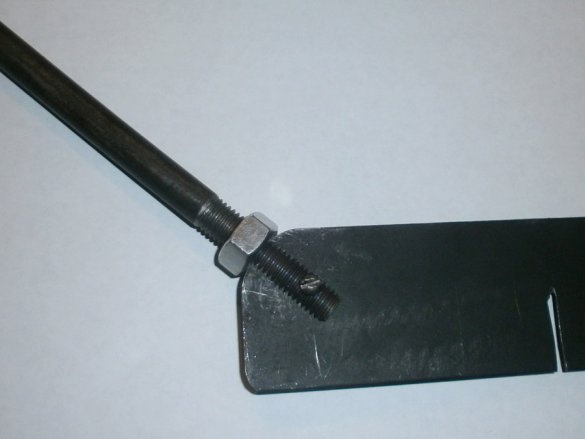
We assemble: we wind the nut, insert the horn into the plate, and then with the M4 screw (it will act as a hairpin), we connect both parts.
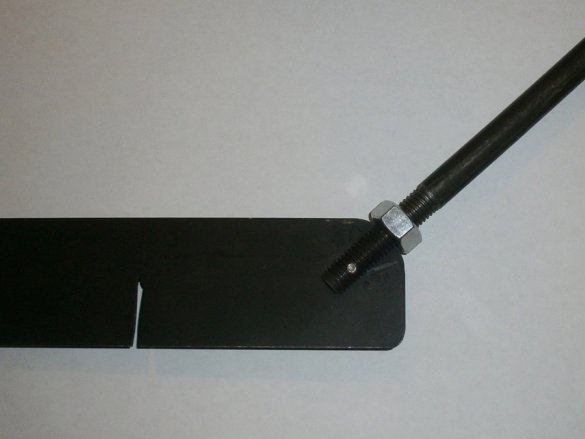
We unfasten the screw on the other hand (it would be more authentic, it could be locked with two nuts).The horn should move freely within 90 degrees of the plate: so it can be adjusted to fit any cauldron or vog.
We attach the horn on the other hand, we also act with another plate.
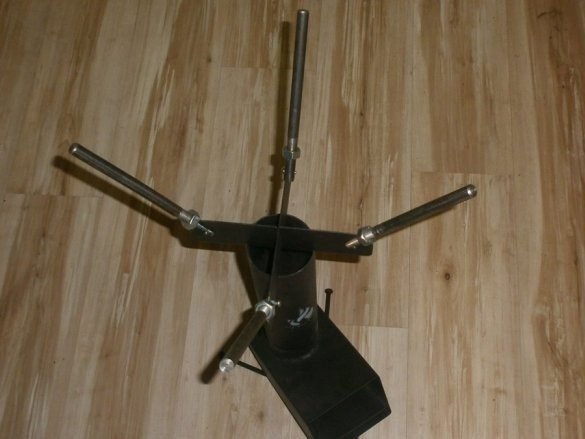
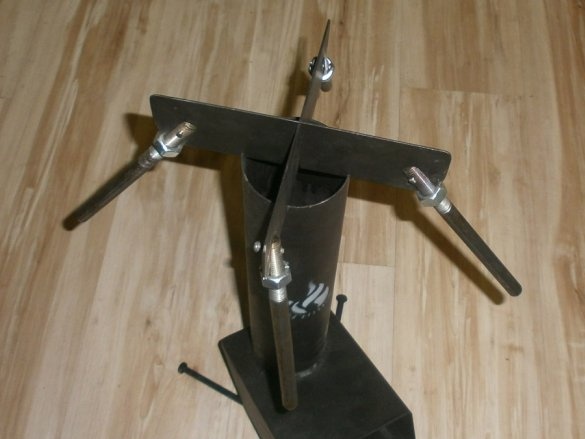
The upgraded divider is ready. The nuts on it will be responsible for firmly fixing the angle of inclination. Therefore, when you first go to nature, or take another cauldron, do not forget the key to 19.
My 5 liter cauldron is just fine.
At the same time, the functionality of the divider did not suffer at all: turn it 180 degrees and voila, you again have a flat surface for a flat frying pan.
And if you want to know how I improved the box with the stove that I added for a more comfortable outdoor recreation, write in the comments.
See you later.


