
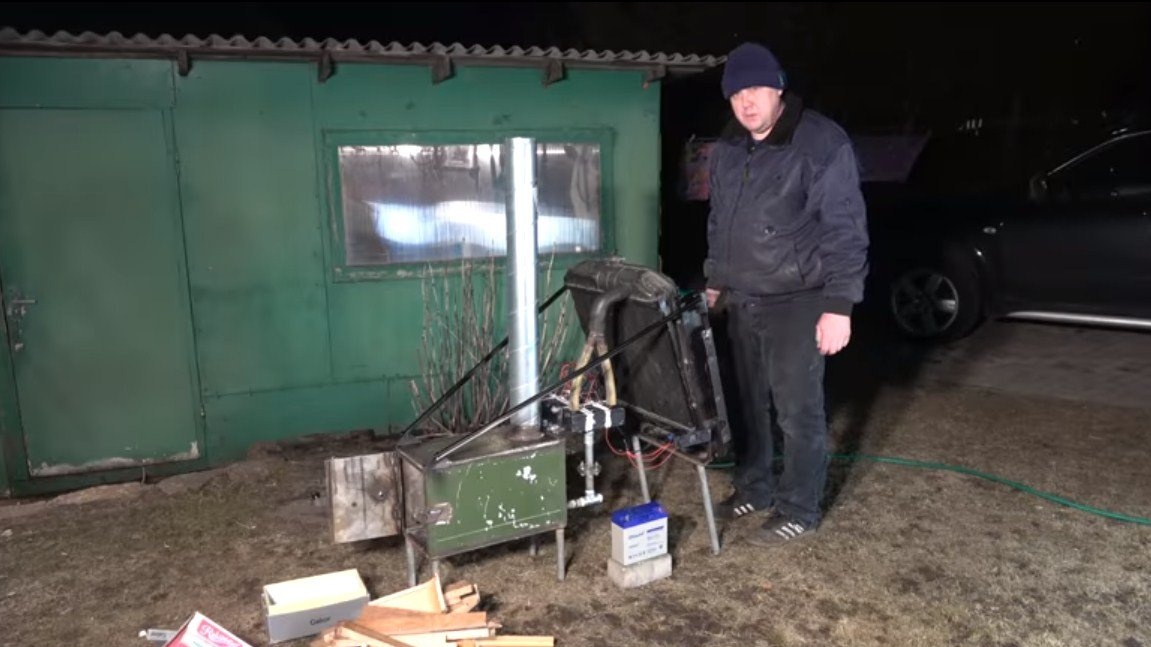
Hello everyone, I propose to consider an interesting design of a wood stove, which you can make do it yourself. The design feature is that the furnace is able to generate electric current for charging a mobile phone and other devices, they are responsible for this.
Water acts as a coolant in the furnace, although it can easily be replaced with oil or other liquid. This means that you can connect batteries to such an oven and heat the room, as an example. With the help of such an oven, you can easily and simply get hot water. The maximum power that Peltier elements give out is 10 watts, and the maximum voltage is around 15 V. If you need higher power and voltage, you can install more. Let's consider in more detail how such a furnace works and how to make it.
Materials and tools used by the author:
Material List:
- ready-made housing for the furnace (or sheet steel, corner and other materials);
- steel pipes;
- chimney;
- car radiator (from the Volga or another, preferably a larger volume);
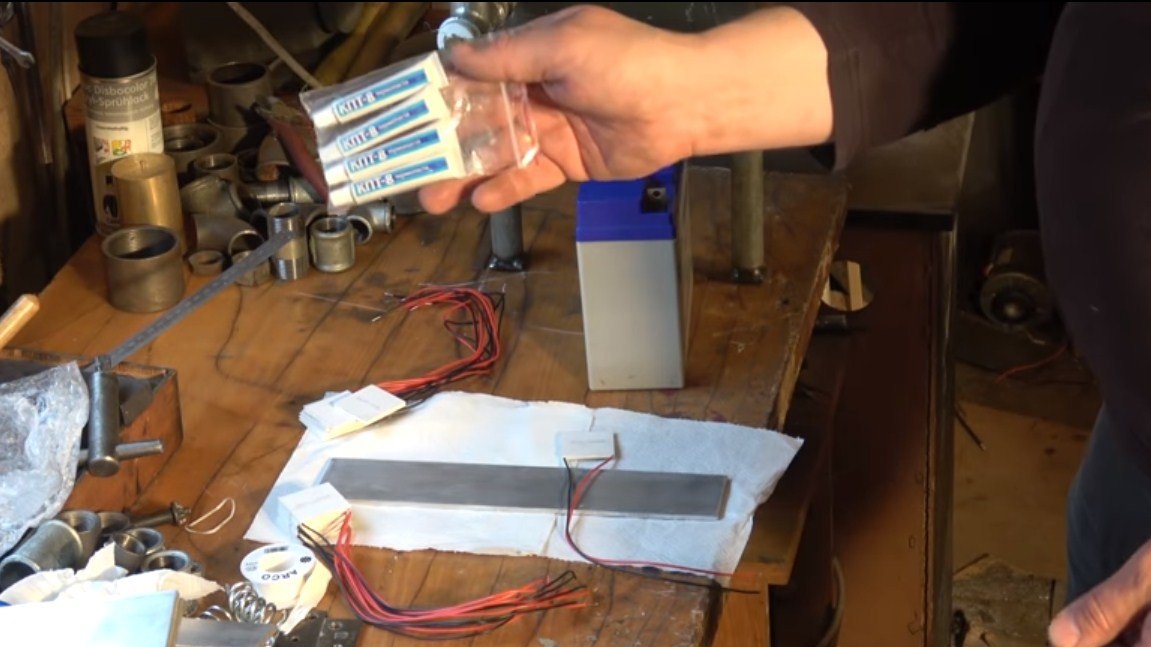
- (the author has 14 pieces);
- thermal grease;
- sheet aluminum:
- fum tape;
- square steel pipes (for heat exchangers);
- water hose;
- hydraulic valve (to relieve excess pressure);
- tees for water supply;
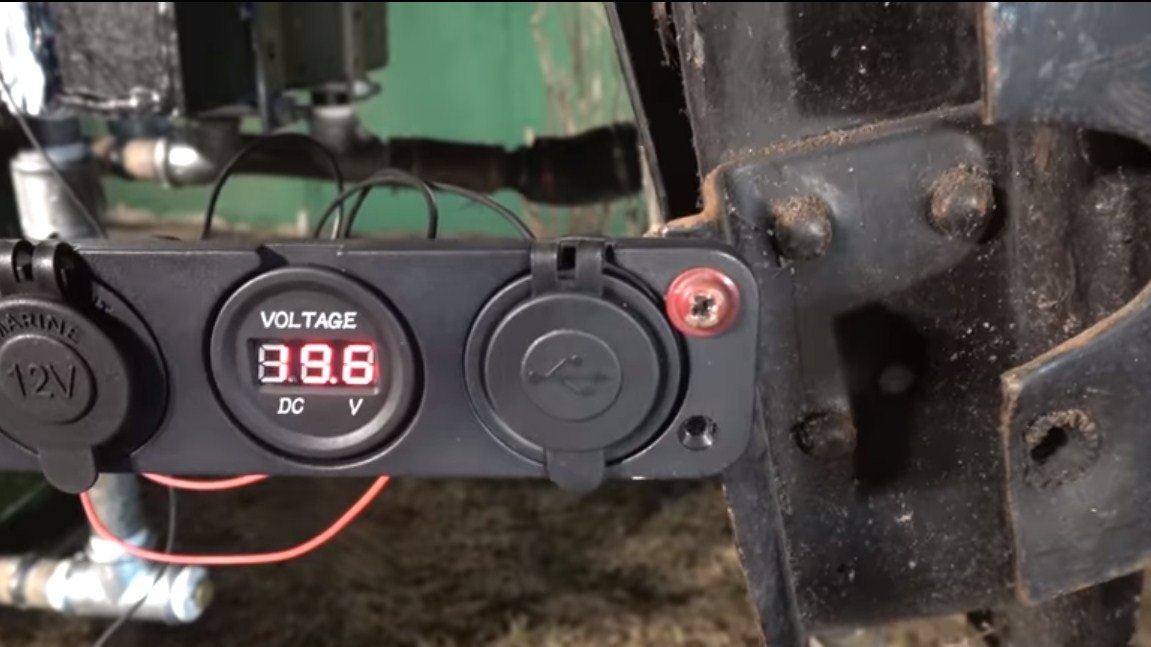
- battery electronics to control voltage (and the like, if desired).
Tool List:
- grinder;
- welding machine;
- lathe;
- drill;
- Gachin keys.
Furnace manufacturing process:
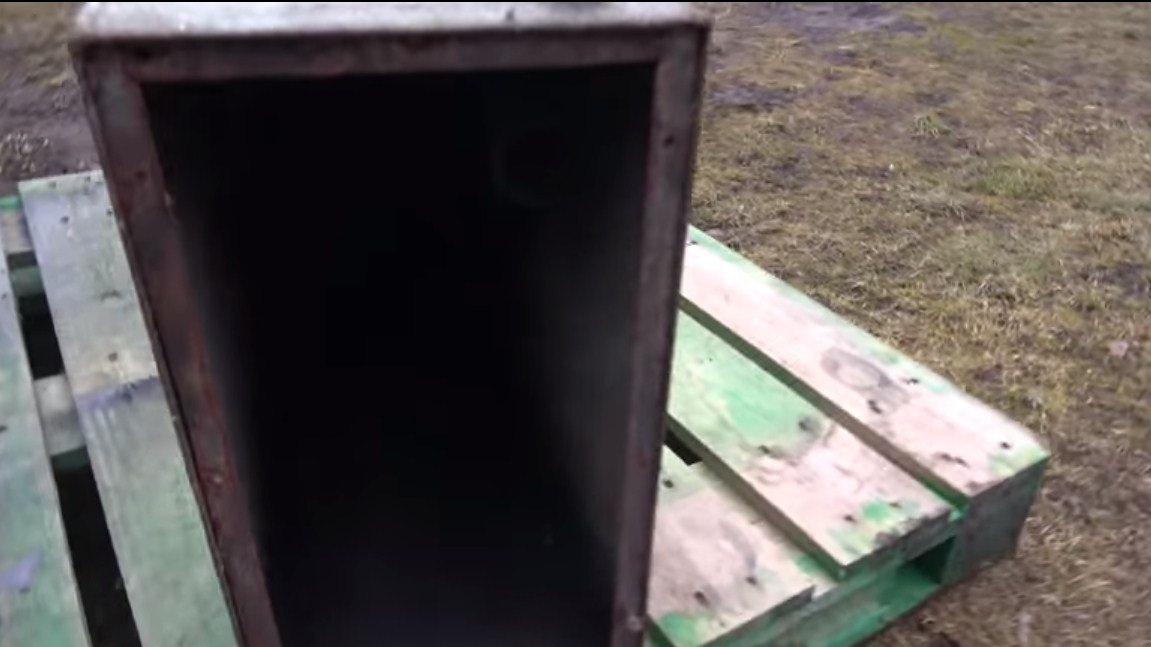
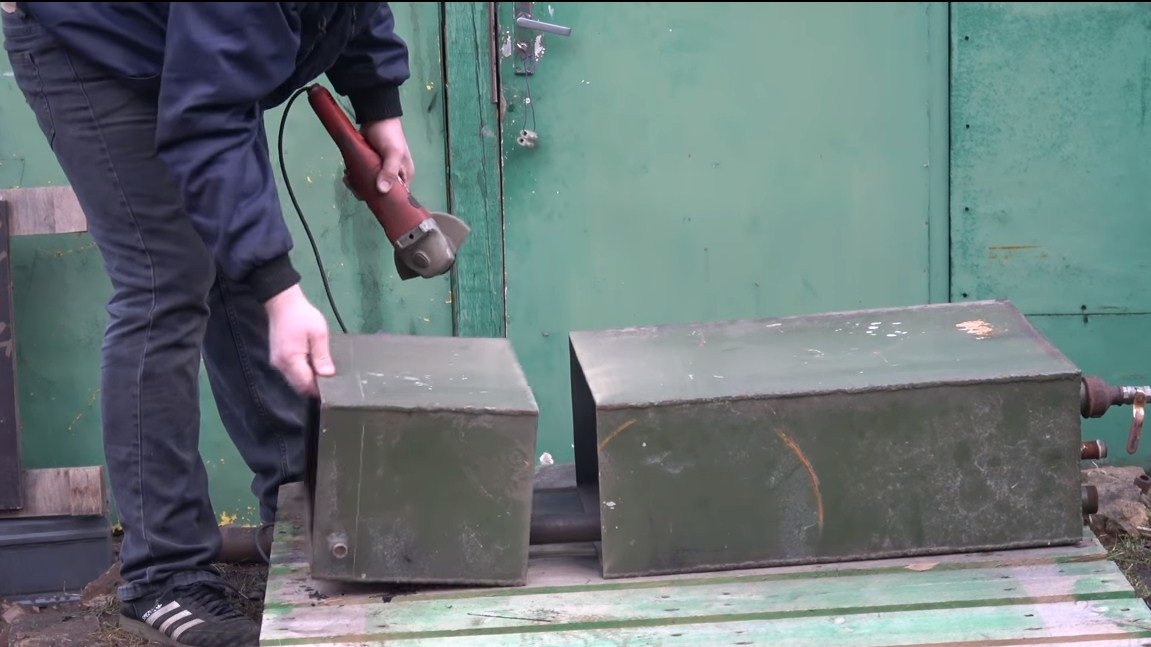
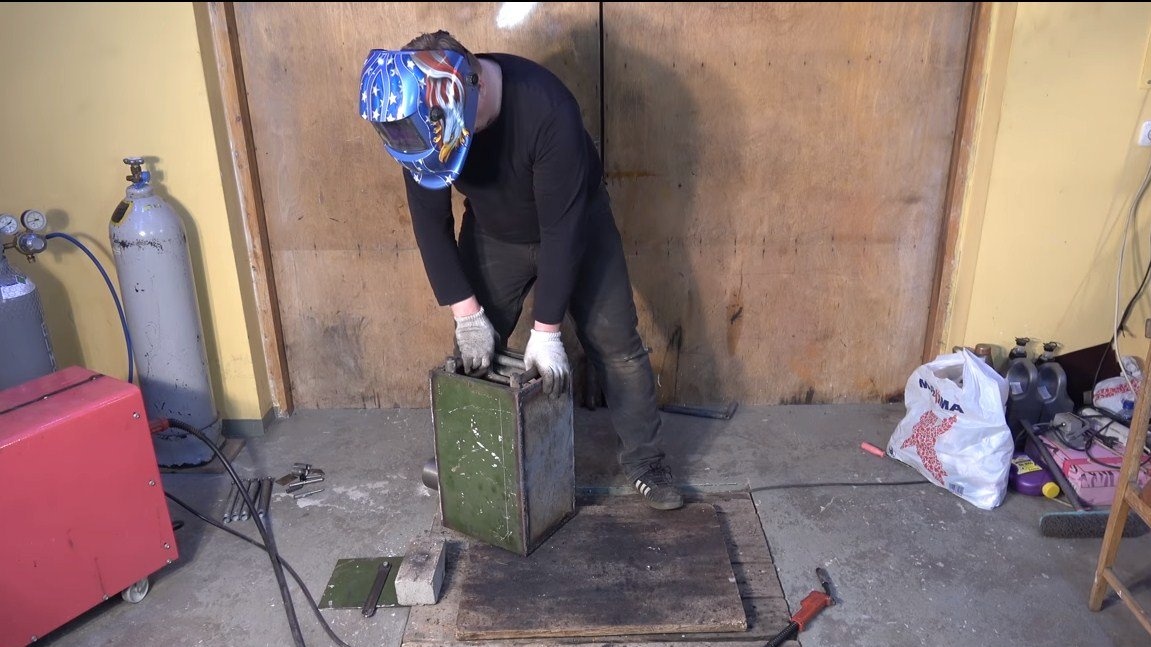
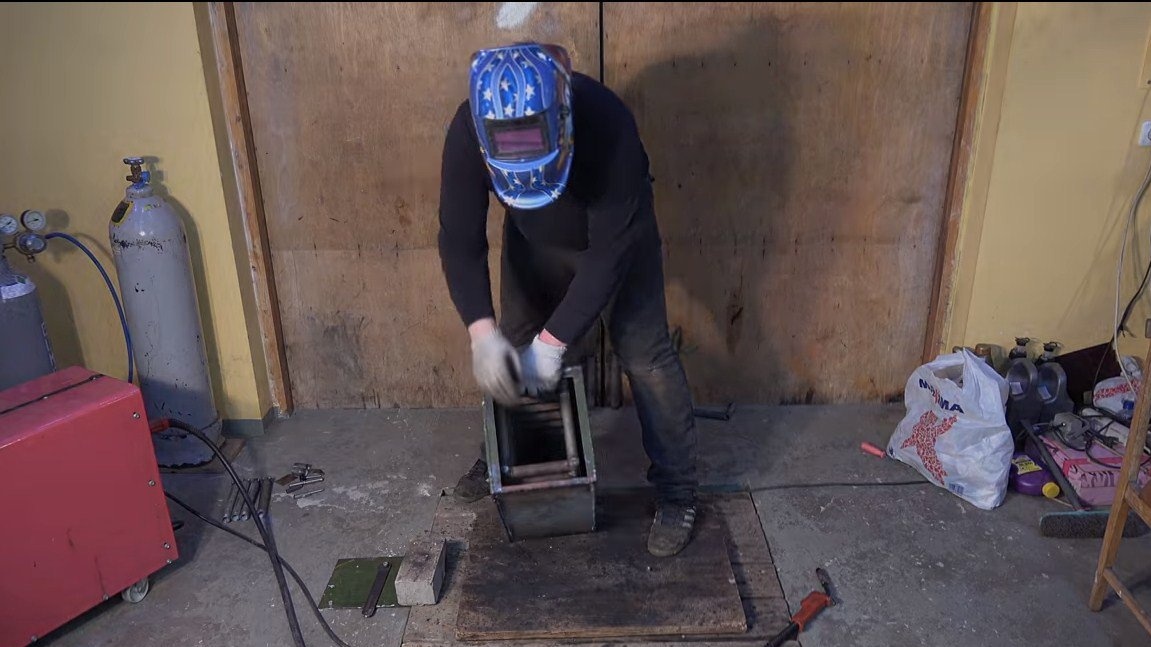
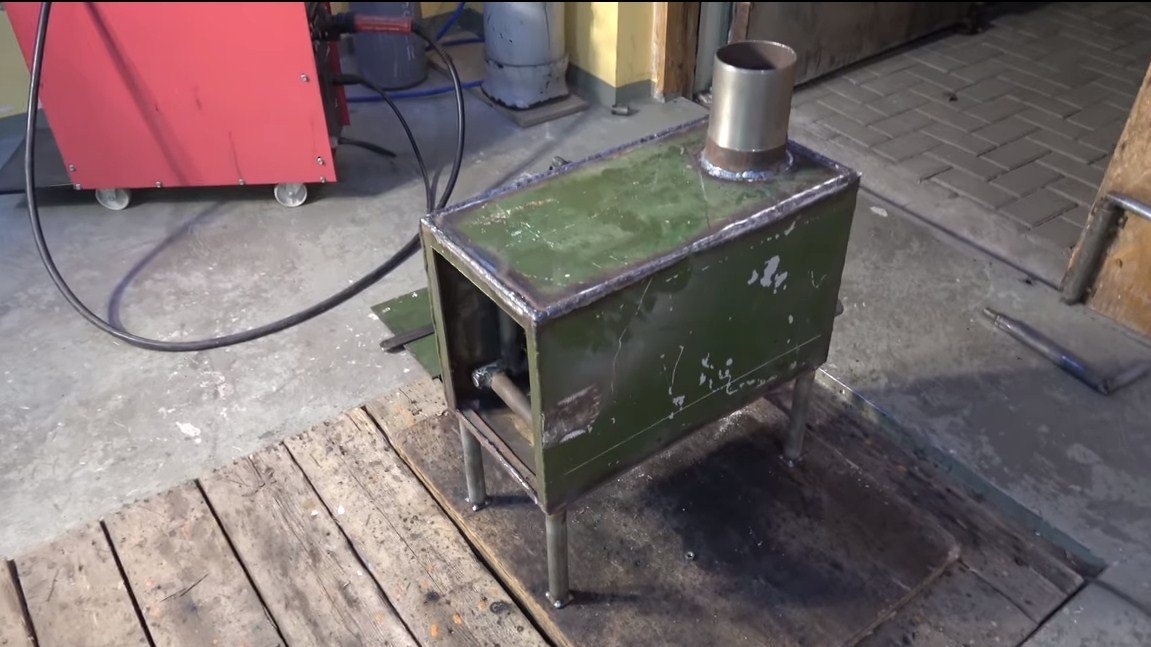
Step one. Making the furnace body
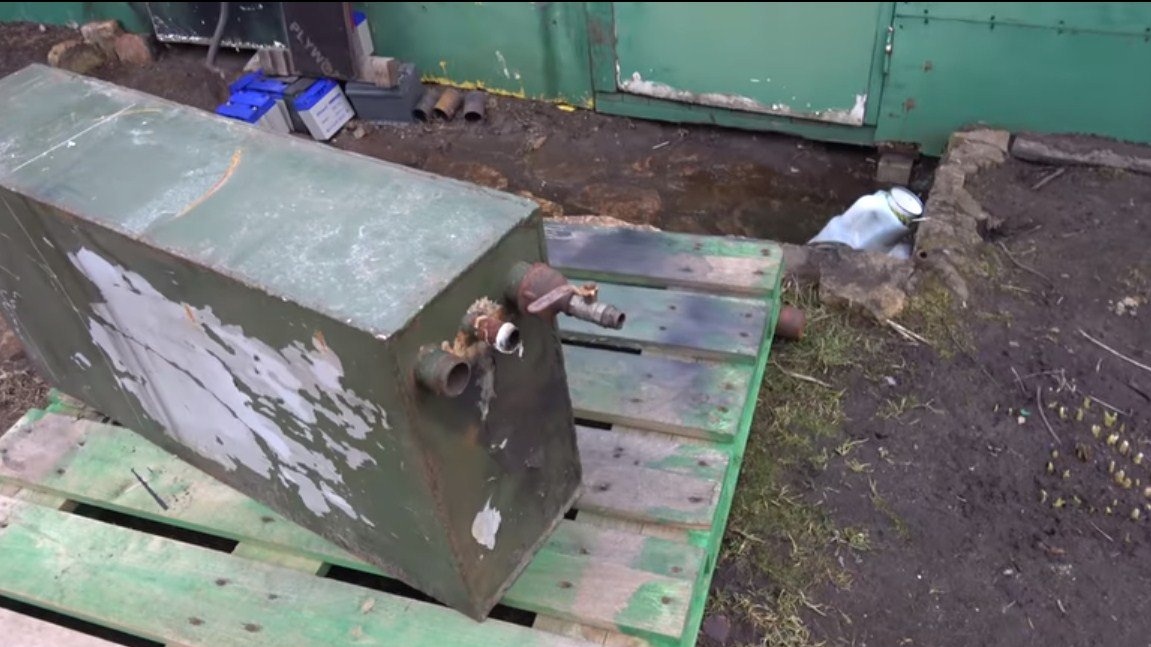
The furnace body is made of metal, the author used an old tank for such purposes. You can make a similar stove out of sheet steel, old gas cylinders and so on, you can simply upgrade your existing potbelly stove.
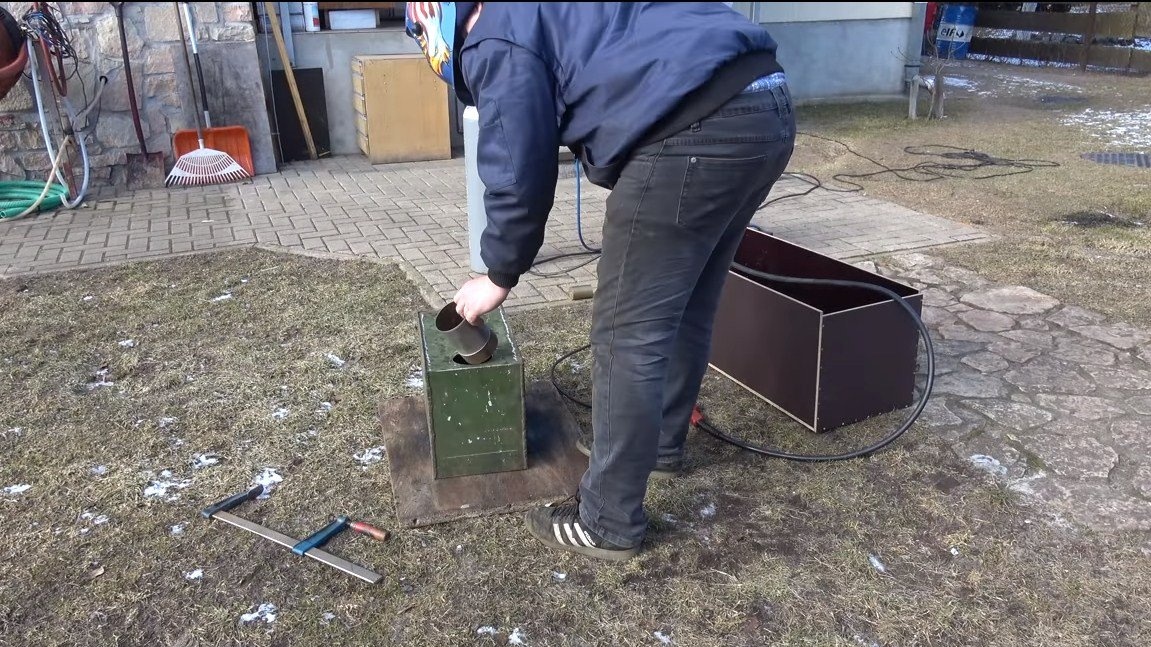
We install the door, as well as the chimney. In the chimney, we definitely make a valve, and we make the furnace door so that it closes tightly. This is necessary in order to quickly extinguish the furnace if necessary. If the Peltier elements overheat, they may fail.
The author has a small oven in size, but to get more heat, you can make a bigger oven.
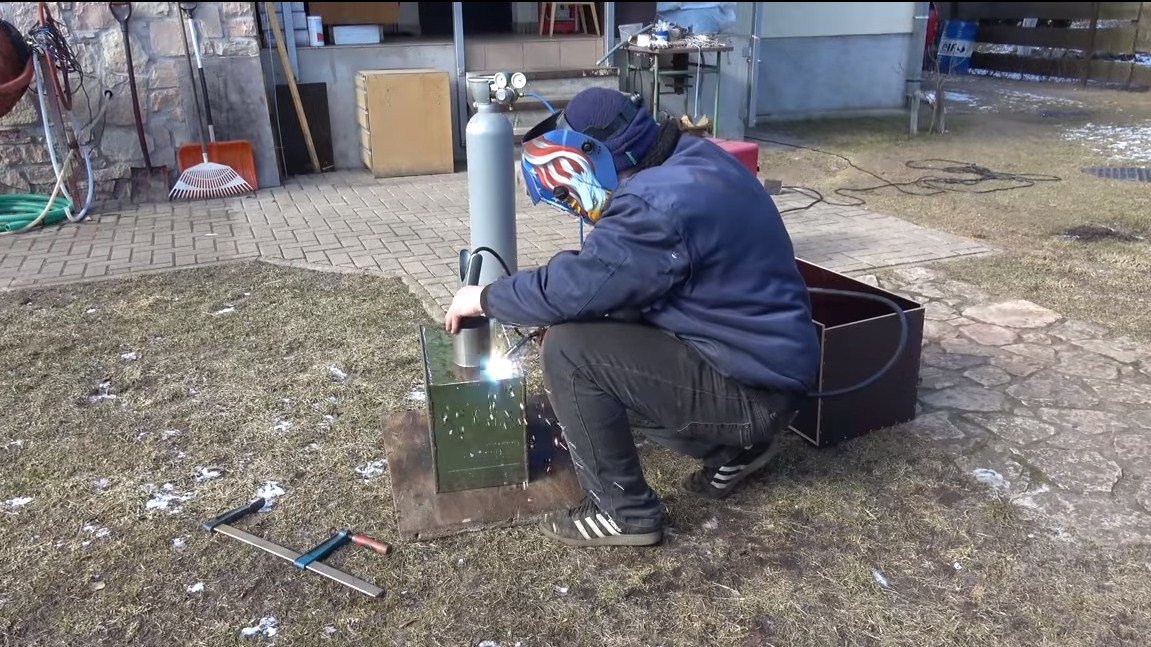
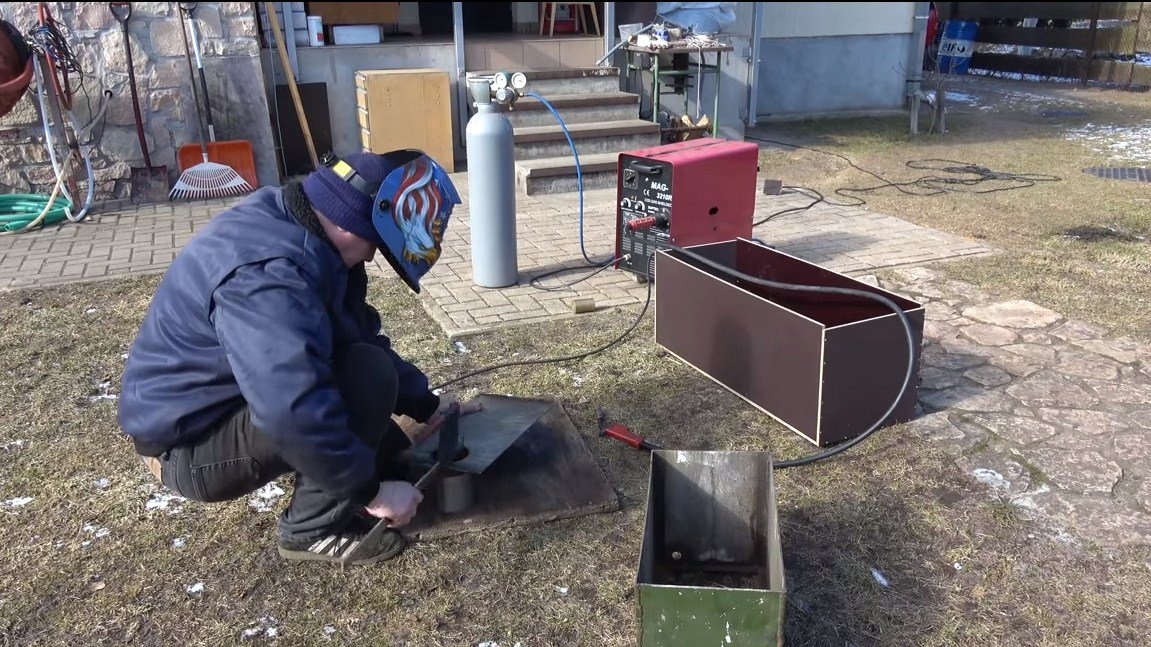
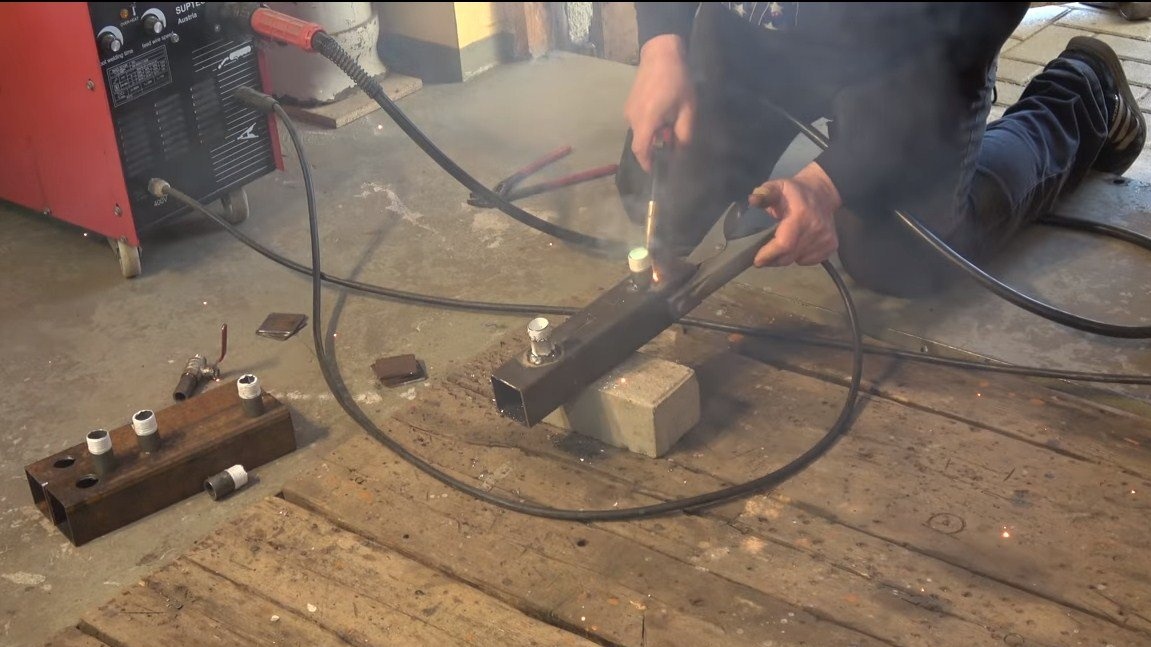
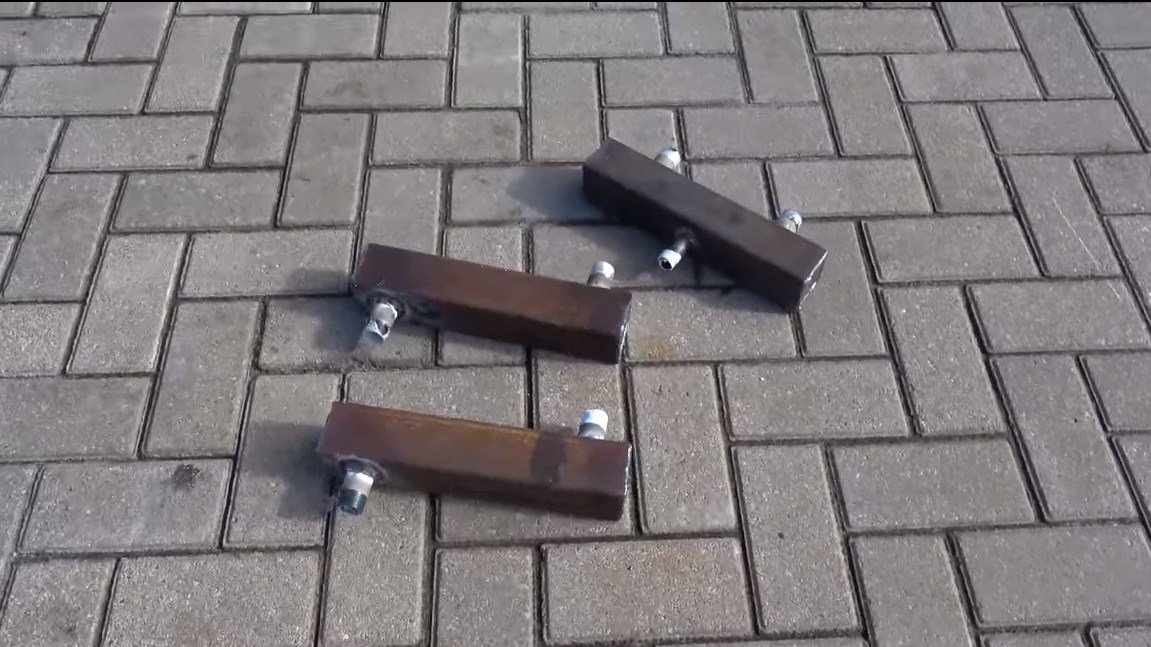
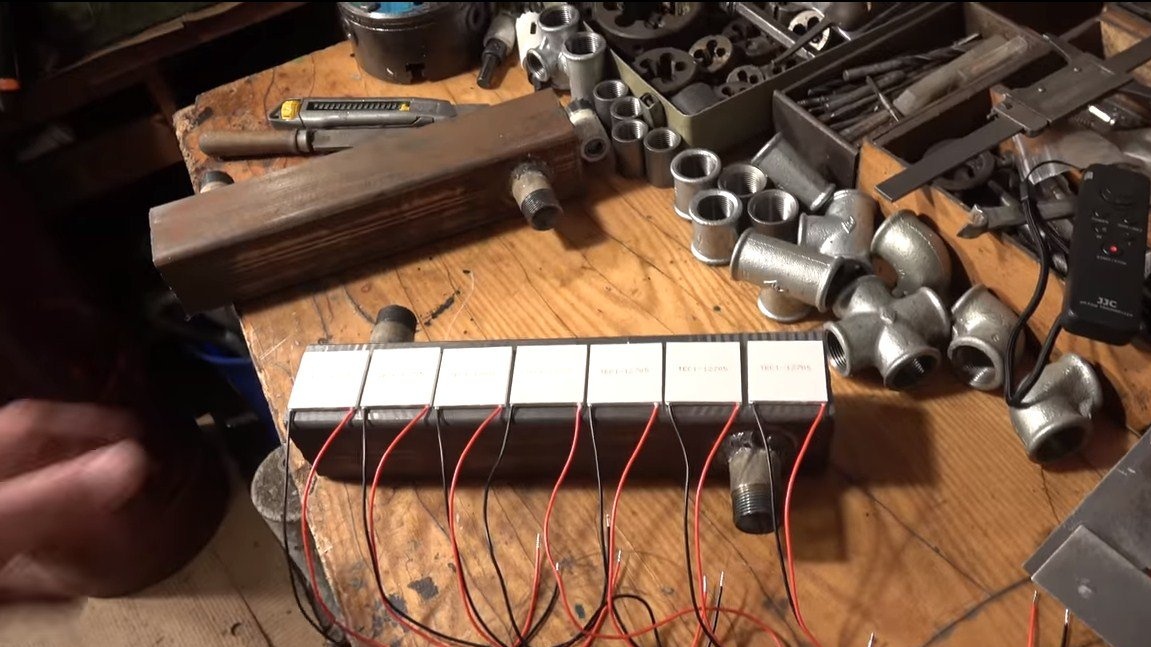
Step Two Heat Exchanger Manufacturing
Next, we need to make three heat exchangers, one of them will be hot, and the other two cold. Between heat exchangers our Peltier elements will be located. For the manufacture of such parts, we need square pipes of suitable section, according to the size of the Peltier elements. We weld pipes to the pipes, one will be incoming, and one will be outgoing. The ends of the pipes are well welded, the welds must withstand a pressure of at least 2 bar.
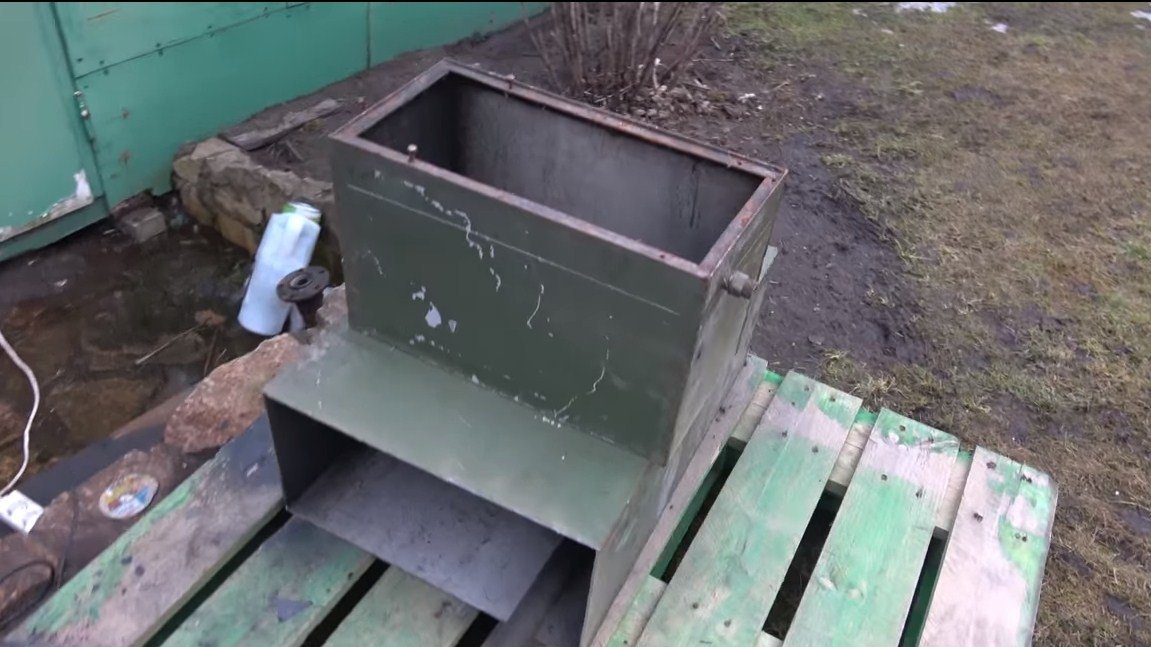
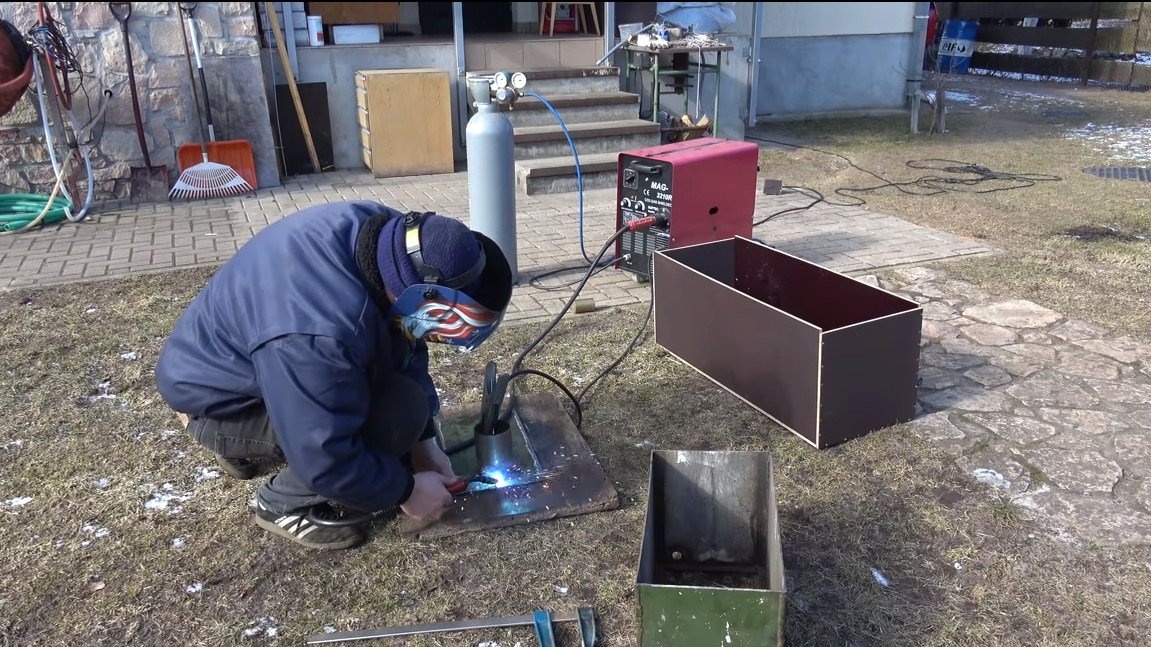
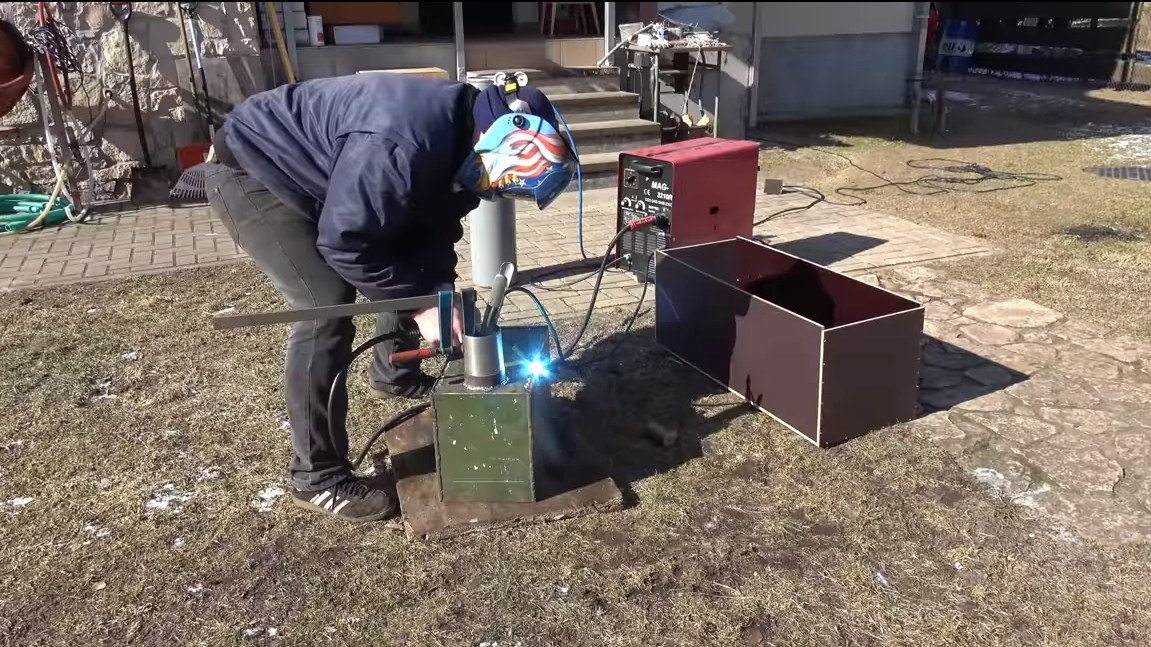
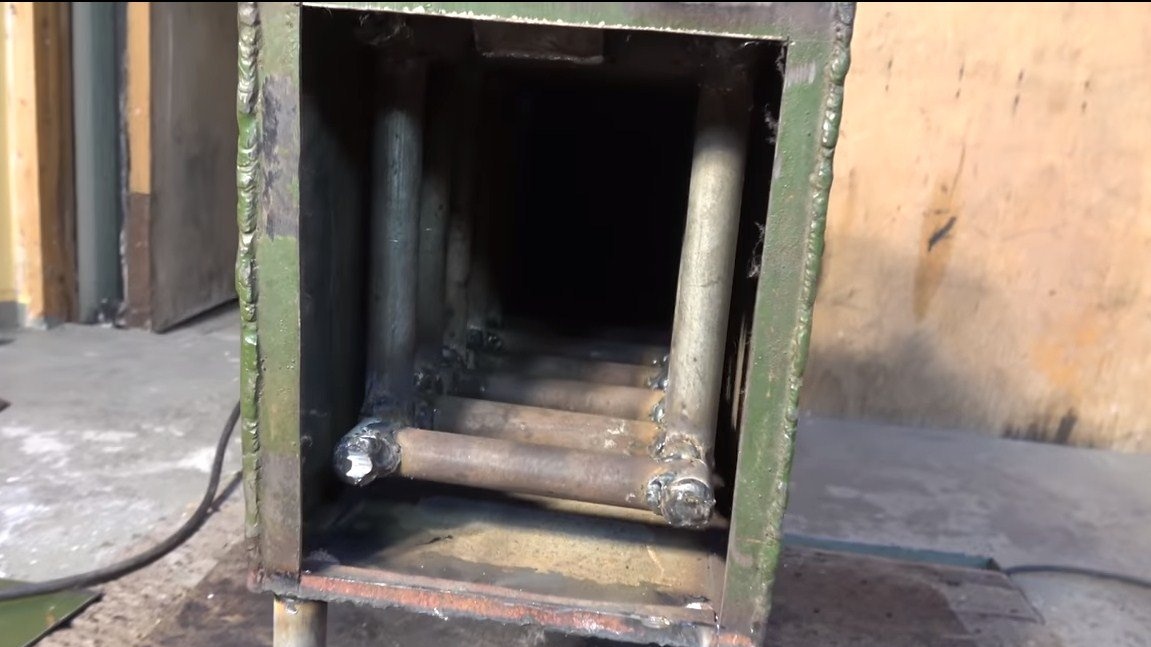
Step Three Heating circuit
A heating circuit is installed inside the furnace, our water will circulate in it, heating up from coal and flame. For the manufacture of this circuit, steel pipes will be needed, we weld a structure from them, as the author’s, everything must be airtight and must withstand high pressure. Of course, the design of the circuit may be different, the larger the heated area, the more efficient the furnace will heat the water.
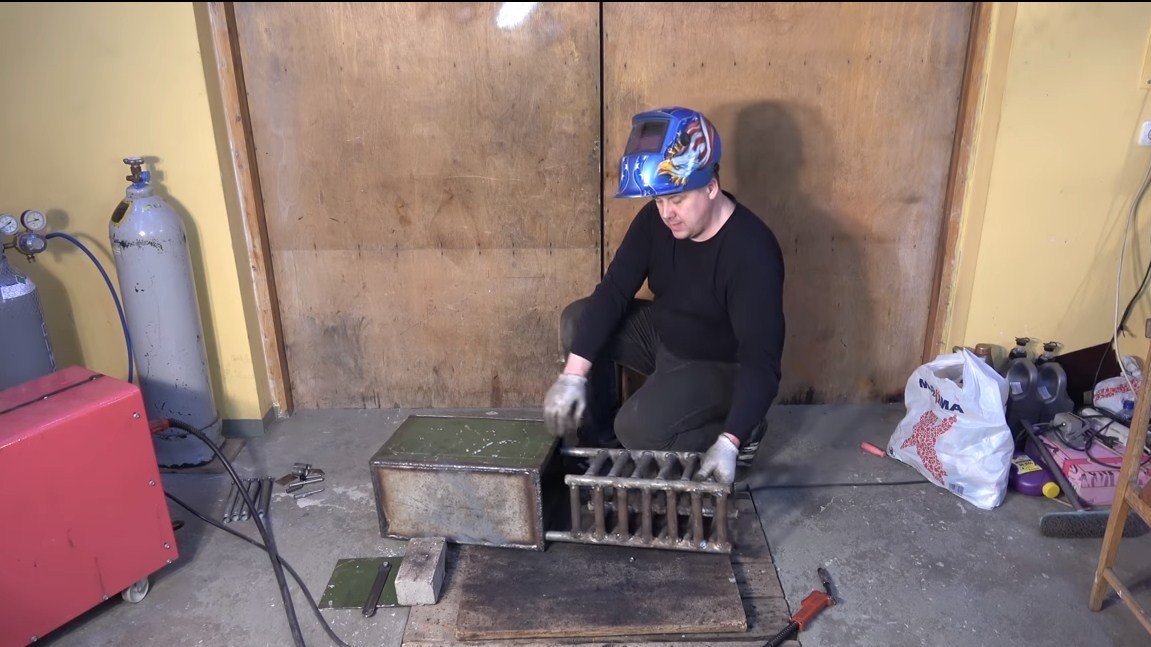
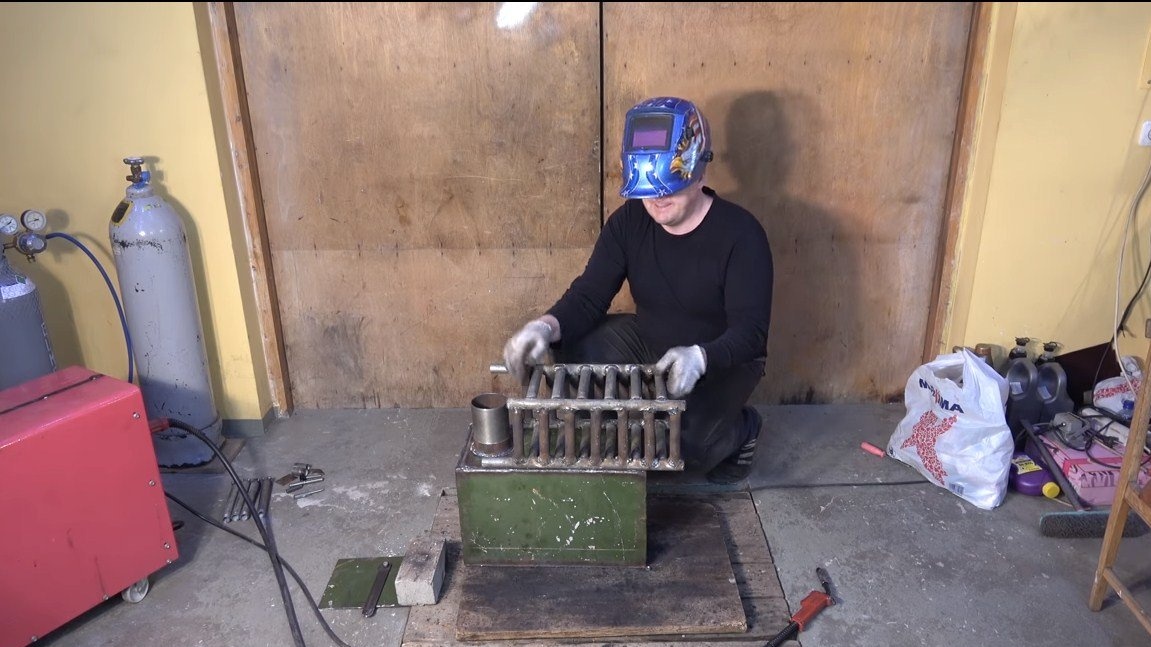
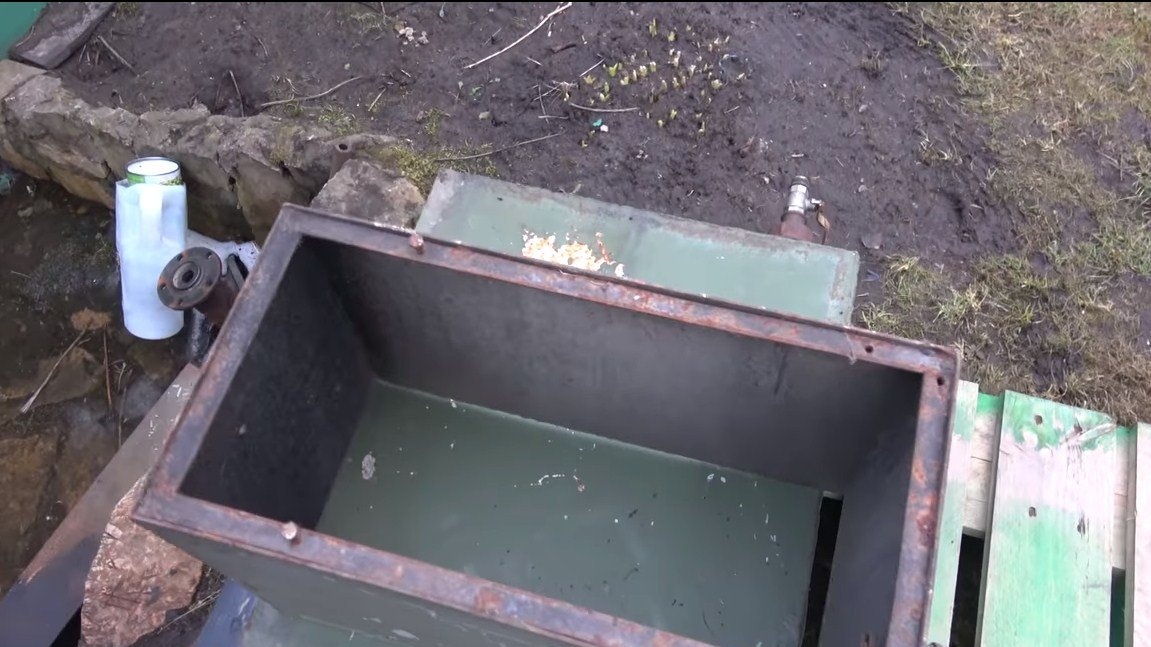
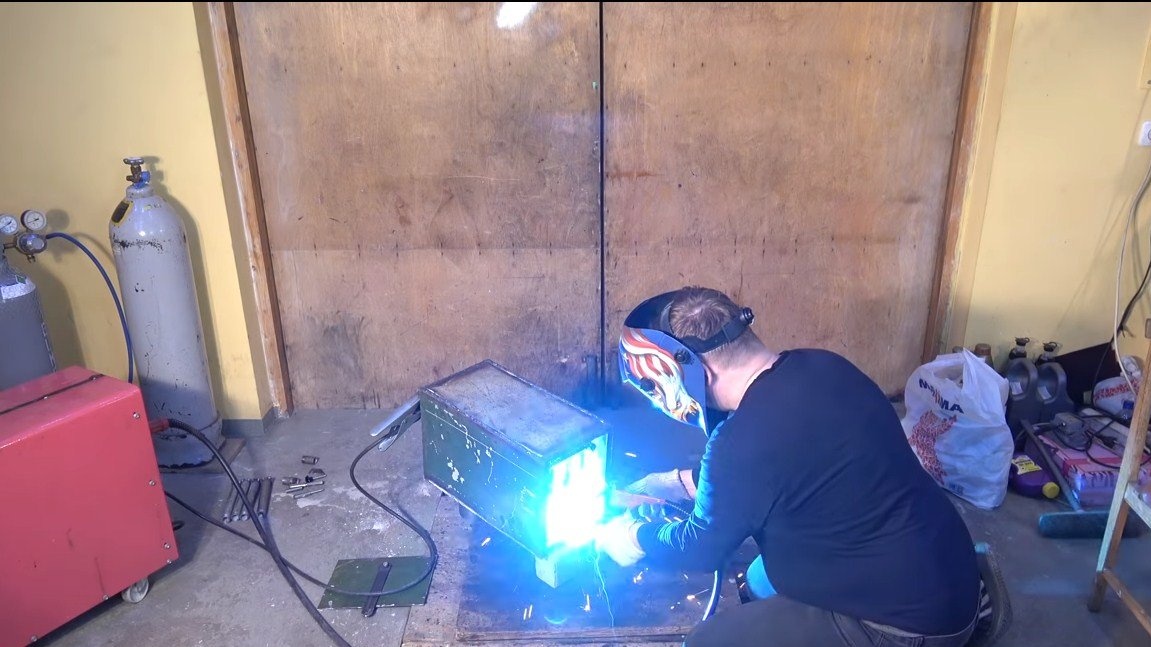
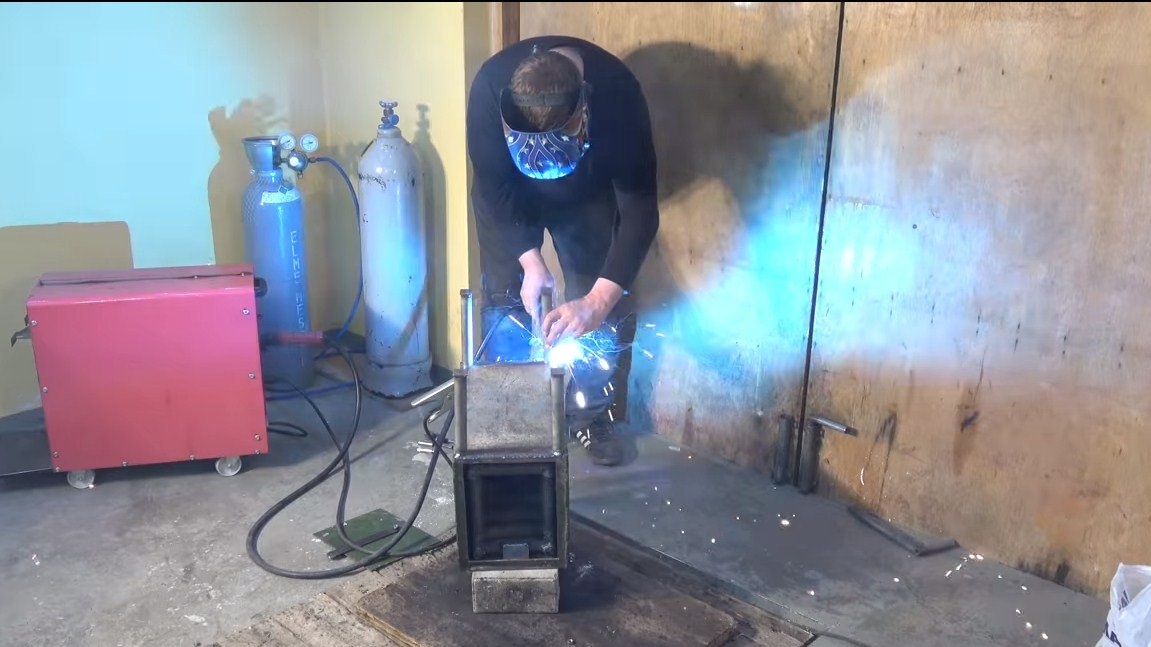
Step Four Furnace assembly
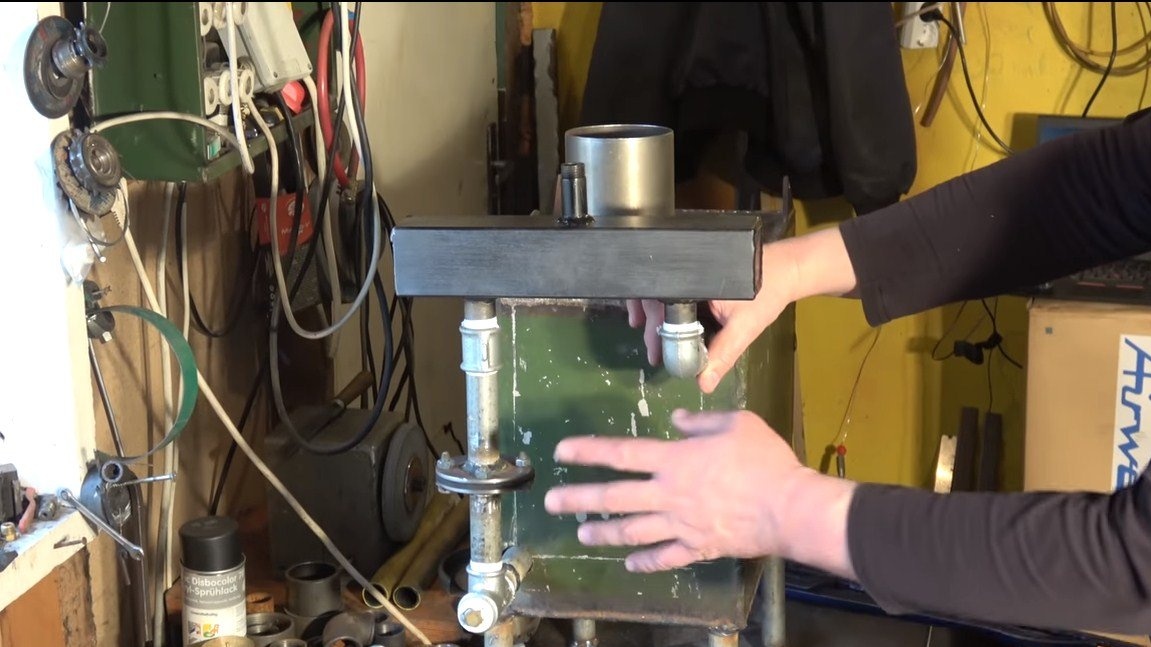
Everything is almost ready, you can assemble the stove. We install the door, and inside the furnace we mount the heating circuit. We weld the heating circuit to the furnace body so that it does not move. We also weld the legs to the furnace, the author made them from round pipes, welding the ends with sheet steel.
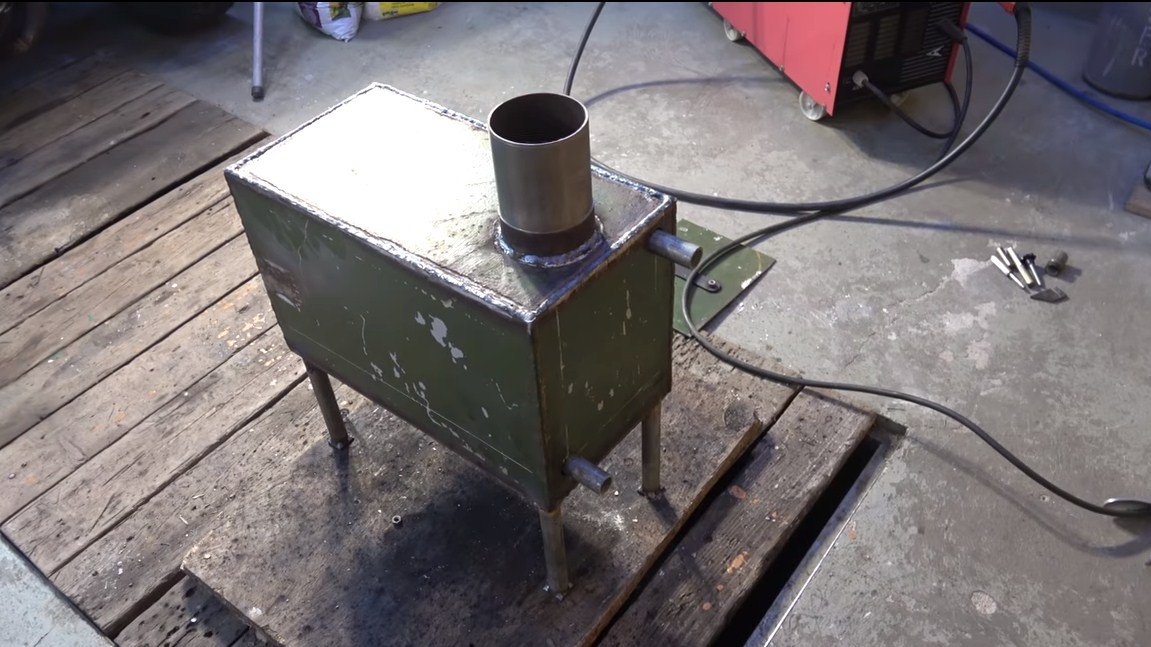

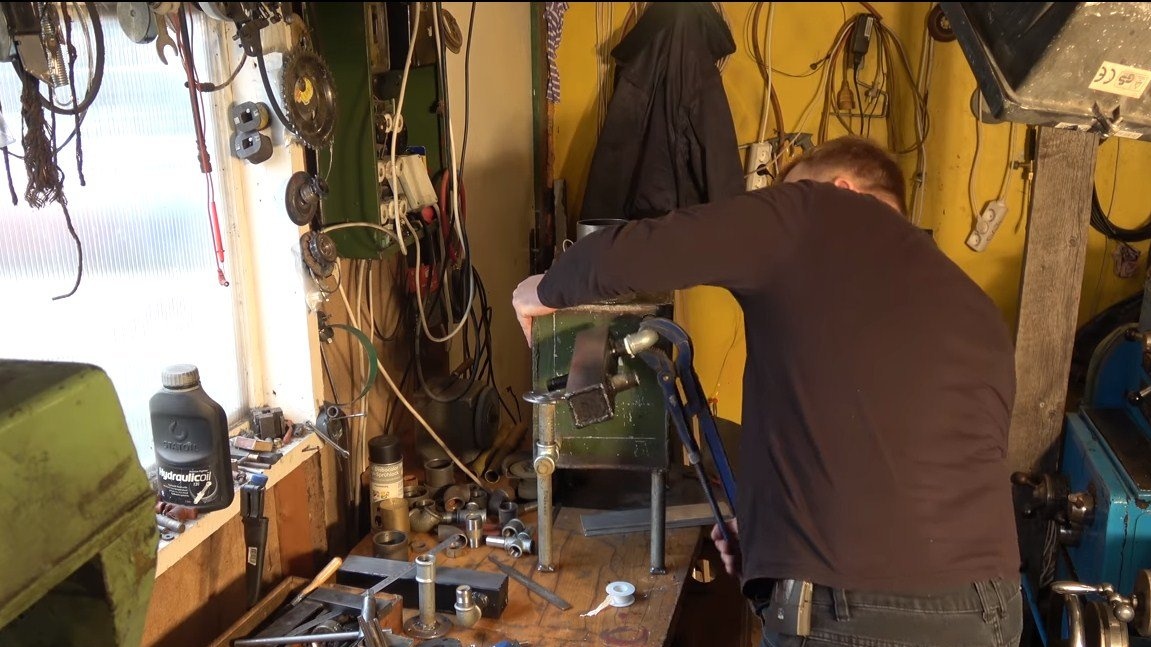
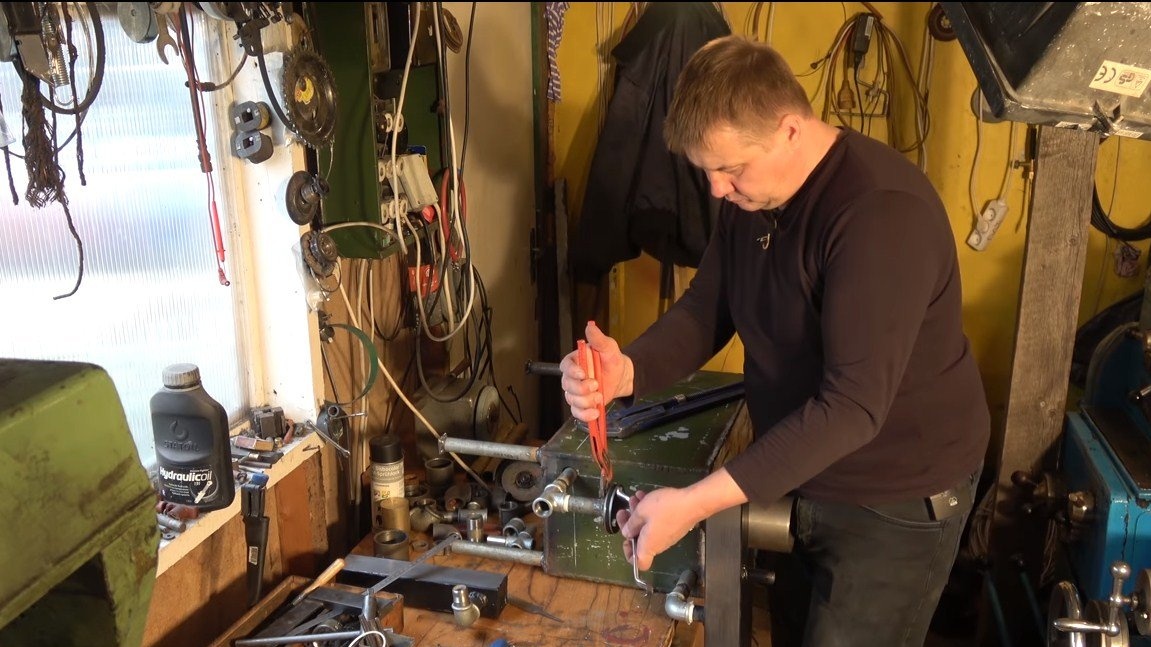
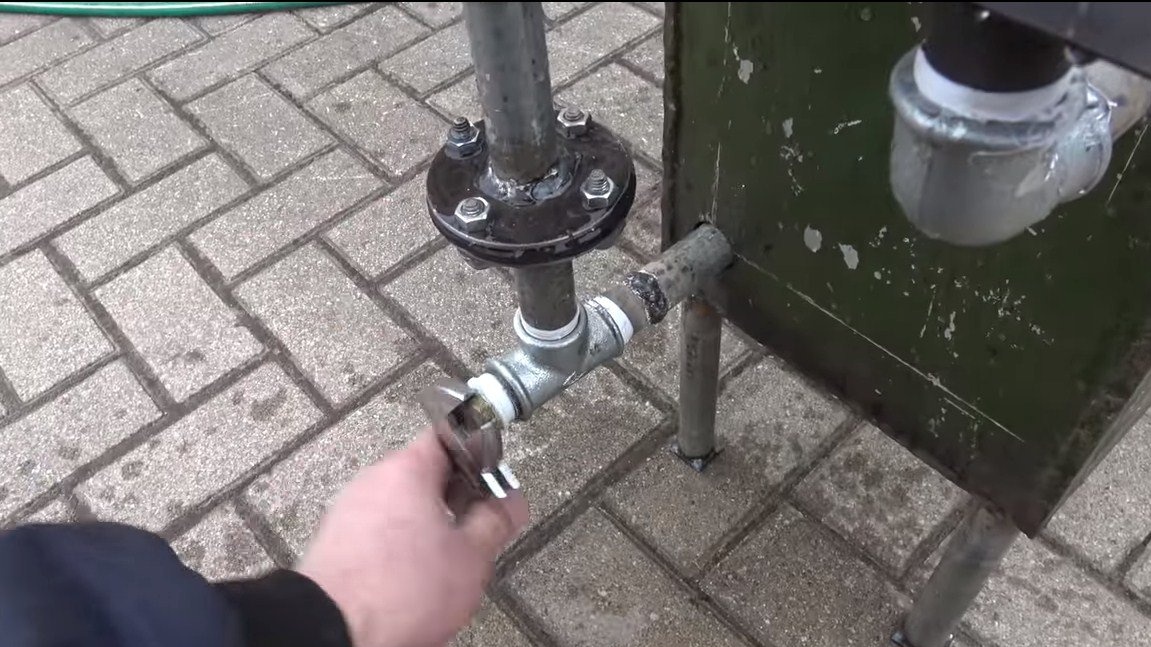
At the end of this stage, you can install a plug on one of the outputs, and connect pressure water to the other. So we check whether the heating circuit is hermetically made. The author installed one of the heat exchangers on the furnace and applied water pressure to the system. No leaks were found.
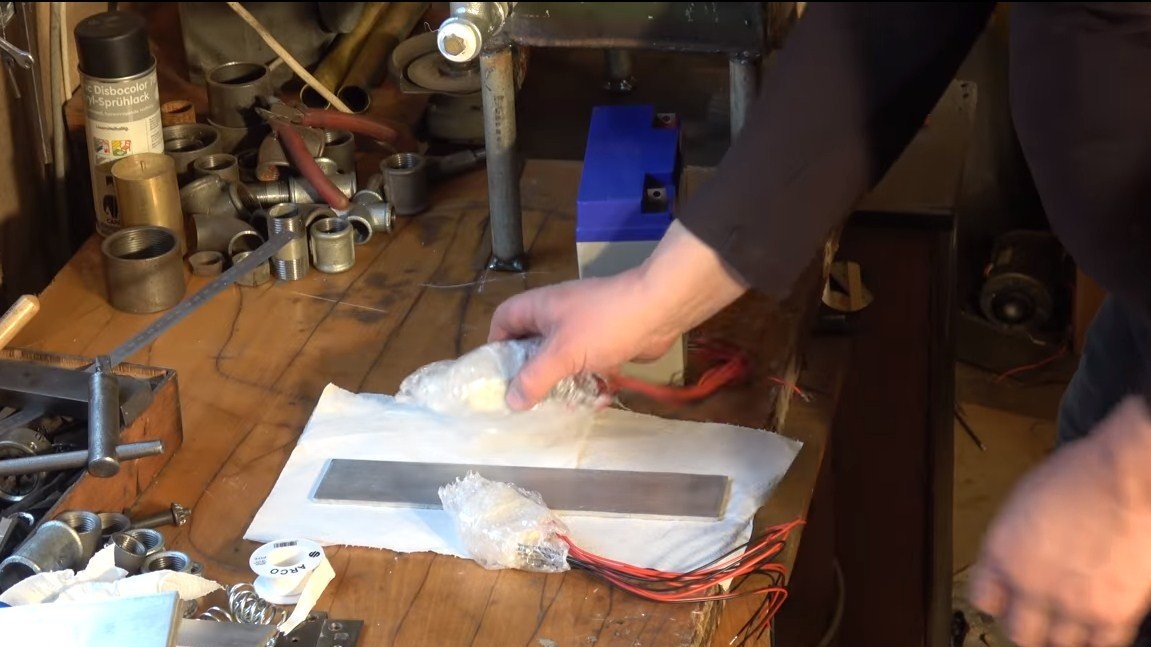
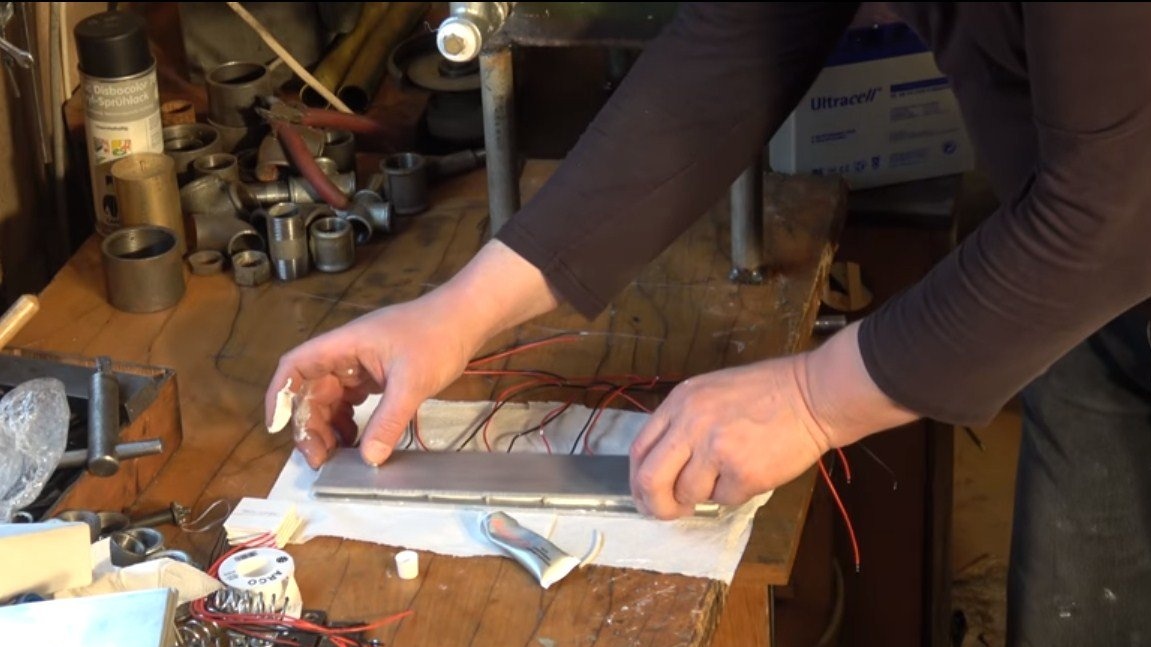
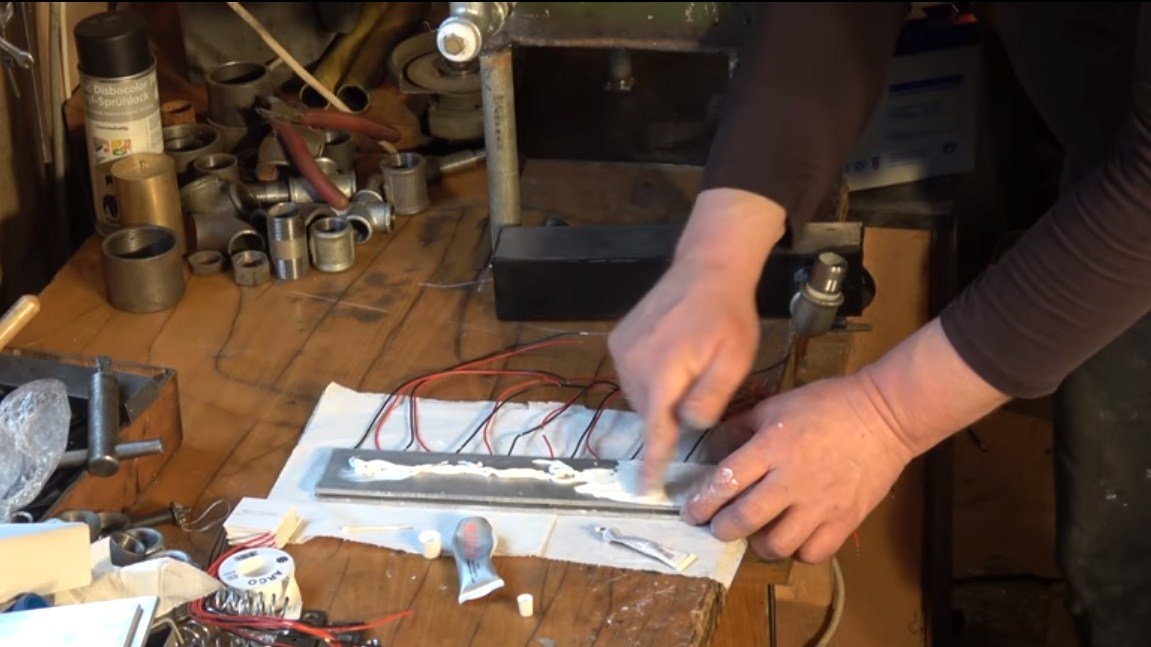
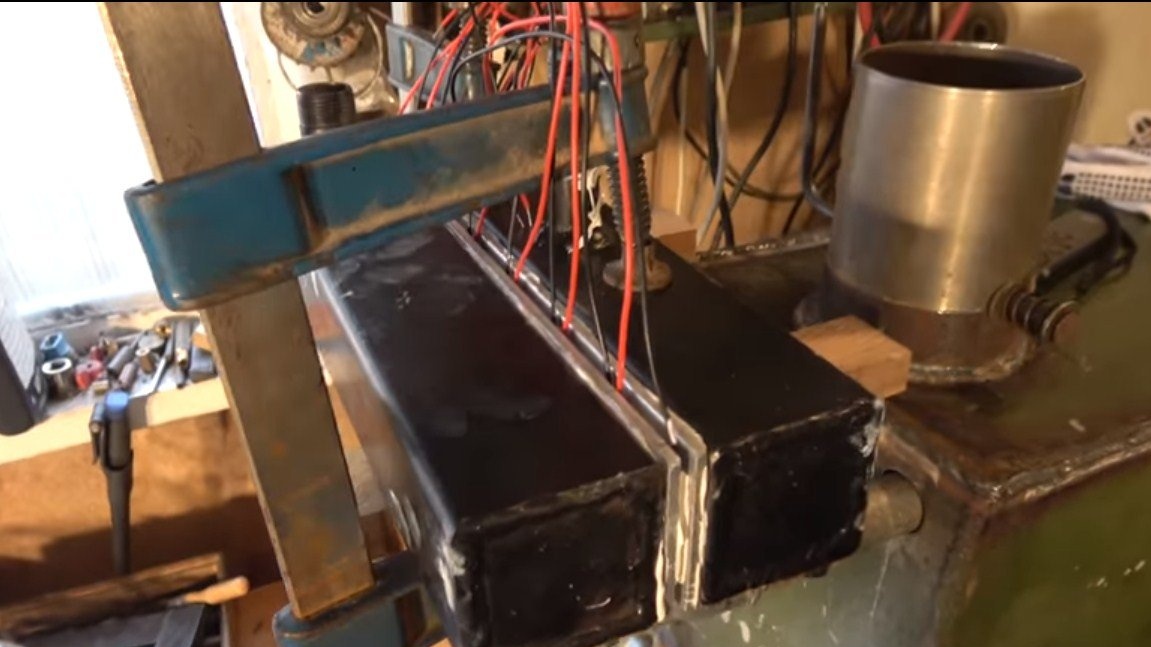
Step Five Putting a “sandwich”
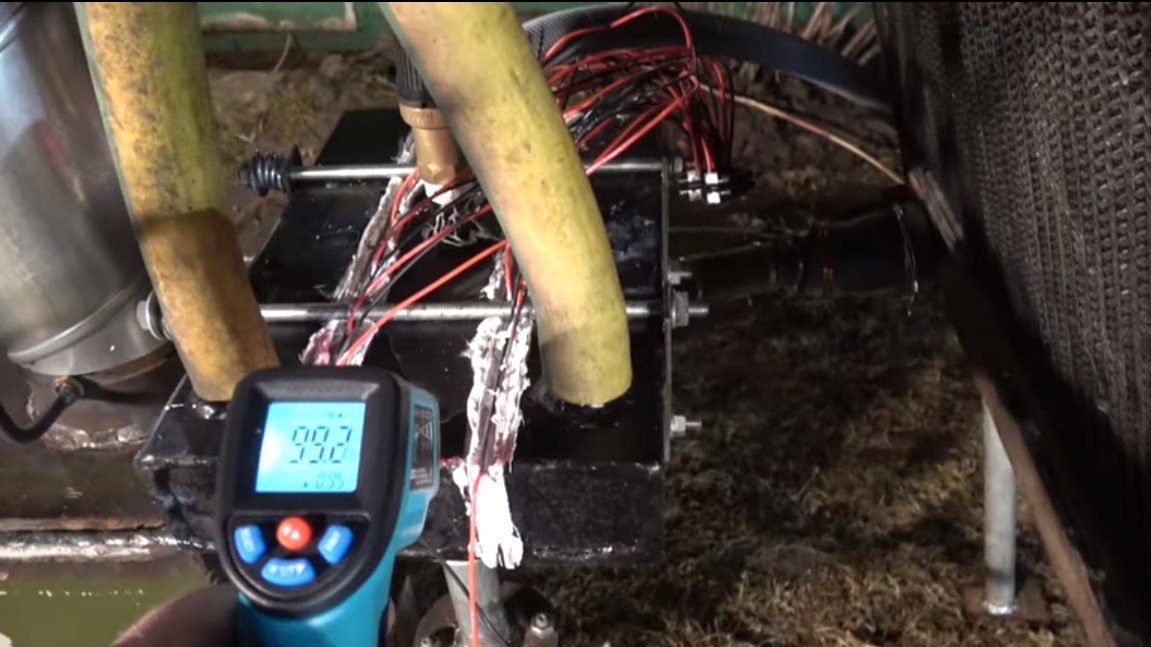
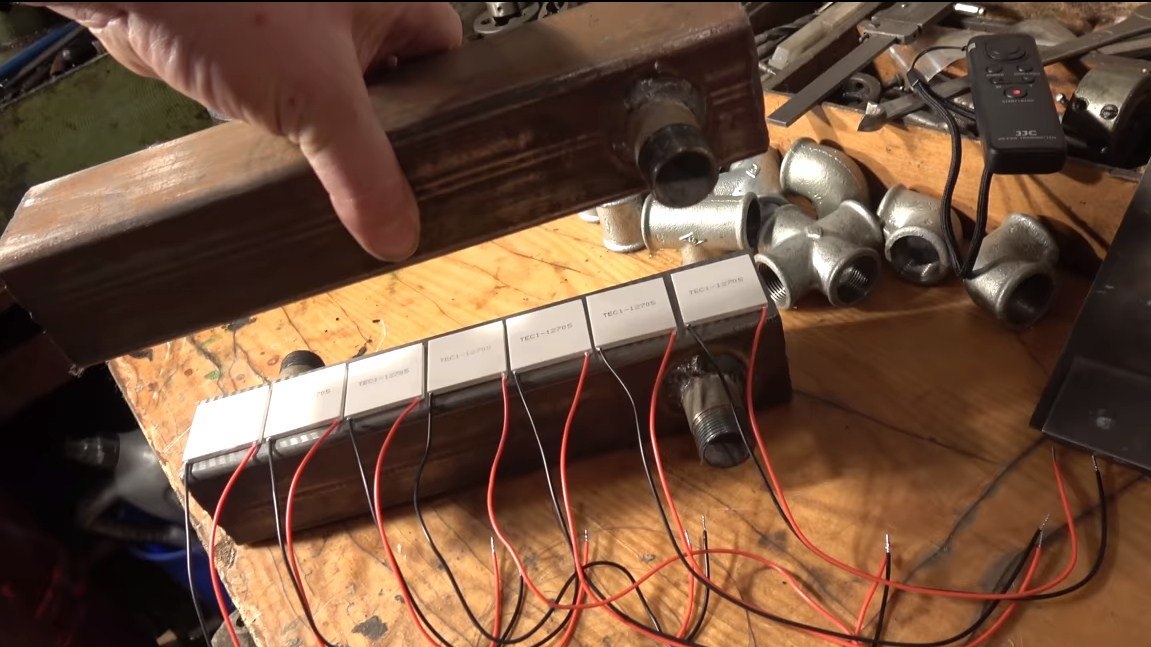
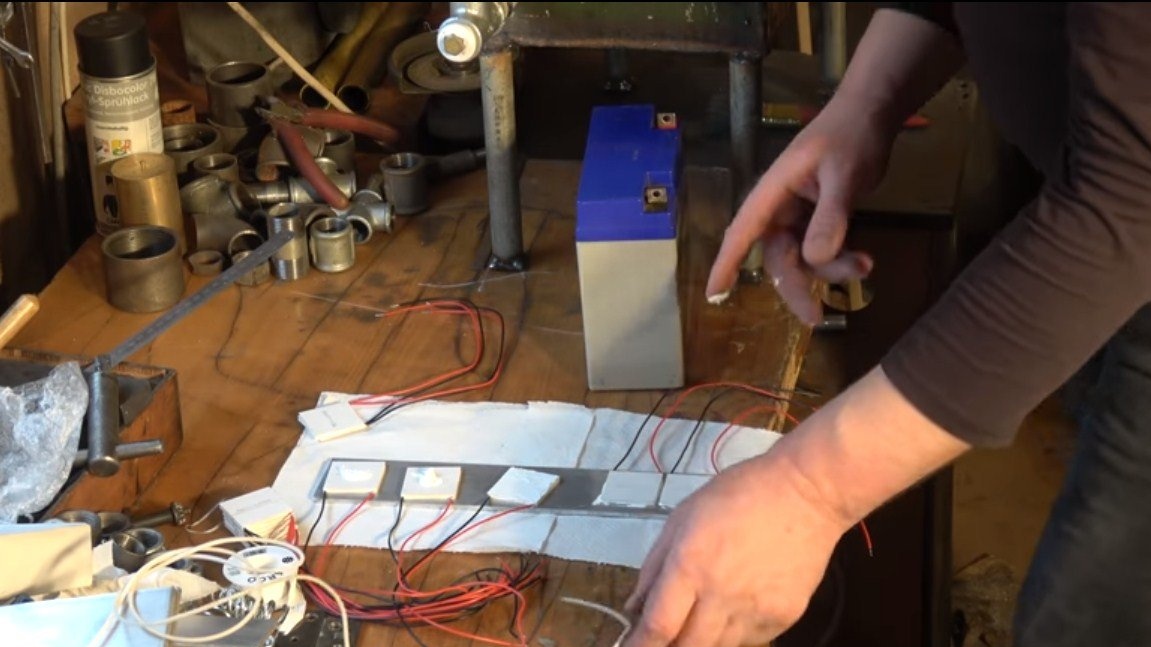
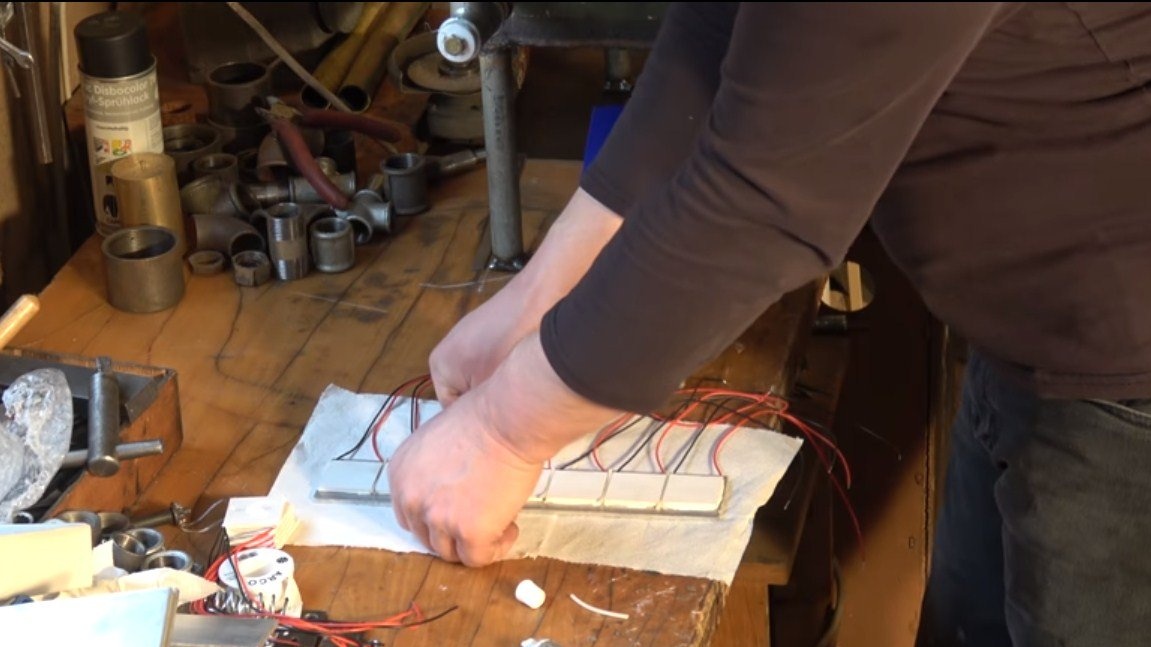
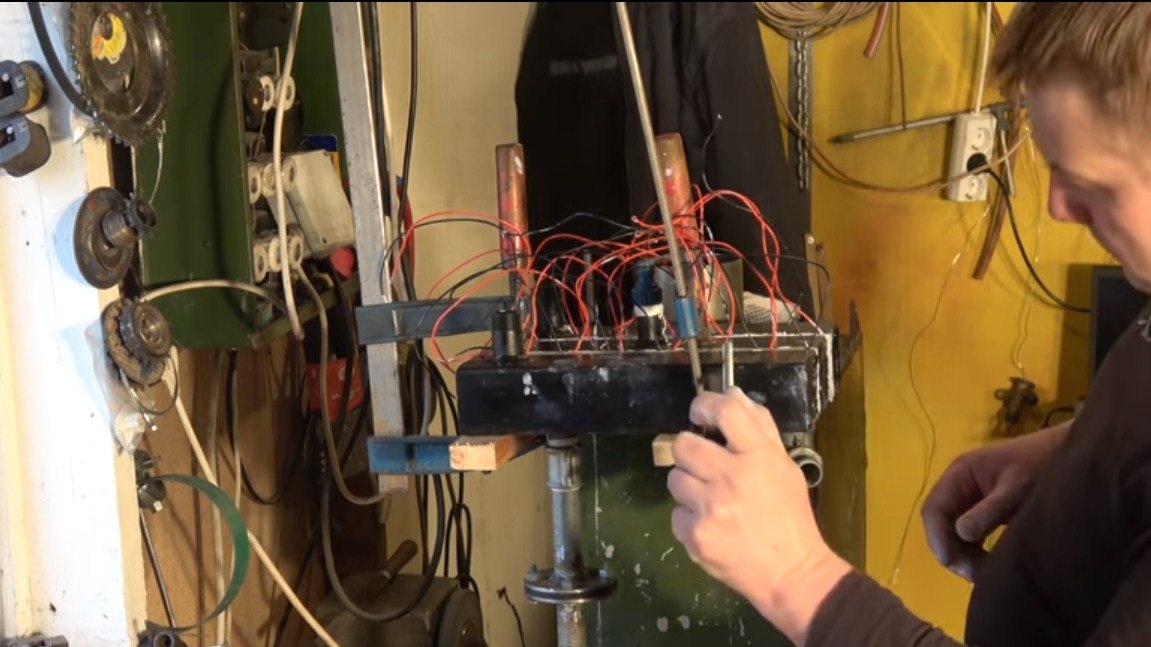
This concept refers to the installation of Peltier elements on the furnace. In total, the author used 14 Peltier elements for his purposes; for their installation, aluminum sheet and thermal paste will be needed. To begin with, we determine which side of the cell is hot and which is cold, we check this by connecting the cell to the battery. Well, then we install the elements on sheet aluminum using thermal grease. You should get two blocks of 7 each. We install these blocks between the heat exchangers, the hot one is in the center, and two are cold on the sides. The heat exchangers are pulled together by steel clamps to securely press the elements to the heat exchangers.
We connect Peltier elements in series or in parallel, depending on the current and voltage that you want to receive.
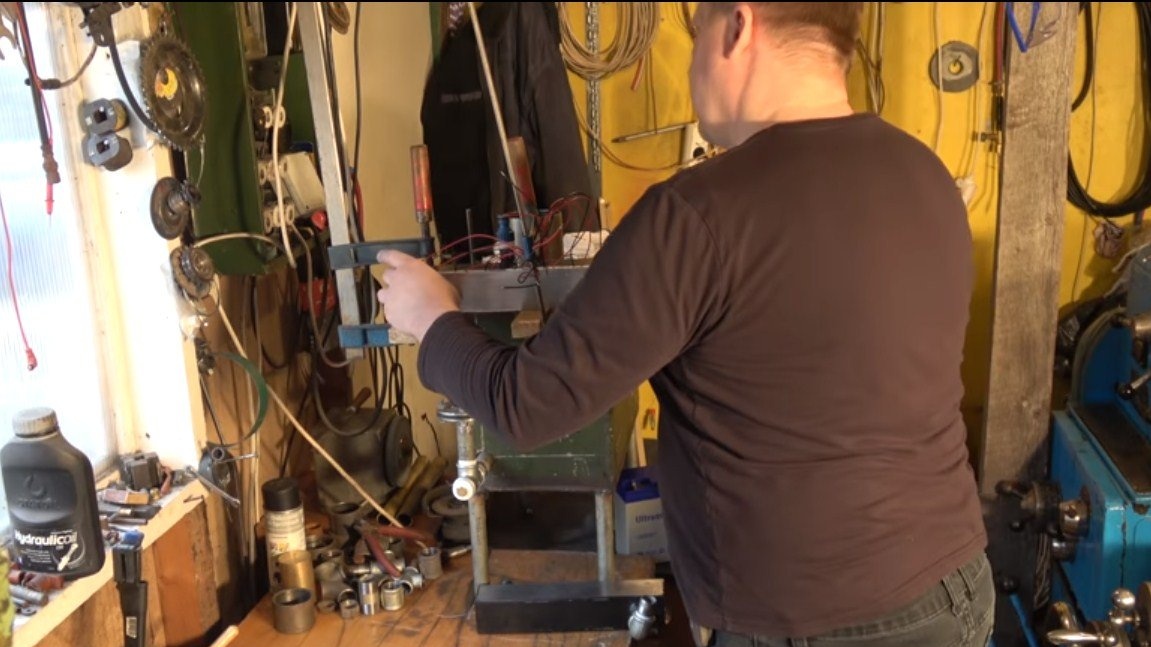
Step Six Final assembly and testing
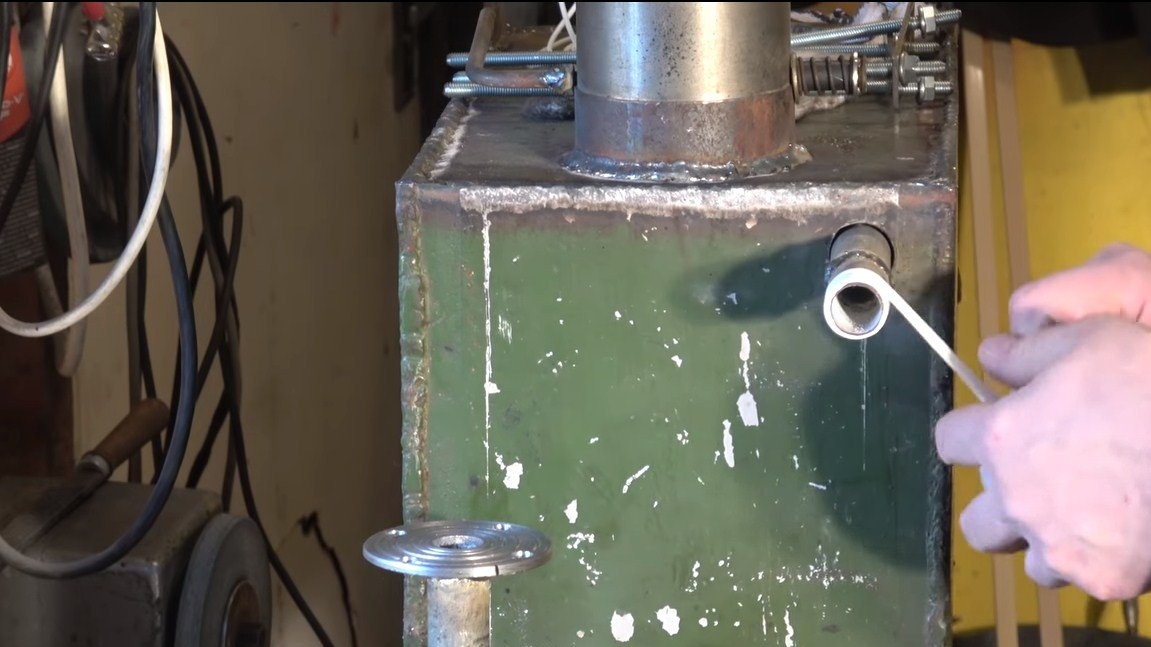
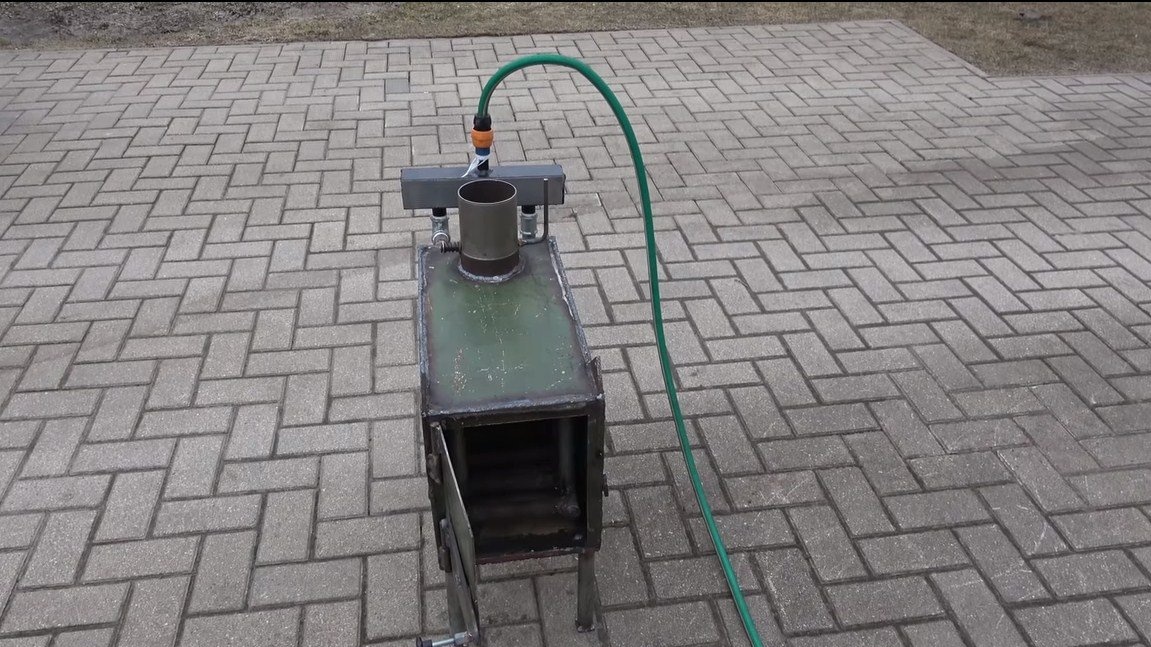
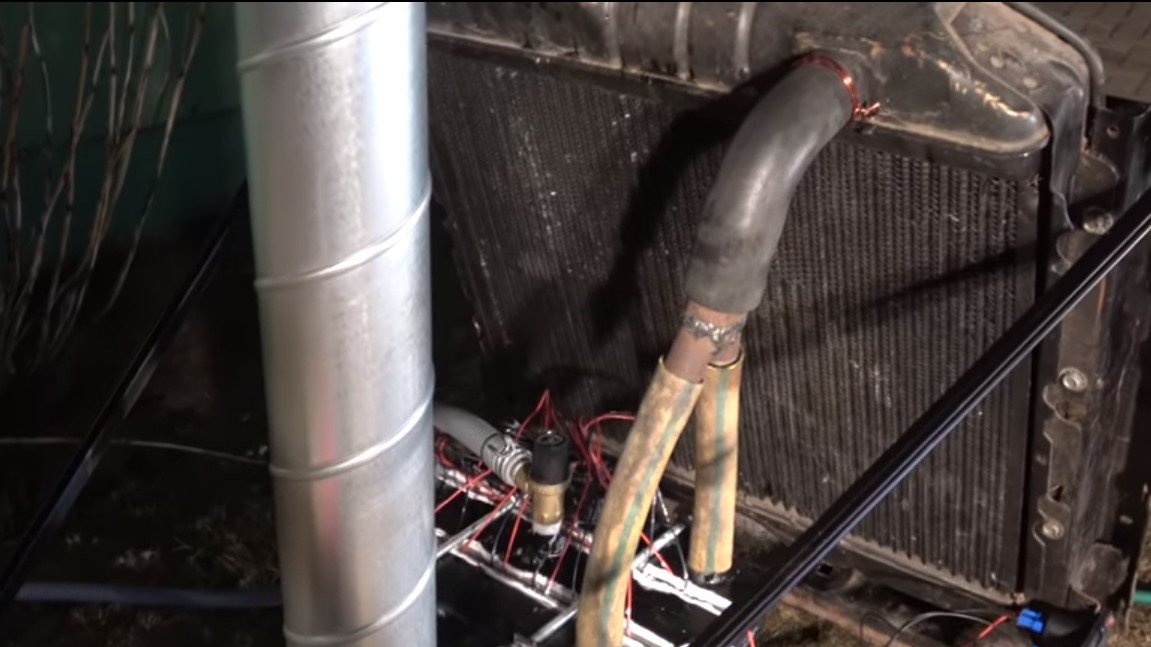
We install the furnace in the right place, and connect the radiator to it, it will be responsible for cooling the cold heat exchangers. It is better to take a larger radiator, it is well suited from the Volga or a truck. Water through the radiator will circulate naturally when it is heated in a heat exchanger. Pour water into the radiator.
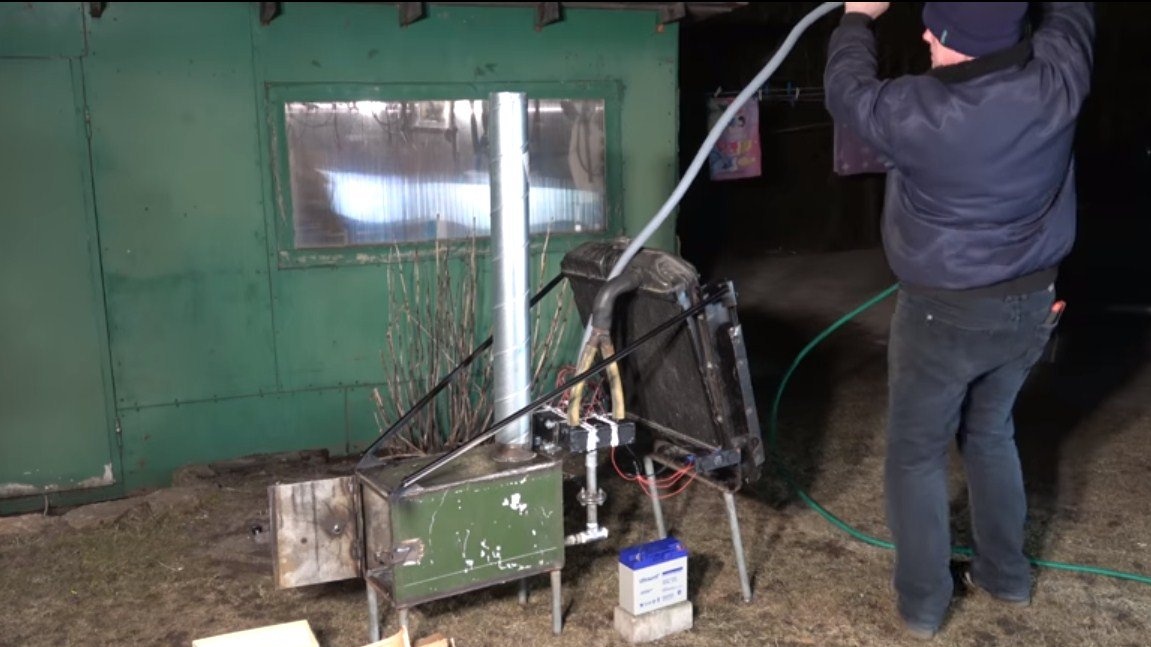

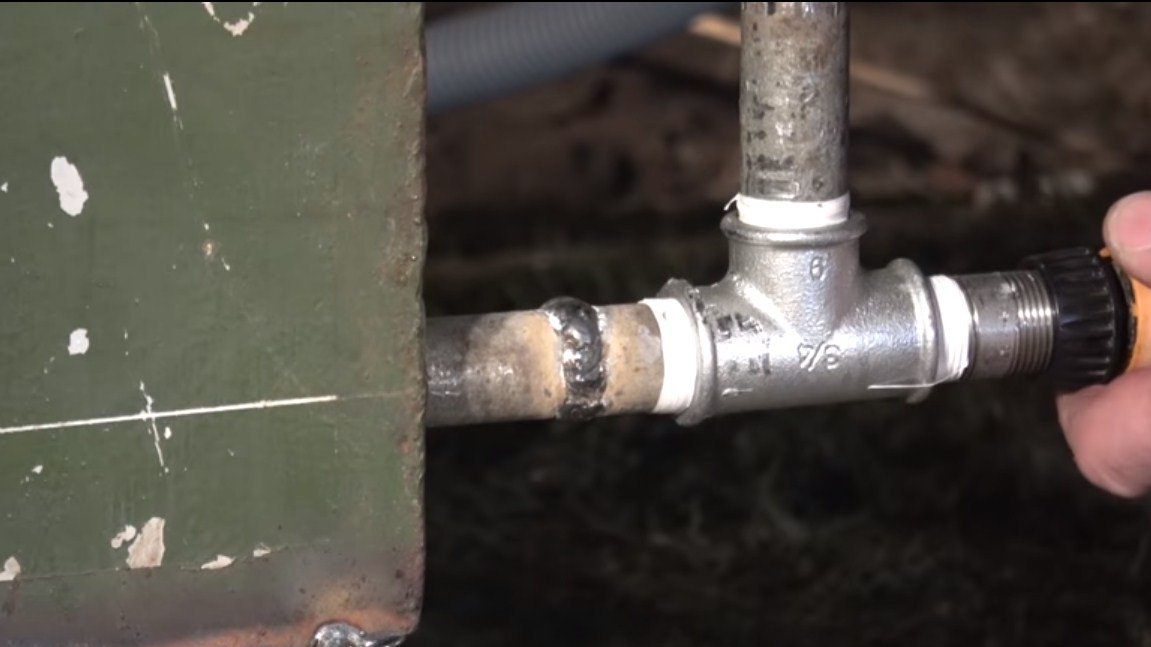
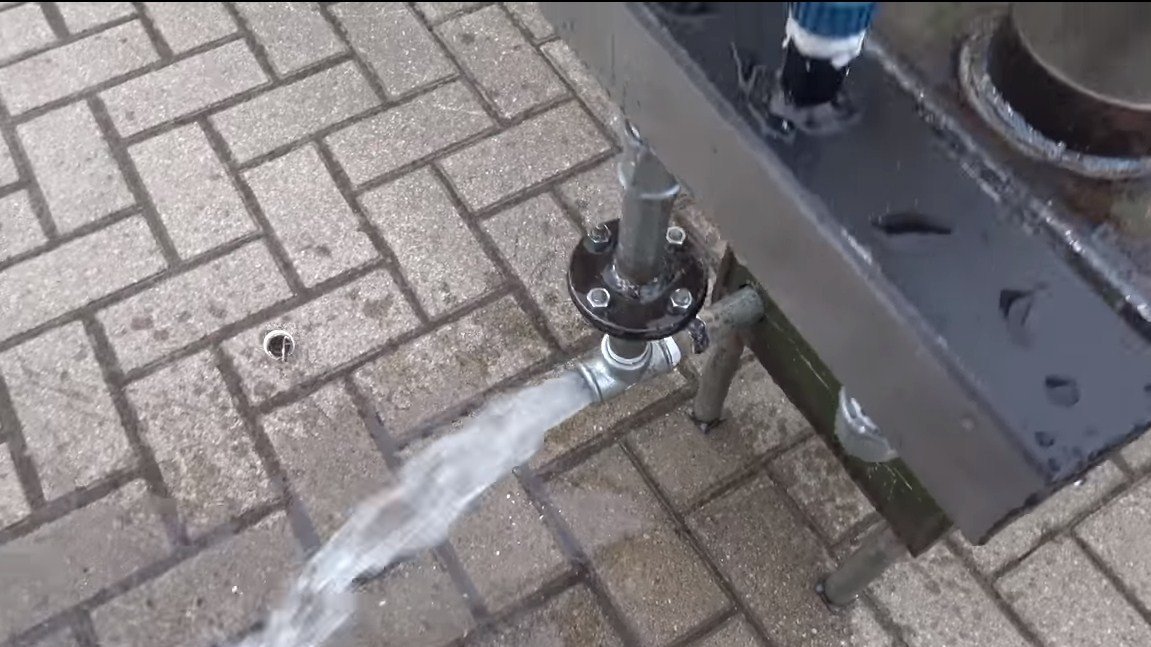
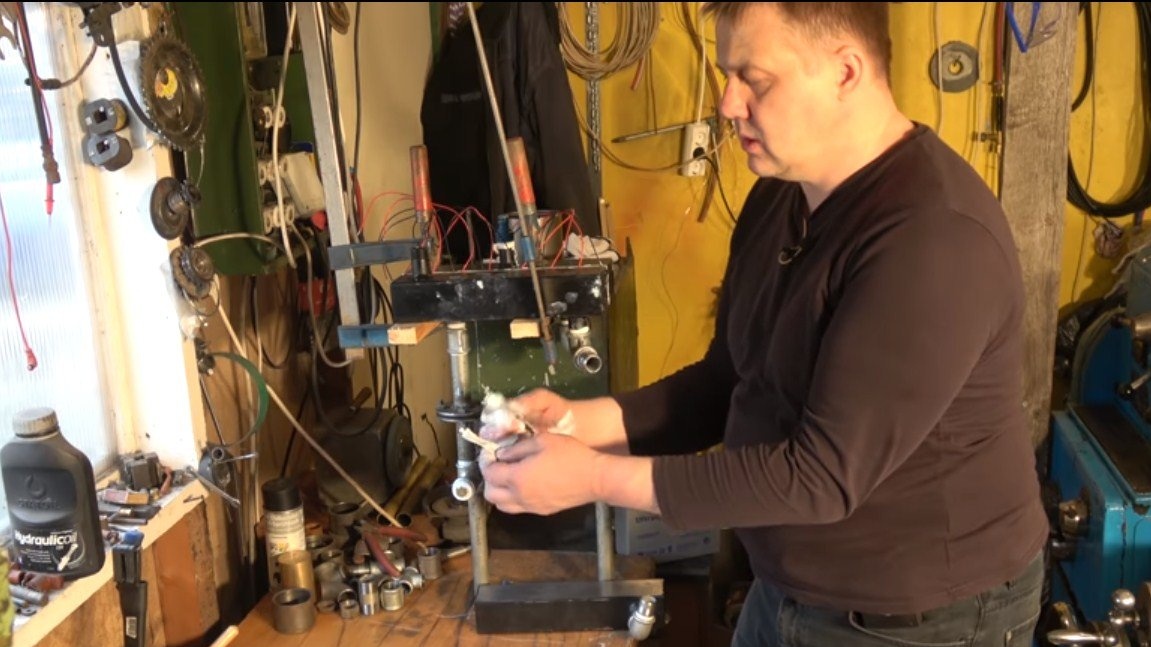
Next, we will need to pour water into the heating circuit, the problem is that air congestion may occur in the system, as the author did. To drive them out of the system, you can connect pressurized water to the lower pipe. The author has water under pressure constantly connected to the furnace, and a valve is installed at the other end, which will release excess pressure if the water overheats above the permissible value. As a result, the temperature in the heating circuit will automatically decrease. If desired, the pressure valve can be adjusted to any temperature.
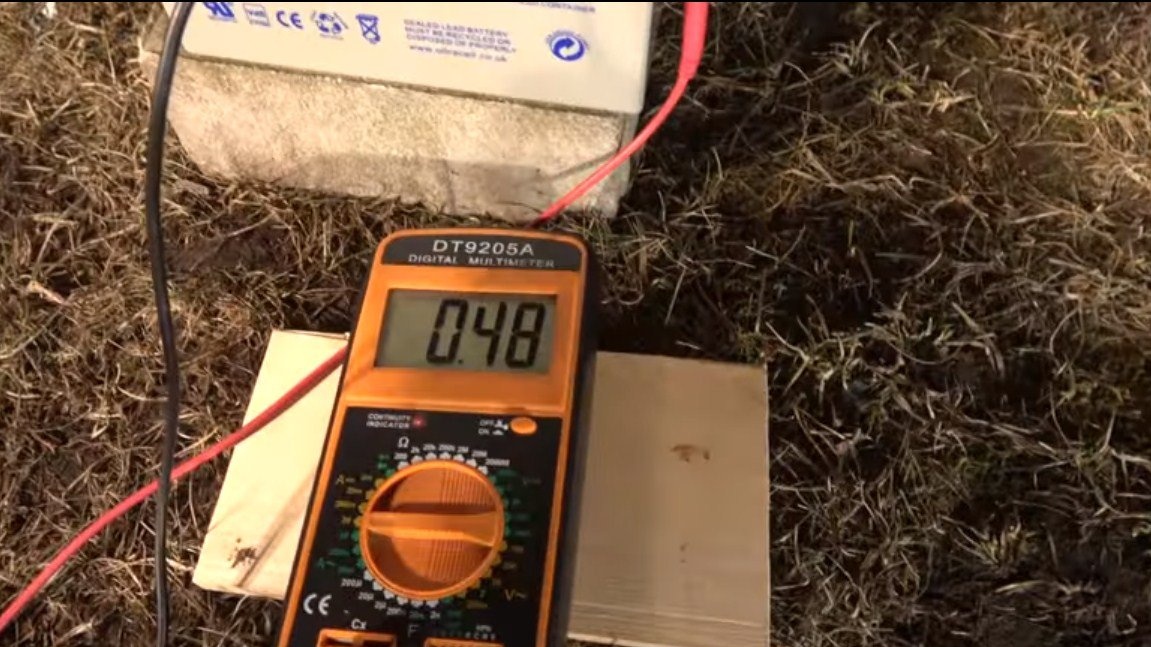
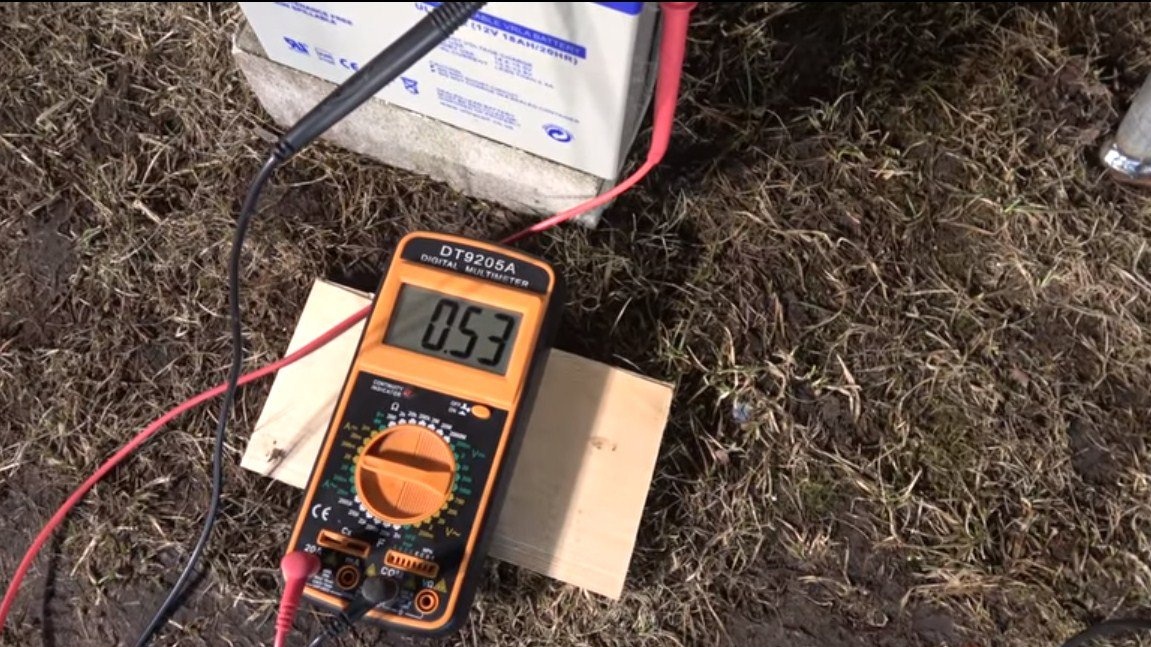
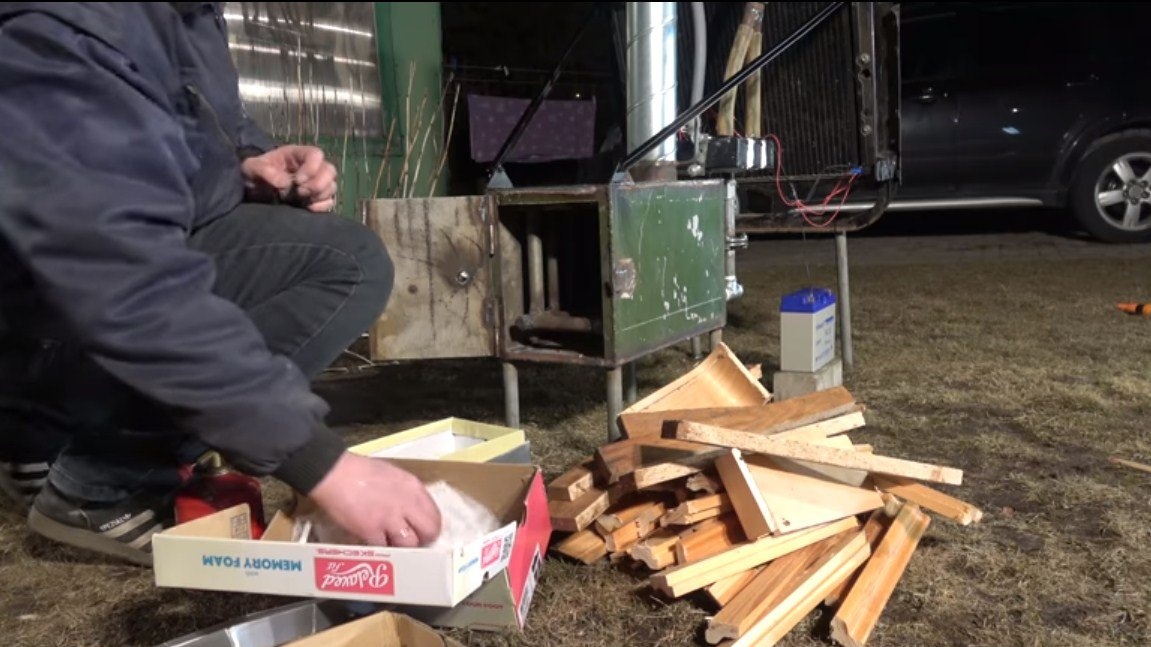
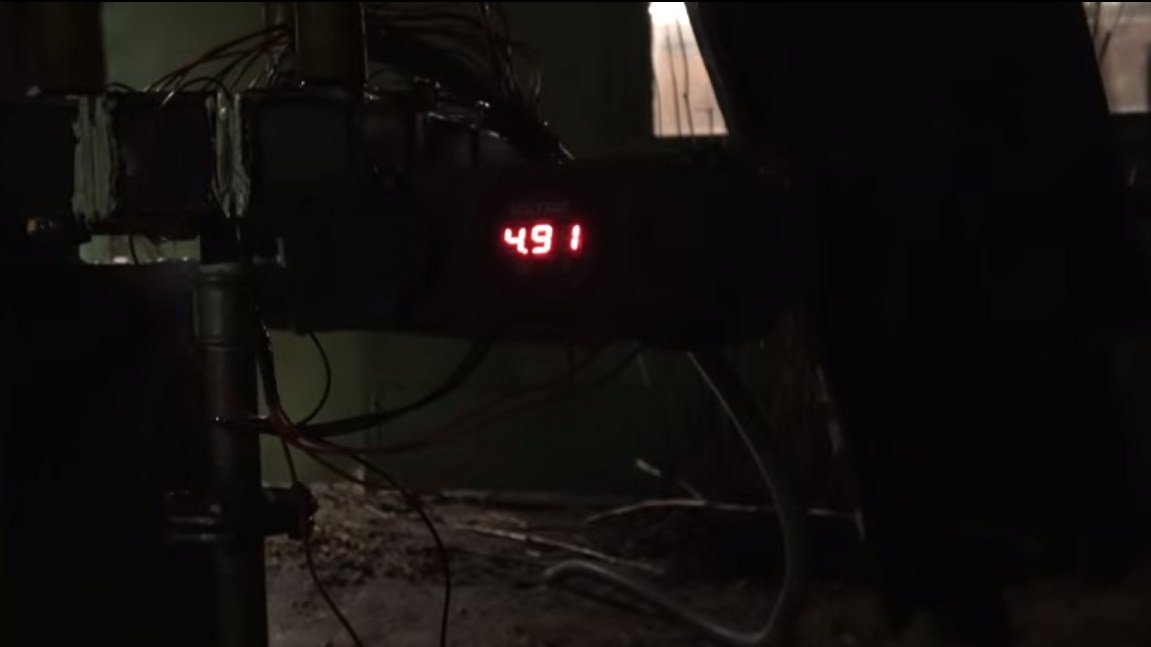
Everything is almost ready, it remains to connect the battery, voltmeter and you can light the stove. Water heats up quite quickly and strongly. Due to the fact that the pressure in the heating circuit is higher than atmospheric, the water is heated to 105 ° C or more. The temperature of the radiator is + 18 ° C, and on the street + 8 ° C. Due to such a temperature difference, Peltier elements generate electric current well, the author easily charges a mobile phone and a battery at the same time.
If the system is equipped with good batteries and smart electronics, pretty good reserves of electricity can be stored from the furnace firing. Good luck and creative inspiration if you decide to repeat something like that! Do not forget to share your homemade with us!