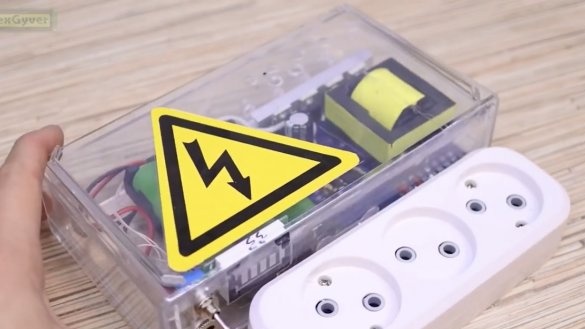
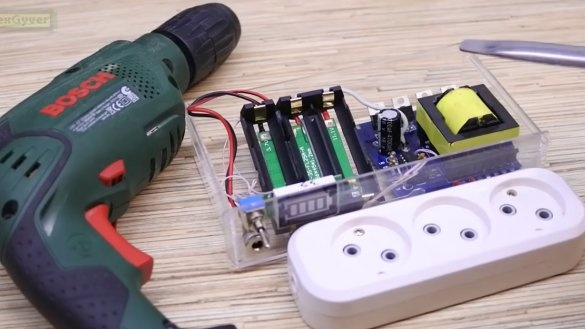
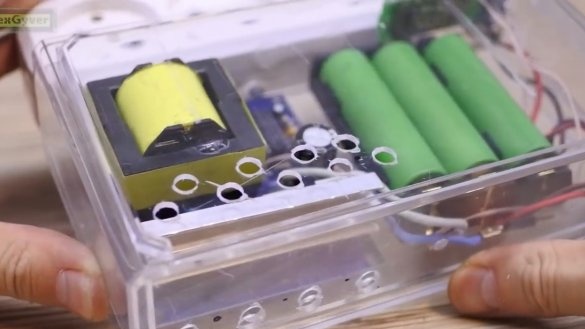
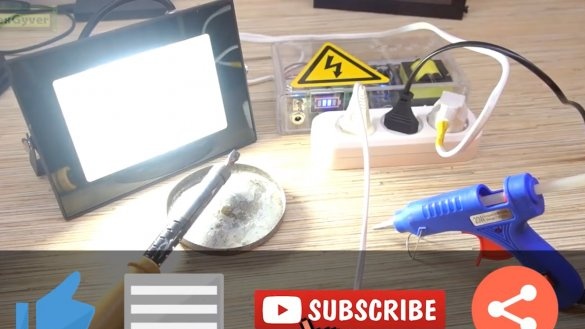
Today we will make a cool piece of Chinese components - a 220 volt powerbank, a kind of field outlet for tools.
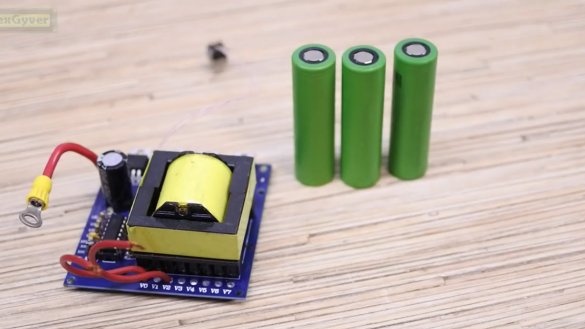
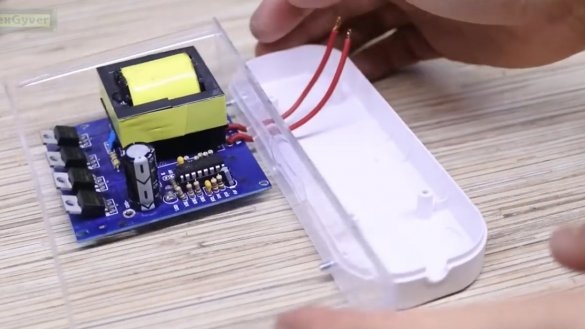
This project was developed by AlexGyver, the author of the YouTube channel of the same name. The heart of the project is a cheap Chinese inverter from 12V to 220V.
Actually, now we will test it, and then we will assemble a powerbank with sockets on it.
For testing, we need:
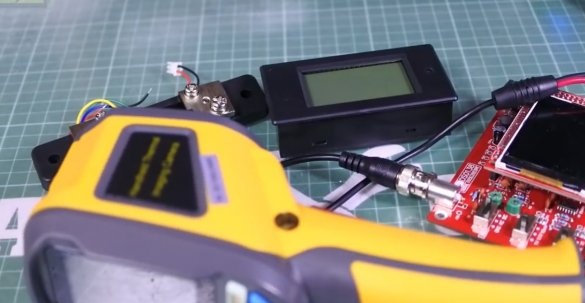
1. a multimeter module with a shunt, which we will put between the inverter and the battery;
2. oscilloscope;
3. thermal imager.
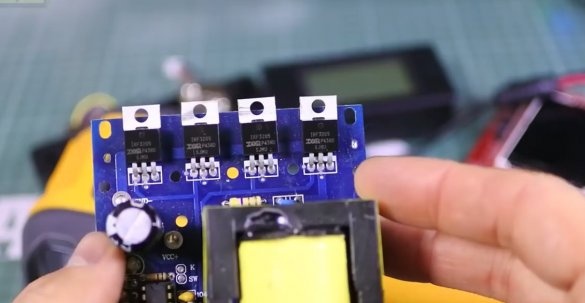
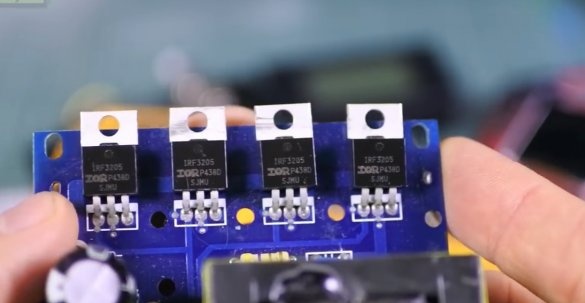
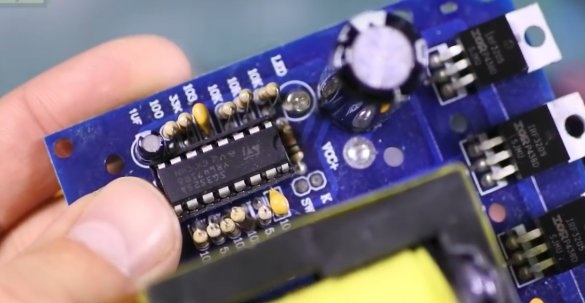
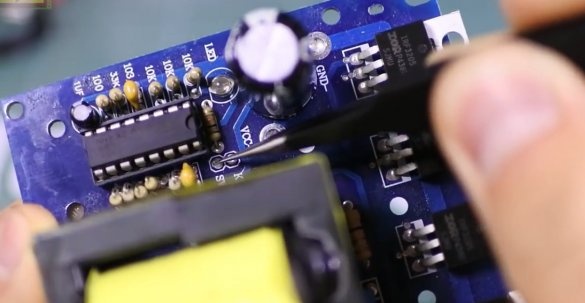
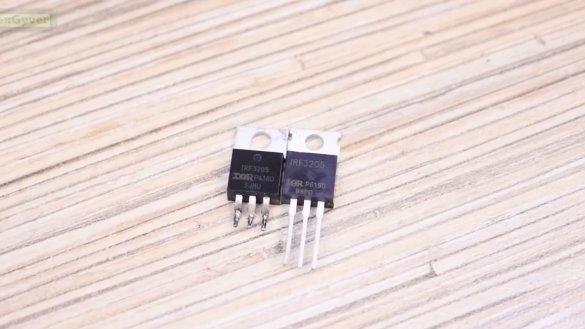
Actually, the inverter itself is simple to madness. Here a complete bridge has been assembled on the most popular mosfets 3205. The bridge shakes the pulse transformer with the help of a PWM controller and off and on, it never gets easier.
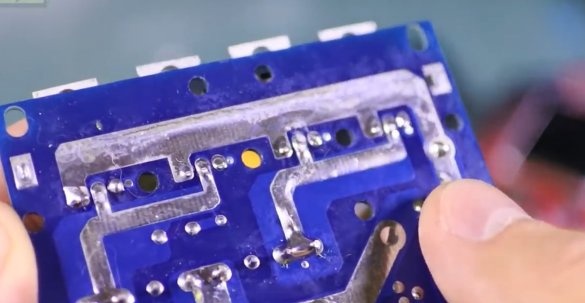
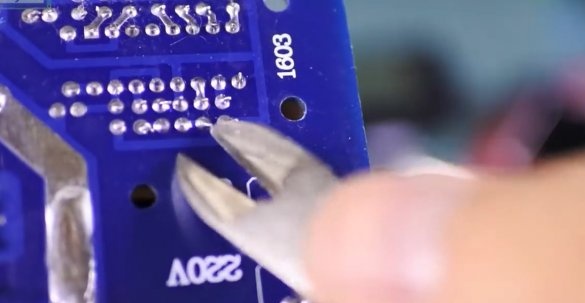
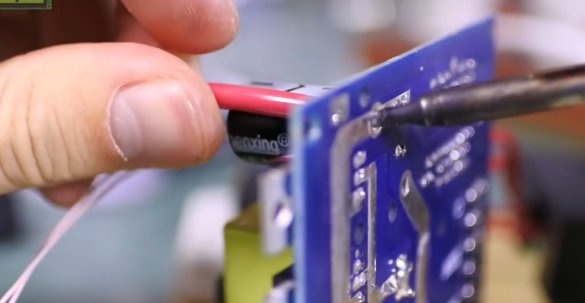
The bottom side of the board is power. There are no questions regarding the quality of laying power tracks for the Chinese. Regarding the quality of soldering, there are a couple of bad places with resistor legs, but this is fixable. This module is very inexpensive, there are slightly more expensive versions with a radiator.
Battery power connects to the power holes in the GND and VCC board. To turn on the inverter, you need to close these 2 pins:
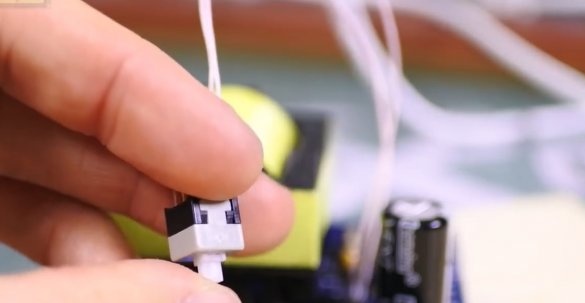
That is, here we put an ordinary human switch or button. The line is low voltage, the button simply supplies power to the PWM controller.
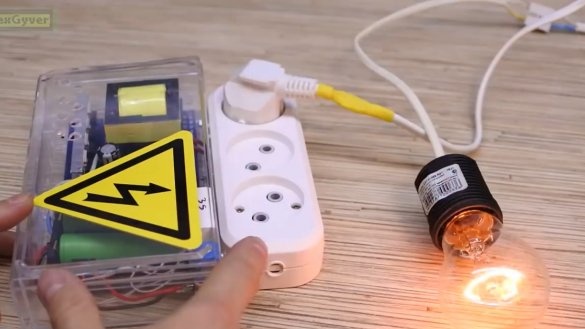
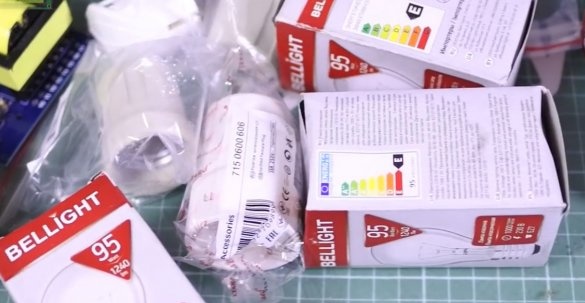
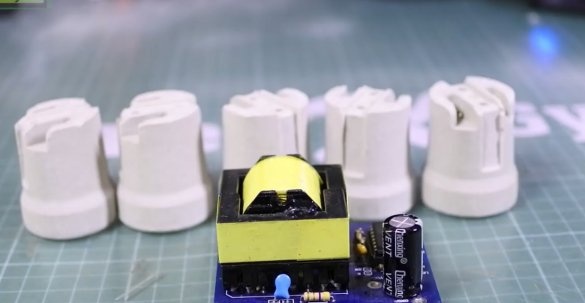
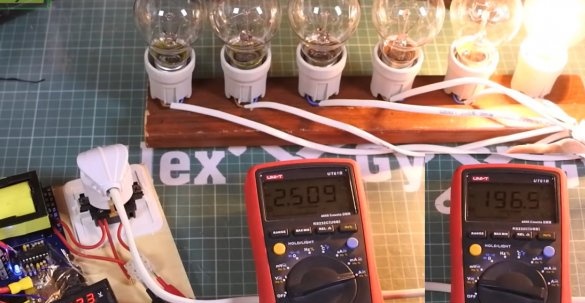
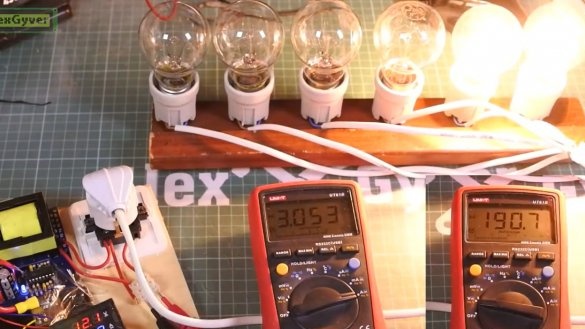
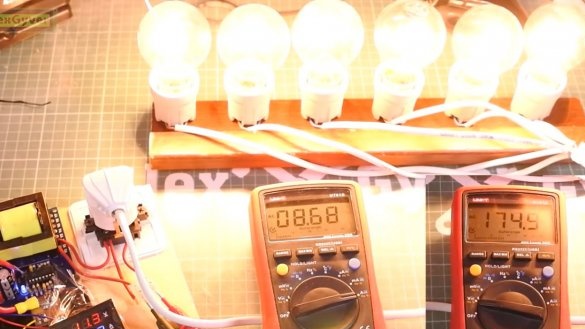
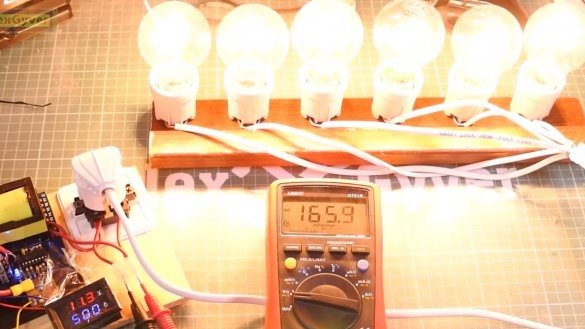
To test the power of the inverter, we will use a whole package of ordinary 100-watt incandescent bulbs, and we also need cartridges.
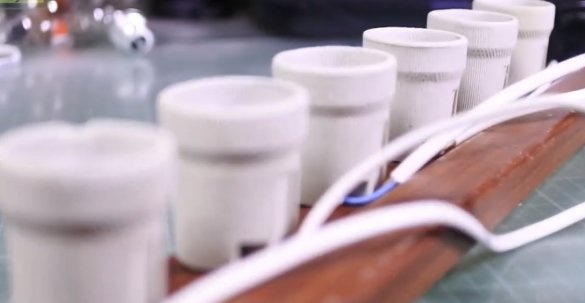
Putting a test setup.
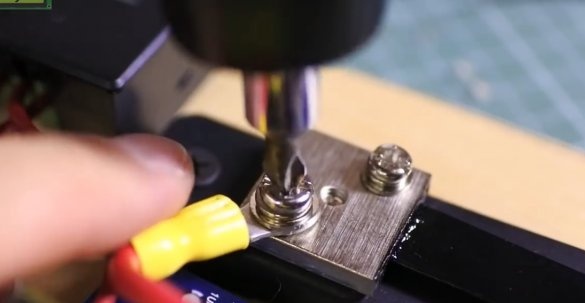
Solder the button to turn on the inverter, solder the wires into the holes of the output voltage. We connect bushing wires to the input voltage (the author uses wires with a cross section of 6 squares).
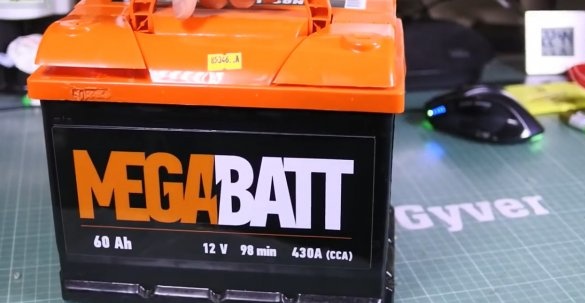
We connect through a shunt, which will remove current from the car battery.
We connect the power and drove. Increasing the load and observing the devices, you can see how the inverter behaves.
With different loads, it immediately became clear that his voltage sags quite naturally, but he copes with power, say, normally. We can say that with power up to 300 W the inverter gives an efficiency in the region of 80%, but the voltage goes far from 220V. No, but what did you want, for such and such money.
At least we got a warm tube heater, and then it is already getting colder outside the window.
The components of the inverter also do not freeze and in the optimal 300-watt mode, for some time the mosfets have heated up to 120 degrees, which in principle is already a lot, and without a radiator it will not last for such a long time.
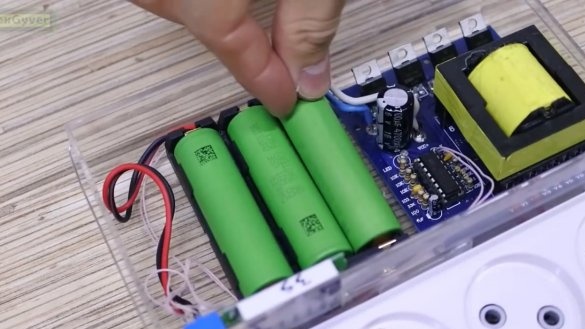
So, now let's add batteries to the inverter, always high current. Ordinary laptop banks will not work.
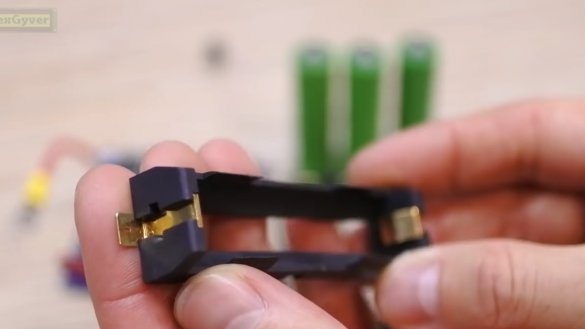
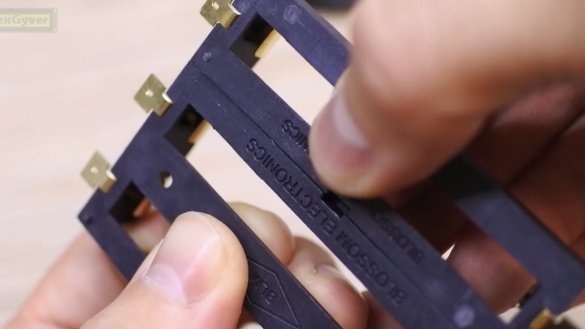
We will remove large currents from the batteries with the help of a powerful battery compartment with thick brass terminals.
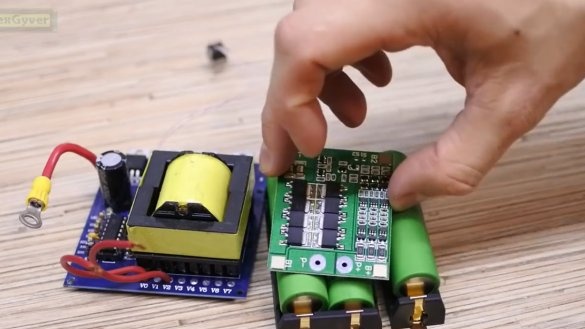
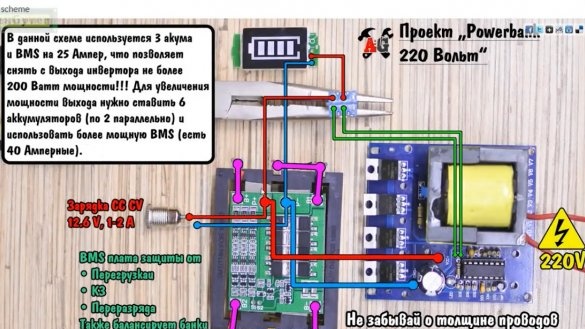
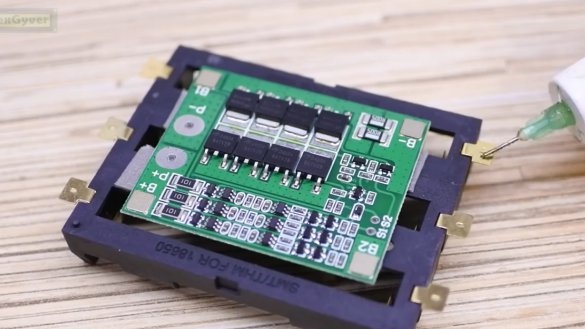
To protect the batteries from overload, short circuit and overdischarge, we use a protection board, which will also balance the banks during charging.
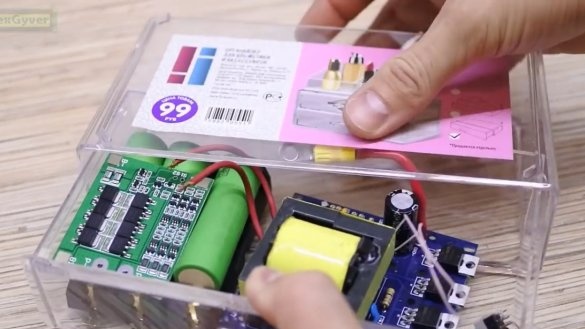
The case for this device will be such a box for female stuff.
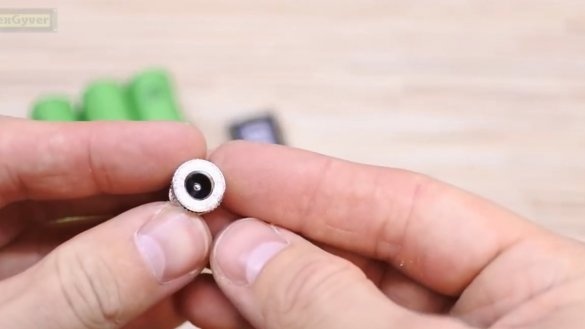
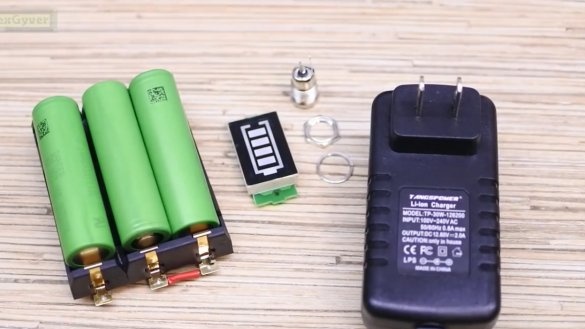
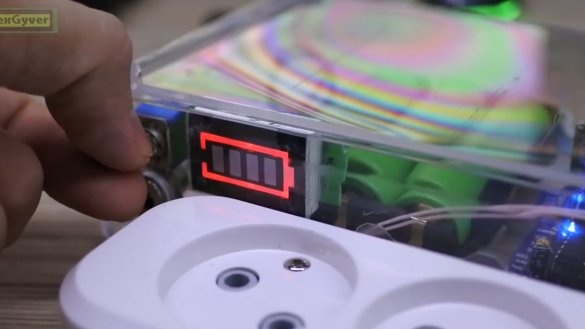
It is great in size and allows, for example, to double the number of batteries to increase capacity. We also need a power outlet and the Chinese can take a charge indicator for 3 batteries. For convenience of charging, let's take such a socket:
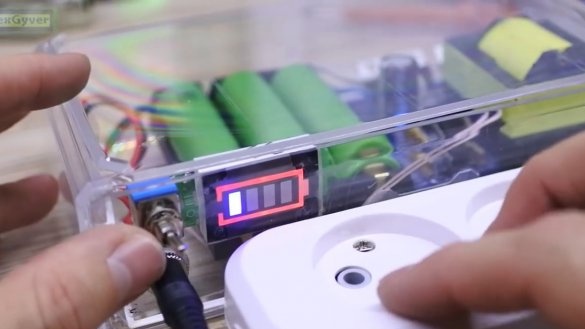
The charging power supply should be exactly a charging power supply with a voltage of 12.6 V, a conventional 12V power supply will not work. If you have a screwdriver on lithium batteries, then a charger from it will do.
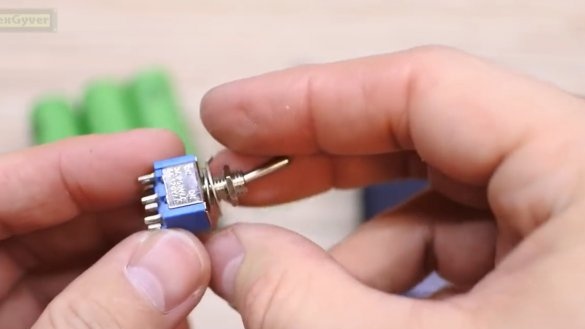
To turn on the system, take a toggle switch with two contact groups, but most likely you can get by with one contact group.
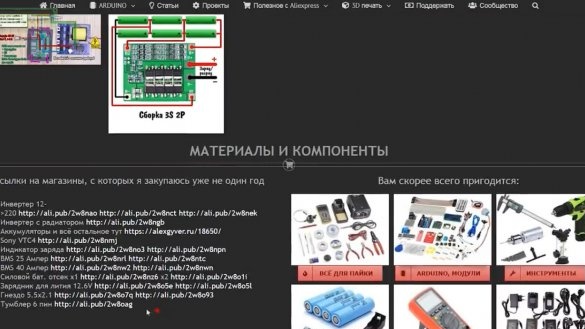
Links to all components can be found at project page.
There is also a diagram:
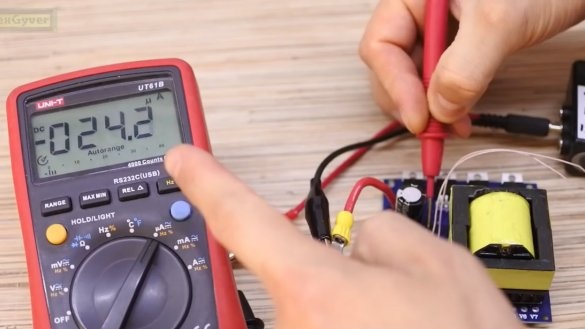
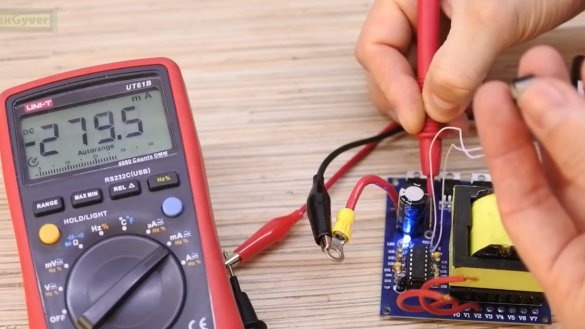
The inverter board itself, in the off state, consumes 24 μA, this is important, because we supply power to it constantly, so as not to tear the power wire. In idle mode, the inverter is eating 10,000 times more, that is, almost 0.3A.
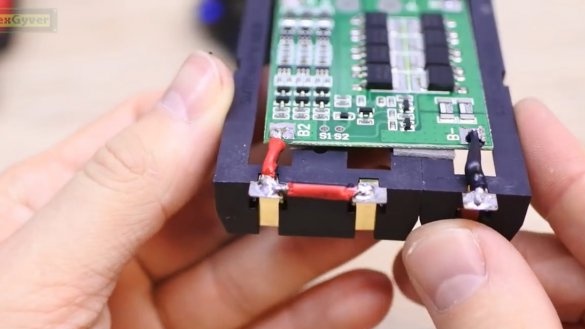
Let's start by connecting the battery compartments into one large one with 3 banks, because the Chinese, for some reason, do not sell such (at least the author did not find it). The protection board is strong here on double-sided tape.
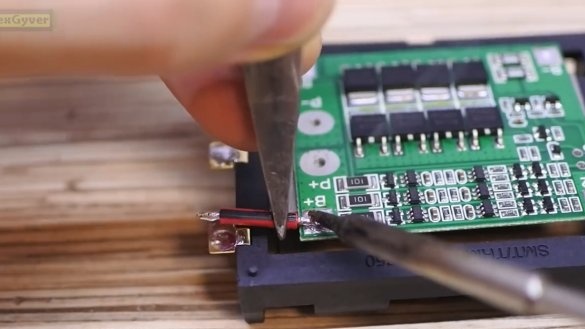
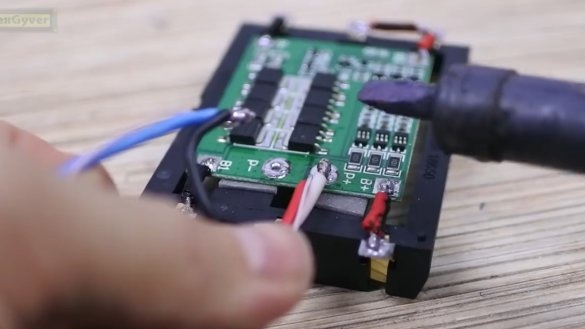
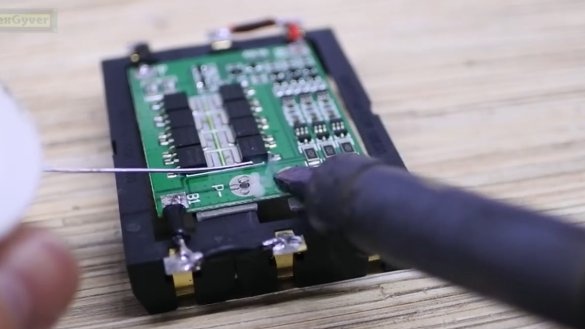
We love all the contacts. We do not need sites for welding, they need to be soldered, that is, heated and moved. We solder the protection board with thick wires, it is better to take thicker or twist 2 such wires.
This board will remind you, it will save the batteries from short circuit and overdischarge in a critical situation, which will save you from a fire with fireworks.
Now we will deal with modifications of the case, securing the socket block and laying the wires.
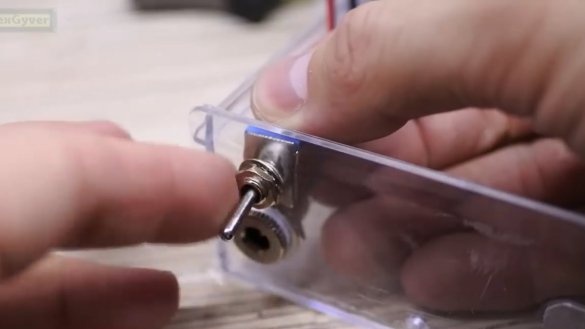
Next, we place the switch, socket and charge indicator on the case.
Then we uncover the soldering iron more powerfully and solder the entire node of the wires to the output of the board. The same goes for connecting the inverter.
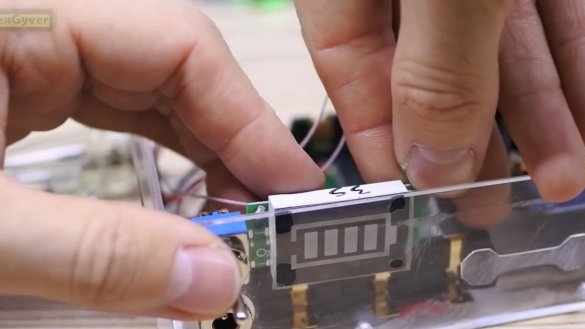
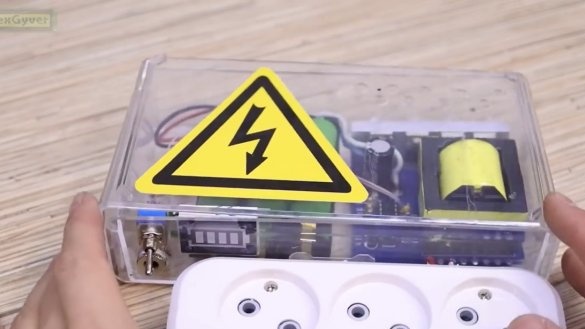
Transparent housing gives an excellent advantage when working with displays, take a note.
We attach the block to the body and connect.
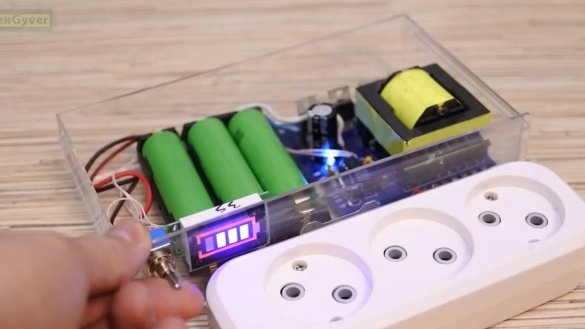
Nothing banged and that’s good. The batteries are low, put on charge. When the power is on, the indicator can monitor the level of charge.
Now let's test our network powerbank on a drill.
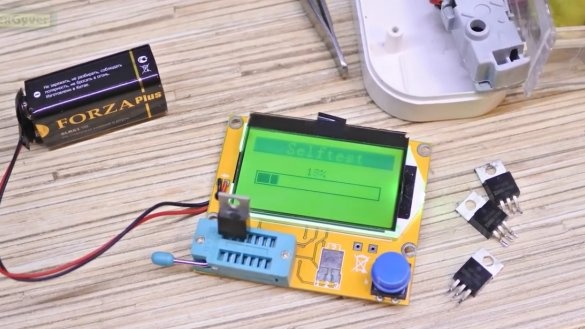
With a light click on the start of the drill, everything suddenly stopped working. In the case of the inverter, one of the mosfets turned out to be a dead component. Because of it, by the way, the board was completely shorted by power, and the author protection board of these same batteries saved the author from exploding the batteries. The transistor was killed so much that the transistor-tester crossed itself when trying to check it and started internal testing and did not even intend to see the transistor in the killed transistor.
We replace the dead transistor with a similar one and the device returned to life.
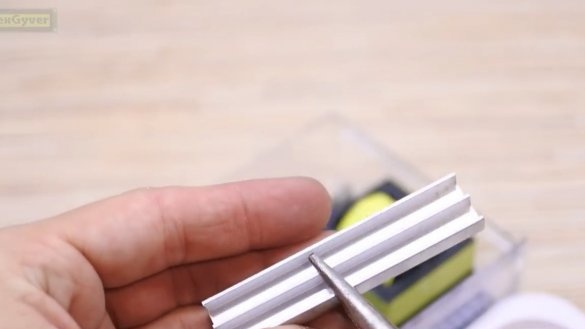
Lastly, let's juggle a radiator that can be made from a W-shaped profile. In such a circuit, the drains of transistors cannot be connected, so the radiator must be placed, for example, on adhesive double-sided tape.
Also add ventilation holes and of course a sticker.
To fix the case, we drill 3 mm holes in the outer cover, and 2.5 mm in the inner cover, and just drive the M3 screw. And now, the 220V powerbank is ready. But unfortunately, it is not suitable for a power tool with a motor, but it would be very cool. But there is still the opportunity to quickly and without crutches make yourself a bright light, for example, when repairing wiring, and stick it in, for example, a powerful soldering iron for brazing twists, and you can also connect a hot glue gun there, or any other heating tools.
In general, a thing very useful in the household. That’s all for today. Thank you for attention. See you soon!
Video:

