For more than a year this simple construction was operated in my house. These are five colored spotlights of 10 watts each, mounted on a cutting board. In its center, a three-channel radio control unit.
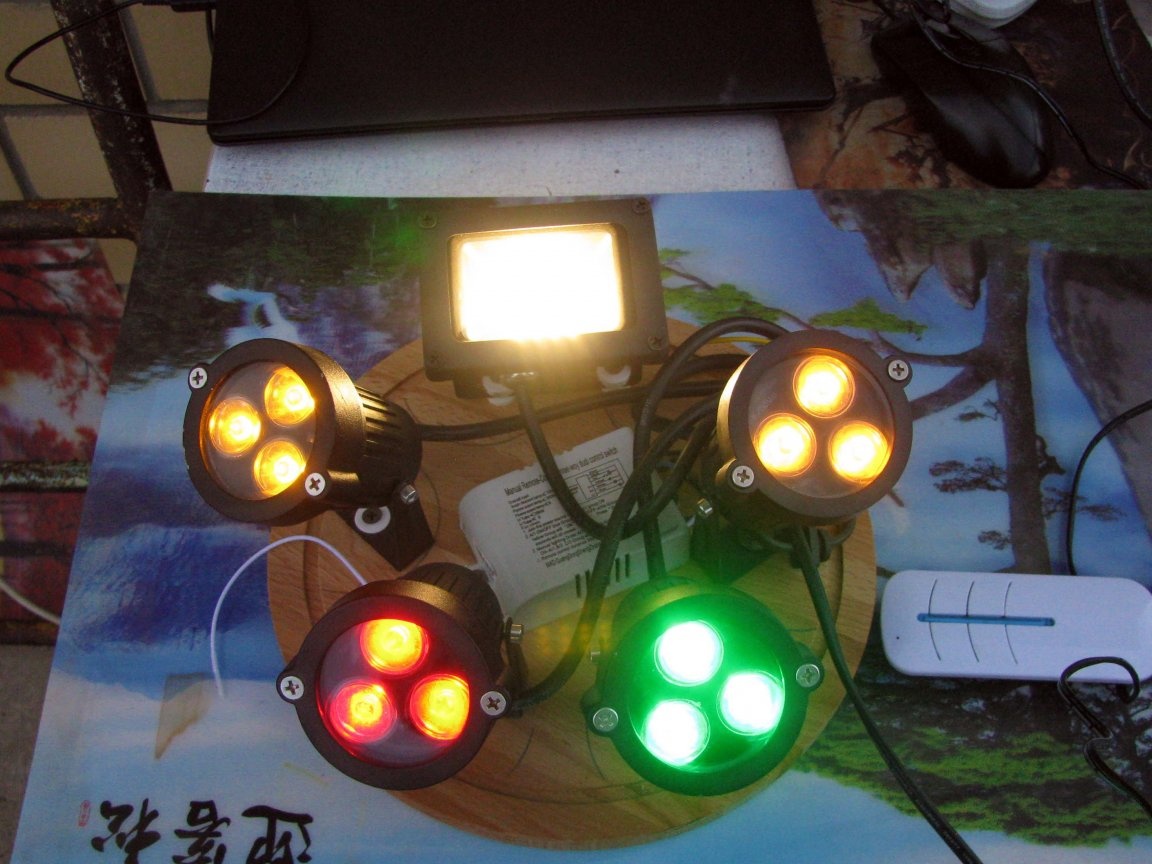
The rectangular spotlight was temporary, after repair, the fifth spotlight was installed in its own place.
Why color? And because I am against, - and this has been repeatedly written and discussed a lot, at least over the past twelve years - the blue shades of lighting are not for home use. Specifically, this lamp was placed on a two and a half meter cabinet, illuminated the ceiling and imitated a summer evening, which looks out the window from the green garden.
I made this design to illuminate myself on short winter days. Then, when gentle sunset time does not exist. Now, this installation has been donated, and for myself - I decided to complicate my life by trying to assemble the same, high-mounted lamp. And for the sake of variety, not so obvious, easy to implement.
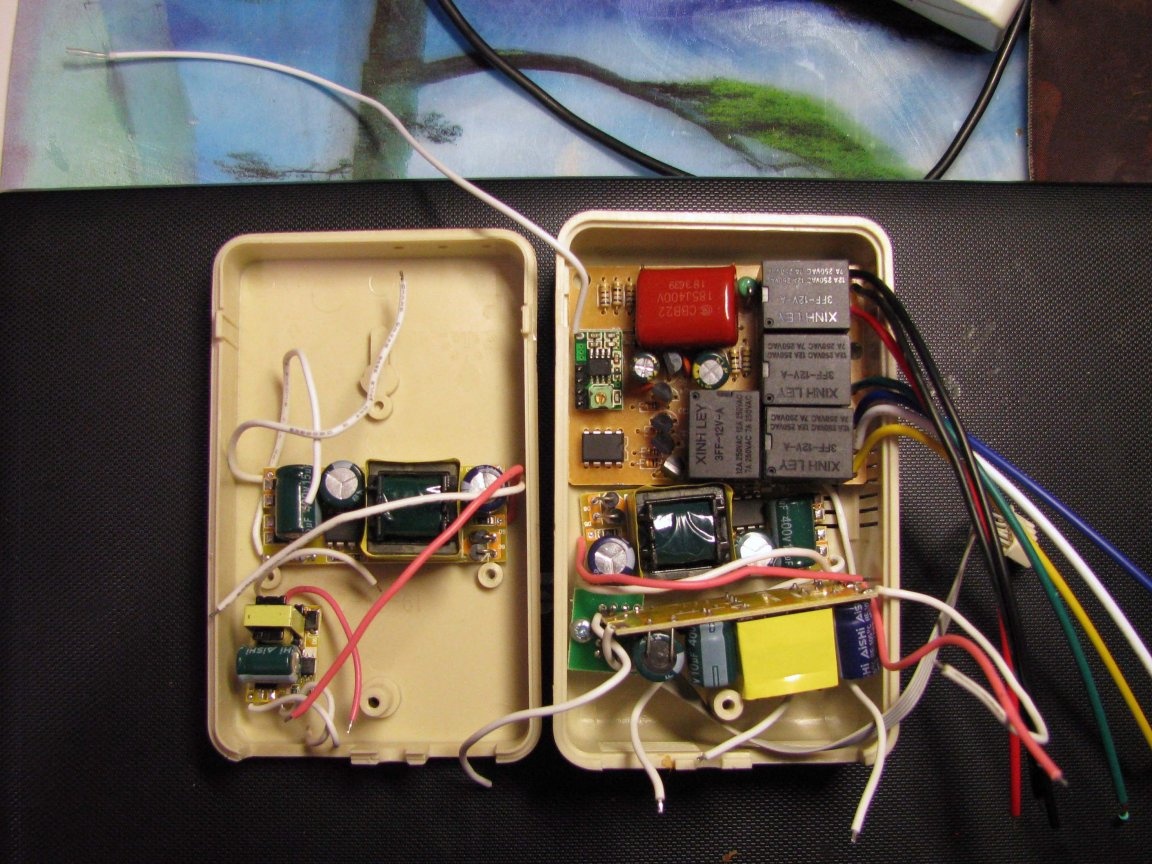
Housing.
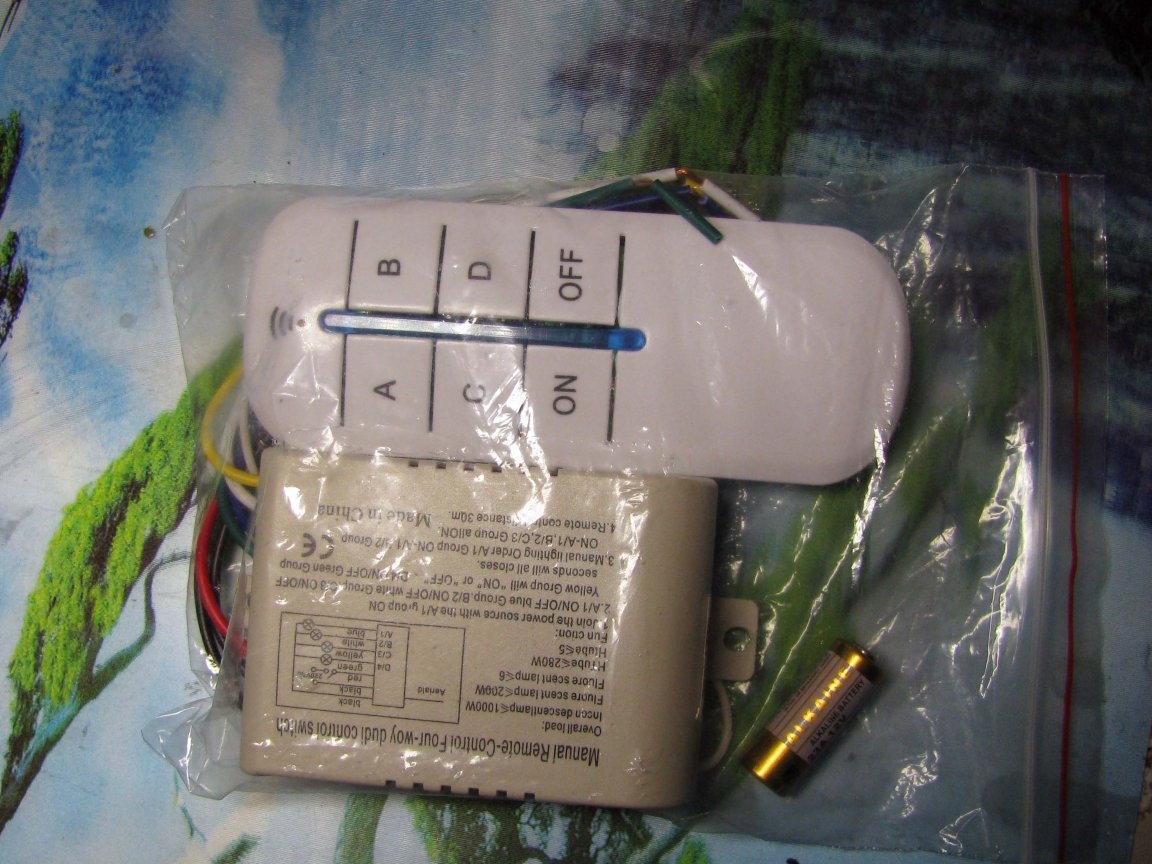
Of course, he will determine the degree of collective farm control unit and the completeness of the appearance and about him below. But at first, to me, a four-channel radio control unit came pretty quickly.
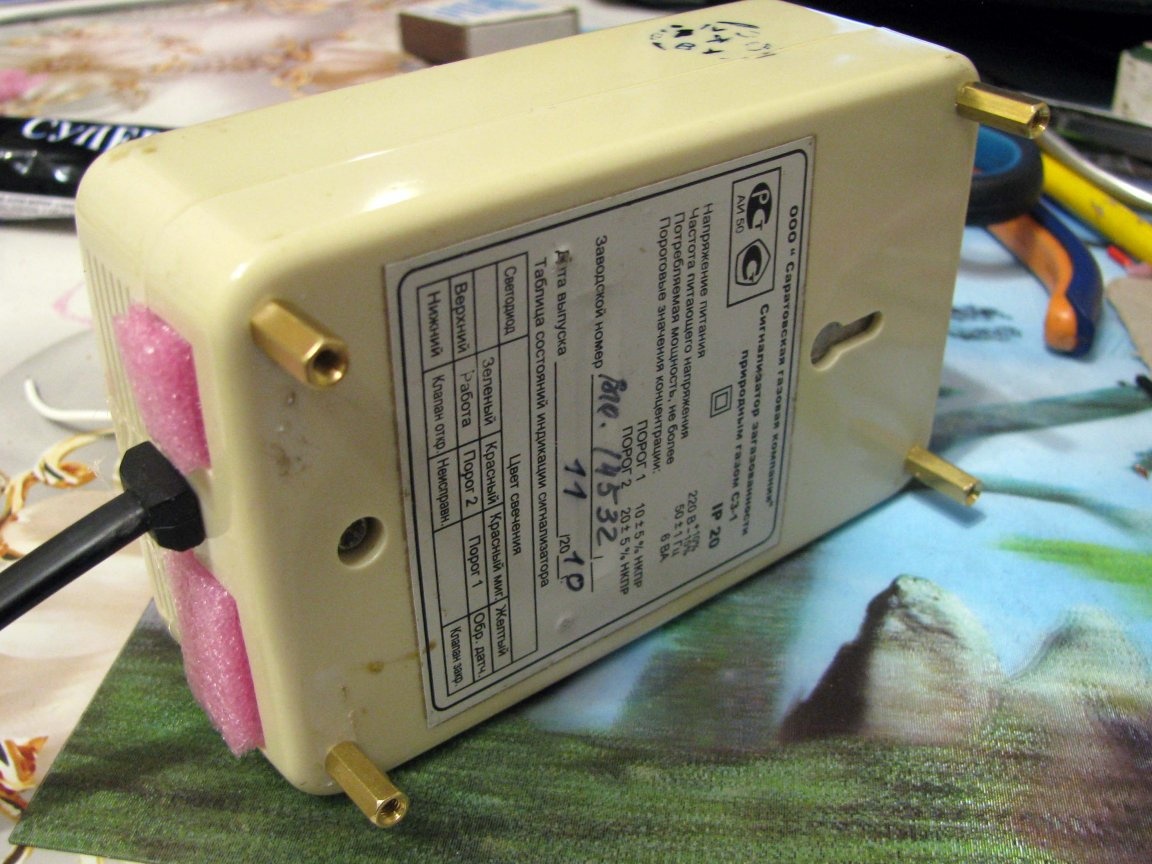
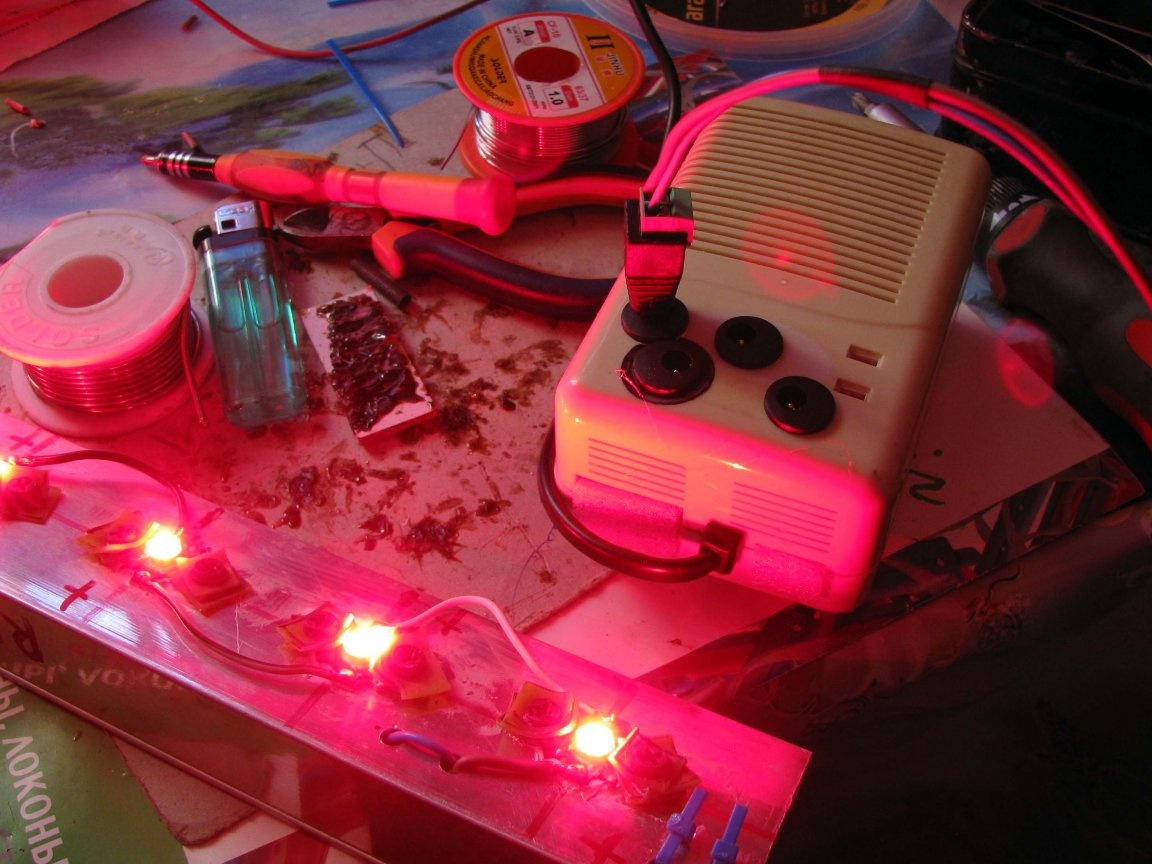
Next came four ten-watt drivers and two three-watt drivers. Fortunately, I got two household gas detectors. Whether they work or not, I did not check, and I was tempted by them only for their buildings, in my opinion, quite suitable.

I began to try on, trying to shove four drivers and the control board itself into the case.
As a result, I decided to locate the three drivers unlikely, separating them from each other with gaskets cut out of foamed polyethylene and simultaneously thinking about how to arrange four sockets for connecting chains of LEDs.
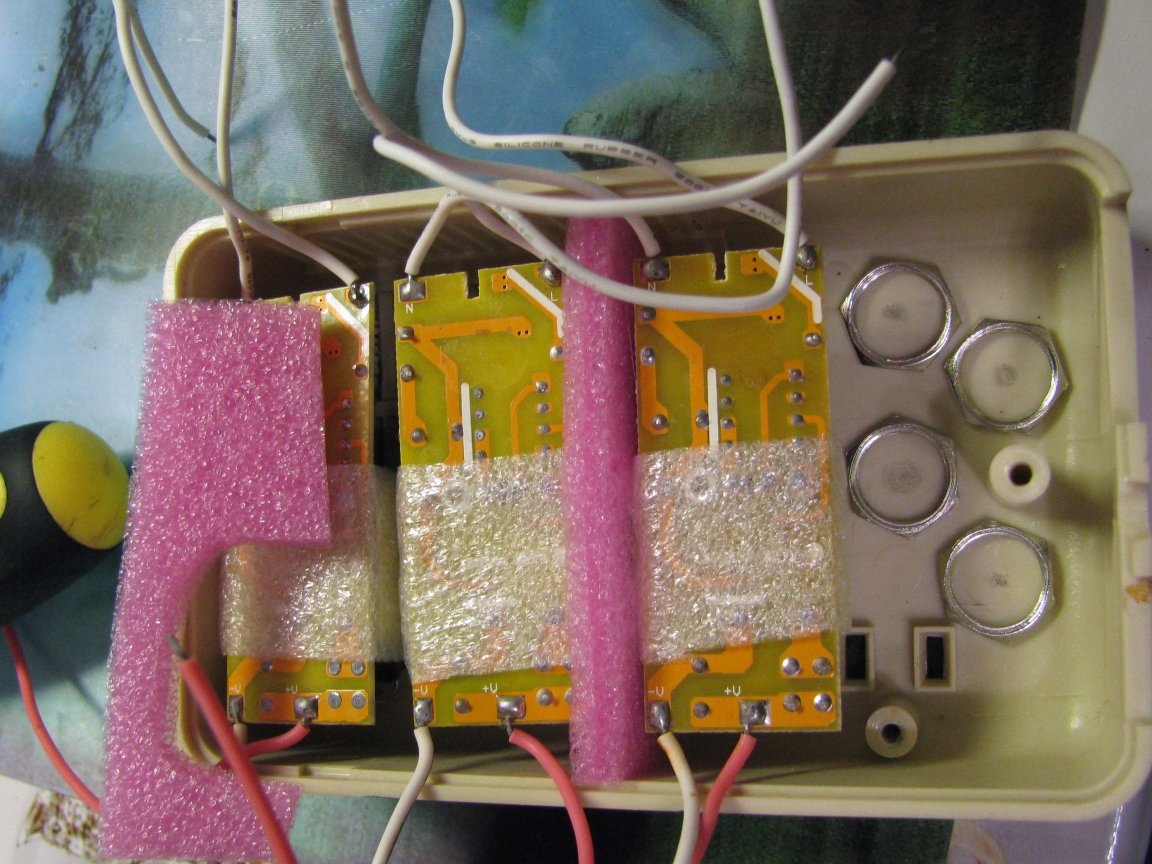
Below in the photo, the upper half of the case, in which I placed three ten-watt drivers, a three-watt driver is located at an angle to the latter, the sockets are already in place and soldered.
The 220 volt cord was taken from my previous project.Empty windows in the lower half of the body are sealed with scraps of the same foamed polyethylene.
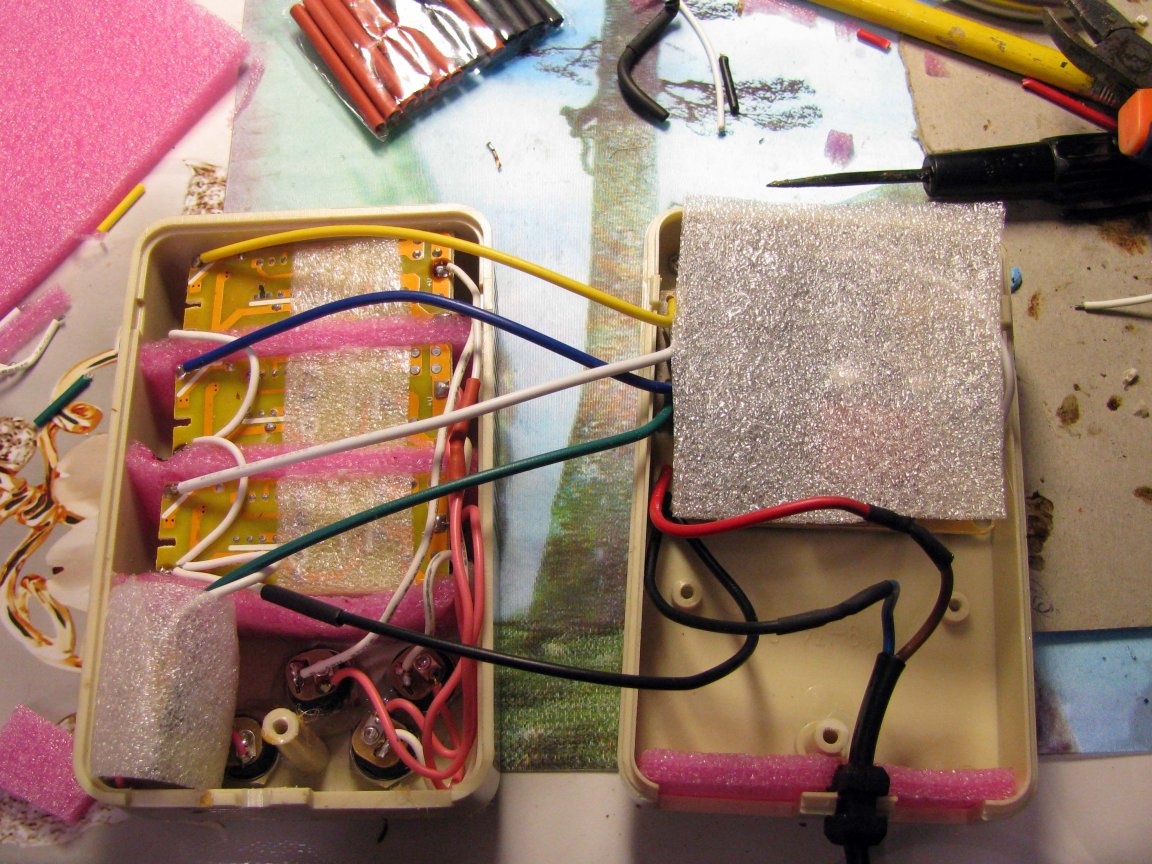
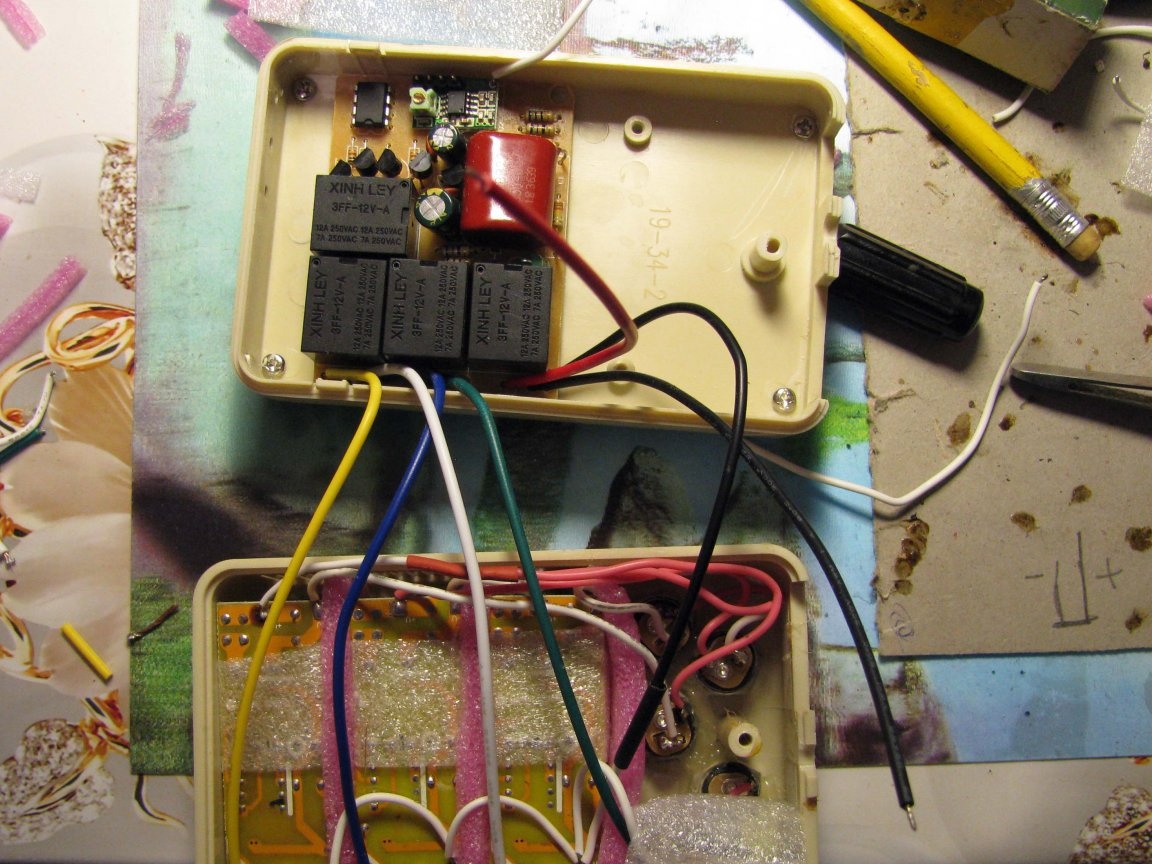
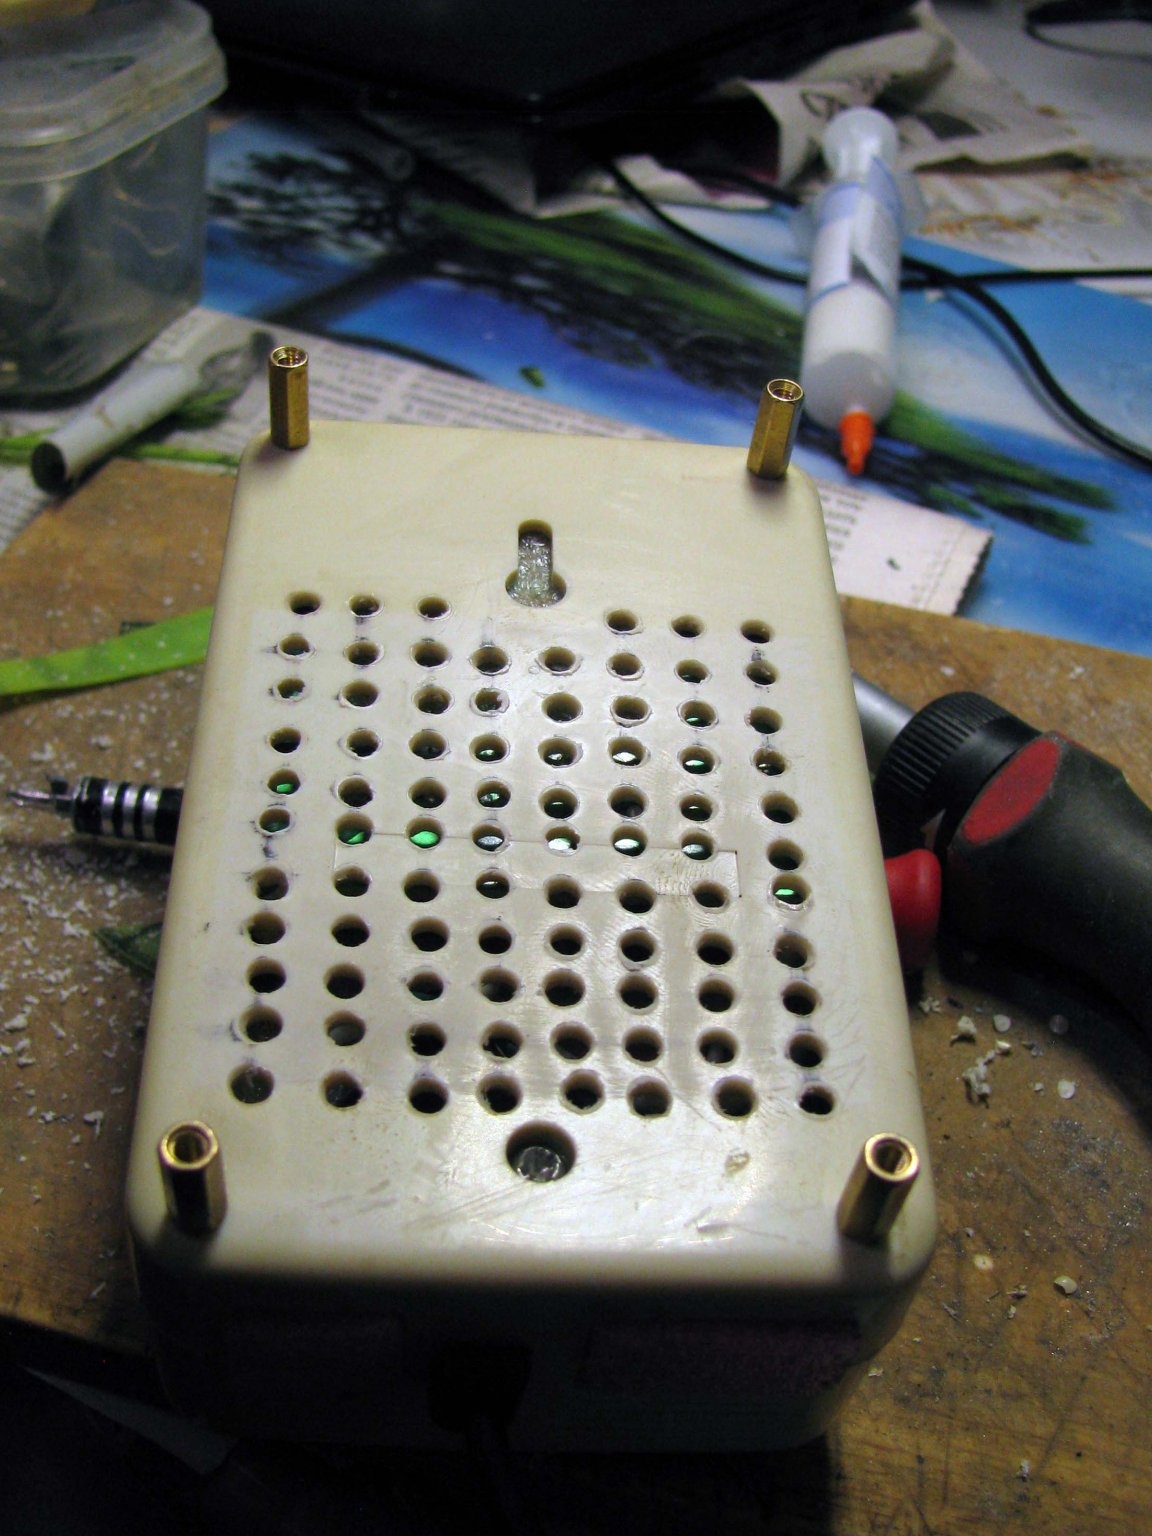
Of course, I thought about free ventilation of air inside the case, and screwed four hexagonal stands through the through holes, assembled it, and seemed to calm down.
But the next day, I decided that this would not work, and having torn off the sticker, I drilled holes in the lower half of the case.
He assembled, clicked on the relay and put off the case for ten days. The LEDs came, but the base stars for their wiring, no.
Ten days later.
Asterisks have come. In the explanation to them, it was indicated that the LEDs should be soldered on a heated platform, I tried on the iron - nothing came of it.
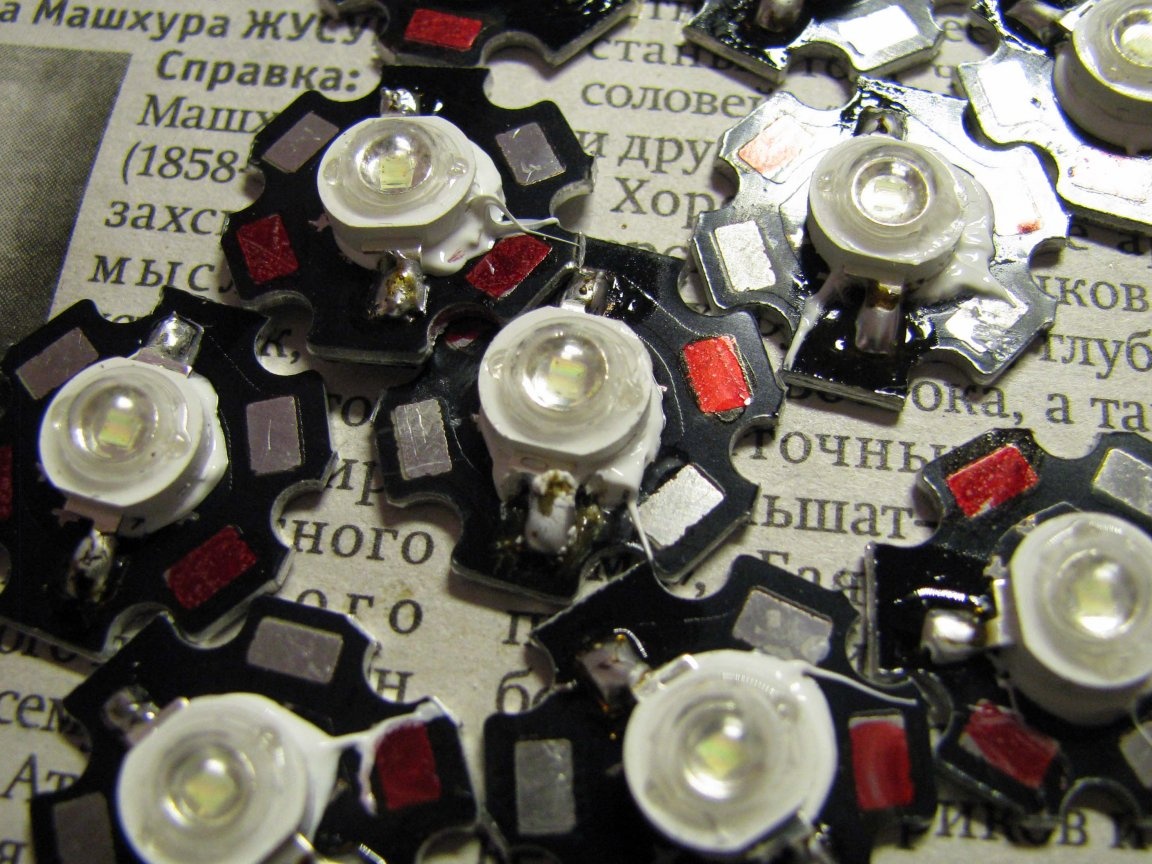
In general, you see that I did not spare thermal paste, it was also purchased specifically for this project.
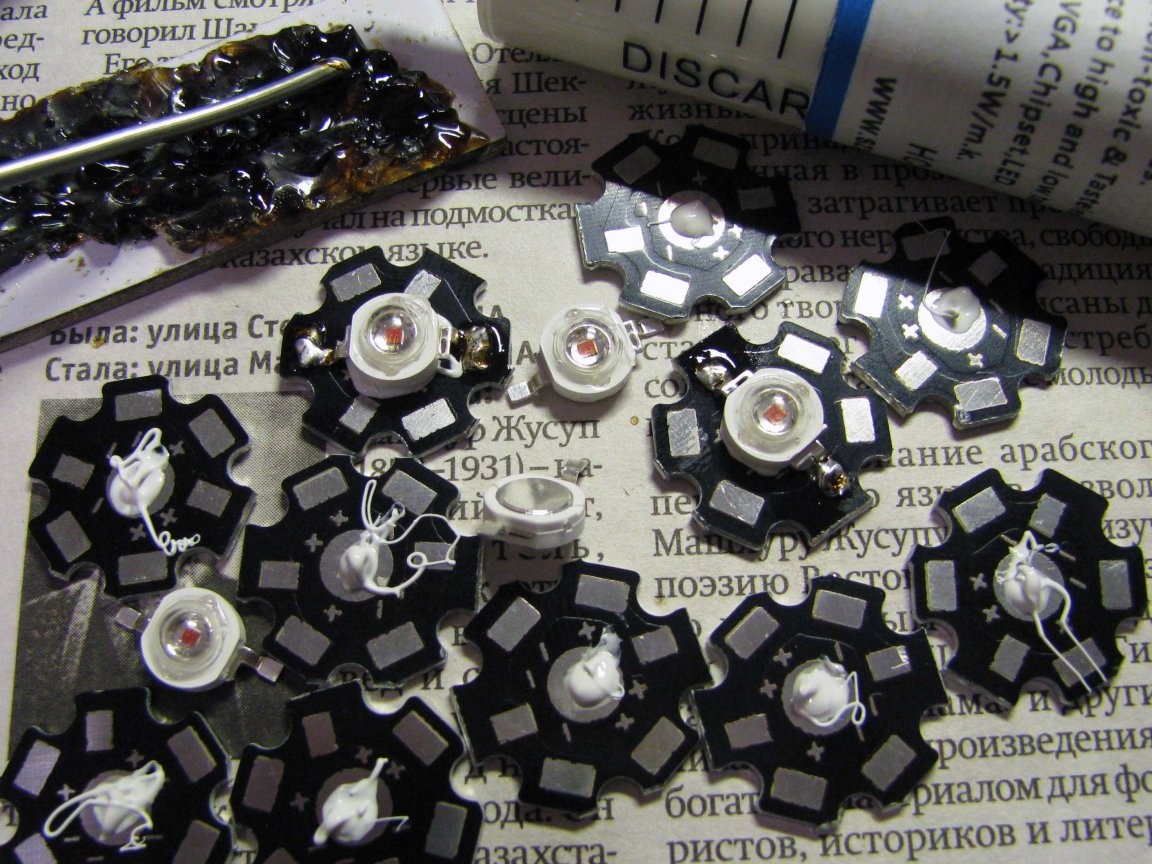
At first, I decided to orient the conclusions of the LEDs with respect to the plus and minus signs on the radiators, but noticed that the LED housing hides these icons and decided not to bathe and simply indicate the positive output of the assembly with a red marker.
Total, I became the owner:
- fifty star radiators;
- ten red LEDs;
- ten green;
- twenty yellow.
Chain Radiator.
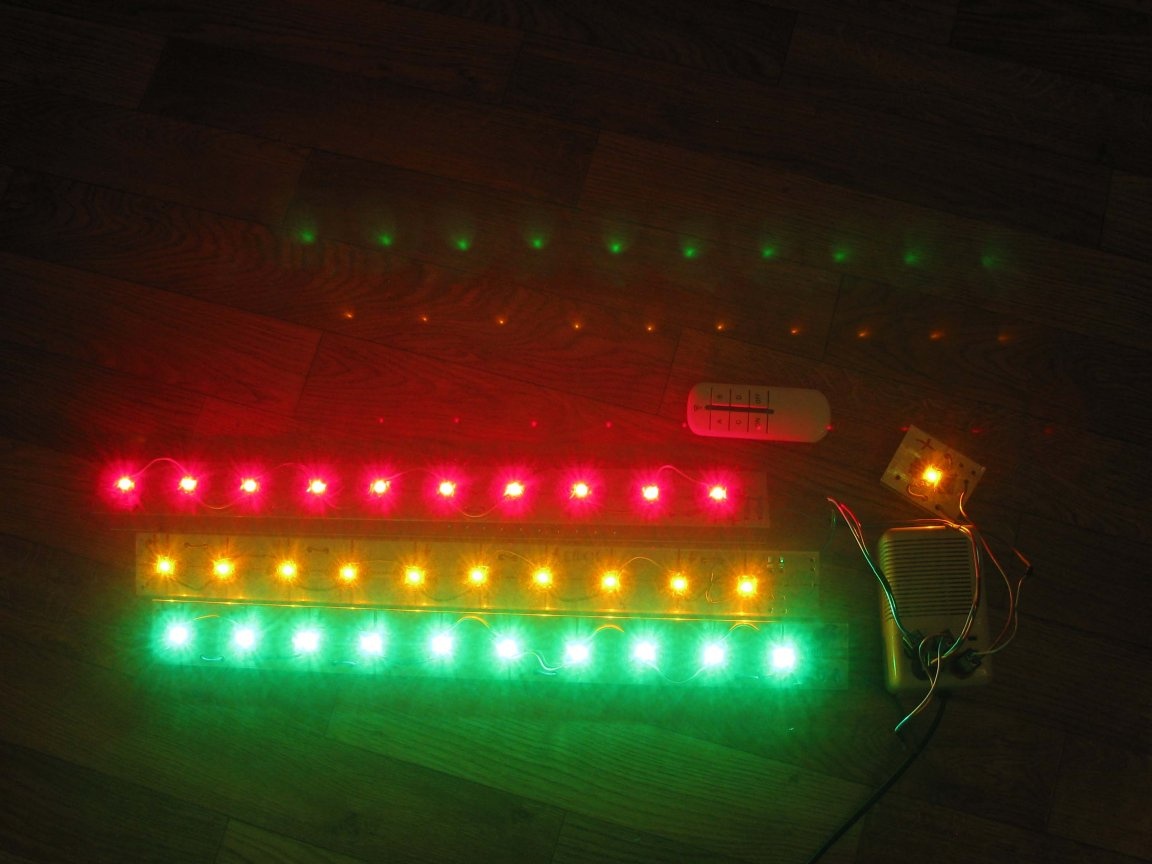
In a magical shed, I ended up with several curtains one hundred and seventy centimeters long, each of polished aluminum. I decided that one of these would produce three segments of fifty centimeters - each for a dozen LEDs, and one piece, for one, three-watt LED.
After cutting, I marked up and every five centimeters, placed one LED each and marked the holes for screwing in the screws.
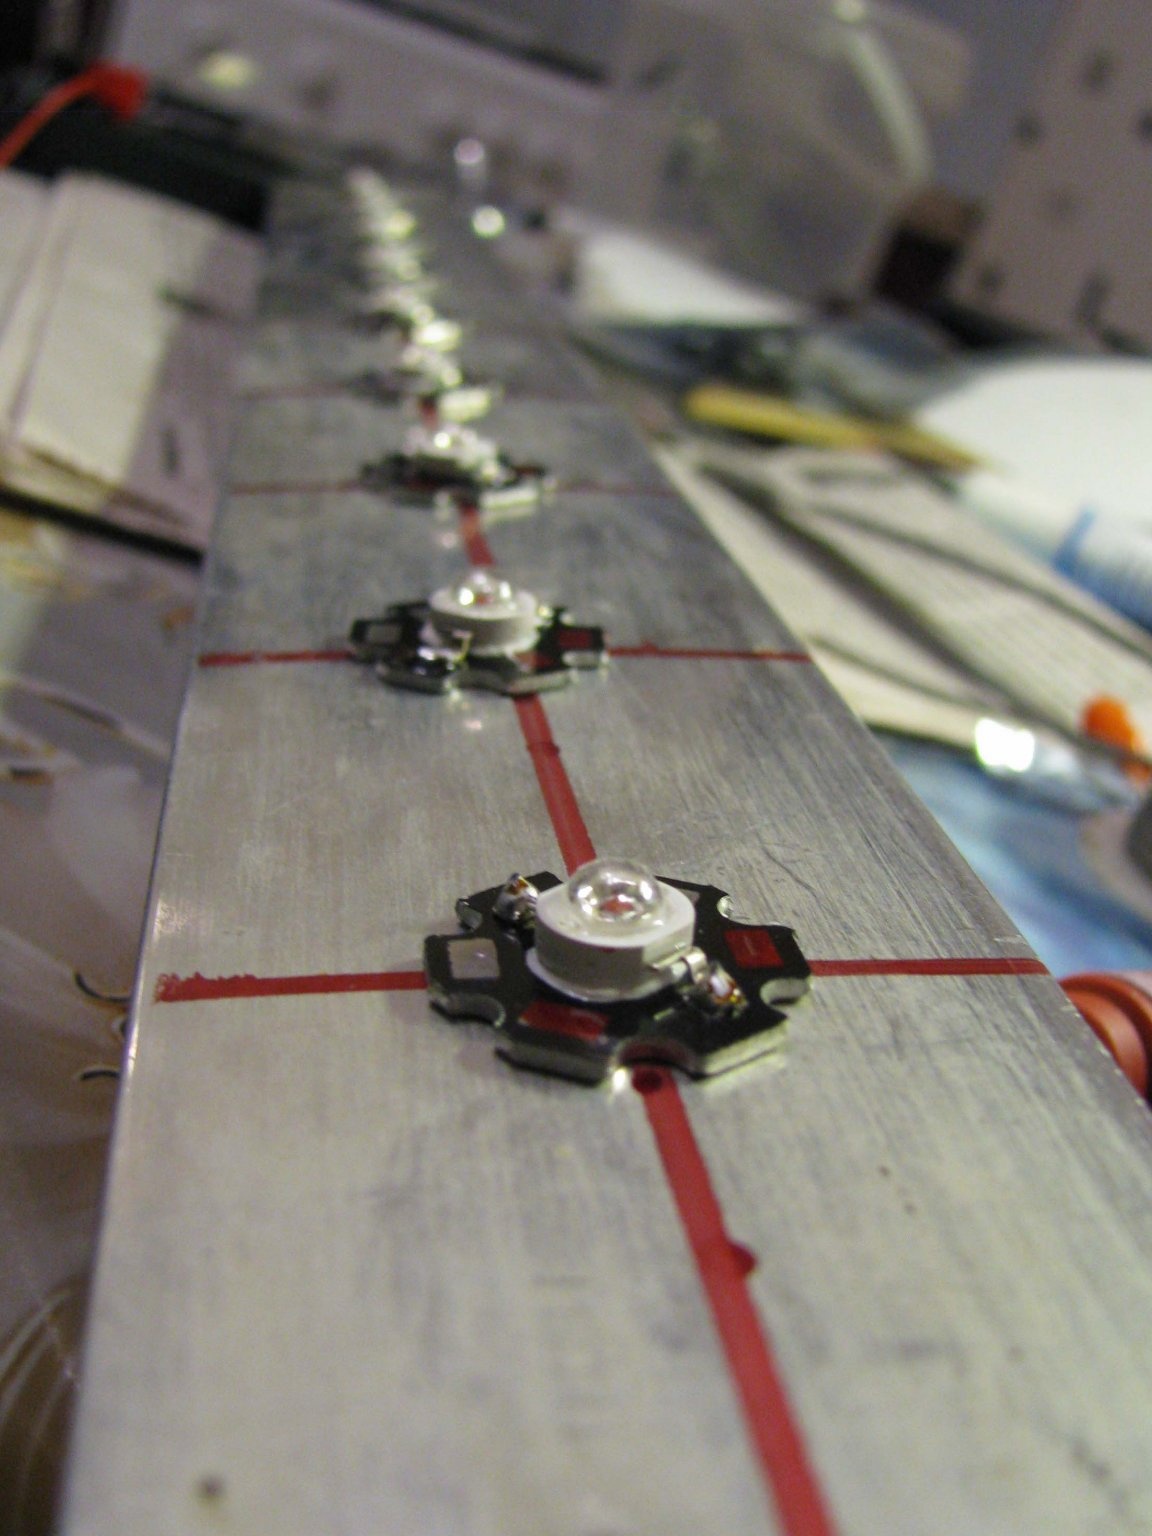
Then I slowed down the horses. Although, I have an engraver, but there was nothing to punch holes. Despite the fact that the engraver is not a stationary machine, and no matter how hard the hand is, the drill will still lead to the side - there was a short circuit problem, because the self-tapping screws will still cover the contact pads of the sprockets and cause a short one through the common bus.
So, each self-tapping screw must be reliably isolated from the contacts of the mounting sprockets.
Since I avoid long-term, clenching my teeth, I decided to do what I have.
This is a vinyl shell from the ball, which was used in the manufacture of another shade according to the type of my past project. Each point in the center, I pierced the tip of the tweezers.
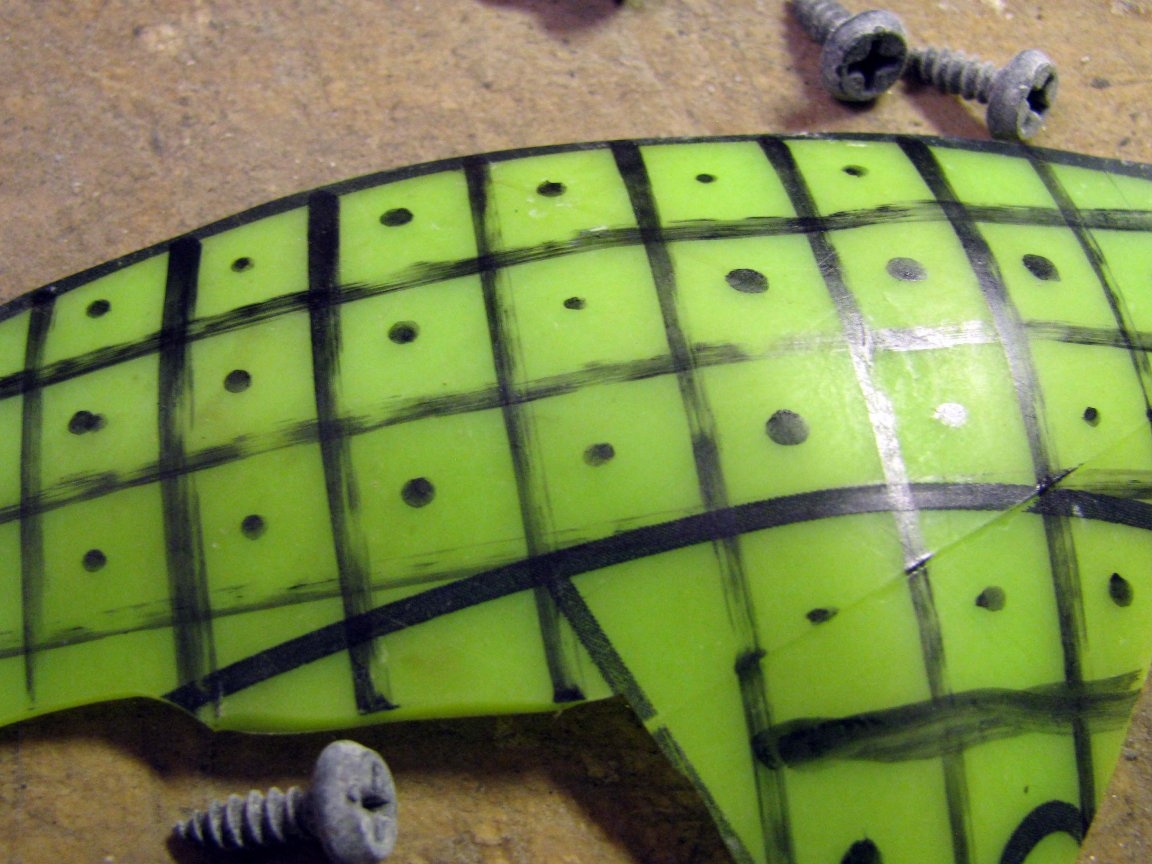
I found out that it is more convenient to screw all the screws first, and only then cut the vinyl into squares.
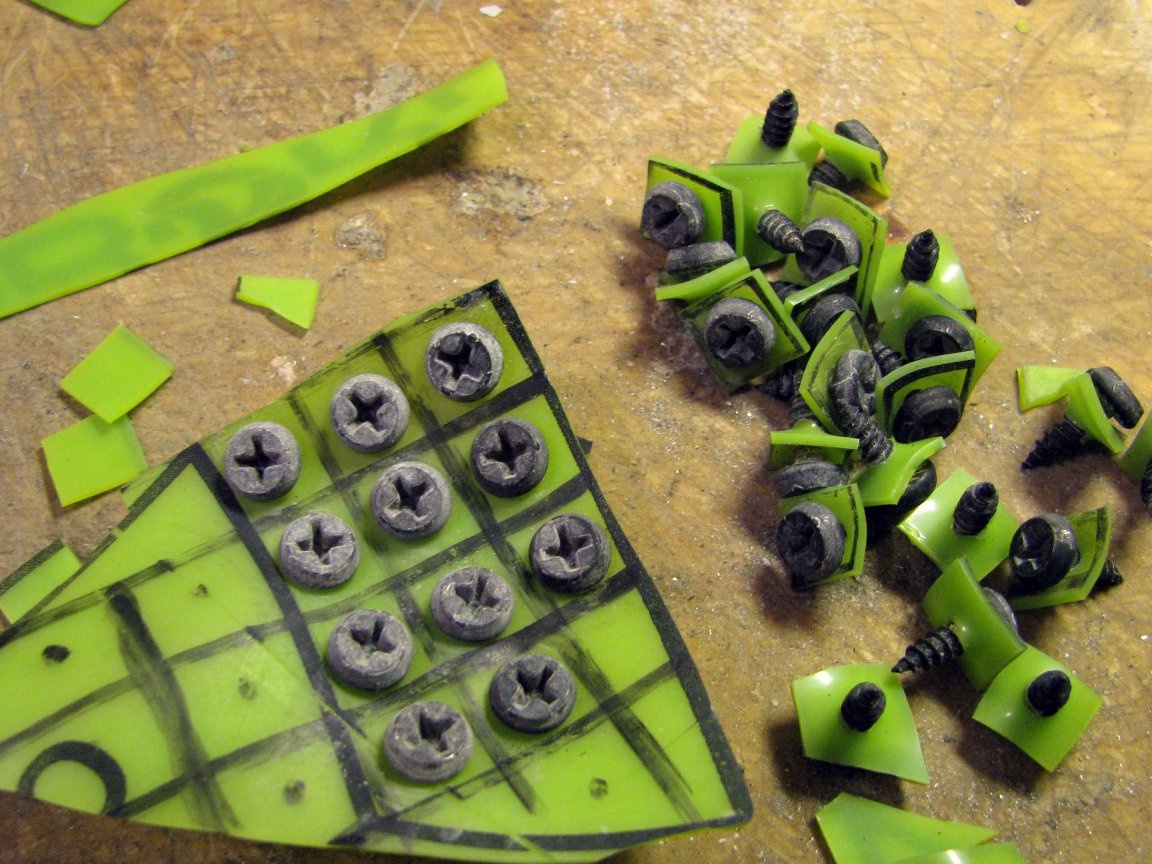
Looking ahead, I’ll say that it wasn’t without alterations, at first I realized only one gasket, but decided that this was not enough. On several of the thirty LEDs, there was still a short circuit to the common bus, and having disassembled everything, I cut one more strip.
Generously lubricating the base of the sprockets with thermal grease, I finally screwed each one to a common radiator. And after the tester rang, immediately began to solder all twenty-seven (sigh) segments of previously tinned wires connecting the LEDs to each other.
Thermal grease did not interfere with soldering, and it was literally soldered with just one touch, although I doubted that a good heat sink would be an obstacle to soldering.
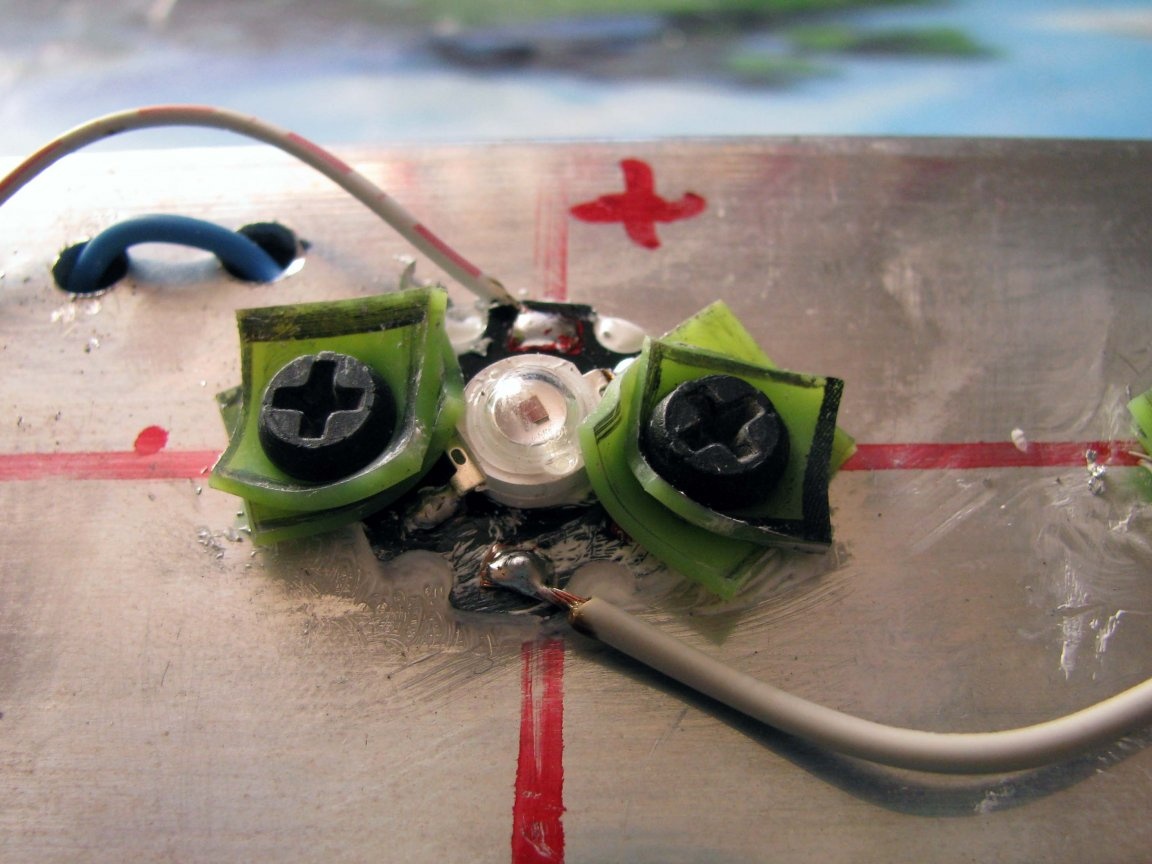
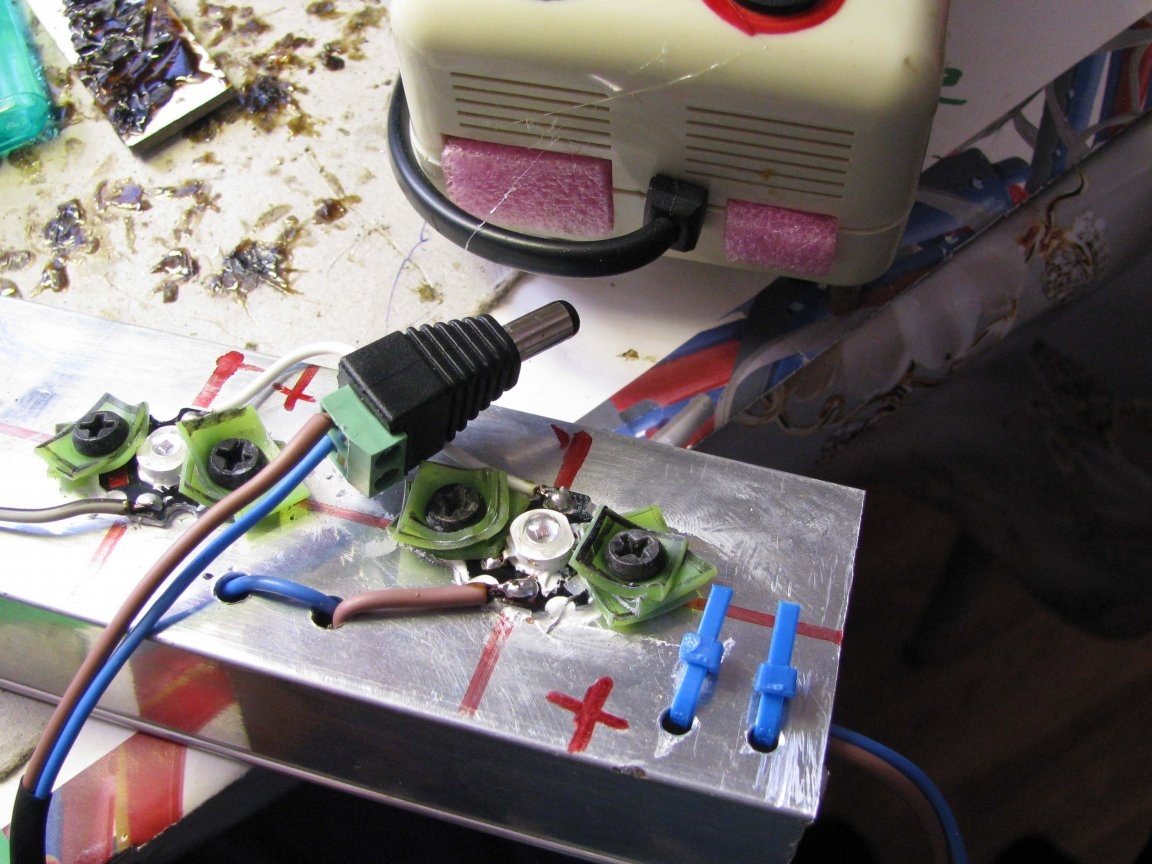
The general view of one LED panel turned out like this: note that the polarity of any LED is opposite to the neighboring one.
On the tinned ends, I fitted such plugs with screw contacts.
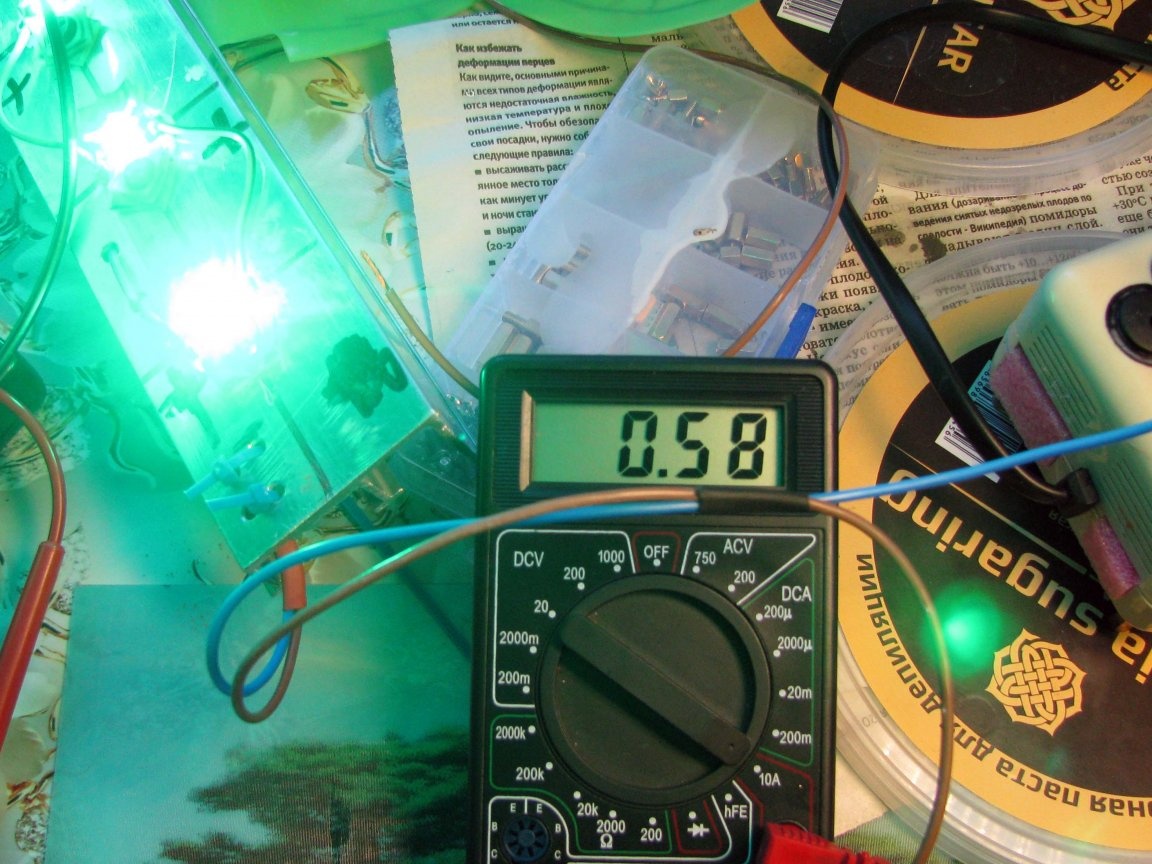
The total current, after ten minutes of operation, fluctuated around 600 mA - which pleased - the diodes are still three-watt. And the temperature threshold did not exceed the pain threshold - it was still possible to hold the radiator in your hand.
Summary.
In general, it took me clean time for about a day, and if I did it even in the evening, then more than a week, construction from scratch would not take time - I do not like long-term construction =)
:
:
And so:
What could be done differently?
Of course, it would be easier to take a ready-made RGB tape, but blue in it would be superfluous to me.
Although, one could take three coils of color monochrome ribbons: red, green and yellow, and a very convenient RGB controller with already combined wireless control, in which the blue channel would be replaced by yellow.
That would be what I would do now, but I won’t do it - everything is already ready =).
:
- ;
- ;
- four-channel;
- 3 watts;
- "stars";
- .
- already, for those who do not want to bother =)
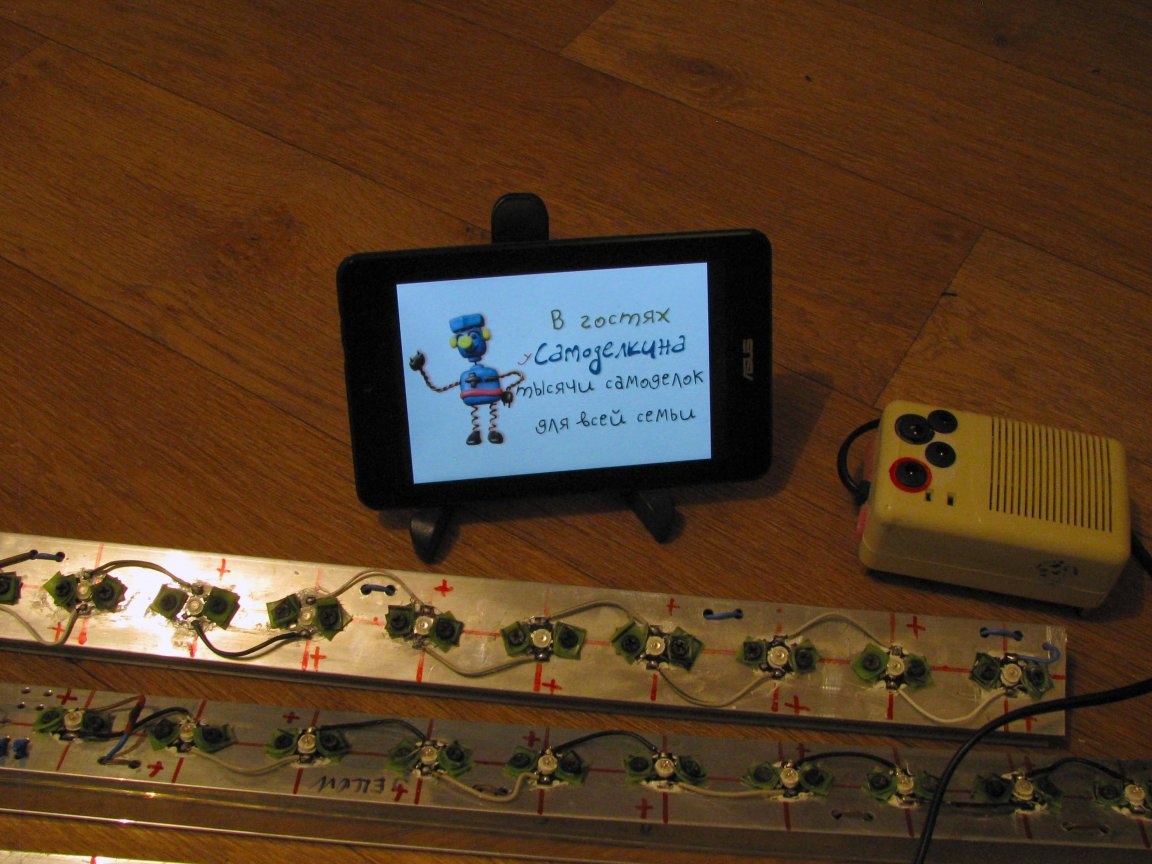
On the way, reworking the GS700 tablet into something similar to the TVbox.