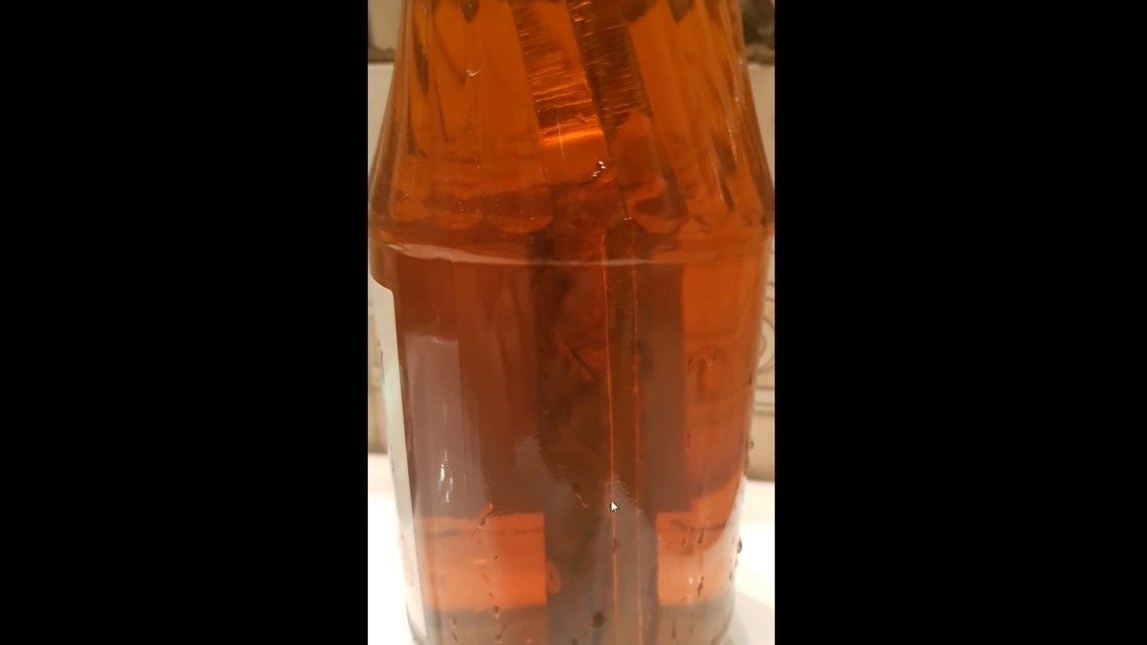
I welcome the fans to craft, in this instruction we will look at how to make a high-quality, strong, stylish camping knife from a file. The knife steel is so strong that the blade easily cuts a glass bottle.
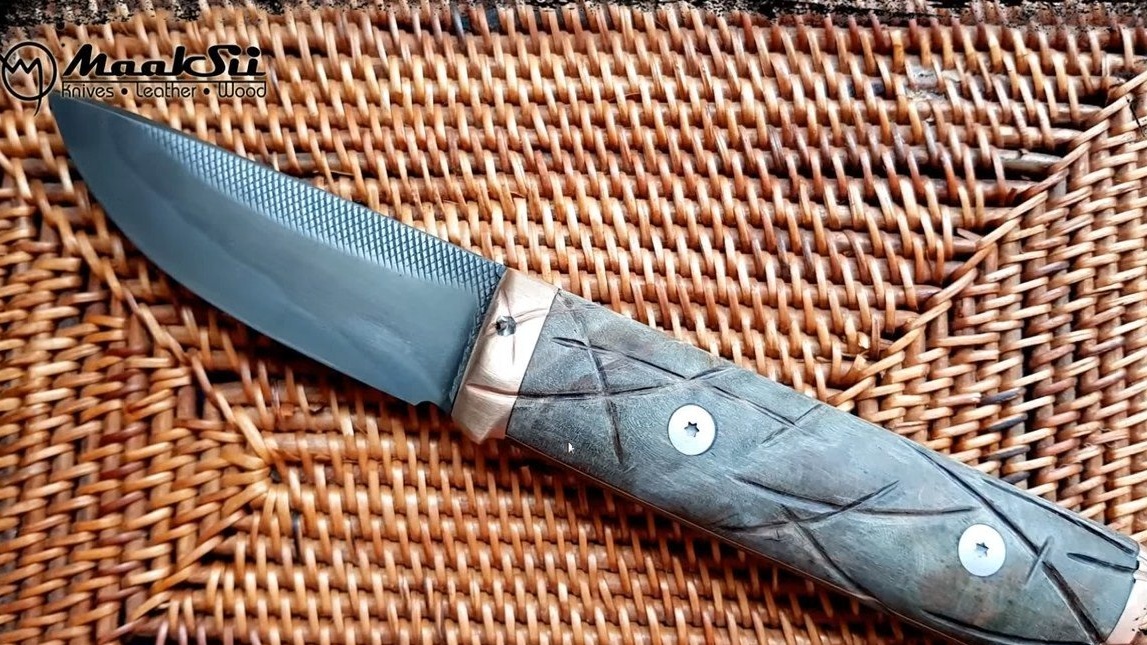
The handle of the knife is lightweight, thanks to this, such a knife can not only be cut, but also easily chopped. On the blade, the author left a part of the notch so that with a knife it would be possible to grind something or sharpen it if necessary. It looks pretty nice, but it’s not difficult to do if you have the necessary tool. The most important thing when making a knife from a file is to properly harden and temper. If the topic interests you, consider in more detail how such a knife is made!
Materials and tools used by the author:
Material List:
- old Soviet file (steel U13A);
- brass for bolster;
- brass or copper rod for the pin;
- two screws for attaching the pads;
- epoxy adhesive;
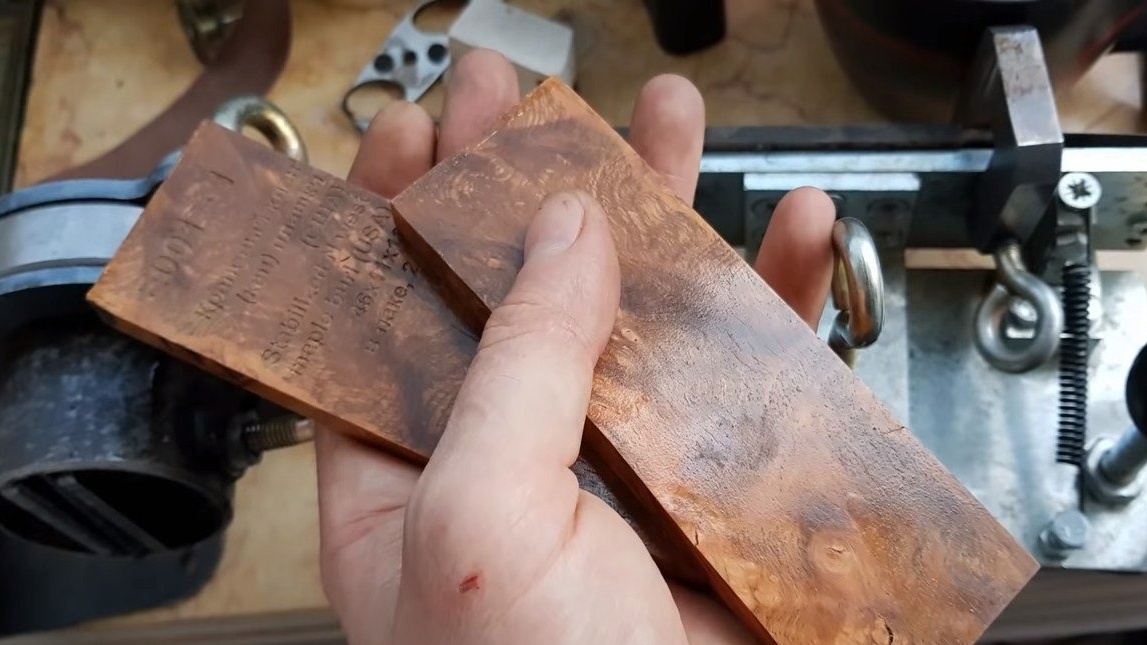
- maple or other wood for lining;
- silicate sealant for fireplaces (to make a line of jamon);
- oil for wood impregnation.
Tool List:
- Bulgarian (detachable and petal nozzles);
- vise;
- muffle furnace for hardening;
- an oven for tempering metal;
- oil for hardening;
- drilling machine;
- drill;
- clamps;
- belt sander;
- acid for pickling (optional).
The process of making a knife:
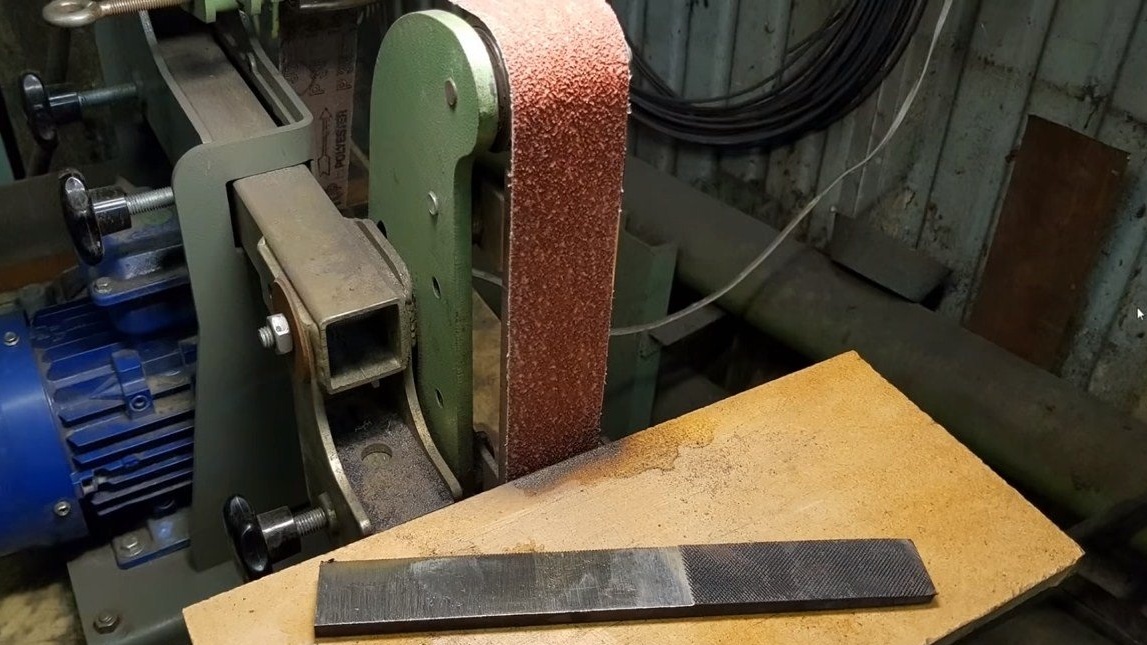
Step one. File preparation
The knife manufacturing process begins with the preparation of the file. The Soviet file is made of carbon steel and hardened, it is impossible to process it manually at all, and grinders can cope with such a task with difficulty. To solve this problem, the metal must be let go, it will become soft and ductile. We heat the file to a red glow and let it cool smoothly in the air. After that, the file can be processed.

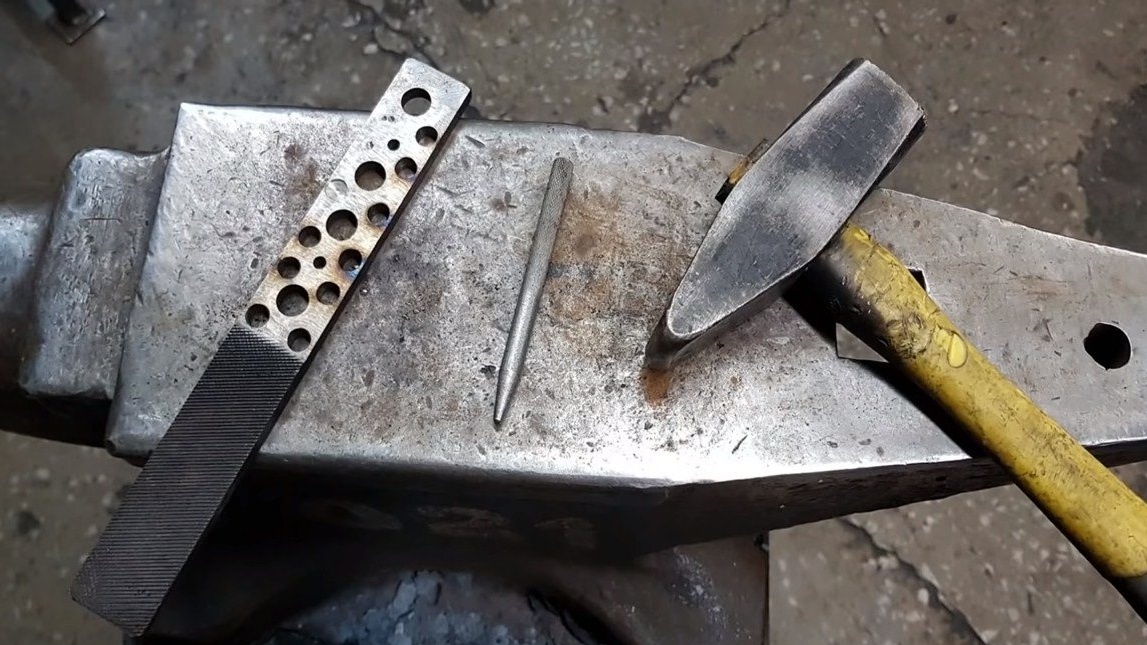
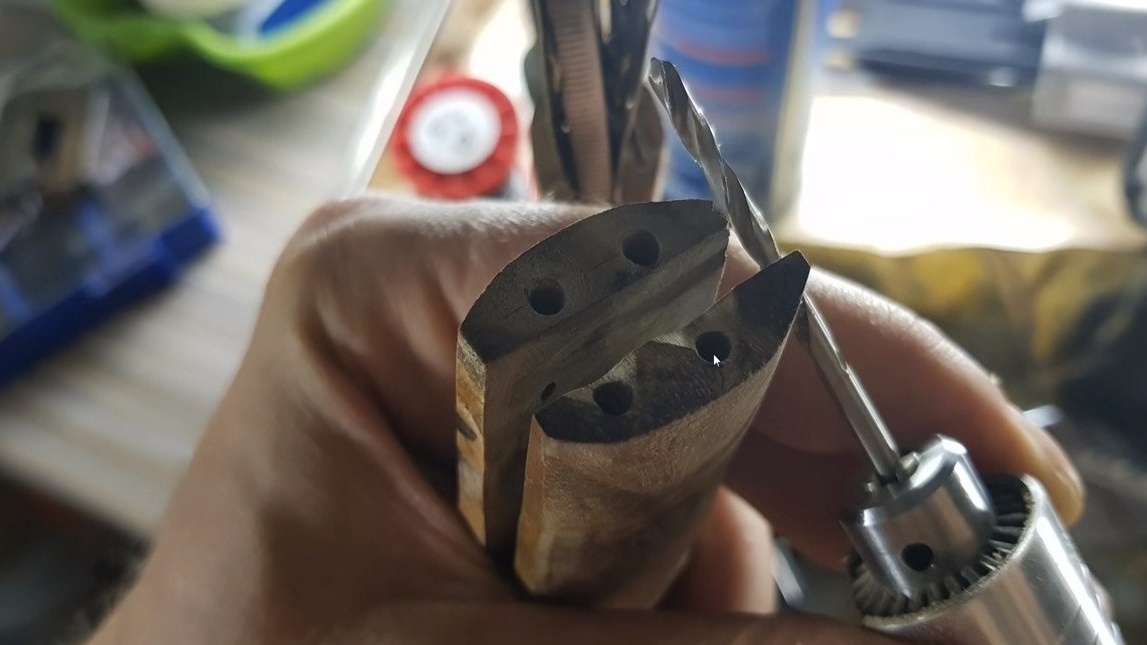
Step Two A pen
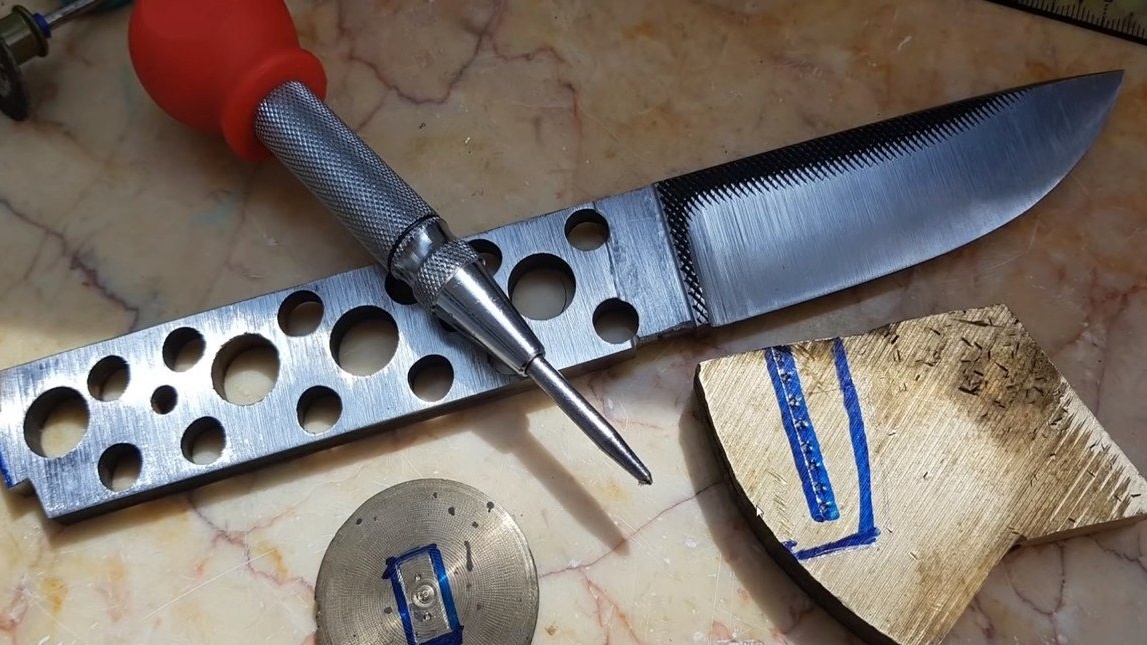
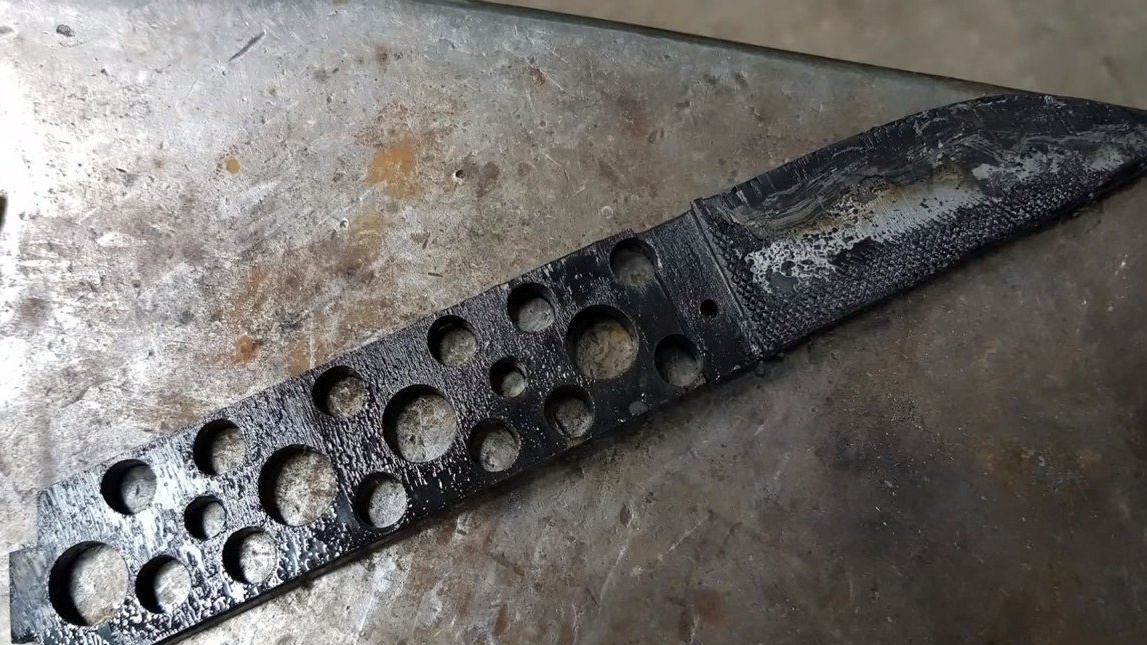
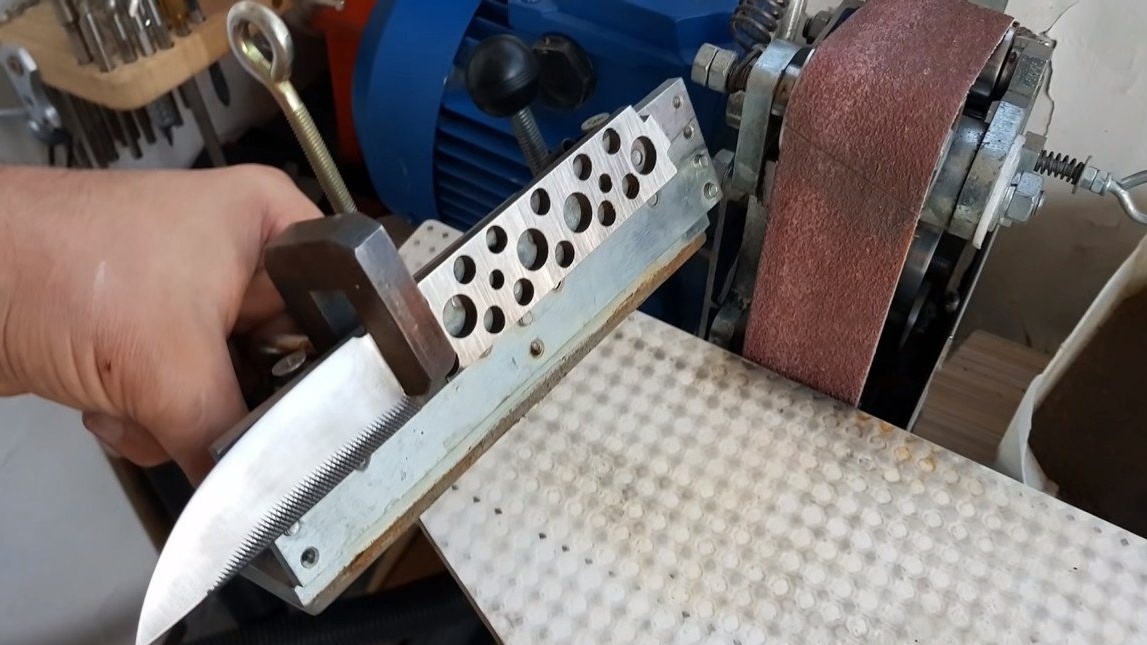
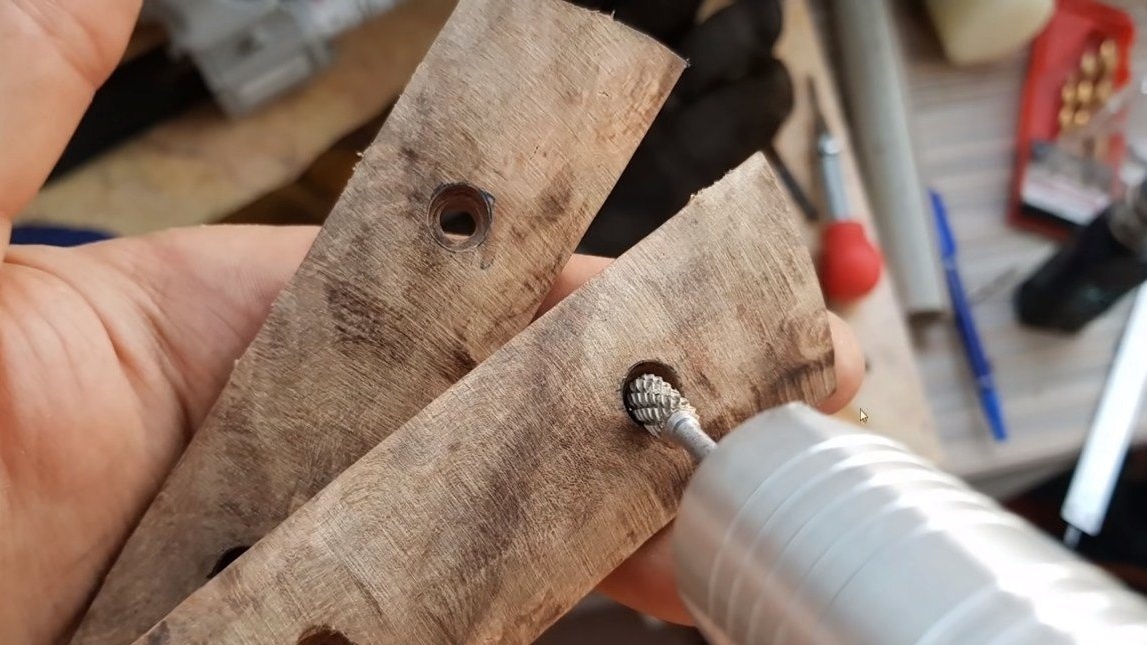
Let's start making a knife with a handle. The bottom line is to make the handle as light as possible, then it will be convenient to use the knife, it will lie well in the hand, it can be easily chopped. First, the author made the metal thinner using a belt sander. Well, then we need a drilling machine with drills of large diameter. We drill holes in the handle, thereby removing excess weight. Thanks to the holes, the handle glues more securely.

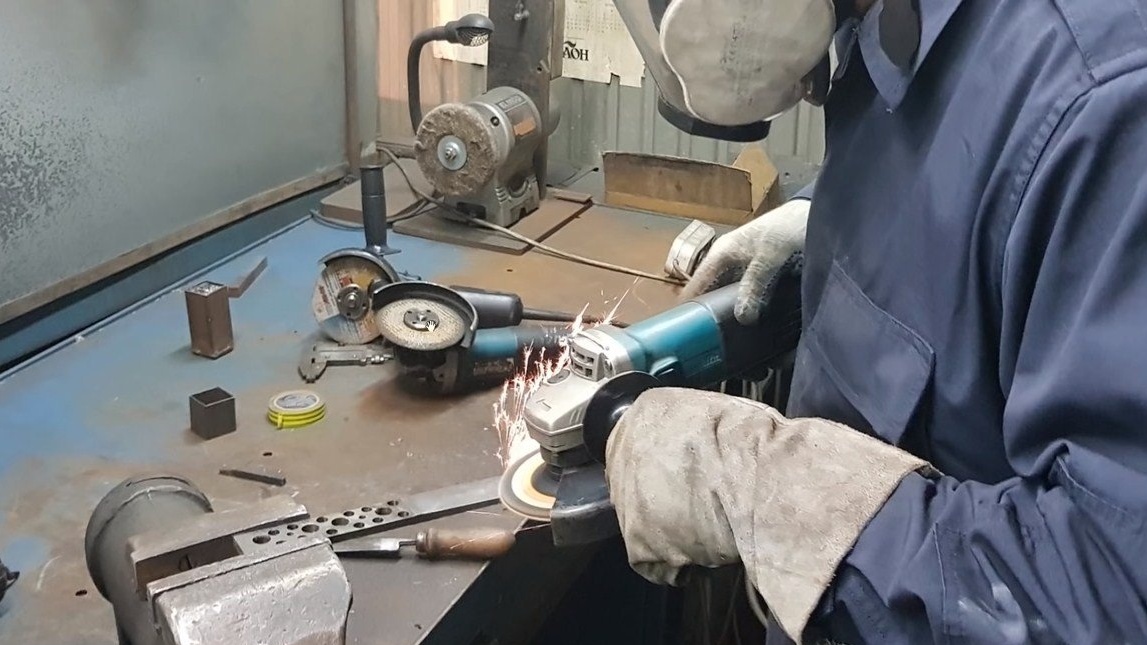
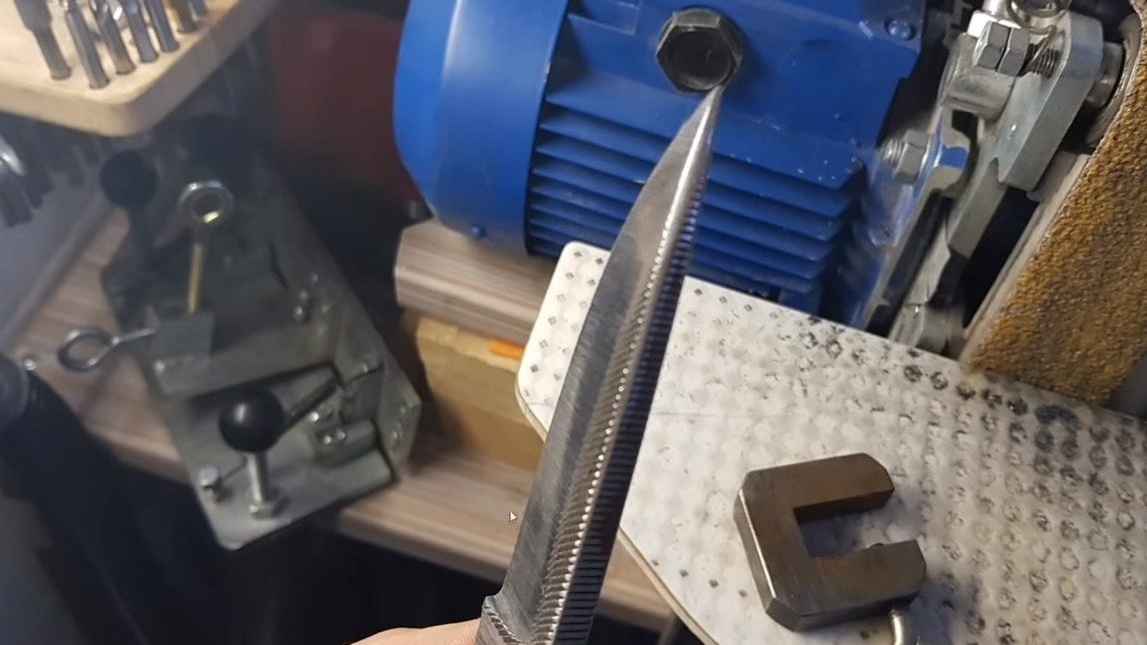
Step Three We form bevels
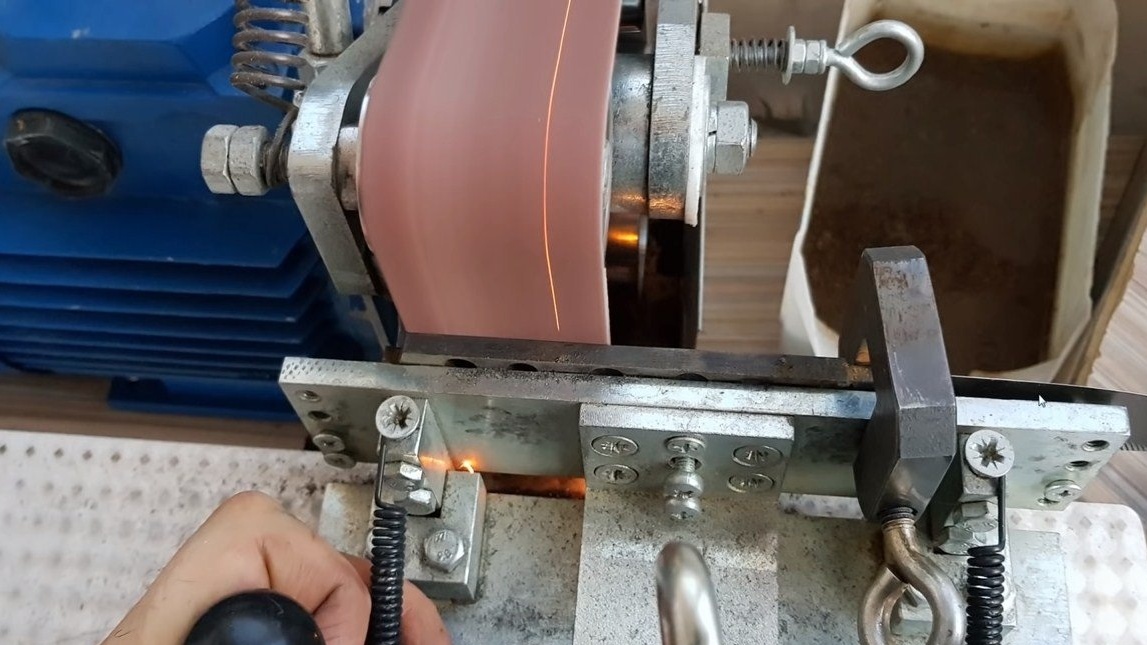
We proceed to the descent of the blade, pre-mark them and determine the shape of the blade. Cut off the excess grinder and proceed to grinding. The author conducts the primary processing with the help of a grinder, using a petal disk. Well, then a belt sander with a coarse tape comes to the rescue. Do not forget that further hardening is to be done, so metal cannot be made too thin. The author recommends leaving a blade thickness of at least 1 mm. Otherwise, the steel may overheat and turn into raw.
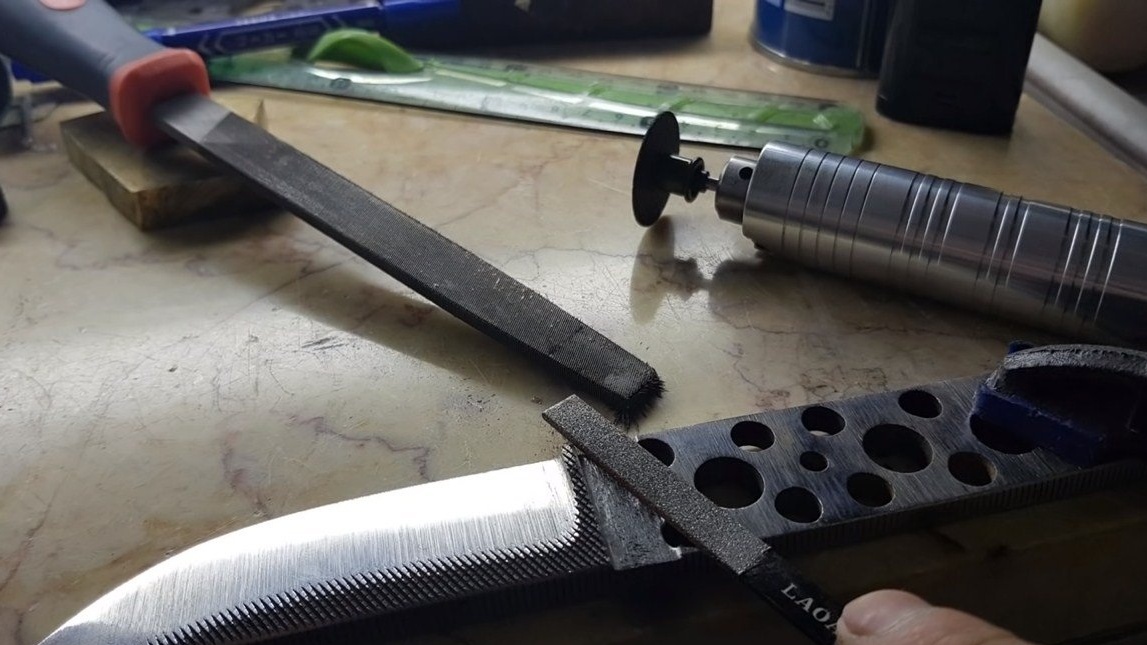
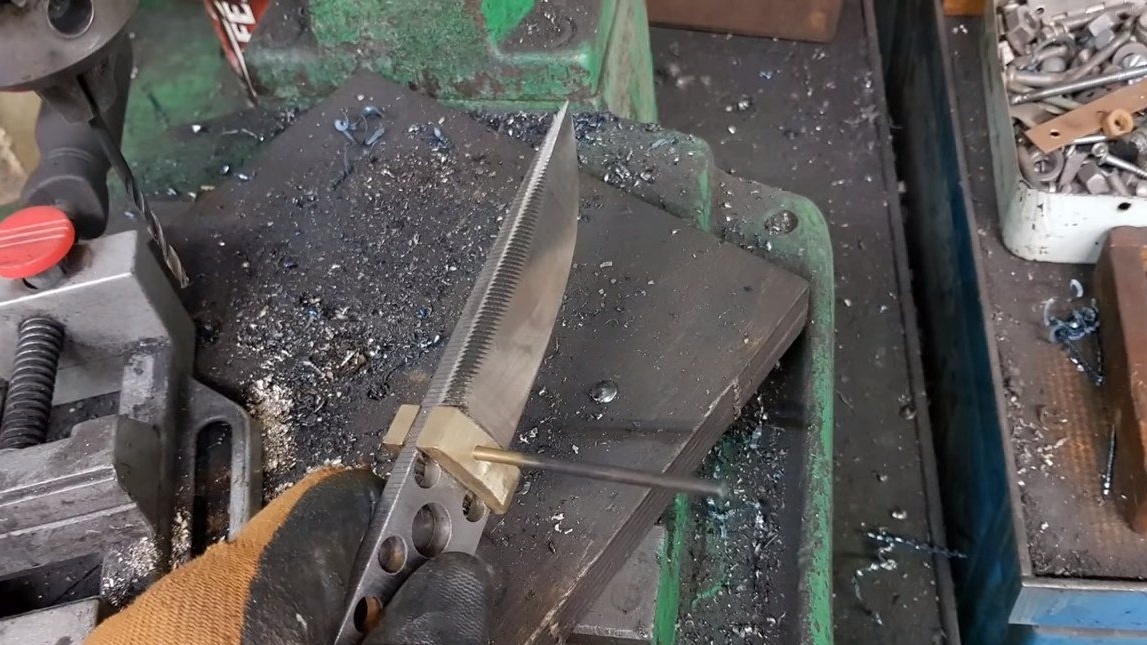
We also need to leave the notches on the blade, but the author sharpened them a little on the butt so that the knife does not spoil the guard and other things. In general, notches on the rib have a decorative meaning.
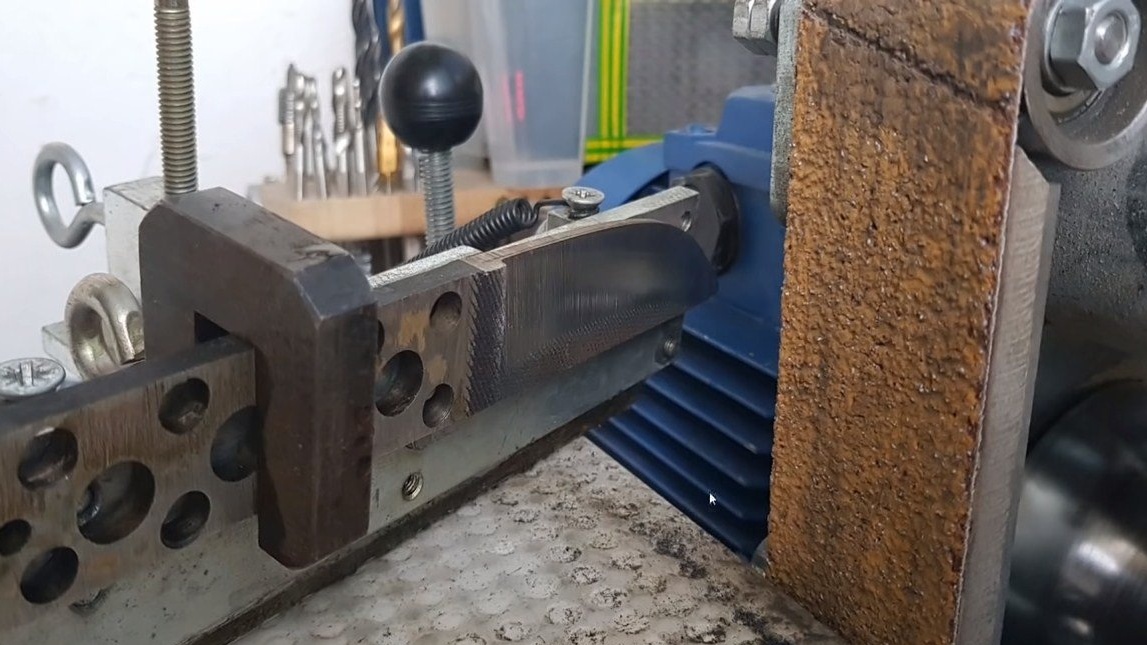
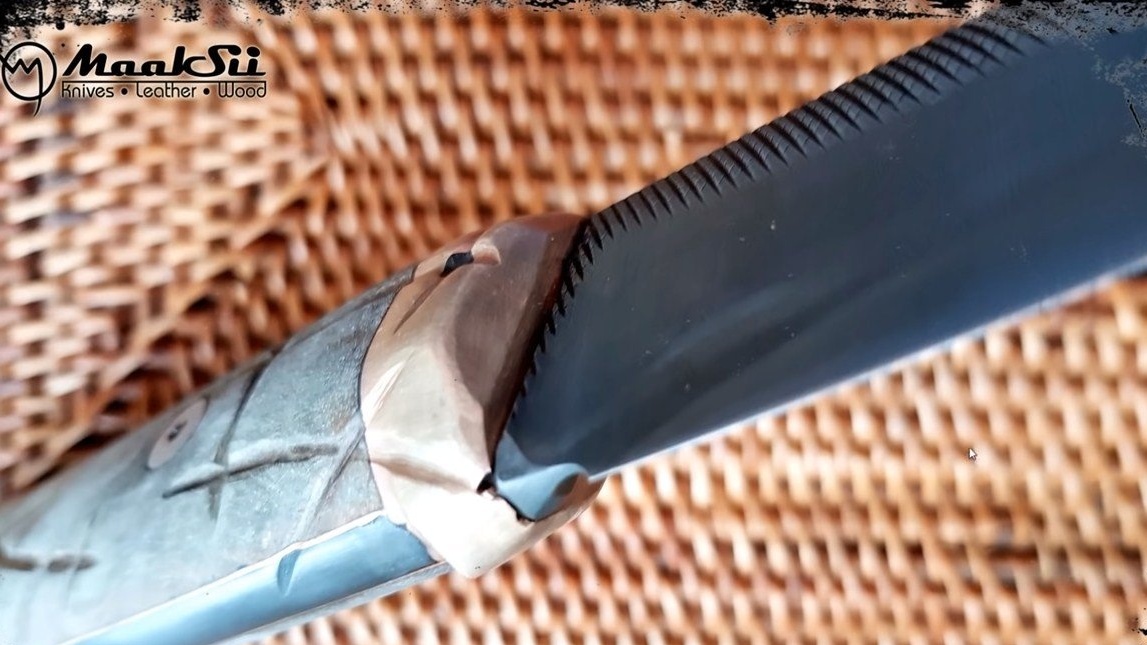
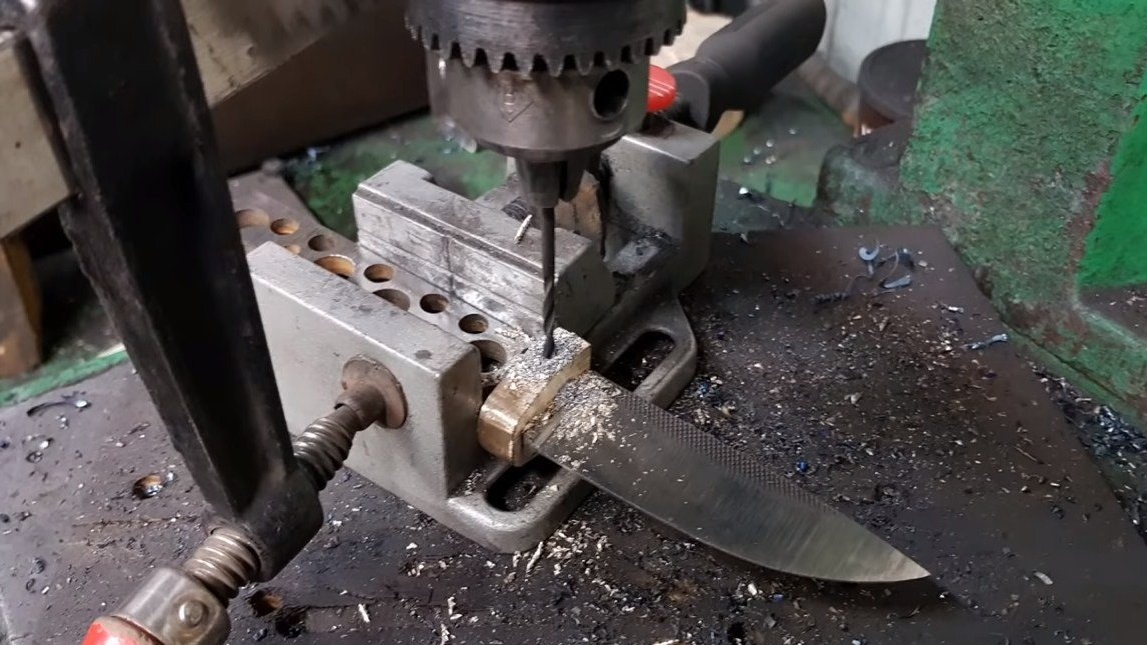
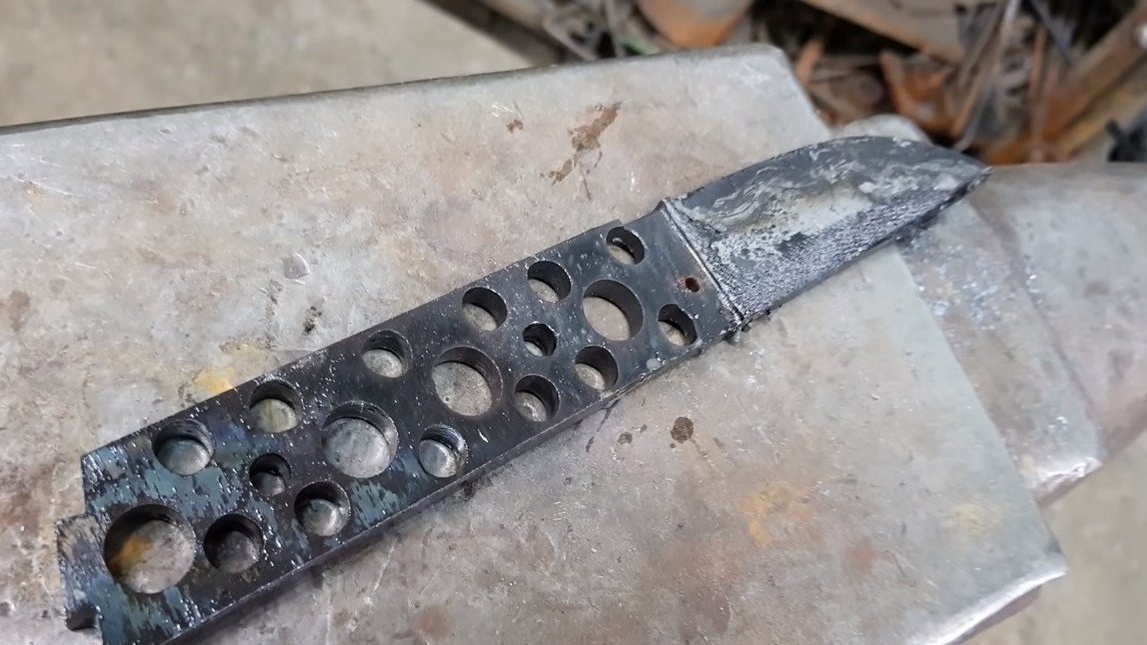
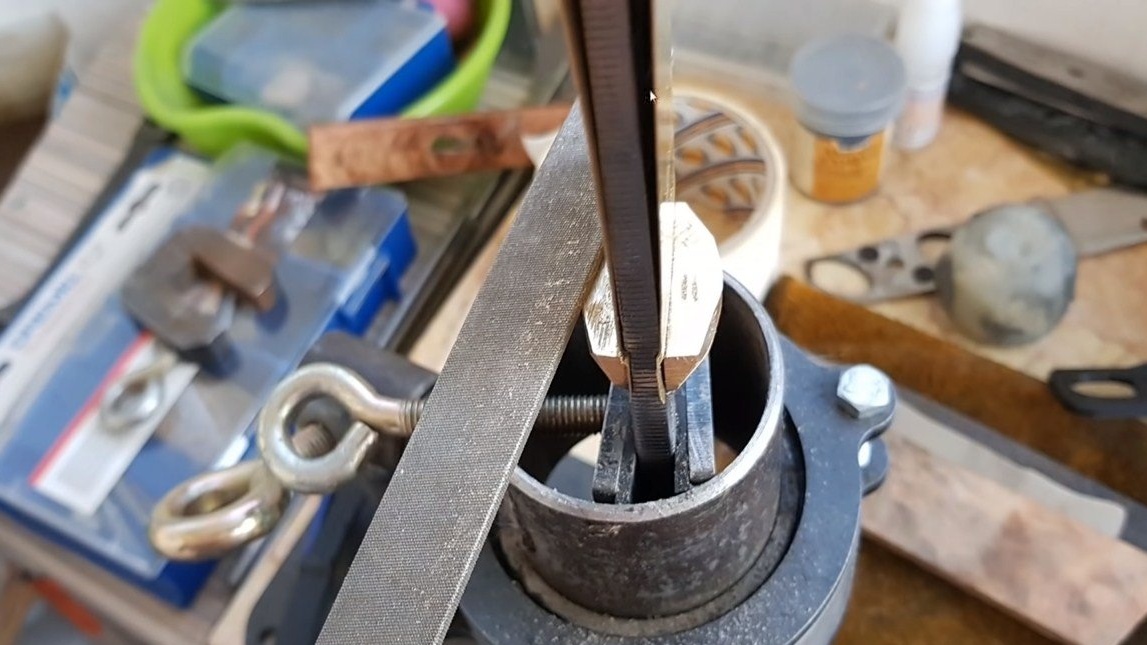
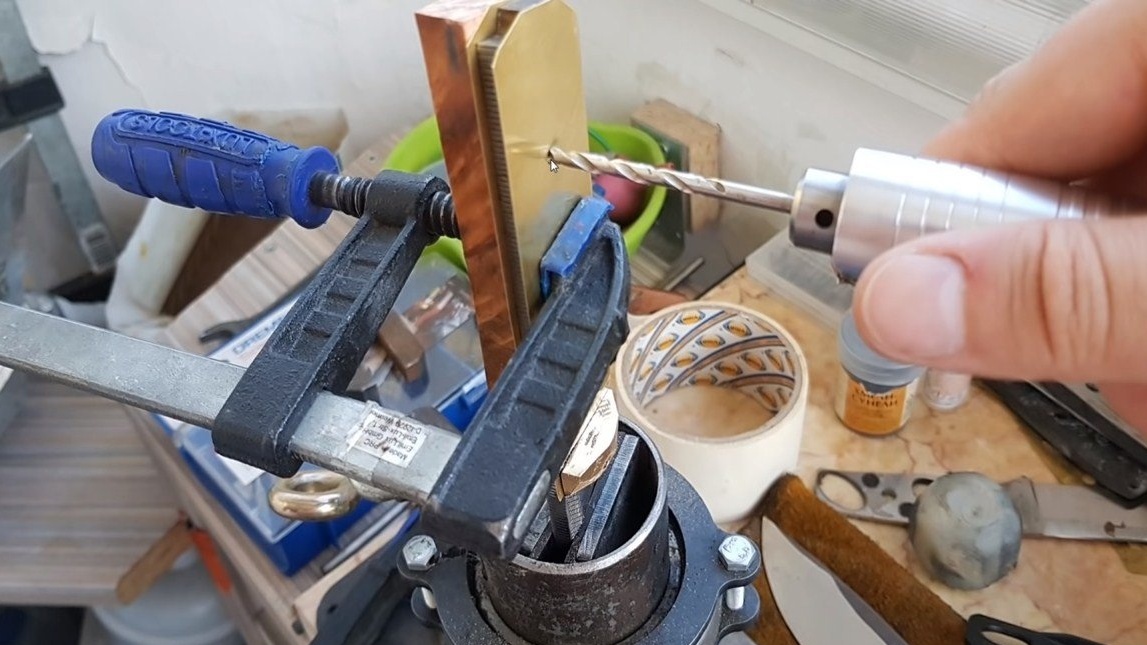
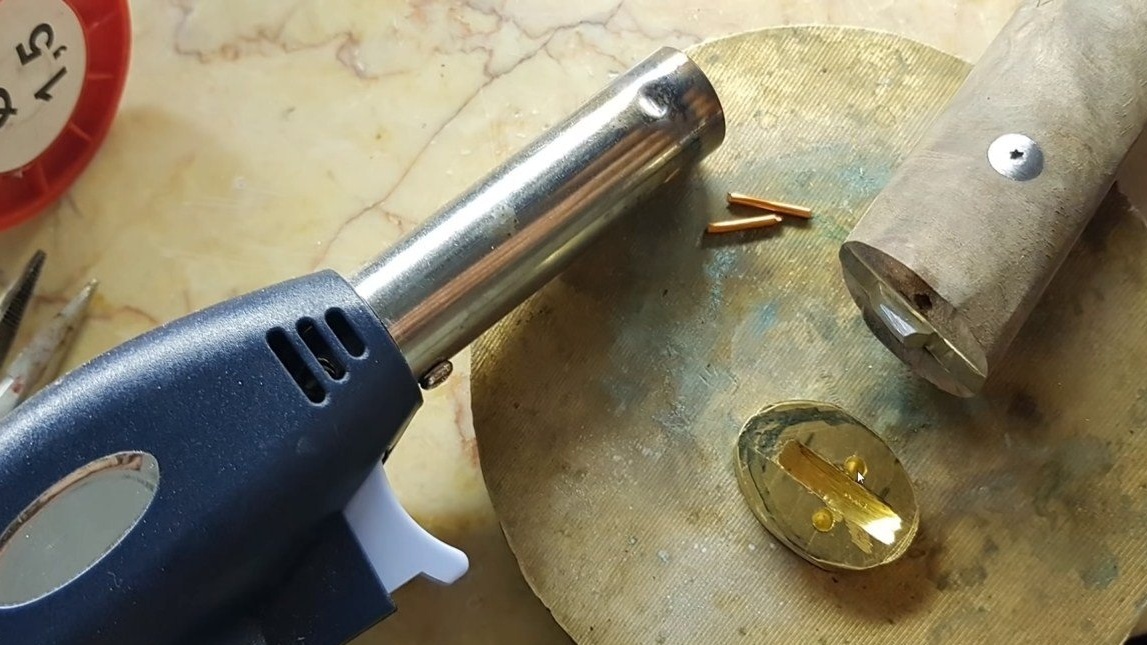
Step Four Bump and bolster
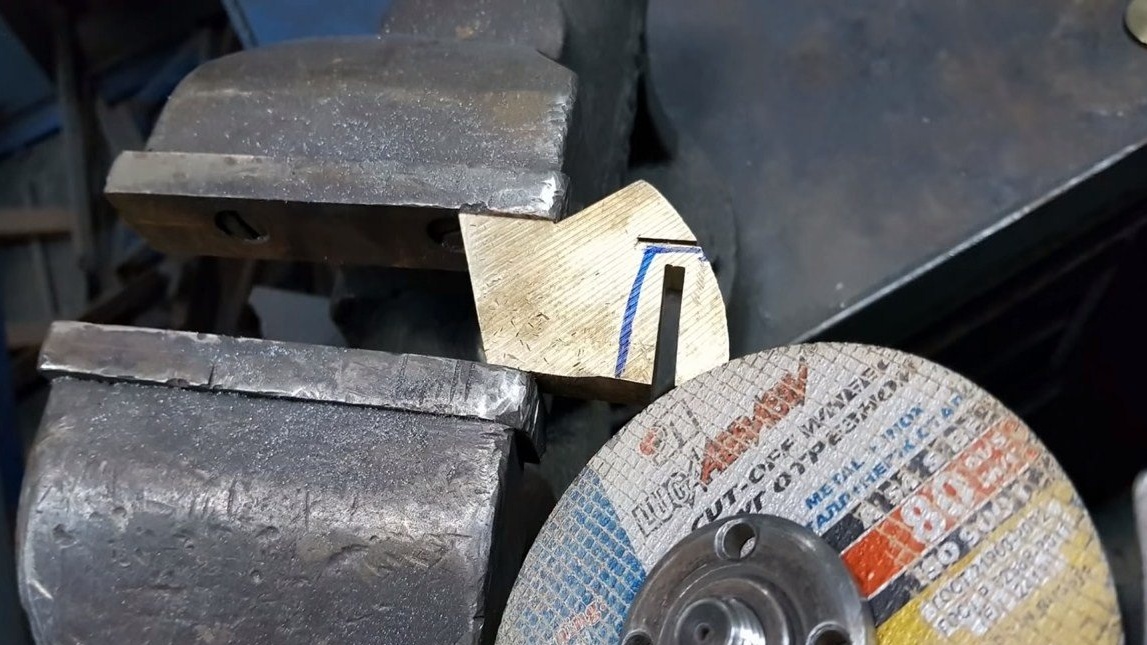
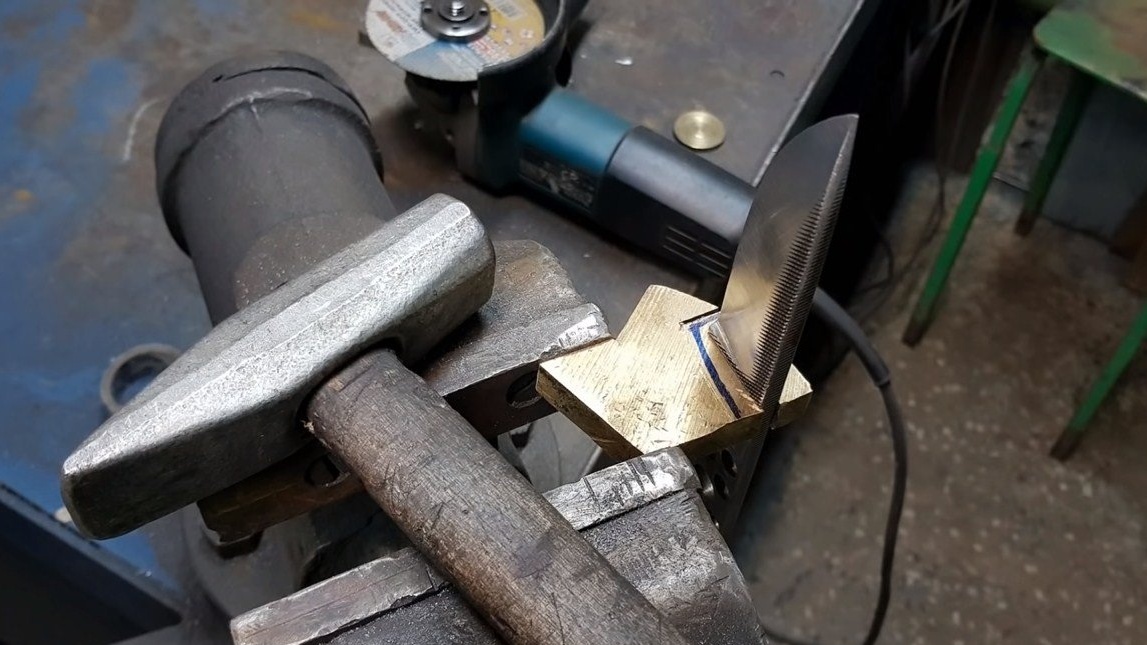
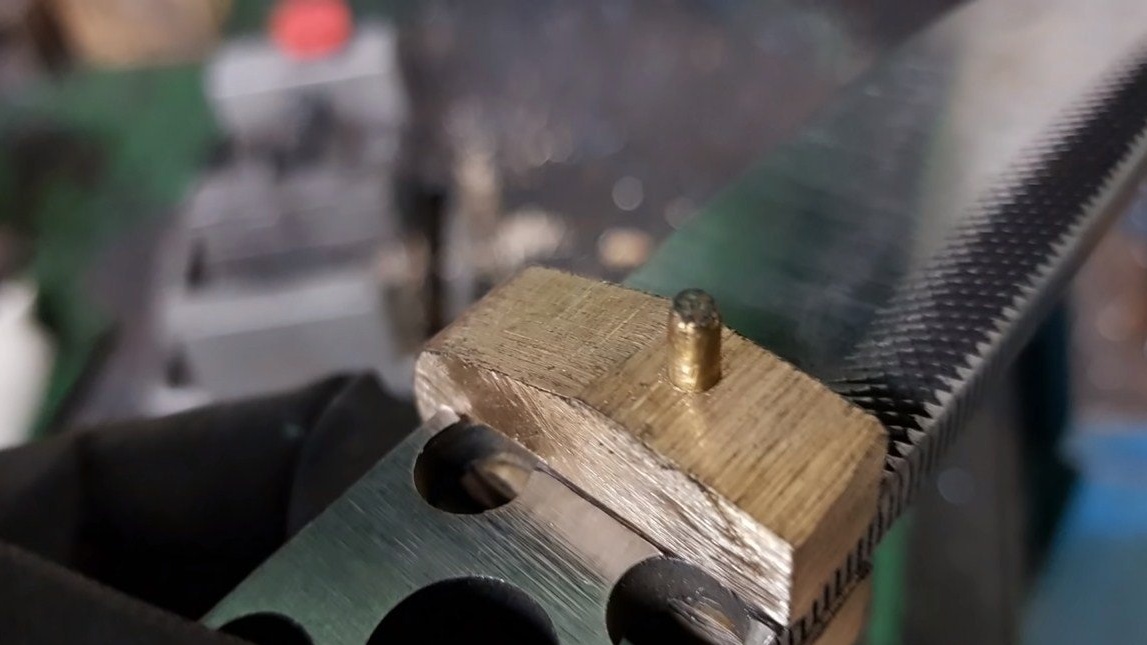
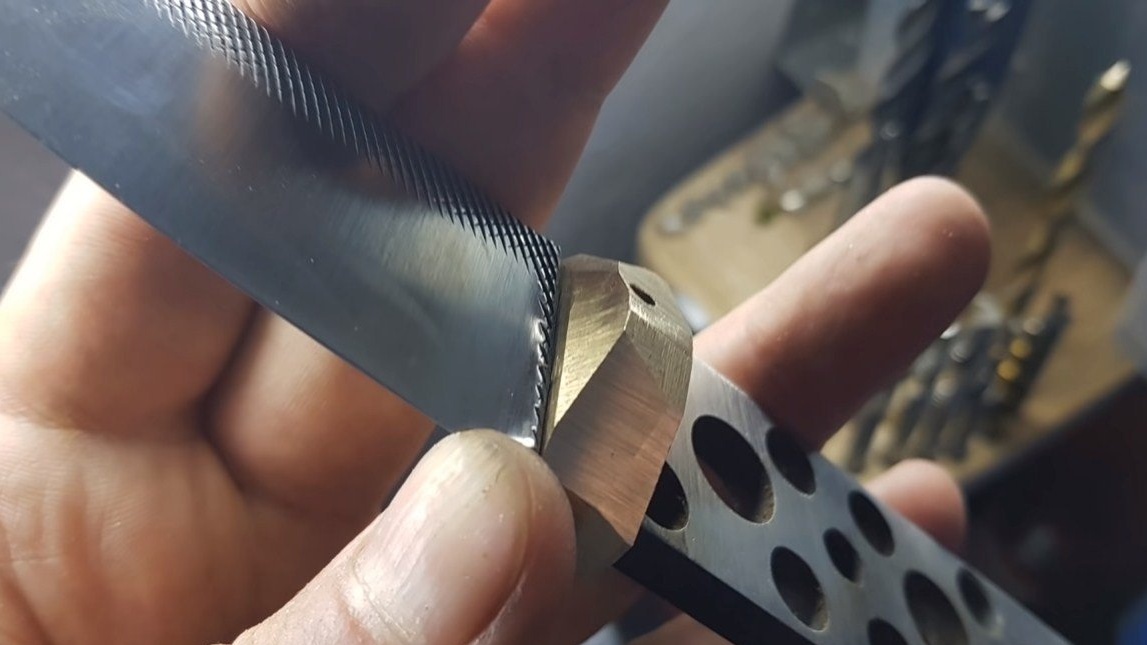
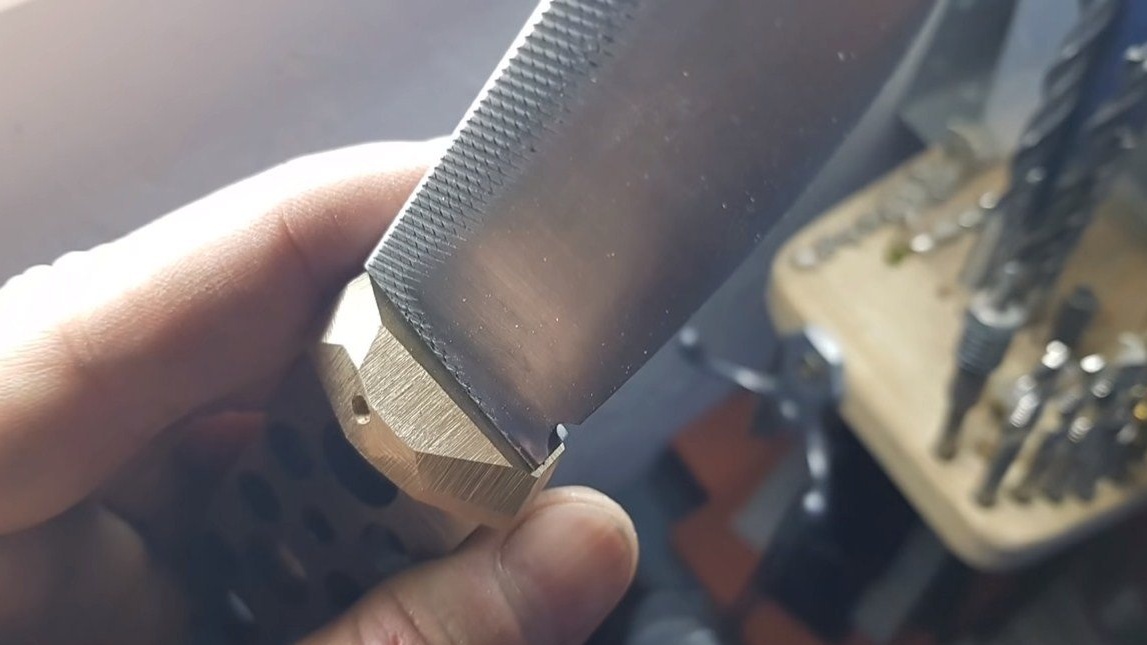
On the knife there is a back and bolster; they are made of a piece of brass. To install the rear of the blade in the back of the blade, cut a spike; for this, the author used a drill. Under the bolster, we prepare a place on the blade with a metal file. The author cuts the slot hole in the bolster using a grinder. When the bolster is made, a hole is drilled through it and the blade and a copper or brass pin is installed.


Step Five Heat treatment
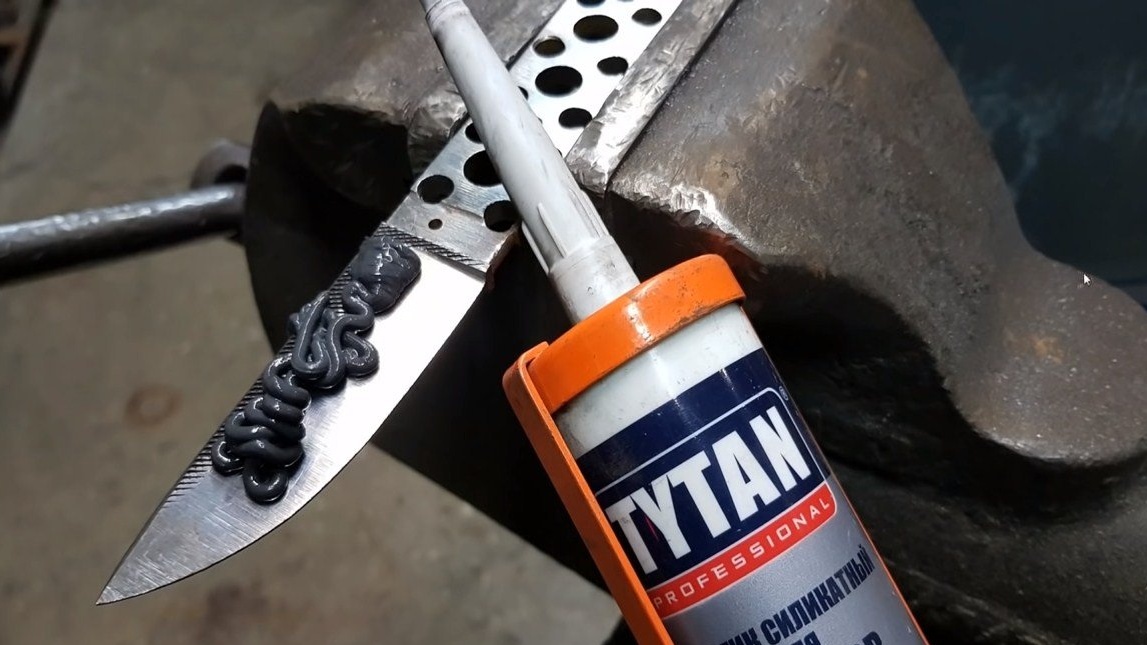
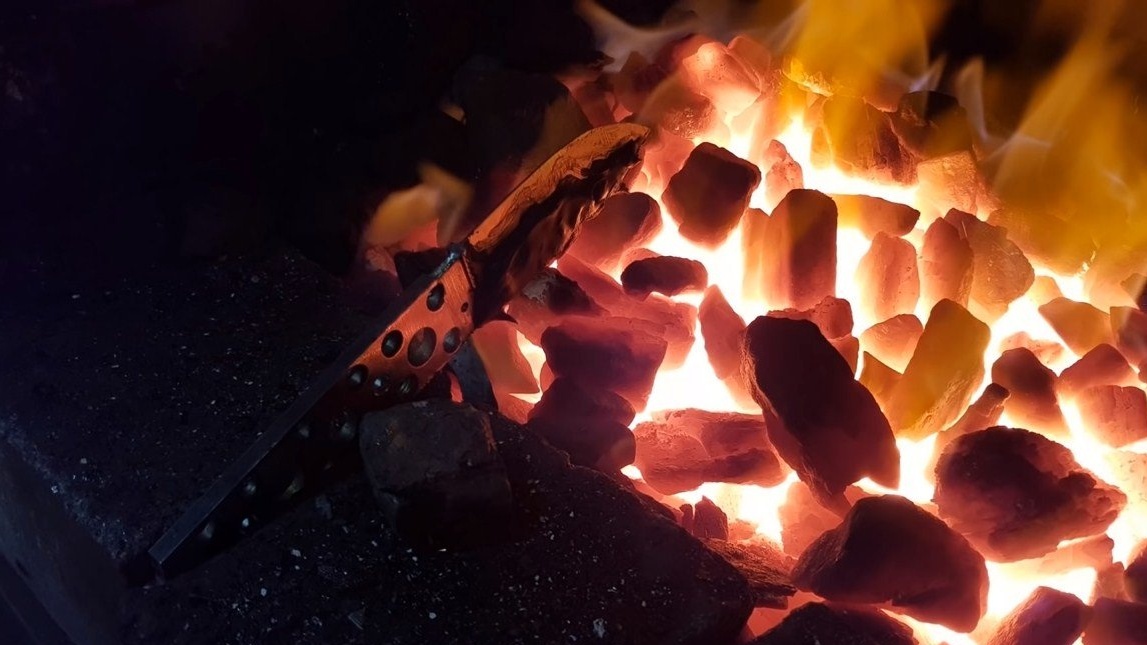
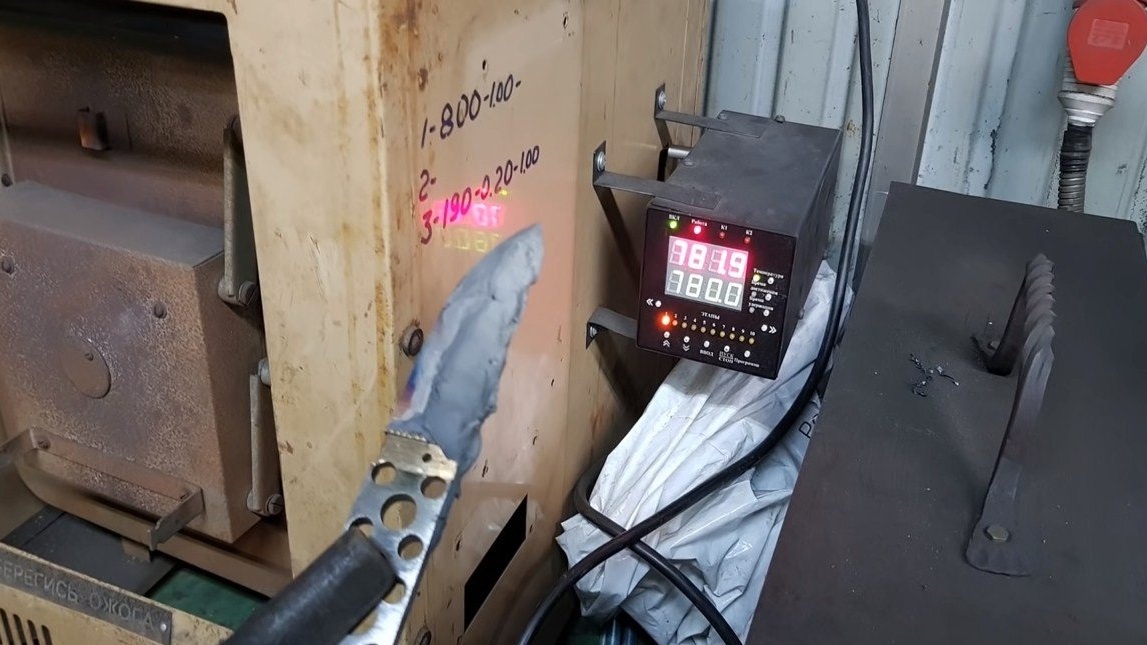
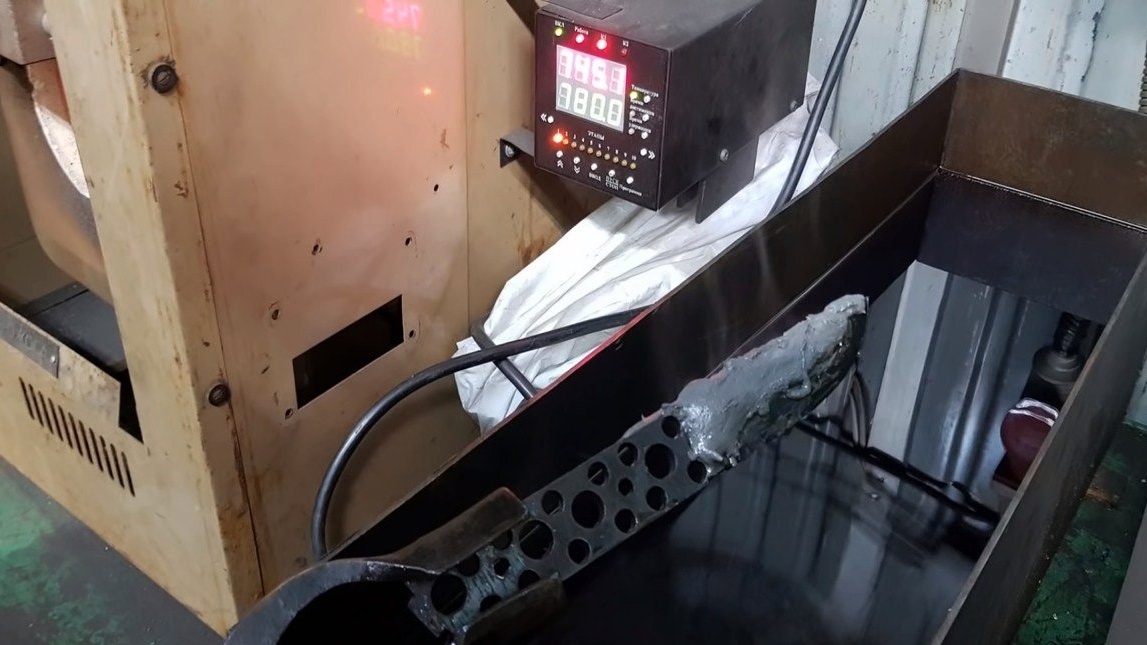
Next, the blade needs to be hardened, as a result, we will return the metal to approximately those properties that the file originally had. To make the blade look beautiful, the author decided to make a line of jamon on it. To do this, apply silicate sealant to the blade and send the blade into the furnace. When the metal cools down, it will cools at different speeds under the sealant and without, and in the end we get the desired pattern. Hardening is carried out in a muffle furnace, the temperature should be around 780 ° C. At this temperature, the blade must be kept for 10 minutes, so that the metal warms up evenly.
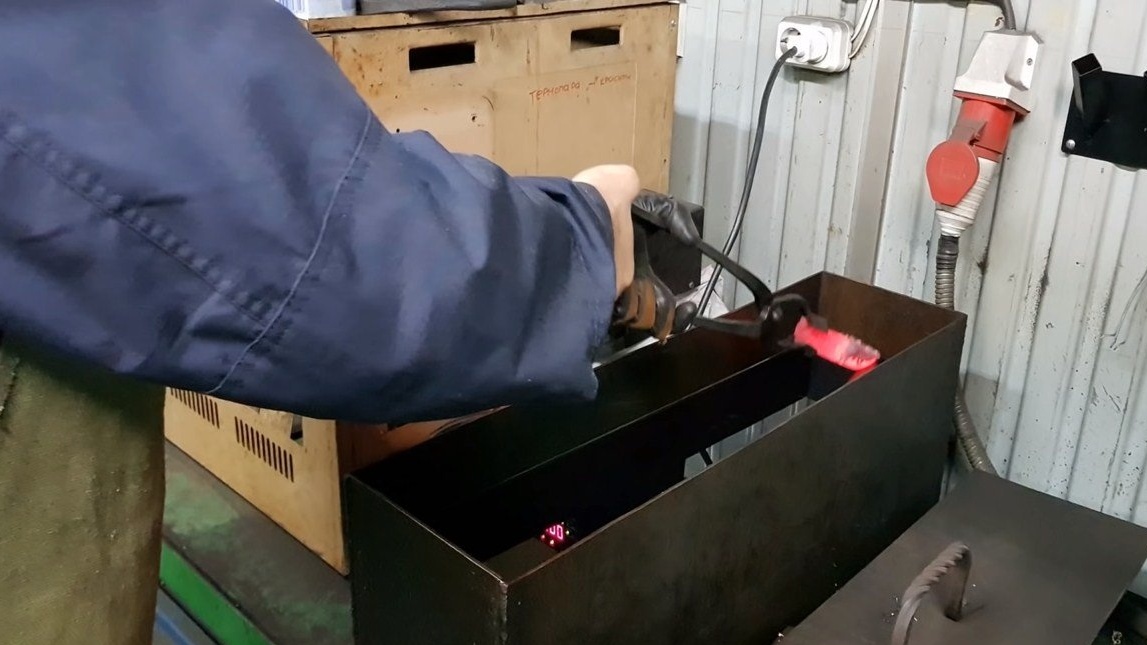
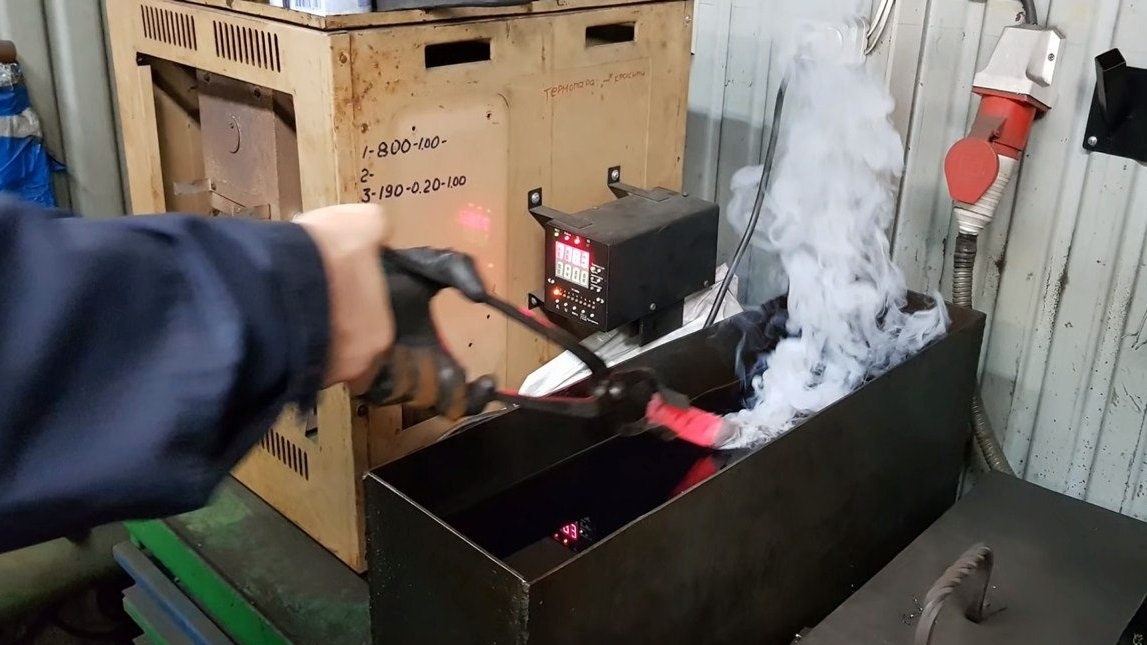
Well, then remove the blade and cool in oil. The author runs the blade of the blade through the oil, so that at first the blade is hardened well, and then immerses the whole blade in the oil to cool.
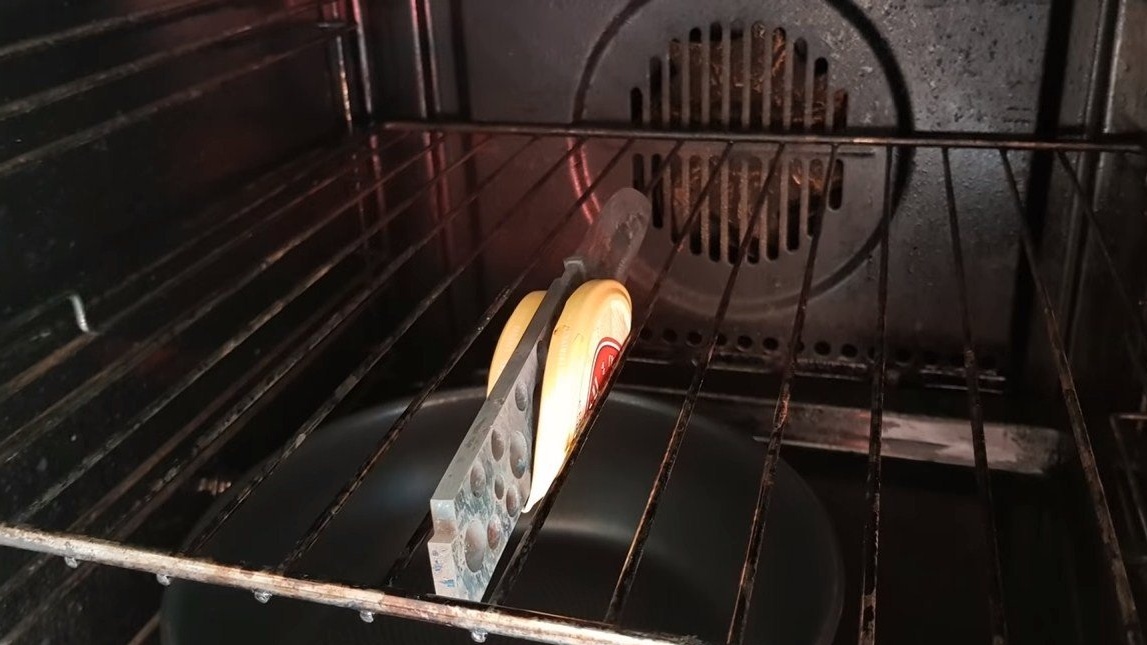
After hardening, the blade must be handled very carefully, it must not be knocked and bent, otherwise the blade may crumble. Immediately after hardening, the metal must be released, then the steel will be strong, the blade will be able to withstand large shock loads and bending loads. To let go of the knife, the author used an oven heated to a temperature of 180 ° C. At this temperature, the blade should warm for 1.5 hours. If the blade is hardened correctly, the knife should cut the bottle. That's all, now the blade is ready, you can start assembling the knife.
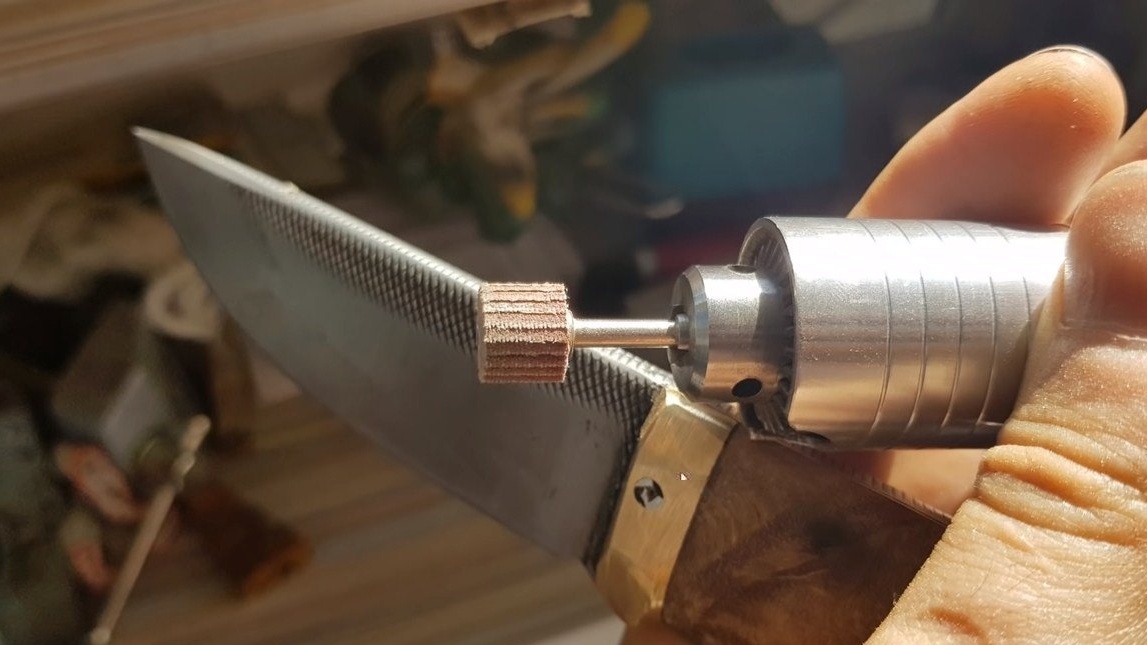
Step Six Grinding
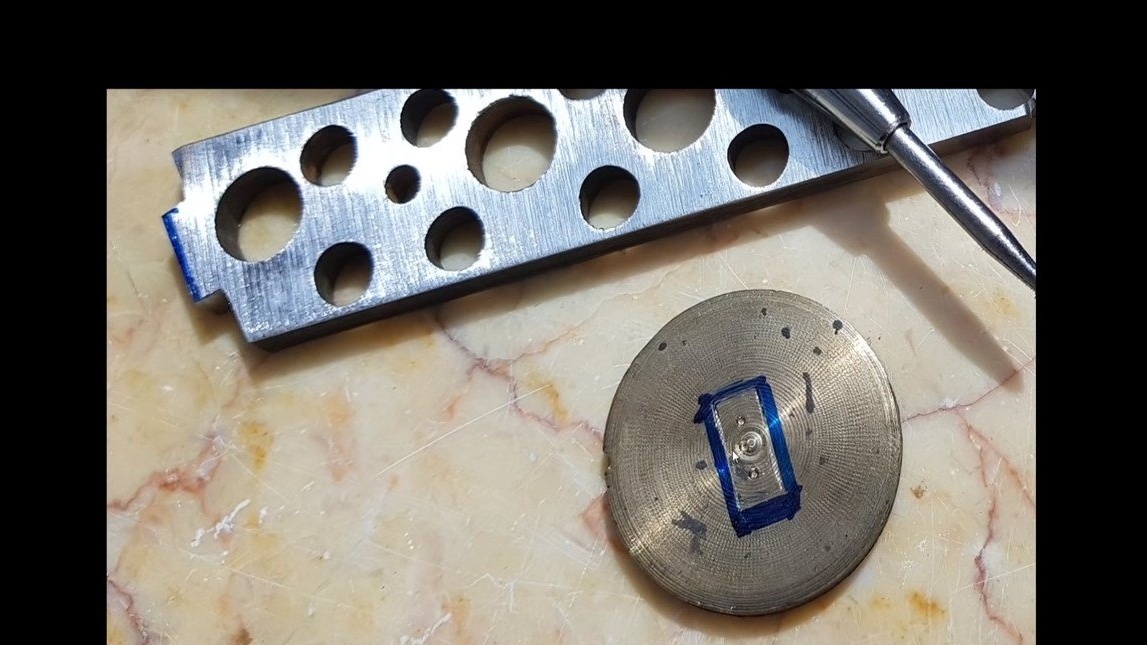
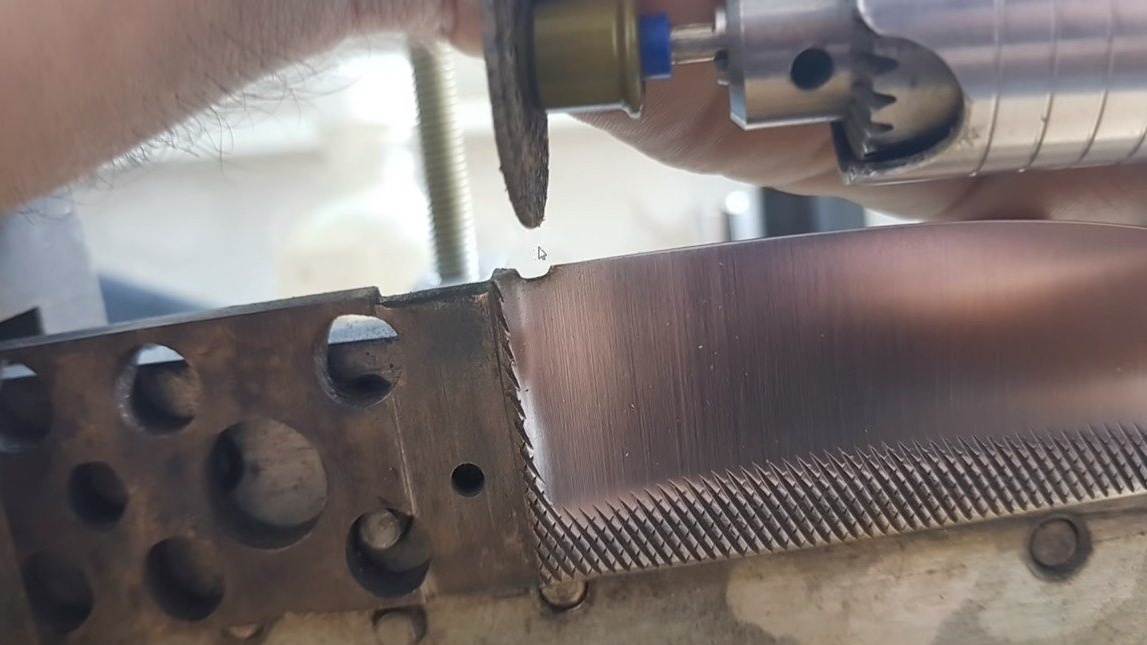
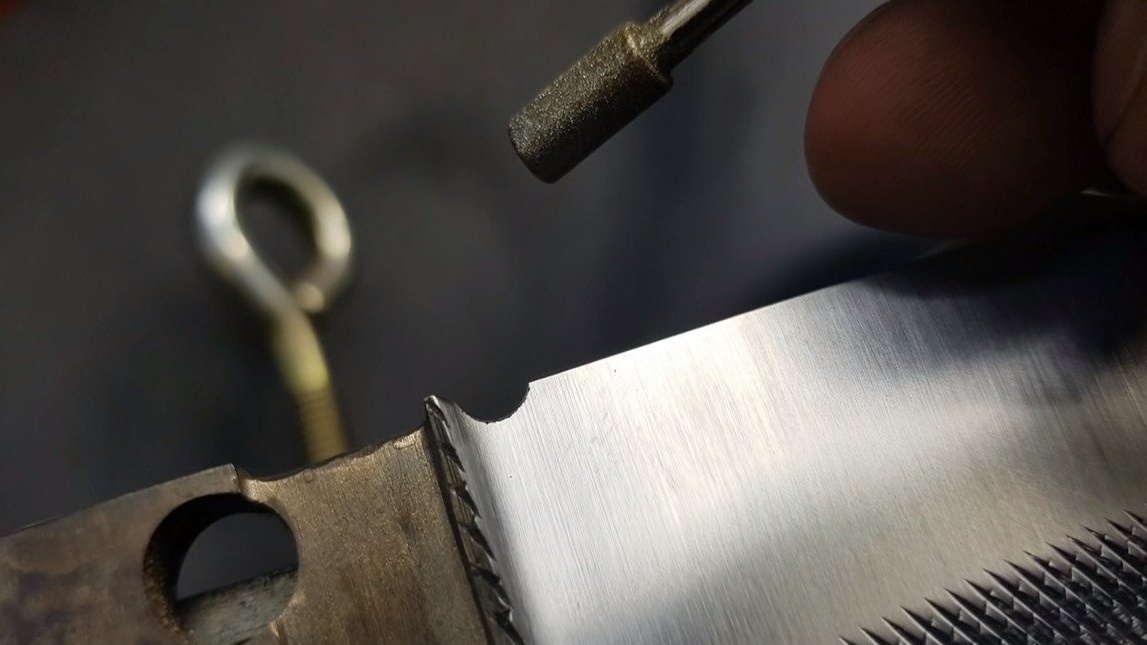
We clean the metal from scale, grind it on a belt grinder and, if necessary, work manually with sandpaper. Also, the author made a notch on the blade, for this a drill with a diamond nozzle was used.
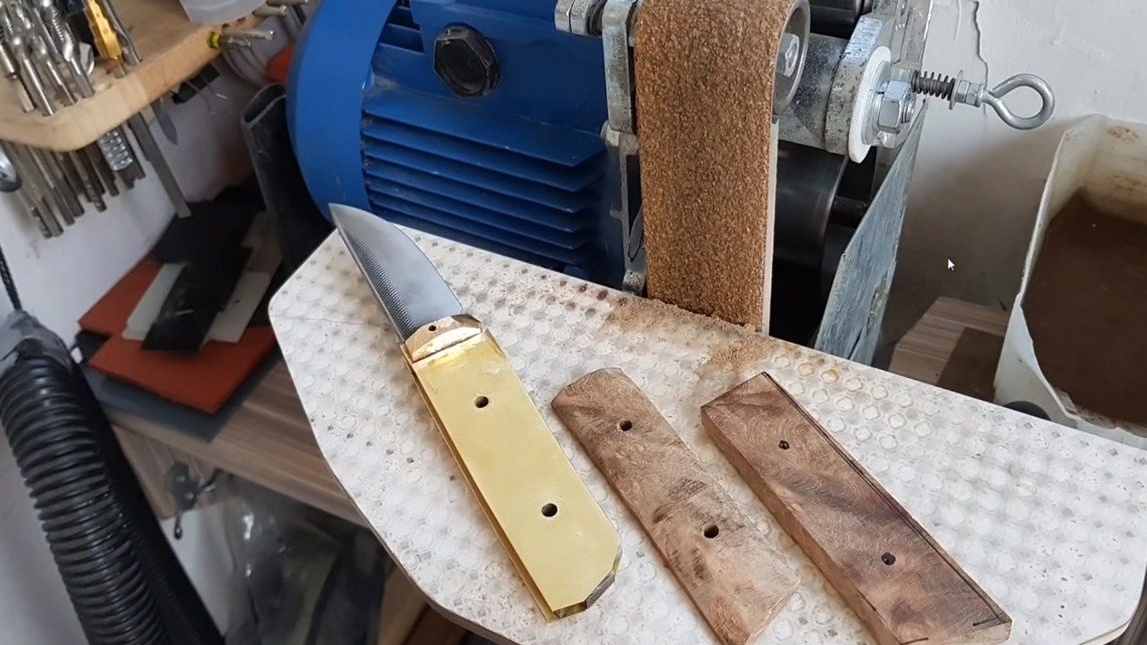
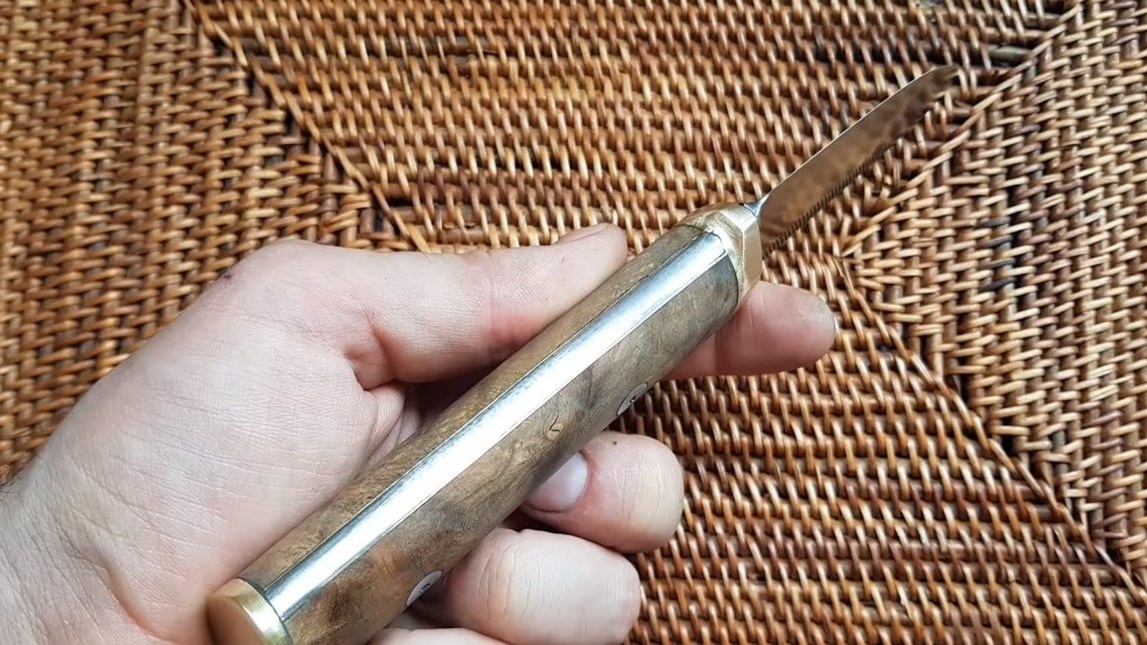
Seventh step. Knife assembly
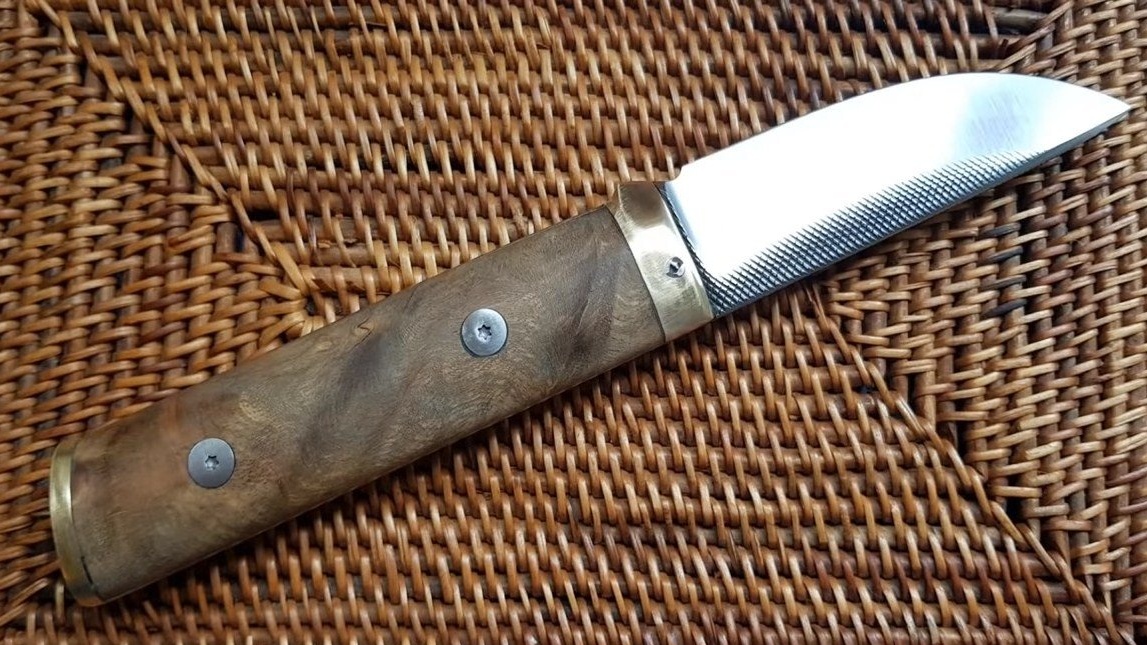
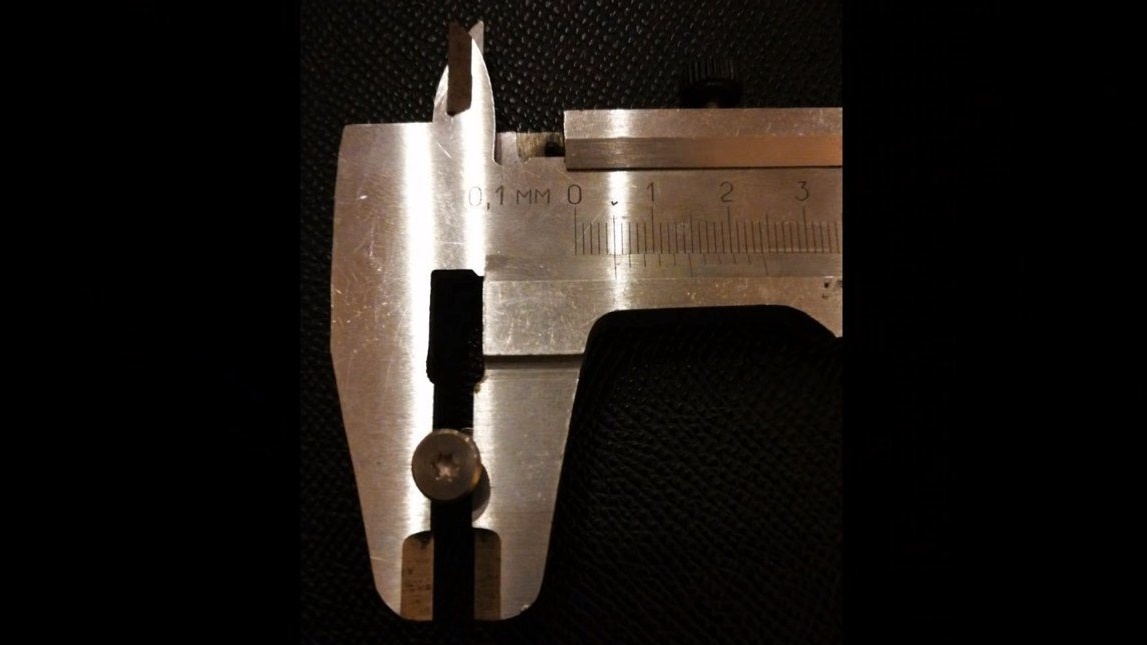
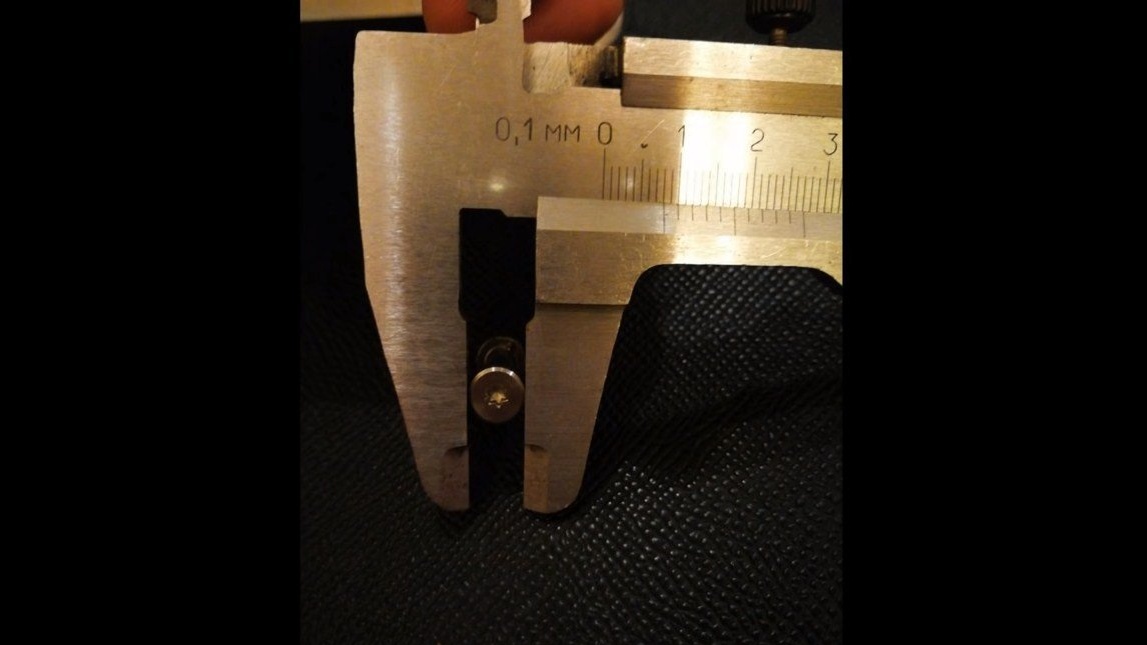
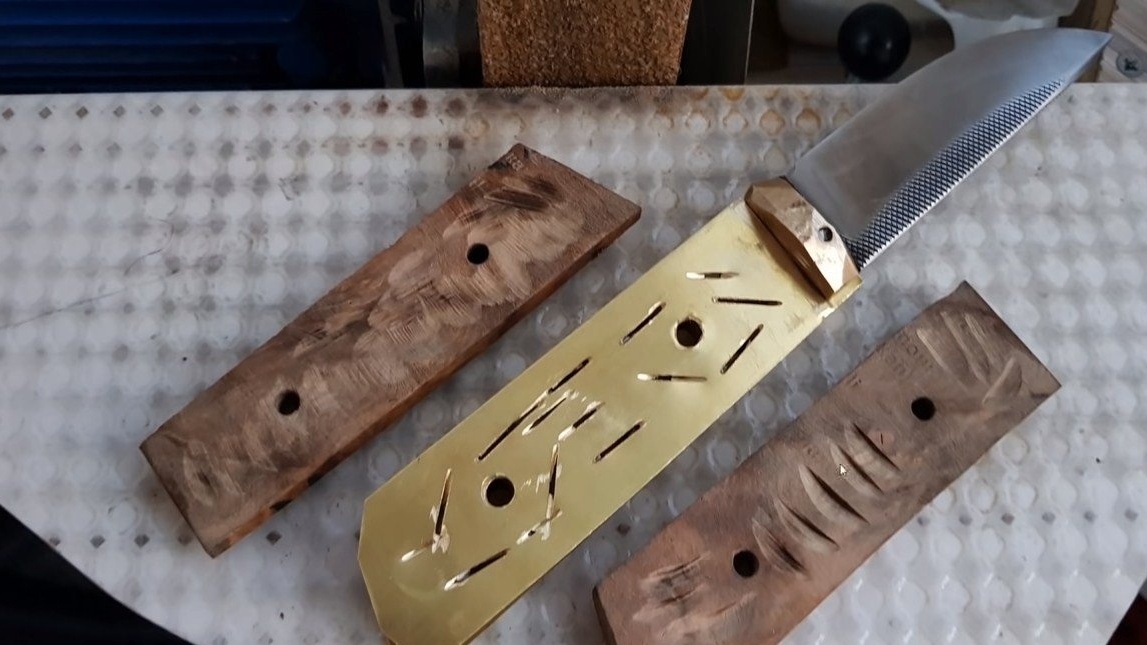
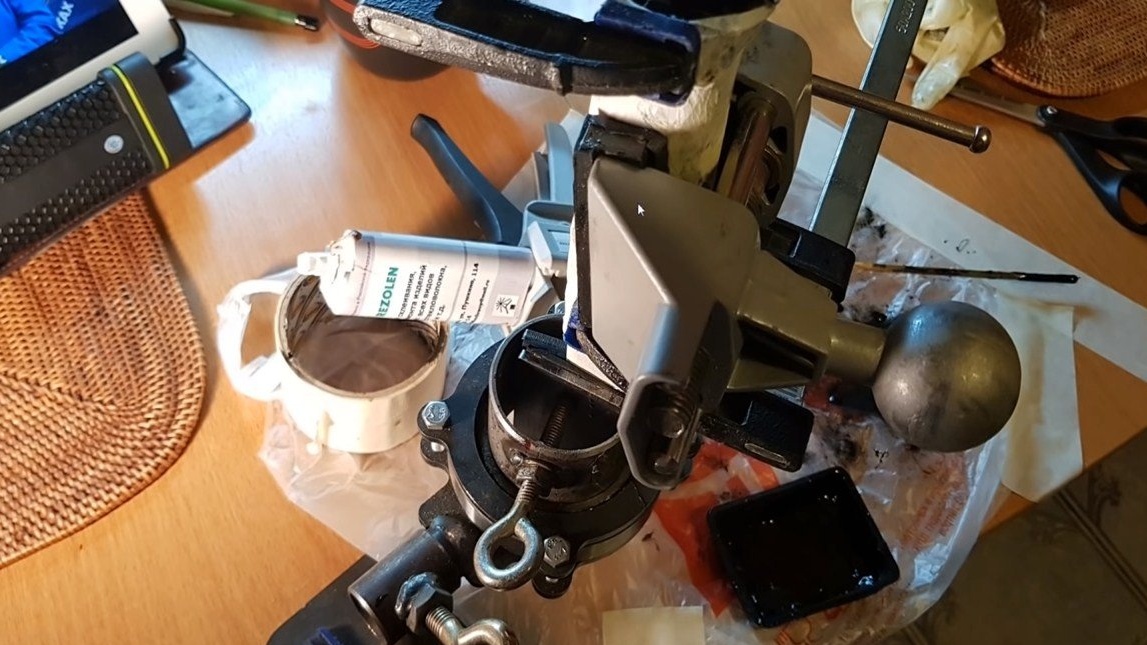
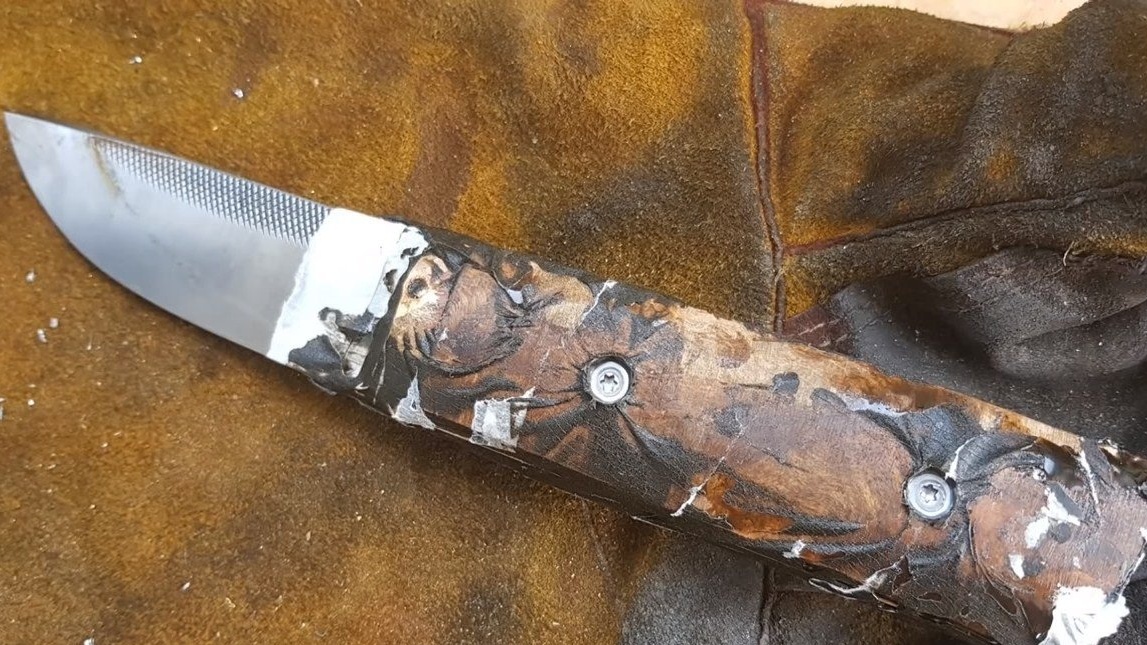
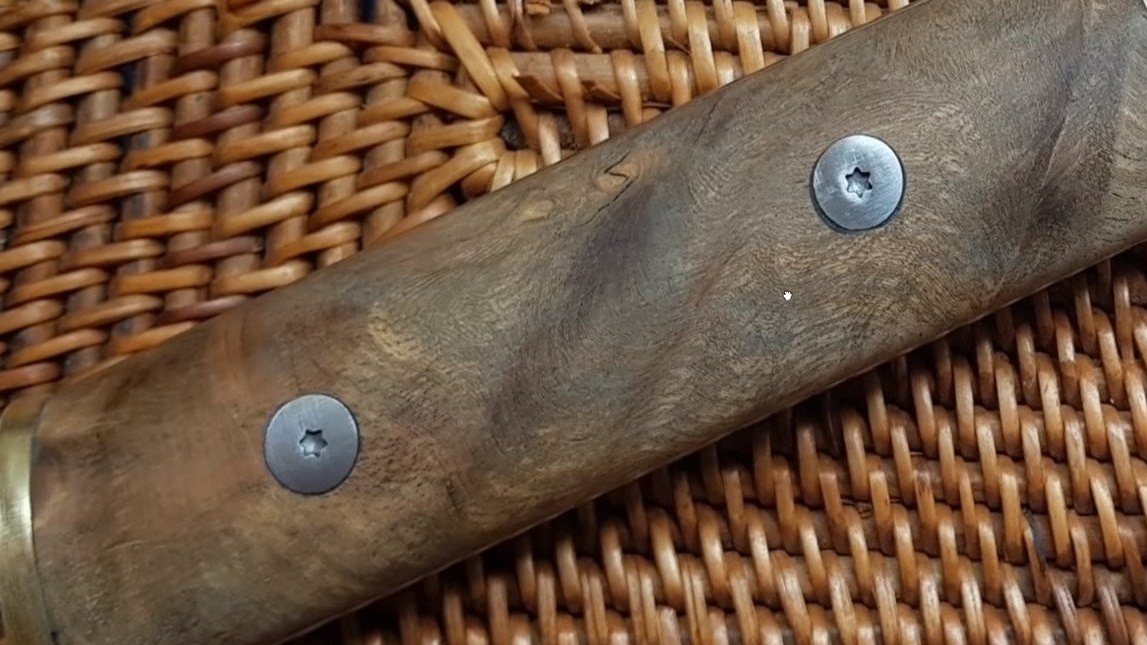
The knife can be assembled, set the bolster on epoxy glue and hammer the pin. We prepare and install the linings, the author installs them on epoxy glue, and interesting screws are used instead of pins. Between the plates and the blade, brass plates are mounted. So that the glue adheres well to the surfaces, we make notches on them with a grinder.
Clamp the handle with clamps and let the glue dry, well, then grind the handle to the desired shape. As a result, it remains to install the back plate so that it sticks well, drill holes in it and in the handle, well, then we assemble everything on epoxy glue. If desired, attach the back to the internal pins. To protect the handle from moisture, soak it with oil.
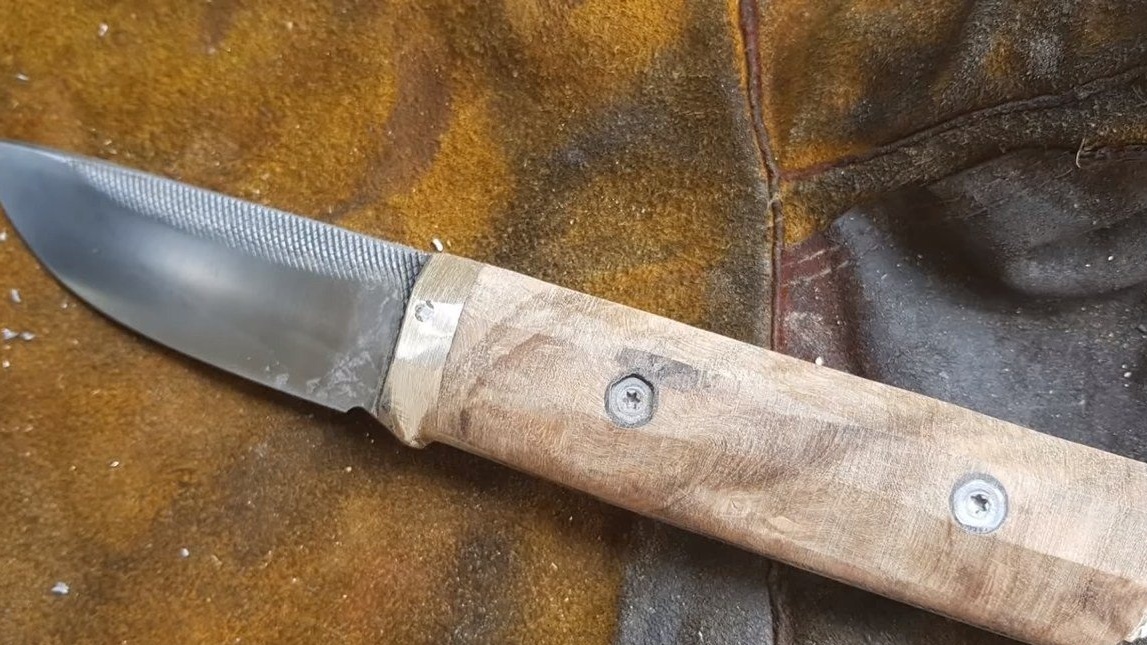


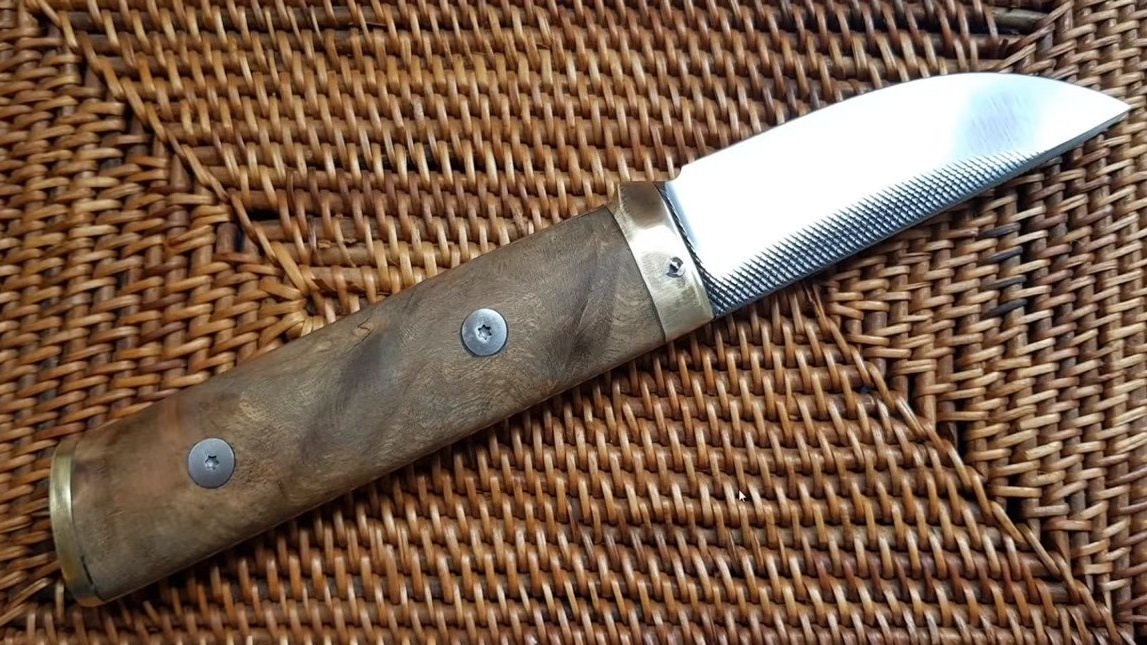
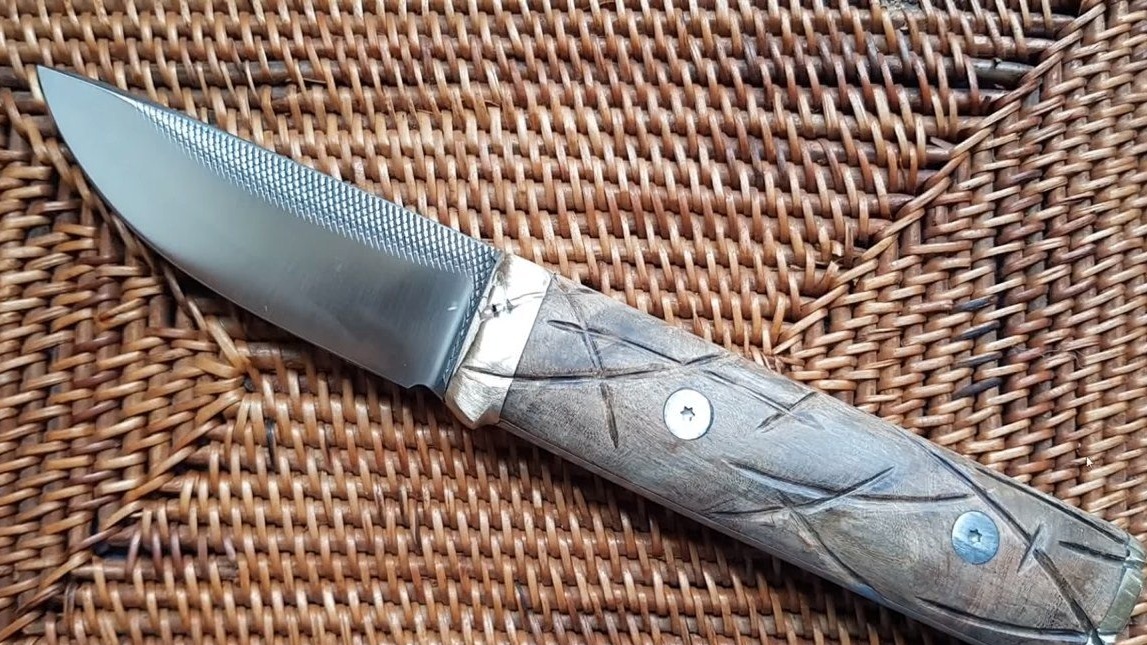
That's all, the knife is ready. If you wish, you can make incisions on the handle, and etch the blade in acid so that it turns black. The result is a knife in the "apocalyptic" style. Well, here everything is for everybody. That's all, the project is over, good luck and creative inspiration, if you decide to repeat it!