The article will be very interesting to all lovers to relax in nature. And in the fresh air there is always a desire to cook something tasty, to make tea, and even with the aroma of smoke!
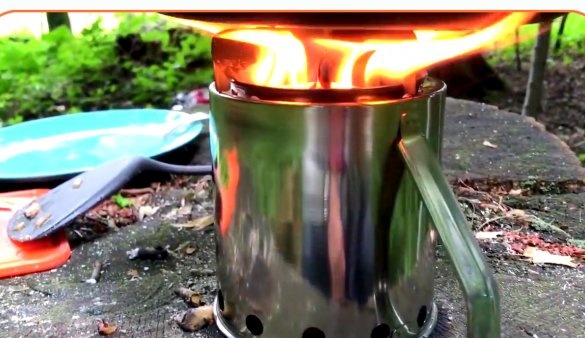
In this article, YouTube author of George Kosilov tells you how he made a small mug-mounted marching stove. This homemade product is very convenient to use, weighs very little and takes up very little space in a backpack.
Of course, a conventional gas primus is more convenient, but it can run out of gas. And this stove works on wood. Yes, and the smell of smoke from the gas primus can not be expected. And to make a big fire for the sake of a couple of liters of boiling water or a hot dinner is sometimes not at all handy.
Materials
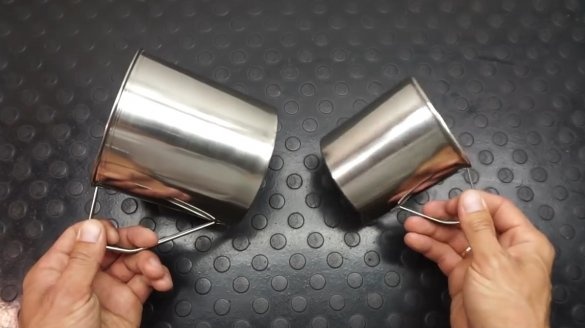
- Two cheap stainless steel mugs with diameters of 120 and 100 mm
- A pair of stainless steel plates
- Masking tape, paper.
Instruments, used by the author.
- Screwdriver, drill
- Kern, compass
- Scissors for metal
- Pliers, tape measure
- Bulgarian
- vernier caliper
- A hammer, a piece of board
- Scissors, marker
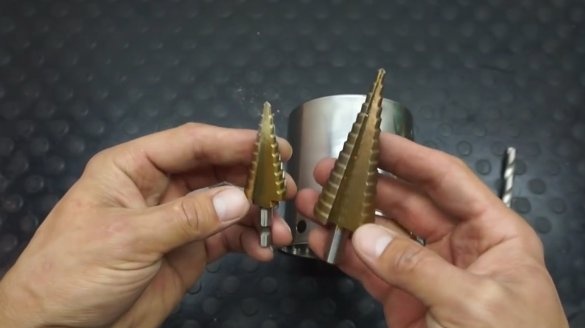
- Step drills.
Manufacturing process.
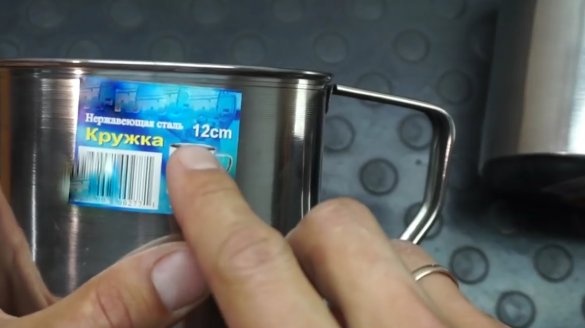
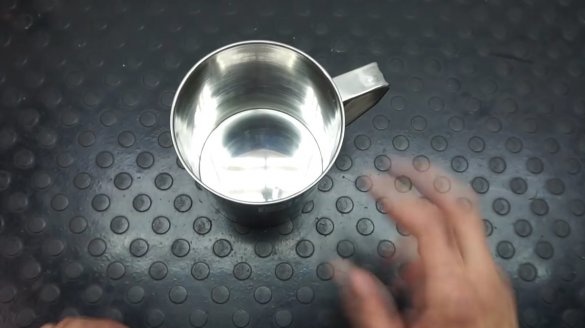
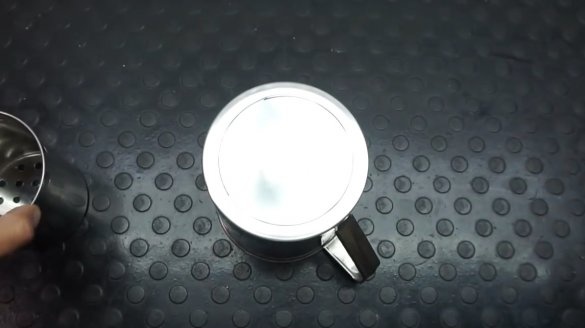
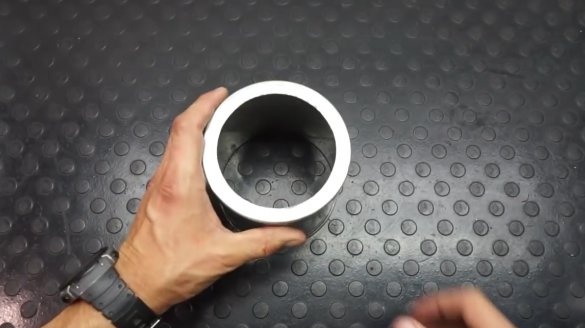
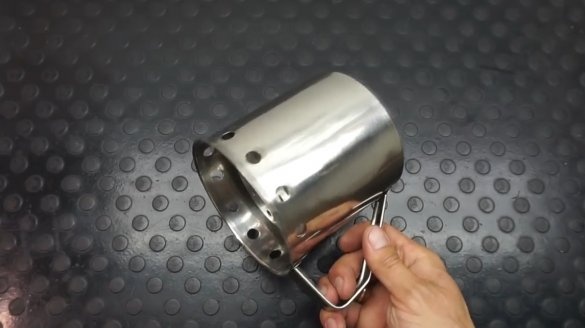
These are the two cheap circles the author acquired. Will start to process small.
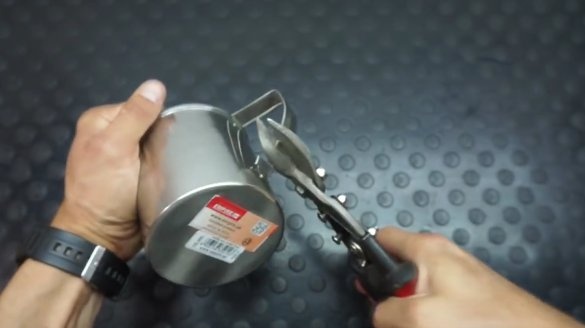
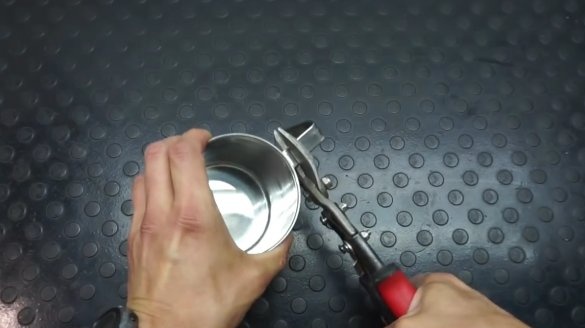
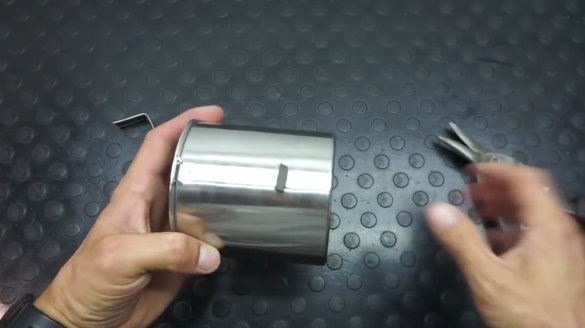
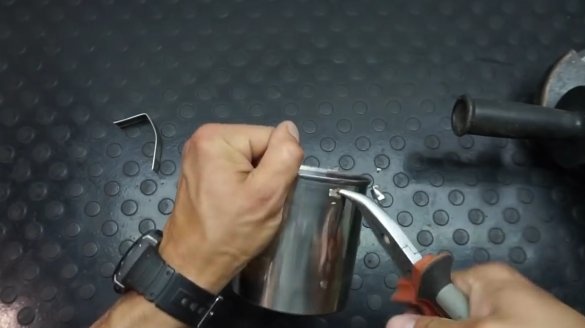
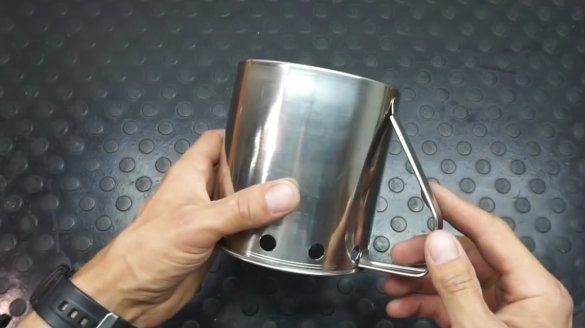
She cuts the handle with scissors for metal, it is not needed.
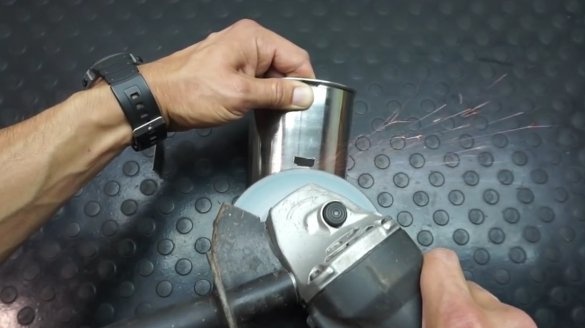
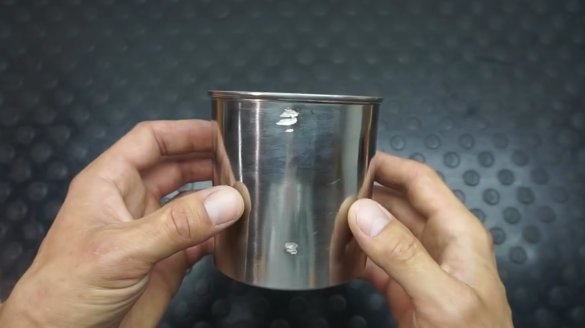
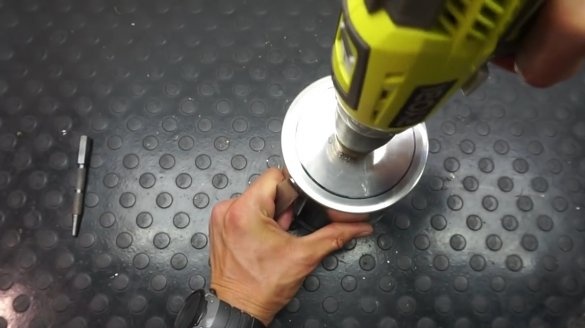
Then grinds the weld points with a grinder with a cutting disc, helps a little with pliers.
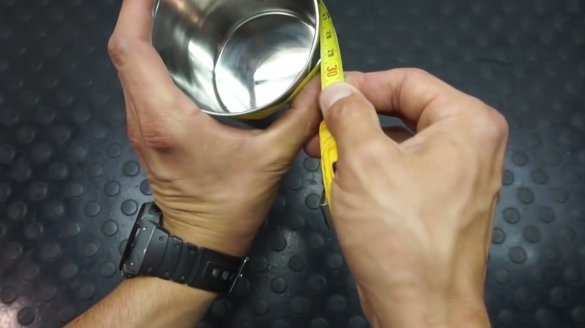
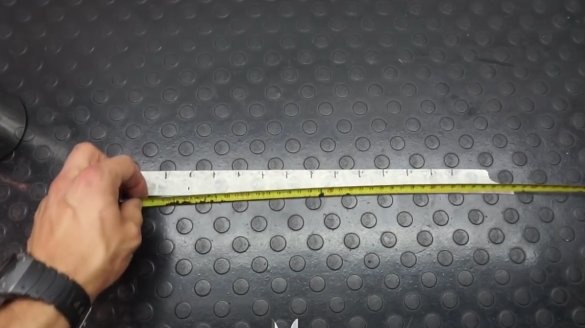
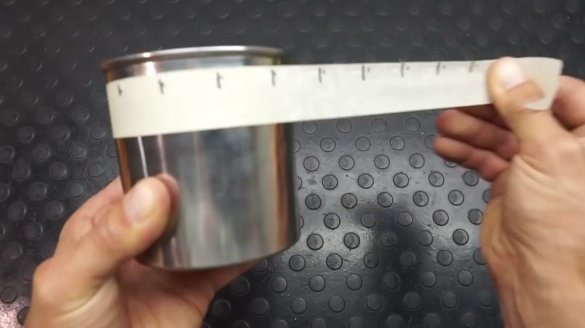
Now in the upper part of the mug you need to make 12 holes. Measures with a tape measure the circumference of the stripped workpiece - the cylinder. And transfers the markup to masking tape.
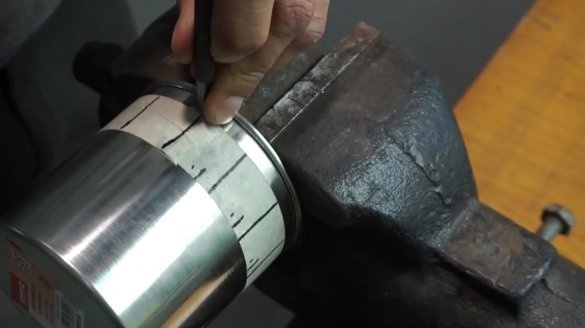
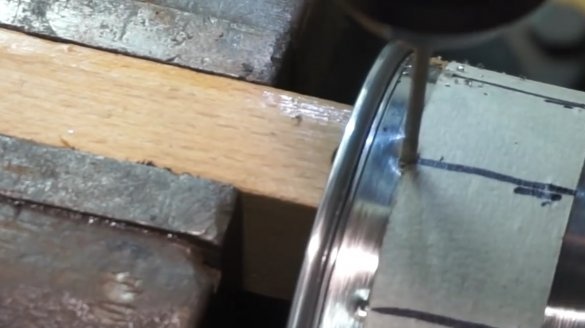
Adhesive tape to the upper part, marks the drilling sites with a core, and makes the holes a thin drill.
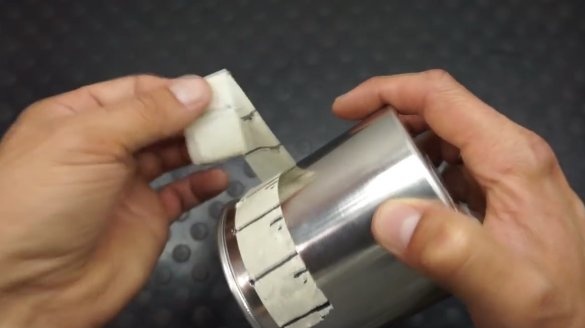
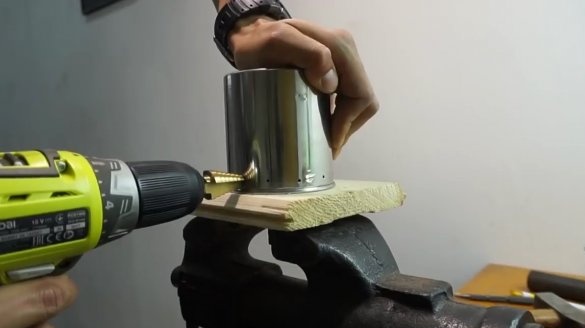
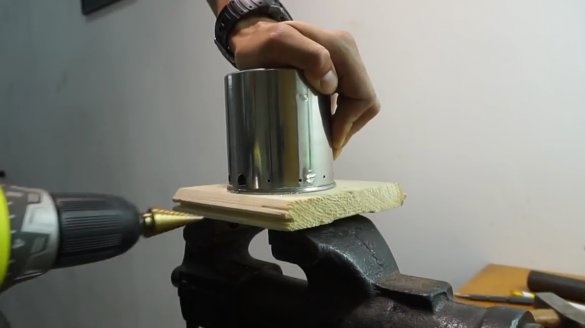
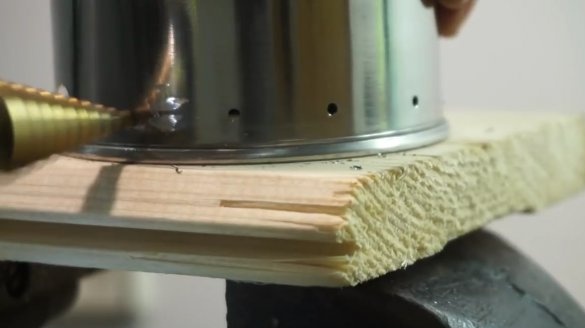
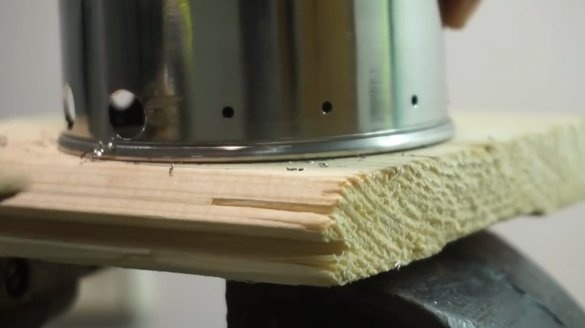
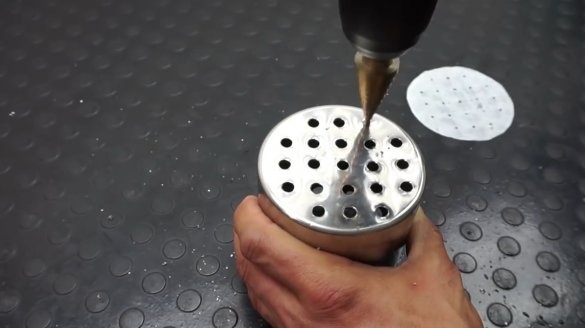
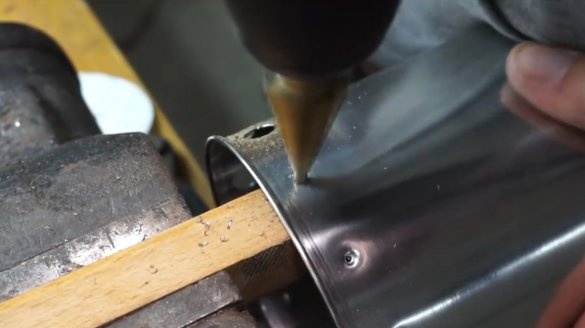
It removes adhesive tape, drills holes with a step drill to a diameter of 10 mm.
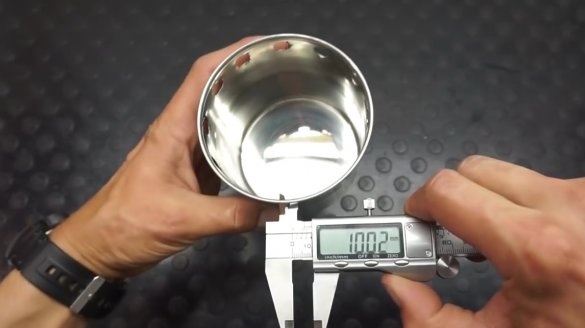
Checks the size of the holes, 10.02 mm, here is the accuracy gives a step drill.
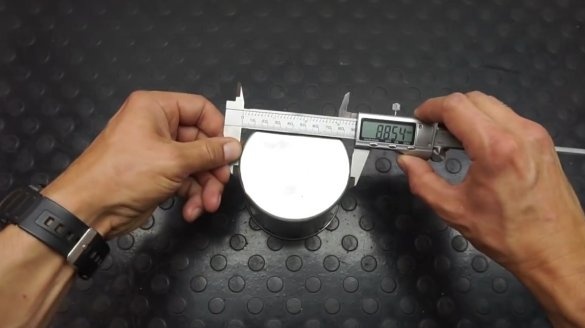
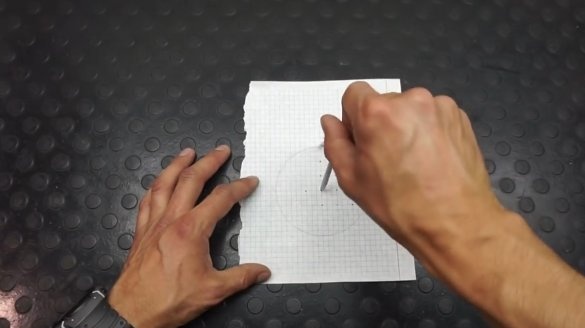
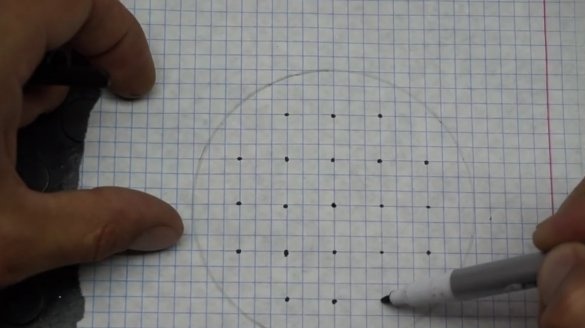
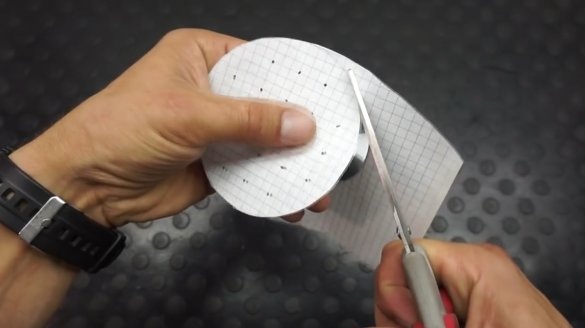
Now the author needs to mark 21 holes in the bottom of the circle. Measures the outer diameter of the bottom of the cup. 88.5 mm, sellers deceived a little ... Marks a sheet of paper, draws a circle and the approximate location of the holes. Cuts a pattern with scissors.
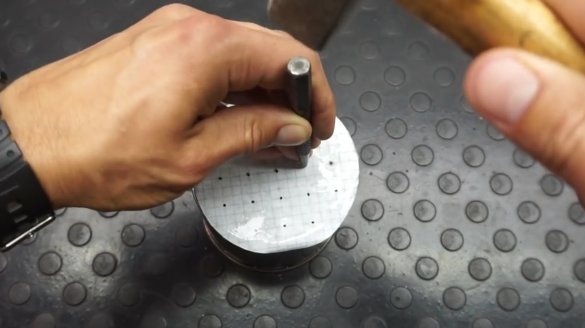
Gently wetting the template with water, sticks it to the bottom of the workpiece, and core the places of the holes.
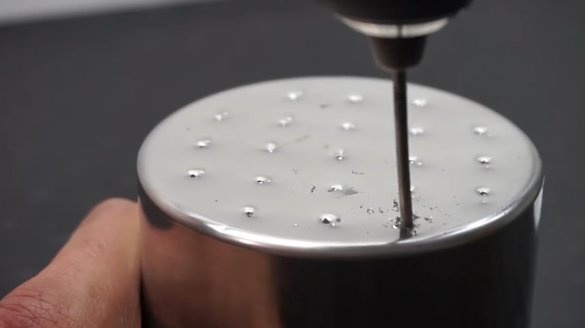
Marks with a thin drill.
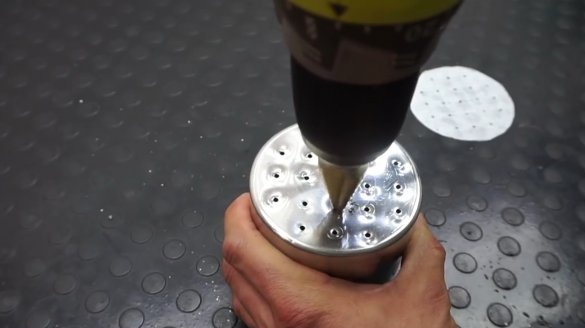
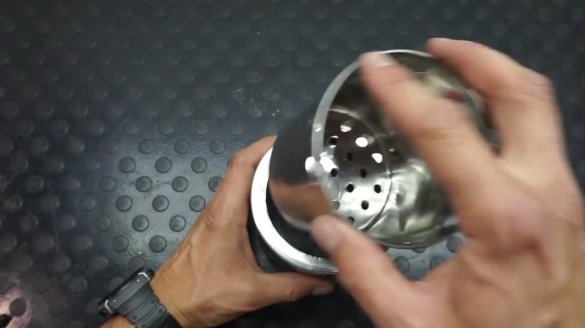
Then he drills them stepwise. The first part of the stove is ready.
It was the turn of the outer part of the furnace, for it just needed a second mug. Turns it upside down and draws a circle.It should be identical in diameter to the first circle.
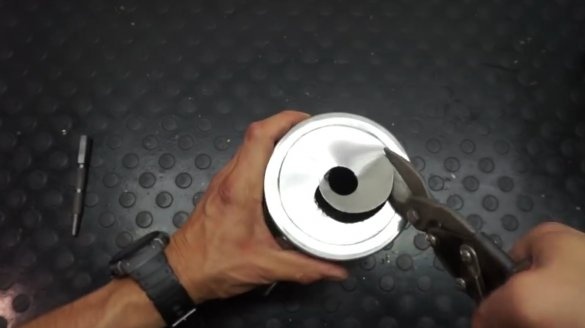
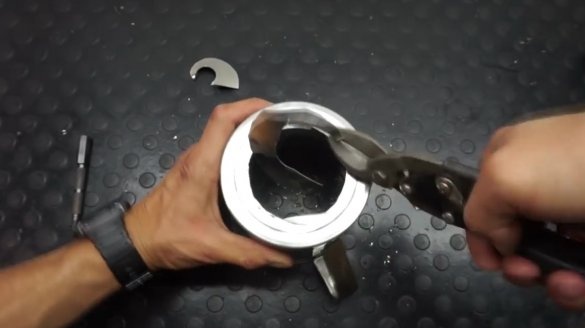
Drills the bottom in the center using a step drill. The excess cuts with scissors for metal.
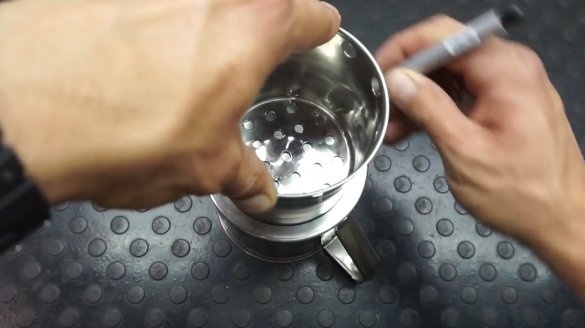
At the top of a large mug, it drills several holes.
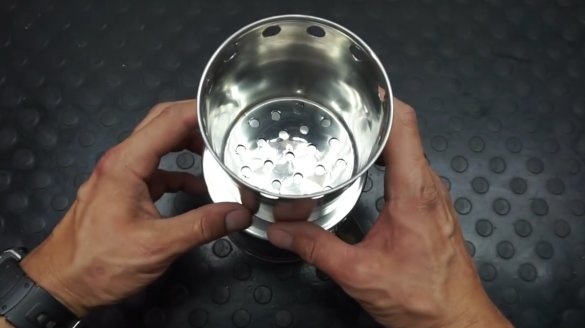
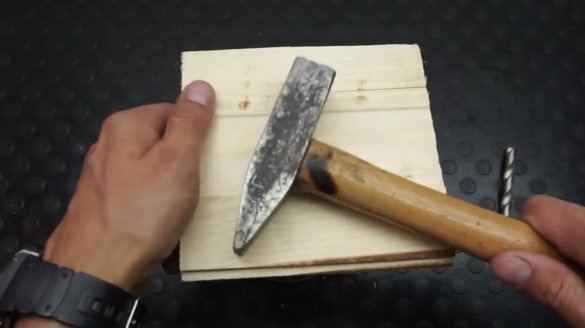
Now, turning the big mug upside down, inserts a small mug in it, in the normal position. It comes in very tight, so the author lays a piece of the board and drives the workpiece with a hammer.
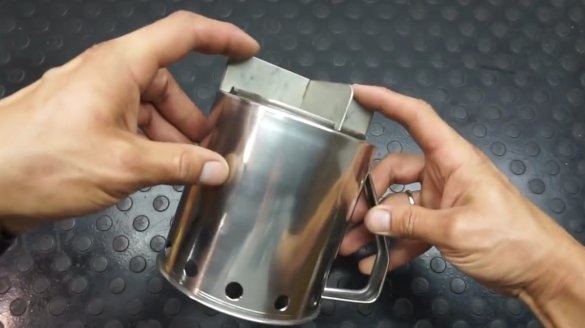
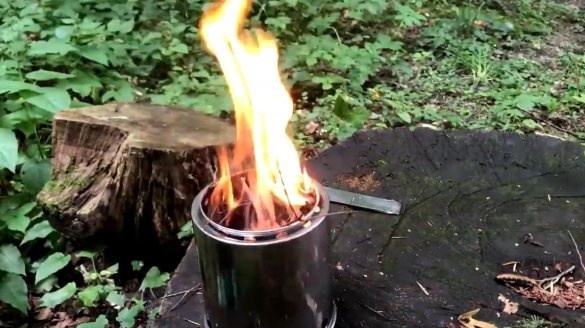
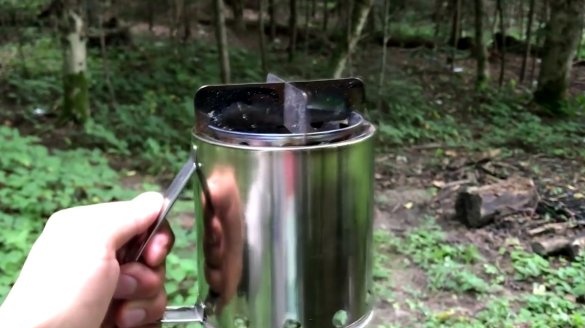
So, the bulk of the rocket stove is ready!
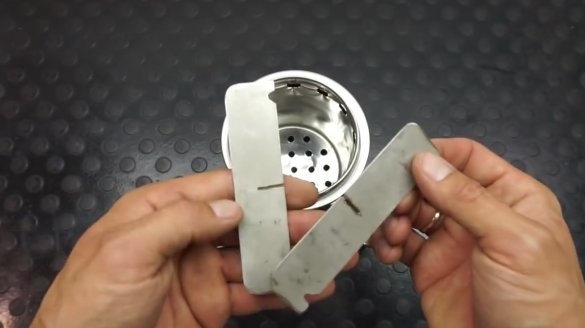
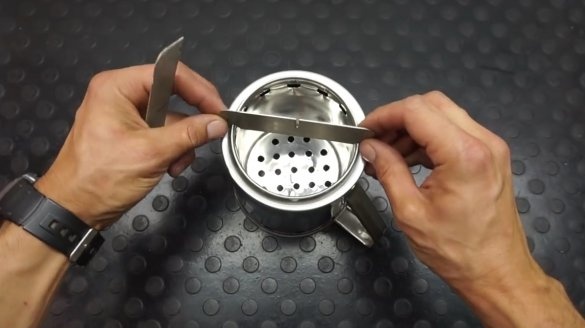
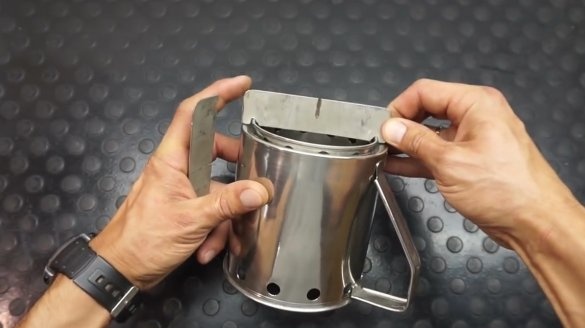
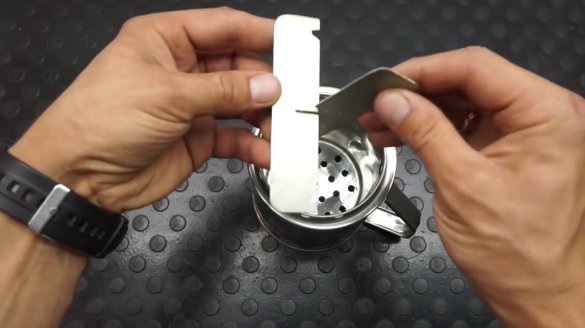
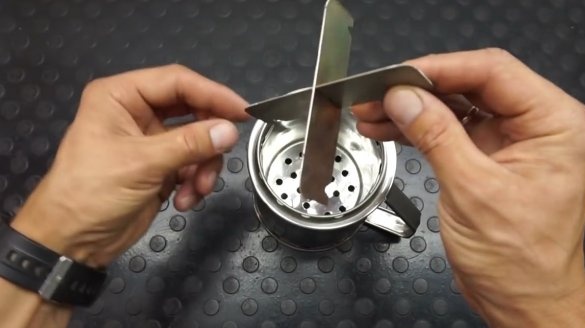
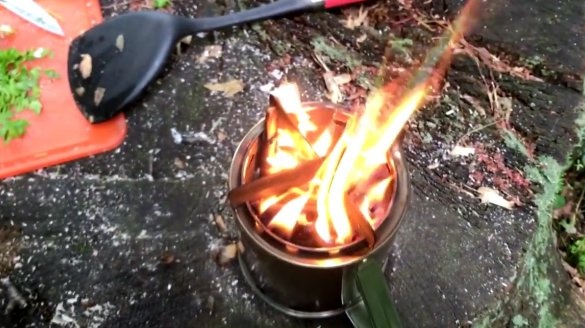
The author remains to make a cross. He makes it from stainless steel plates. They look and connect very simply.
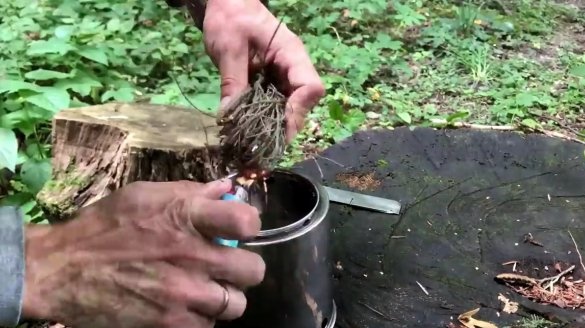
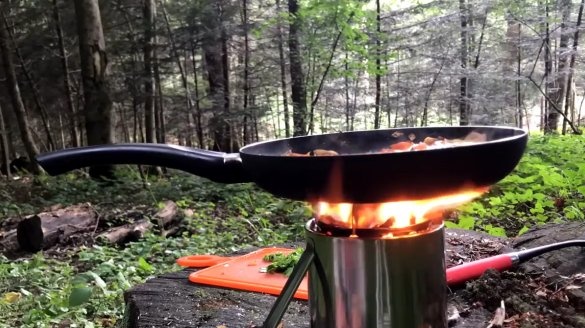
It seems that the author decided to have a bite, and at the same time to test the stove.
Vegetables in a pan are stewed very quickly, even without a lid, the temperature is quite high.
Here is the author’s omelet. With the scent of haze.
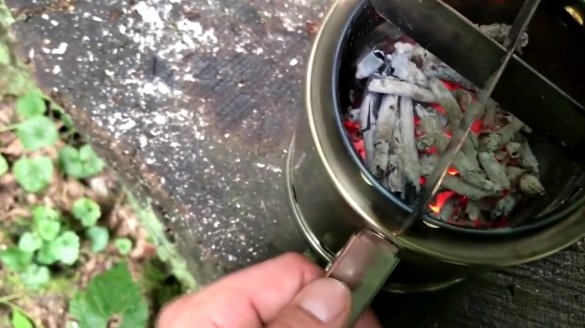
And how does the stove feel? Inside there are a lot of hot coals. But the handle of the stove is almost cold, you can hold it in your hand even without a tack. For convenience, the handle can be braided with a coarse rope, then it will not slip, and its surface will certainly never heat up. You can also experiment with the cross, for example, make a stand for toasting toast from wire.
It is a pity that the author did not boil a couple of liters of water in the kettle "for a while".
Thanks to the author for the great idea of a camping rocket stove! I hope many will want to repeat such a simple and convenient homemade!
All a good mood and bon appetit!

