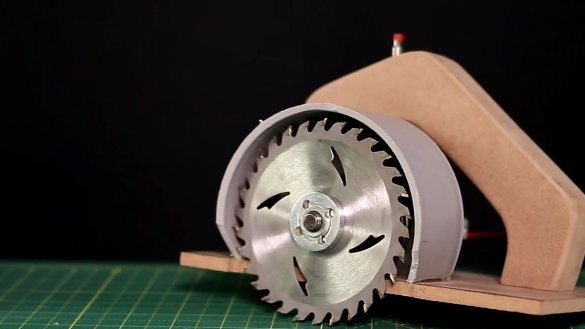
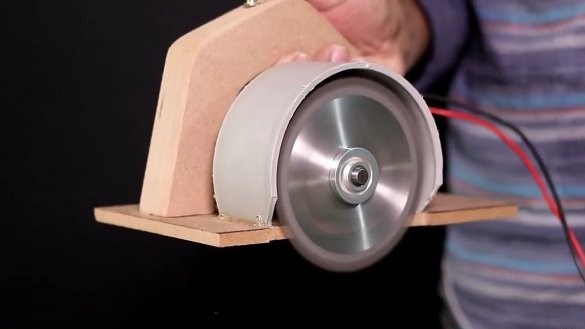
Good day to all dear friends! In today's article, I would like to show you a rather interesting idea homemade. In this article we will consider the manufacture of a very useful homemade product, which is sure to come in handy in any carpentry workshop, namely how to make a circular saw. This homemade product will not be inferior to factory models, since the same engine will be used. When using a quality engine, you can make the tool even more powerful than factory analogues. The only minus of the homemade product in comparison with its factory counterparts is the appearance exclusively, but the appearance directly depends on you and how and from what you will assemble it. Homemade, as always, will consist of the most improvised and the most affordable parts. In general, the homemade product is very interesting, so let's not pull with a long introduction, let's go!
For this homemade product we need:
- MDF sheet (1 * 1m will be more than enough)
- Class 895 electric motor
- cogs
- Adapter for circular saw blade
- Plug for sewer PVC pipe with a diameter of 10 mm
- Self-tapping screws
- switch
- wires
- Circular saw blade suitable size
- A source of a direct current 12-24v.
From the tools you will also need:
- Marker or simple pencil
- Ruler
- Compass
- Medium sandpaper
- Step drill
- Drill with a set of drills
- Soldering iron and solder
- Super glue
- screwdriver
- hexagon
- Hacksaw
- Hot glue
- Electric fretsaw or ordinary manual.
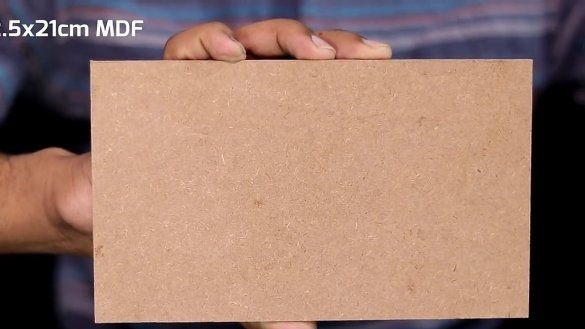
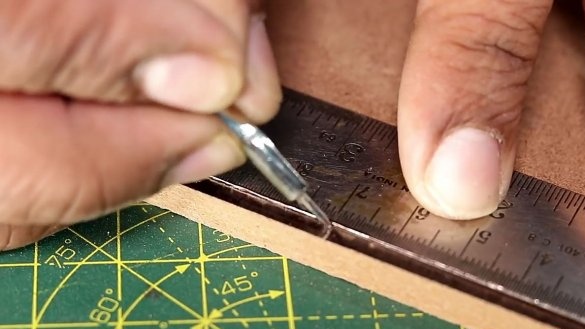
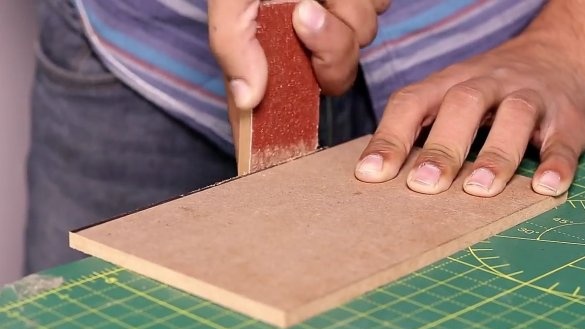
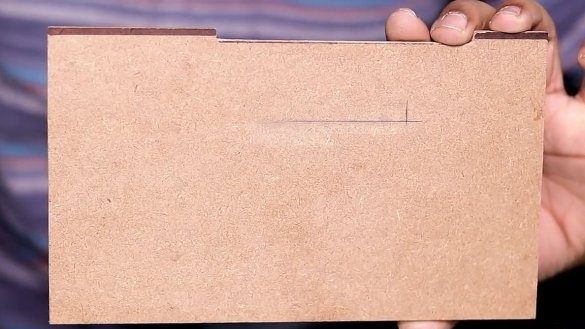
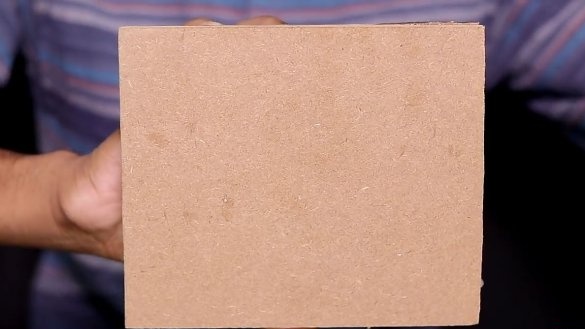
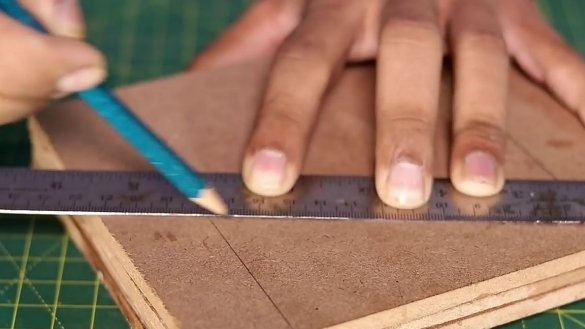
First, take an MDF panel with dimensions of 12.5 by 21 cm, which in turn will serve as the basis for homemade work, and we will assemble the entire structure on it. It should also be noted that it is advisable to take an MDF panel with a thickness of at least 8 mm. On the selected panel, a groove should be made on one of the sides in which the cutting disc will be installed. To do this, take a marker and a ruler, step back from one of the long sides of 3-4 mm and draw a marker in order to get exactly the same as shown in the photo below.
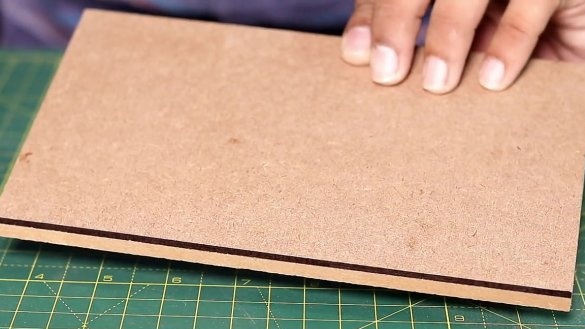
We leave the serifs on the MDF panel at a distance from each other equal to the diameter of the cutting disc you took.Then, taking sandpaper of medium grain and attaching it to whatever plane, and begin to grind the groove until then, until you get exactly the same as in the photo below.
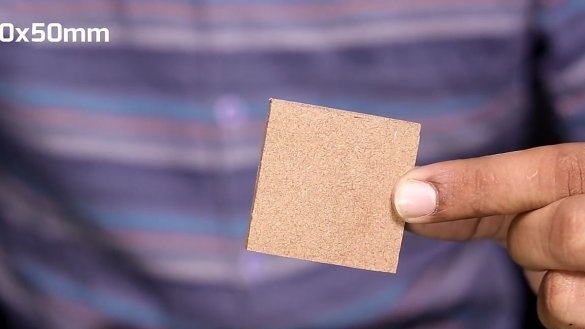
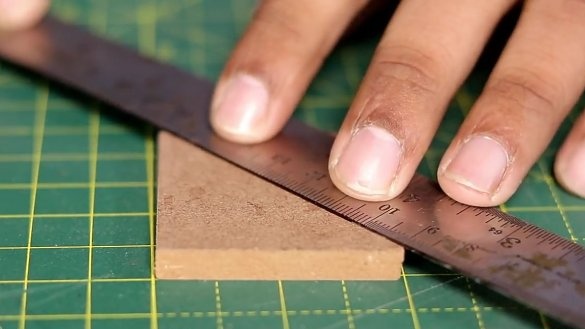
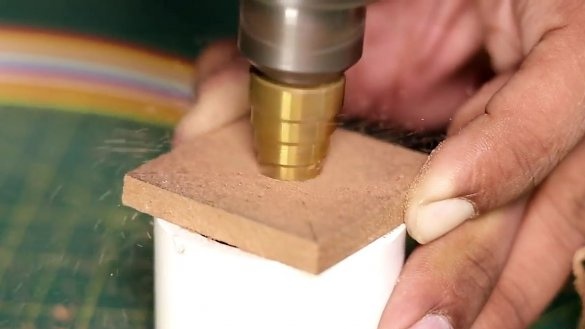
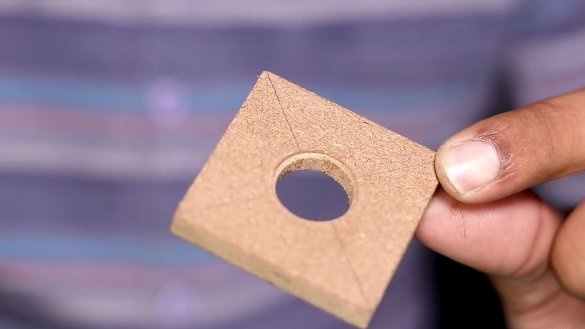
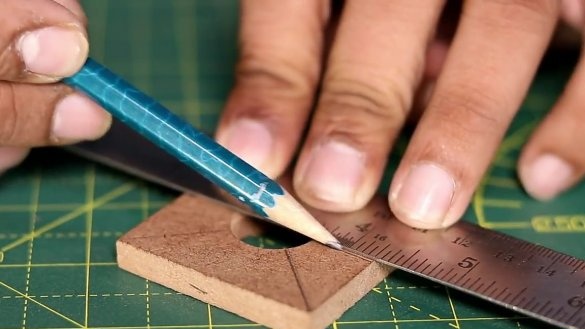
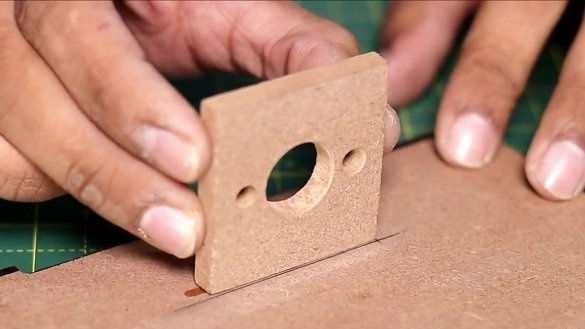
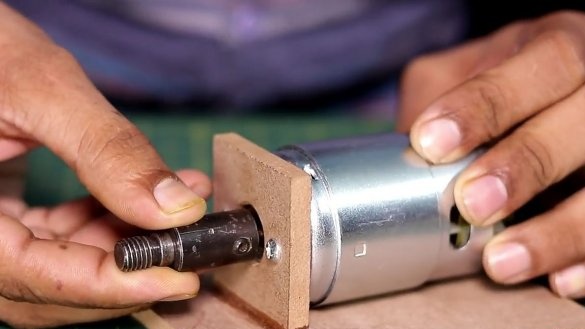
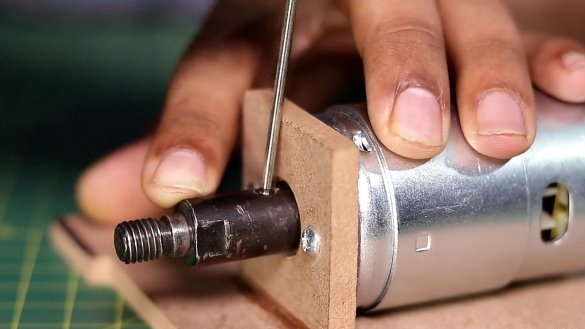
Next, from the same MDF panel, a square should be cut with a side size of 5 cm. In the cut square, a through hole should be made exactly in the center. To do this, having drawn a cross on the square, we drill a hole with a diameter a little larger than the protruding part on the electric motor with a step drill. Next, we make marks on the two sides, as this is shown in the photo below.
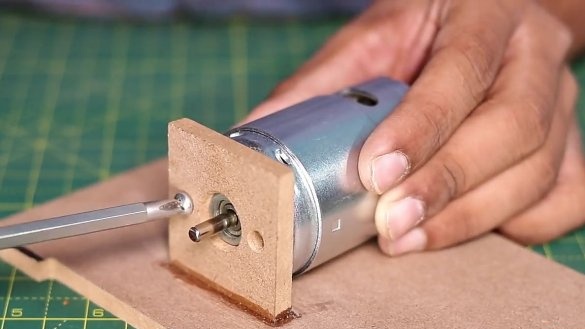
For the next step, we need an electric motor. But first, several facts should be noted that should be paid attention to when choosing it. Firstly, the electric motor must be at least 895 class, the motor shaft must be seated on bearings. The engine should be with a large number of turns, since such an engine has a large torque. Once you have decided on the engine, you should measure the distance between the mounting holes with a compass. Then we transfer the marks to the newly made square, and make through holes. As a result, we should get a kind of "engine mount", that is, the part on which the engine will be mounted. Such a part can be purchased from the Chinese from radio-controlled models, which will be even better, since the engine with this connection will sit reliably and without backlashes. That is, using a normal engine mount we will extend the life of our tool.
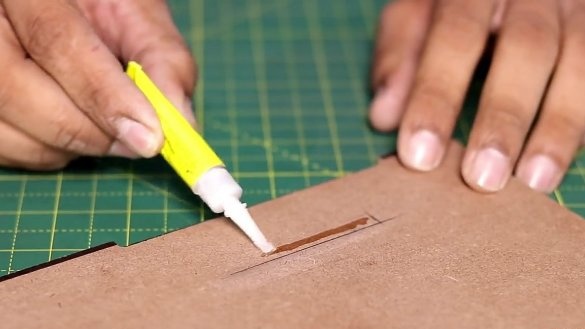
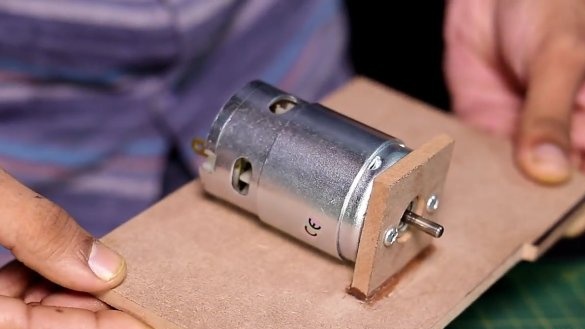
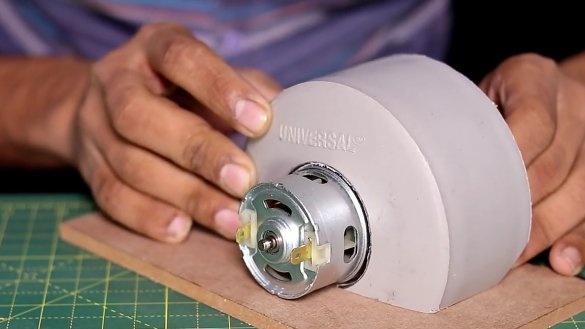
After that we just glue the engine mount just made to the base of the MDF panel using superglue as shown in the photo below. This connection of MDF panels is very reliable. And then we fasten the electric motor to the newly fixed motor mount with a screw connection.
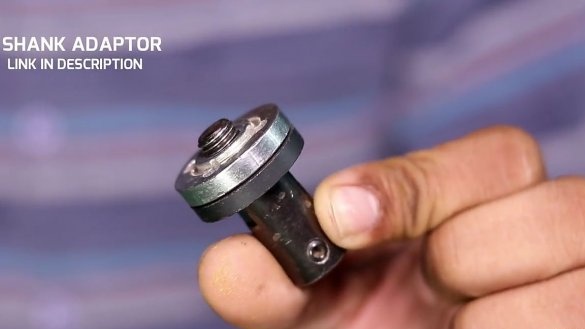
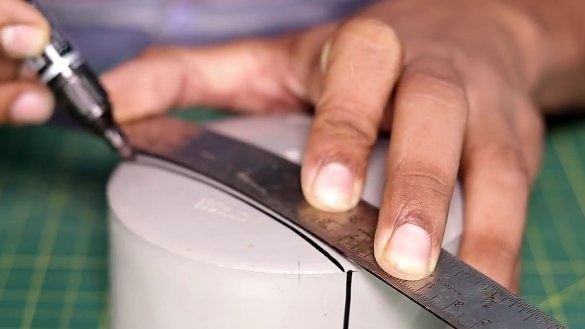
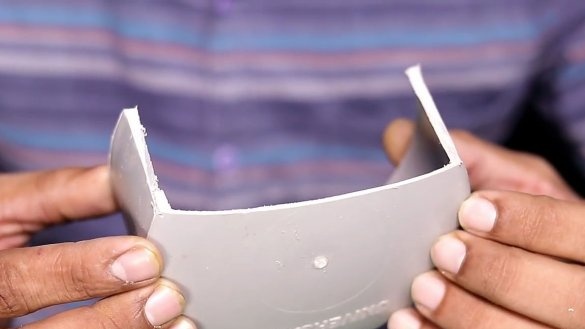
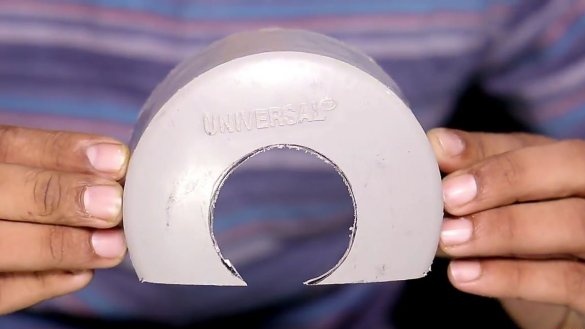
For the next step, we need to take the adapter for the circular saw blade and fix it on the motor shaft. Then we will make a protective casing. To do this, we need to take a PVC plug from the sewer pipe 110 mm. From which the bottom should be sawed off, approximately 20% of the total circumference. The lower cutout must be such that the mounted cutting disc can rotate freely. Then we set the span of the compass to 25mm and draw a circle on the PVC cover so that it touches the sawn part (see photo). And we cut it so that in the end we get it, the workpiece is similar to the one shown below.
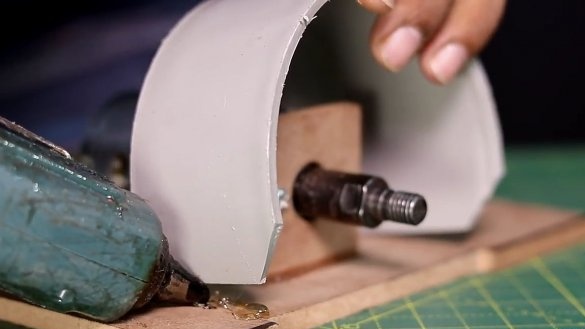
We install the newly made protective casing in its place and fix it with hot-melt adhesive.
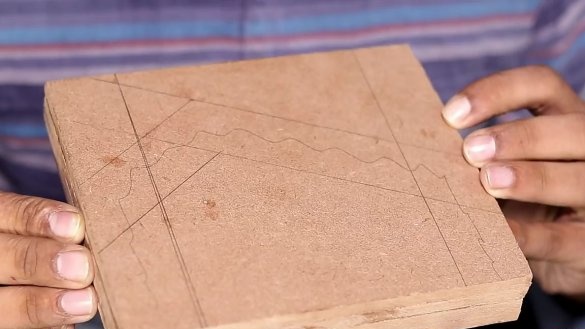
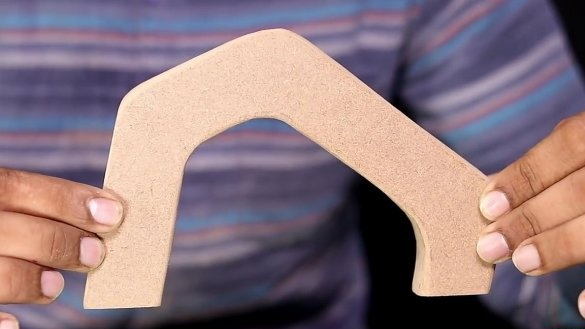
The next step is to make one of the most important parts of homemade work, namely, proceed to the manufacture of the handle. Here, in fact, everything is individual, you can make a pen that is convenient for you to use. The author of this homemade product made it as follows, namely, glued four sheets of 8 mm MDF panels with glue. After finding the drawings on the Internet, he transferred them to a “sandwich” (see photo).
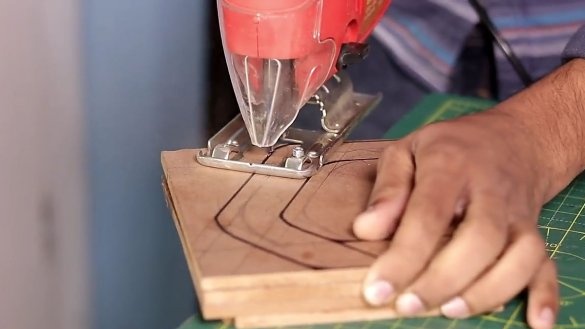
Next, the handle itself should be cut out, and it will be easier to do this by using a jigsaw, but if you don’t have one, you can do it manually, but in this way it takes a lot more than a power tool. After the handle is cut out, it should be treated with sandpaper to eliminate sharp ends, well, and for ease of use.
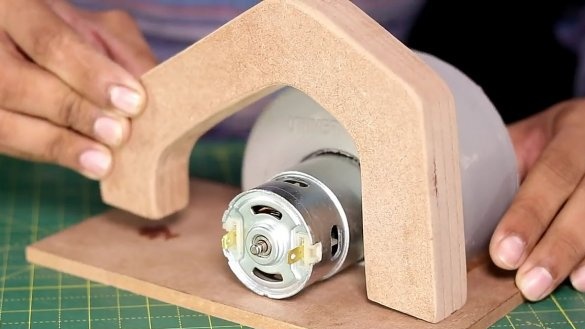
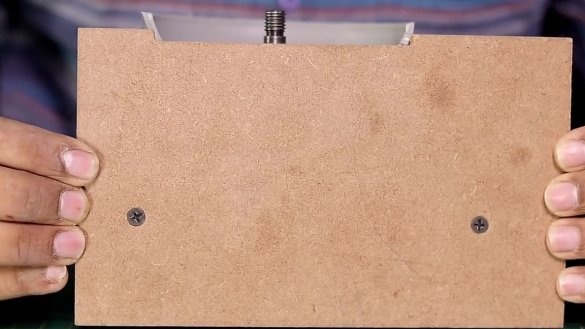
The handle just made should be installed on the structure. First fixing it with superglue, and then reinforcing the connection with self-tapping screws screwed flush on the other side (this is important for the wrench so that nothing interferes with the tool)
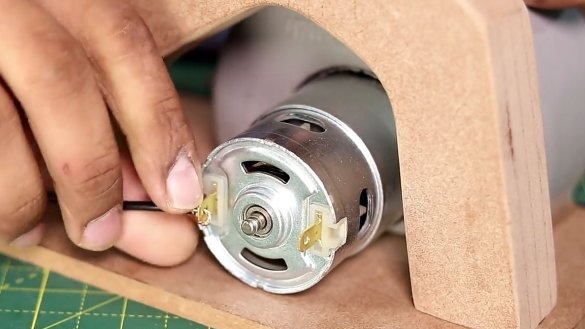
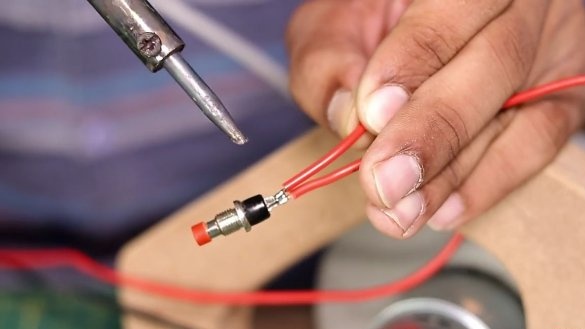
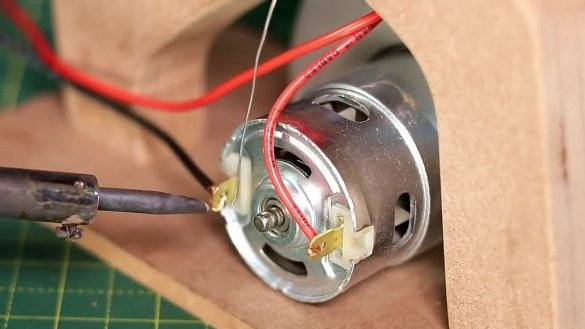
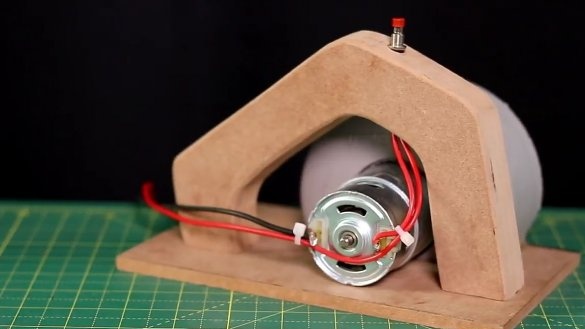
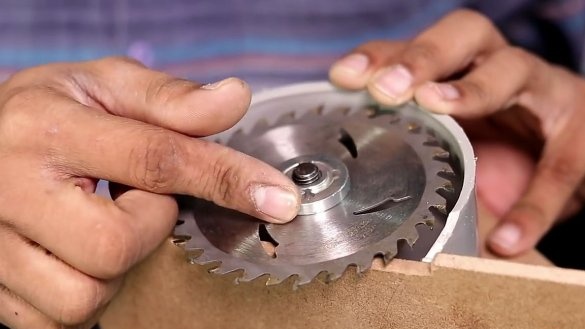
After that, in a place convenient for you on the handle, we will drill a through hole for the installation of the switch. We install the switch in the hole just done. Then we connect the whole electronics, namely the wires to the electric motor through the switch. And finally, install the cutting disc on the structure (the disc should be tightened securely with a nut!).
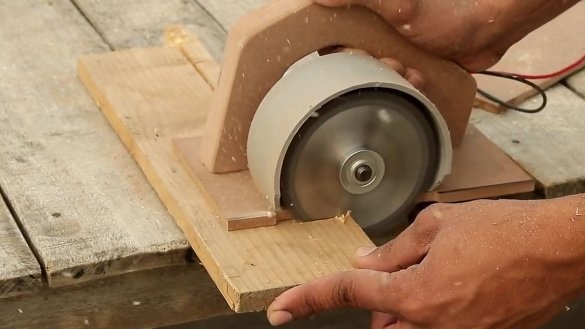
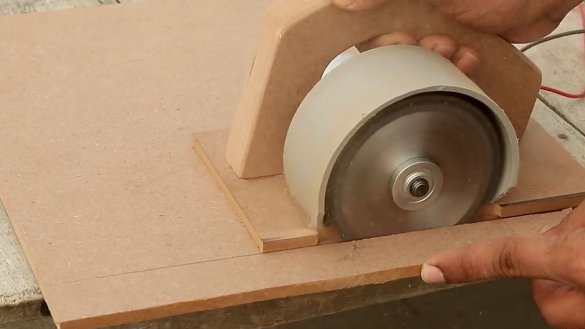
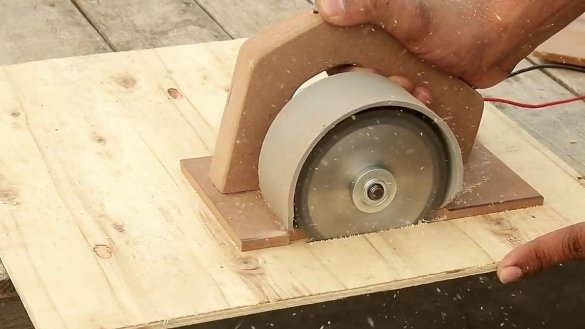
All is ready! As a result, we have a useful tool in the household. Which can be used for sawing almost any type of wood. According to the results of homemade tests, it is clearly seen how easily homework can cope with different materials.
Here is a video from the author with a detailed assembly and testing of this homemade product:
Well, thank you all for your attention and good luck in future projects, friends!

