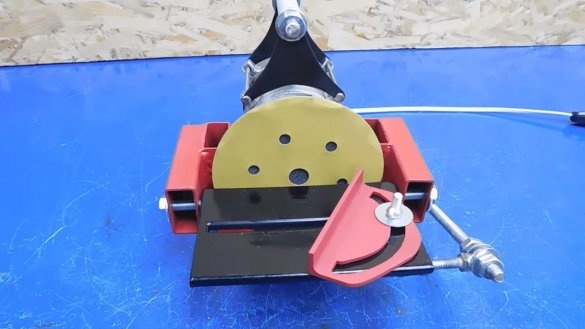
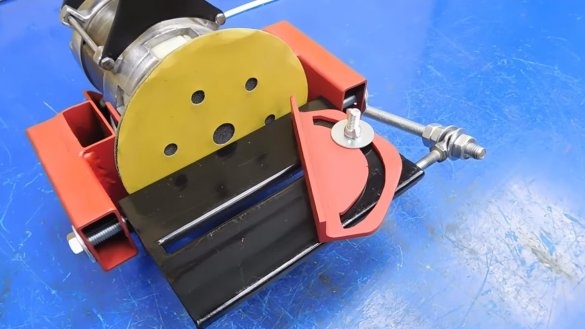
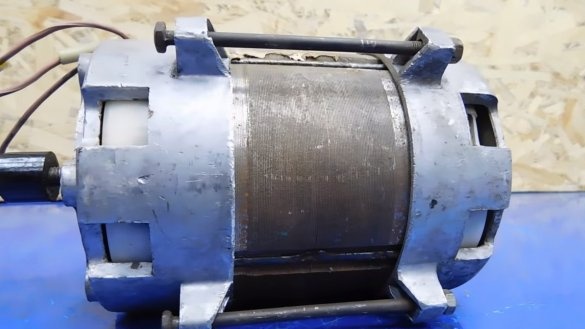
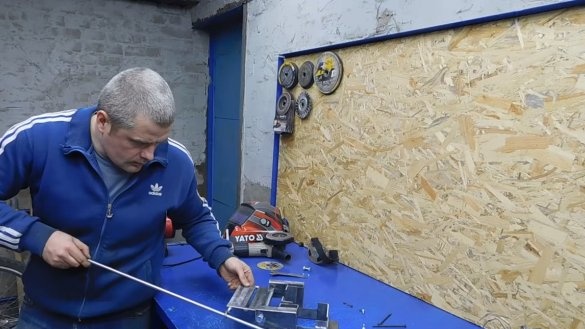
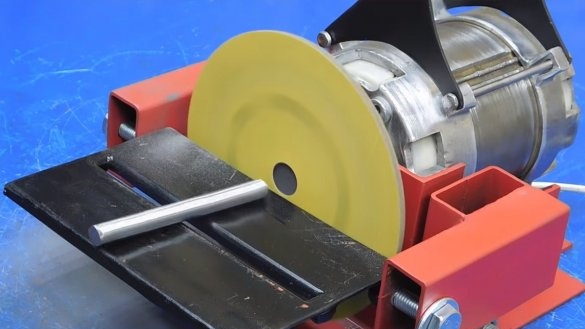
If you have an old washing machine lying around, do not rush to throw it away, you can get a fairly reliable and high-quality engine out of it. With such motors make good machines for home use. In our case, the author decided to make a disk grinding machine for his needs, and he found the engine at a flea market. The machine turned out to be of high quality and functional. It is equipped with two planes in which the angle changes. This will allow you to grind the product at the right angle in the vertical and horizontal directions. If you are interested in the project, I propose to consider in more detail how you can easily and simply assemble such a stanochka!
Materials and tools used by the author:
Material List:
- the engine from the washing machine;
- square steel pipes;
- Sheet steel;
- bolts and nuts;
- nozzle for installing grinding discs;
- corners;
- a piece of PVC pipe.
Tool List:
- welding machine;
- plasma cutter (preferably);
- drill;
- grinder;
- spanners;
- marker and tape measure;
- clamps.
Machine manufacturing process:
Step one. Engine preparation
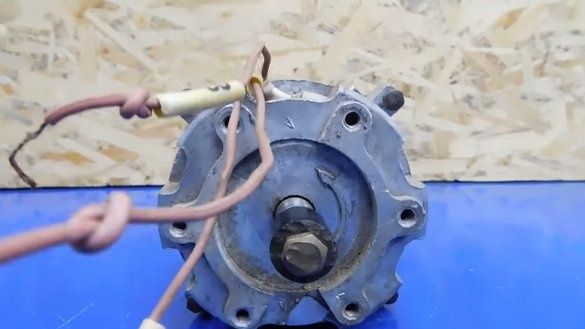
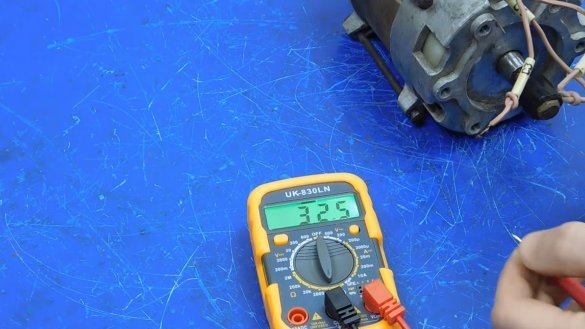
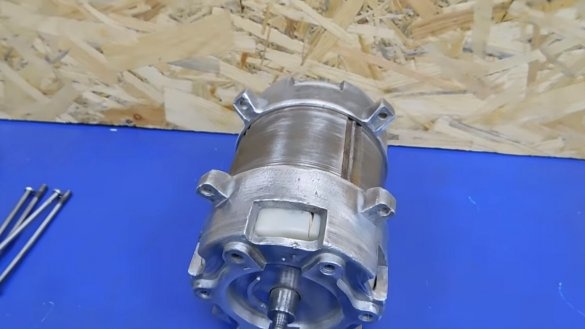
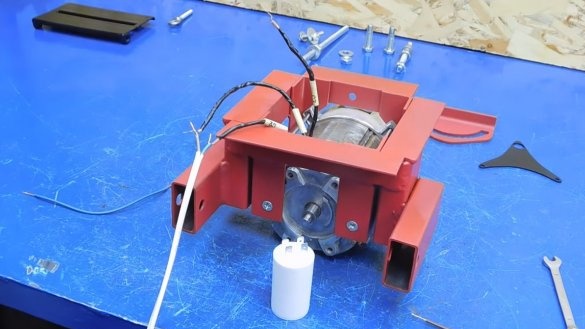
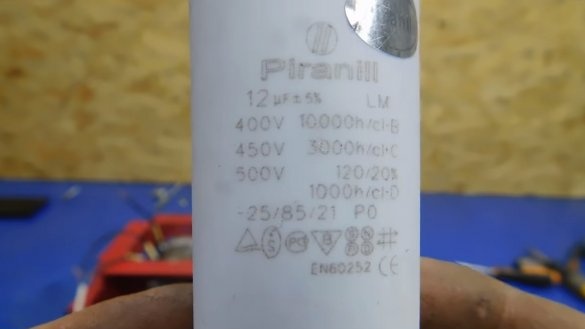
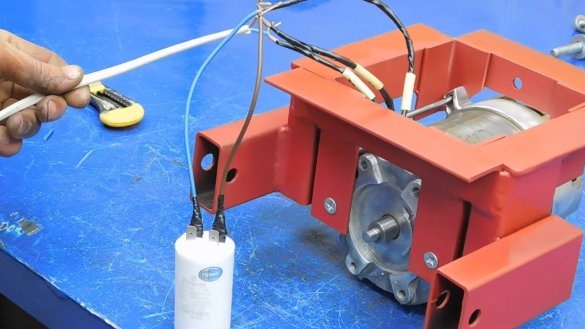
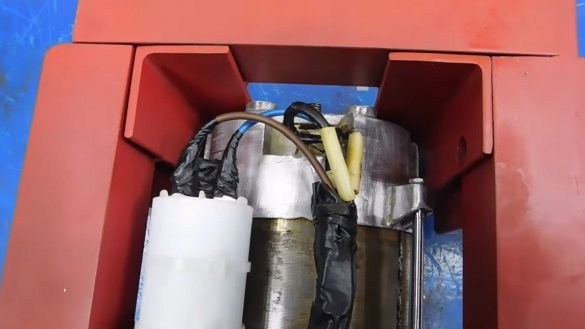
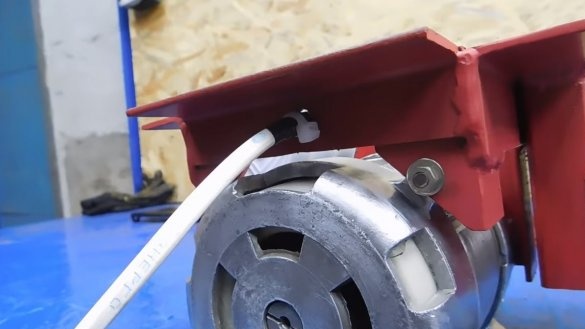
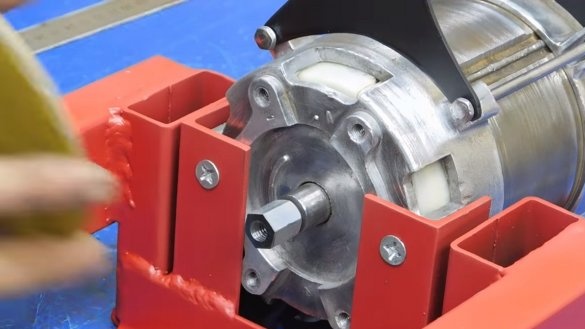
The author’s engine is condenser and has three outputs. There is a starting winding and a working one, we find the necessary wires by resistance, using a multimeter. If you wish, you can make the engine rotate clockwise or counterclockwise.
Step Two Frame manufacturing
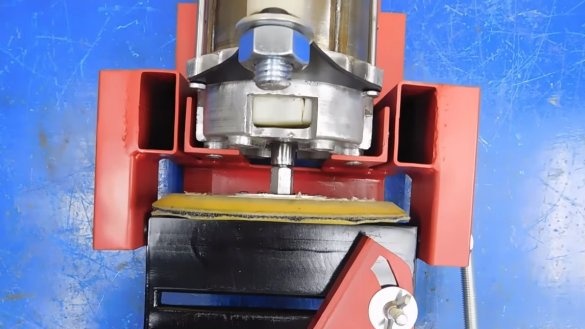
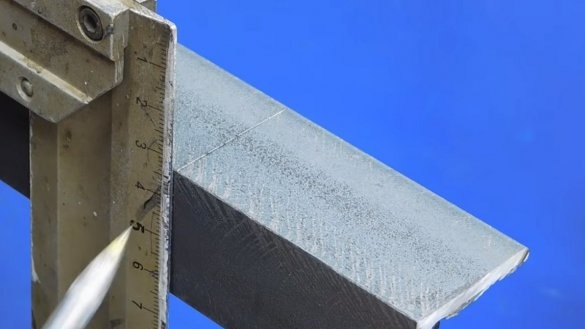
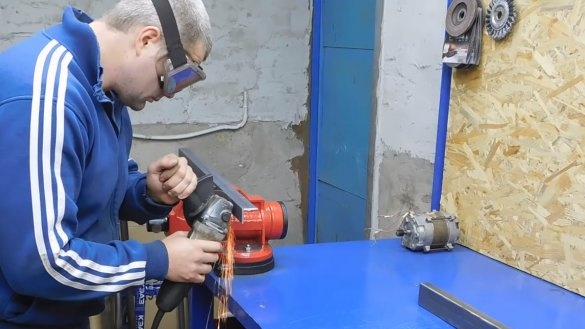
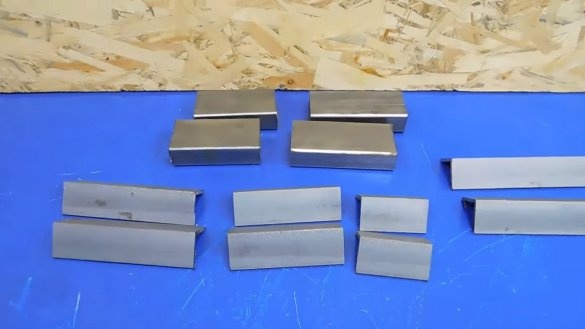
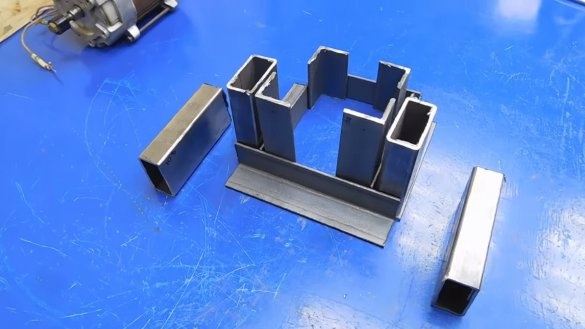
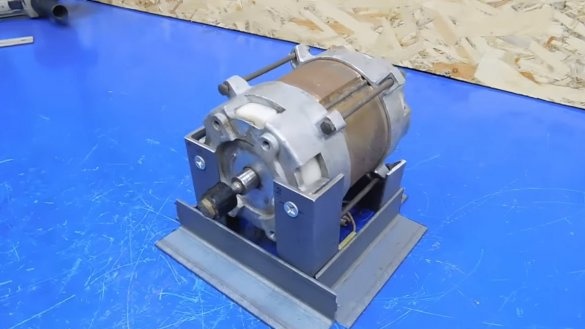
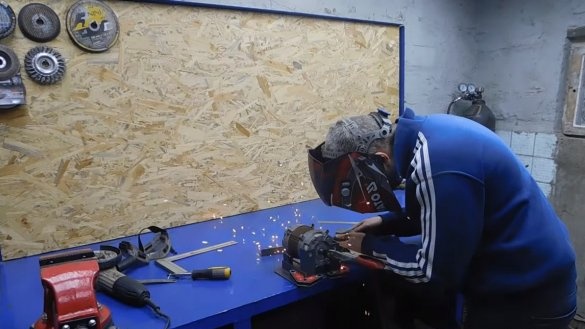
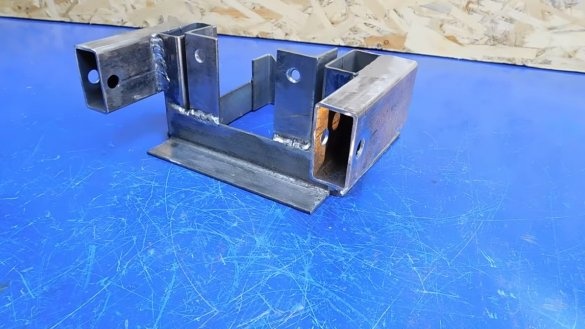
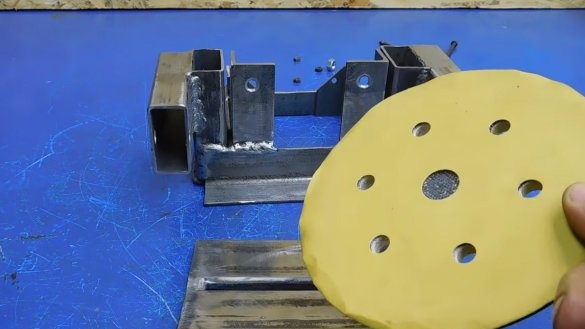
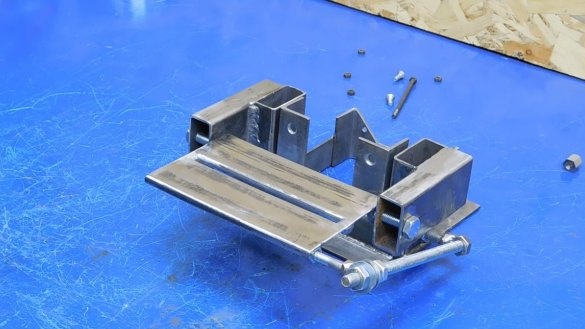
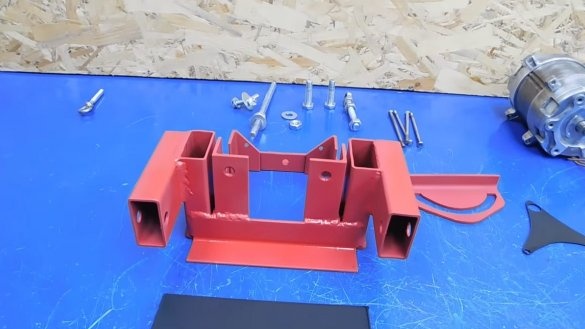
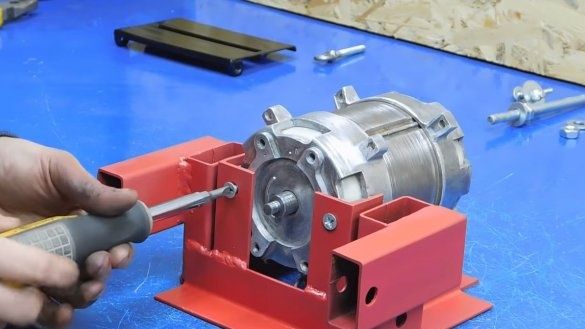
You can begin to manufacture the frame, these parameters will depend on the shape and size of the engine. To make the frame, the author used corners and rectangular pipes. We cut everything into pieces of the right size and weld.
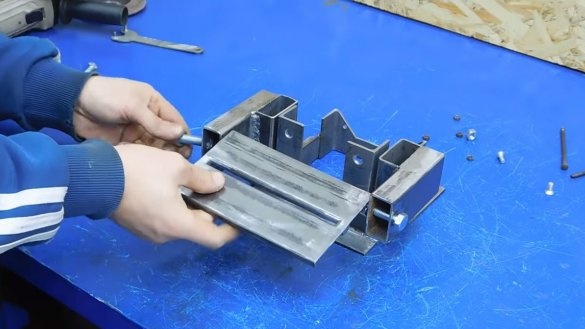
Step Three Work plane and emphasis
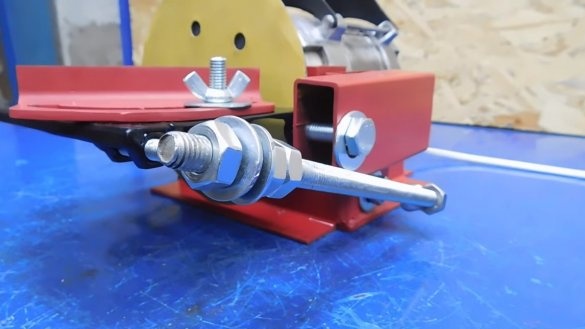
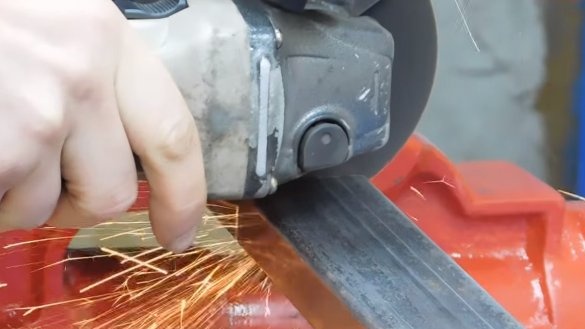
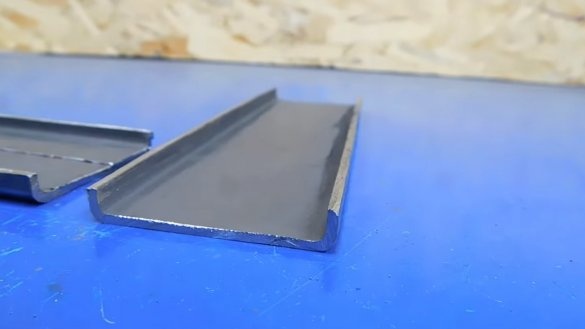
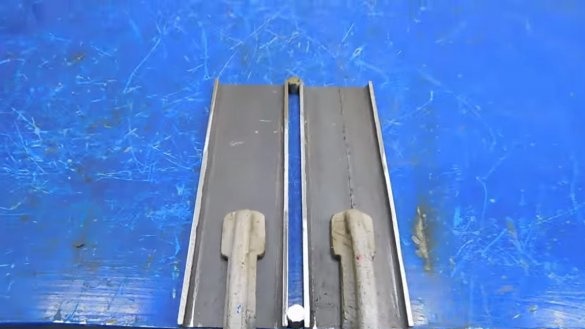
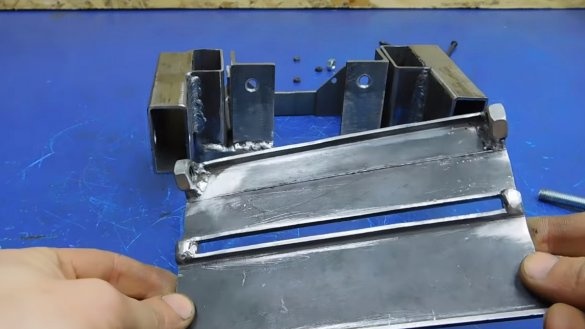
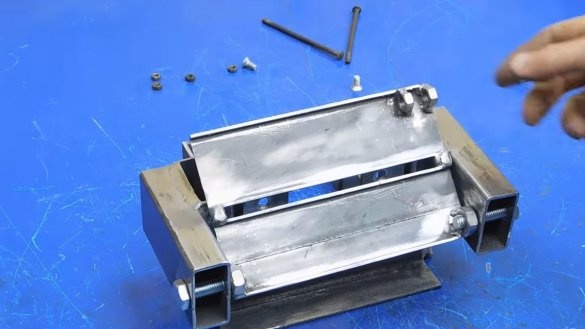
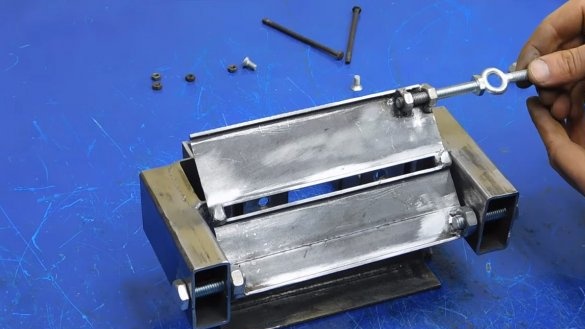
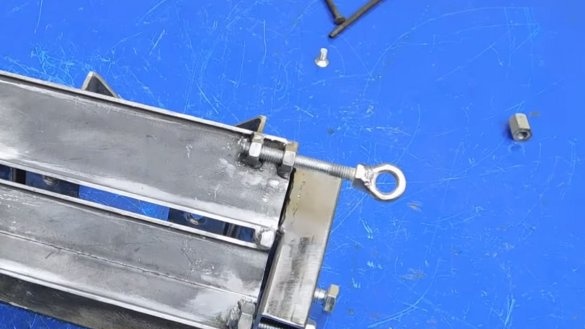
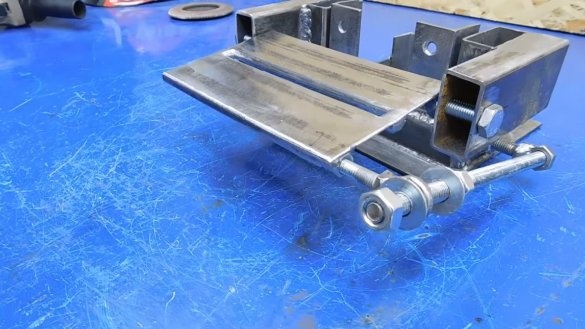
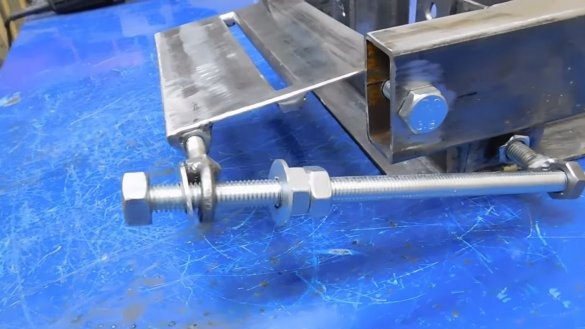
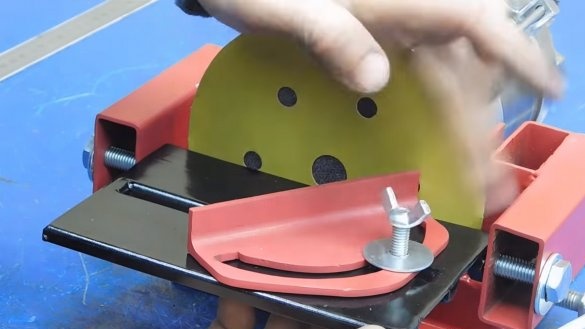
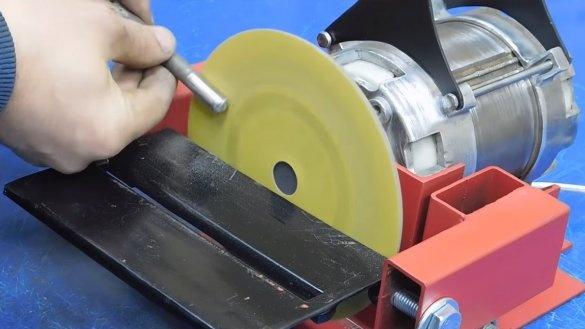
The working plane is that plane on which we will hold the product during operation. The table is attached to the frame articulated, its angle relative to the grinding disk can be changed. To make a working plane, the author cut along two square pipes, and then welded together, it turned out to be an area sufficient for work.To adjust the angle, the author had to come up with a tricky mechanism of a threaded rod, nuts, washers, nuts with hinges and other details. In general, everything turned out not bad, the machine is easily and easily adjusted.
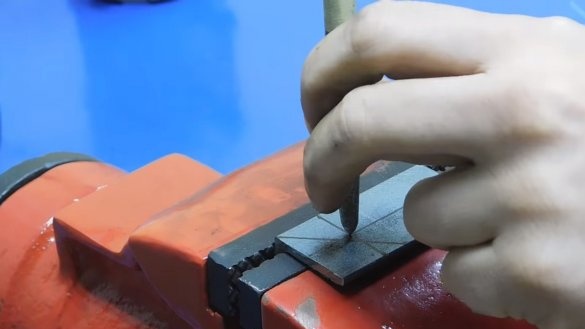
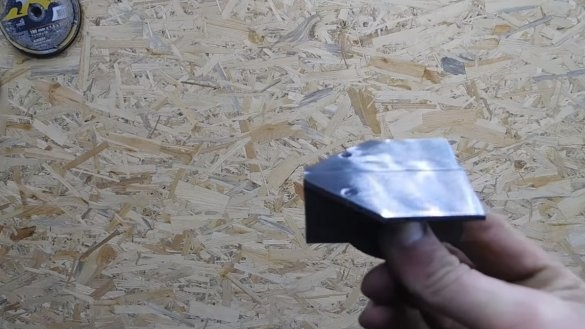
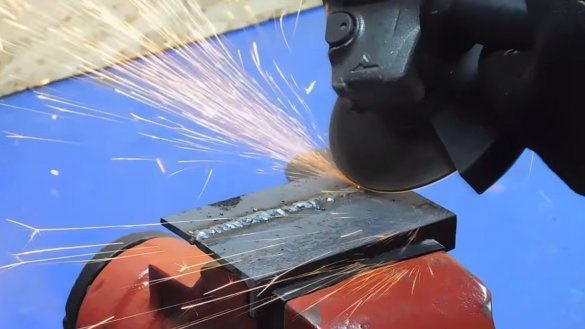
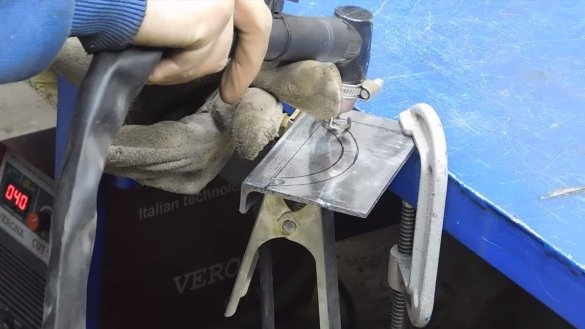
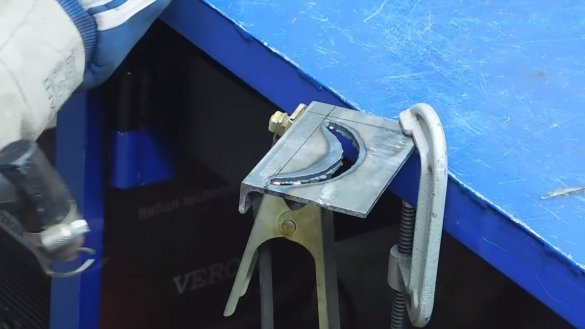
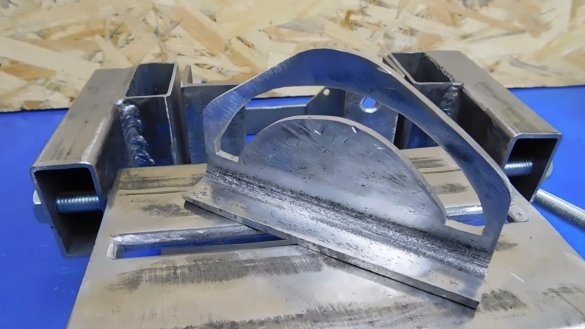
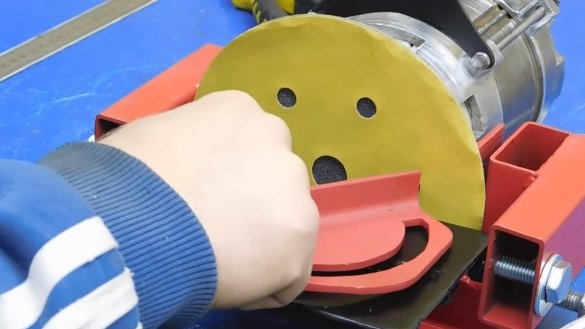
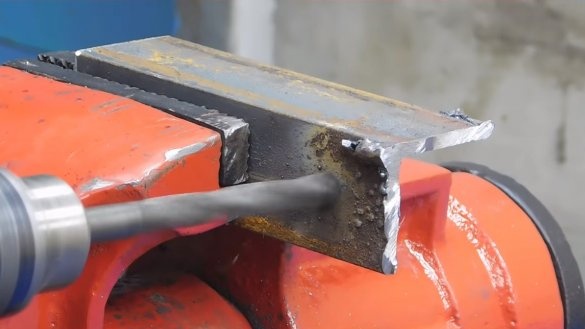
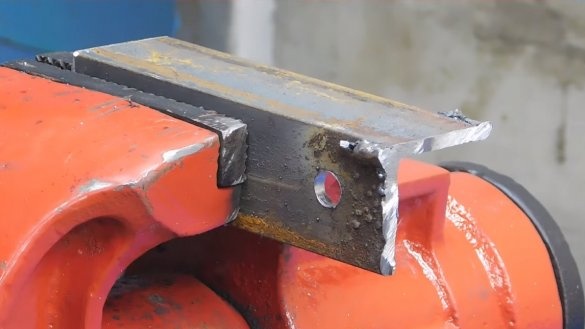
A stop is also installed on the working plane, which allows you to install the product at a certain angle on the working plane. The author made this detail from a corner, cutting off a part from it on one side and welding it to the other. It was necessary to cut a slit hole in the product, its author cut it out with a plasma cutter, but if there is no such equipment, you can work with a drill with a drill and files.
Step Four A pen
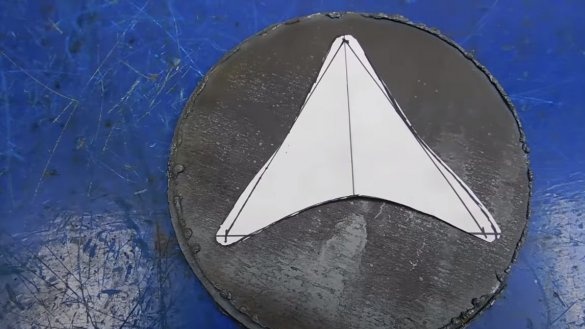
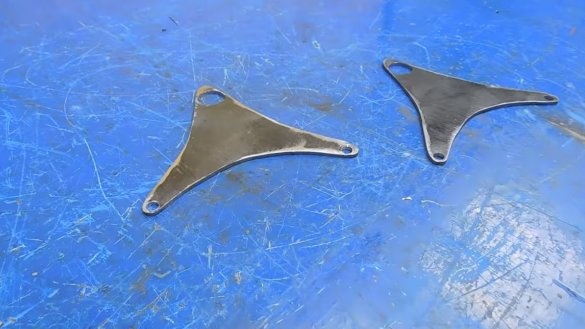
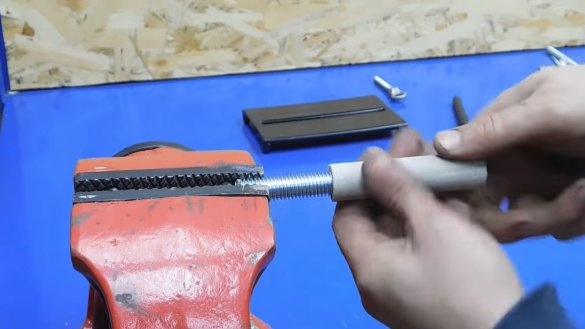
For convenient transportation of the machine, install a handle on it. To do this, we need to cut two metal parts, and the bolt, on which a piece of PVC pipe was worn, will directly play the role of a handle. The handle turned out beautiful and very comfortable.
Step Five Assembly and test completion
As a finish, paint the metal parts of the machine so as not to rust. The author did not paint the engine, since he likes his natural look. You can install the grinding nozzle, it is installed through an elongated nut on the motor shaft. Well, then install the emery disc and proceed with the tests.
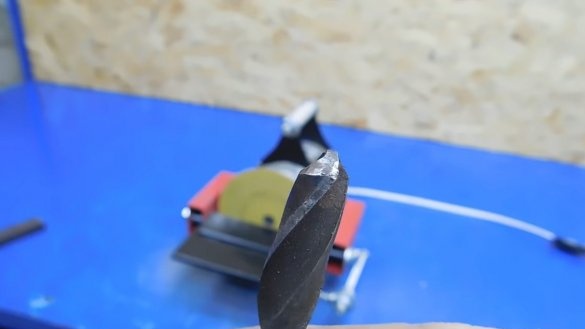
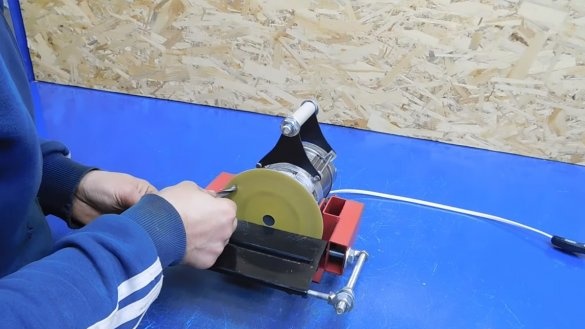
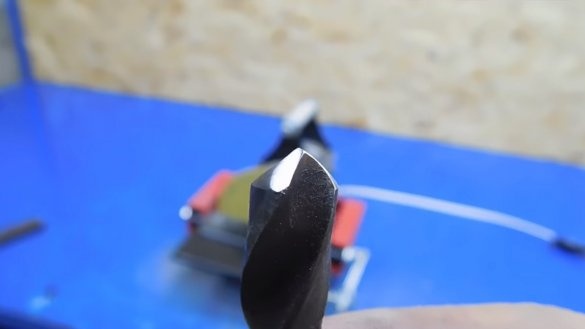
According to the author, the engine copes well with the load, the speed does not fall with high pressure, as is the case with cheap Chinese machines. With the help of the machine it is convenient to sharpen drills, knives, perform grinding and much more.
That's all, I hope you liked the project, and you found useful information for yourself. Do not forget to share your ideas and homemade with us!

