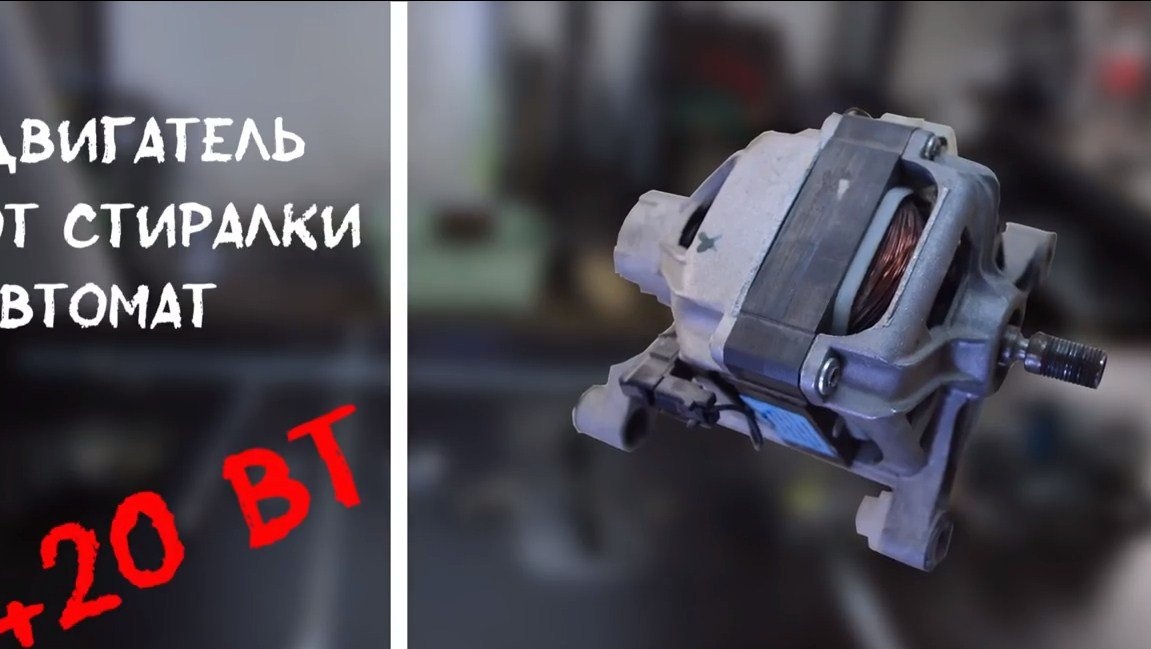
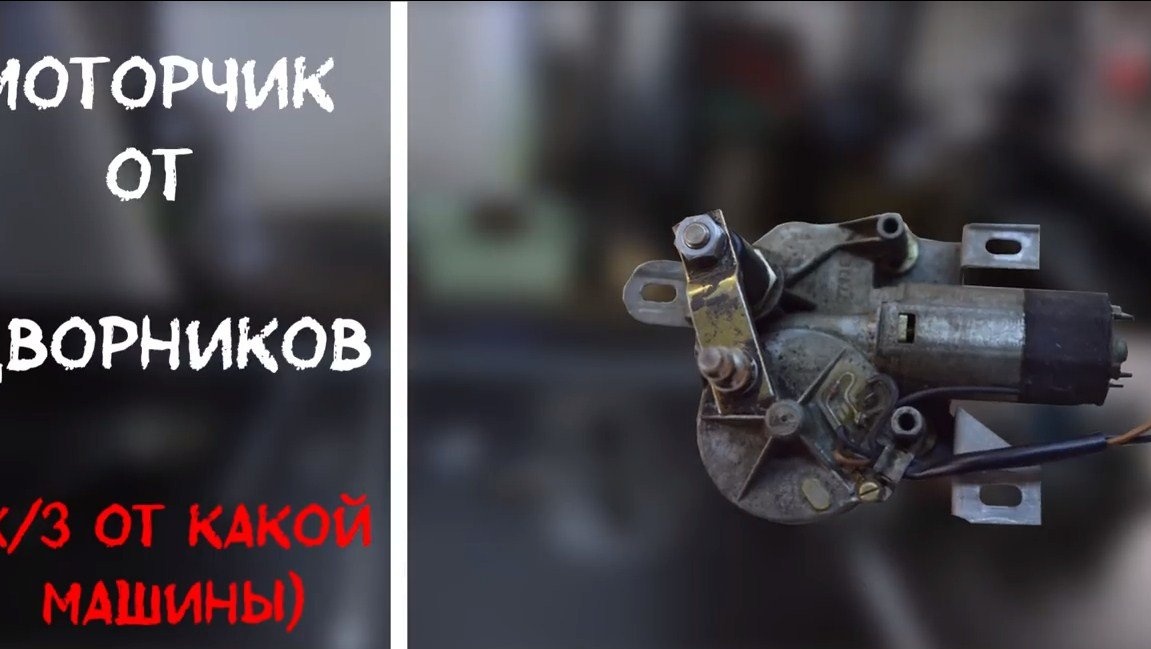
I welcome everyone, today we will consider a method of manufacturing such a useful thing as an oscillating-spindle grinding machine. Despite the complex name and the seemingly complicated principle of operation, such a machine can be made simple and inexpensive. So, for example, the author used a motor from a washing machine as an engine. And in order to provide reciprocating movements to the grinding cylinder, the author successfully adapted the engine from car wipers. The machine turned out to be quite powerful and easily copes with the tasks. If you are interested in the project, I suggest that you familiarize yourself with homemade in details.
Materials and tools used by the author:
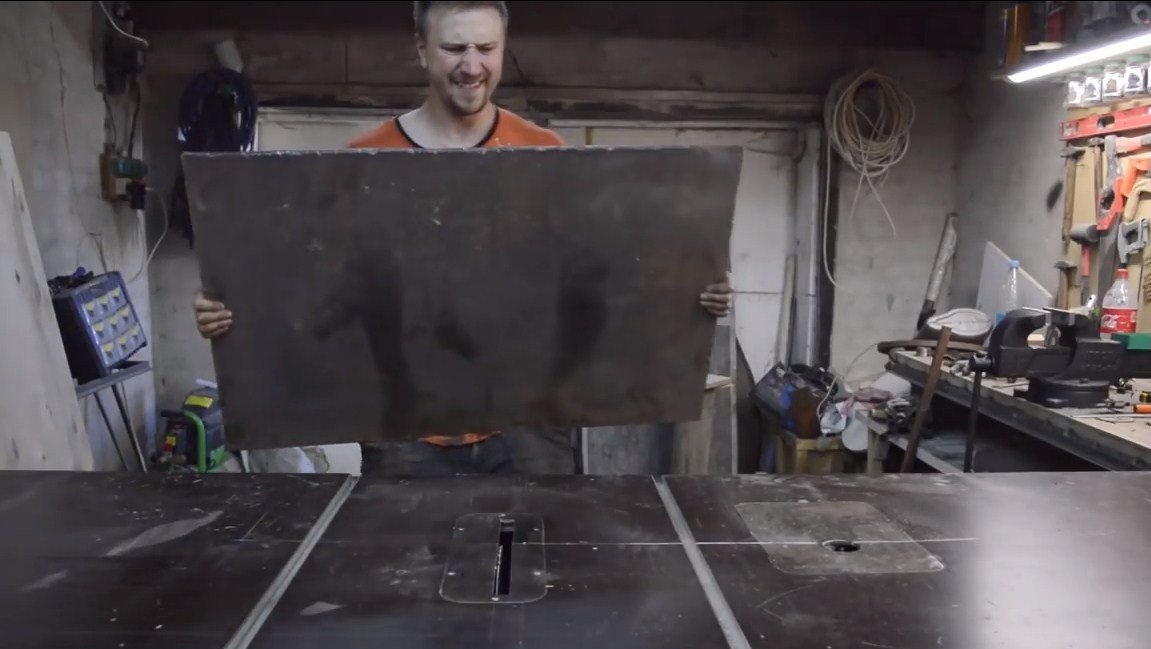
The main details for the manufacture of the machine can be seen in the photo, I will also describe what is not in the photo.
Materials:
- plywood;
- profile pipes;
- corner;
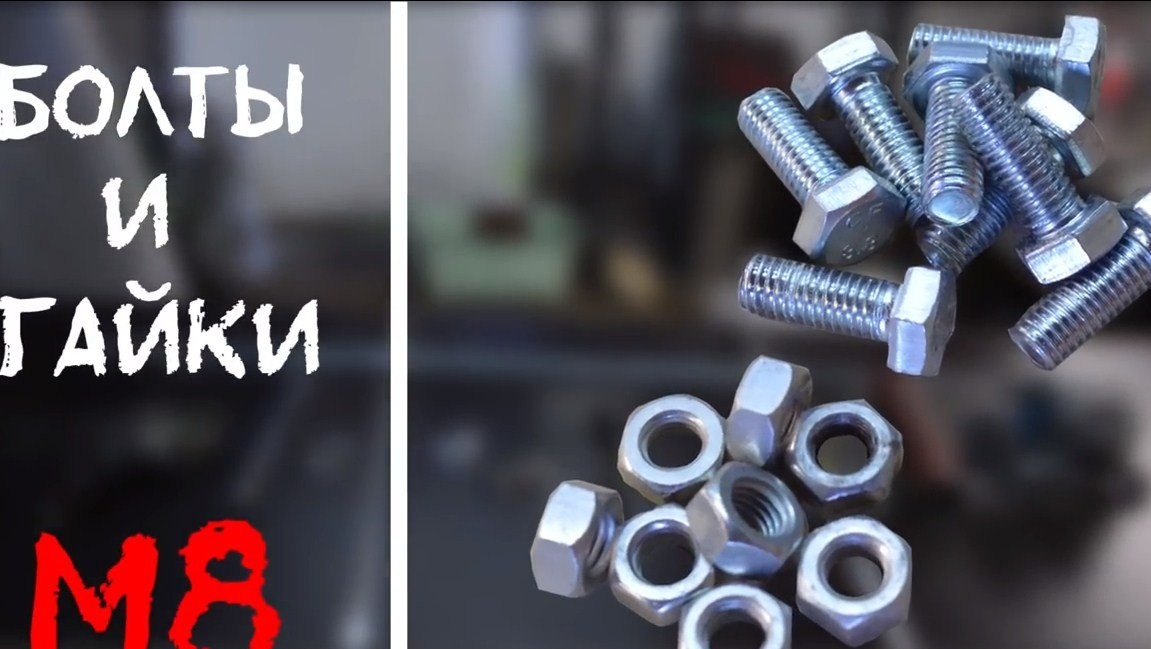
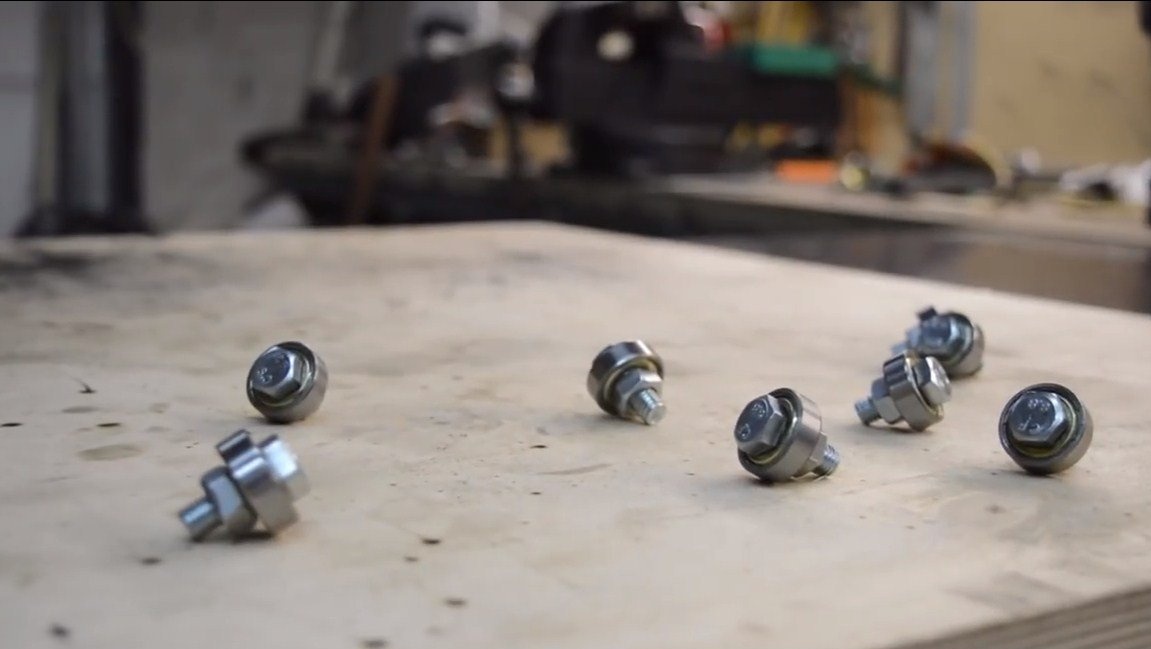
- bolts with nuts;
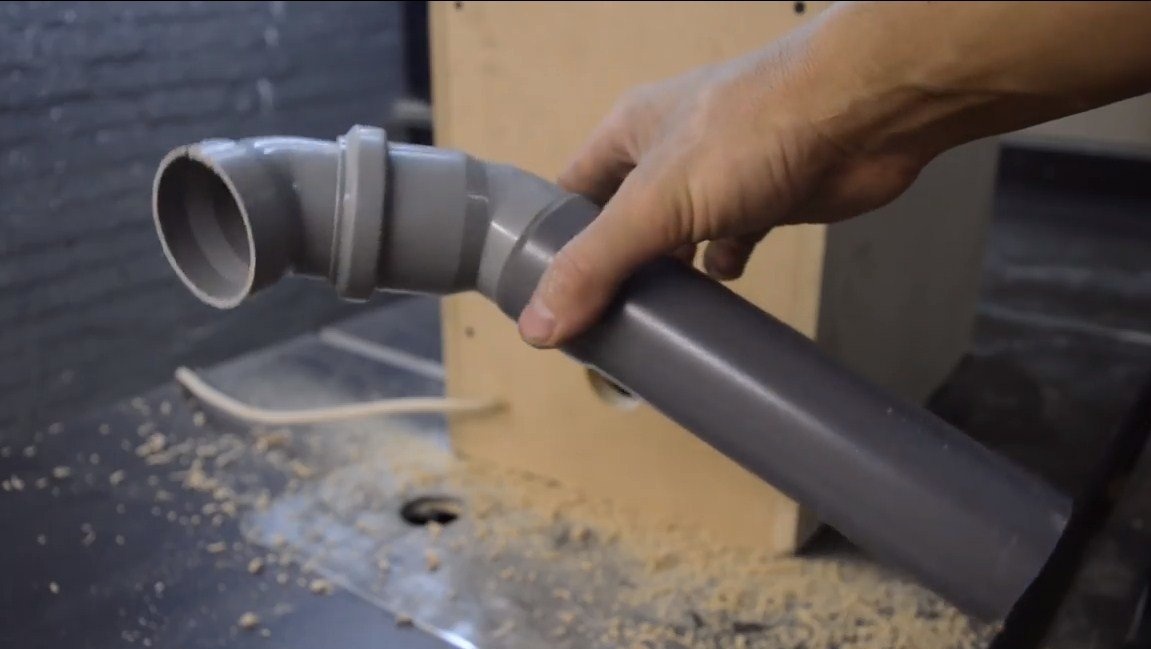
- sewer pipes (to make a hood);
- spring;
- ;
- two switches and a speed adjustment knob;
- glue for wood;
- sandpaper.
Tool List:
- grinder;
- welding machine;
- drill;
- a circular saw.
Machine manufacturing process:
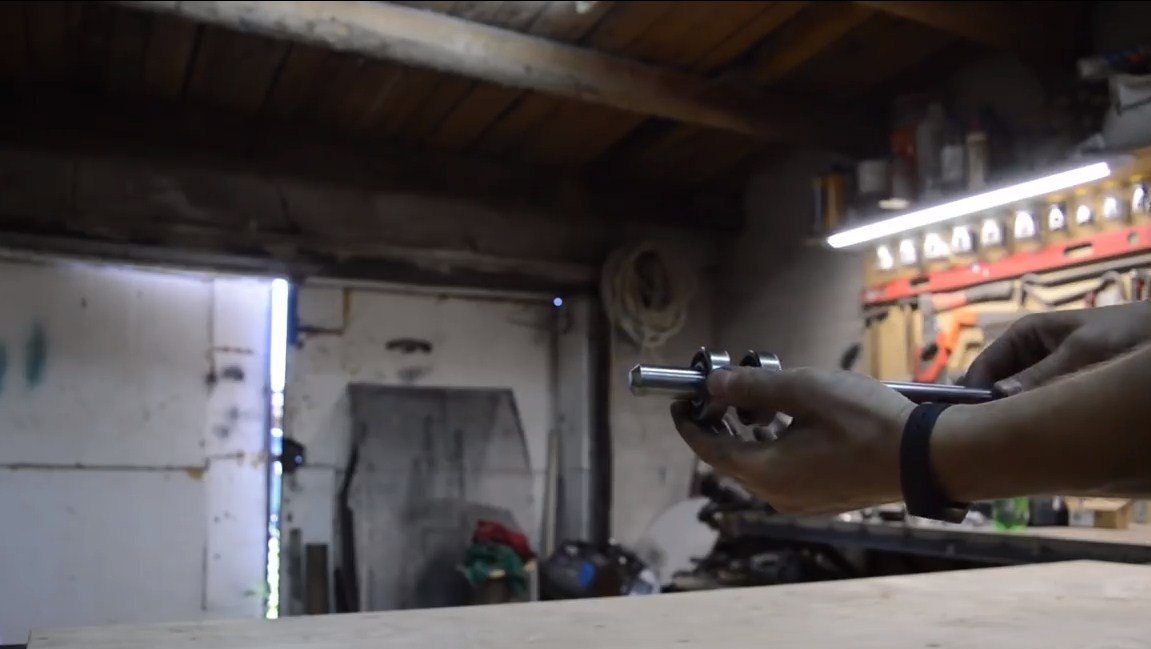
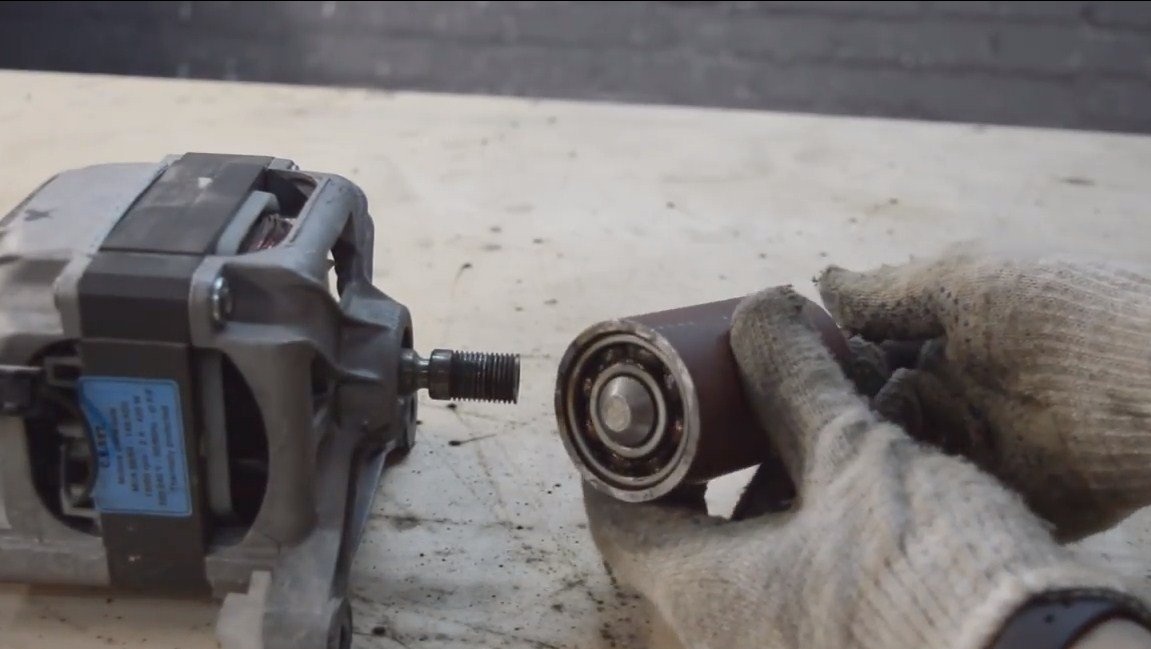
Step one. We make the axis of the machine
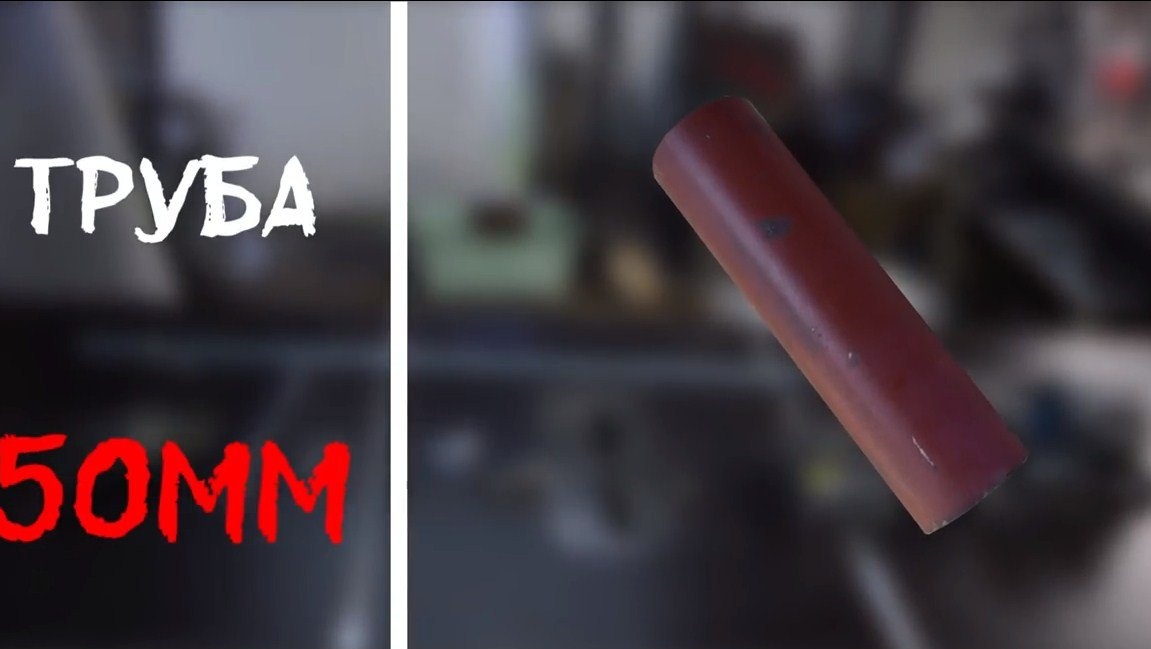
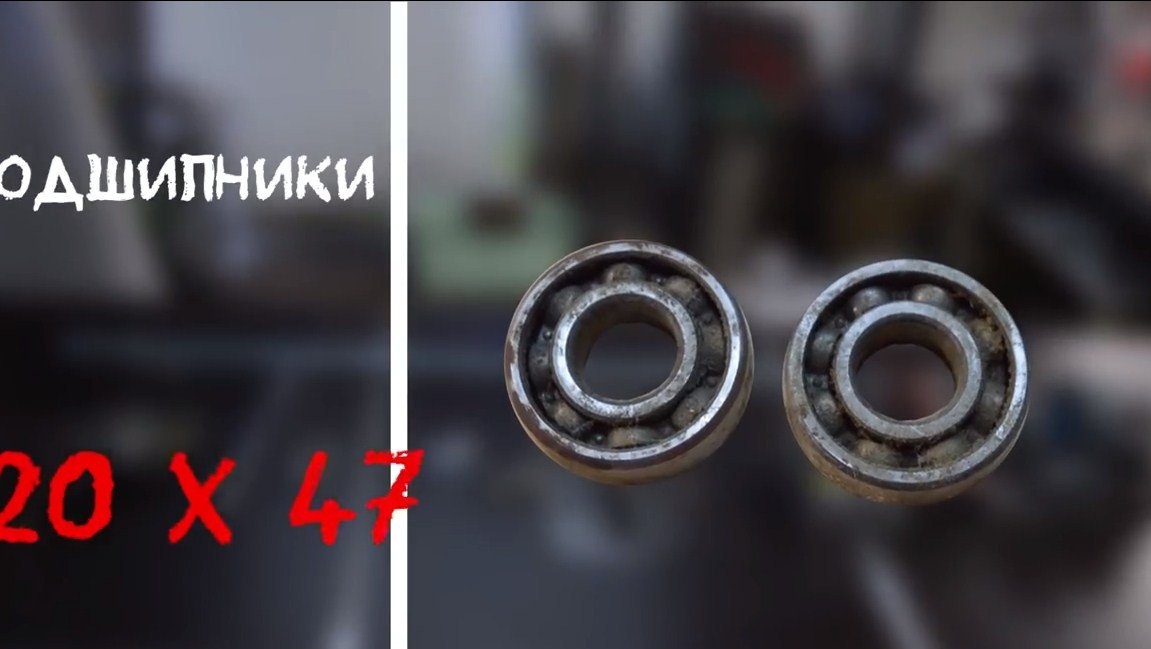
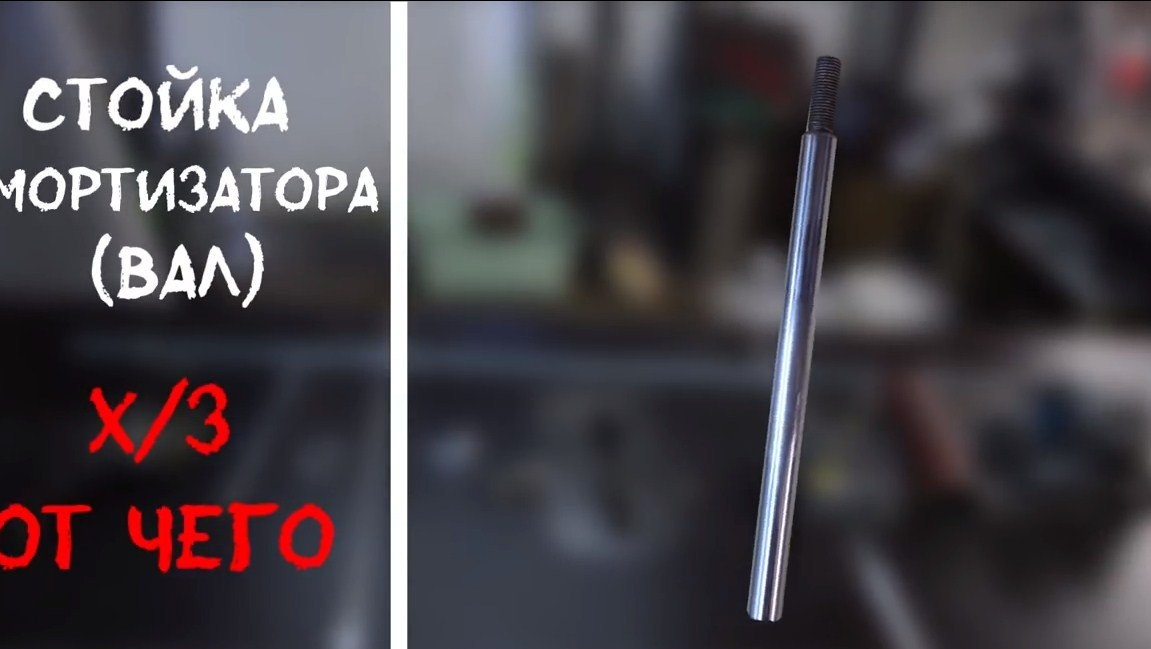
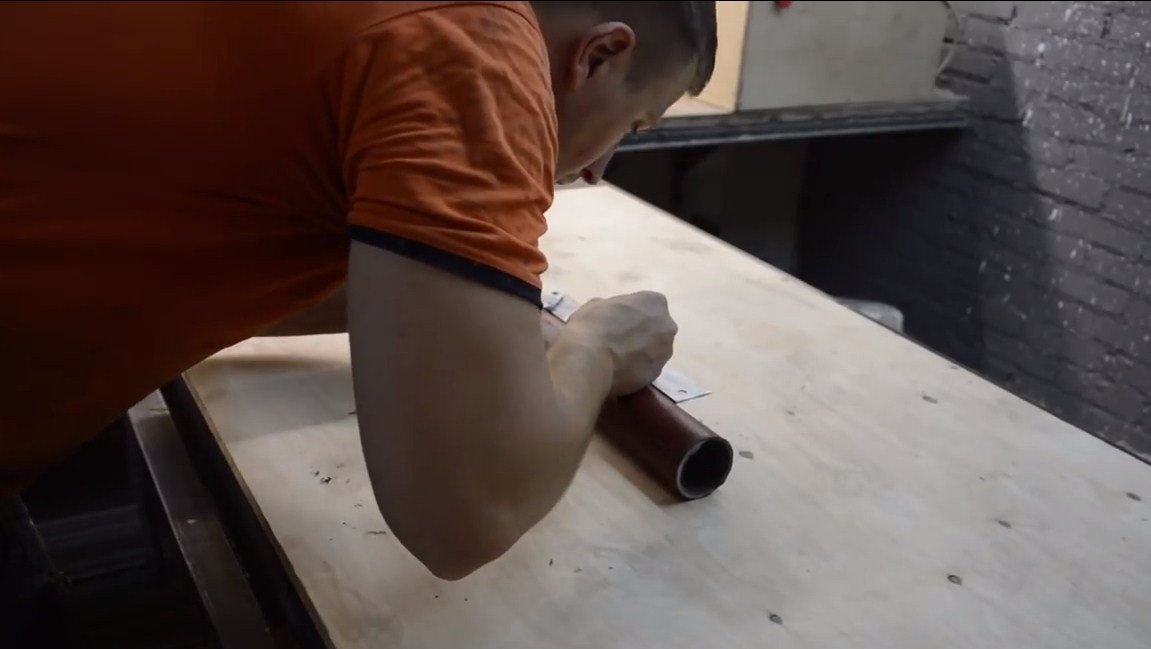
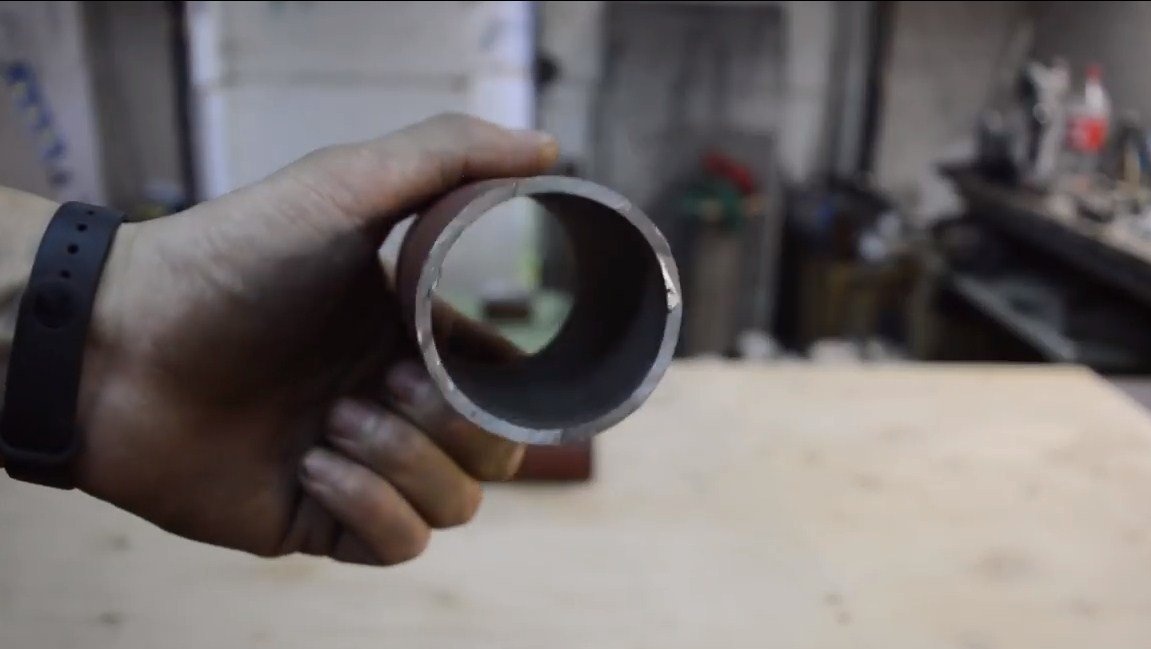
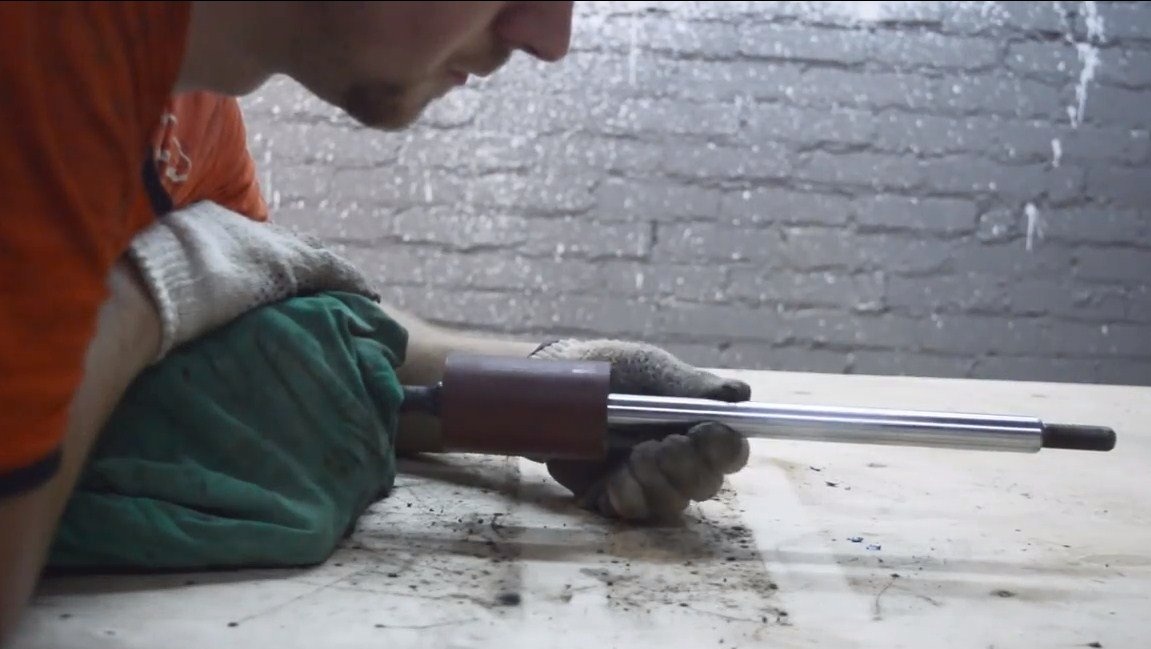
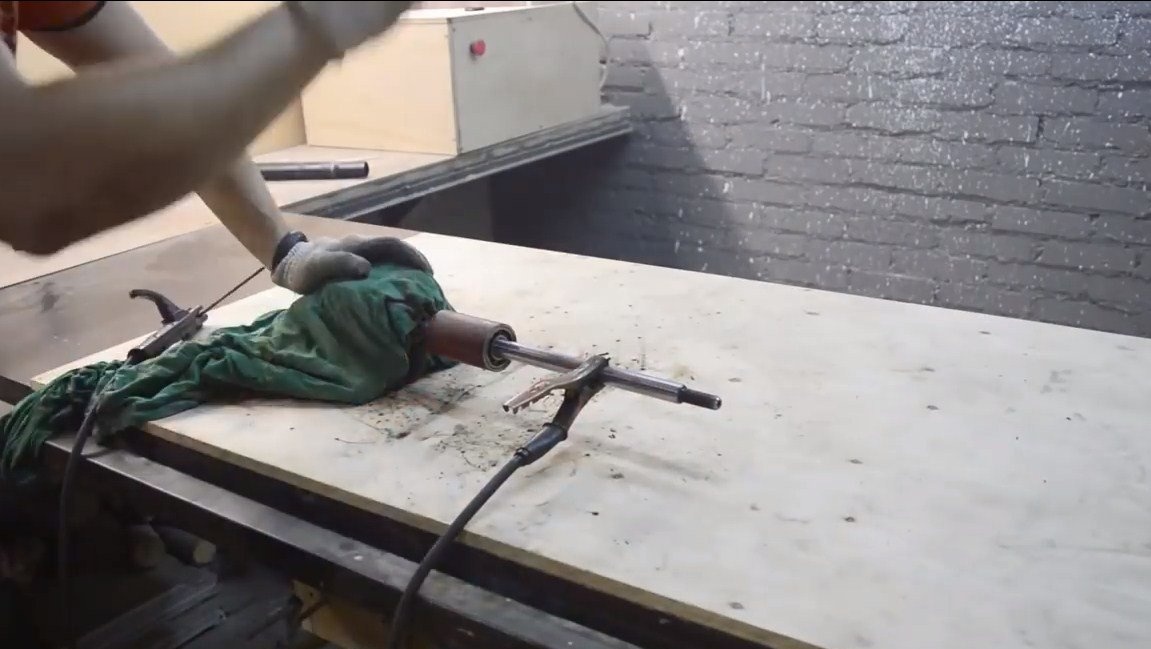
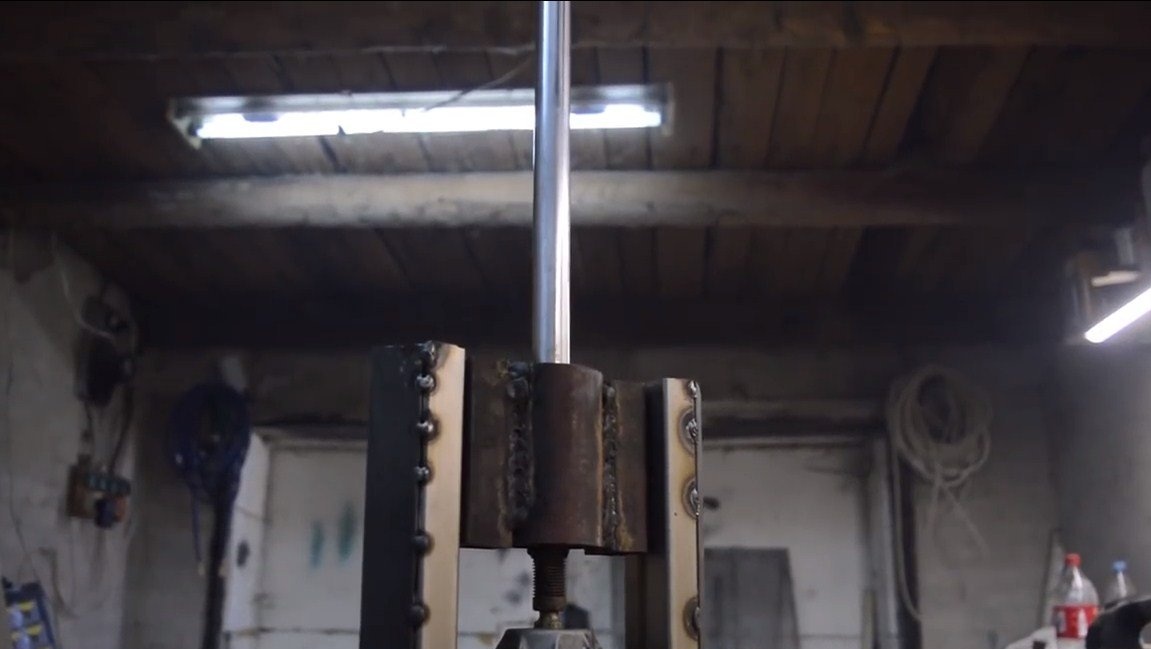
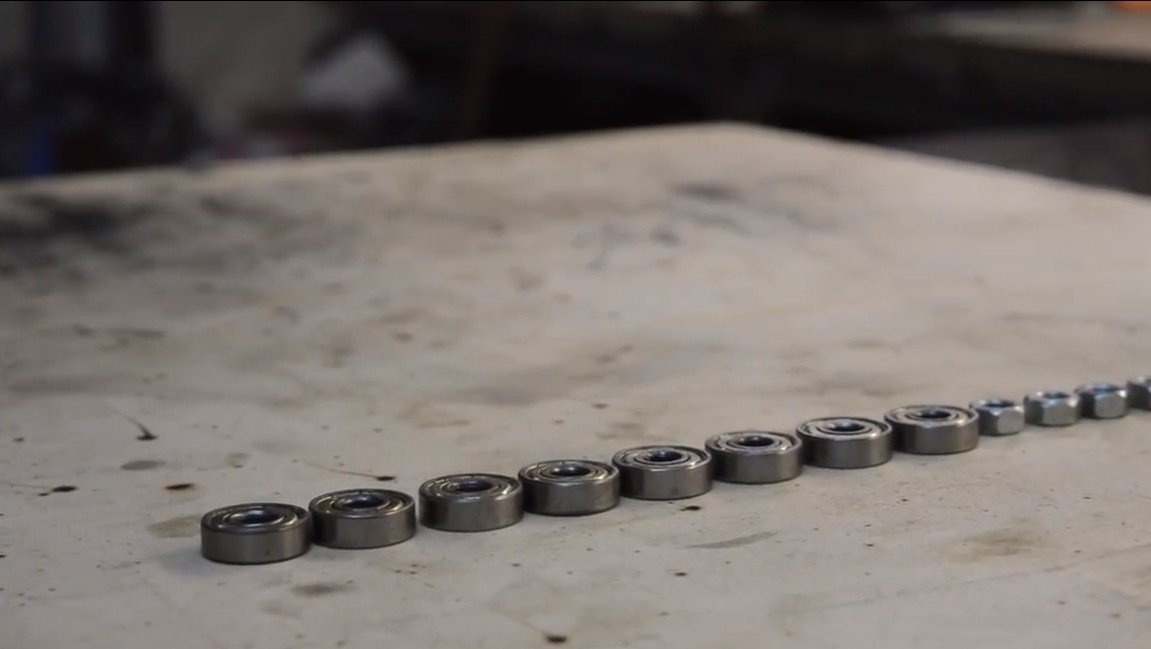
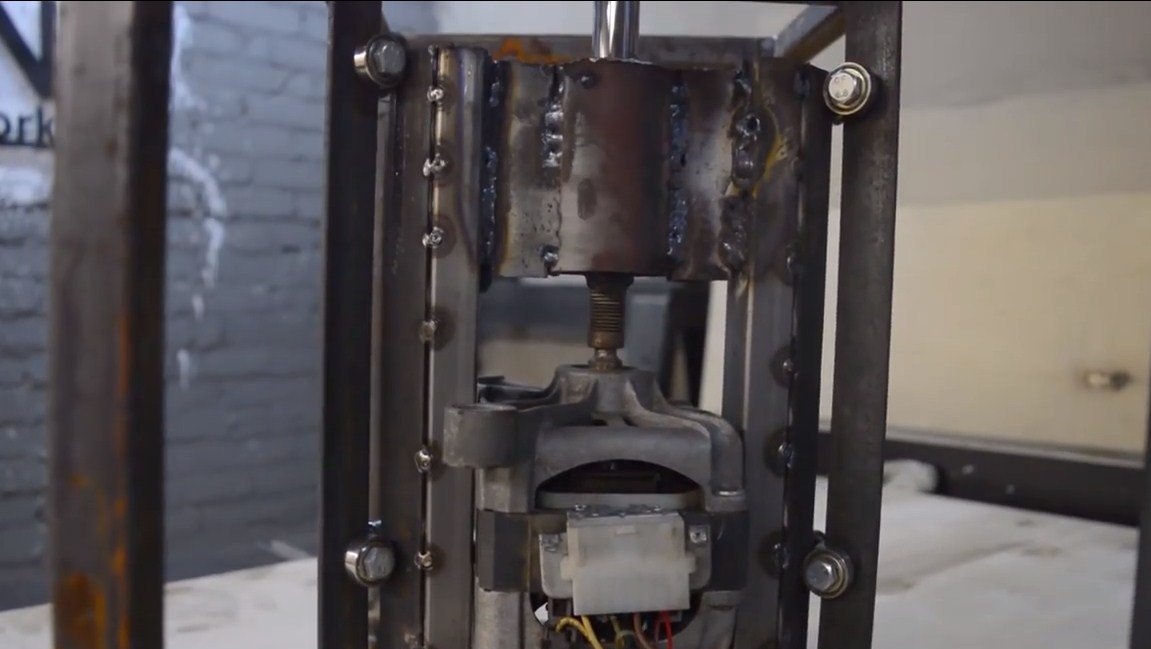
For the manufacture of the machine axis, the author used the axis from the shock absorber. The diameter of the axis went perfectly to the bearings. The axis will rotate on two bearings, under them you need to make a housing. As such a case, the author adapted a piece of pipe of suitable diameter. The inner diameter of the bearings turned out to be slightly larger than the diameter of the bearings, so the author cut it along, cut a piece, and then clamped it in a vice with bearings and boiled it.
In conclusion, we will need to weld the axis to the axis of the engine. This process can take a lot of time, because we need to center the axis well. To begin with, we easily grab the axis by welding and rotate by hand. If there is a beat, we bend the axis and grab it again. And so on until victory.
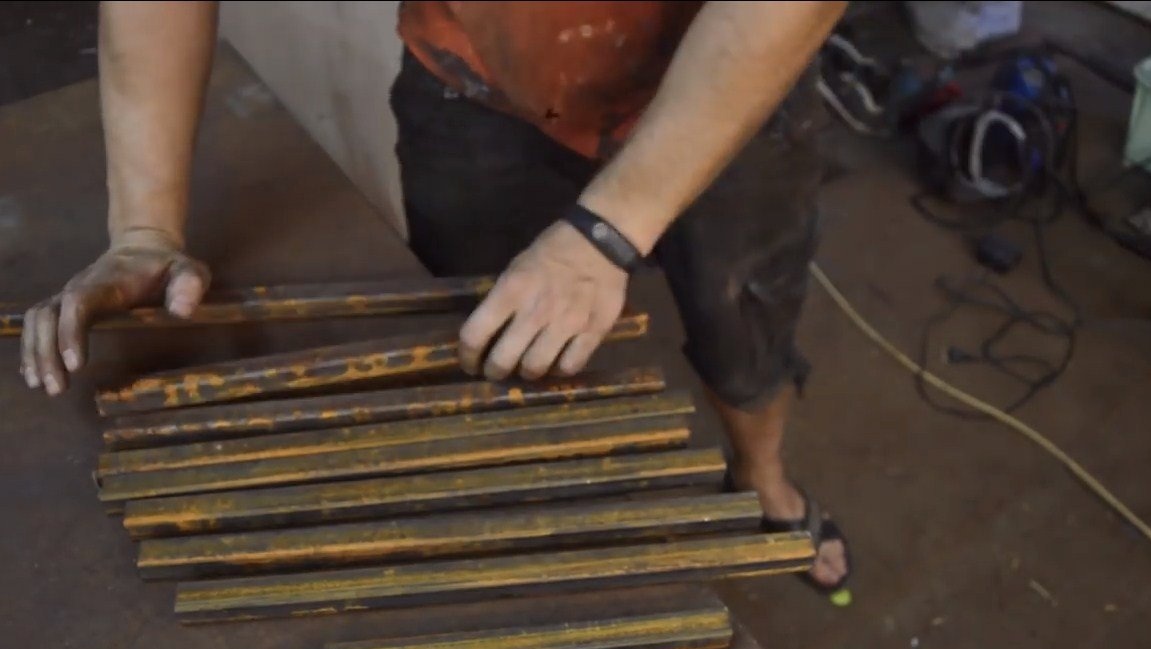
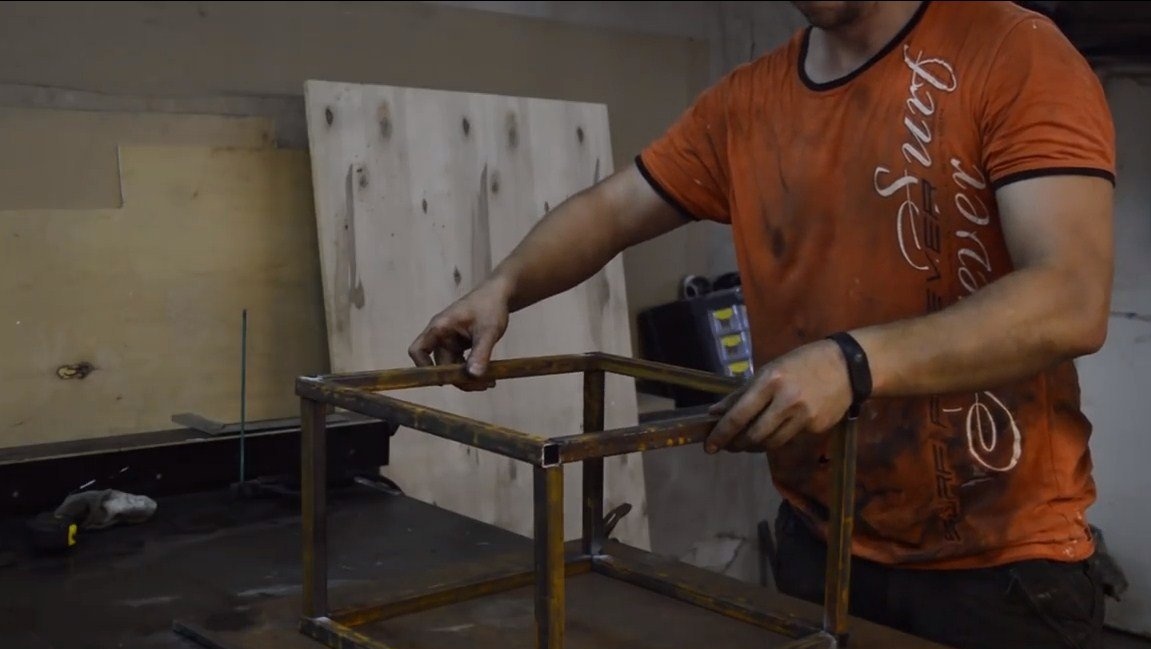
Step TwoFrame for engine
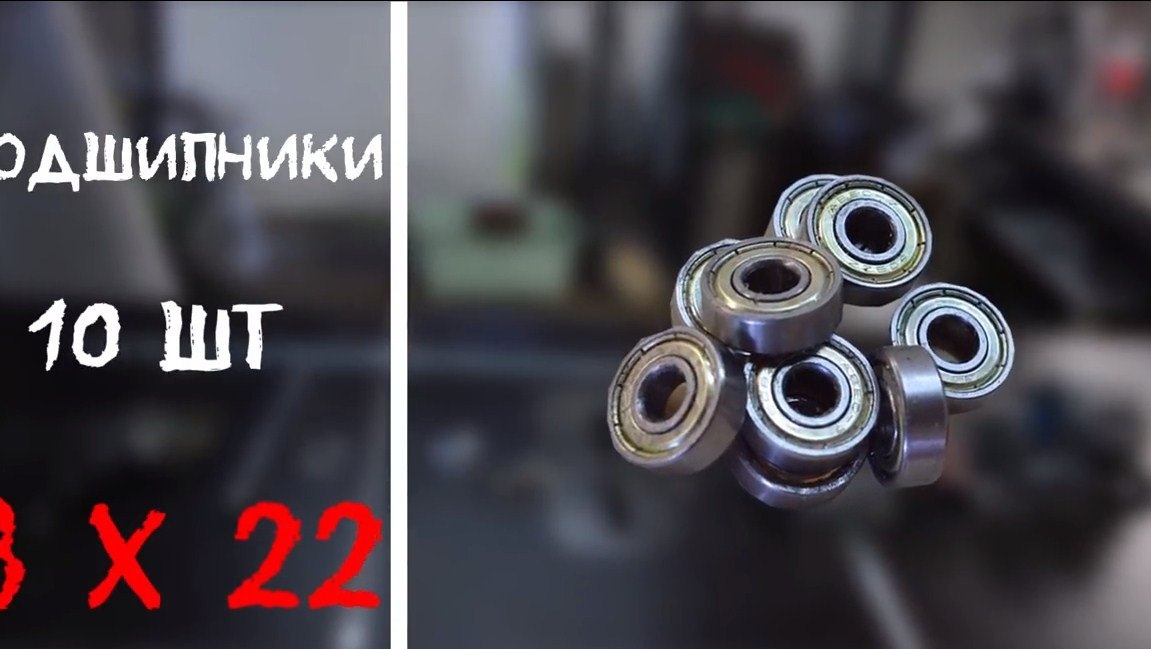
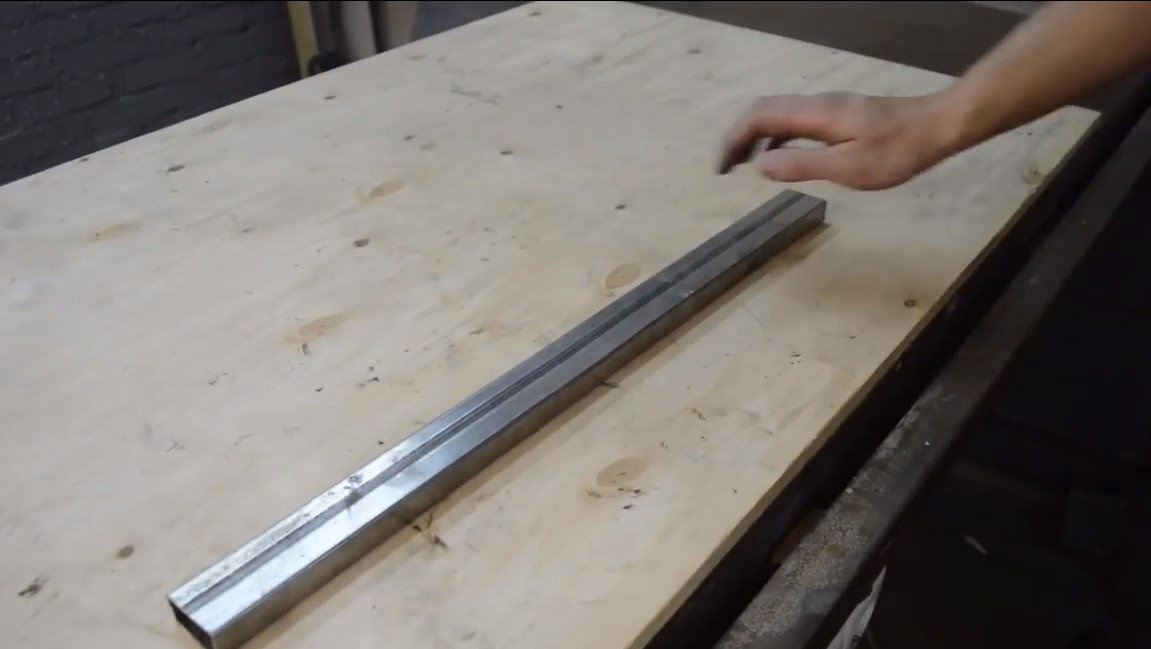
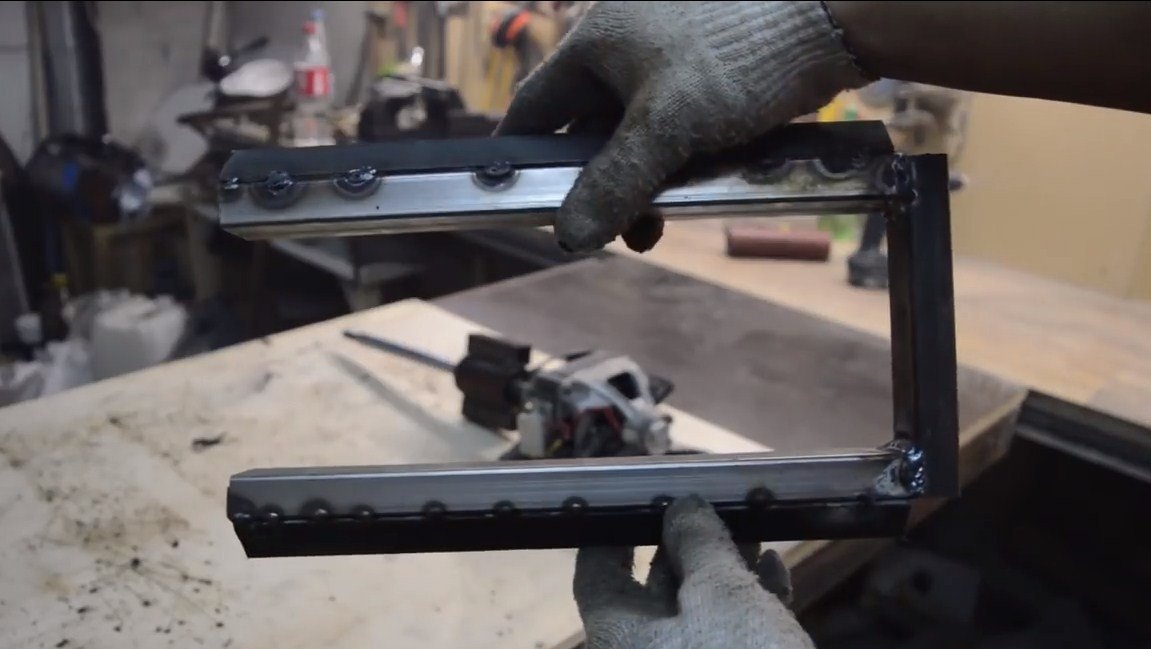
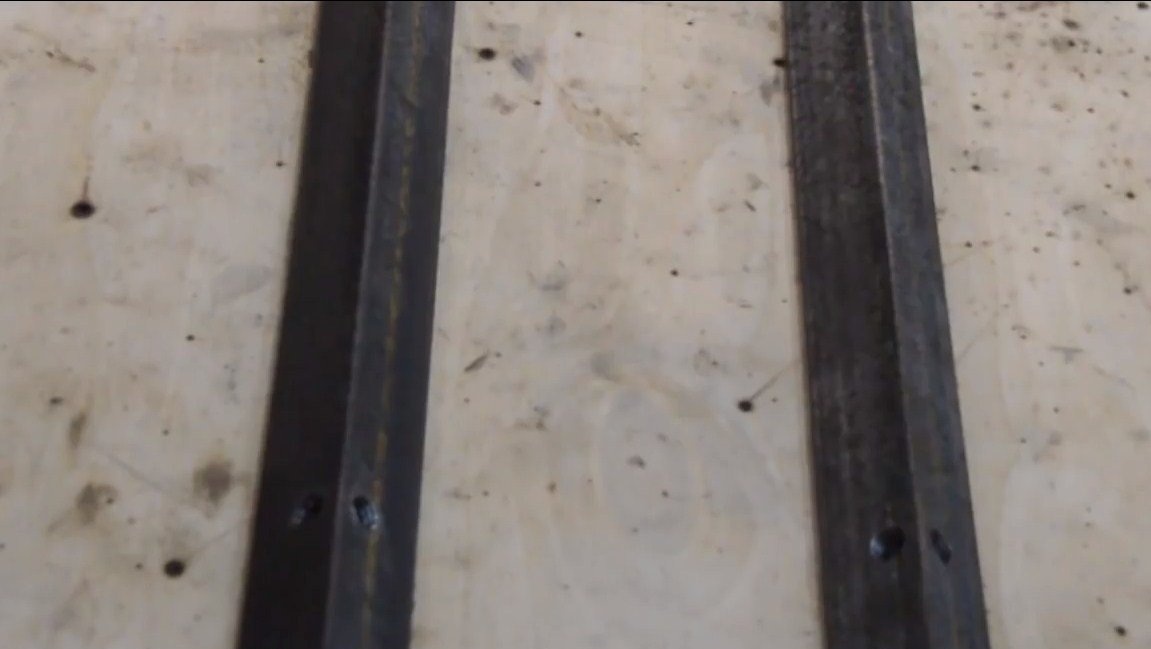
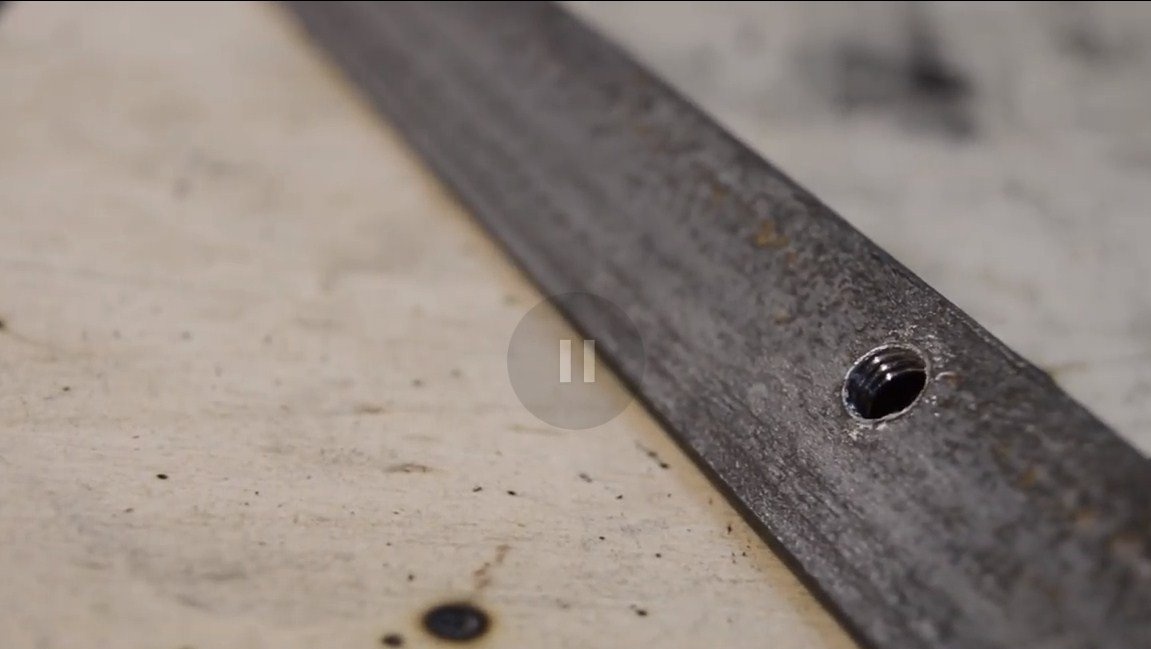
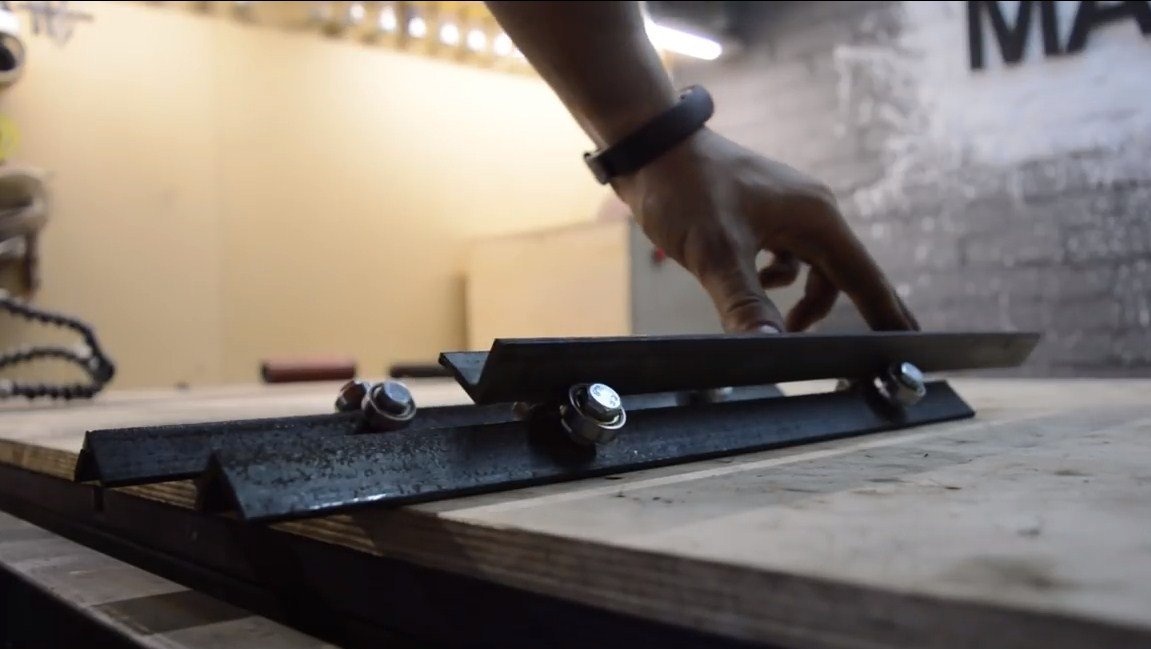
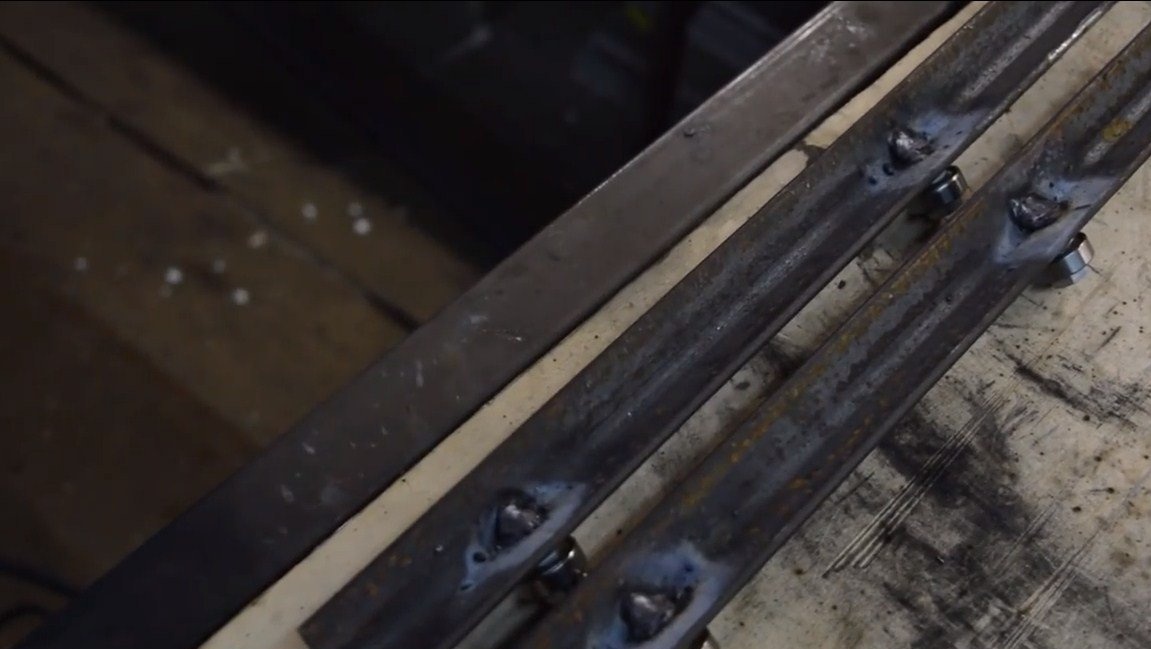
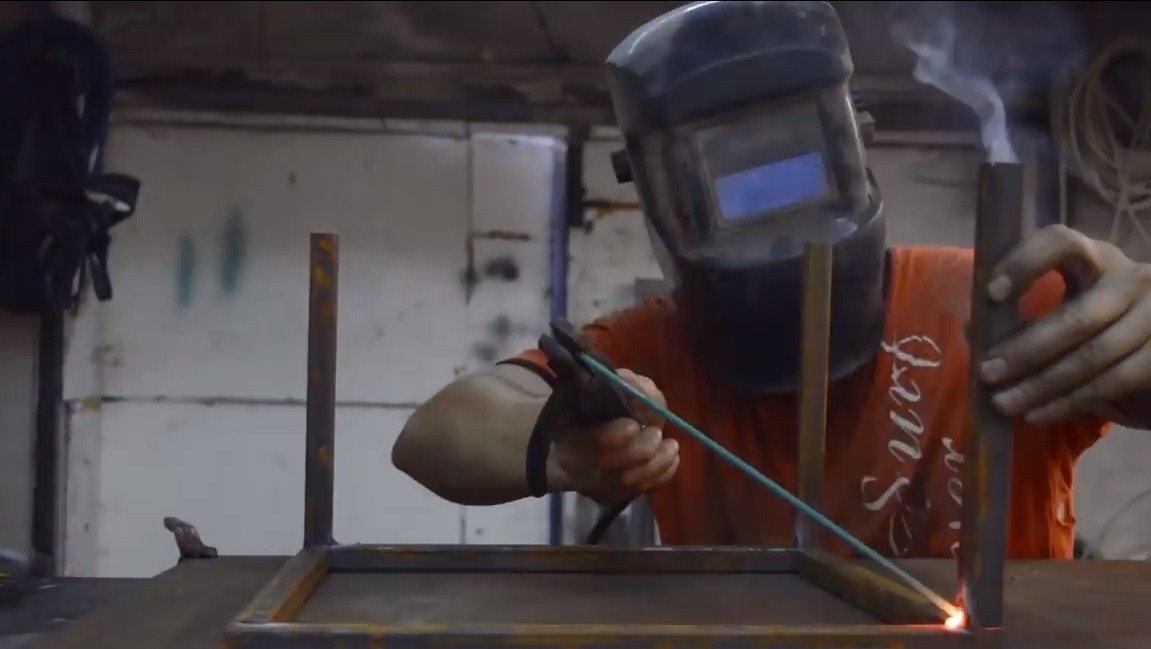
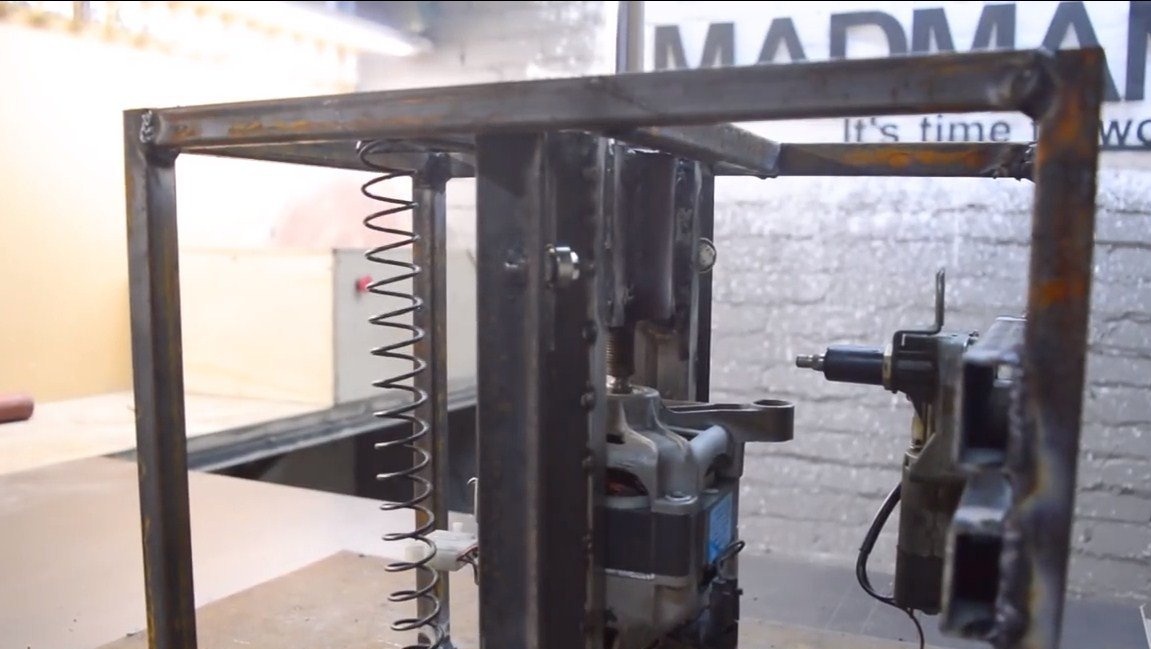
Next, we need to weld the frame for the engine, there is nothing complicated in this, it is made of a rectangular shape from a profile pipe. But two guides still need to be welded to the frame, which will allow the entire structure to make reciprocating movements. As such guides, two corners are used, which are welded on the sides. Opposite the guides there will be two more corners to which the bearings are bolted. It is the bearings that act as the rollers on which the frame with the engine installed rides.

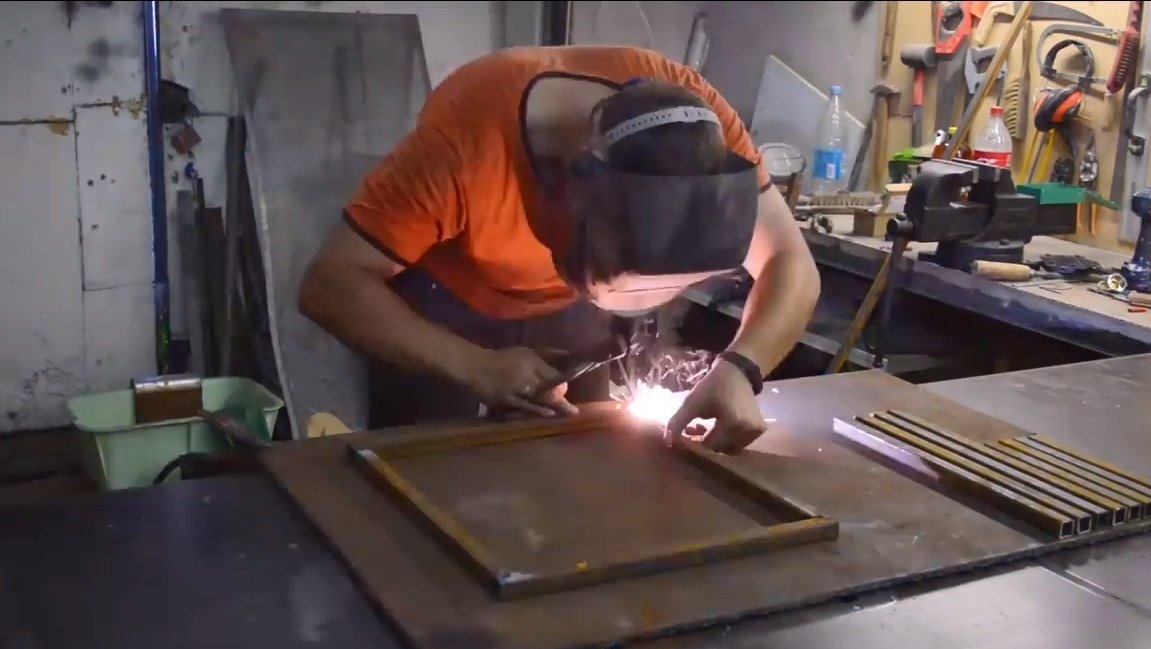
Step Three Machine frame assembly
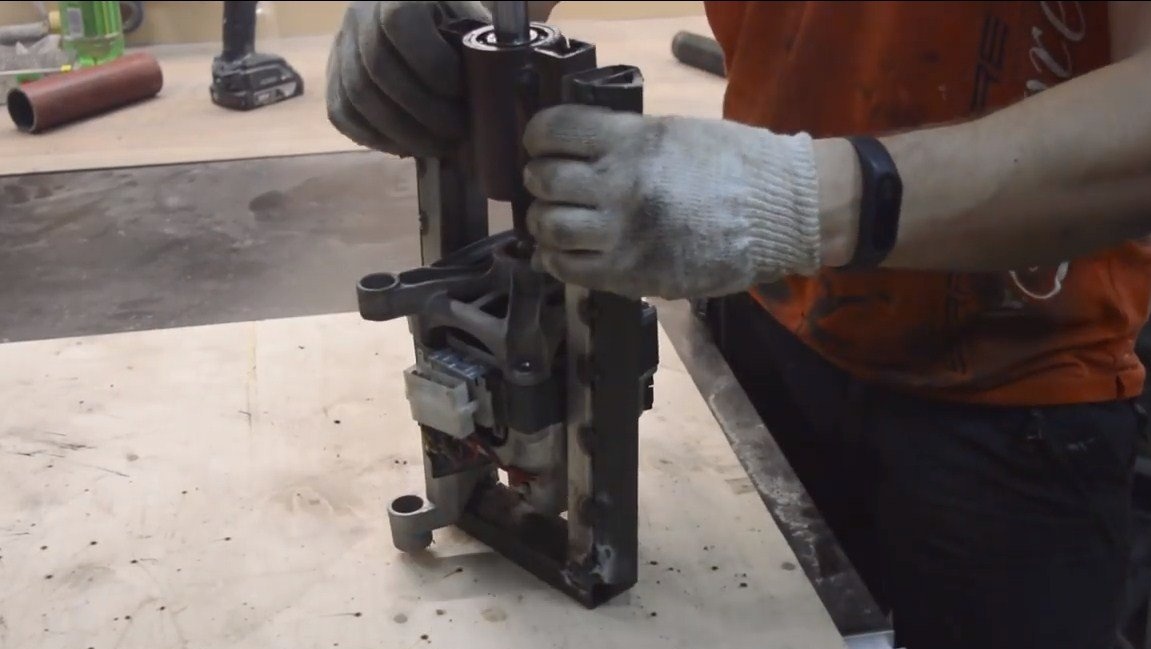
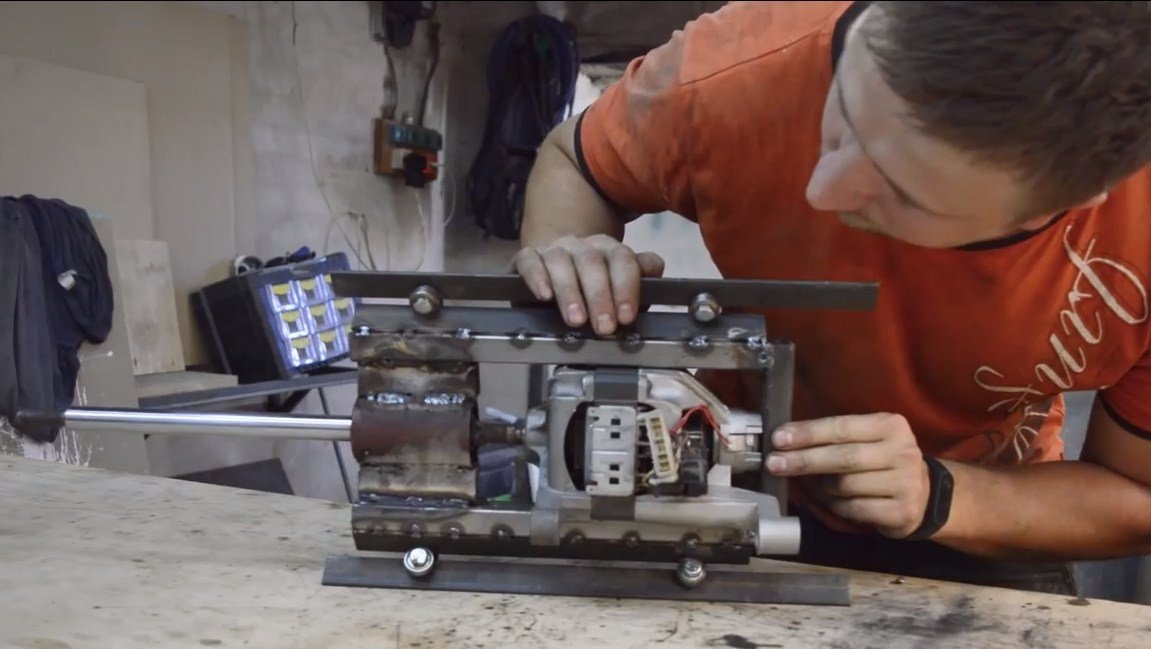
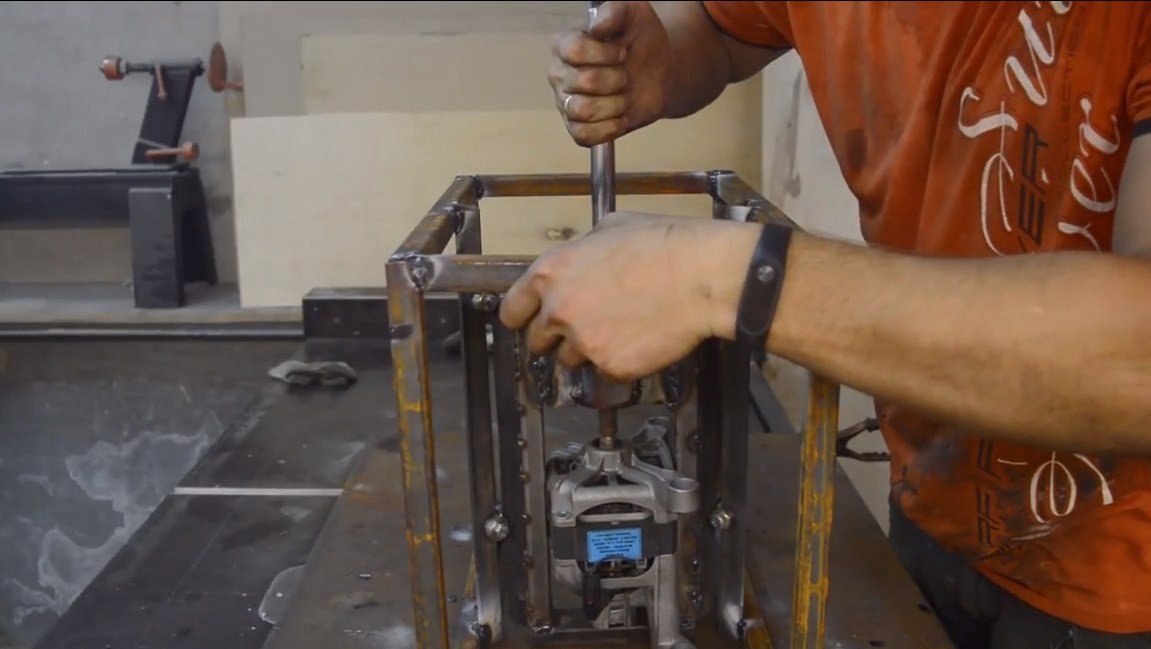
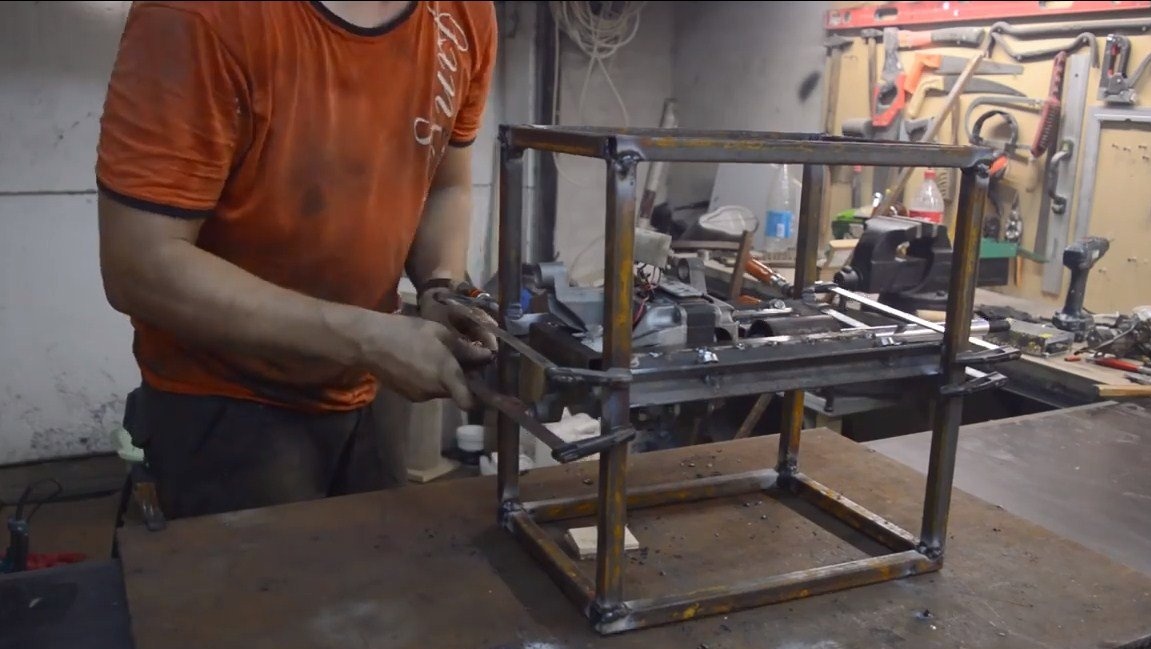
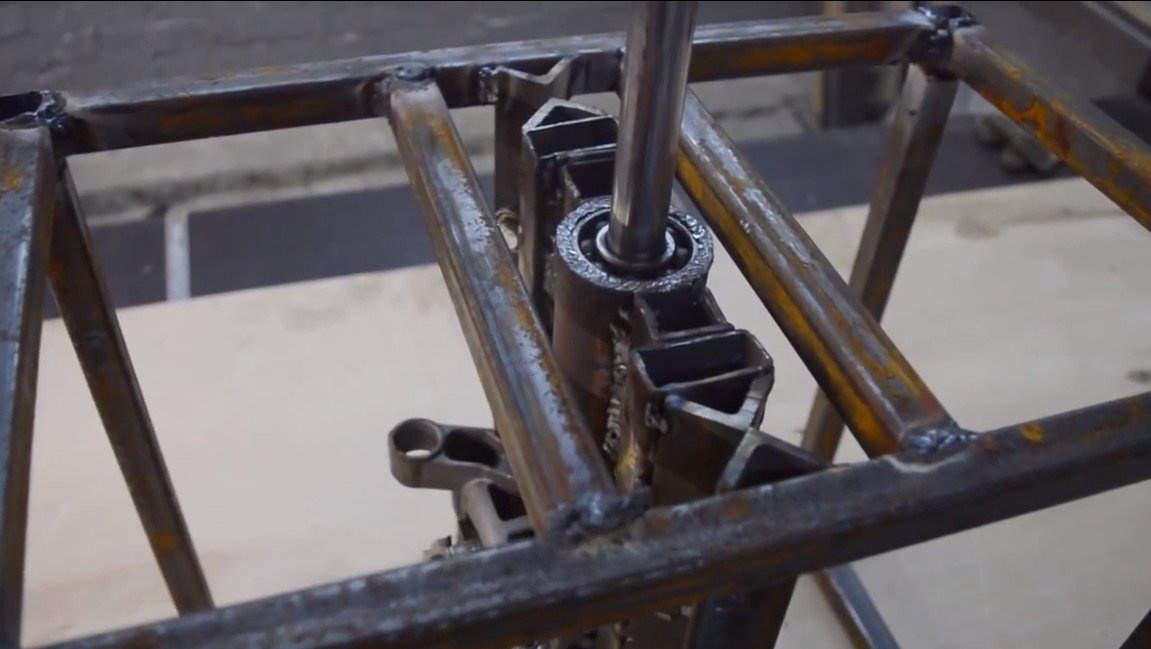
Next, we assemble the machine frame, its author welds from profile pipes. We weld guides with bearings to the frame, and then we install the frame with the engine. As a result, the frame with the engine should move up and down inside the main frame.
To minimize backlash, the author tightens the frame with clamps, and then welds more pipe pieces as spacers to fix the frame in the desired state. As a result, there are no backlashes, and the engine moves well along the guide.
Step Four Reciprocating motion
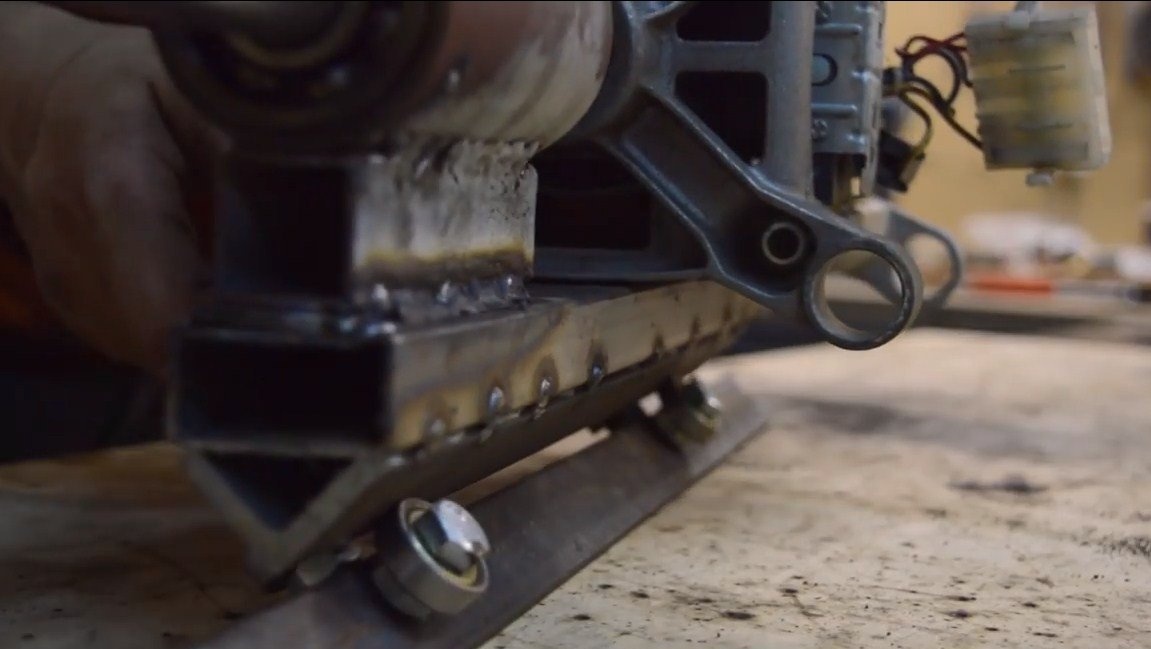
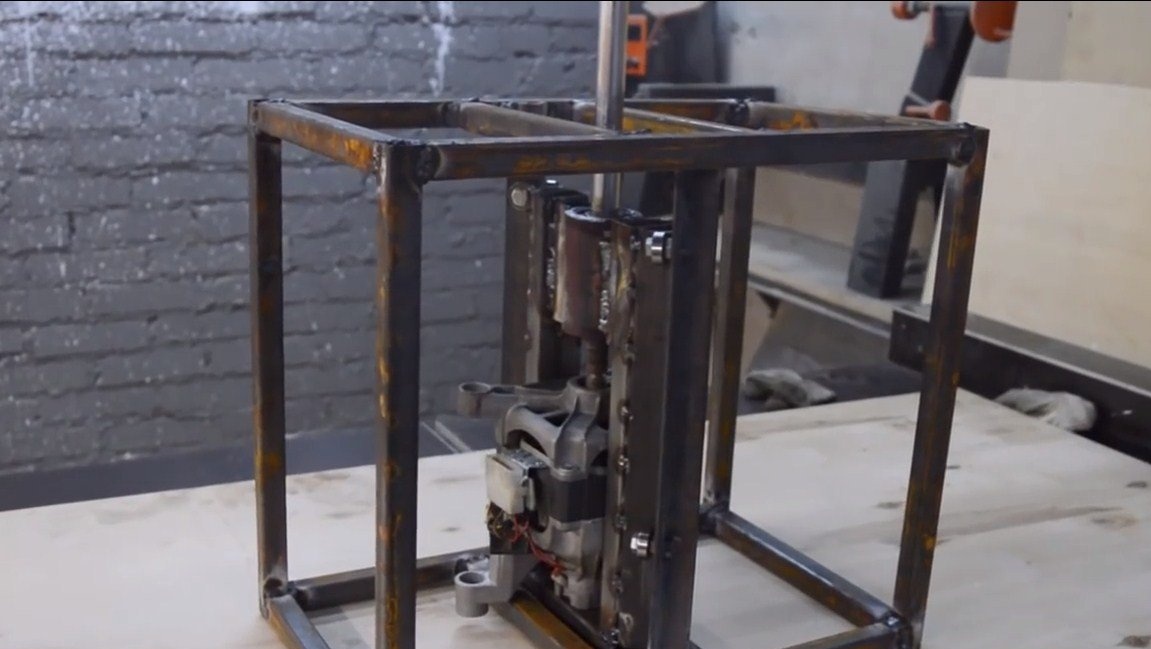
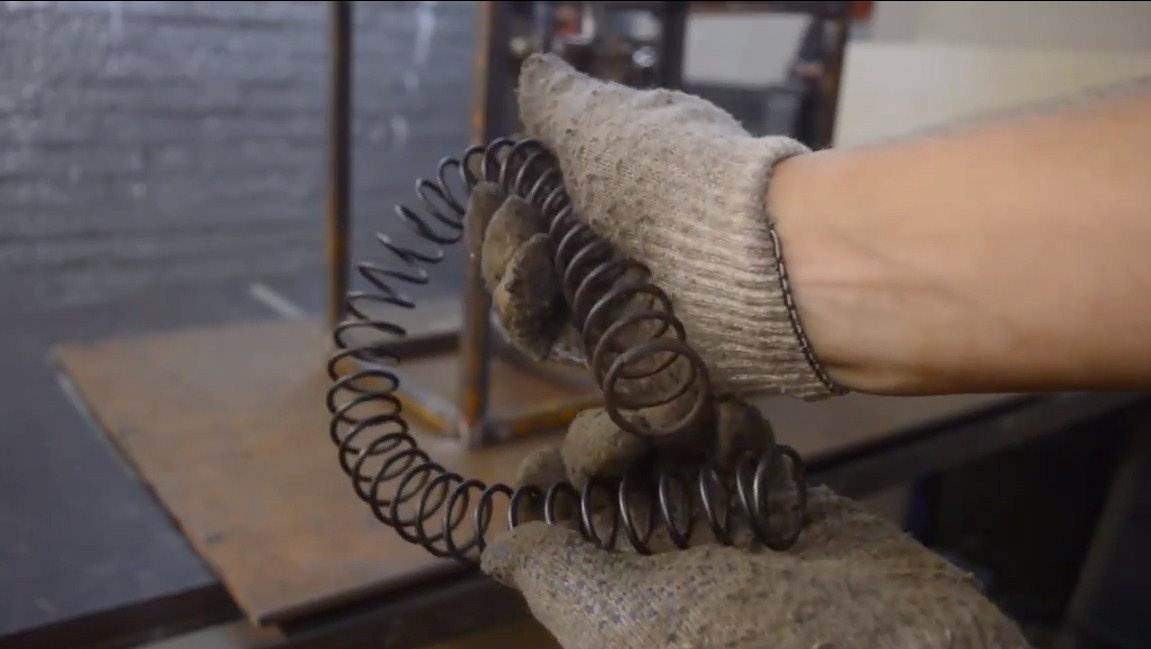
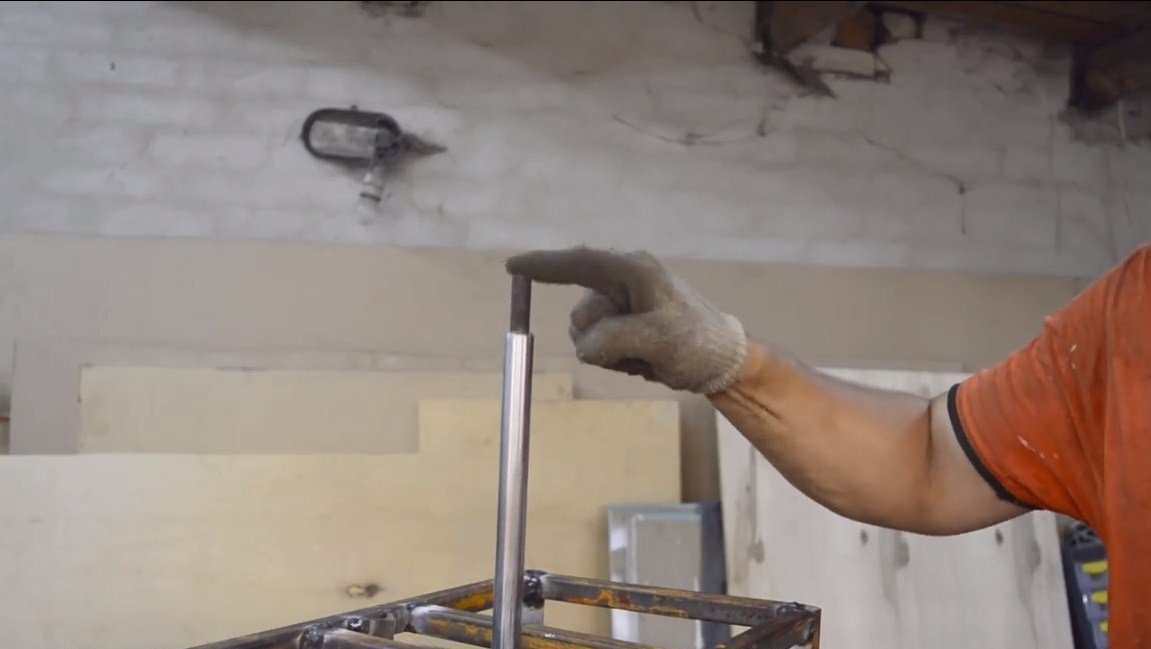
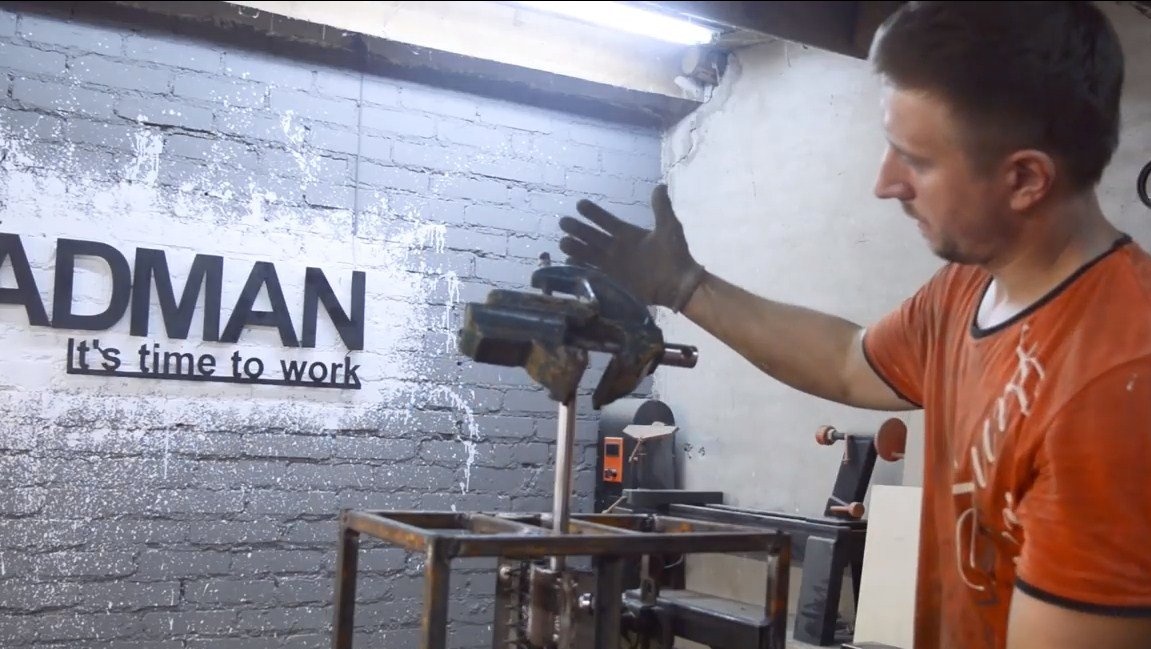
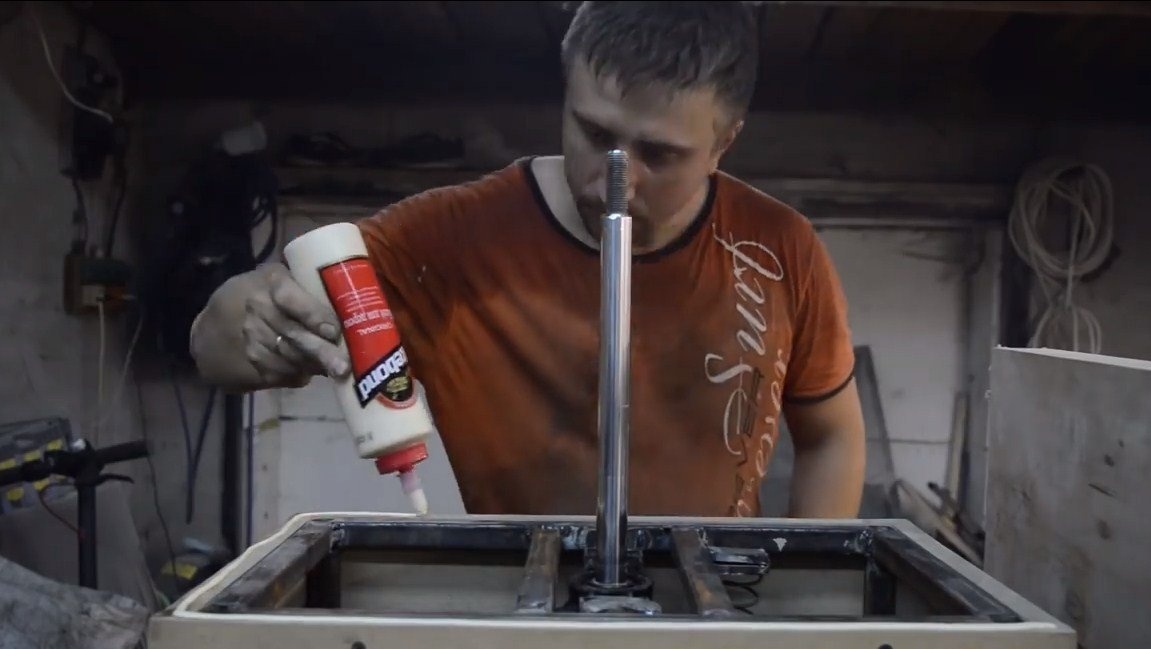
The engine needs to be hung on a spring, as a result it will be "in zero gravity". At the author, the engine is easily lowered with one click on the working shaft with your finger. Thanks to this design, the motor from the wipers will easily move this entire structure.
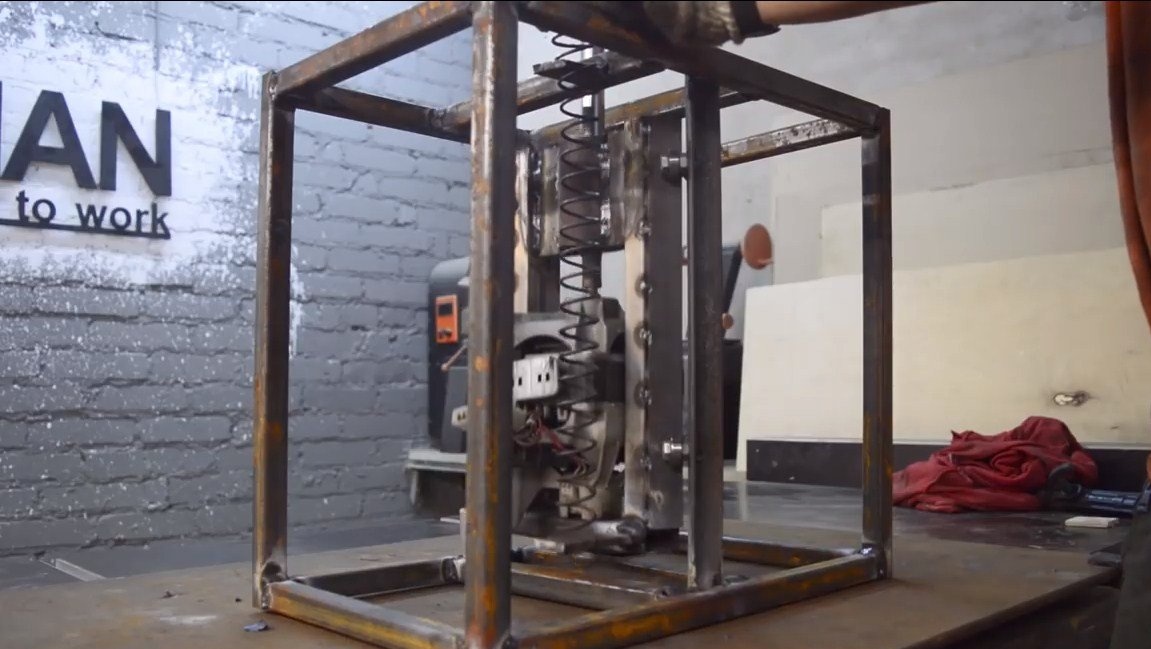
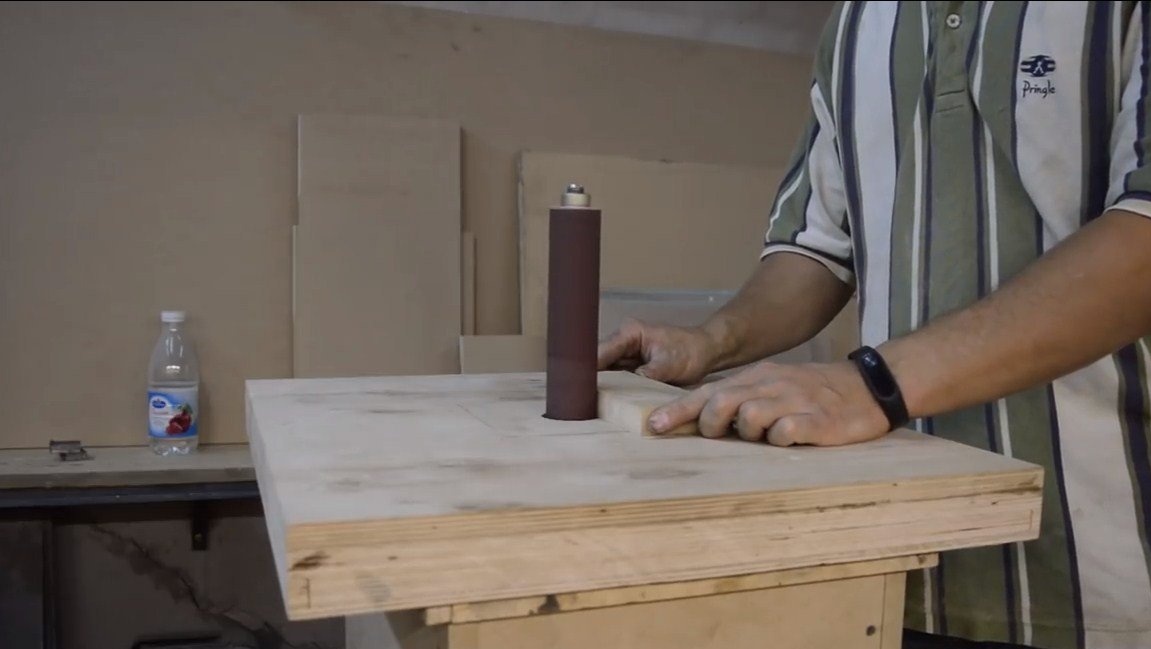
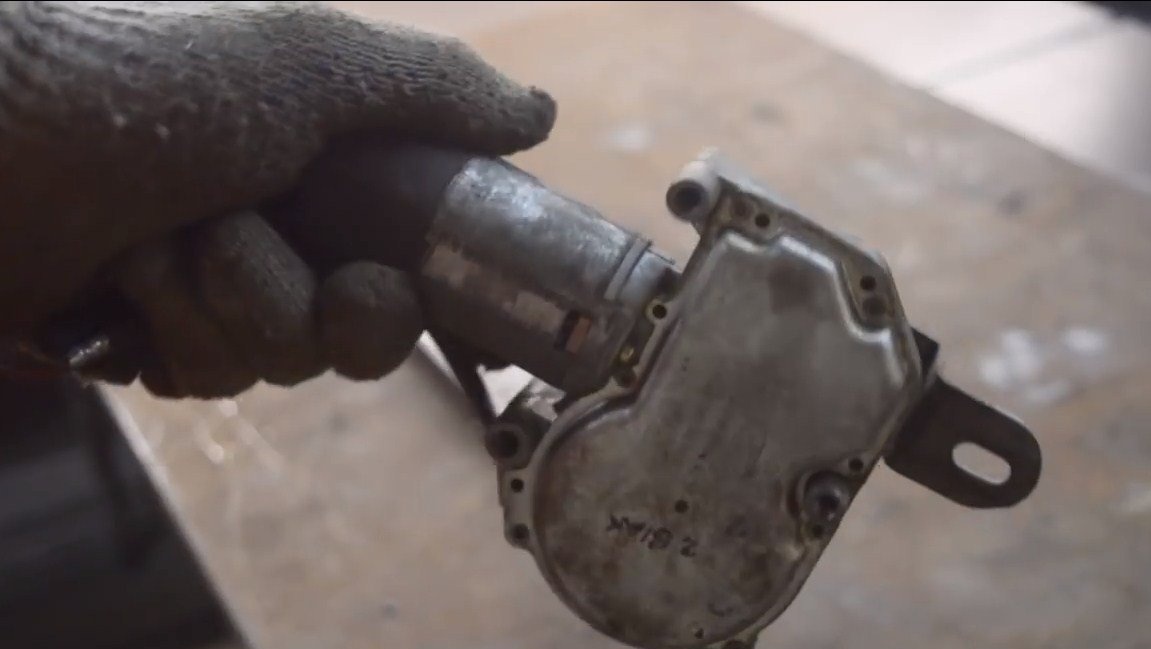
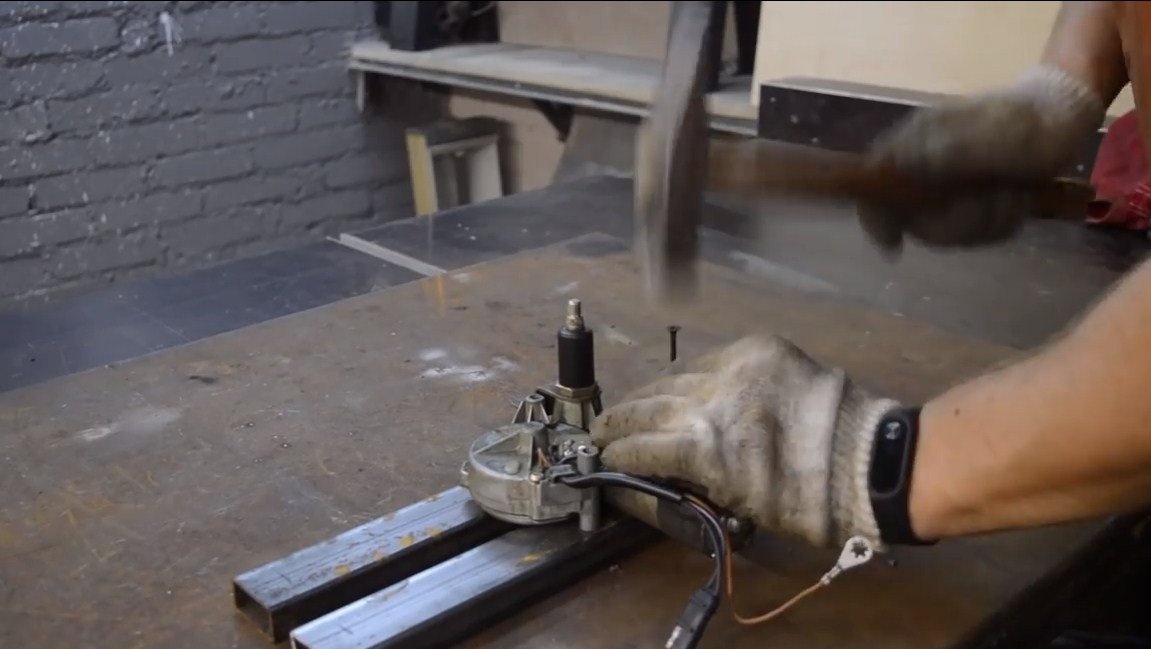
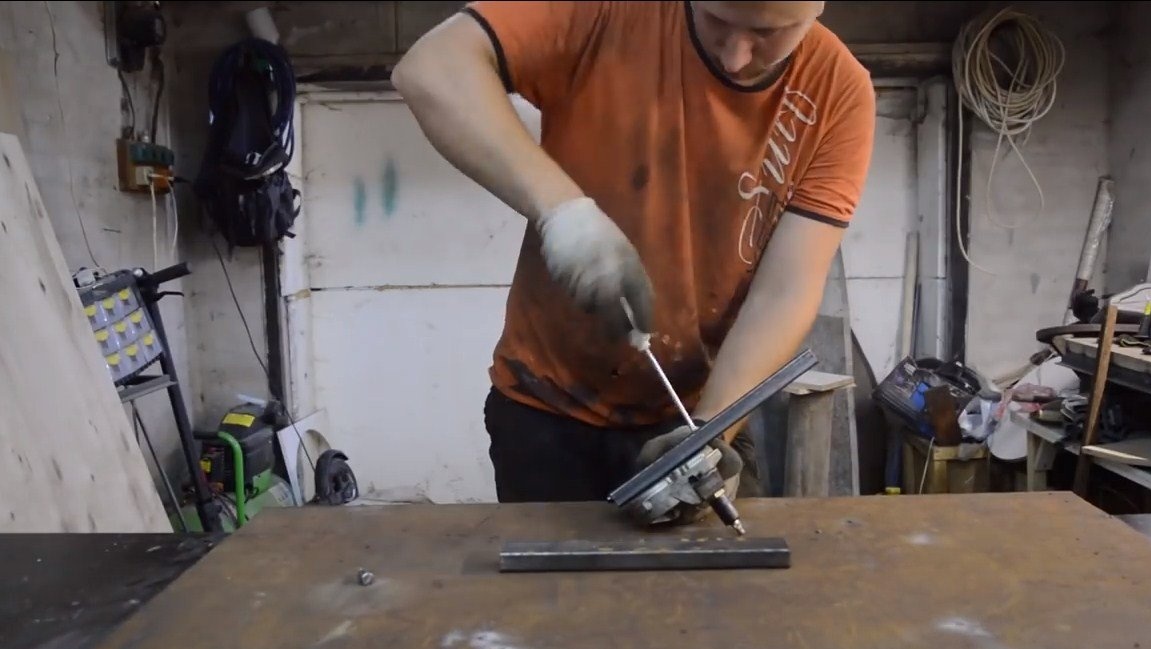
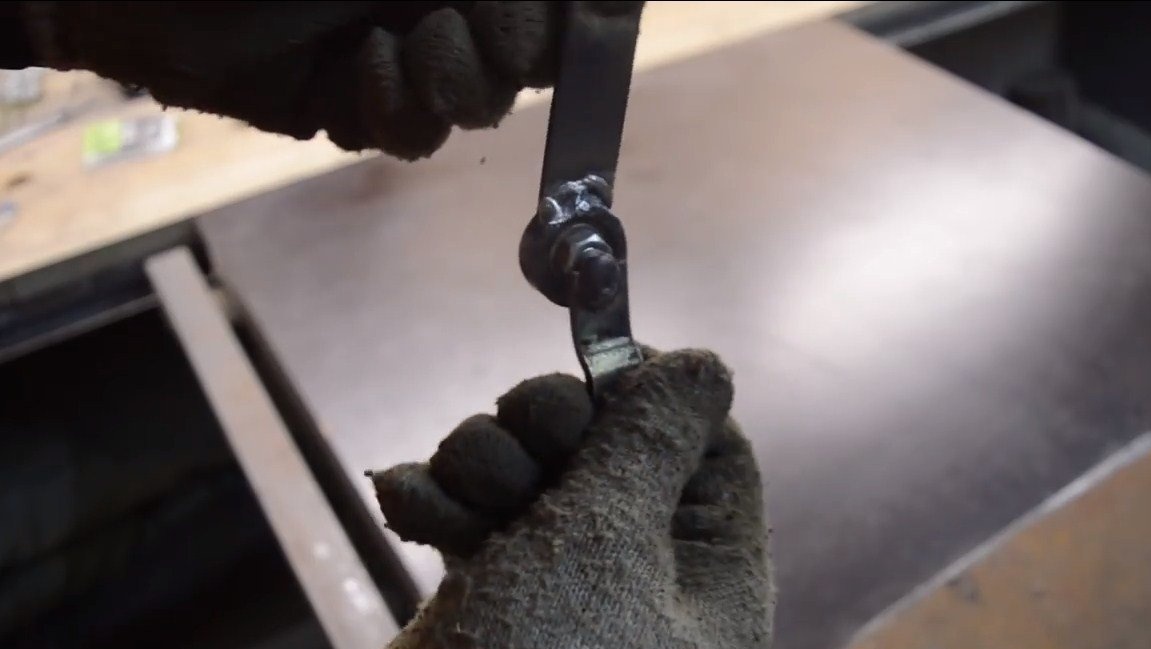
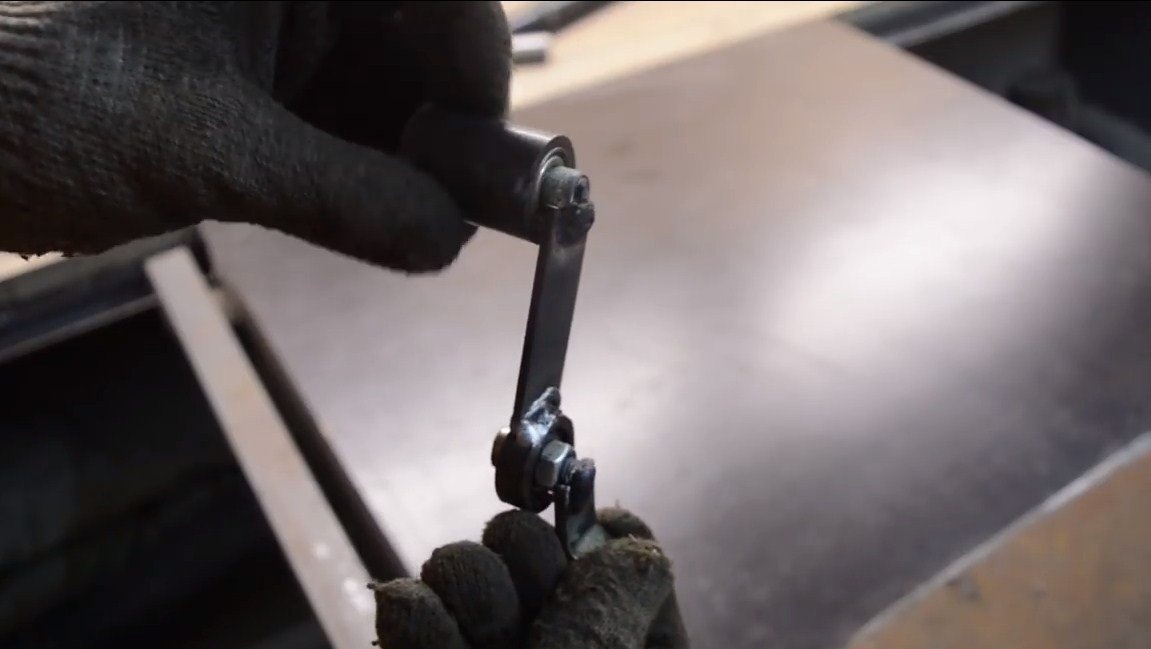
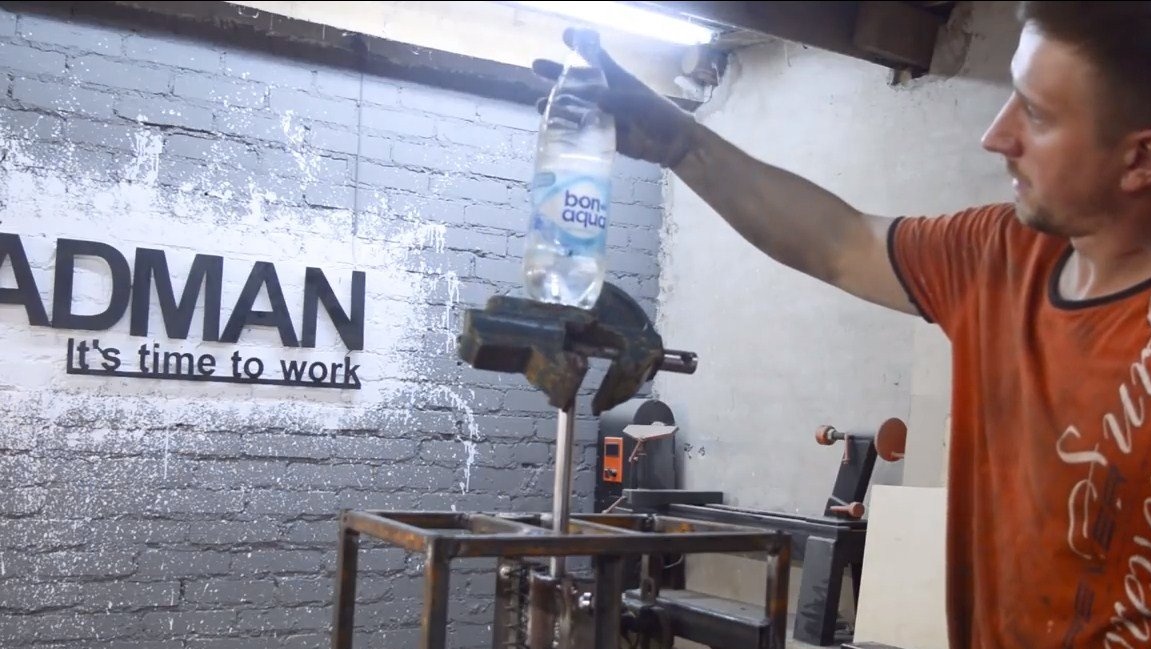
Next, we adapt the motor from the wipers, the author fastens it to pieces of profile pipes, and the pipes themselves are welded to the main frame. As a result, it remains only to connect the engine shaft to the engine frame so that it starts to move up and down. We supply 12V power to the motor and check how everything works. The author shows how much the working shaft rises, loading it with a vise and a bottle weighing 2 kg from above. This power is more than enough for the machine.
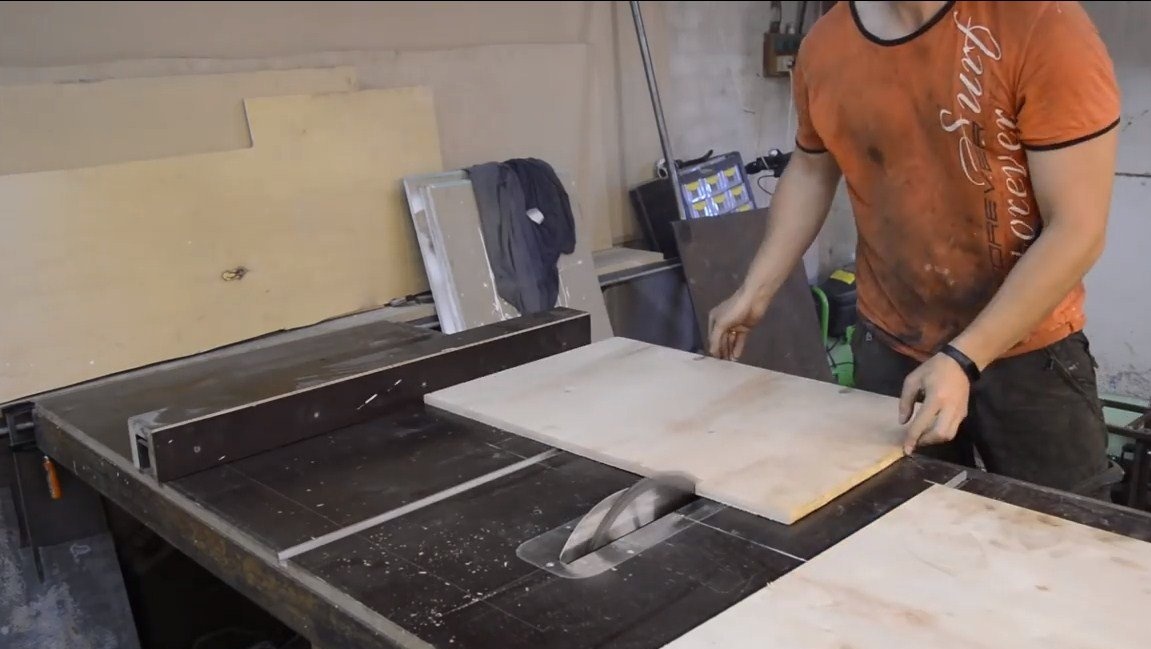
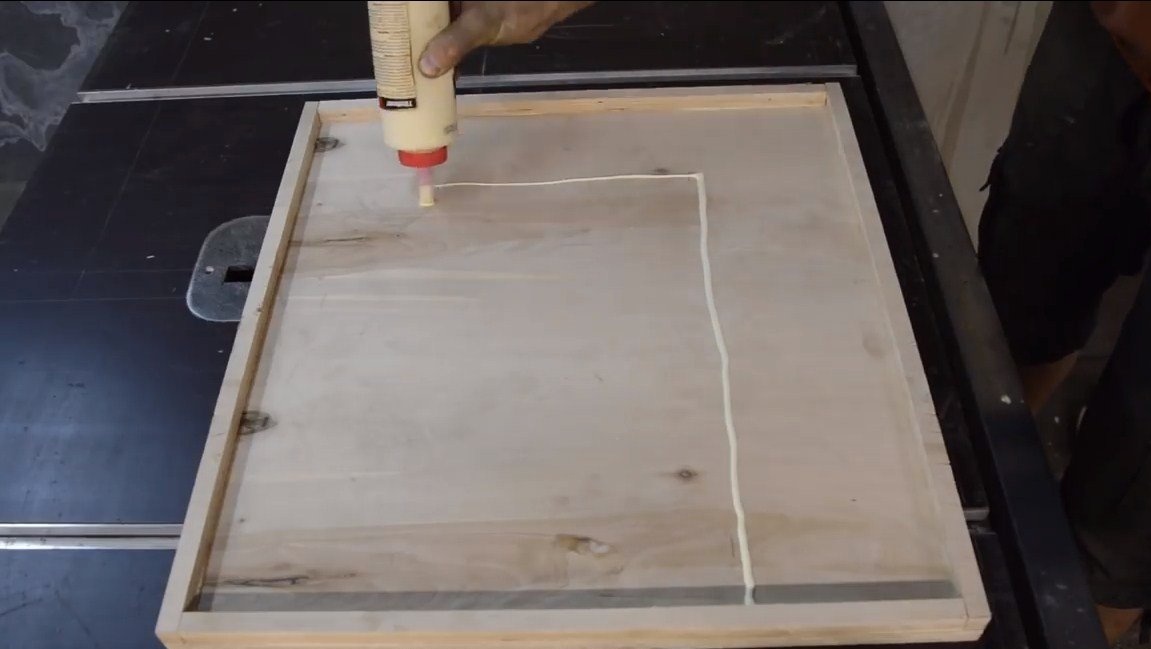
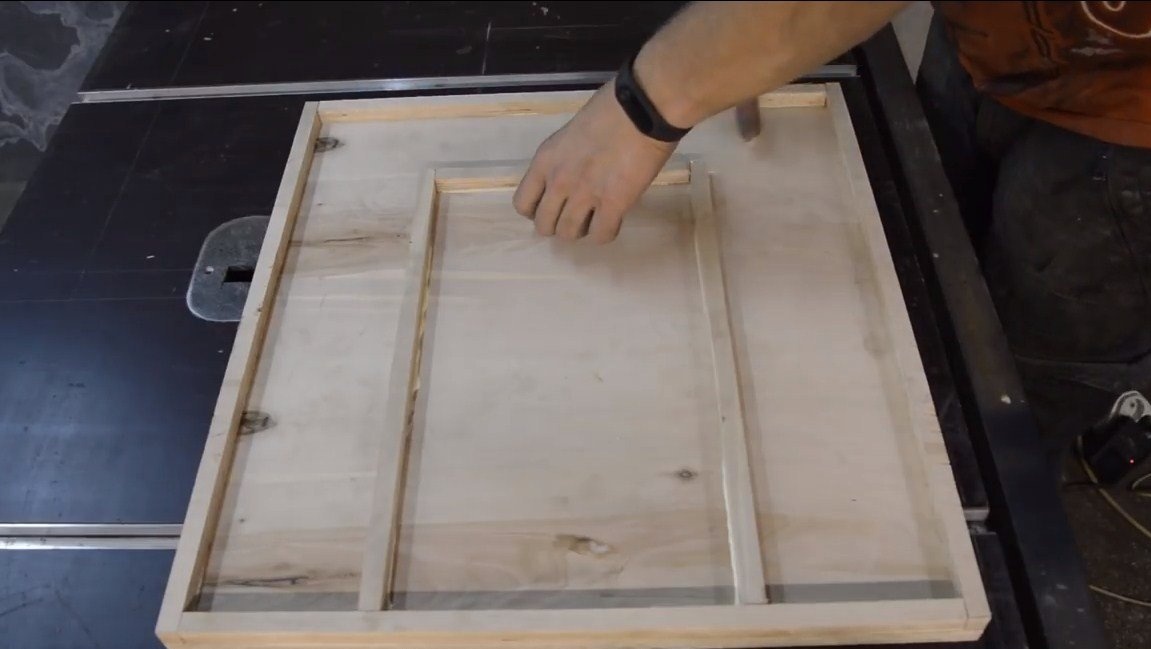
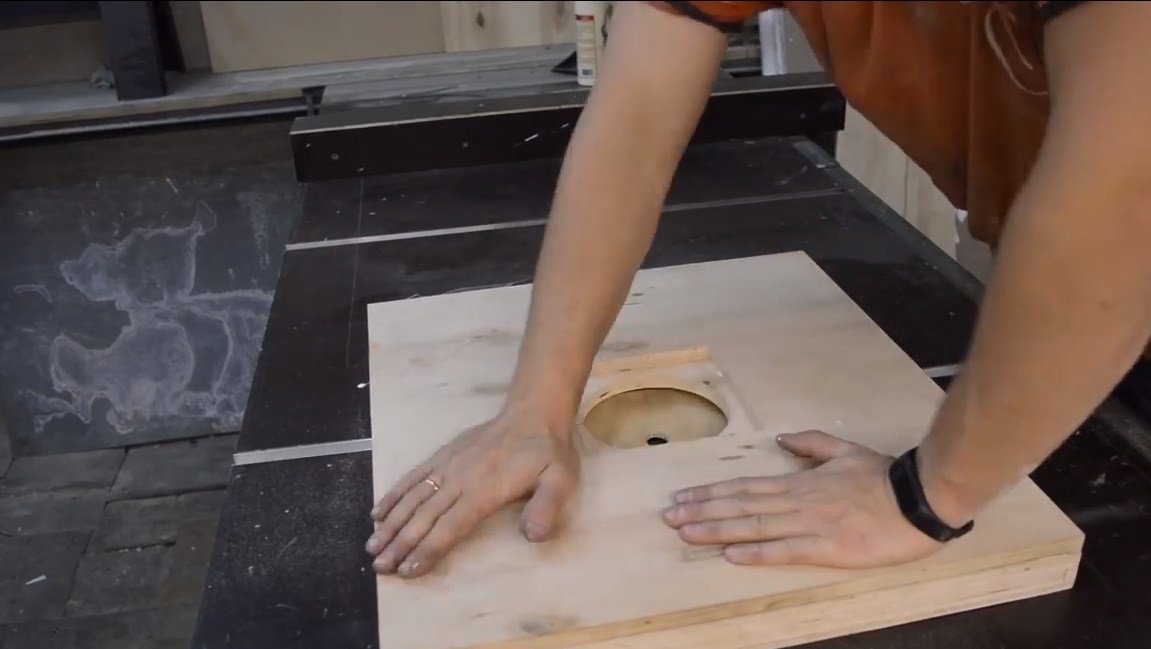
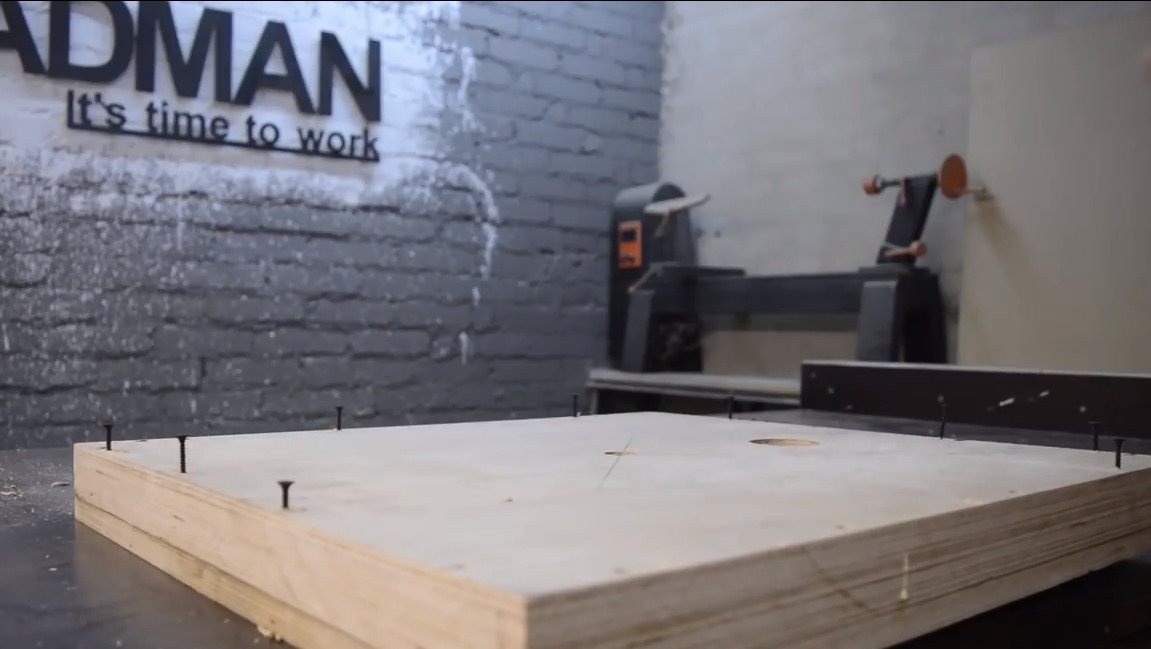
Step Five Countertop
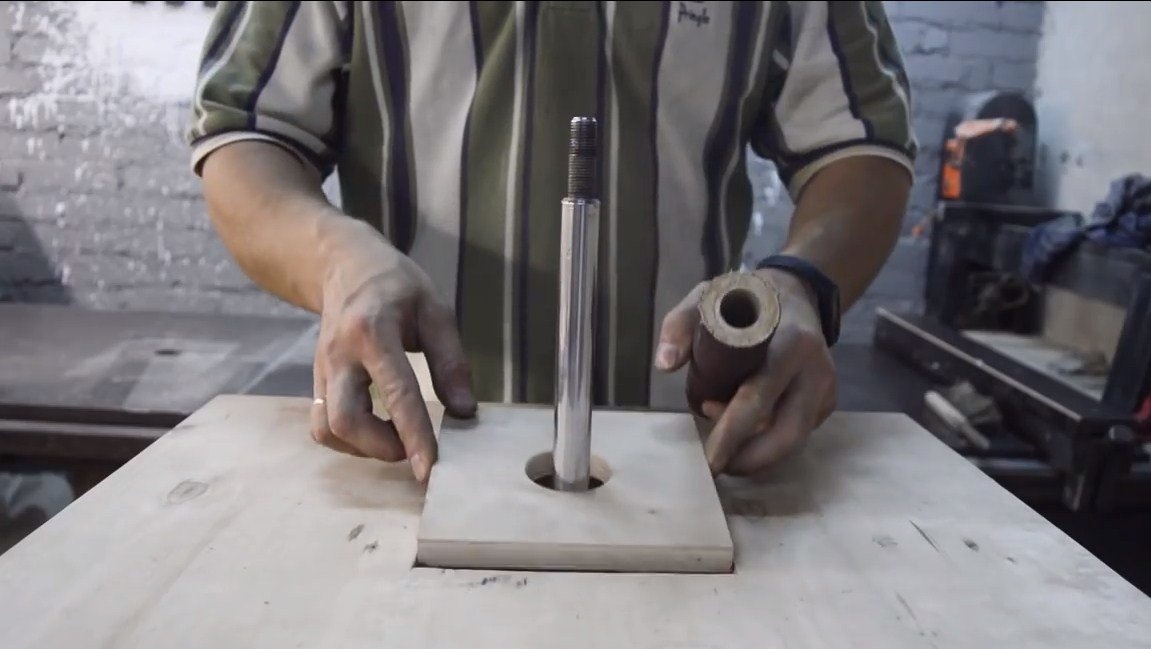
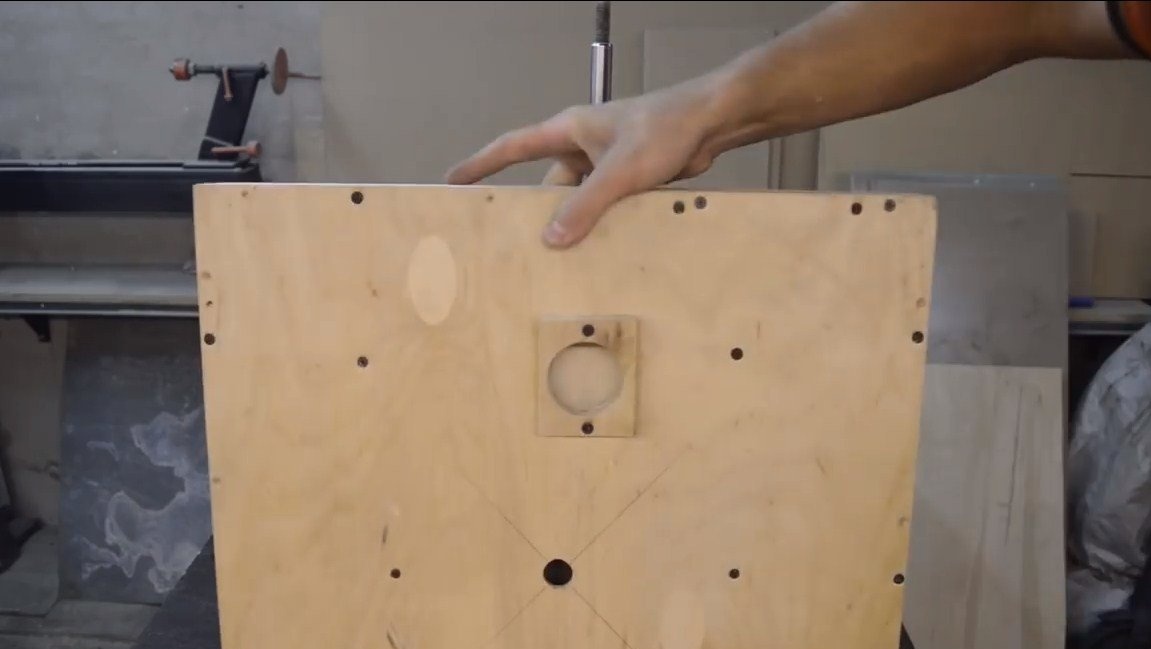
Let's make a countertop, it is made of plywood. The countertop is made so that there is a camera inside it, a vacuum cleaner is connected to this camera, which sucks out all the chips, and it does not get into the engine. We assemble the tabletop on glue using self-tapping screws. Also on the countertop there is another third layer, in which a square hole is cut in the center. It is necessary so that inserts can be installed here depending on the diameter of the working cylinder. This further minimizes chips entering the engine.
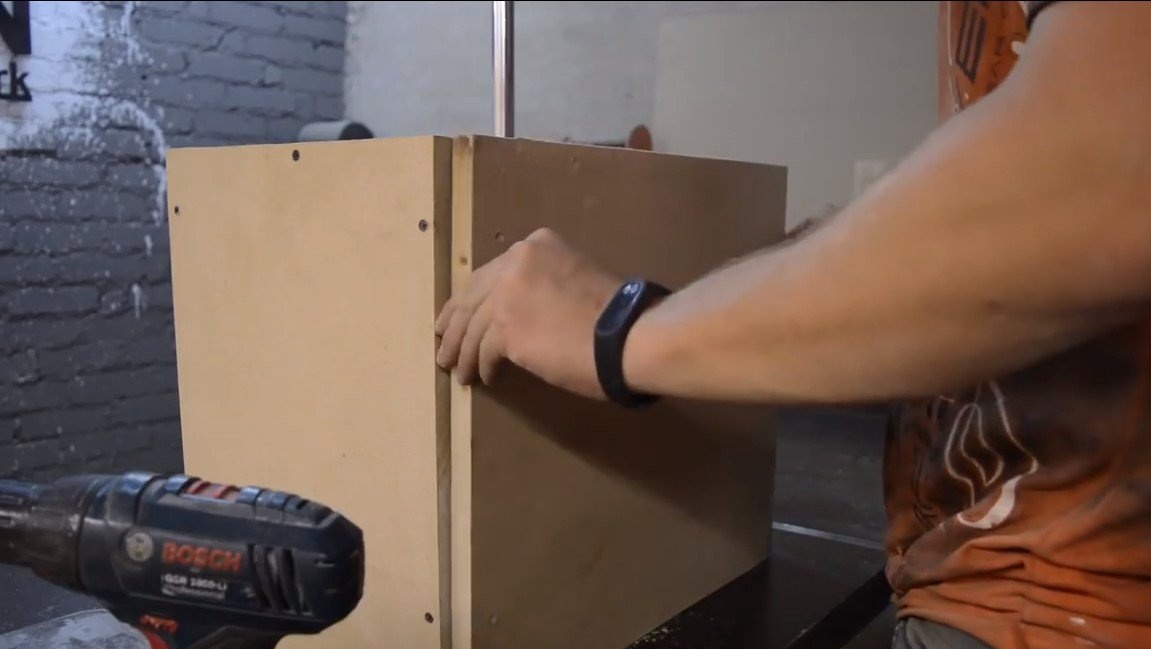
Step Six Machine assembly
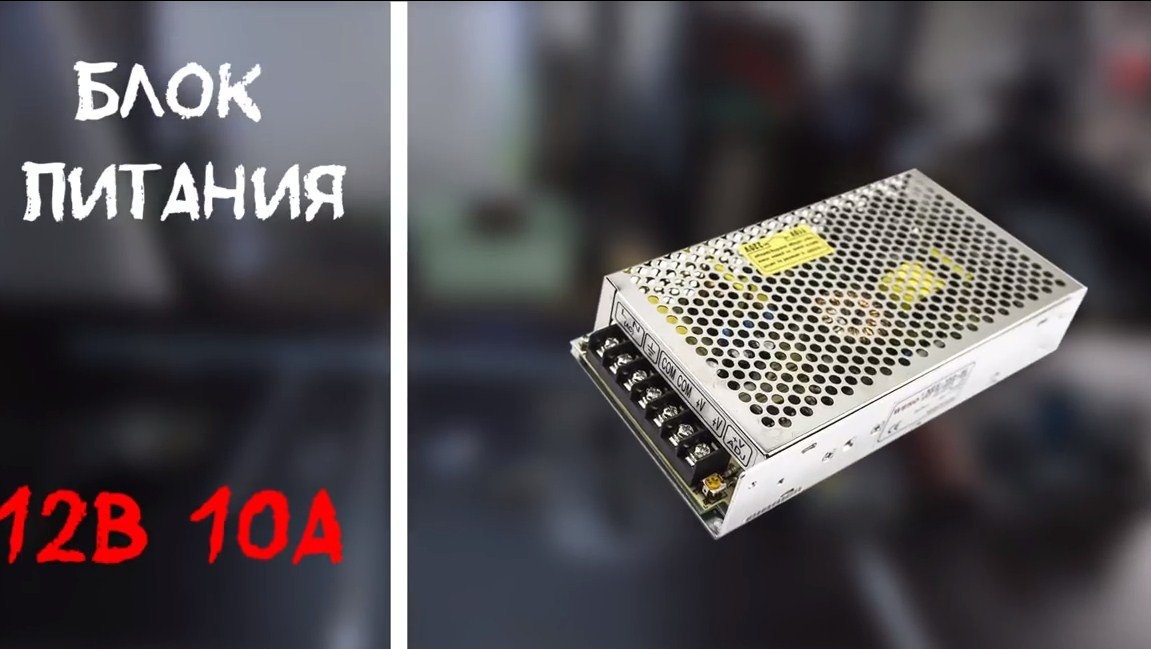
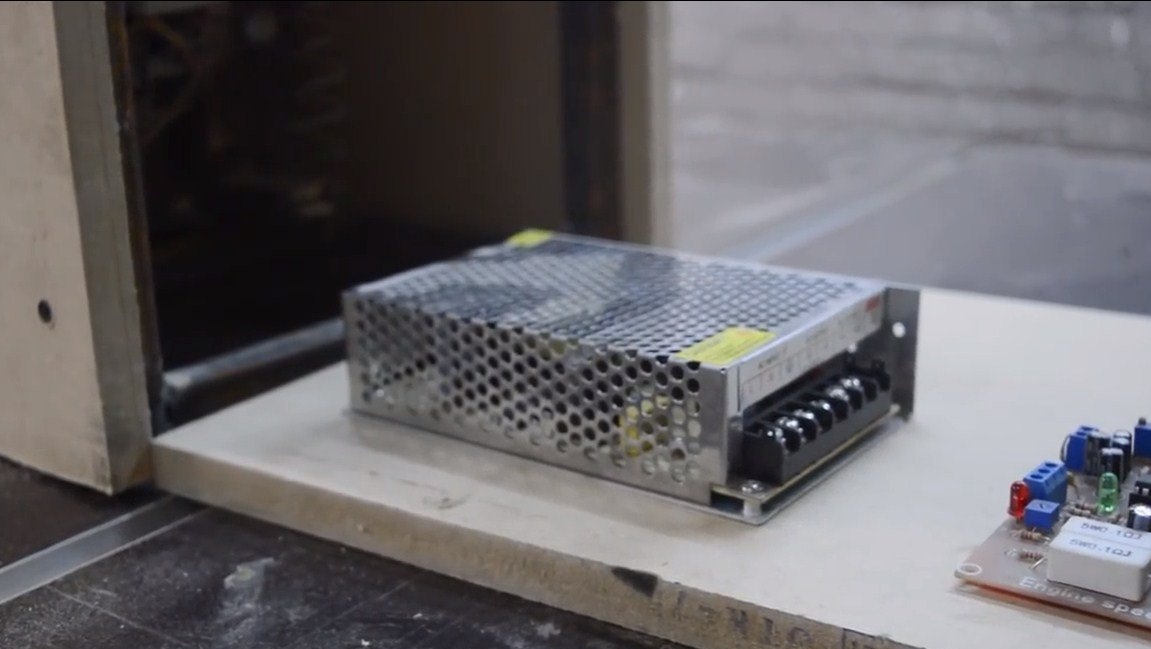
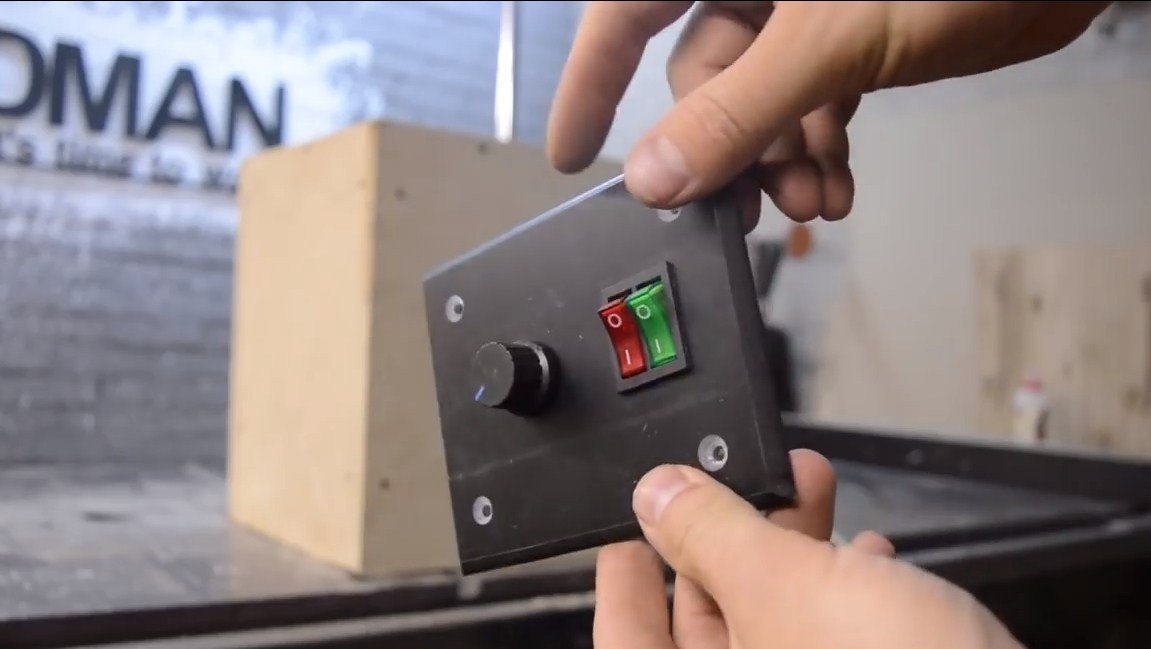
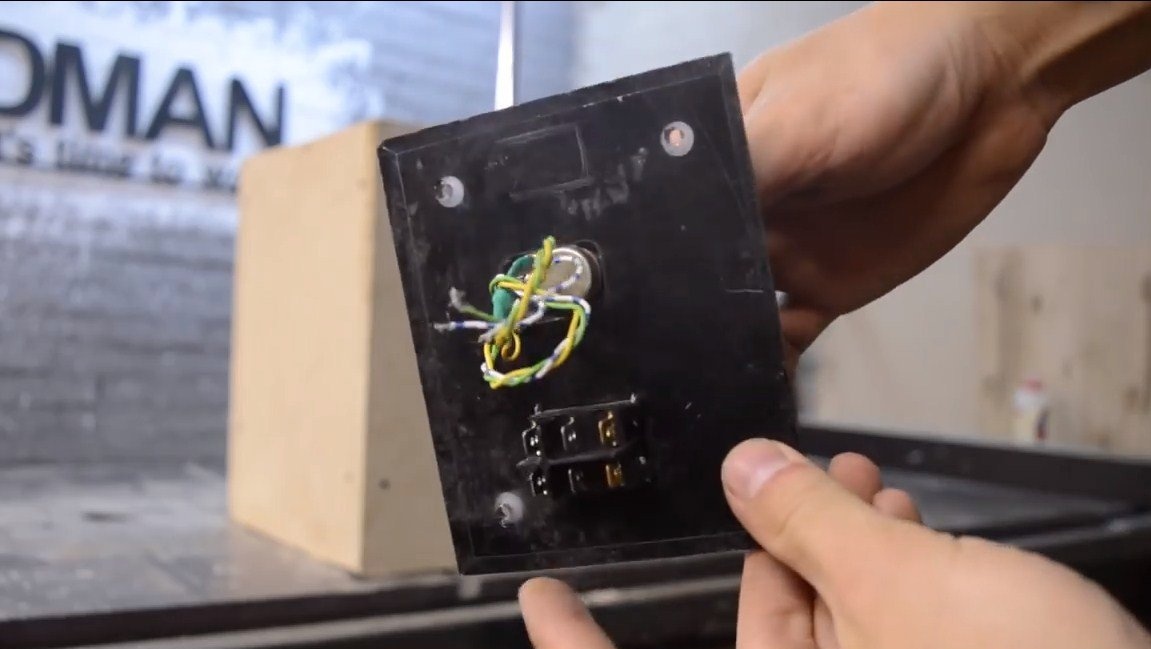
We sheathe the machine frame with plywood, install two switches and a speed adjustment knob. In the housing we also place a 12V power supply and a speed controller. By the way, which the author installed is equipped with a power support function, which is useful in our case. One switch controls the main engine, and the second is needed to enable or disable reciprocating movements.


Seventh step. Working cylinders
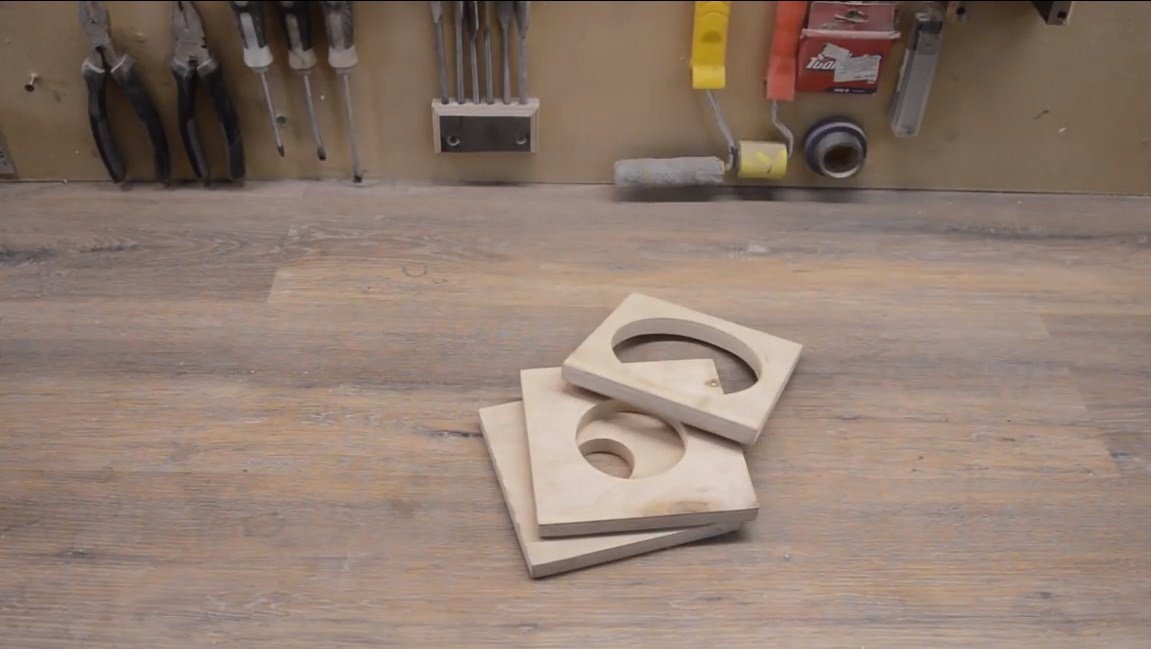
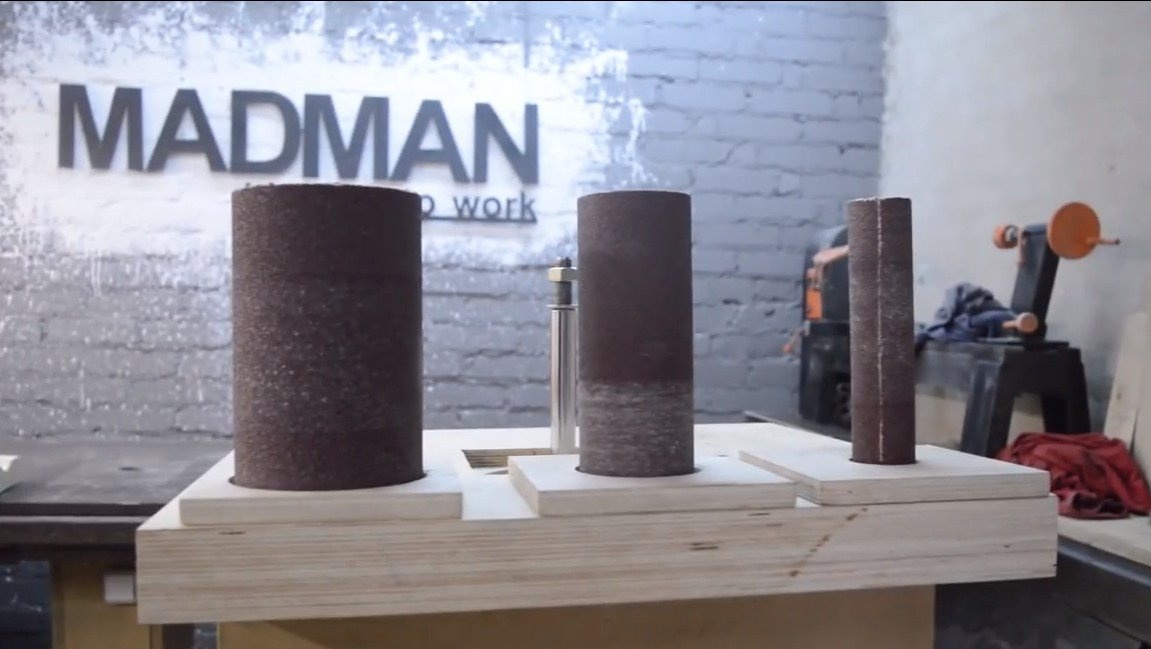
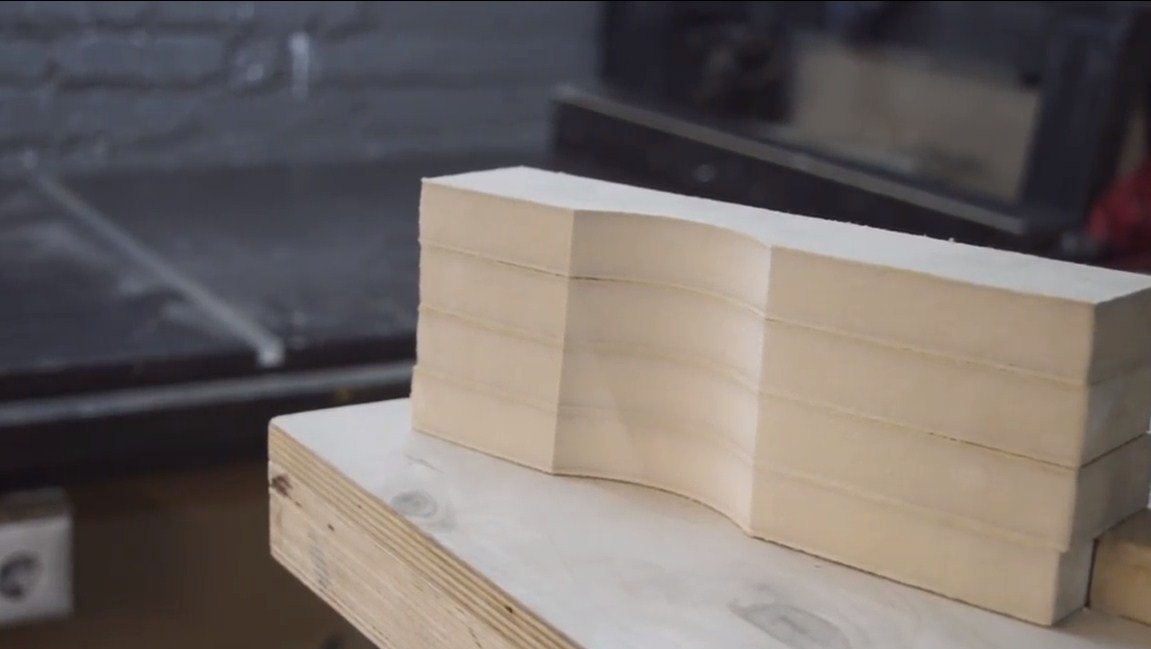
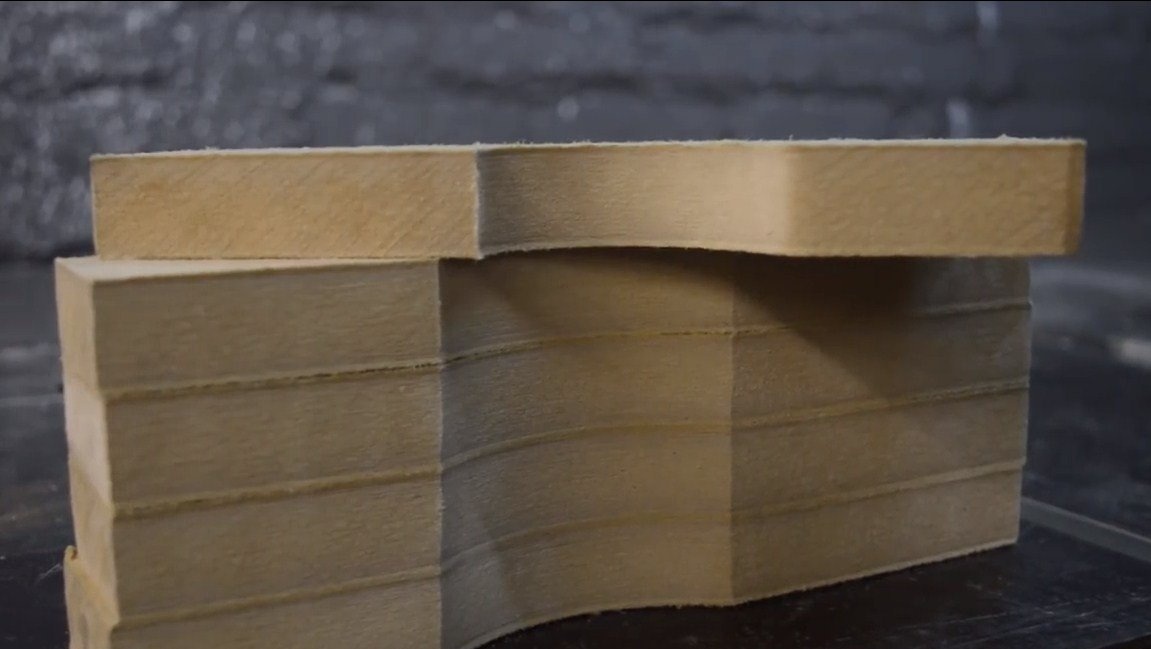
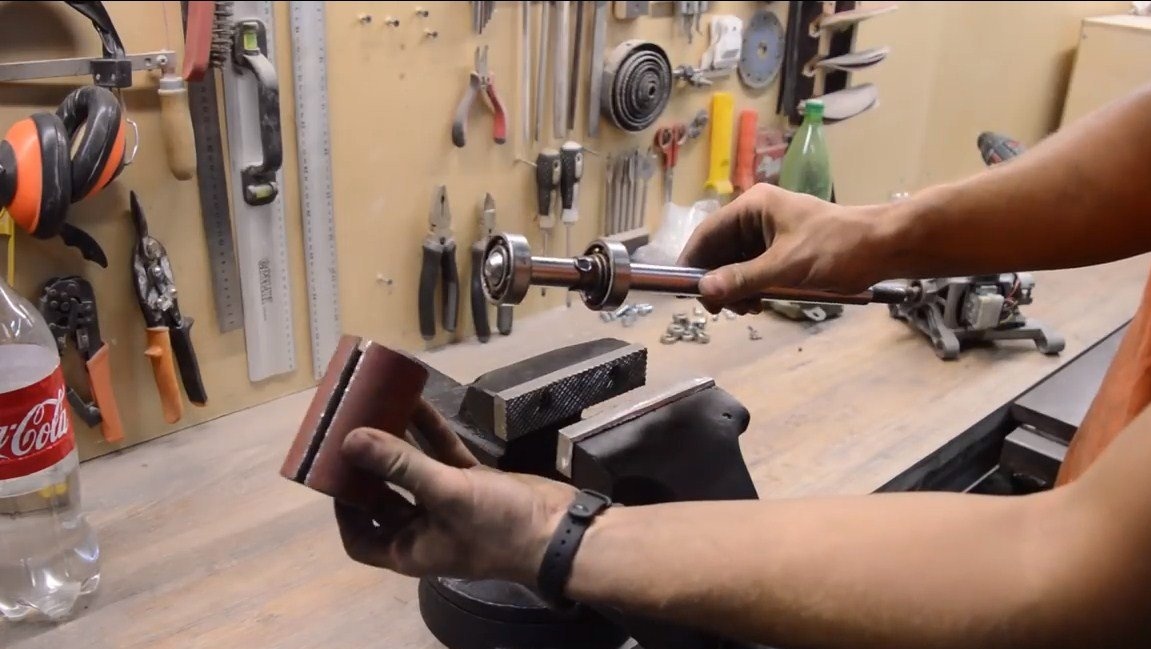
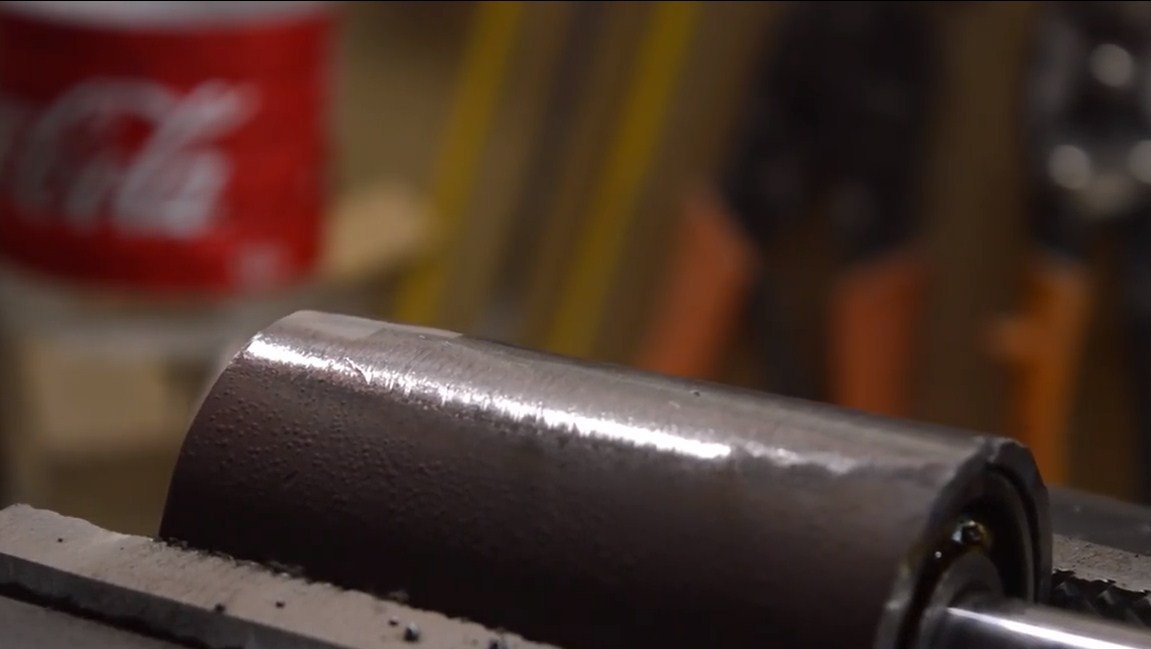
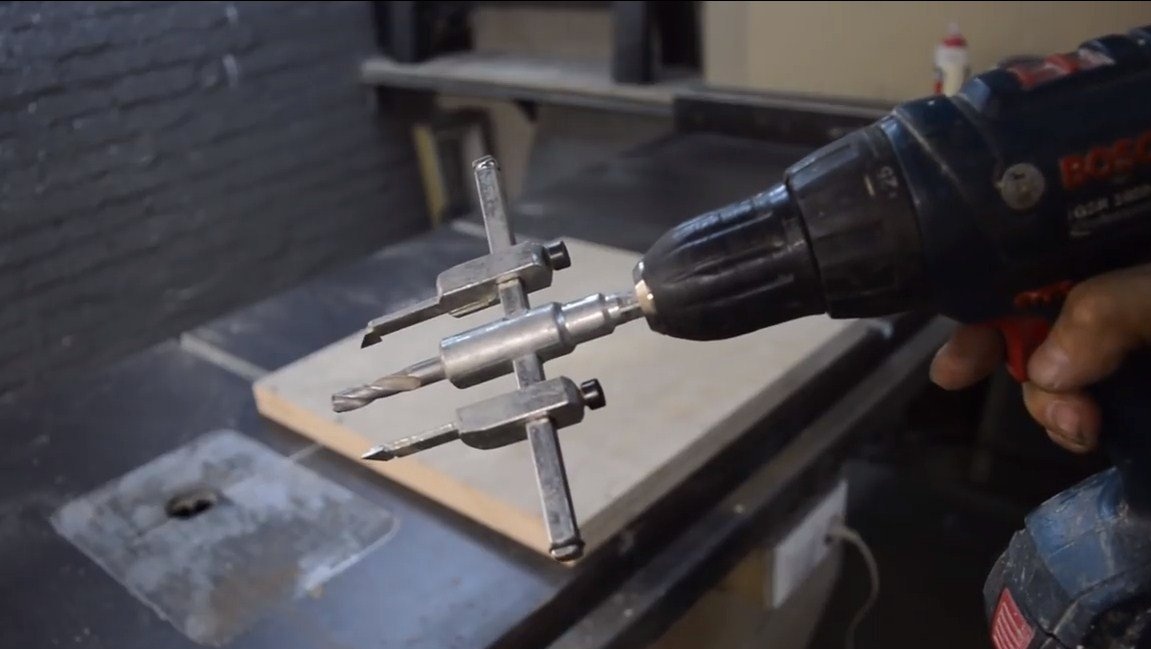
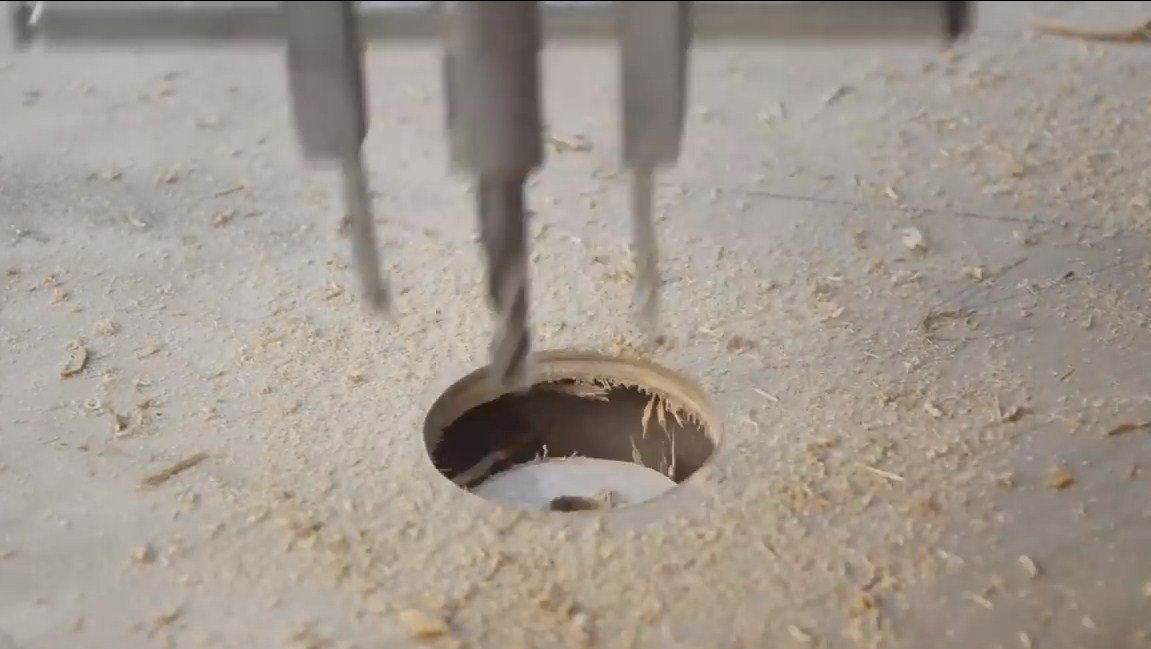
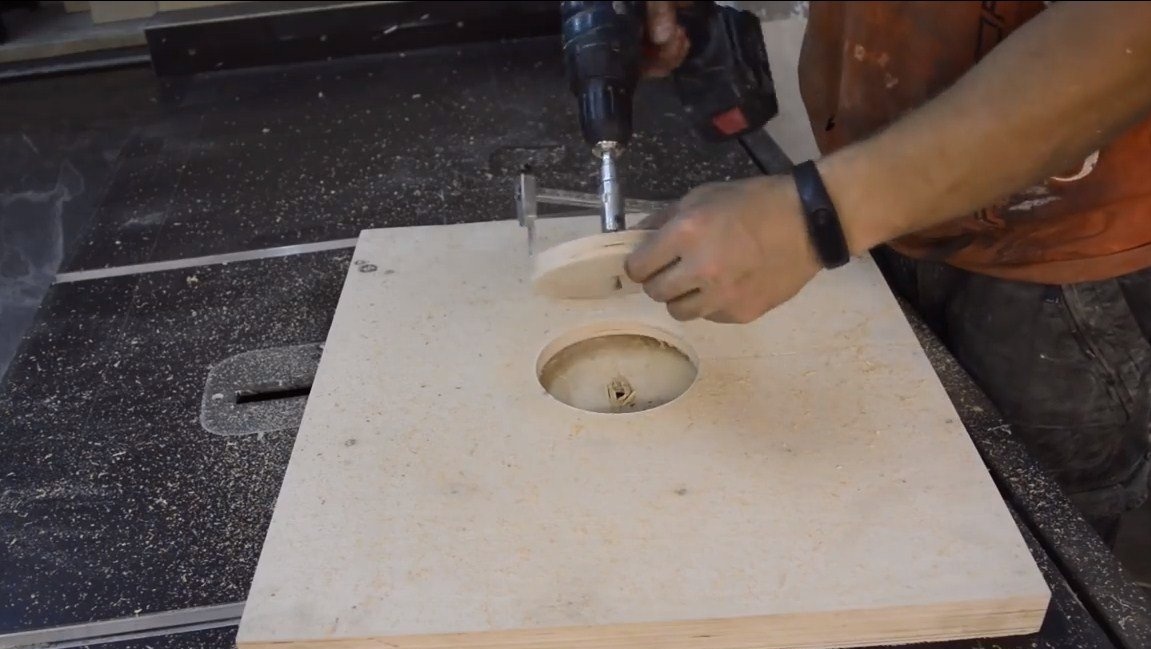
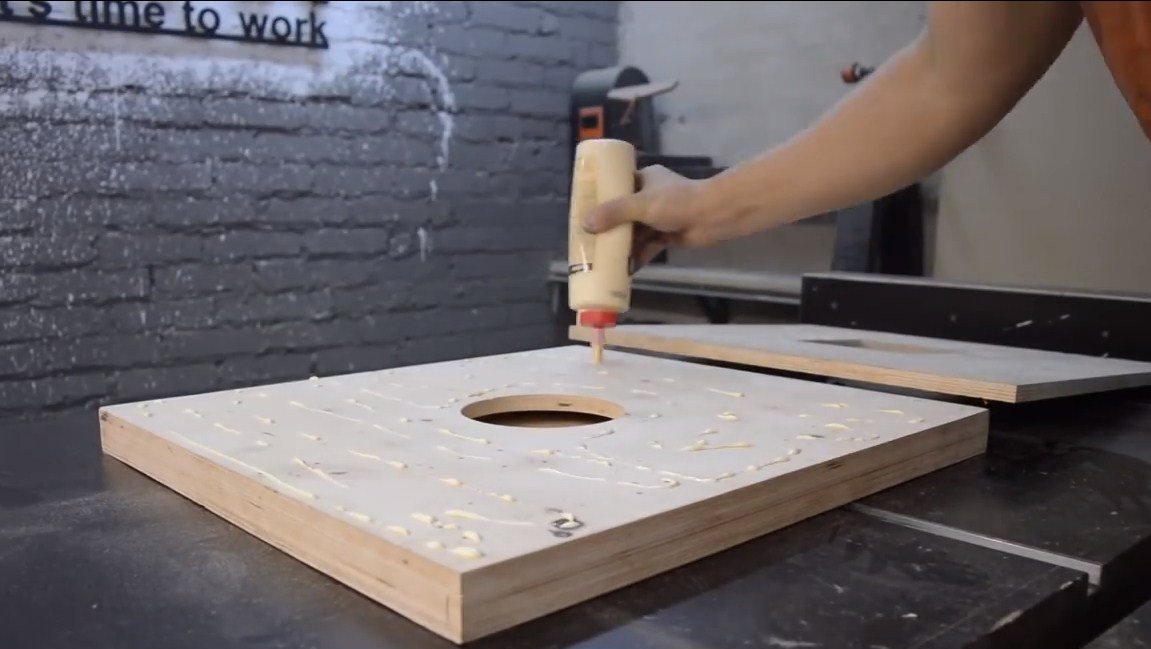
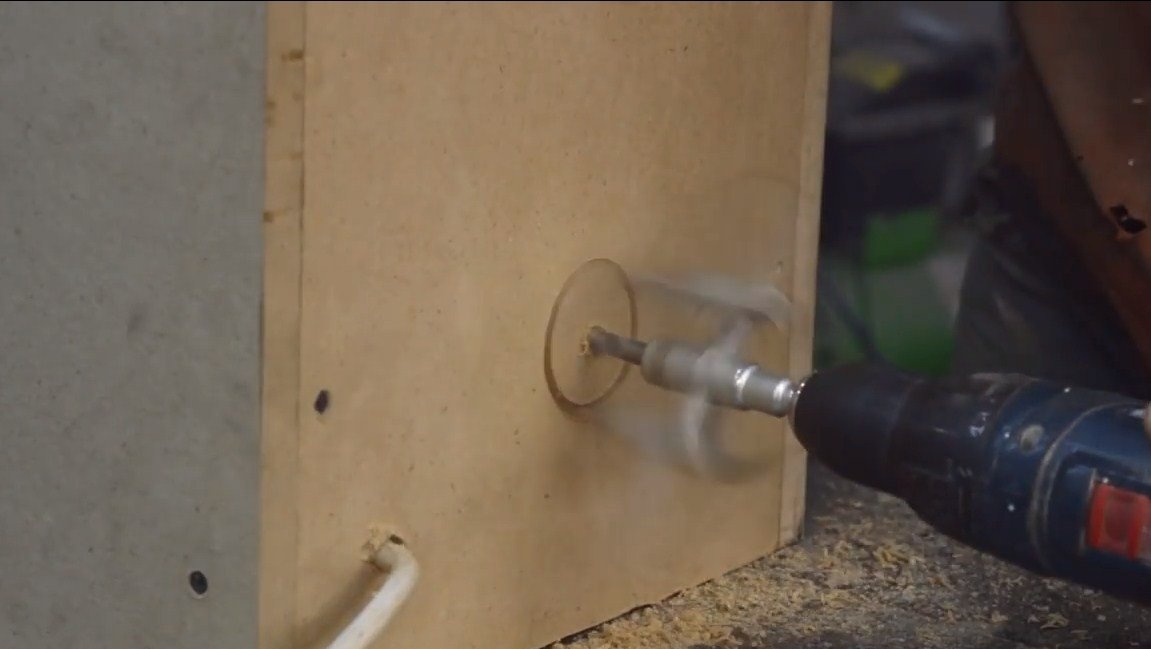
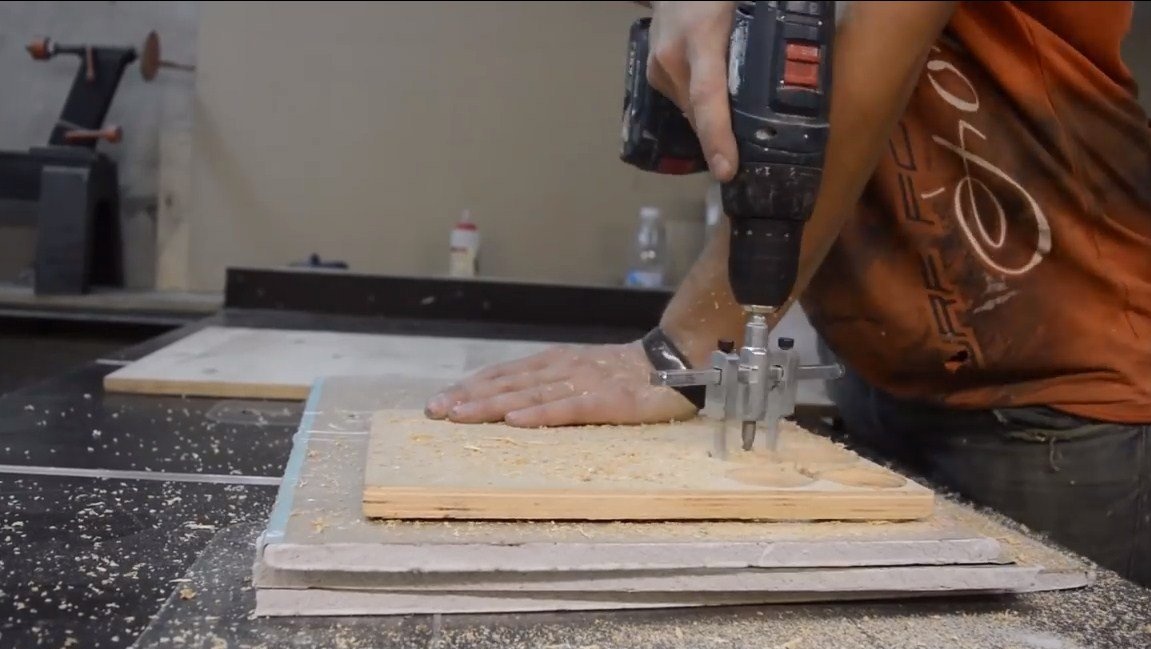
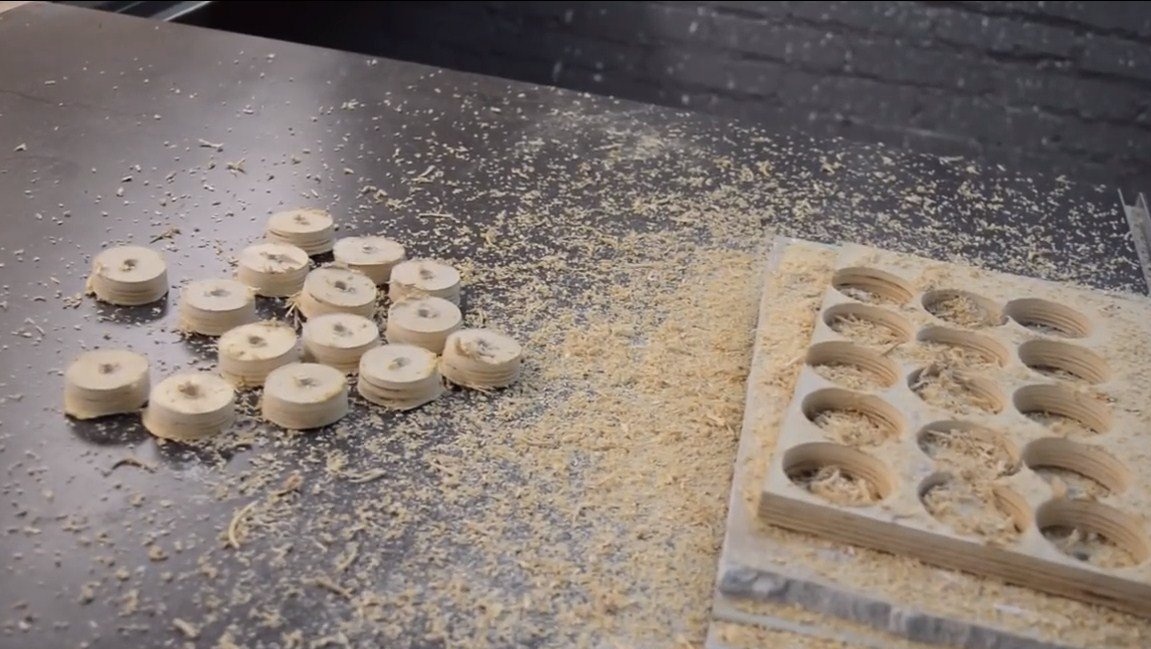
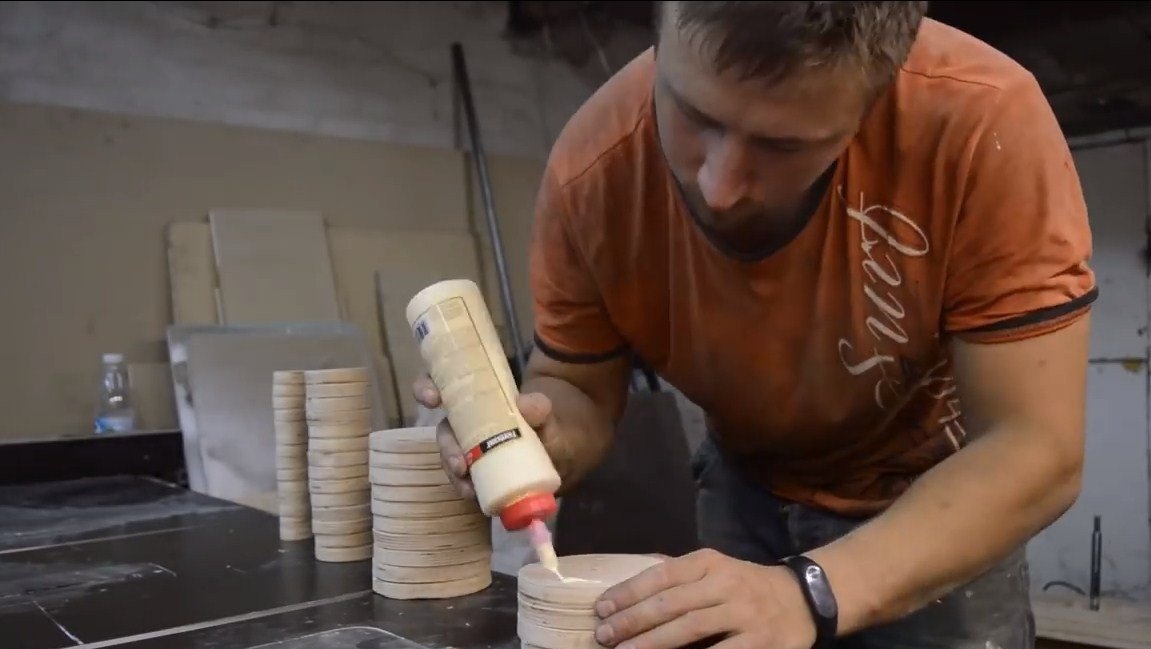
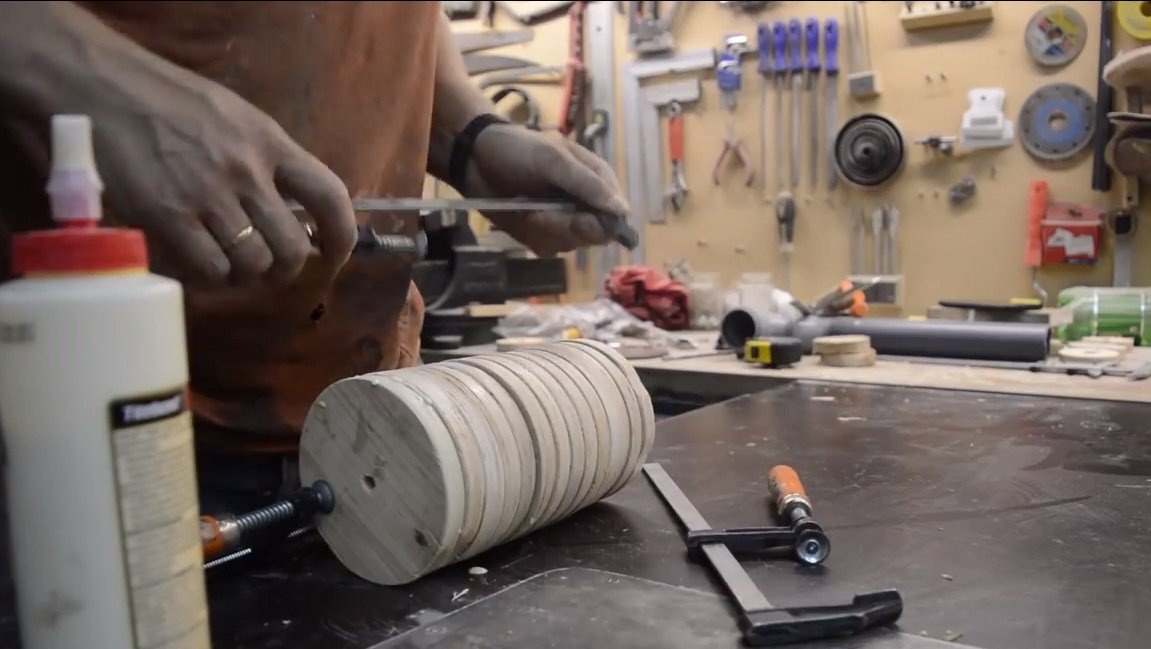
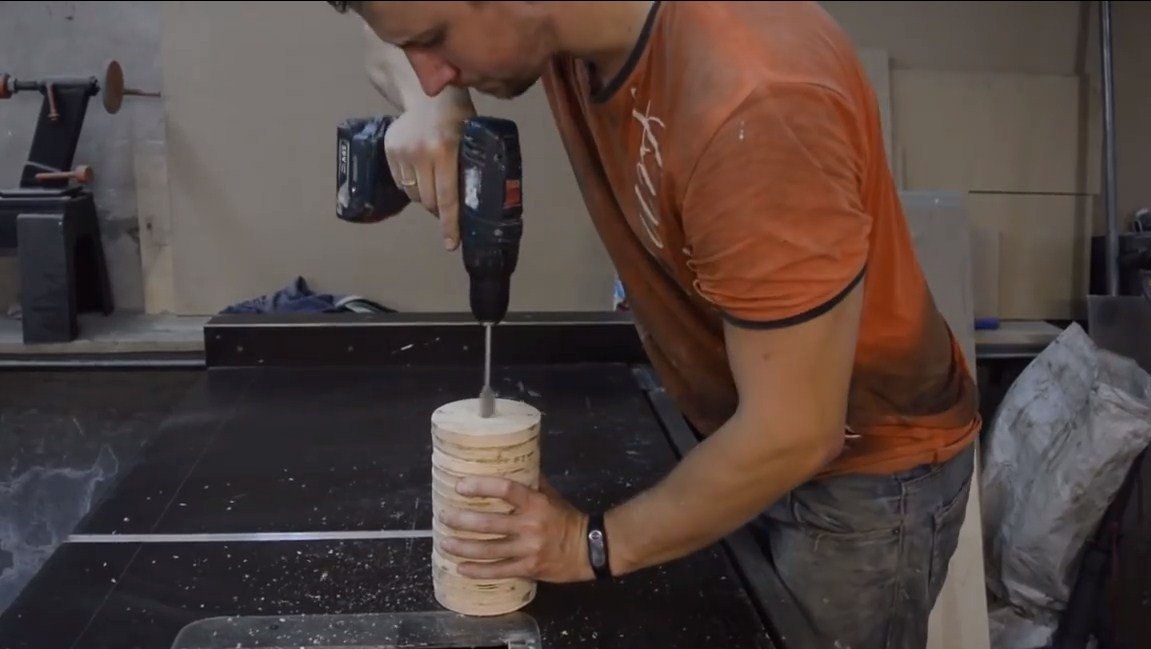
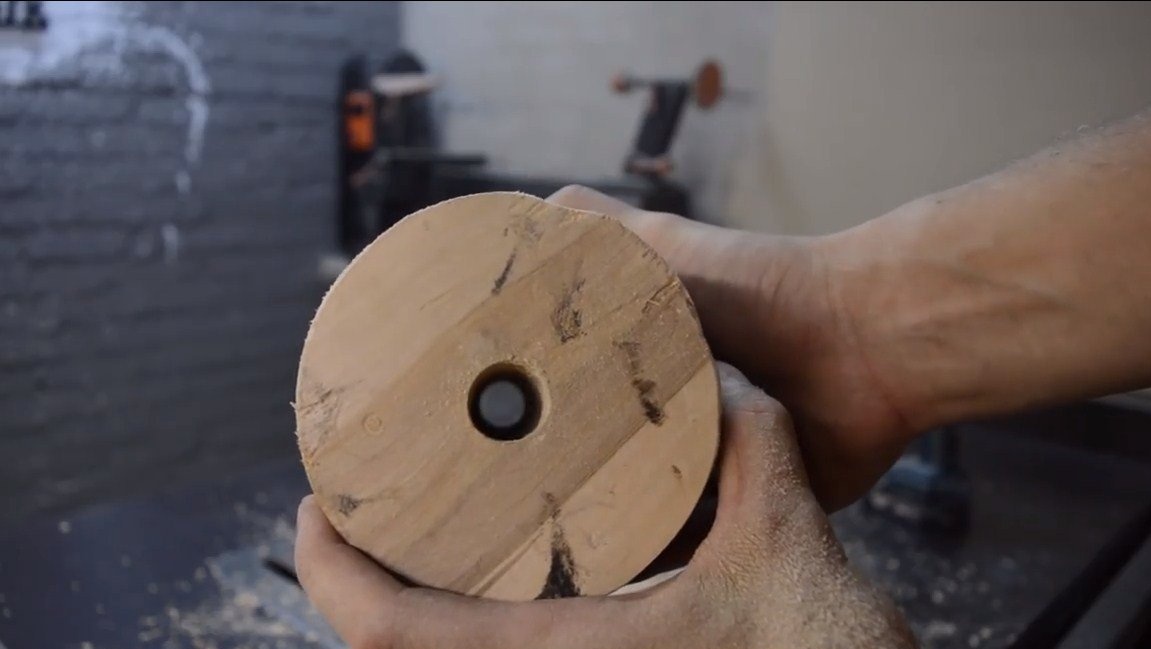
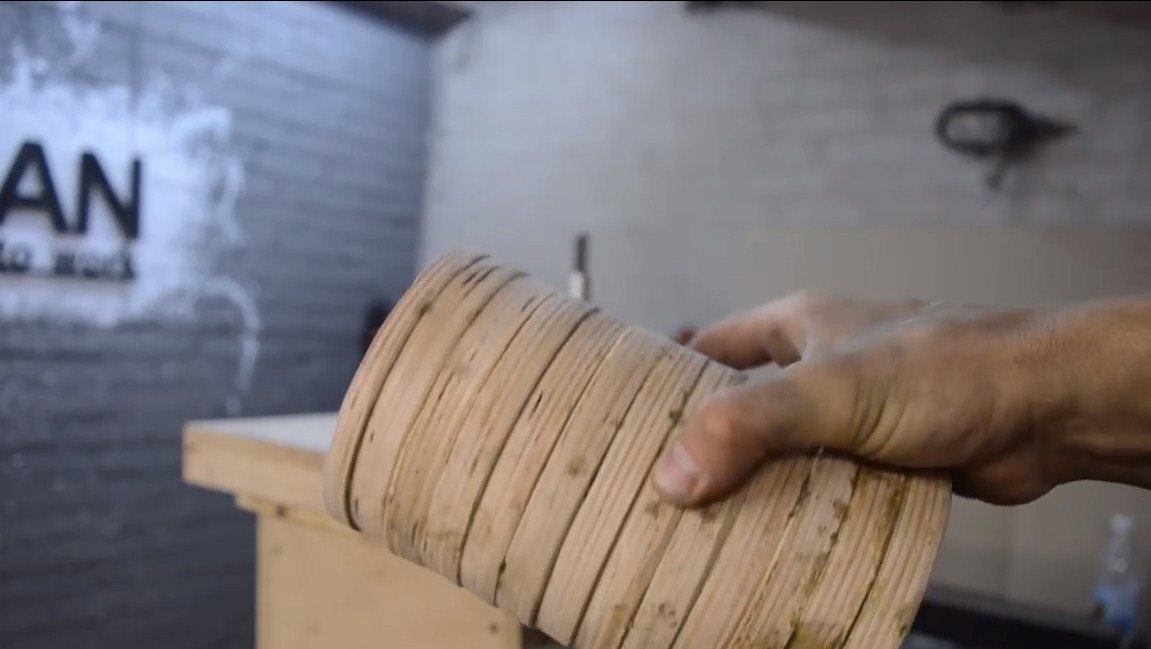
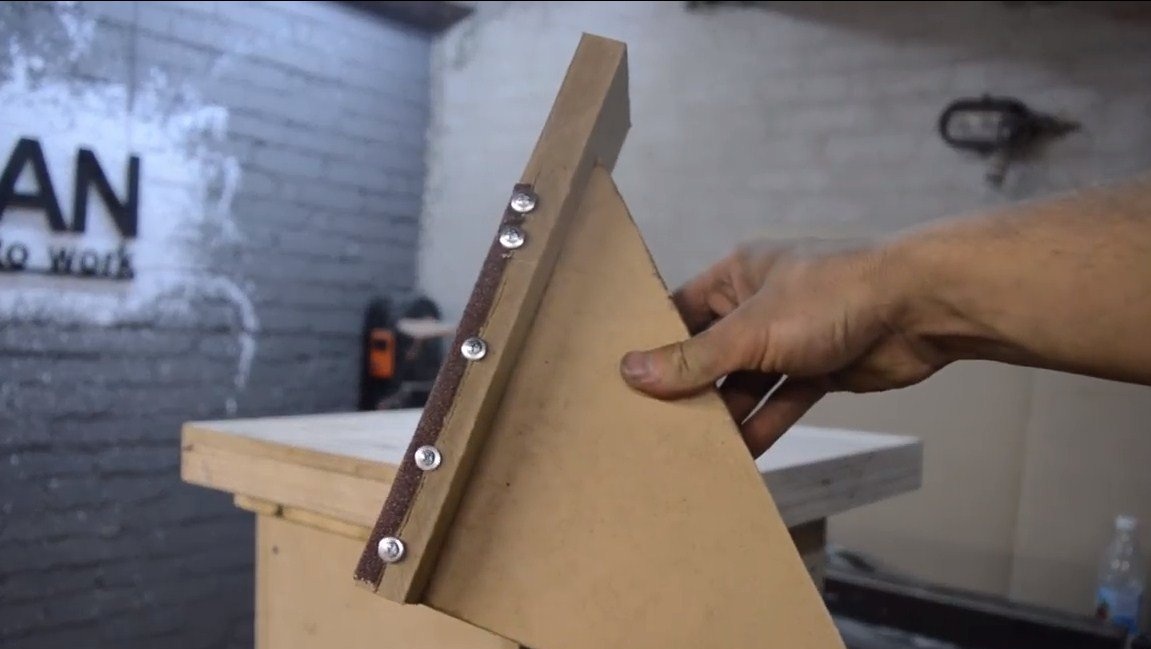
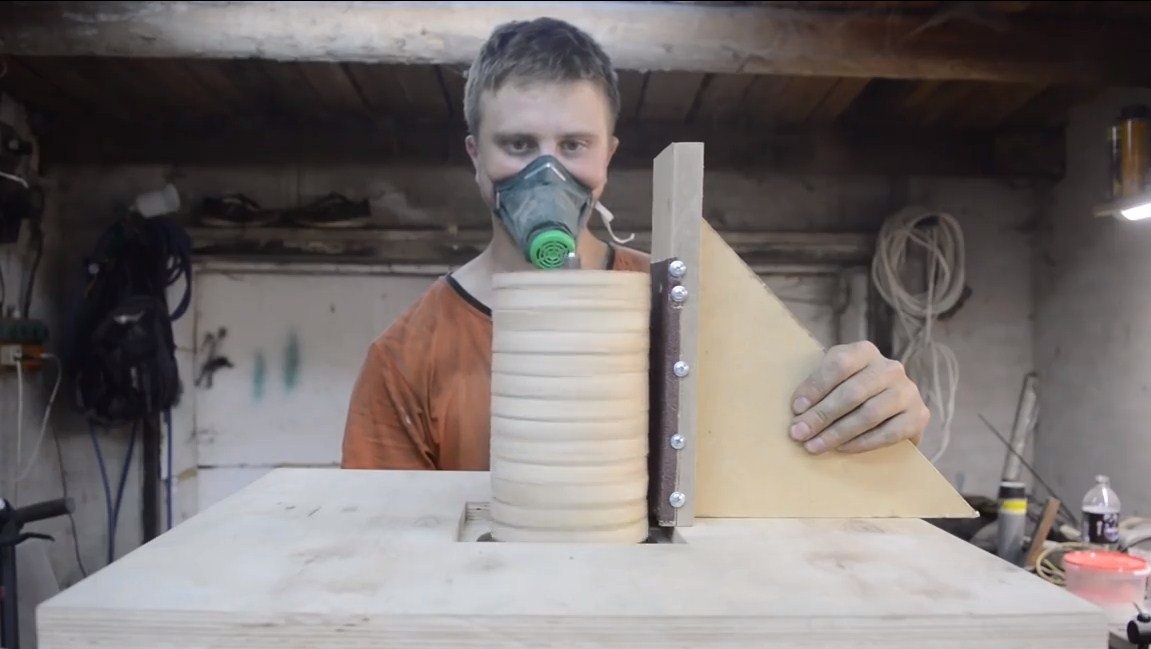
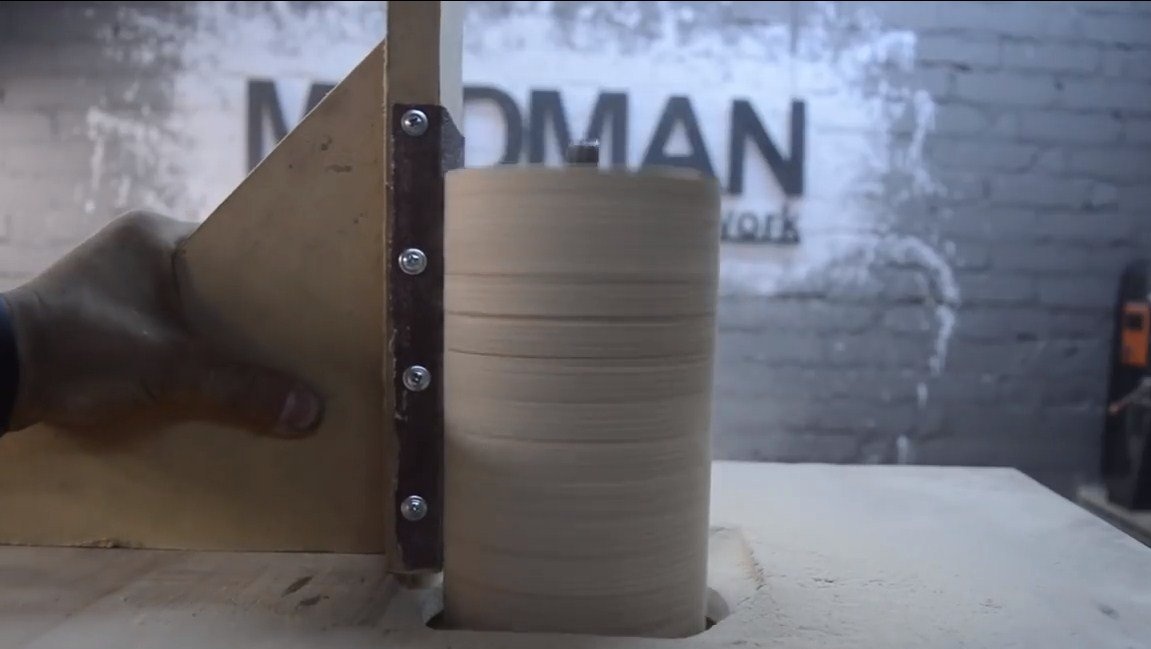
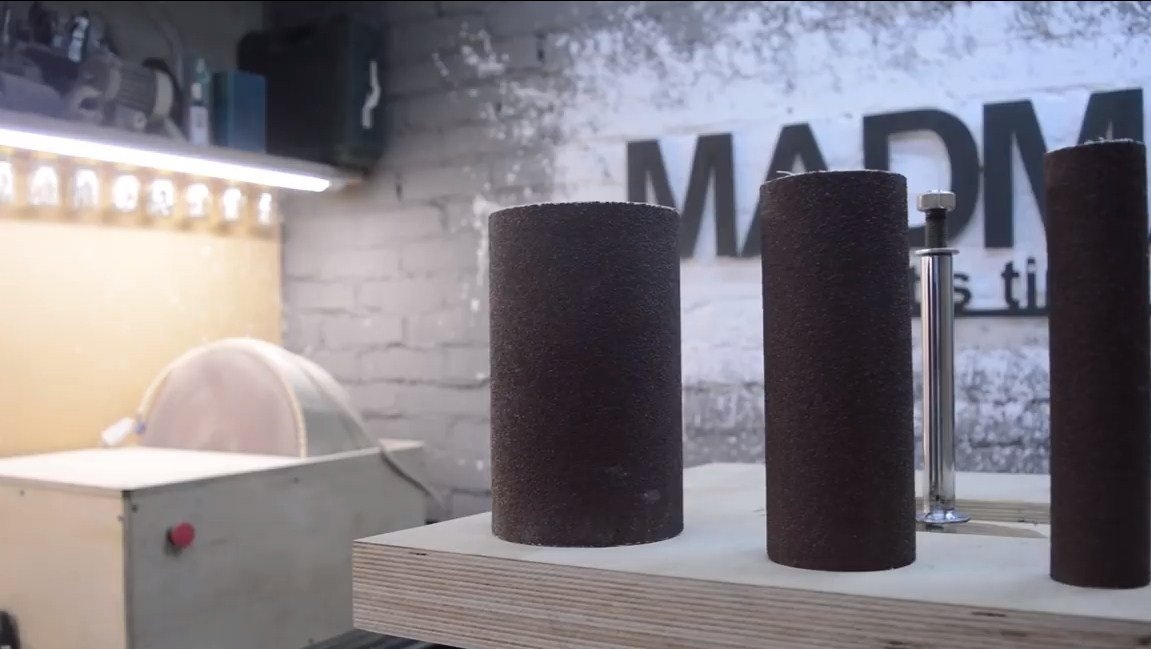
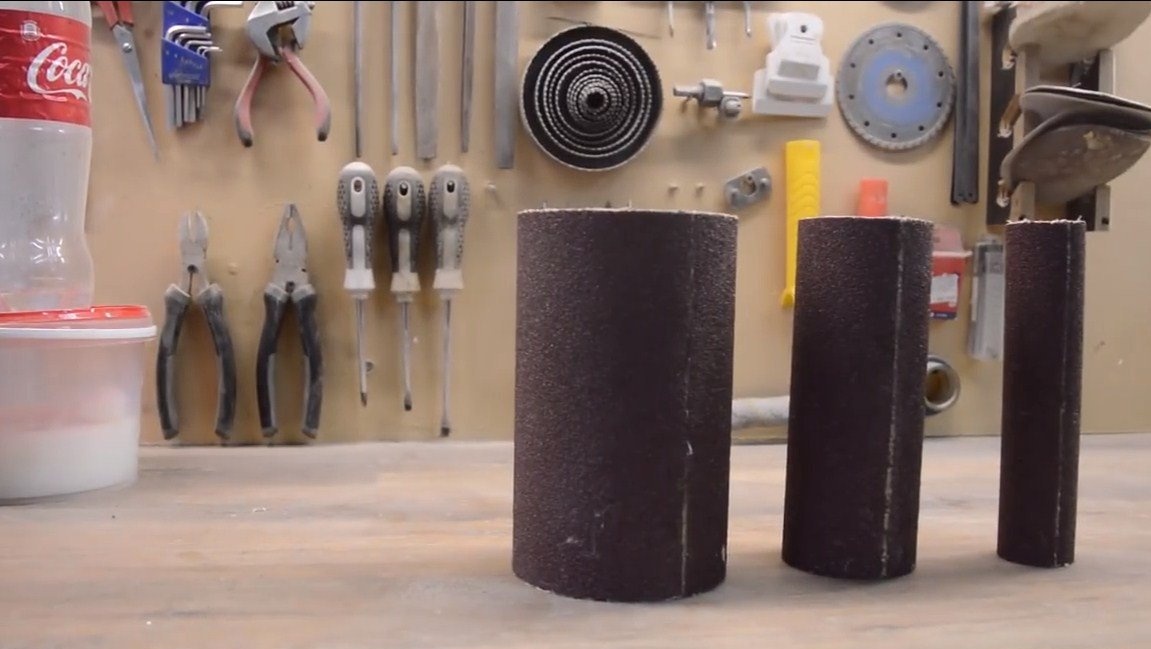
The cylinders on which emery paper is installed, the author decided to make of plywood. If you have material and a lathe, you can simply grind them on the machine. To make plywood cylinders, cut a lot of rounds with a crown and then glue them together. When the glue dries, drill a pen drill through the center of the hole for installing the nozzle on the shaft. That's all, you can start grinding, for this the author used a machine already manufactured. Grinding is done with sandpaper, for it we make a holder that allows you to grind the cylinder at a right angle.
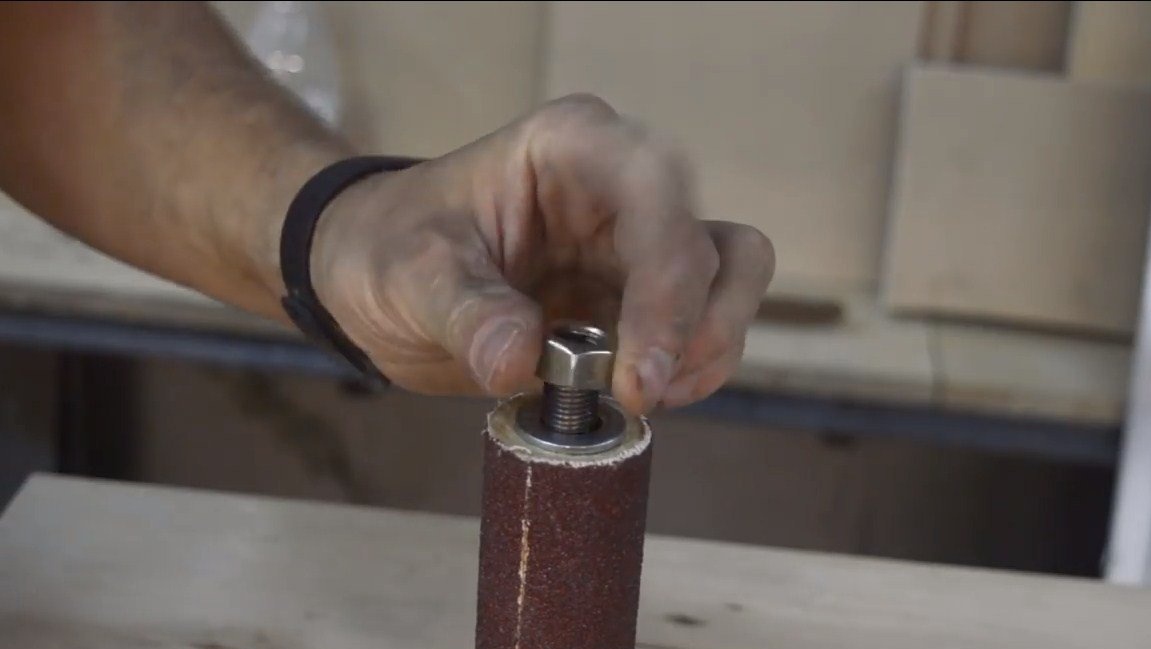
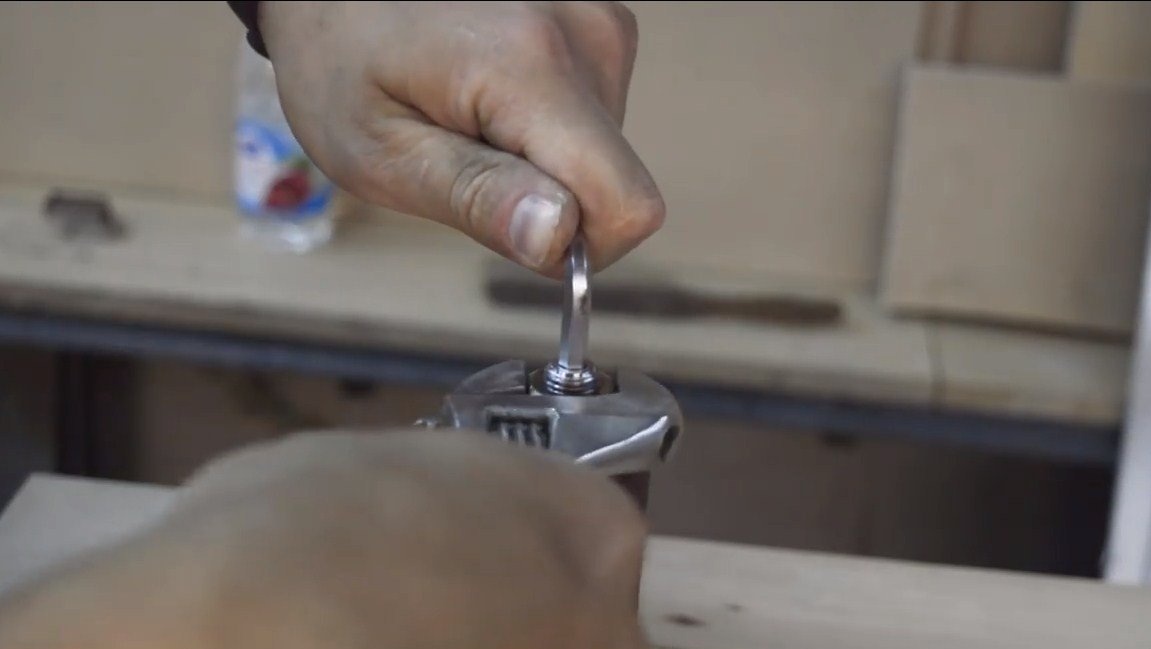
At the end, glue the sandpaper to the cylinders. The author will make three cylinders of different diameters.


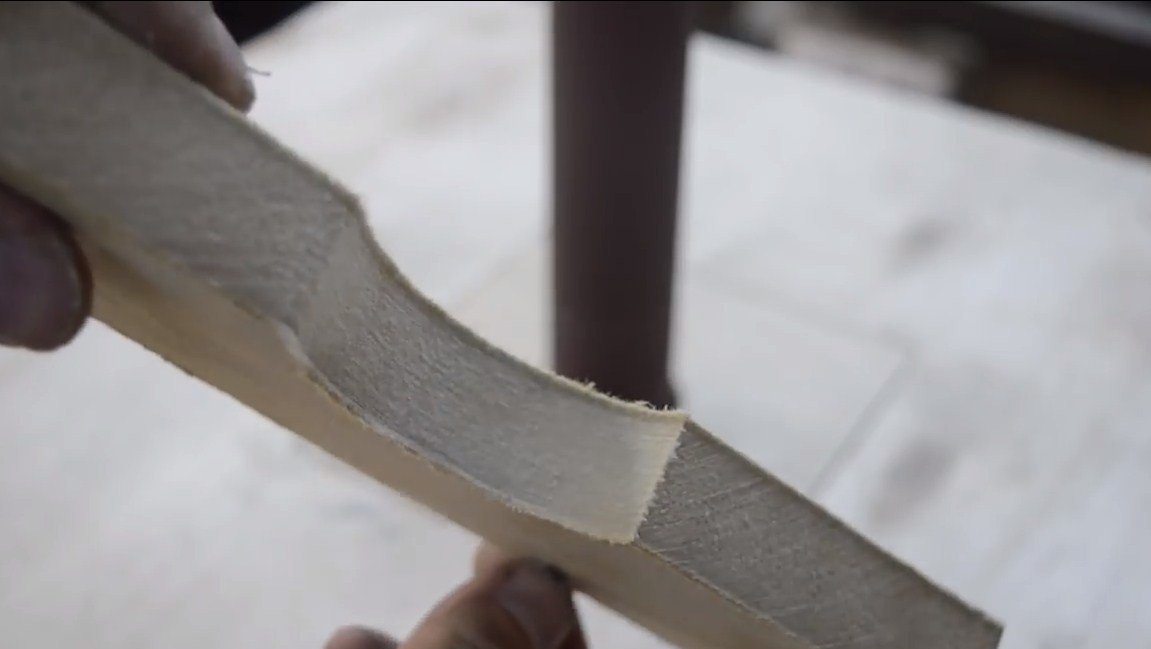
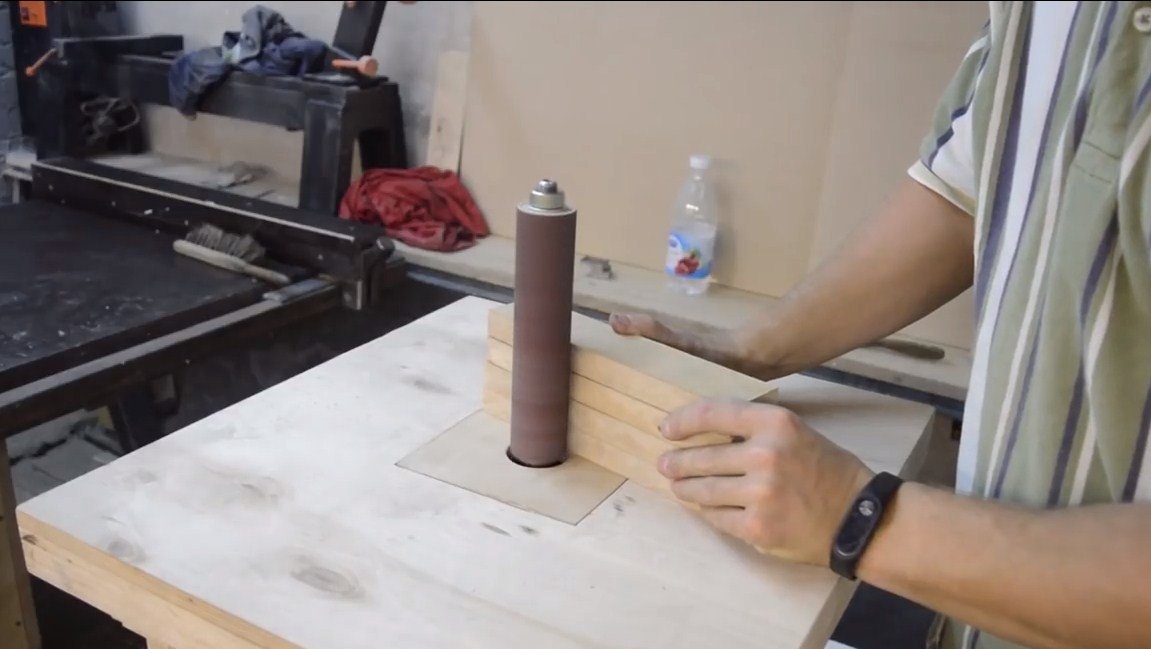
Step Eight. Testing
That's all, the machine is ready, install the countertop and proceed to the tests. The author was very pleased with the homemade product, the machine easily copes with the work. Reciprocating movements can be turned off, and you can also easily set their speed.
With such simple approaches, you can implement such a useful and sophisticated machine. Good luck and creative inspiration!