
Greetings the inhabitants of our site!
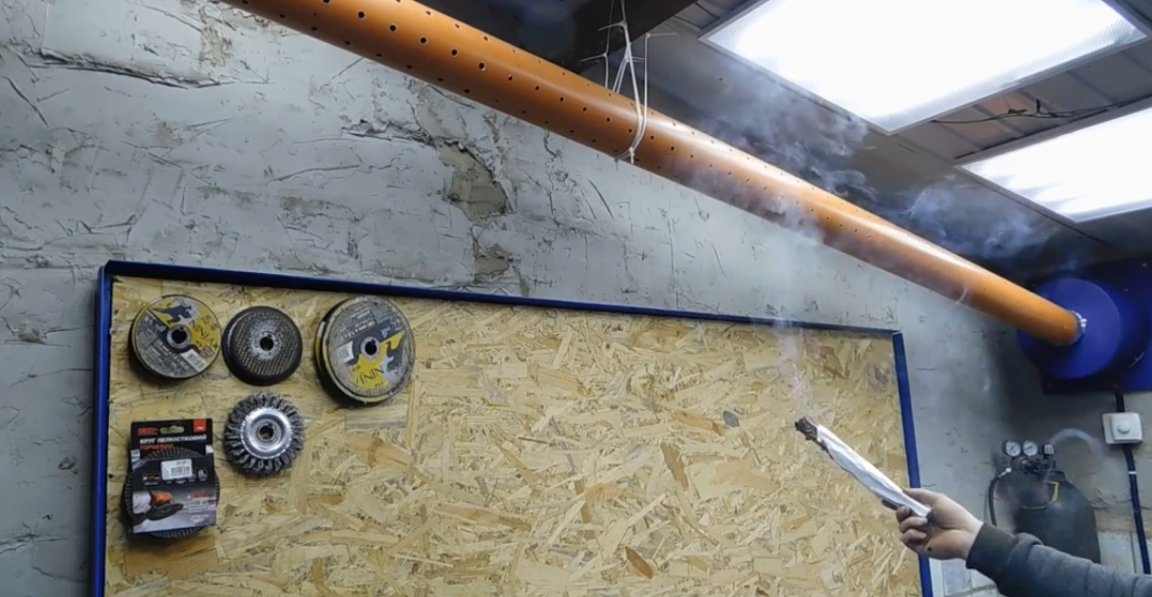
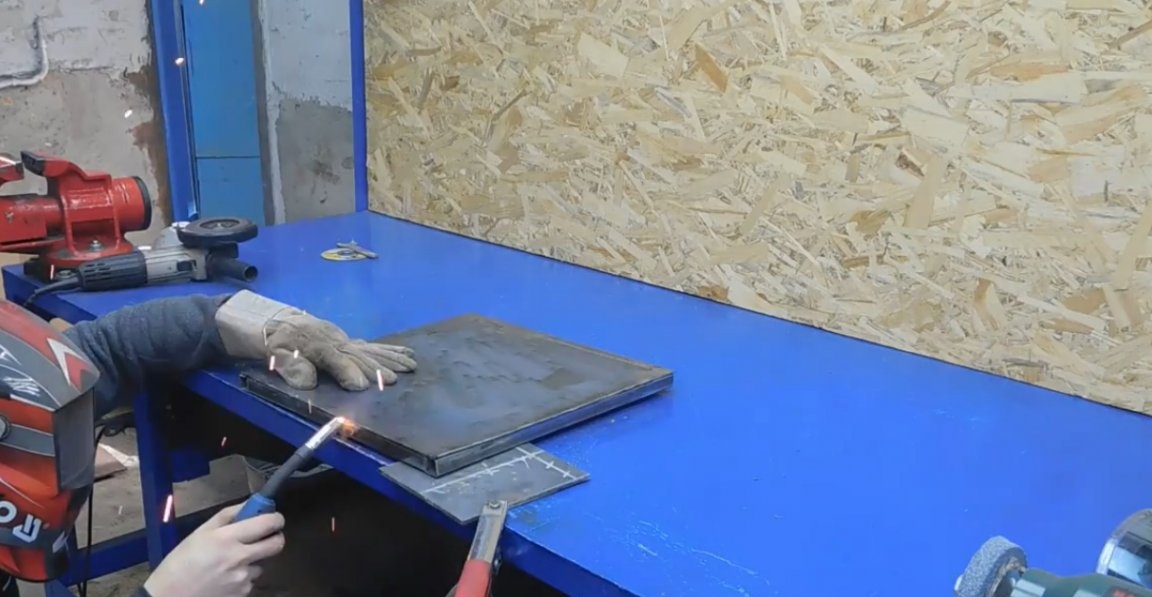
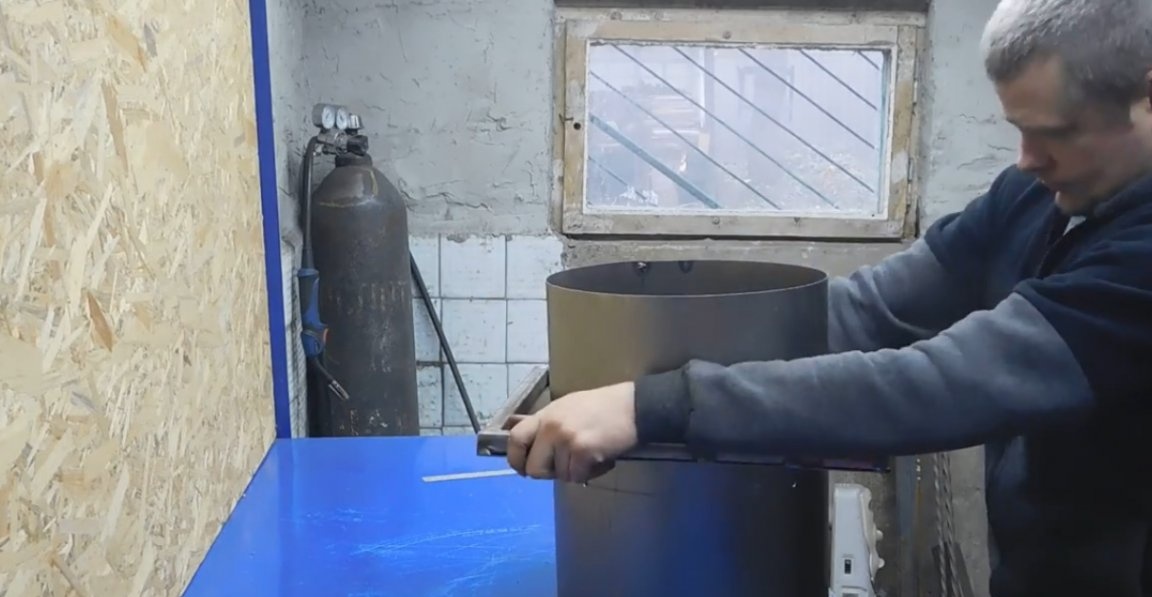
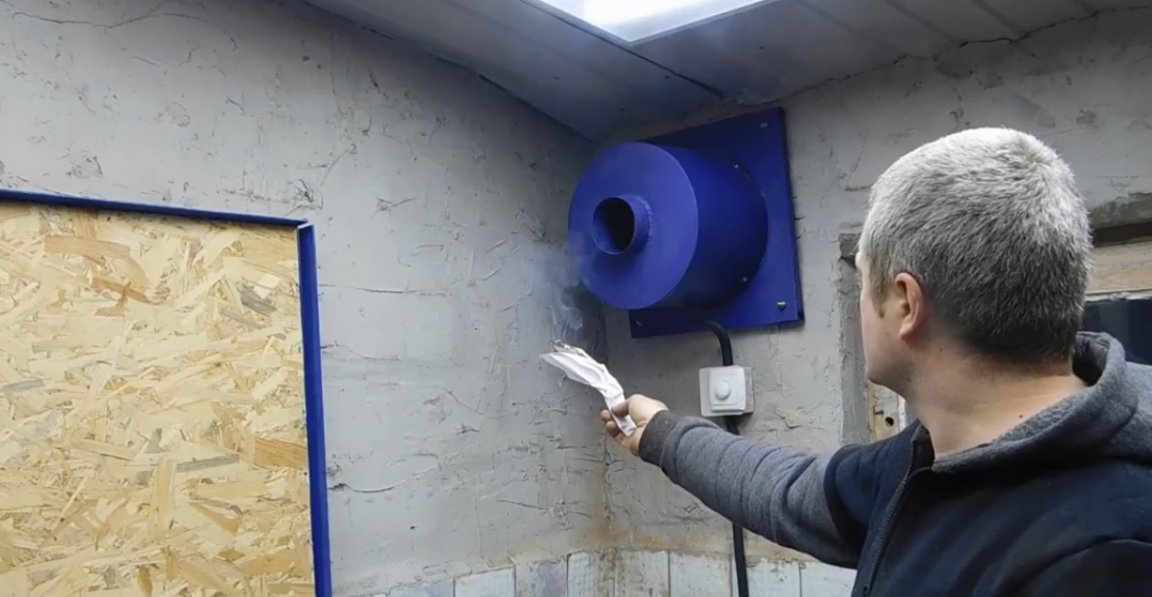
As you know, when working with a grinder and welding, the air becomes, to put it mildly, polluted due to the lack of extraction, which actually can be observed now in the frames below.
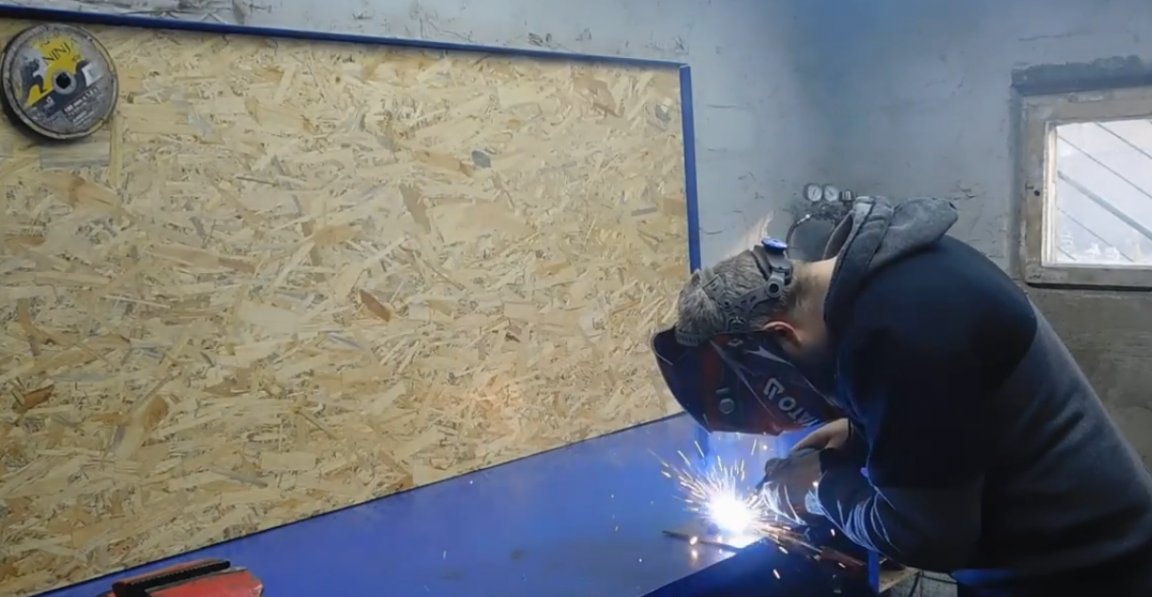
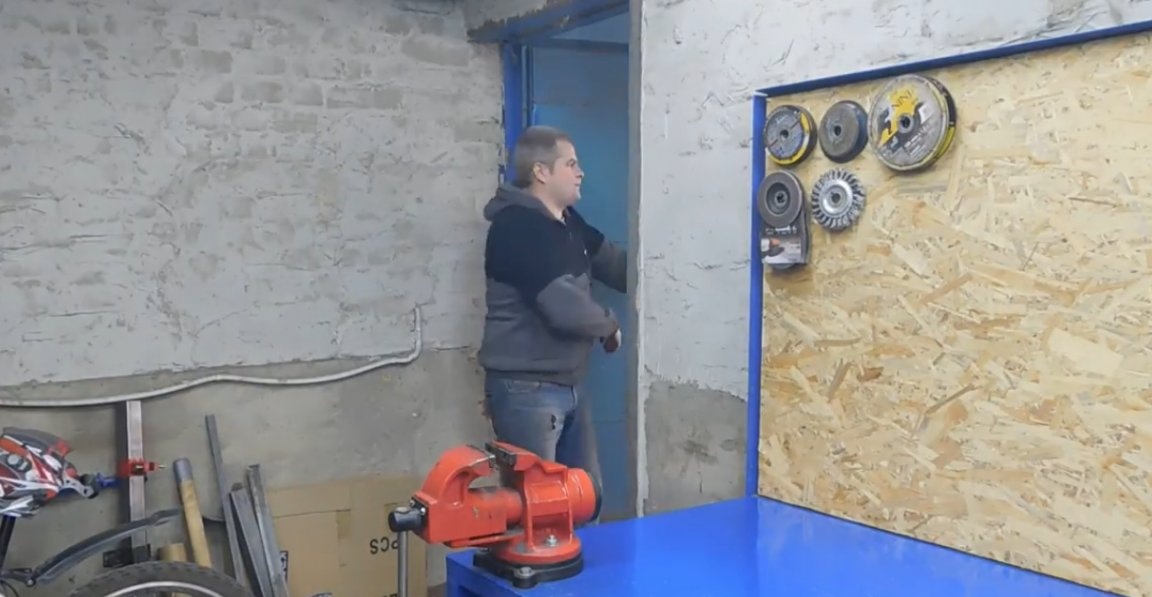
You have to open the door periodically and take a short break until the whole thing disappears. The author of the TeraFox YouTube channel has long planned to bring this idea to life. And finally this day has come when at least some kind of range hood should appear in his workshop.
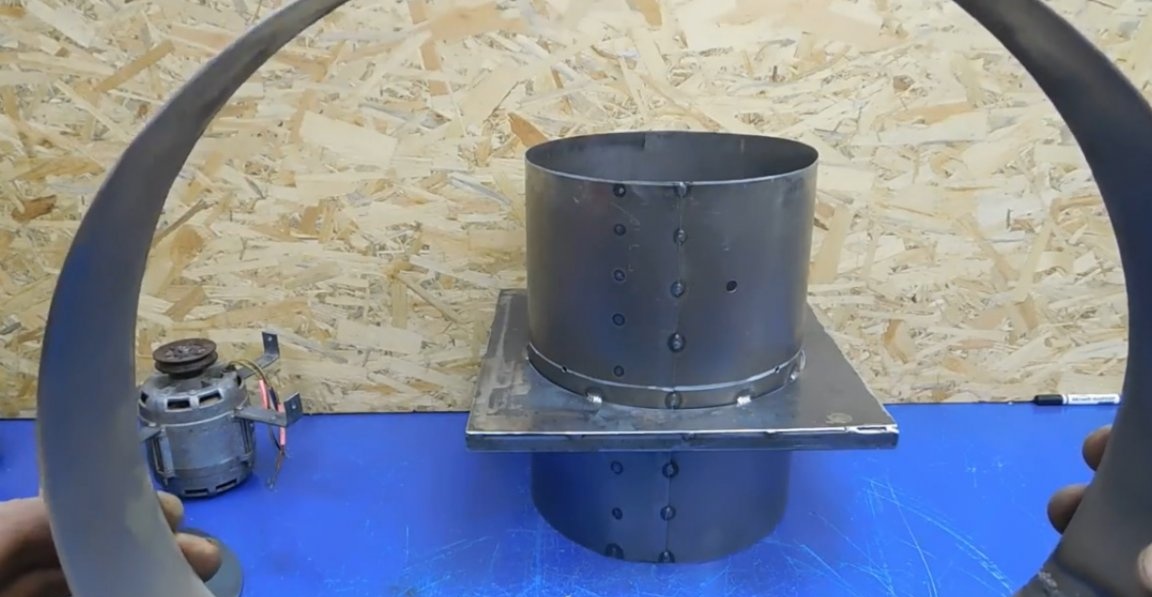
The wizard begins a new project with a profile pipe. He cooked the most ordinary square.
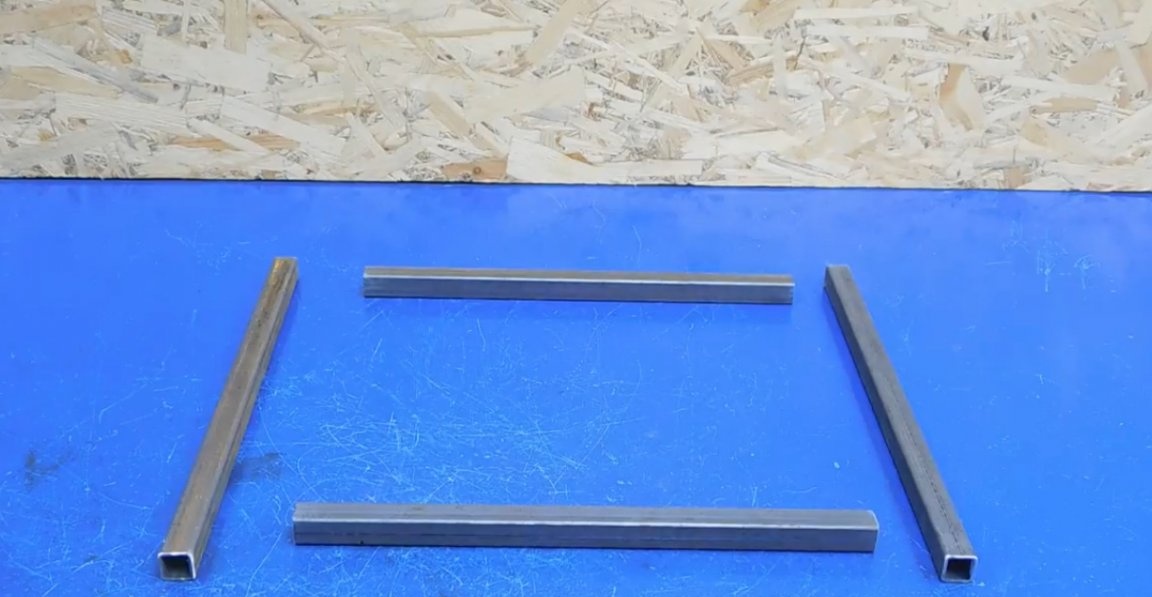
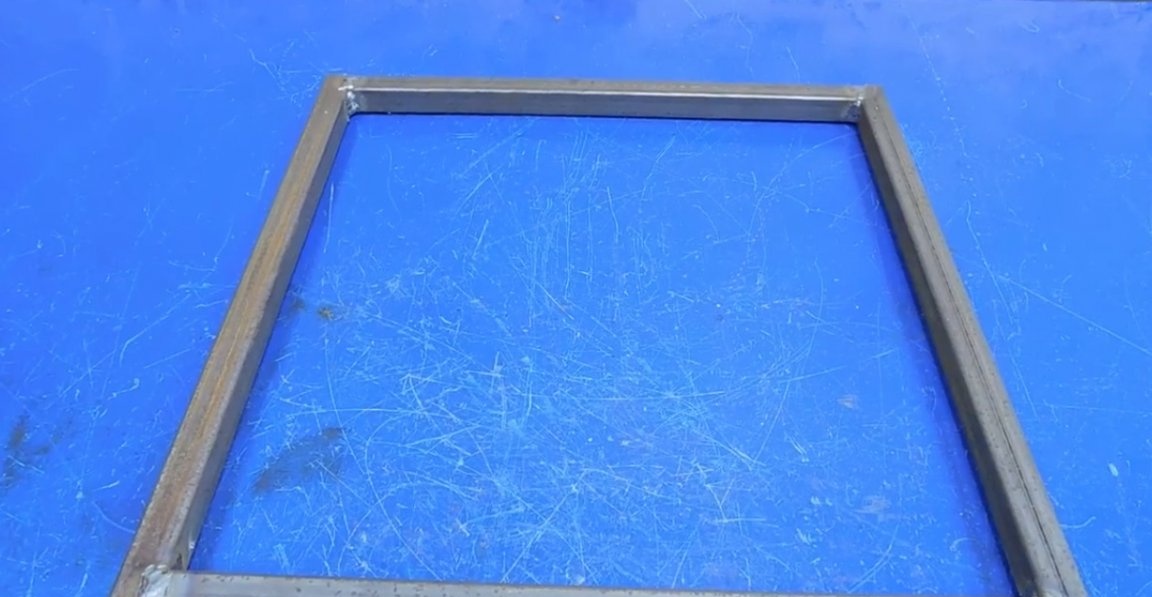
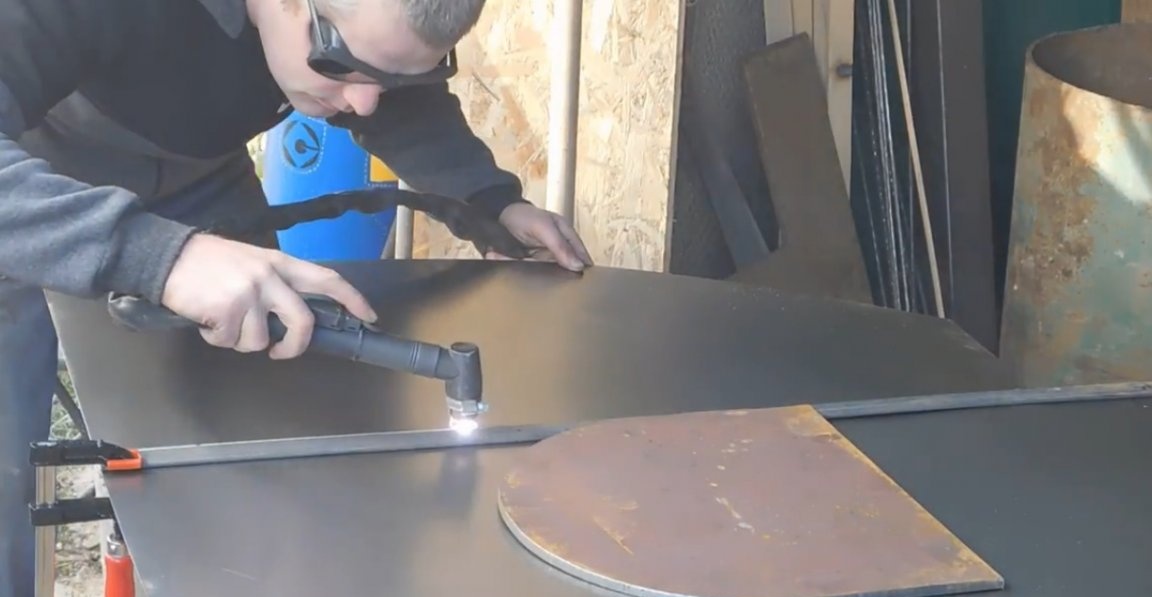
All the materials that the author uses are already in his possession, so he did not have to spend much. Then, from the sheet metal, it is necessary to cut an element of the same shape, which we will subsequently weld to the base from the pipe.
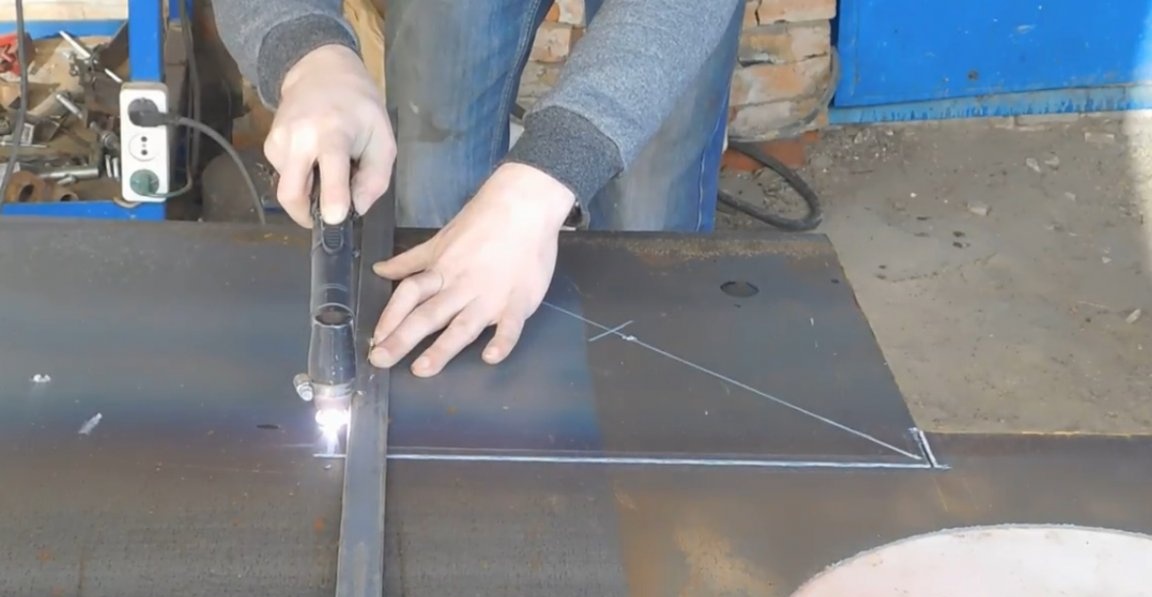
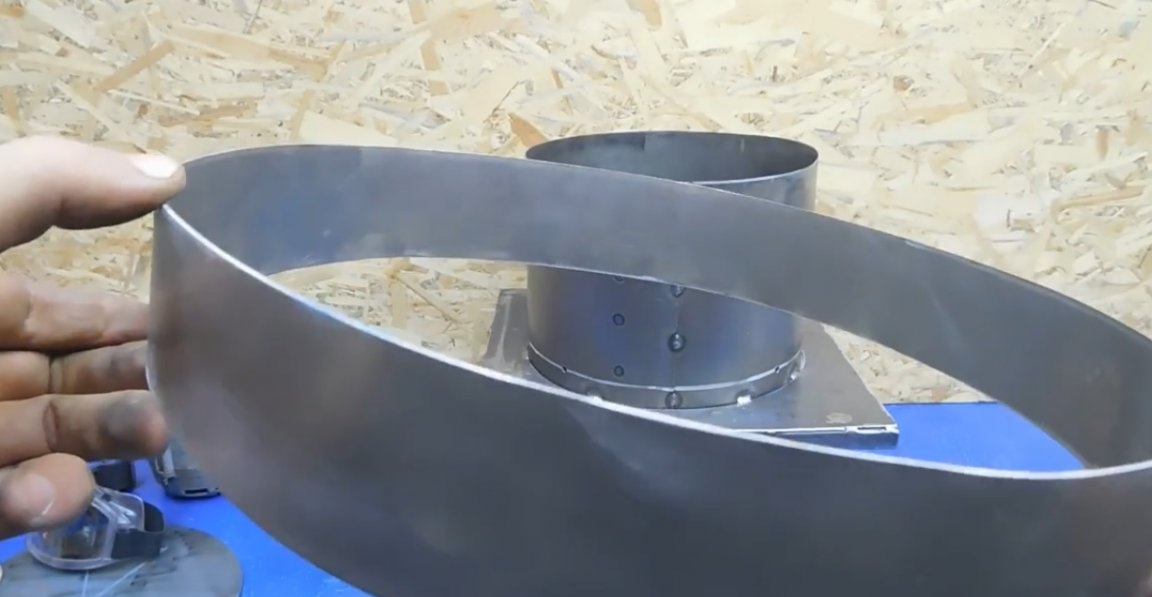
Try to cut it with a plasma cutter on the street, because the smoke from it, as they say, is not mum's mum. Next, we cut another 1 segment from a millimeter sheet, which we must somehow manage to deform beautifully. The 32nd pipe, which is waiting in the wings for future home-made, perfectly matched the matrix.
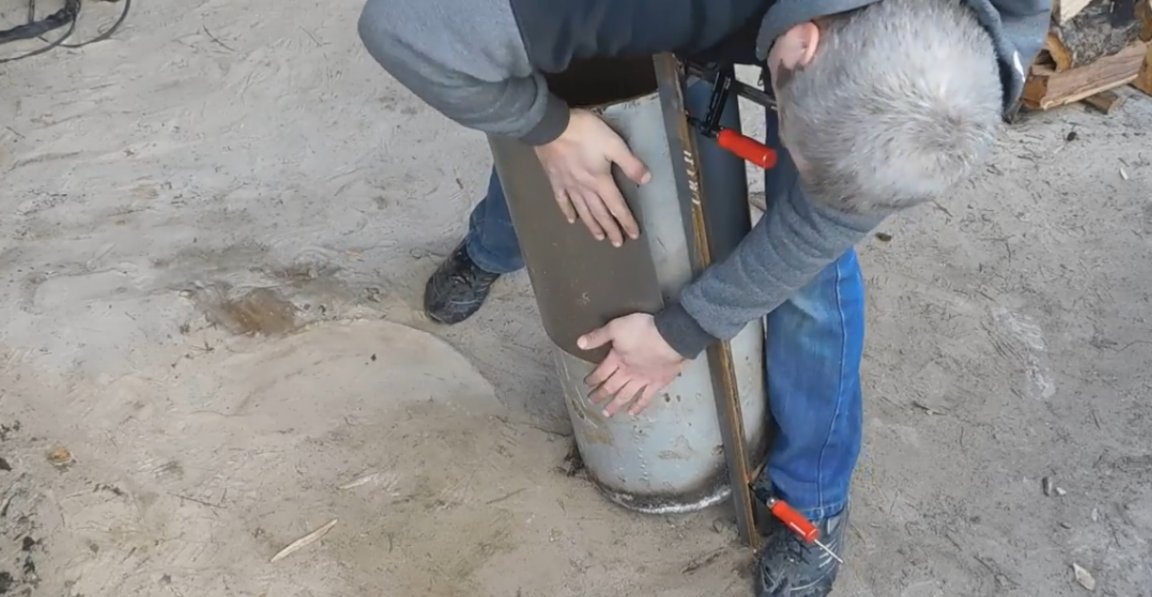
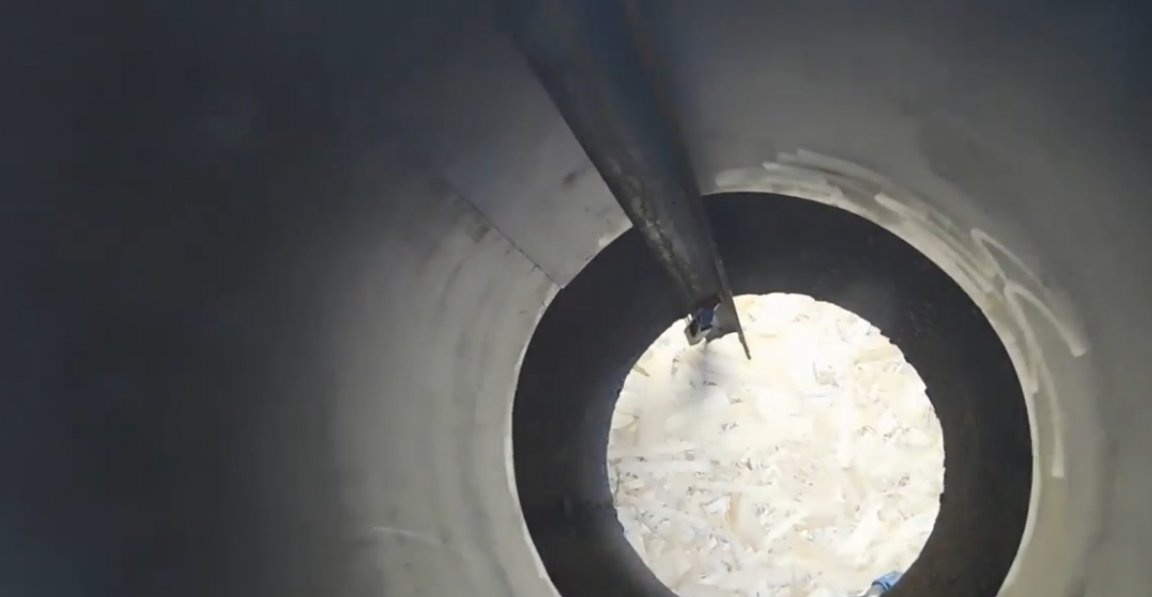
Initially, we shape the sheet on the outside of the pipe, and then try to push the sheet into the inner cavity. After which it remains to weld a newly made pipe and pull out the finished result.
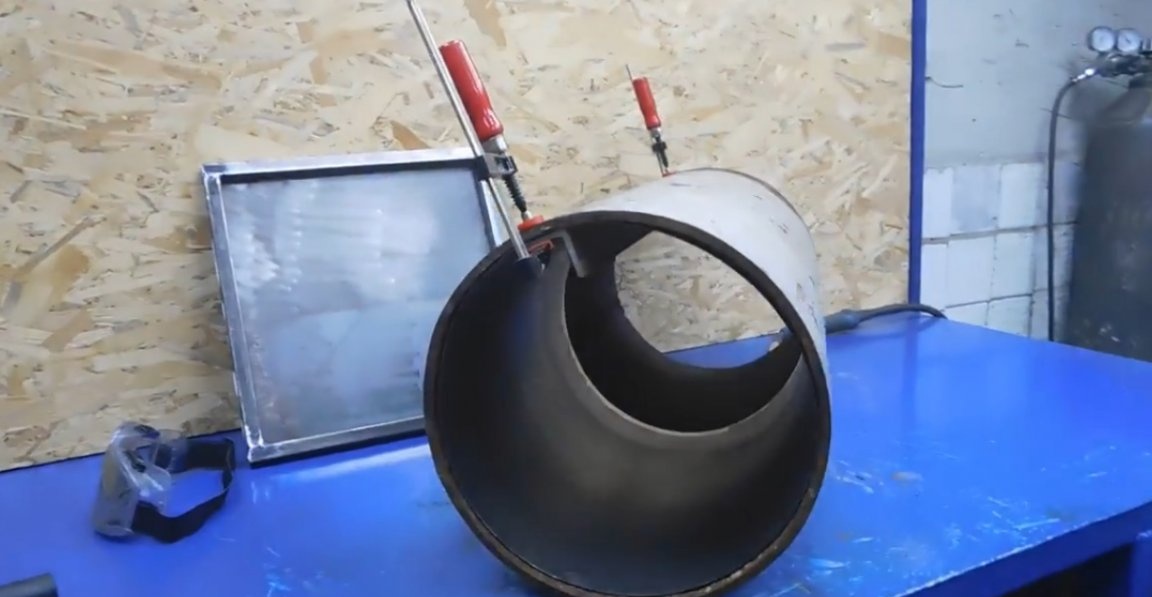
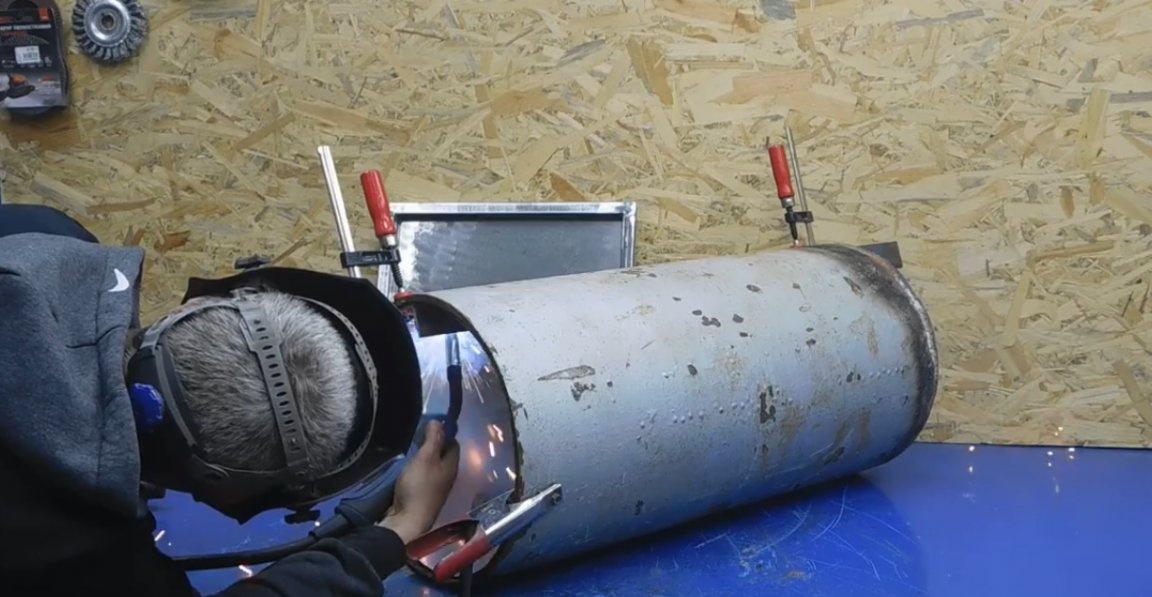
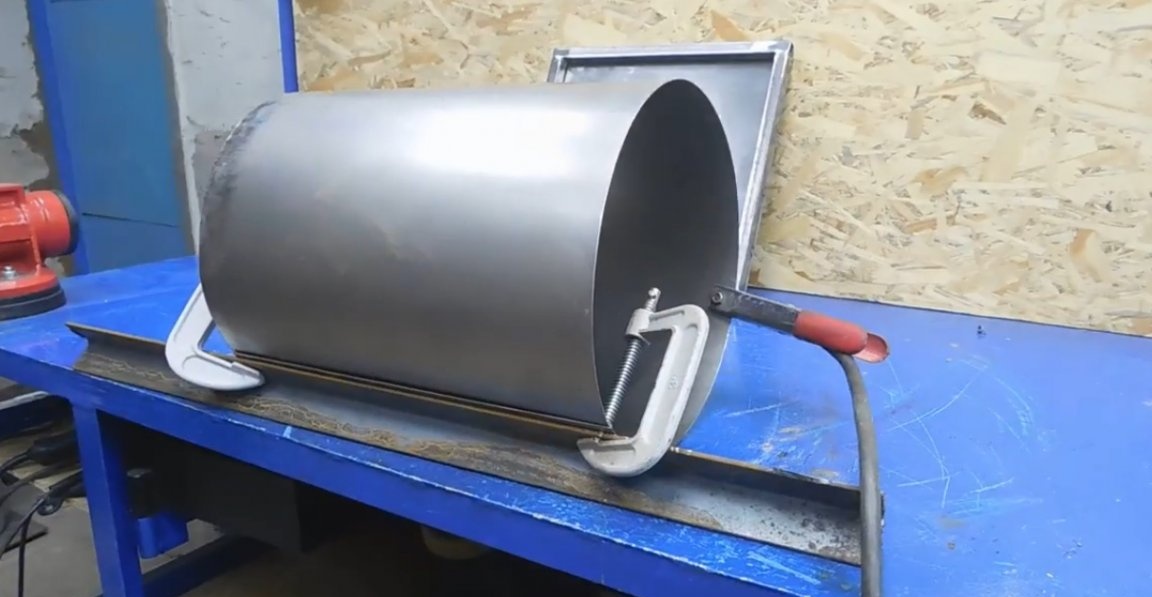
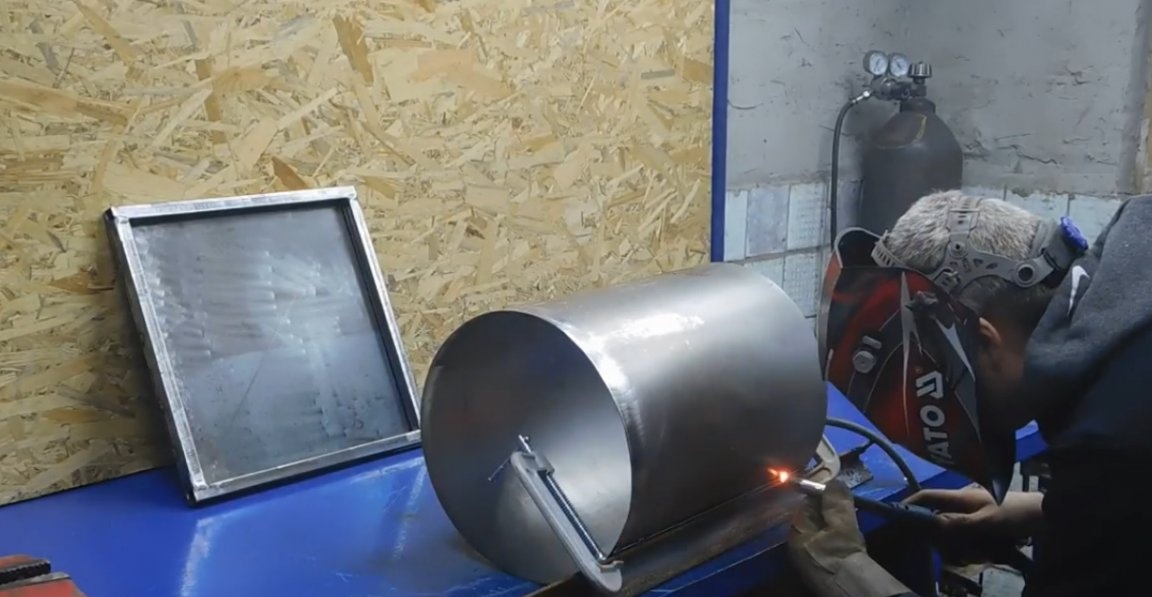
Next, we press the edge with a corner and clamps, and we weld it completely.
Now, in the previously assembled square construction, by a plasma cutter, we cut out a circle equal to the diameter of the newly obtained pipe.

Next, we need the engine from the washing machine. Its author purchased at a flea market, the issue price is 200 hryvnias or 500 rubles.

Now we need to make these parts in the amount of 4 pieces:
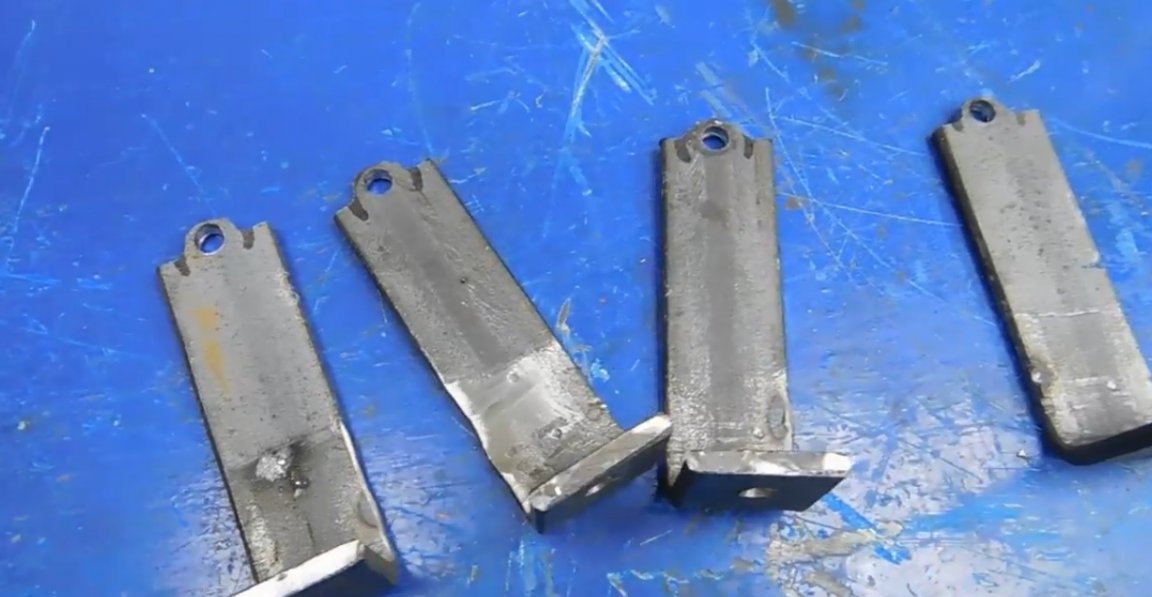
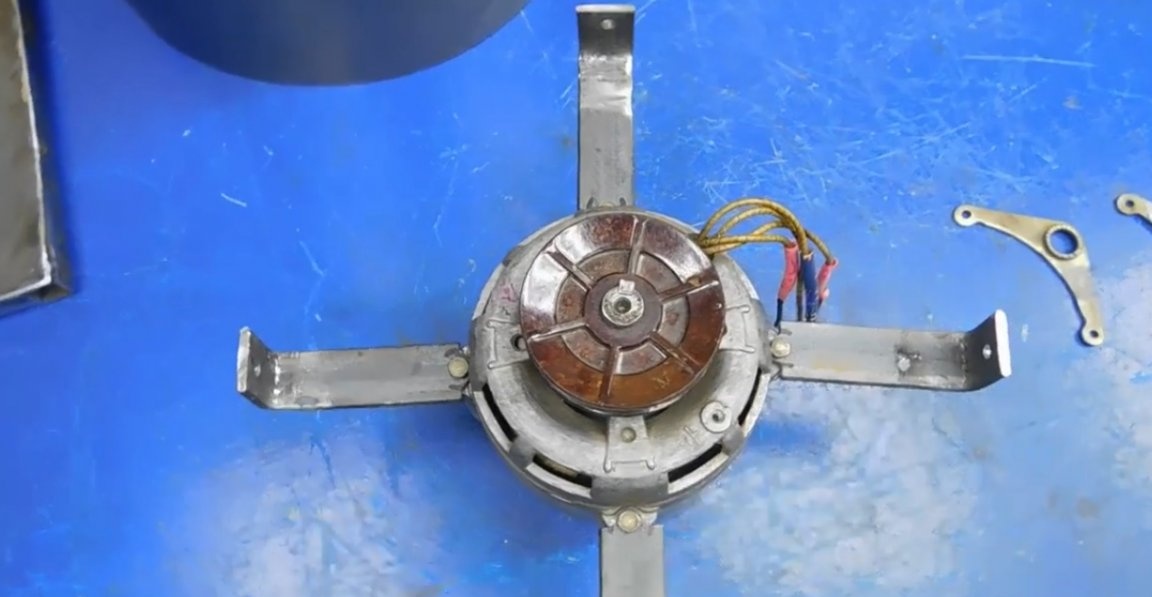
They need to be screwed to the engine housing in this way:
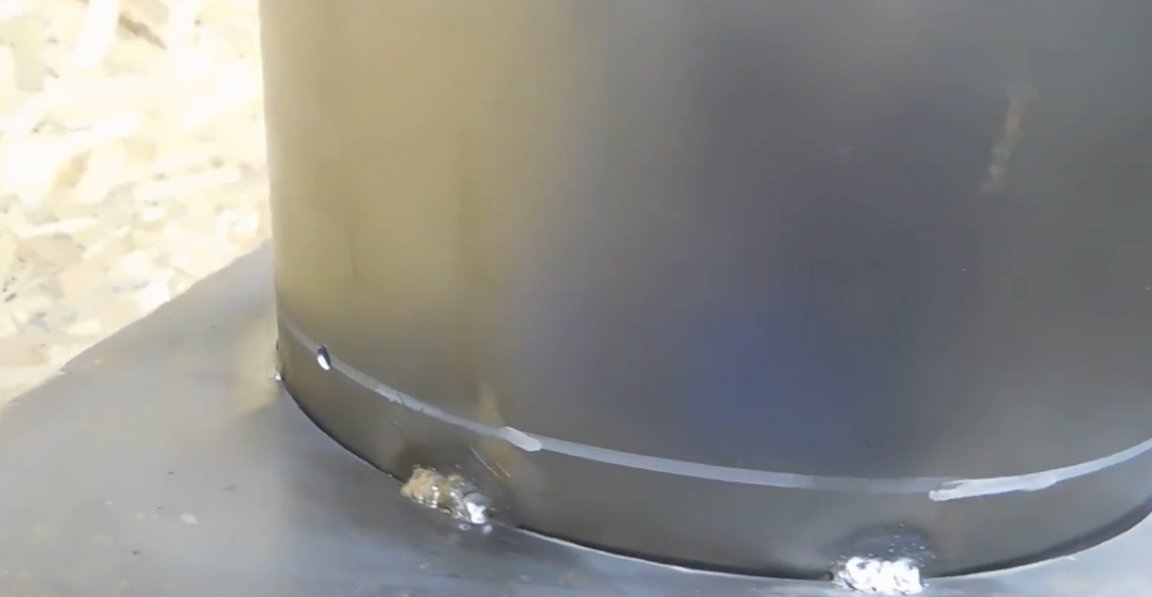
Next, we put a square with a hole on the pipe and weld just below the center.
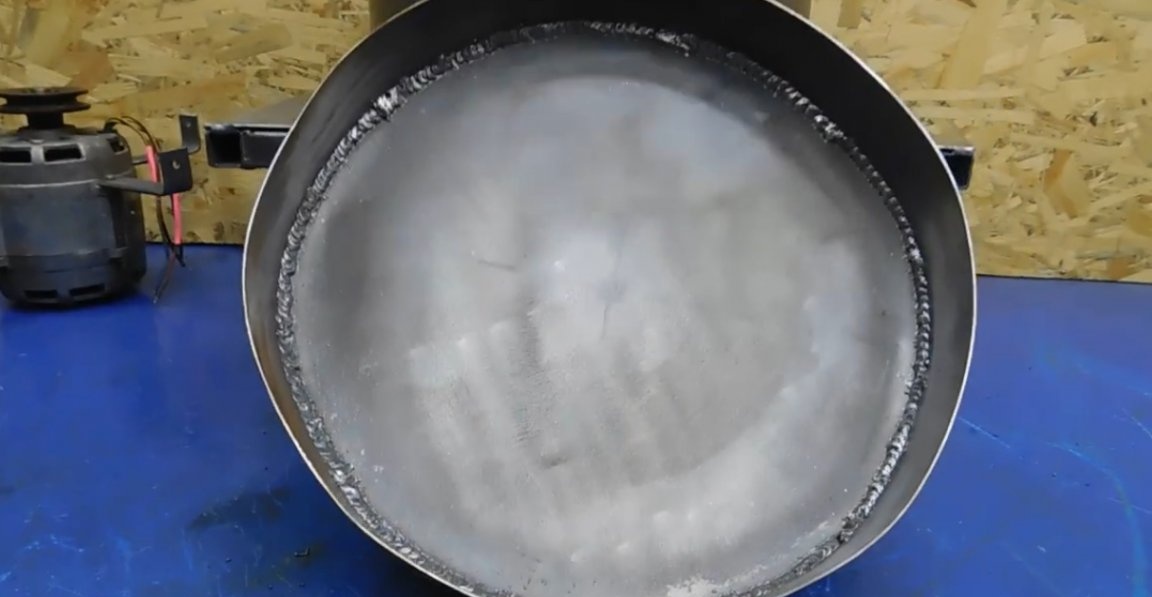
Then we make another ring.
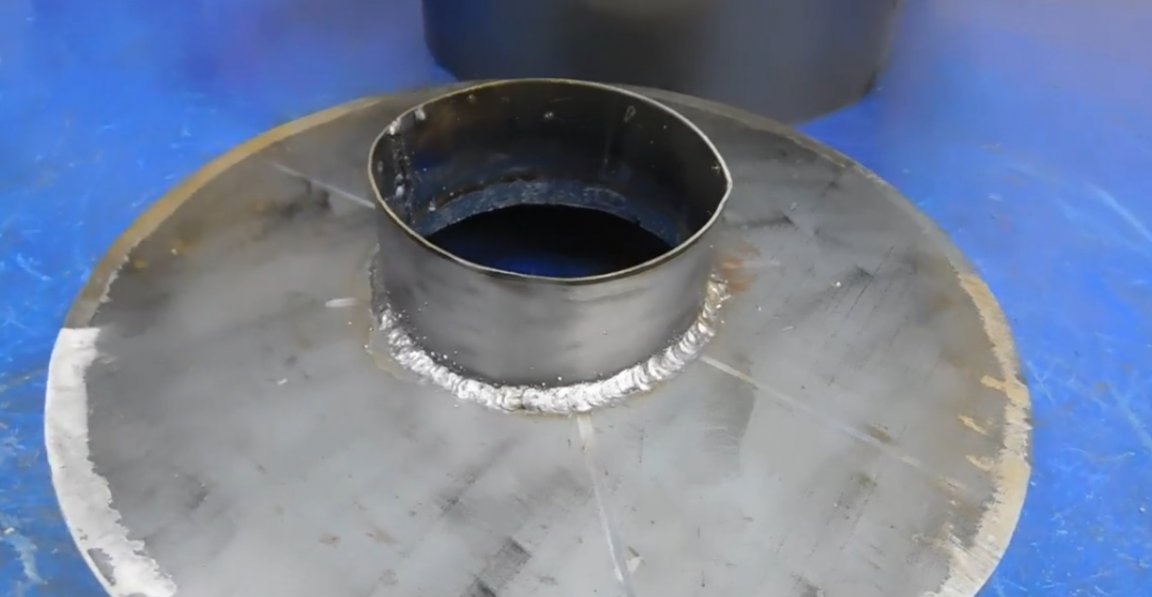
It is made according to the same principle as the pipe, although the diameter is smaller. Then we make a lid out of it, and cut a hole in the lid, another little ring for the 110th pipe.

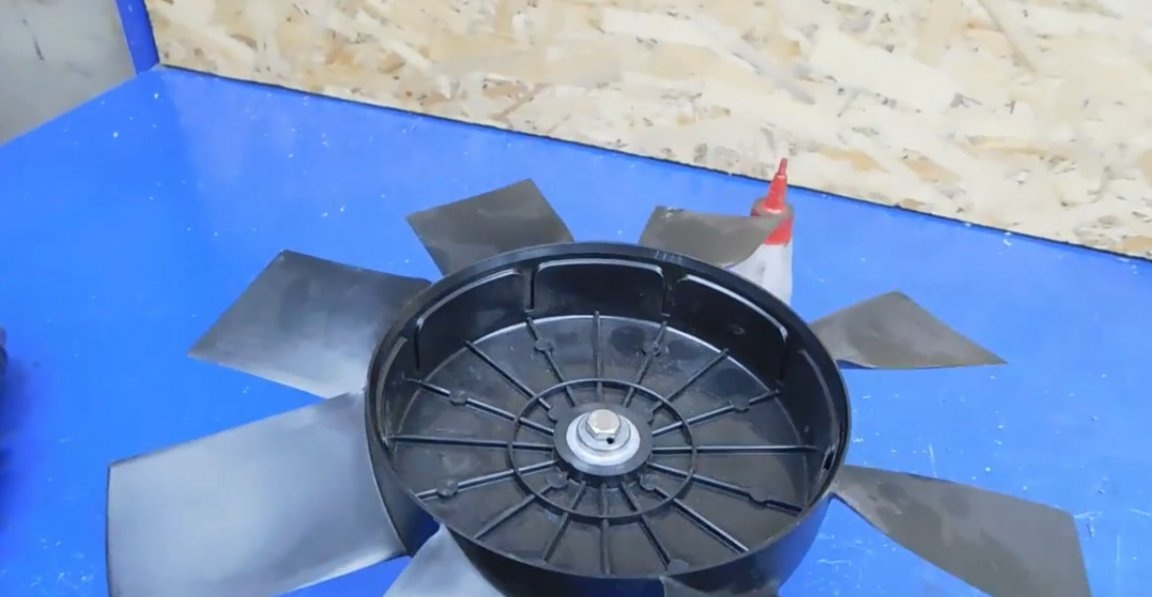
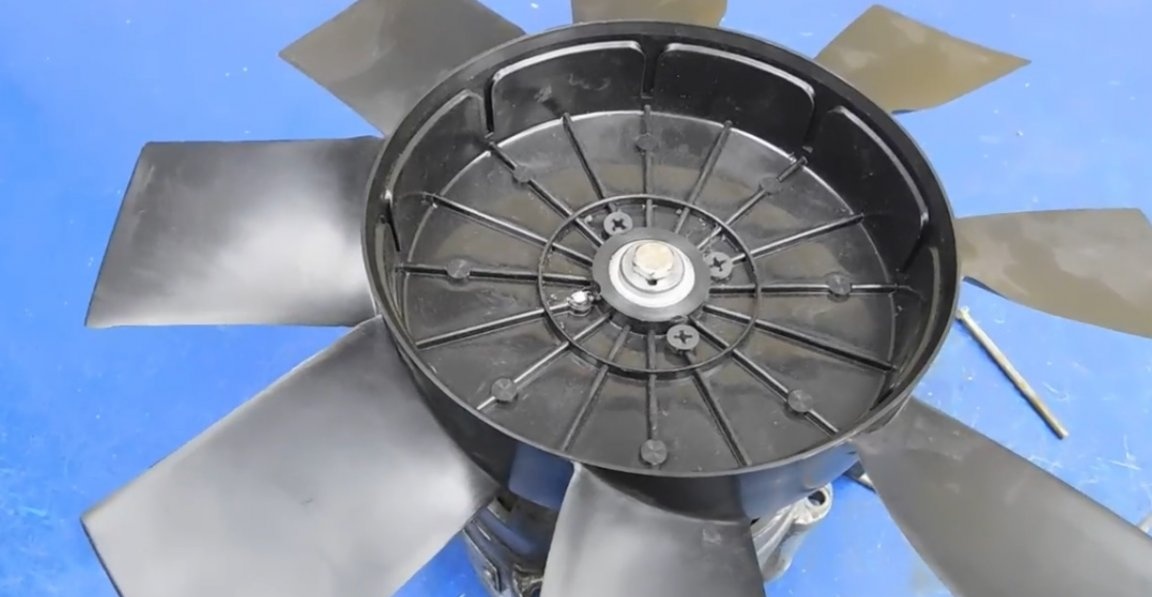
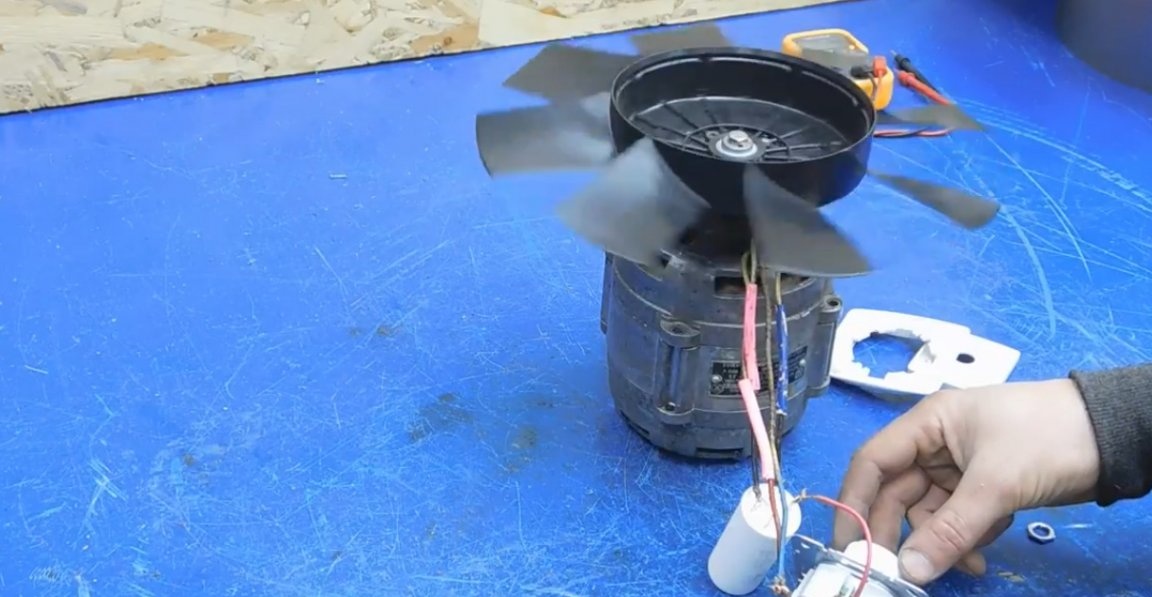
While we push these details aside, the engine is next in line. The task is as follows: fasten the propeller to the pulley.
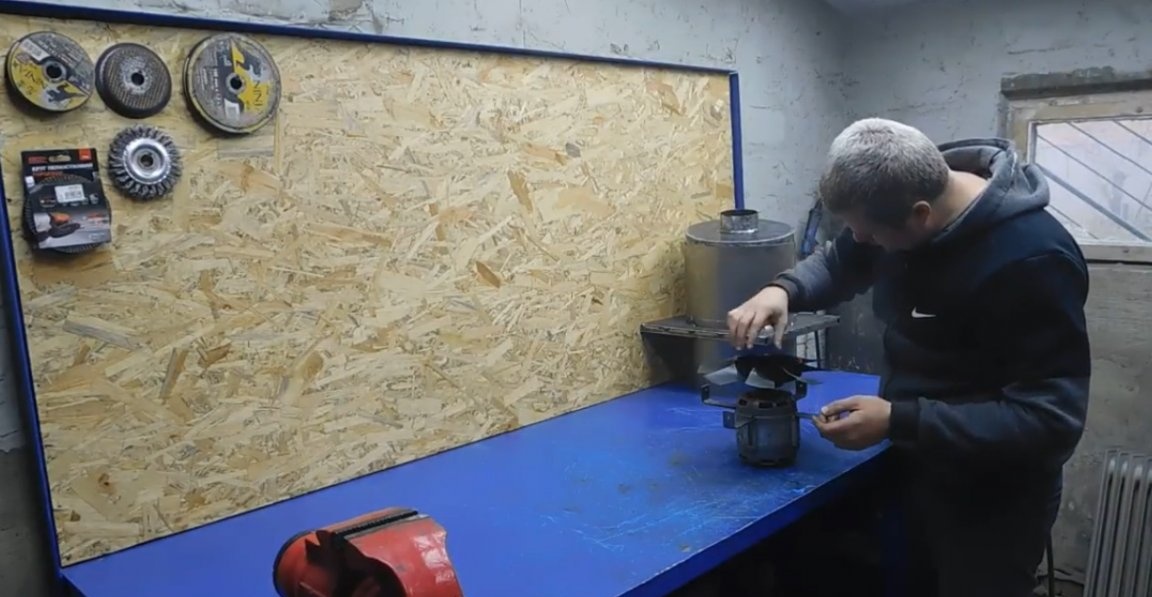
A task is not a task at all, as it turned out. Everything is extremely simple, the author drilled a shaft, cut the threads, screwed the propeller and so that, for sure, he drove 4 screws, 1 of them even broke.
Check the engine.
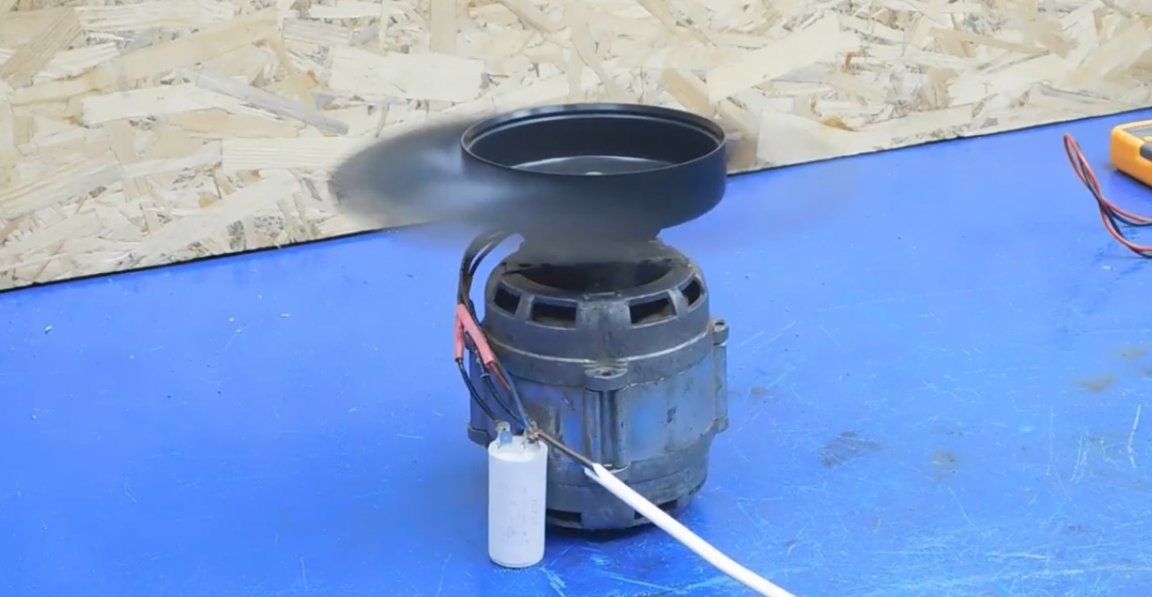
Everything works.Further, the master decided to complicate the scheme a bit and add a dimmer, speed adjustment does not hurt. With a dimmer, the engine starts smoothly, but from the adjustment one name. You can catch small revs, but if you add them a little, the engine gradually breaks down at full power. Pampering of course, but in the absence of a frequency converter is also not bad.
Further painting:
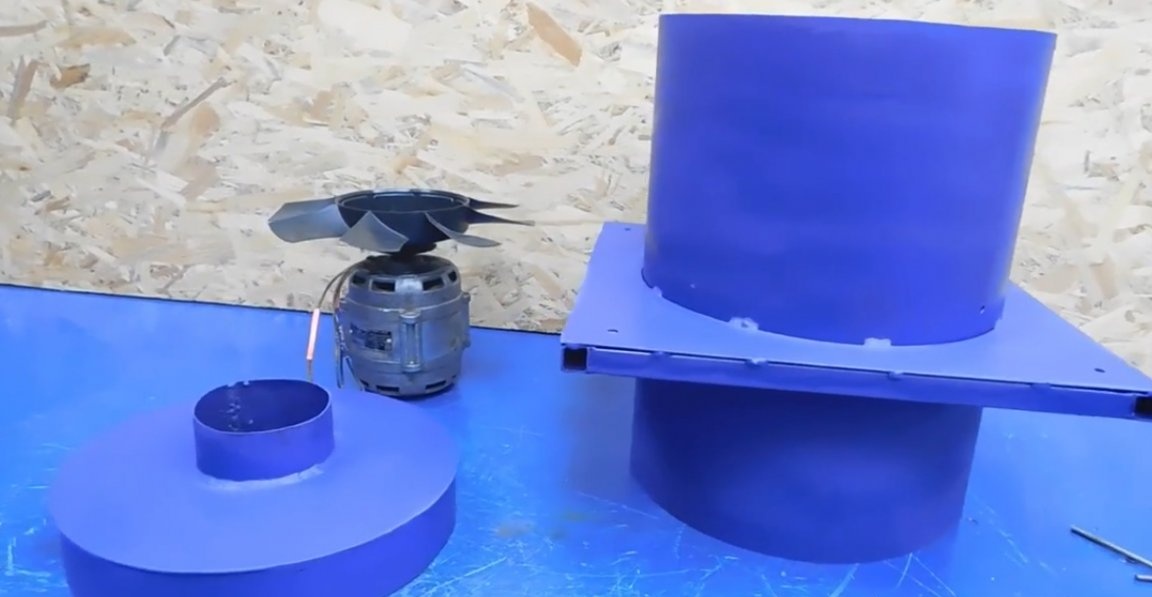
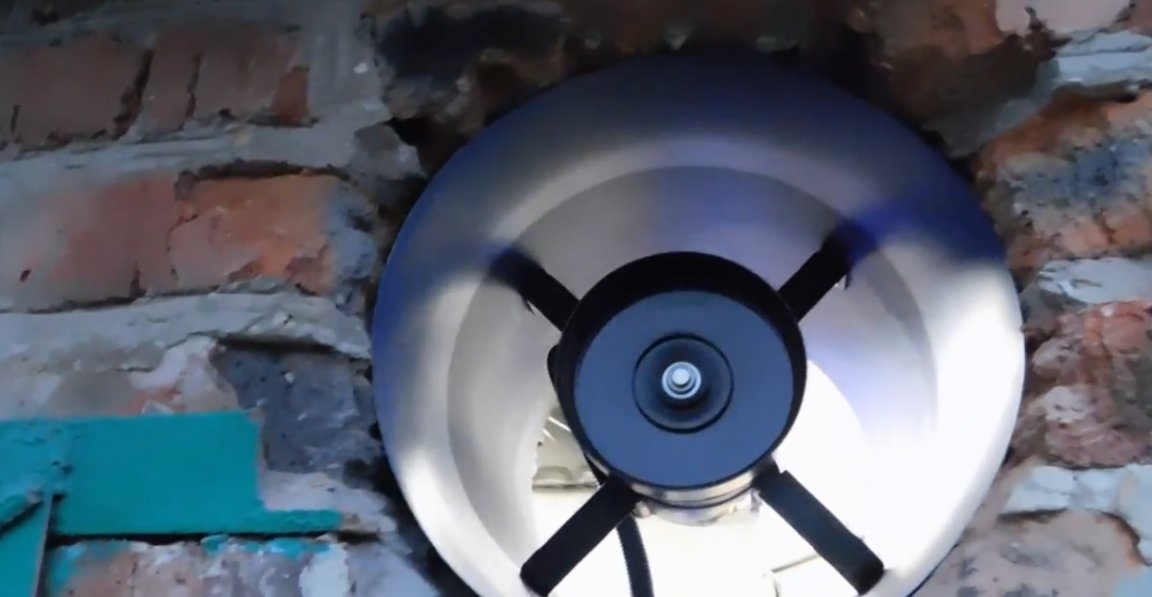
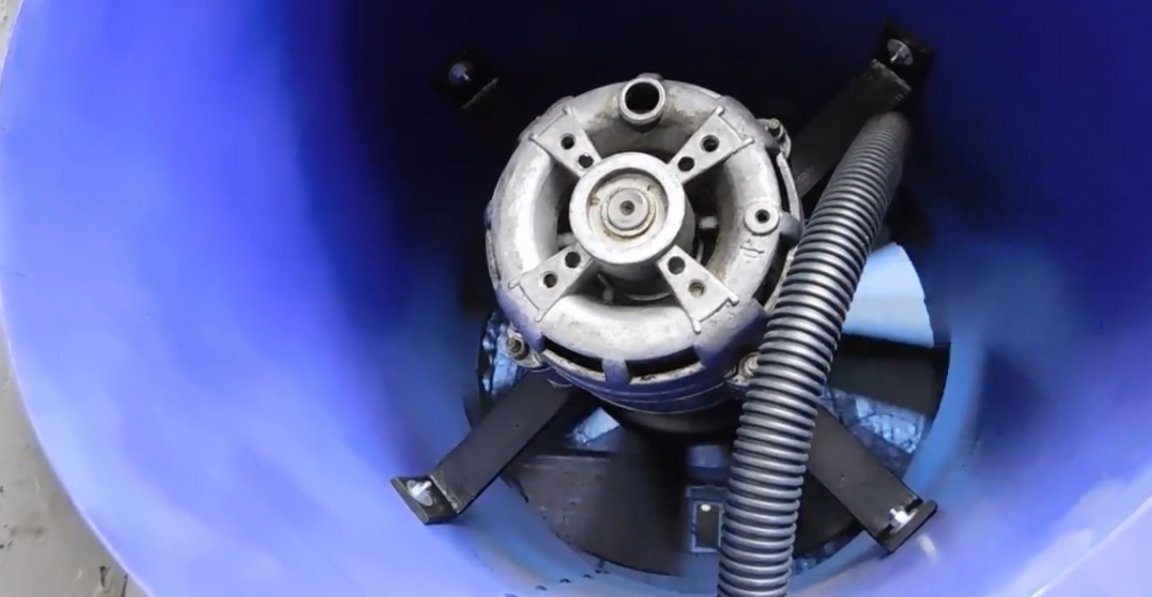
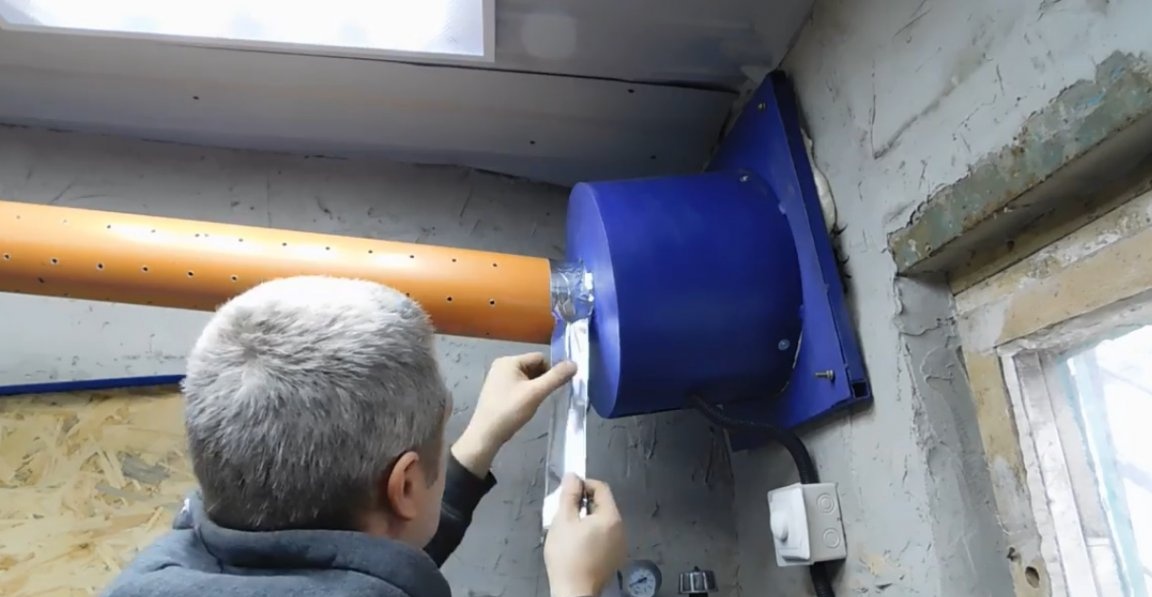
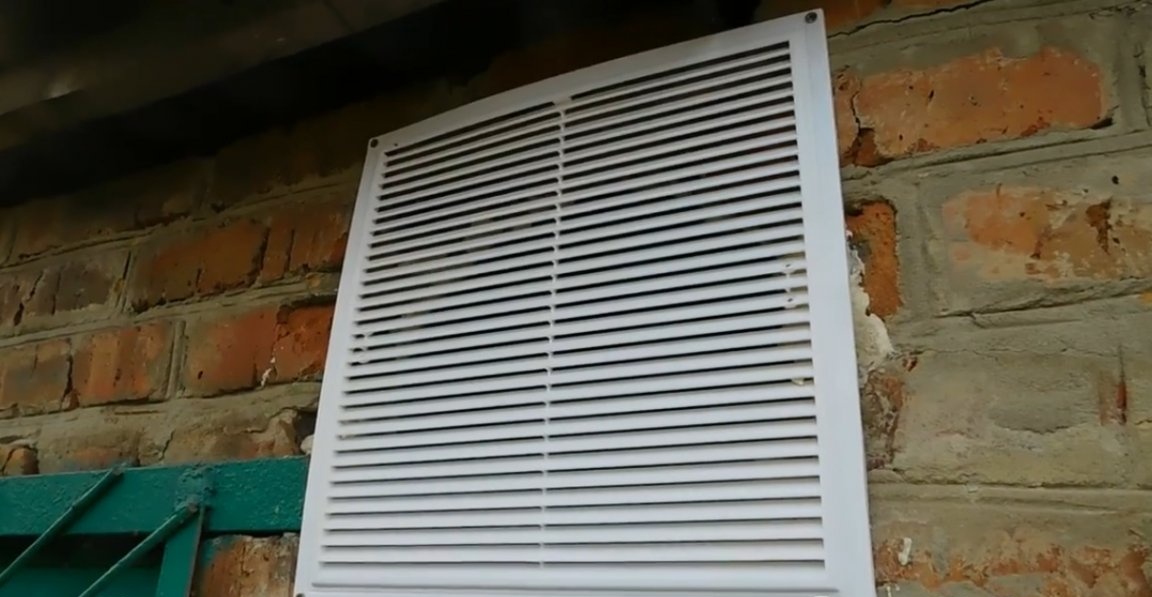
Parts are painted, the engine can be mounted. To do this, in the wall using a punch, it is necessary to make a hole of the diameter we need.
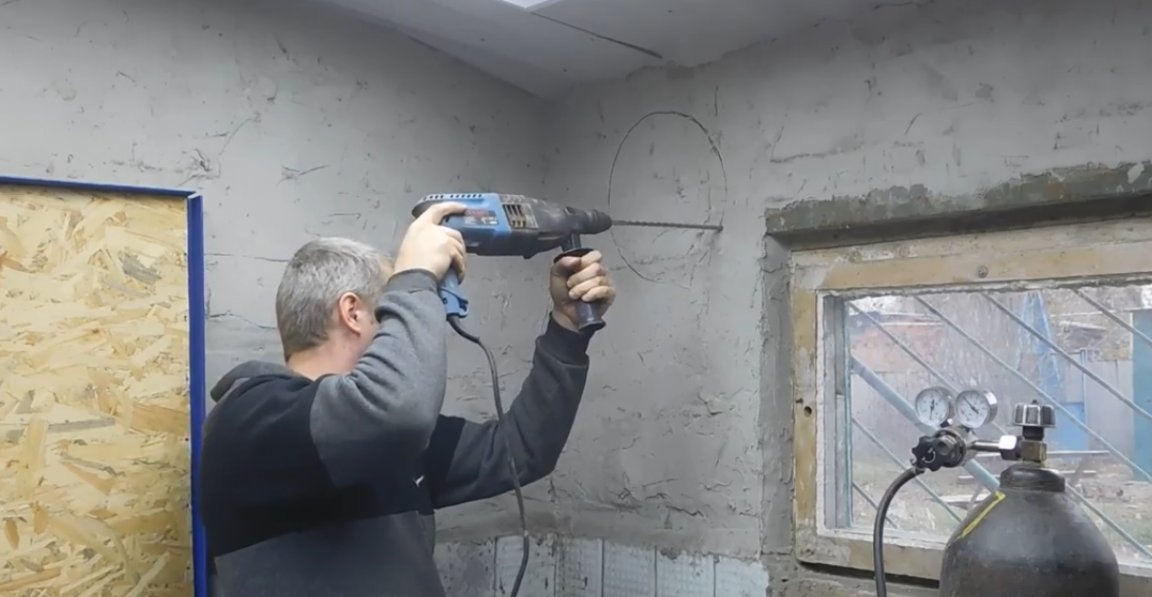
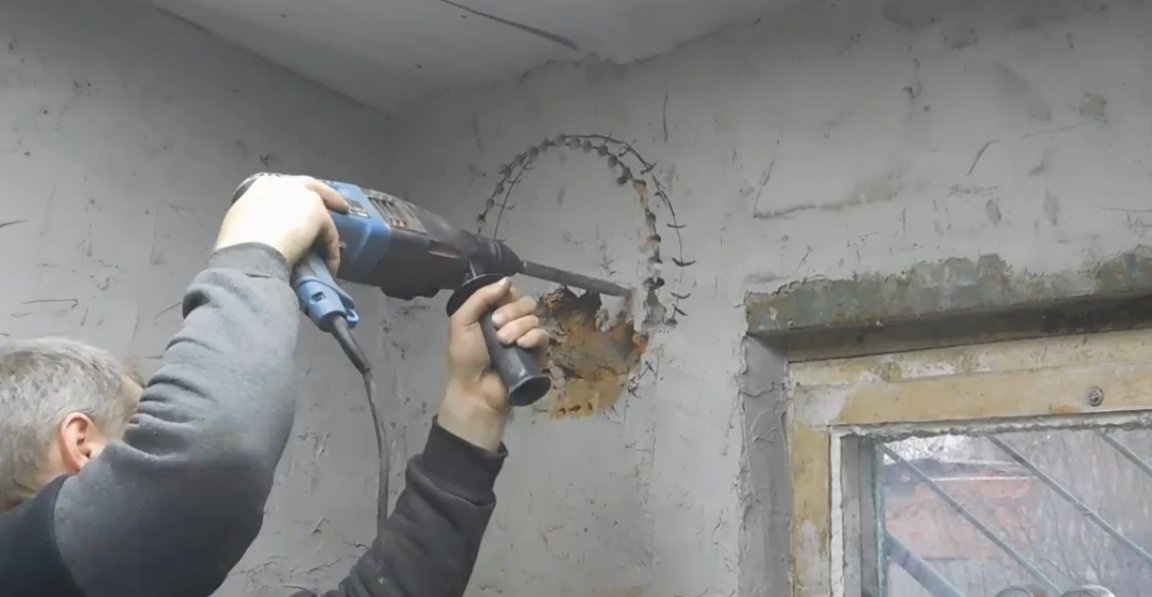
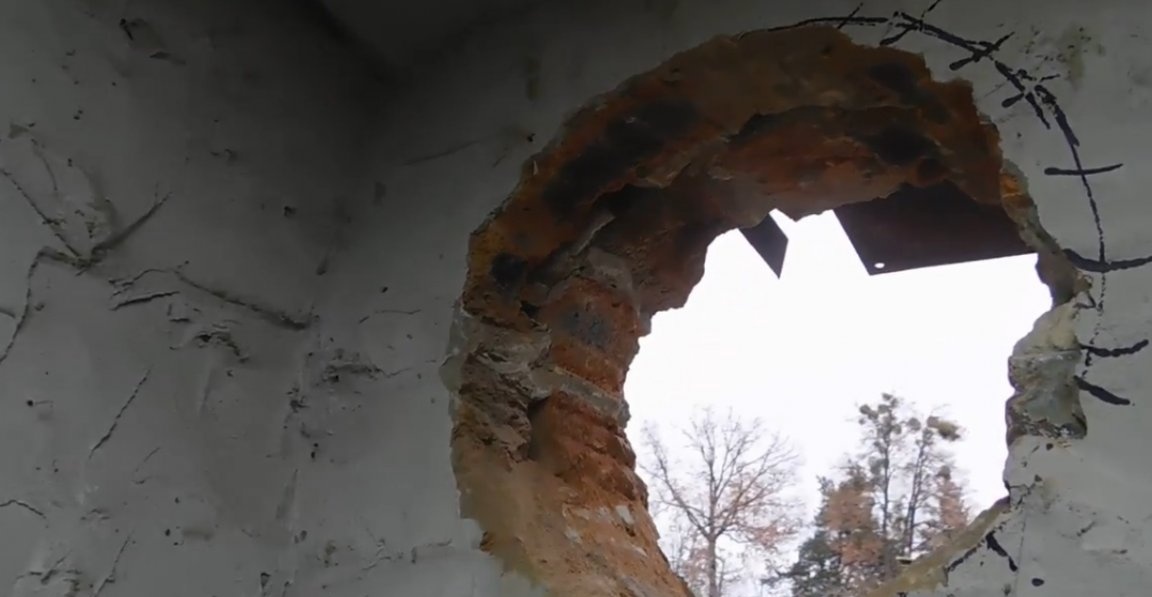
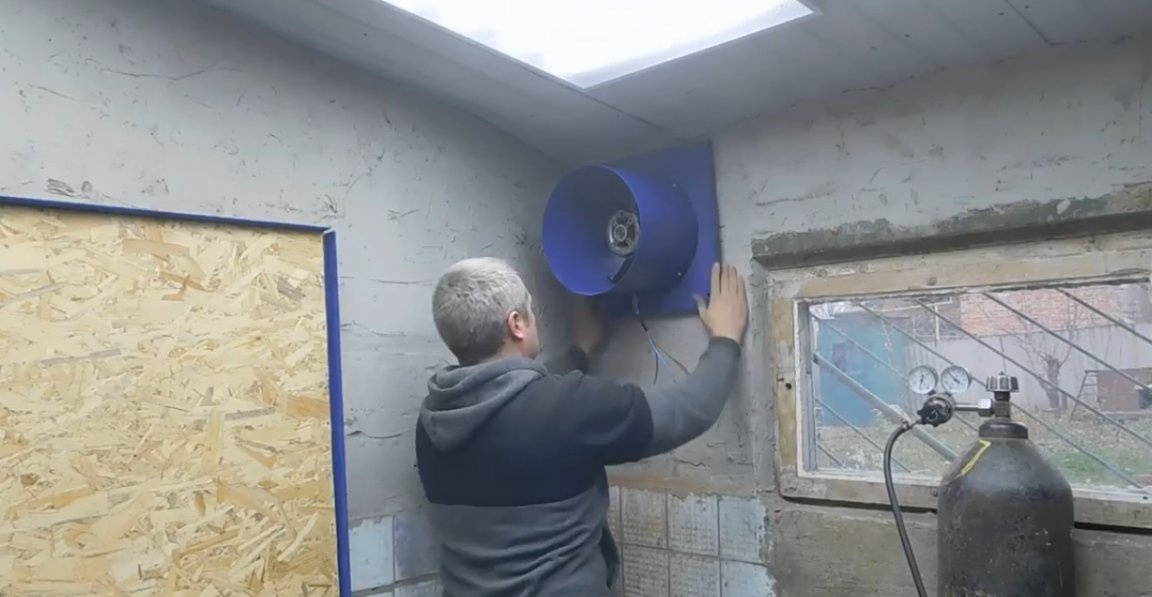
The hole is ready, now you can install this channel fan. By the way, they are not so cheap in the factory version.
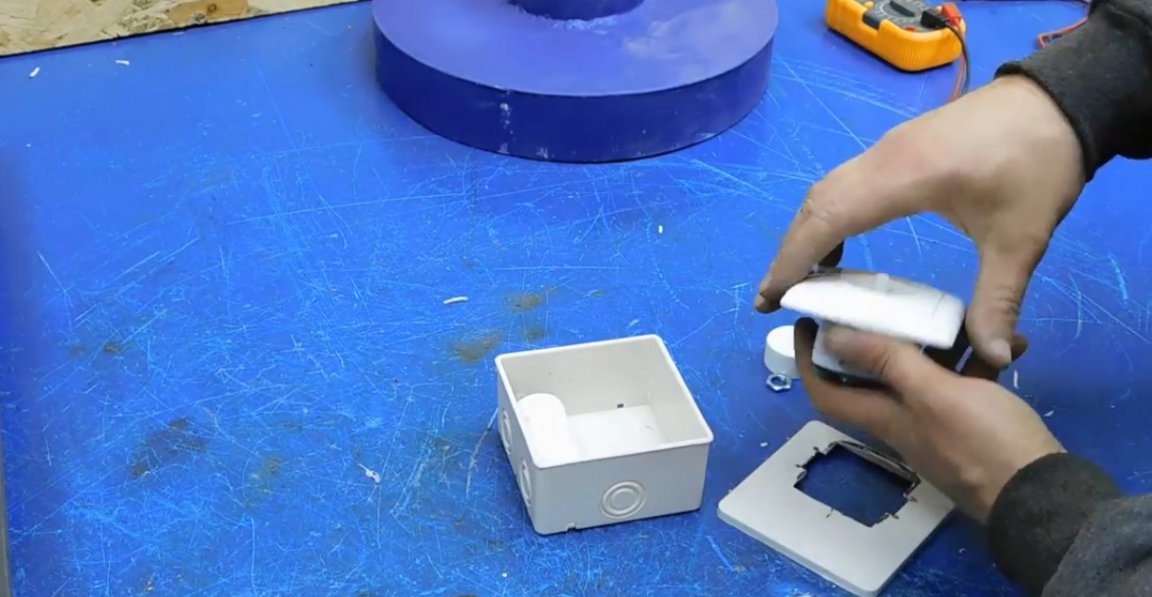
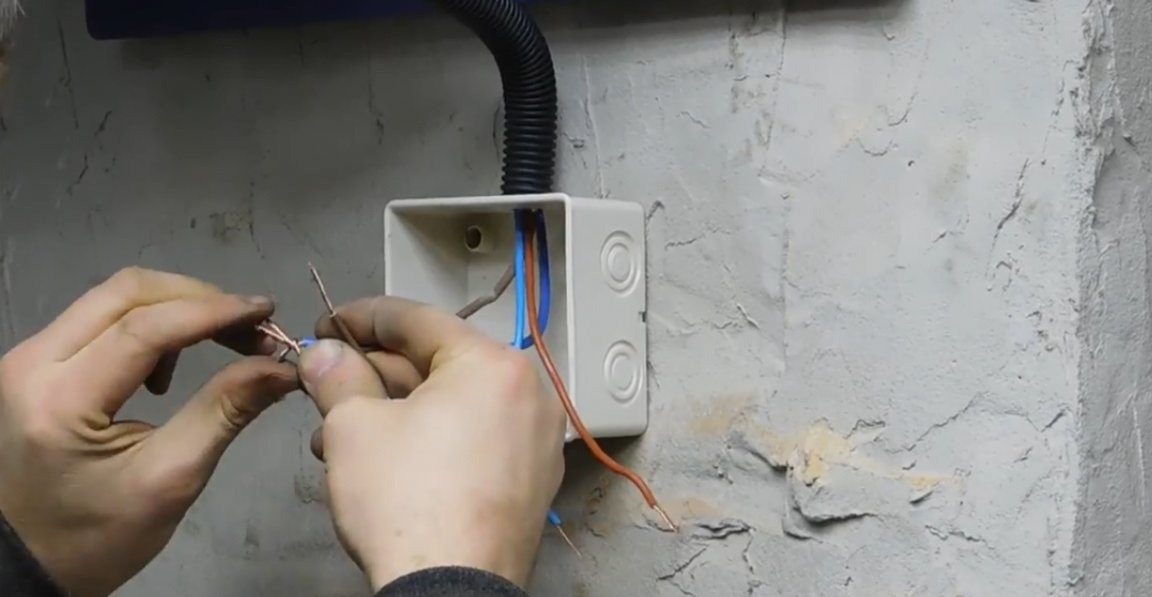
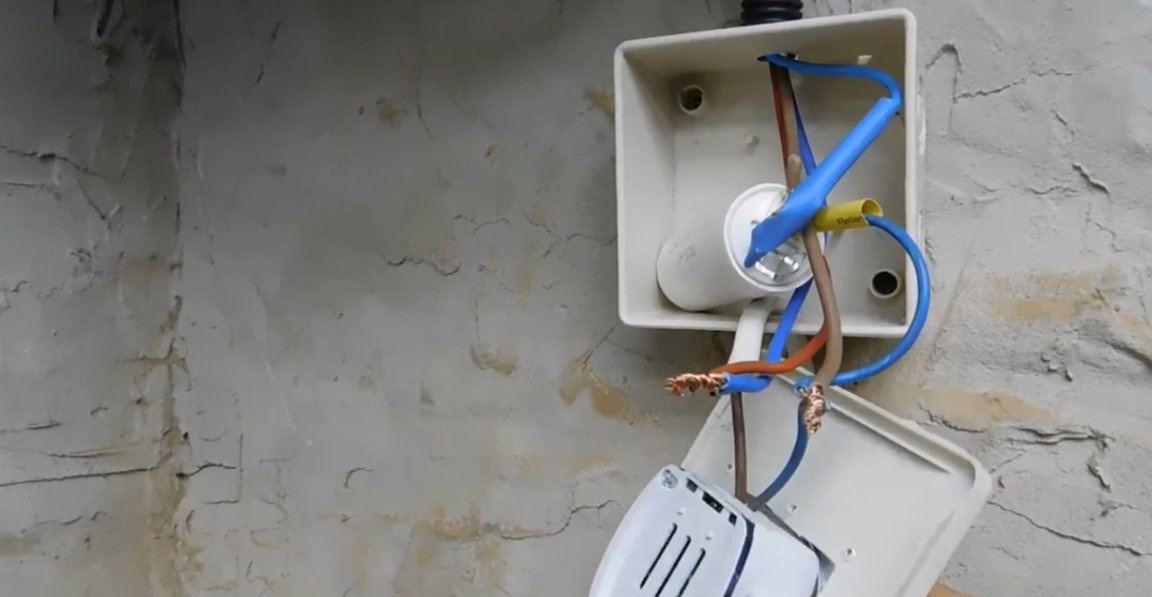
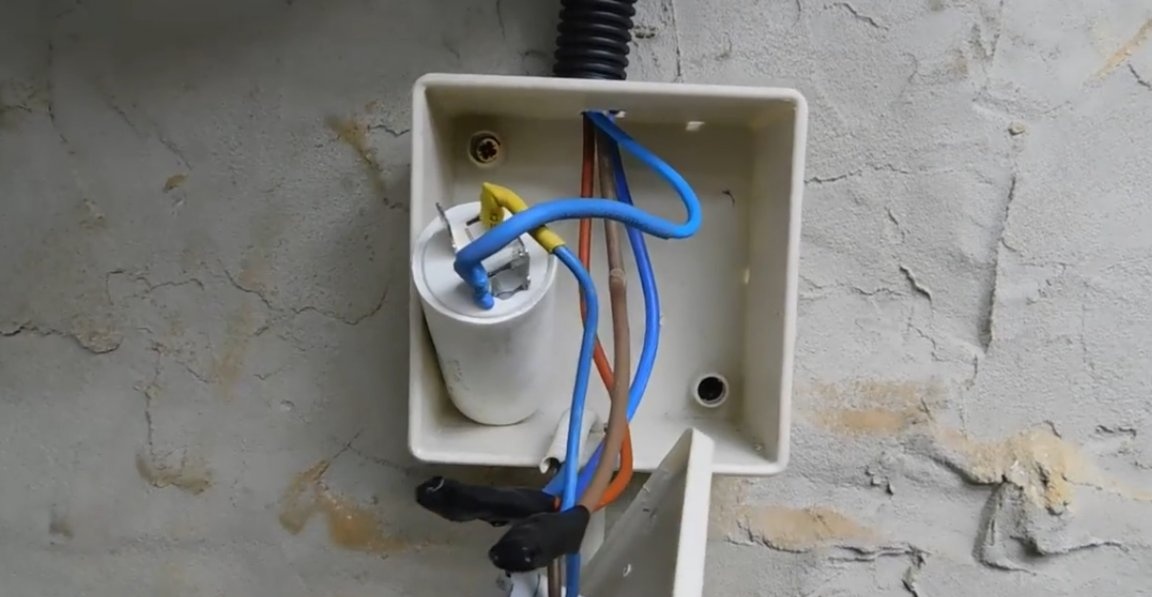
Now for the electrical part. A 6μF capacitor is perfectly placed in the junction box, in the cover we make a hole for the dimmer and fasten it with screws.
There are 4 wires in this engine. We find the working winding - the one with the lowest indicator, and the starting, respectively, with a large indicator.
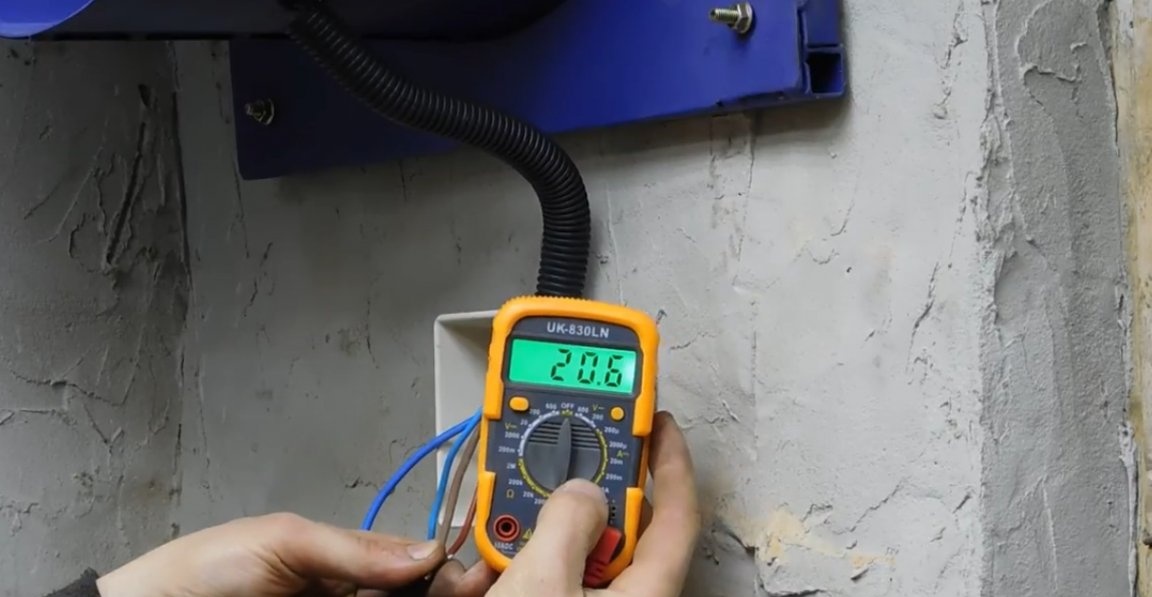
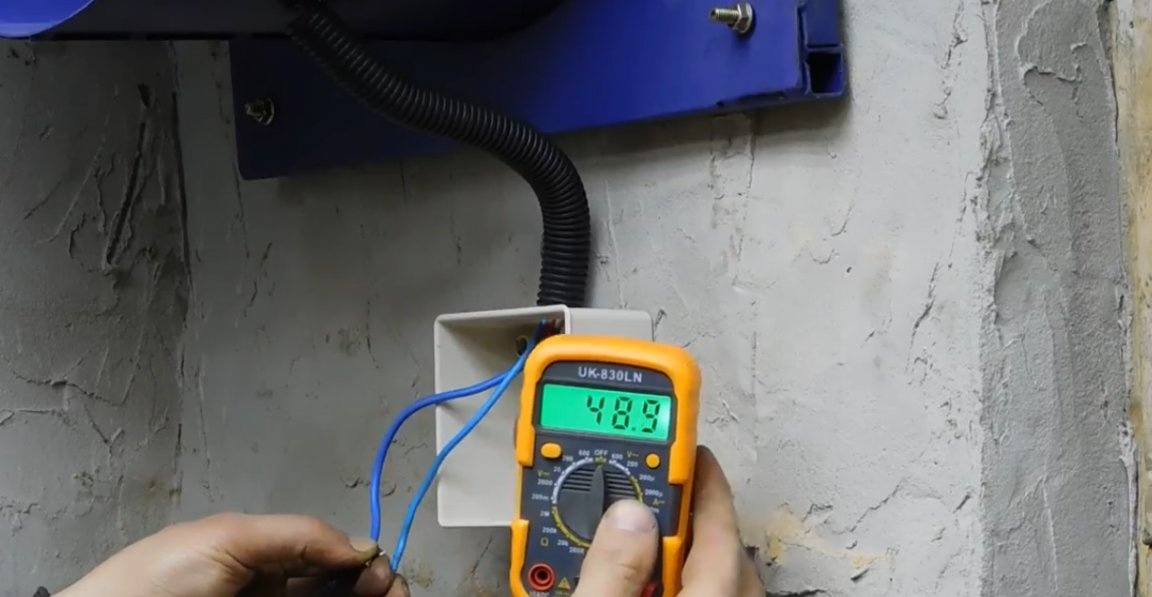
We connect the whole thing in a simple way through a capacitor and a dimmer, and check what we screwed up there.
Well, everything works fine. It is also important to put the propeller correctly. The direction of rotation, this is understandable, the main thing is that the blades do the air intake on the right side.
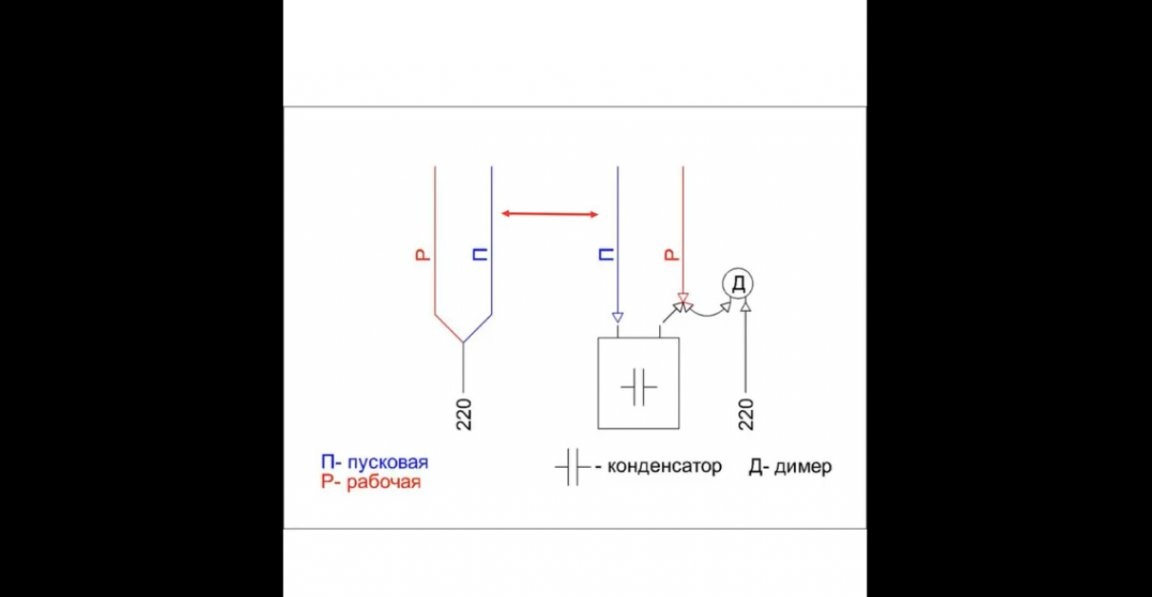
On electrics, here is such a diagram:
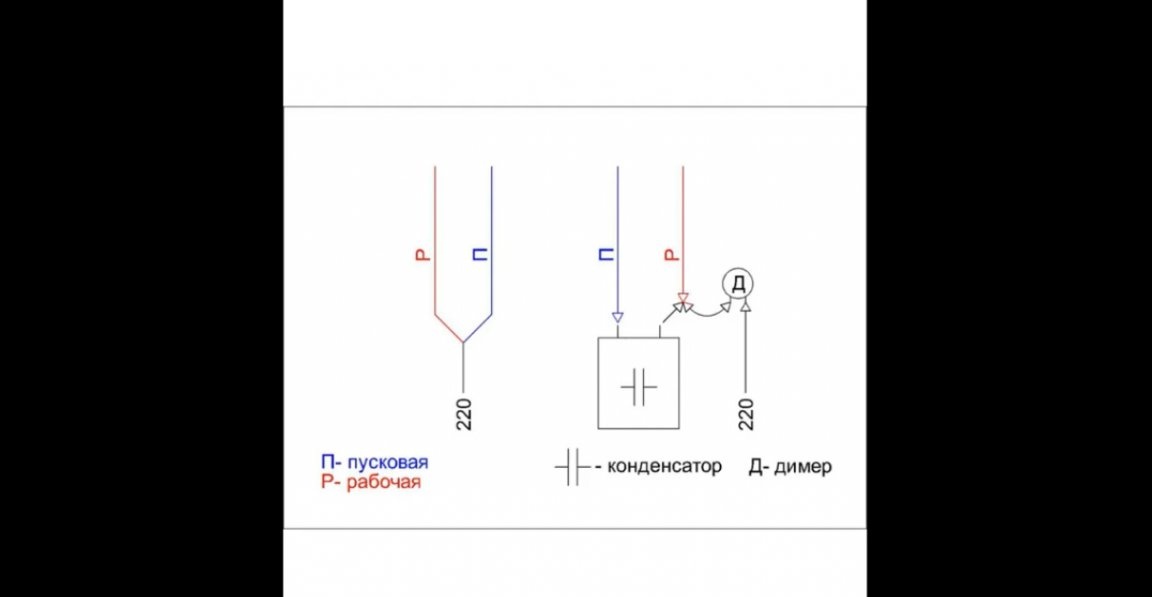
Nothing at all complicated, the main thing is to correctly determine the working and starting windings. If the motor does not rotate in the direction you need, simply swap the wires of the starting windings.
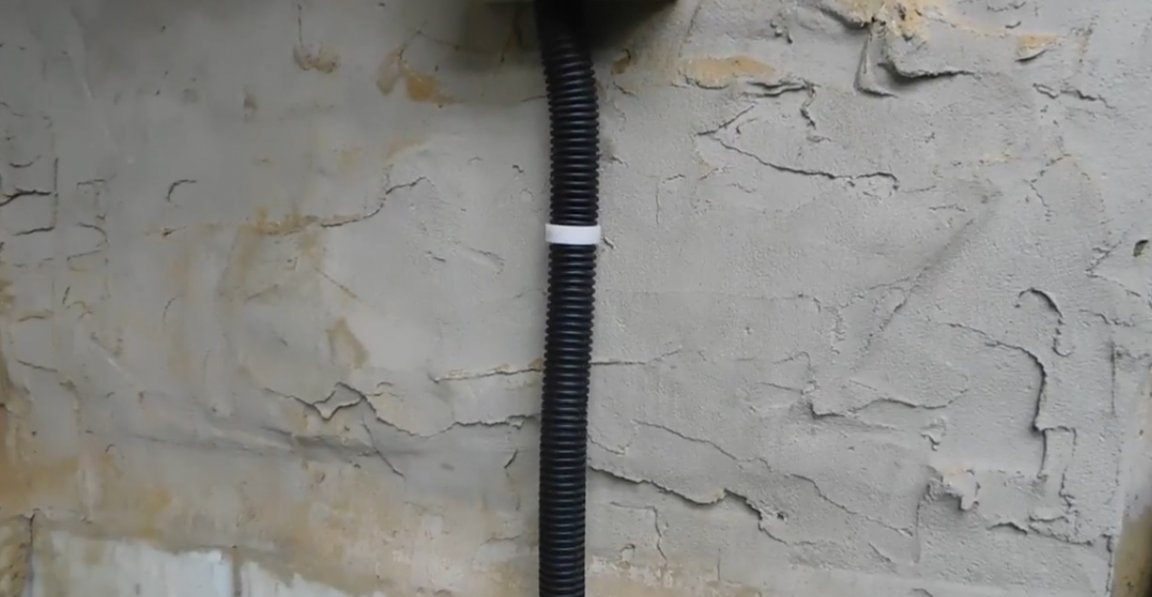
So, we sort of figured out the wiring, the network cable is fixed to the wall.
The thrust is certainly not crazy, but immediately an influx of fresh air is felt. For such a performance, the master threw back the option of a separate inflow, it is enough for him that he pulls from a loose-fitting door.
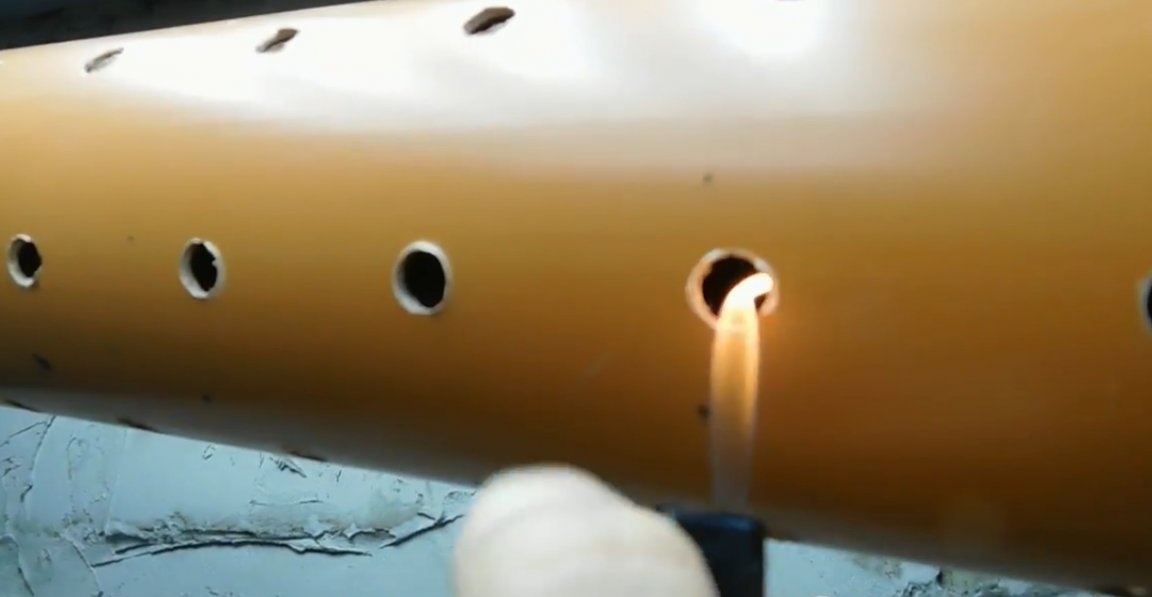
Next, we need a sewer pipe. The author chose orange rather than gray, as it is denser.
We divide the pipe into 3 equal intervals (per meter) and drill first with a 6 mm drill, and then with 8 and 10 mm drills.
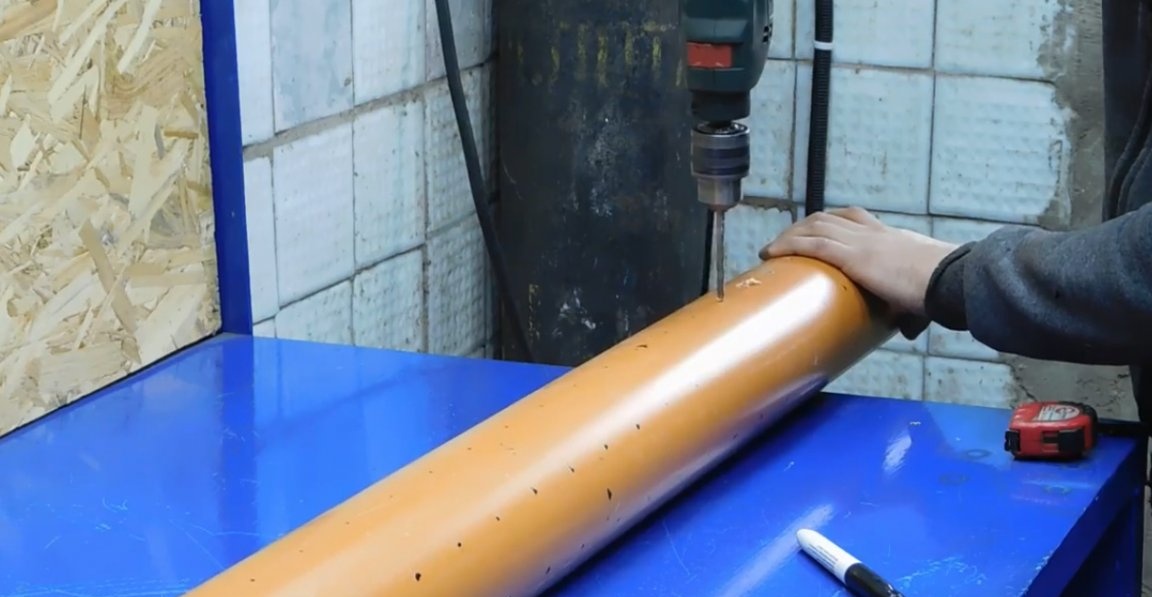
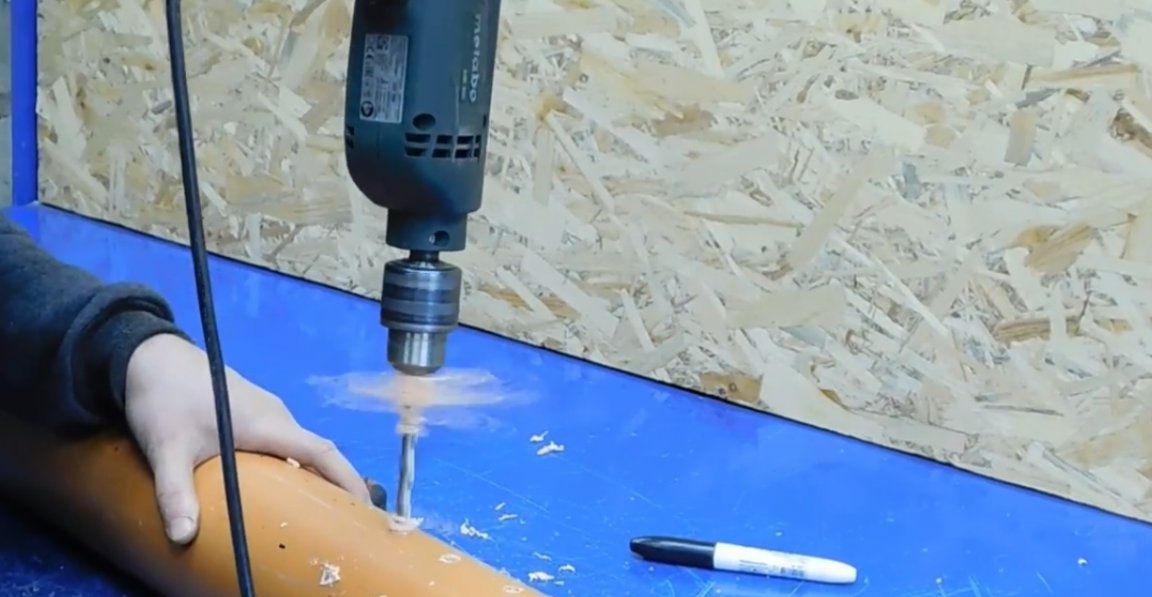
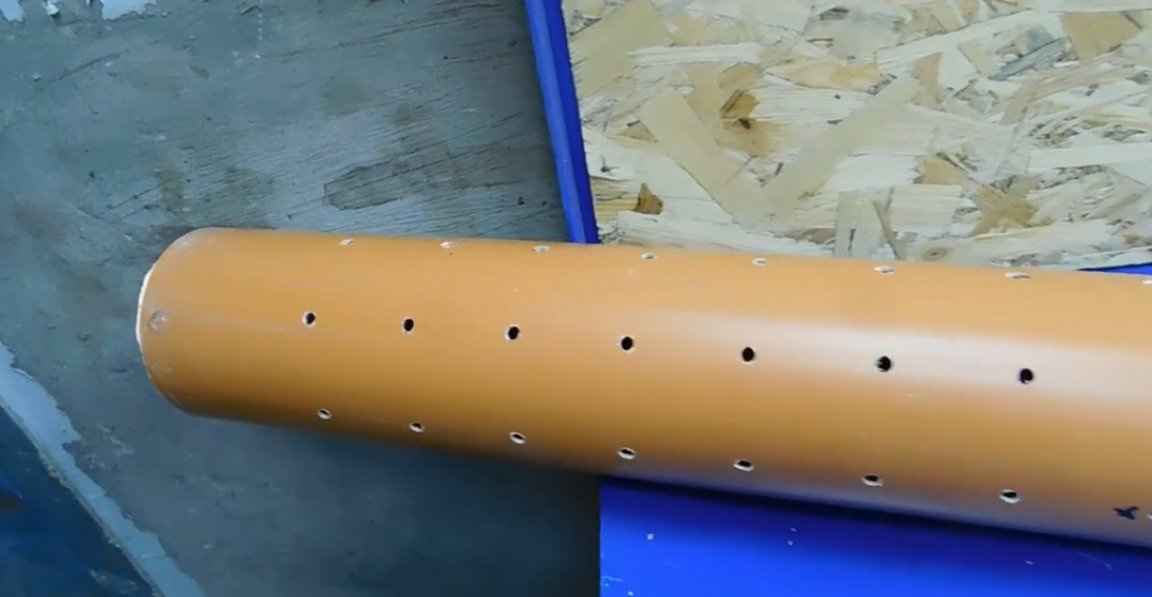
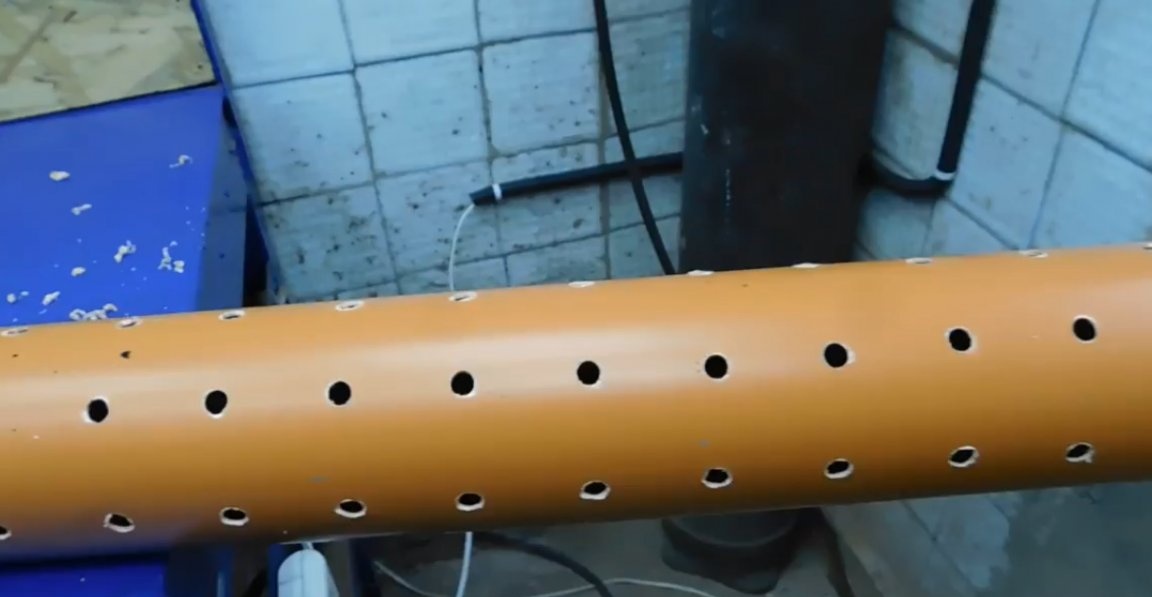
Closer to the hood, respectively, the hole will be minimal, and the farther, the larger the diameter of the holes.
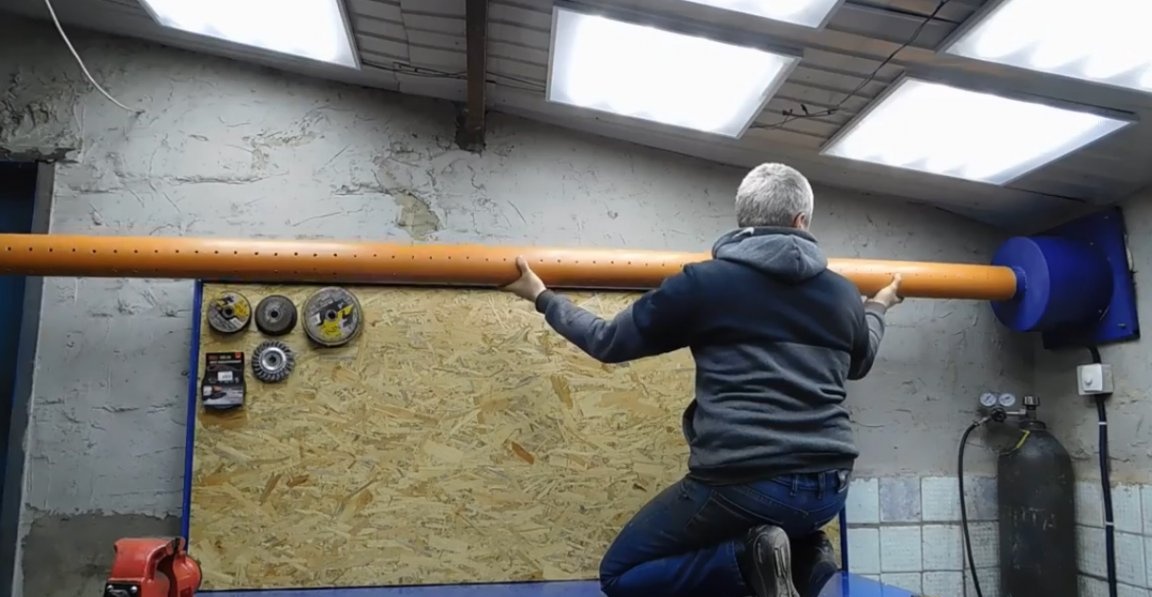
Putting it all together, and finally, let's test today’s work.
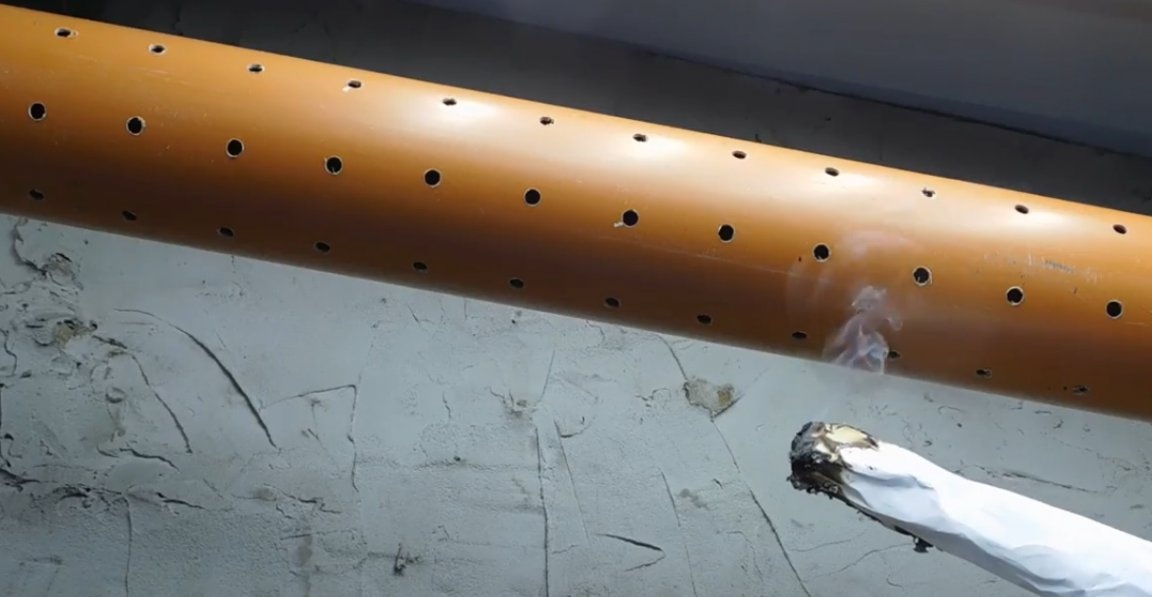
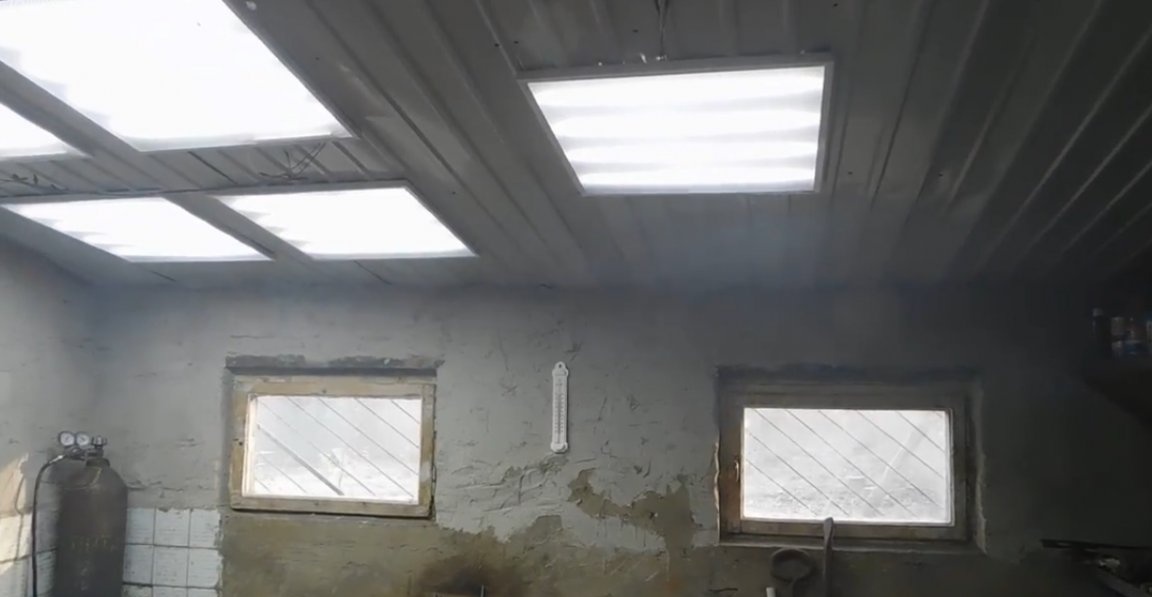
Everything works as expected. Of course it does not compare with the supply and exhaust system, but for this room it is.
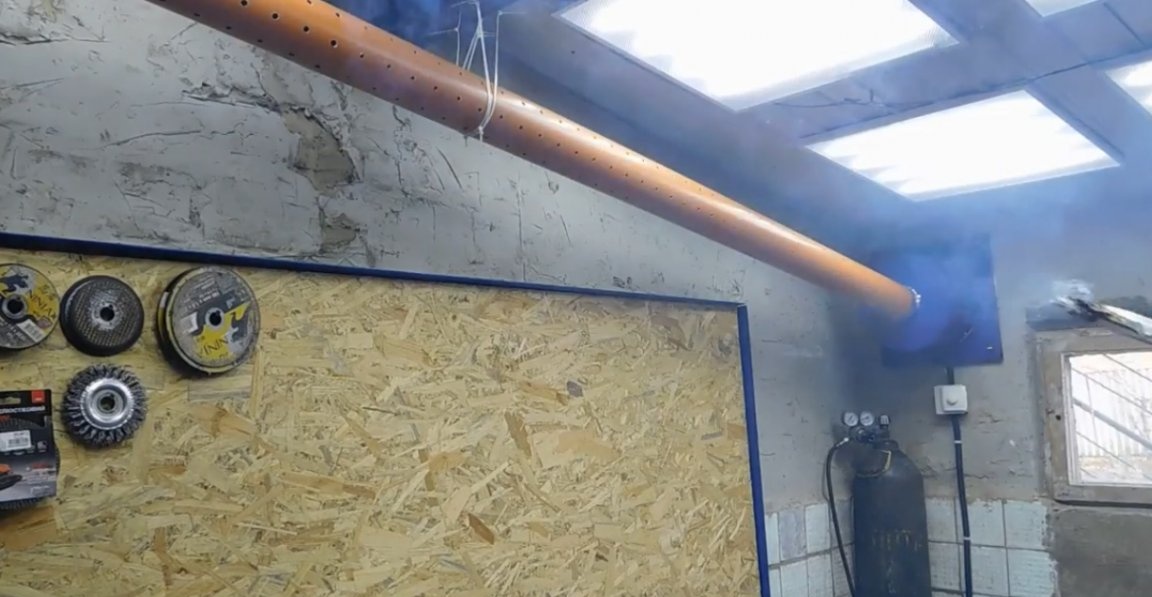
Smoke, though not instantly, but gradually leaves the room. With the hood constantly turned on, the cold that pulls from the street is not very felt.
Well, that's all for today. Thank you for attention. See you soon!
Video: