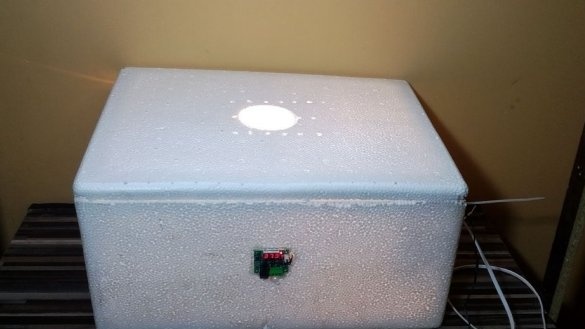
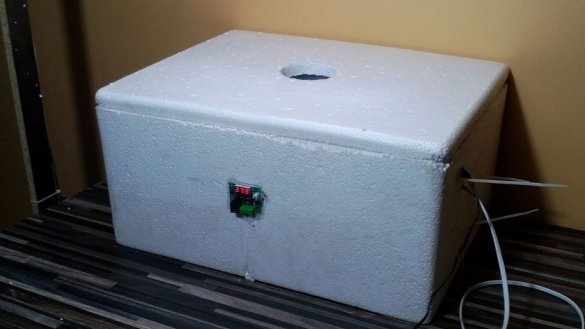
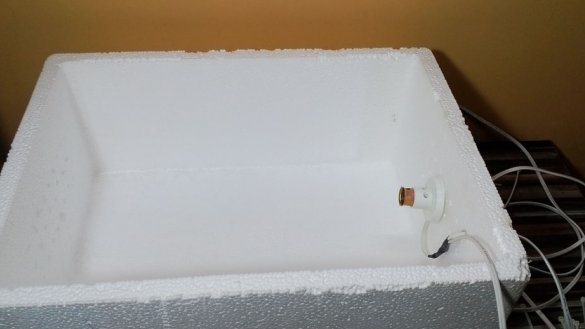
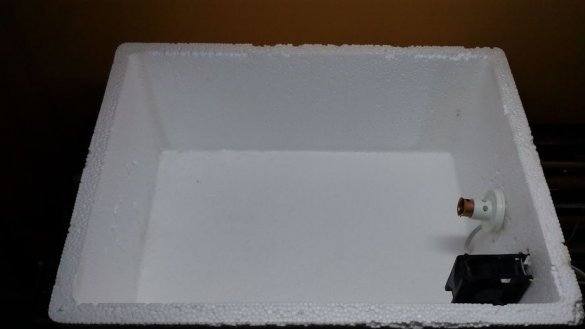
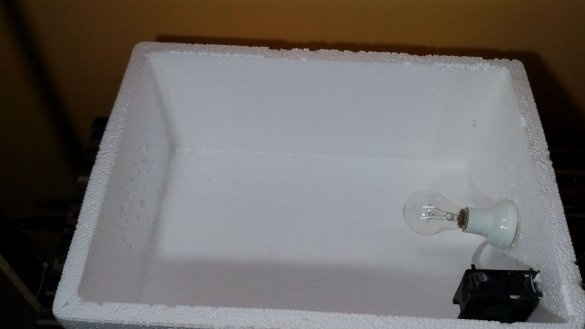
If you think that an incubator is very difficult, you are mistaken. Making a simple incubator is easy and not very expensive. Let's see how our master handled this task.
Tools and materials:
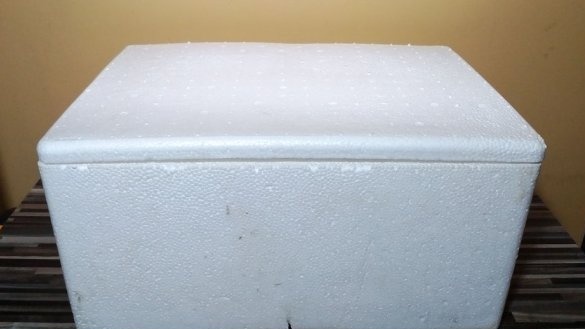
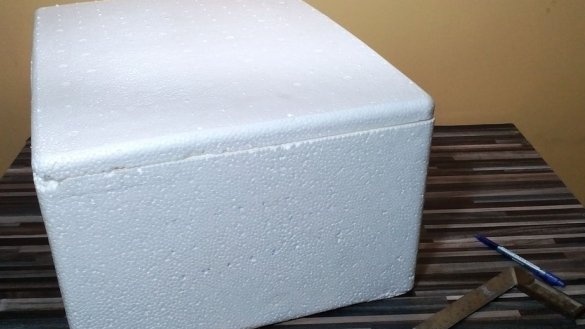
-20 liter foam container:
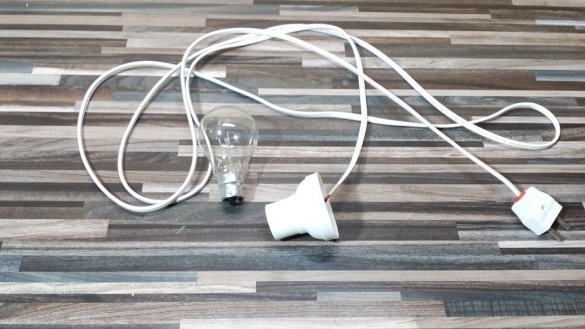
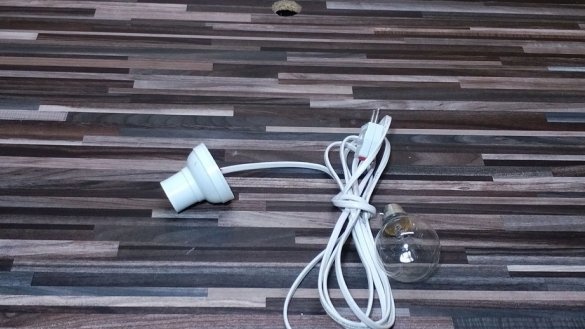
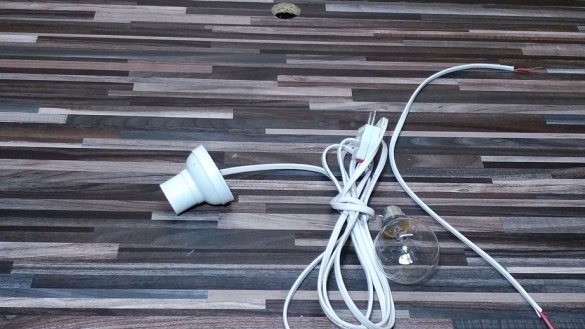
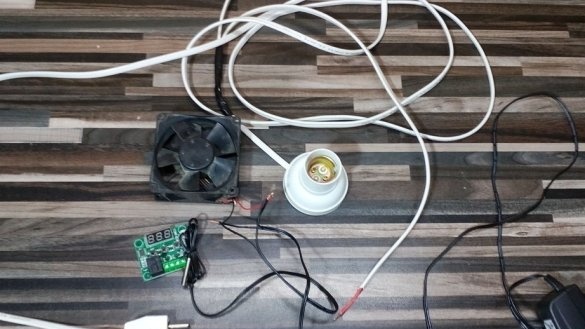
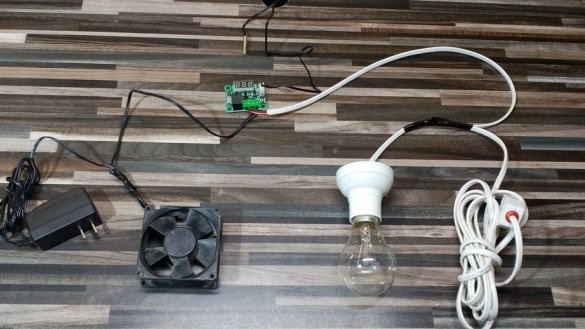
-Electric cartridge;
-100 W bulb;
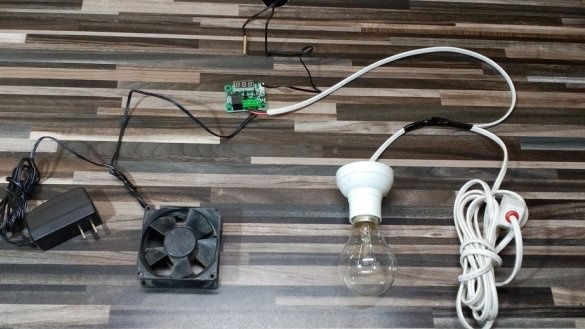
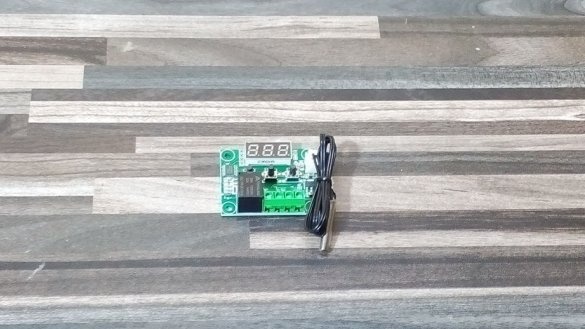
-12 V digital thermostat;
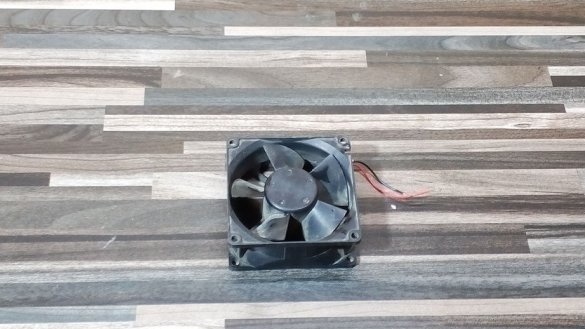
- 12V fan;
-12V power supply;
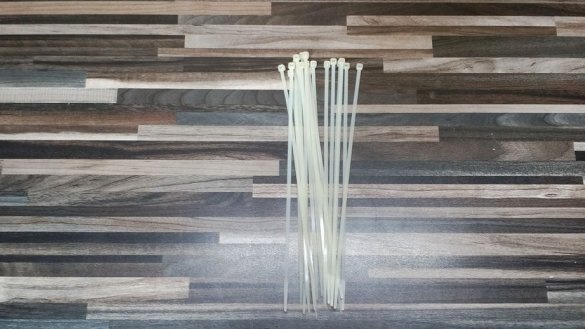
- Cable tie;
-The wire;
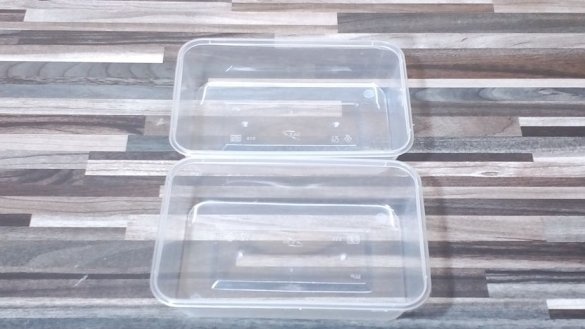
-Plastic cup;
-Gon;
-Drill;
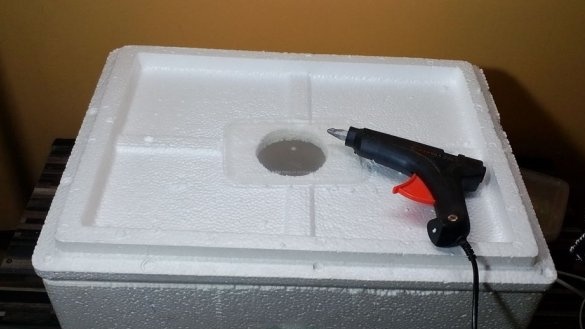
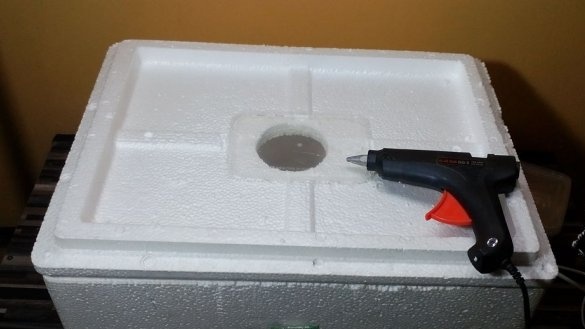
-Glue gun;
-Crown on wood;
-Knife;
-Insulating tape;
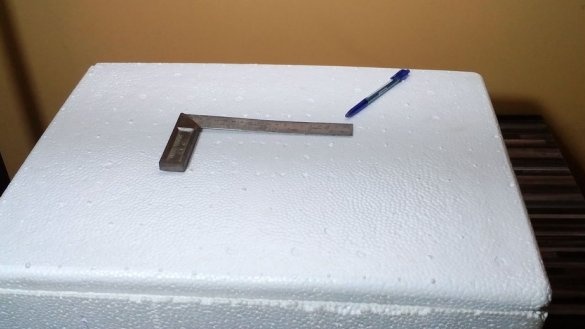
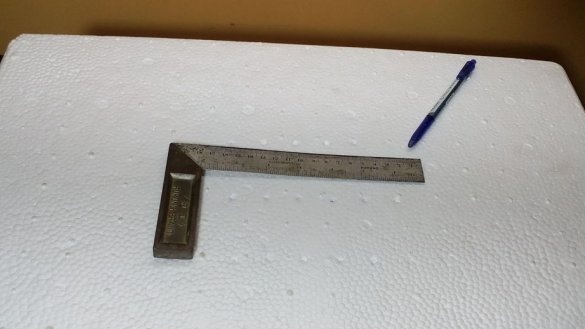
-Pencil;
Step One: Ventilation Holes
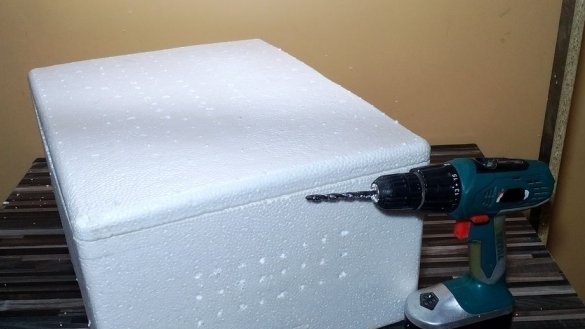
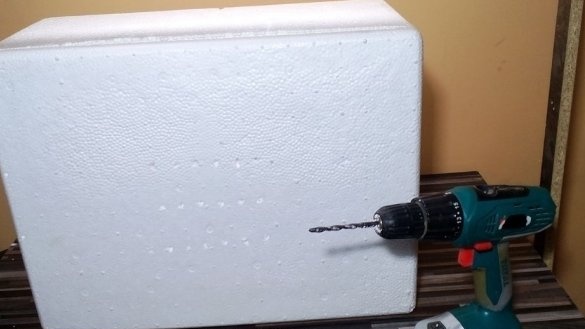
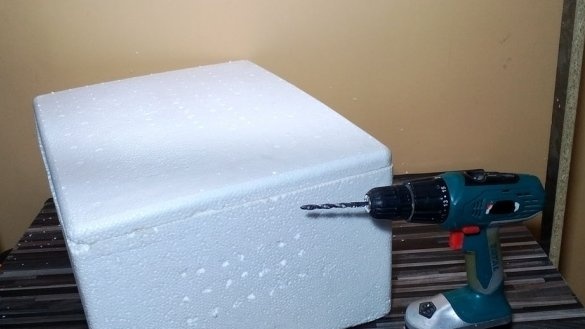
On the side and on the lid of the box, the master makes a series of ventilation holes.
Step Two: Wiring
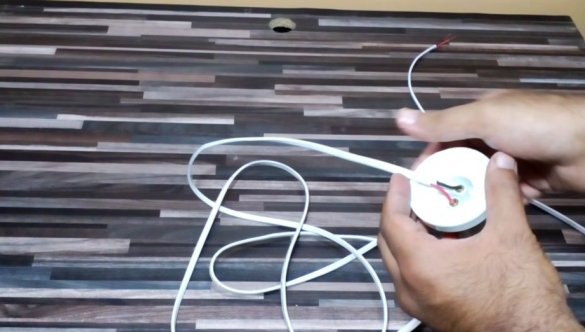
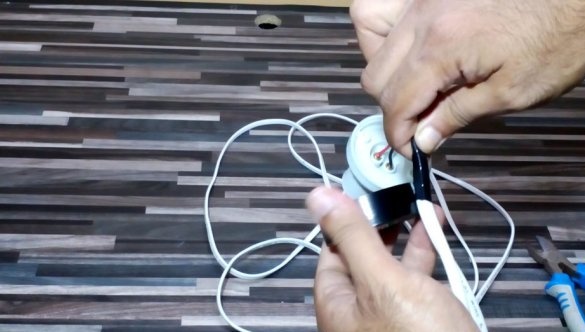
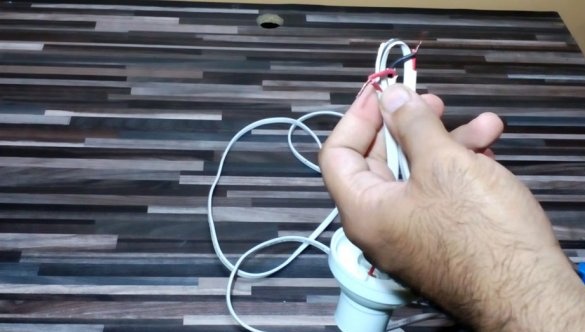
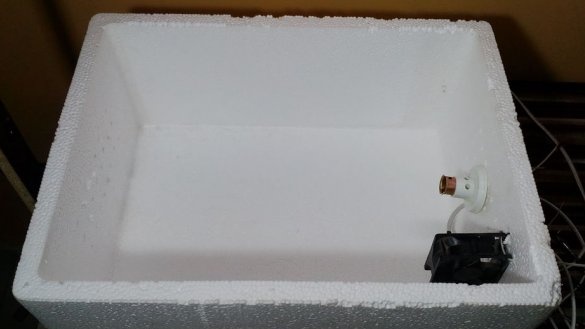
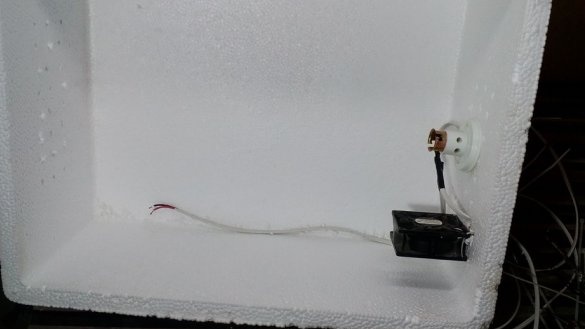
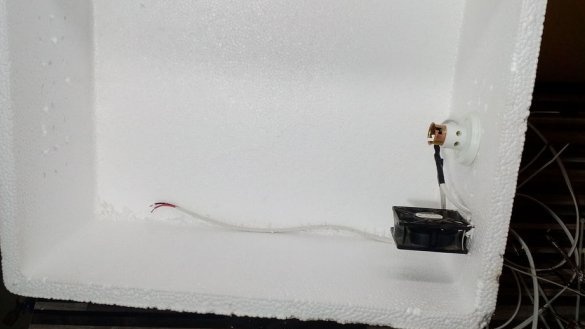
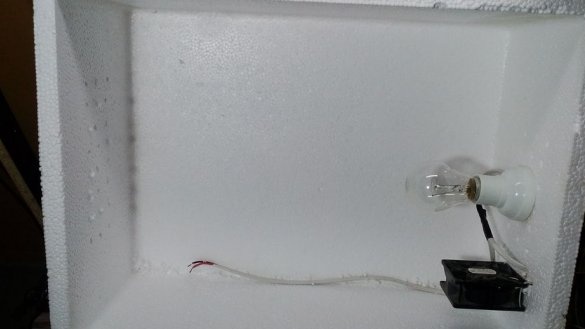
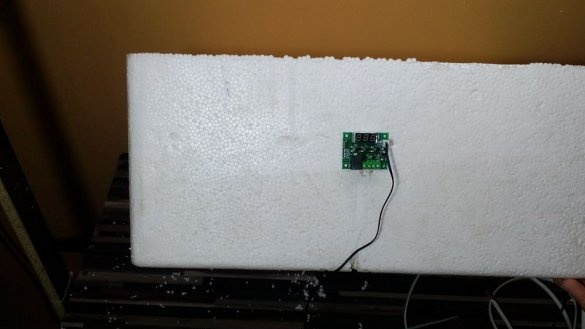
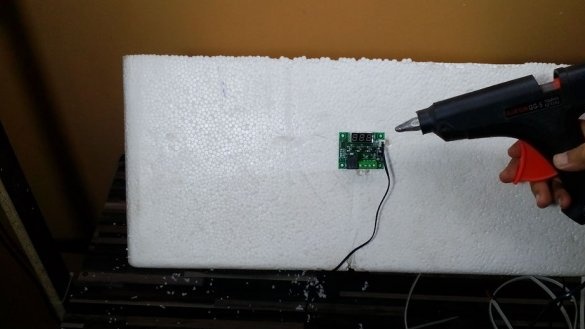
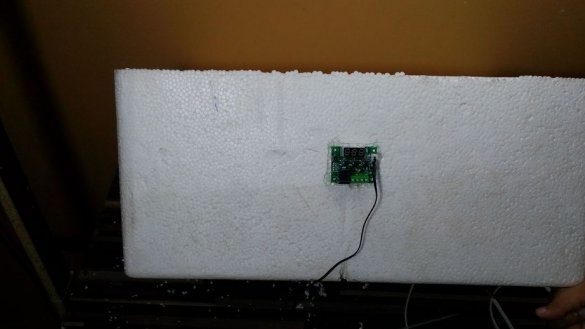
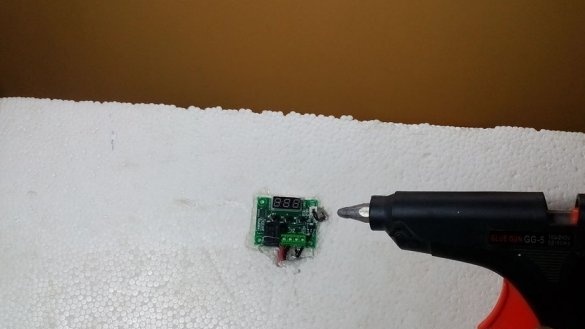
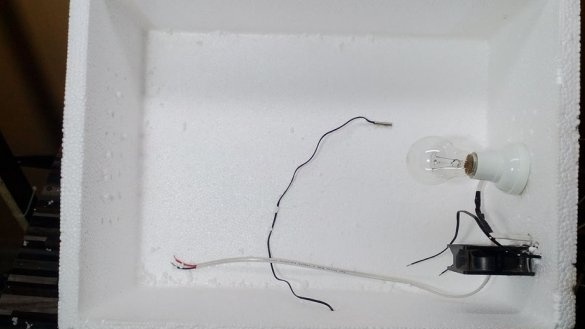
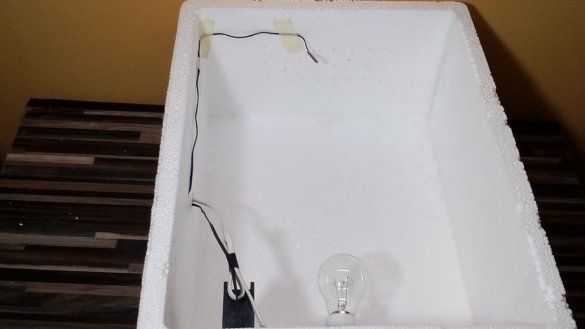
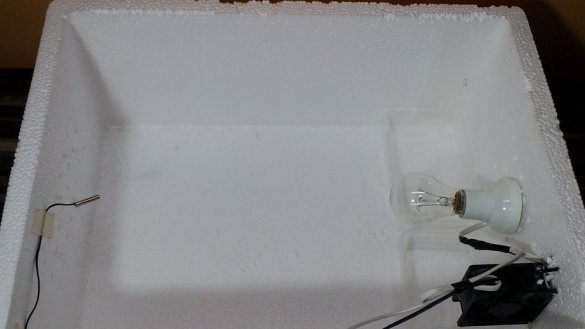
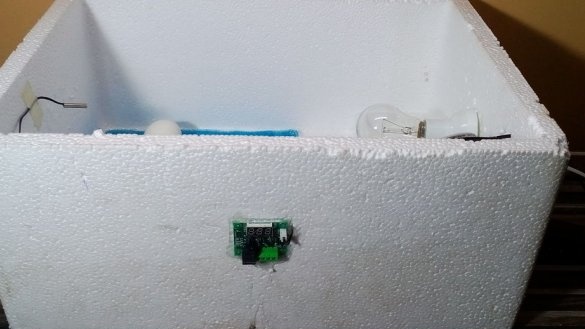
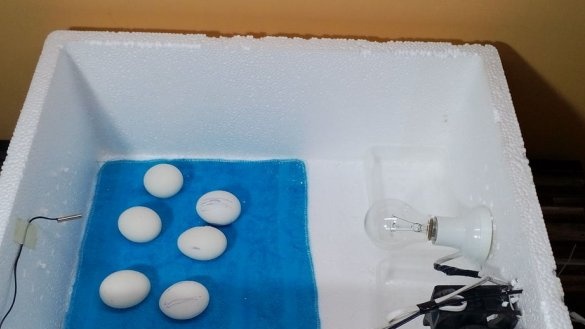
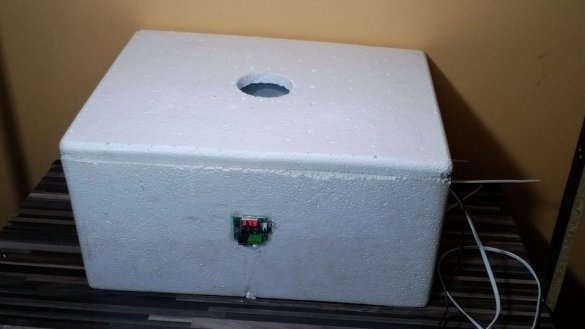
Next, the master mounts an electric cartridge. The cartridge secures with cable ties. Sets the thermostat. The temperature controller fixes on the front side from the outside, and the sensor installs inside. Installs a fan. Connects the power supply. One wire from the bulb is mounted through a thermostat relay.
Step Three: Window
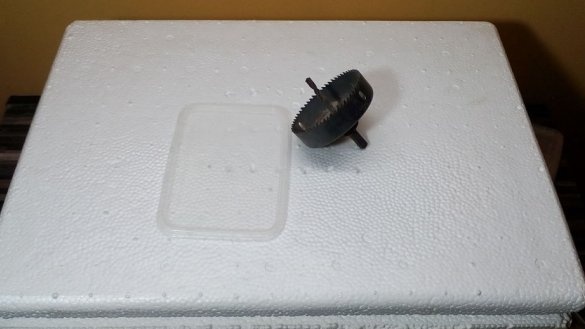
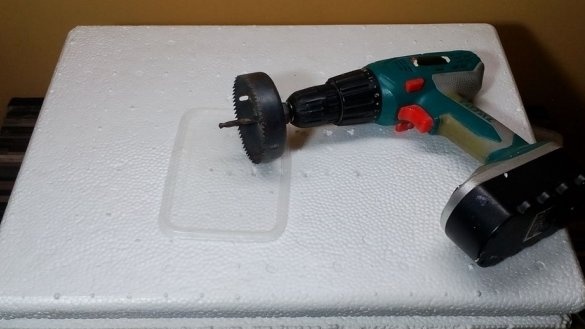
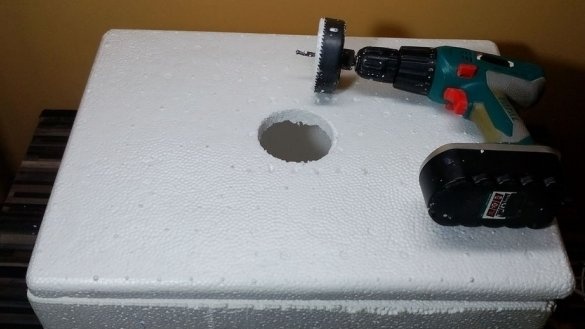
For control, the master makes a window in the lid. Closes it with a lid from a plastic container.
Step Four: Incubator Operation
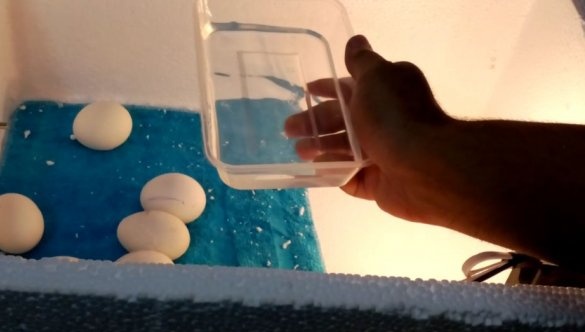
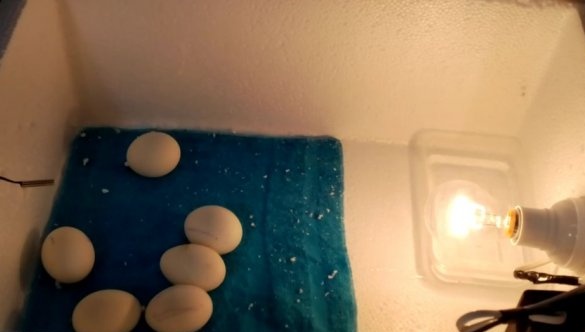
Now it remains to lay the eggs in the incubator. The master puts a towel on the bottom of the incubator. Lay eggs on a towel. On the side of each egg, the master makes a mark on one side of 0, on the other X. This is necessary so as not to confuse the sides when turning the eggs. Turn over 2-3 times a day. He puts a cup of water under a light bulb. Covers the lid. It sets the temperature to 37.5 degrees.
All is ready.
The whole process of manufacturing an incubator can be seen in the video.
From myself I’ll add that I have about the same incubator. He has no ventilation holes and fan. The temperature controller is from an old iron. And everything is perfectly hatched.

