
In this article, YouTube author Matthias Wandel will tell you
Materials
- Hardwood boards
- nails
- Varnish for metal.
Instruments, used by the author.
- Manual frezer
- A circular saw
- Belt sander
- Pantorouter
- Gas-burner
- Vise
- Ticks
- Drilling machine
- Bulgarian with a cutting disc.
Manufacturing process.
The author replaced the windows and now he has to make and hang the cornices. When the house is renovated, you always want to improve something. Readers know from their own experience what inconvenience sometimes brings low-quality, rigid fastening of curtains, when the curtains get stuck, break off. In general, it is very annoying.
The author of this home-made idea came up with the idea of making "rings" for curtains from ... nails.

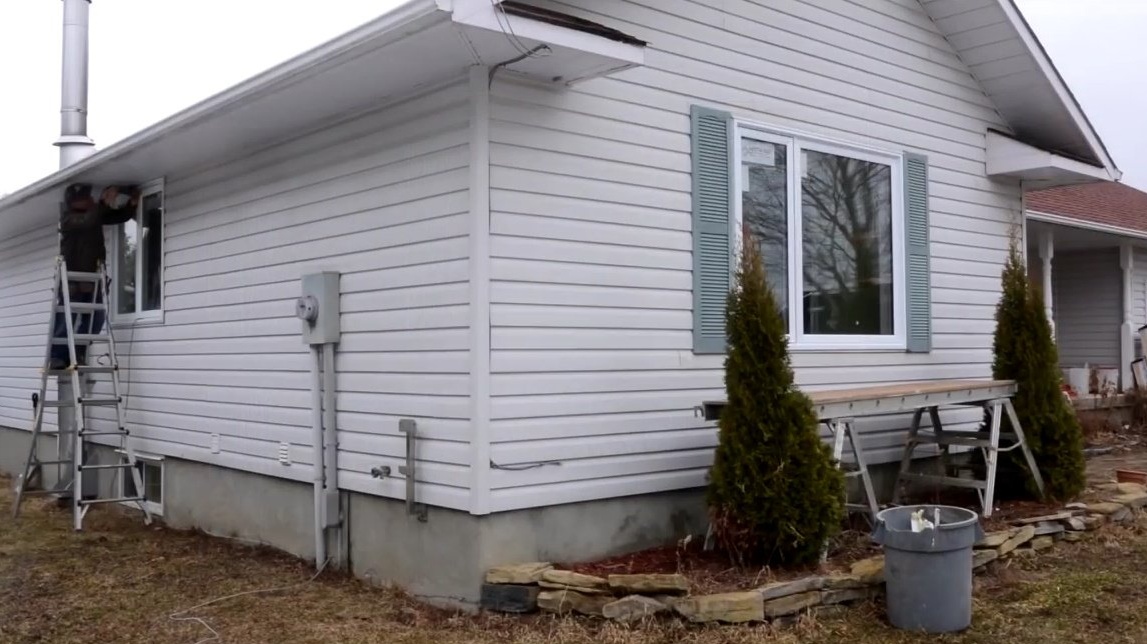
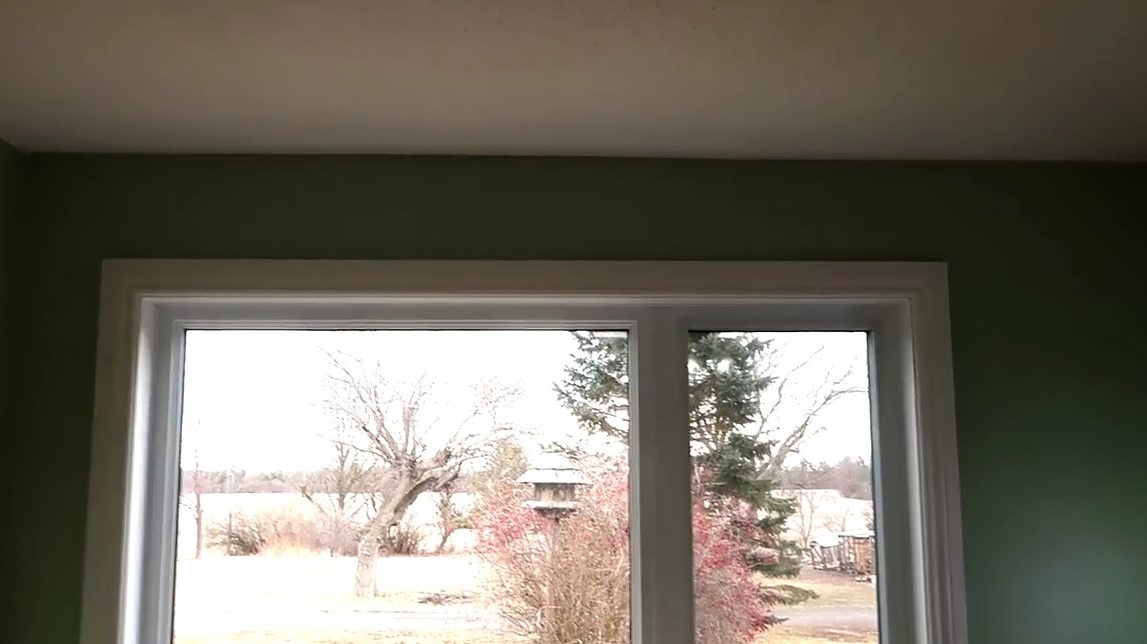
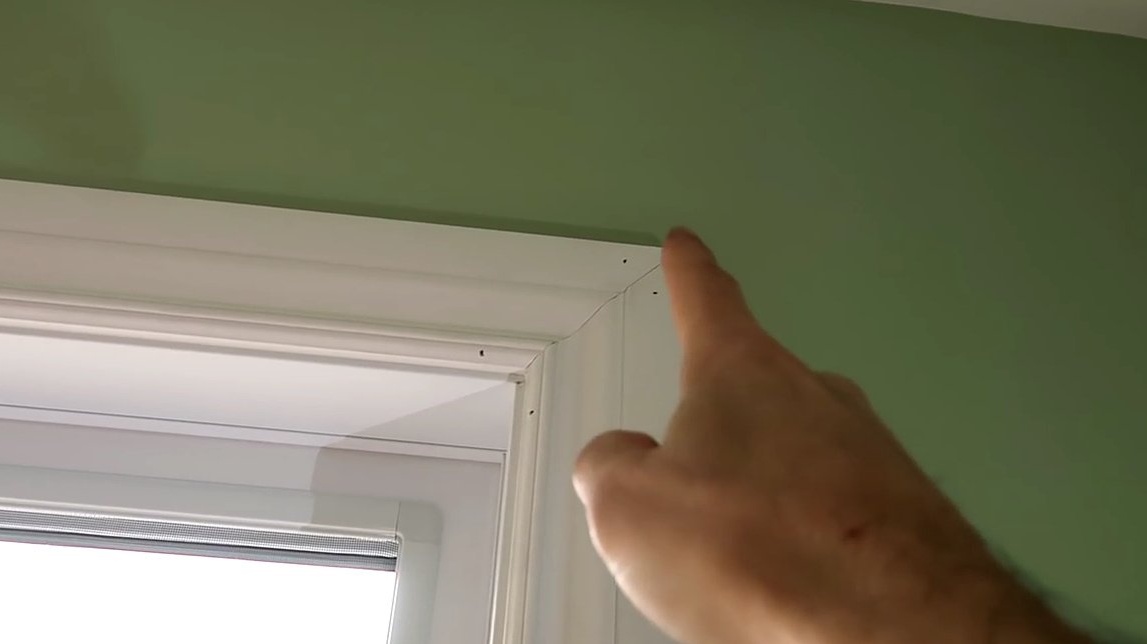
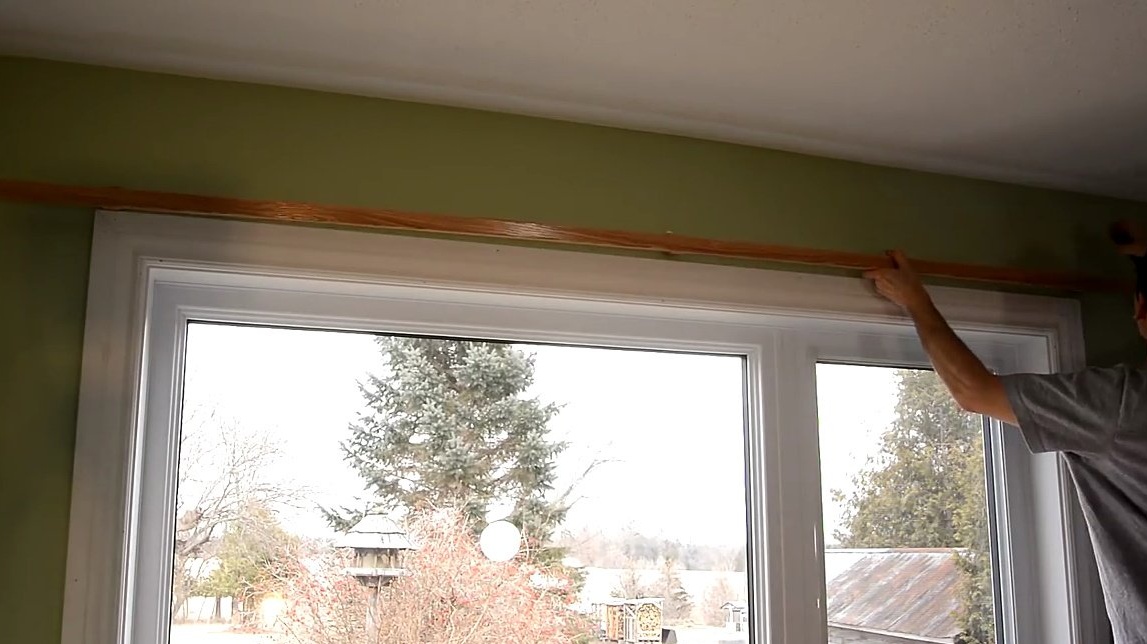
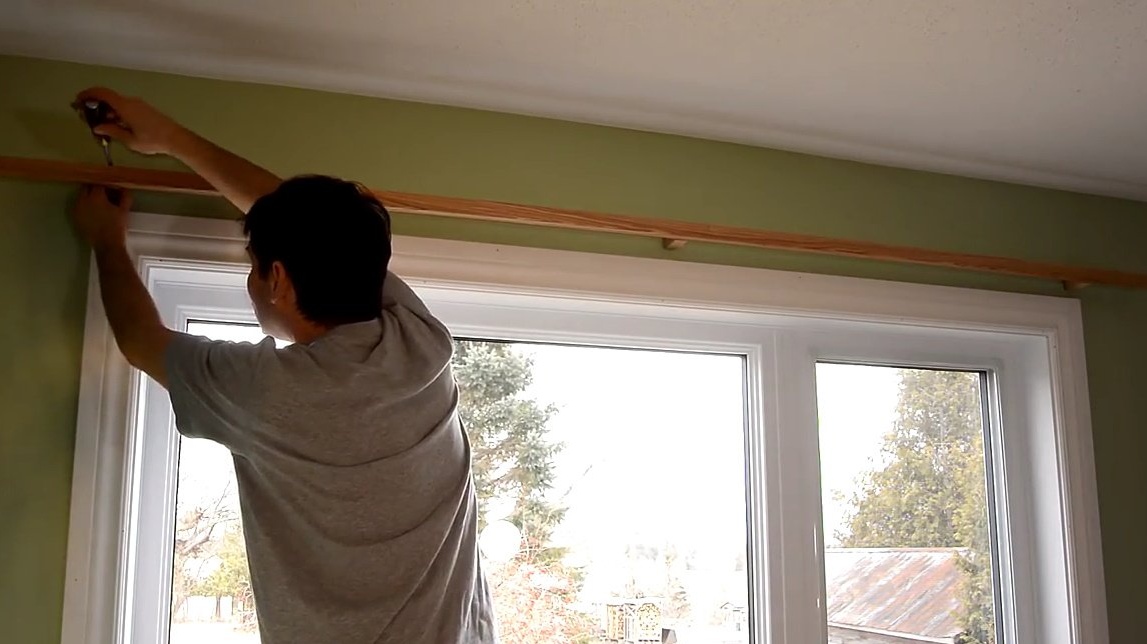
Initially, the mount of the cornice was here, but the author decided to slightly change its location and move a little closer, directly above the slope. But in order for the curtains to slide beyond the edge of the slope, it will be necessary to solve the problem of fastenings of both the cornice and the curtains. Here, almost the same problem arose that Matthias had in connection with the installation of rounded corner cornices. In this case, the design will be similar.
The decision came a little unexpected, it will allow you to suspend heavy curtains. Also, the location of the fasteners will not matter, at least every 5 cm.
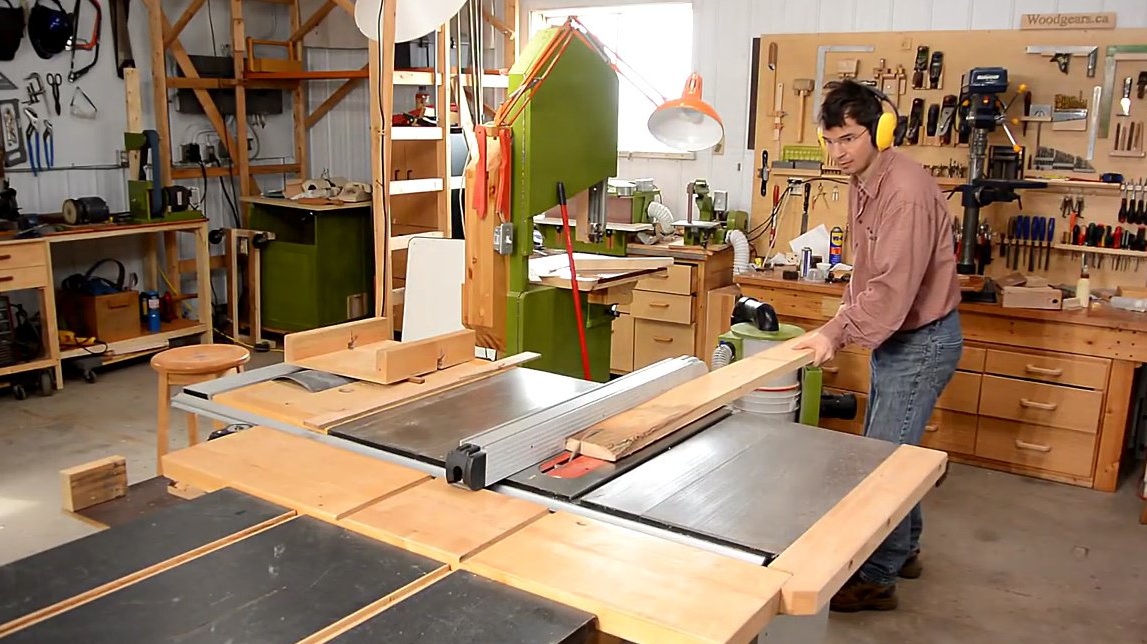
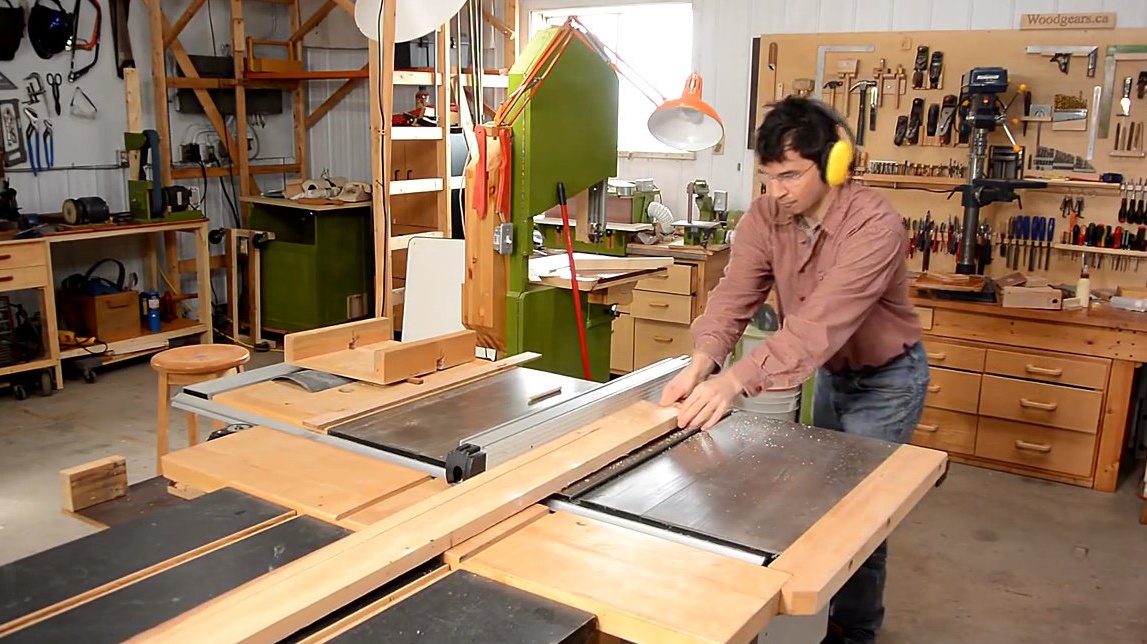
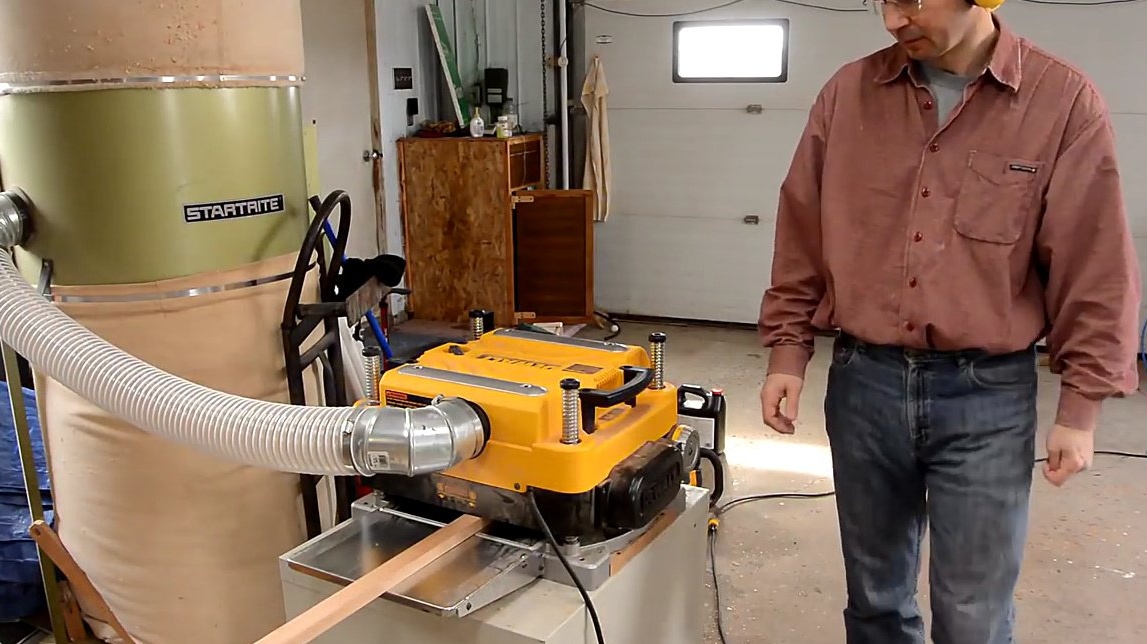
The author prepares several long wooden beams from boards, processes them first on a circular saw, then on a jointer, and at the end drives them through a surface gage.
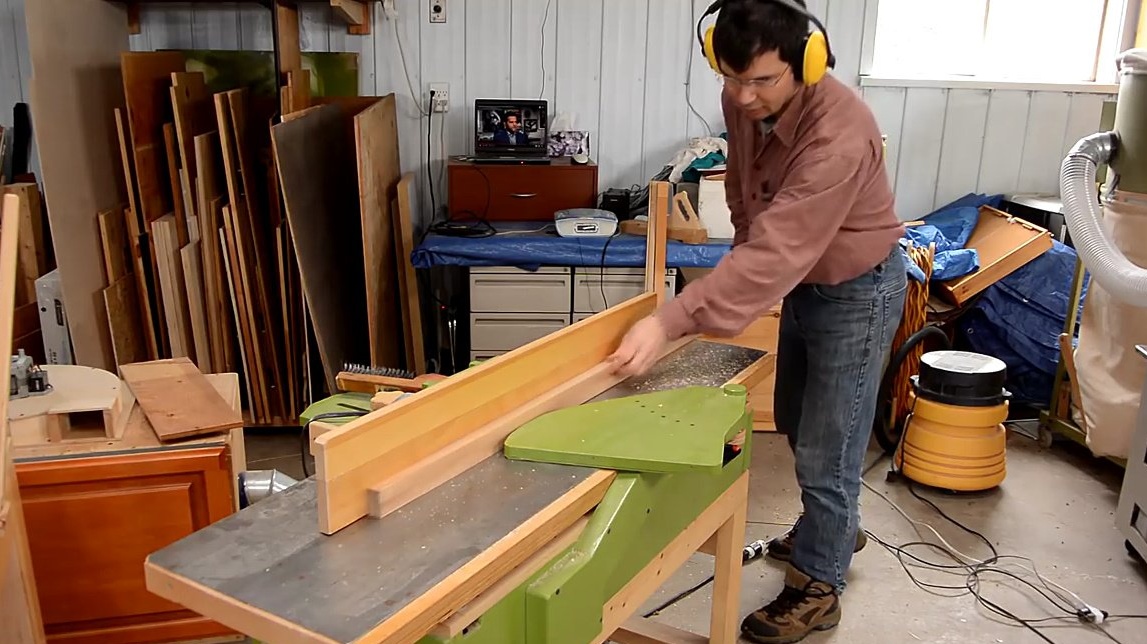
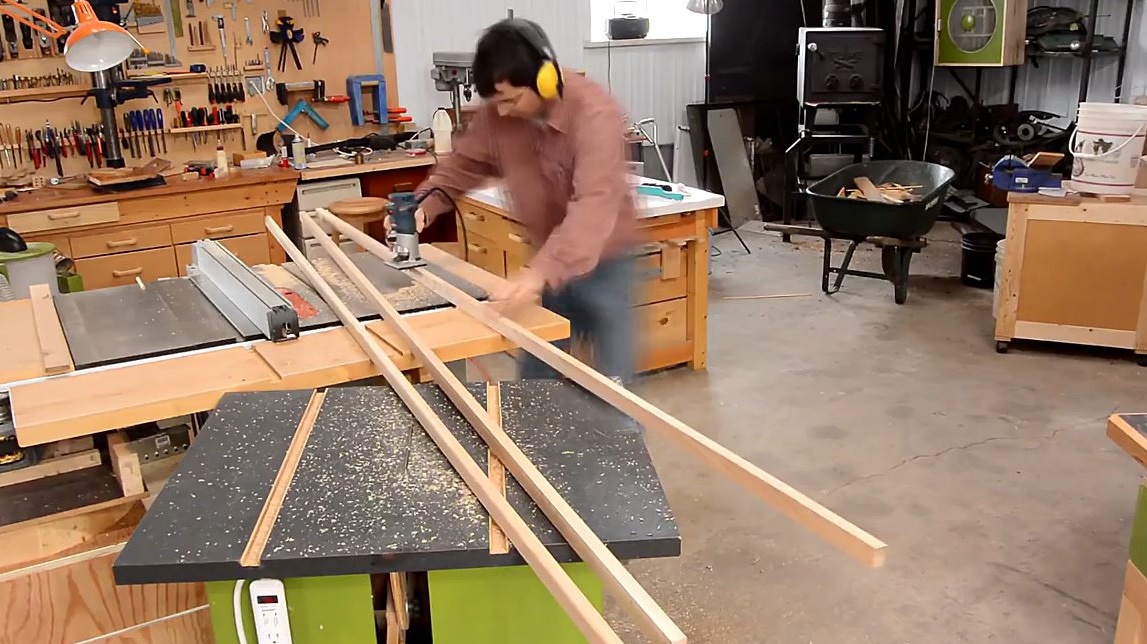
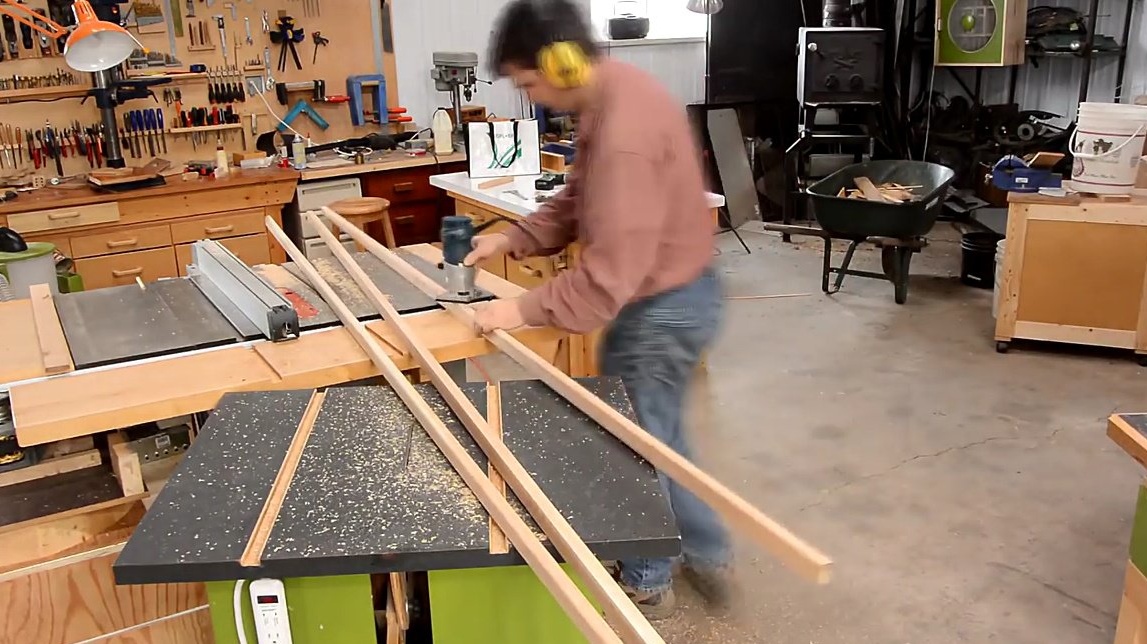
And then rounds their edges with the help of a manual milling cutter.
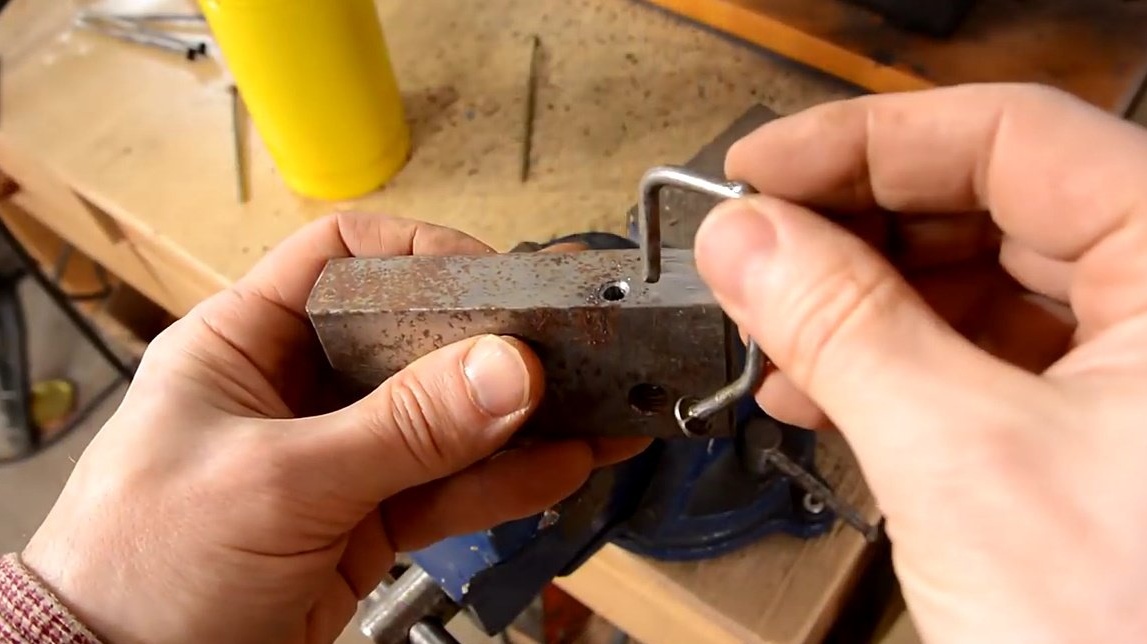
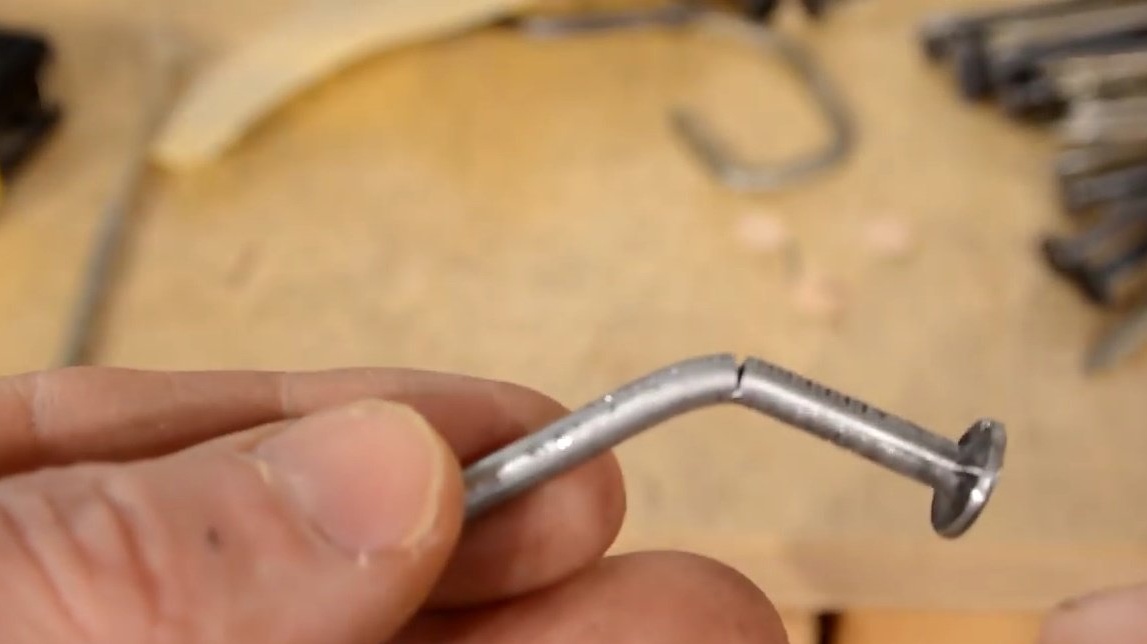
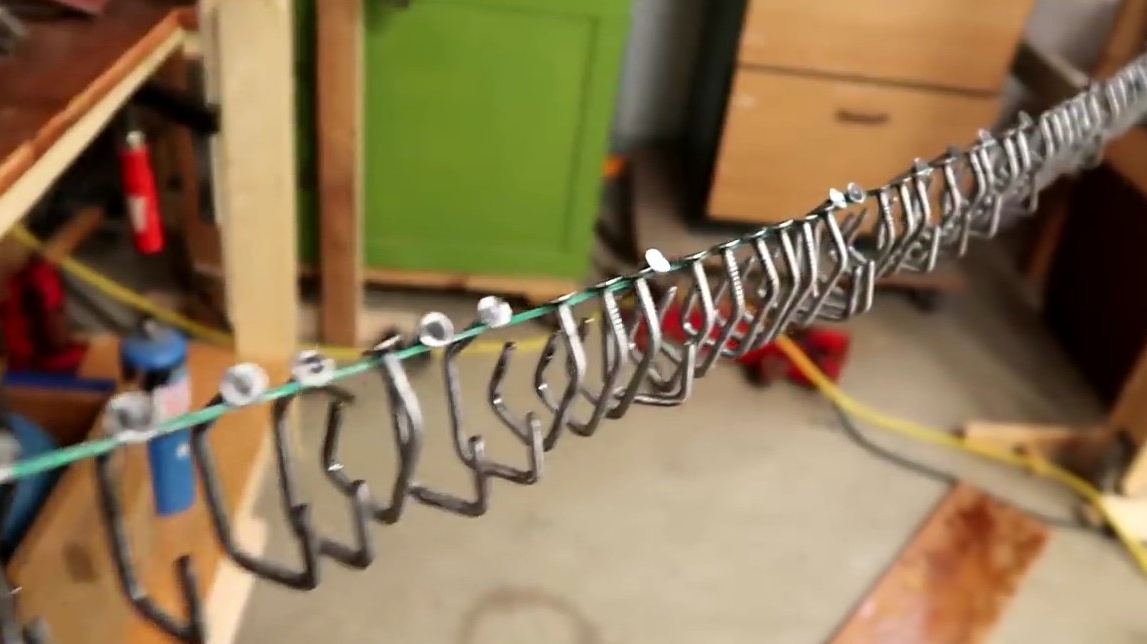
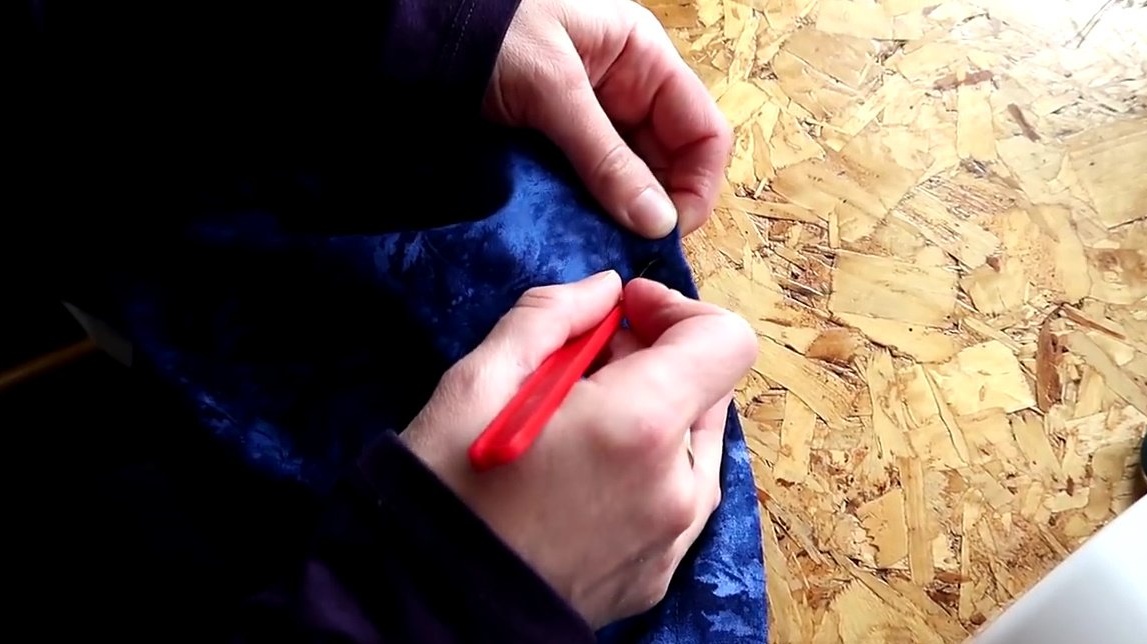
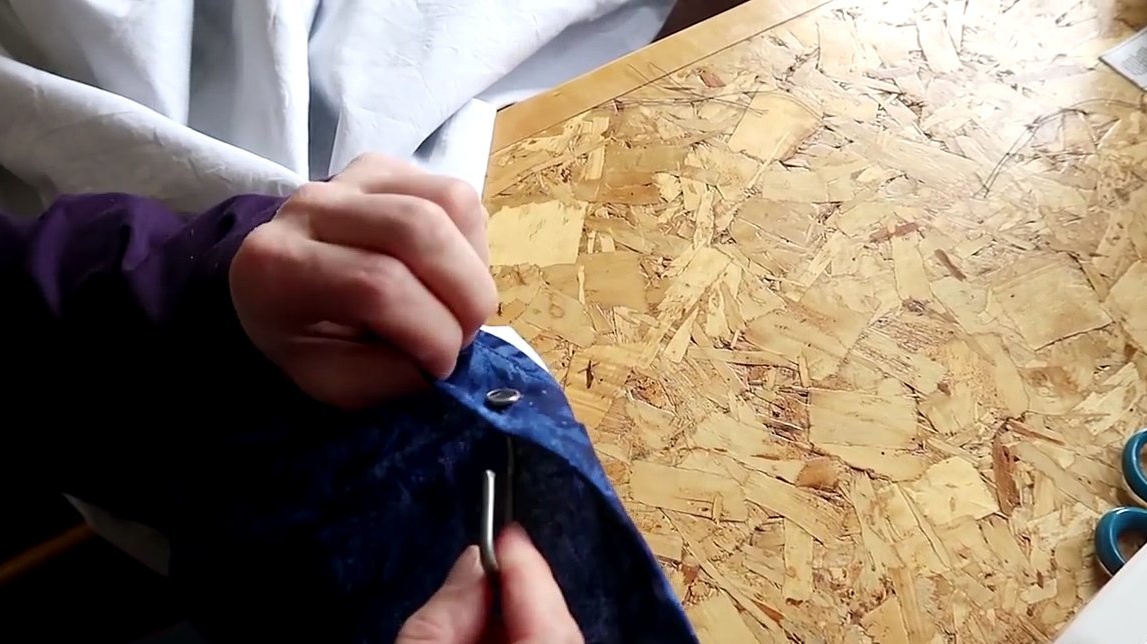
The next step is the manufacture of rings for curtains from nails. It was not so simple.
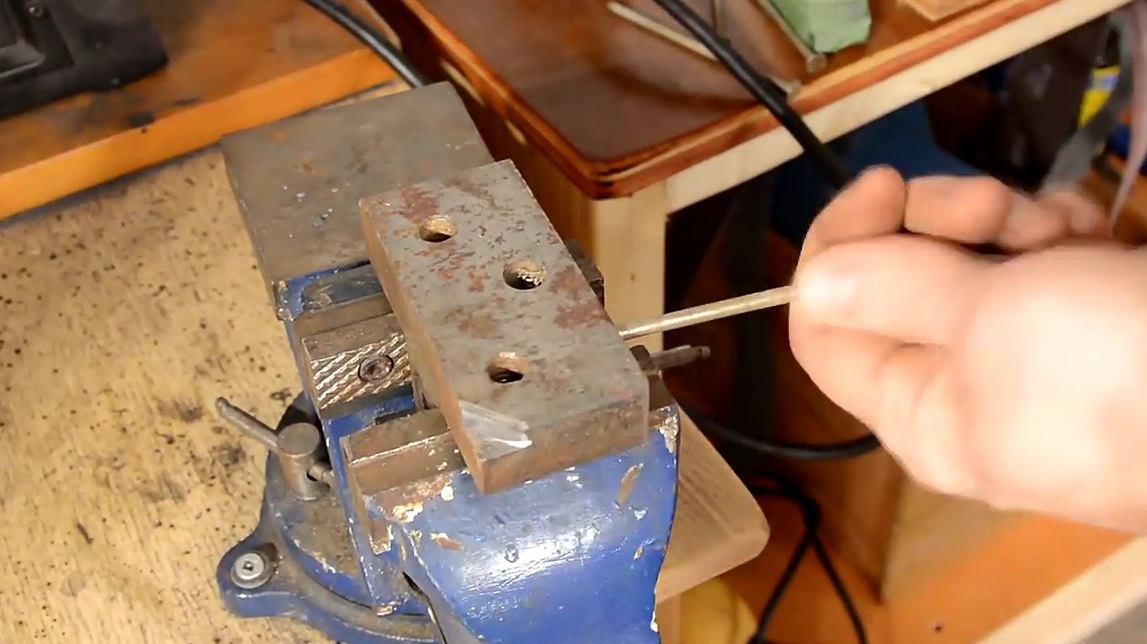
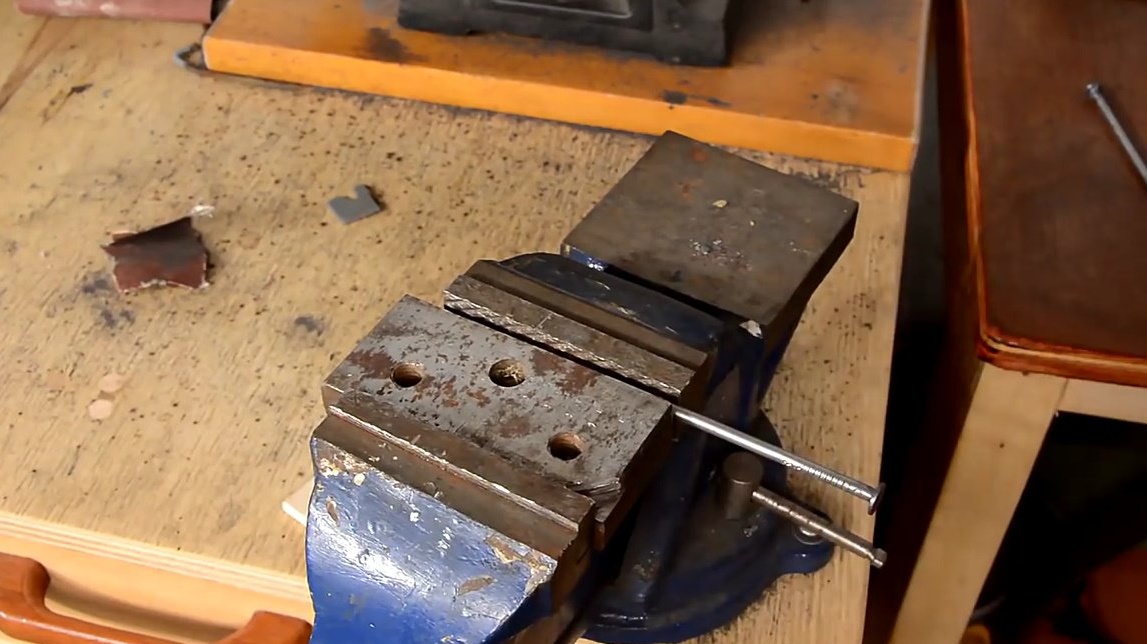
Having made the first version of the nail manually, I made a template for bending, it will take a lot of “rings”.
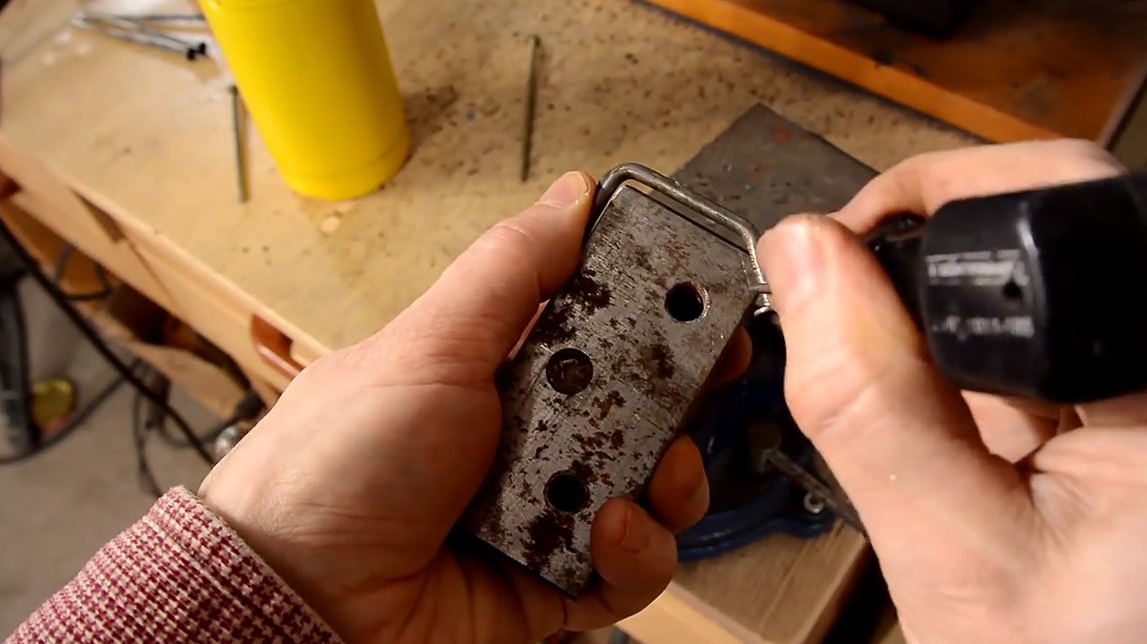
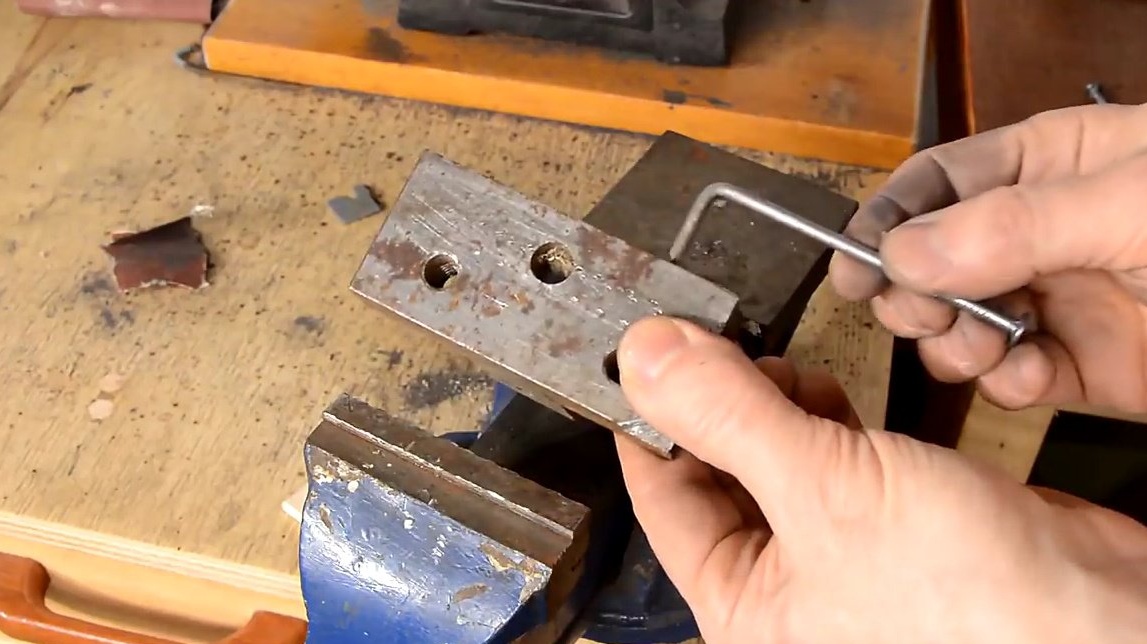
The template was made from a suitable steel bar.
Since one of the hook angles is 45 degrees, cuts it out in a template with a grinder with a cutting disc.
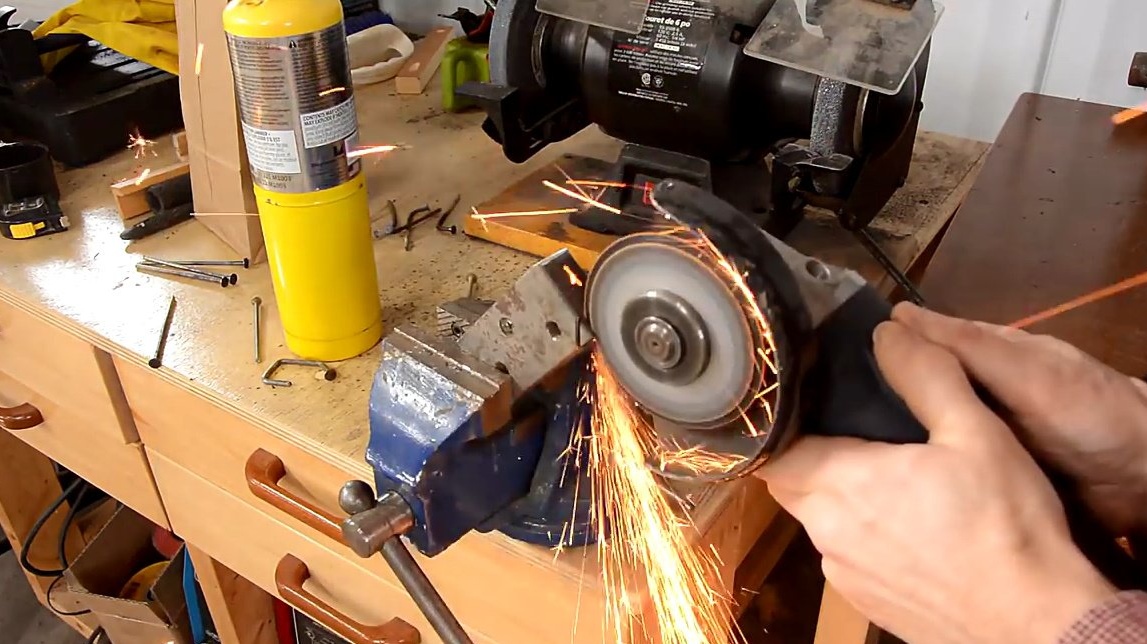
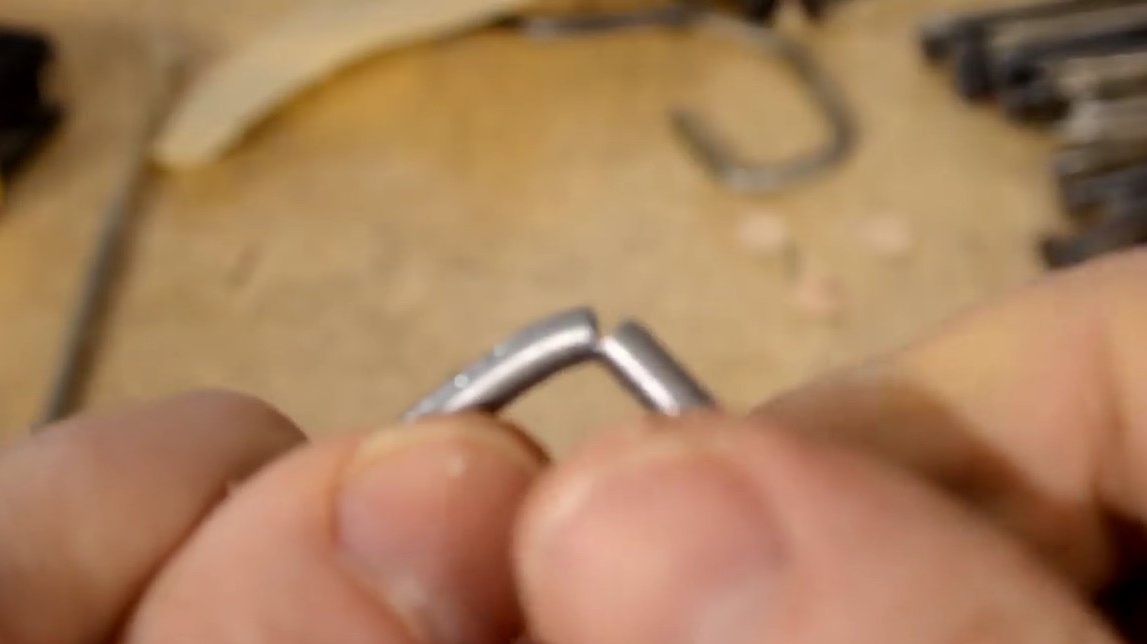
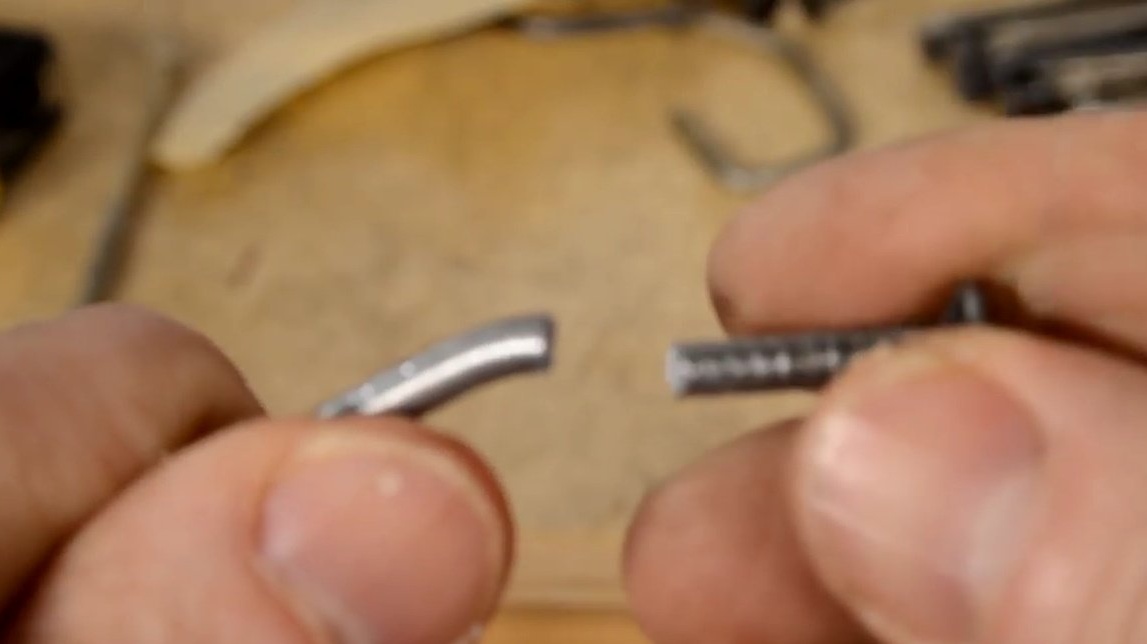
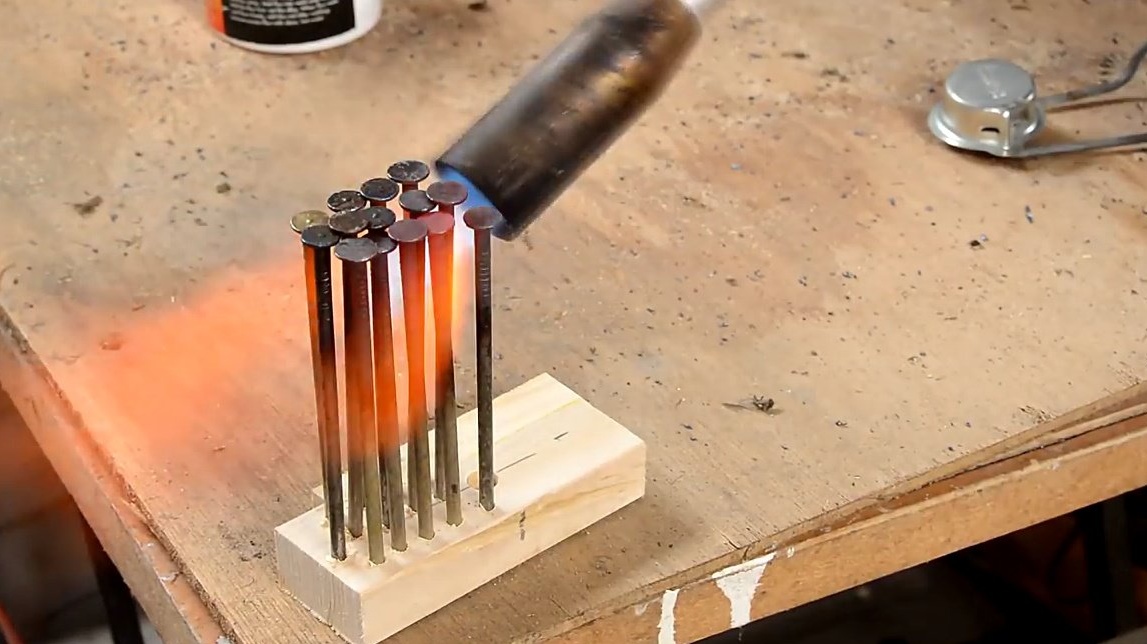
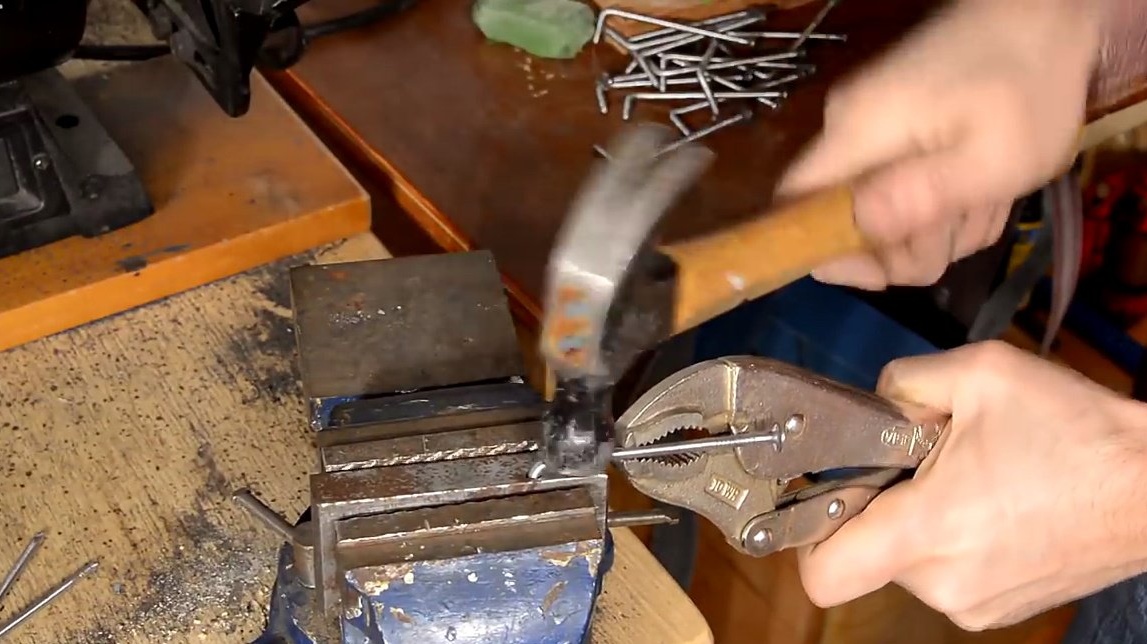
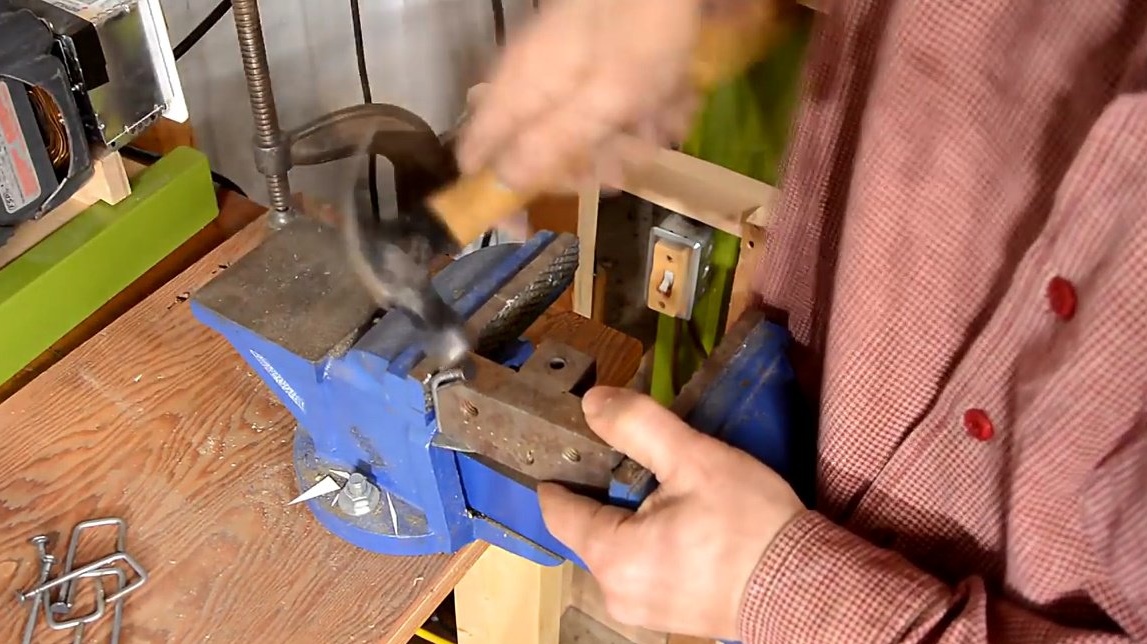
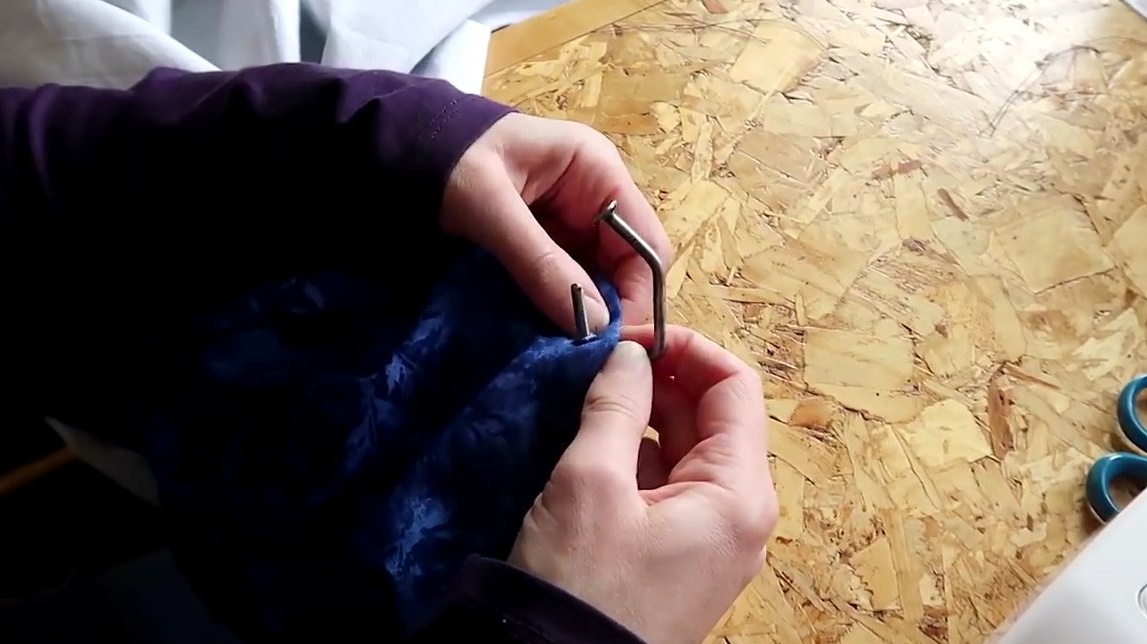
At the first attempts to bend the nails, they broke.

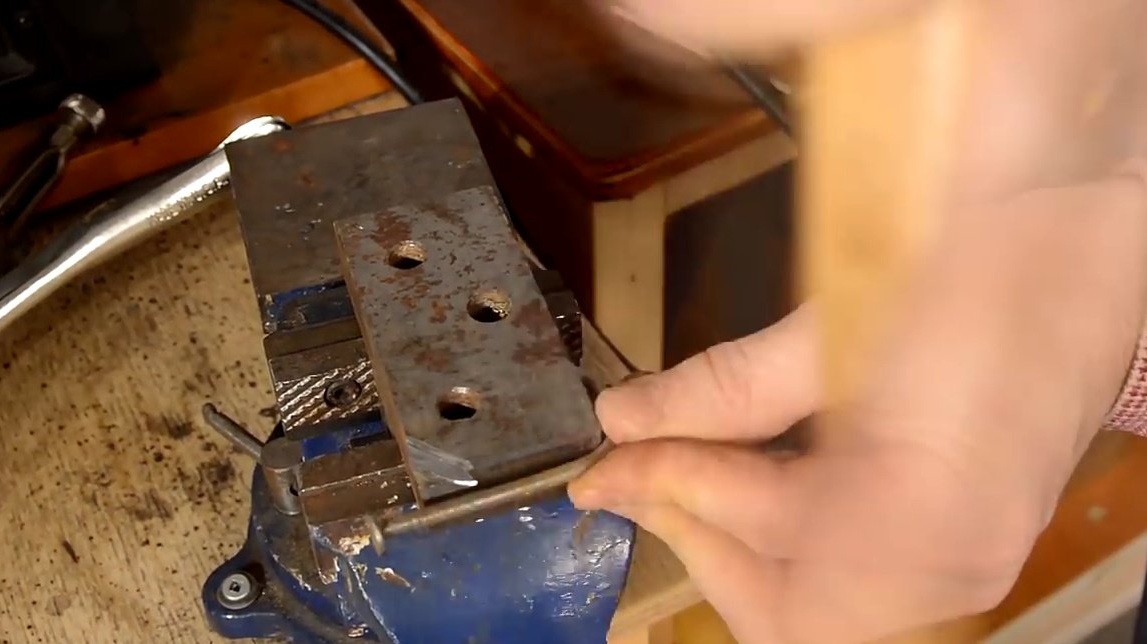
Especially fragile is this area near the cap.
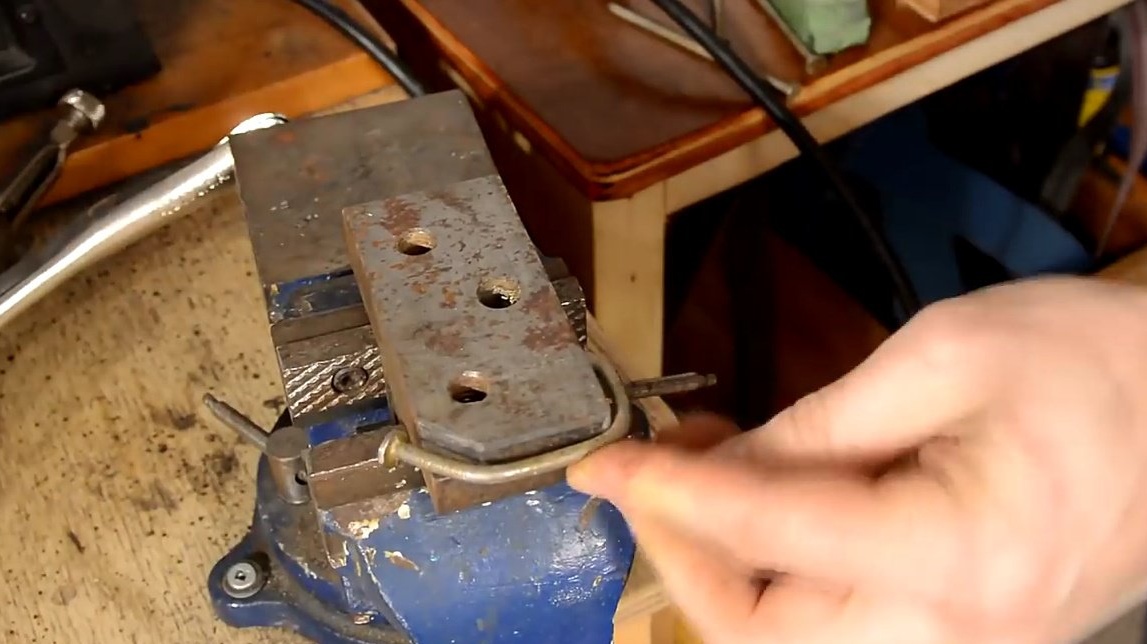
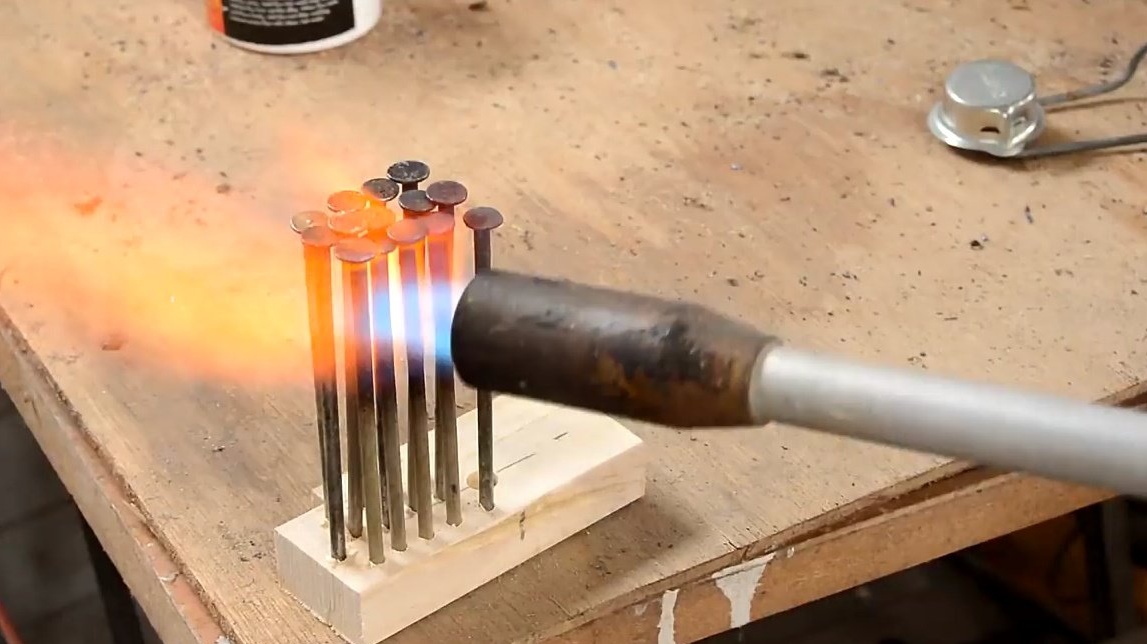
But the author improved the technology, and for a start he warmed up the nails properly using a gas burner. The material has become a little softer.
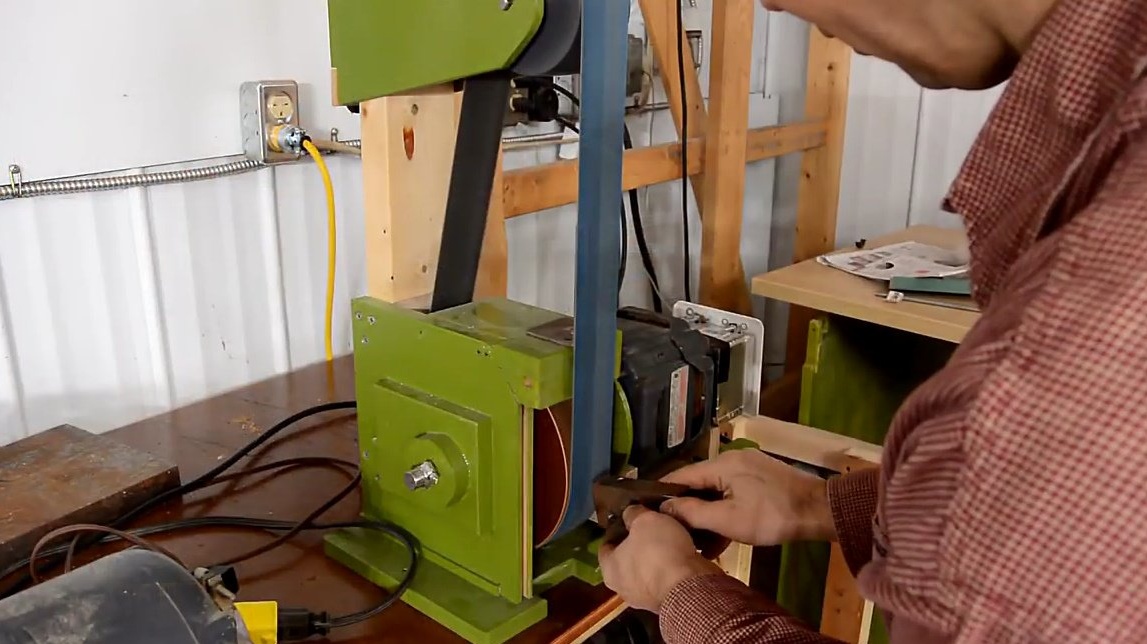
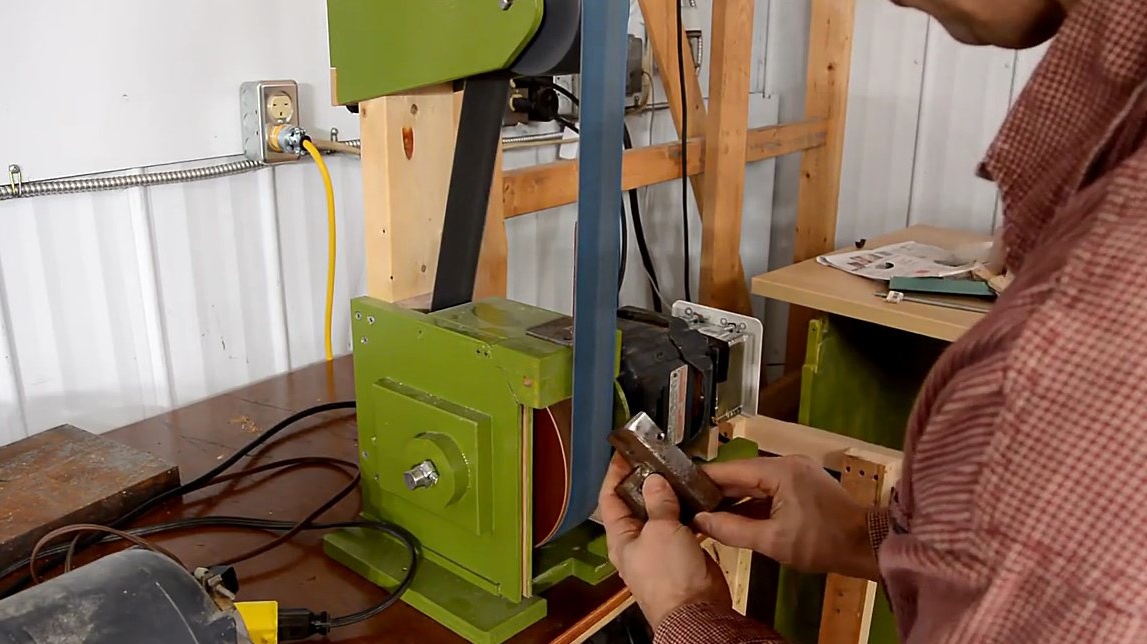
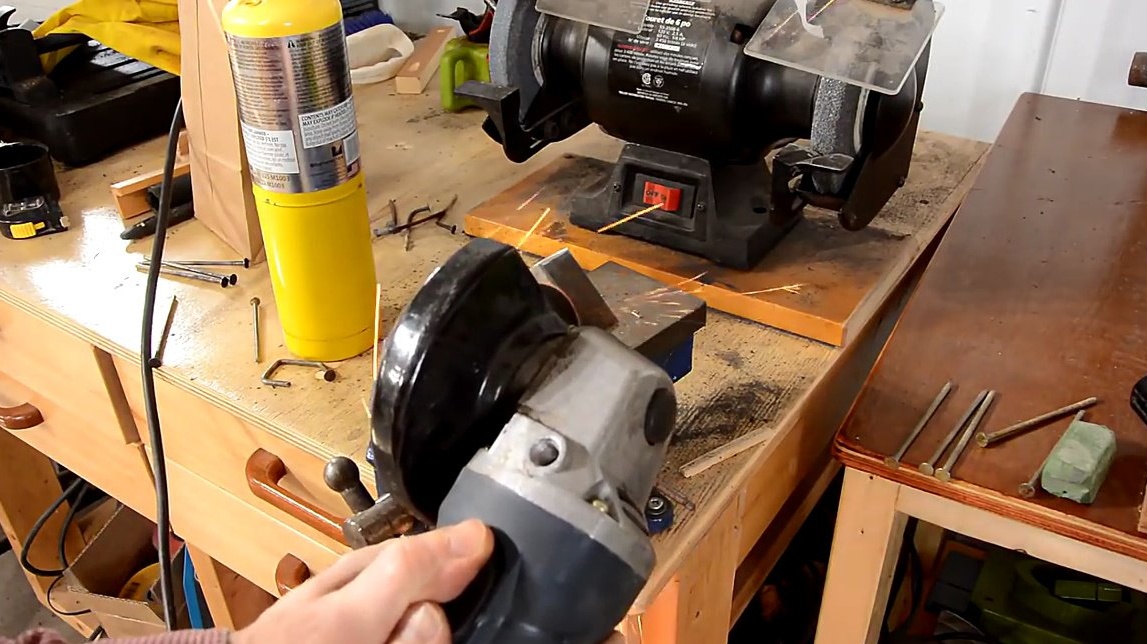
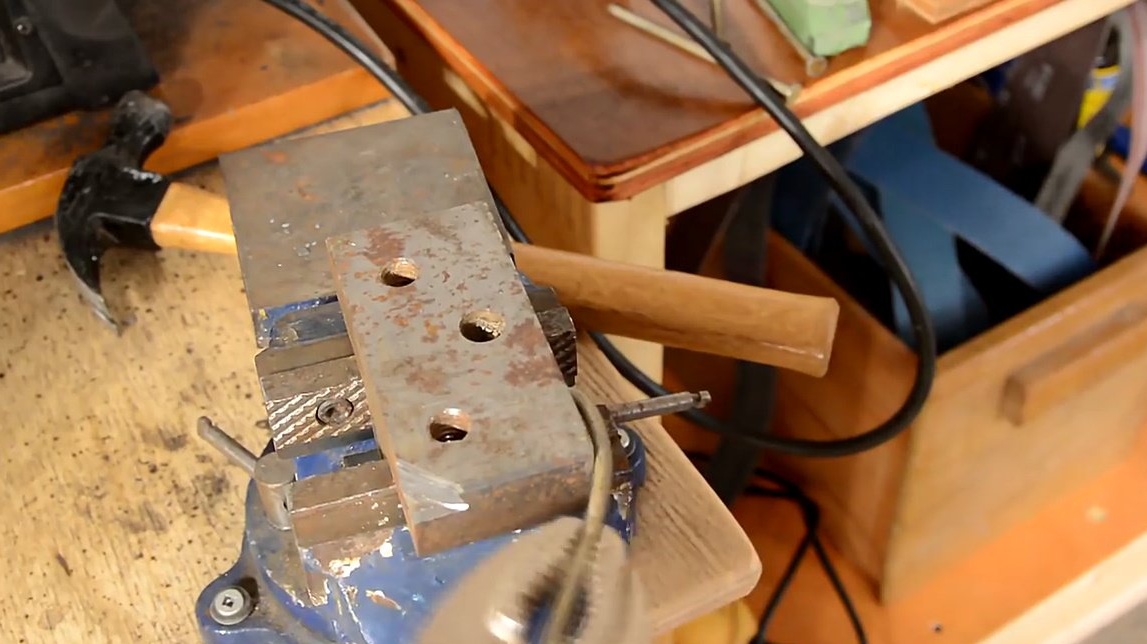
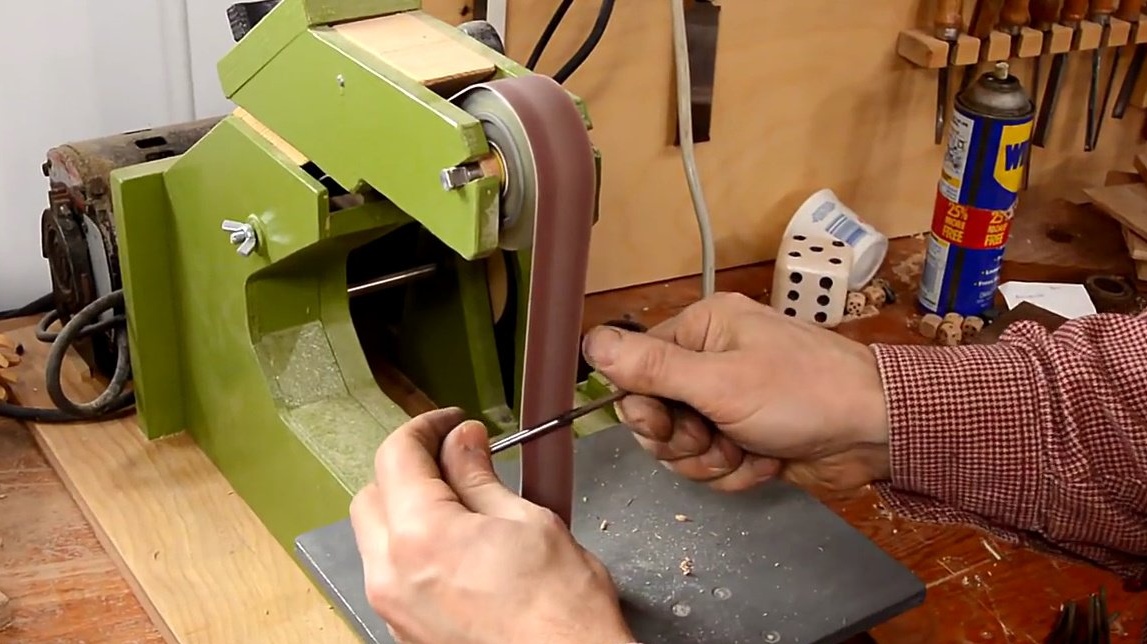
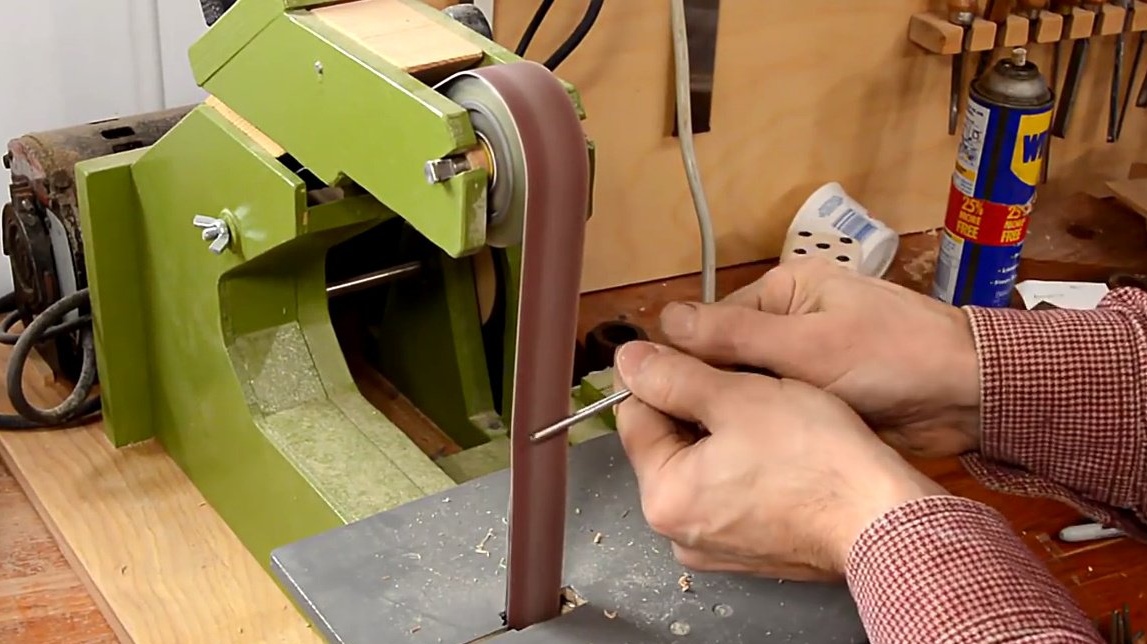
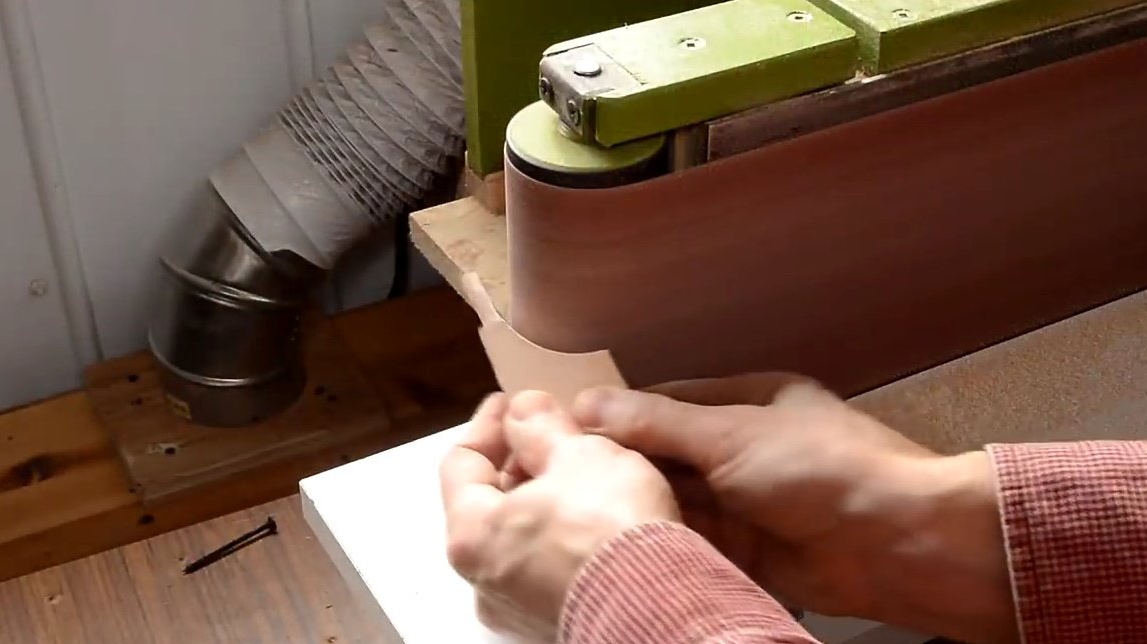
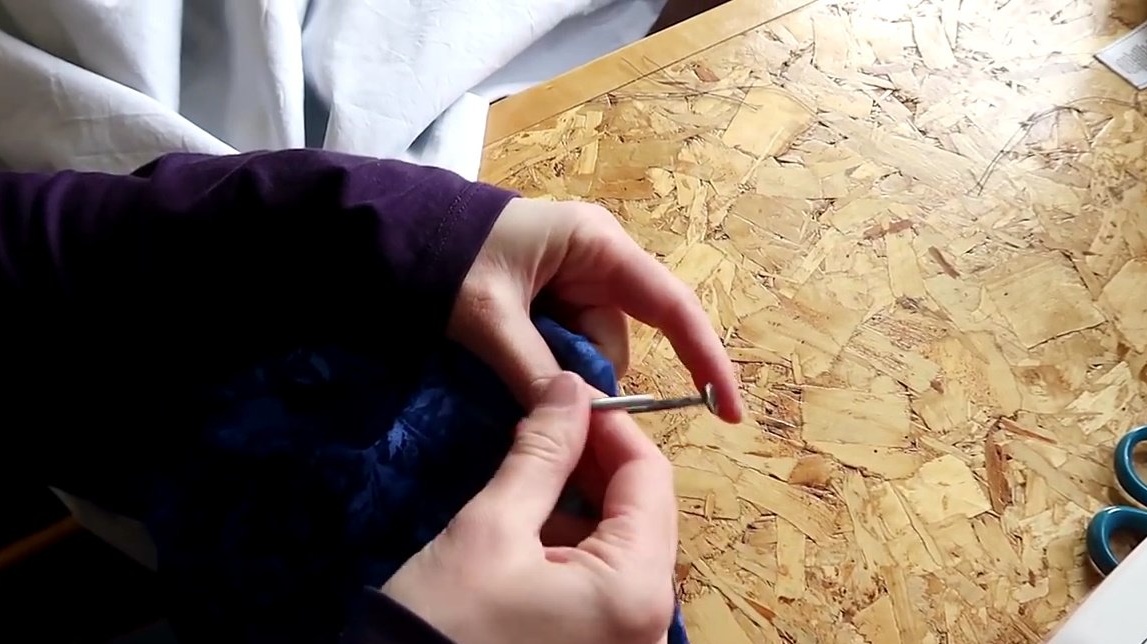
Then he stitched the tips of the nails on a belt sander.
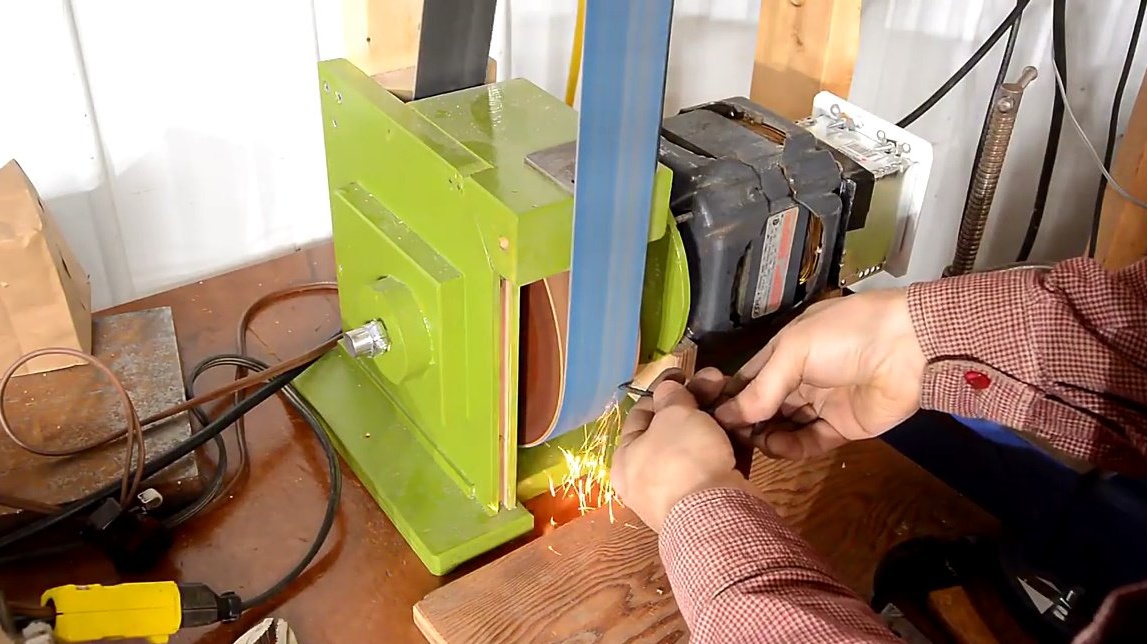
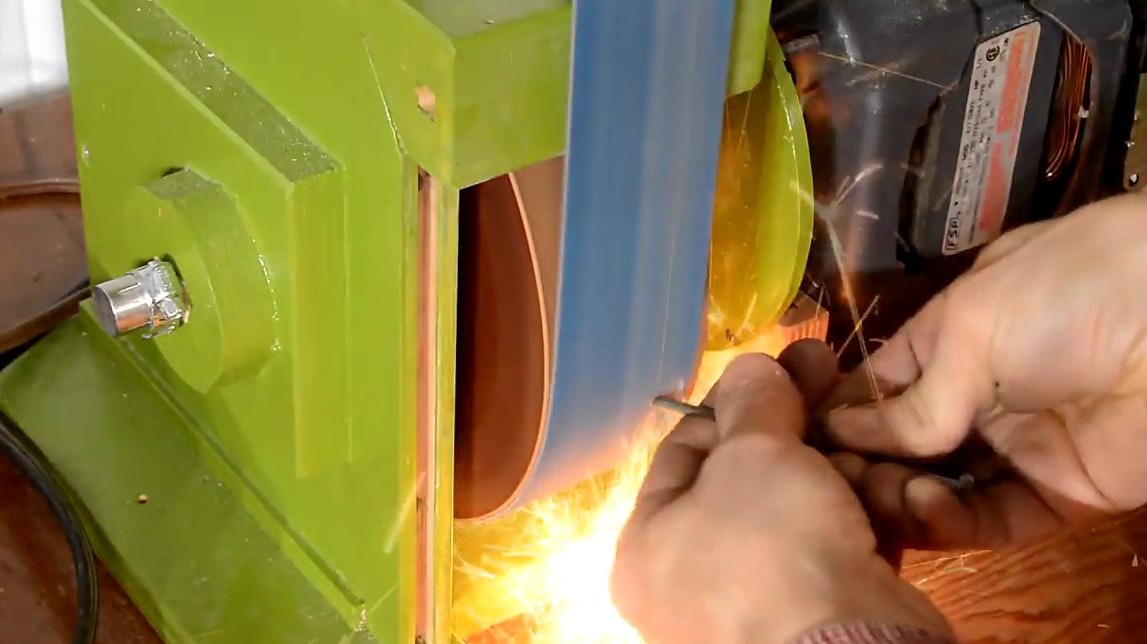
The master immediately cleaned them with a grinding machine, because while they are still straight, it is much easier to do.
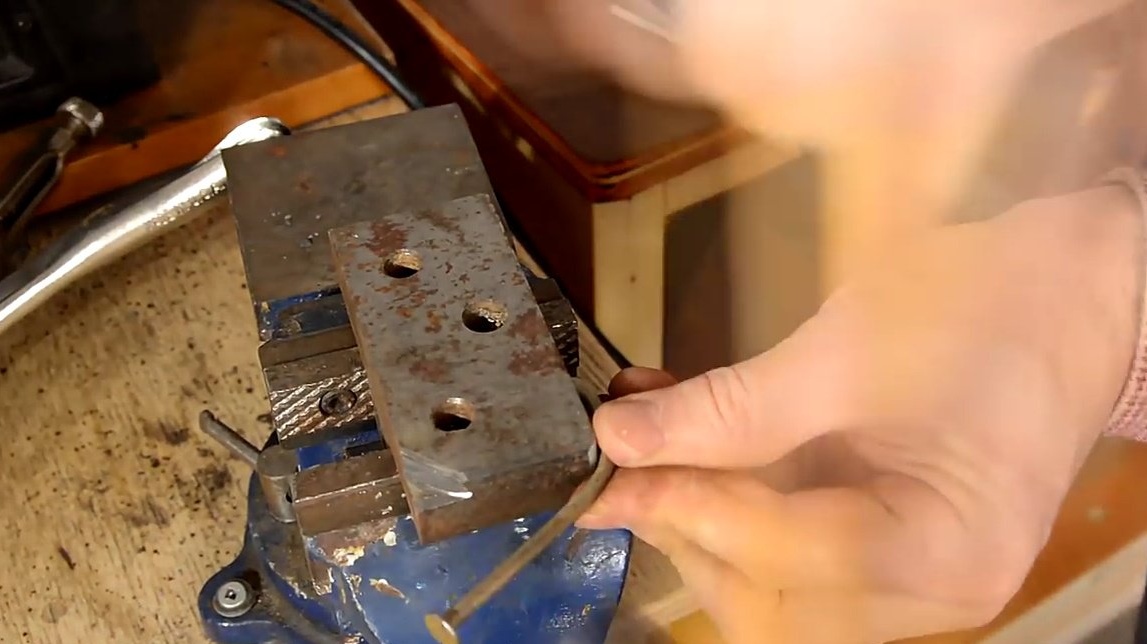
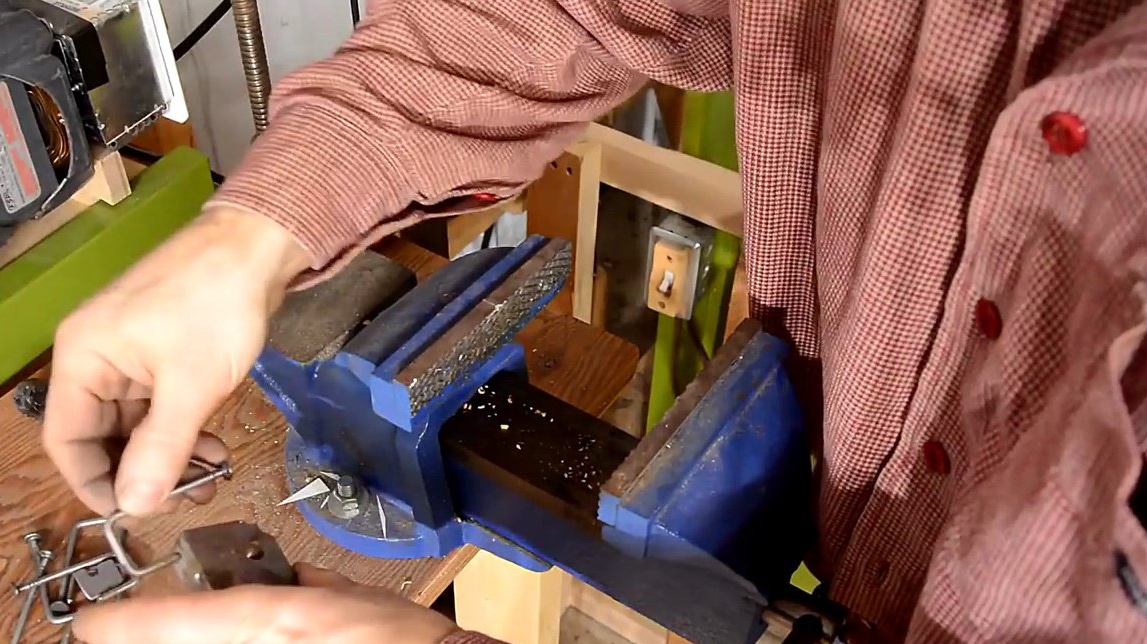
Then he made the first bend on all nails, so as not to rearrange the clamping device each time.
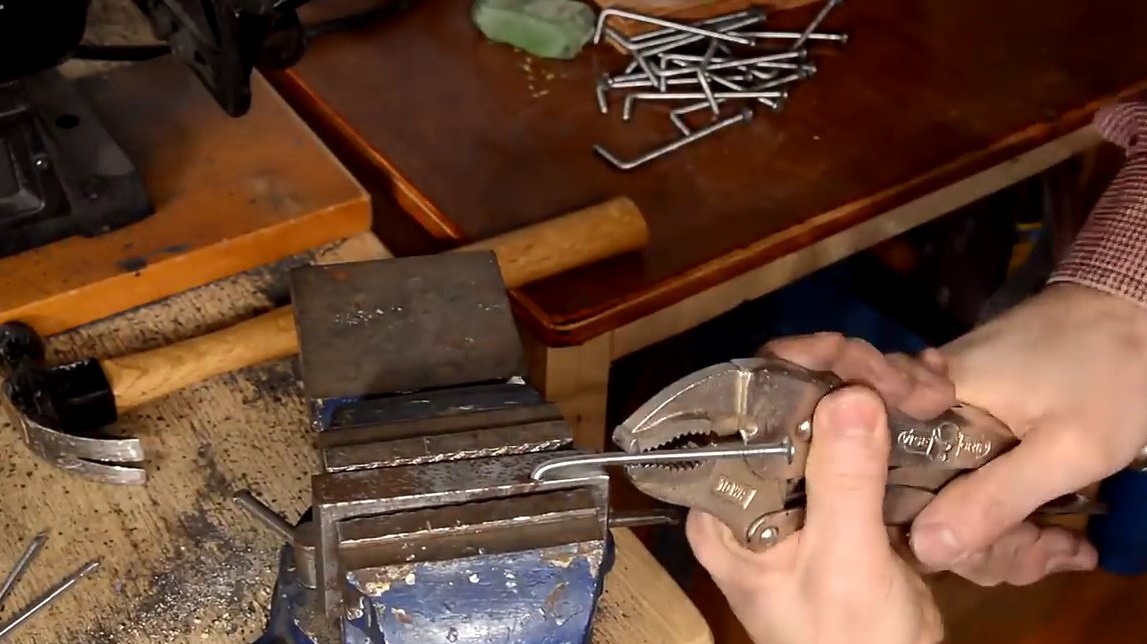
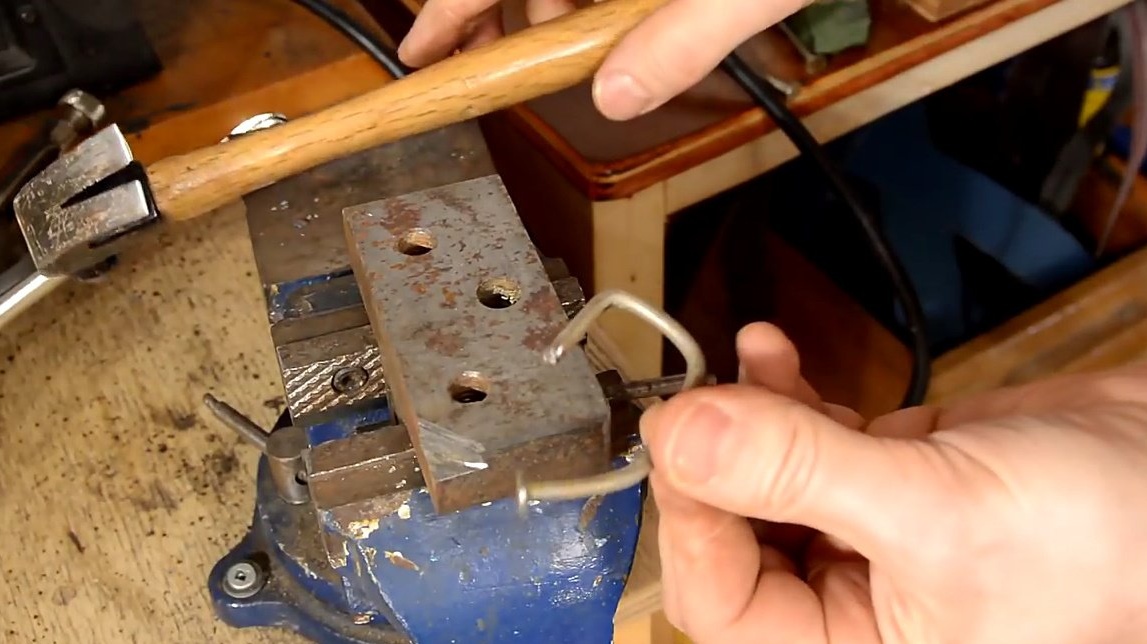
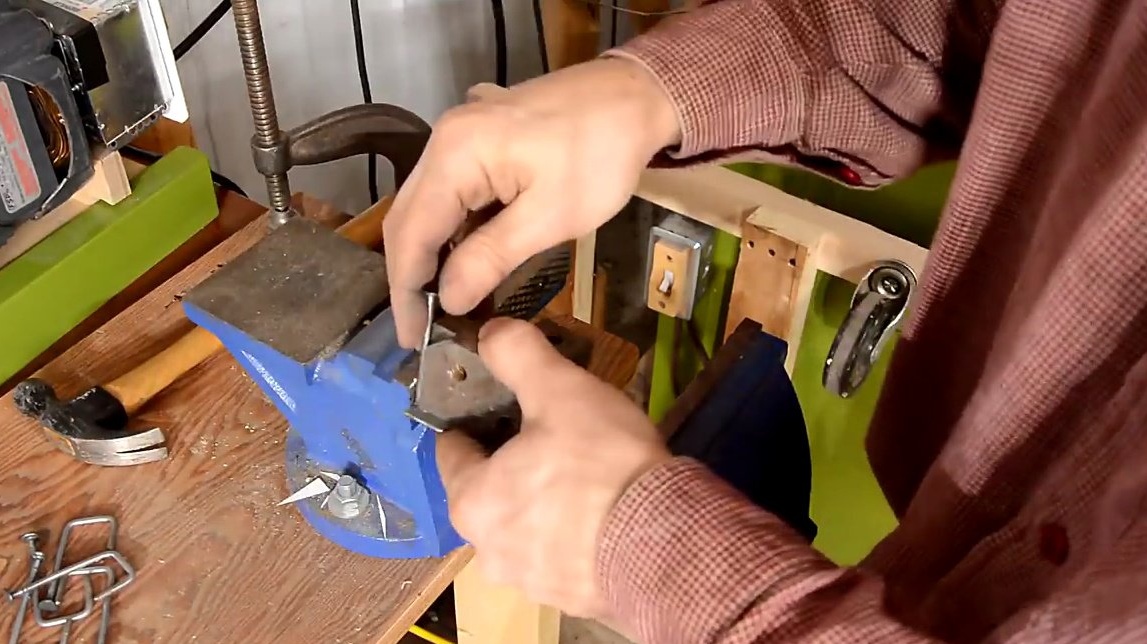
Then he still had to move to a larger vice to complete the remaining bends.

Matthias puts a thin pad under the clamp device, because it’s easier to adjust the desired length of the nail to the bend at an angle of 45 degrees.

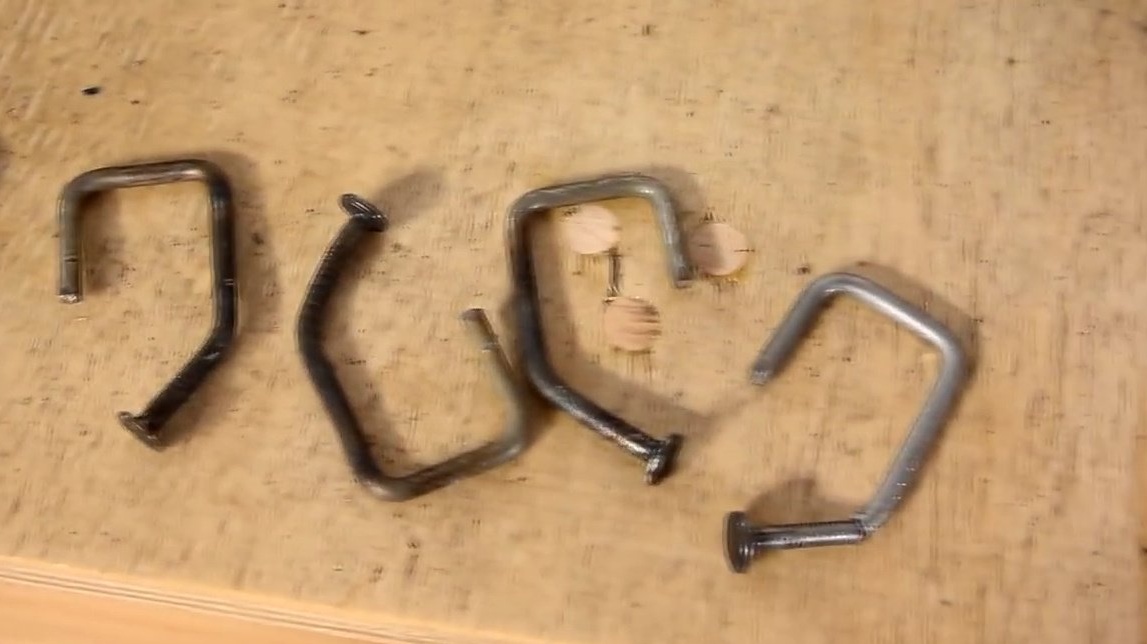
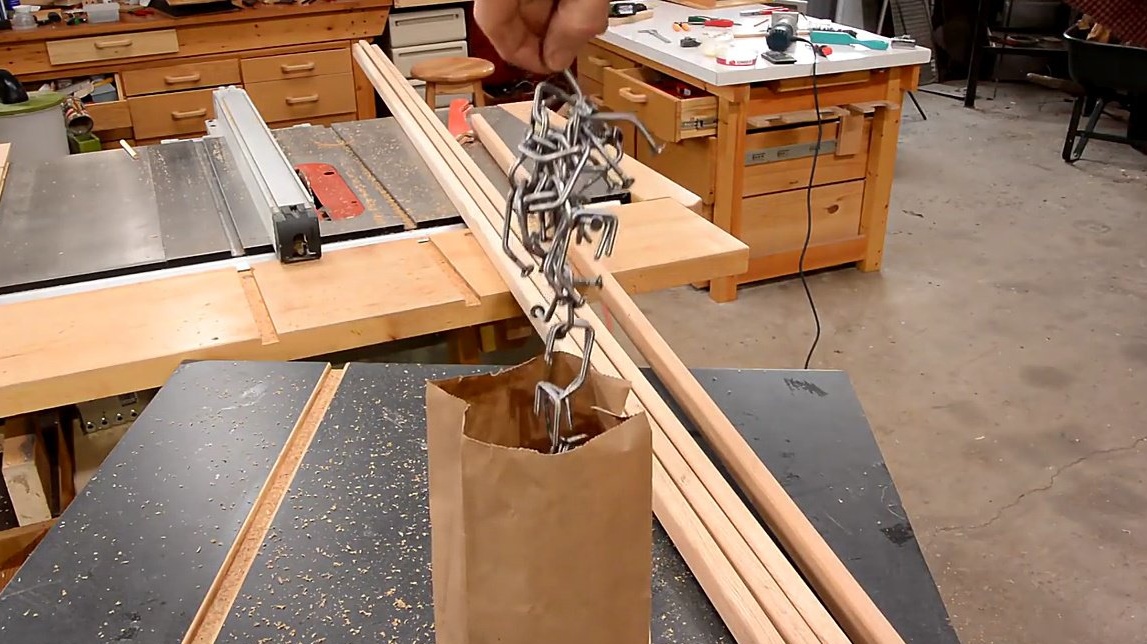
After all, he dips the resulting hooks in varnish to protect them from rust and make them more slippery. And leaves them to dry, you have to give them time and not dust in the workshop.
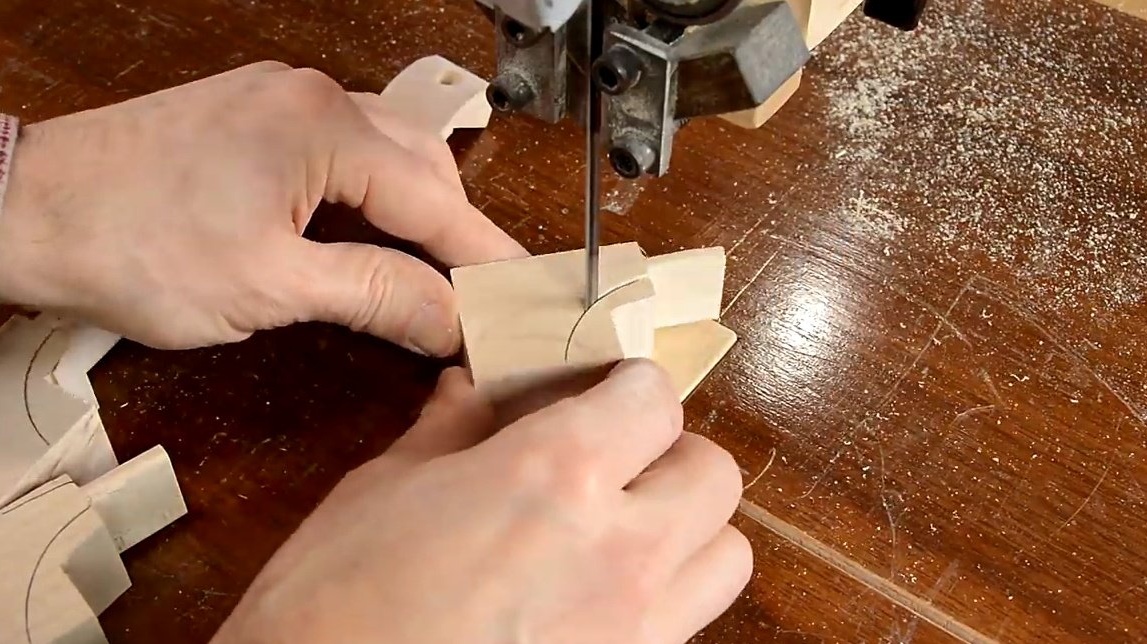
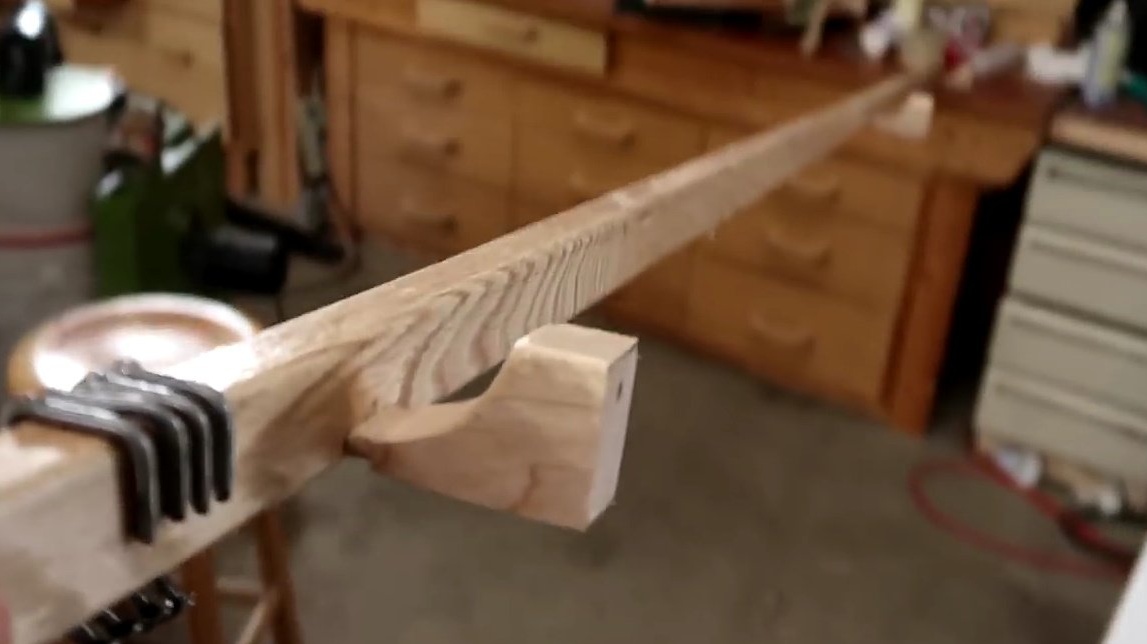
The next step, he makes mounts for the cornice. First of all, cuts the slots in the bars with a circular saw. Then he makes a cut, dividing the whetstone into two blanks, using a band saw.
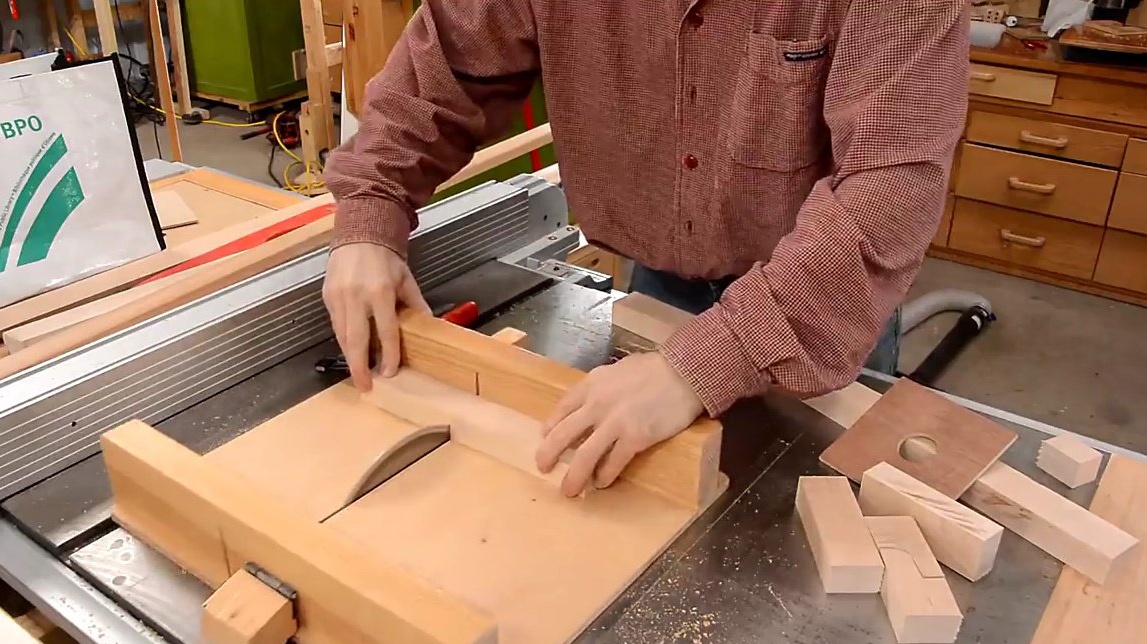
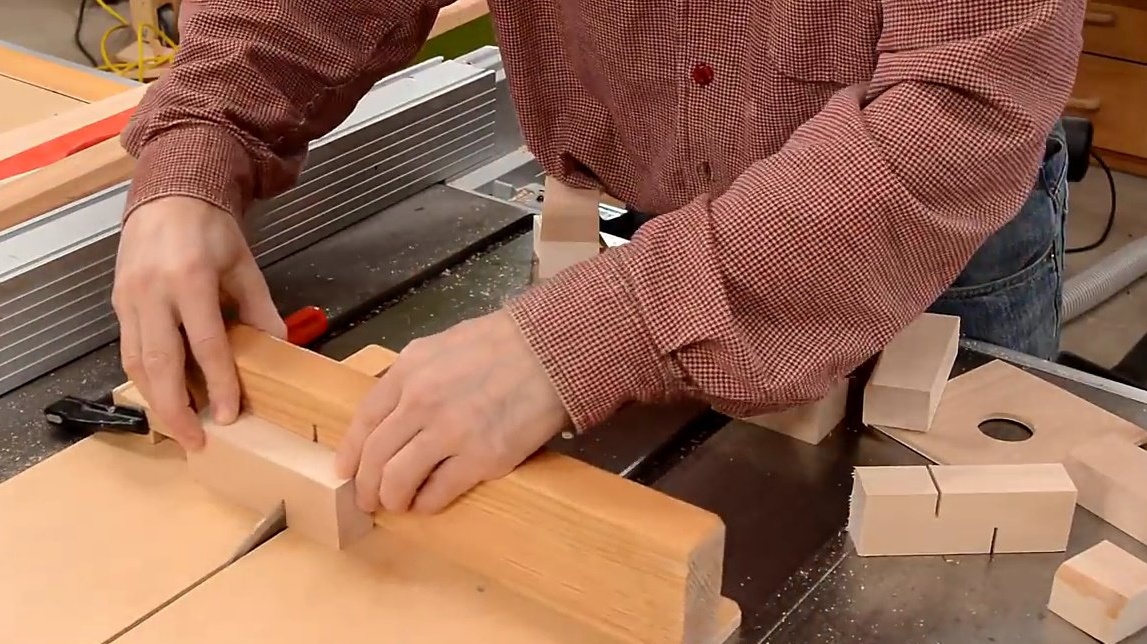
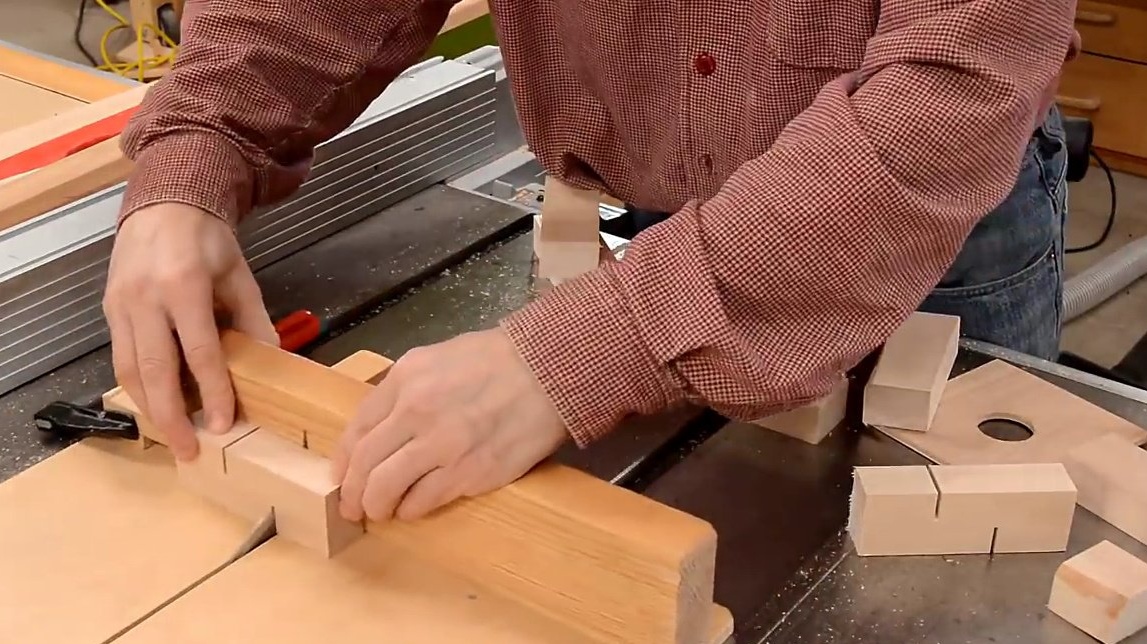
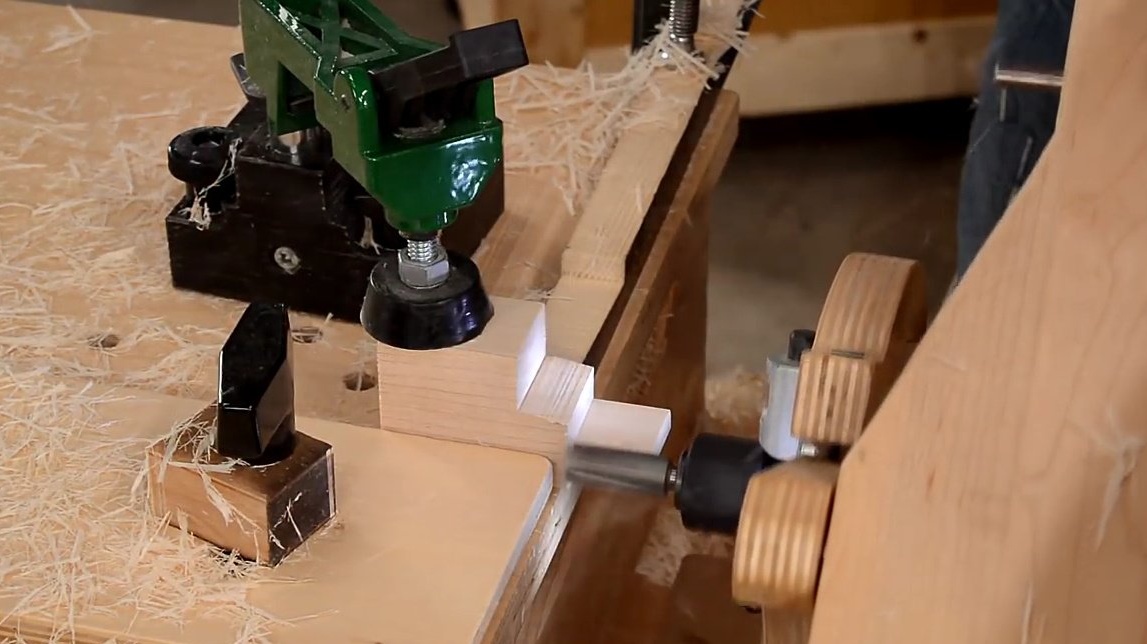
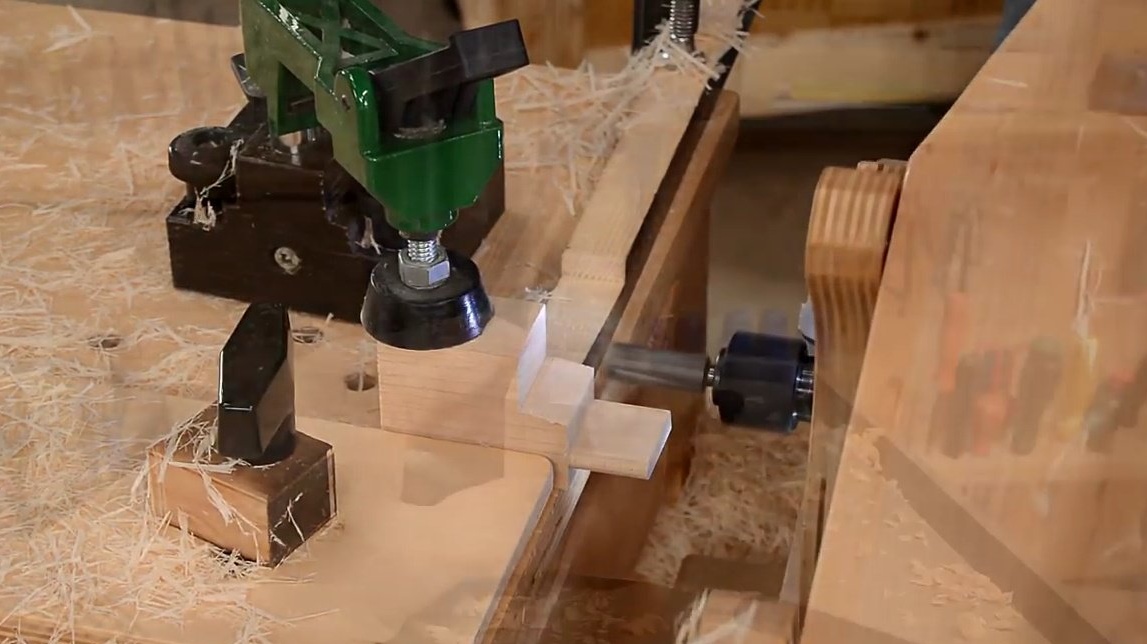
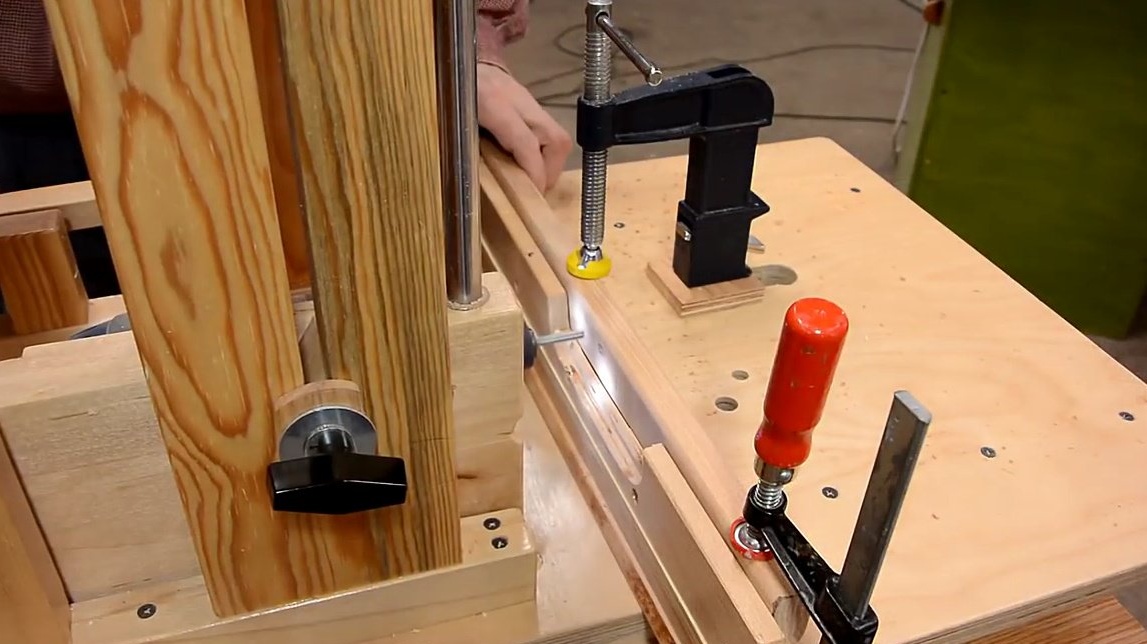
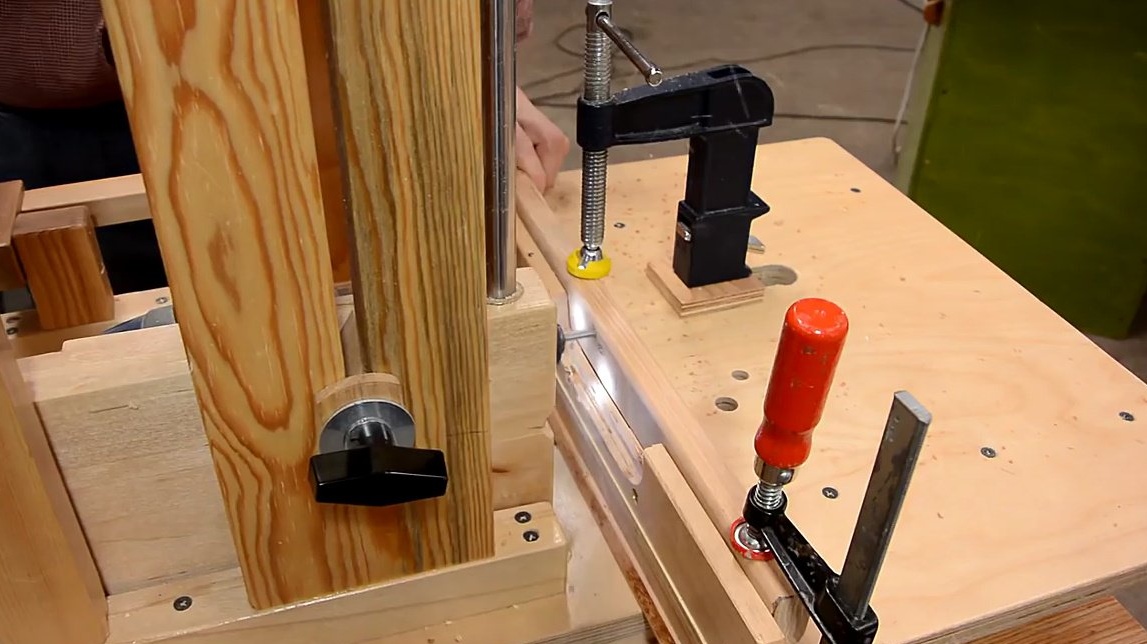
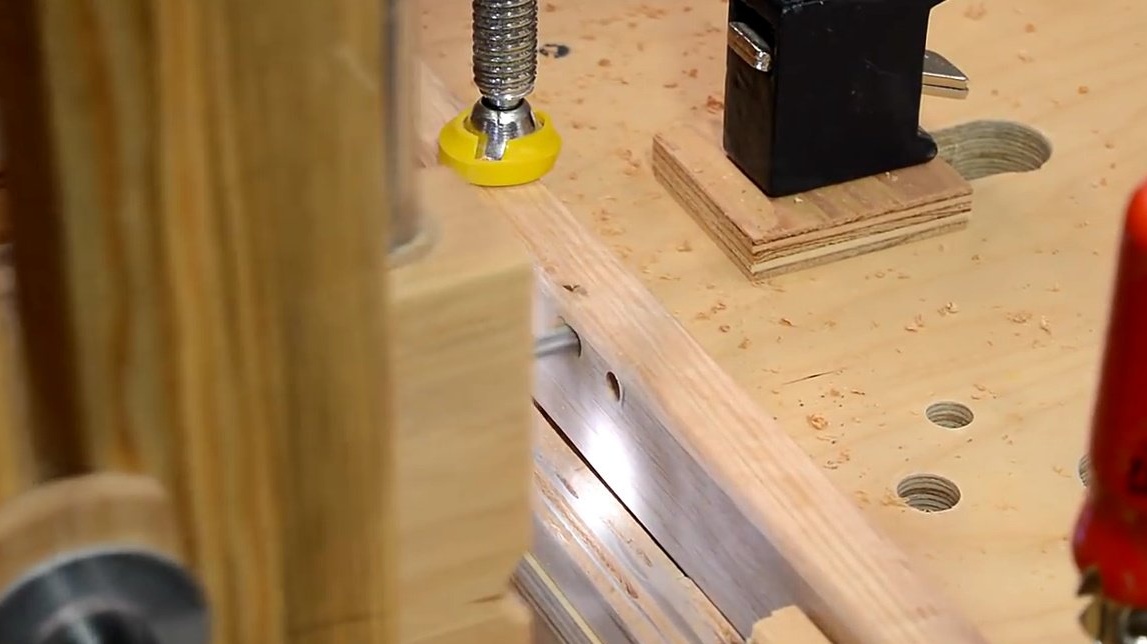
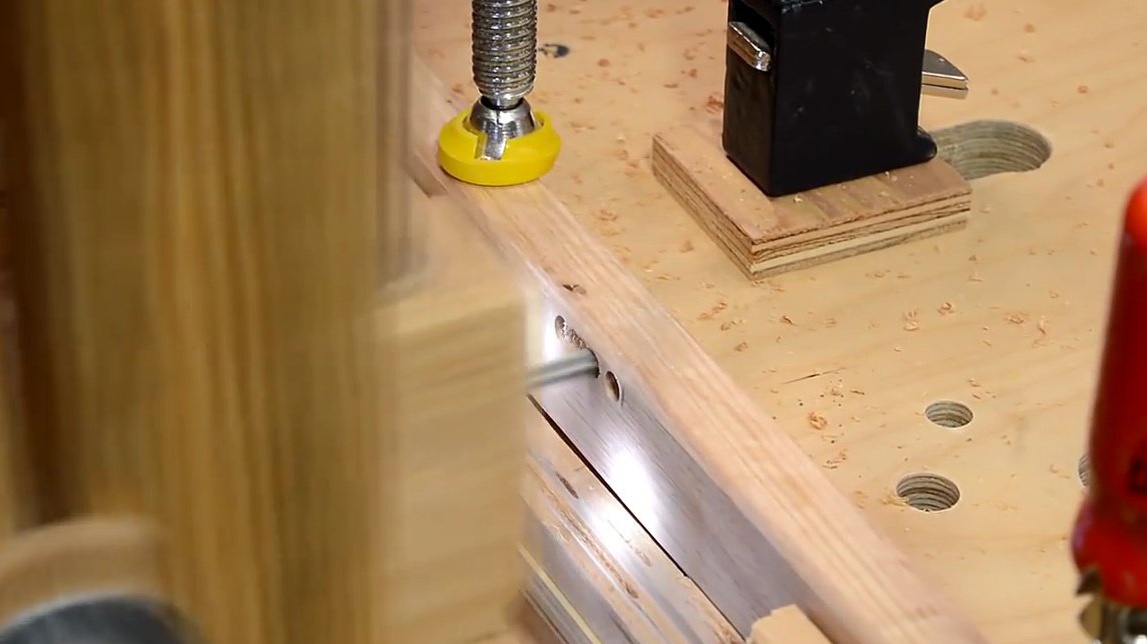
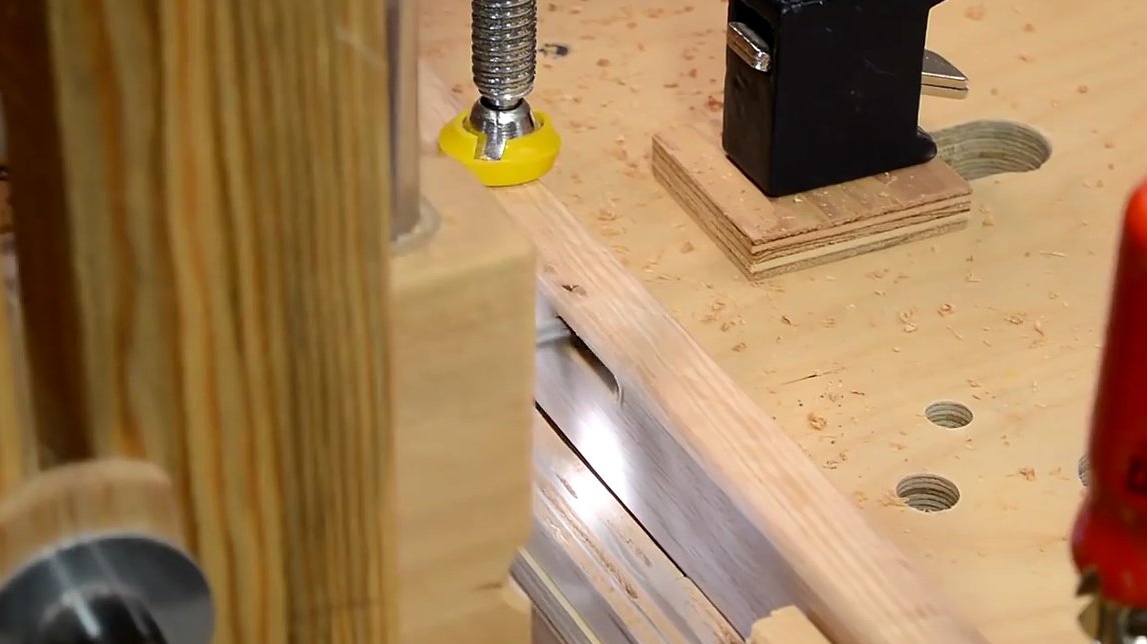
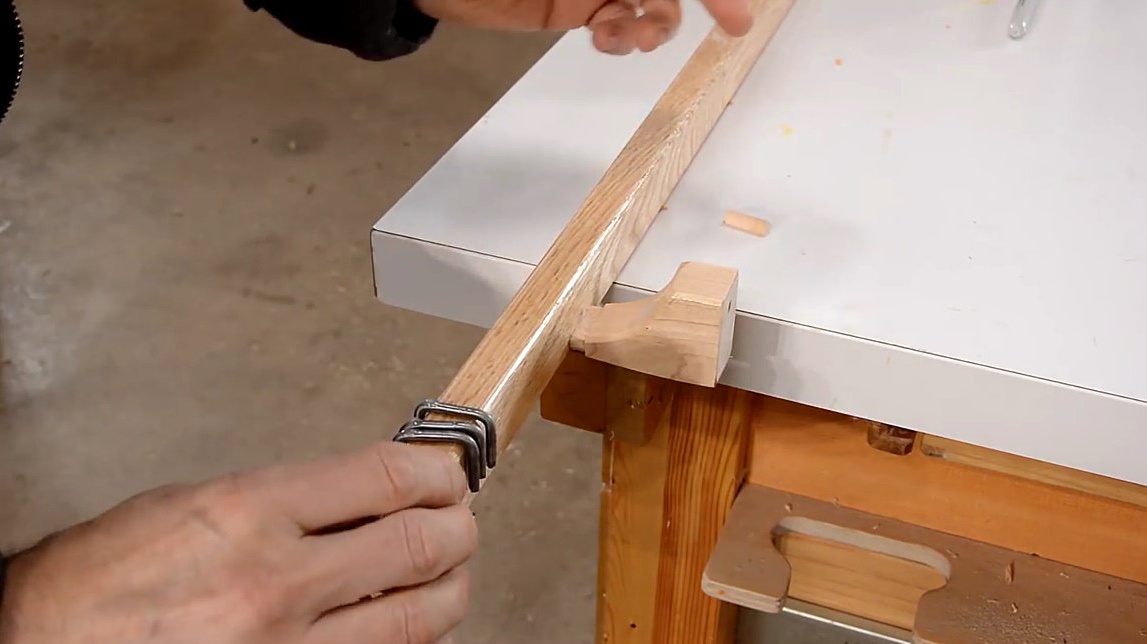
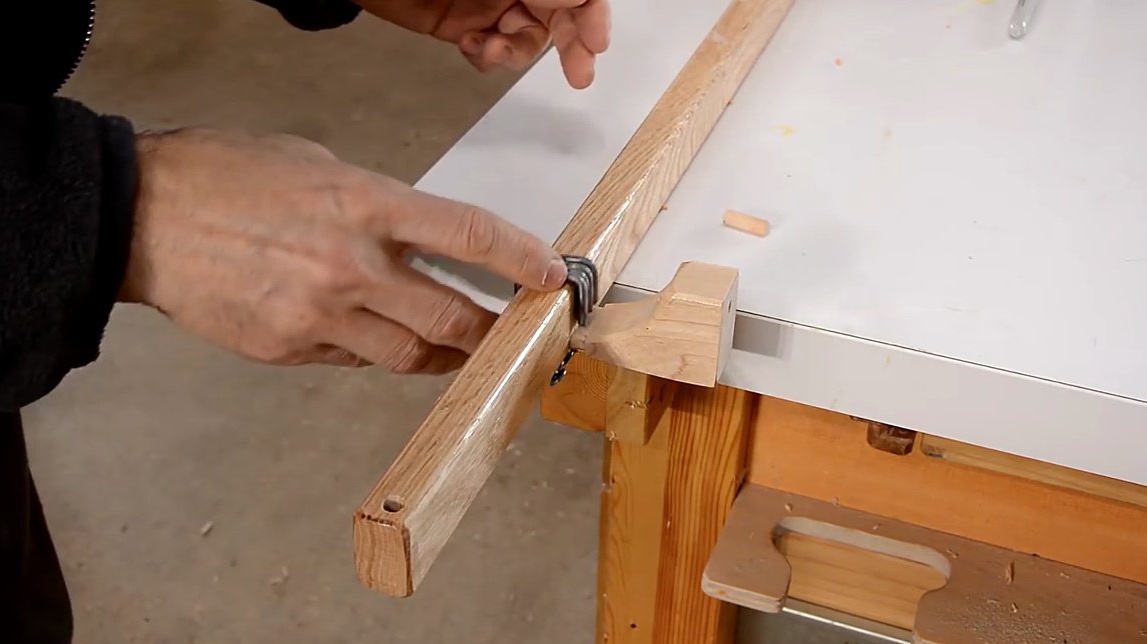
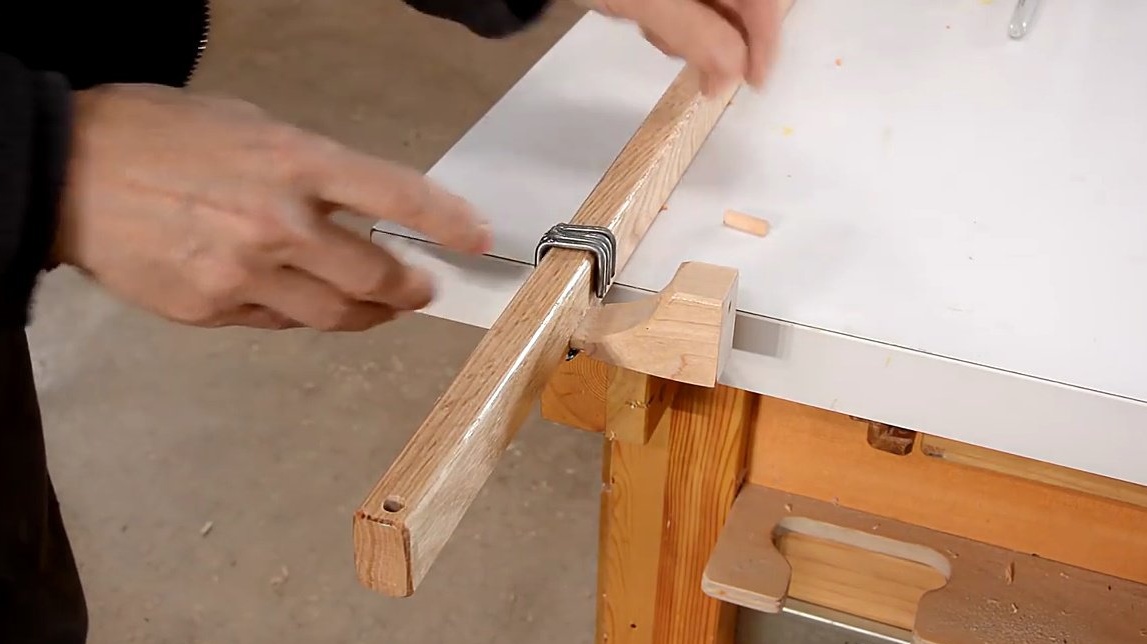
The author uses his pantorouter to cut shanks at the ends of the fasteners.
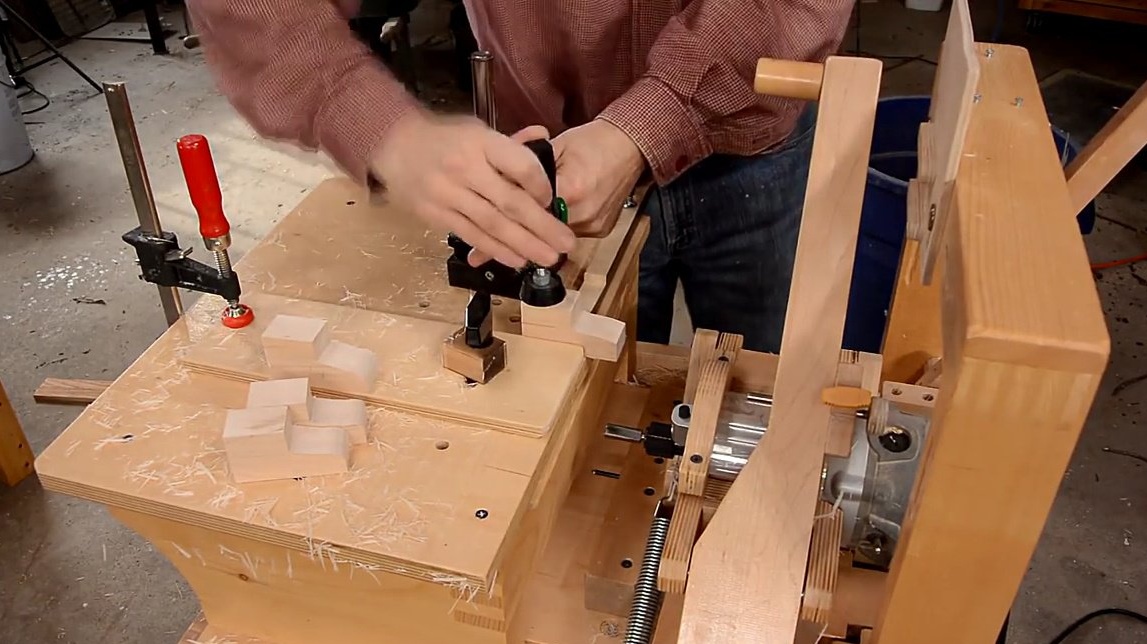
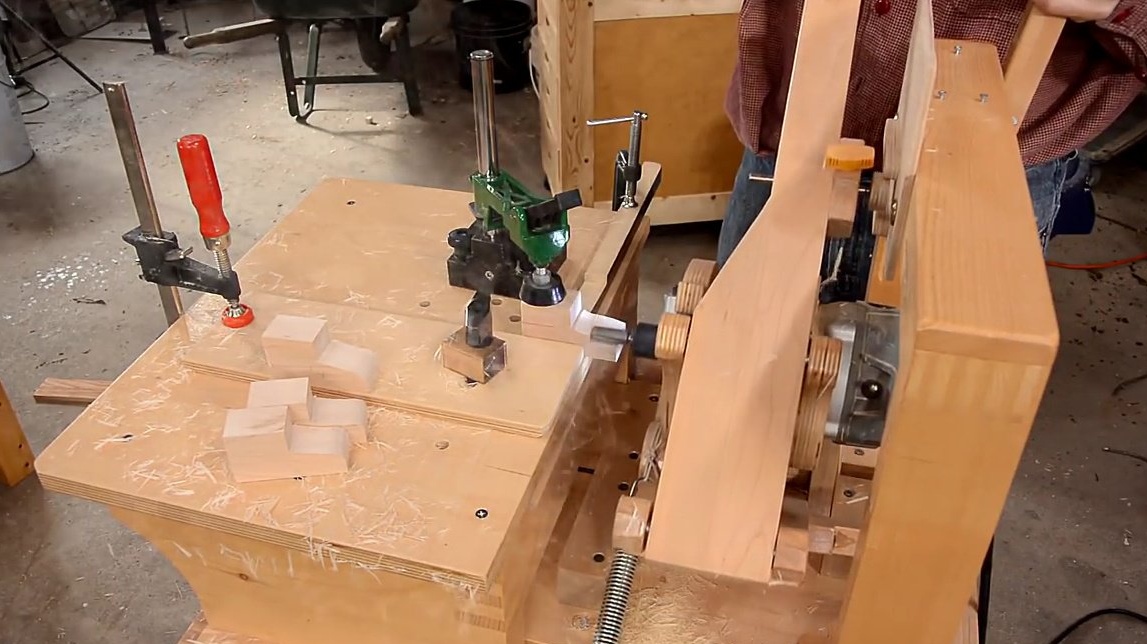
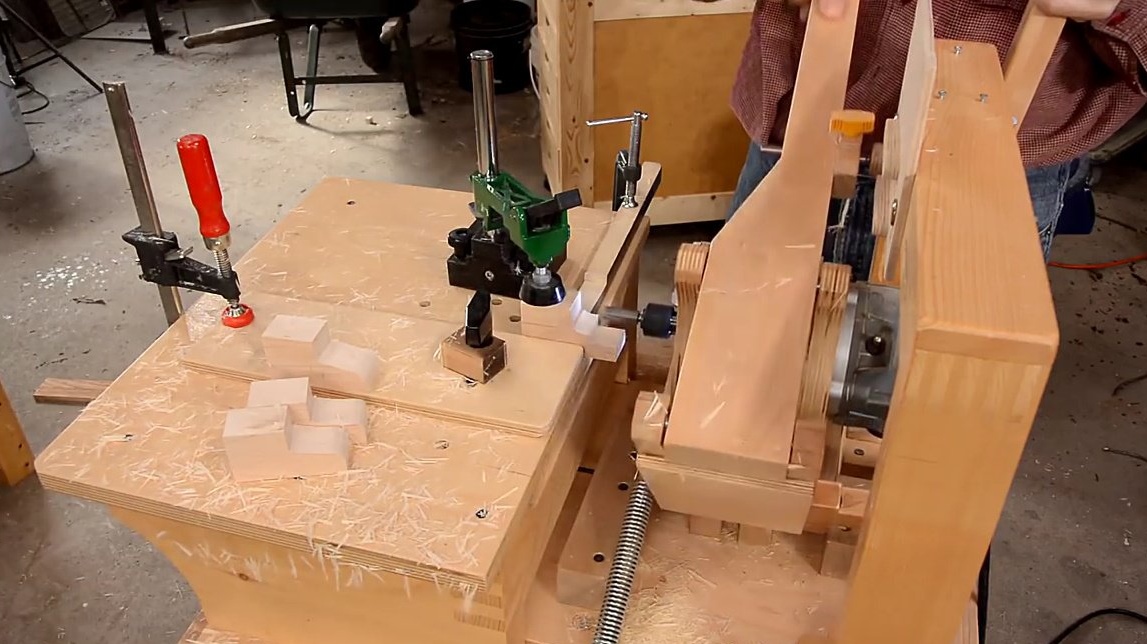

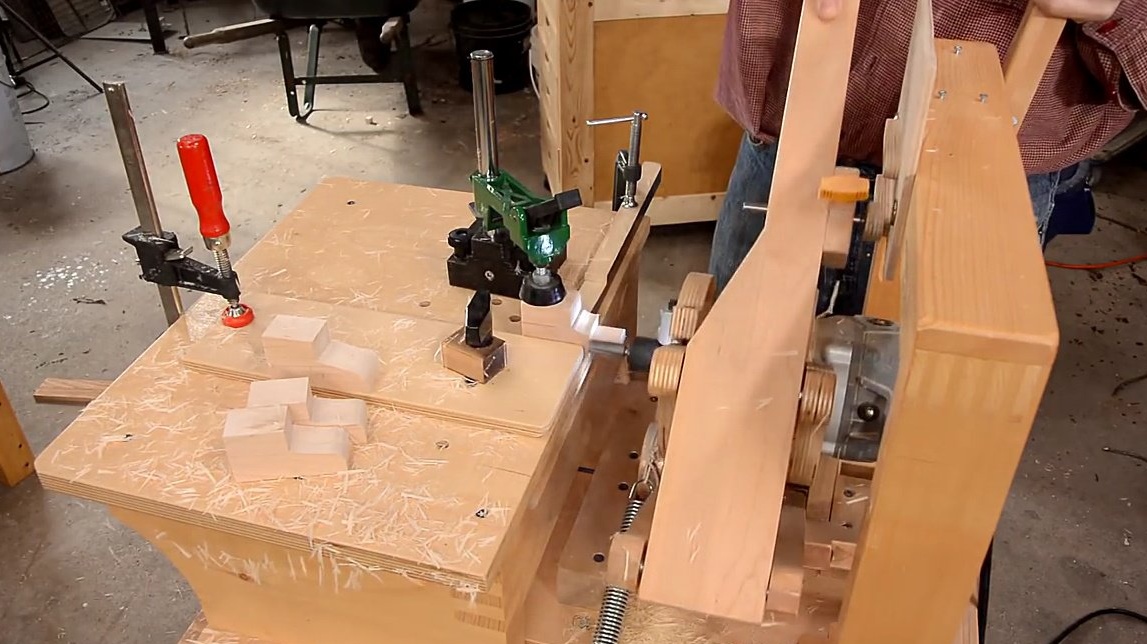
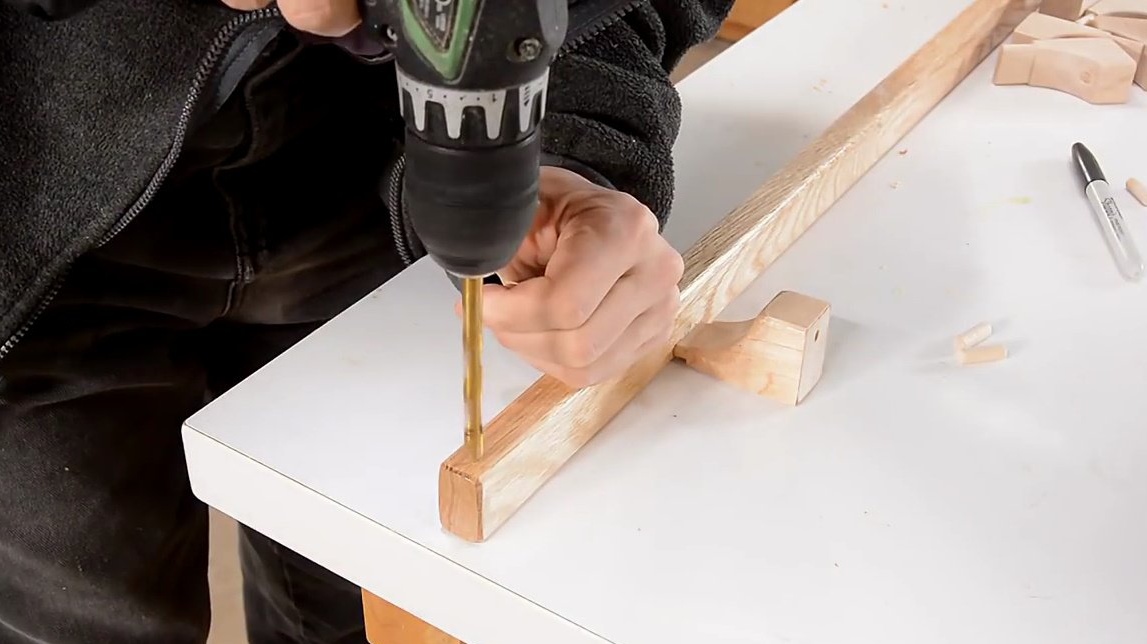
Now, in the workpieces, a hole is drilled for screws for attaching to the wall.

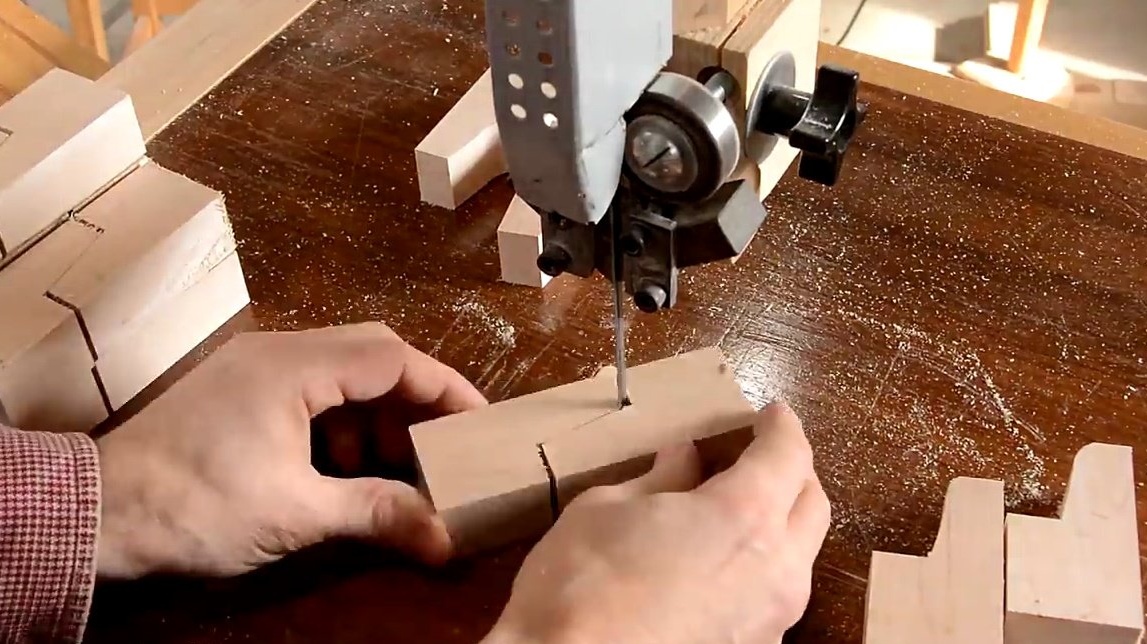
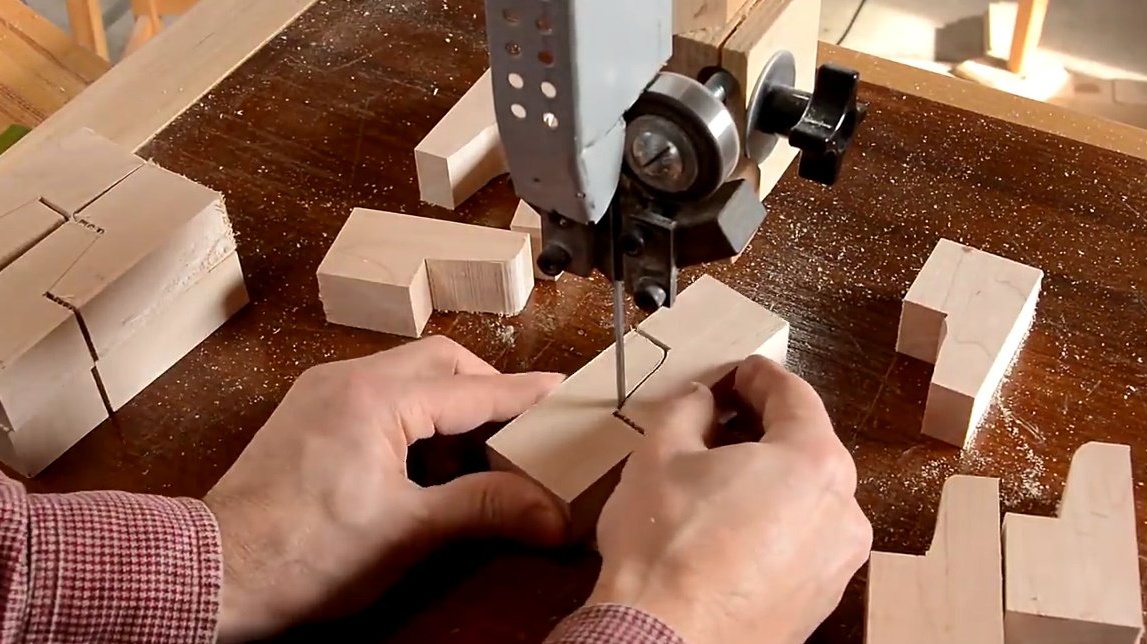
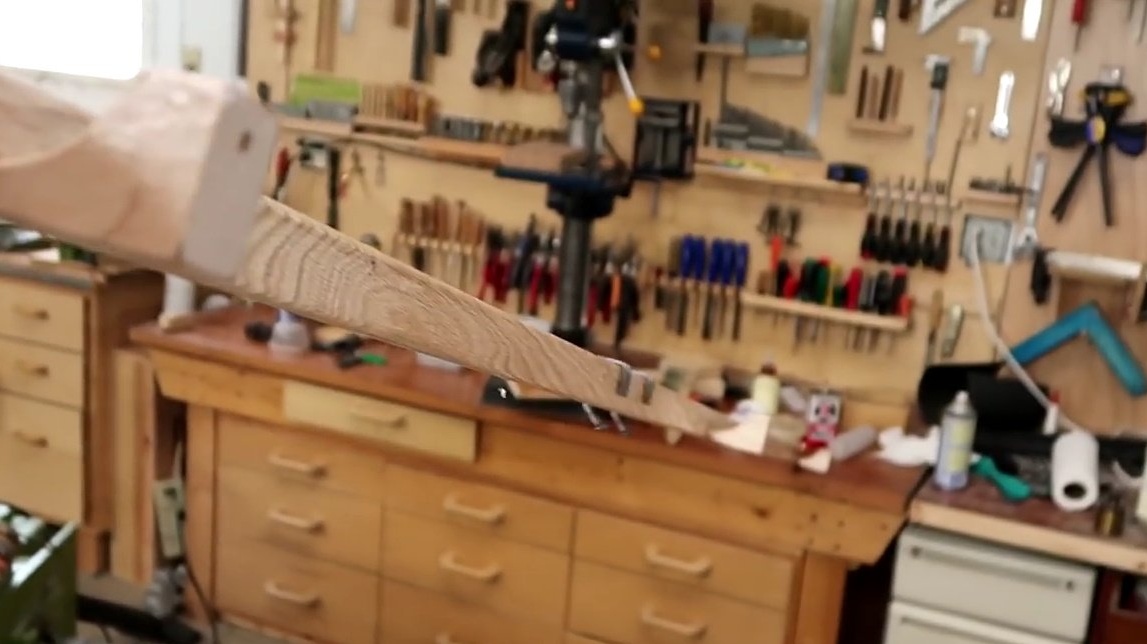
Having chosen a suitable template, transfers the markup to the remaining workpieces, and finalizes them on the band saw.
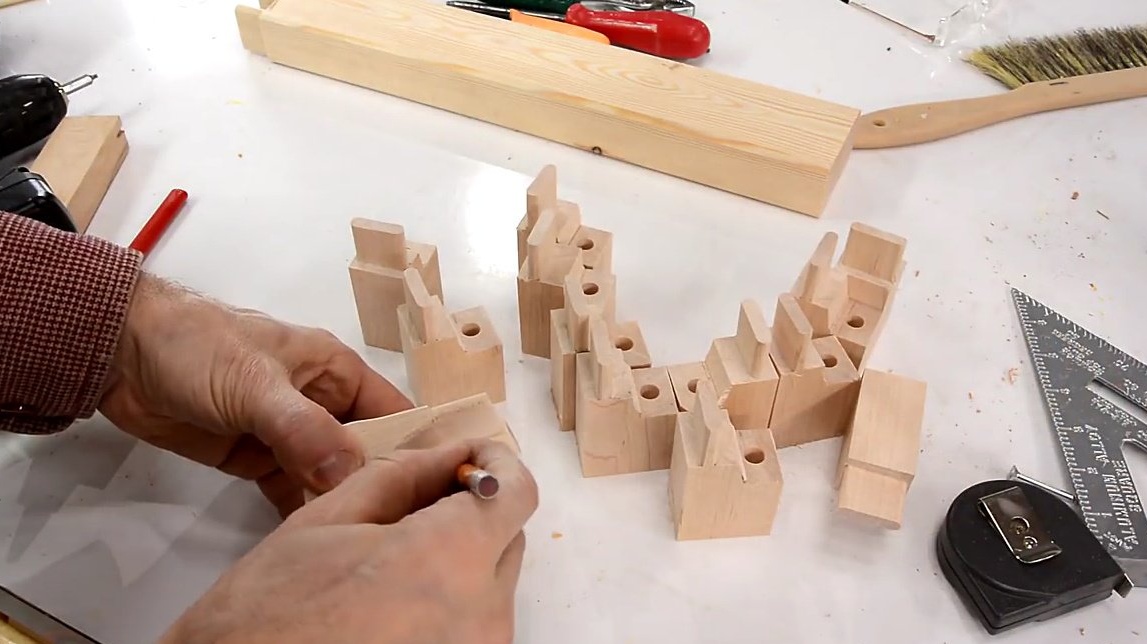
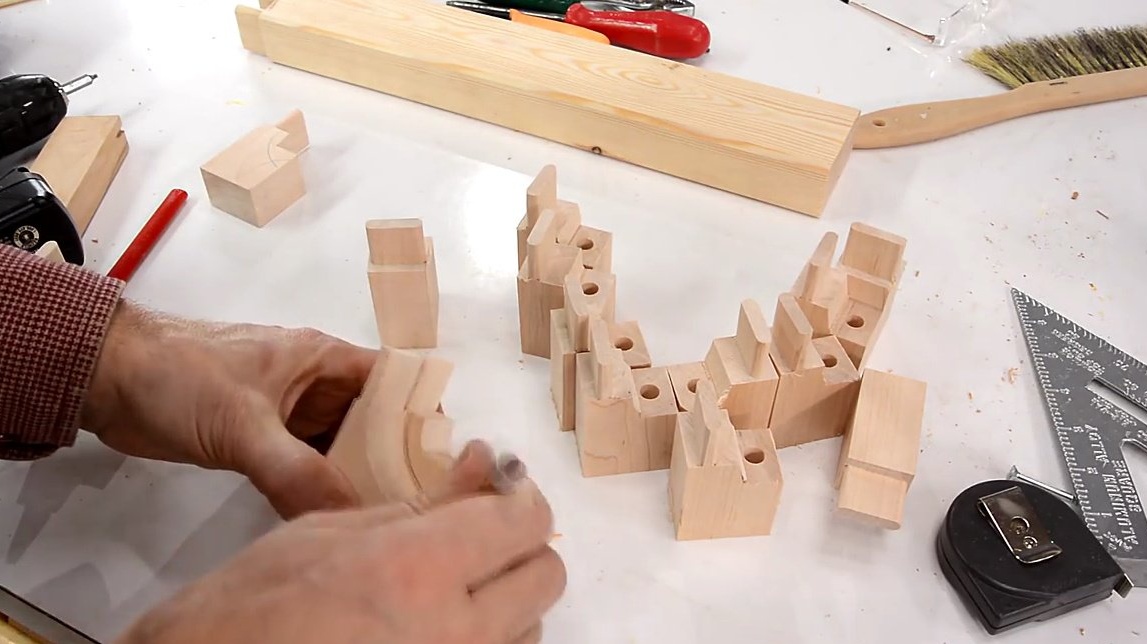

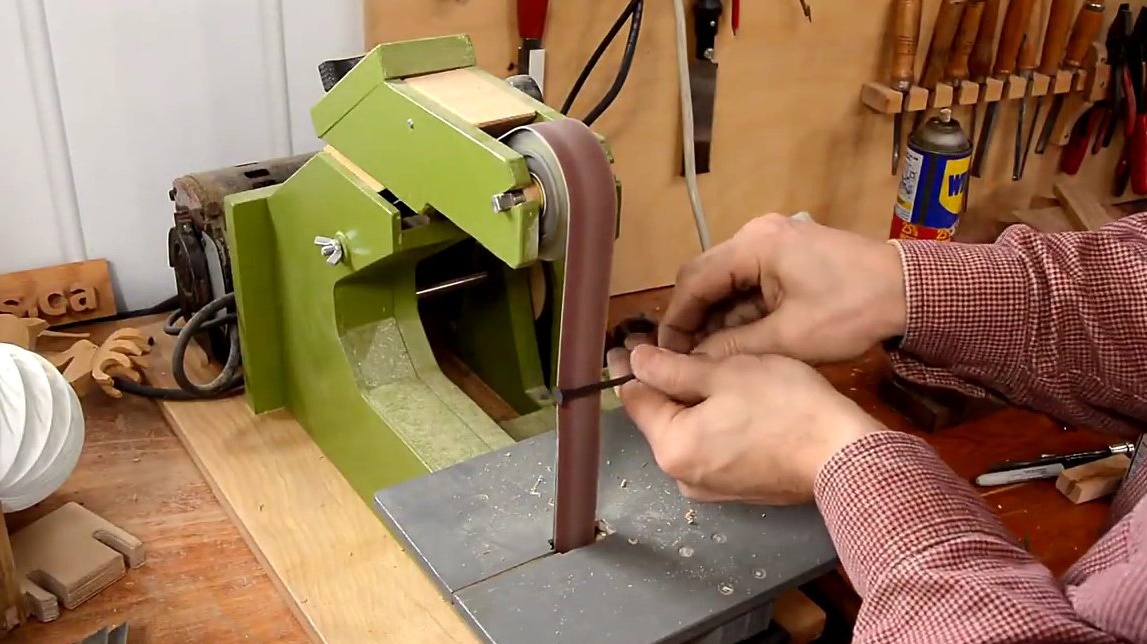
Then it processes the surfaces on a belt sander.

He returns to the processing of the cornice strips themselves, cuts out grooves in them for fastenings on the pantorotor.
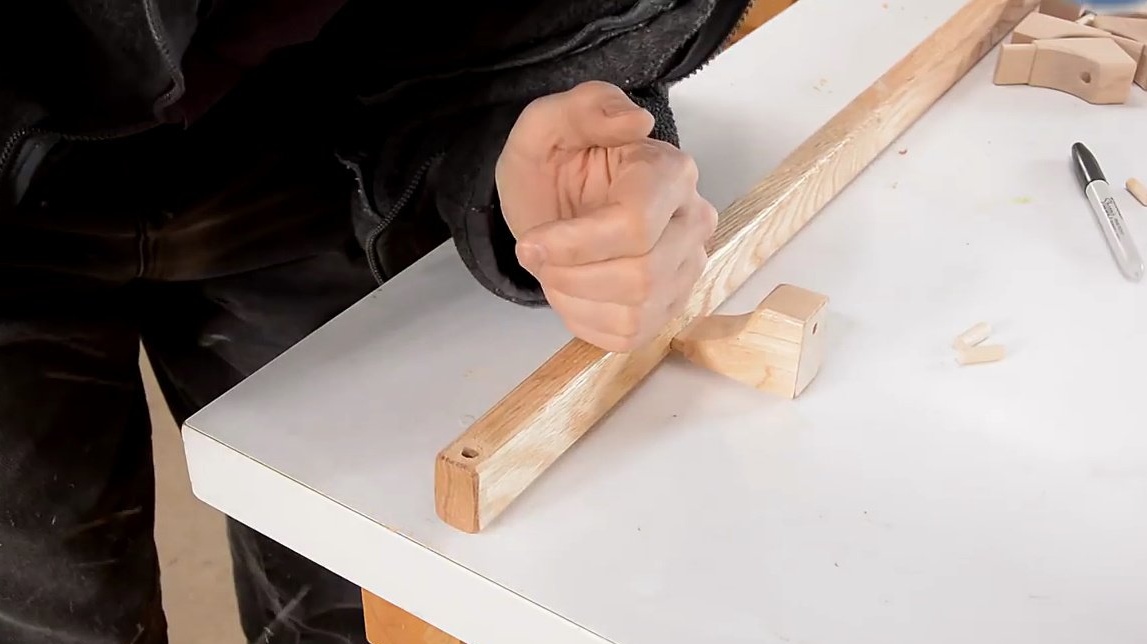
You can install the fasteners in the grooves on the slats, after having previously coated them with glue.
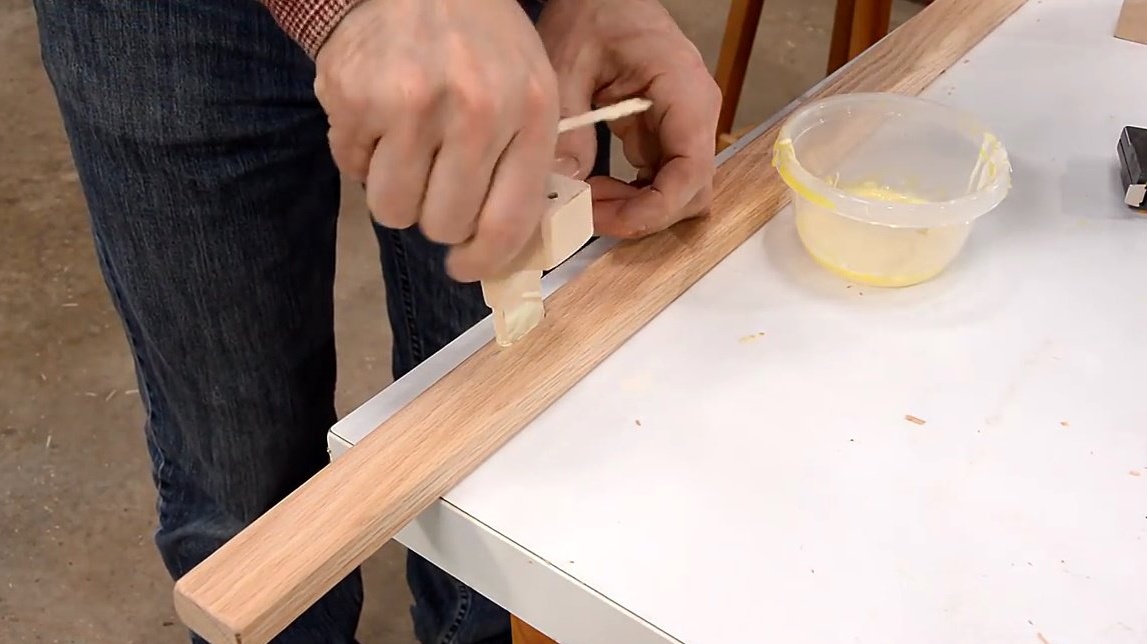
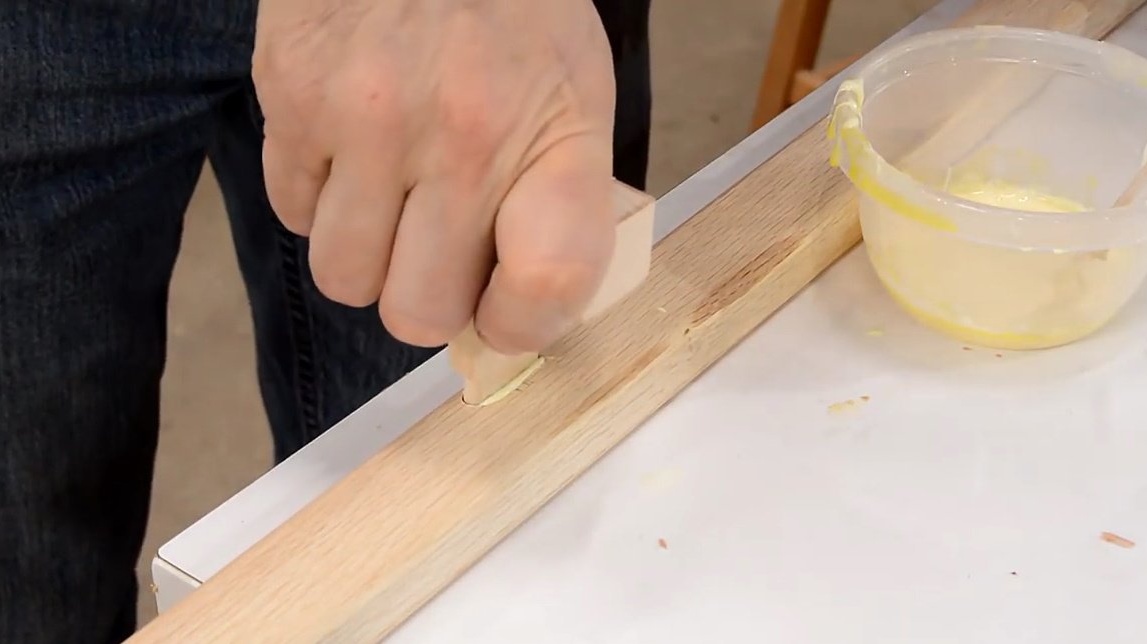
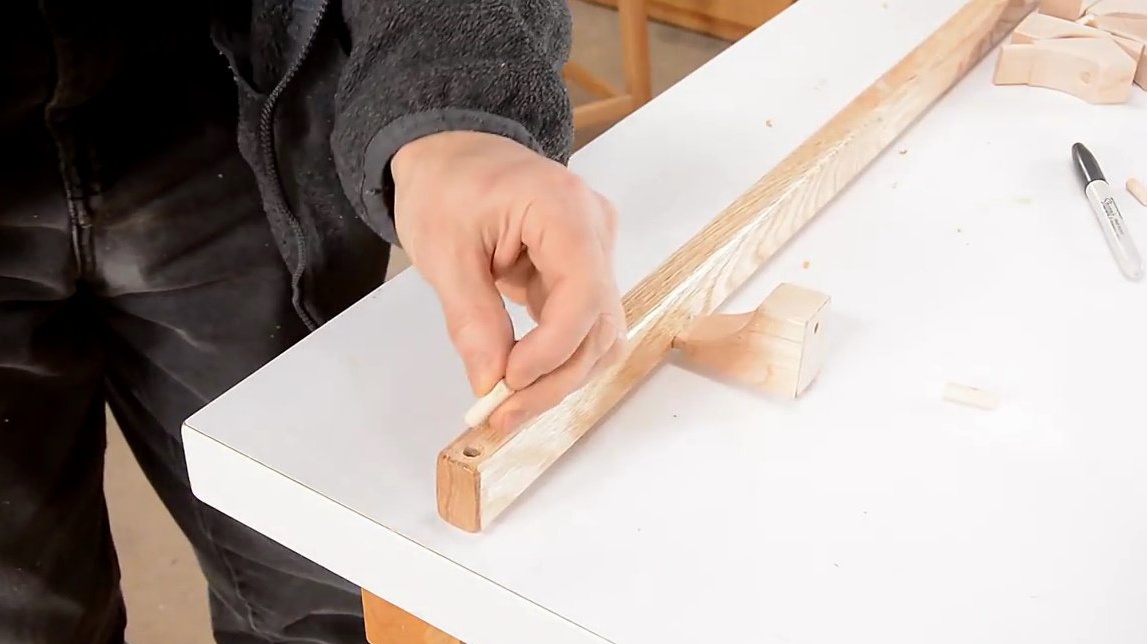
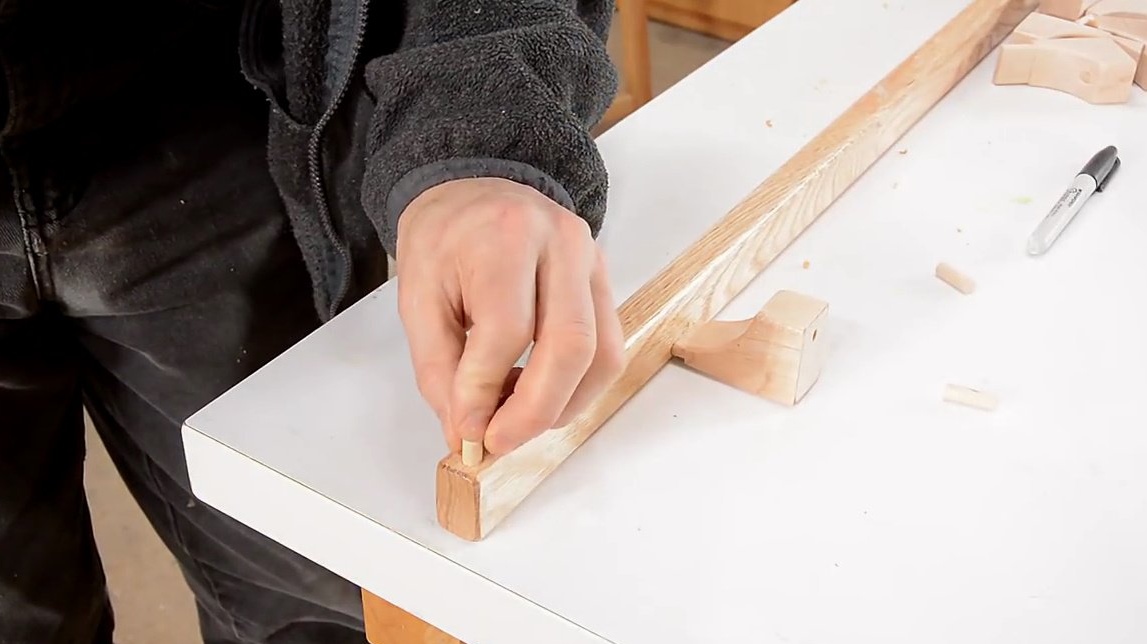
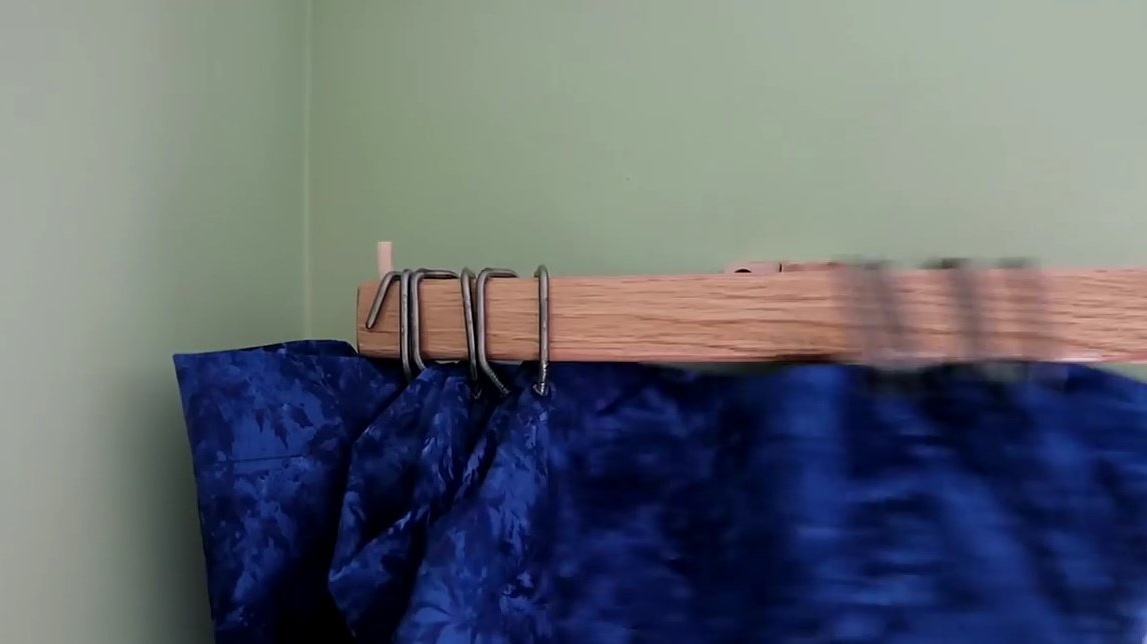
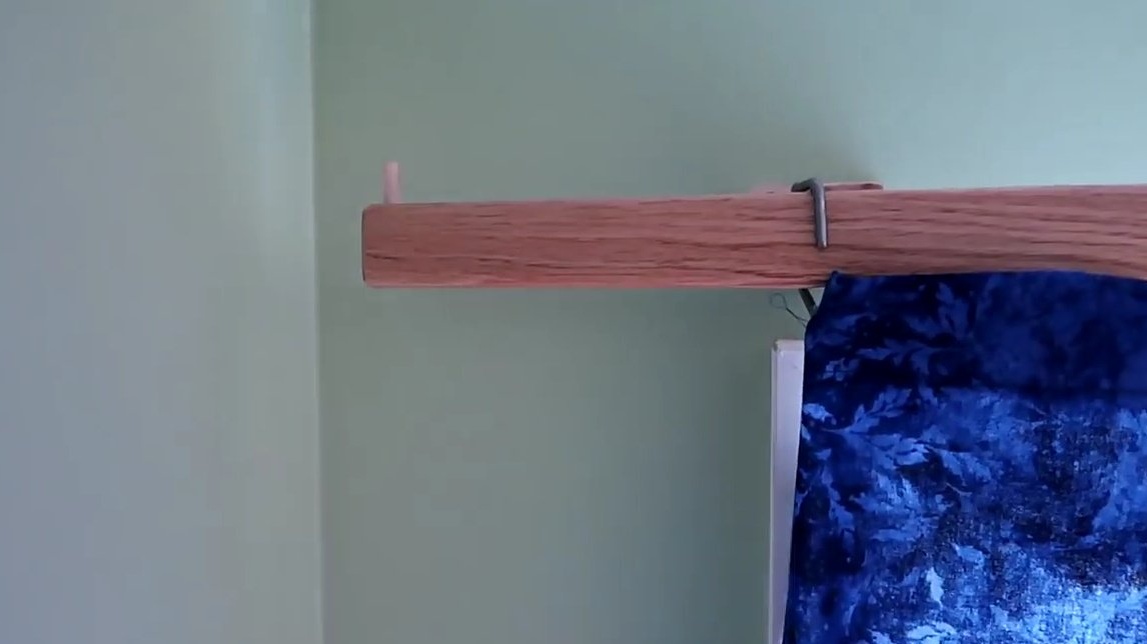
The glue is dry, the wood is oiled and varnished. Limiters can be made so that hooks do not come off. As a limiter, the author decided to use a conventional dowel, drills a hole to a shallow depth - the limiter should protrude 1.5 centimeters.
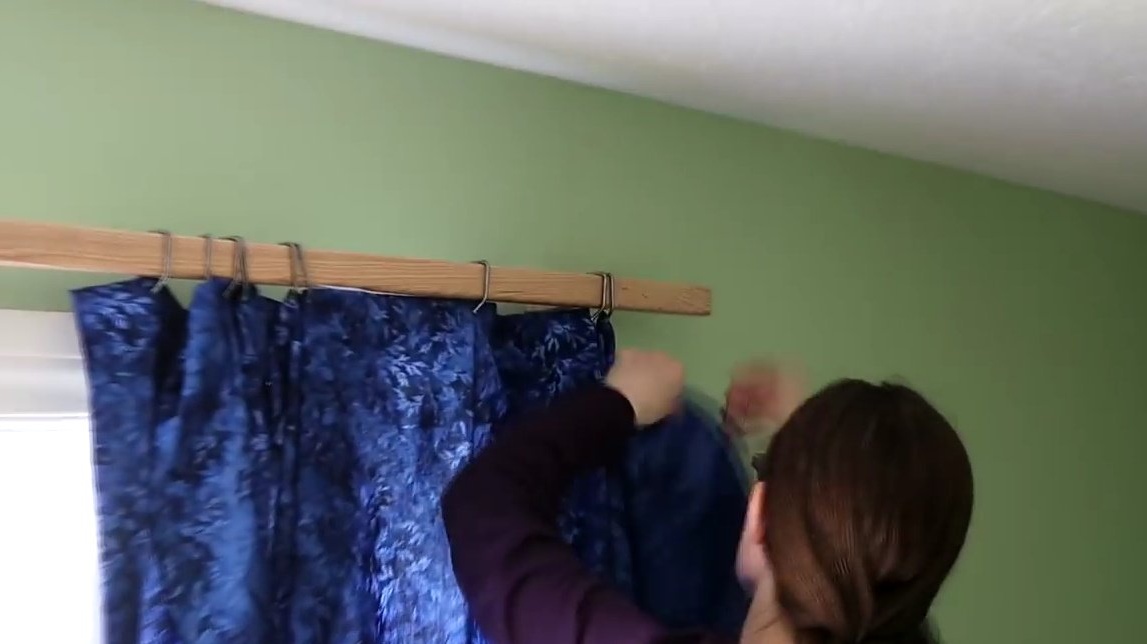
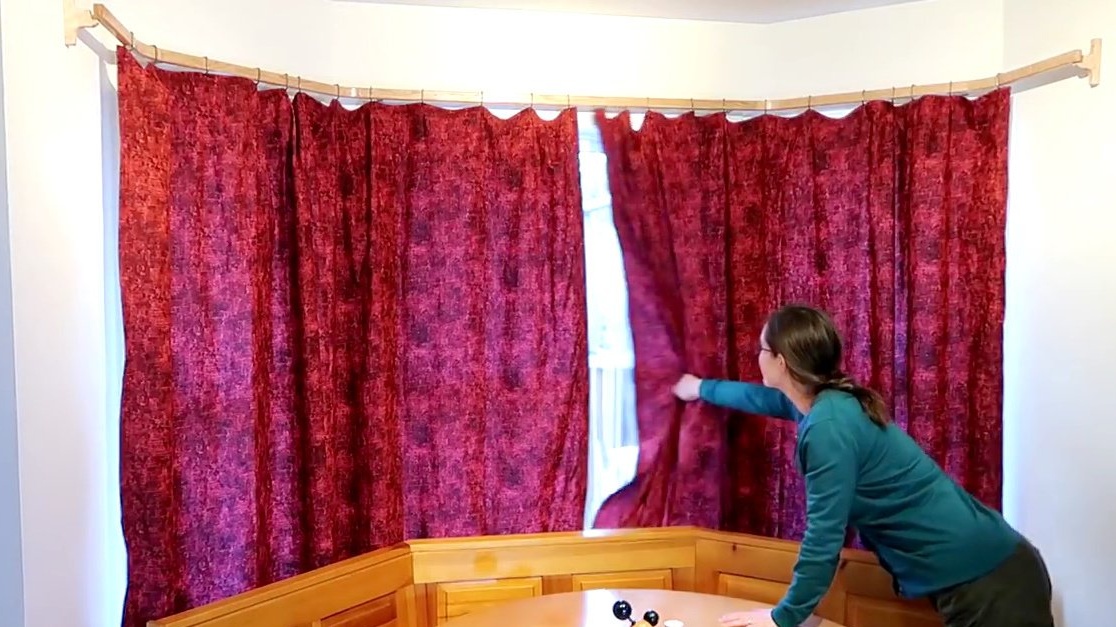
And here is the whole secret of fastening and a special kind of hook. As you can see, they pass along it without any problems.
Sliding along the guide is also excellent.
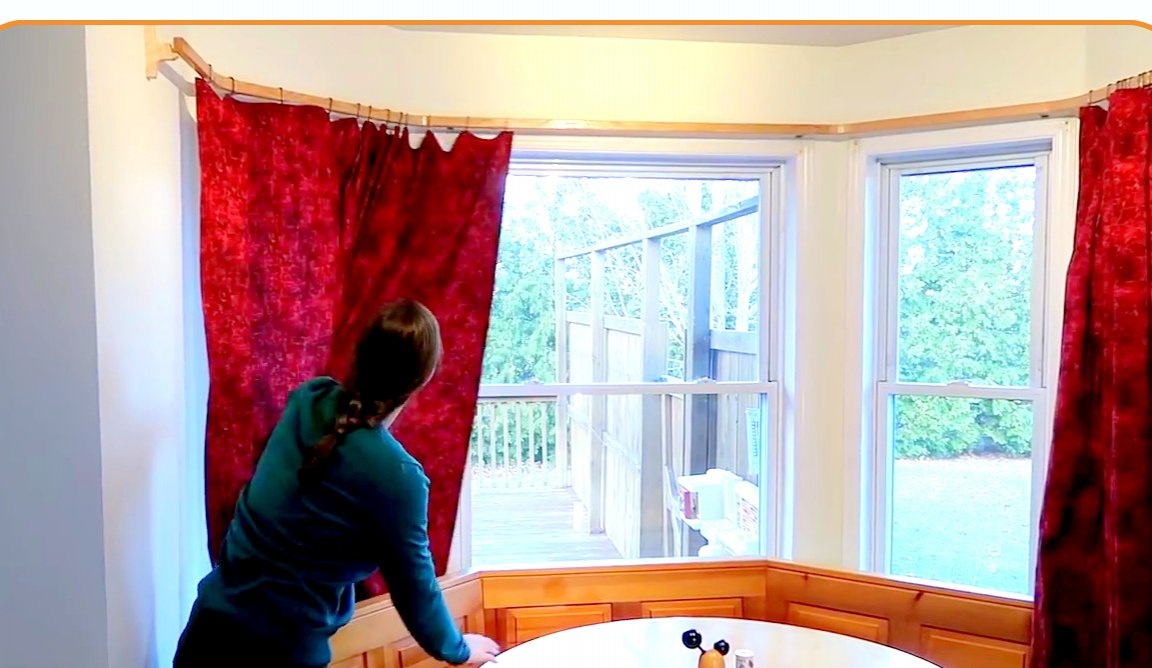
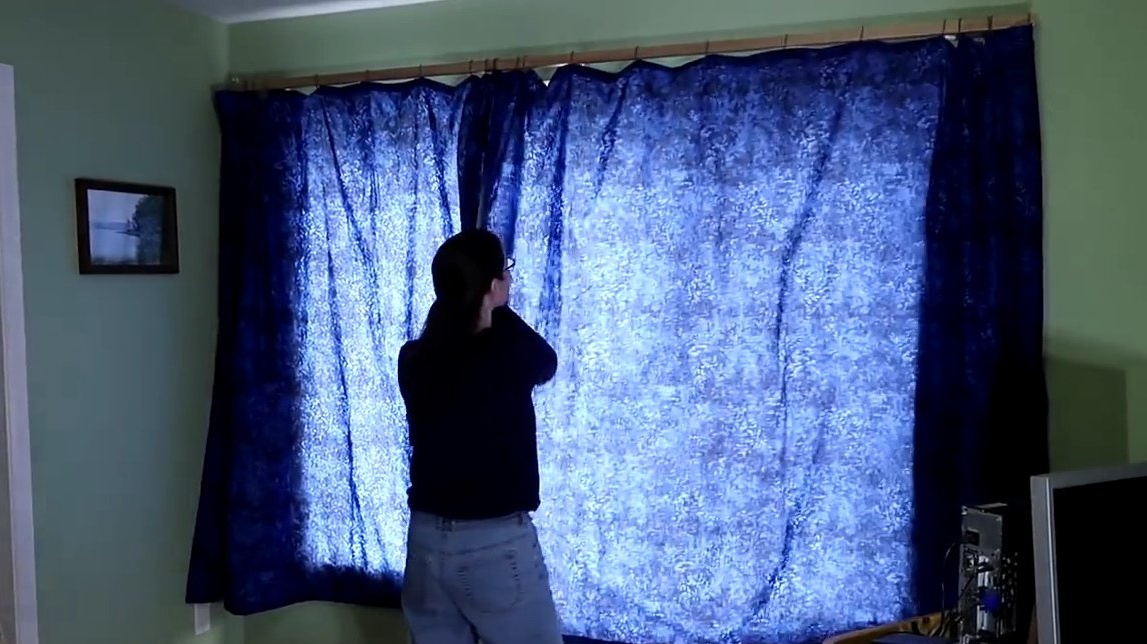
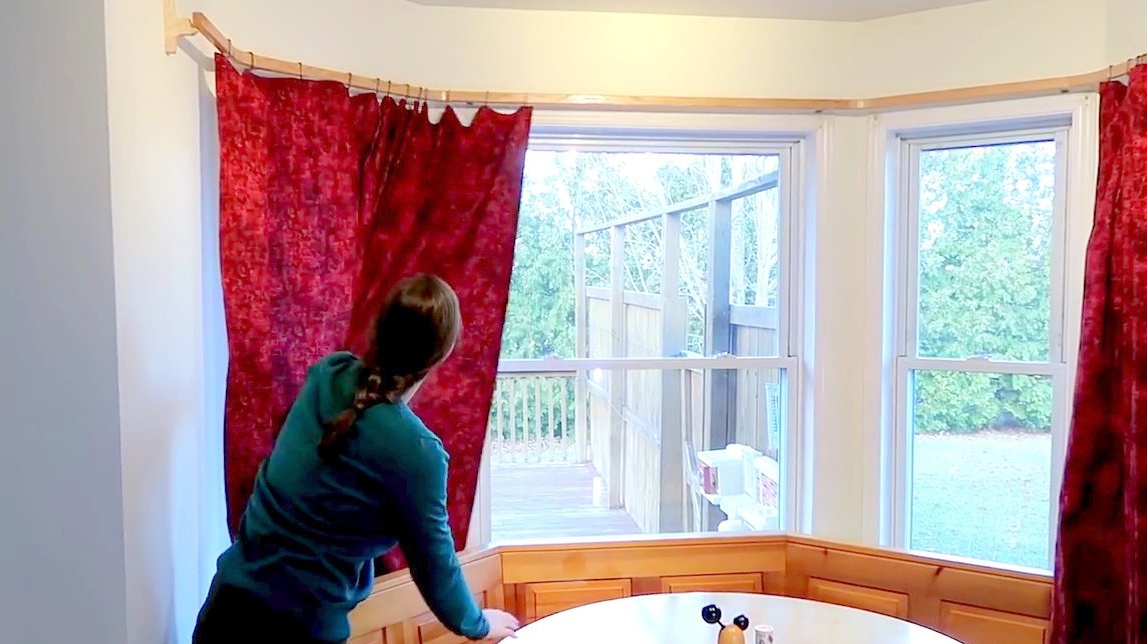
The author installed a cornice, and the mounts will practically not be visible from the room.

At this time, the author’s wife began sewing curtains. In time, it lasted longer than the manufacture and installation of cornices. Moreover, the head of the nail and holds the edge of the fabric by the loop like a button.
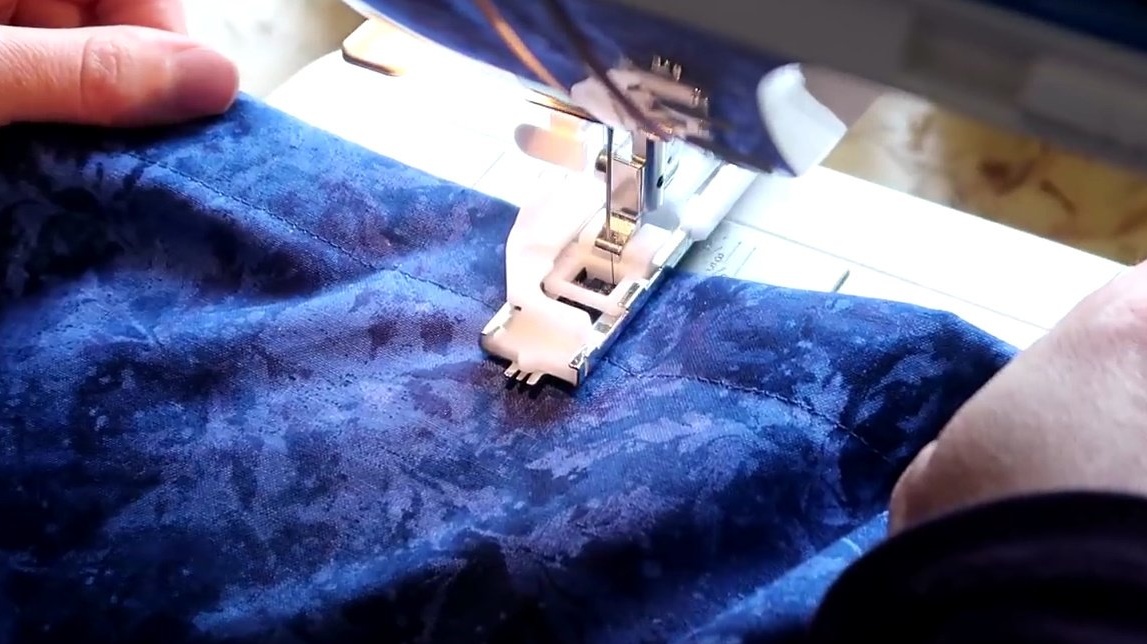
Hangs the curtains and everything closes perfectly. The extreme hook was specially deployed in the opposite direction, and it does not allow to move its edge of the window, clinging to the fixing of the cornice. On the other hand, he will not be able to fall off the guide because of the dowel.
With such a universal design of the cornice, even such complex shapes can easily be made.
Thanks to the author for the great idea of creating a universal system for curtains!
All a good mood and design solutions!