
Good day to all dear friends! In today's article, I would like to show you a very interesting idea homemade for those people who are just bored, or if you are afraid of the dark and you need a cool unusual nightlight) This nightlight is made in the form of an aircraft spotlight and its work is based on LED strip, and it can also rotate very cool in 2 axes, due to which it becomes even more interesting.
Well, stop talking and let's start doing this homemade work, let's go!
And so for a simple mini spotlight we need:
-corrugated cardboard
LED strip with modular separation
wire
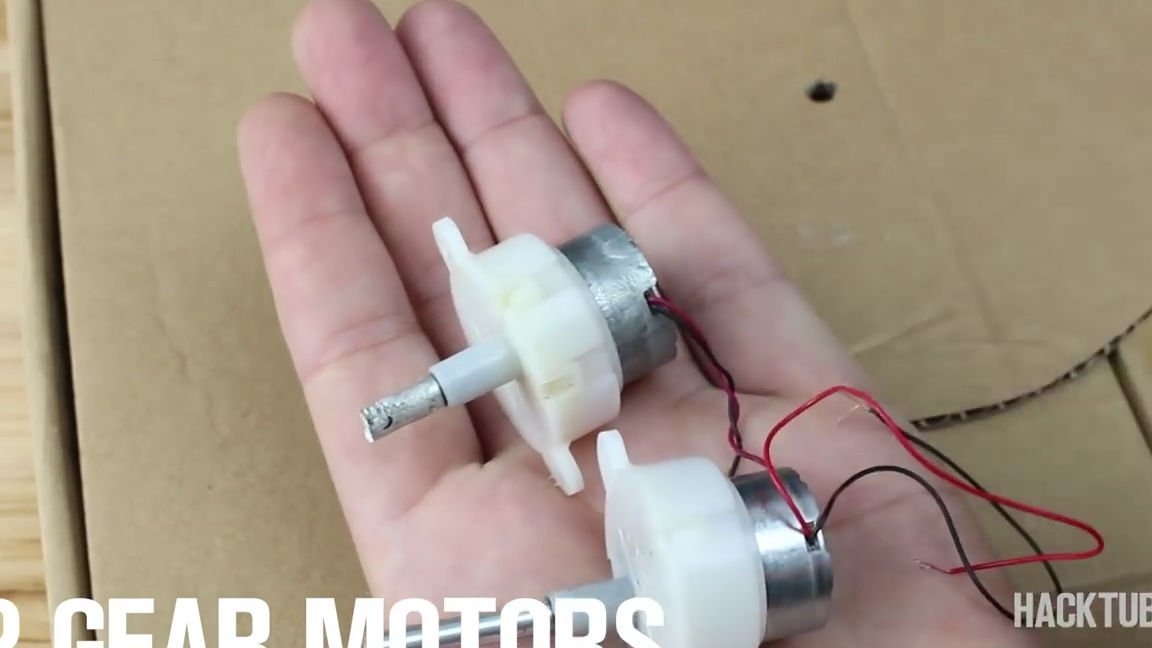
- two electric motors
- two switches
wifi module for led strip
crowns
-controller (usually comes with the tape)
Of the tools we will also need:
hotmelt
-Super glue
-stationery knife
-scissors
soldering iron
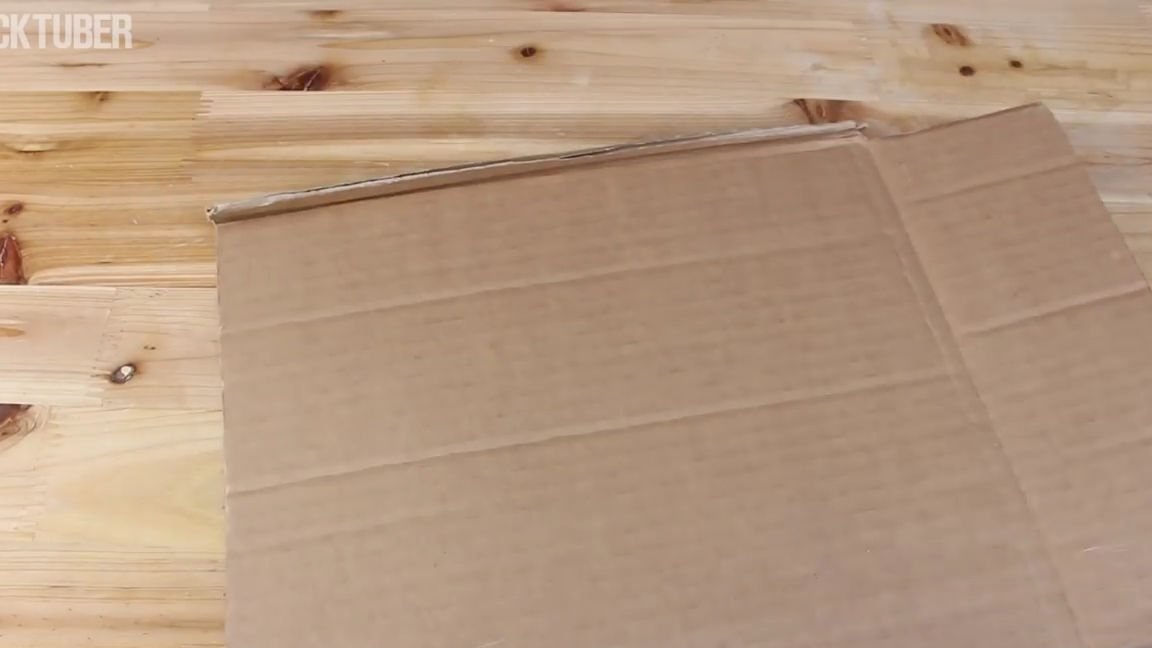
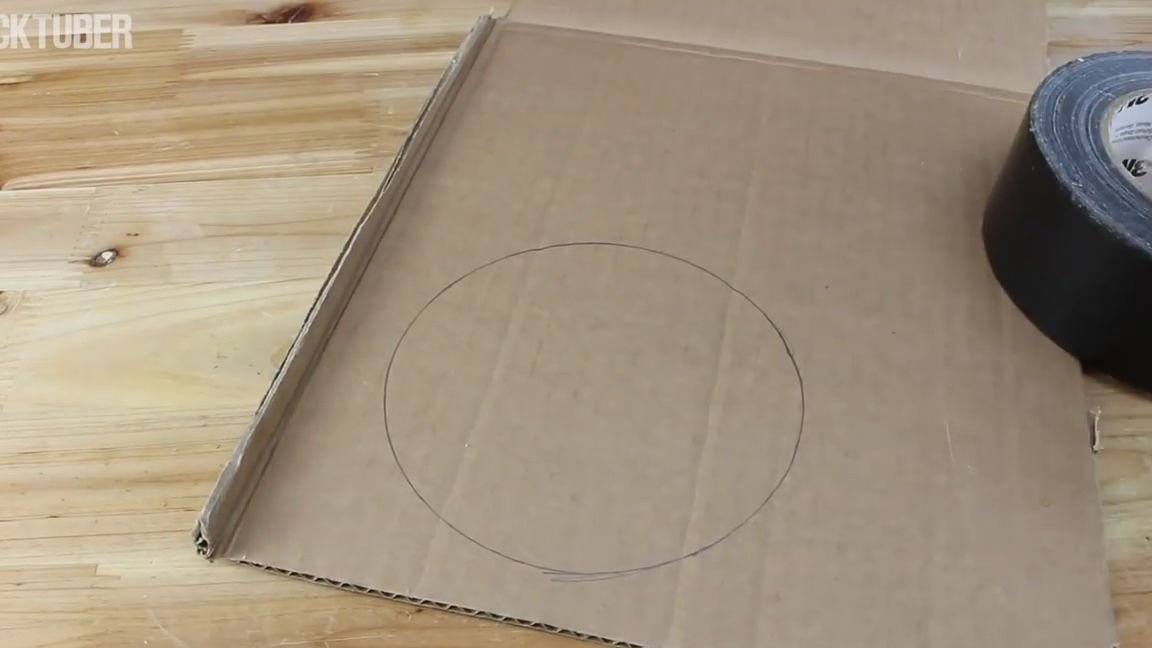
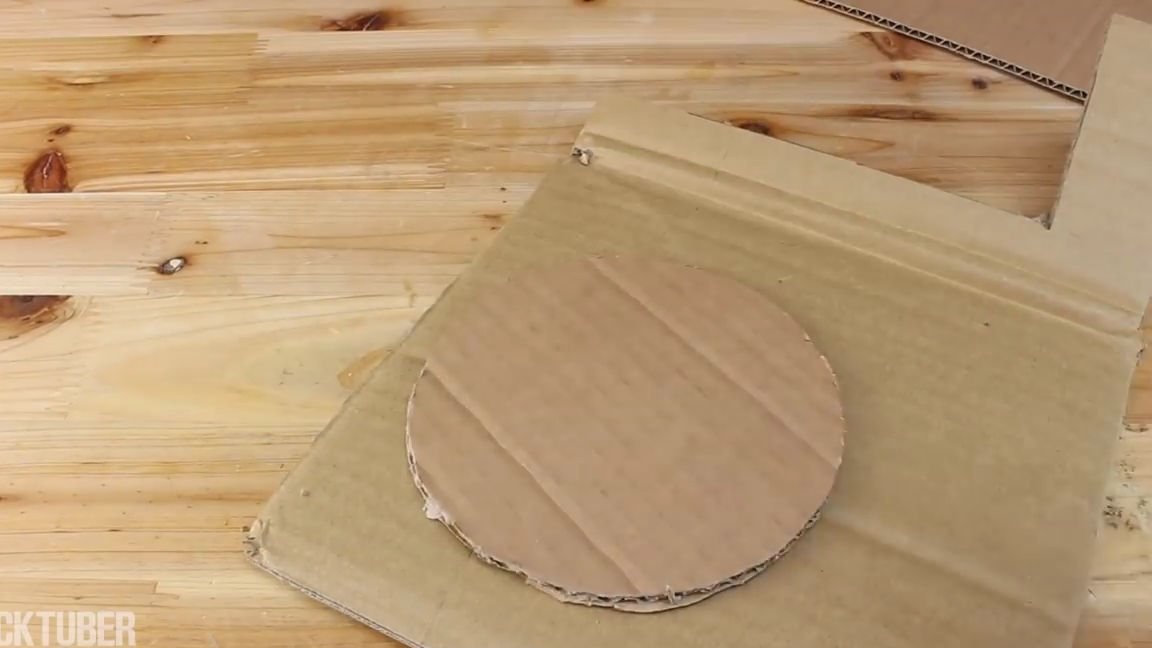
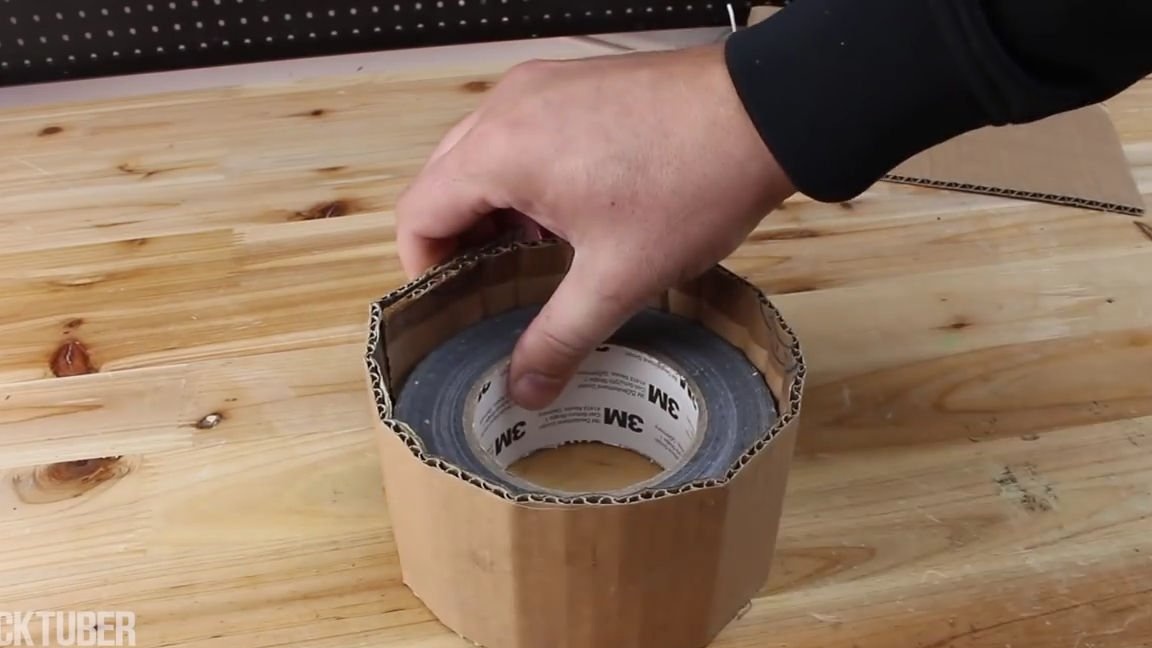
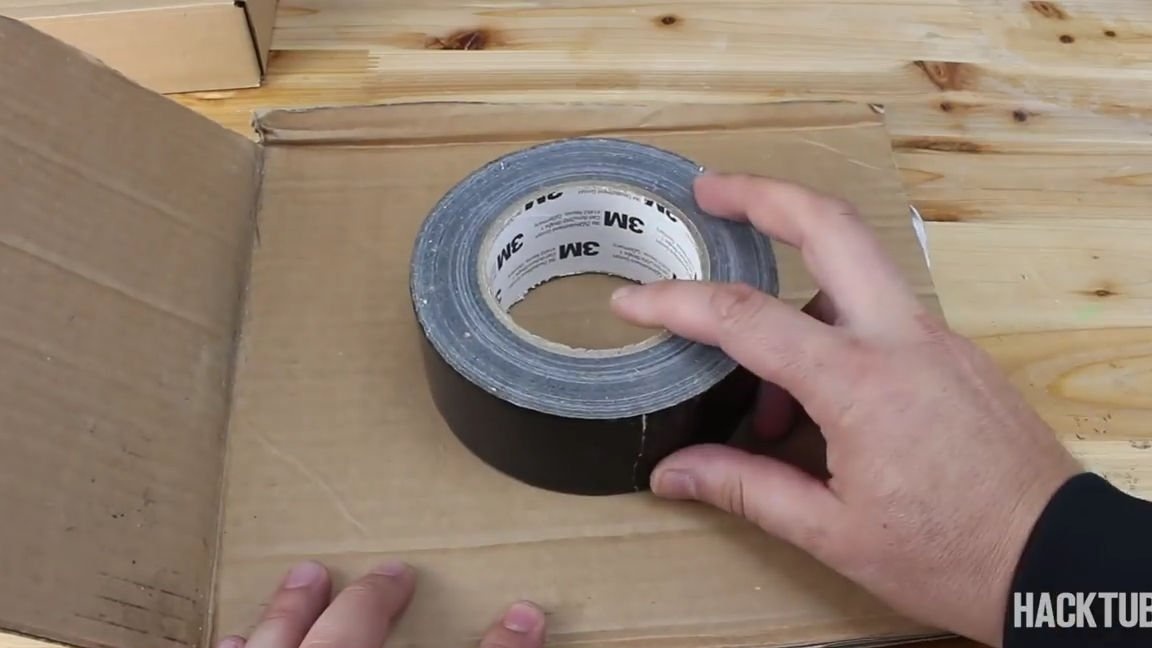
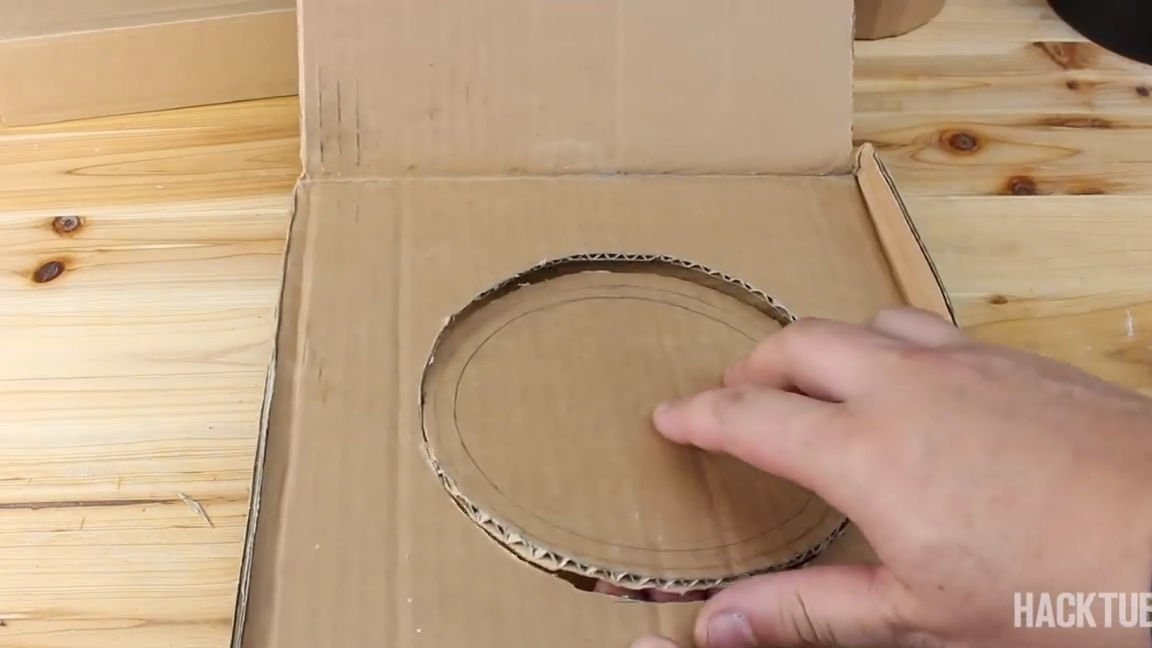
The first step is to take a sheet of corrugated cardboard and preferably draw a circle of medium size with a compass. The author of this homemade product, instead of a compass, used a roll of adhesive tape, which is also convenient. In general, you should get a circle that we naturally cut out.
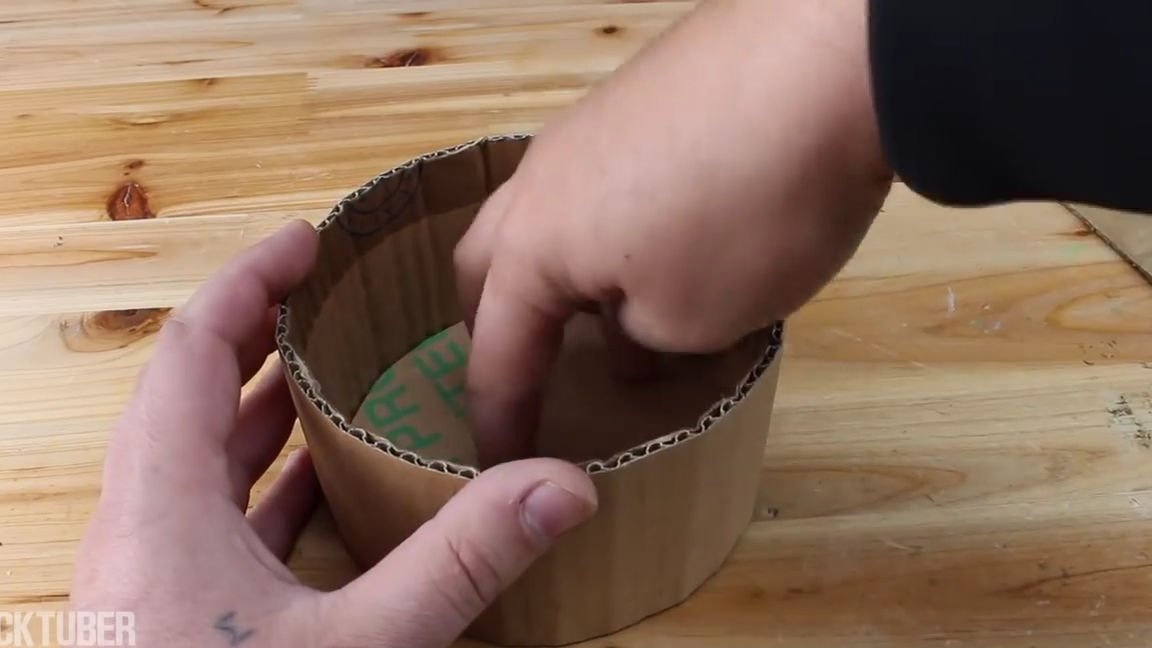
Then we cut out the cardboard tape and wrap it around the same adhesive tape, after which we glue the edges. It should turn out a certain cone.
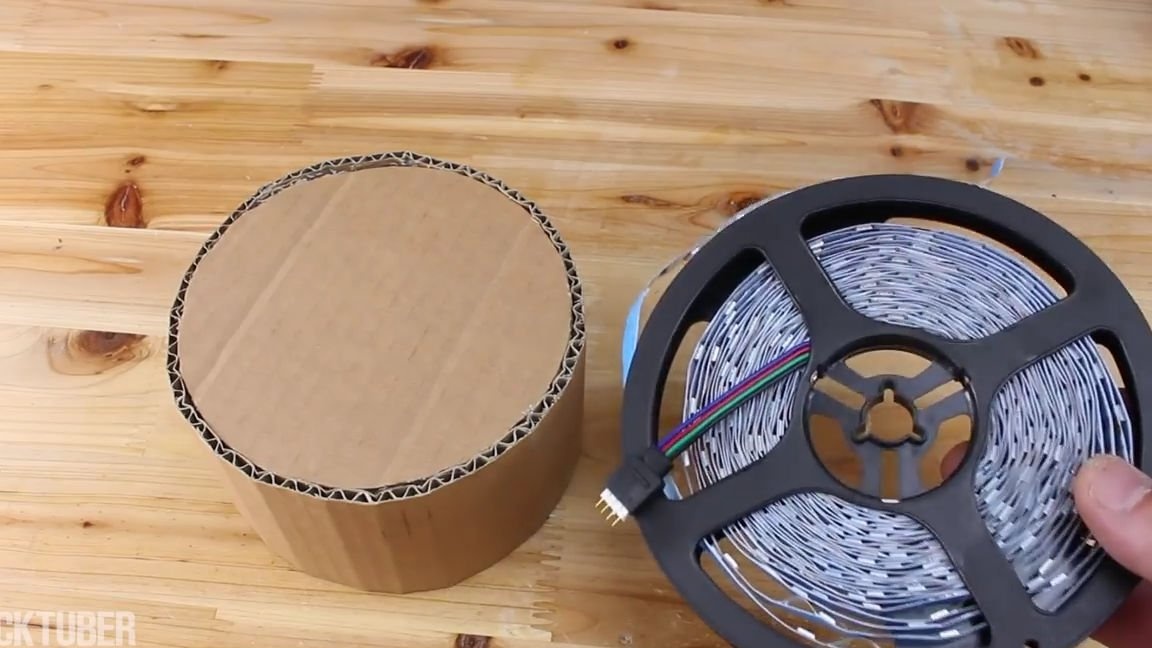
On one side of the cardboard cone we glue the circle that we did earlier. Everything should turn out like in the photo below:

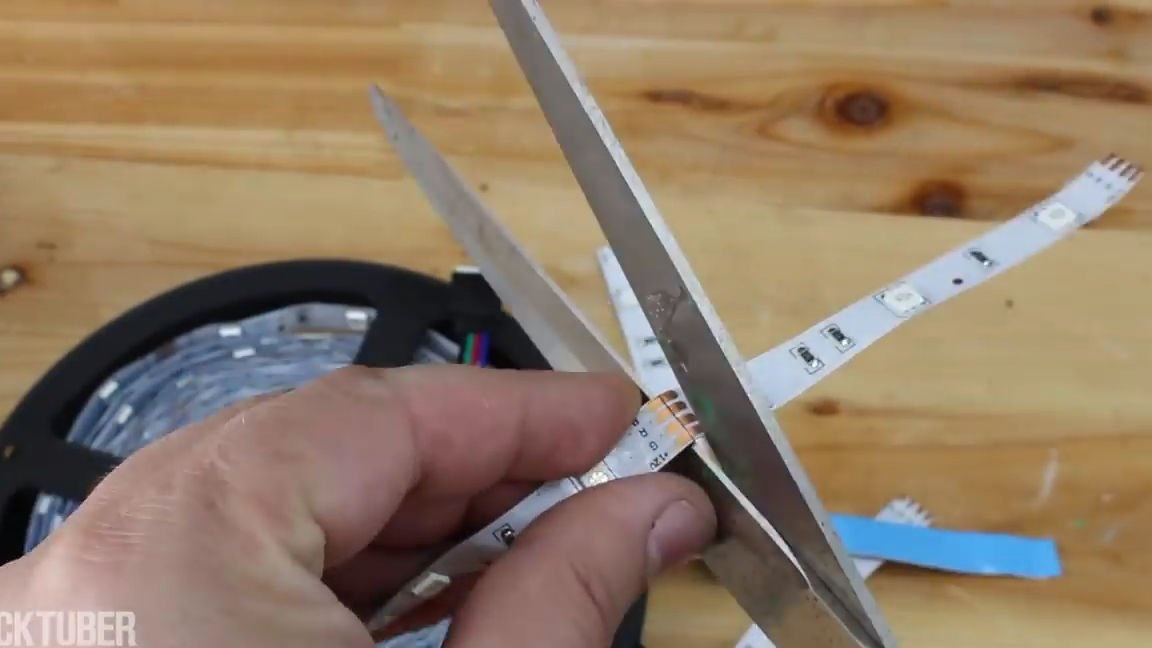
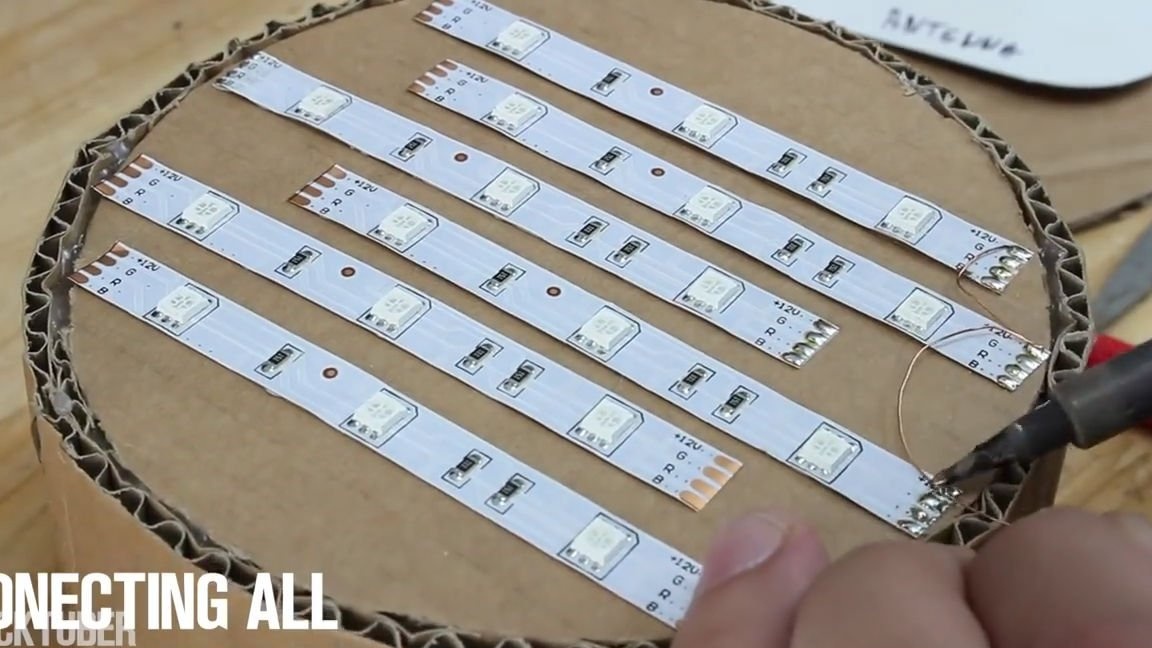
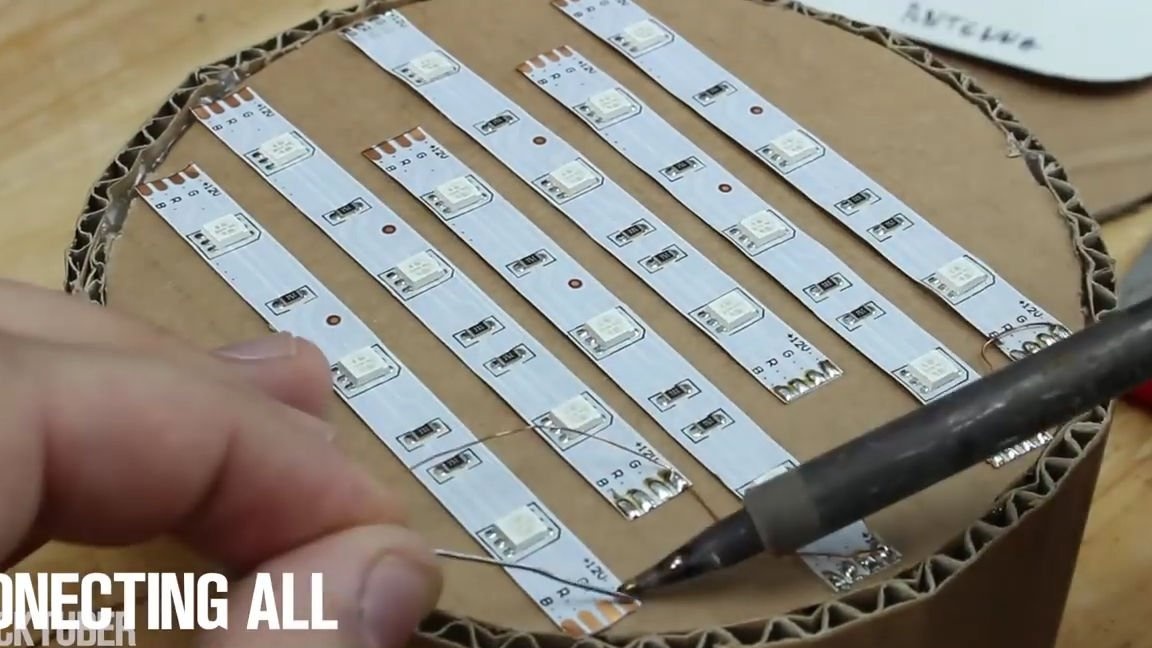
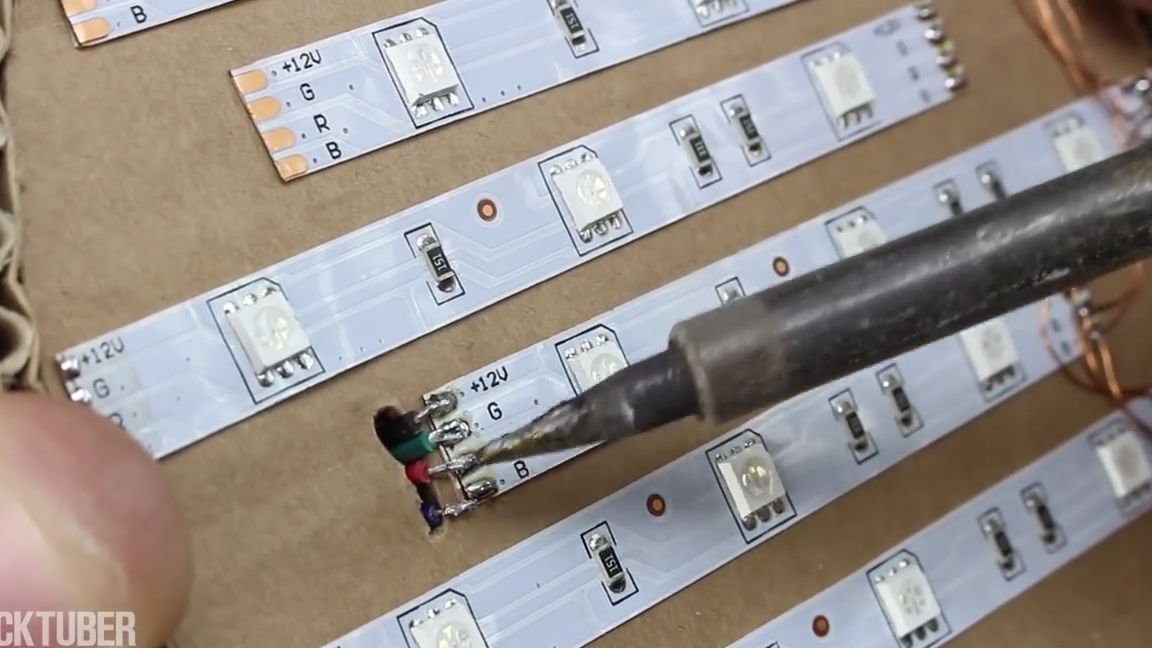
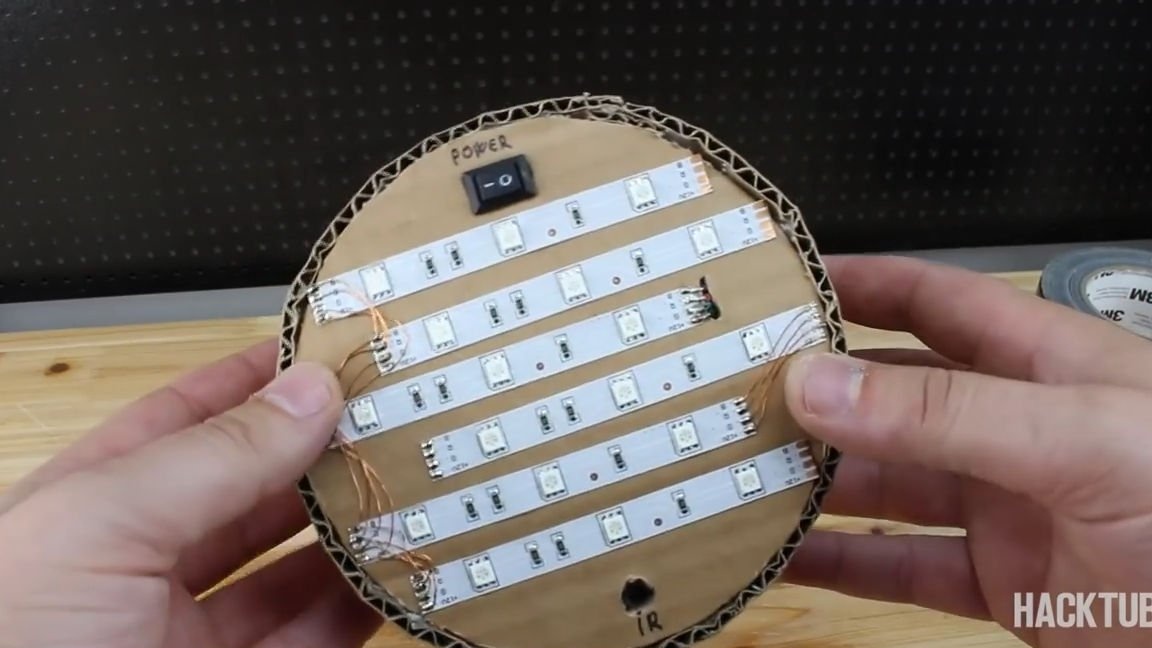
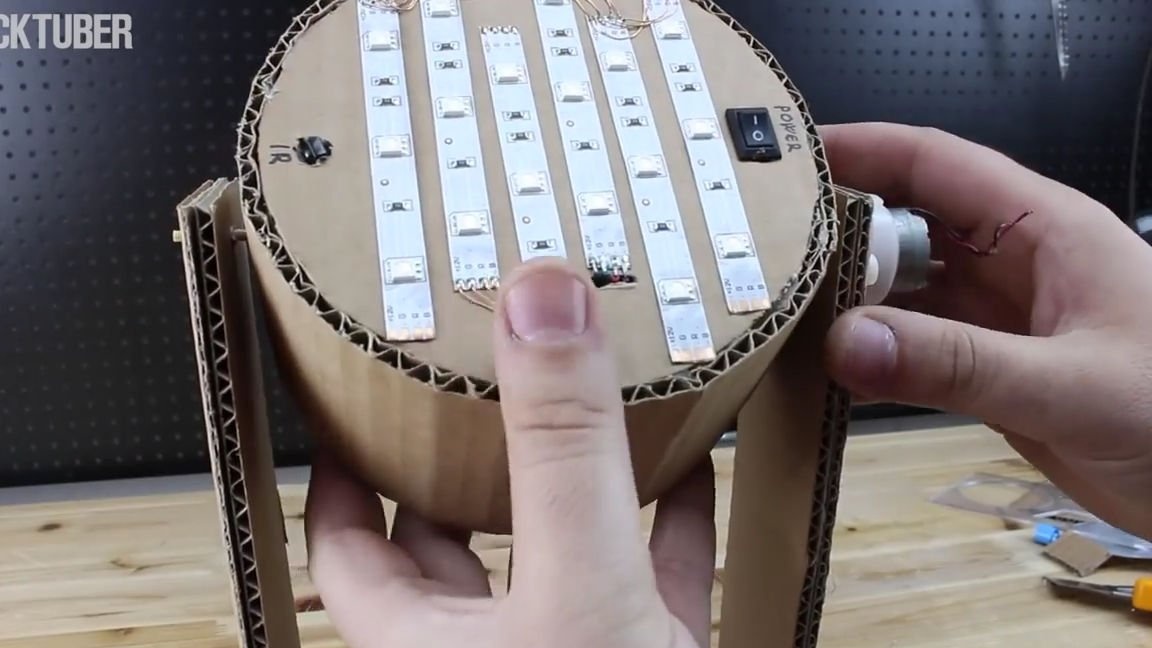
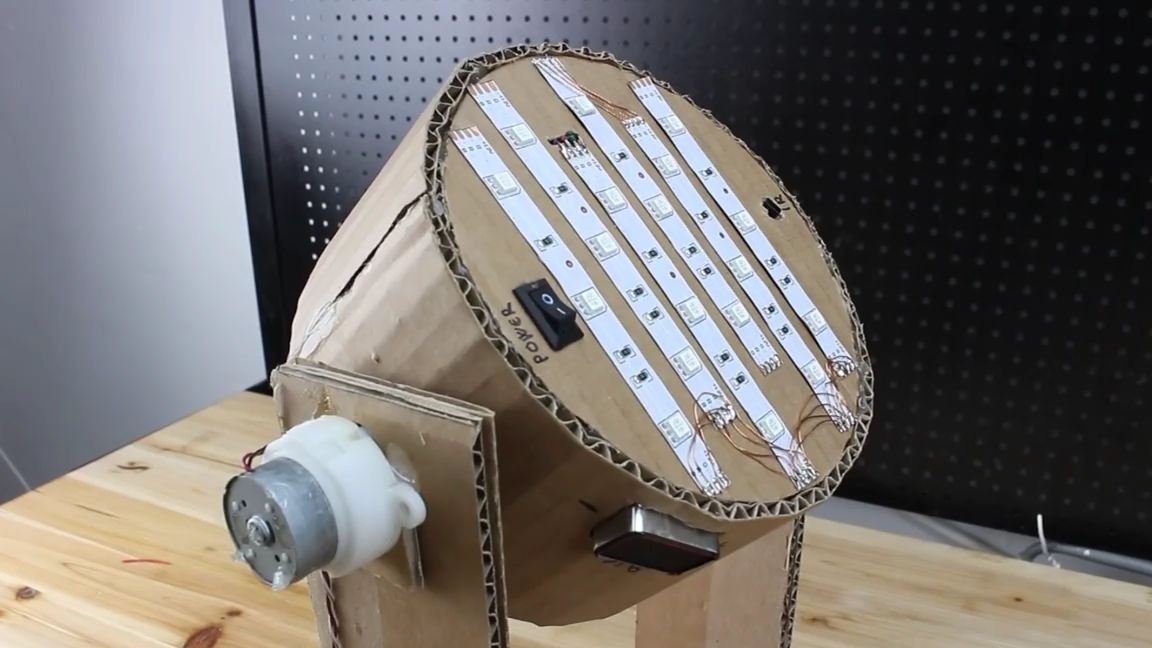
Now, we take the LED strip and cut it into six equal parts, in special places (such places are marked on the LED strip, which is intended for separation). In total, 6 equal segments must be made.
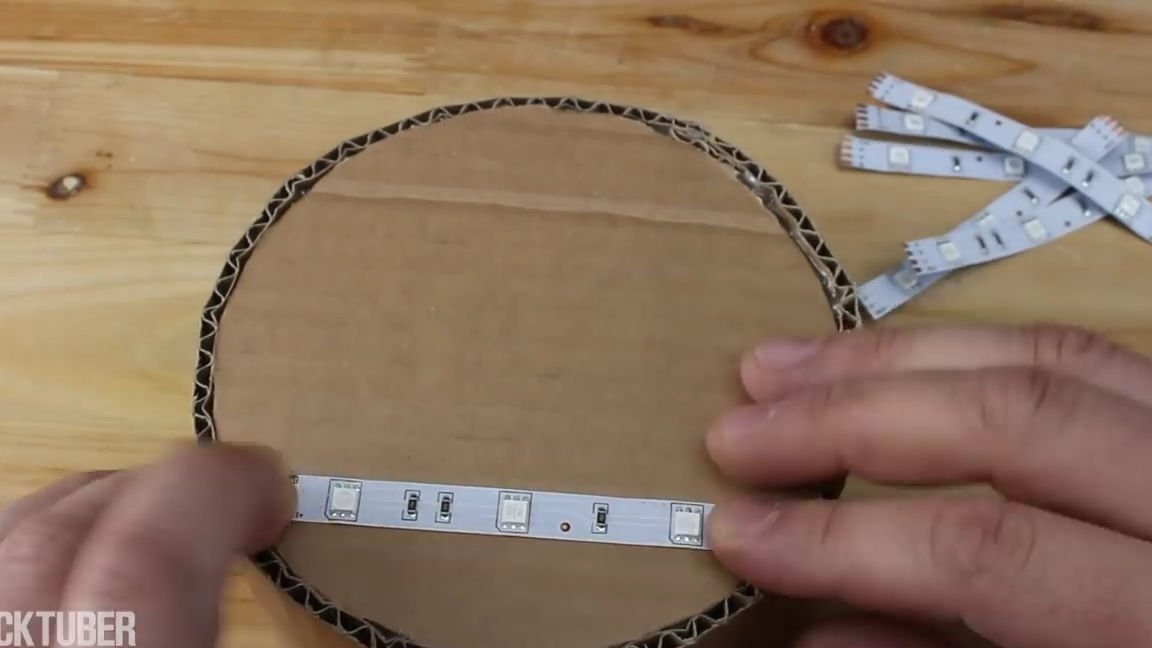
We glue these segments on our last blank, the author decided to glue them like this:

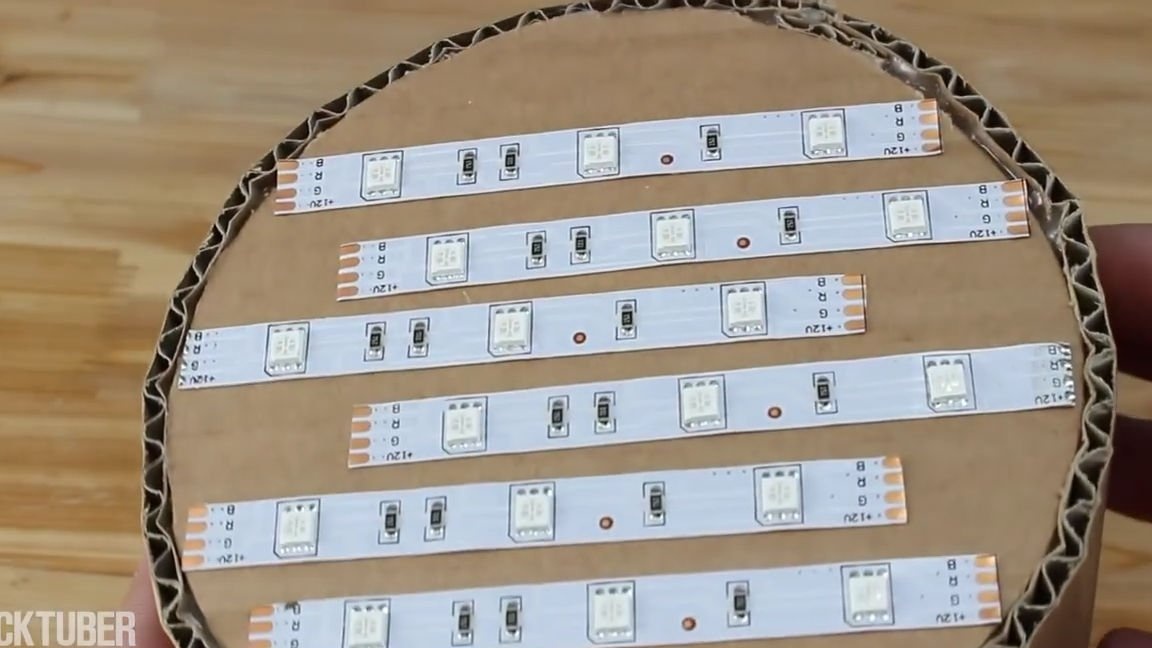
We take the wires, heat the soldering iron and solder all the contacts on the LEDs, so that each contact is connected to its copy, that is, for example, "+12 V" with "+12 V" and so on. It happens that the Chinese in advance buzz contacts, which greatly simplifies their soldering:
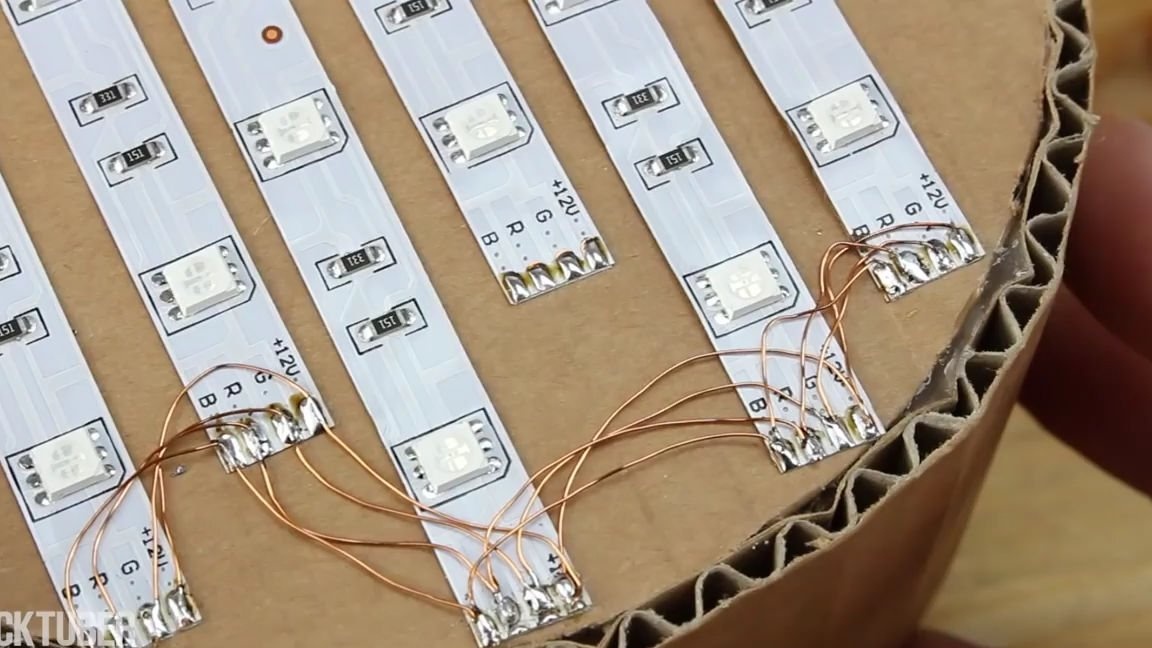
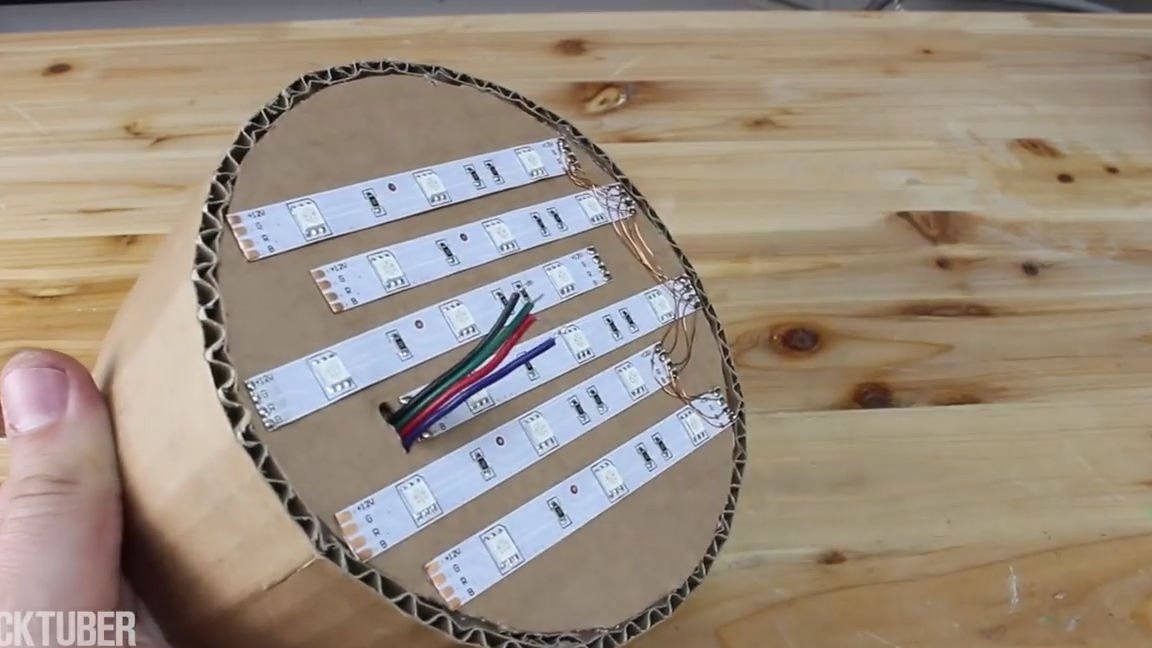
Next to one of the LED segments, we make a small slot through which, on the back of the cone, we insert four wires of different colors. We solder them to the nearest LED segment:
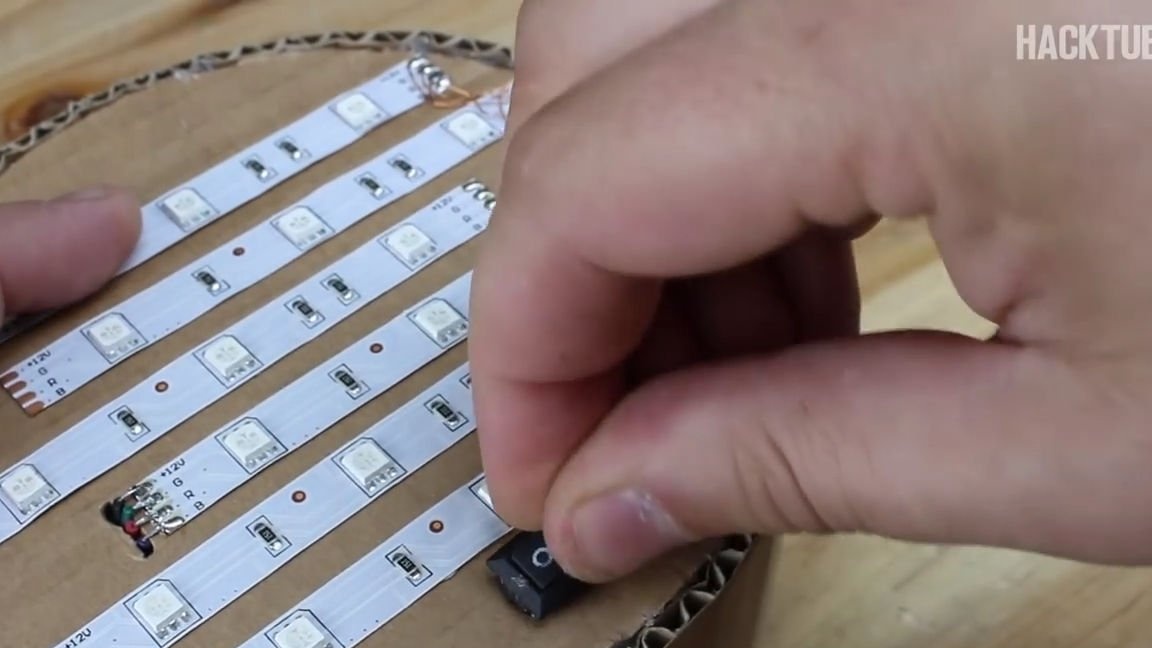
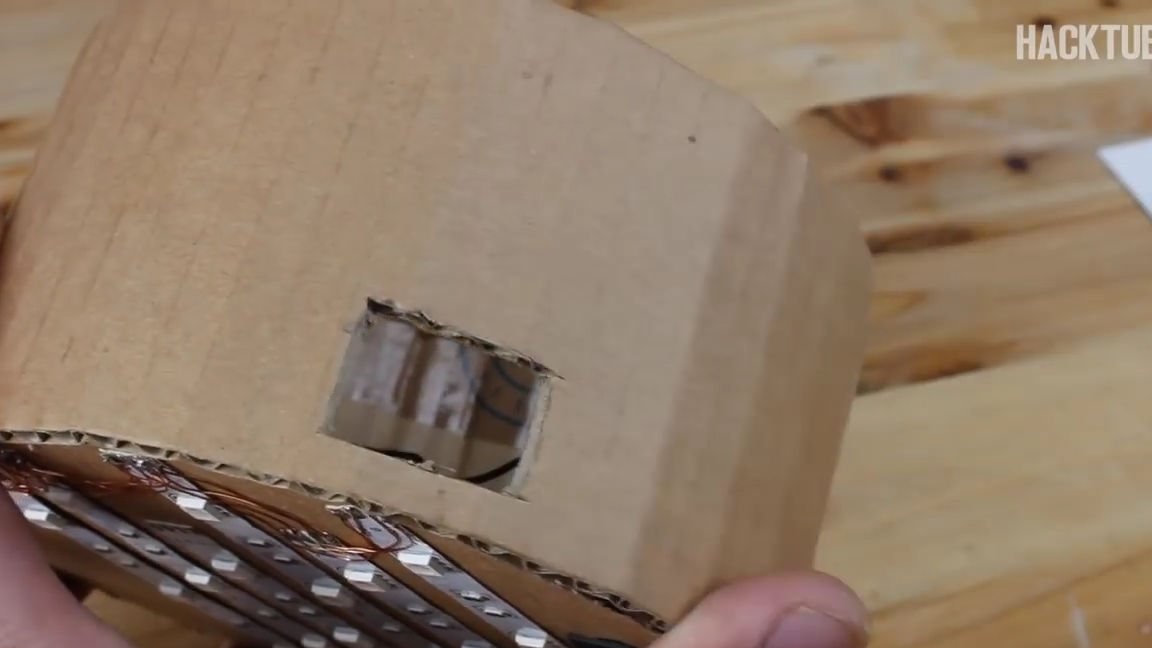
We make another hole and insert and preferably glue the switch into it:
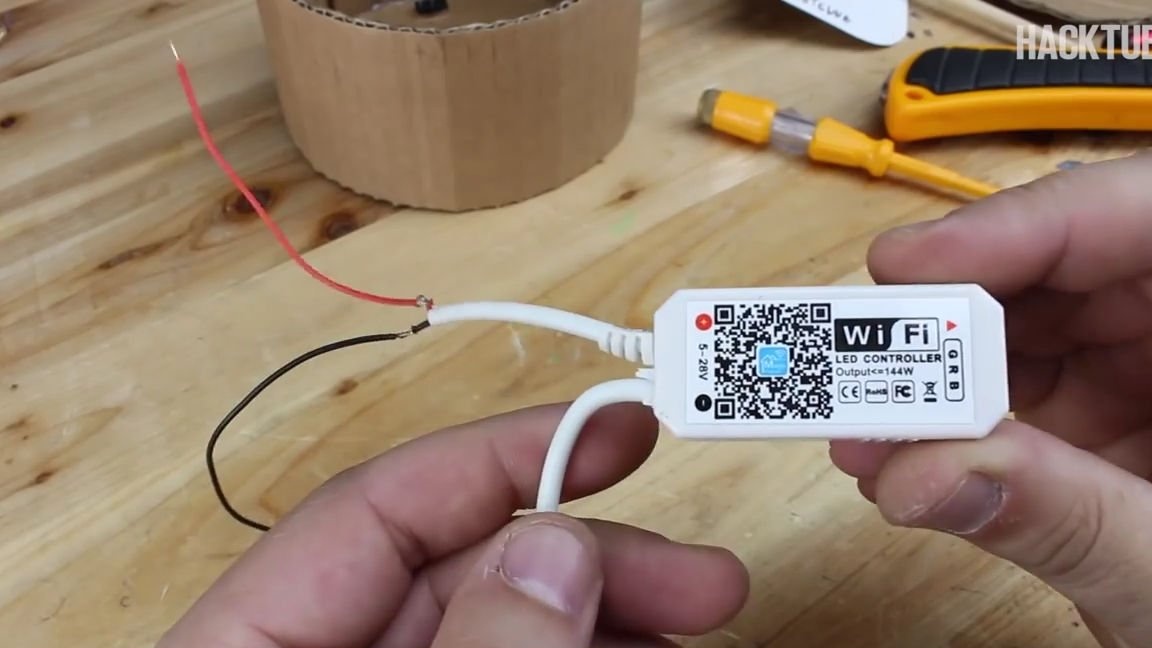
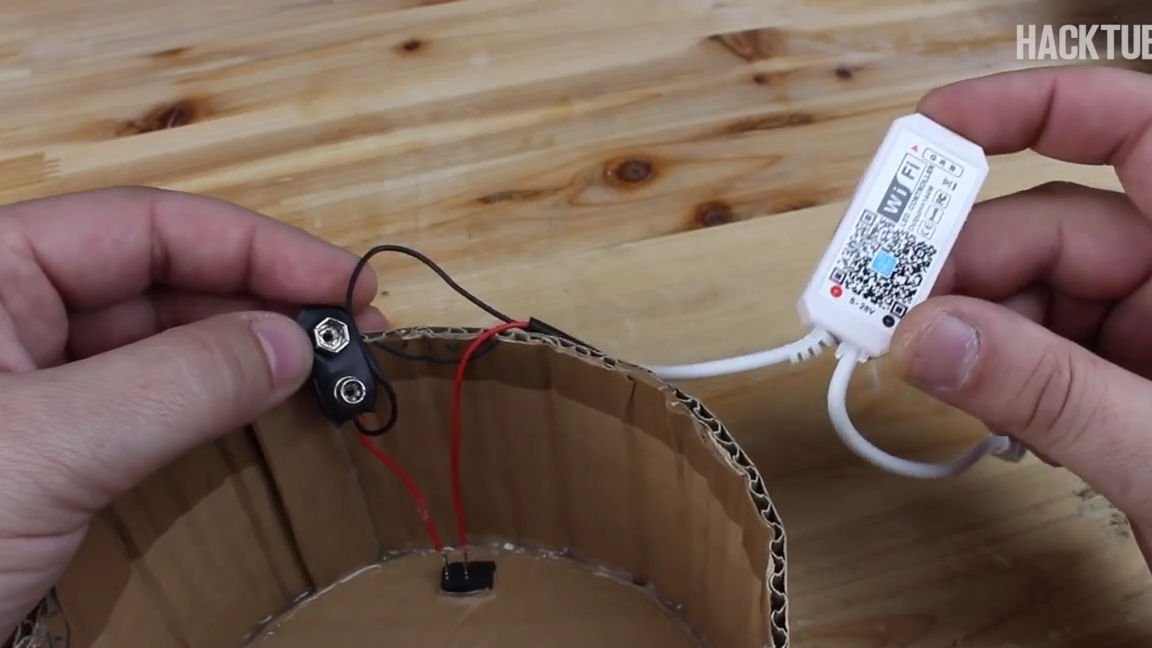
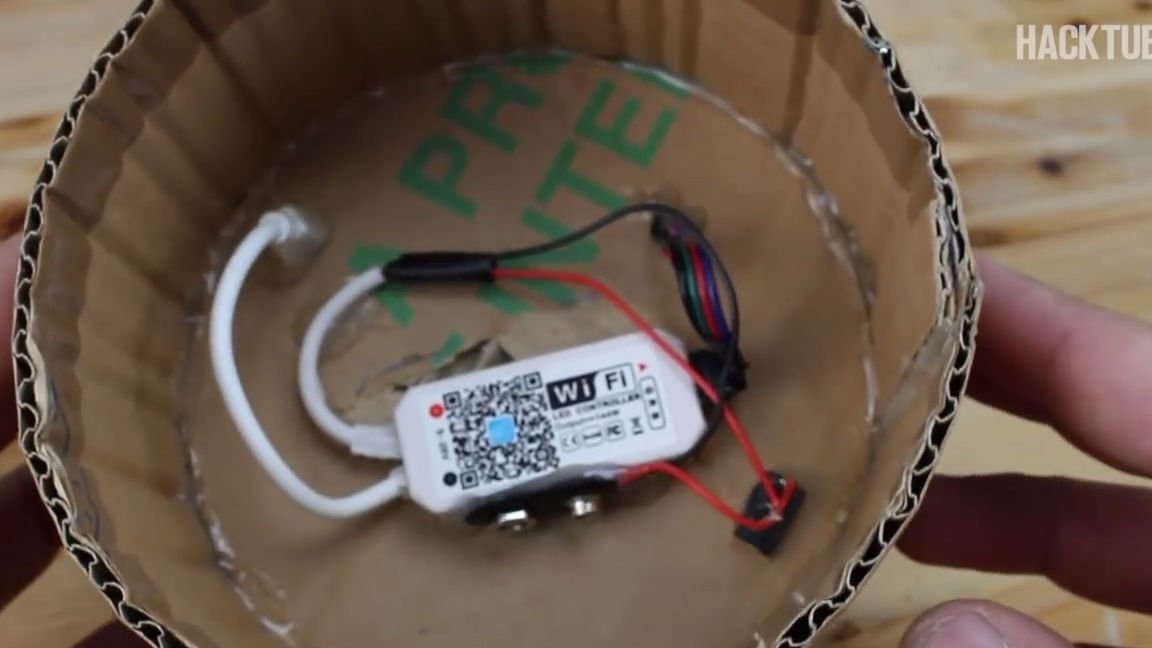
Now you need to take a wi-fi module for your LED strip and expose its two outgoing wires. If necessary, extend the ends with two wires of different colors, the wires grow very easily.
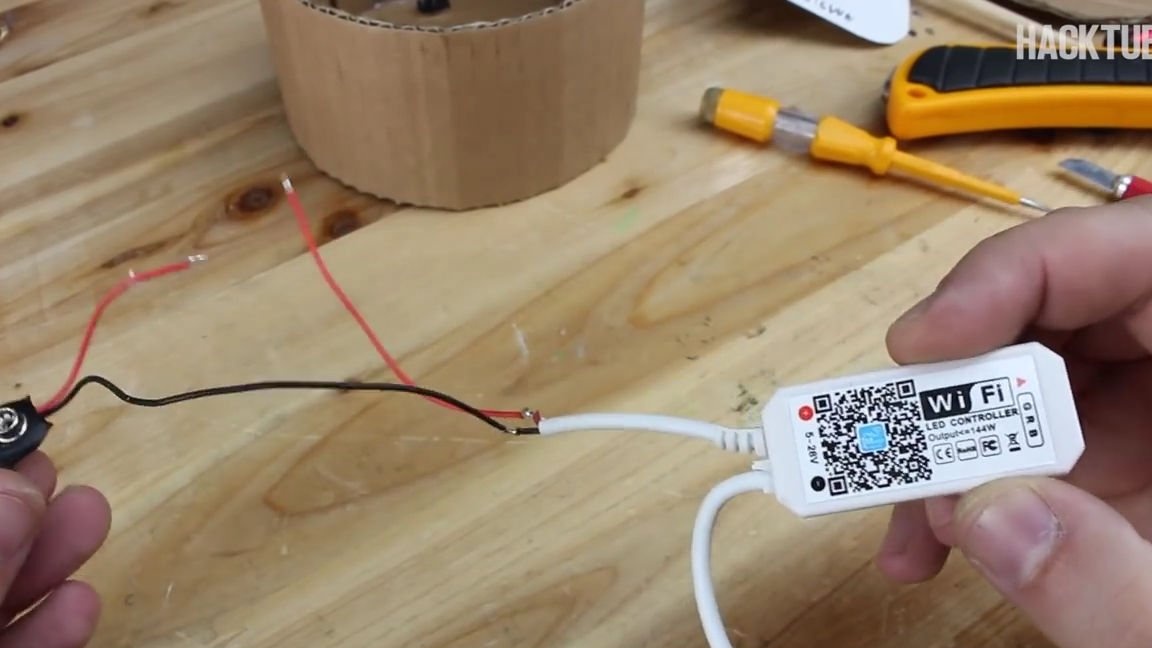
After that, we solder the connector for the crown battery (you can make one from the old crown, neatly, or just buy it), but you need to solder only one end of the wire, the second must be connected to the connector through the switch that is installed in the workpiece made earlier.
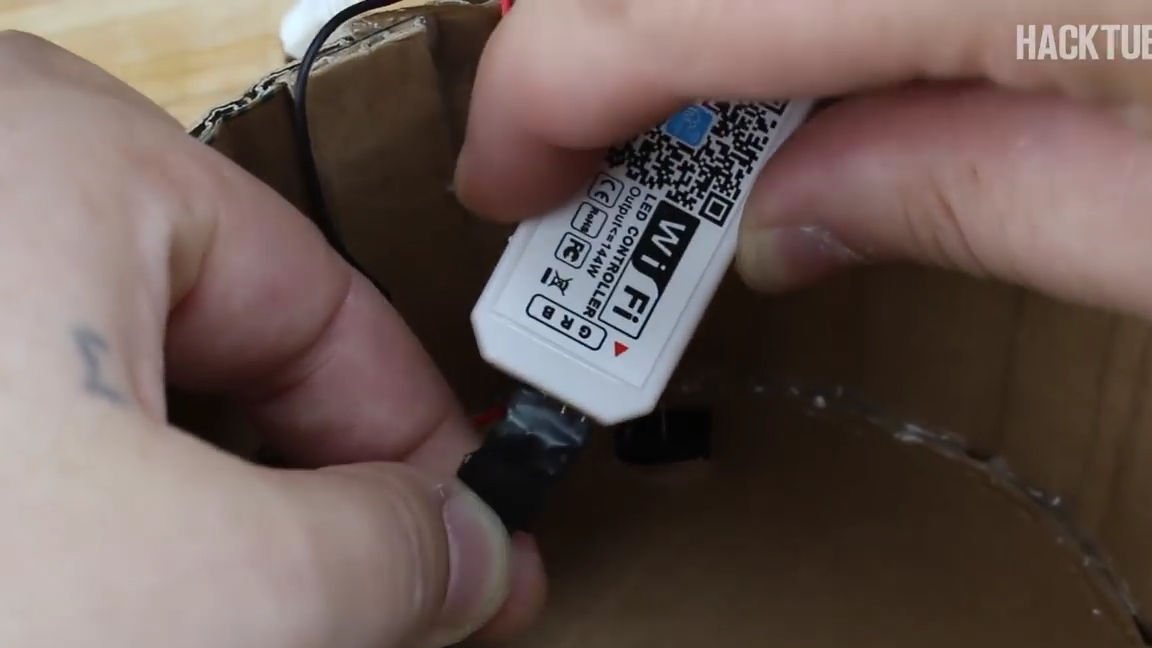
Then, from the back of the wi-fi module, we connect the wires from the LED segments, it is necessary to connect according to the instructions, or according to the designation on the module:
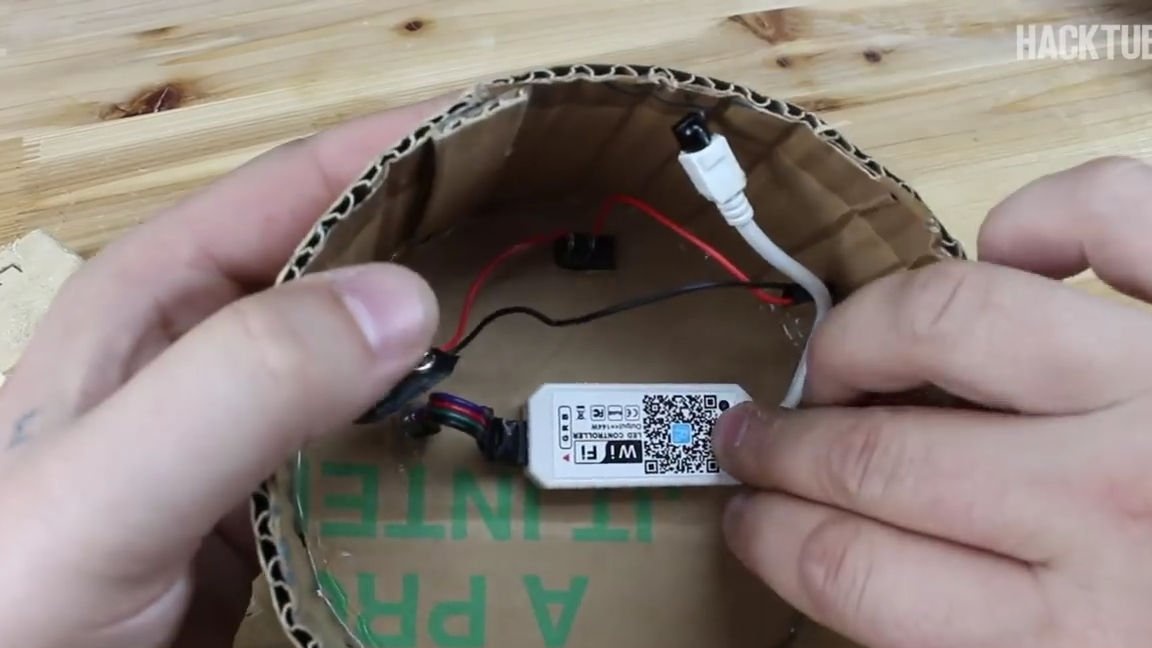
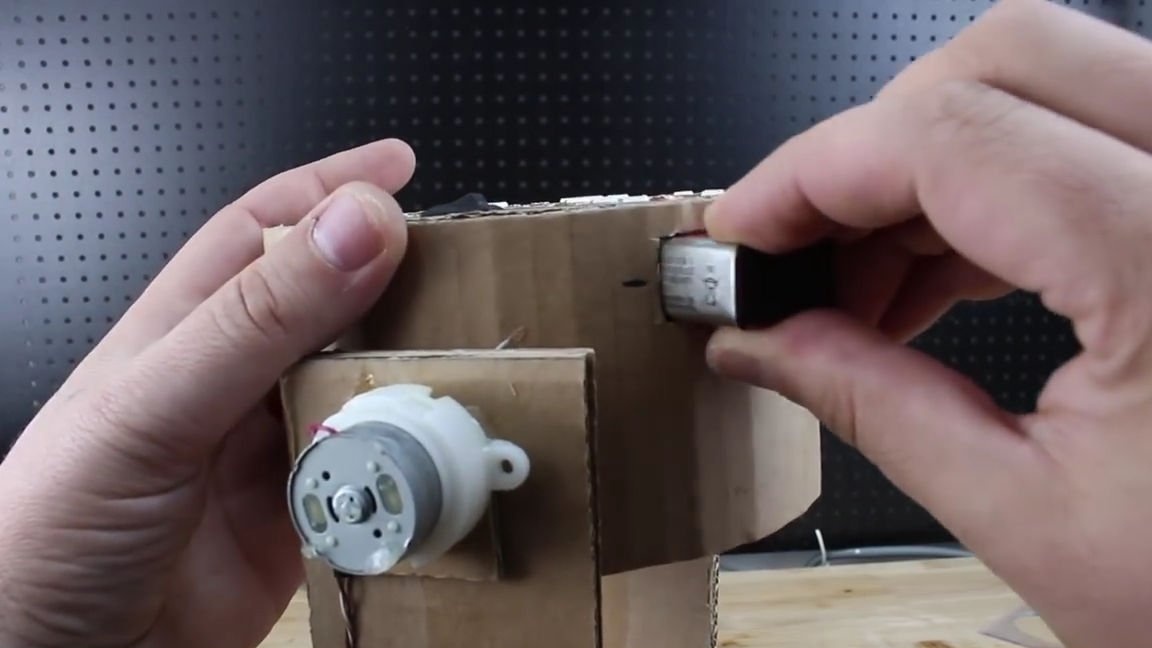
Sideways in the conical blank we make a rectangular hole the size of a crown. Inside, we glue the connector for the crown at a short distance and glue it all. In general, we do as shown in the photo below:
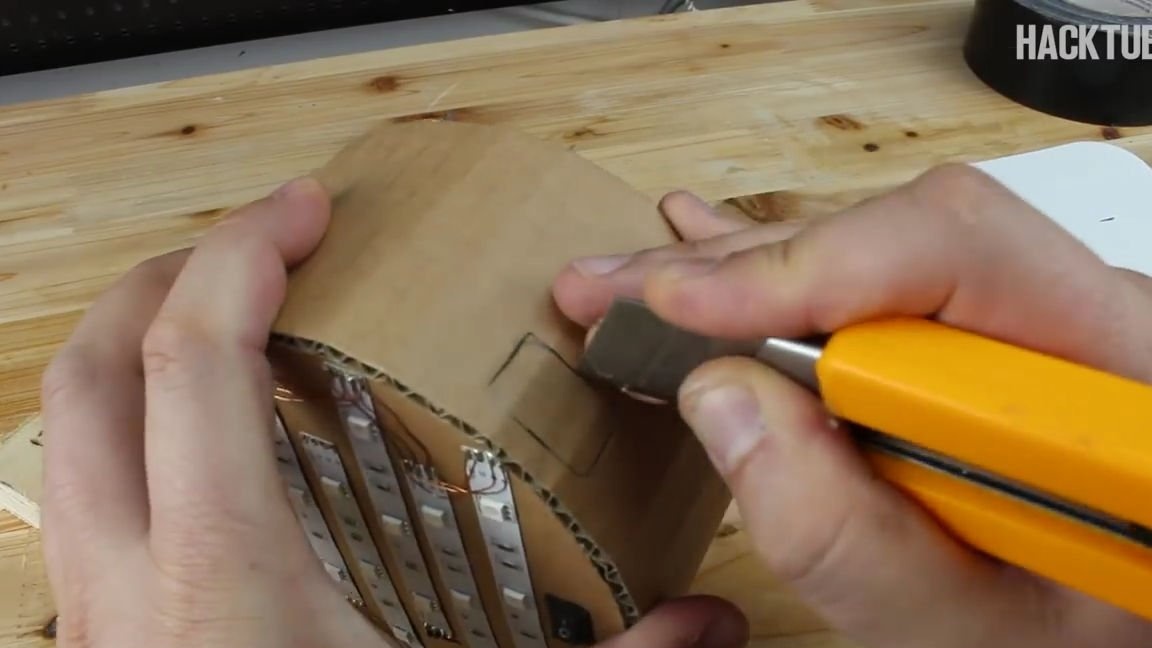

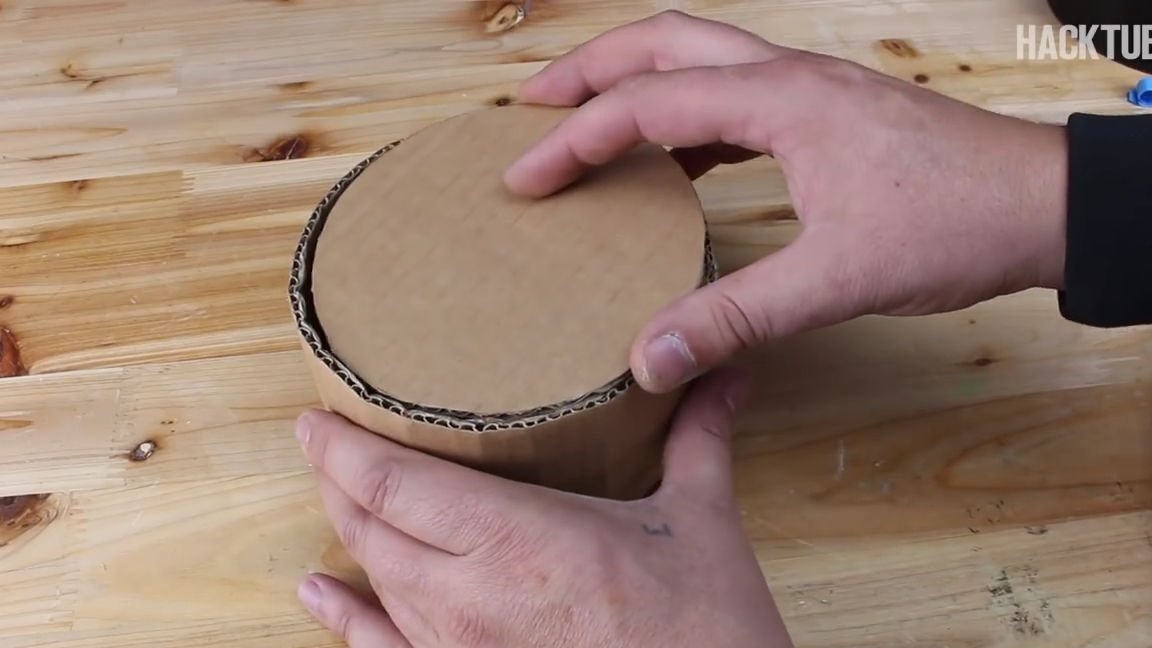
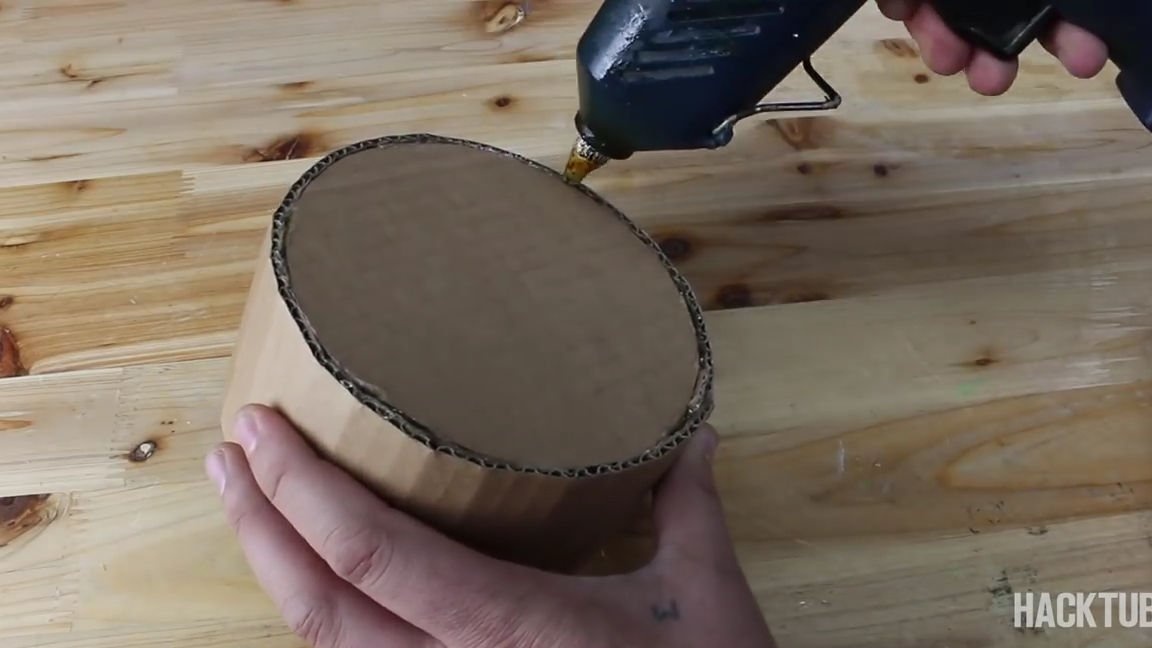
We cut out another detail identical to the very first one and glue the upper part of the workpiece using hot-melt adhesive:
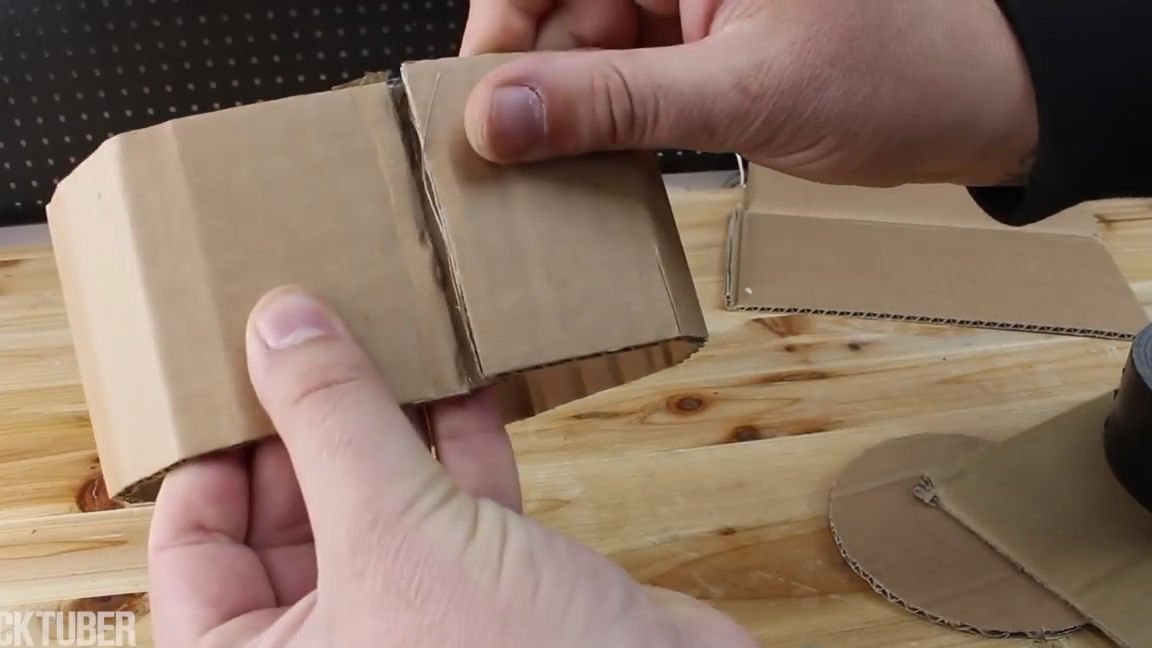
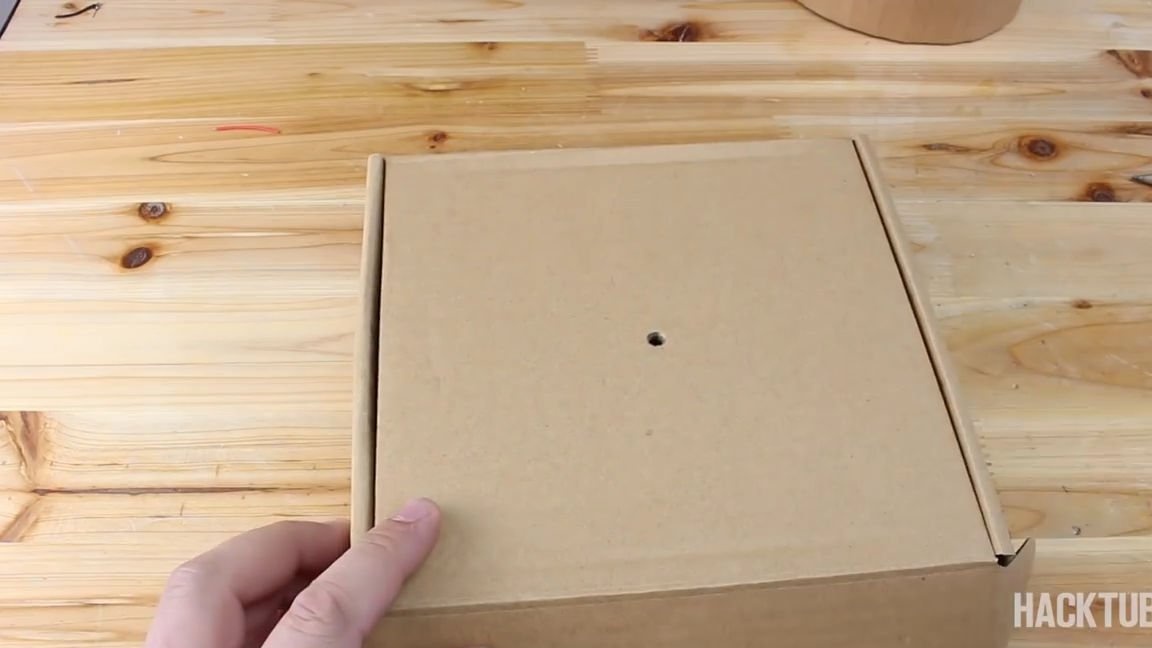
From corrugated cardboard, we cut out another circle using the good old scotch tape. And then you need to find a small cardboard box on which the entire structure will be mounted. Which author was used, you can look at the photo below.
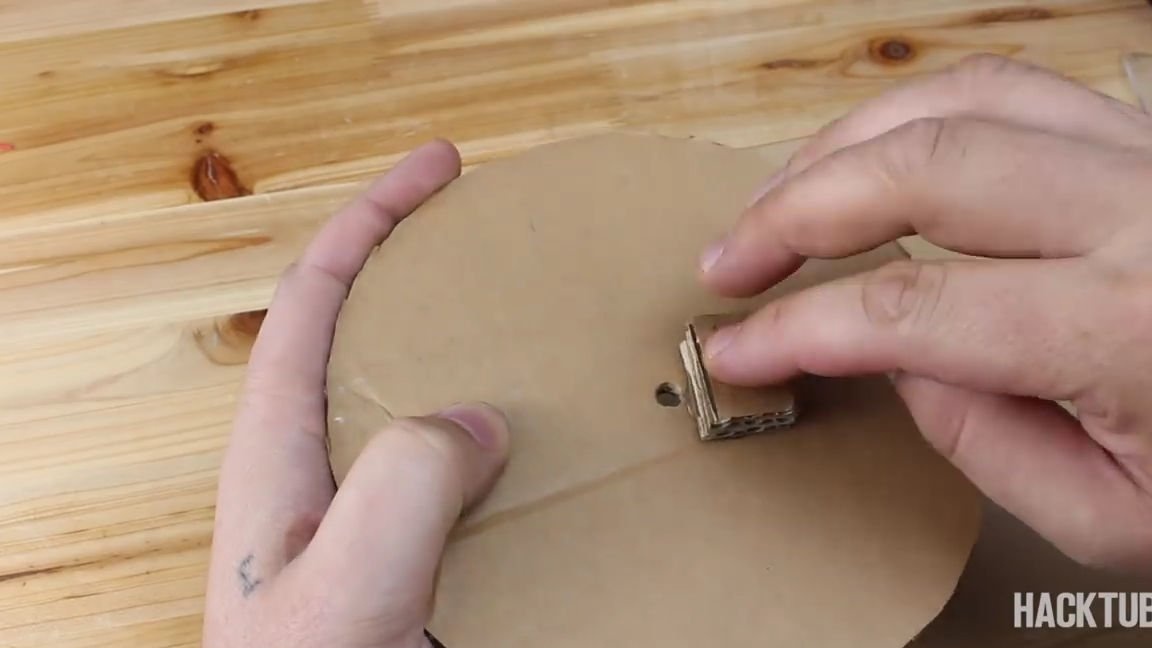
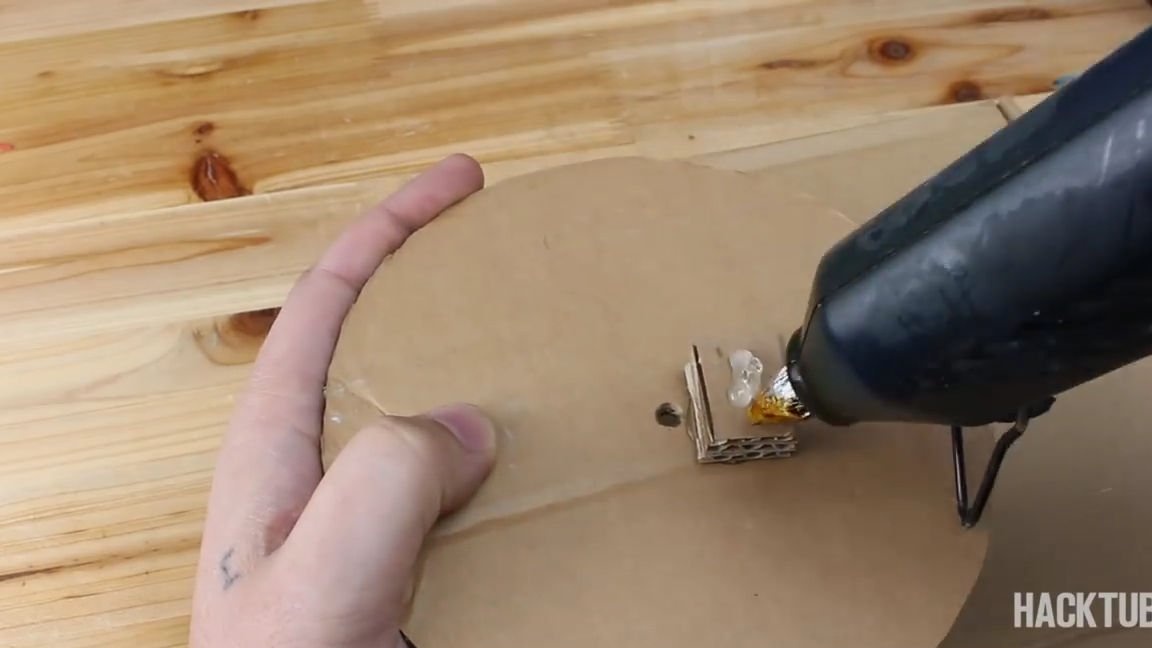
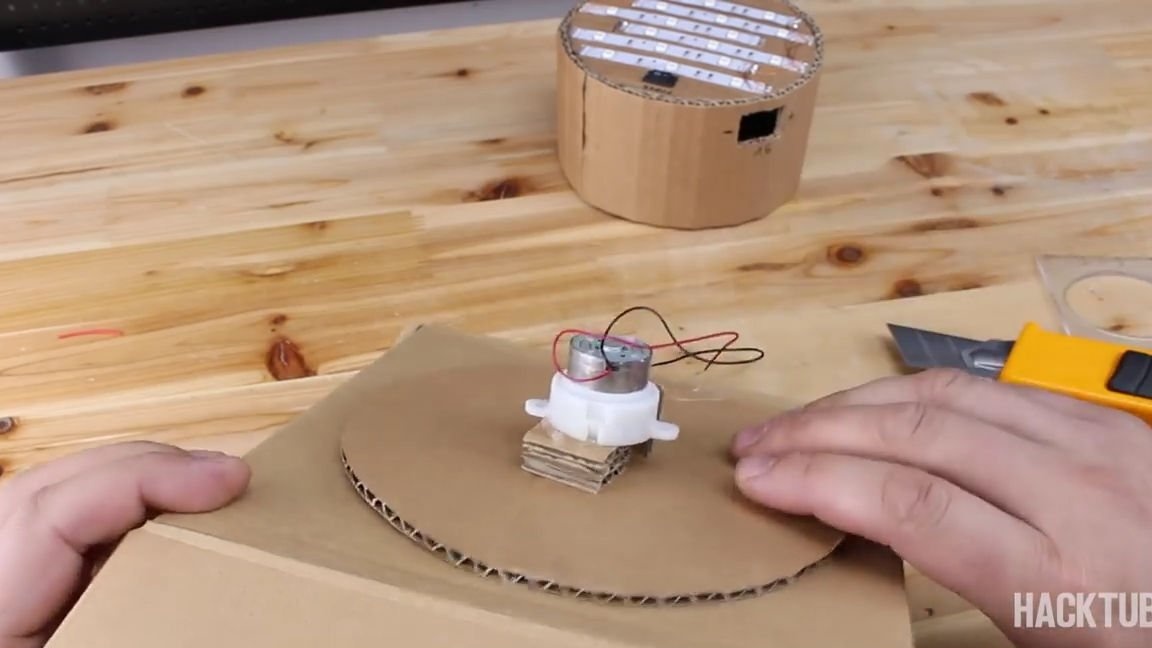
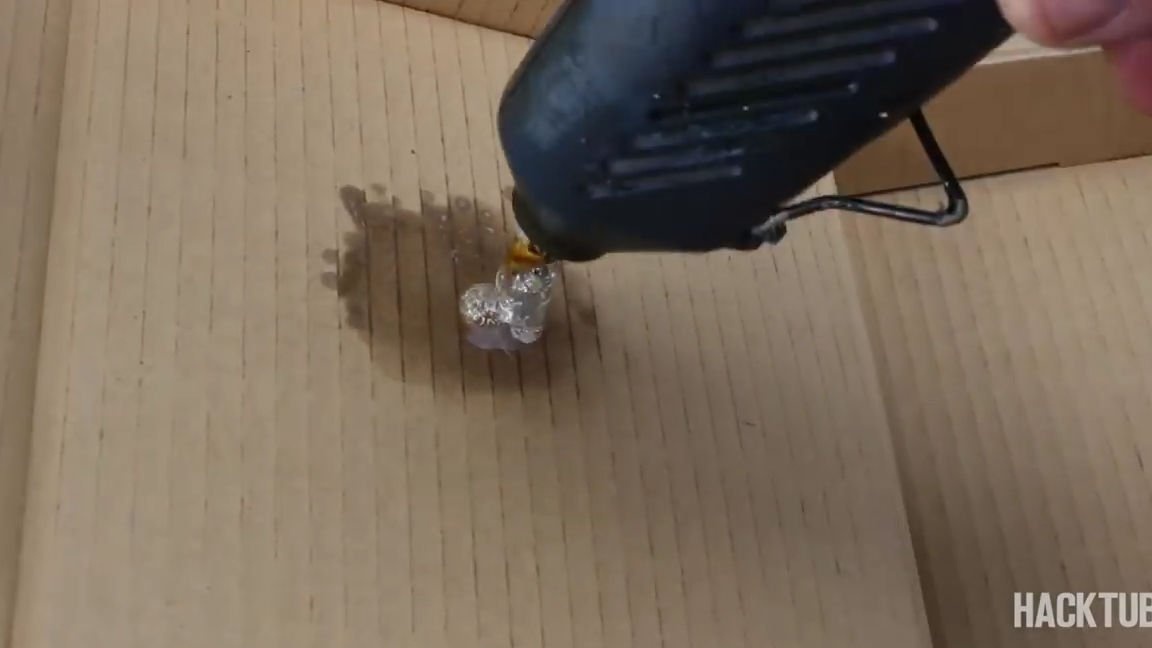
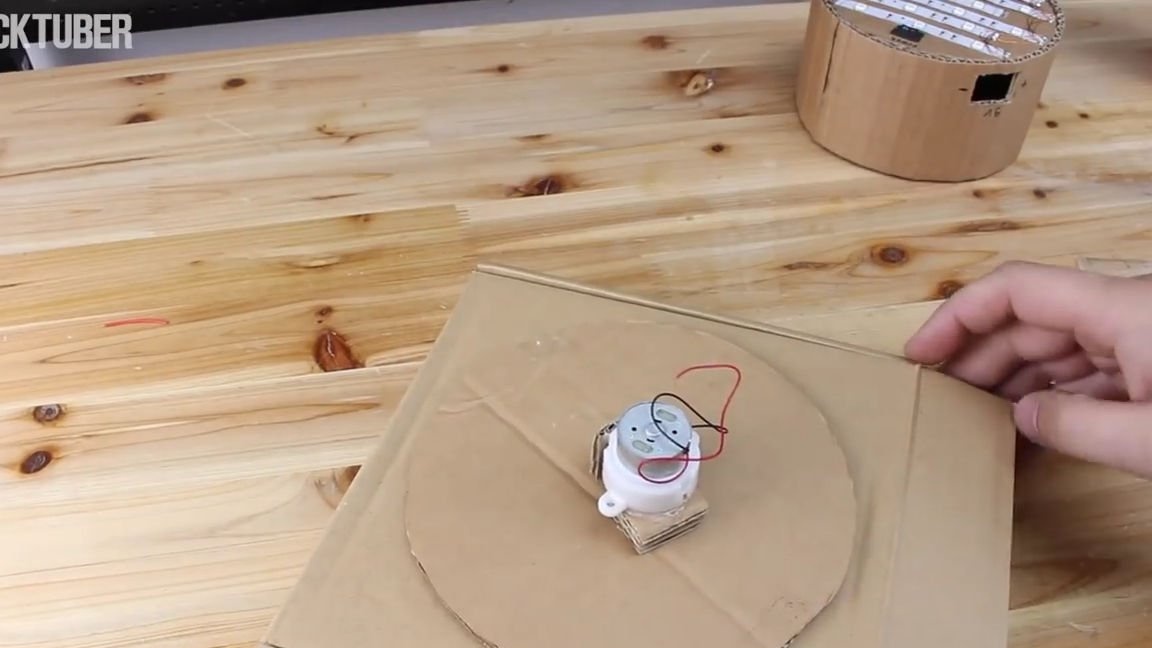
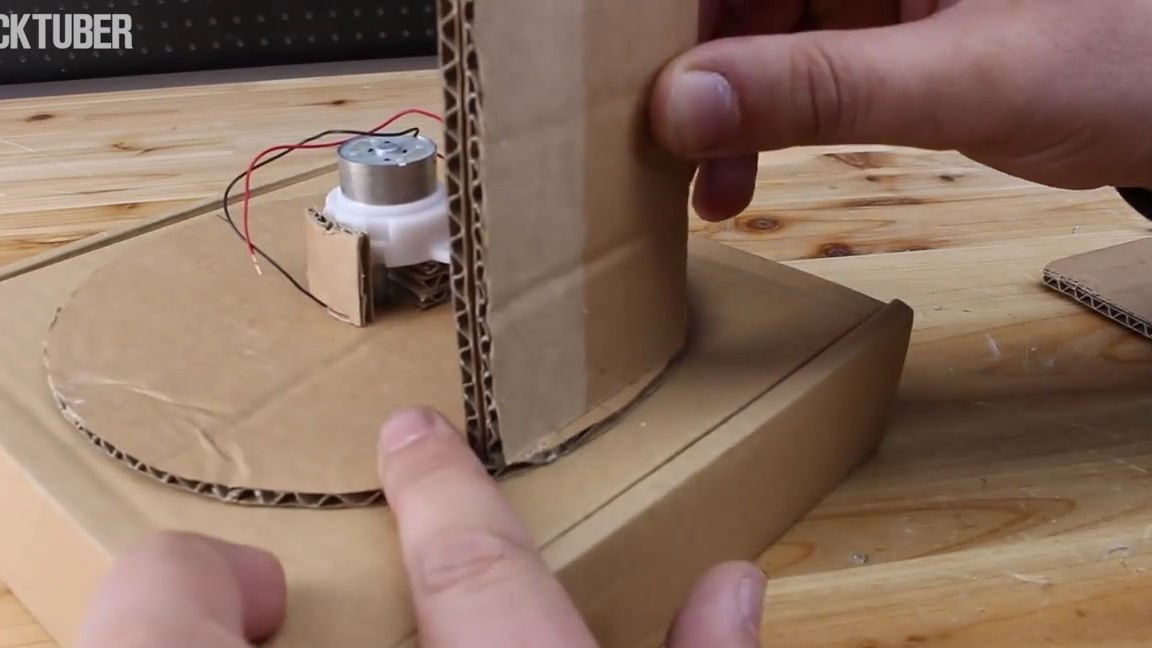
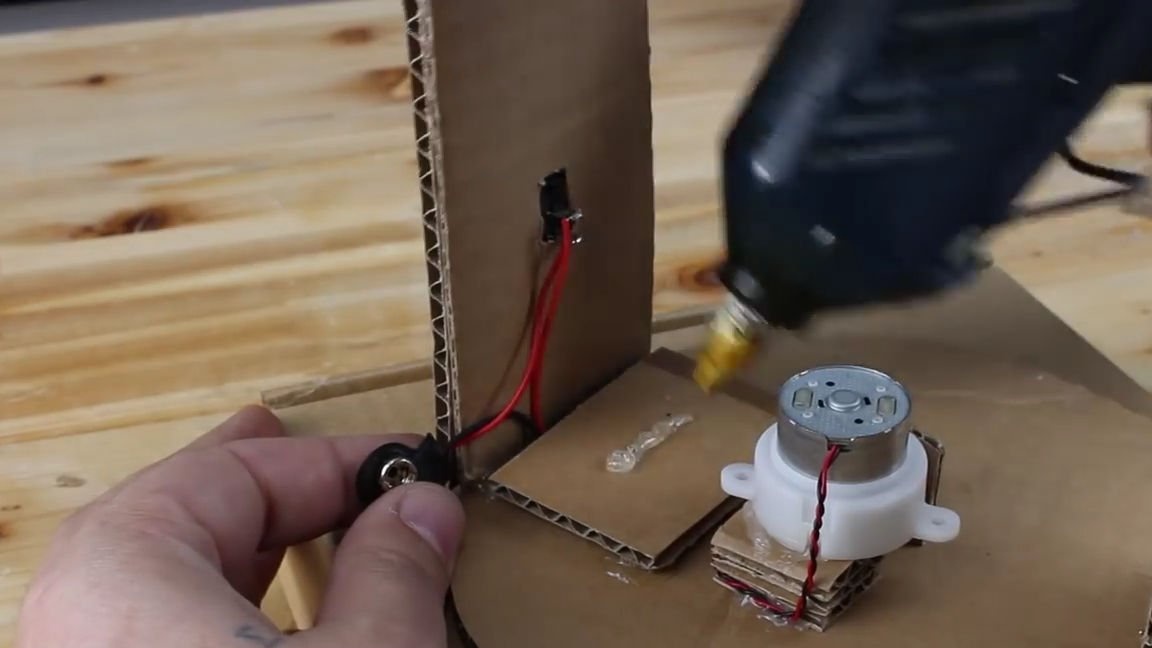
Take a motor with a built-in gear. On the cardboard circle we find the center, make a small hole in it and next to this hole, glue several cardboard pieces, creating an elevation. Glue the motor to this elevation, the gearbox axis into the central hole. Well, on the other side of the axis, insert this workpiece into a cardboard box (by the way, approximately in the center of the box, you also need to make a hole). On the back of the box, glue the axis firmly. In general, everything should turn out as shown in the photo:

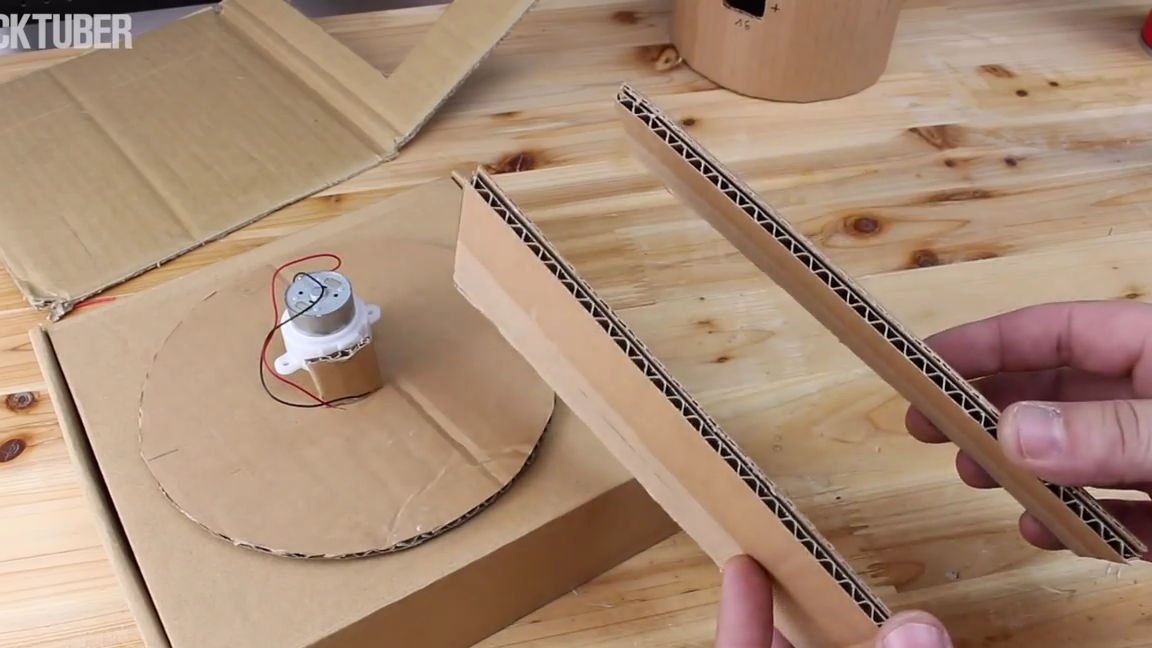
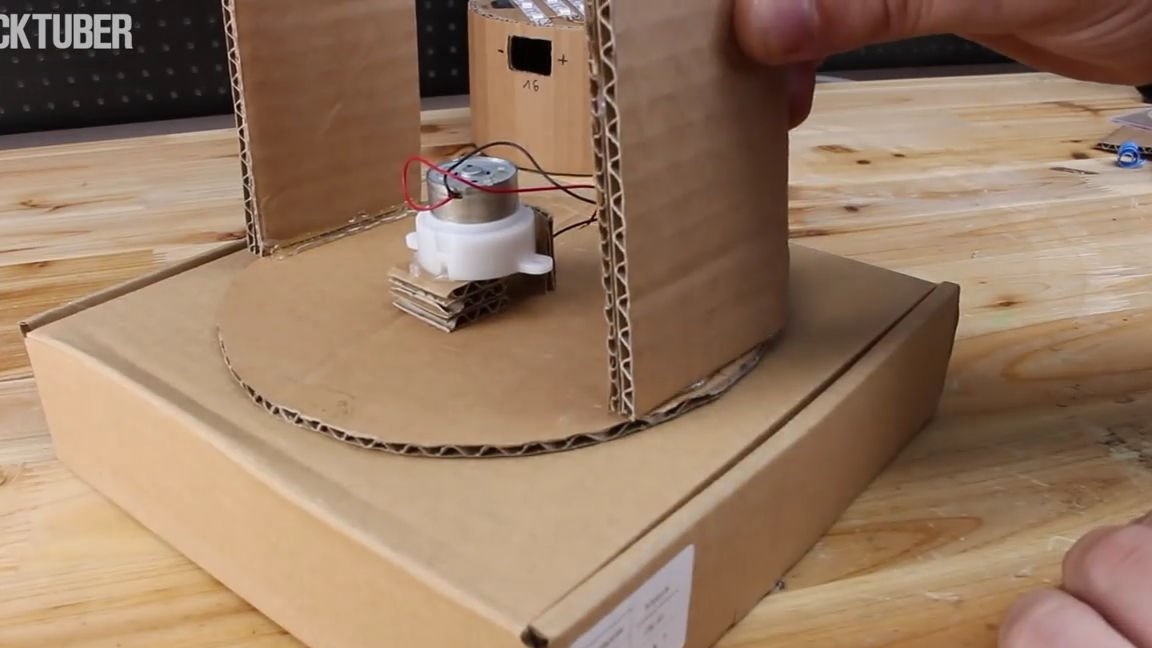
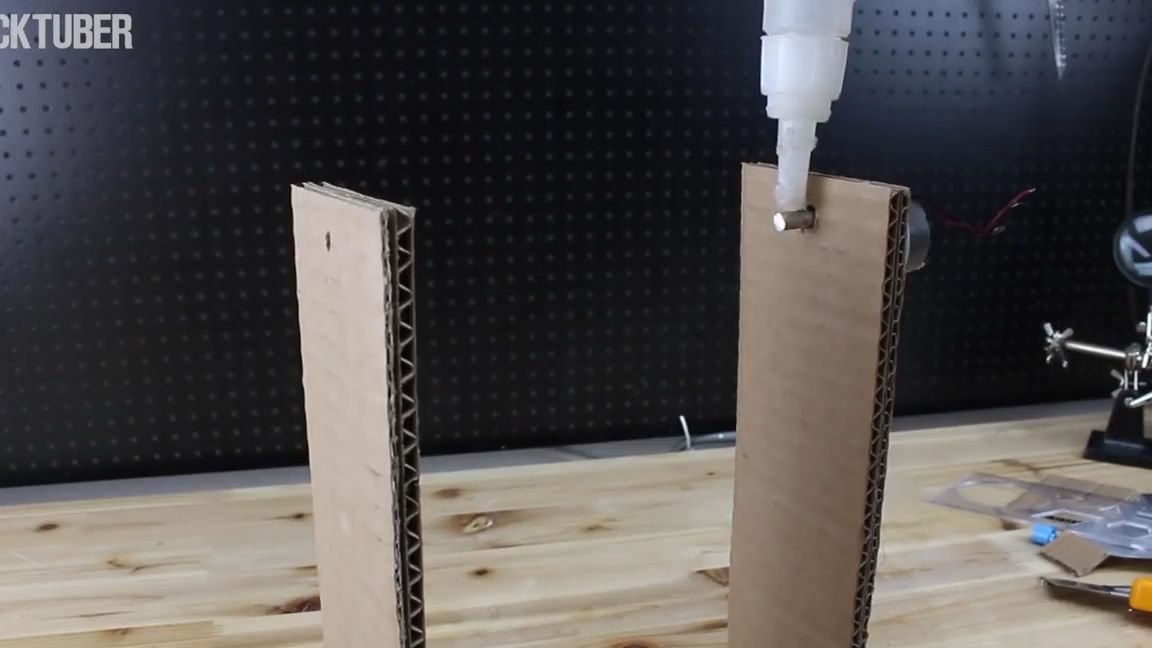
We cut out two cardboard rectangles from double cardboard and glue them as racks to the common blank:
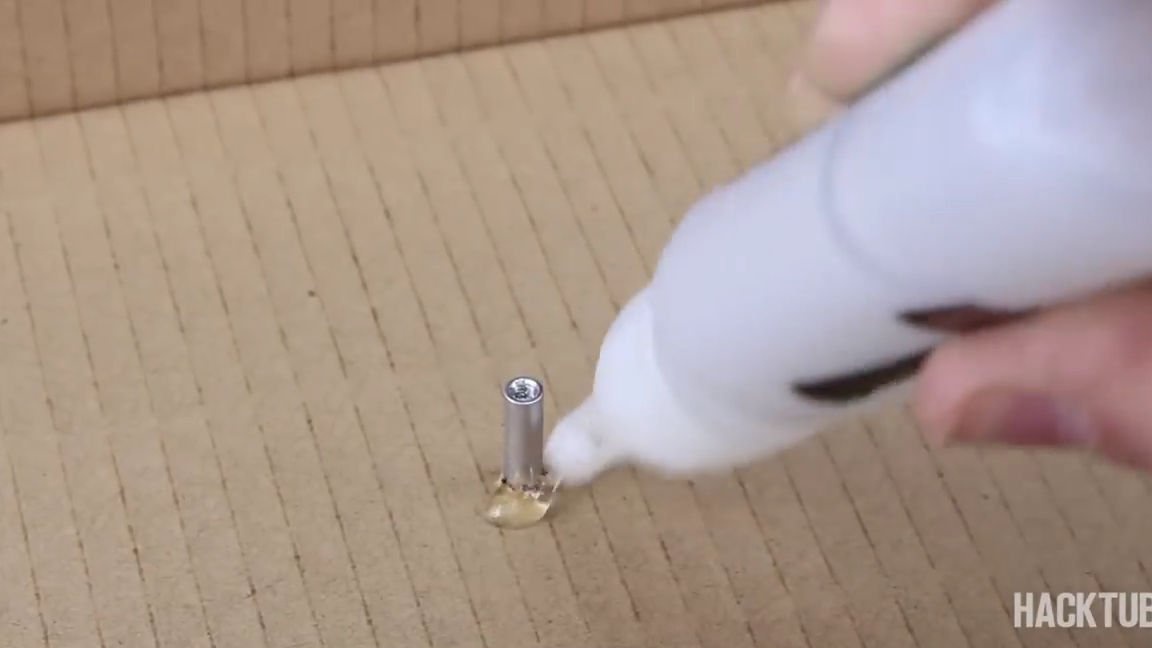
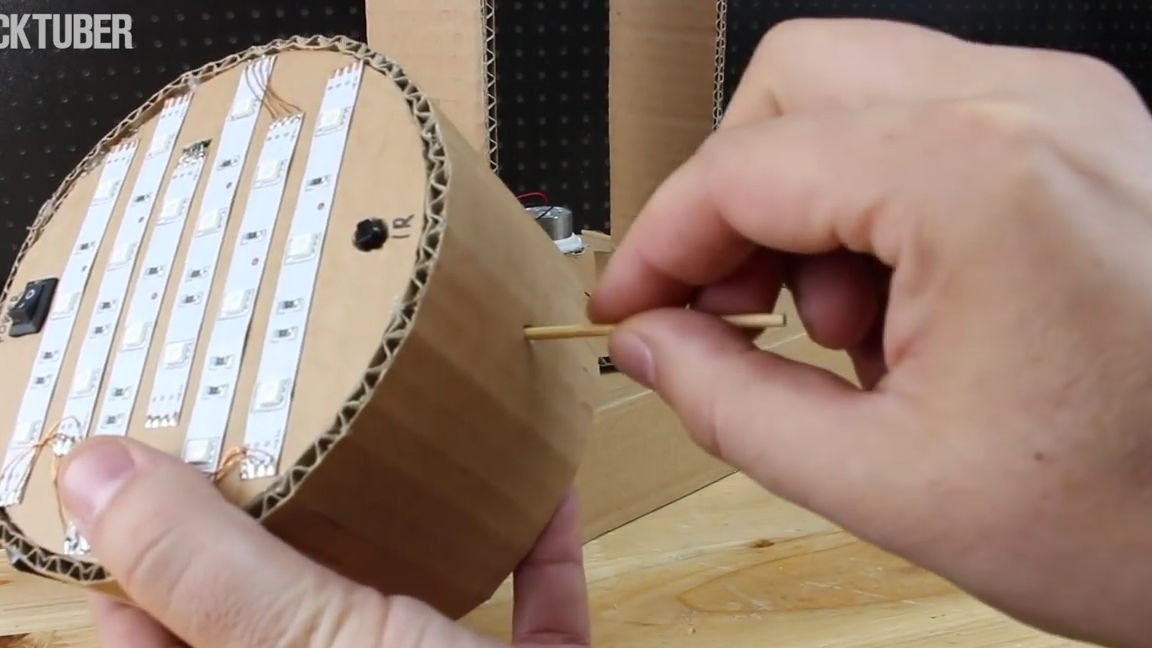
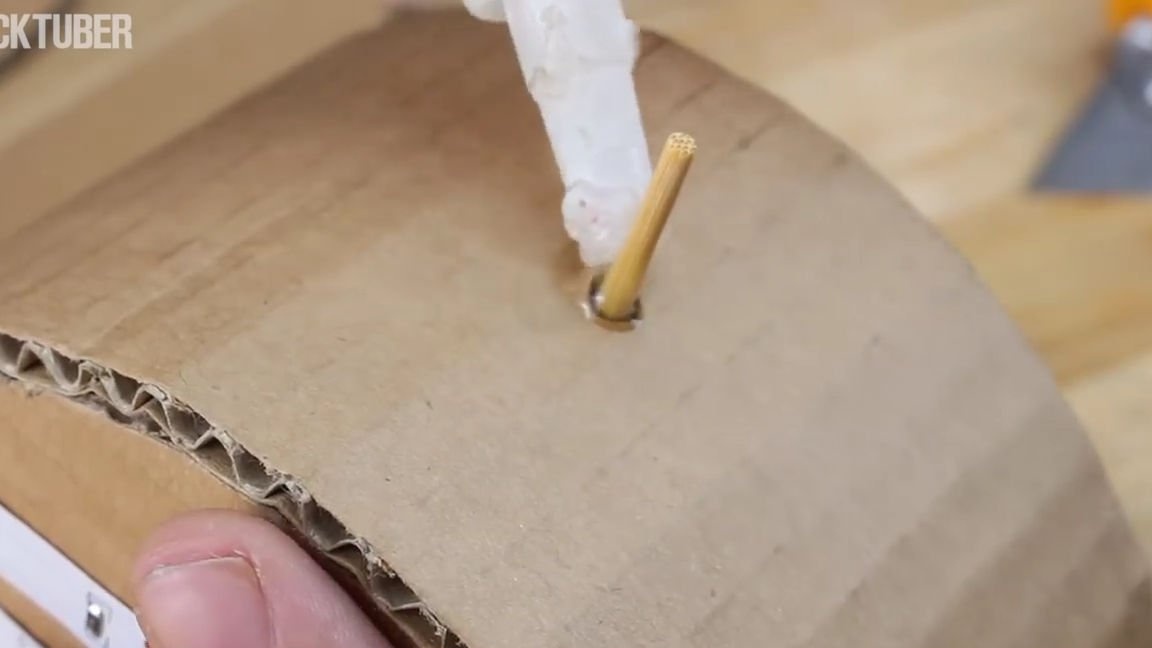
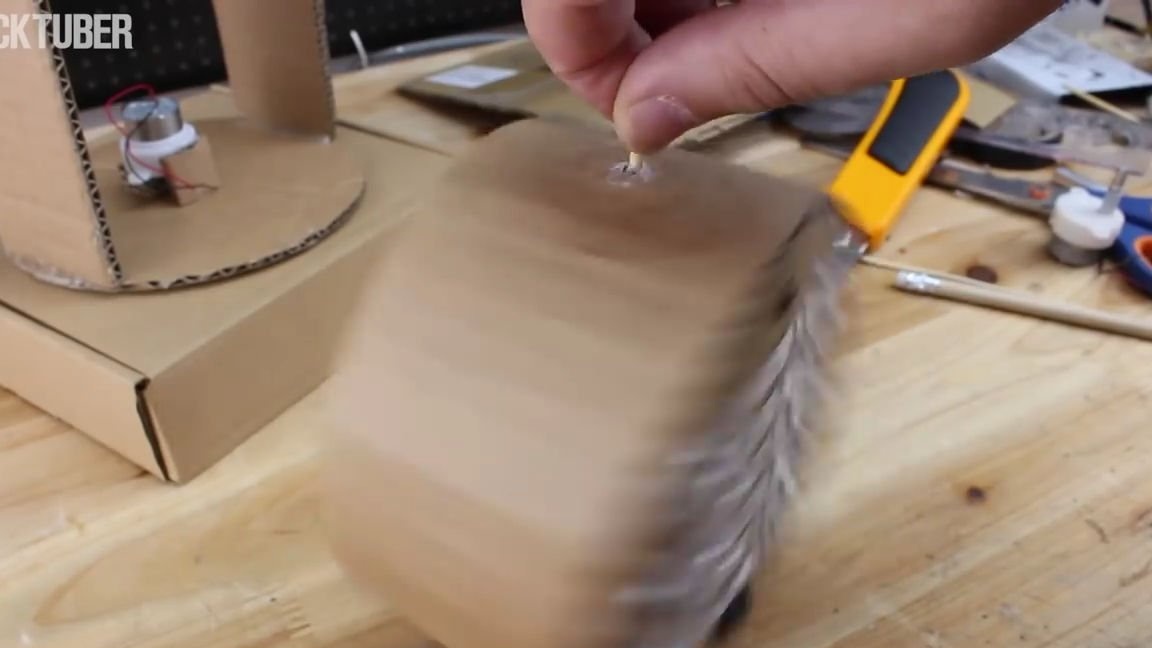
A workpiece with LED segments, pierce the barbecue skewer, and then firmly glue. This design should rotate freely around its axis:
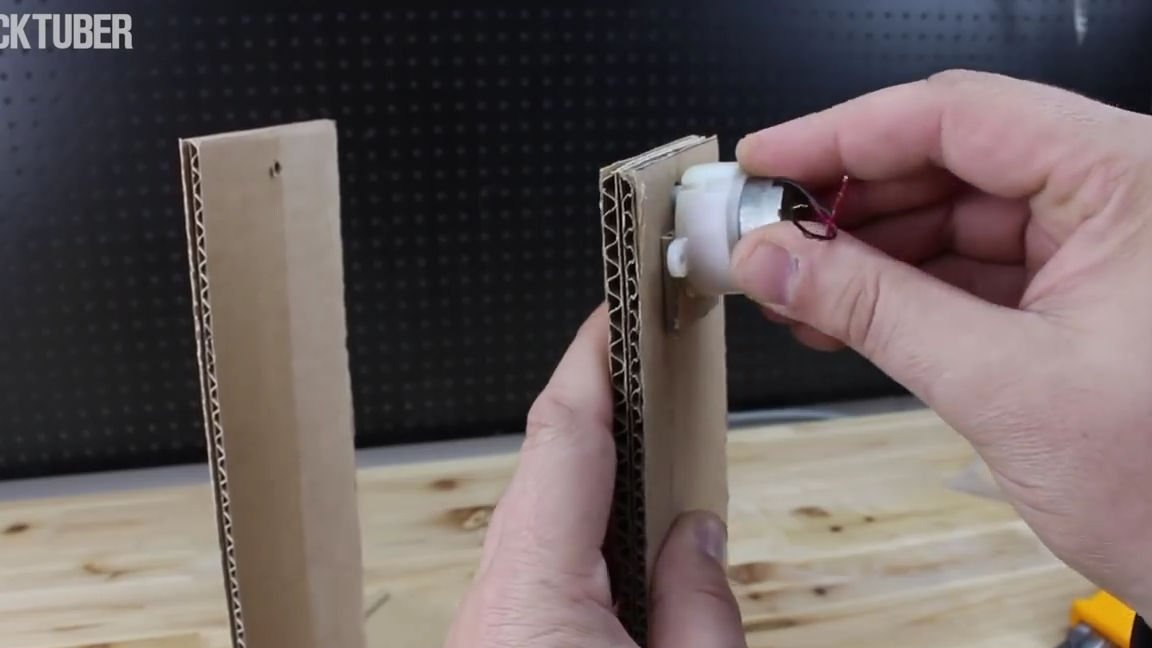
On the side of one of the struts, glue the remaining motor, also on a slight elevation.
We put a little glue on the end of the axis and insert our past piece between the racks. It should rotate freely on the axis of the motor:
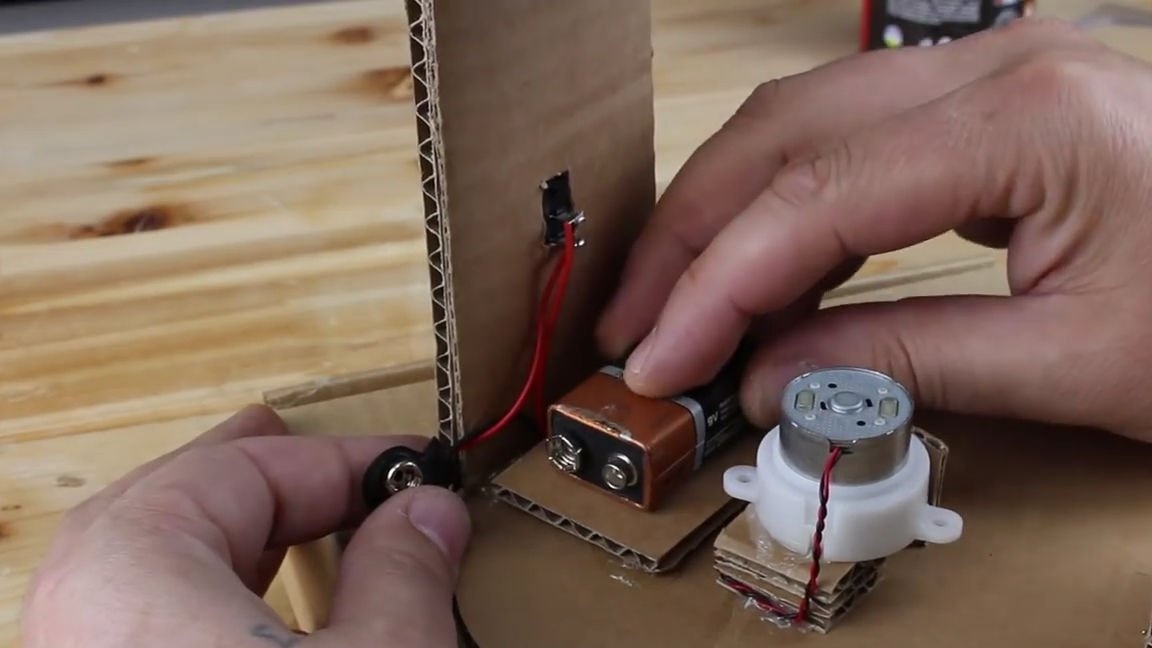
Bottom of the motor, on one of the racks, install the switch. We take another connector for the crown, heat up the soldering iron and solder the whole thing into one circuit, in which when the switch is turned on, both motors will start working (of course, the crown is not the best choice for these purposes because of its small capacity, but it’s convenient to connect it) . In general, we solder everything into one circuit and isolate the bare sections of the wires with tape or heat shrink:
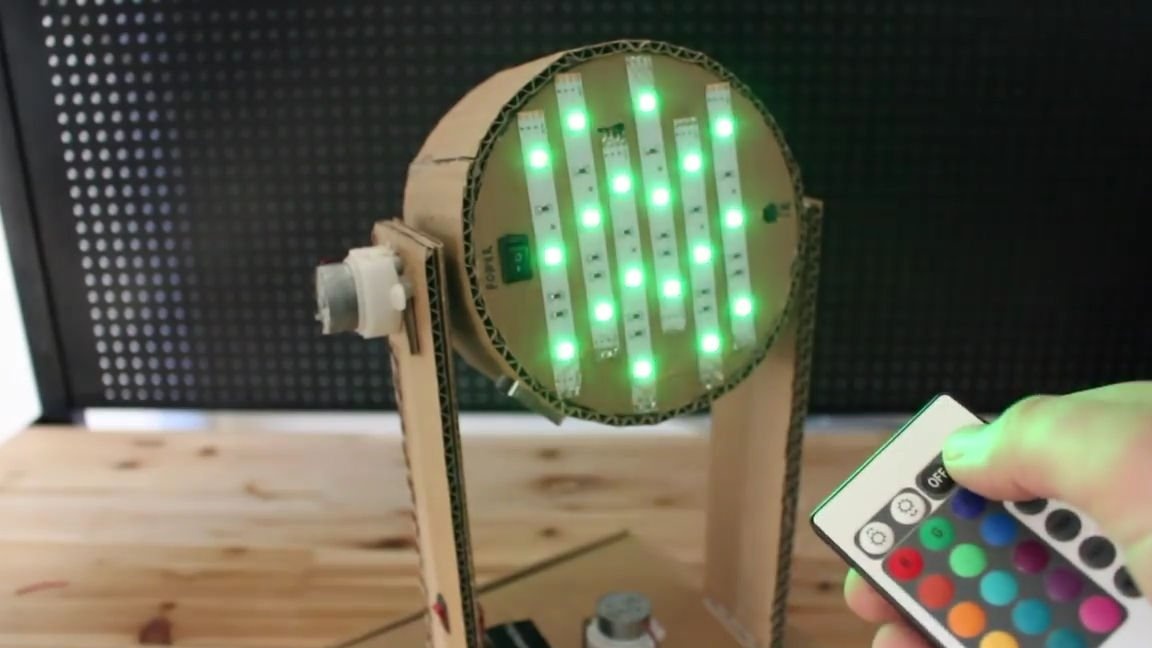
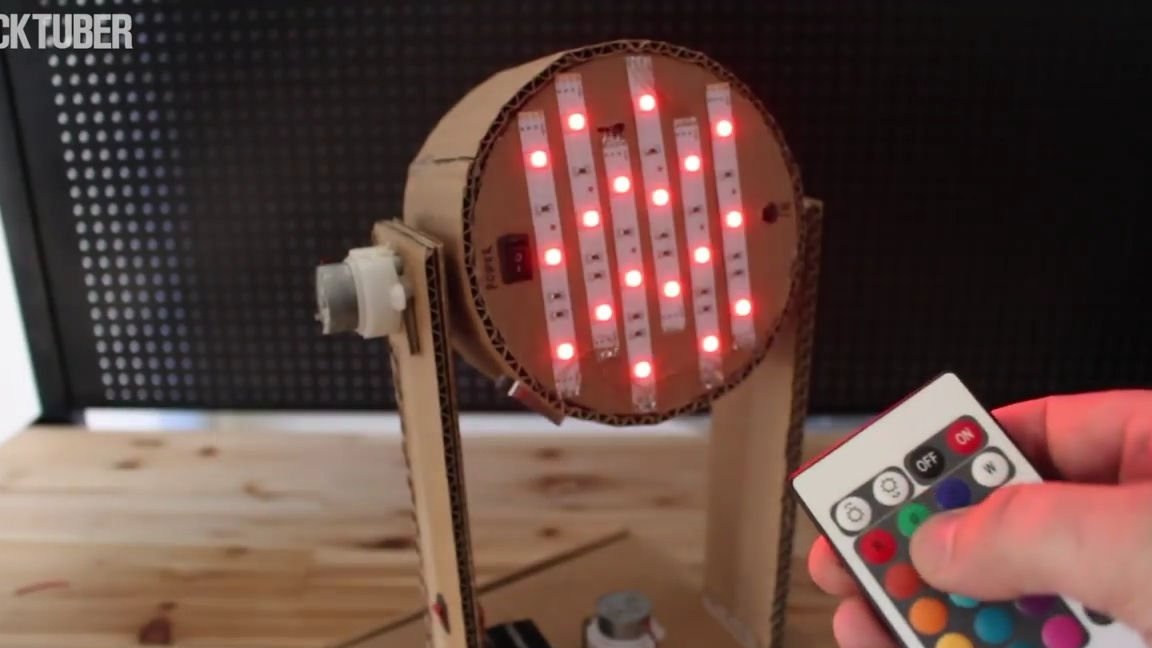
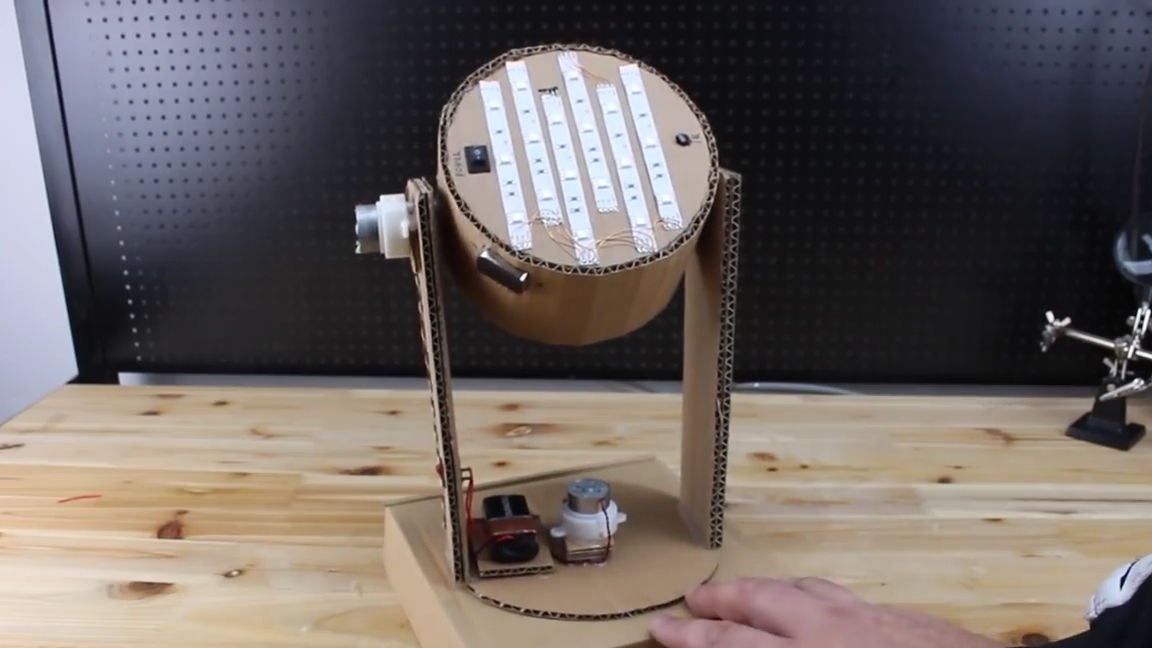
We connect crowns in the places, and all! A very interesting night lamp is ready and it remains only to test it. To do this, simply turn on the top switch and using the remote control, turn on and select the desired color and enjoy! If you want something interesting, then just press the lower switch and then the whole installation will begin to rotate in several directions, which looks very cool.
This homemade product is great for home and leisure activities.
Here is a video from the author with a detailed assembly and testing of this homemade product:
Well, thank you all for your attention and good luck in future projects, friends!