
Good day to all dear friends! In today's article, I would like to show you a rather interesting idea homemade. Namely, in this article we will assemble an electric traction skateboard! In fact, this is a very interesting homemade product, and very convenient to use for people living in big cities. The convenience of the homemade product is that it is compact and light in comparison with other similar modes of transport, you can take it with you to the store and to public transport. You definitely need it, if you often move around the city, it will reduce the time of your movement between stops many times. Also, from the features of this homemade product, it can be distinguished that it consists of Chinese components purchased in online stores. The selection of accessories is great, and you can use the ones you can afford. In general, the homemade product is very interesting, so let's not pull with a long introduction, let's go!
For this homemade product we need:
- 12mm plywood sheet
- .
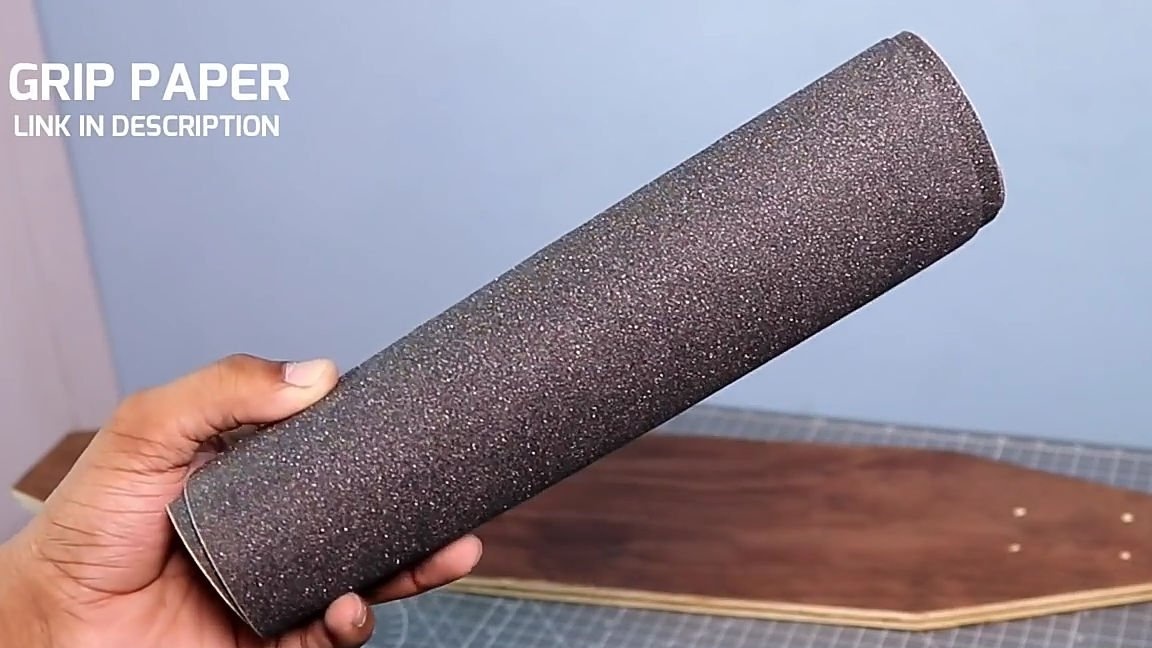
- "Skin" self-adhesive (sandpaper) for a skateboard
- Vinyl film in any color and with a favorite design (for decorating a skateboard).
- Screws and nuts for installing axles with wheels
- Self-tapping screws
- (which includes a speed controller, receiver and transmitter, outputs for sensors).
- switch
- Battery display sensor
- Housing for e toppings.
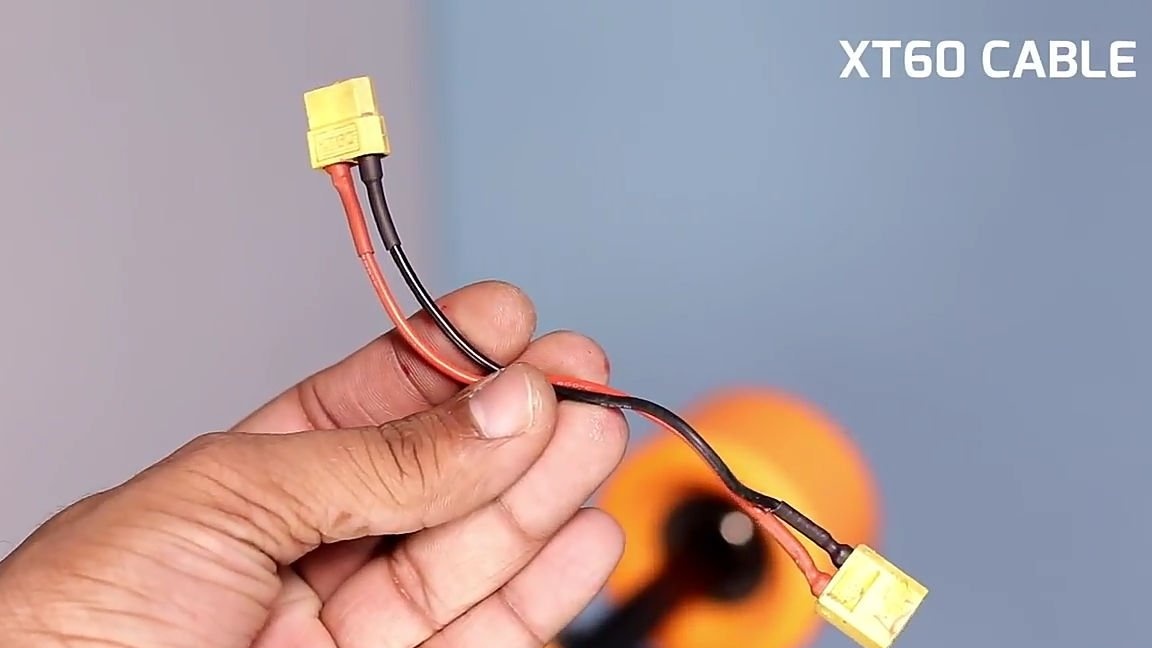
- Connectors XT- 60
- for the battery (included in some kit sets of electric skateboards).
- Rechargeable batteries of the 18650 format of 14 pieces.
Of the tools we will also need:
- soldering iron
- solder
- Drill and drill for it
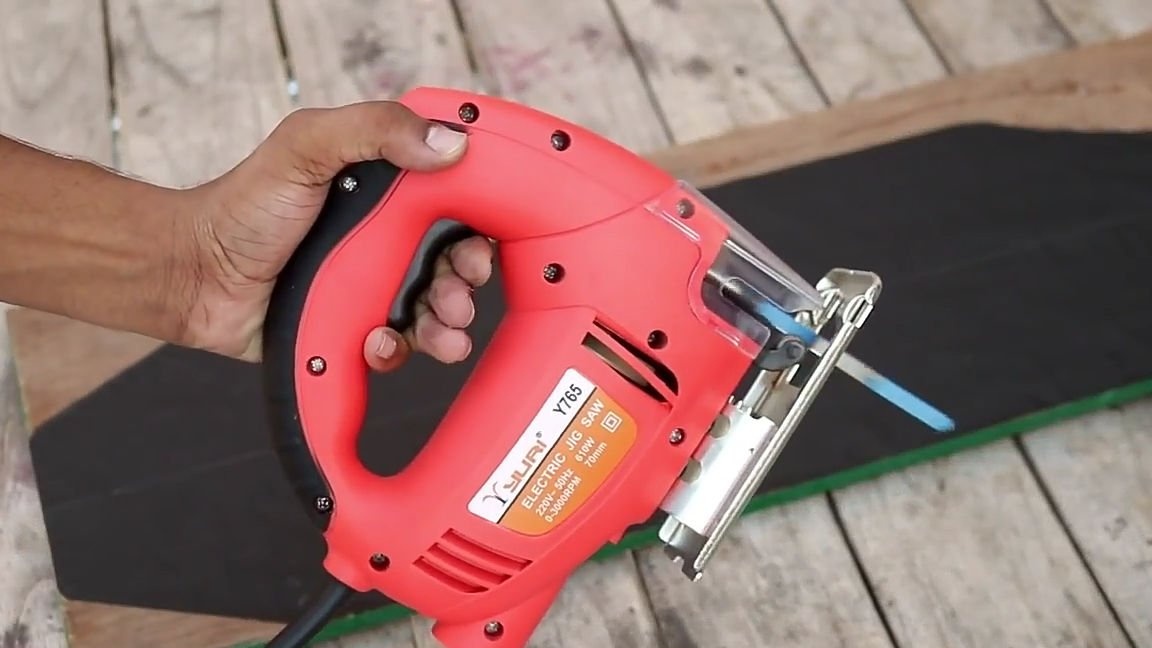
- Electric fret saw
- screwdriver
- Stationery knife
- Ruler
- pencil
- Special impregnation for wood products
- Wrench
- Double adhesive tape
- electrical tape
- The hair dryer is ordinary or construction
- Sandpaper
- Power wires.
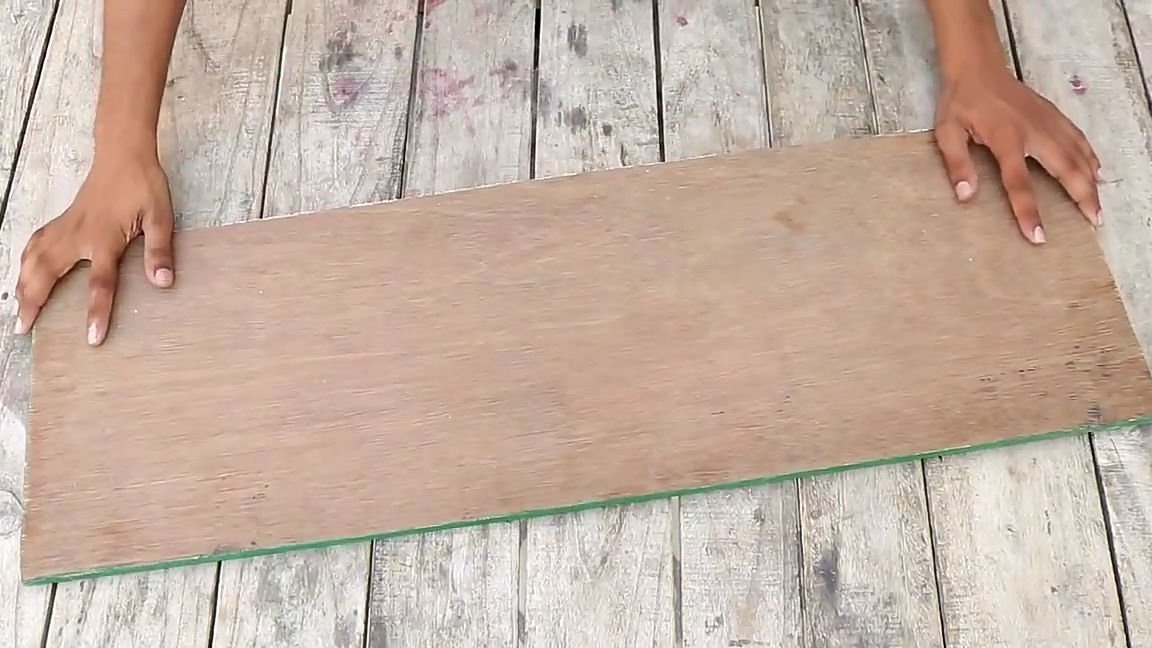
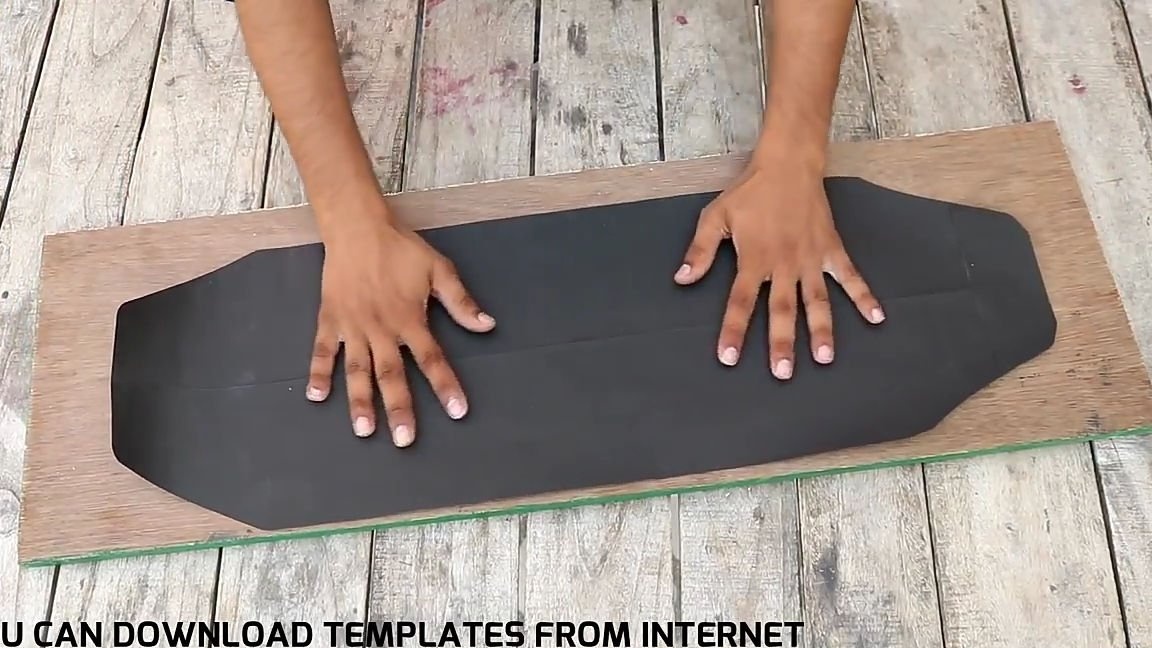
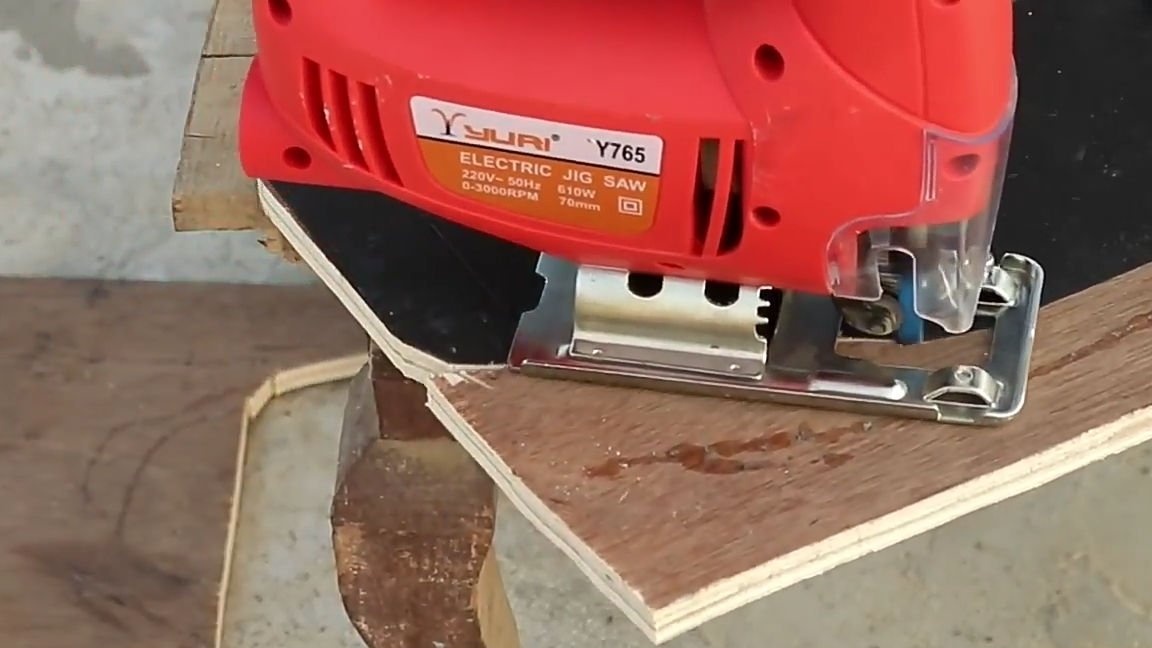
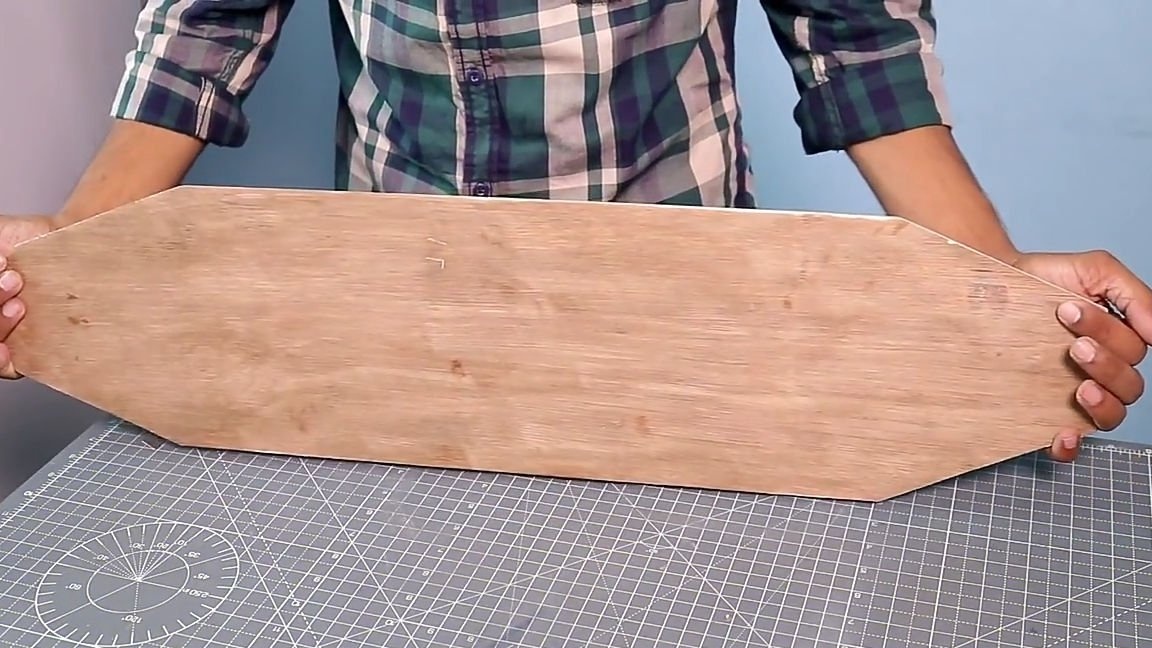
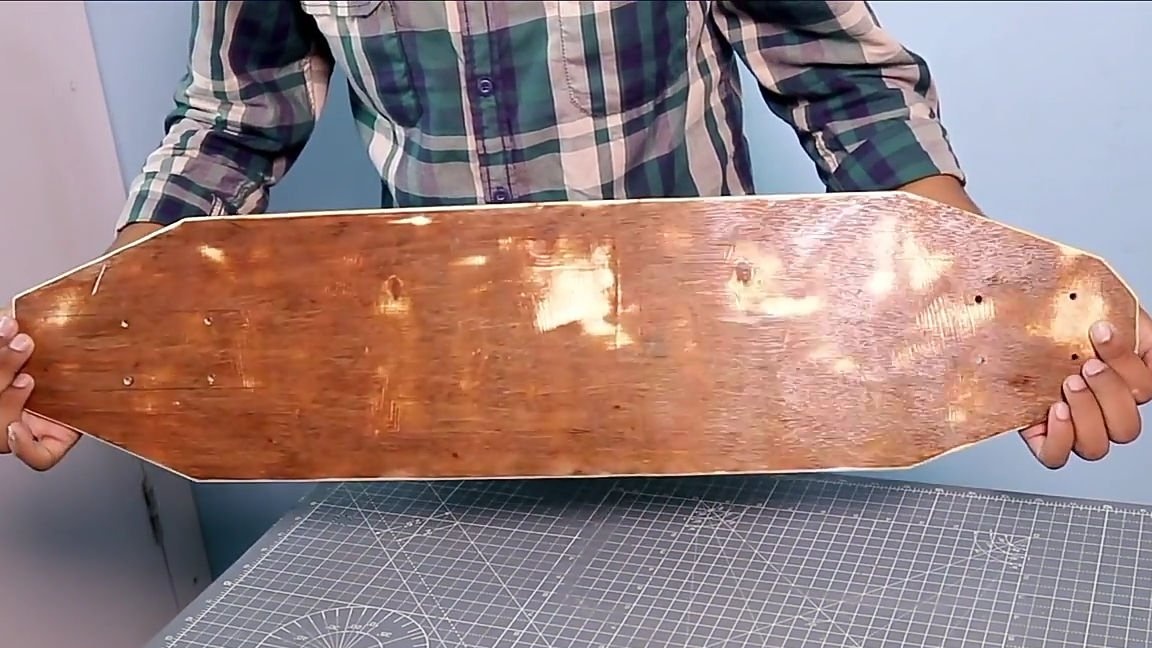
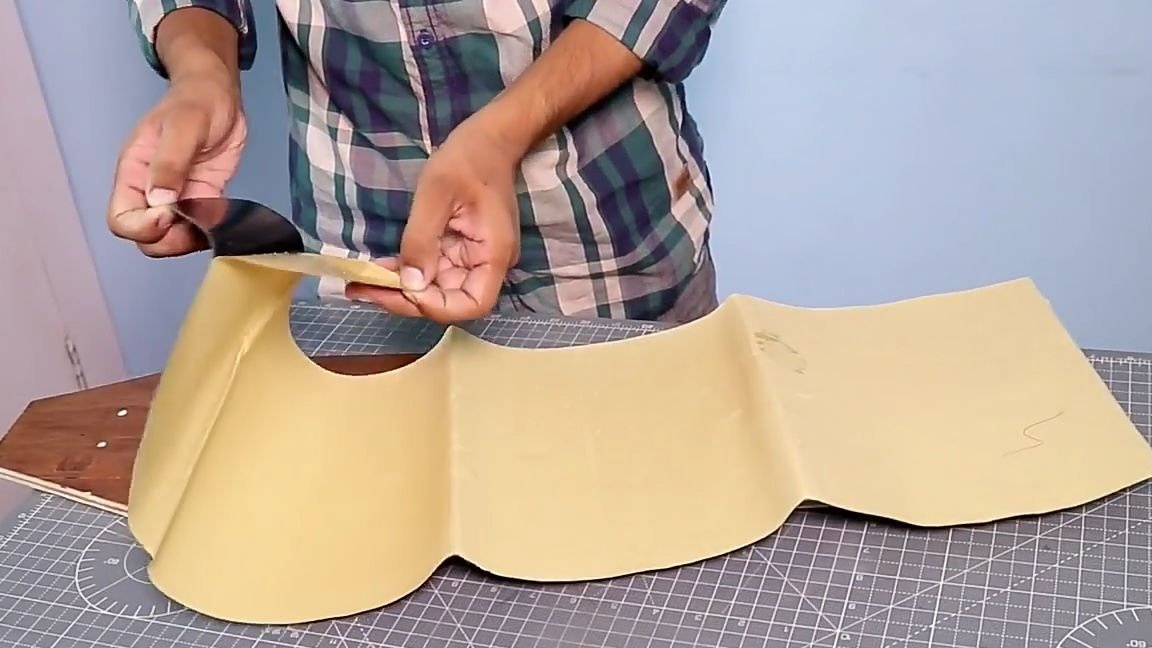
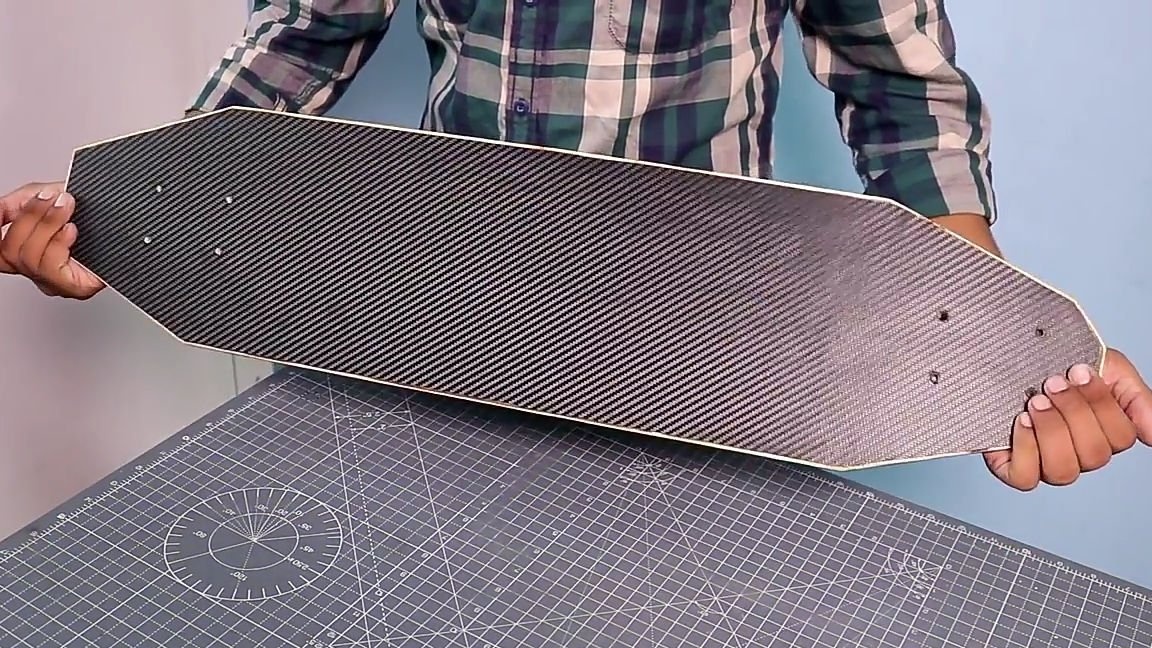
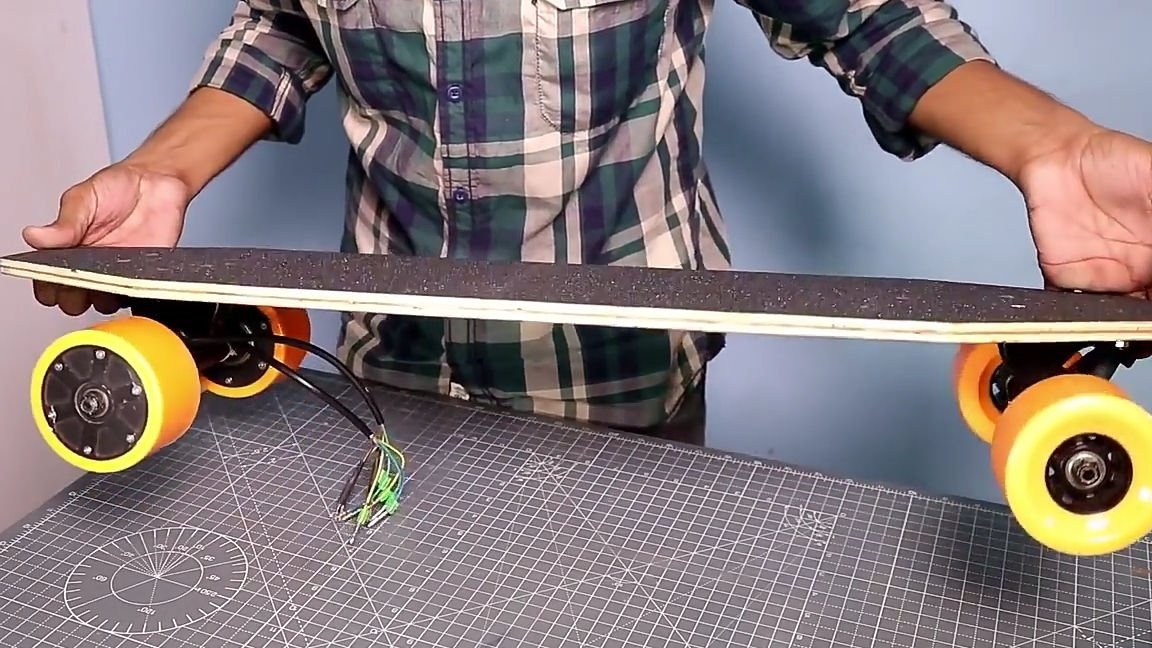
To begin with, we should make the board itself. To do this, choose the material of which it will consist. The materials are very diverse, for example, carbon or carbon fiber, but the simplest and most budgetary is plywood, from which we will actually make a skateboard. Having taken a sheet of plywood of the required size (the author took a sheet of size 25 * 85cm), you should draw a future skateboard on it or print and paste a stencil of any shape that can be found on the Internet.Having put a stencil on the board, we cut it out using a jigsaw and process the edges with sandpaper.
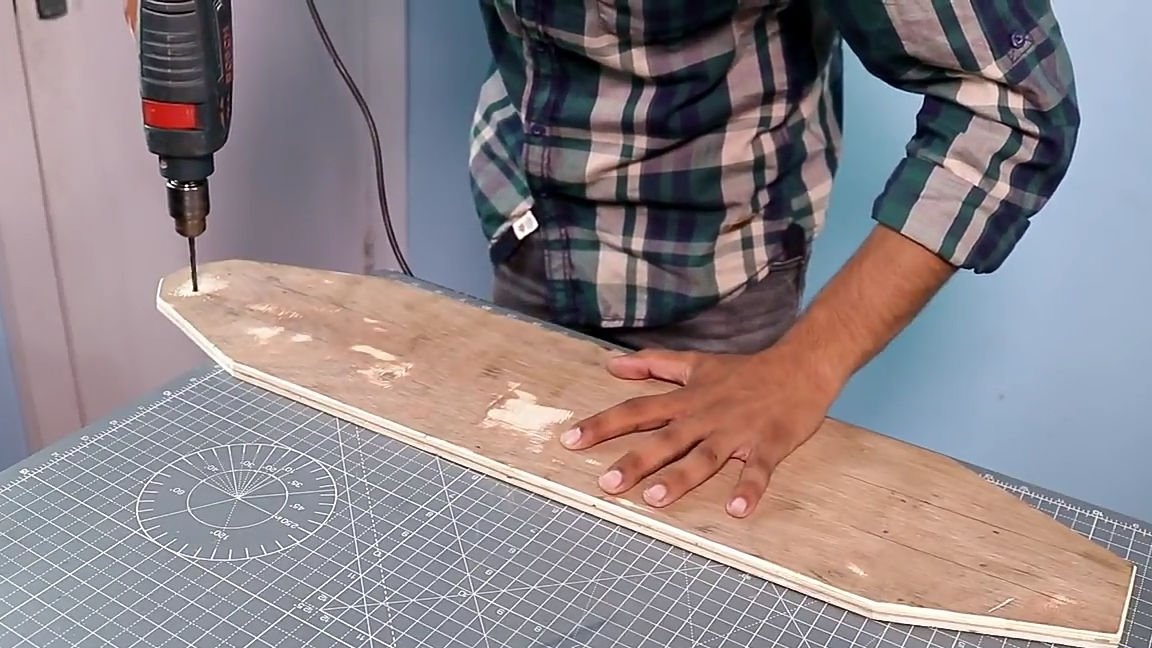
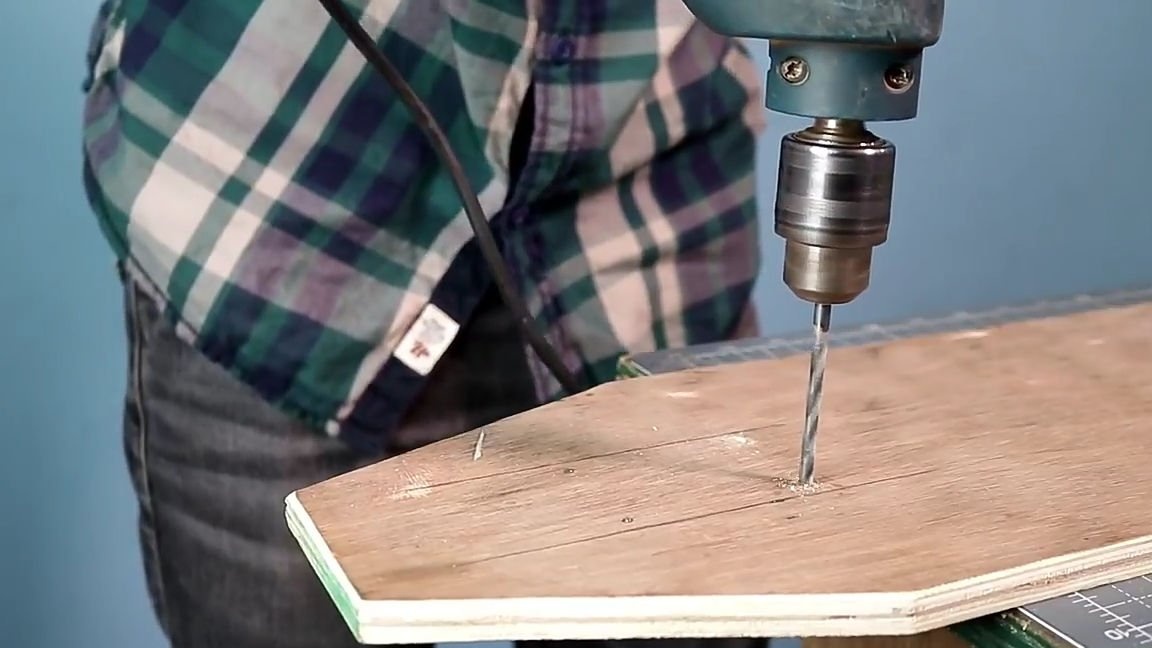
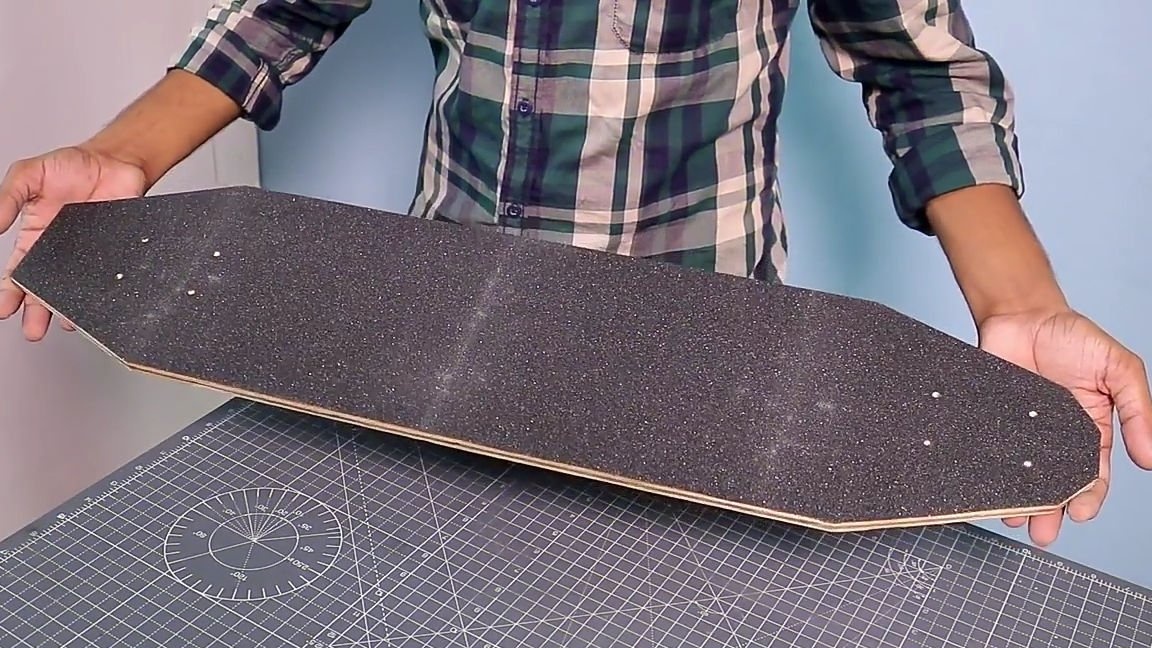
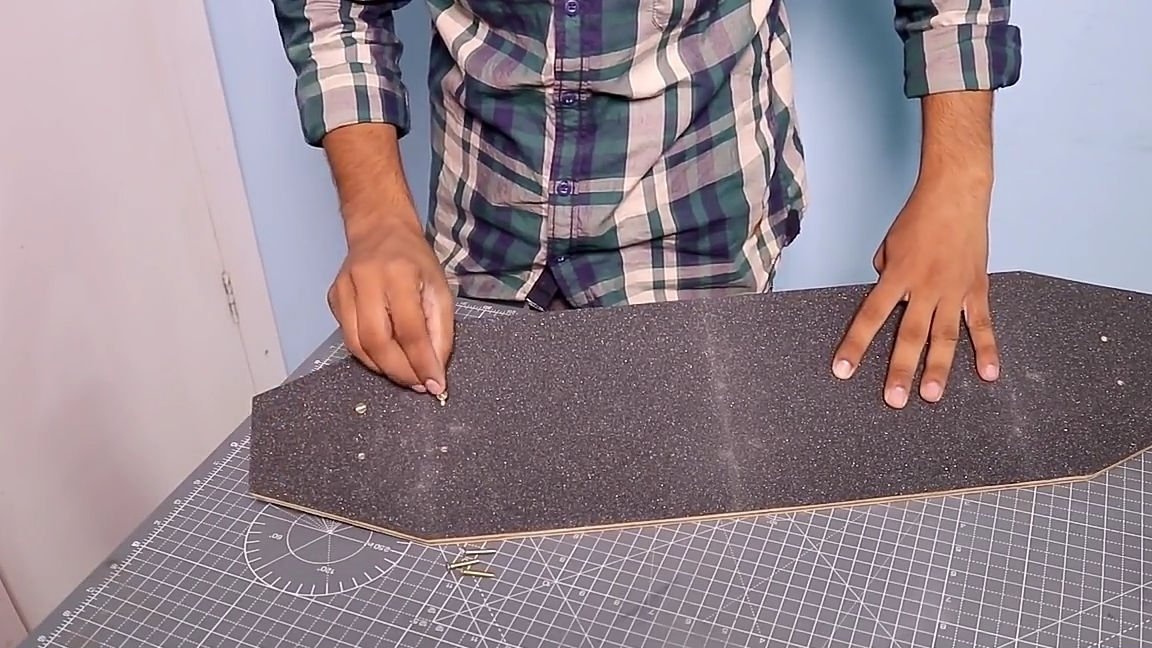
Next, take your chosen axles with wheels, apply them to the places where they will be located and with a simple pencil mark the places for the mounting holes. Then, with a drill and a suitable drill, we will make through holes for installing the axles.
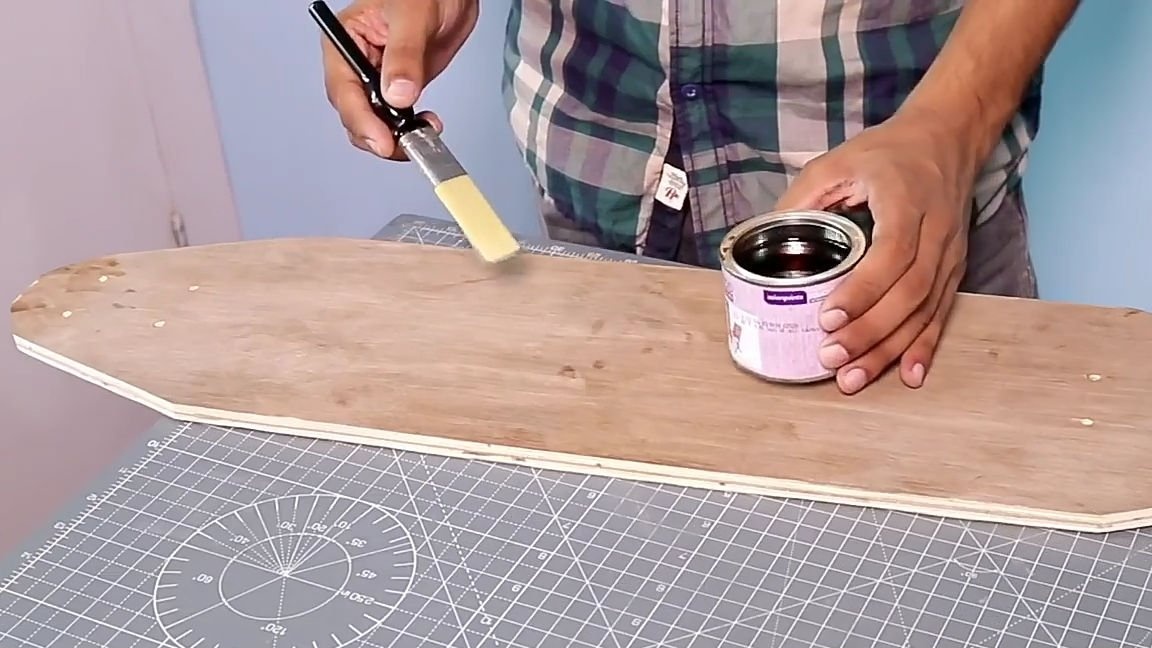
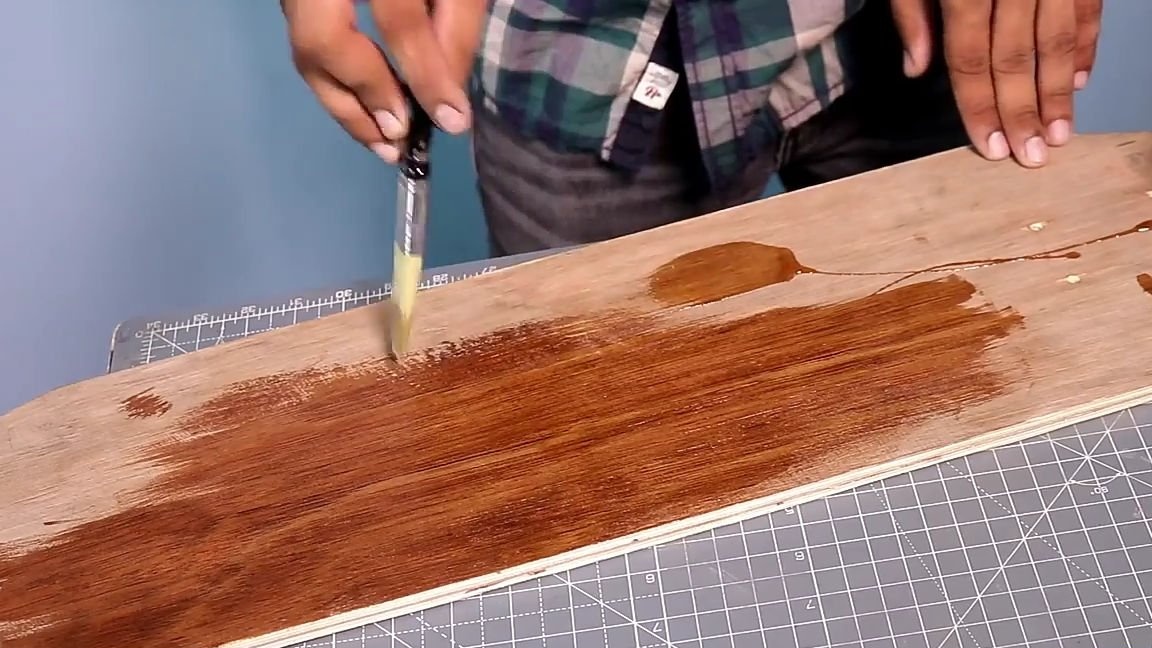
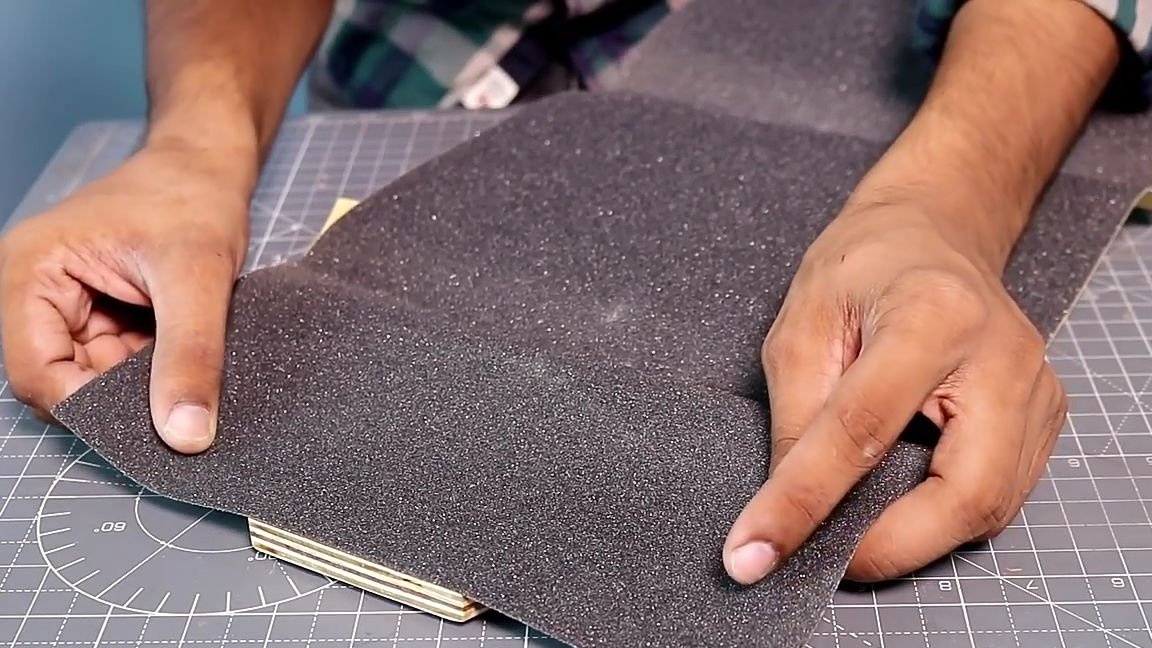
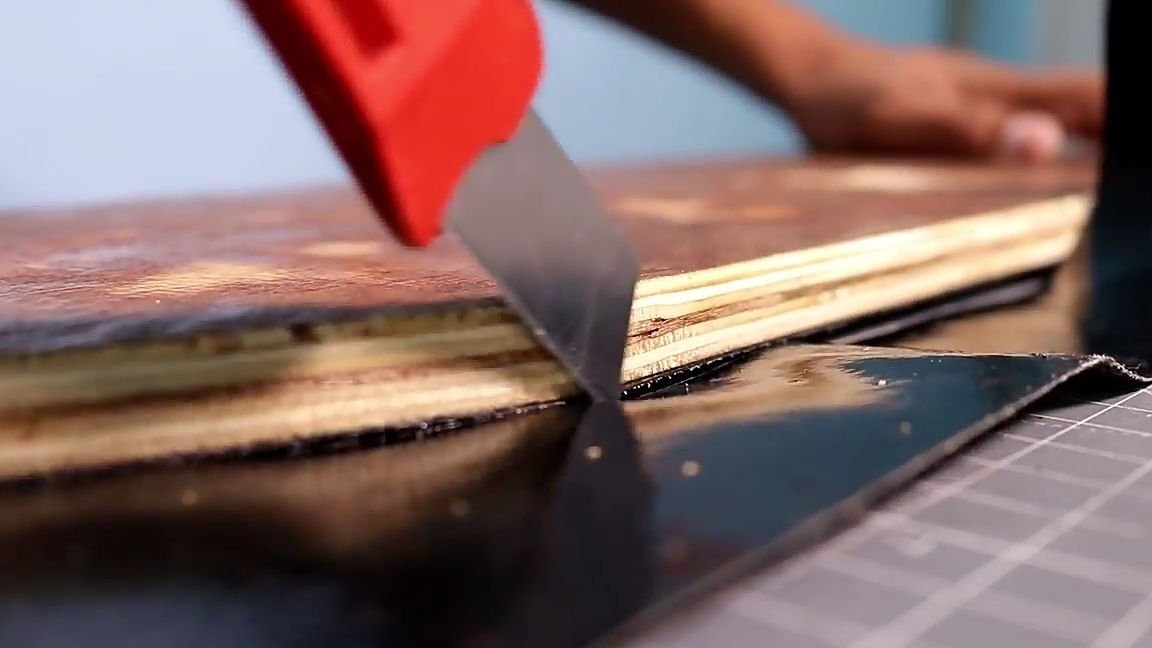
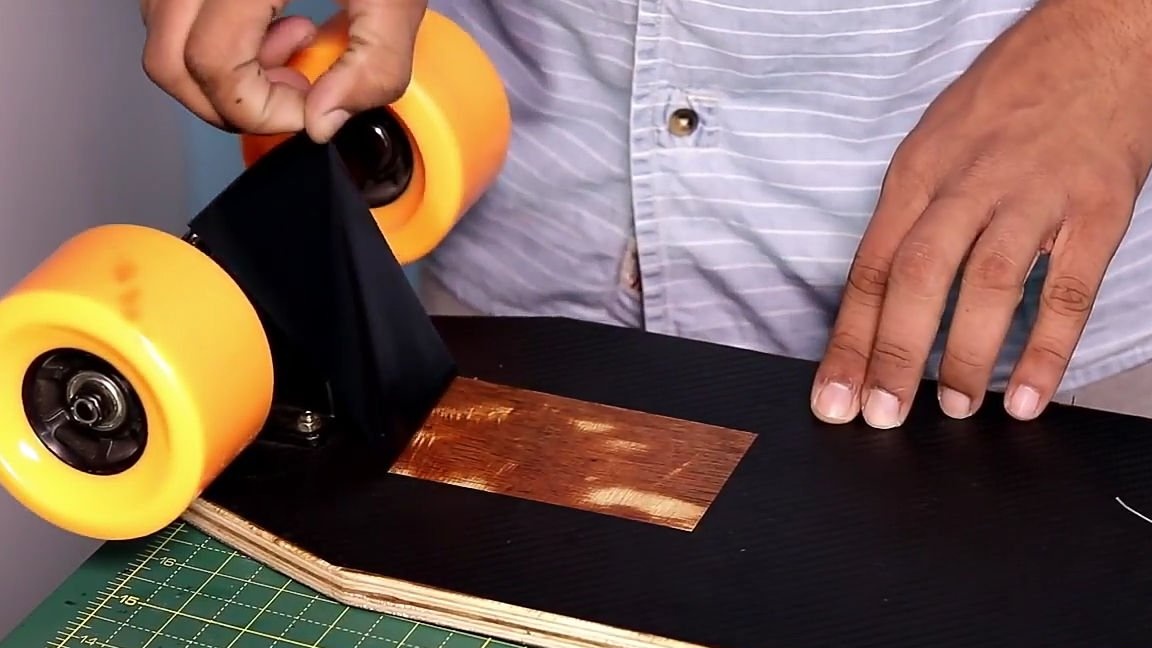
The next step is to treat the plywood blank with some impregnation for wooden products. This is necessary in order to extend the life of our homemade product. Then, after the impregnation applied to the plywood is completely dry, the so-called “skin” should be glued to the board. This "skin" is needed so that your shoes do not slip when you are on the board. The "skin" will be sold in a sports store, but it can be replaced with sandpaper (this replacement is not durable). We glue the “skin” to the board, cut off the excess with a clerical knife, and for better gluing we warm the place of gluing with a hairdryer. And also at this stage, you should glue the decorative part of the skateboard, for this, the author took a vinyl film for carbon and just like a “skin”, but only glued it to the board on the other side.
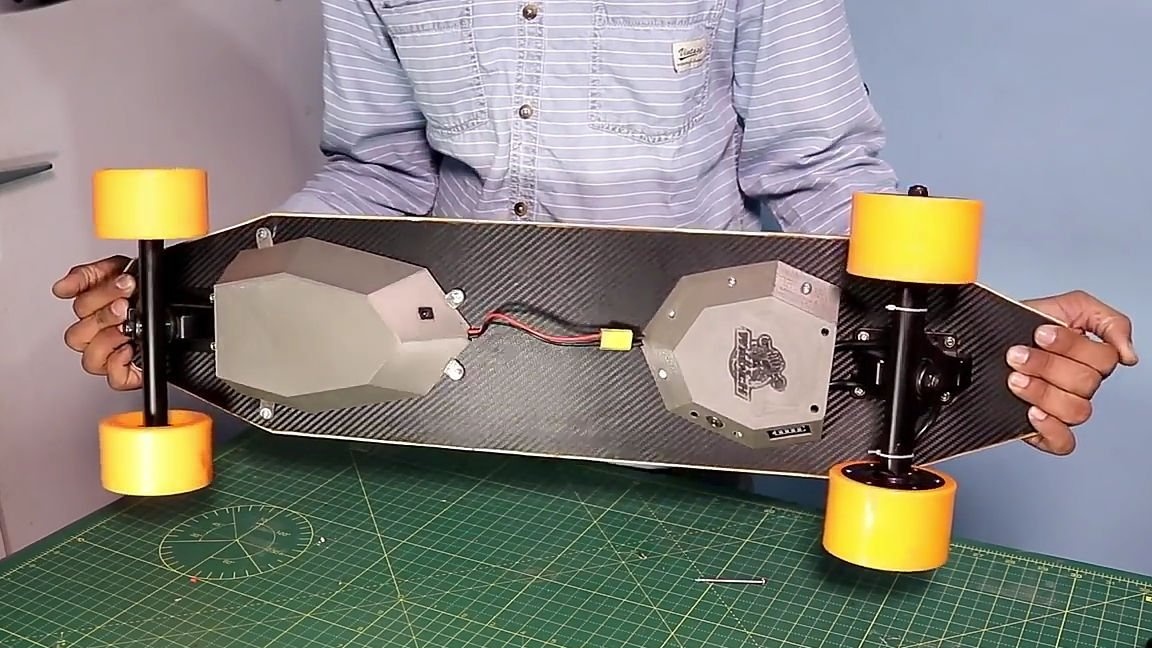
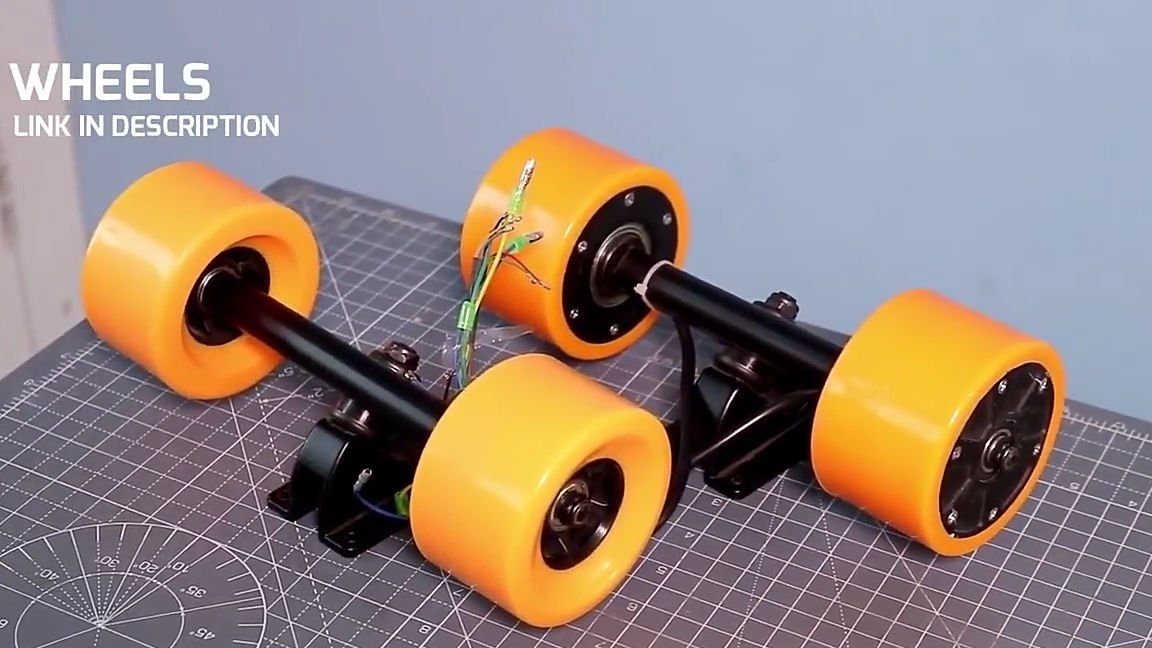
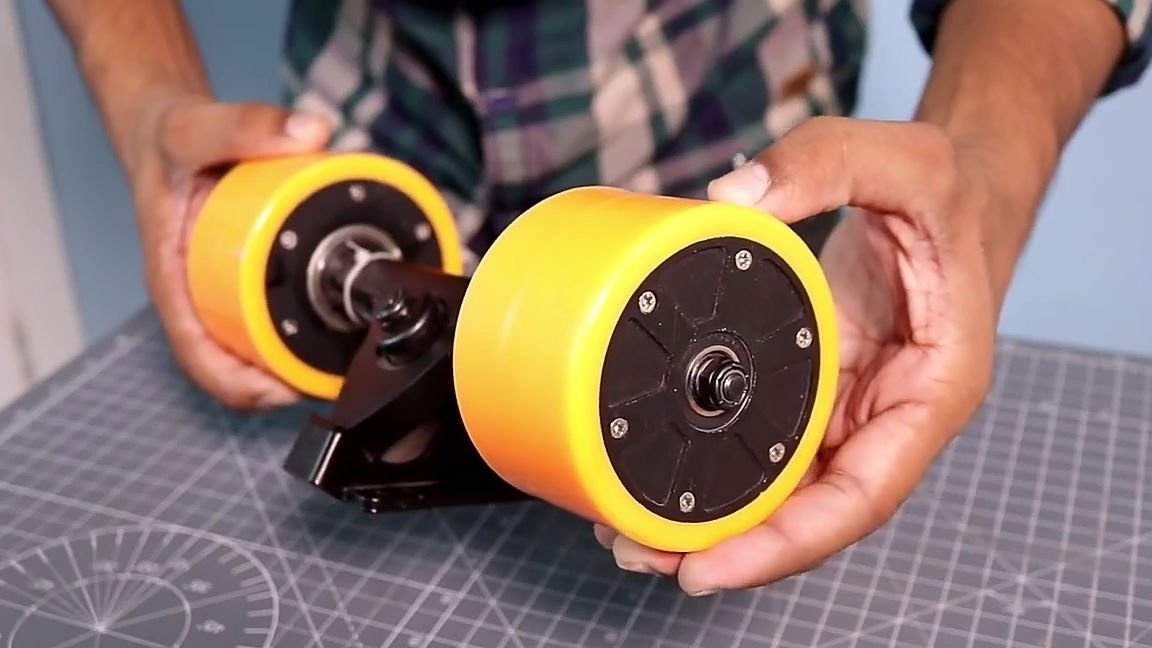
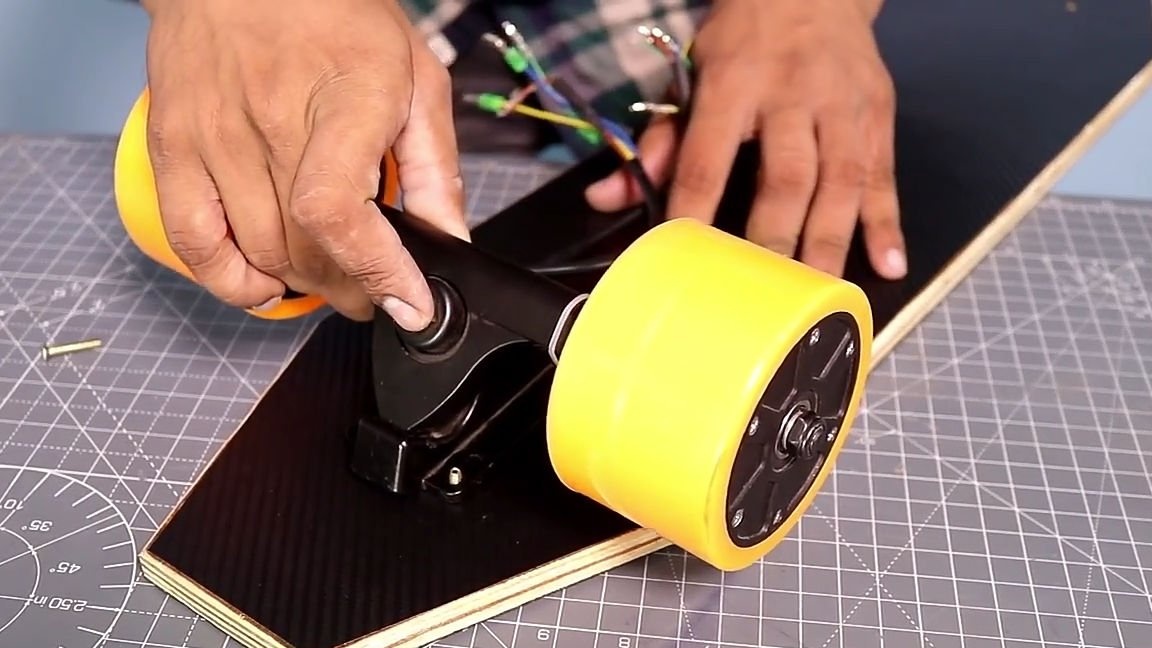
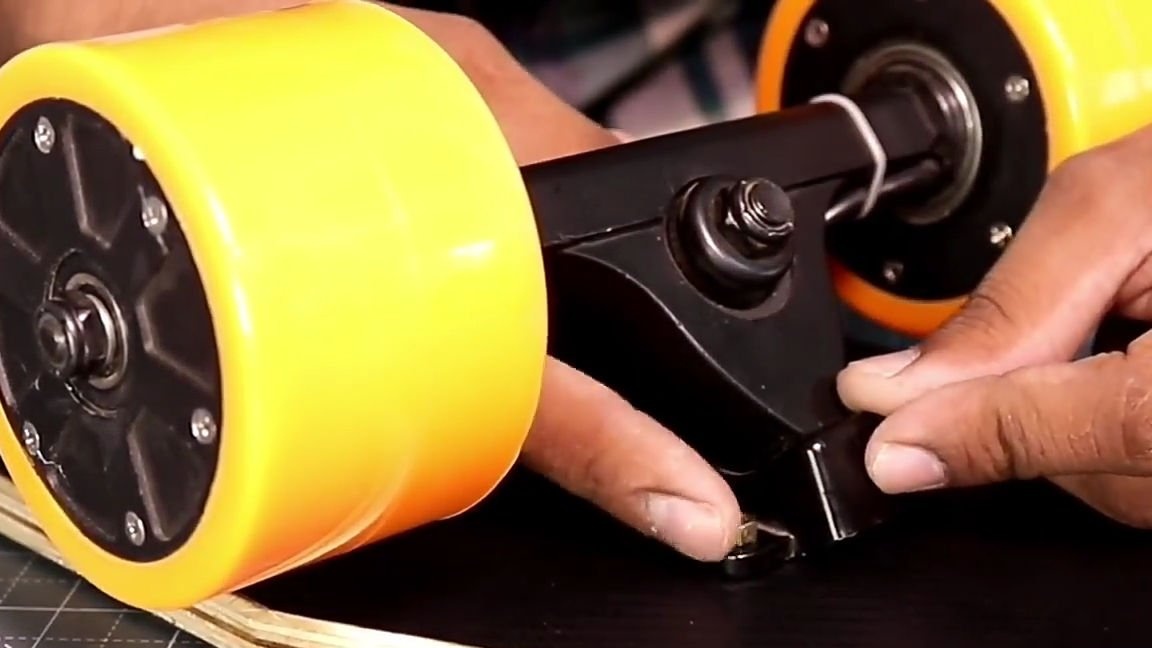
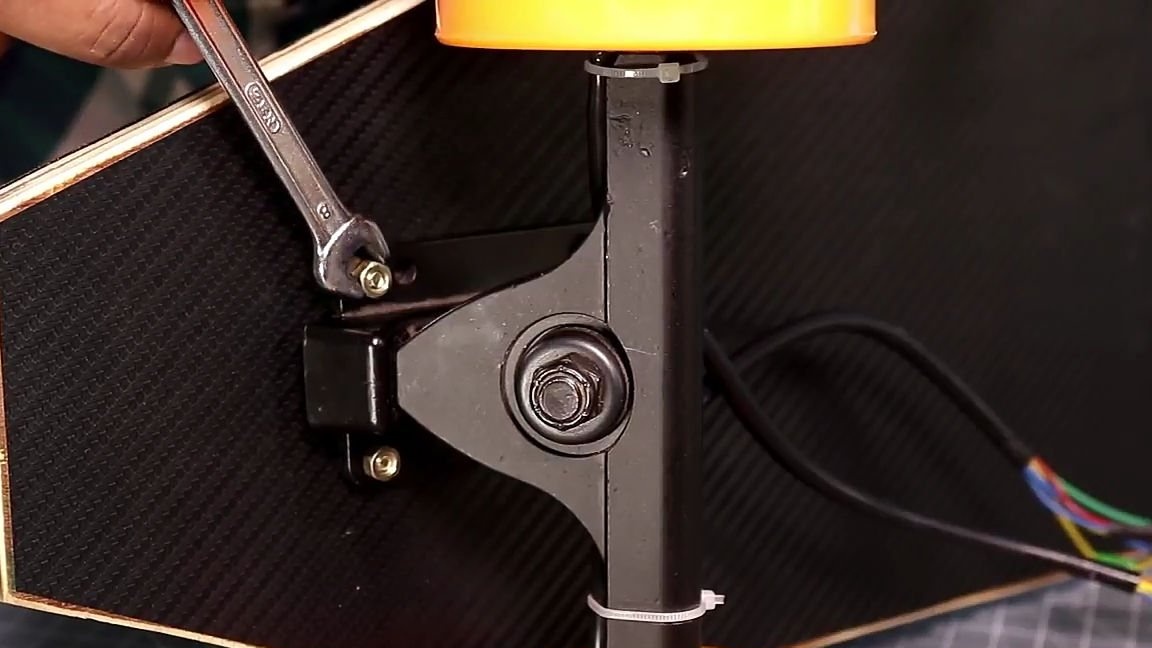
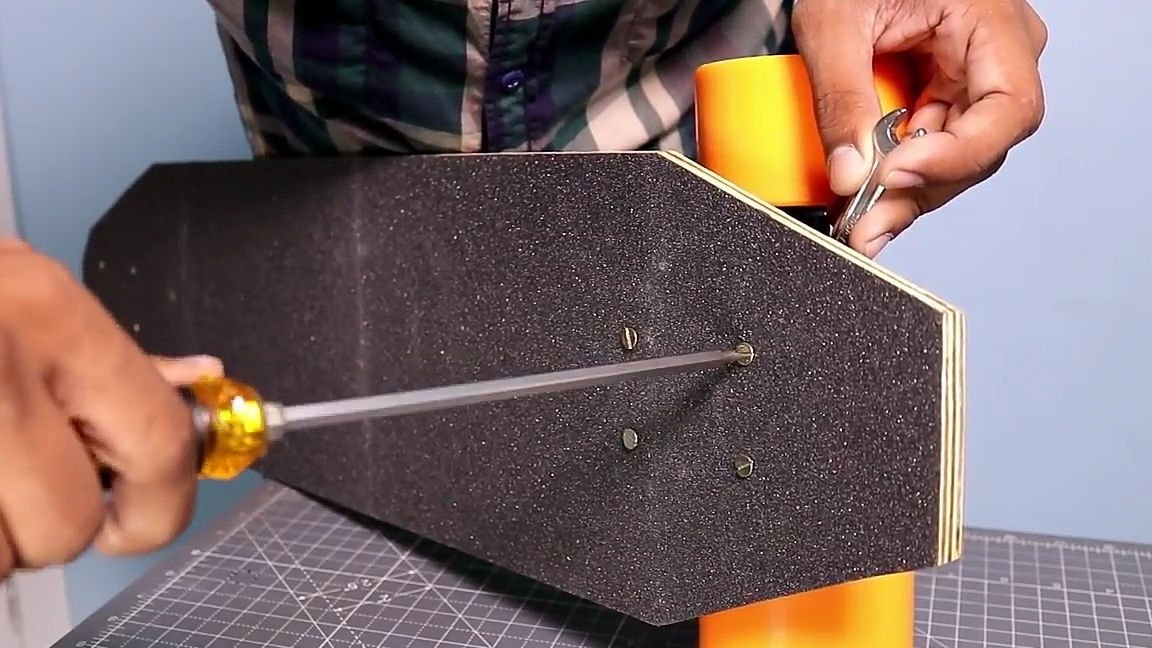
The next step is to install the aforementioned axles with wheels on the board. It should be noted that these axes can be sold, either individually or as a whole kit kit for assembly. The choice of such axles and kit sets themselves is very large, you can assemble both all-wheel drive and rear-wheel drive skateboards, and there is also a very large selection of power. To install the axes, put the board with the top side up and insert the screws into the mounting holes, and turn the board over, holding the screws (so that they do not fall out). We insert the axles in their places and fix them with nuts.
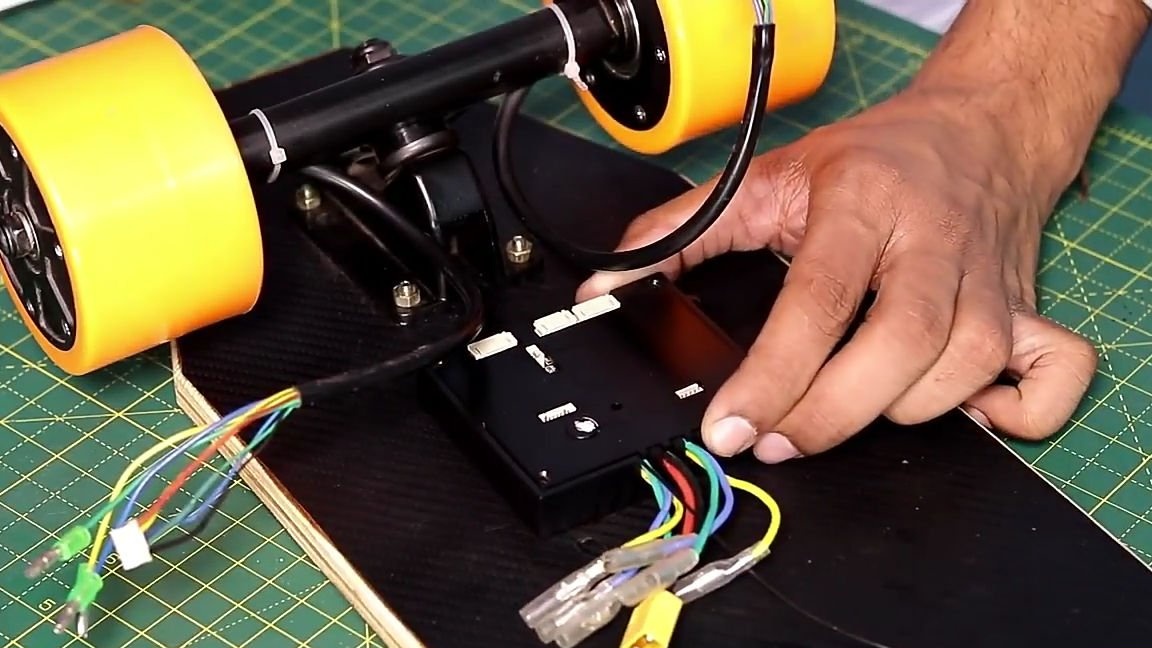
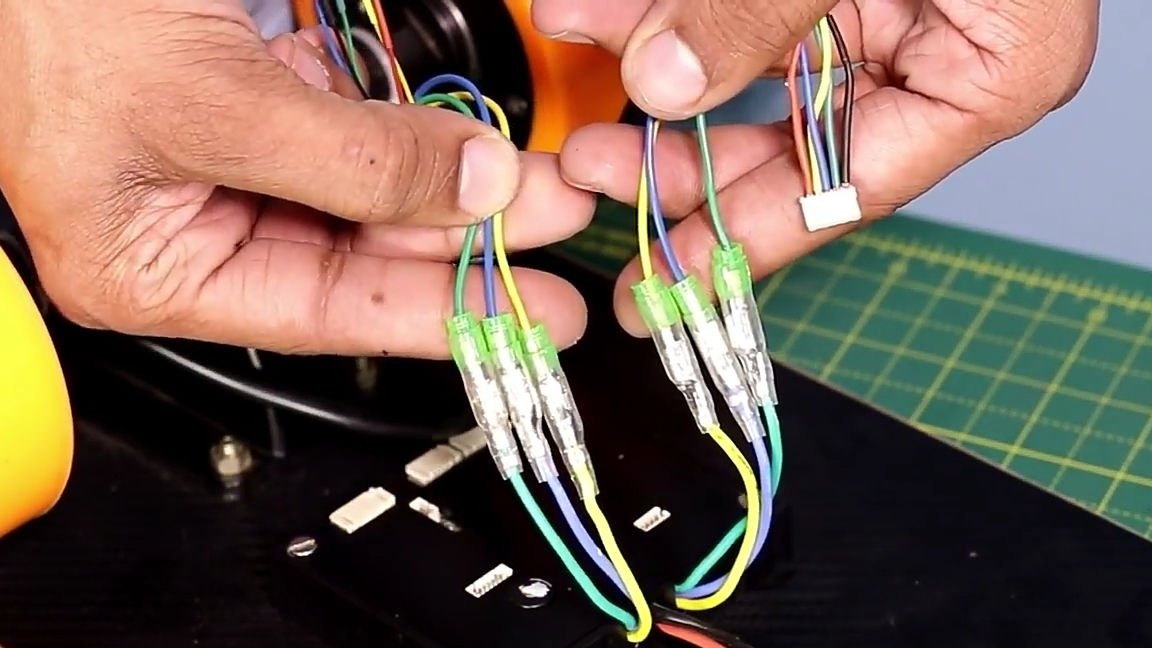
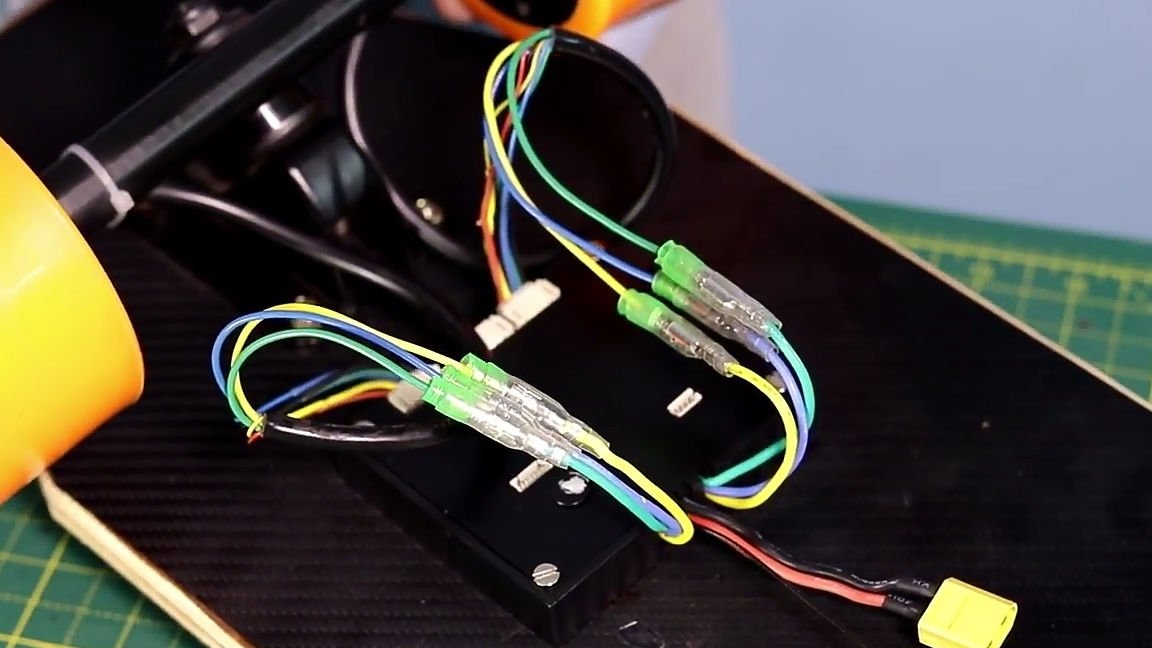
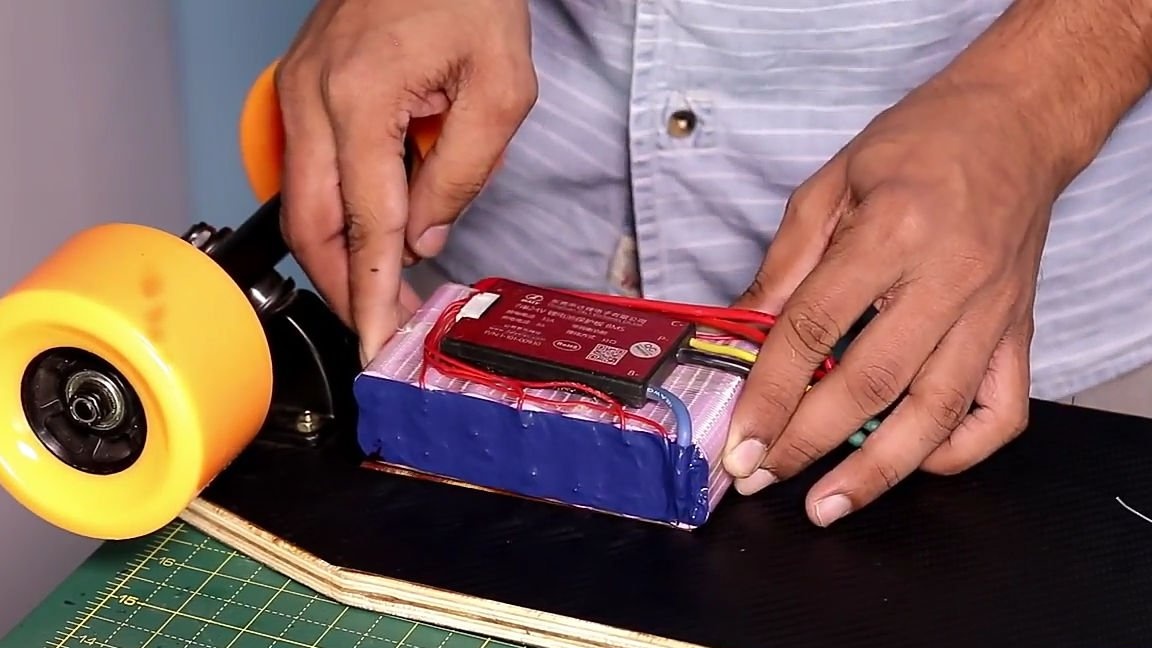
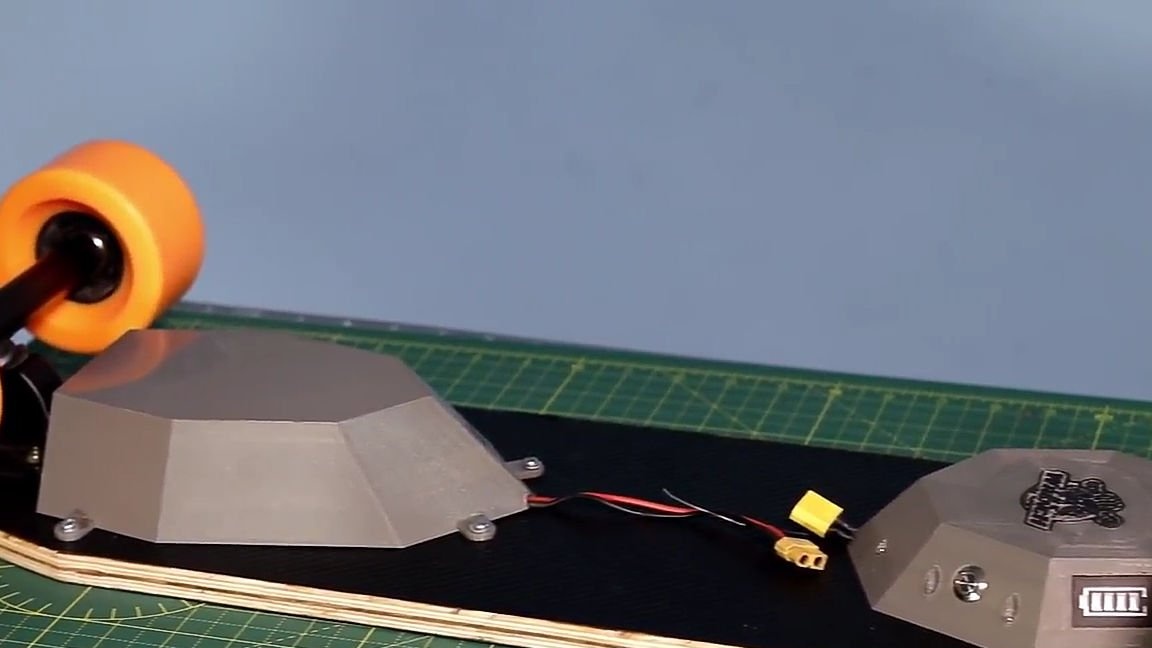
Actually the mechanical part of the homemade product is ready, go to the electronic filling. The next step is to take and fasten the controller, purchased in one of the Chinese online store. The controller should be screwed next to the drive axle. Having screwed the controller, we connect all the wires coming from the drive axis to the wires on the controller according to their color, and connect the cables that are on the left to the left connector, and the right, respectively, to the right.
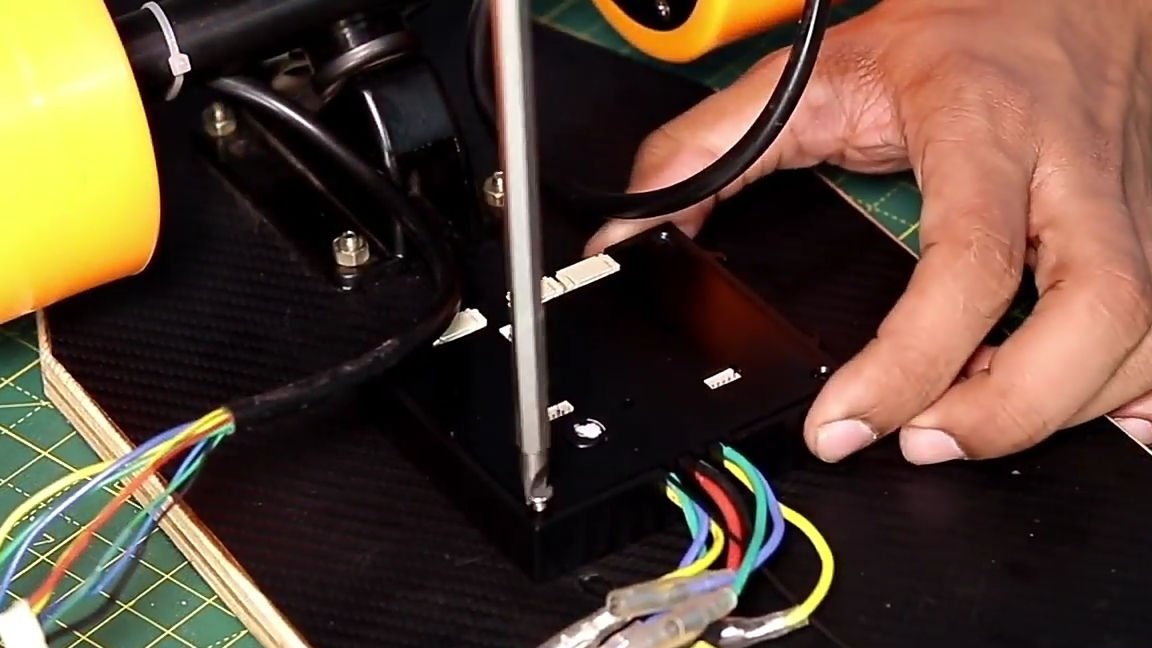
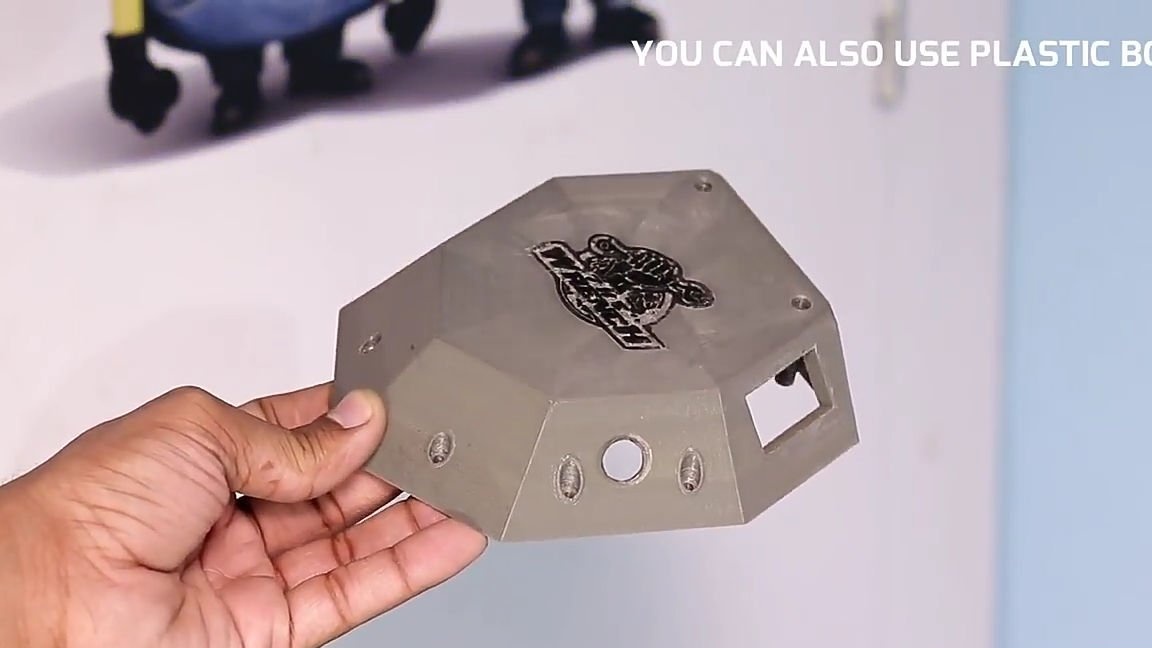
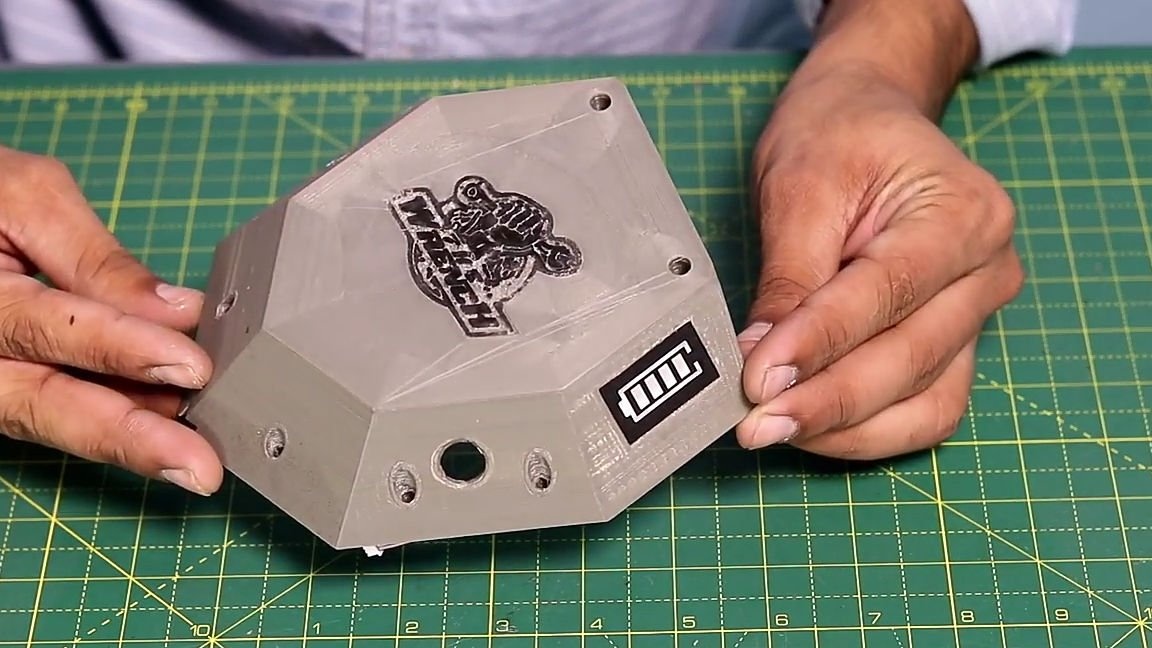
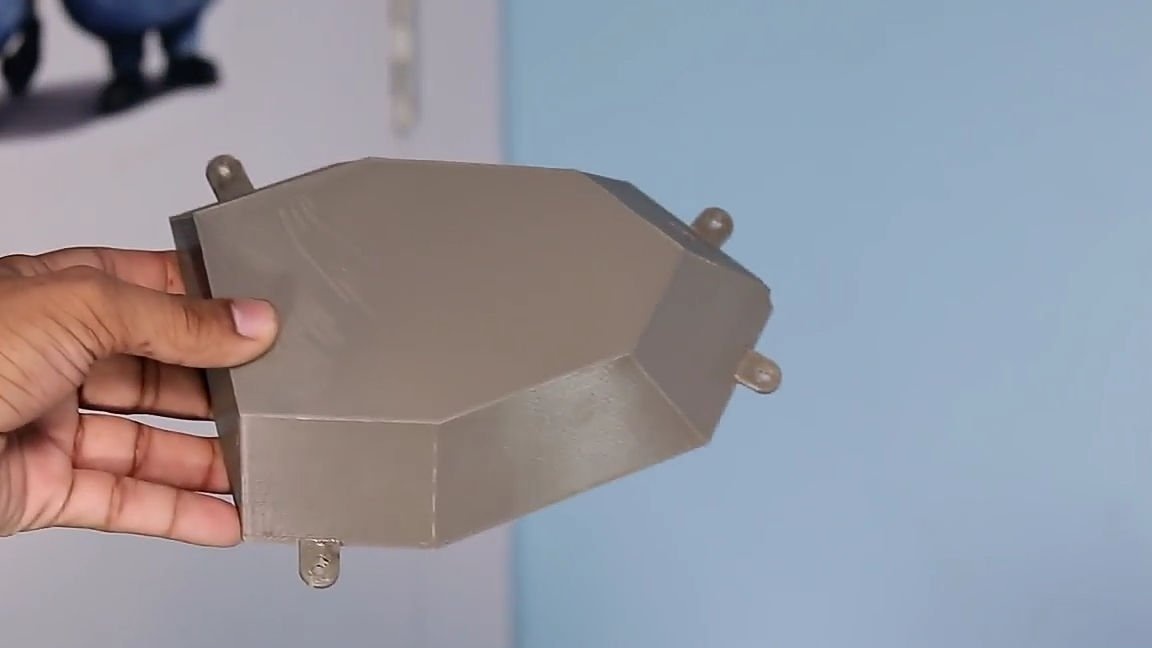
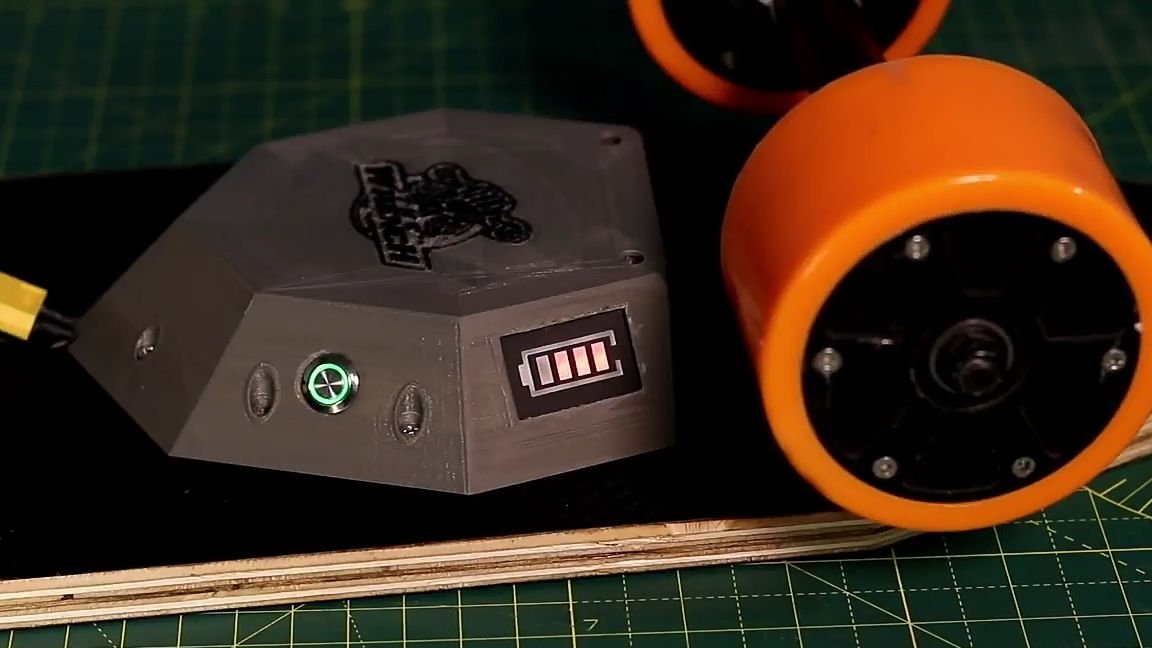
The next step is to make a case for the electronic filling of a skateboard, the author himself made it using a 3D printer, if you have one you can use it model (she is in the description of his video). But if you do not have a 3D printer, then use some materials, such as sheets of ABS plastic. We install a display with a charge level display and a switch in the case, which should be connected to the controller according to the instructions. In order for the wires not to hang out once again, we will connect them with electrical tape and fix the manufactured case to the board using self-tapping screws. Leaving the power connector (XT-60) outside.
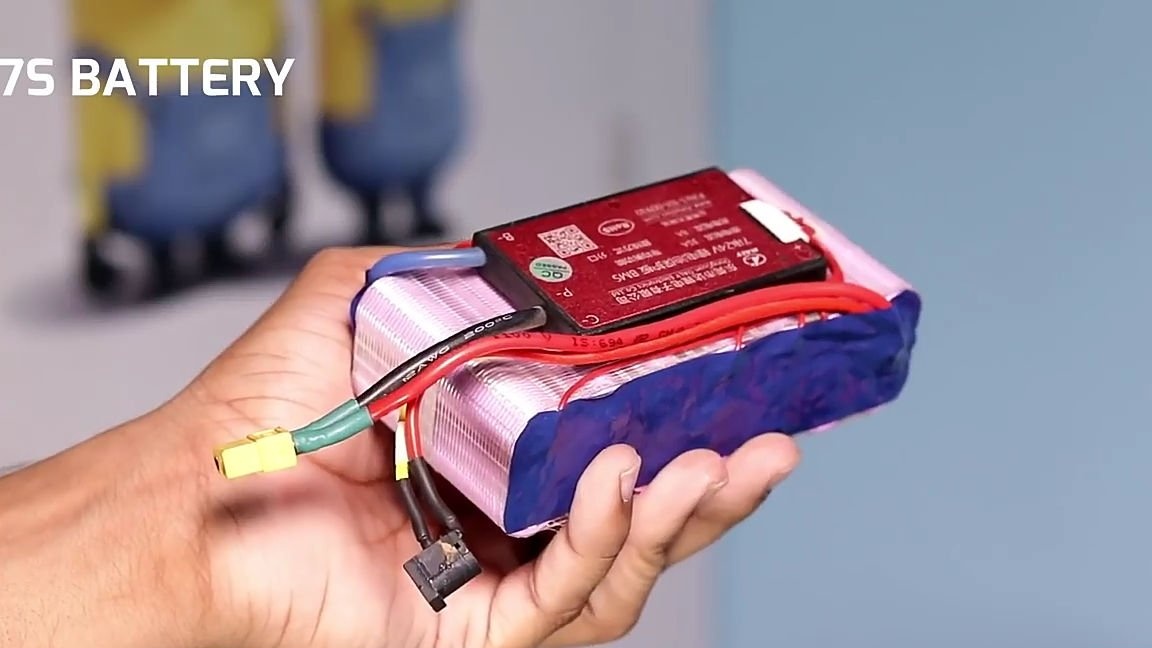
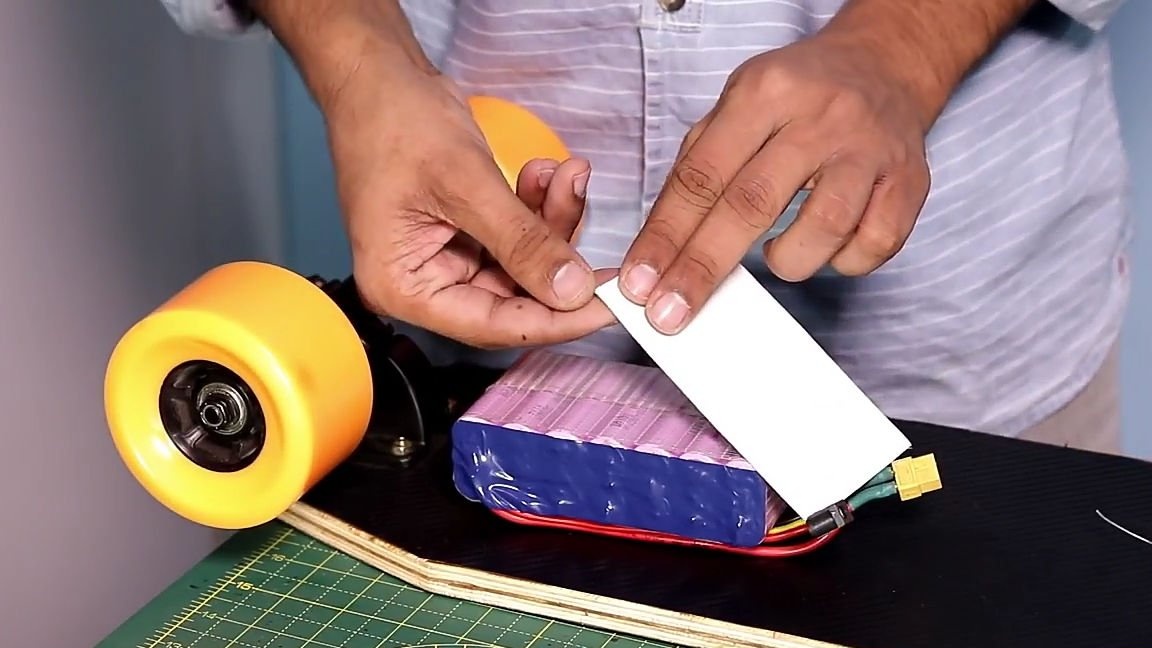
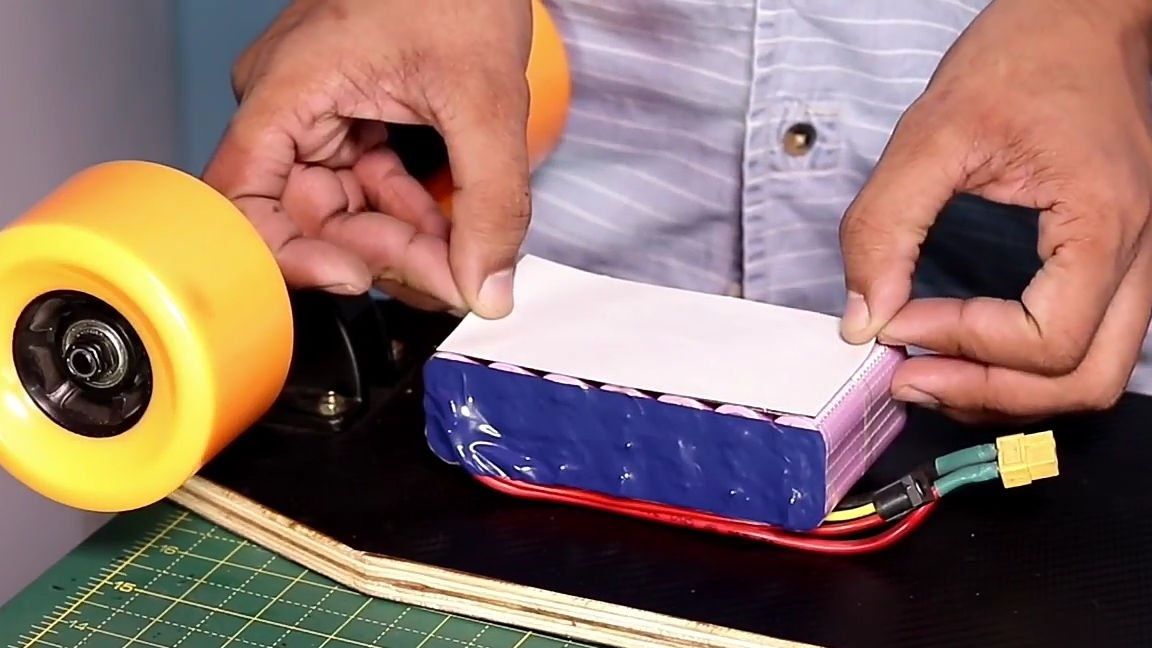
The next step is to collect the battery for our homemade product. For it we need to take lithium rechargeable batteries of 18650 format to combine them into one big one, as it is indicated in the instructions for your controller. And isolate the assembly with electrical tape. Then, the newly made battery should be glued to the board using double adhesive tape, but before that, vinyl tape should be cut so that the battery sticks to the board, and not to the film.
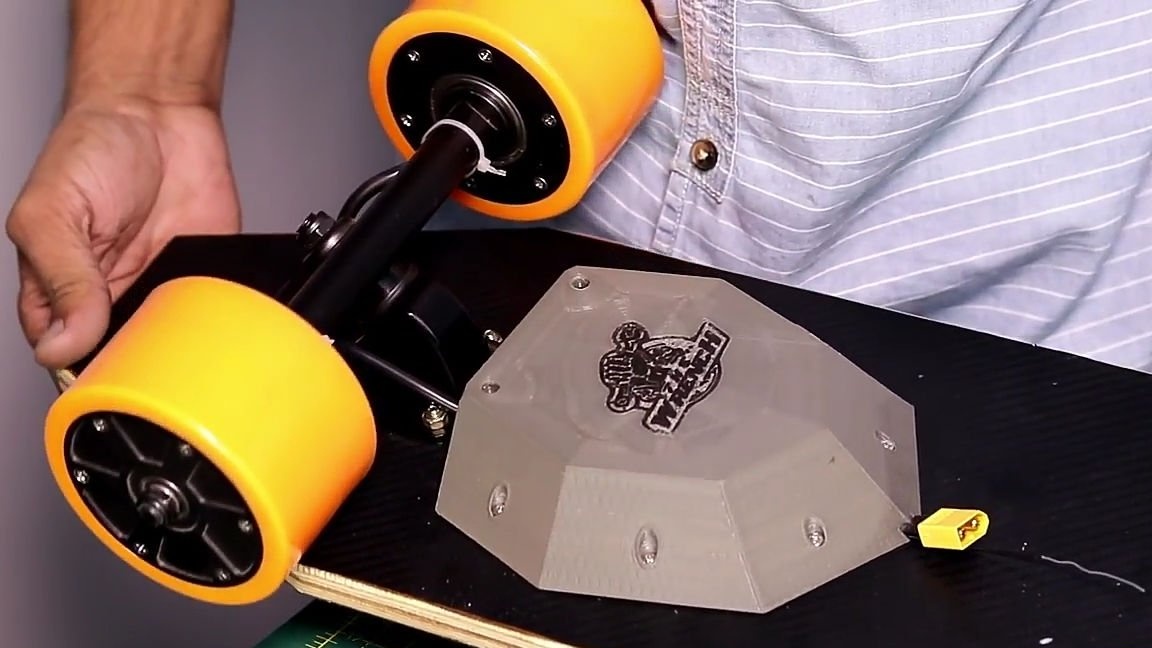
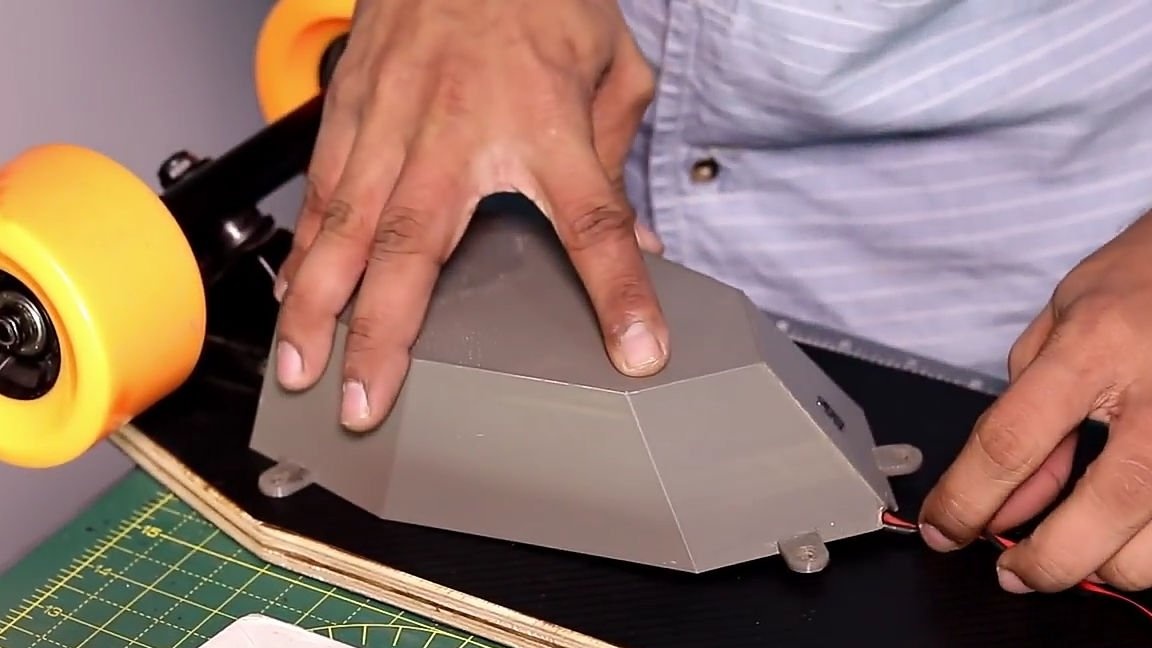
And then you should make a housing for the battery. The author, just like last time, made it using a 3D printer. But if this is not your case, then you can use other materials, or ready-made cases, for example, a container for food. In the case, we make a hole under the power connector for recharging and under the output of the power wire to power the controller. Also, from the XT-60 connectors, father, mother and pair of wires will make a certain extension cord to connect the battery to the controller.We connect the extension cord to the battery, insert the connector for recharging into the case, and fix the case to the board using self-tapping screws.
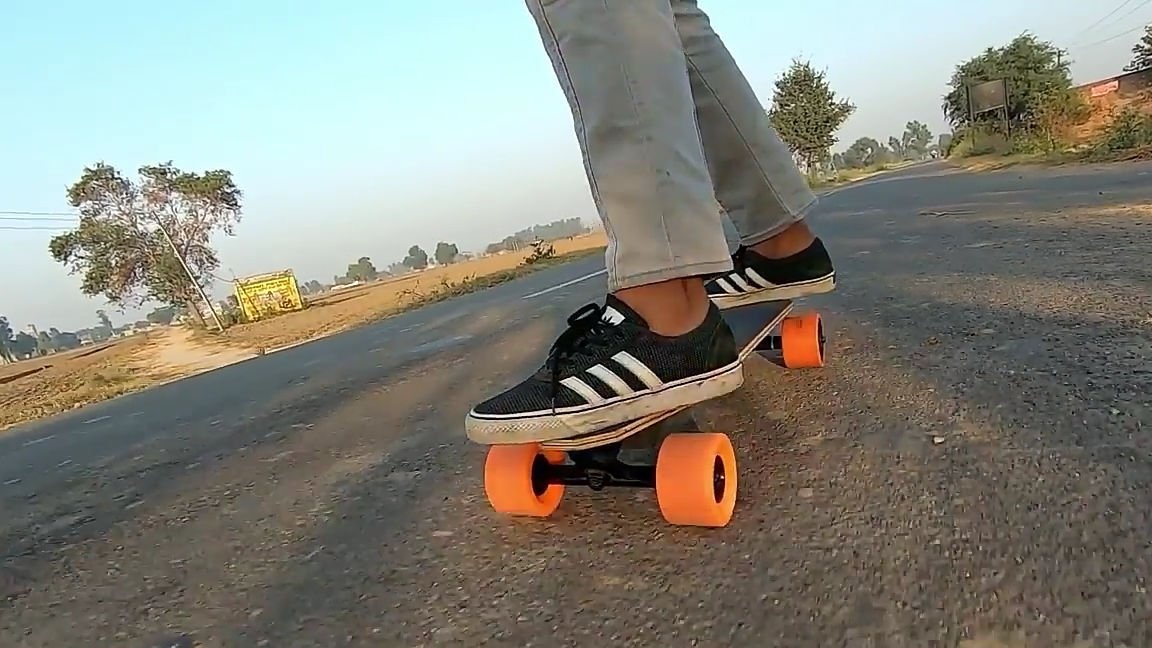
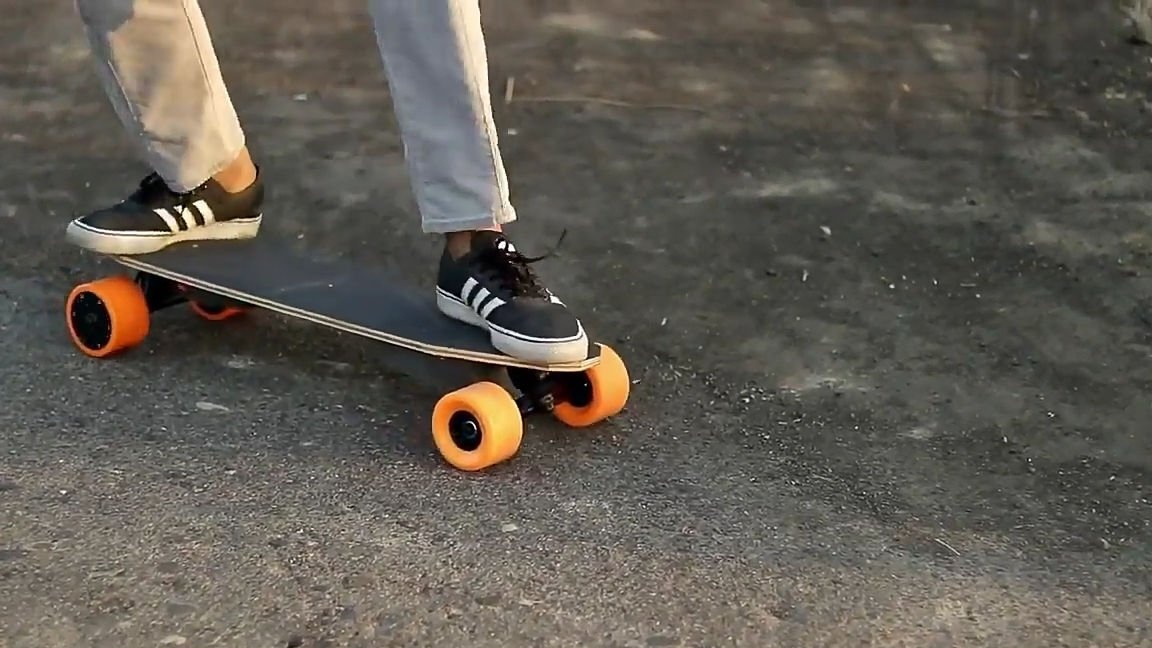
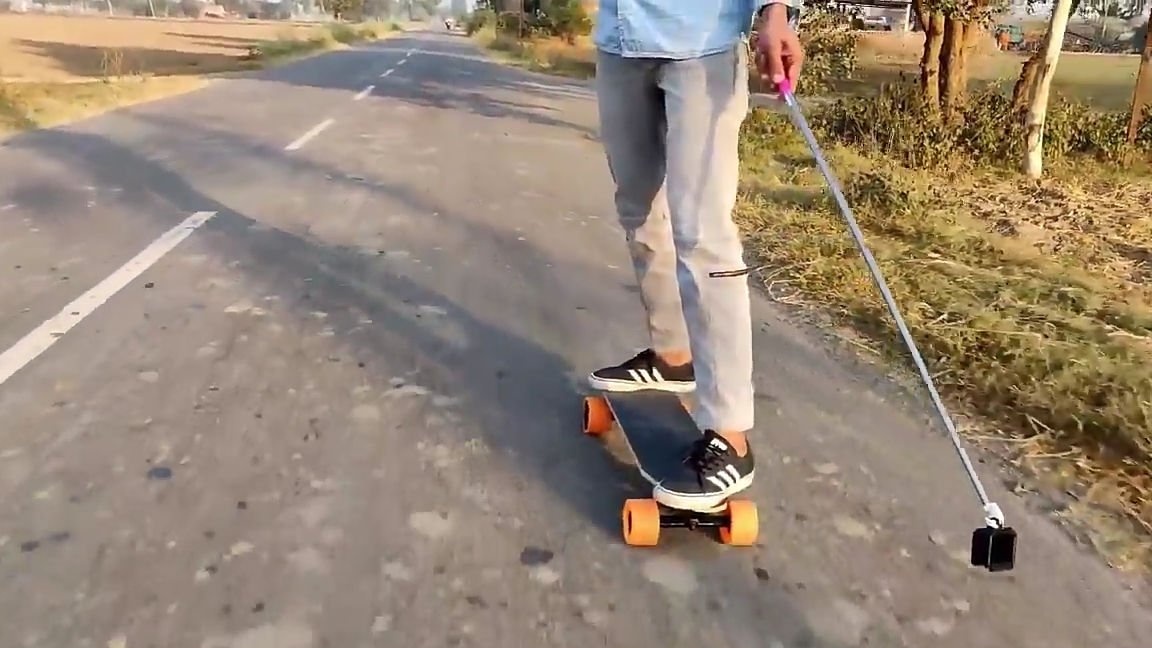
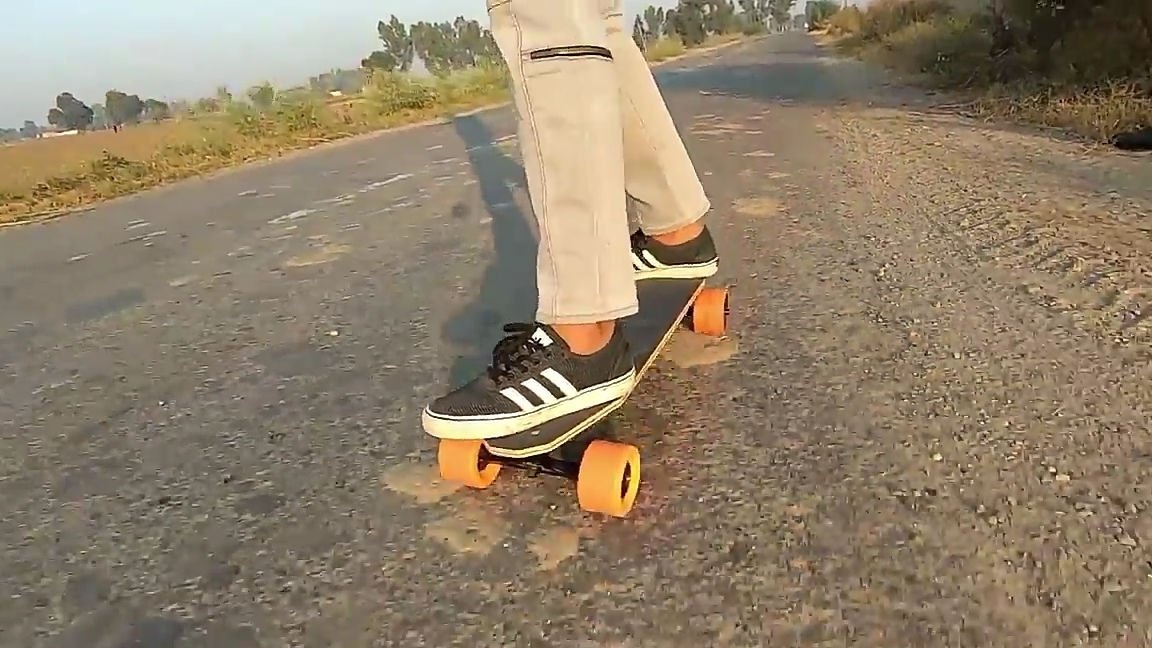
All is ready! As a result, we got a cool homemade product that will surely make your life easier. Note, mileage on one charge of such a skateboard from 10 to 100 km! It depends on the engines and batteries you have chosen, as well as where and at what speed you will ride on it, and how often you will help him with your foot.

Here is a video from the author with a detailed assembly and testing of this homemade product:
Well, thank you all for your attention and good luck in future projects, friends!