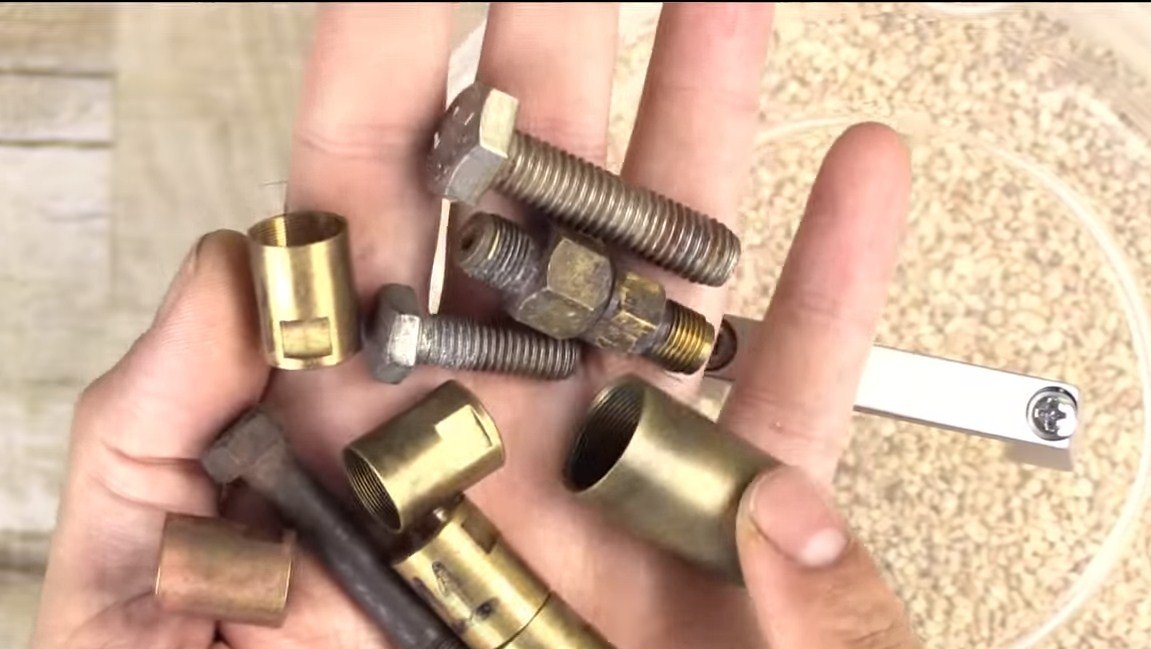
Greetings to fans to craft. I present for consideration, well, very useful, well, very necessary, and well, very simple to manufacture homemade. It's about a small tumbling machine. It will allow you to fully automatically clean various small metal products and more. It can be coins, bolts, fittings, nuts and other details. When the machine is working, the grinding process takes place in it, everything turns out pretty high quality, the parts are cleaned very well, and most importantly, without your participation.
Such a machine is going to be built very simply, materials for its manufacture need a minimum. If the project interests you, I propose to familiarize yourself with it in more detail.
Materials and tools used by the author:
Material List:
- plastic container (round container);
- rubber (like bicycle cameras or the like);
- 4 springs;
- 4 bolts with nuts;
- washers;
- ;
- plywood;
- door knob;
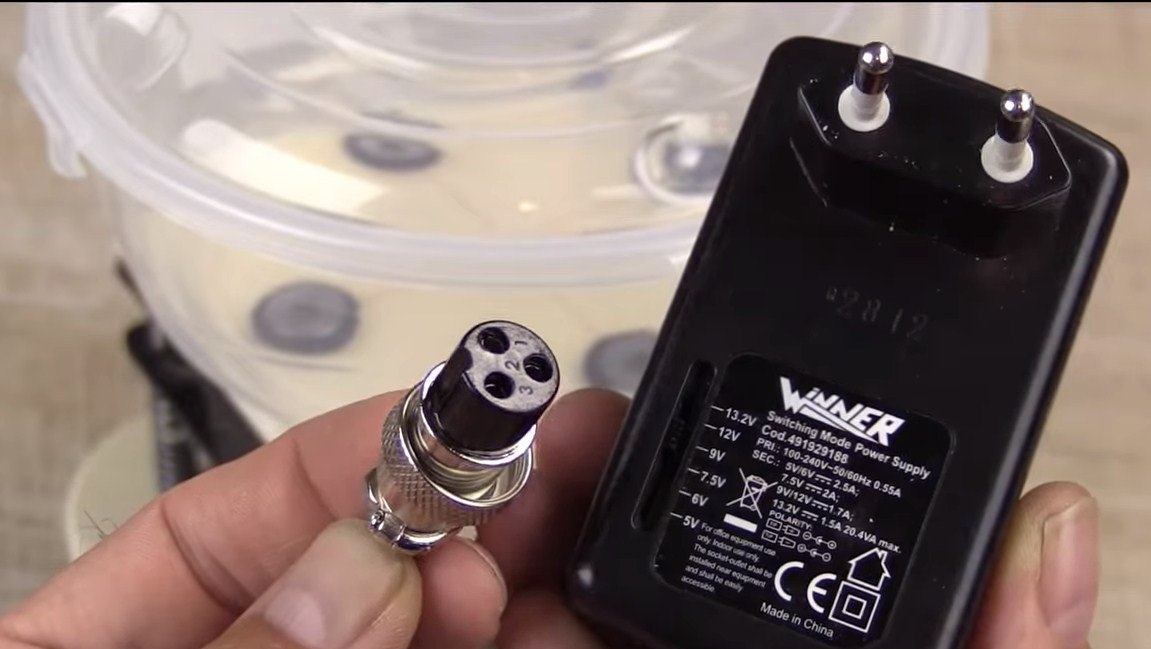
- power supply unit 12V;
- socket and socket for connecting a power supply;
- switch;
- abrasive (sand, small pebbles or the like);
- a piece of aluminum corner;
- car sealant.
Tool List:
- vise;
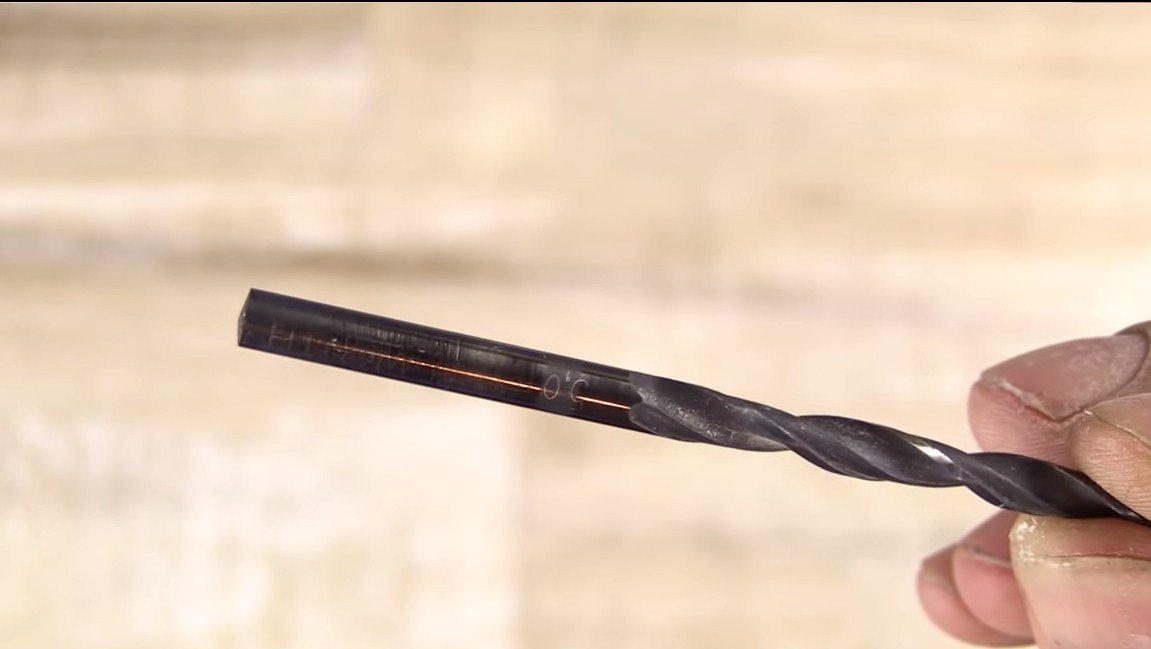
- drill;
- soldering iron;
- screwdriver;
- nippers;
- scissors;
- jigsaw
- marker
- a syringe.
Homemade manufacturing process:
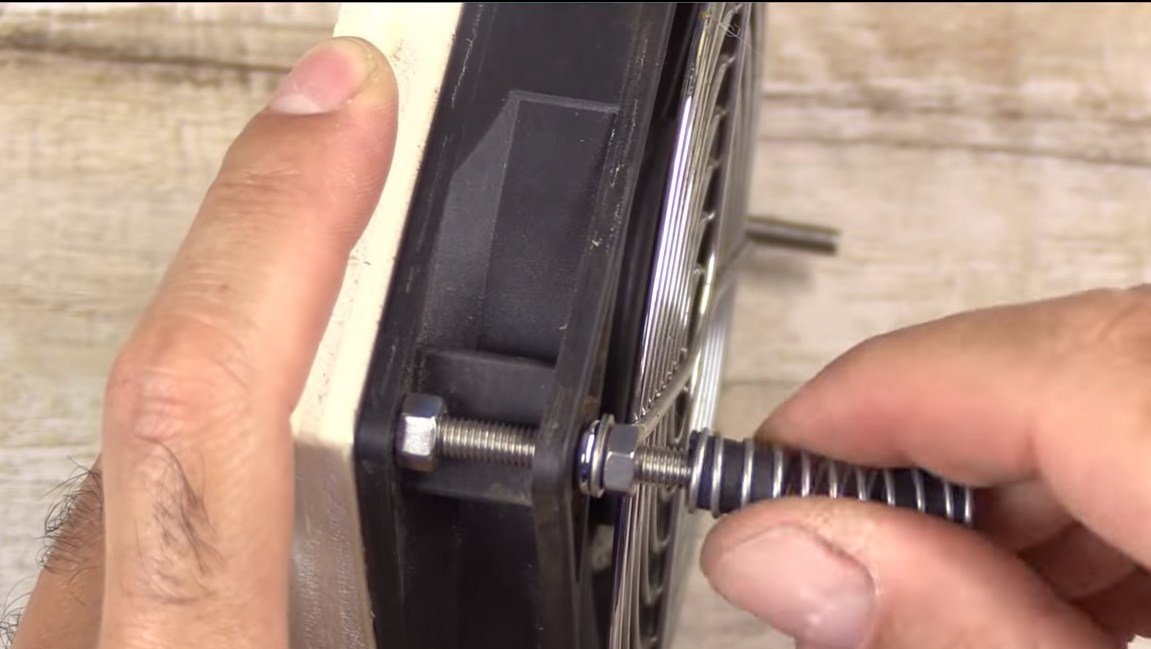
Step one. Shock Absorber Manufacturing
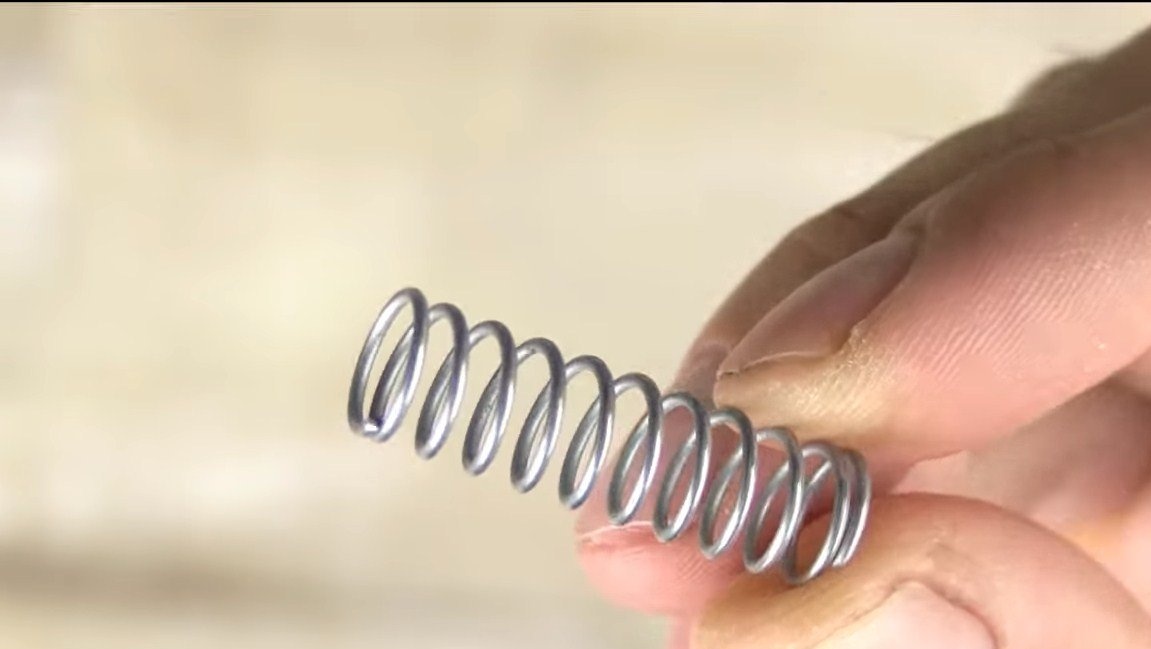
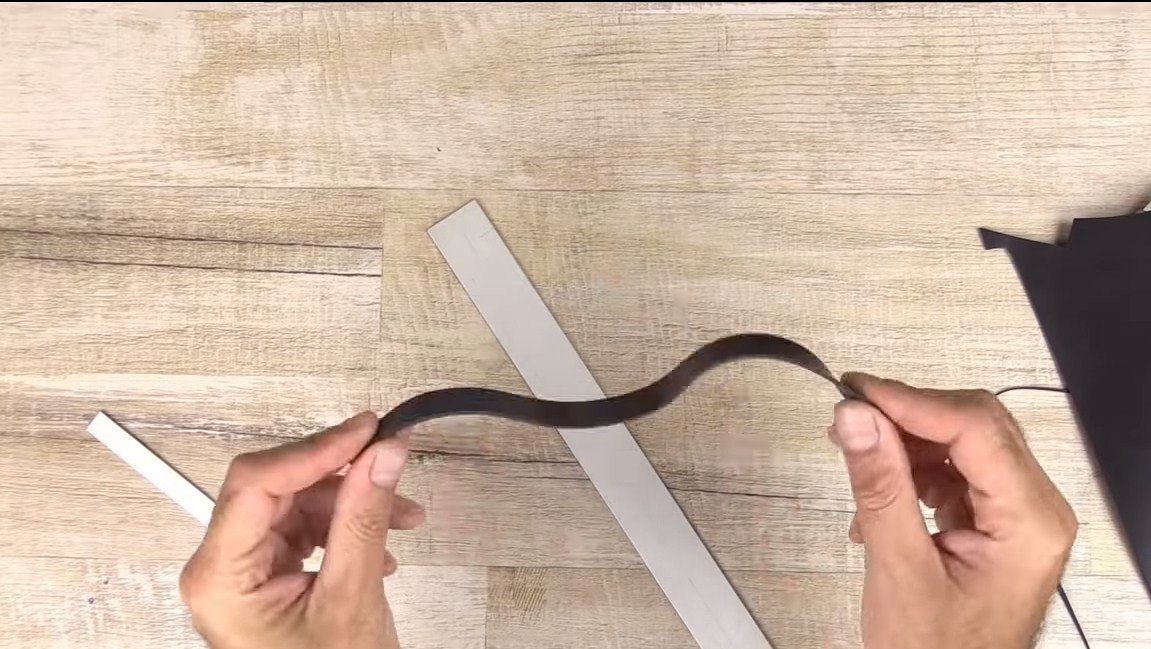
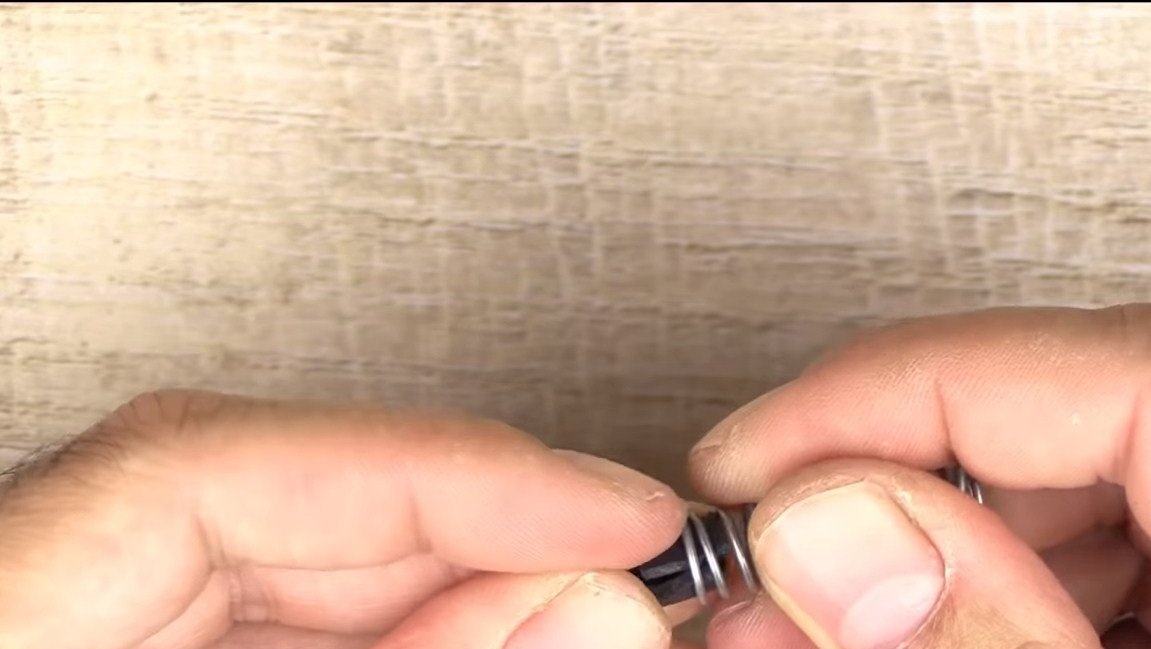
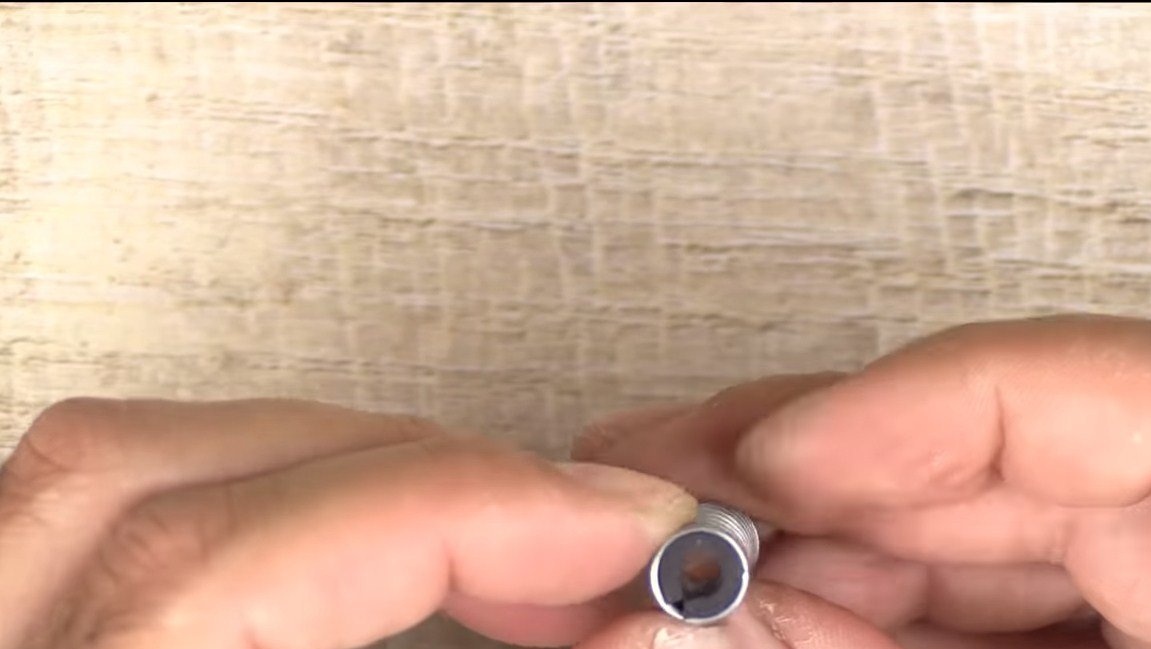
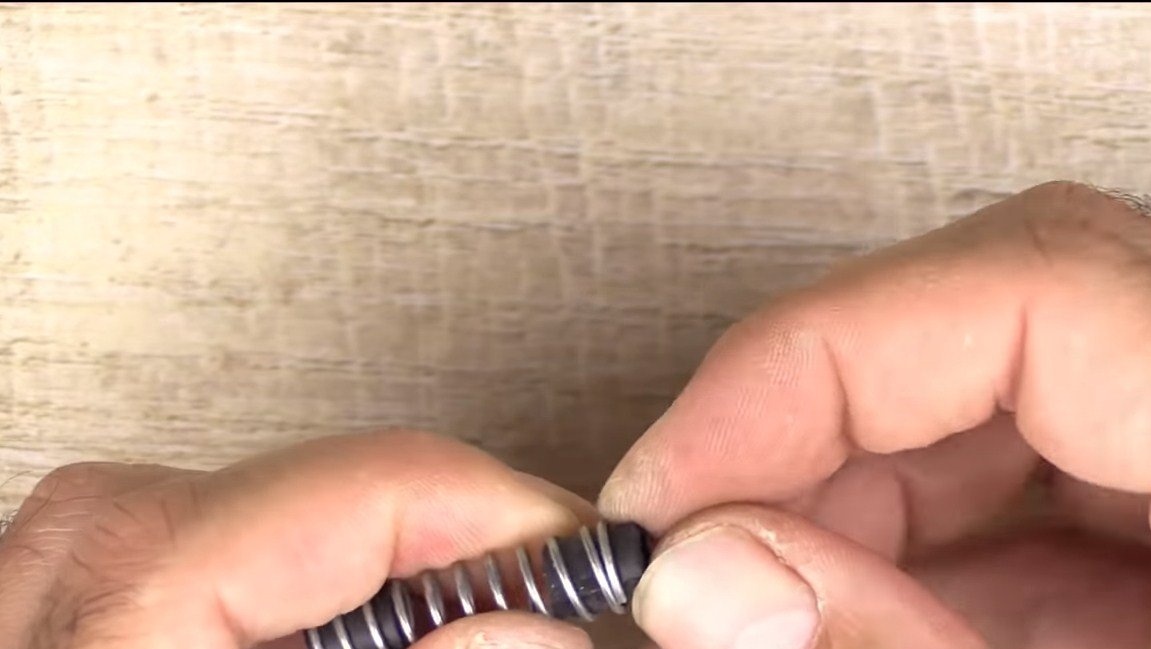
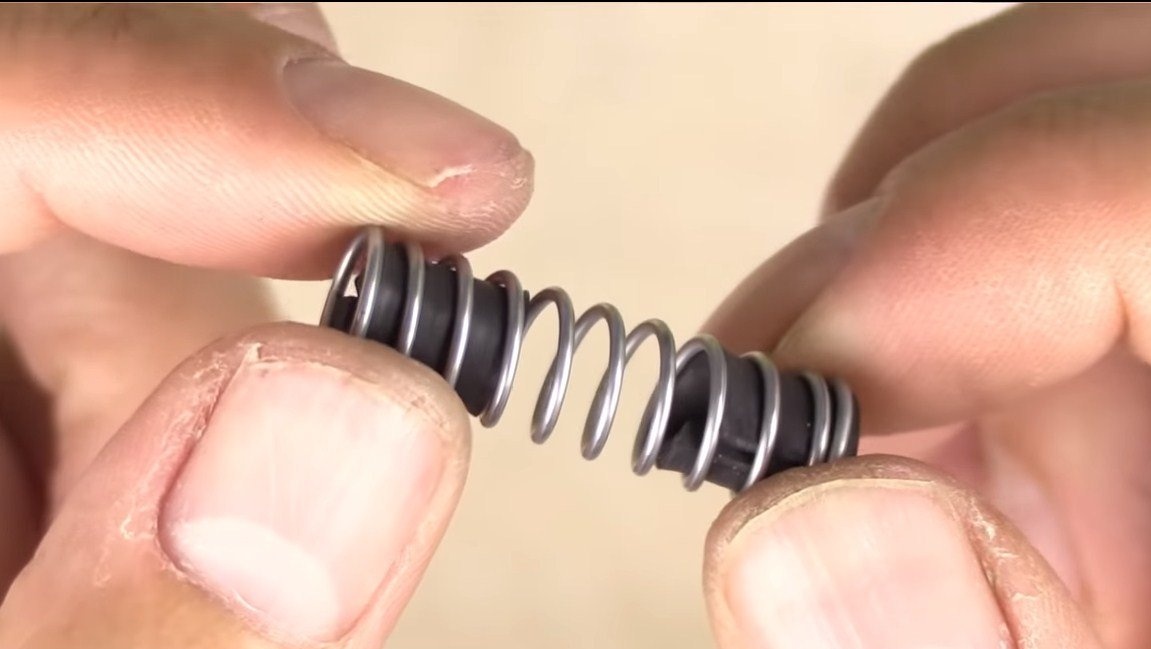
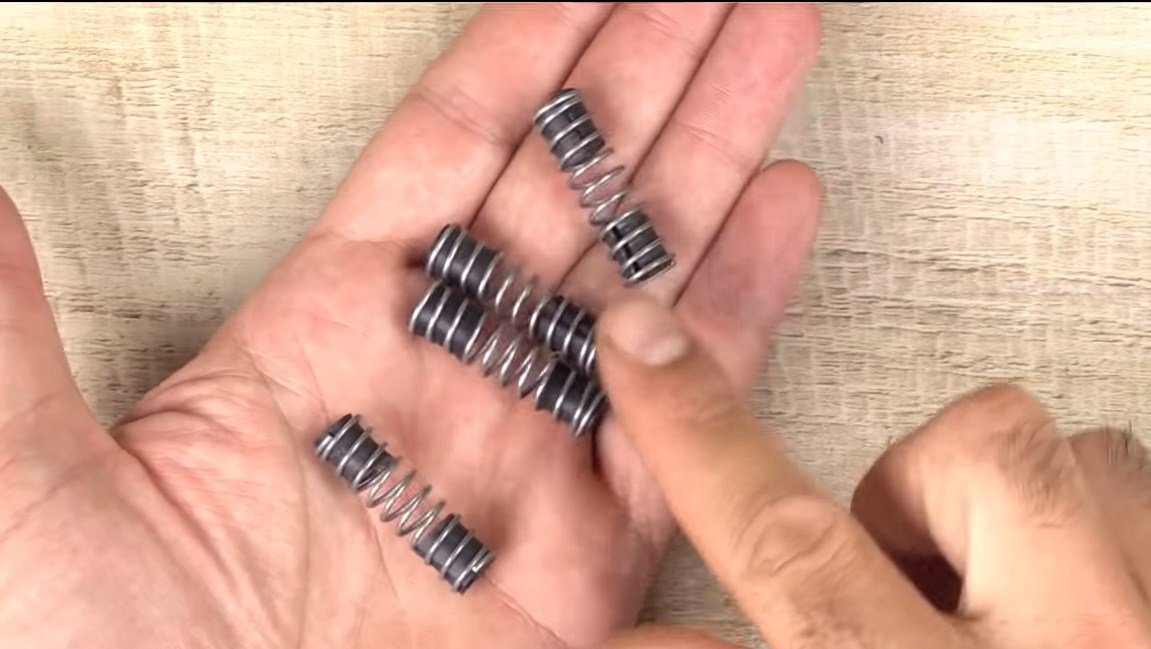
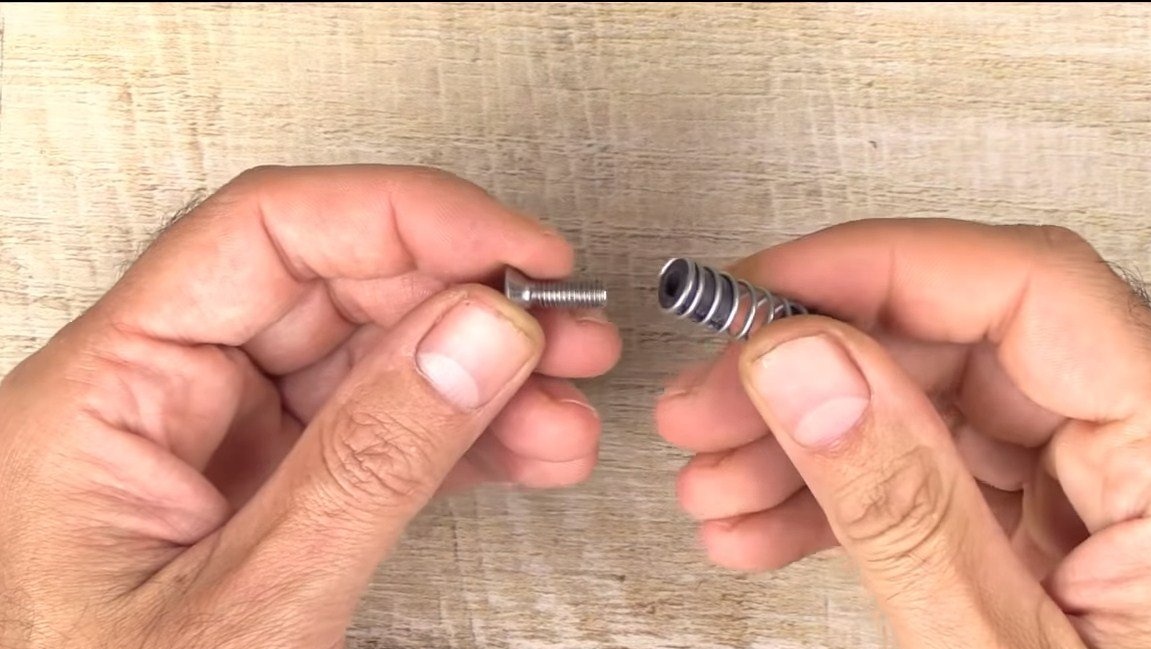
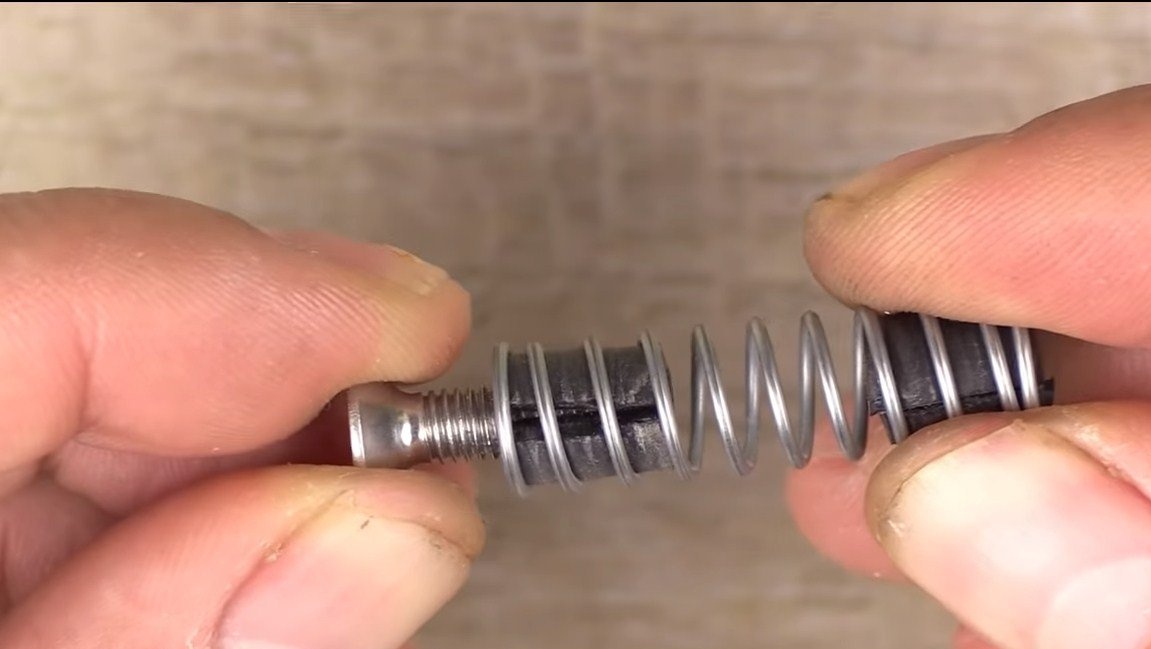
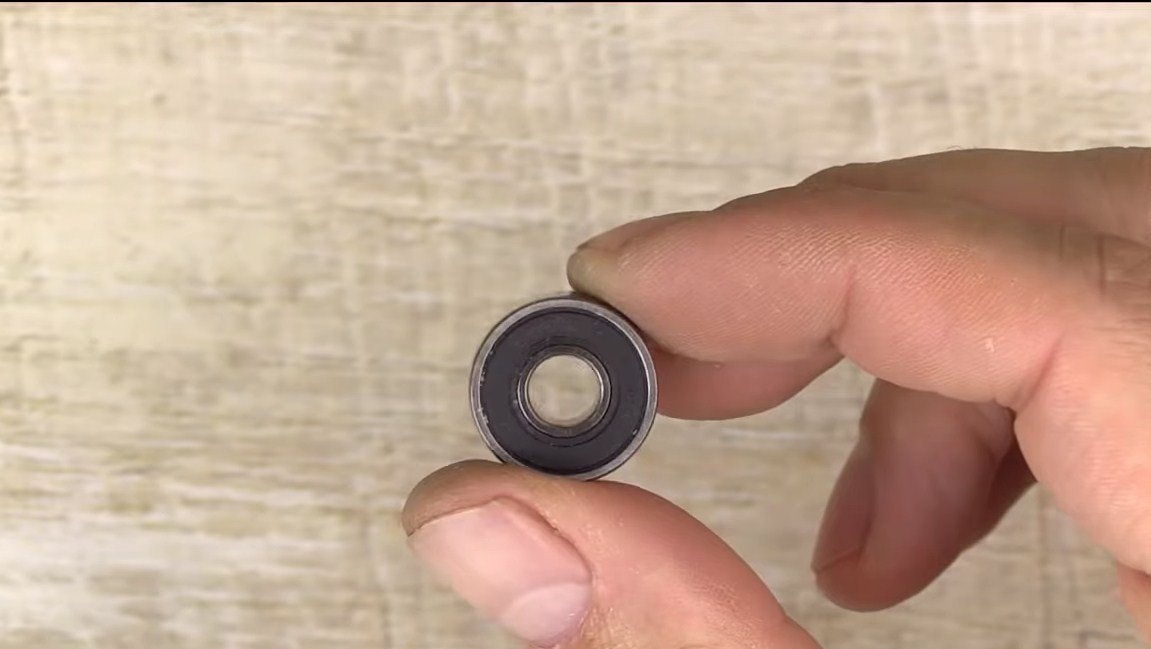
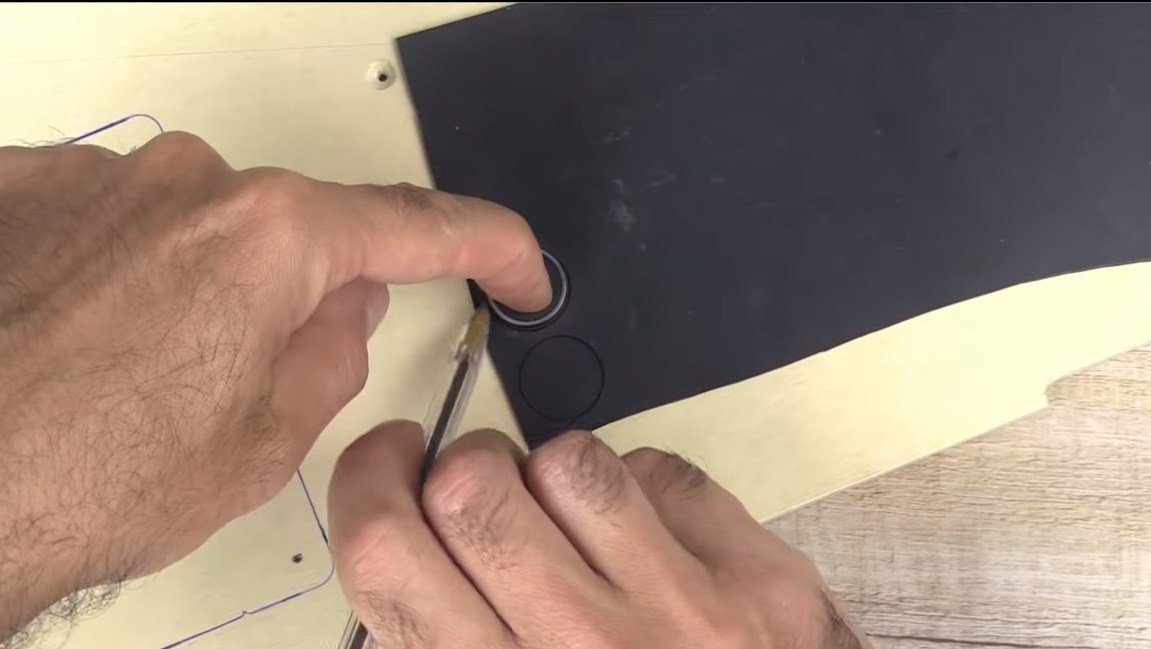
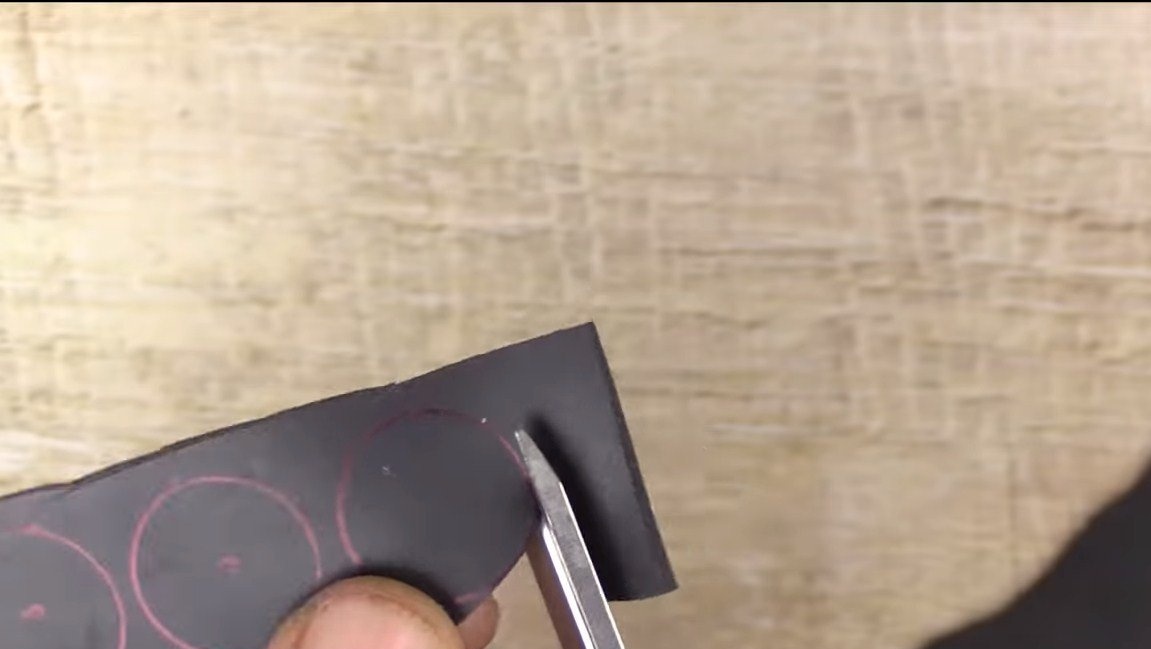
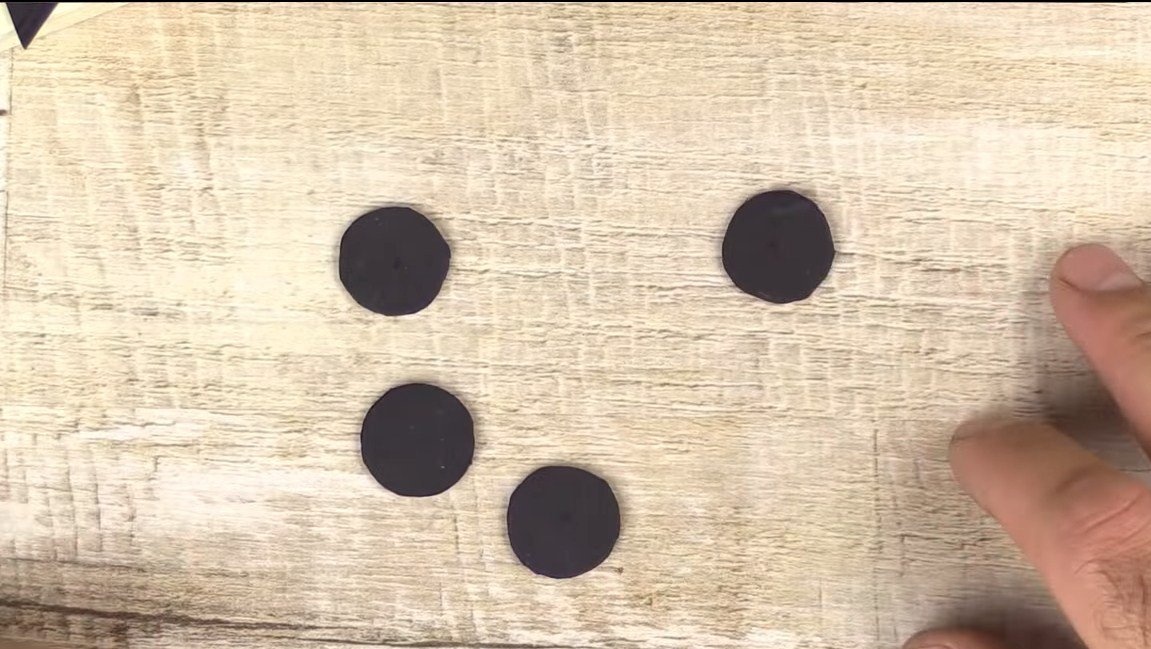
First, we will make shock absorbers, a vibration platform with a bowl will be fixed on them. For their manufacture, the author used four small springs. They need to install bushings made of rubber. Rubber will come from a bicycle camera, cut it into strips, and then into small pieces, in total 8 pieces will be needed. Each piece needs to be rolled up and put into a spring like the author's photo. As a result, a sleeve is obtained, if a screw is screwed into it, everything holds rather reliably.
Step Two We make a vibrator
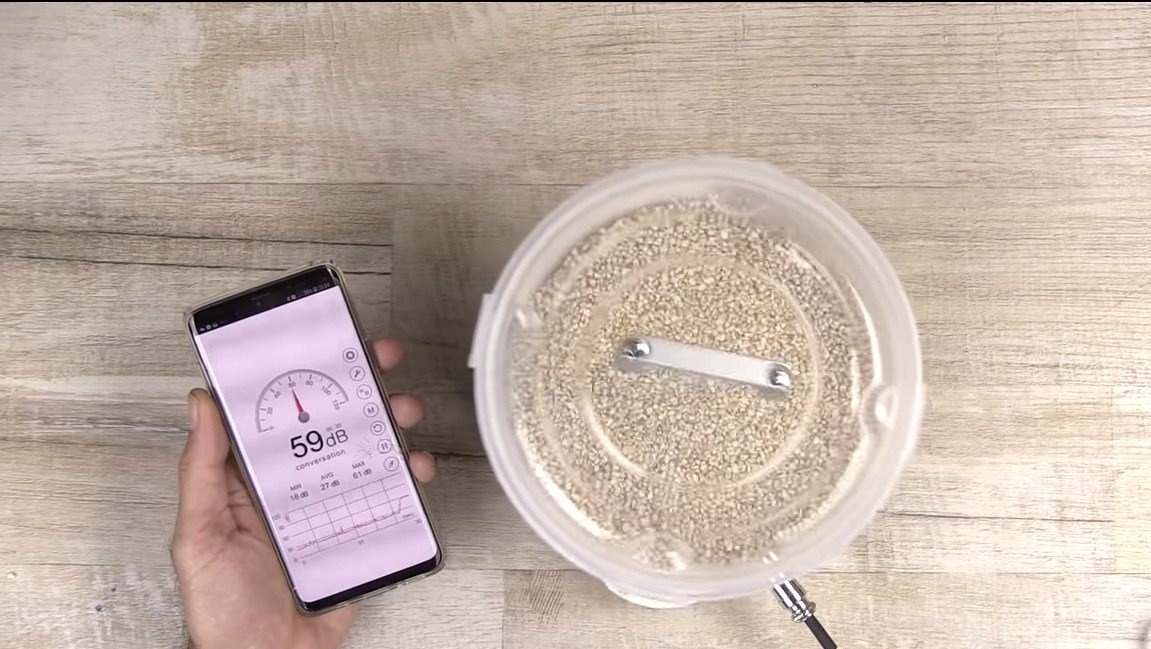
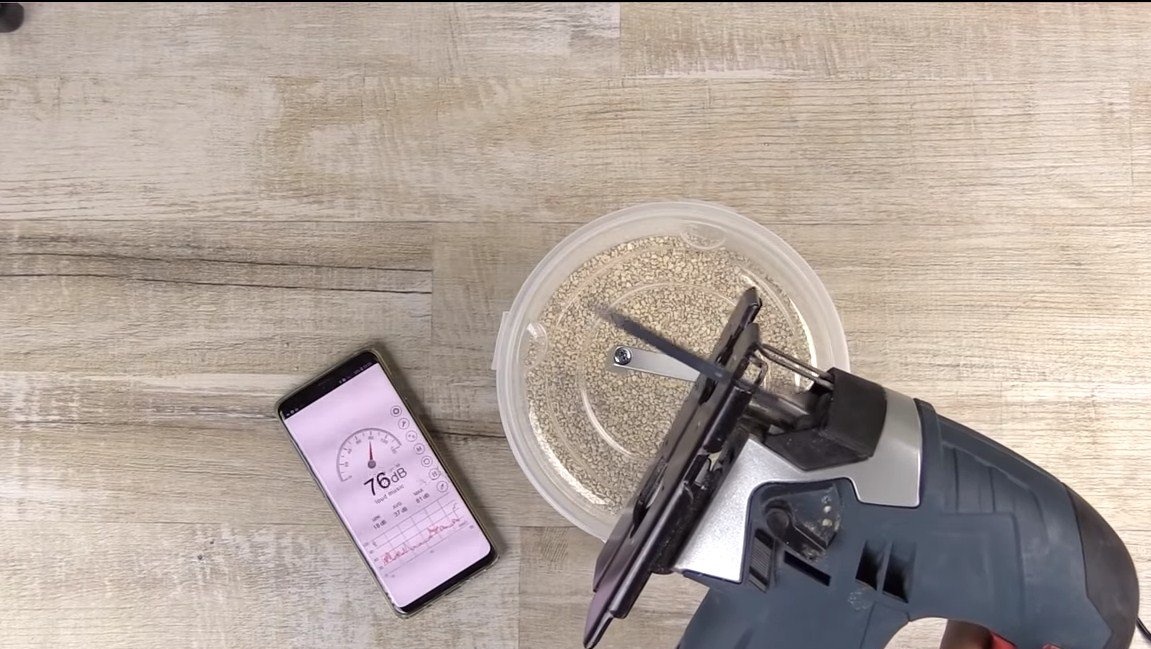
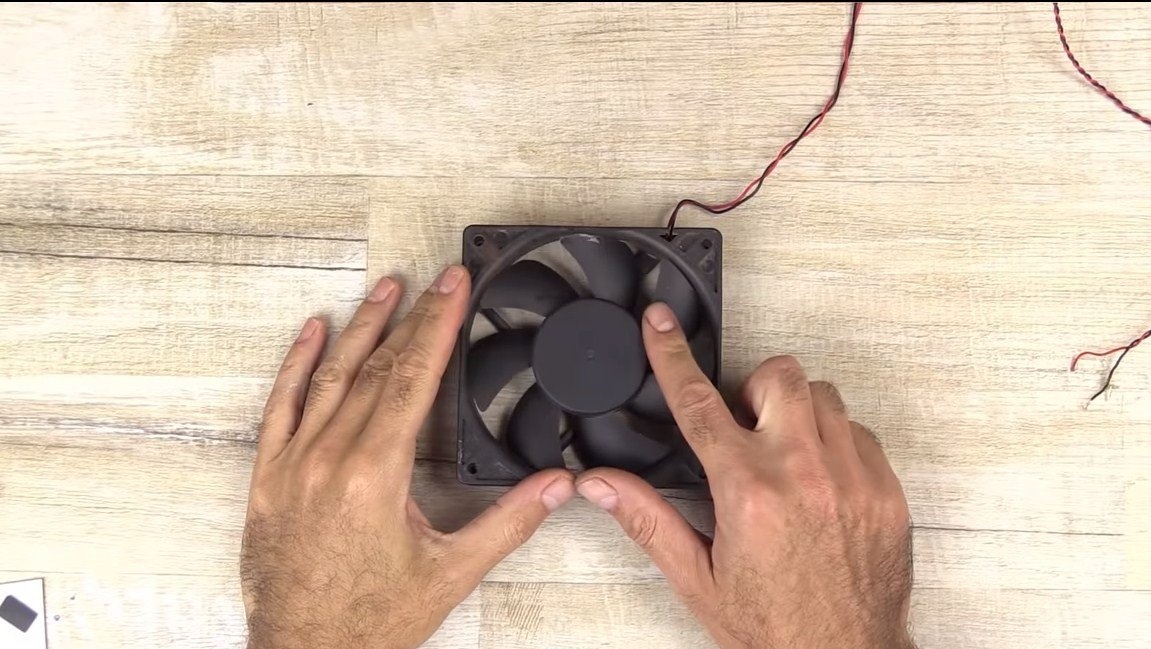
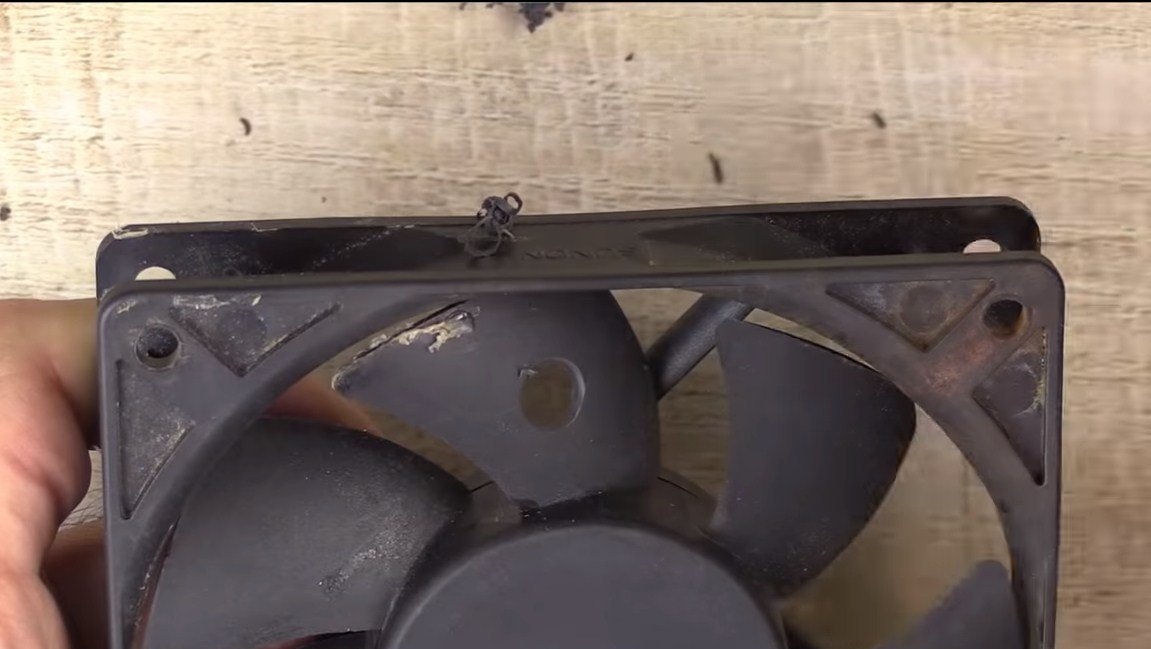
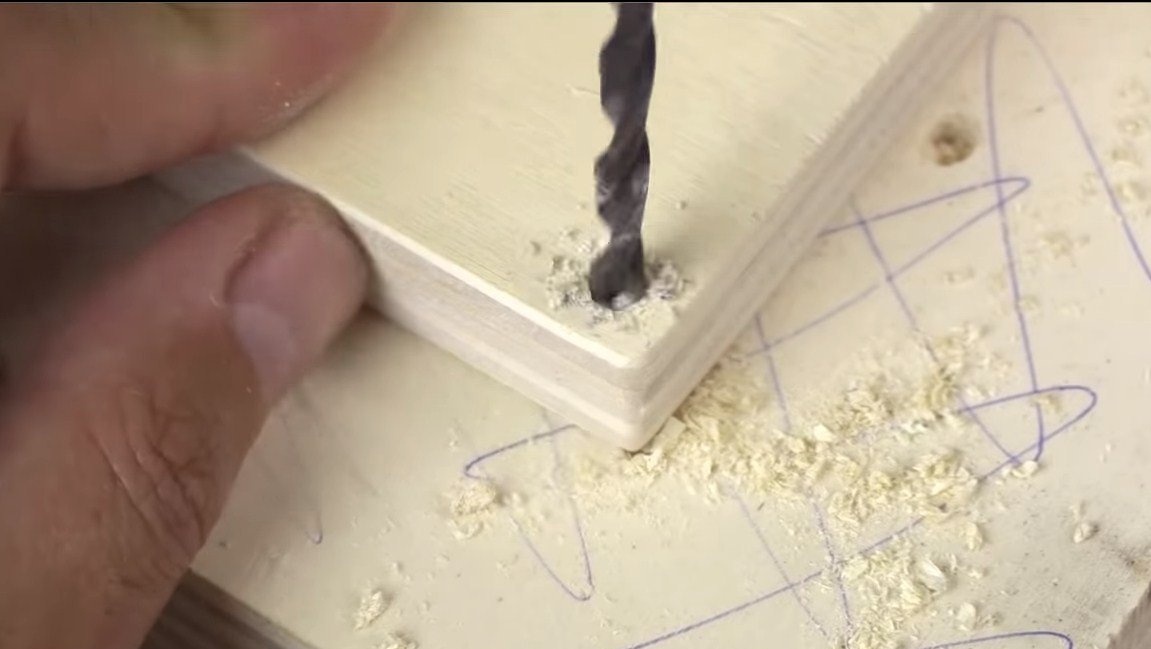
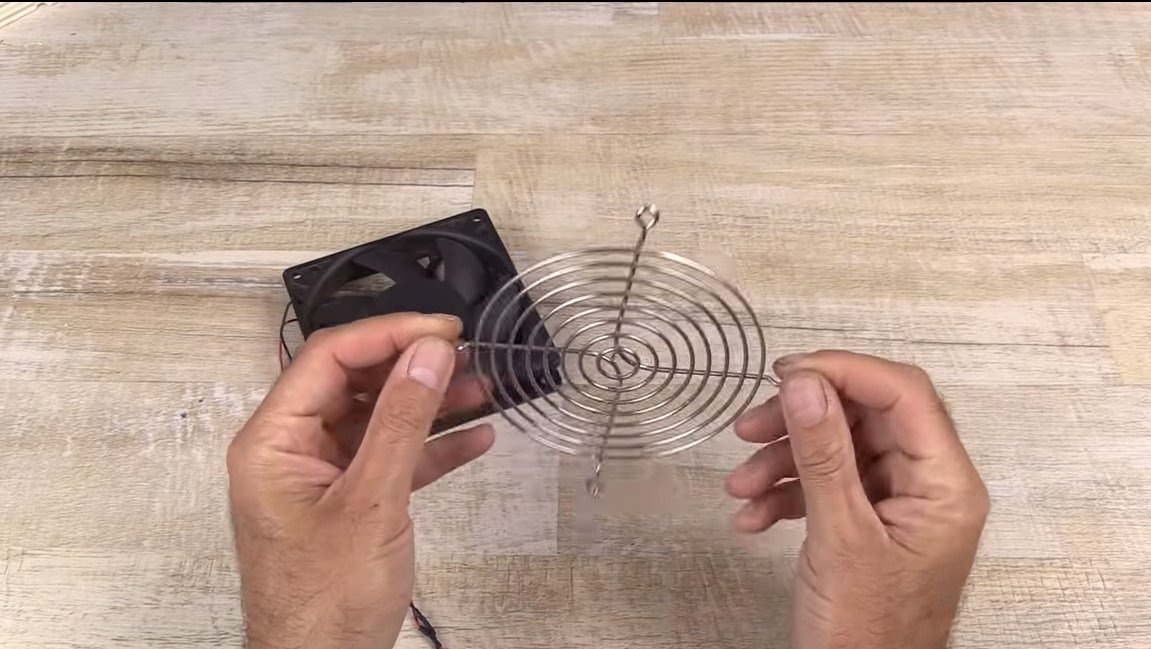
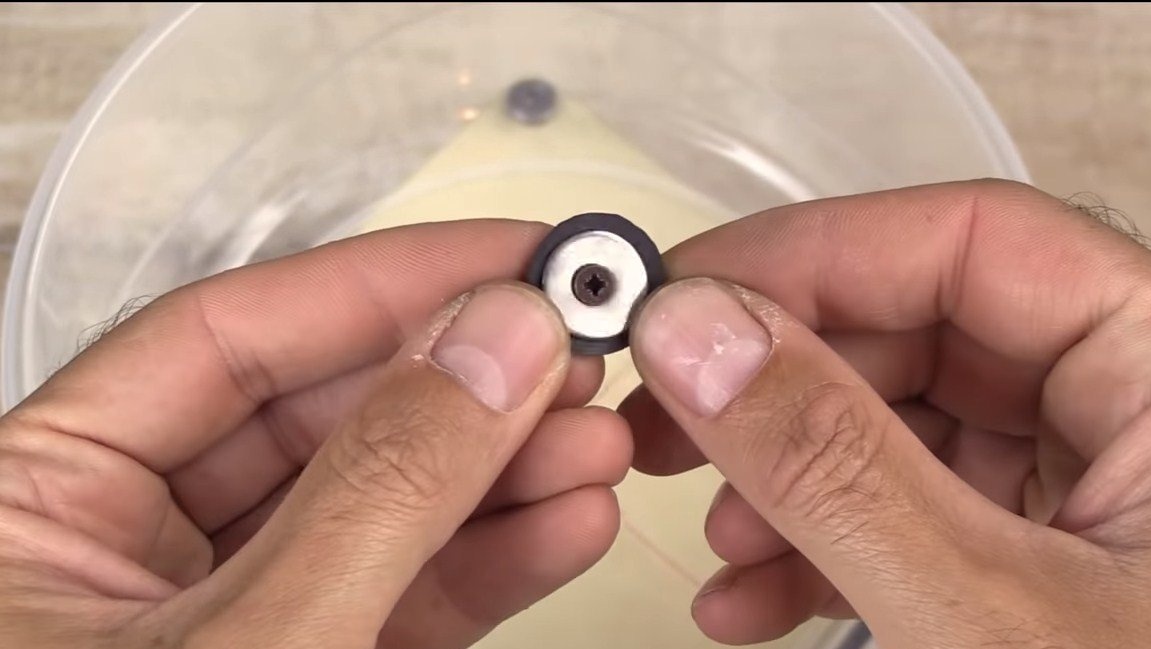
The author used a large computer fan as a source of vibration. Their motors are brushless, these motors are durable and affordable. To get vibration, we need to install a weight on the impeller. The farther it is from the center of the engine axis, the stronger the vibrations. At first, the author got very strong vibrations and he shifted the weight to the center.
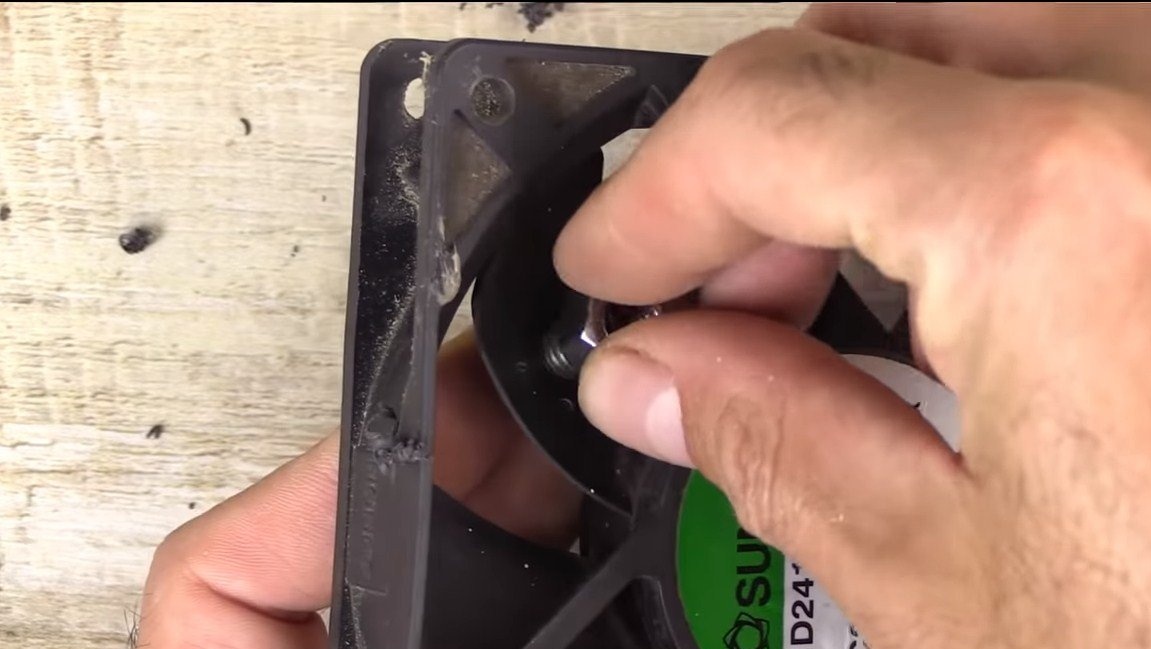
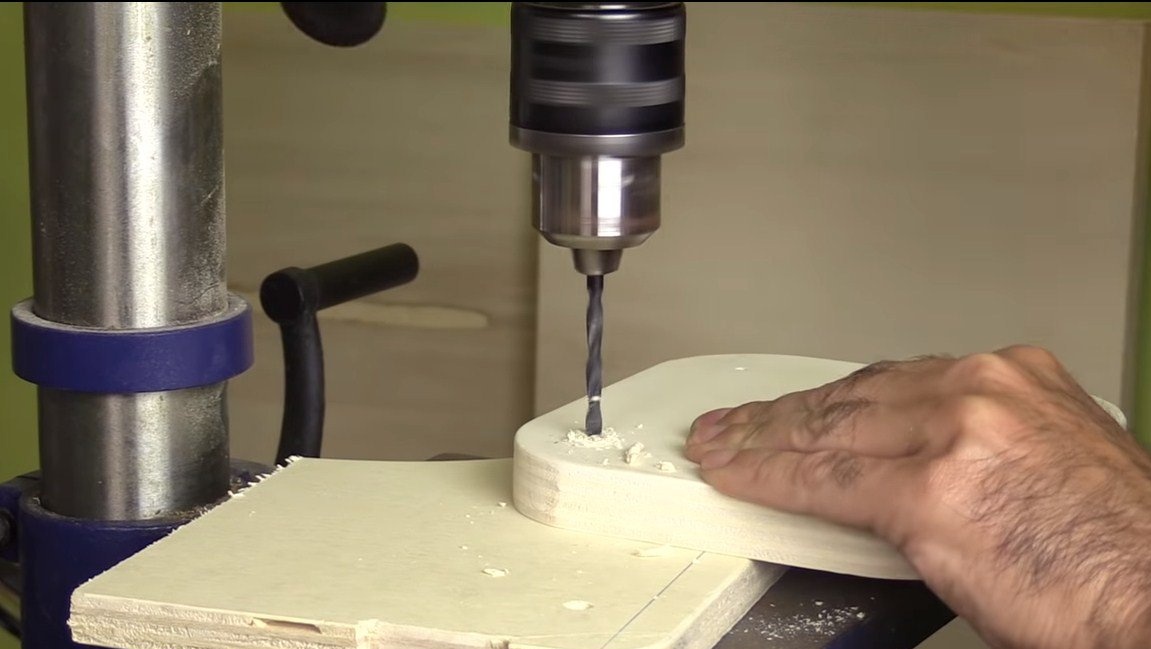
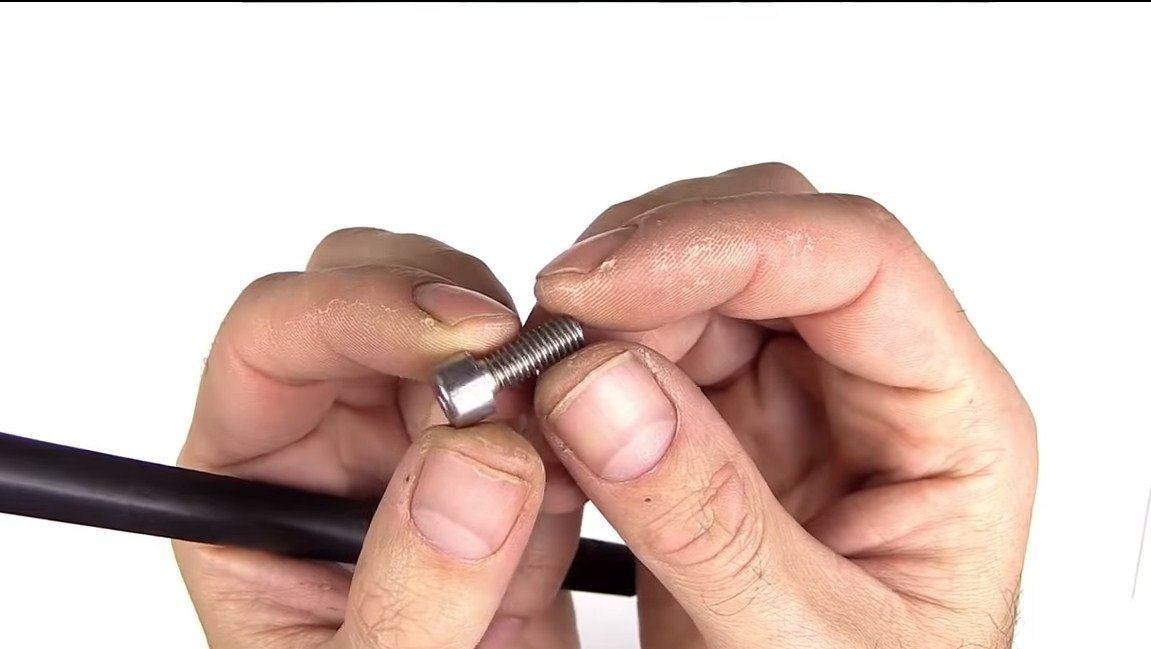
As a weight, the author used a bolt with a nut, drill a hole, install a bolt and tighten the nut well.


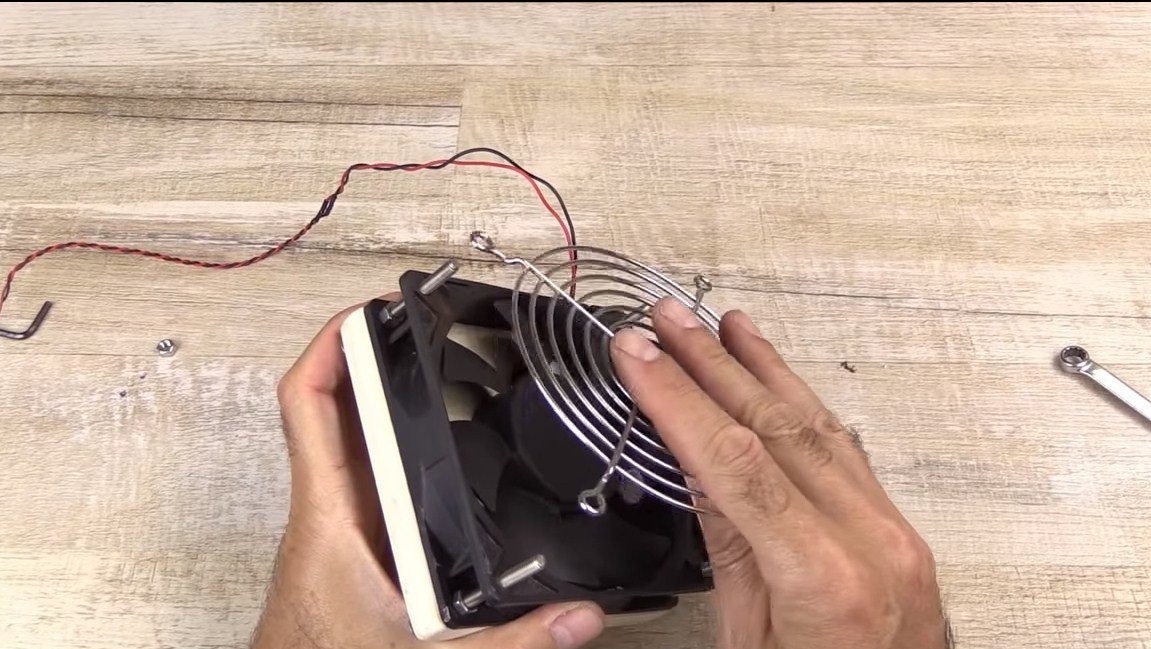
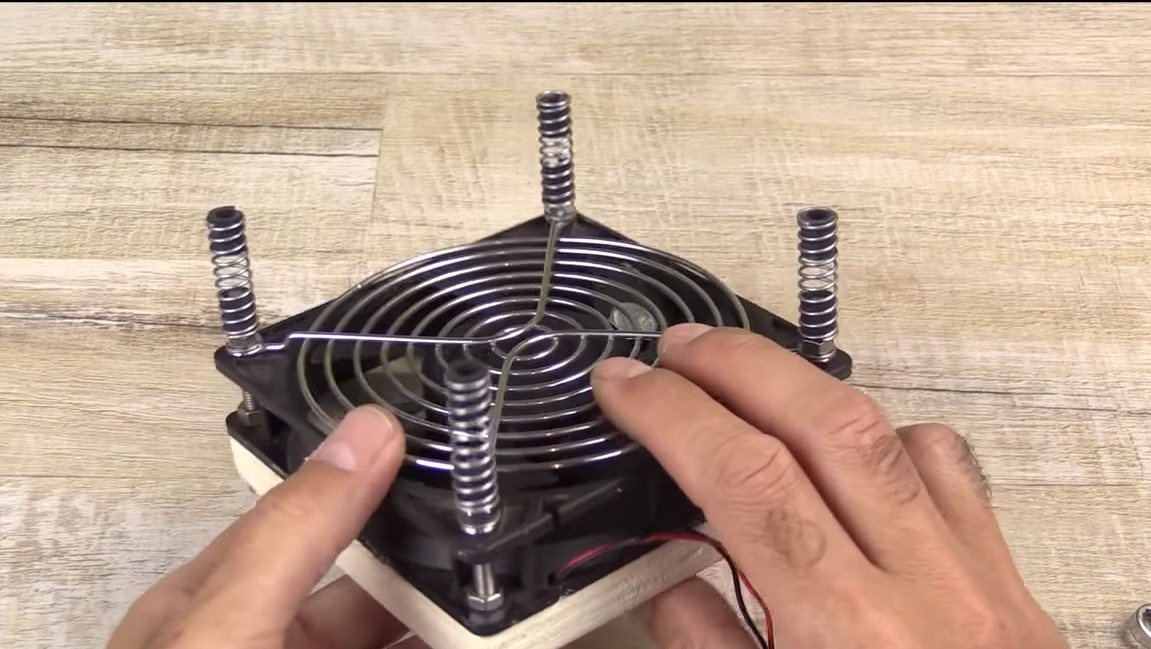
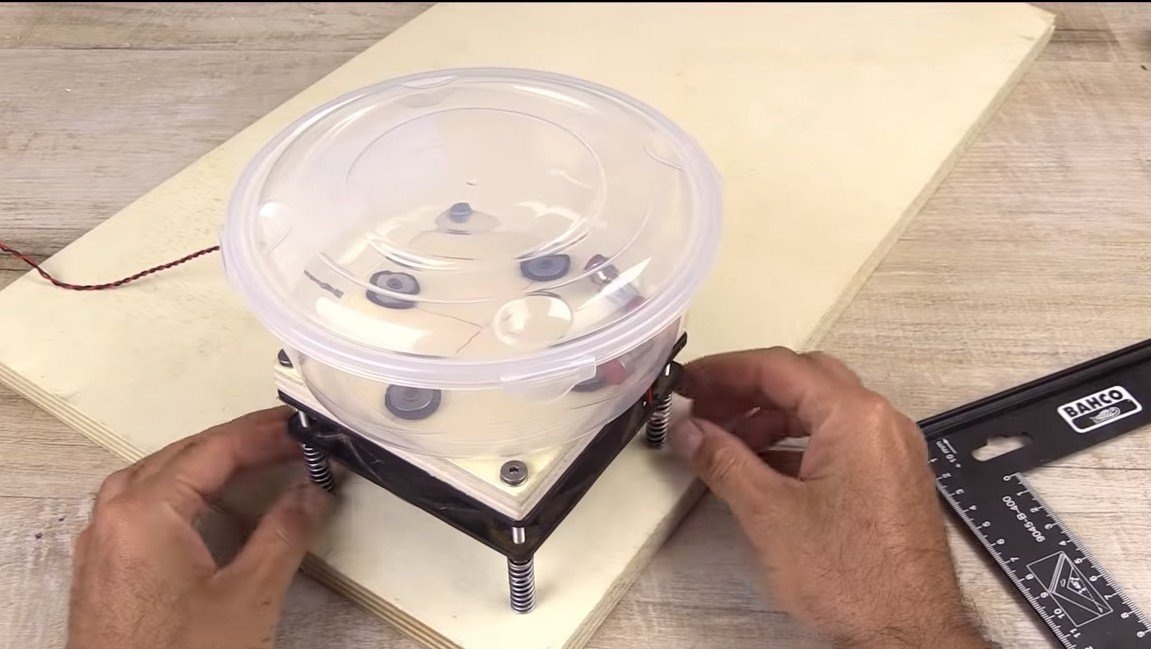
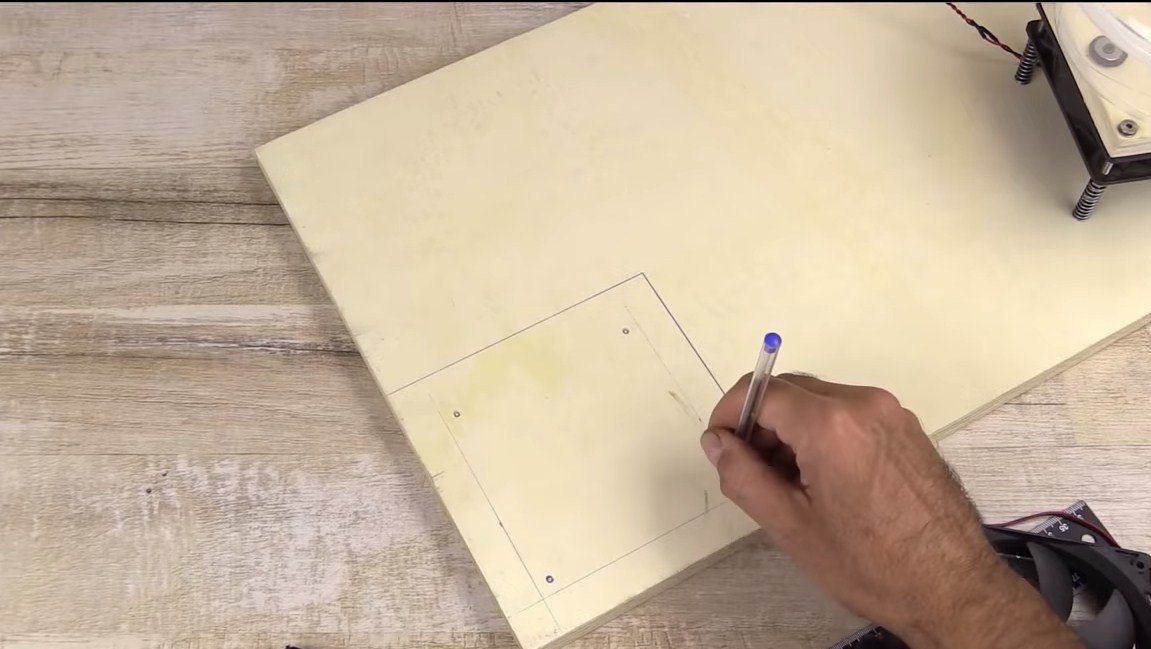
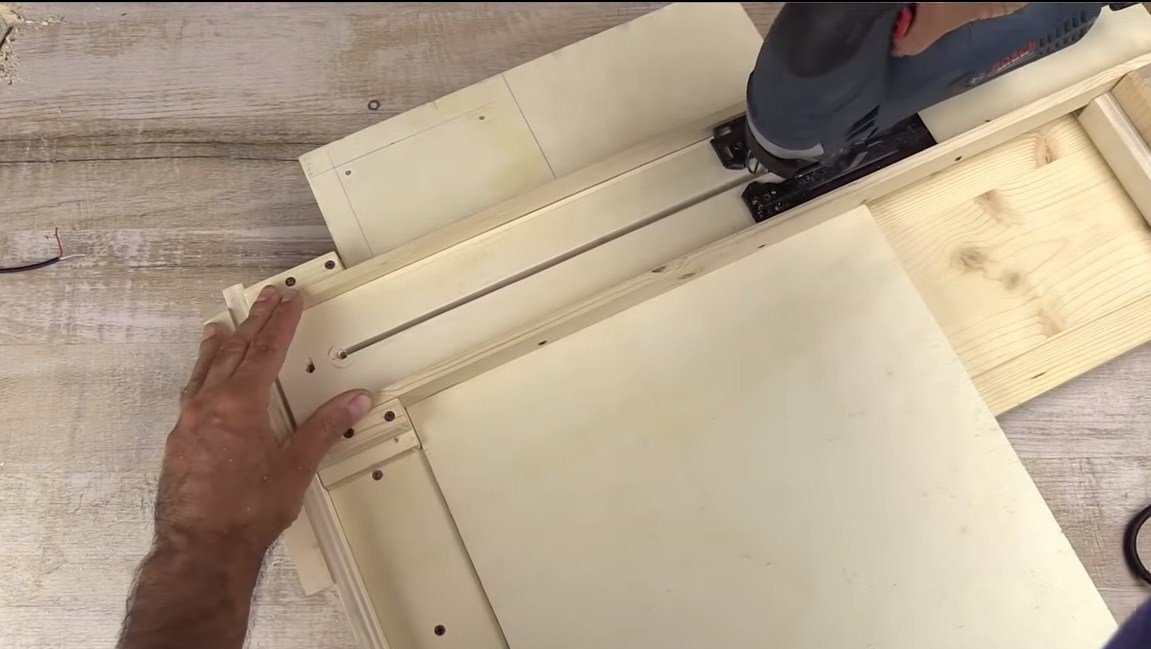
Step Three Vibration platform assembly
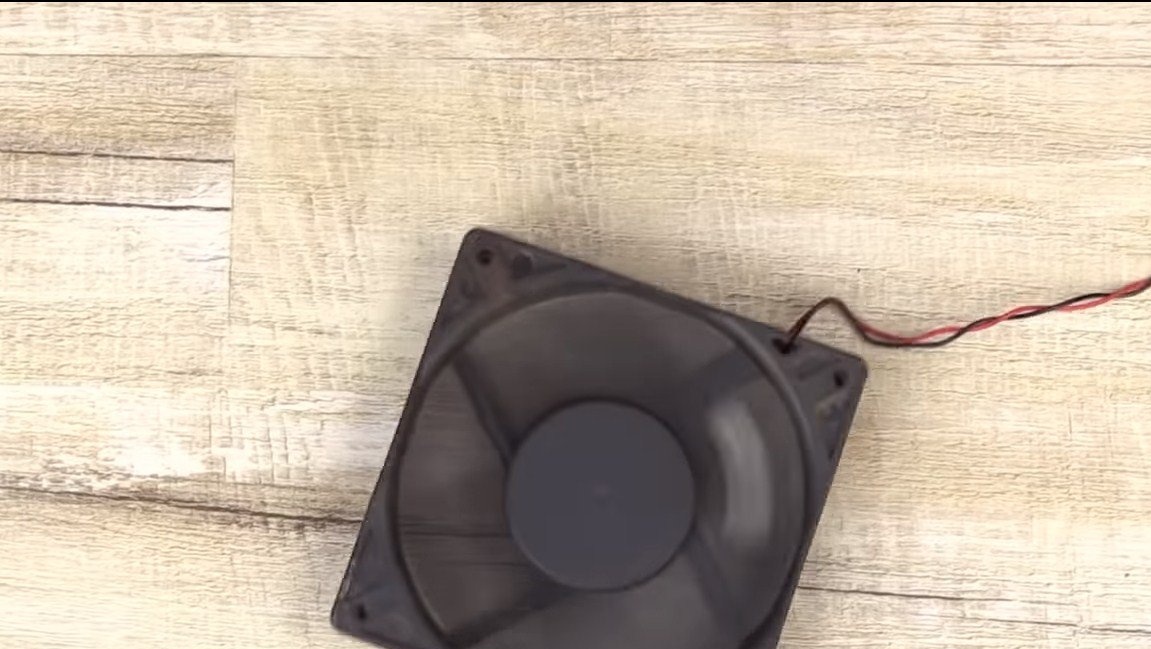
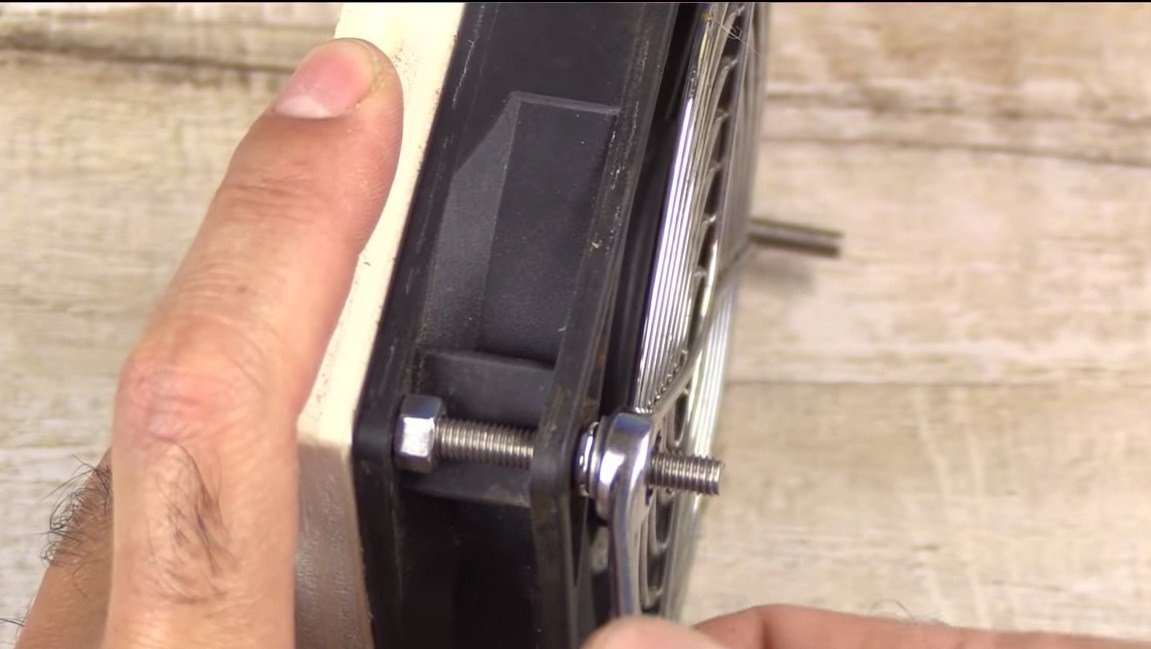
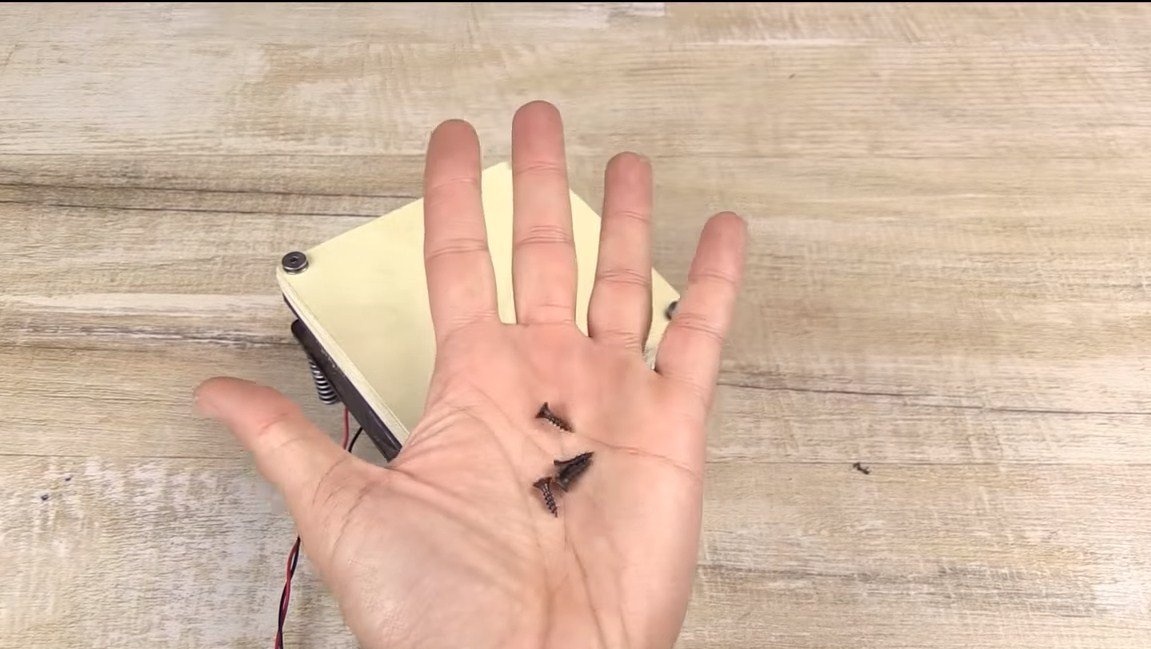
To assemble the vibration platform, we still have to cut a rectangle from plywood, this will be the basis for installing the bowl. We fasten the plywood to the fan with the help of long screws, we also fasten the protective grill to it.
The length of the screws is such that shock absorbers from springs can still be screwed on top of them.

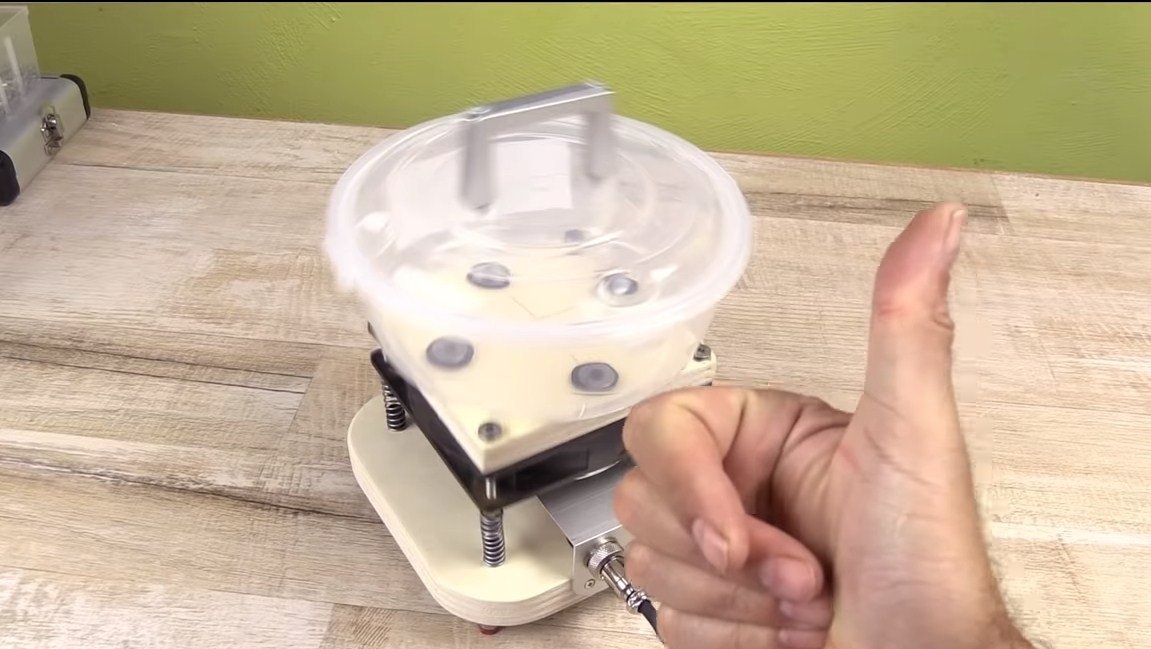
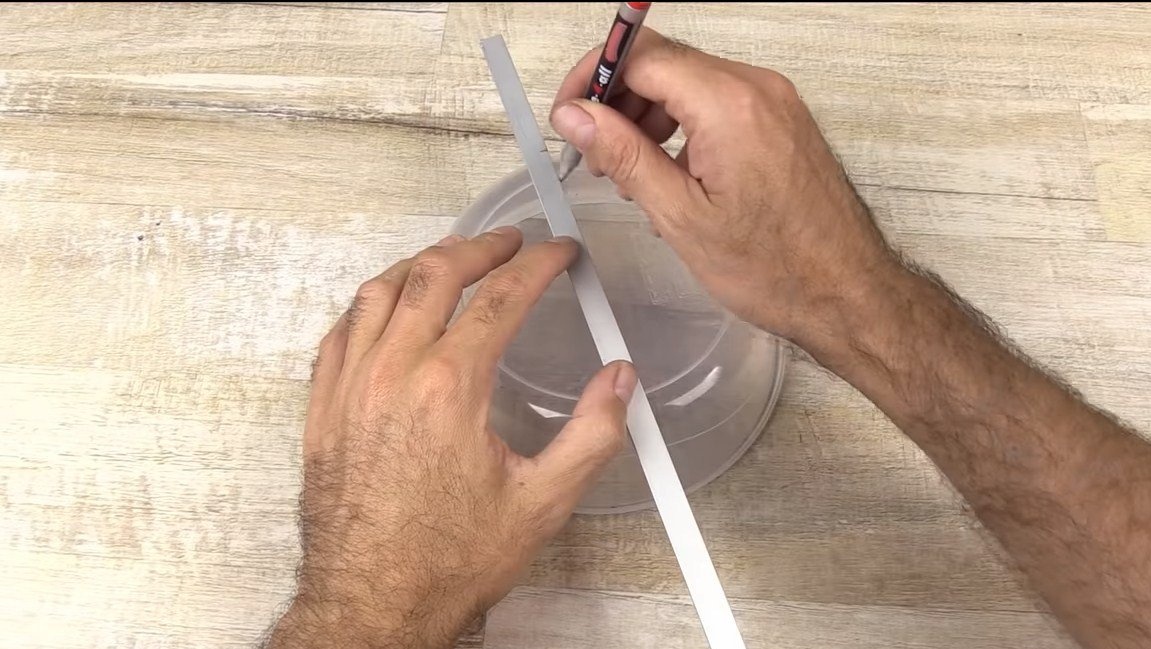
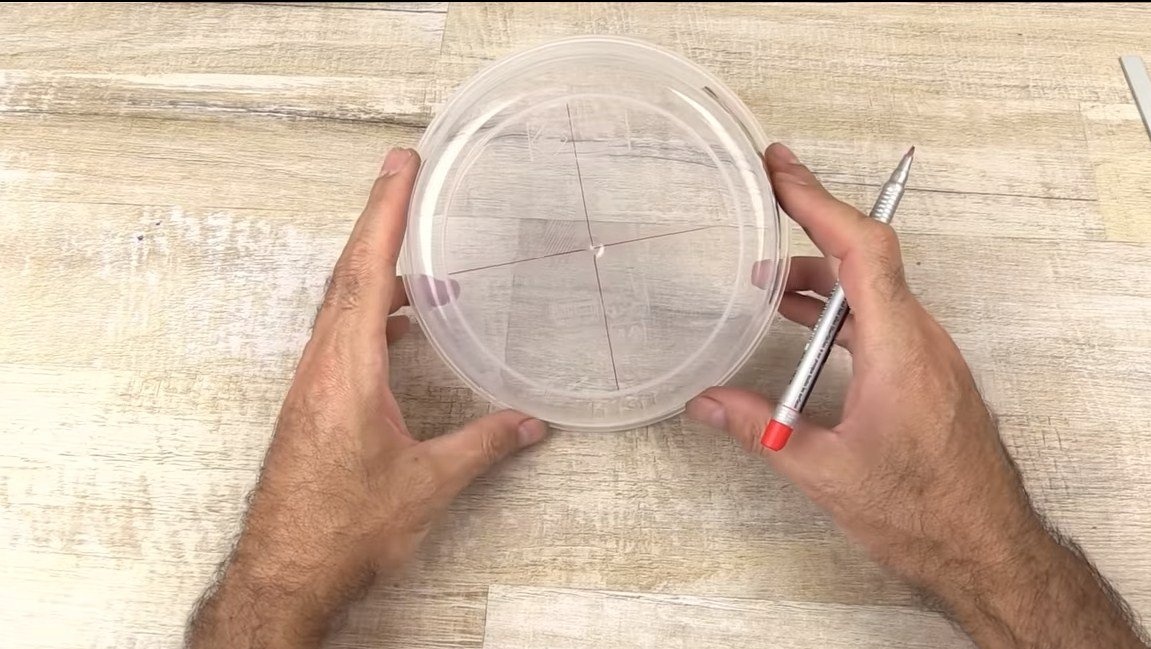
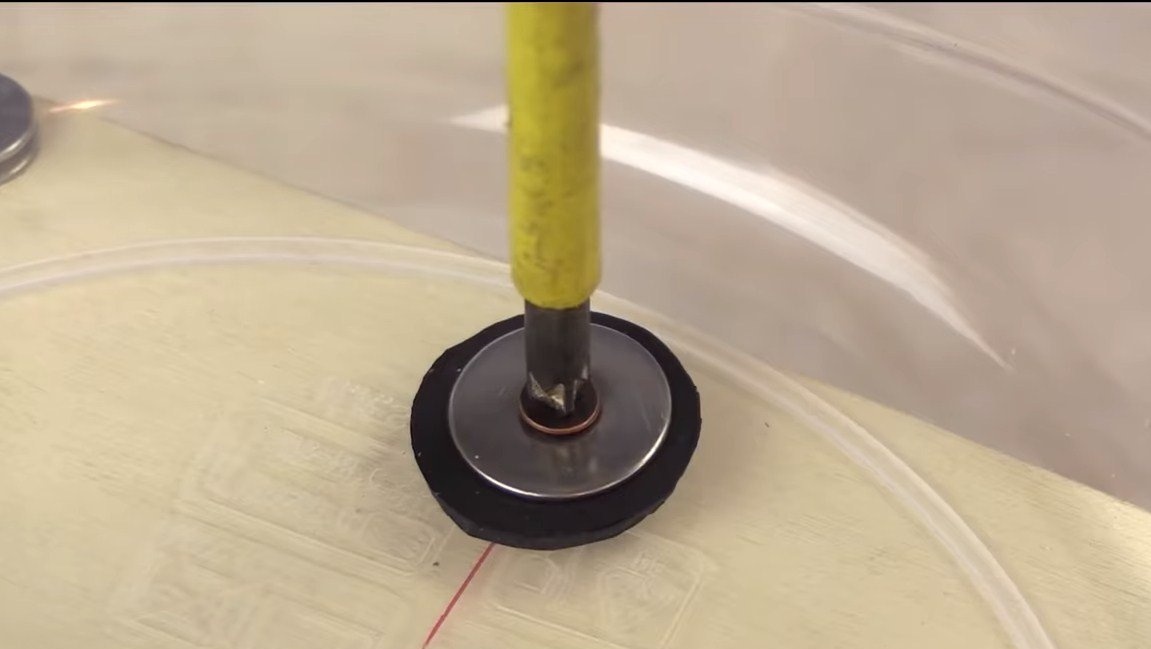
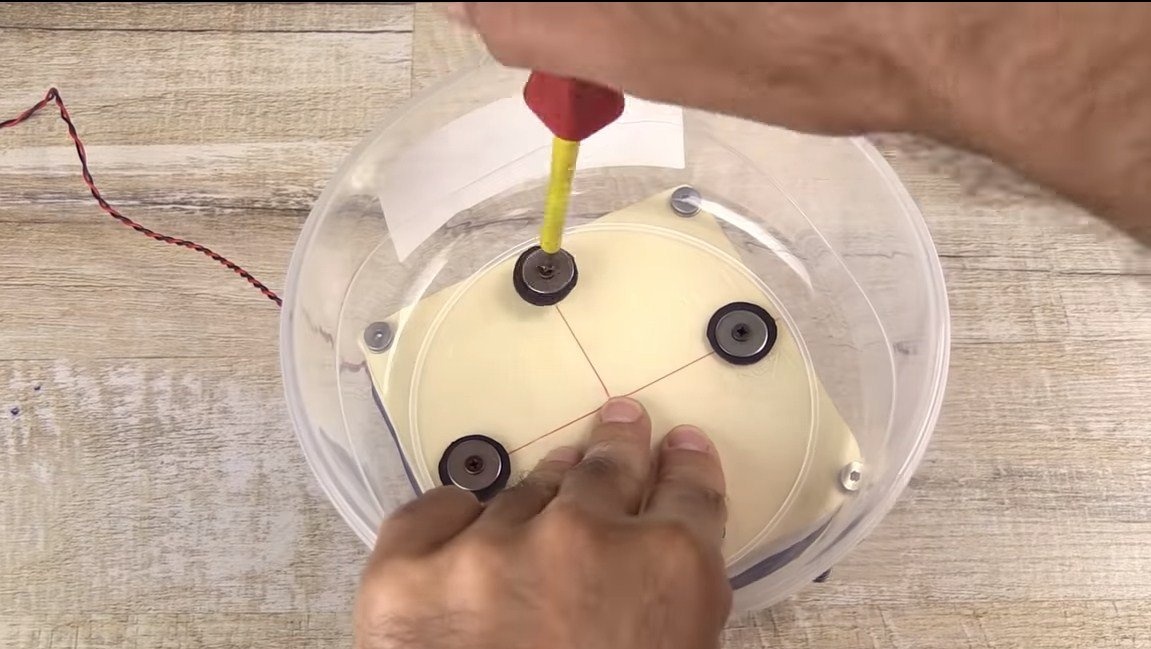
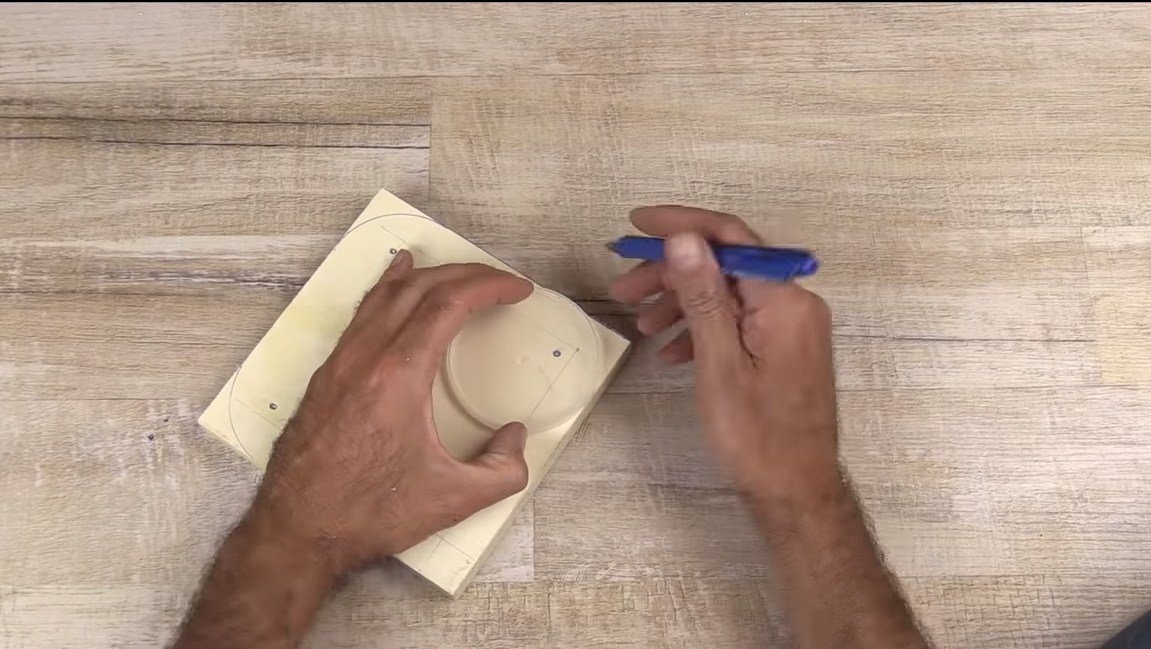
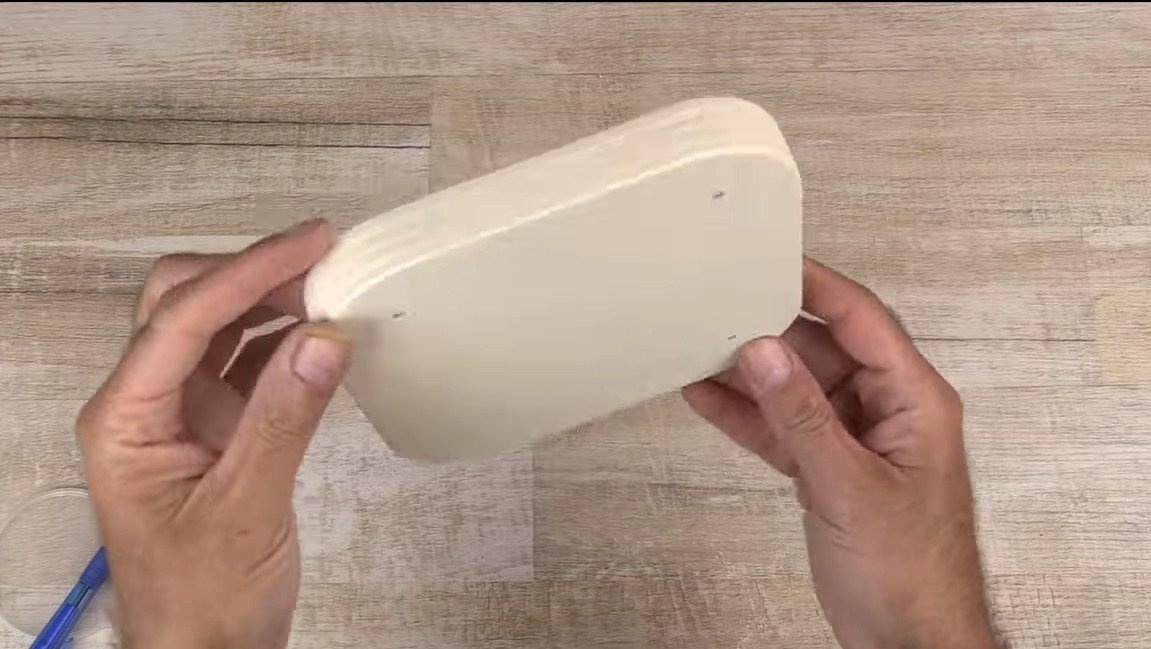
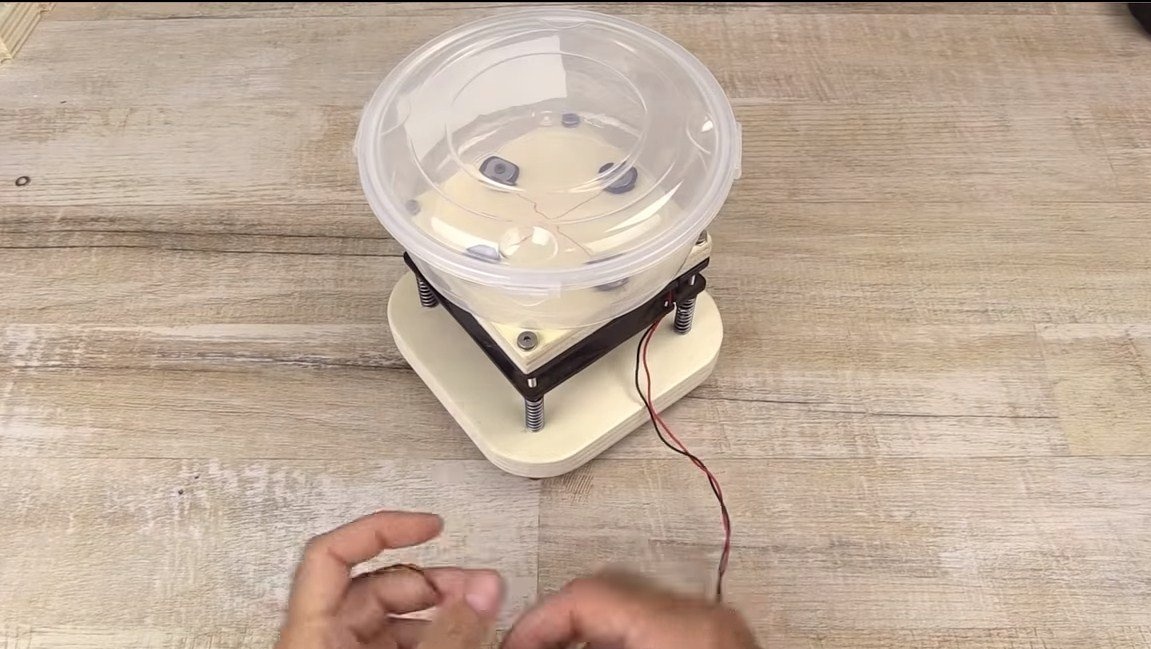
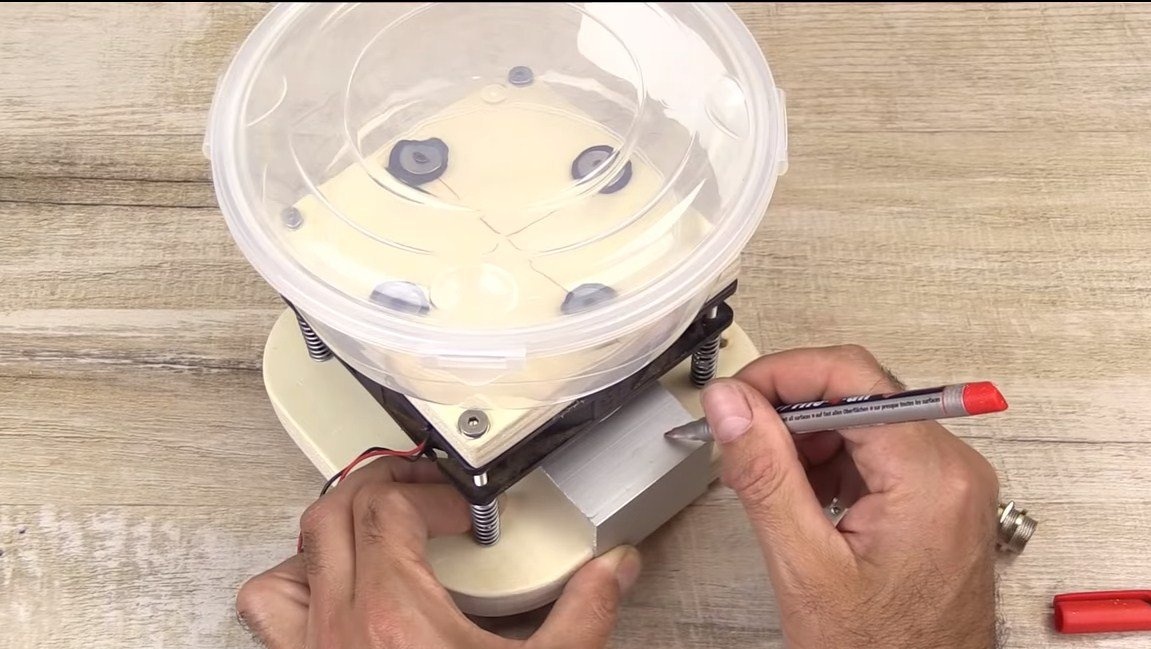
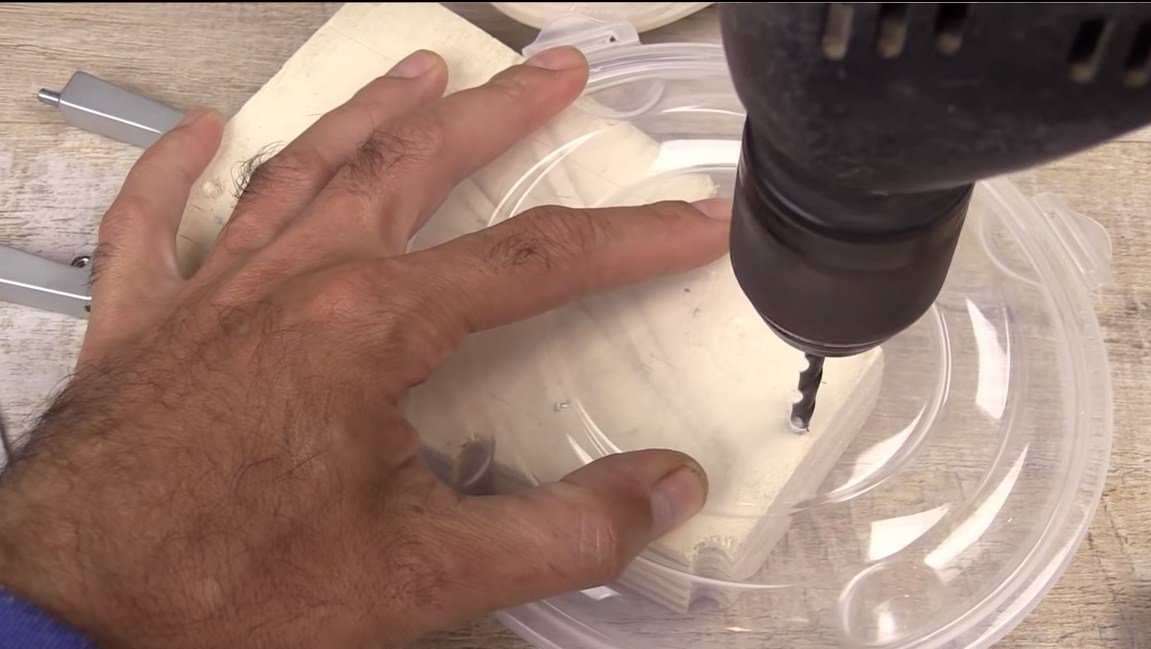
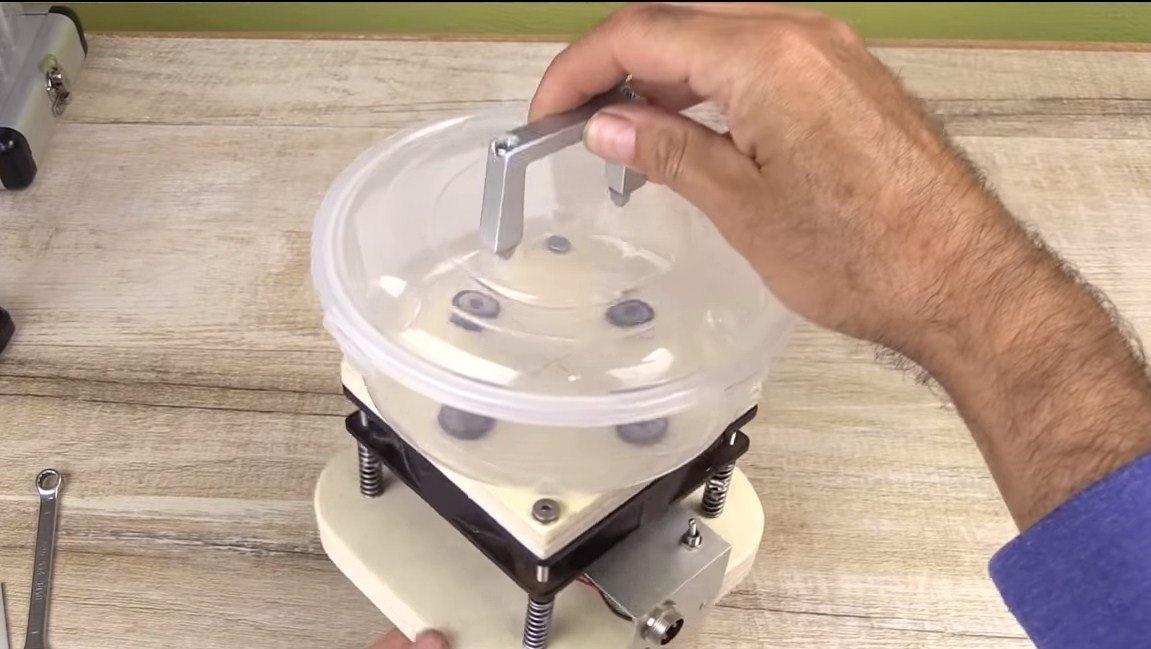
Step Four Container
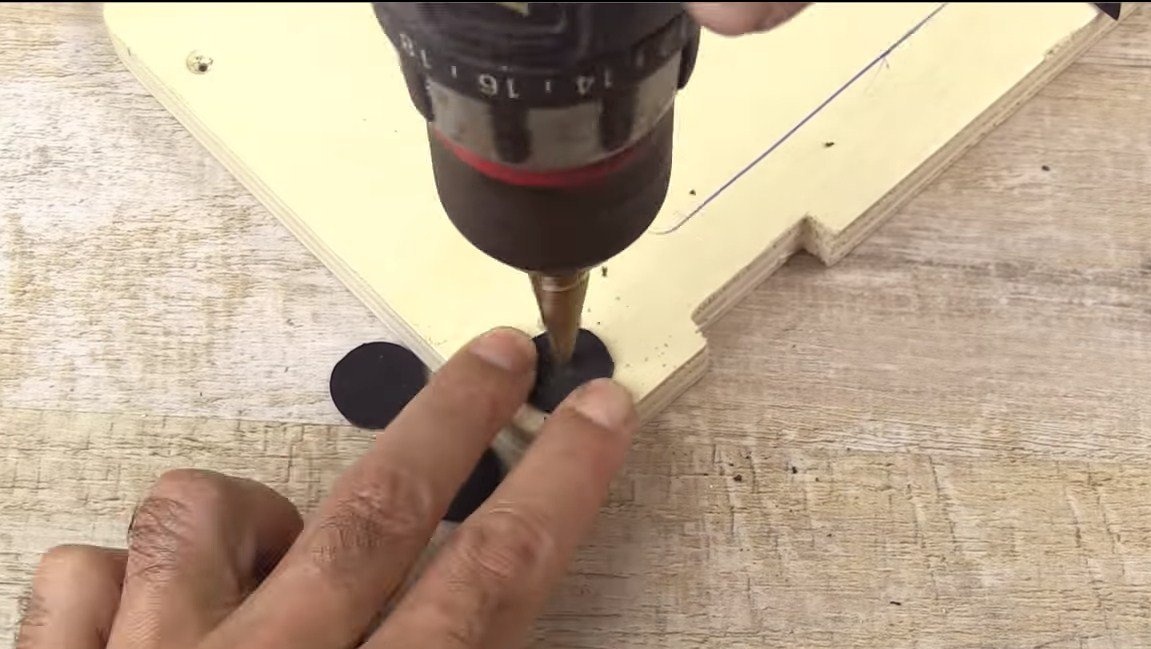
Now screw the container in which all the magic will take place. He is screwed to the plywood with the help of small screws. We will also need rubber washers and metal. Thanks to the rubber washers, the container will not unscrew from vibrations.
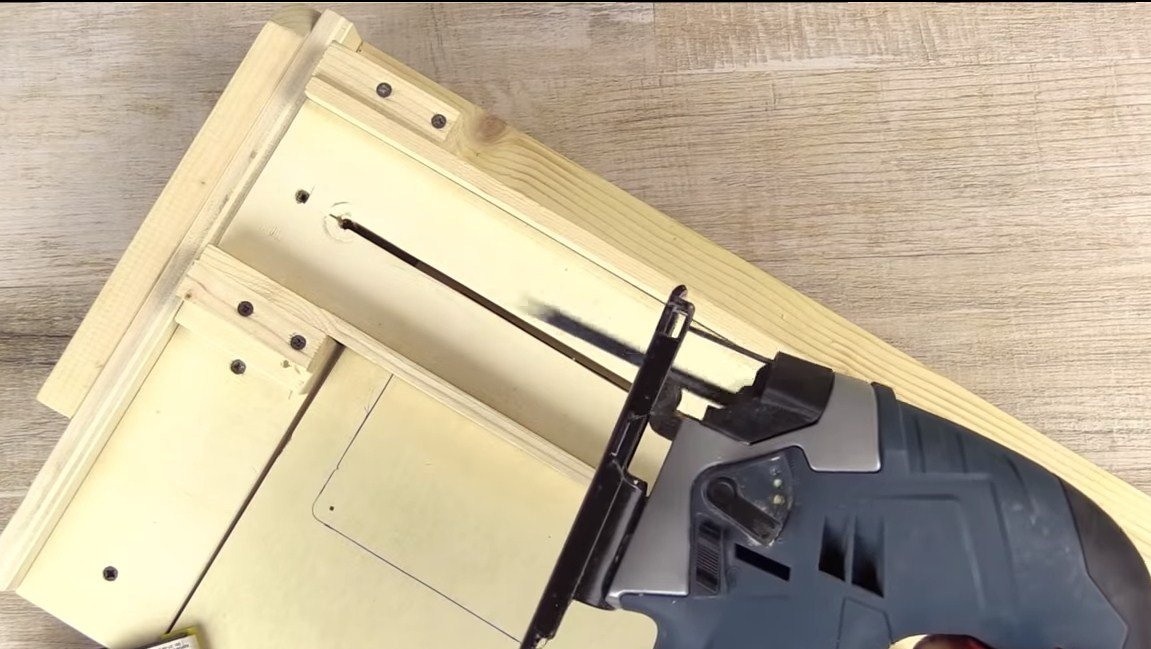
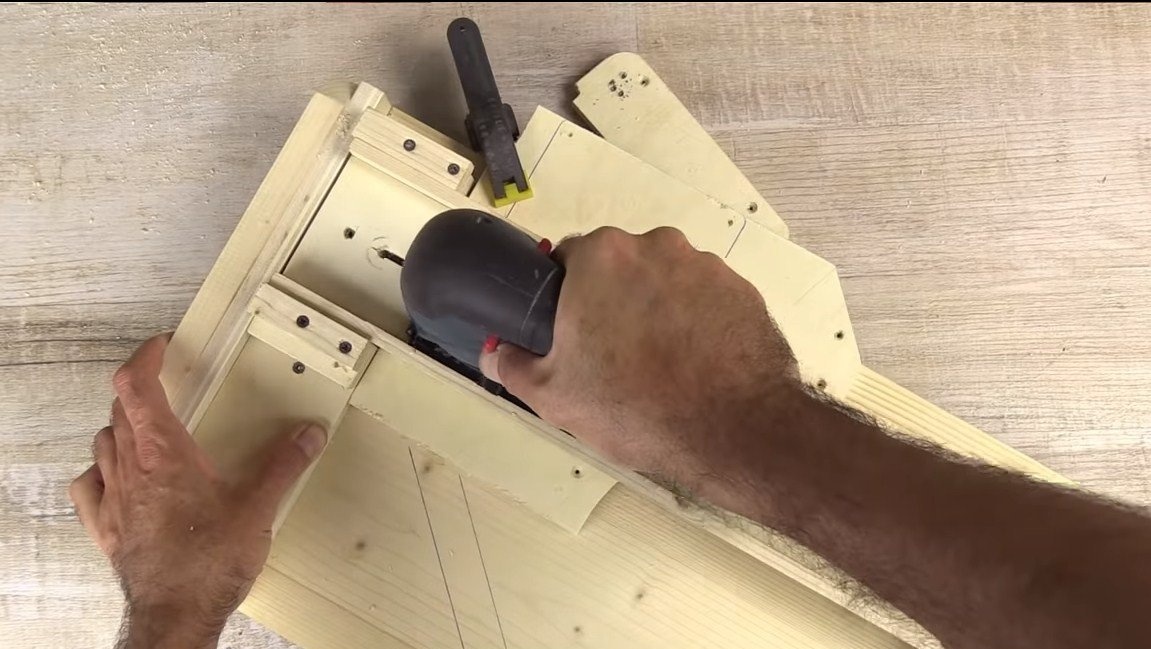
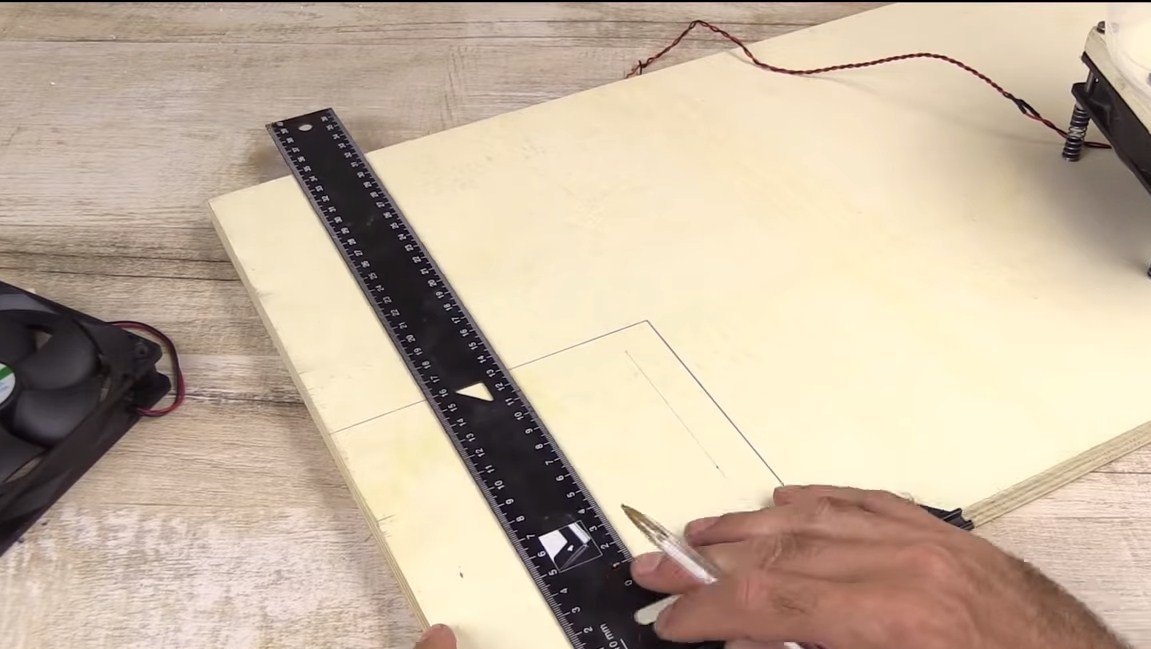
Step Five The foundation
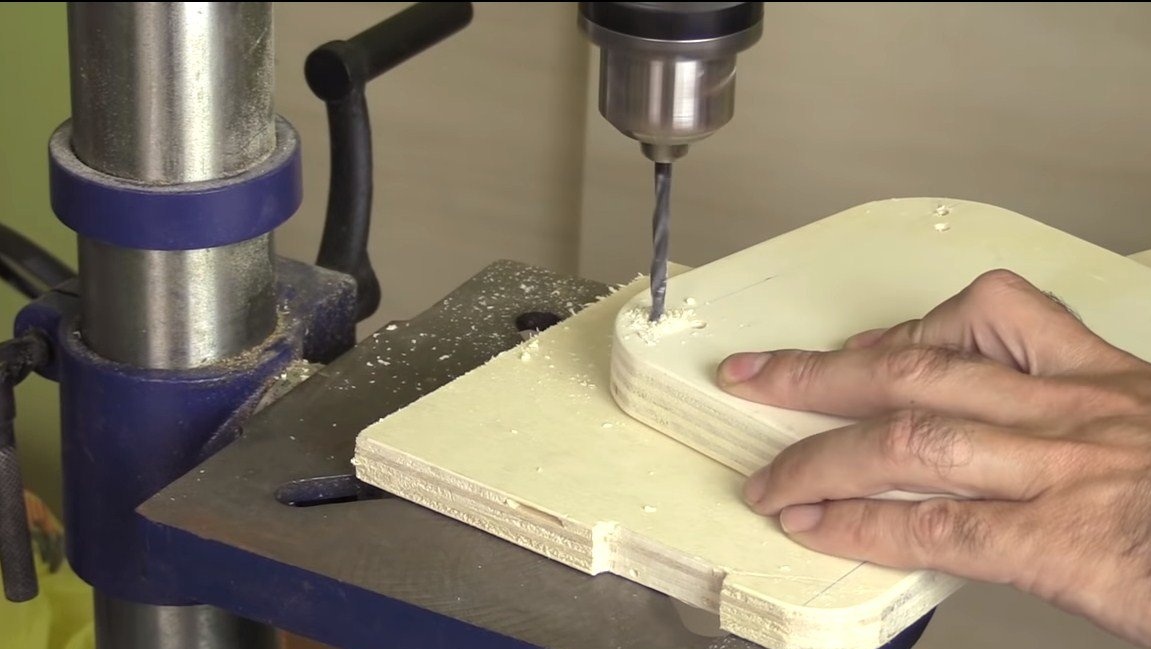
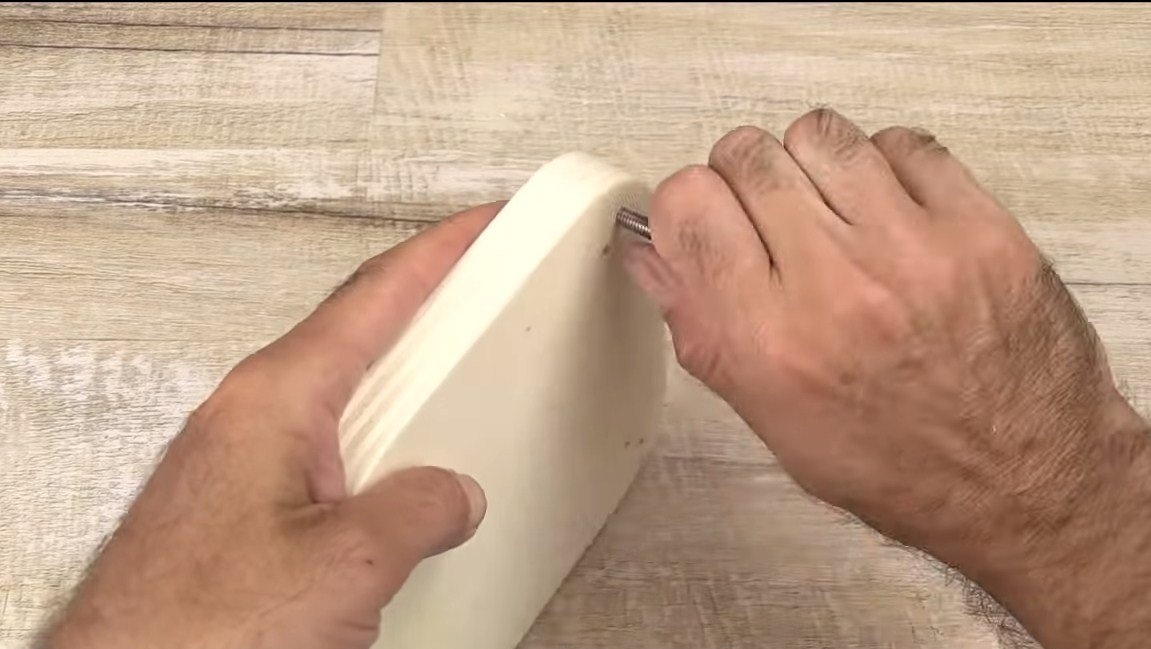
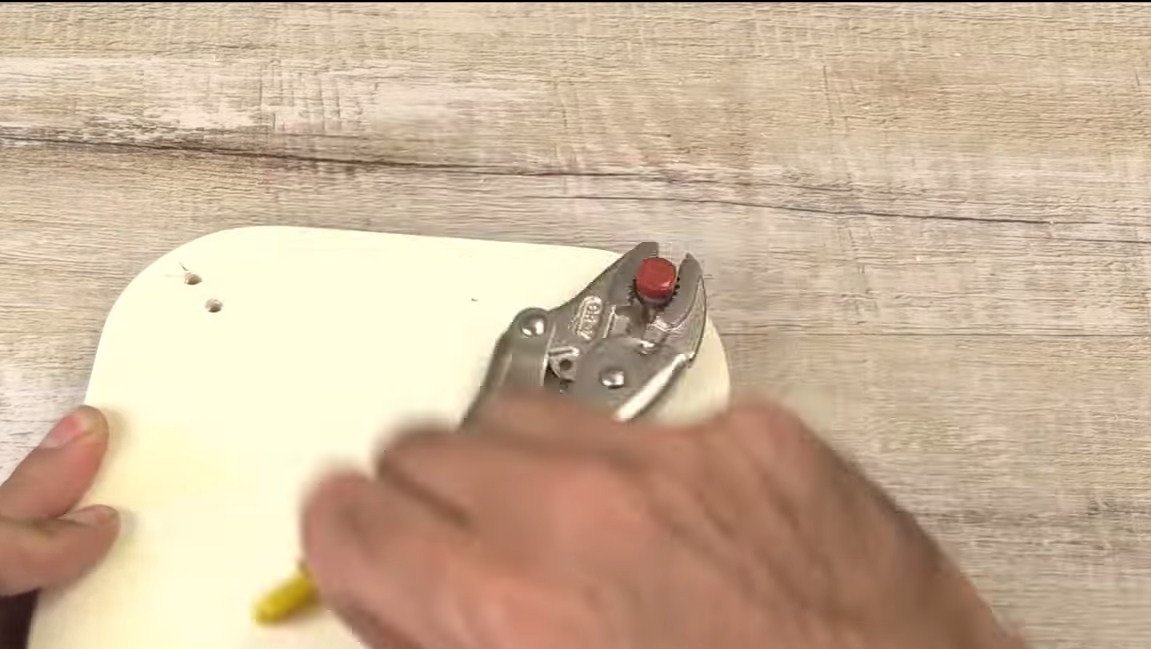
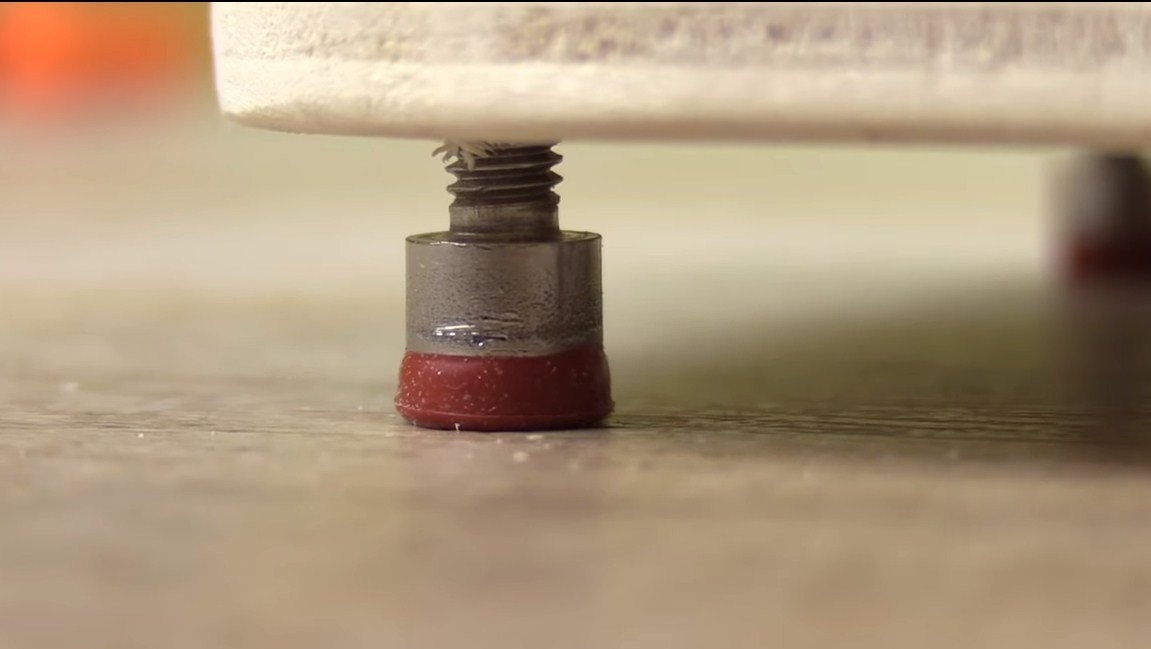
Let's make the base, its author cuts out of plywood and gives a neat appearance. As a result, it remains to drill holes for mounting the racks.
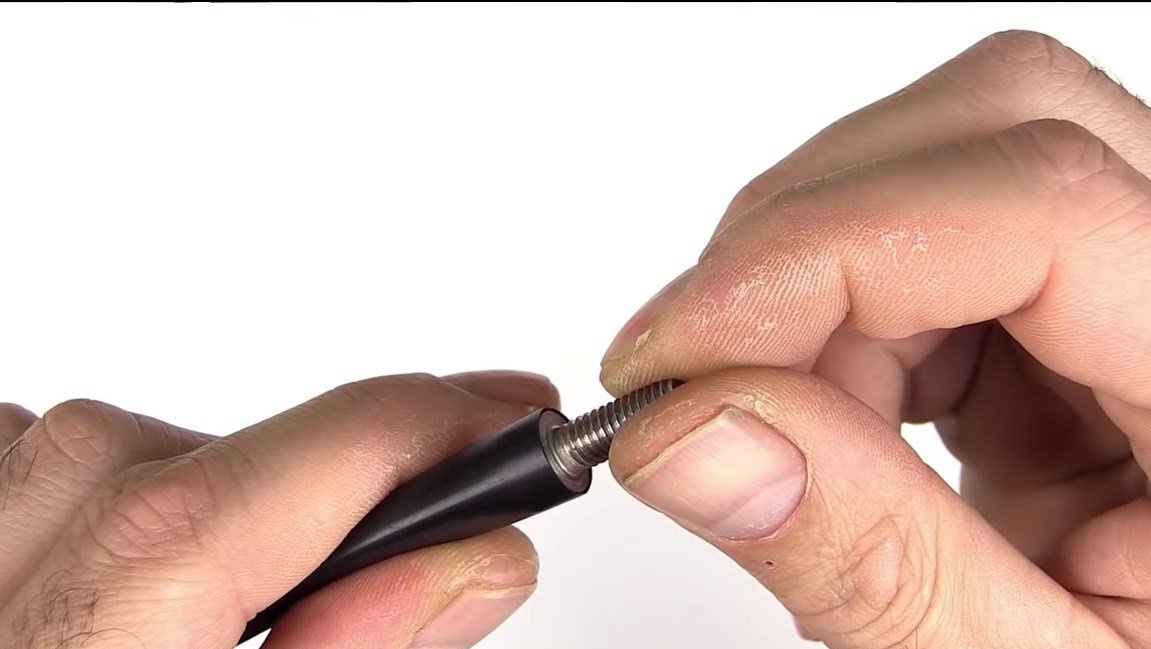
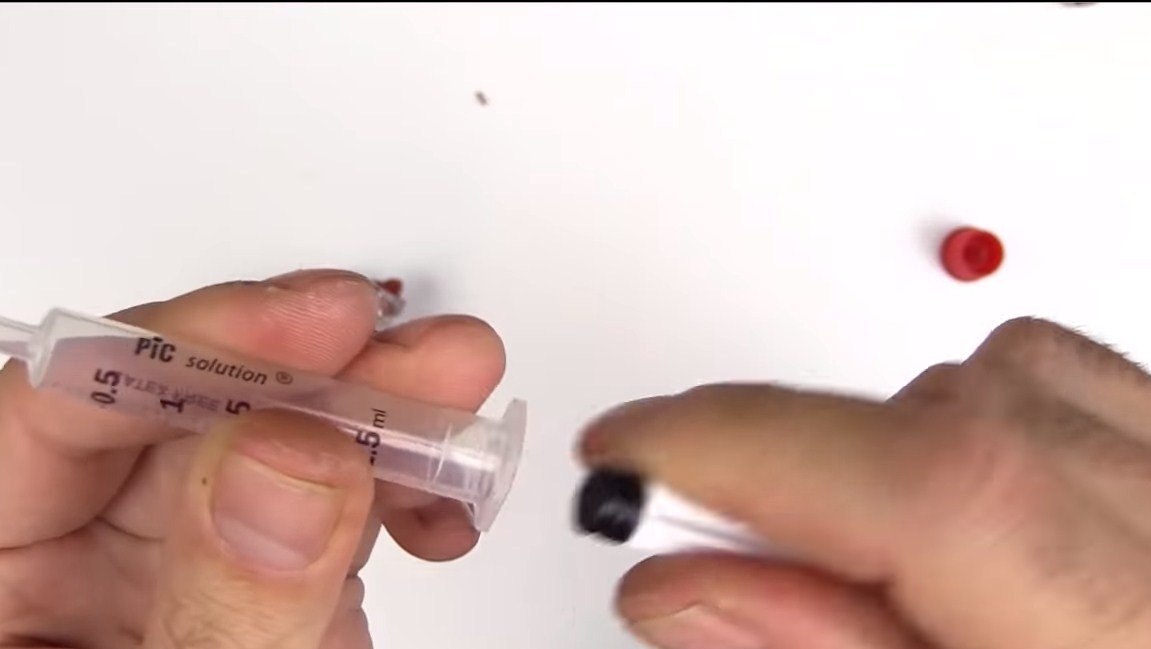
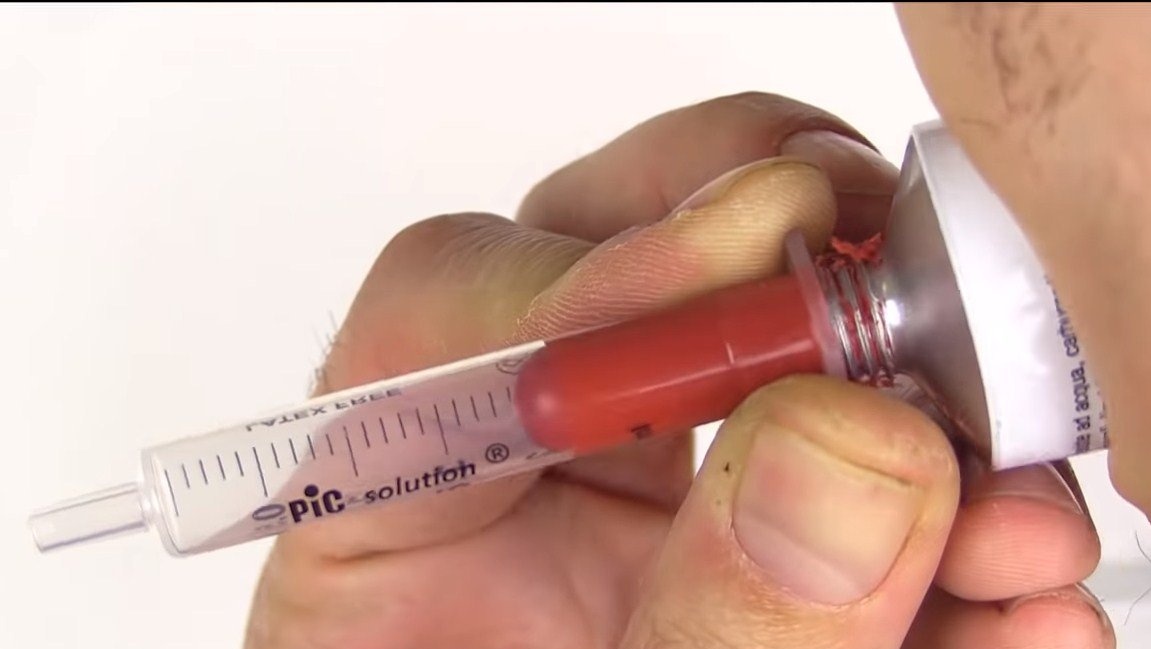
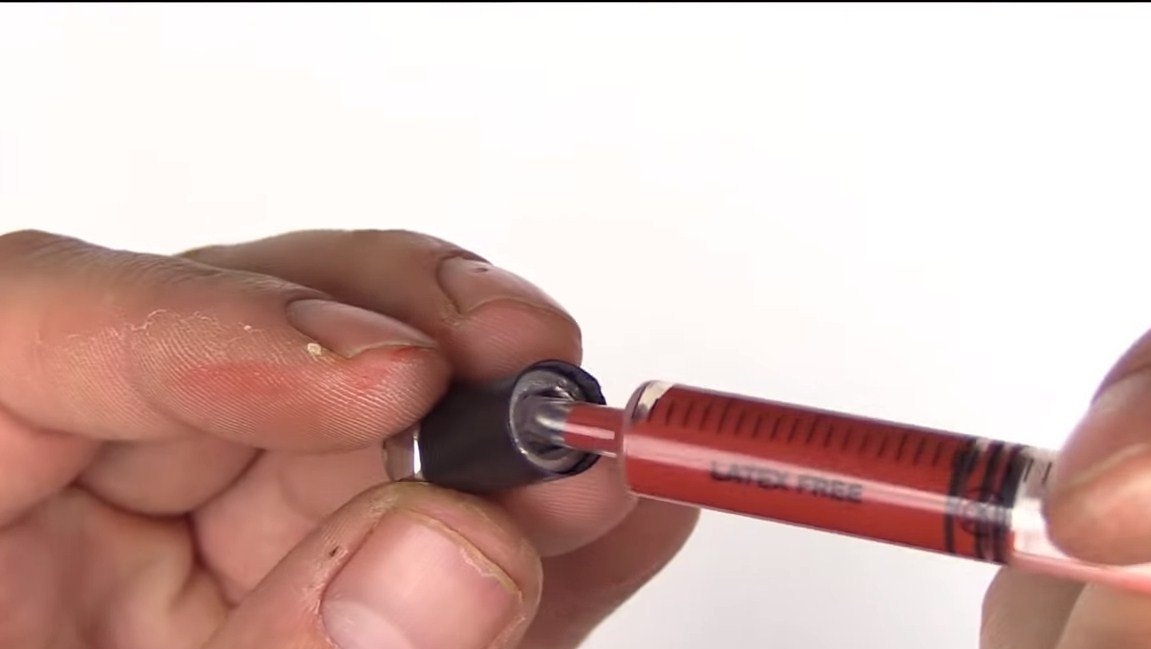
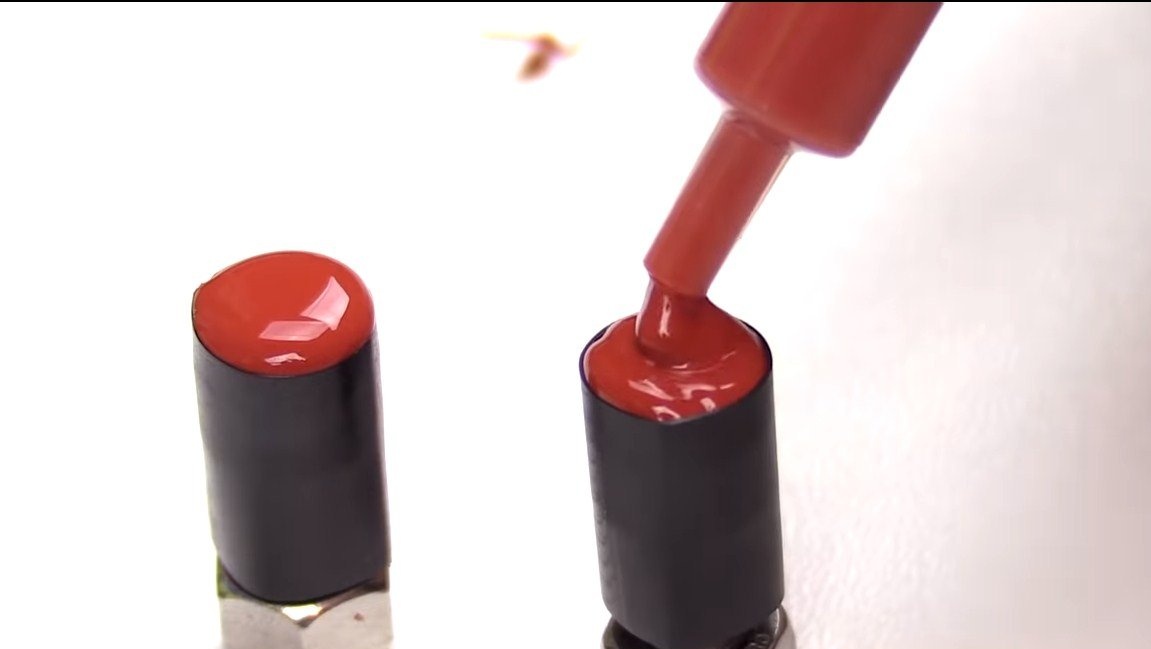
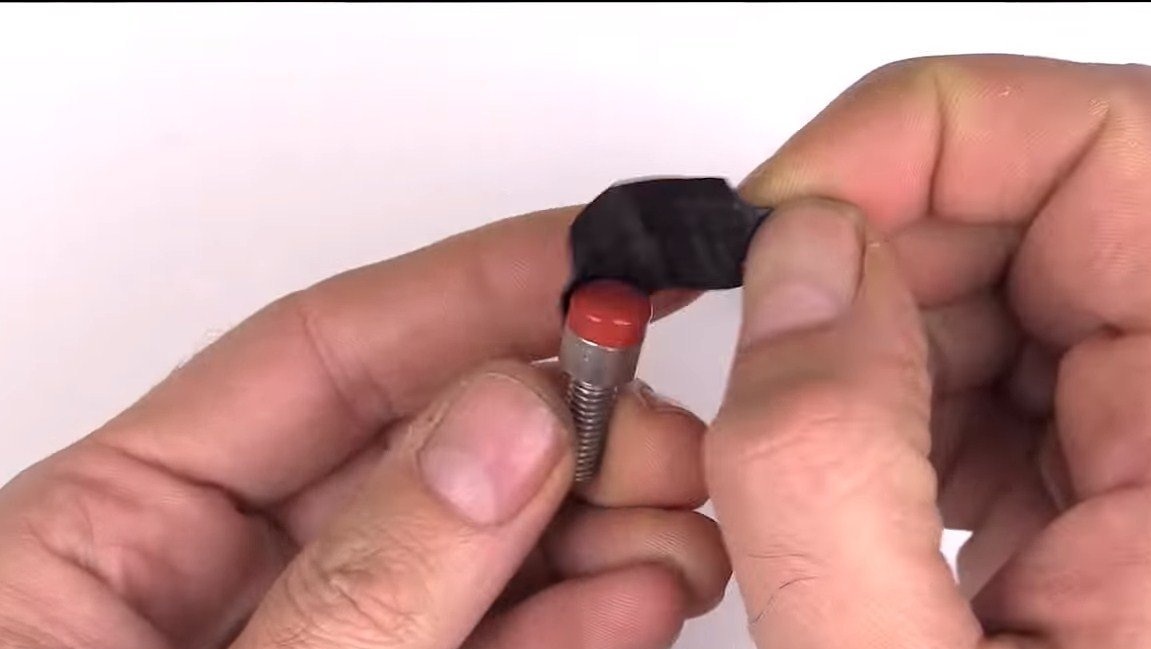
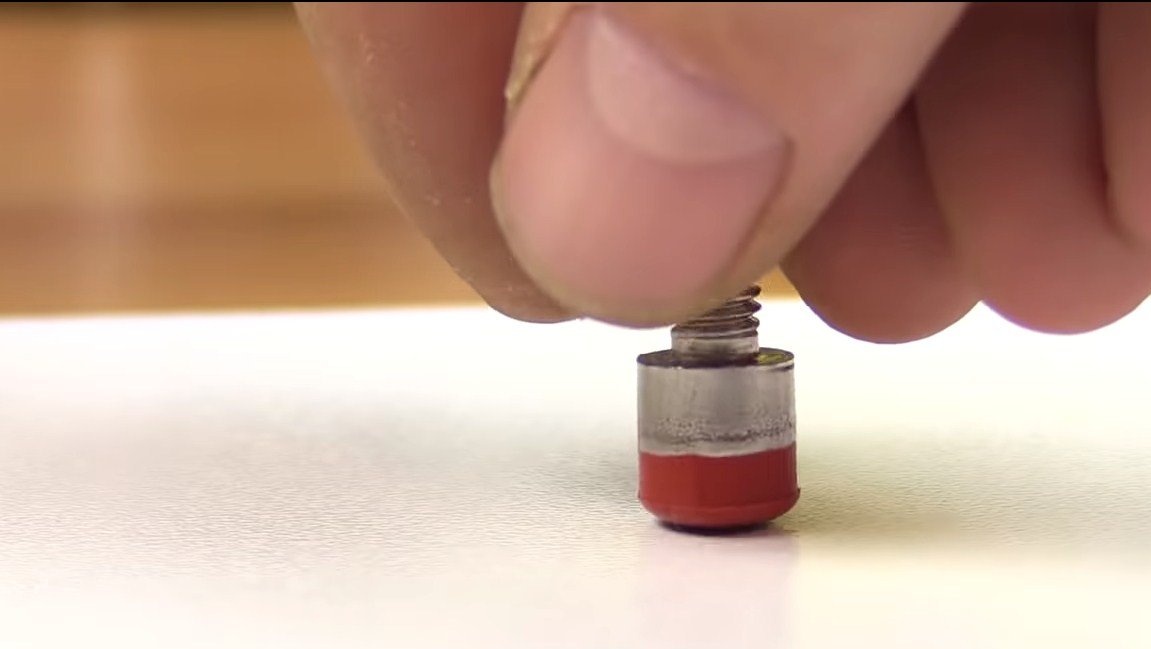
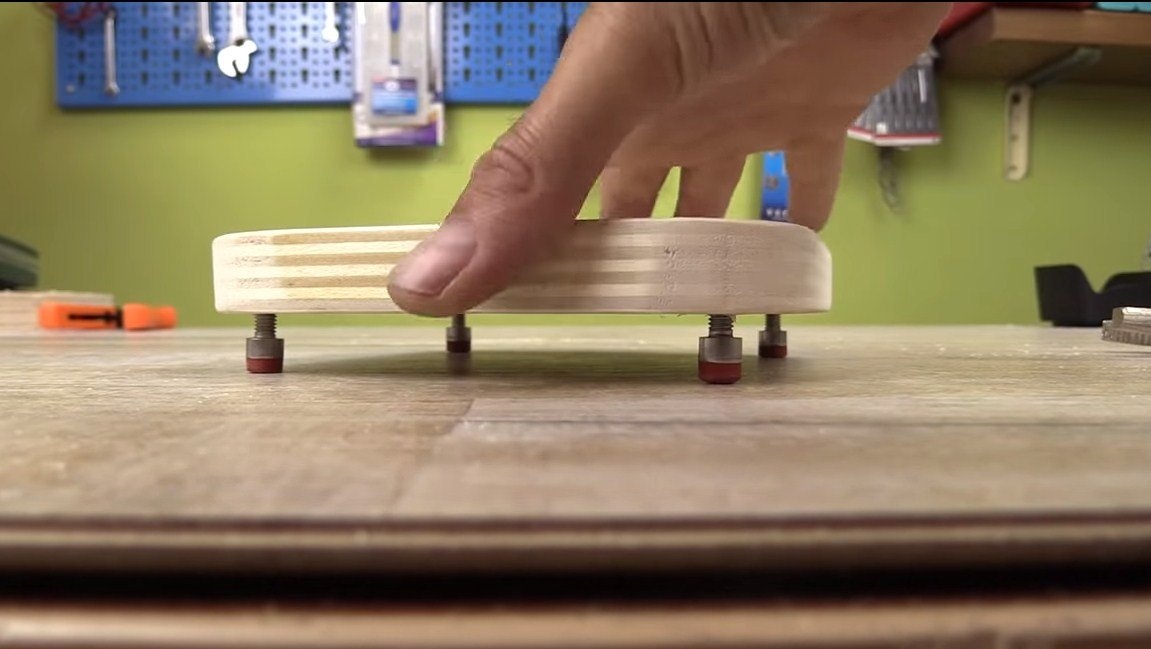
We also need to make the legs so that the machine does not go around the table. The legs are made of four cogs under the hexagon. On the legs you need to install rubber tips, their author easily cast from silicone sealant. As a result, the legs were soft, the grip on the surface of the machine is excellent.
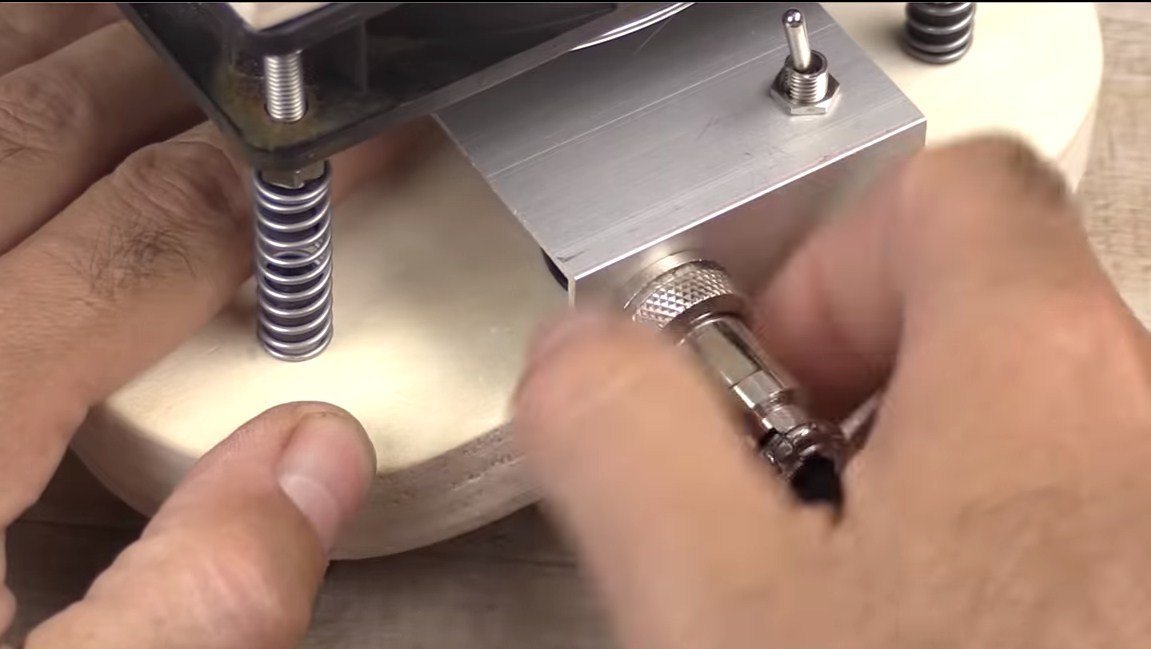
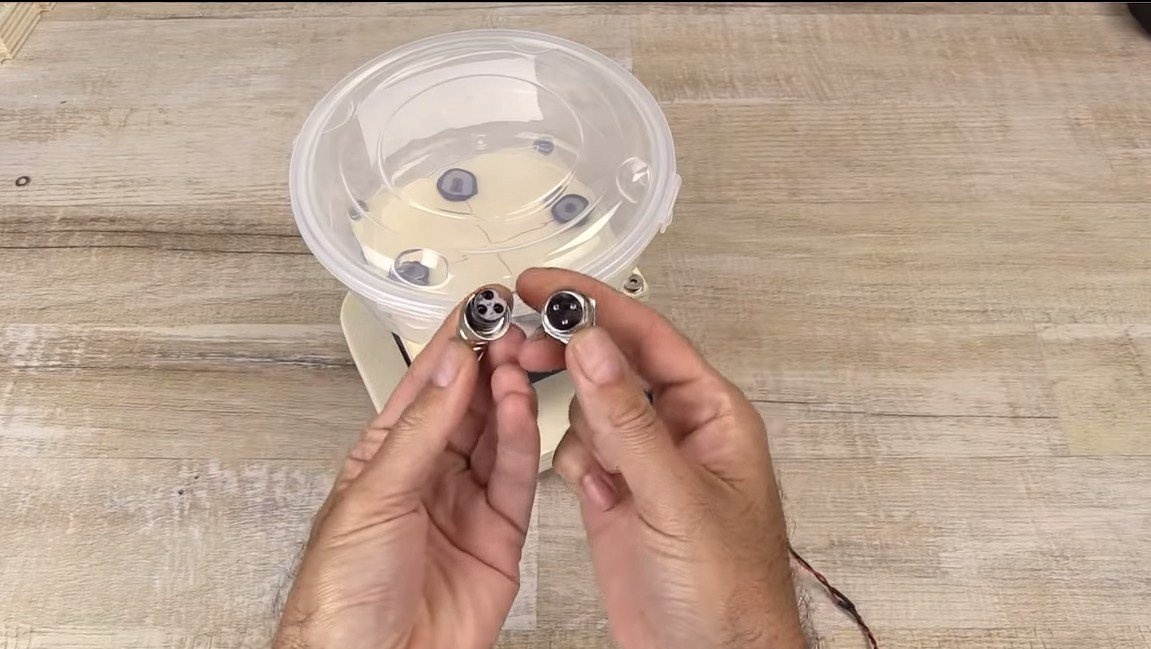
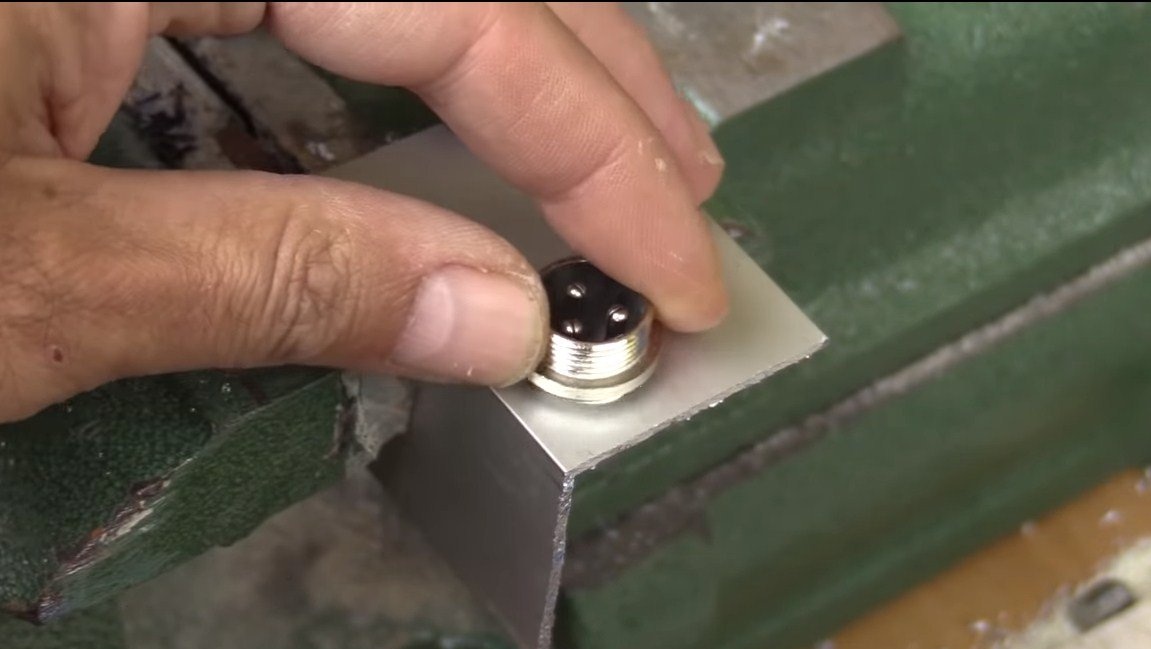
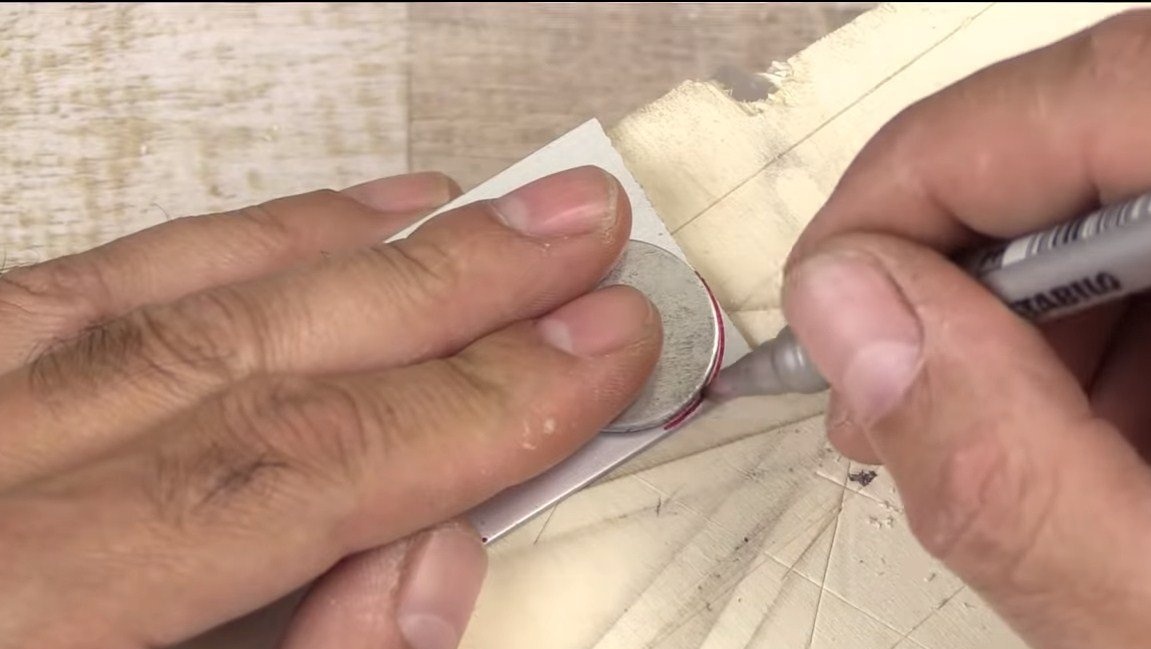
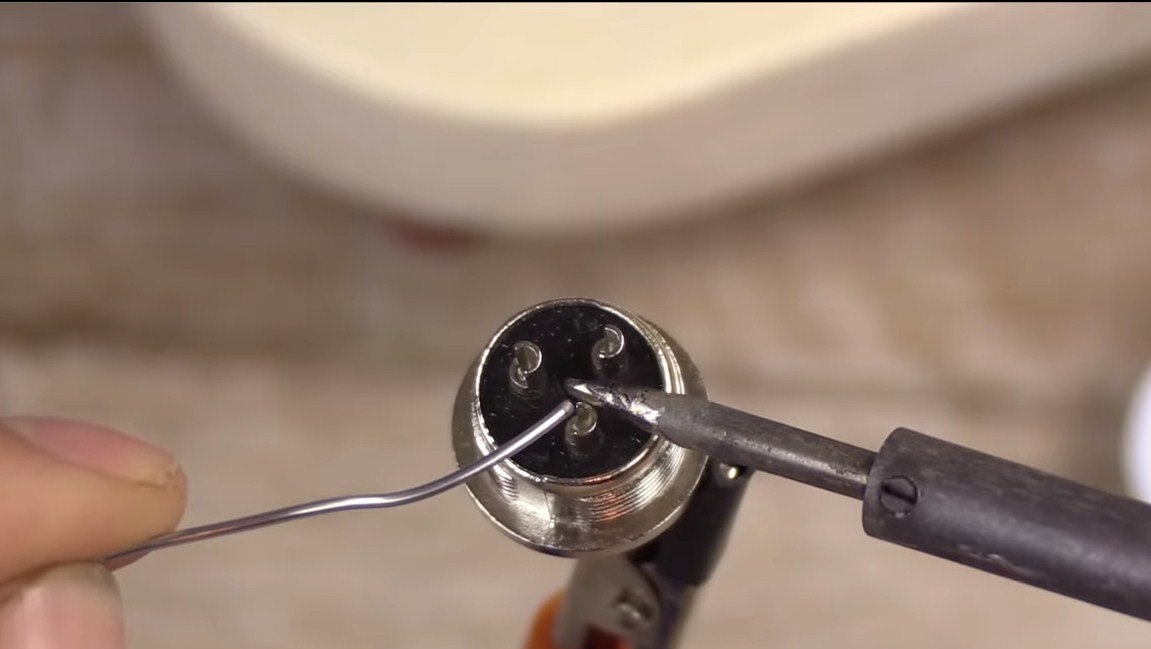
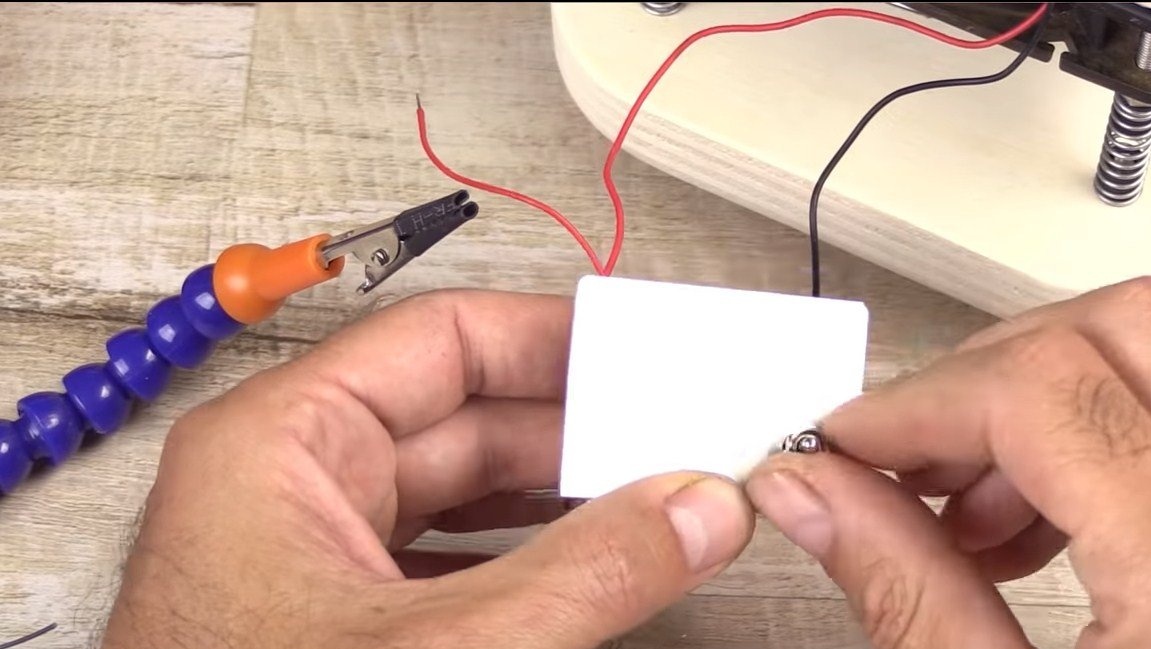
Step Six Switch and power connector
We install a connector on the machine for connecting the power supply. The author, if I'm not mistaken, used a headphone jack for this.
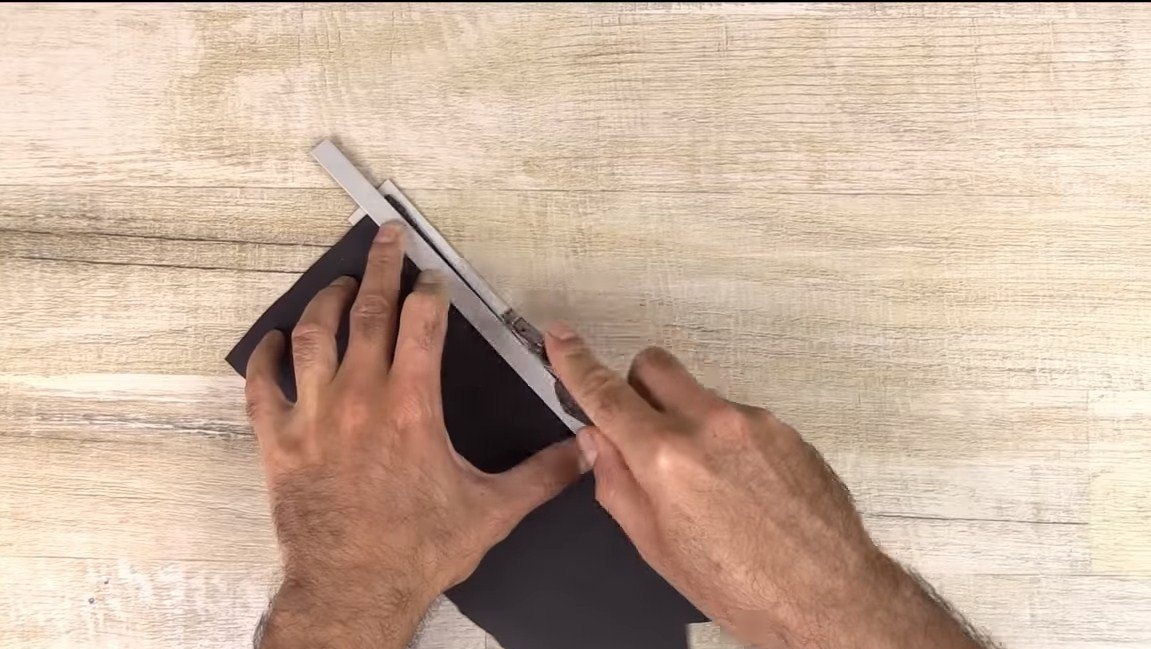
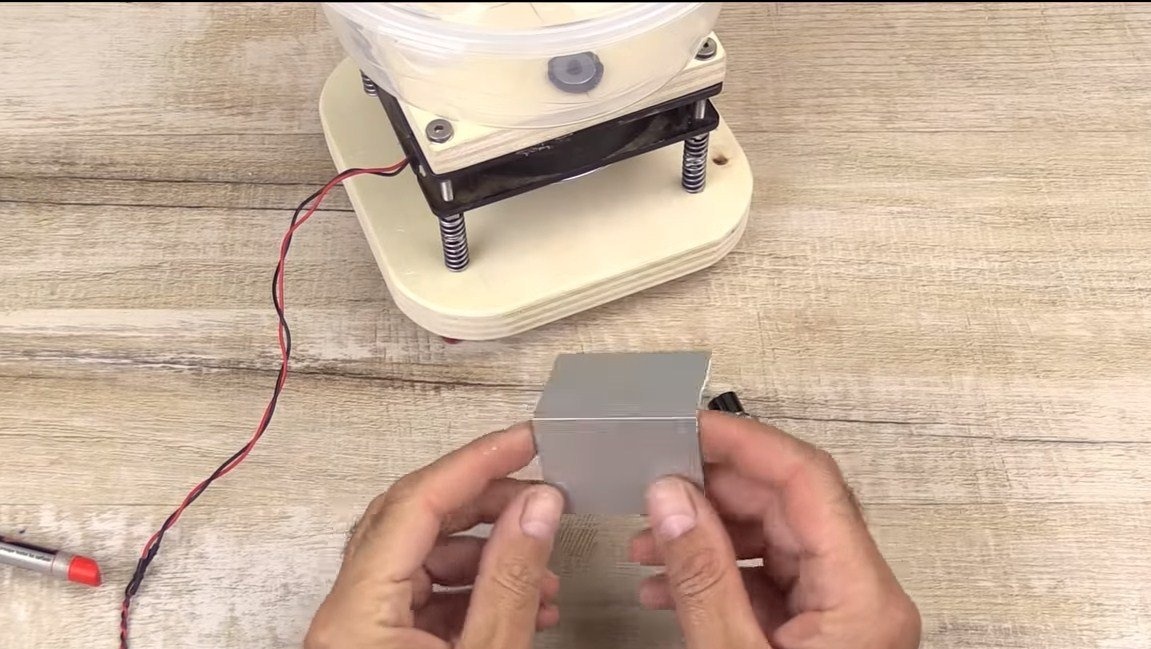
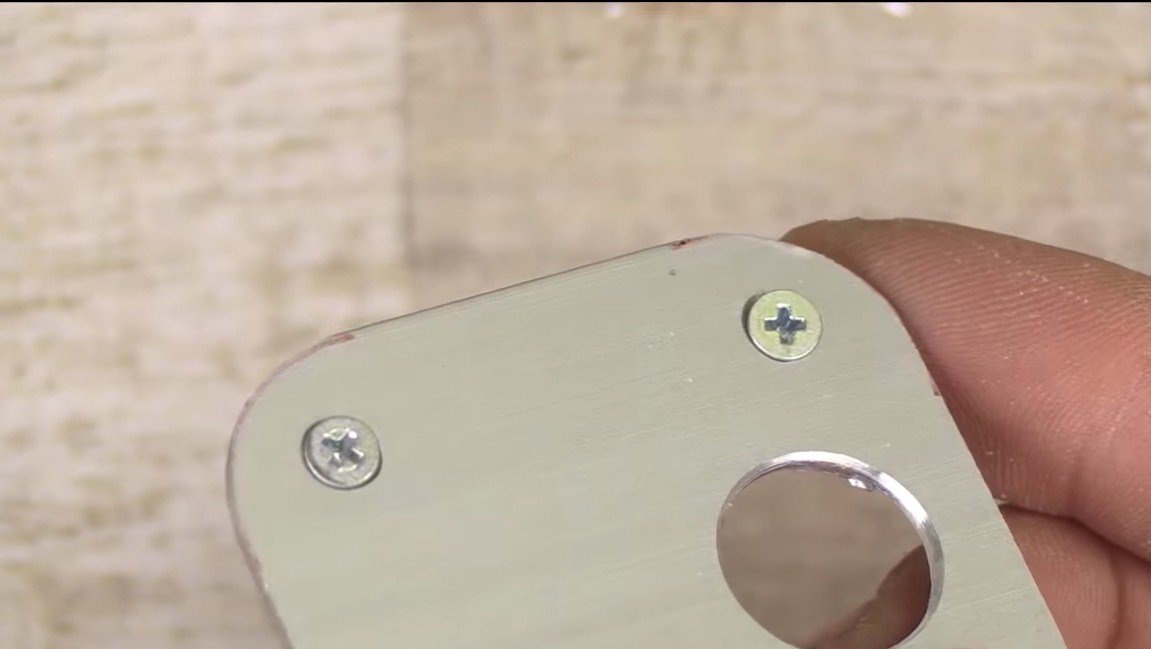
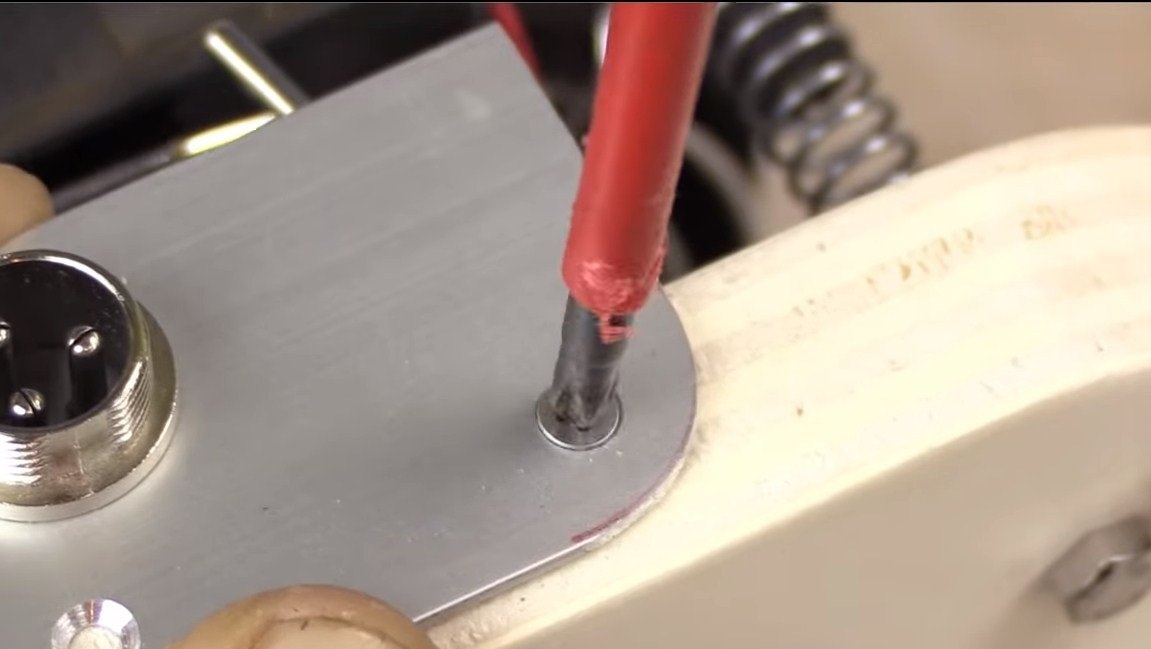
We also install a switch for convenient control of the machine. The author installs all these details on an aluminum corner.


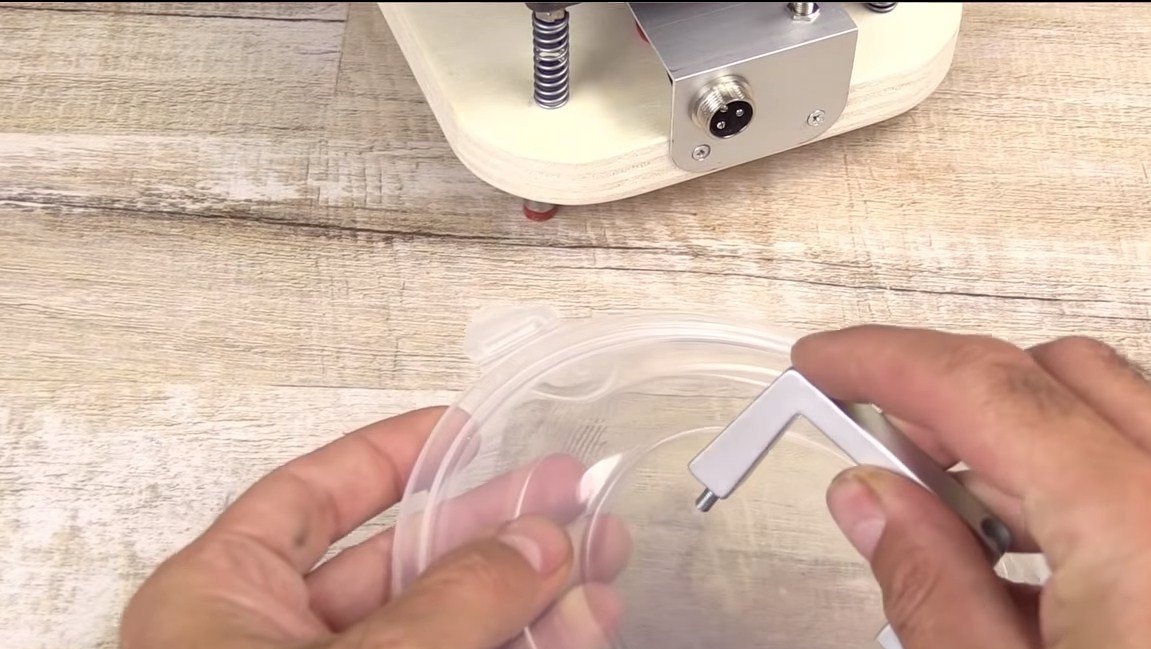
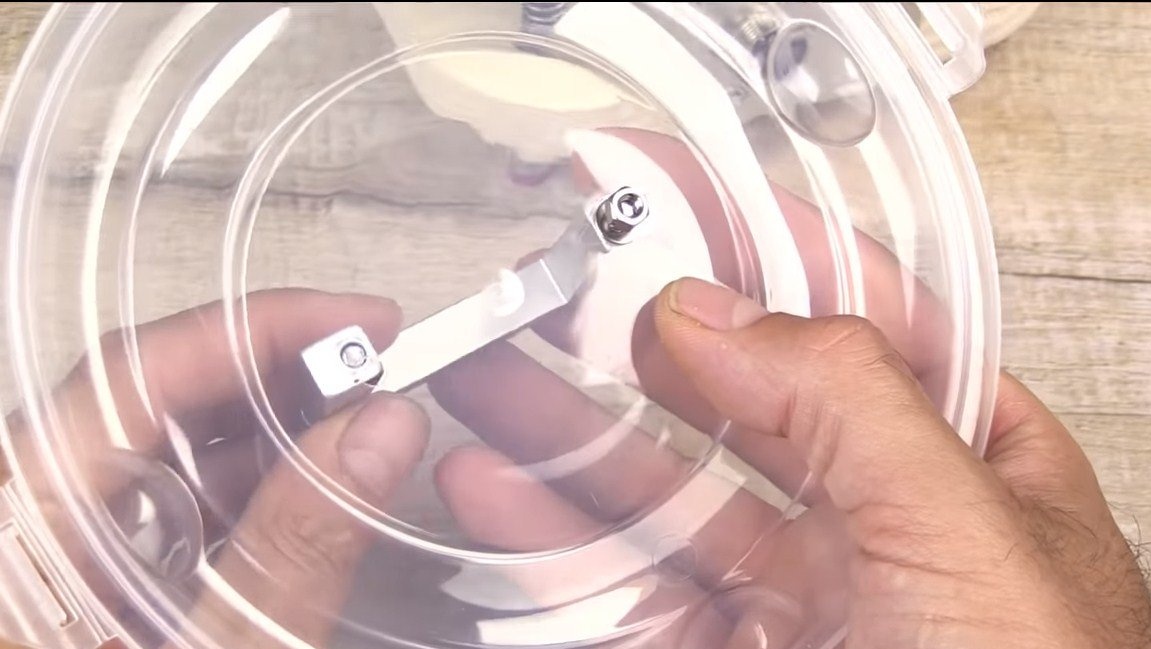
Seventh step. A pen
At the end, screw the handle to the lid. The author used something like a furniture handle.
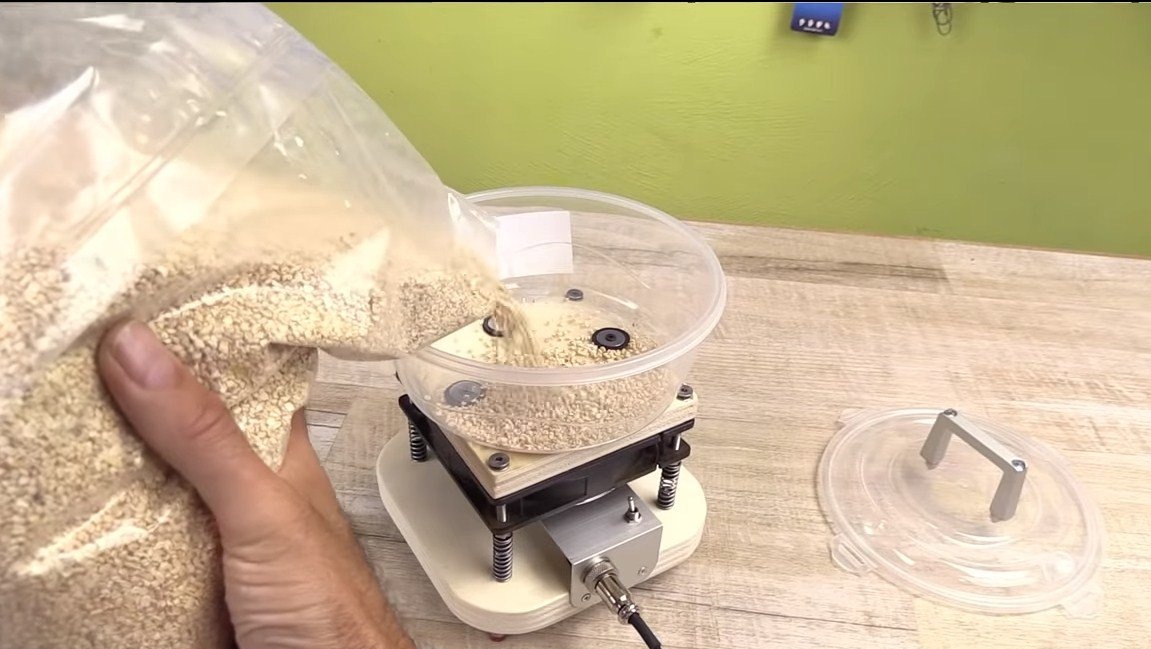
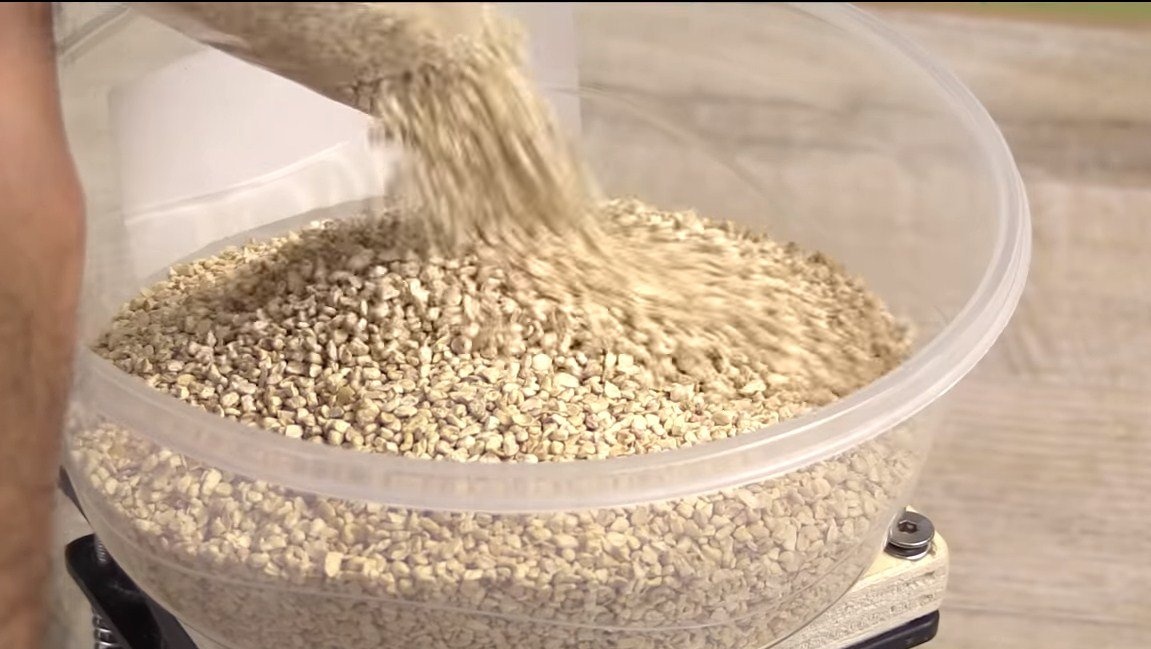
Step Eight. Test
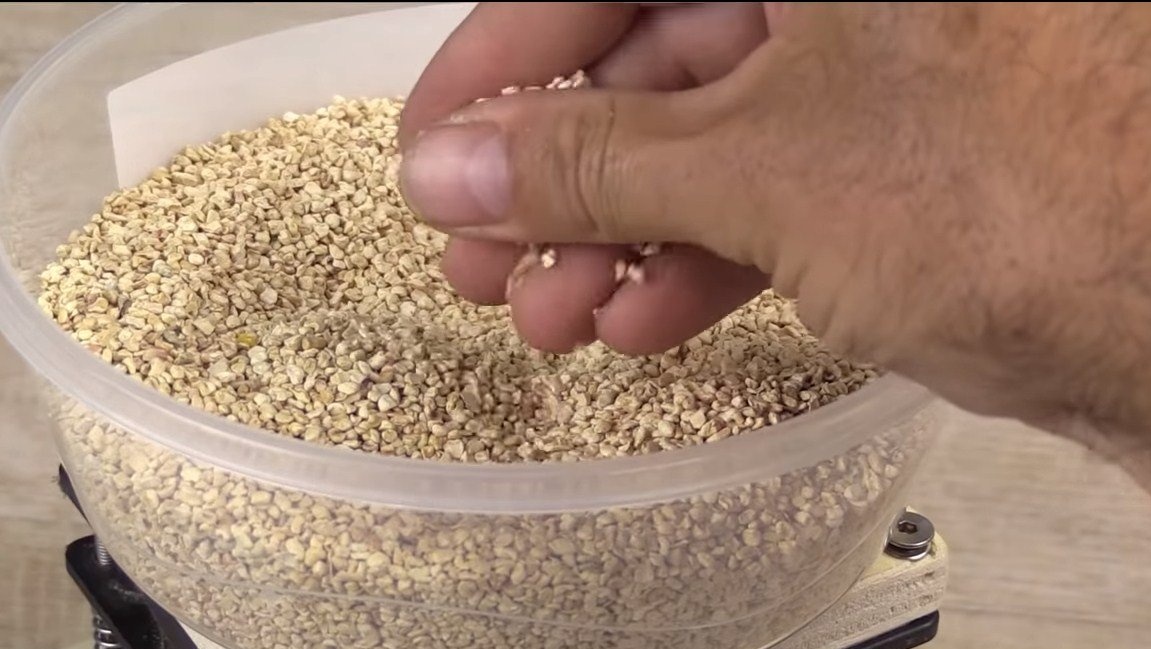
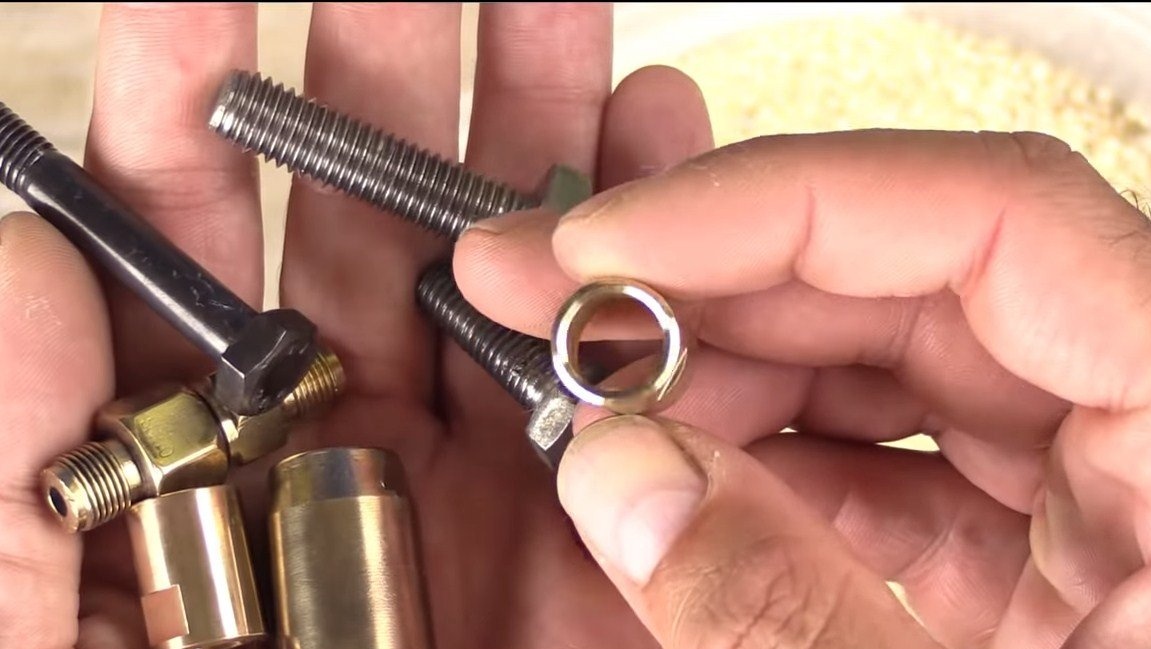
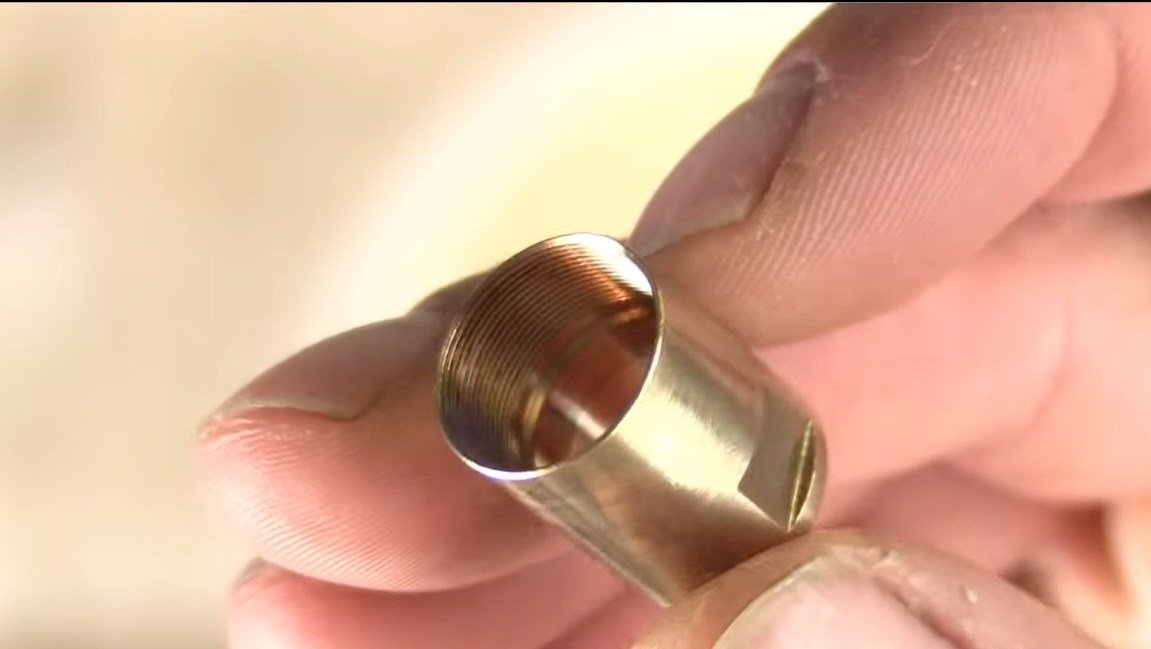
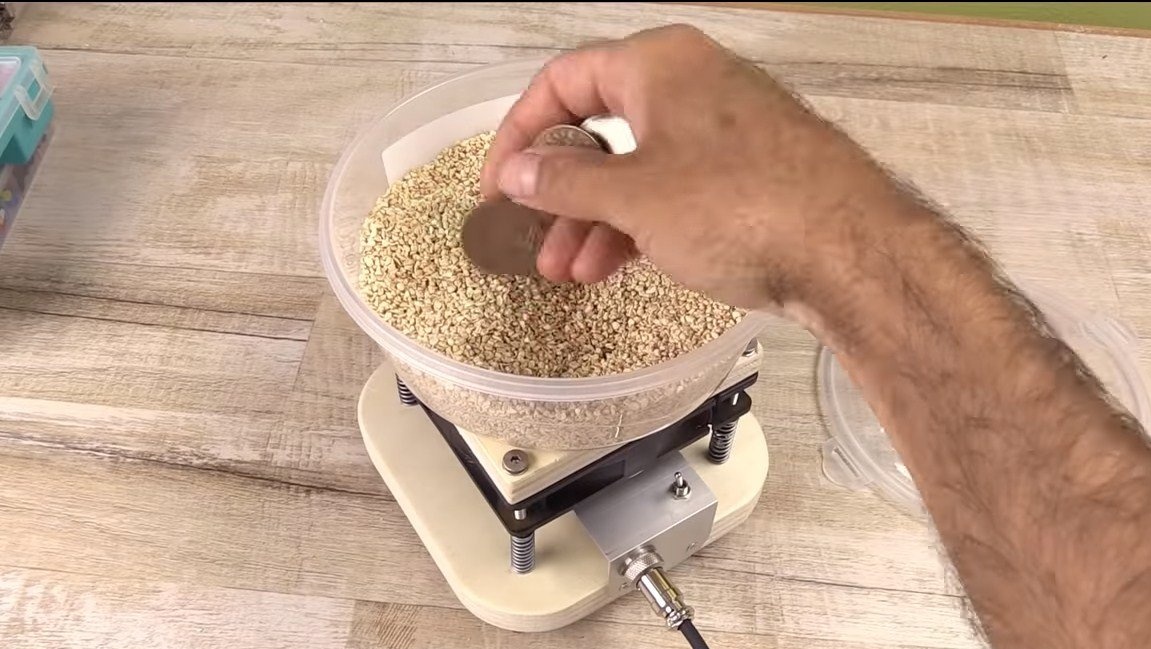
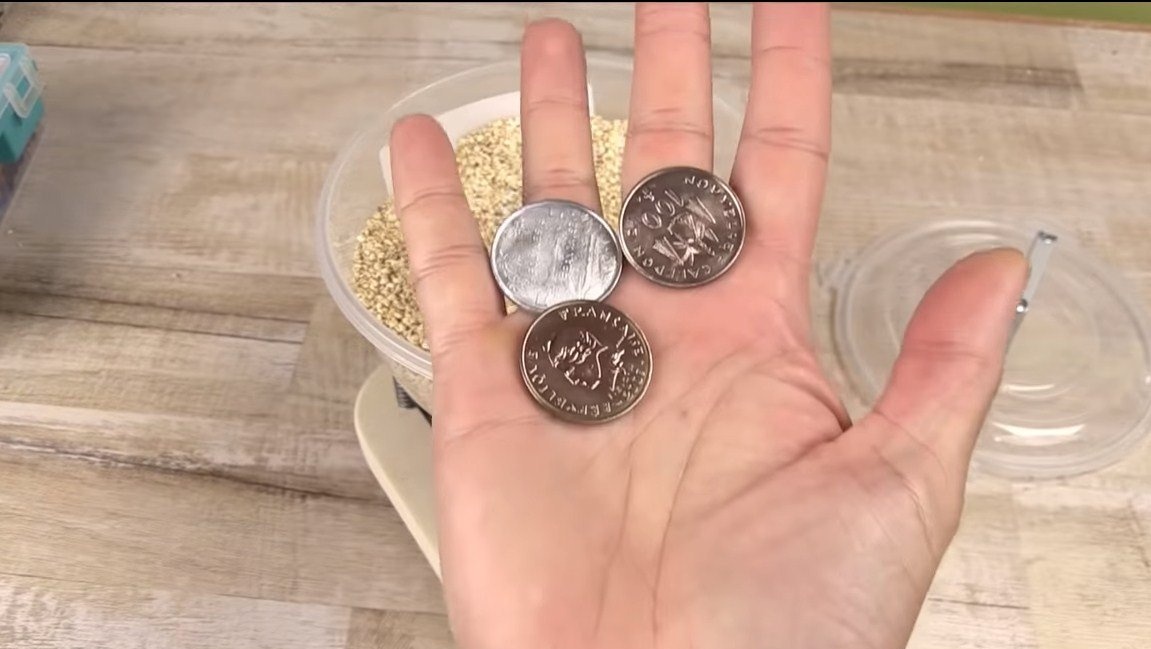
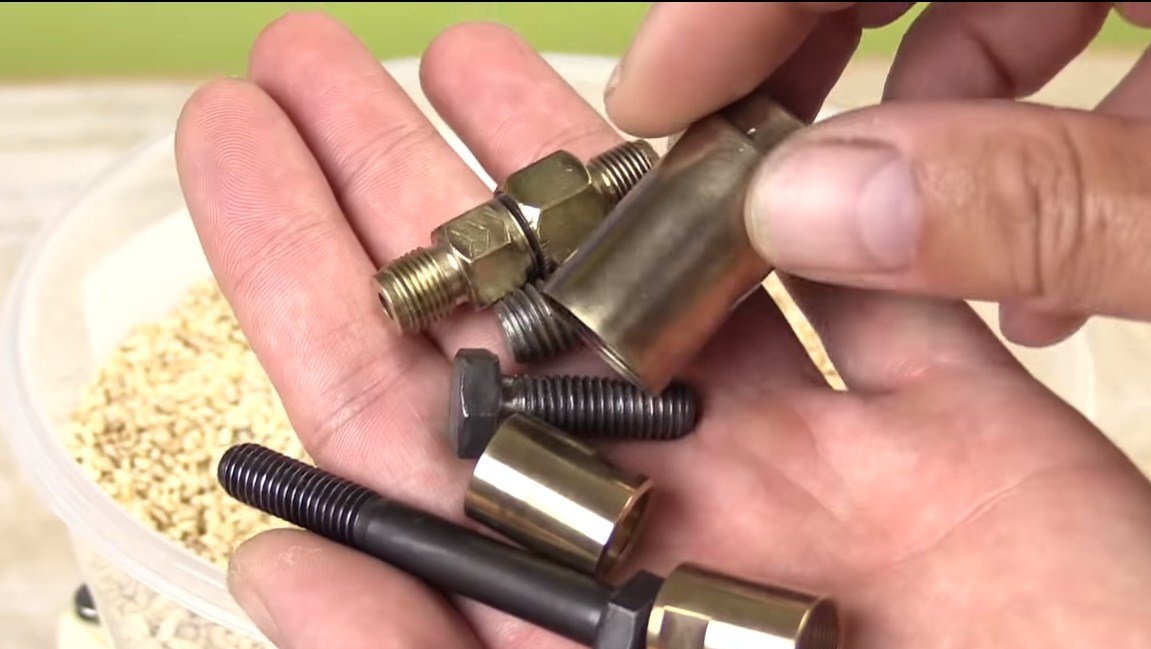
That's all, the car is ready, you can start the tests. Pour abrasive into the container, then coarse sand, small pebbles or something like that will do. Well, then we put the details and start the device, the author shares the results of the work in an hour. The details were polished perfectly, everything sparkled like new. Moreover, the tubes were polished even from the inside, which is quite difficult to do with other tools.
That's all, the project is over, I hope you liked the home-made. Good luck and creative inspiration if you decide to repeat a similar project. Do not forget to share your homemade products with us.