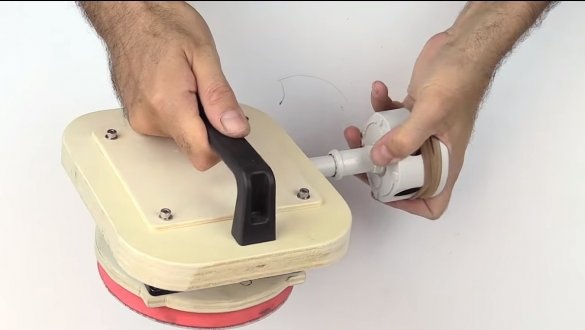
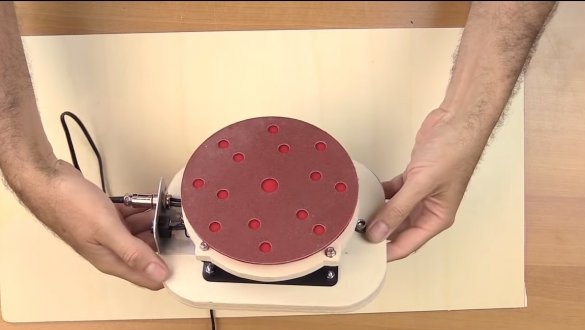
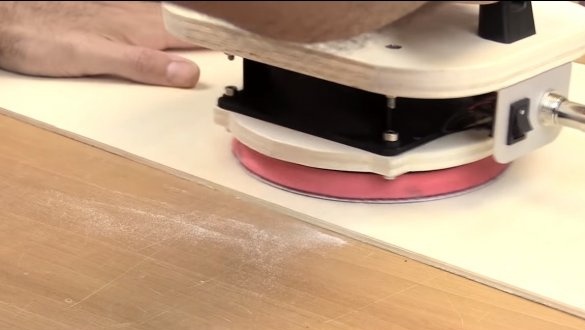
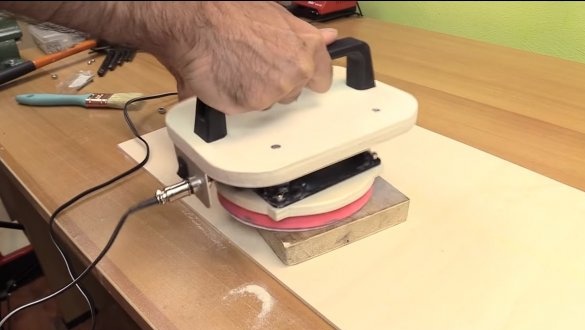
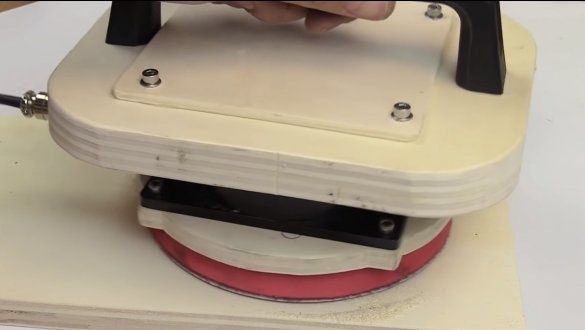
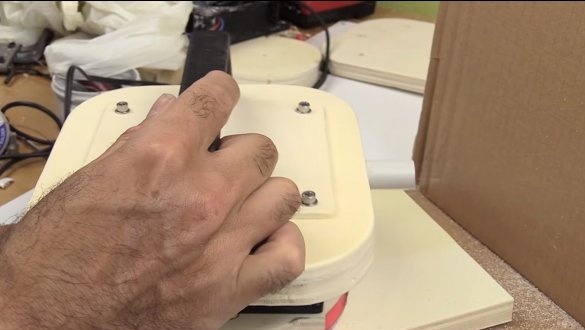
I propose to consider a very interesting homemadewhich you can make from ordinary. Probably, the name of the homemade product was very interesting for you and you wondered how this machine works, because the power of the fan motor is too small and it will not be enough just to spin the mass of the grinding disk. Then the author found a very interesting solution, he decided to make the machine vibratory, and the fan has more than enough power for vibrations. The machine works quite normally, with the help of it you can prepare the surface for painting, it is light, small and comfortable.
Another advantage of such a machine is that it is equipped with a chip assembly system. dust is sucked into the casing, and from there it flies out through the outlet pipe. If desired, a filter for chip assembly is installed on the pipe. The project is quite interesting, I propose to get acquainted with it in more detail.
Materials and tools used by the author:
Material List:
- ;
- plywood;
- plastic tube;
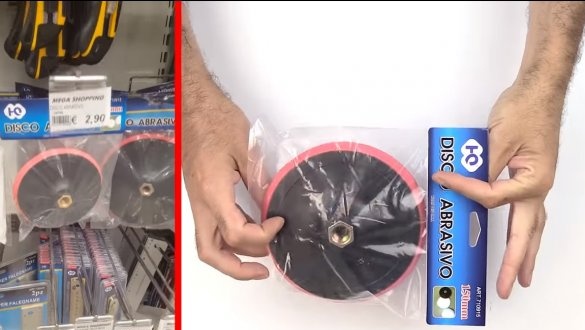
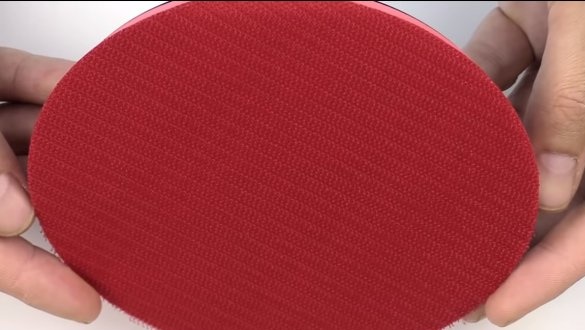
- Velcro nozzle for grinder;
- handle (door or the like);
- switch;
- connector for connecting the power supply;
- electrical junction box (housing);
- a piece of aluminum corner;
- screws, nuts and washers;
- carpentry glue.
Tool List:
- jigsaw;
- drilling machine;
- drill;
- screwdriver;
- a hacksaw for metal;
- soldering iron;
- stationery knife;
- nippers.
Homemade manufacturing process:
Step one. Grinding nozzle
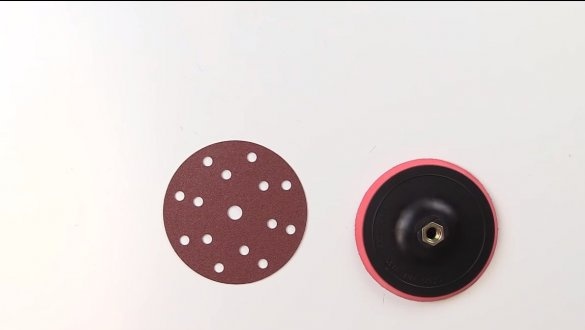
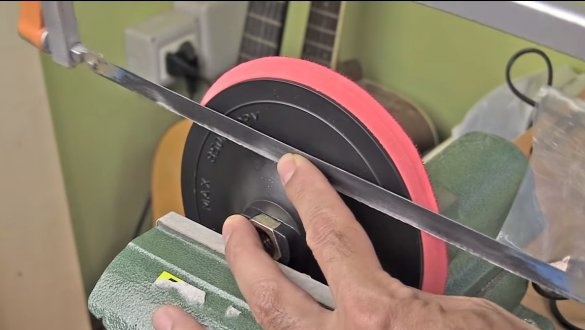
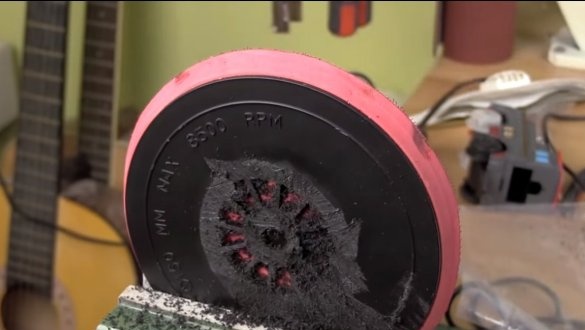
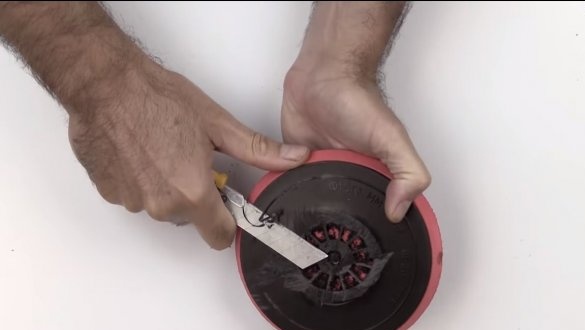
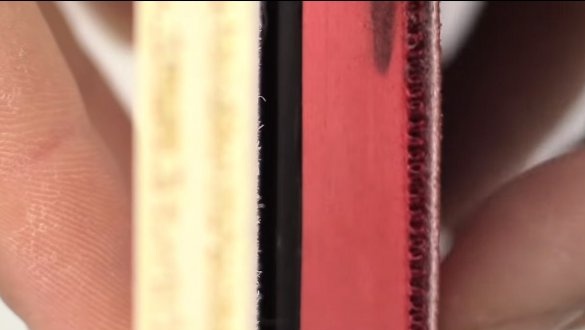
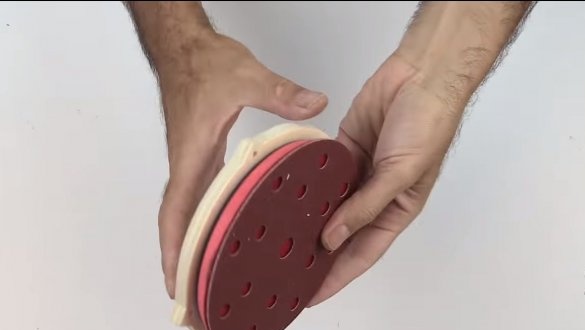
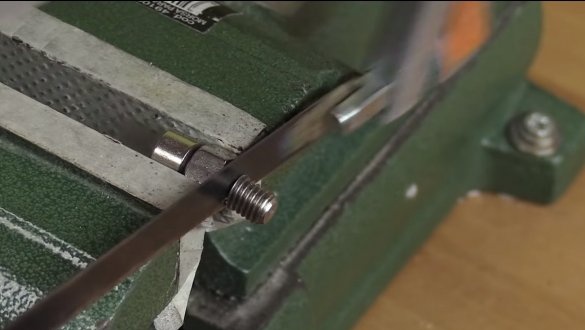
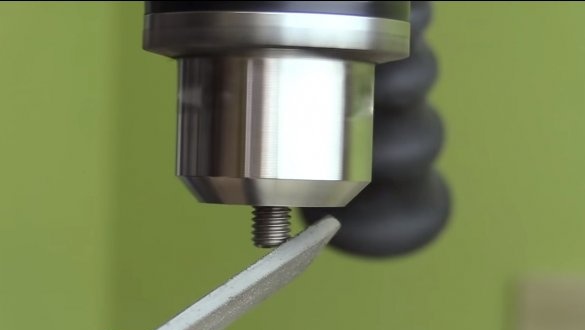
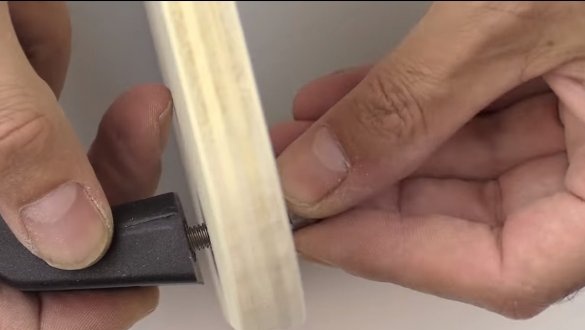
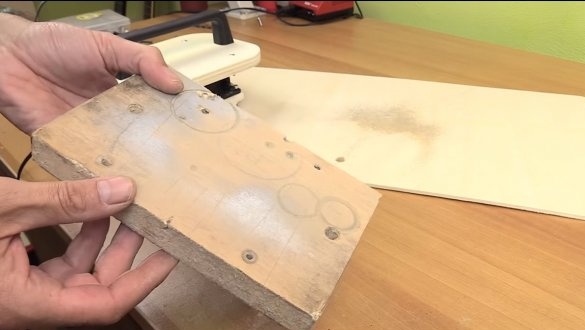
First of all, we will prepare the grinding nozzle. It will be rigidly fixed on plywood with us. We take a hacksaw and cut off from it that part where the nut is. As a result, we can then fasten it with screws to plywood. We cut off the remaining burrs with a clerical knife, and we can grind the plane.
Step Two Frame
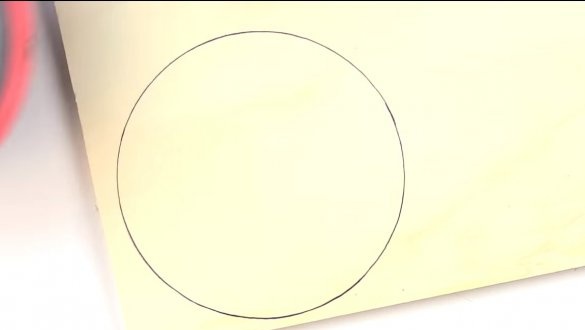
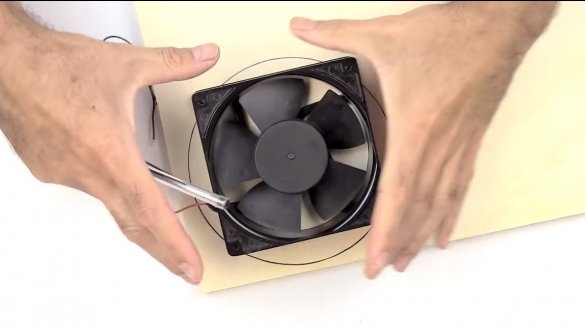
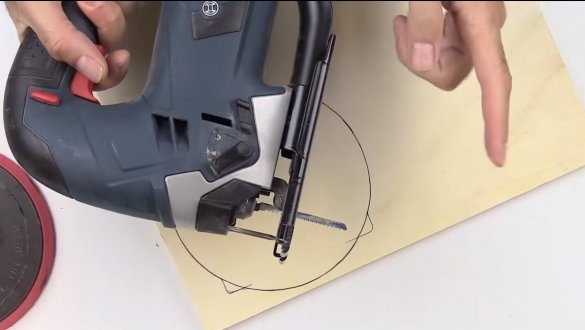
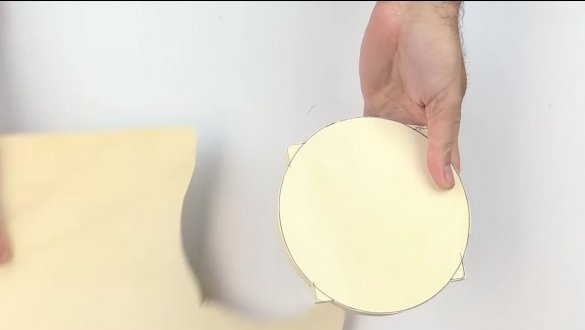
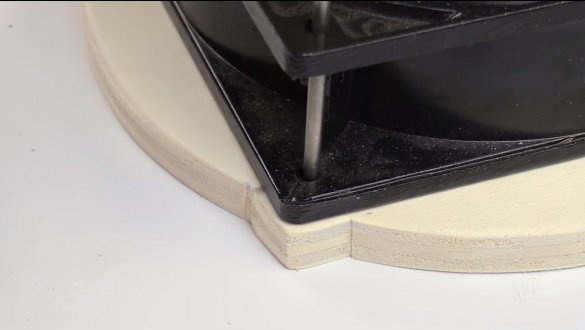
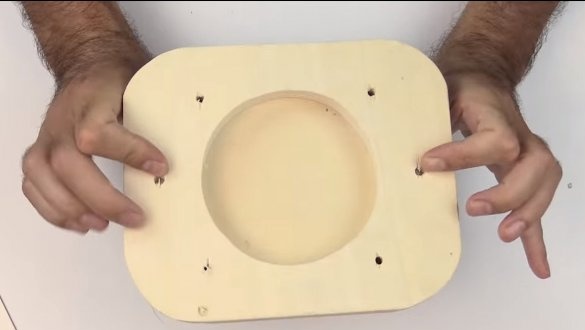
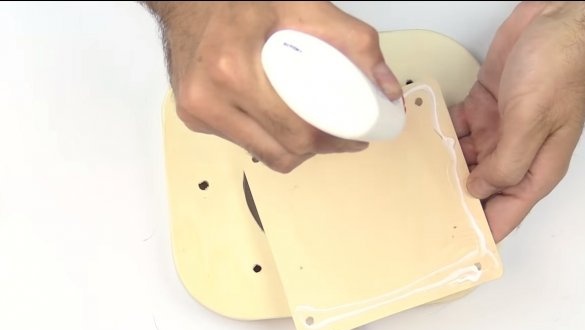
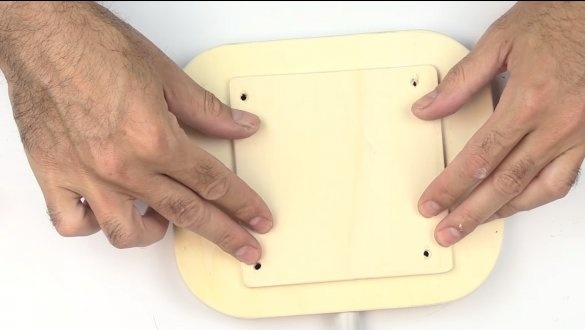
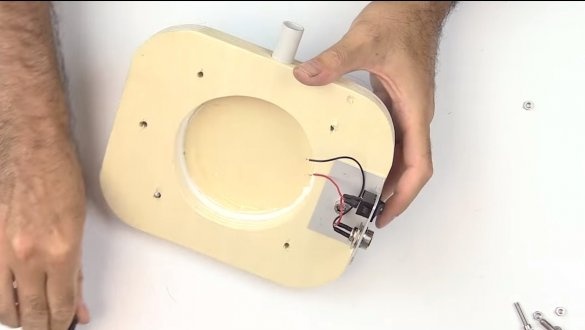
Now we will make a frame to which all elements of the device will be attached. It is a piece of fiberboard cut so that a fan and a grinding nozzle can be installed on it.
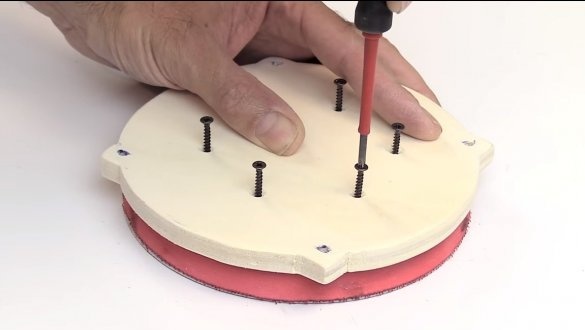
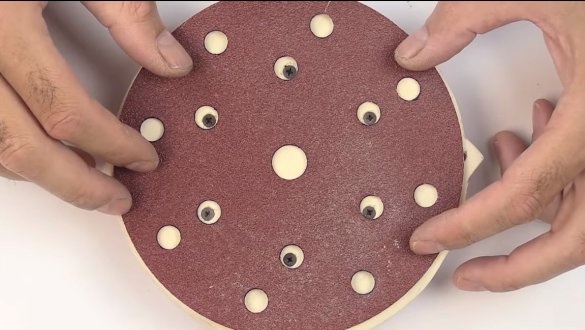
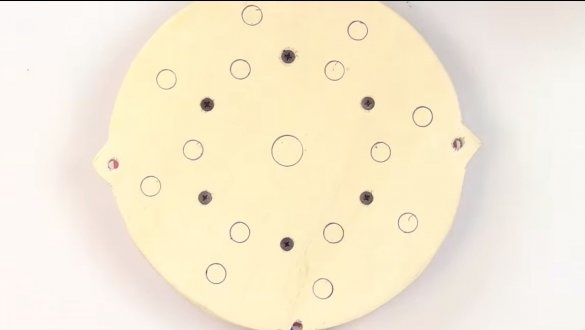
As soon as the frame is ready, we fasten the Velcro to it using self-tapping screws.
Step Three Vibration device manufacturing
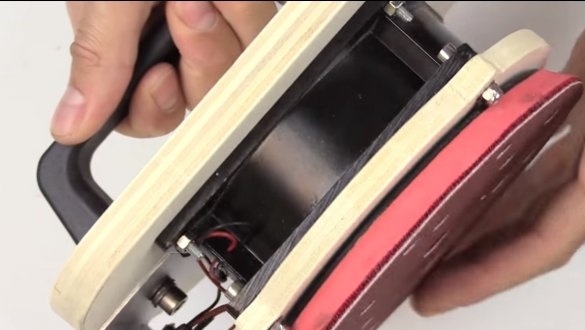
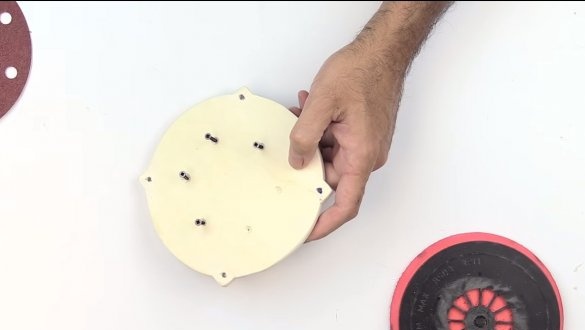
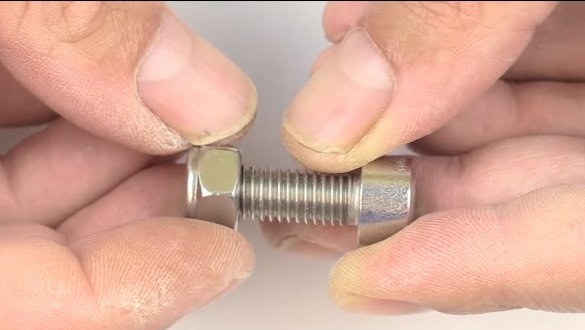
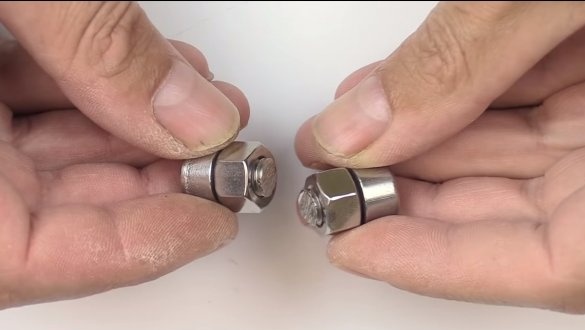
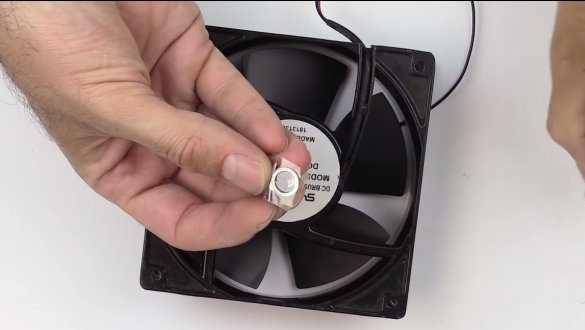
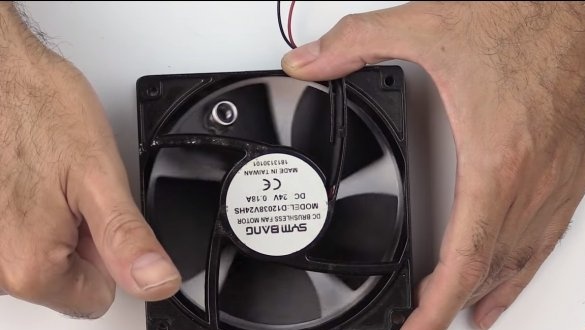
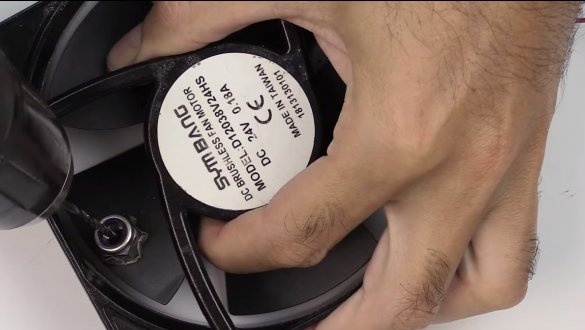
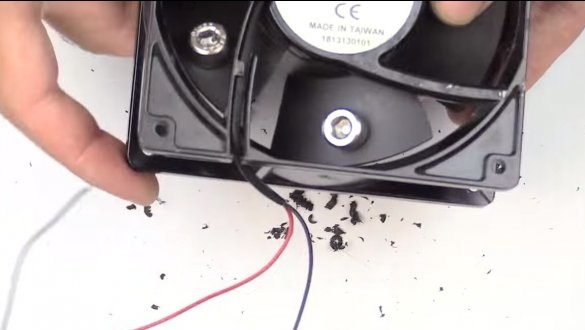
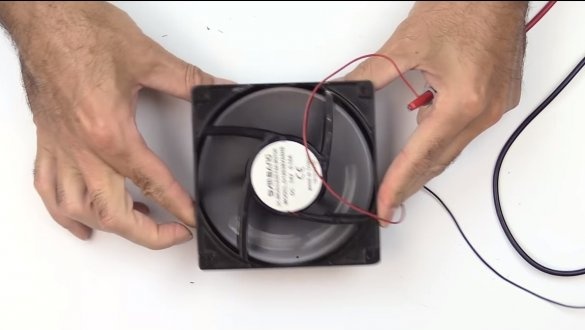
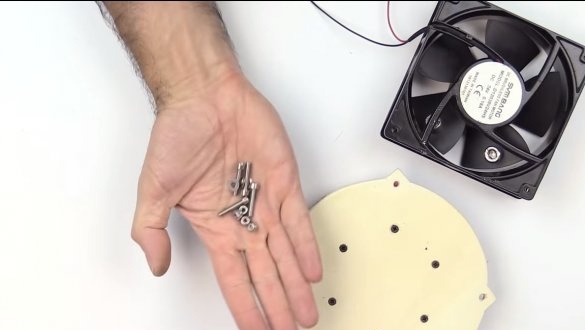
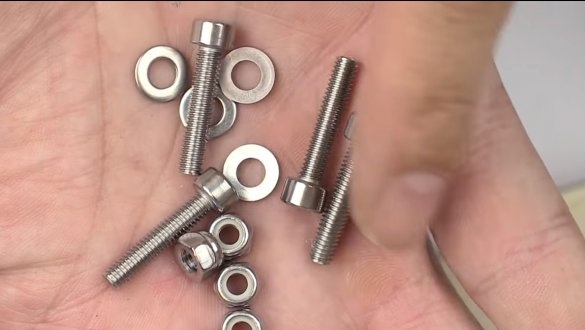
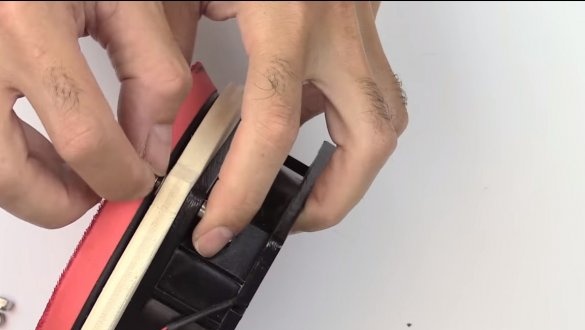
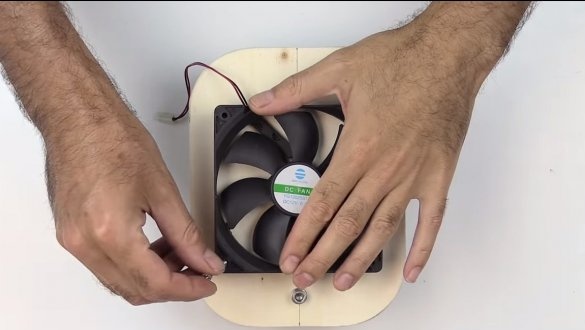
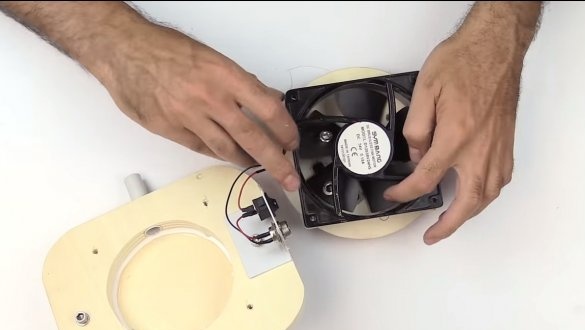
Vibrator we zabatsatsya from the fan. All that is needed is to install the weights on the blades. As weights, the author adapted the screws with nuts. The farther the weights are from the center and the heavier they are, the stronger the vibrations.But do not forget that the power of the fan motor is not immense.
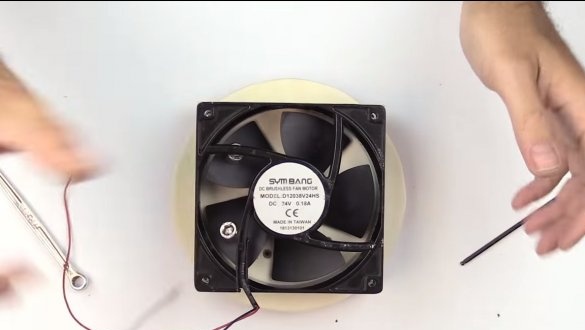
Once the fan has been finalized, it can be screwed to the frame, to which the Velcro is already screwed.
Step Four Top manufacturing
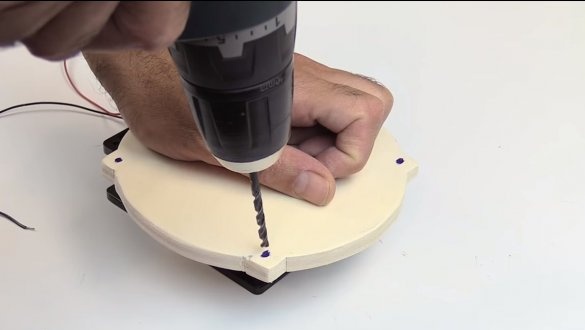
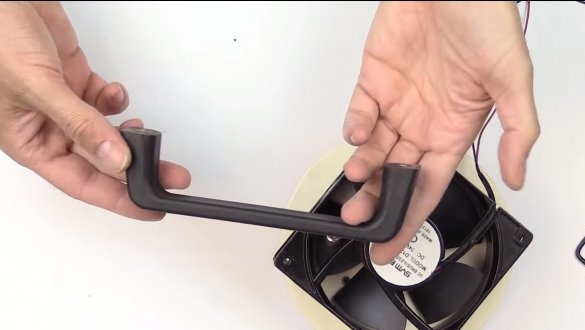
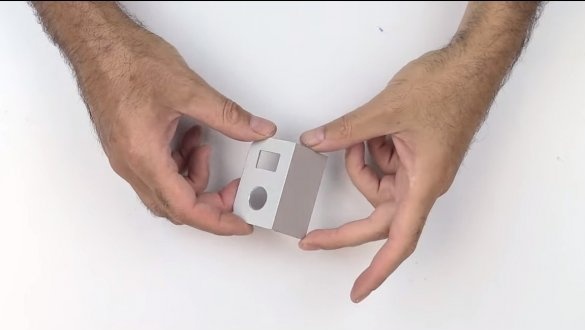
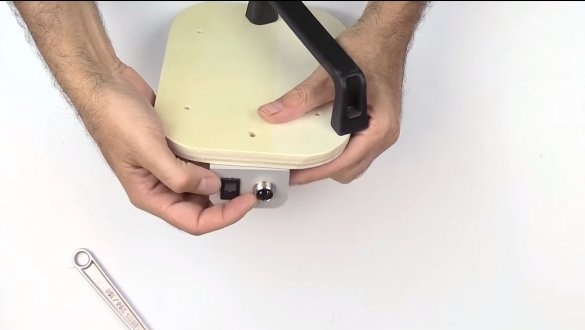
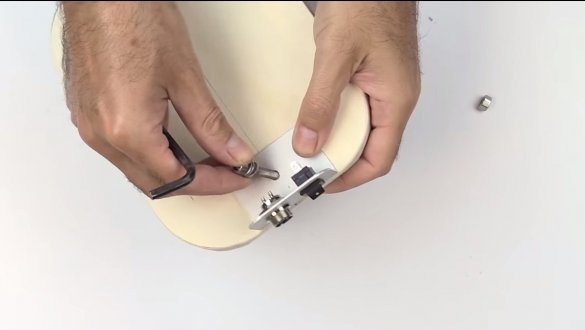
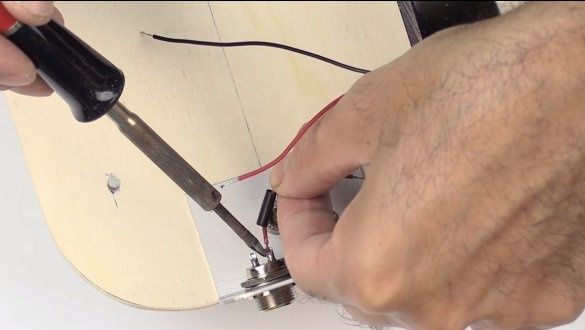
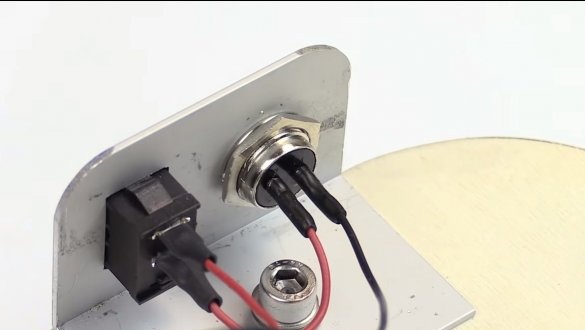
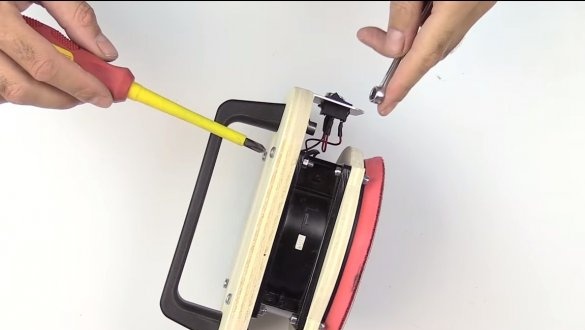
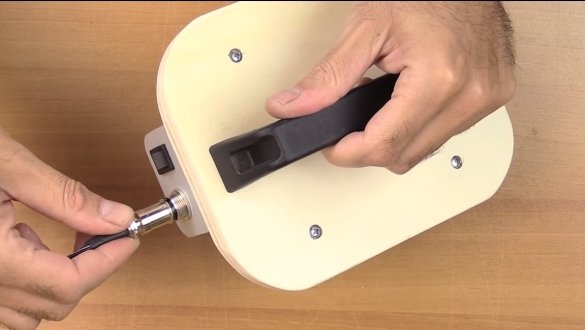
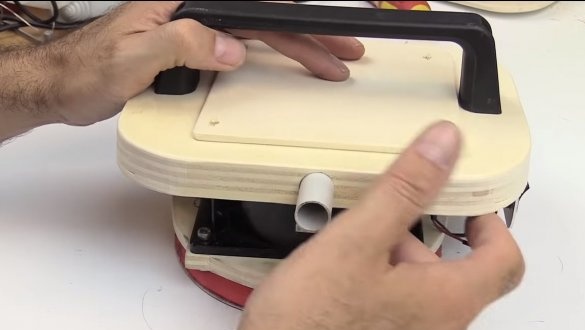
Next, we’ll make the top of the device, a handle will be installed here, as well as a socket for connecting the power supply and a switch. We cut this part out of plywood and fasten it to the fan. The author installed the switch and the socket for connecting the power supply to an aluminum corner; it is screwed to the top.
Step Five Chip assembly device
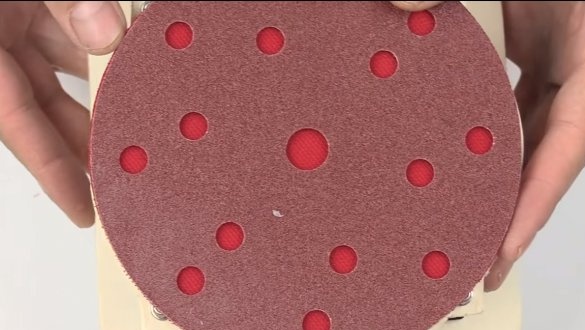
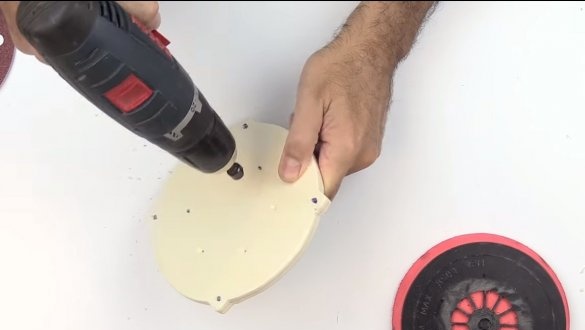
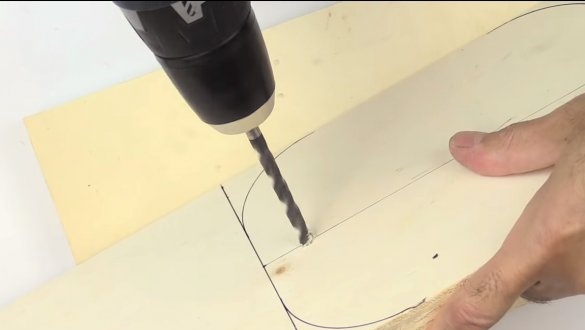
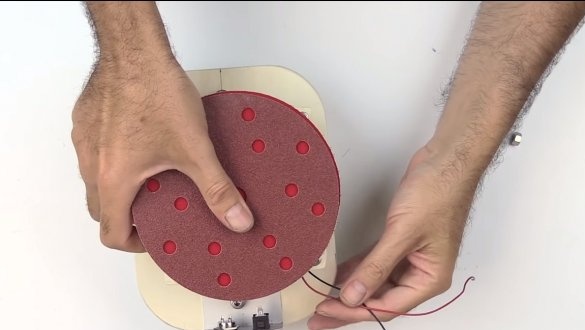
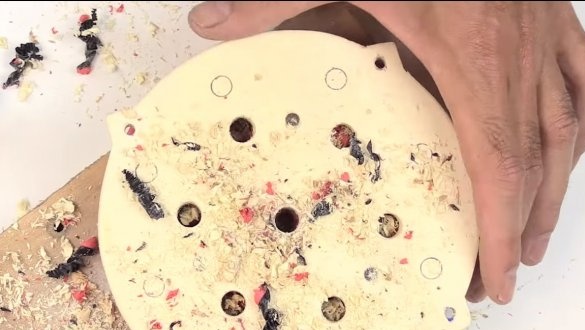
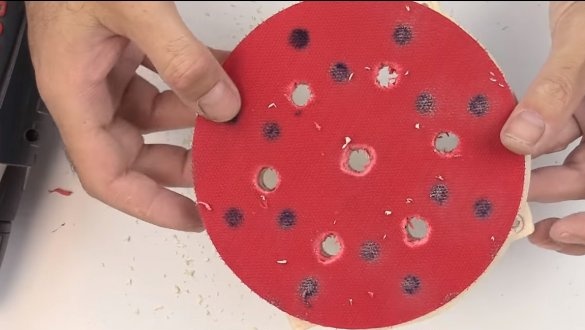
Now it remains to equip the system for the assembly of chips, which the author did not initially plan to do. But to finalize the device was not at all difficult. To begin, drill holes in the Velcro, shavings will be sucked through them.
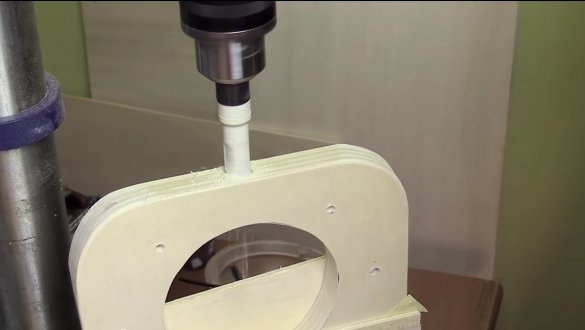
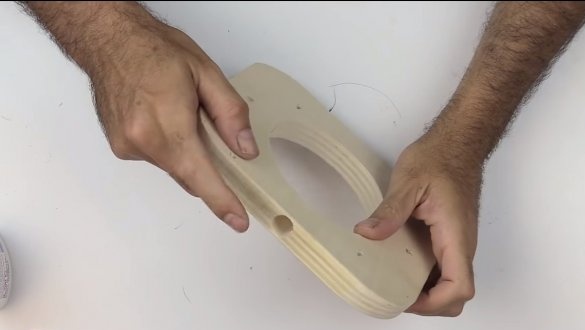
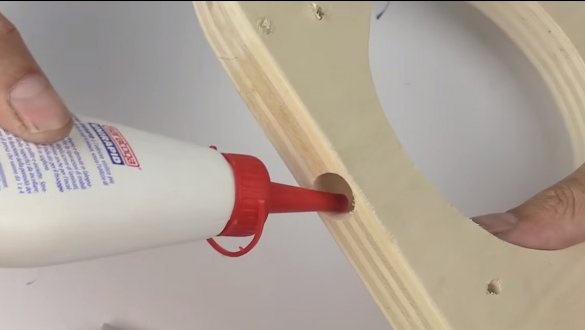
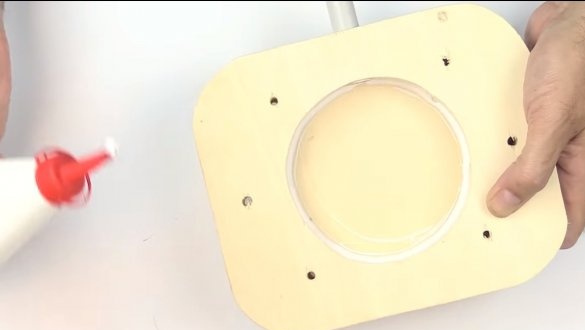
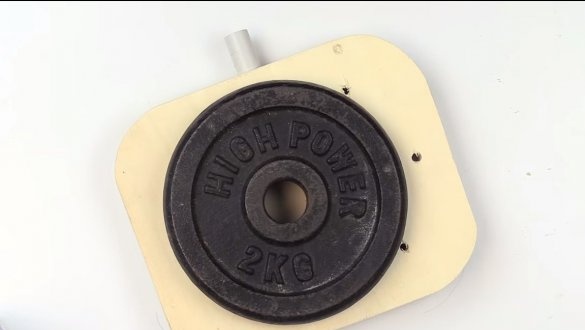
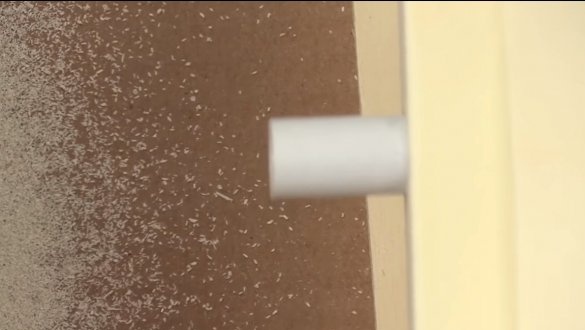
In the frame to which the Velcro is screwed and the fan in the center, we cut a round hole, and then perpendicular to it we drill a hole for the outlet pipe. The author uses a plastic tube, sits it on glue.
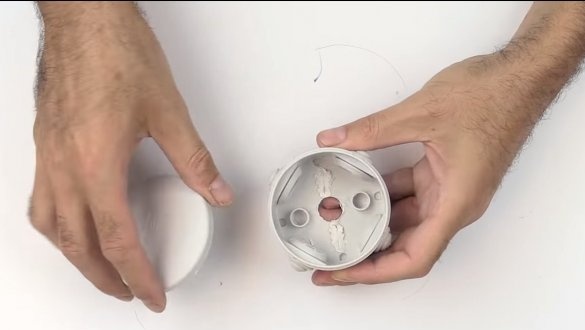
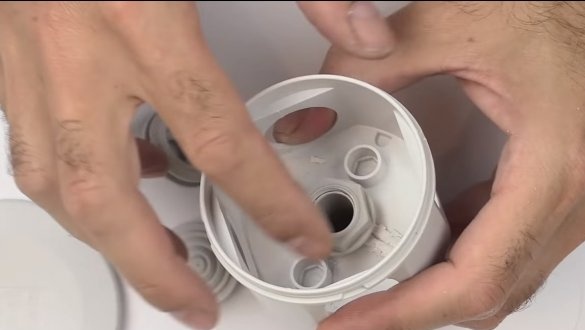
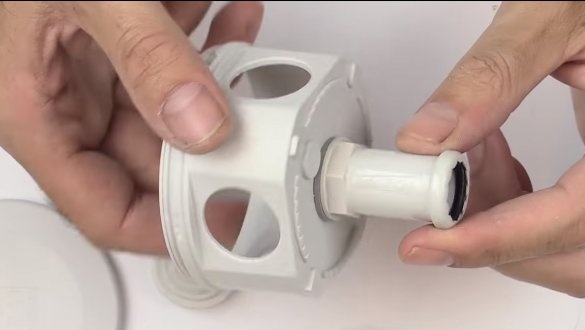
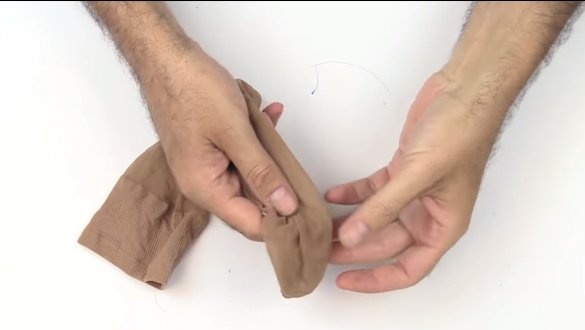
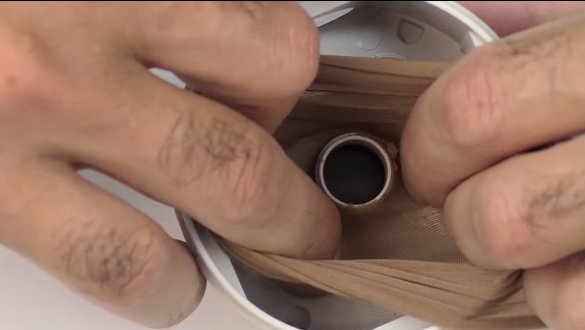
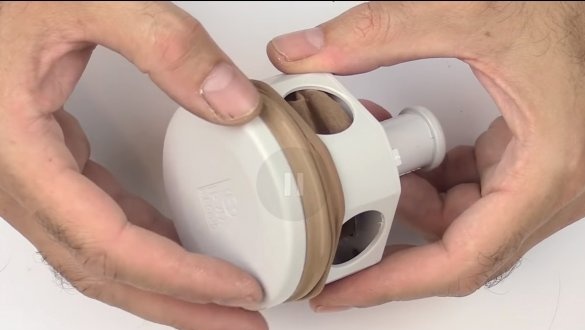
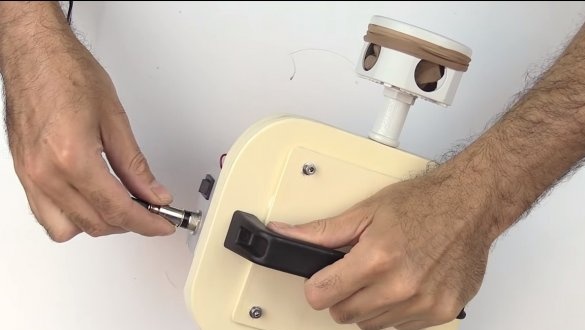
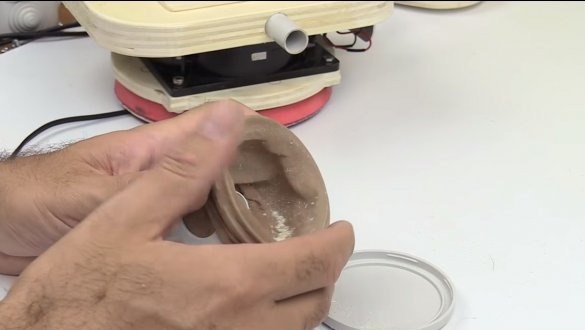
That's all, now the machine will spit out chips from the output pipe. If you need to collect chips, you can make a special collector or filter. Its author made from the case of a junction box and a piece of plastic tube. A stocking is used as a filter element.
That's all, the homemade product is ready. The machine polishes quite normally, as for its power. Chips are also removed quite efficiently. I hope you liked the idea, and you found useful information for yourself. Do not forget to share your homemade products and ideas with us. Good luck and creative inspiration!

