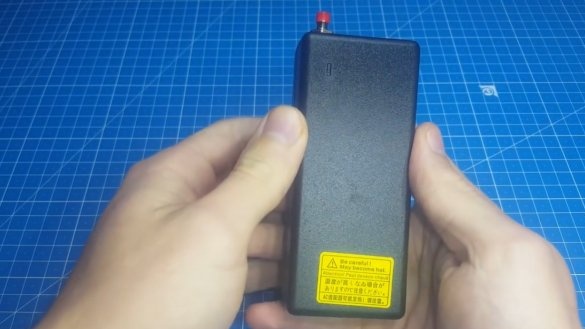
Today, together with Roman, the author of the YouTube channel “Open Frime TV”, we will collect and test such an EMP gun, with which you can disable various electronics.
In such articles, videos and other materials, a warning sign is inserted, just in case, here it is:
And now we go directly to homemade. I think everyone who assembled the Tesla coil saw how it negatively affects various electronics. The author, when he made and tested his first coil, ditched the phone, it was very unpleasant.
What is the reason for the failure of devices? Everything is very simple - strong electromagnetic radiation of high frequency.
They sort of sorted it out. Now for the EMP. Of course, you will not carry the Tesla coil with you, which means you need to do something similar, only smaller.
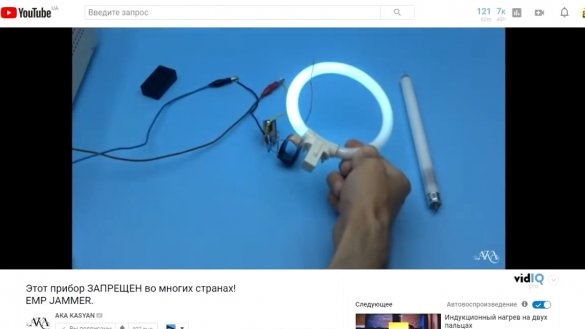
You can implement this project in 2 ways. The first showed AKA KASYAN (a well-known blogger on YouTube) in his video.
Such a topology is similar to Kacher Brovin (anyone in the subject will understand). Well, once this is shown, then the second option remains - to do on the arrester. It is easier to implement and does not require special soldering skills.
Necessary components for assembly:
1) High voltage (HV) module;
2) Coil;
3) Arrester;
4) Button;
5) Li-ion battery 18650;
6) Plastic case.
Now in more detail about each component. First of all, it is a master device. It could be such a Chinese module:
This can be purchased without any special problems in the Chinese online store Aliexpress. These modules are, as you see, pretty expensive. You can also find a similar module in cheap Chinese stun guns. The author will just use just this:
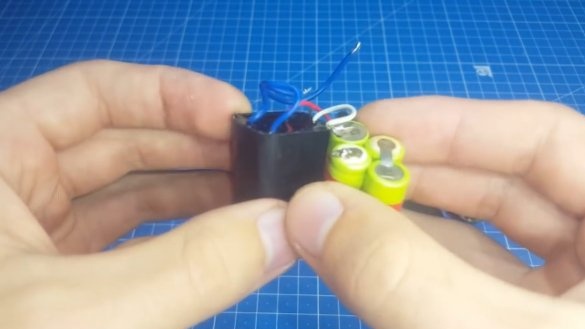
This old Chinese shocker, lay a couple of years idle. The author disassembled it and took out the element necessary for this homemade product. It can work from one or even 2 lithium-ion batteries of 18650 format.
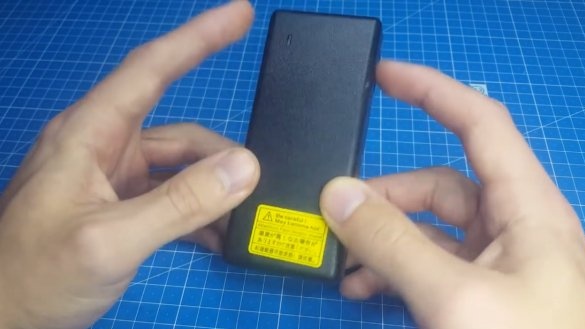
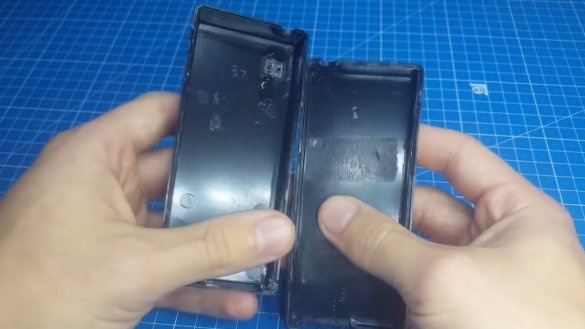
Next we need a case. Here, the case from the laptop power supply is ideally suited.
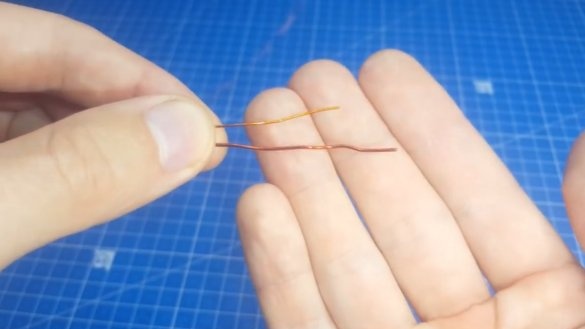
The next element is a wire for winding a coil with a diameter of 0.5 mm to 1 mm.
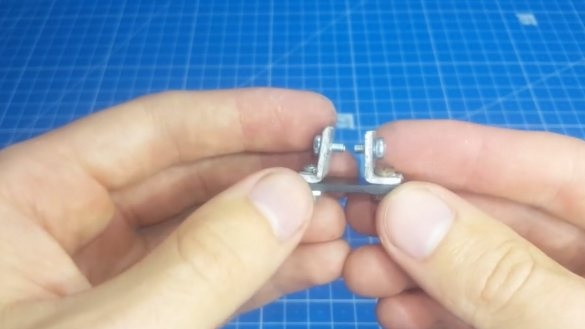
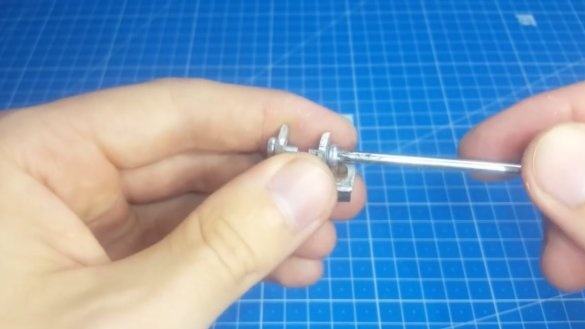
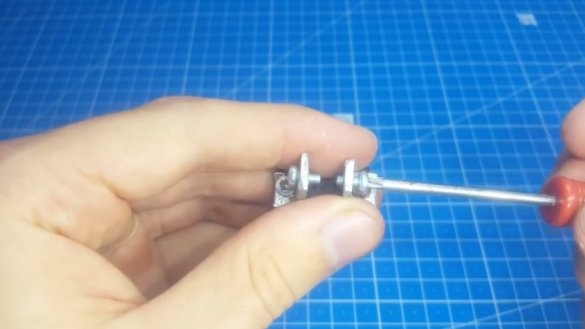
Well, the last component is the arrester. It can be made from anything, albeit from an old car candle, even from 2 nails fixed to a support. The author took 2 screws m3 and made such an impromptu spark gap:
By changing the distance between the terminals, we change the breakdown voltage, and accordingly the frequency of the device.
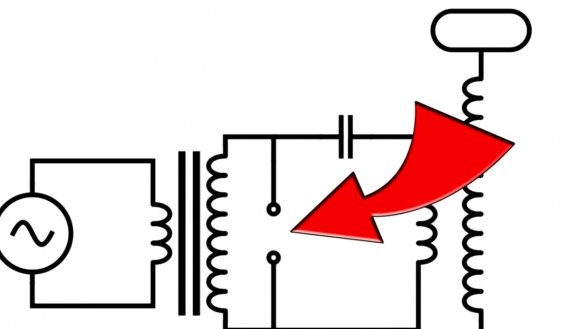
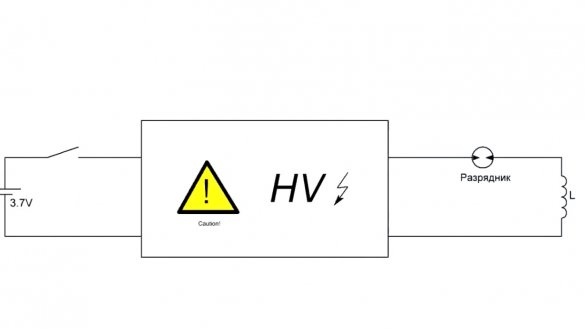
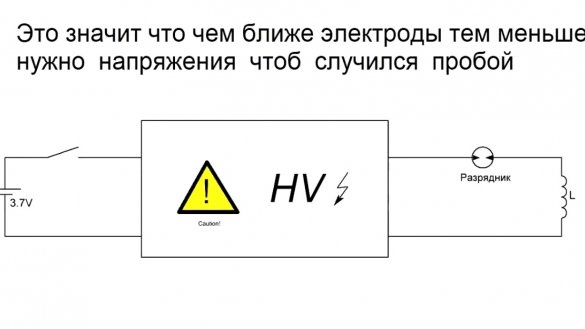
Now let's look at the circuit.
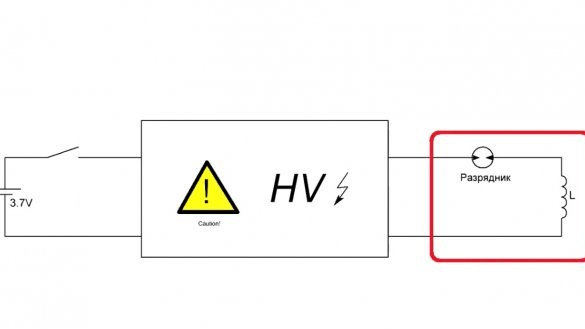
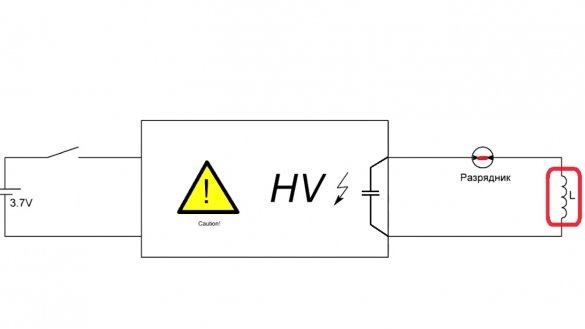
She's pretty simple.As you can see, here we have an oscillatory circuit.
As soon as the capacitors inside the module are charged to the breakdown voltage, a discharge occurs and a magnetic field appears in the circuit.
Do not forget that the lower the breakdown voltage, the higher the frequency. It remains only by selecting the breakdown distance to find the optimal frequency of operation.
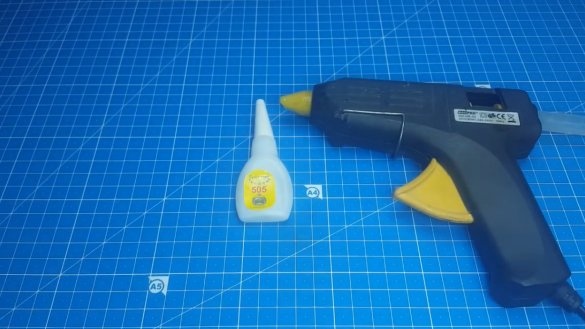
With the circuit finished, you can proceed directly to the assembly of our device. We will assemble today's device using thermo from superglue, all in the best traditions of the masters.
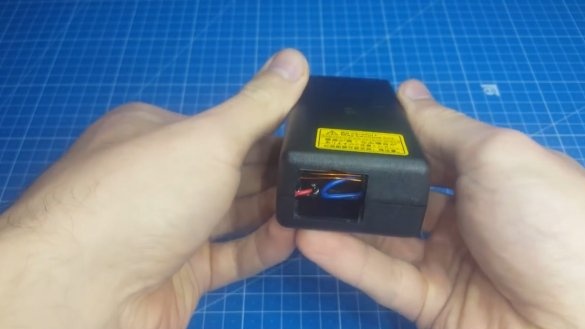
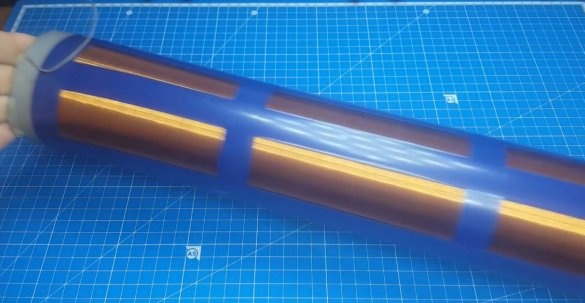
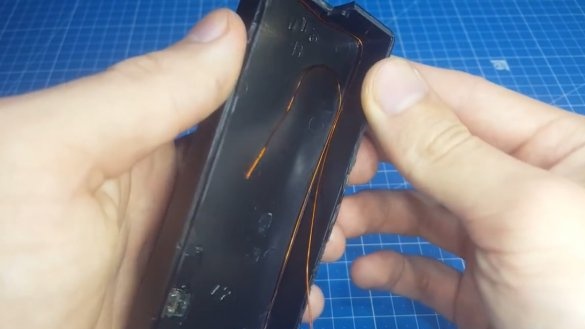
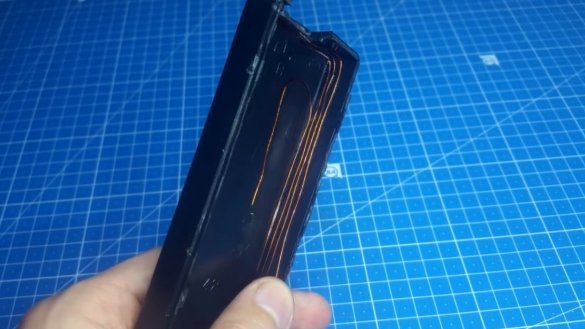
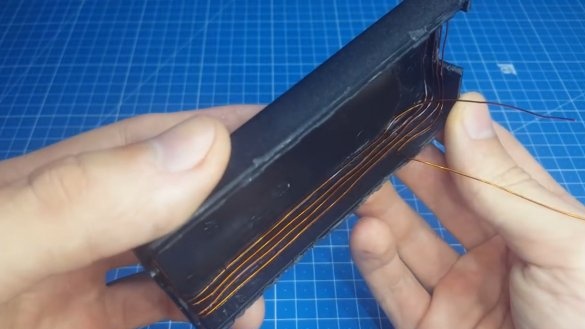
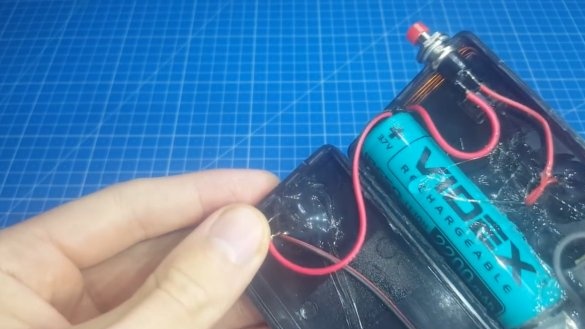
First of all, we make a circuit, it will run along the entire perimeter of the case. This is the hardest thing to do. We take the wire and slowly lay it on the inner side of the housing wall, gluing with superglue.
In this way we make 4 turns. As you can see, after the work done, all fingers will be in superglue, where would it be without it.
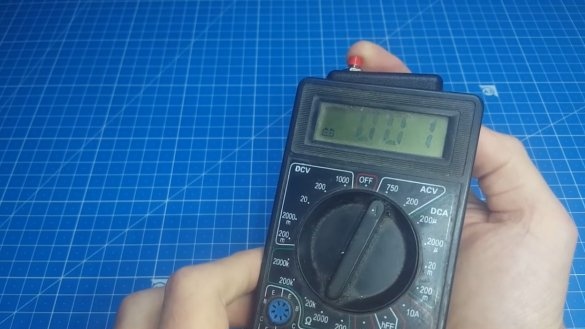
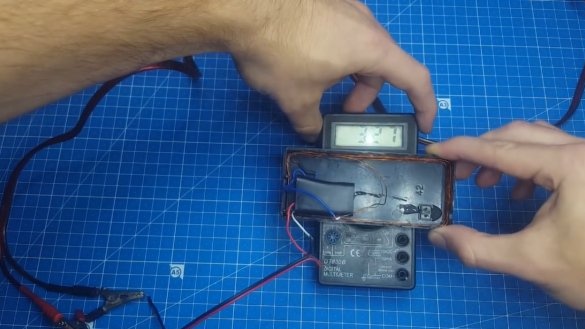
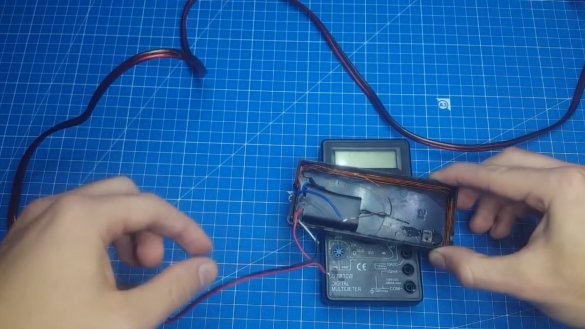
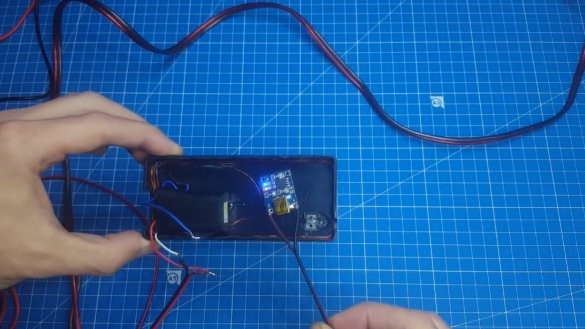
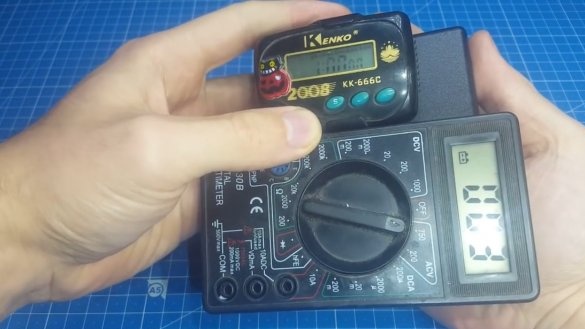
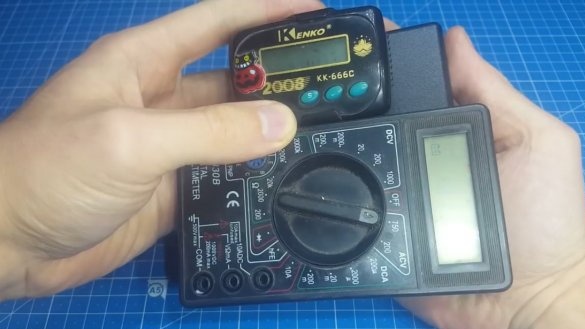
Further, the author decided to immediately test the device without even installing a spark gap. He just wanted to know what such a rather compact home-made device is capable of. The first thing that came to hand was an old multimeter.
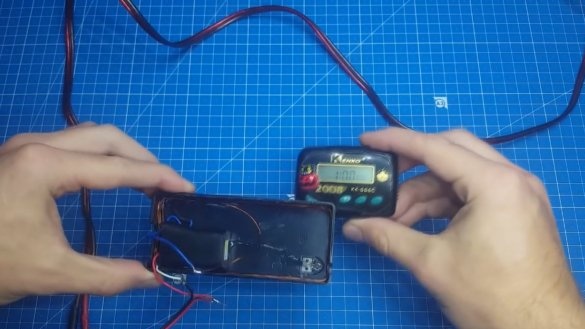
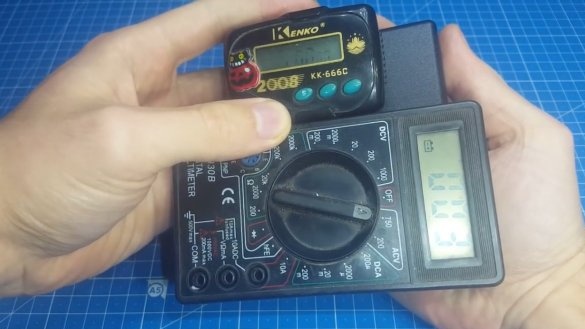
As you can see, when approaching our device to it, the values disappeared from the display of the multimeter. Perhaps if you hold it for such a longer time, the multimeter will completely fail, but the author felt sorry for him, and he stopped the experiment. Then he began to look for something else to check the EMP gun. The old watch fell under the hands.
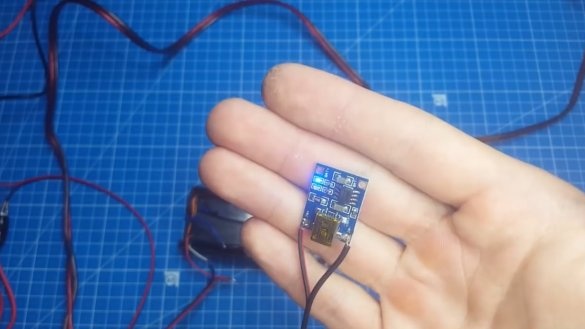
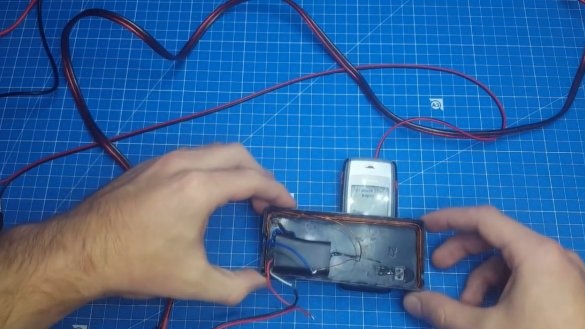
As you can see, the same thing happens with them as with a multimeter. At first, the values disappeared, and then the clock generally reset. There was no longer any needed electronics in the house, then the author took just such a miniature Chinese charging board for a lithium-ion battery:
As you can see, when entering the field, a red LED began to shine signaling the charging process, well, nothing bad happened to her. Let's also try to bring our device to an old phone.
But alas, this is Nokia and it has such toys to one place. As you can see, the scope of such a thing is large, but not unlimited, since with such simplicity of the device you will not get more.
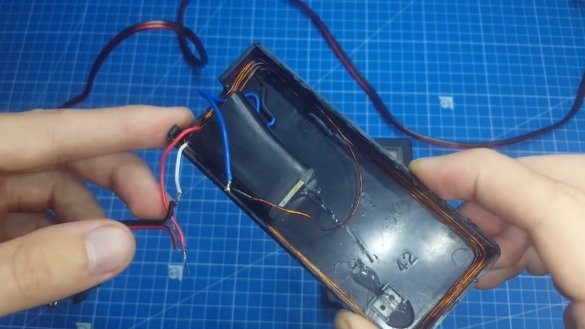
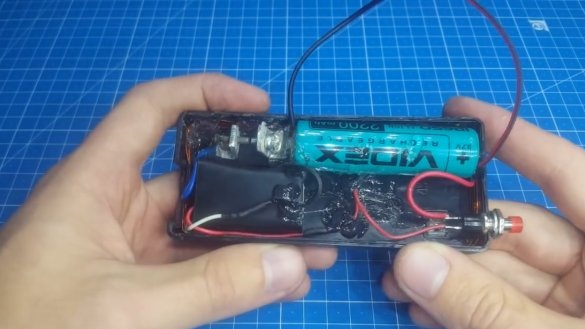
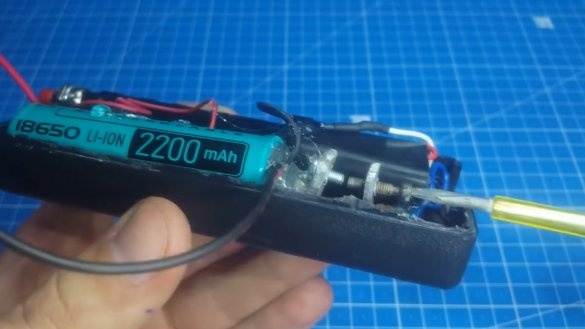
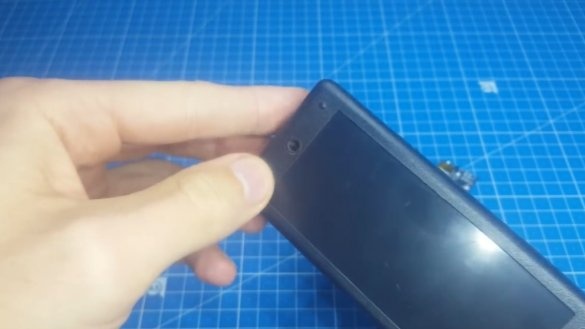
Now it remains to fix everything normally, install the button and close the case. This is a matter of 5 minutes, even a schoolboy can handle it.
In a good way, the arrester needs to be configured for maximum effect, but this is up to the choice of who will repeat this device.
It’s not worth it to charge the battery inside, you know it would be foolish. Therefore, the author brought out a charging connector.
Well, on this assembly is completed. To consolidate, we will make some more tests, but already assembled.
You see the result yourself. Yes, and when using, do not forget that some devices are in a metal case and therefore they will not be affected - the Faraday cage after all. Well, that’s all. Thank you for attention. See you soon!
Video:

