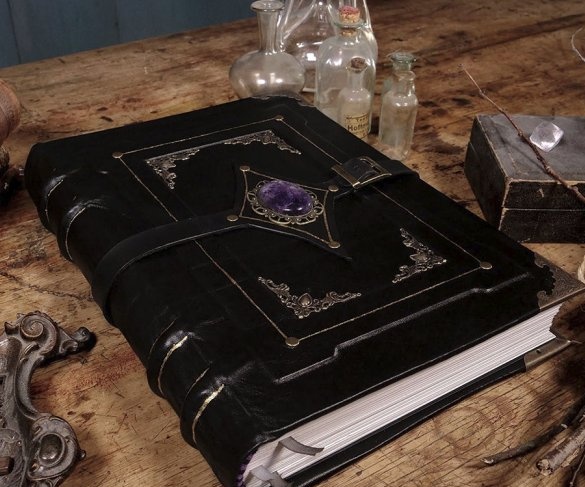
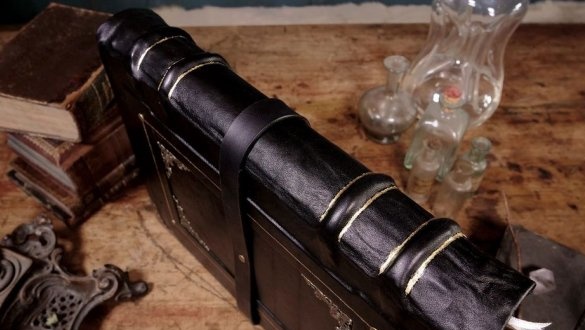
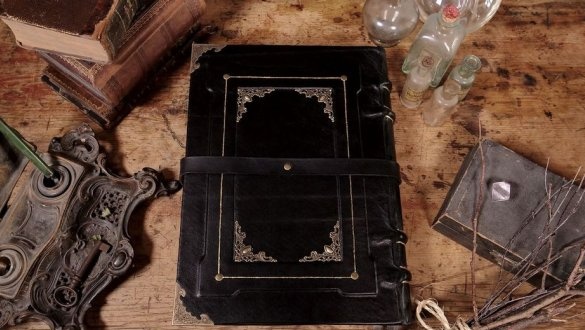
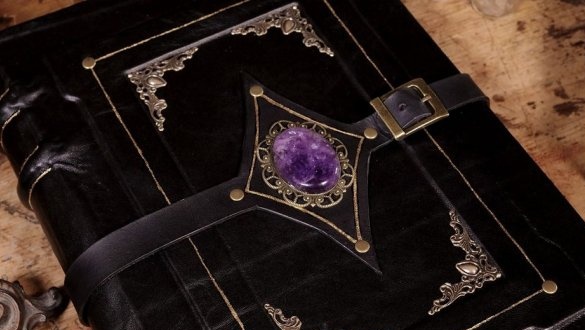
This article will show you how to make a leather-bound book. do it yourself. Not everything is as complicated as it seems, and together with the master we will go through all the steps of making a book.
Tools and materials:
- Sheepskin 0.4 mm;
-Fibreboard;
-96 sheets of paper in E3 size (110 g / m2);
-2 sheets of A3 black paper (140 g / m2);
-Jute cord;
- Hemp thread;
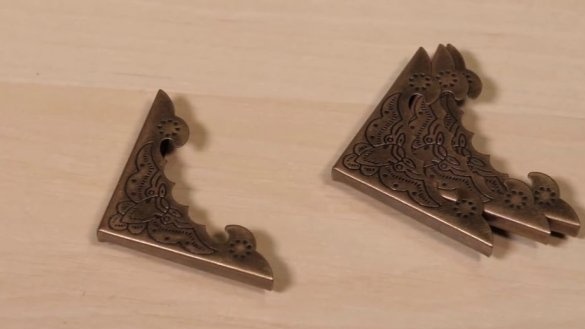
- Brass decorative corners;
- Brass nails;
-Amethyst;
-Decorative detail for stone;
-Gold foil;
-Satin ribbon;
- Linen fabric;
-Paint for skin;
-Parchment;
-Coating;
-Tools for working with the skin;
- Jigsaw;
-Wax;
-PVA glue;
- mallet;
-Press;
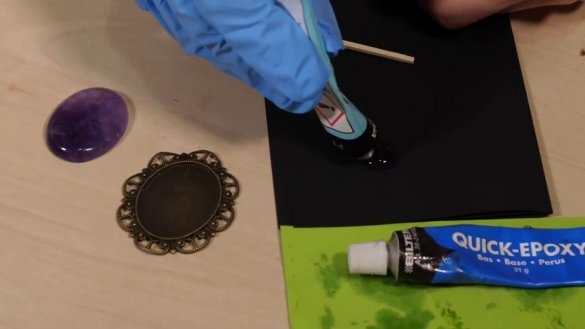
-Epoxy adhesive;
-Glue moment;
-Scissors;
-Knife;
-Drill;
Step One: Paper Preparation
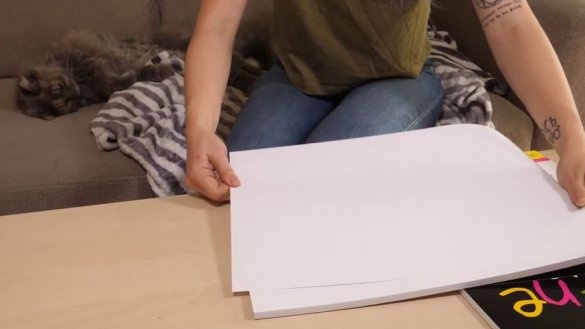
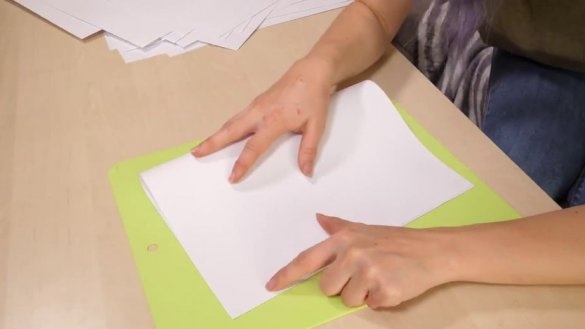
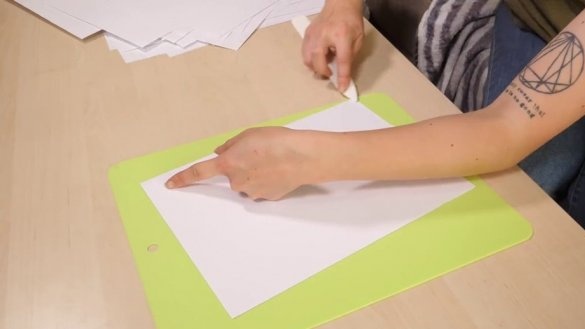
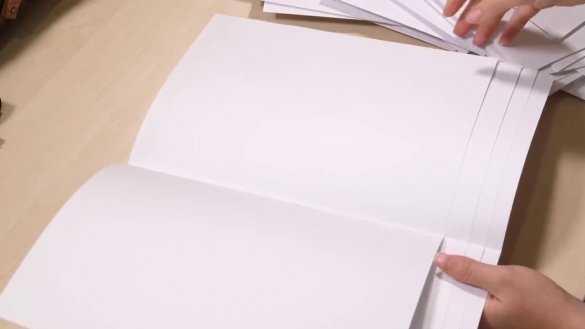
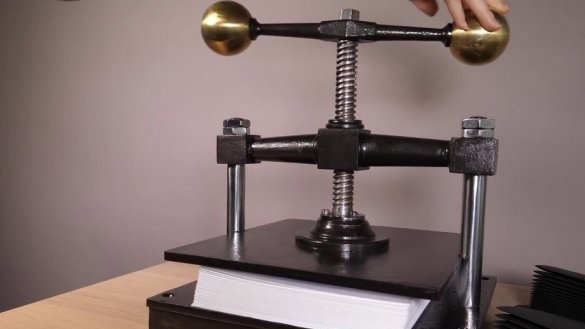
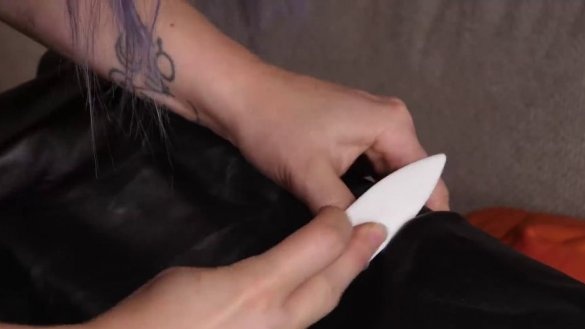
For the book, the master uses paper 110 g / m2, it is stronger than 80 and it is more convenient to write on it. The format is used by A3, i.e. sheet of paper 297 × 420 mm. Folds each sheet in half. Inserts a sheet into a sheet forming blocks of 4 sheets. Smoothes out the fold with a bone knife. Then he stacks the blocks in a pile and clamps with a press. The stack is under the press for several hours. On the advice of the master, in the absence of a press, any suitable load can be used.
Step Two: Spine
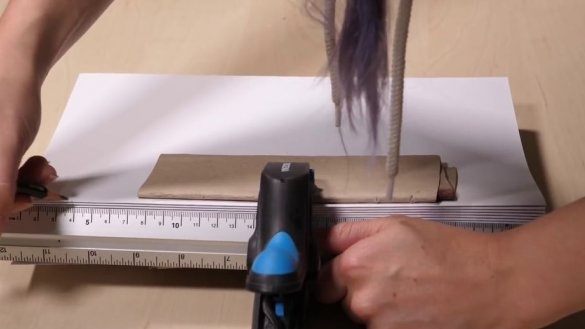
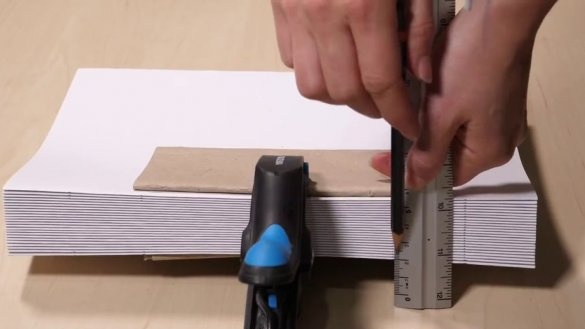
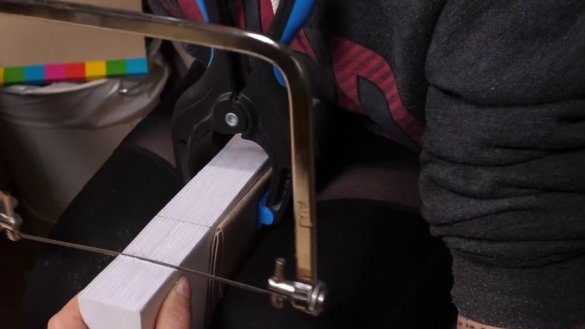
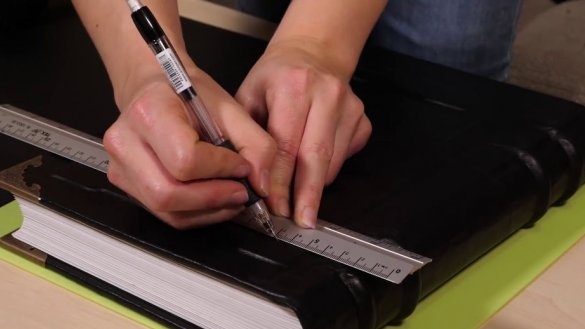
On the bend side marks six lines. The first and last lines are 2 cm from the edge. Then he makes a hacksaw along the cut lines.
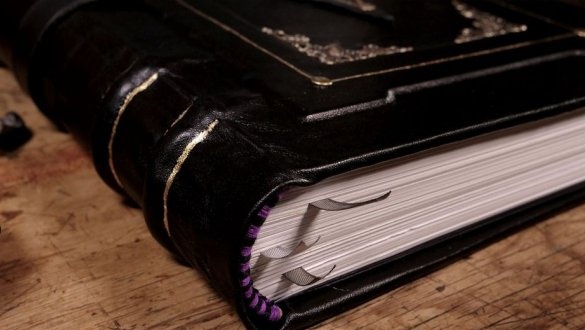
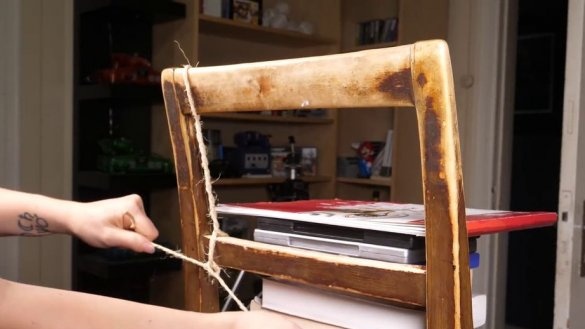
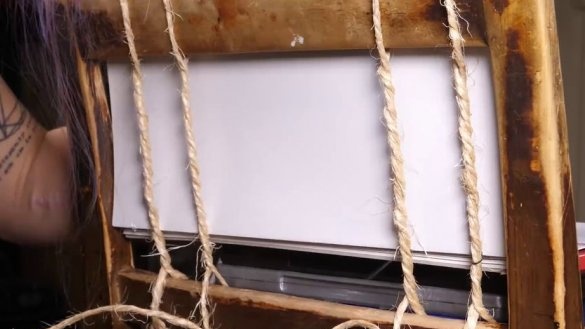
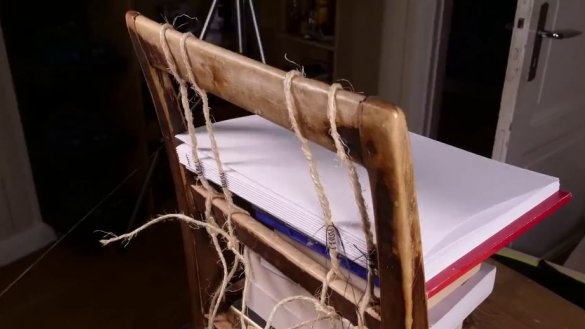
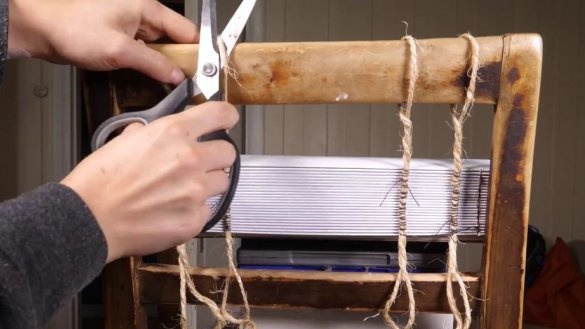
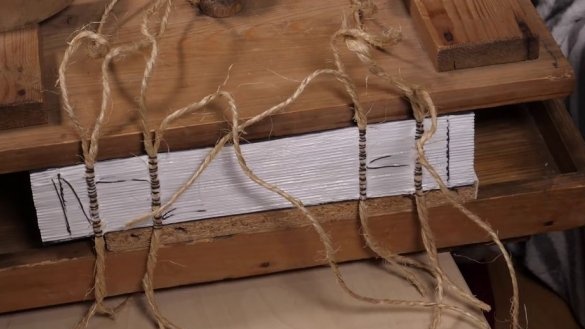
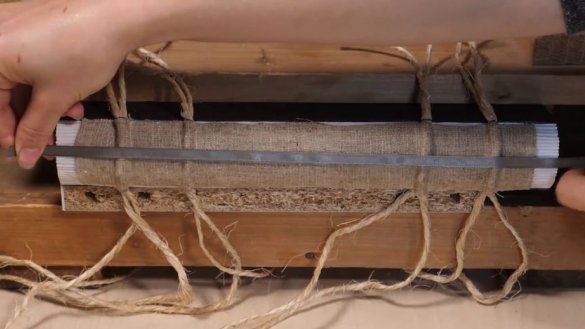
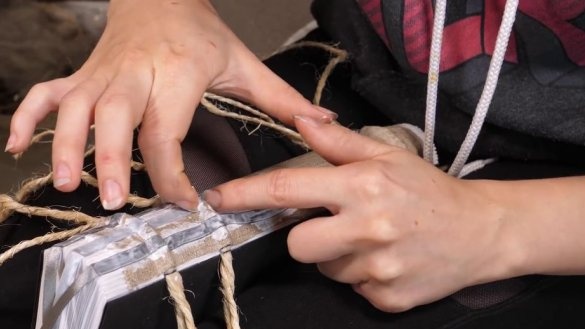
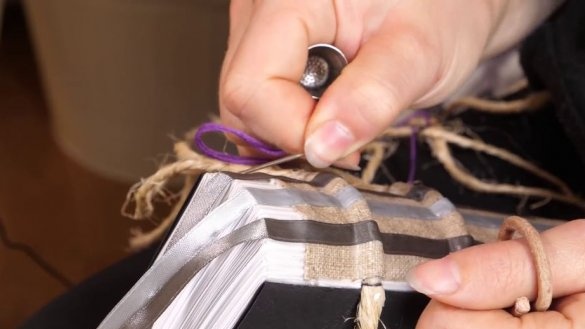
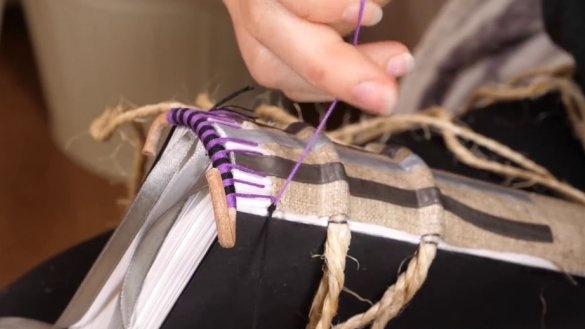
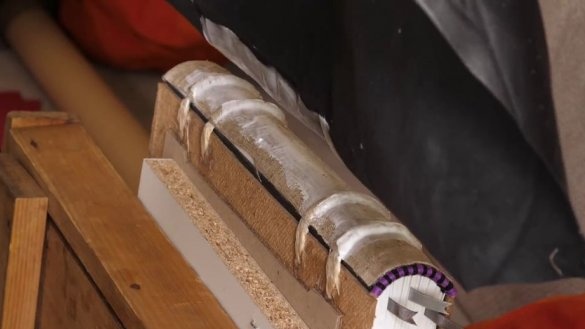
Further, the master uses a tool such as a chair with a back. Four jute tows are tied to the back. Stitched sheets are laid on the chair seat. Aligns the sheets in height, and the cords in the distance between the four middle cuts in the sheets. Now pulls the thread through the extreme hole of the first sheet (in) and pulls it into the next hole (out). Tie the thread to the cord, and the end pulls into the next hole. Thus, reaching the extreme hole, stretches the thread into the hole of the next sheet.
So you need to stitch all 96 sheets. To understand the process, a video will be posted at the bottom of the article.
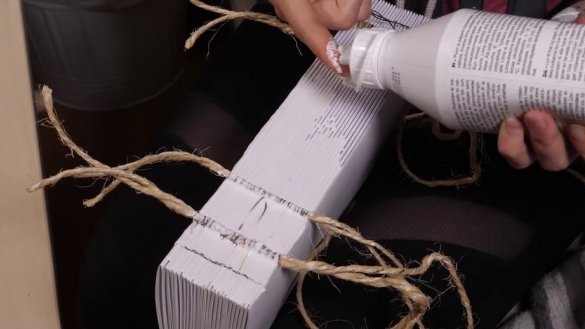
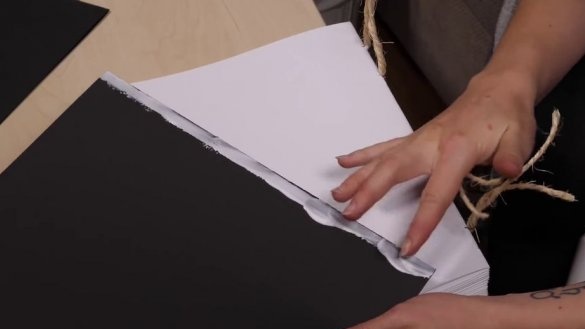
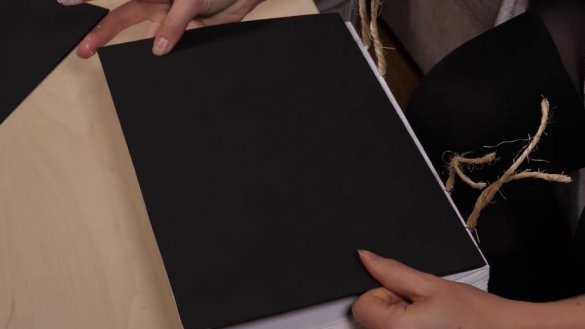
After stitching the sheets, it applies PVA glue to the spine. Glues the flyleaf of black paper. Sets the glued book under the press.
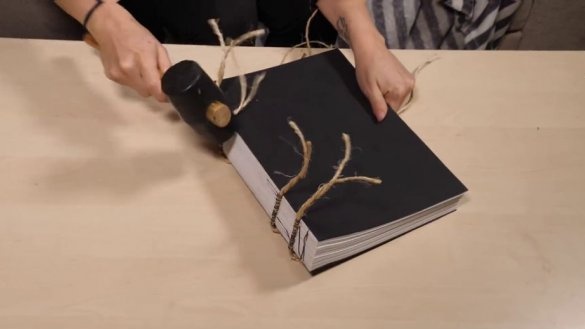
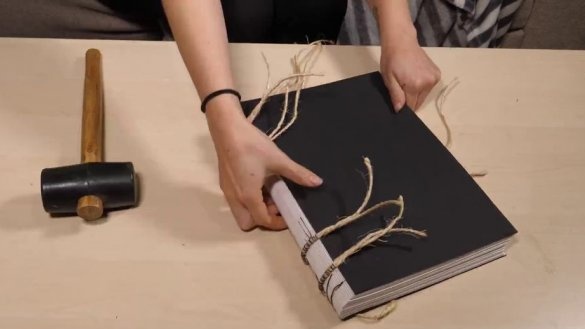
After the glue has dried, the master mallet gives the root a semicircular shape.
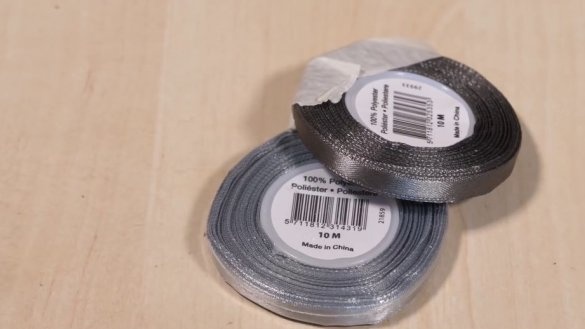
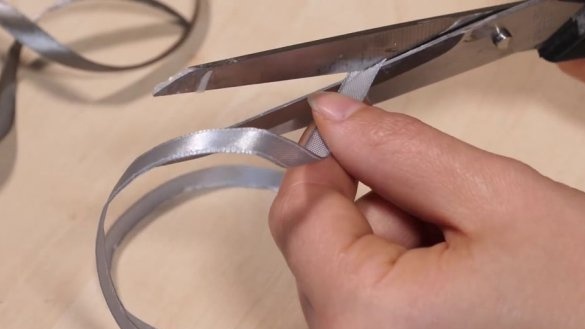
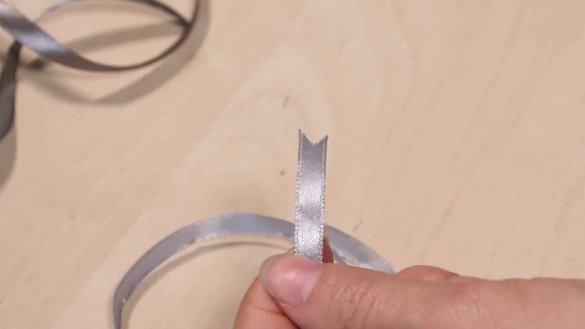
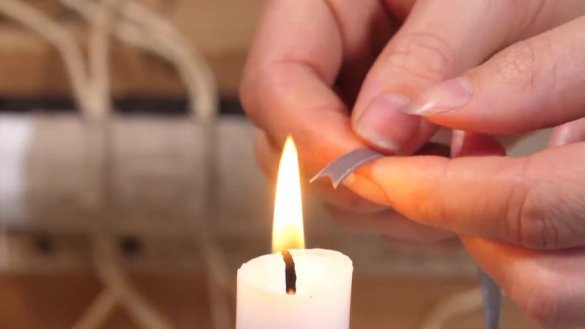
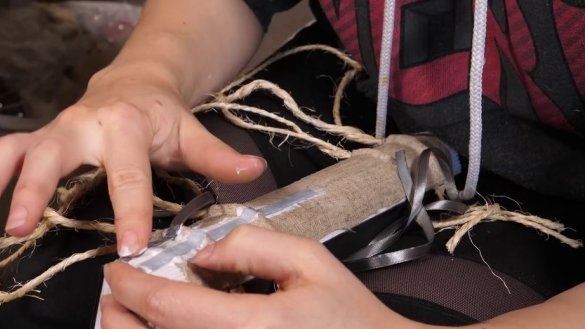
Glues three satin ribbons.
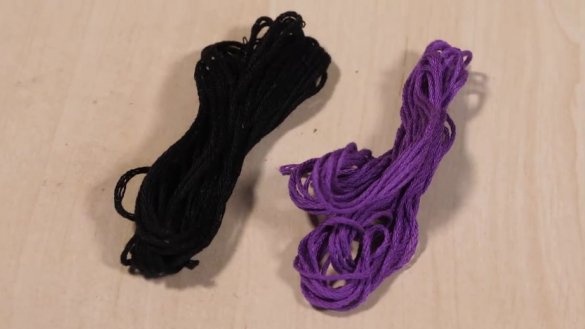
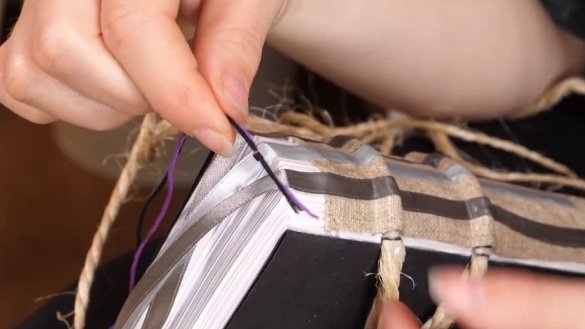
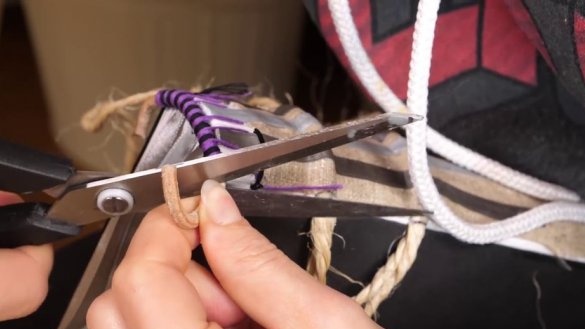
Then a piece of leather cord is sewn with a black top and blue bottom thread.
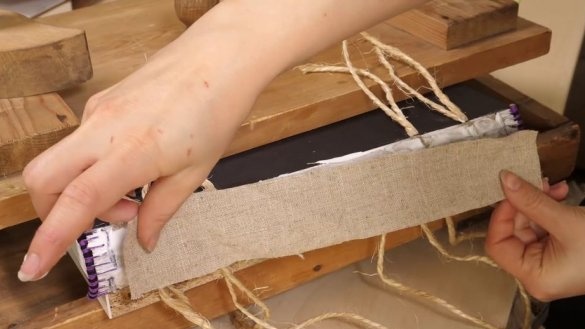
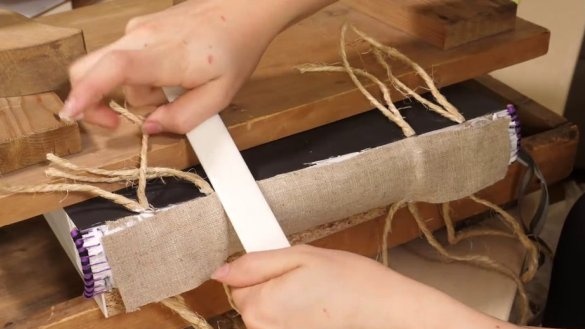
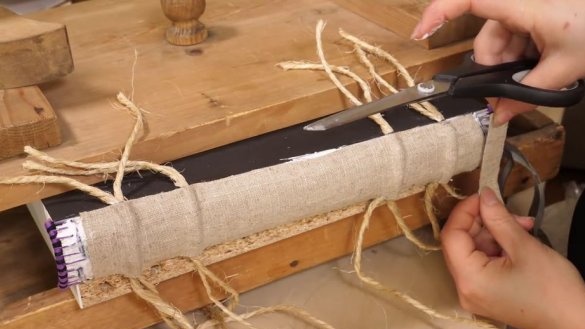
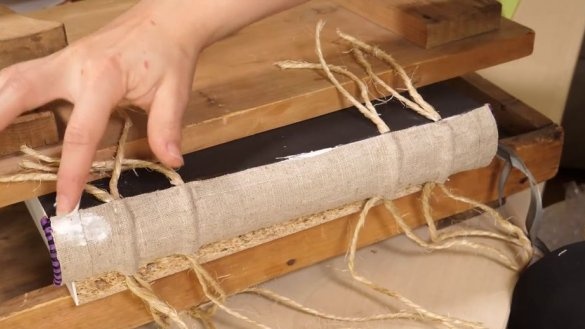
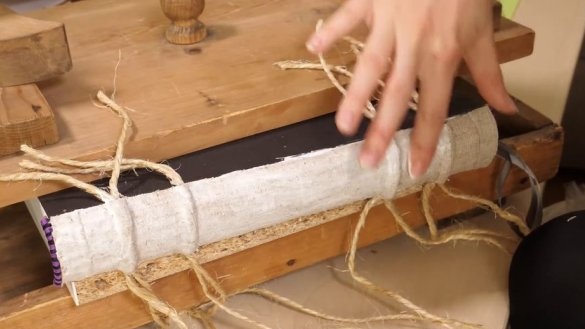
I glued linen cloth on top of the spine.
Step Three: Cover
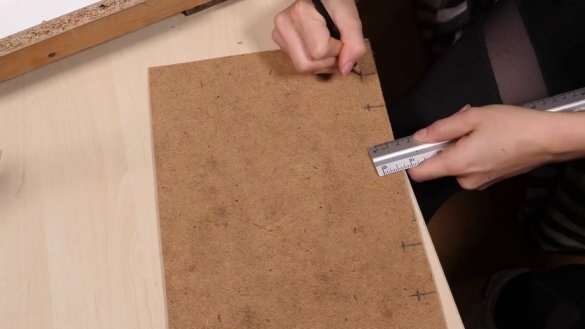
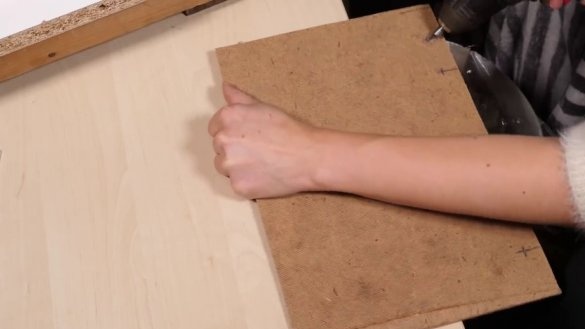
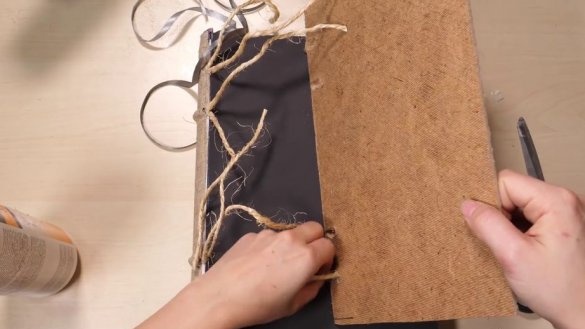
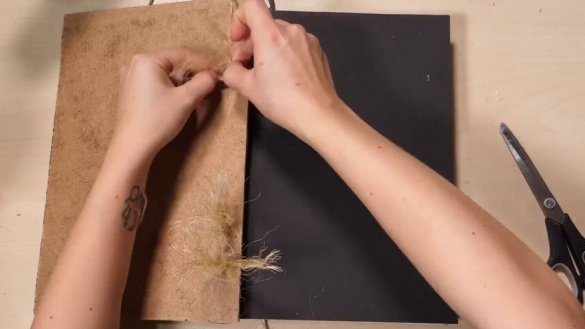
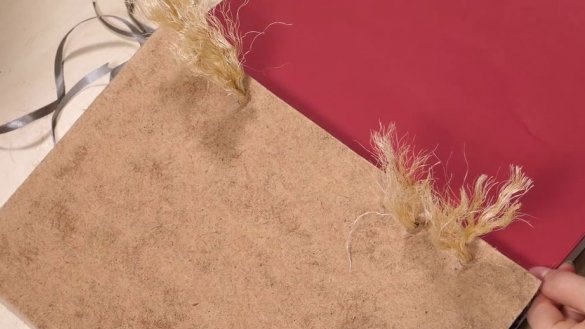
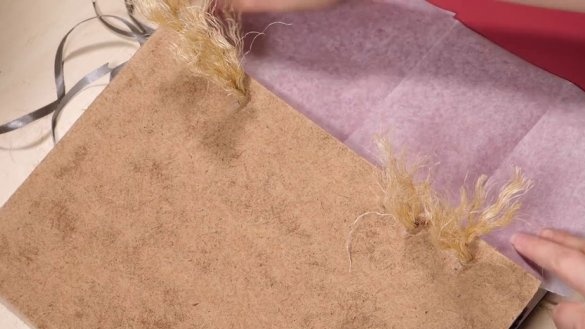
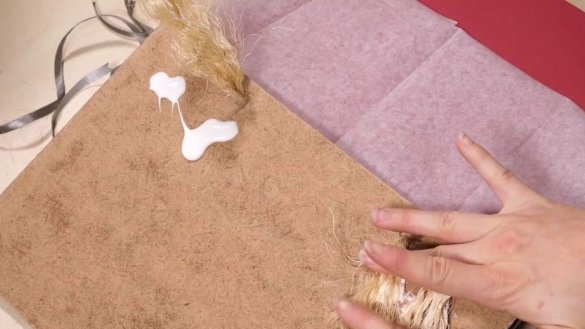
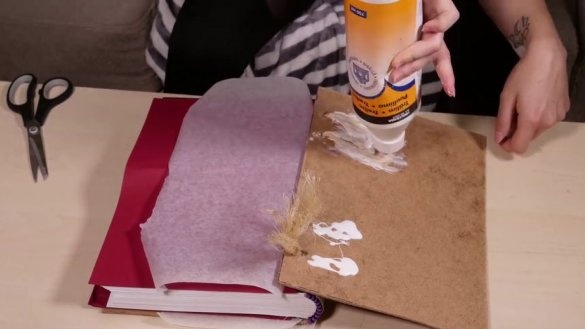
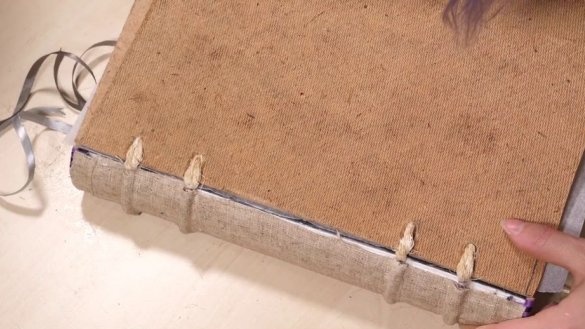
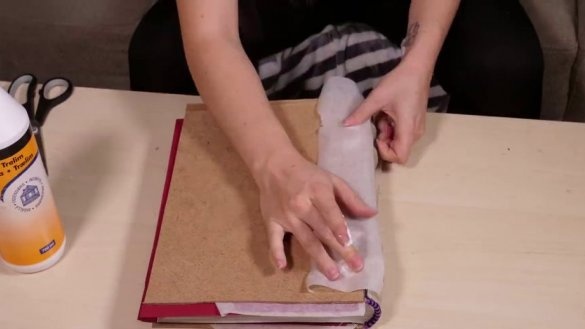
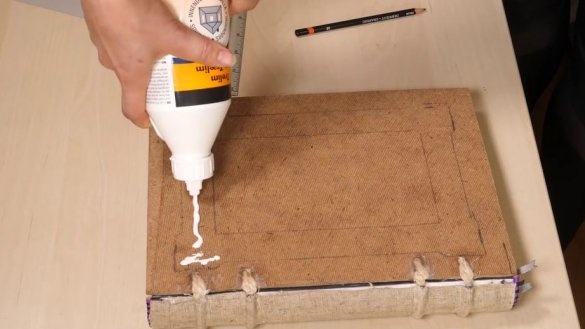
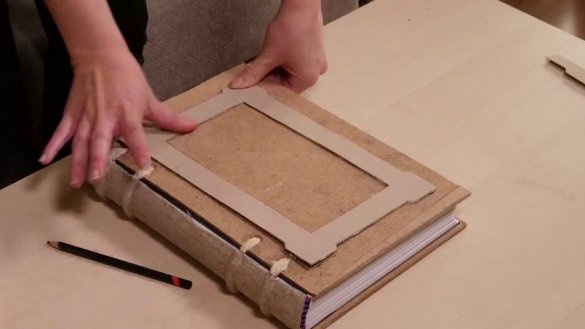
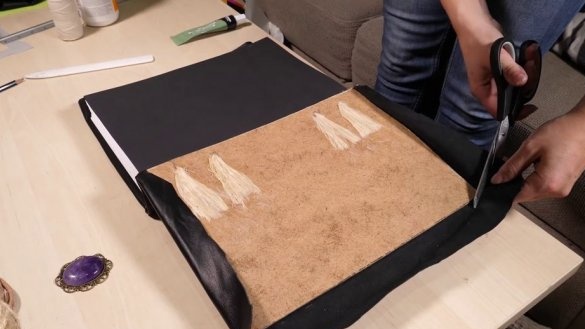
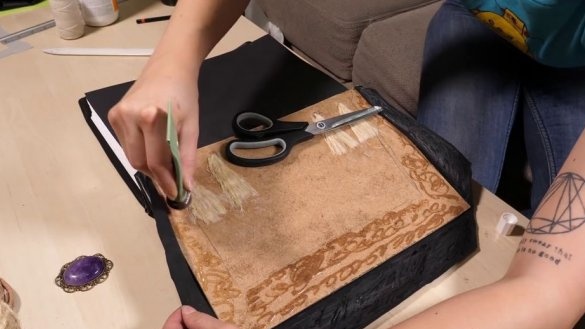
The master makes the cover of 3 mm chipboard. Cuts to size. He puts the cover on the book and notes where the cords are placed. Drills four holes. Holes need to be drilled at an angle, then the cords will not protrude much. Stretches the cords. Fluffs their ends and sticks to the wrong side of the cover. That the glue did not get on sheets of the book, lays parchment paper.
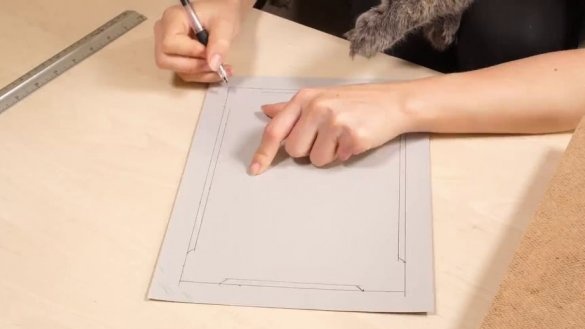
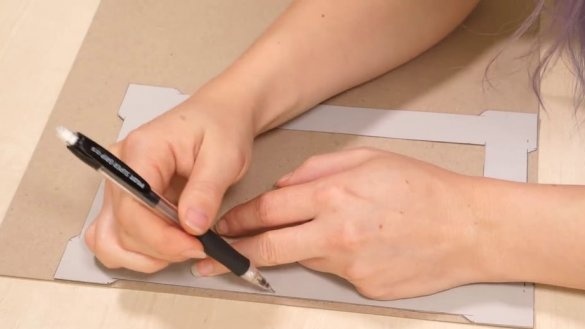
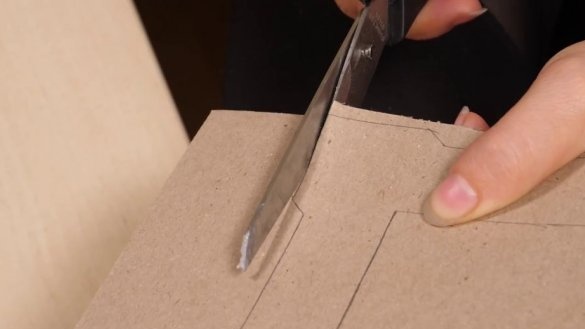
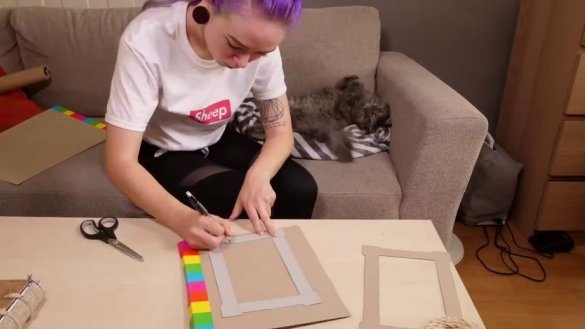
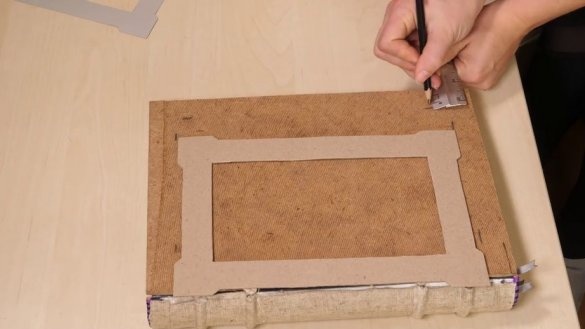
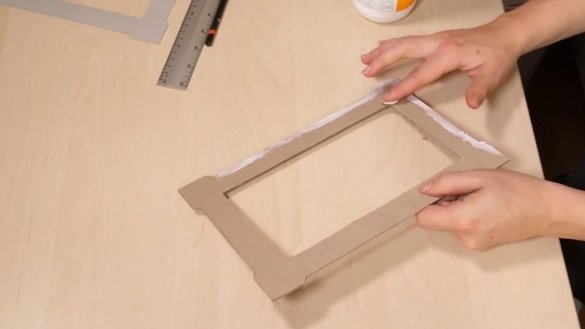
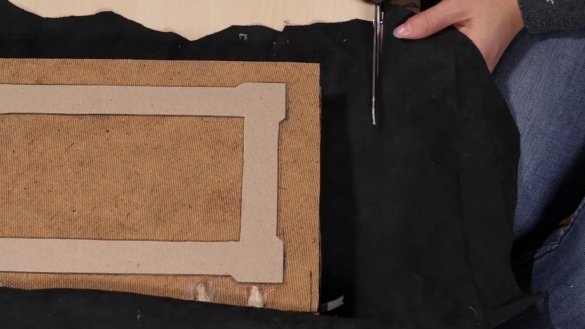
From a cardboard cuts and glues a decorative overlay.
Step Four: Leather Binding
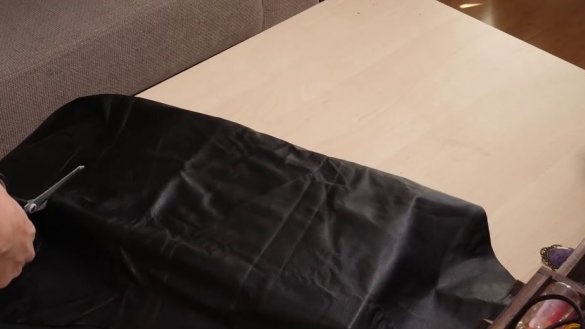
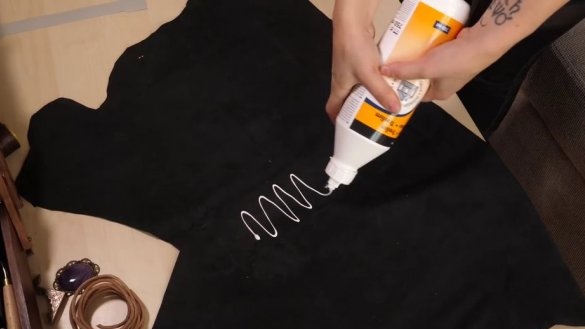
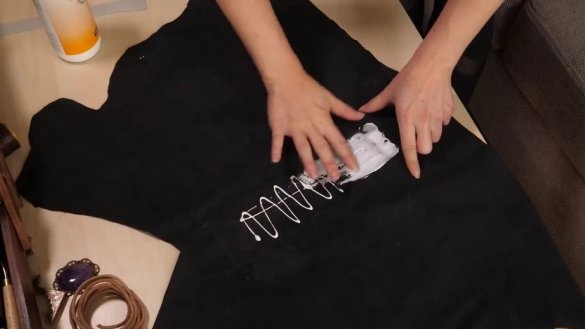
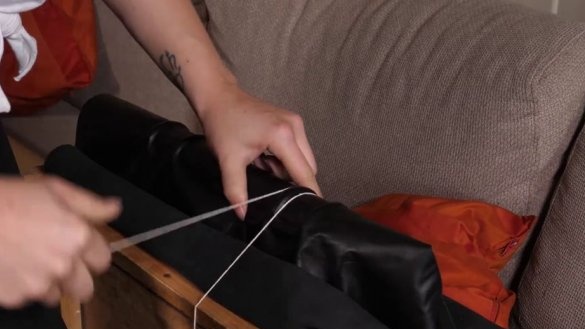
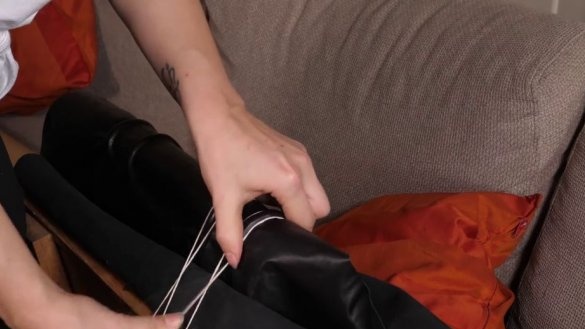
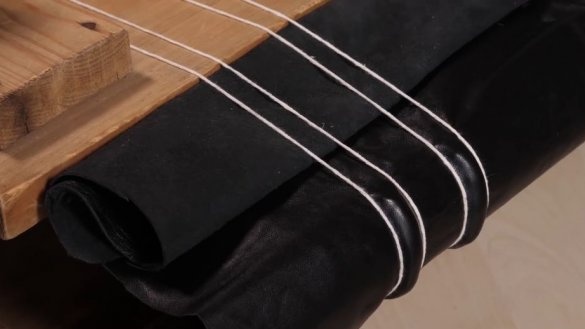
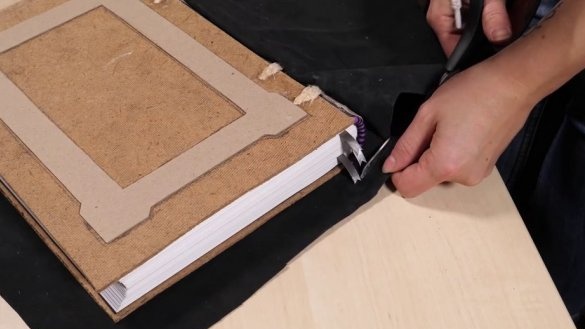
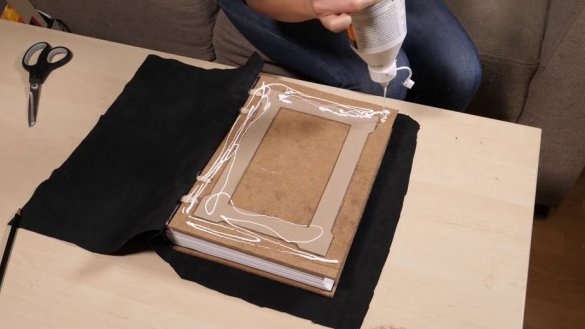
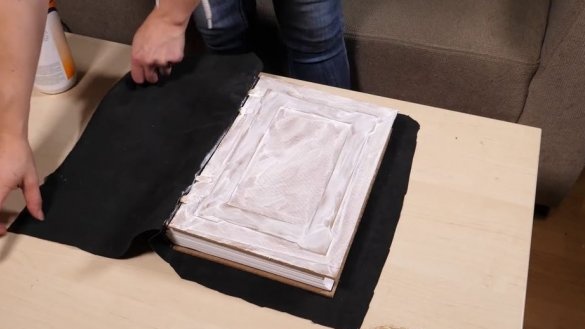
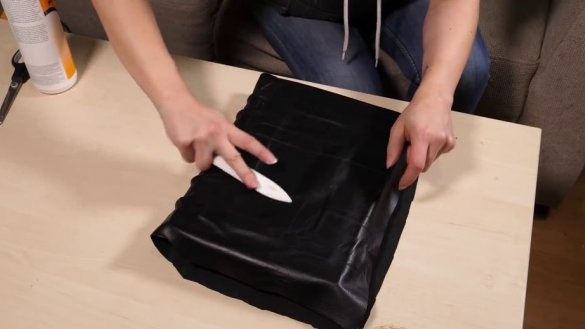
Now it's time to stick the skin. First, the skin sticks to the spine of the book. With the help of a thread, cords under the skin stand out.
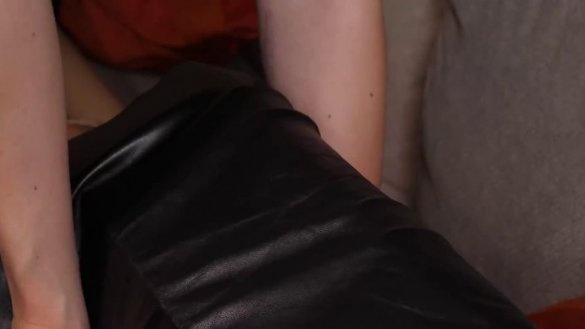
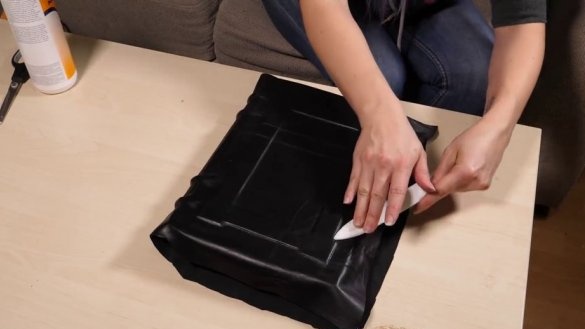
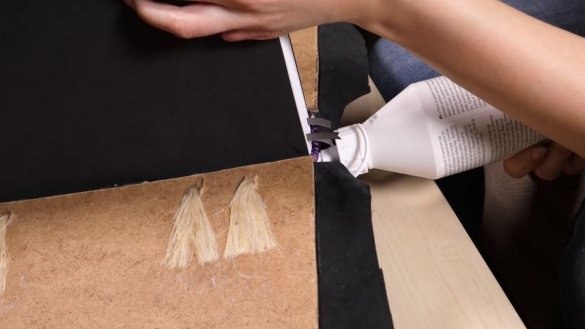
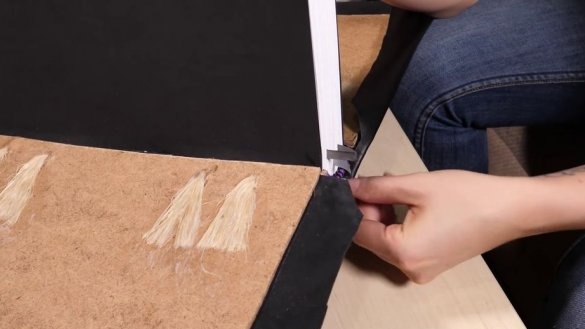
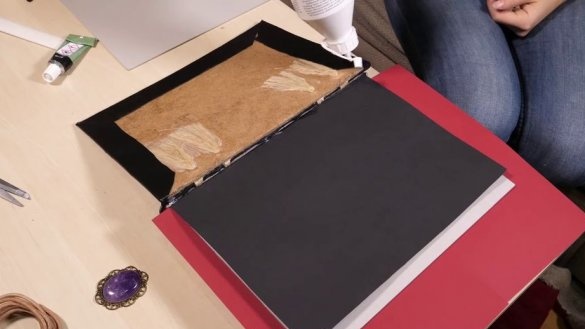
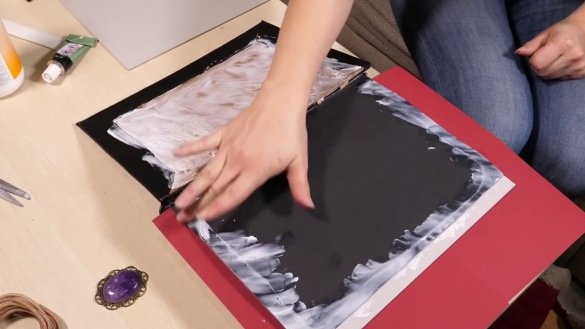
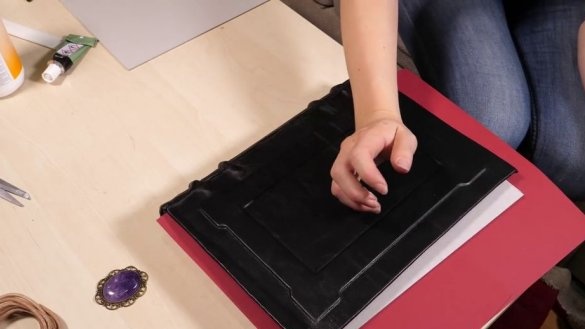
After drying, the root sticks the skin to the covers of the book. The edges are cropped and tucked inward. Glue flyleaf (first black sheet of paper) to the cover.
Step Five: Finish
Next, the cover finishes.
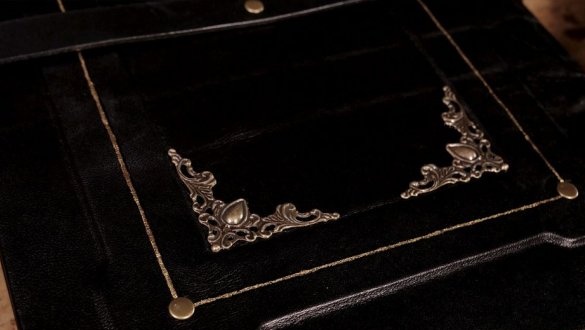
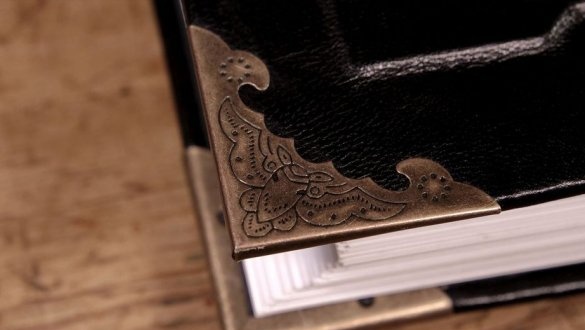
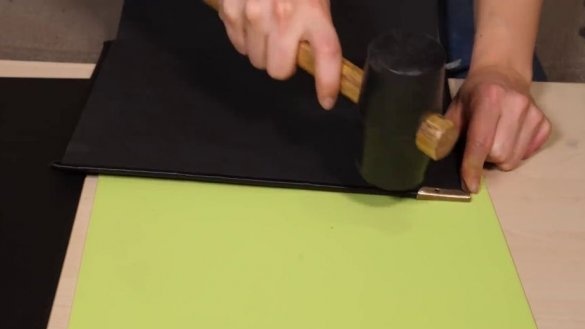
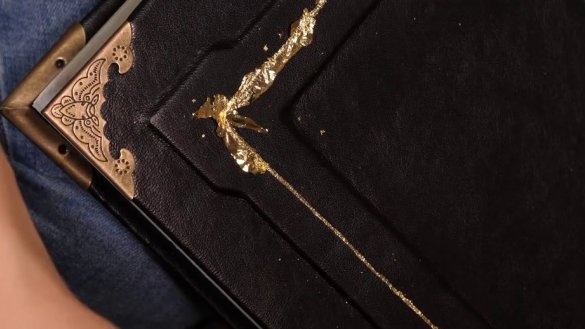
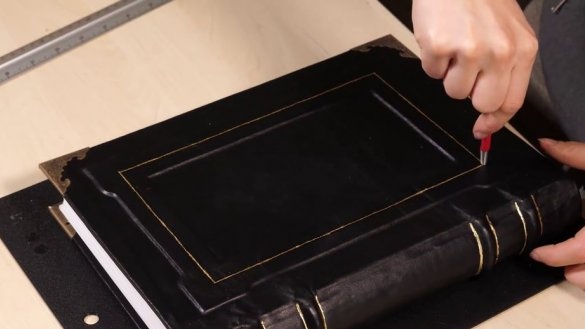
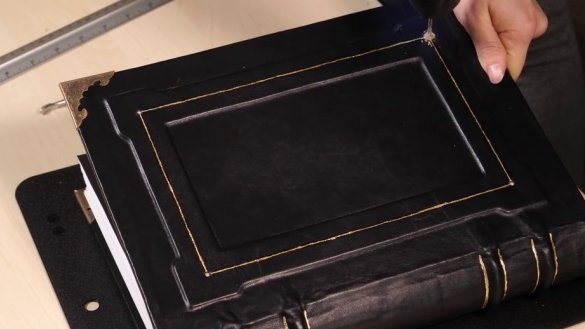
Installs brass corners on the corners of the cover.
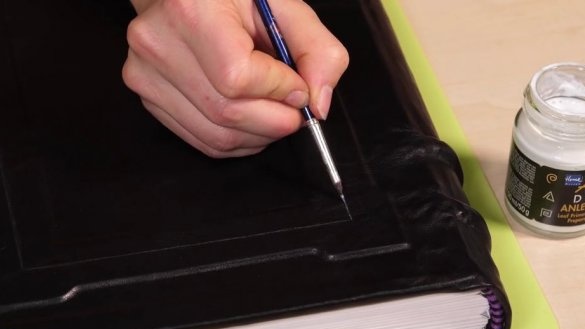
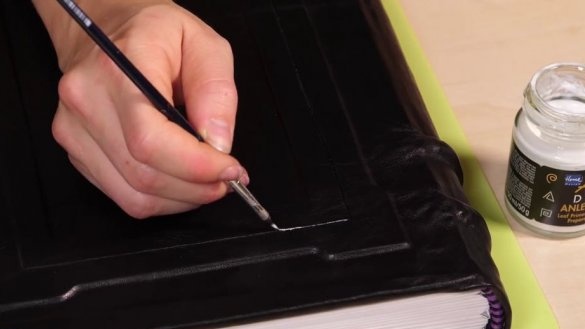
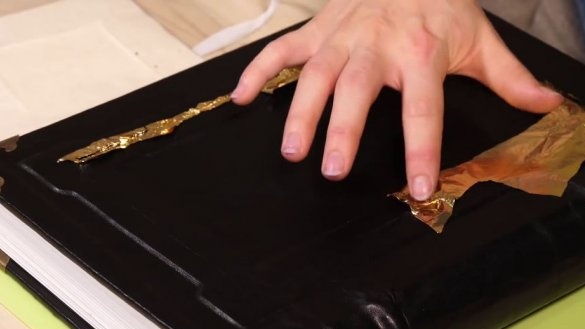
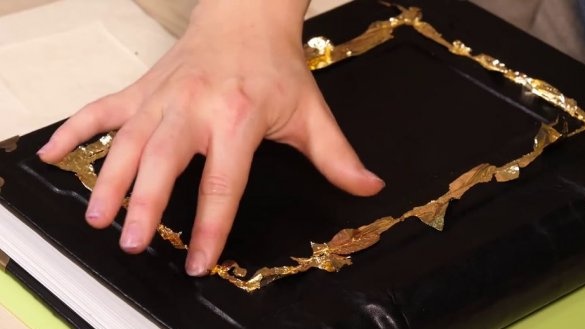
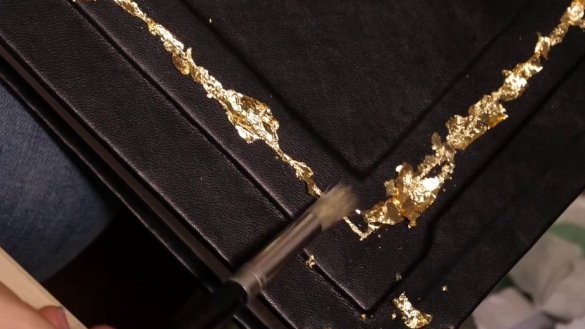
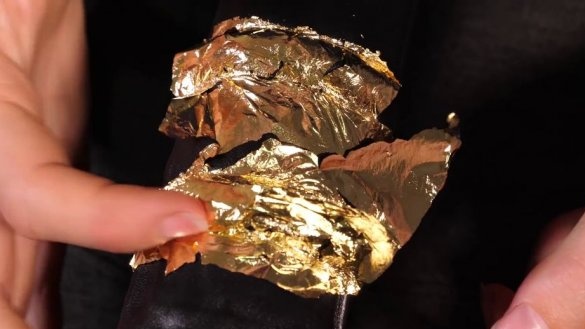
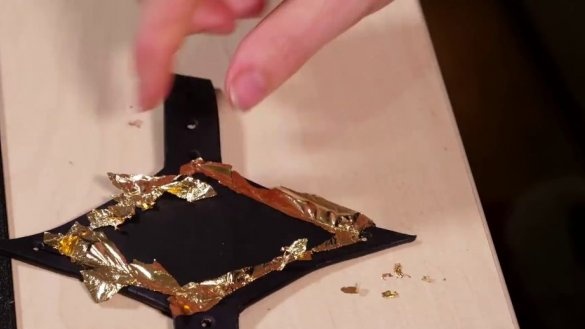
Glues the "golden" edge of the foil.
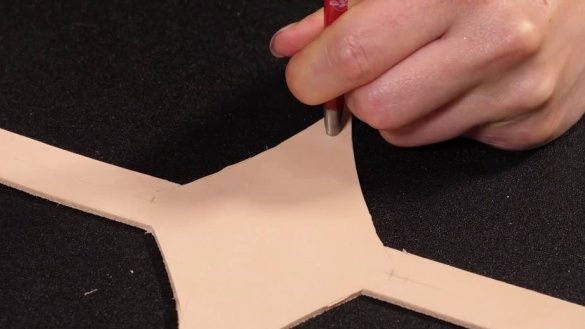
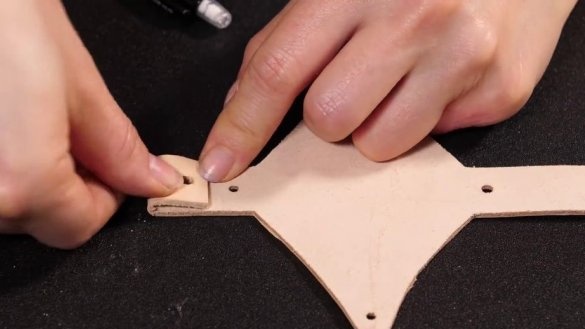
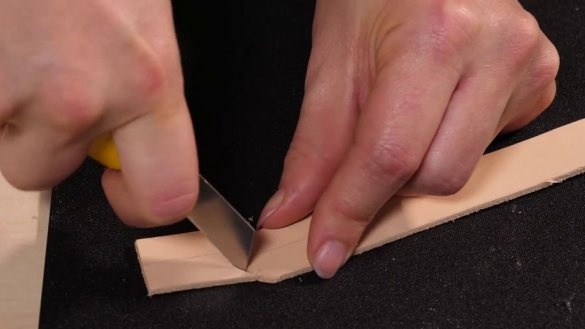
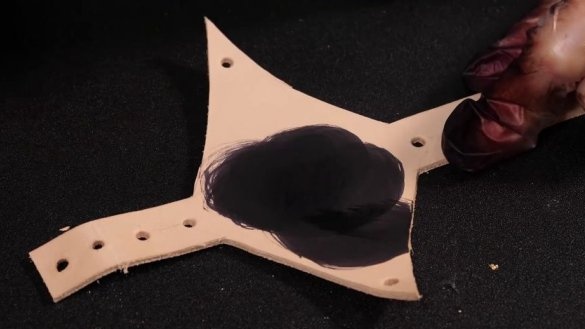
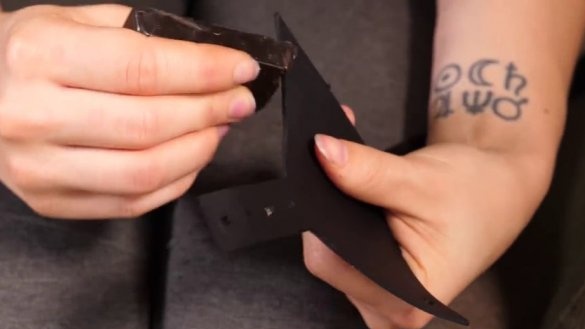
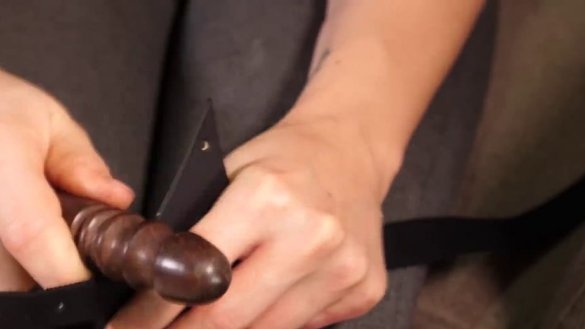
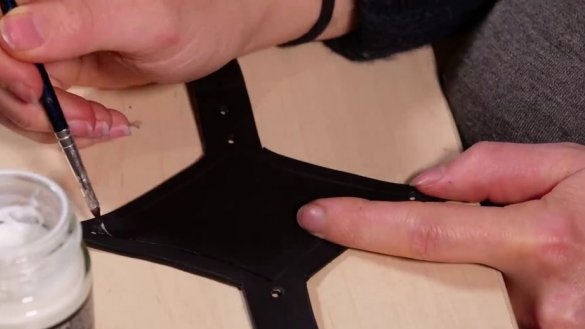
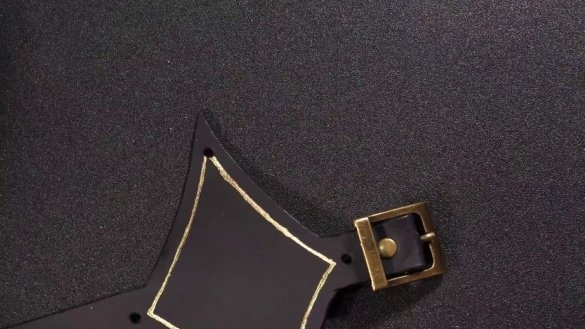
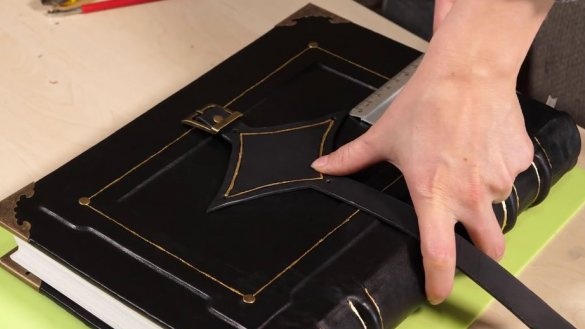
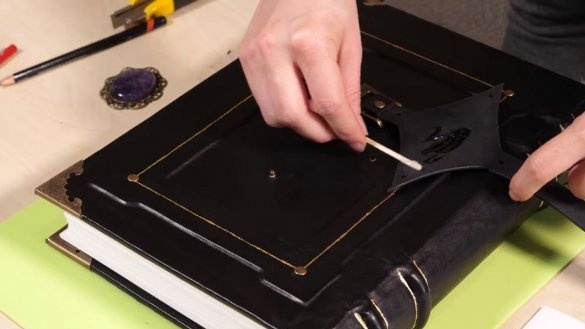
From a thick 2 mm skin, the master makes a belt-lock. Stains the skin black. Makes a golden edging.
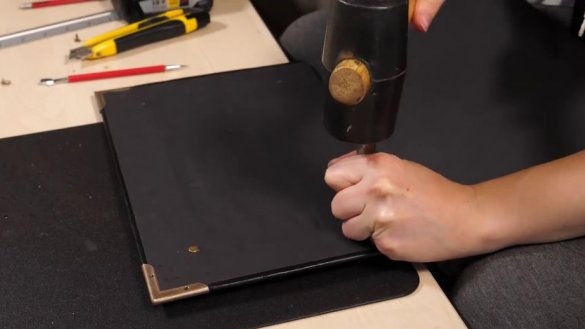
The master secures the belt with brass rivets, having previously drilled a hole in the cover.
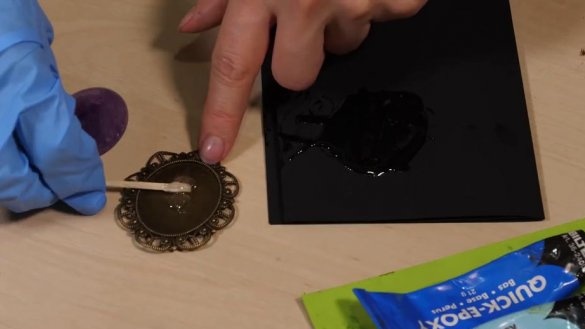
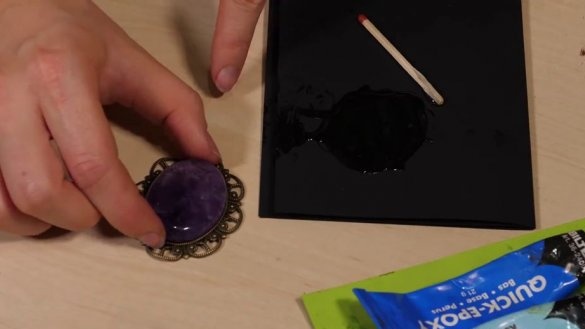
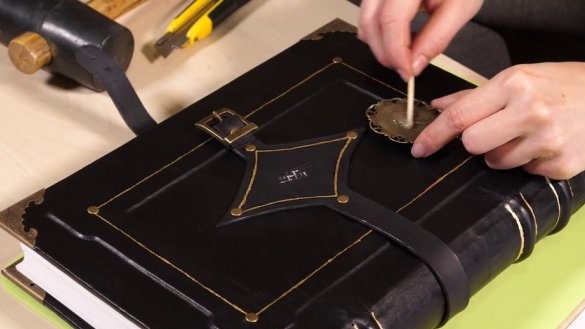
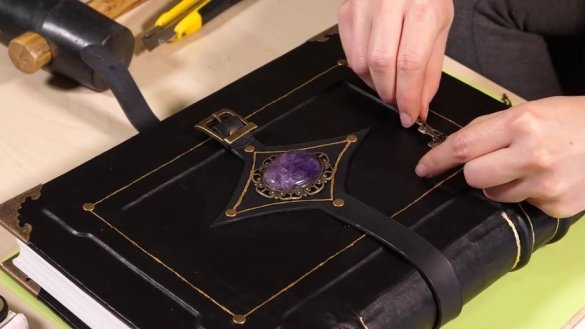
Glue the stone to the outlet.
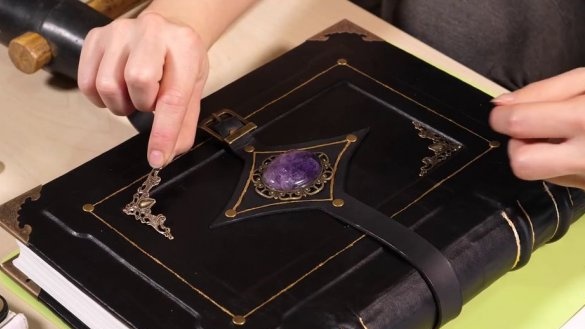
Glues a socket with a stone and corner decorative elements to the cover.
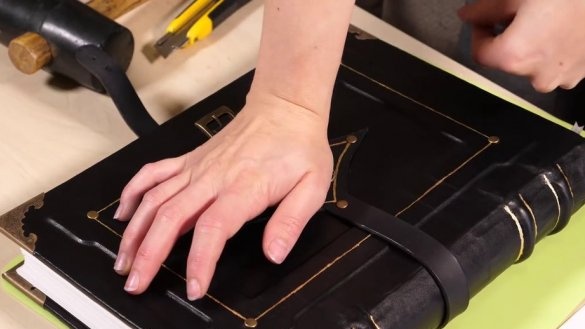
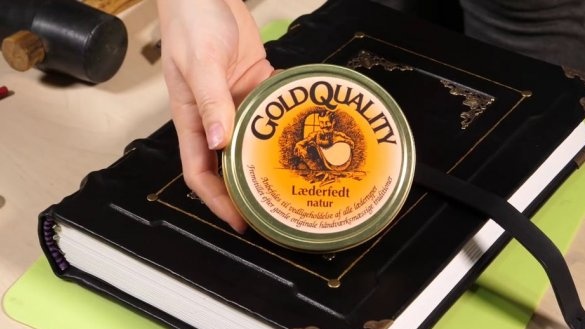
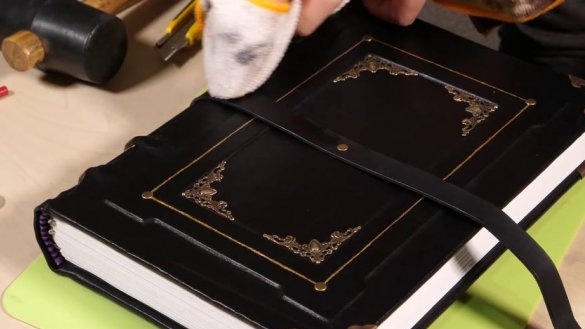
Apply wax to the lock belt.
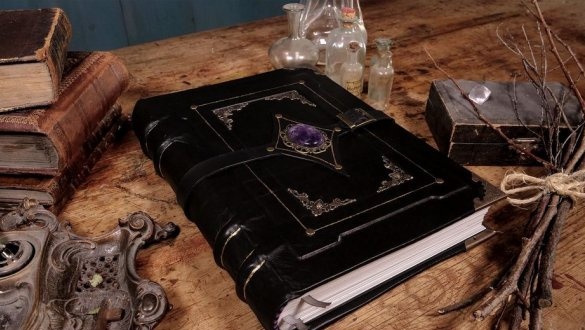
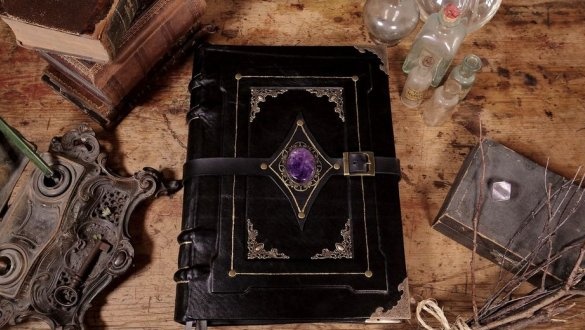
The book is ready. As you can see, if you wish, you can learn this fascinating and possibly low-income business.
The whole process of making a book can be seen in the video.

