
This article will be useful to all craftsmen who like to make tools for themselves.
In it, John, the author of the YouTube channel "John Heisz - I Build It", tells about the manufacture of the next tool - a brace, which, although not very often used in carpentry, but nevertheless is simply necessary. In addition, he will talk about a very reliable way of attaching tool handles.
Materials
- Hardwood
- Old diamond blade for concrete
- Two-component epoxy resin
- Sandpaper
- Impregnation for wood
- Thick copper wire.
Instruments, used by the author.
- Grinder, cutting and grinding wheels
- A circular saw
- Gas-burner
- Belt sander
- Chisels
- clamps
- Pliers.
Manufacturing process.
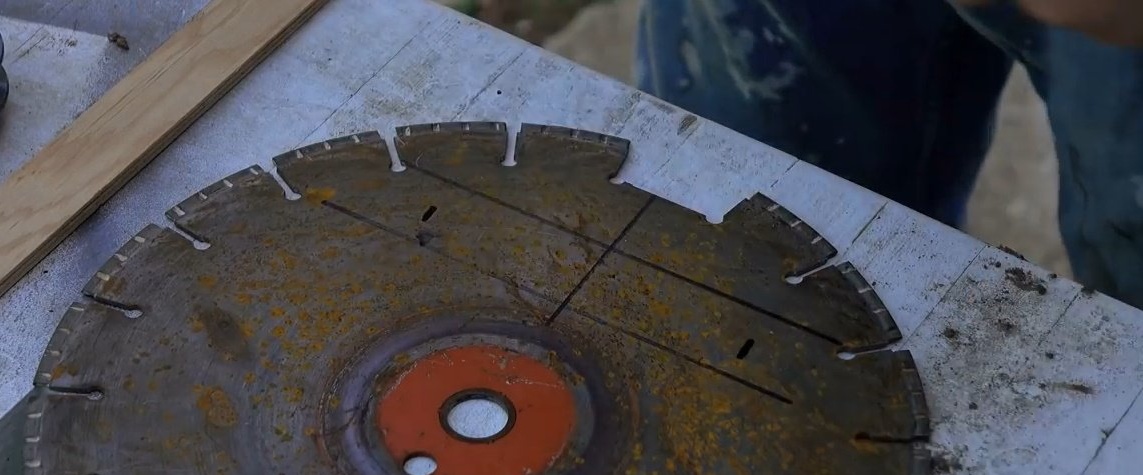
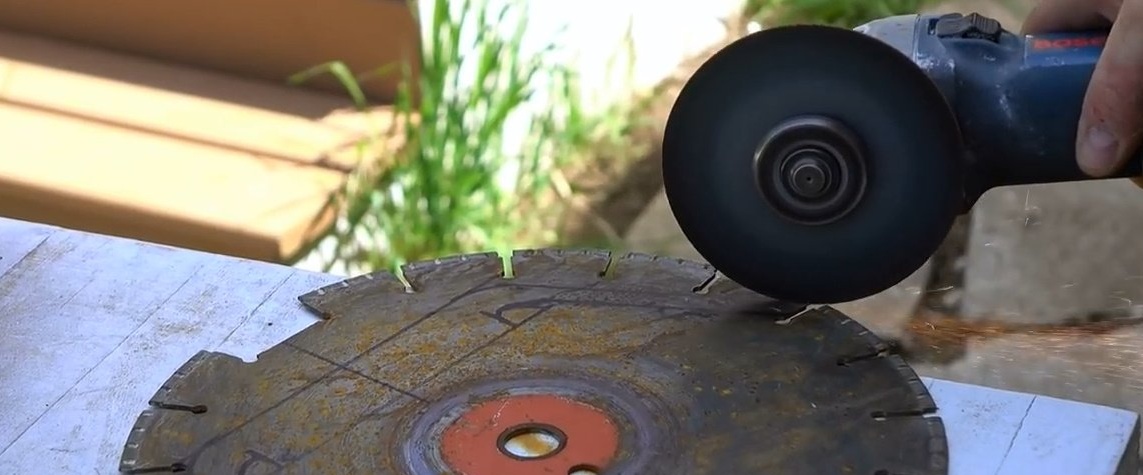
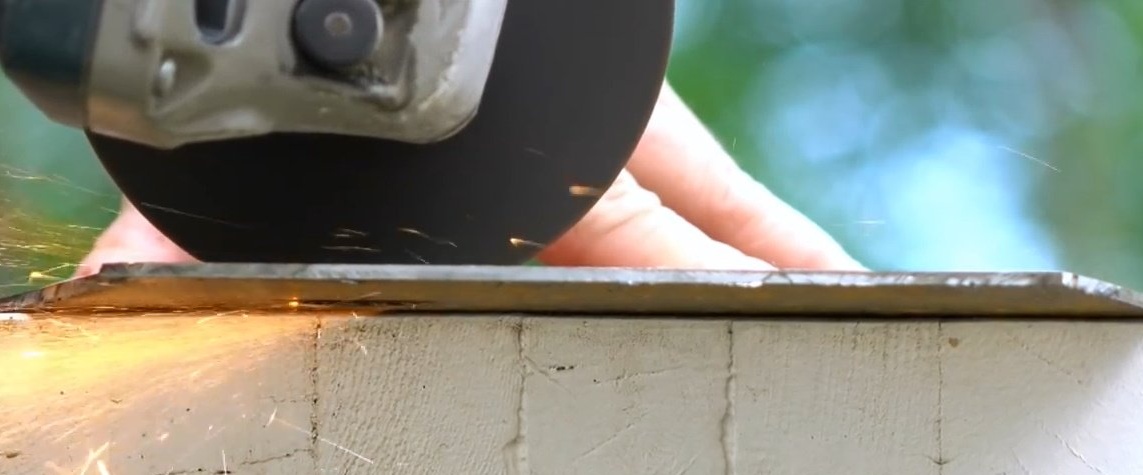
Making a brace is quite simple from an old, unnecessary diamond disk for concrete, which the master demonstrates to us.
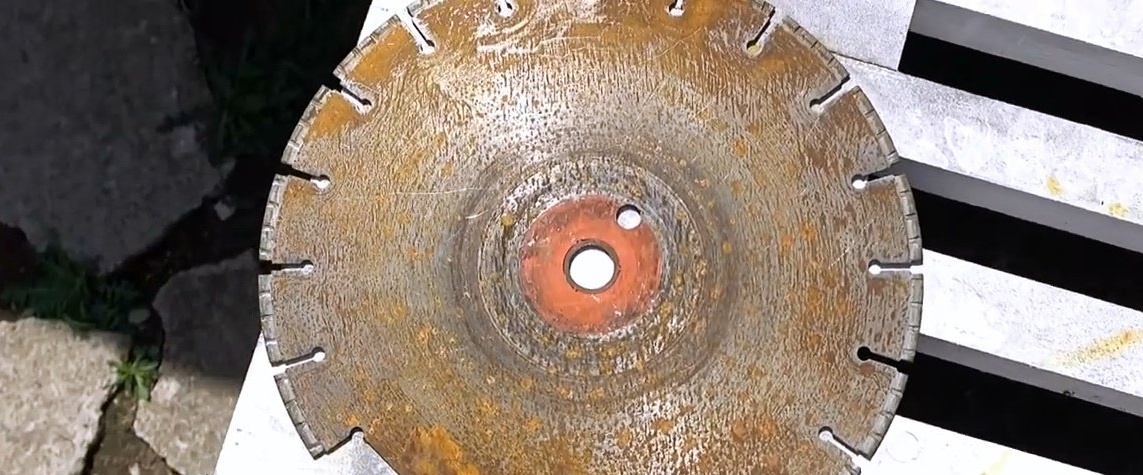
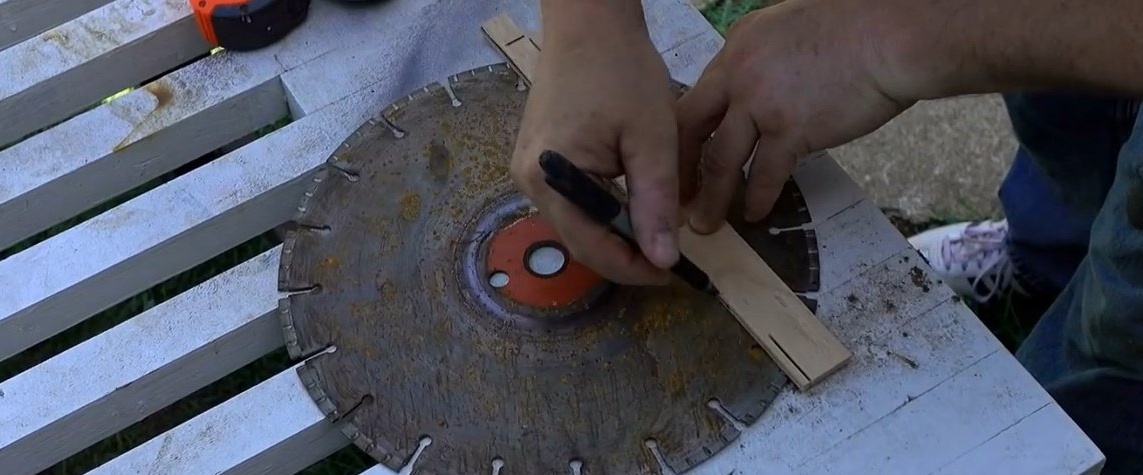
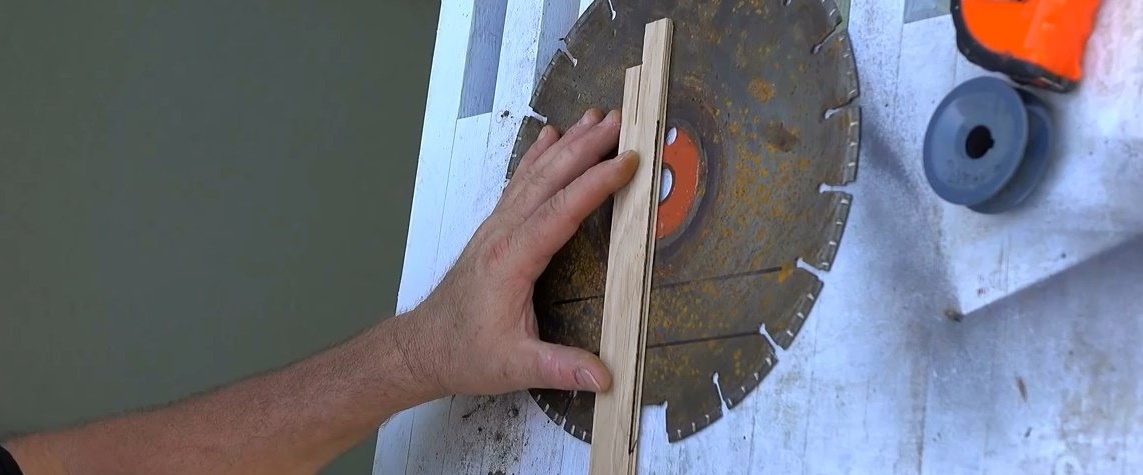
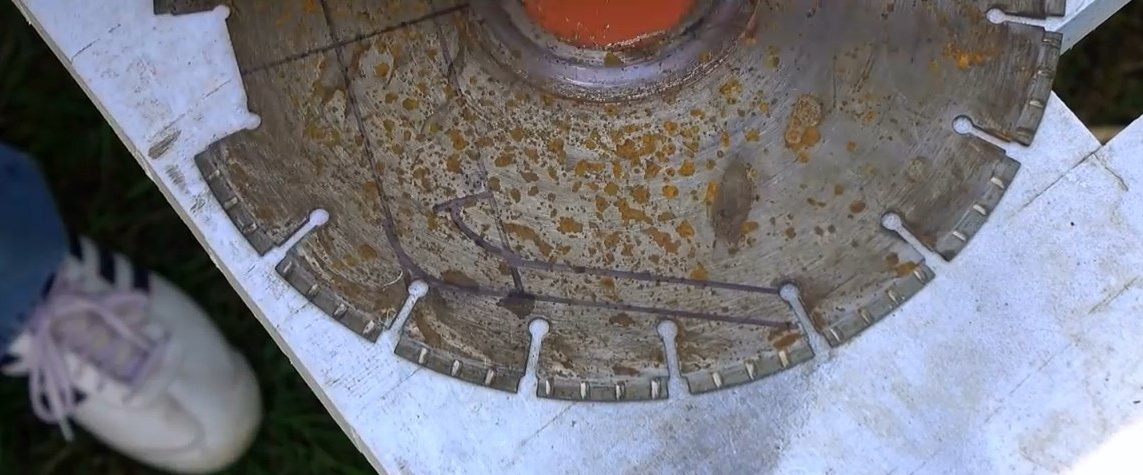
In his own words, he sketches the shape of the future brace from memory, recalling the shape of such products in a photo on the Internet, while trying to fit as much as possible into the size of the disk.
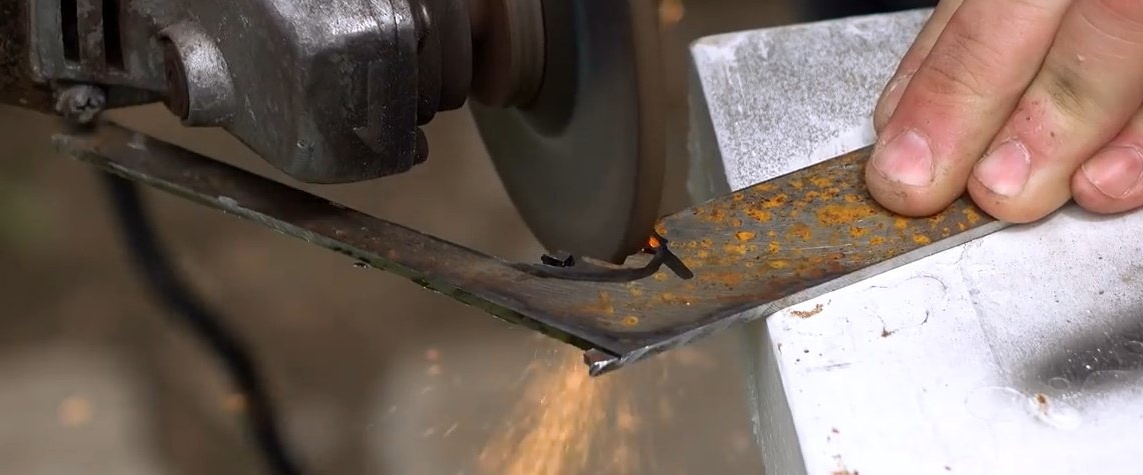
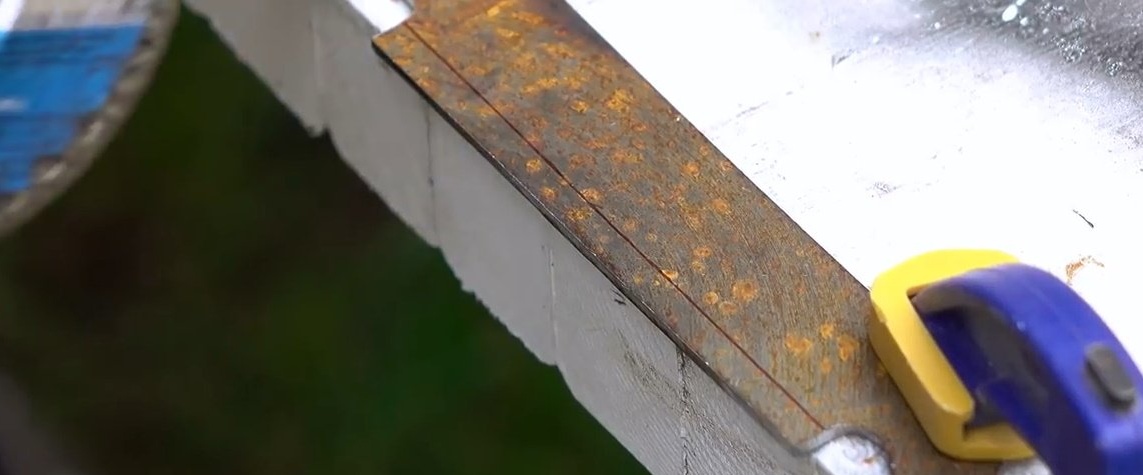
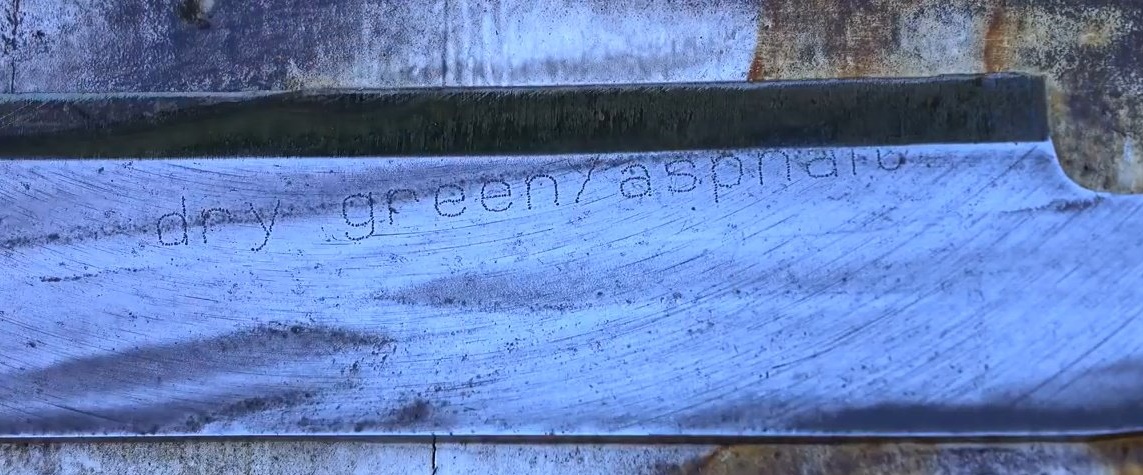
And he starts marking from the front edge of the knife, its tip, which will be about 5 inches long. For a small bracket, this is a lot.
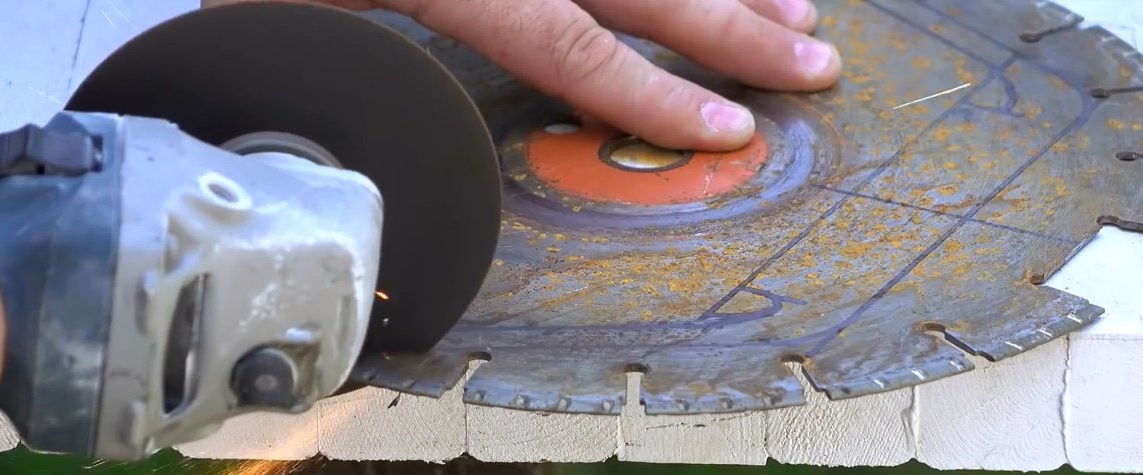
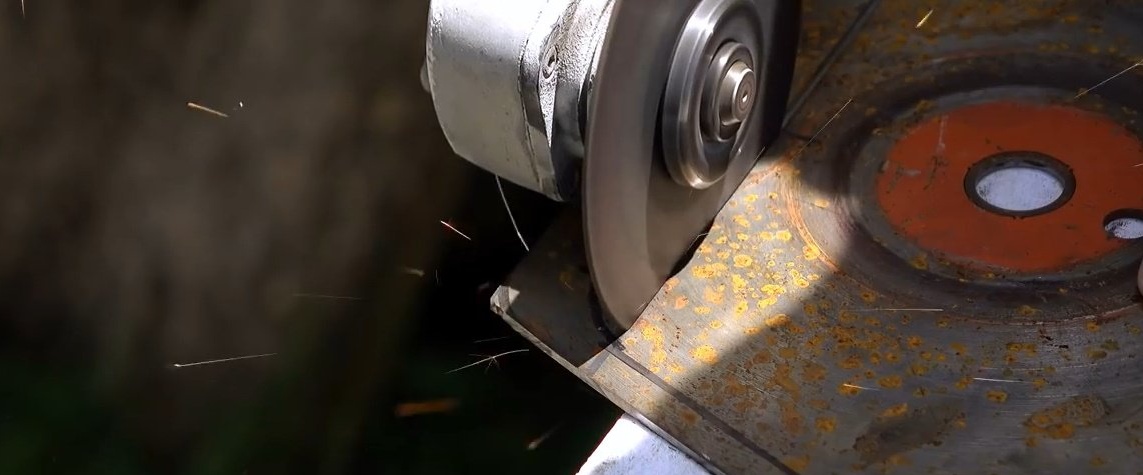
Then John cuts off a small piece of steel with a cutting disc to see if it can be tempered. This is a good quality steel and it will give a good descent. The author had problems with the first cutting disc: he stuck in the cut and overheated the metal. John replaced it with another, newer one, and that one worked much better. The fact is that the steel of most of these discs is already hardened, and it would be very difficult, if at all possible, to cut with such a tool. Of course, this is not a problem for a plasma cutter! However, in this case, grinding will take a lot of time under a given form.
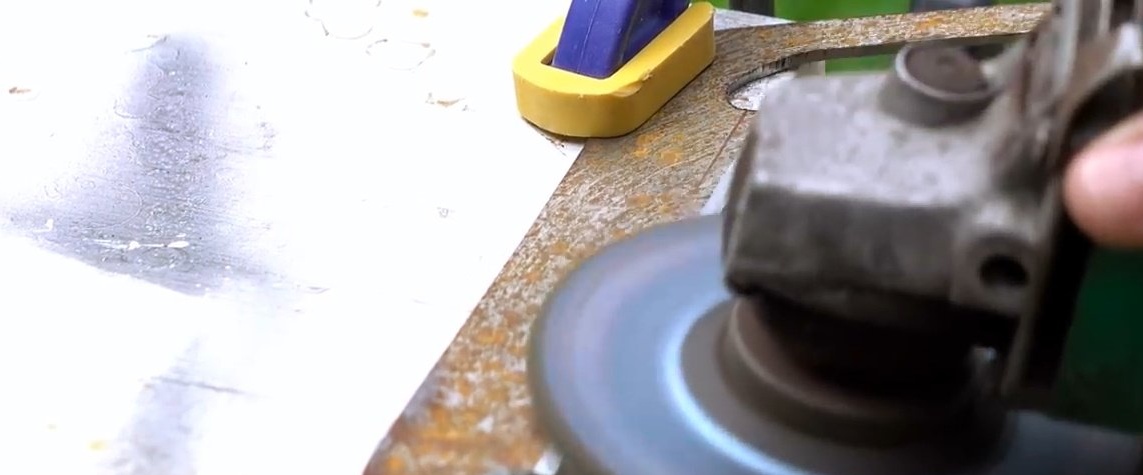
The master uses an ordinary grinder here, although there is also a rechargeable one in his arsenal. The thing is that a wireless machine is good in cases where you need to make a quick cut or in such jobs where you do not need to put a lot of effort. Otherwise, it is better to resort to a conventional wired tool. Discs on it last longer and cut faster at higher speeds.
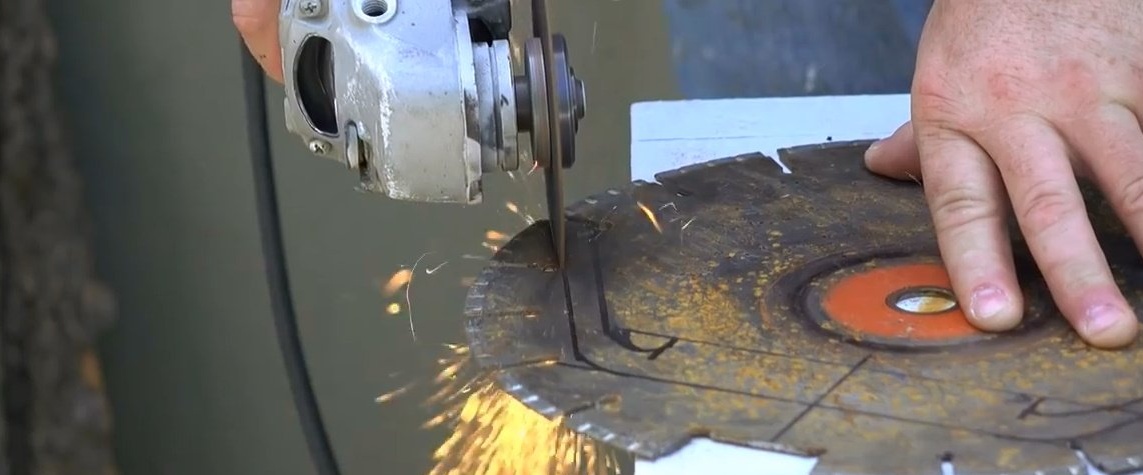
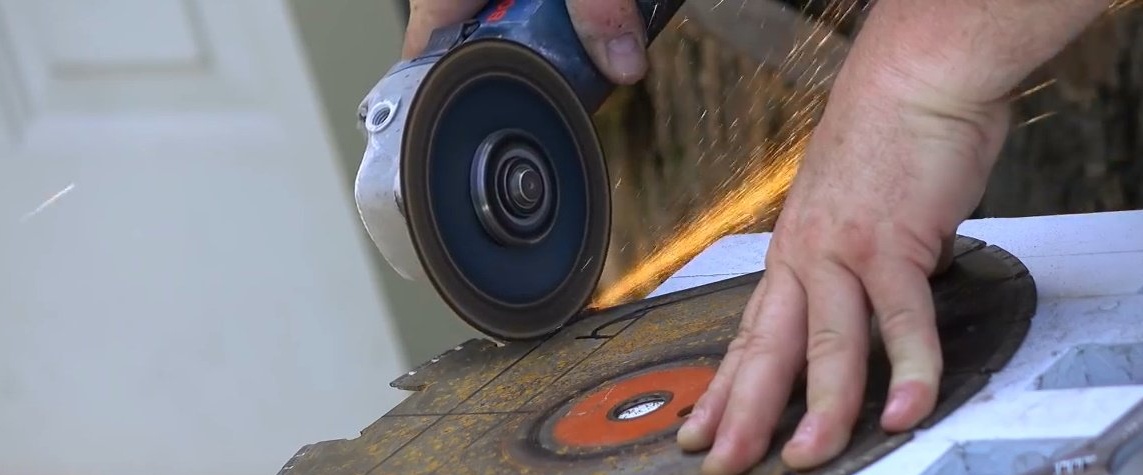
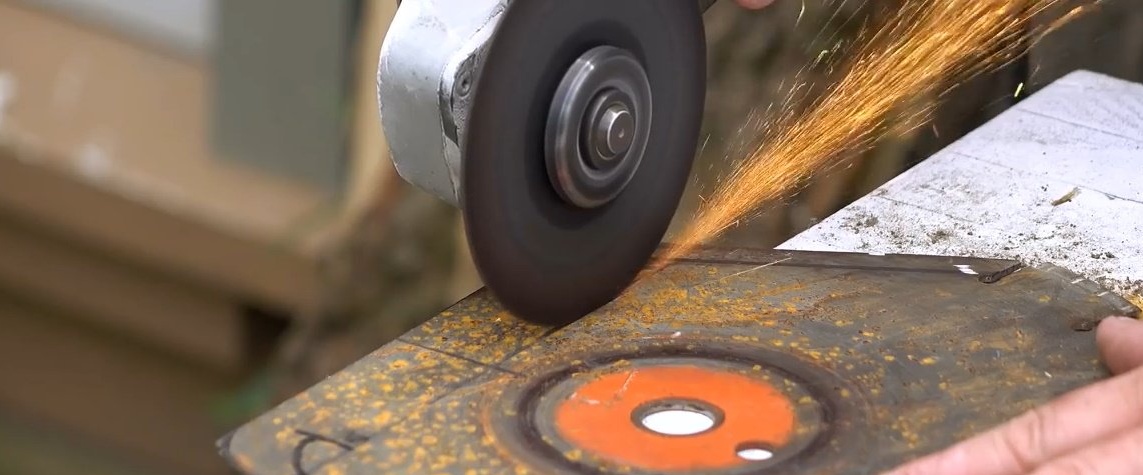
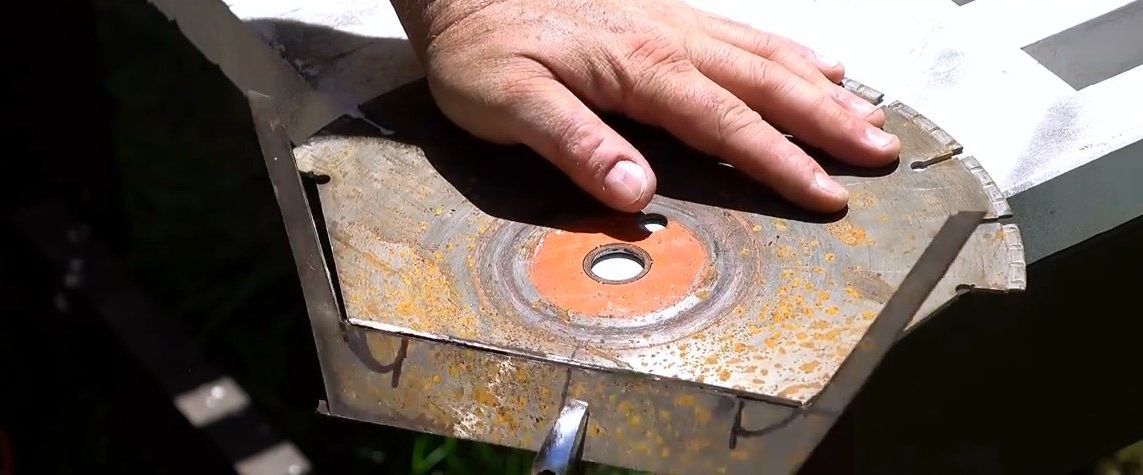
After cutting out the main part, a little refinement of difficult places with a grinding wheel. For this kind of work, it is better to have a spare grinder with a conventional grinding disc in order to quickly switch from one to another.


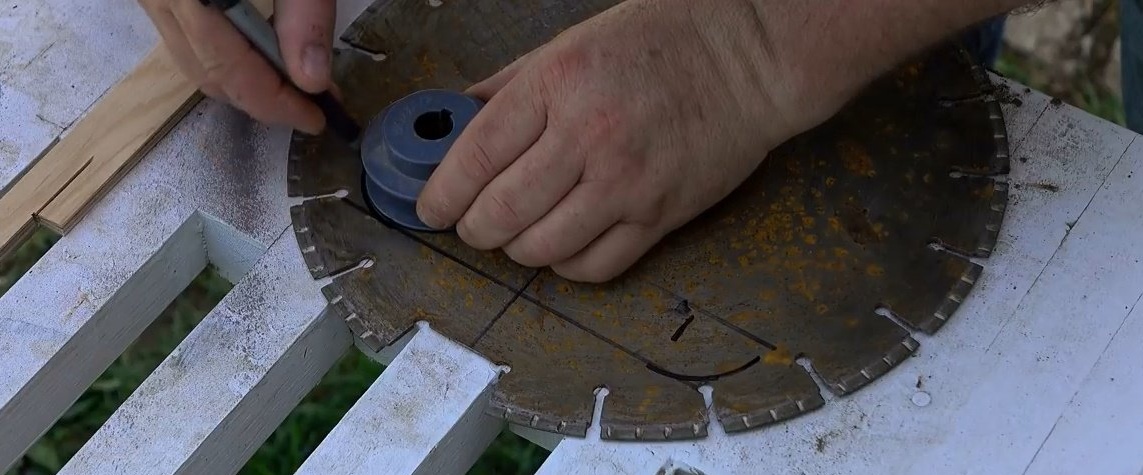
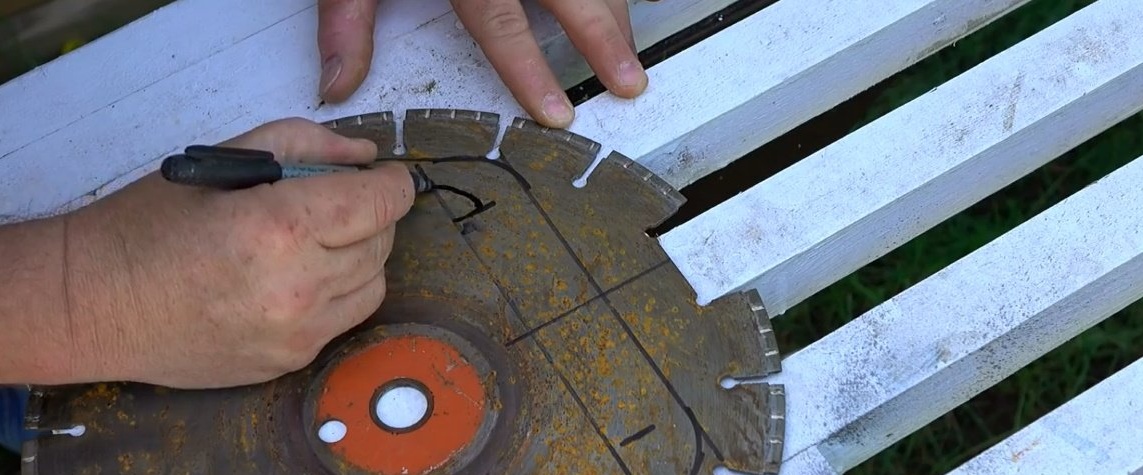
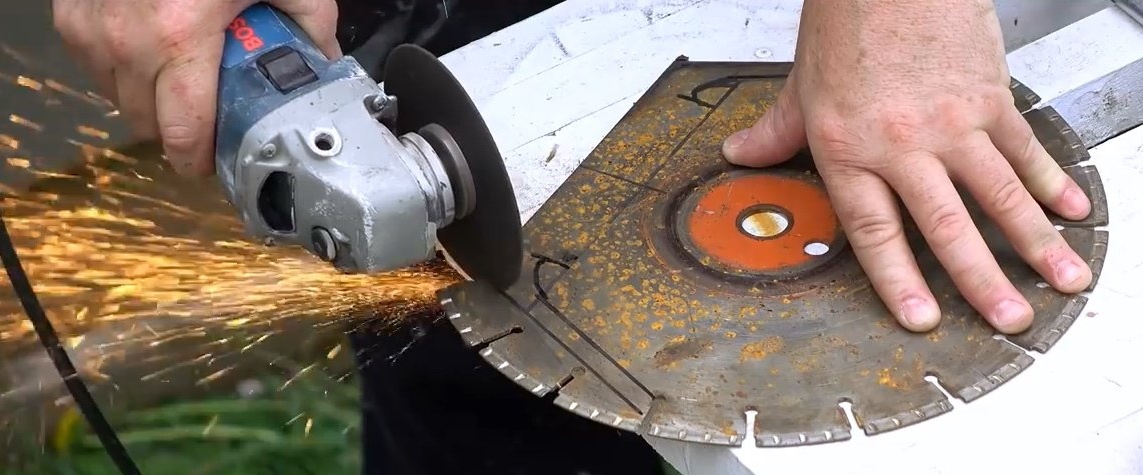
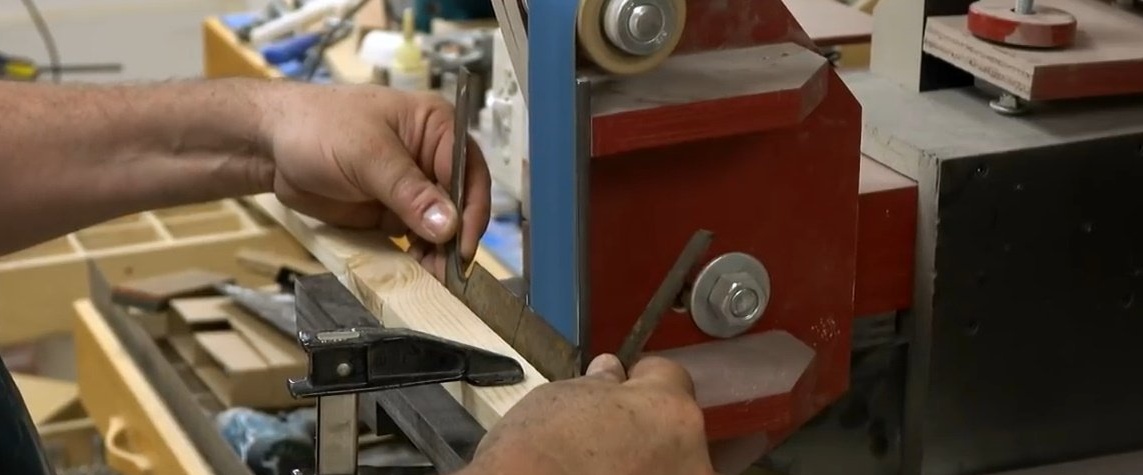
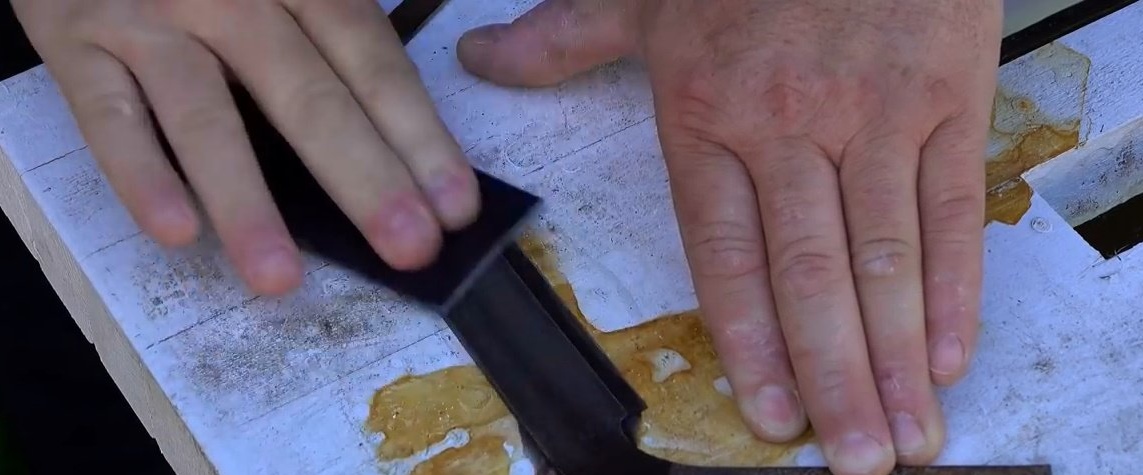
He marked the future blade and fixed the workpiece with a clamp.
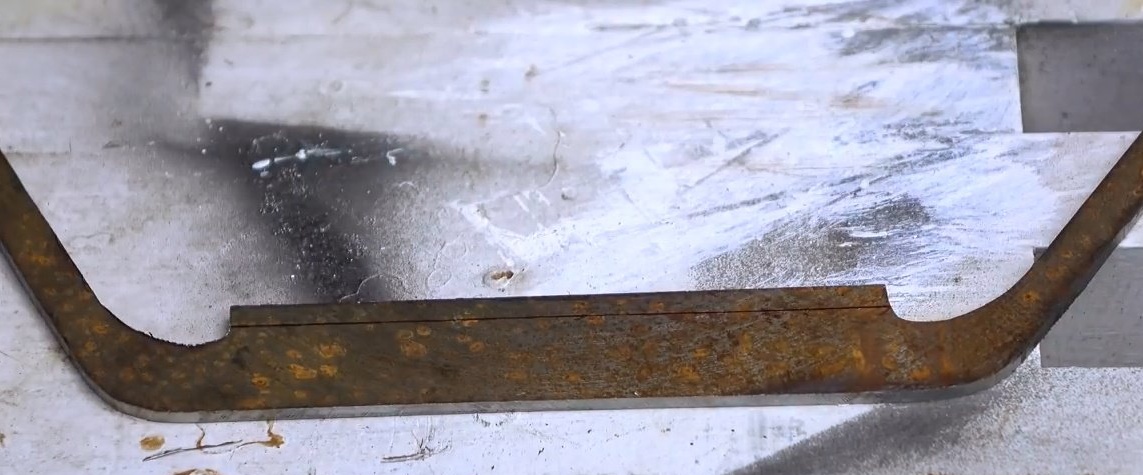
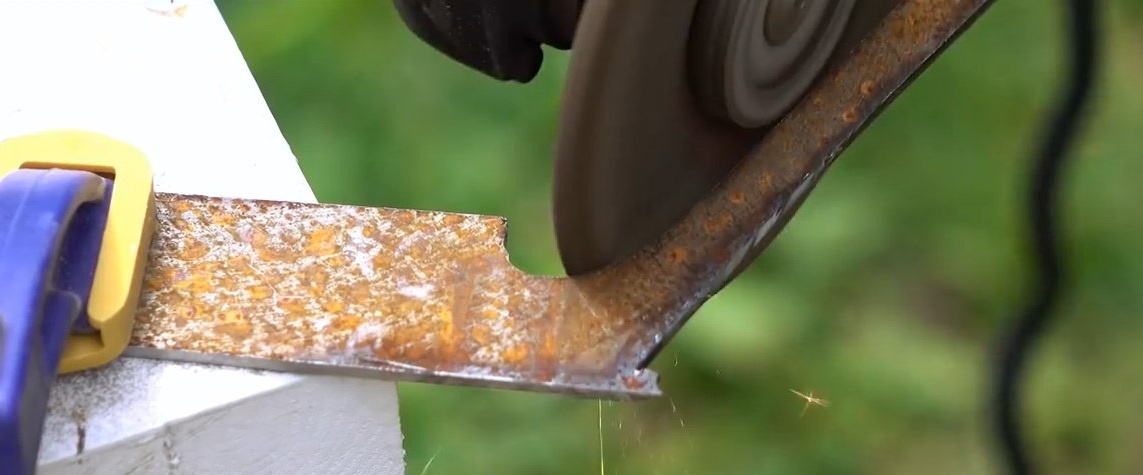
When the base form is cut out, the author marks and roughly grinds the bevel of the cutting edge.
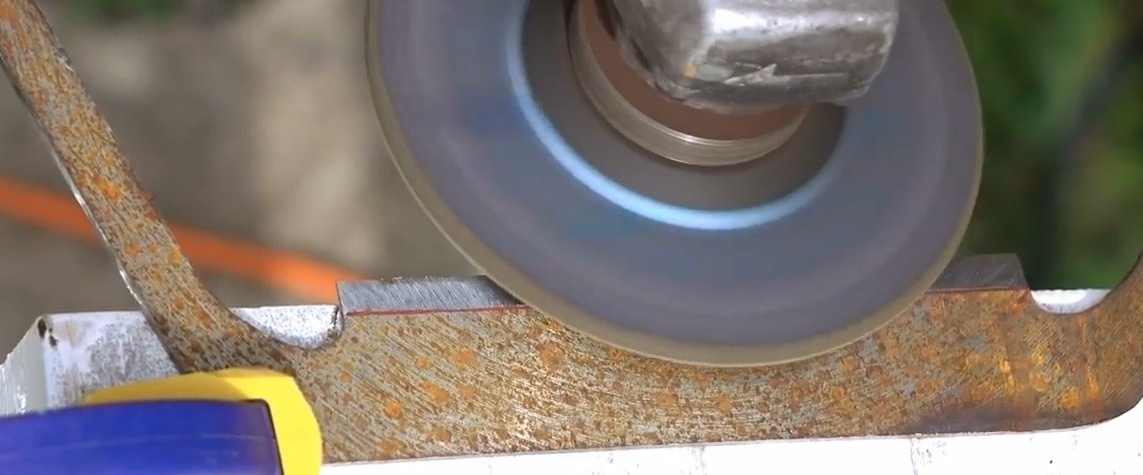
Then he cuts at a right angle, and makes cuts at the edges of future pens, the purpose of which will be announced a little later.
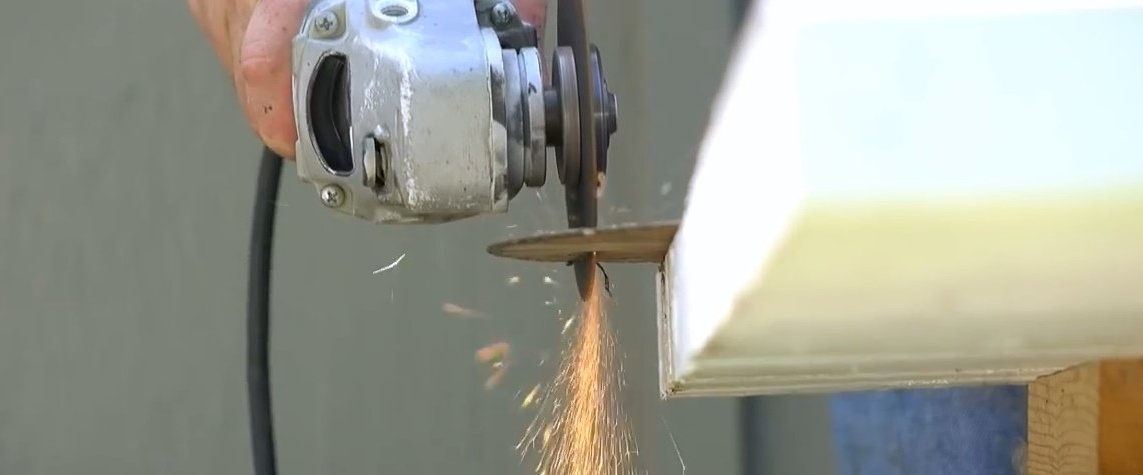
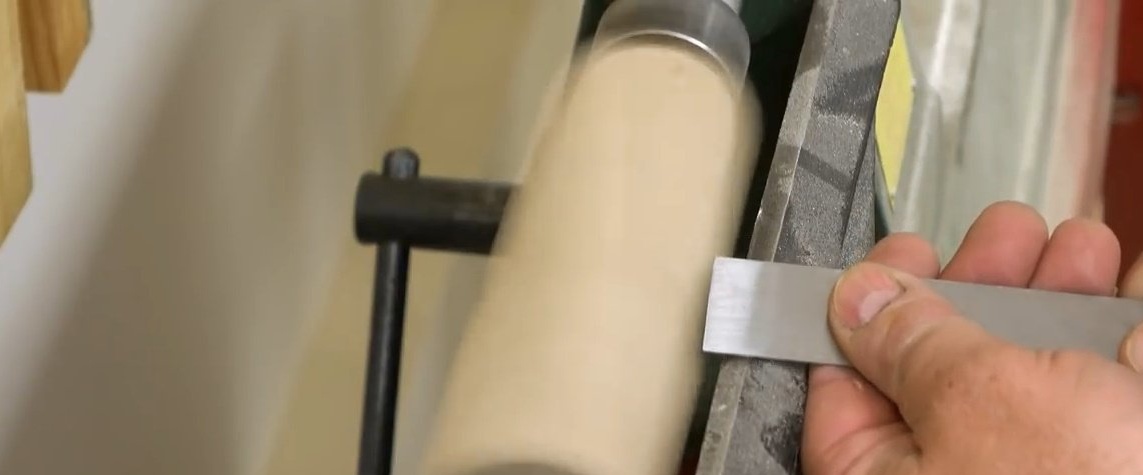
Initially, the author intended to do all the work on sharpening the blade with the help of a manual grindstone. But, since he had a belt sander in his arsenal, the master did not refuse his services.
Here is a homemade Roger machine with a tape 2X72 inches. All the necessary plans for its assembly are available on this.
To guide the blade at the right angle, and observe it, John secured a piece of the board to the machine.
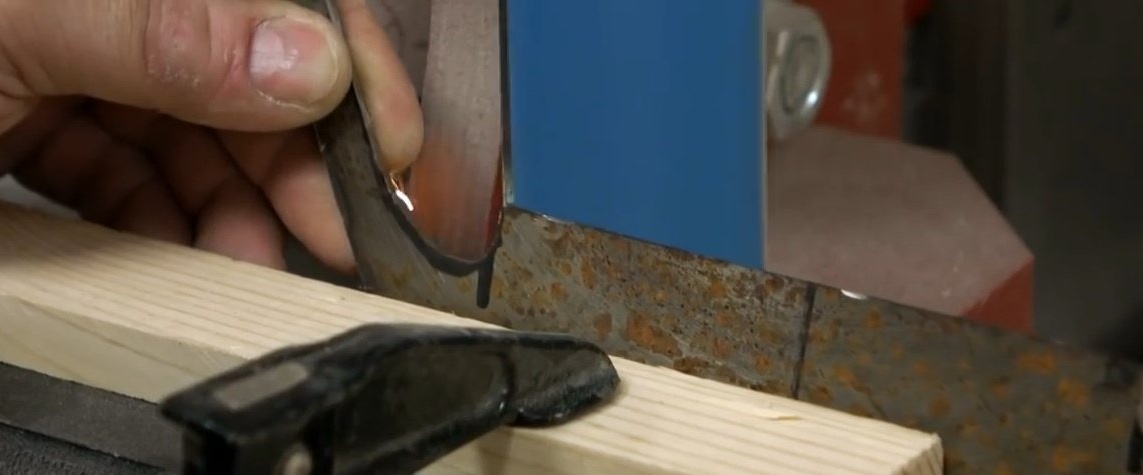
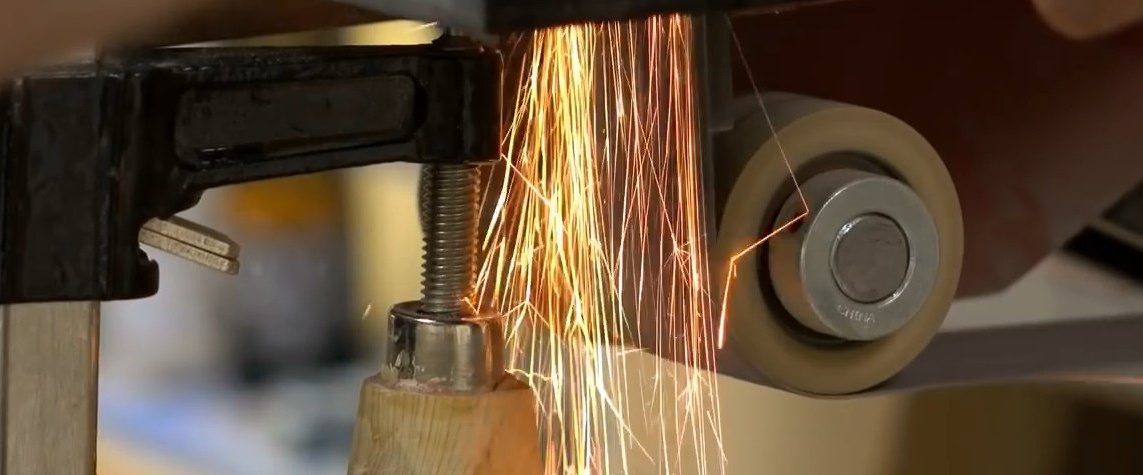
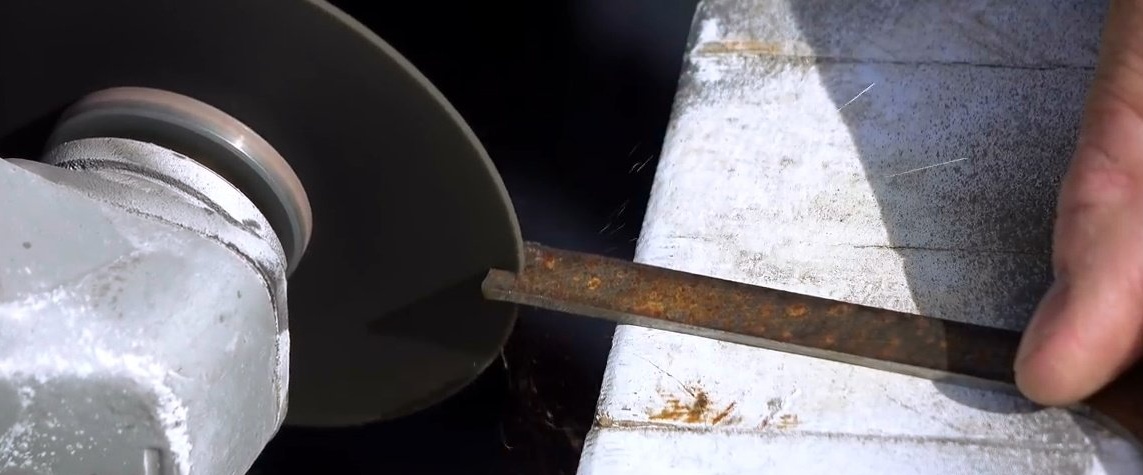
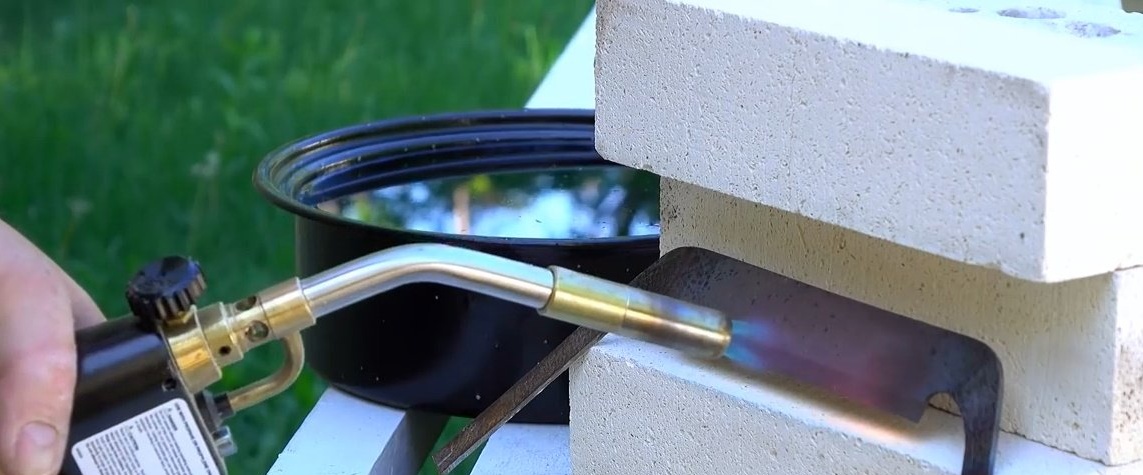
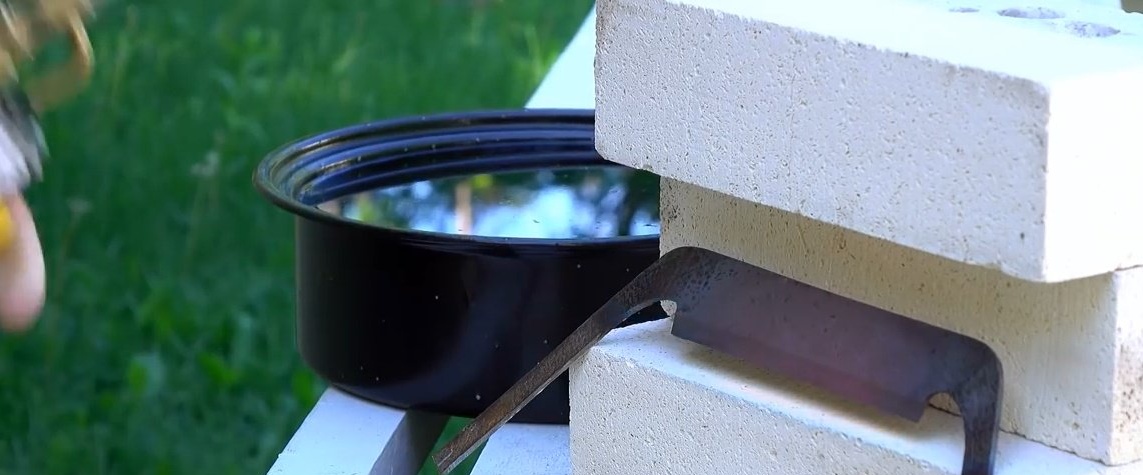
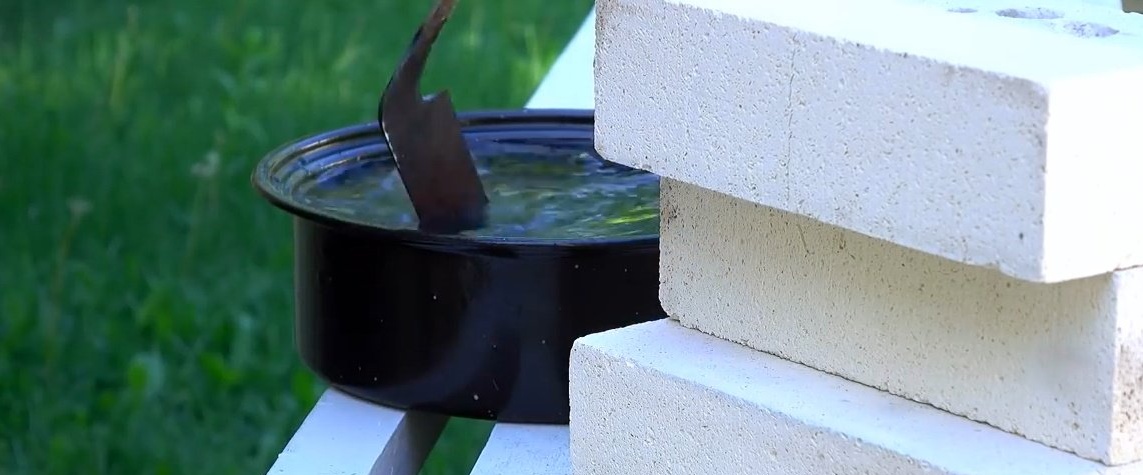
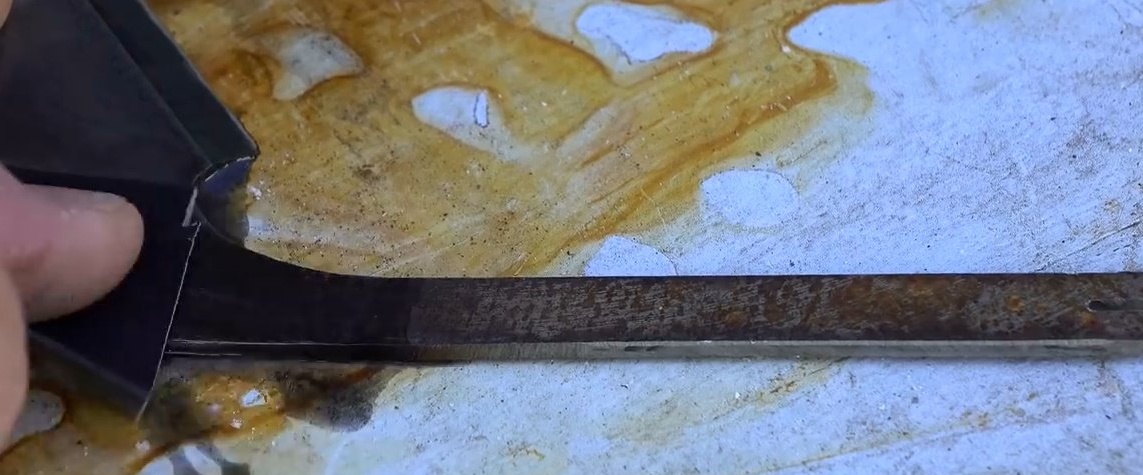
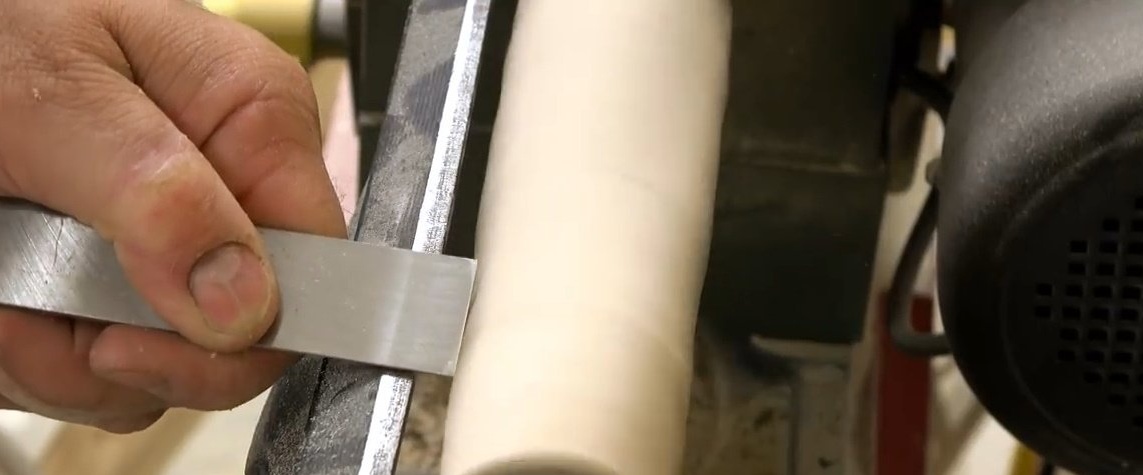
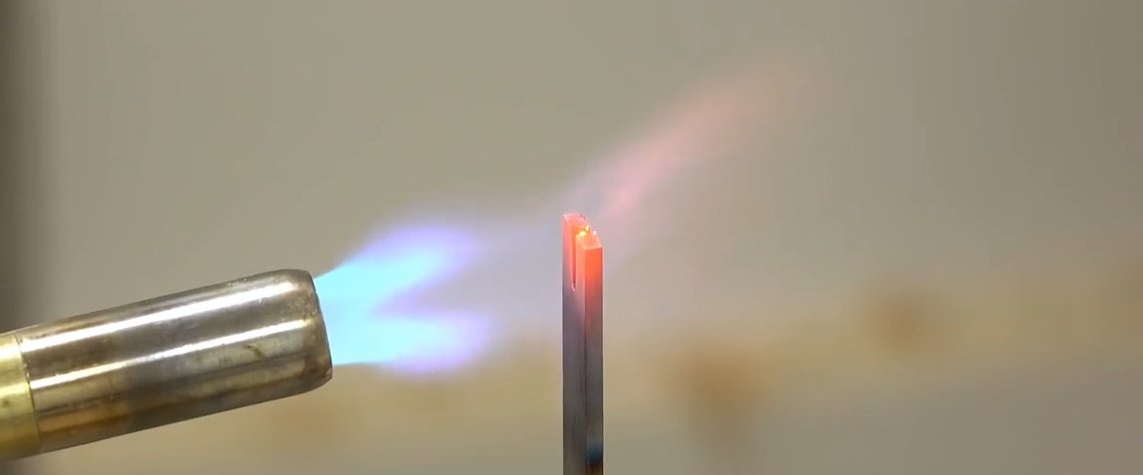
The next step could not have been taken, since the author mentioned that this is already hardened steel. In addition, he did not do anything that would contribute to her overheating. Heating the blade to a slightly crimson color, just cooled it in water.
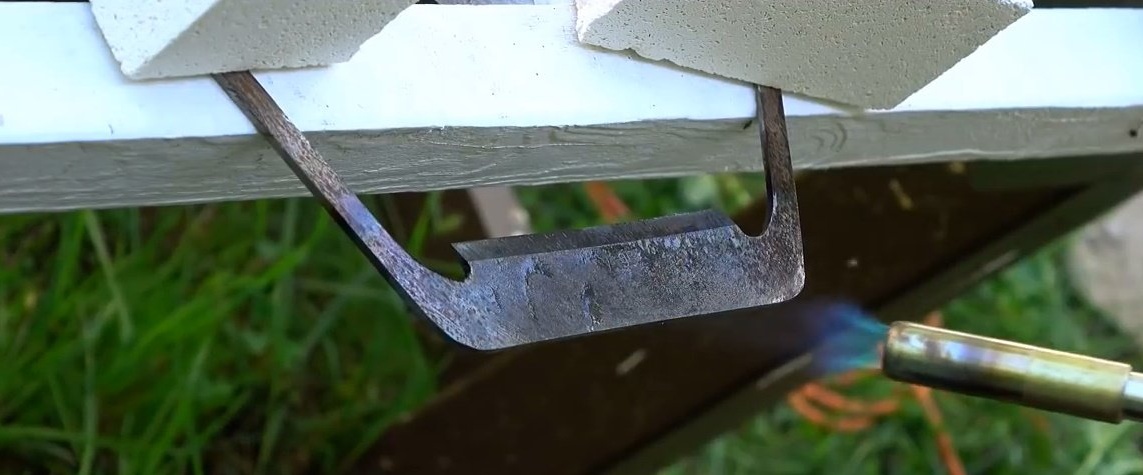
John tried not to overdo it with stripping and limited himself to removing rust and scale formed after heating the steel. But if desired, you can bring the product to shine.
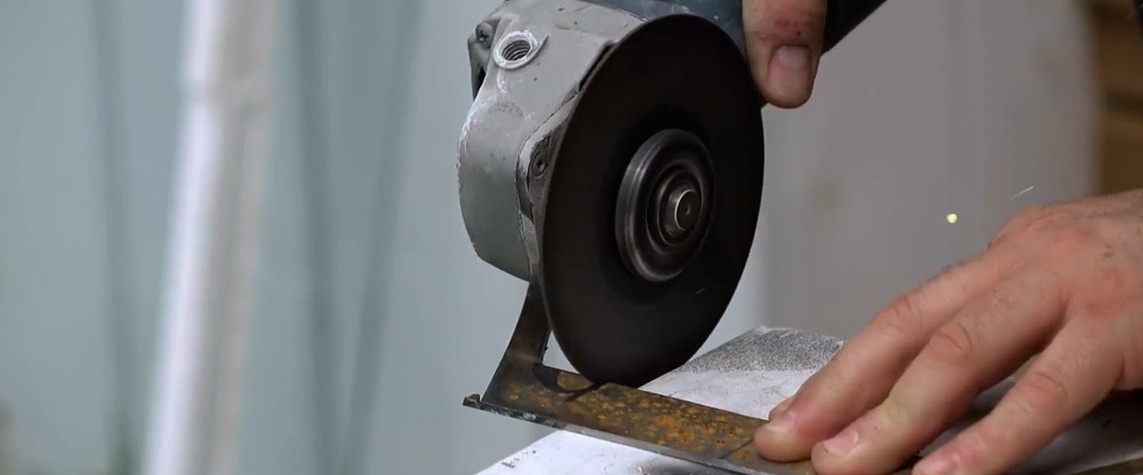
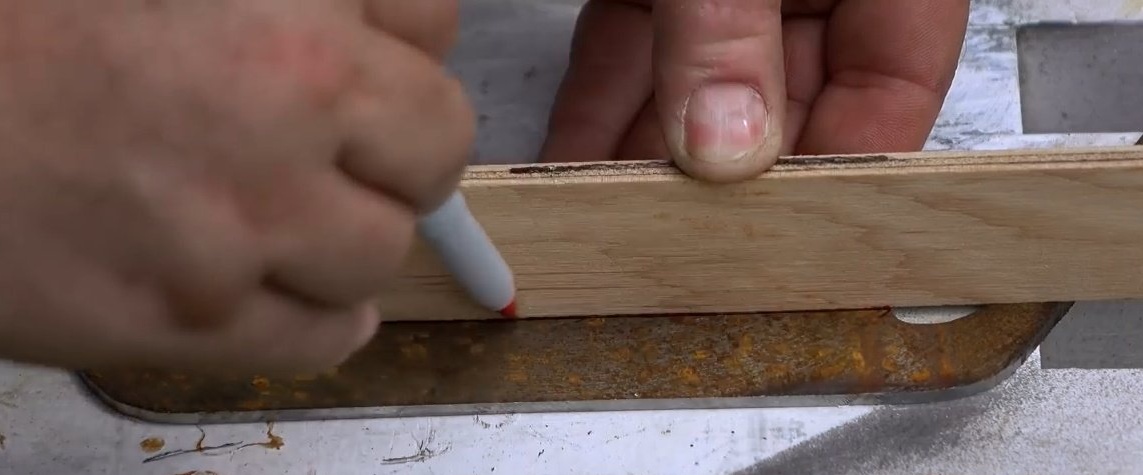
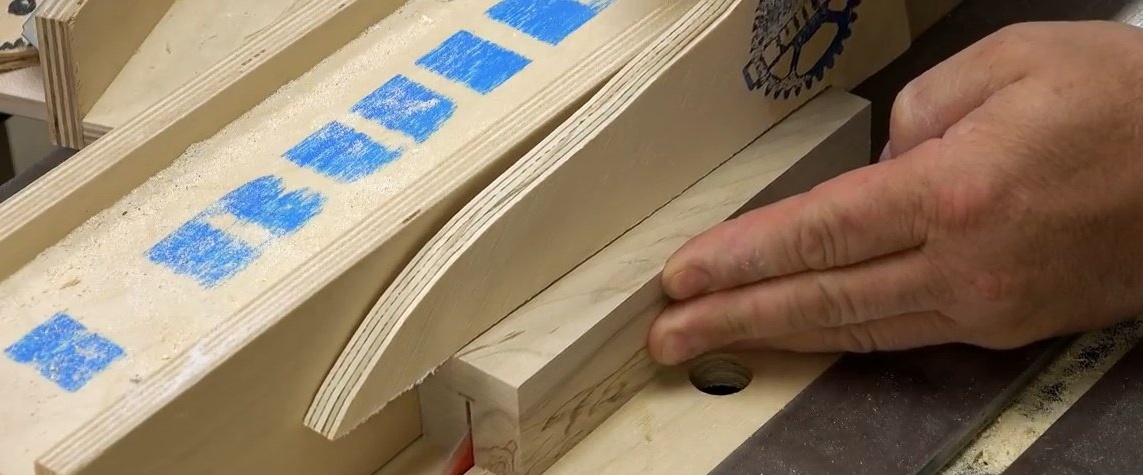
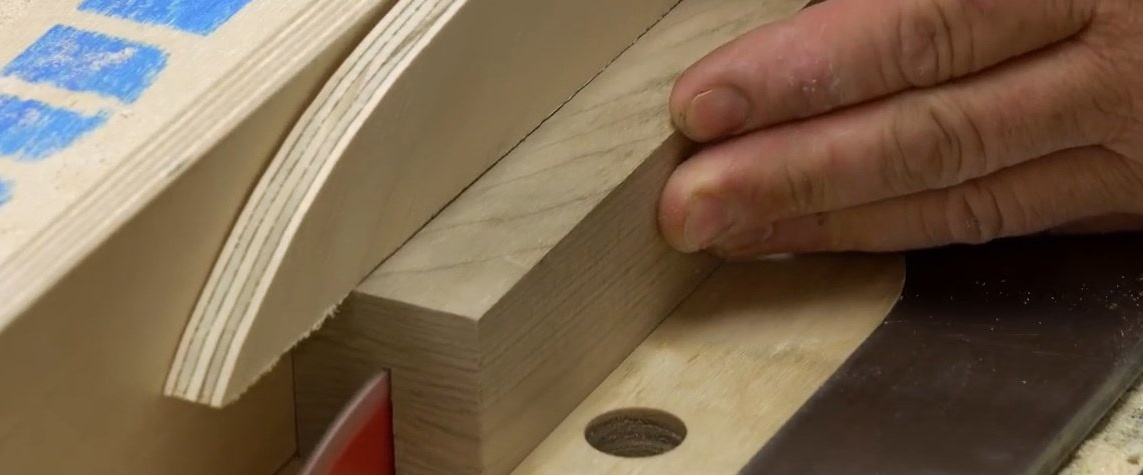
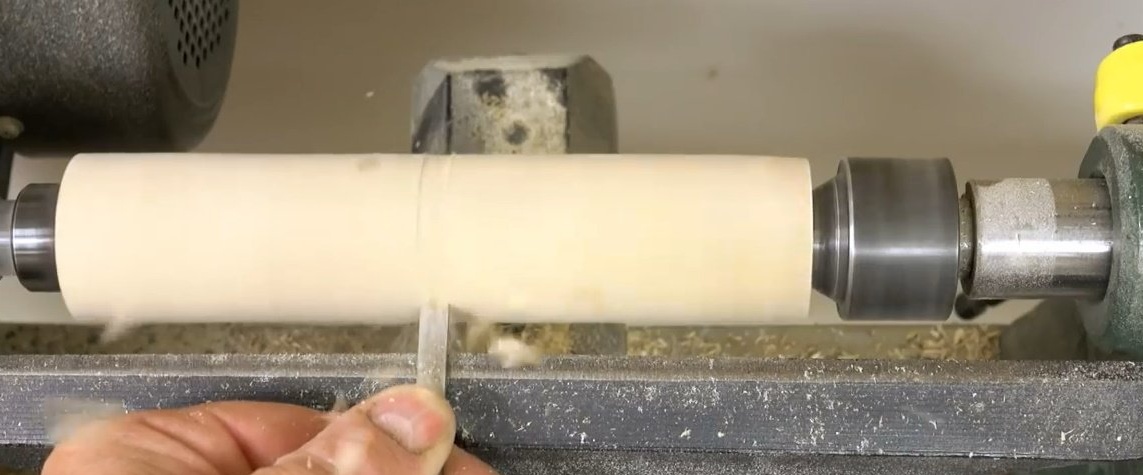
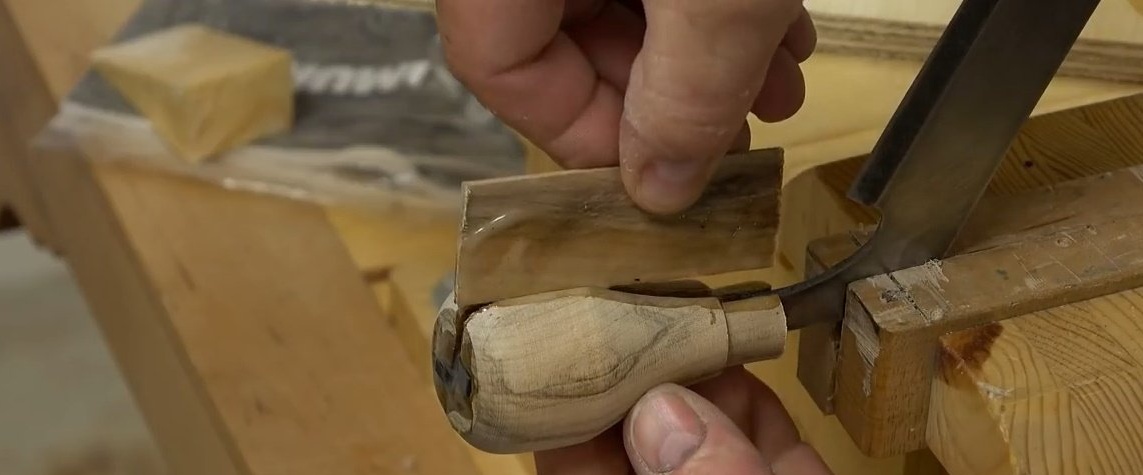
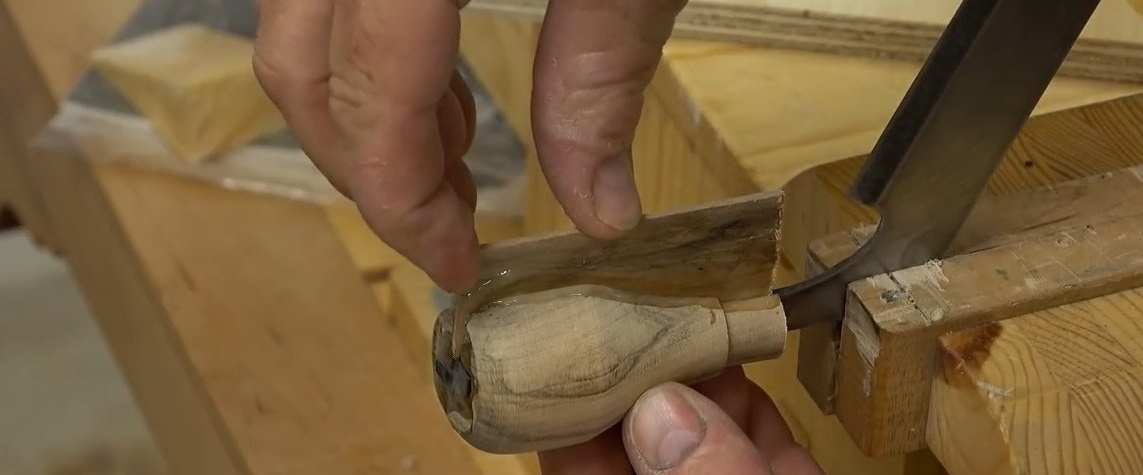
Next, the author cuts a piece of maple for handles. And then the craftsman finds an interesting solution on how to attach them to the blade. He makes slots wide enough for the shank to fit in, right on the circular saw. It is much faster and easier than drilling these grooves.
And then he will fill the open part of the groove with a plank of the same thickness.
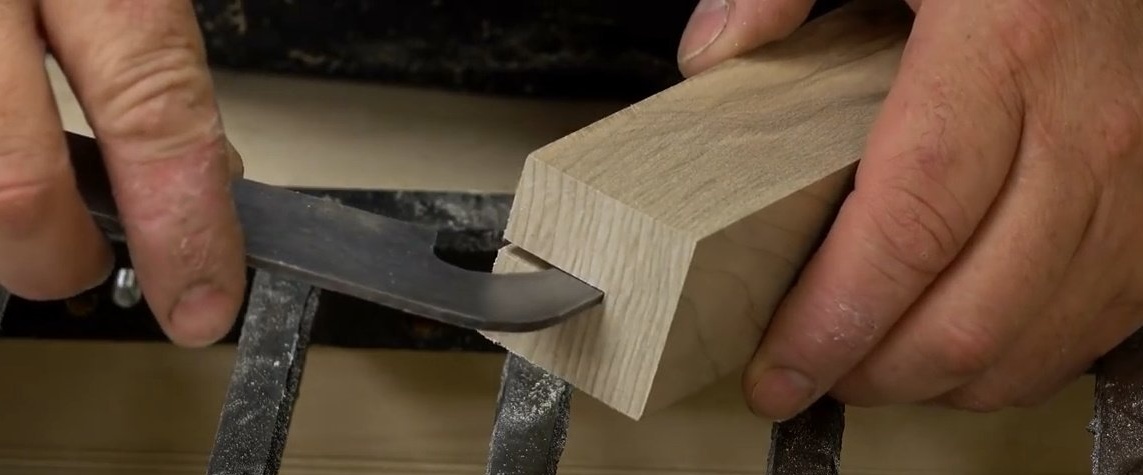
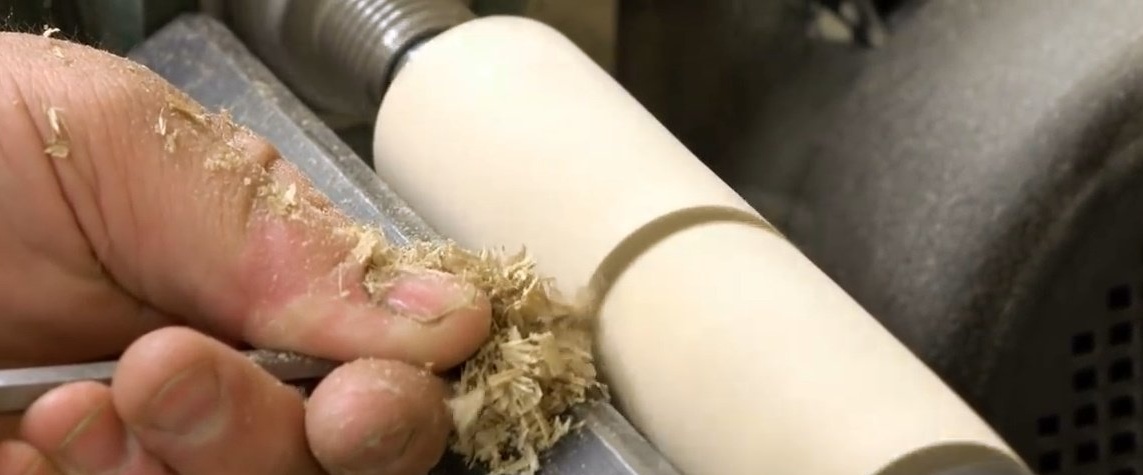
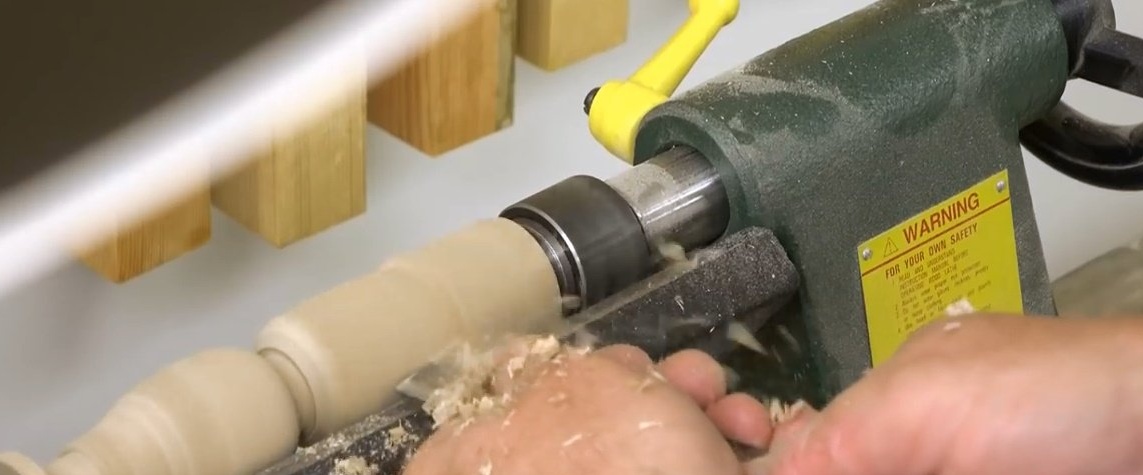
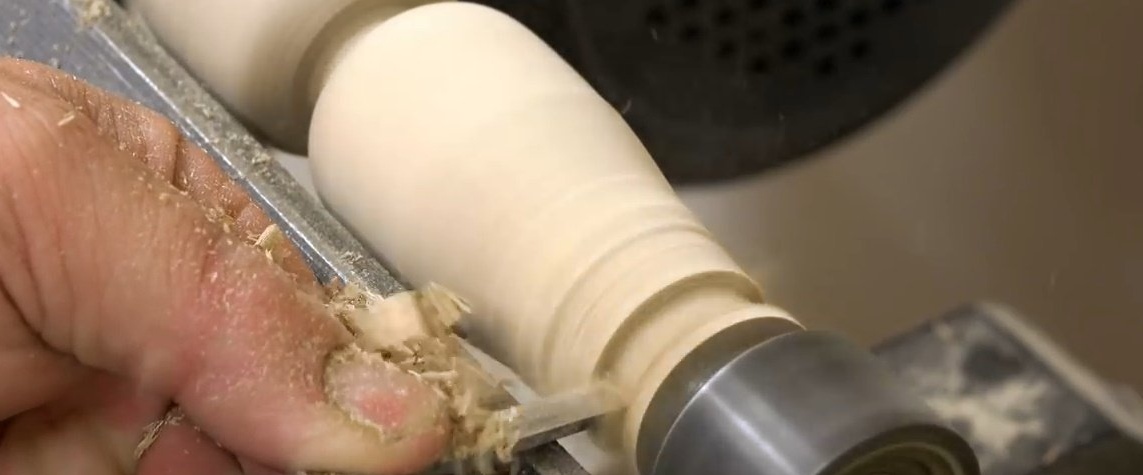
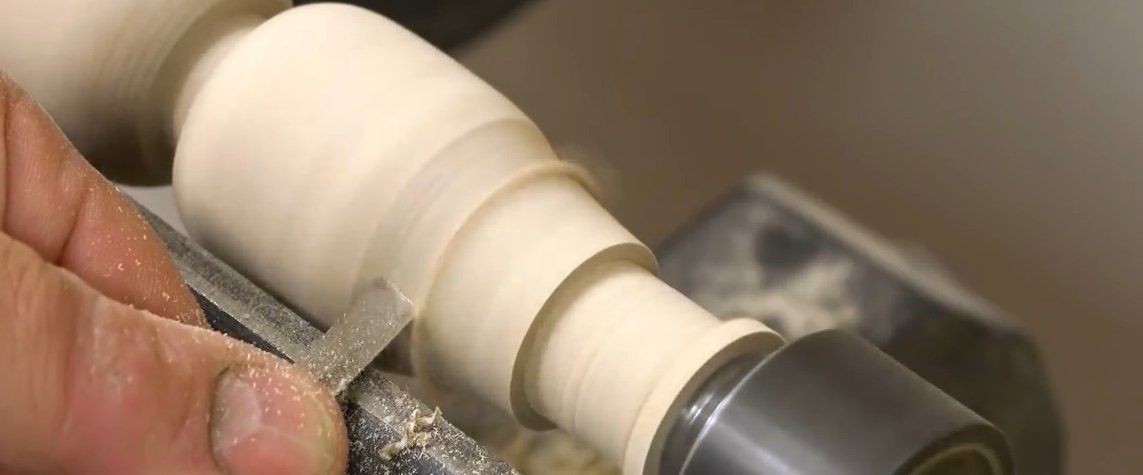
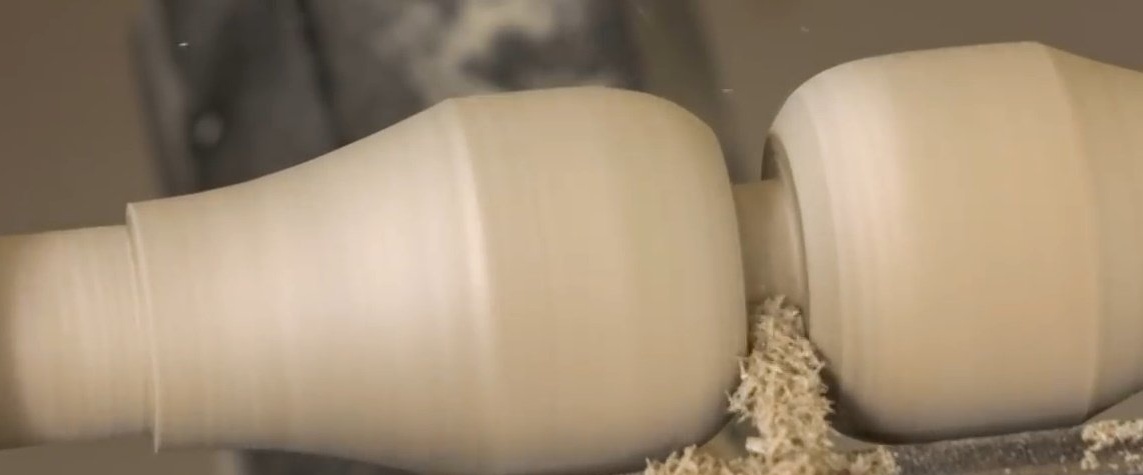
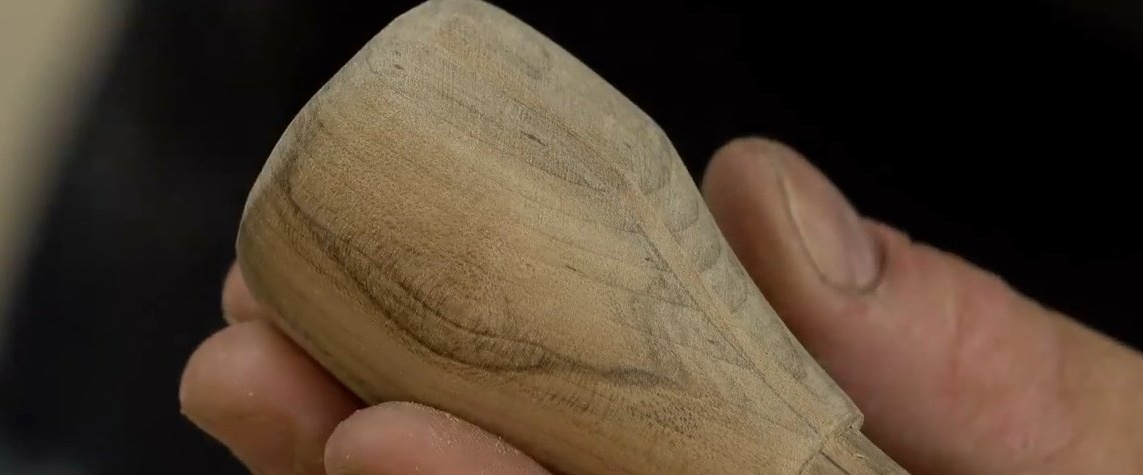
Then he cuts the general shape of the handles on a lathe - they will be wide at the ends and somewhat narrowed at the base, so that the grip is reliable.

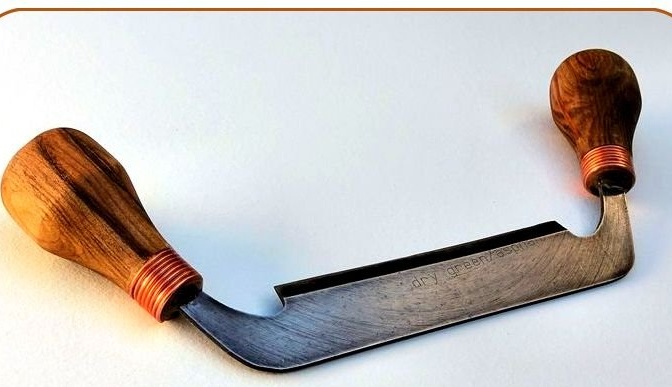
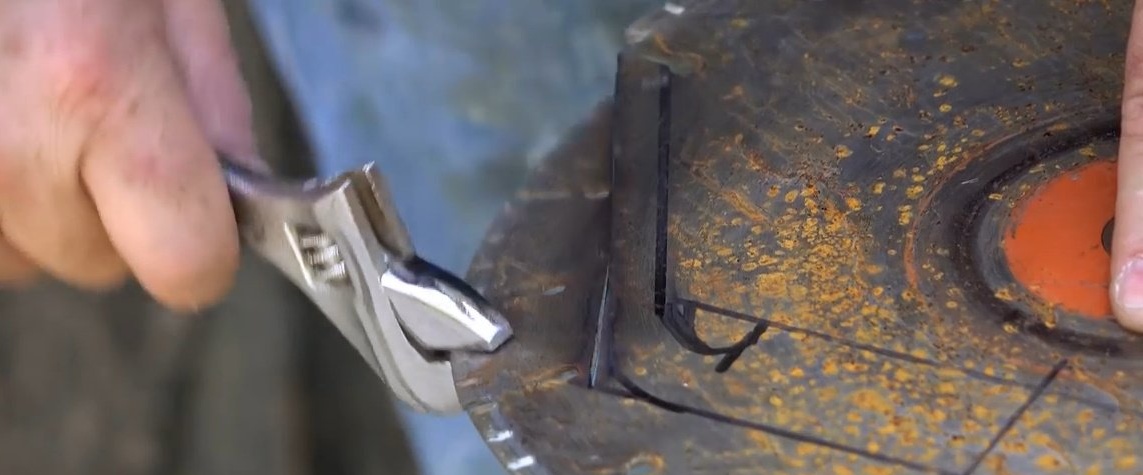
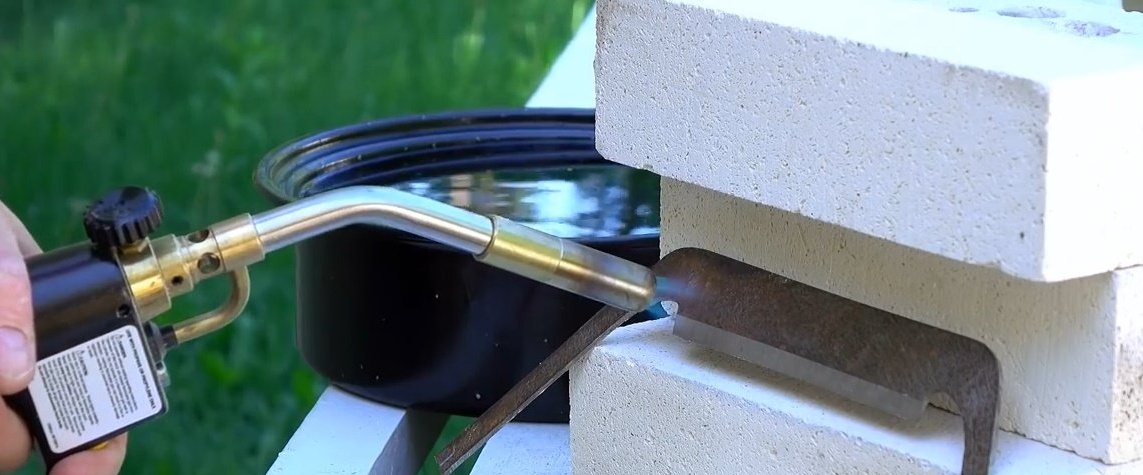
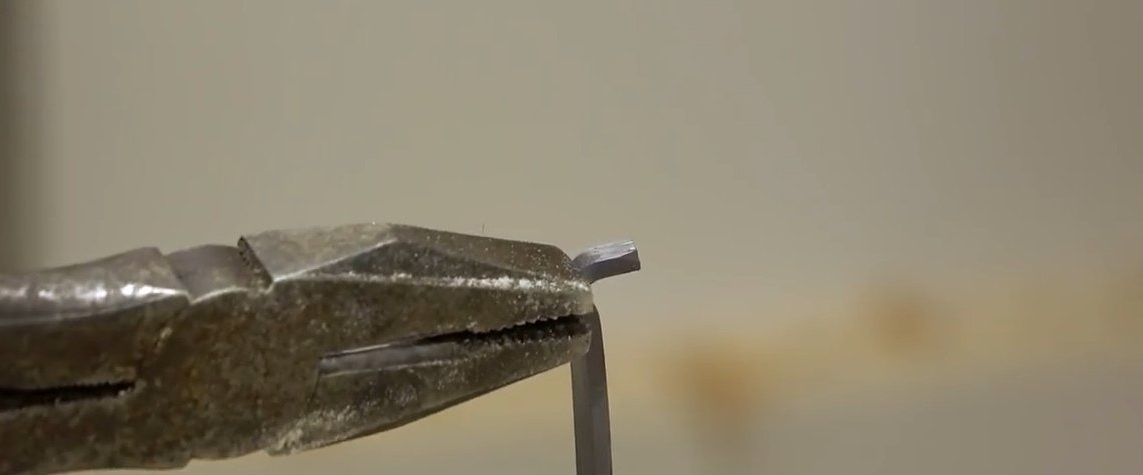
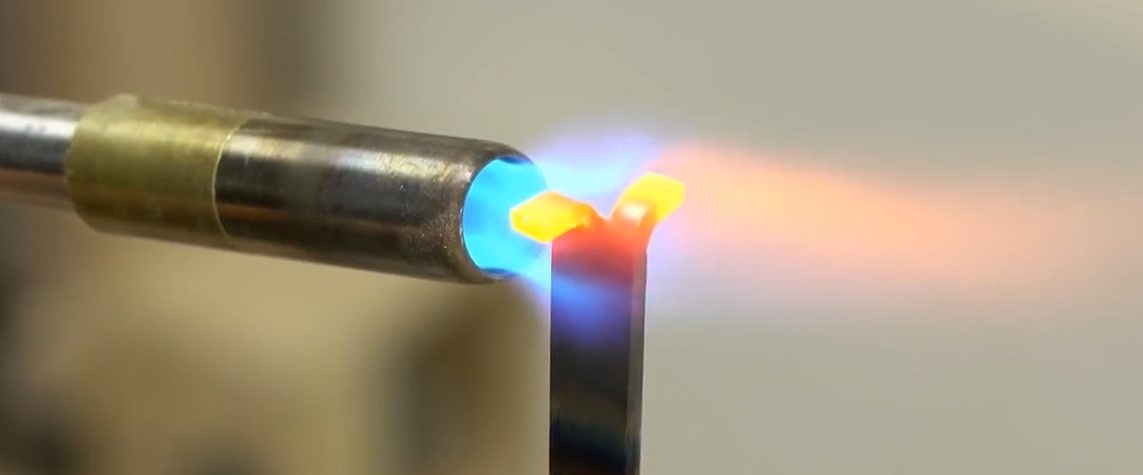
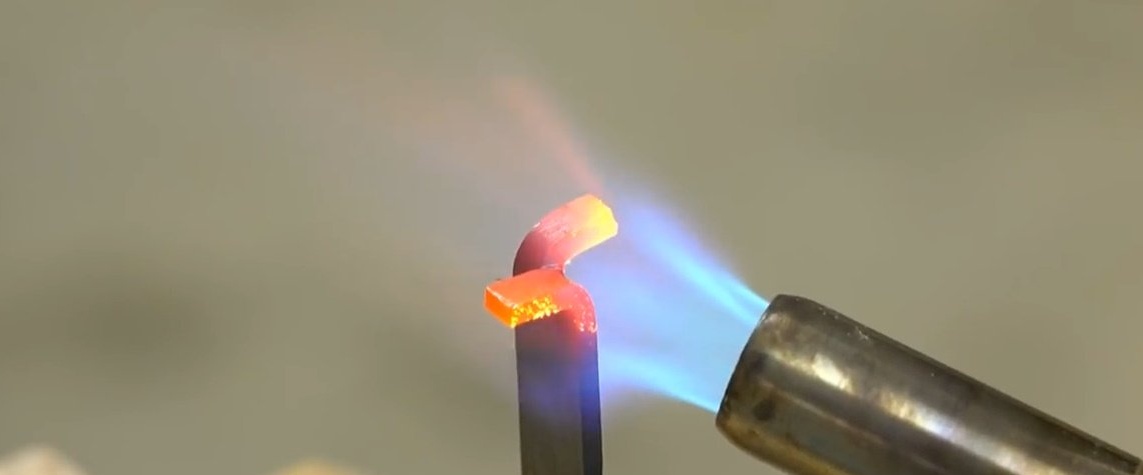
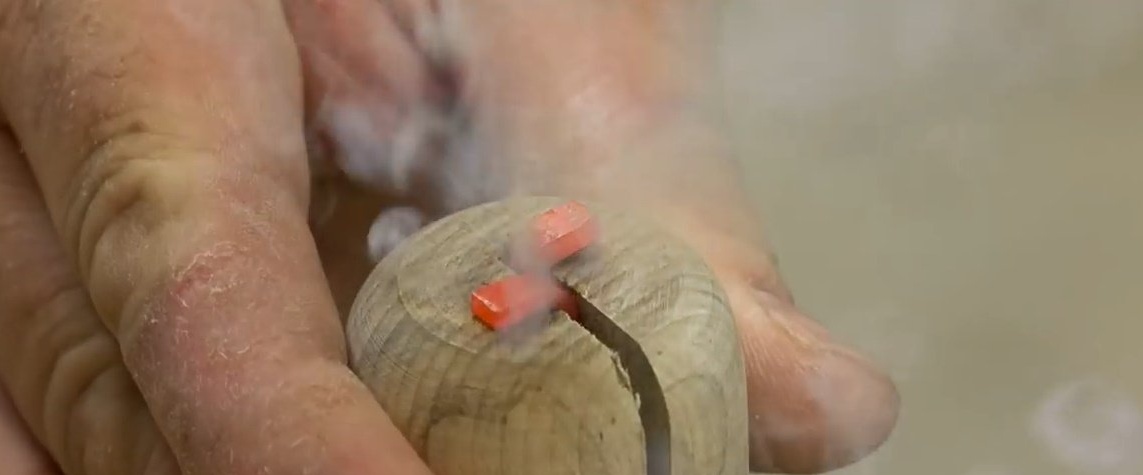
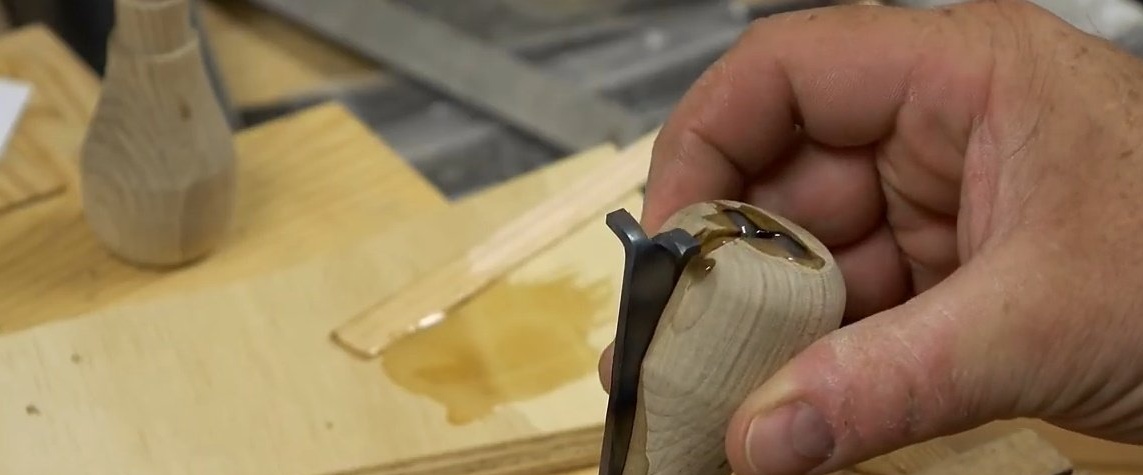
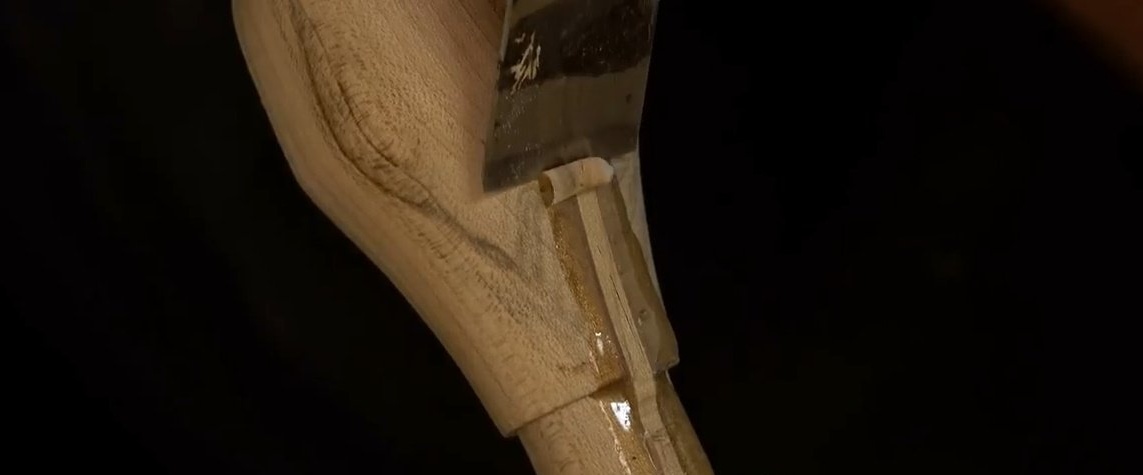
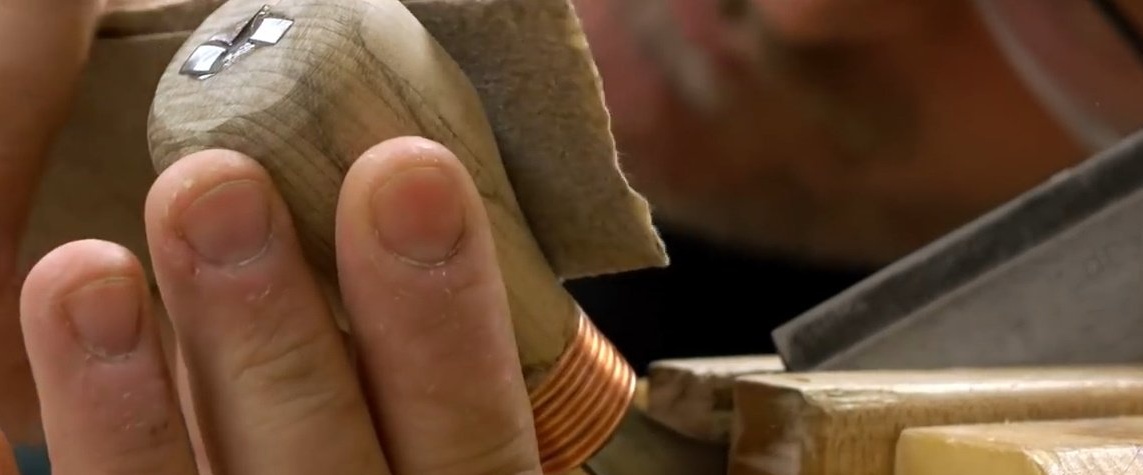
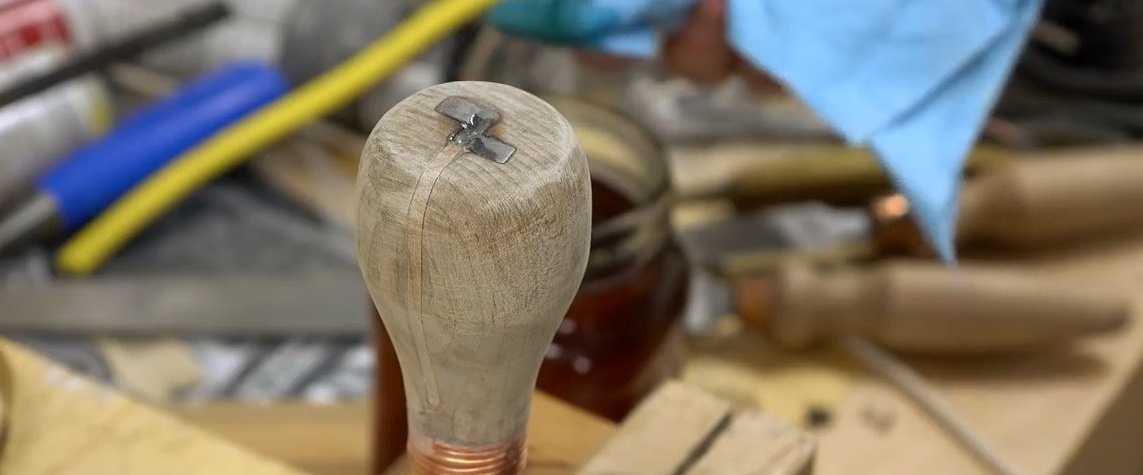
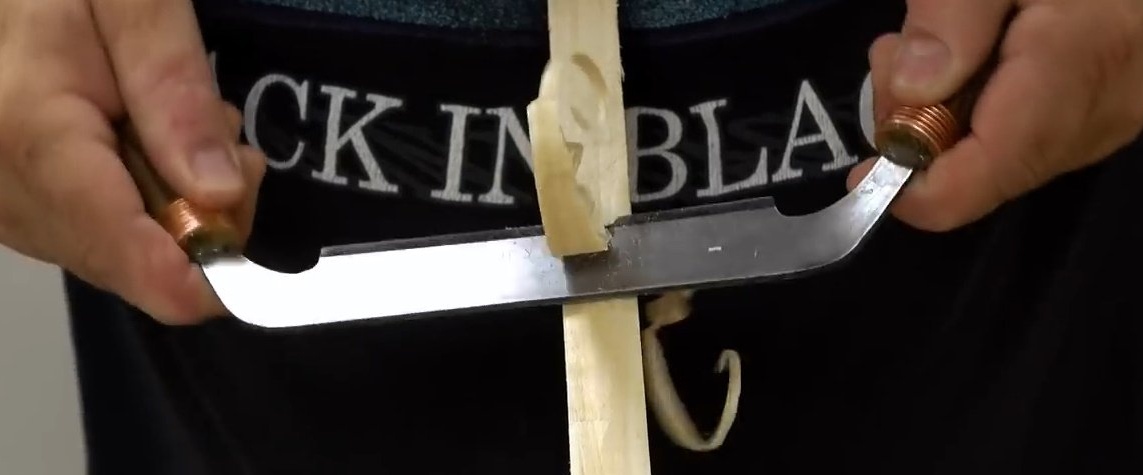
And now, the reason John cut out these slots at the ends of the shank ... The most unexpected and dangerous thing that can happen when using the brace is when the handle suddenly slides off the shank. To prevent such a development of events, the author bends the ends of the shank with the help of pliers, in this way, after warming them up properly.
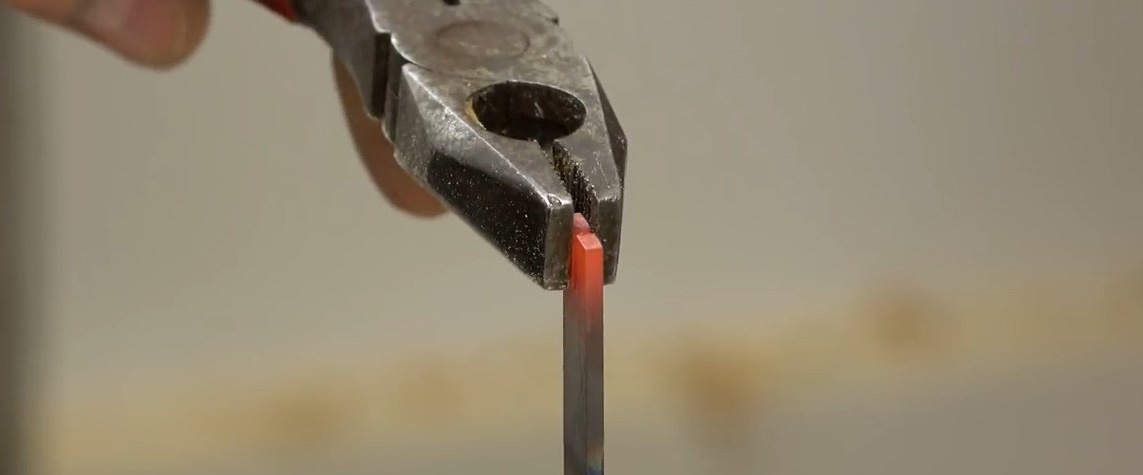
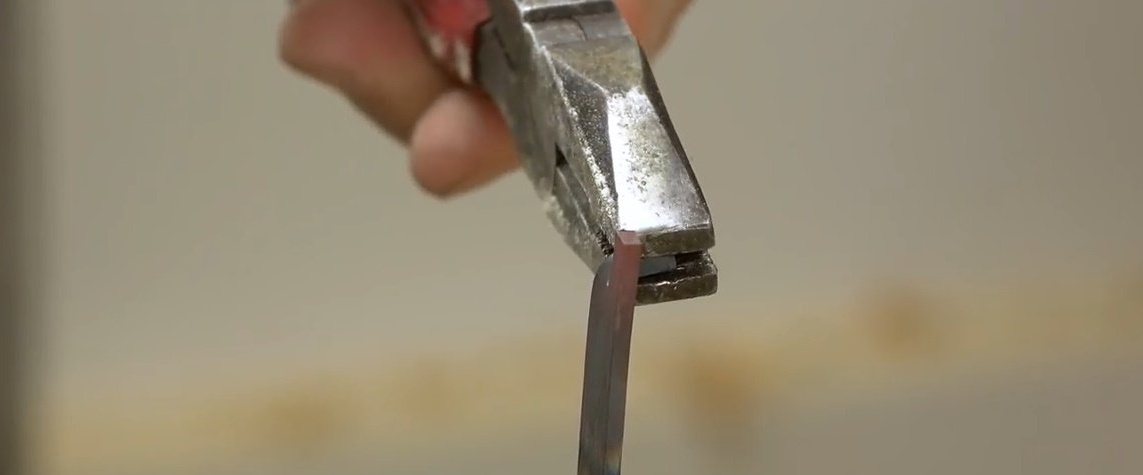
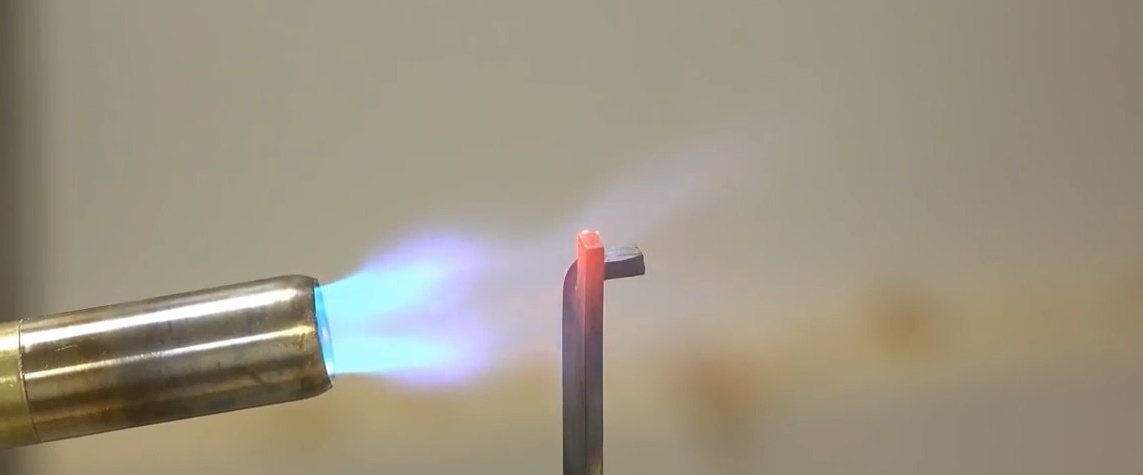
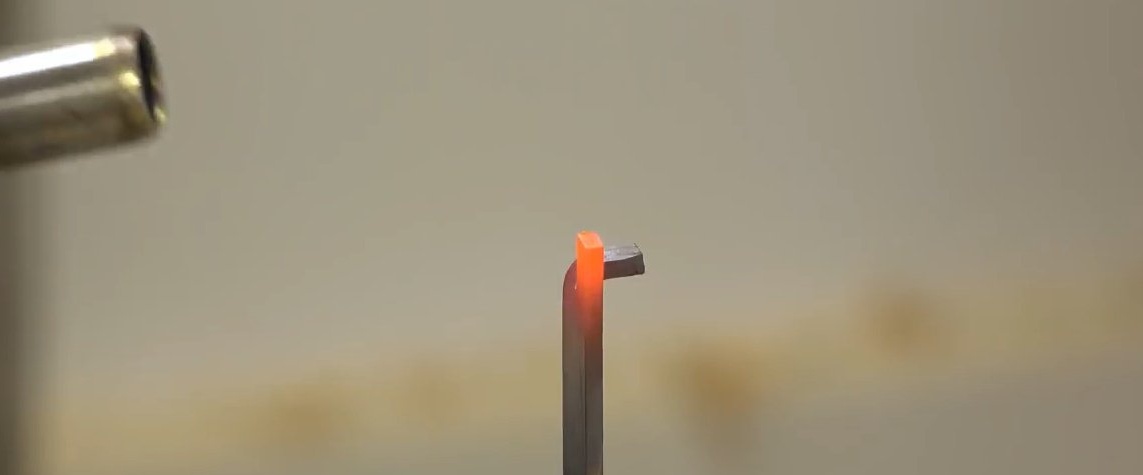
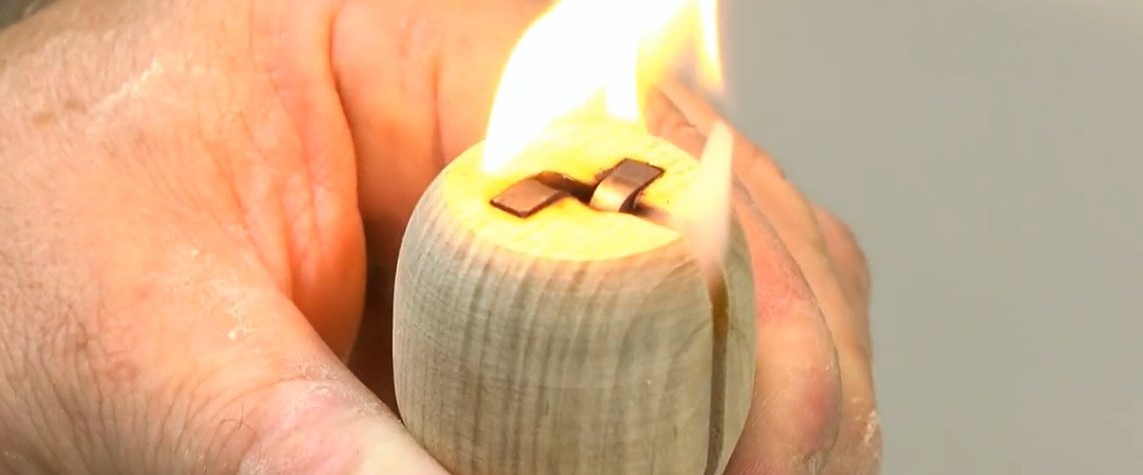
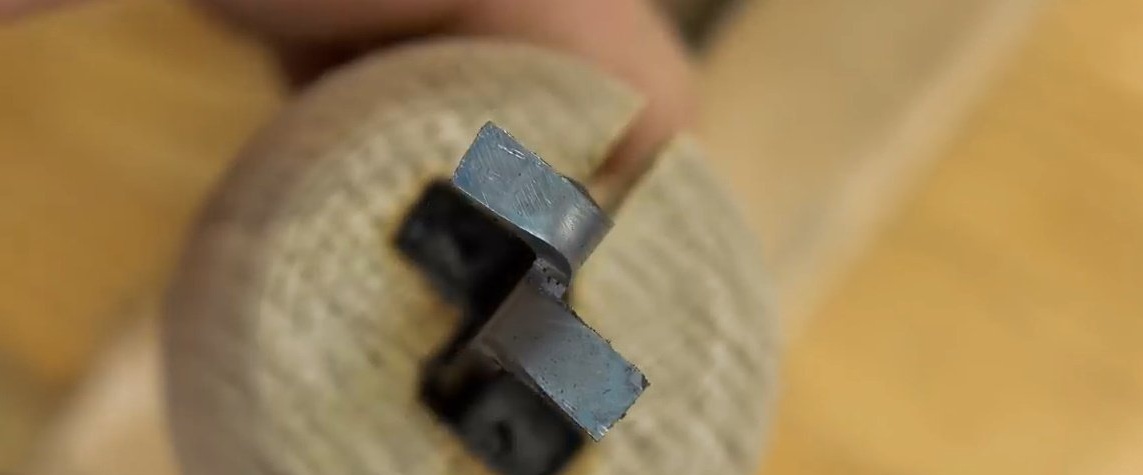
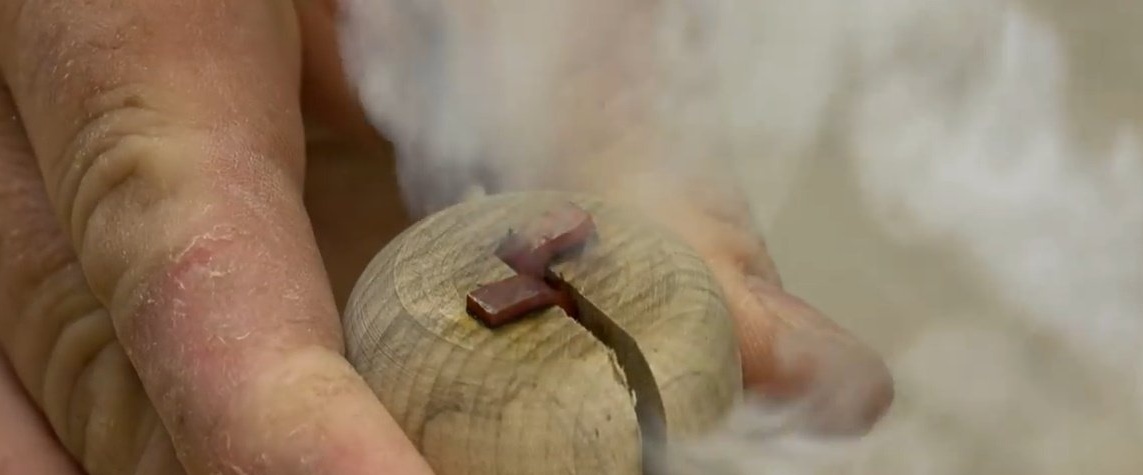
And then immediately puts a hilt on them. Thus he burned for the "mustache" grooves in the handle. A charming technical solution, isn't it?


With the second handle repeats the same action.
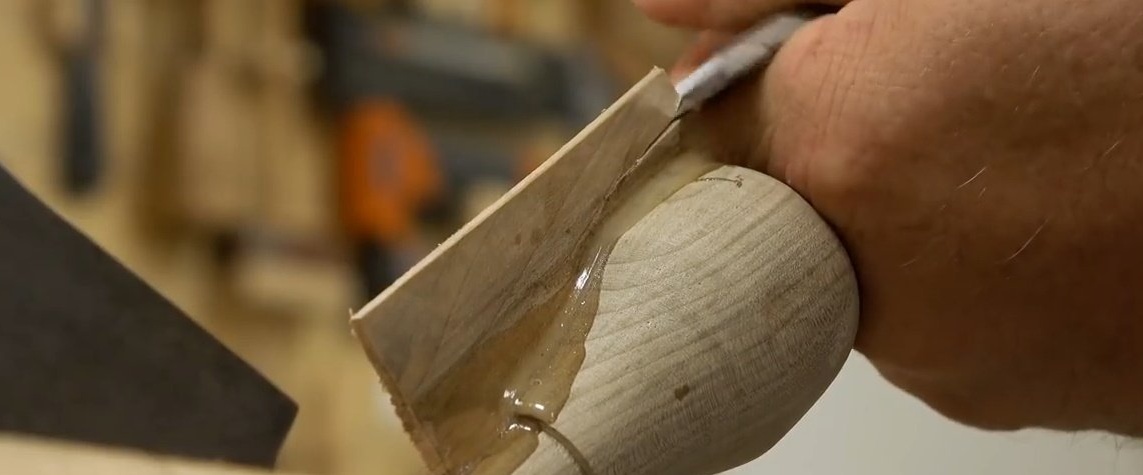
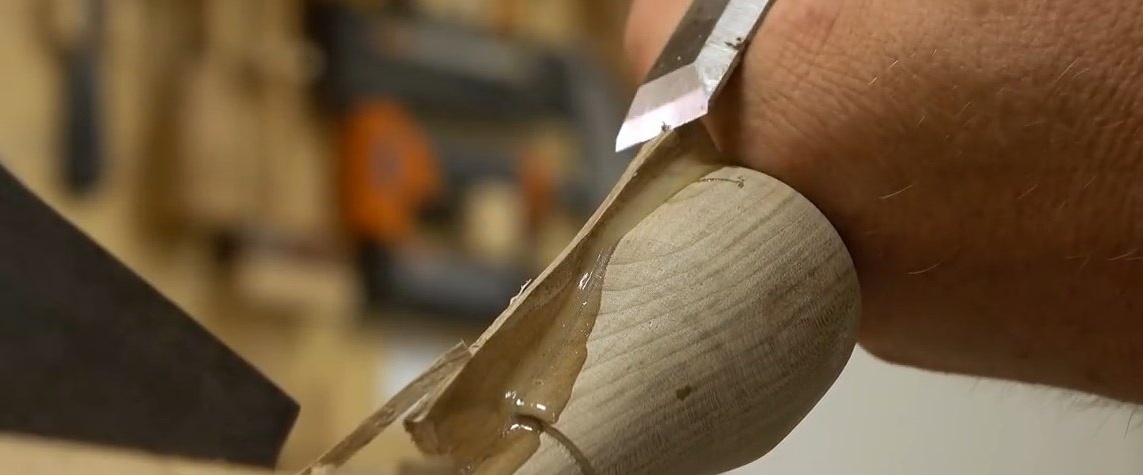
Having plentifully missed the grooves with epoxy resin, sets the handles on the shanks, and pushes a suitable finish into the groove.
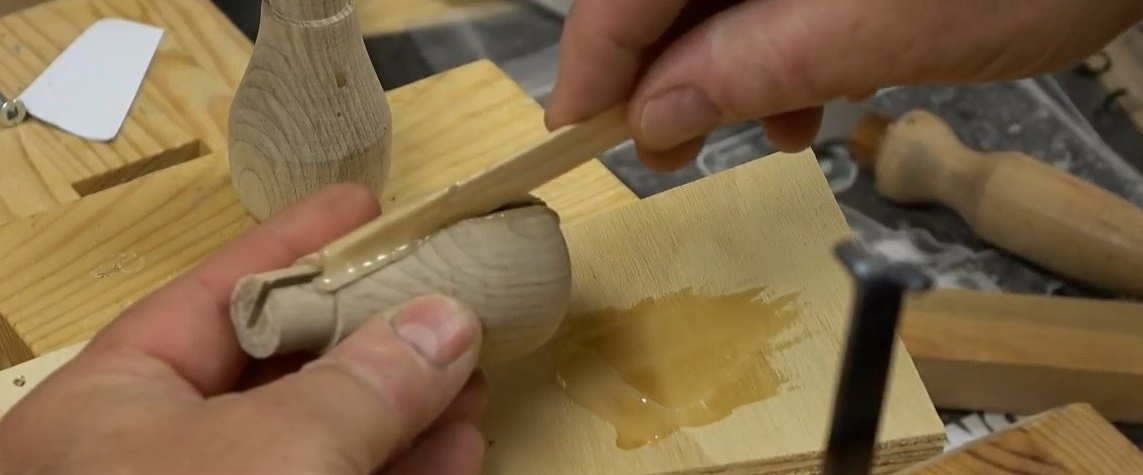
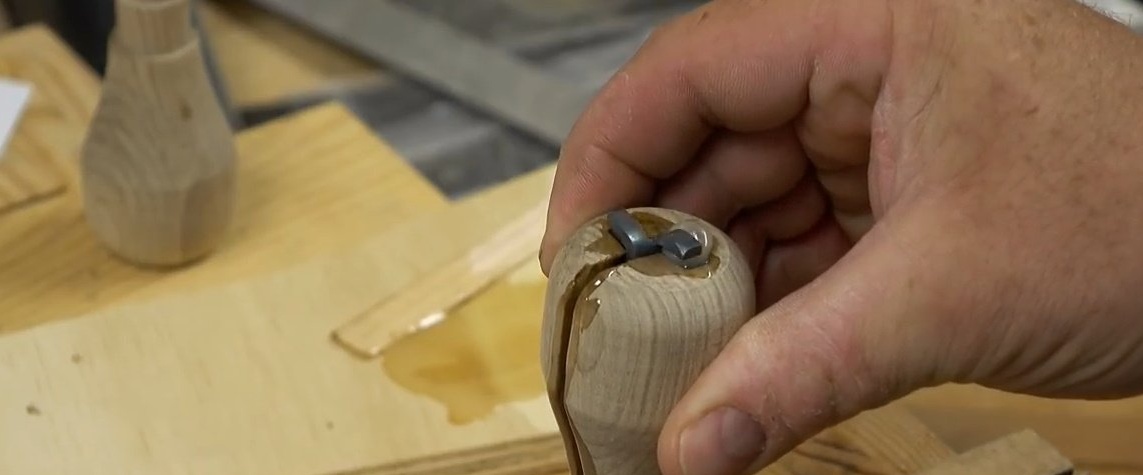
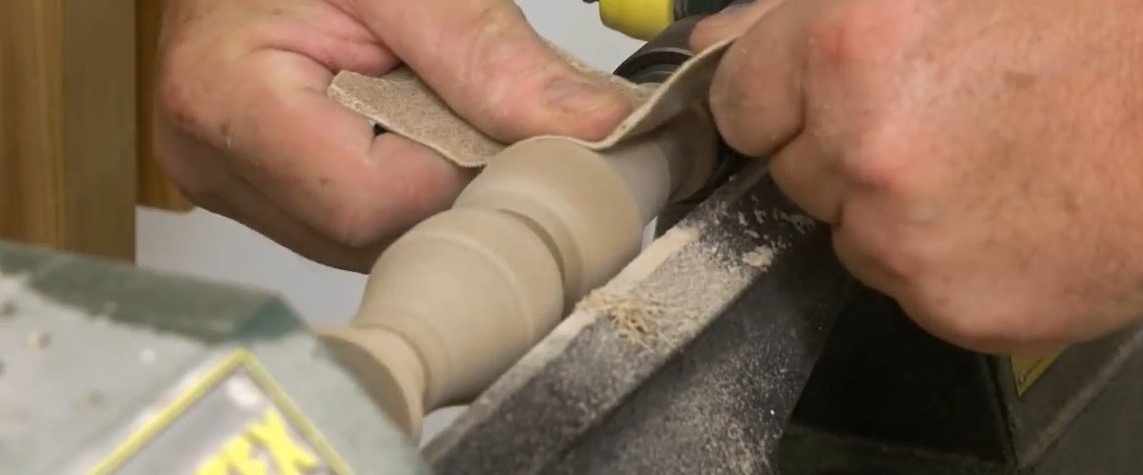
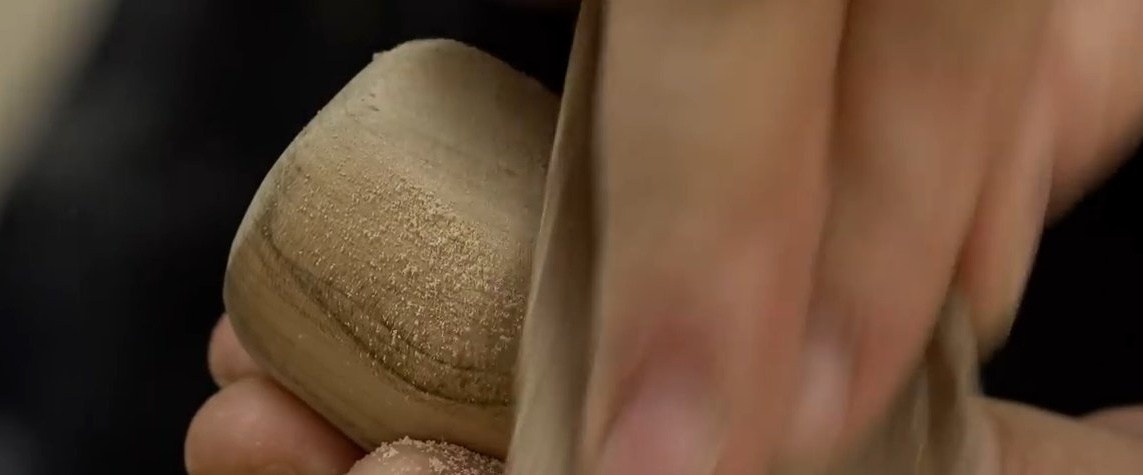
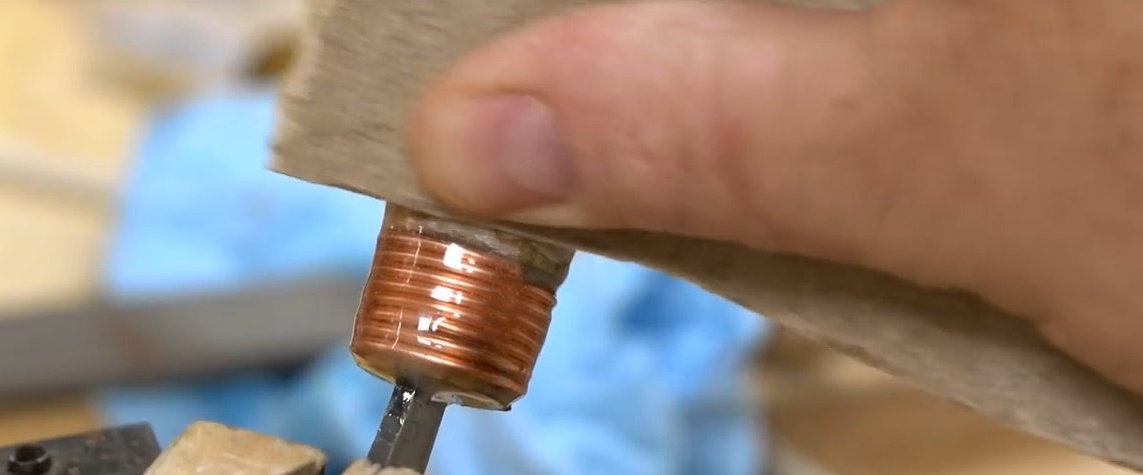
After polymerization of epoxy resin, it cuts off excess material and carefully polishes with sandpaper.

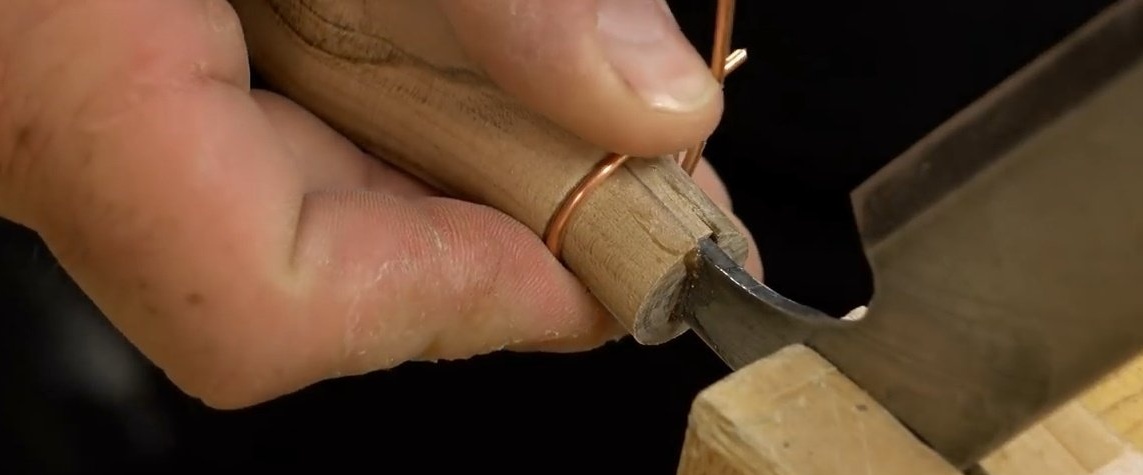
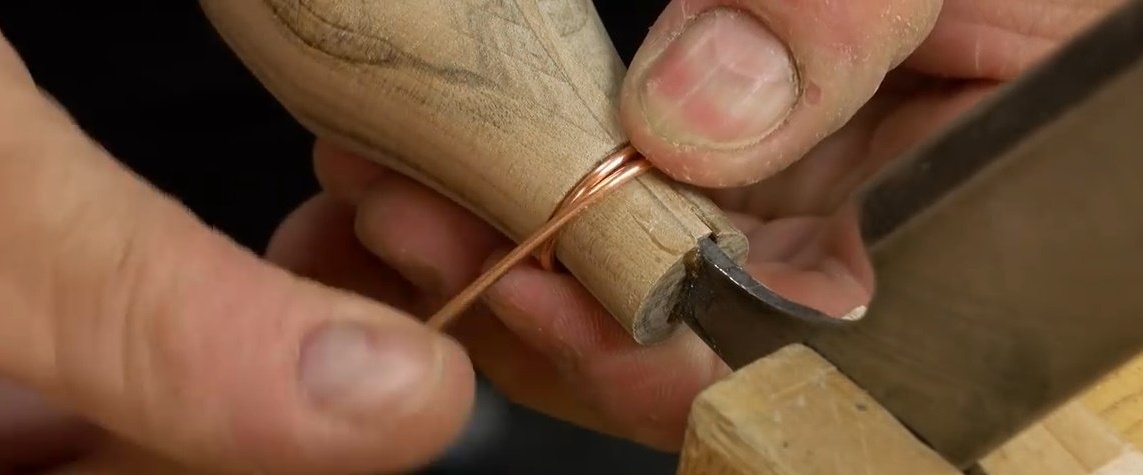
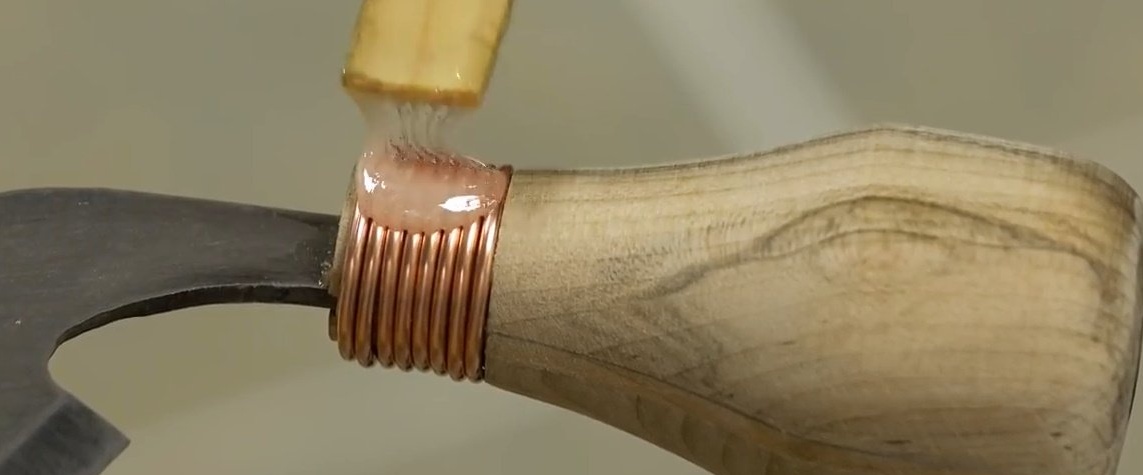
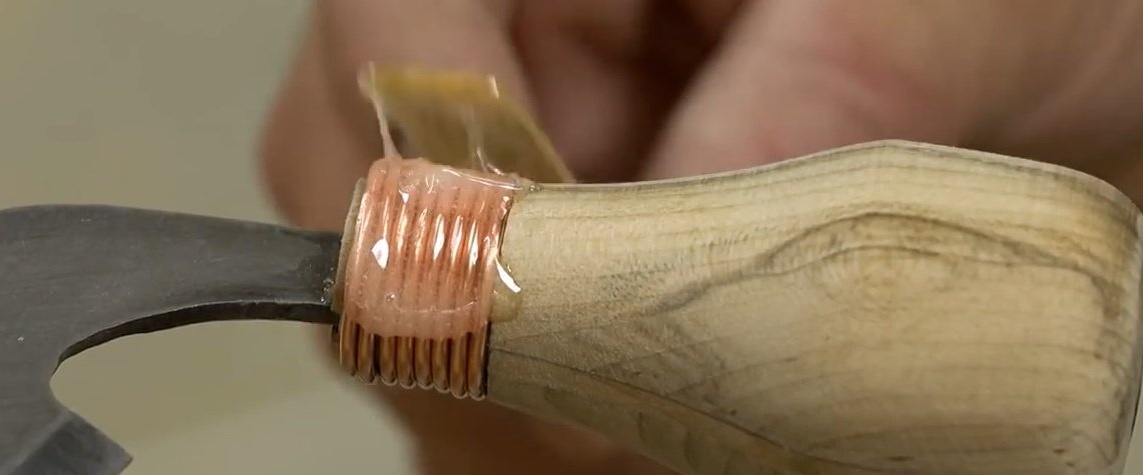
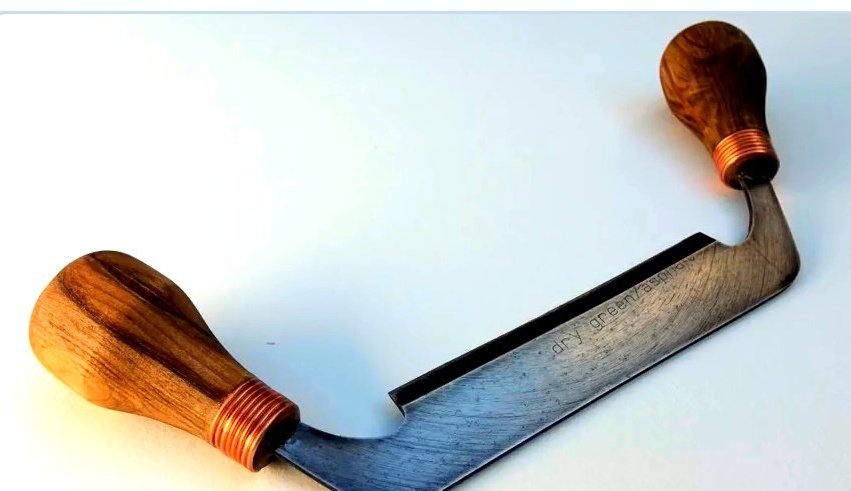
Initially, the master planned to use a copper tube for the safety ring, but later decided to use the copper wire nevertheless, wrapping it several times around the handle. This is an ordinary copper wire from a power cable, from which the insulation was previously stripped.
It turned out to be quite difficult to do. This work should have been done before the handle was mounted on the shank. Then it would be possible to bend the wire more precisely in shape.
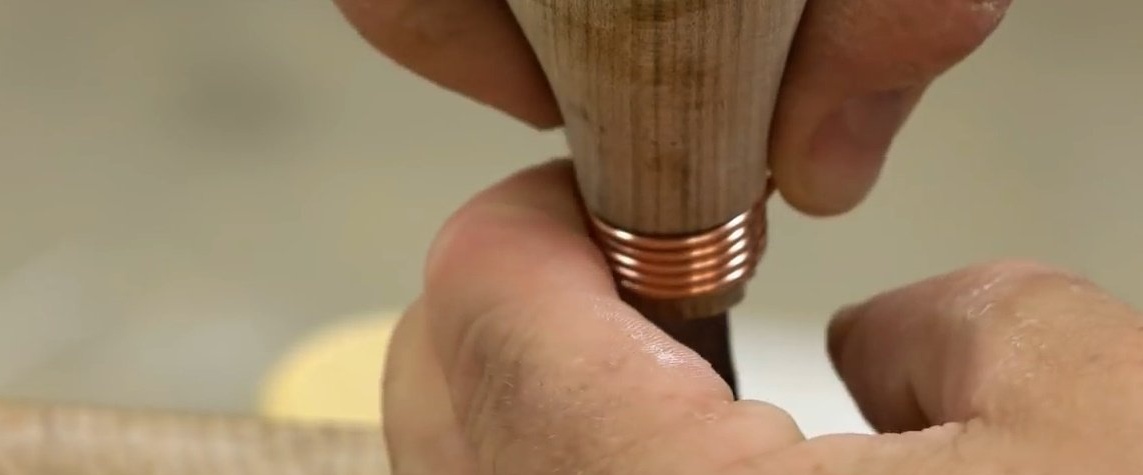
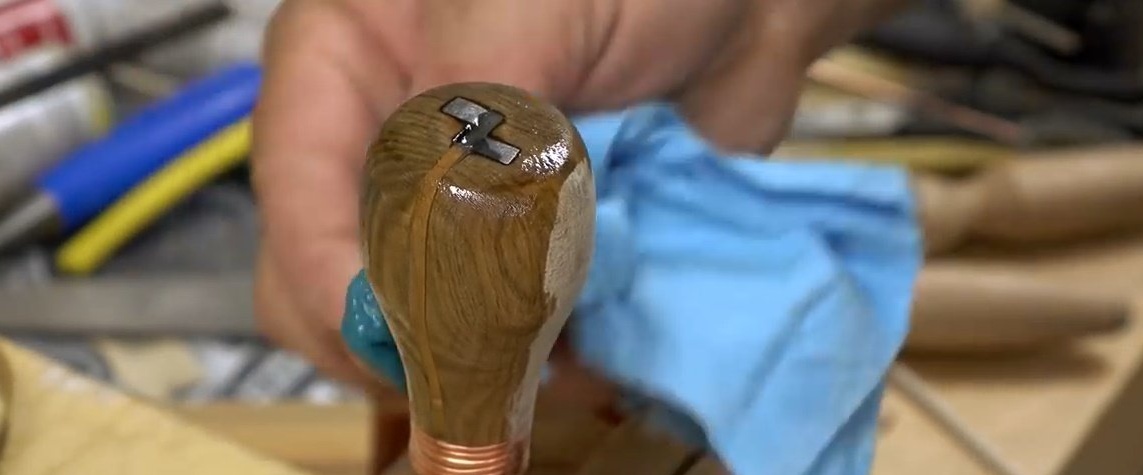
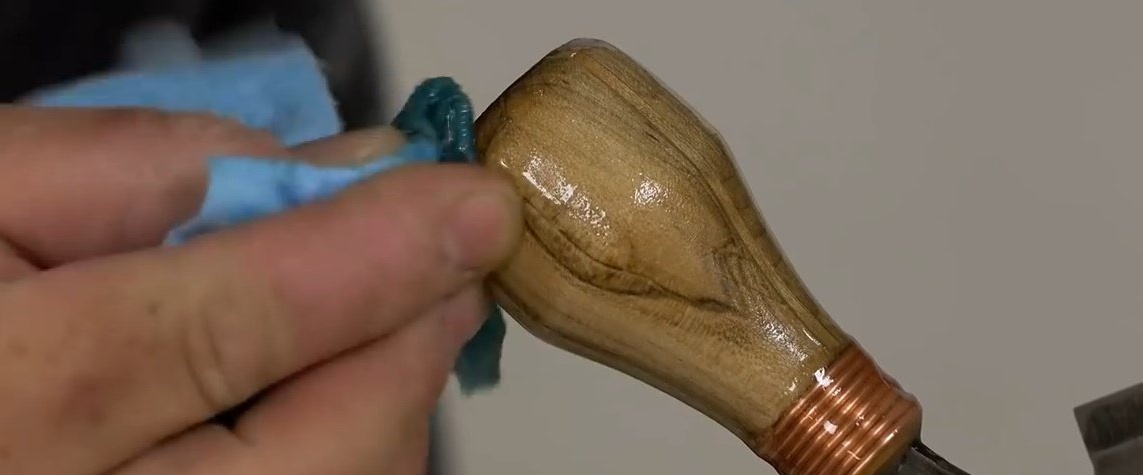
After all, John covers the copper spiral with a dense layer of epoxy to fix it in place. In the end, the author imposes a couple of layers of linseed oil on the handle, more for beauty than for functionality.
A day to dry and finish.
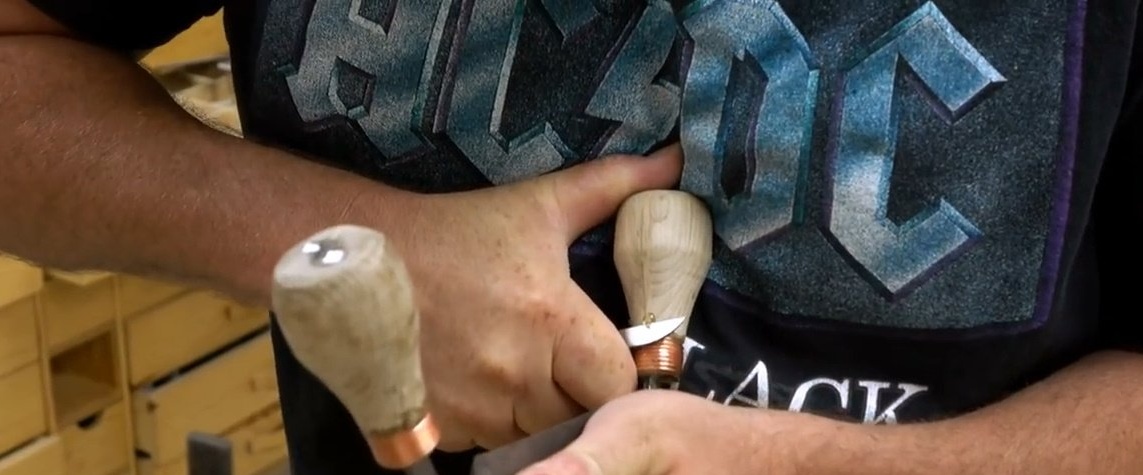
Of course, mandatory impregnation with linseed oil.

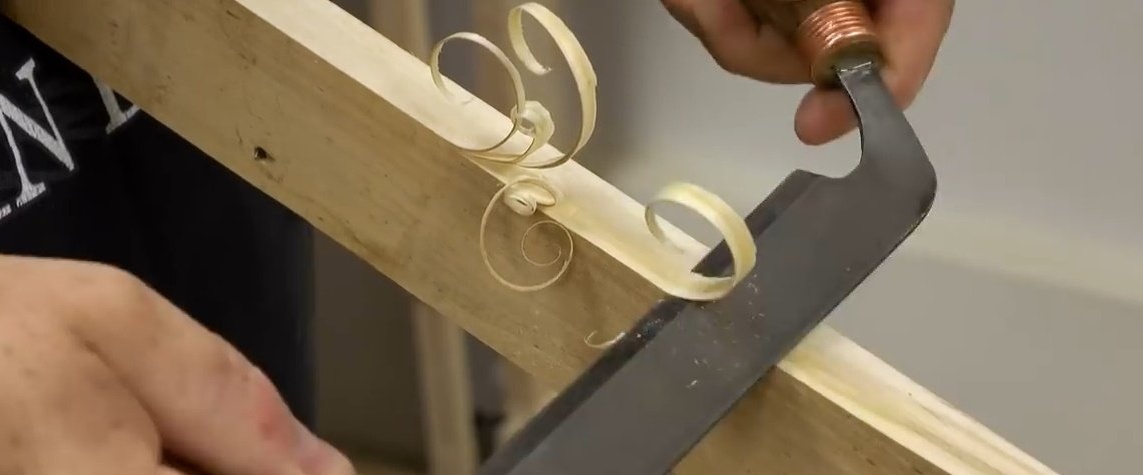
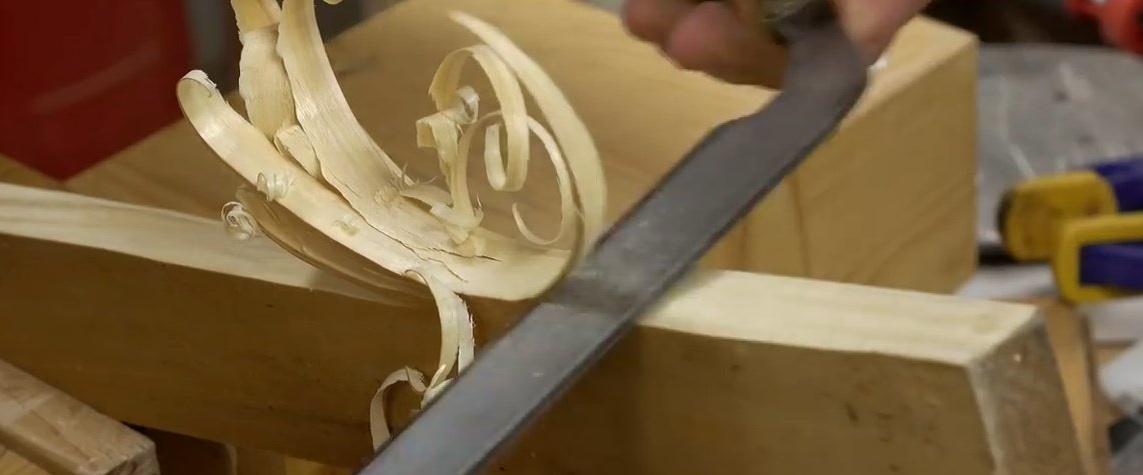
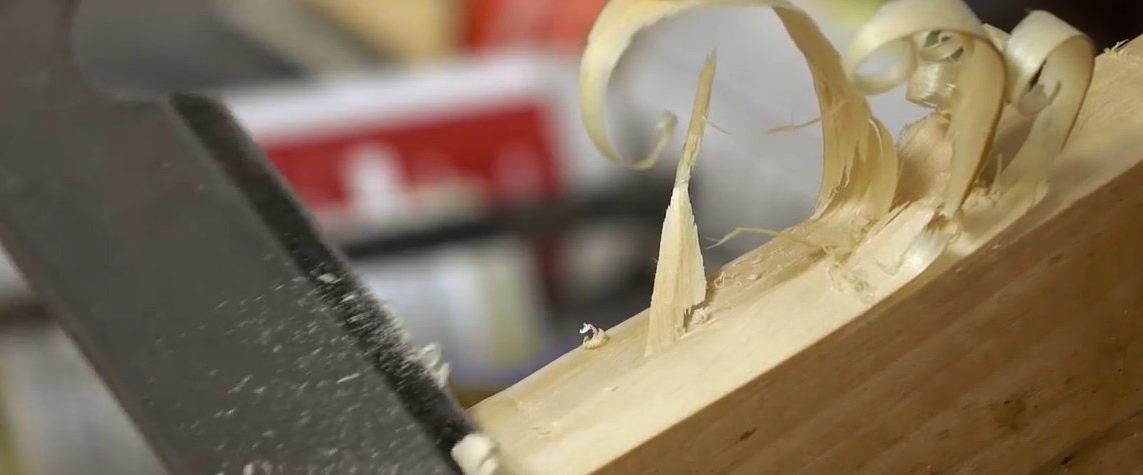
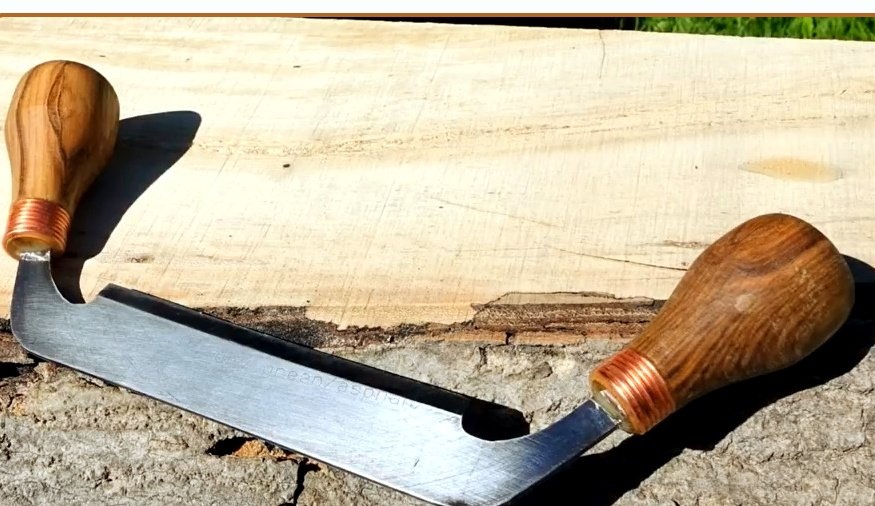
The first test on a piece of soft wood. Great cuts!

Here's a tool from John.
Thanks to John for the detailed master class, and especially for the reliable way to attach the pens!
Good luck to everyone and good tools!