
From this article you will learn how to make the coolest garland on the window. It’s so cool that you definitely won’t buy it anywhere, even from the Chinese. But we will do it from the Chinese components. That's the irony, right? The author of this homemade product is AlexGyver.

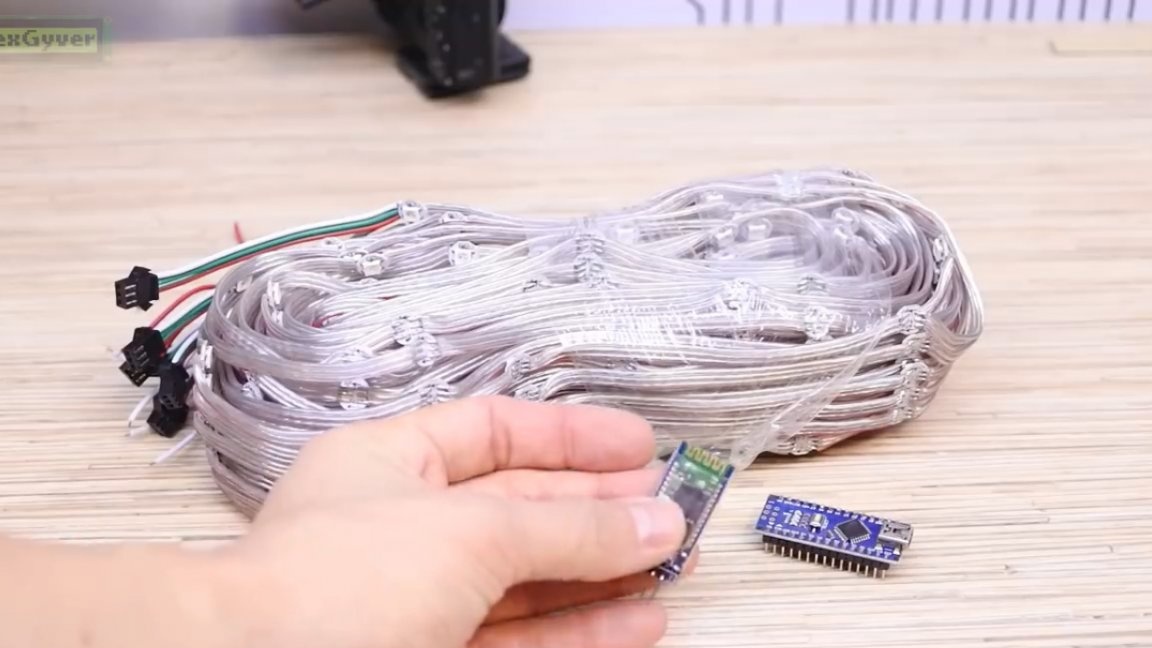
The main component of the garland is an addressable LED modular strip. Small modules with LEDs are soldered with wires in long strips of 50 pieces. The distance between the modules is 12 cm.

By the way, you can buy bare LED modules much cheaper and solder them yourself. But of course you understand how much you have to solder.

The microcontroller will control the tape, in our case the platform arduino nano, that is, its Chinese version.

And that’s actually all we need to create the coolest garland matrix. Well, you also need a resistor to protect the output of the microcontroller and a powerful 5V power supply. Although, if you do not use full-screen mode, then a usb charger will be enough for a smartphone with a current of 1, and preferably 2A.


There is also an additional ability to control the matrix from a smartphone. To do this, you need to buy such a bluetooth module.
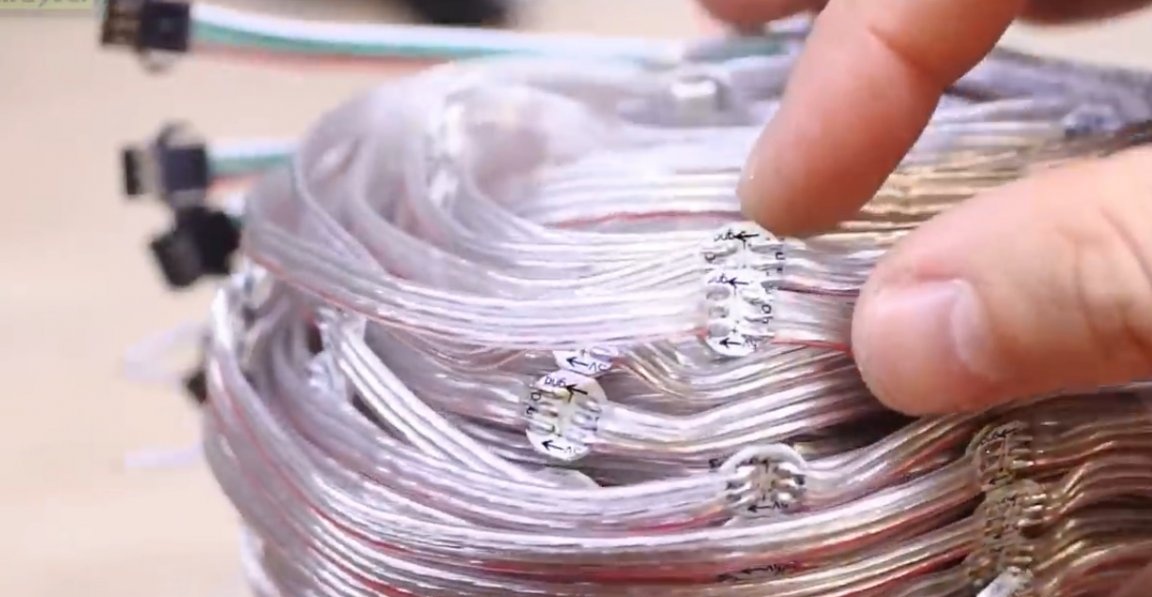
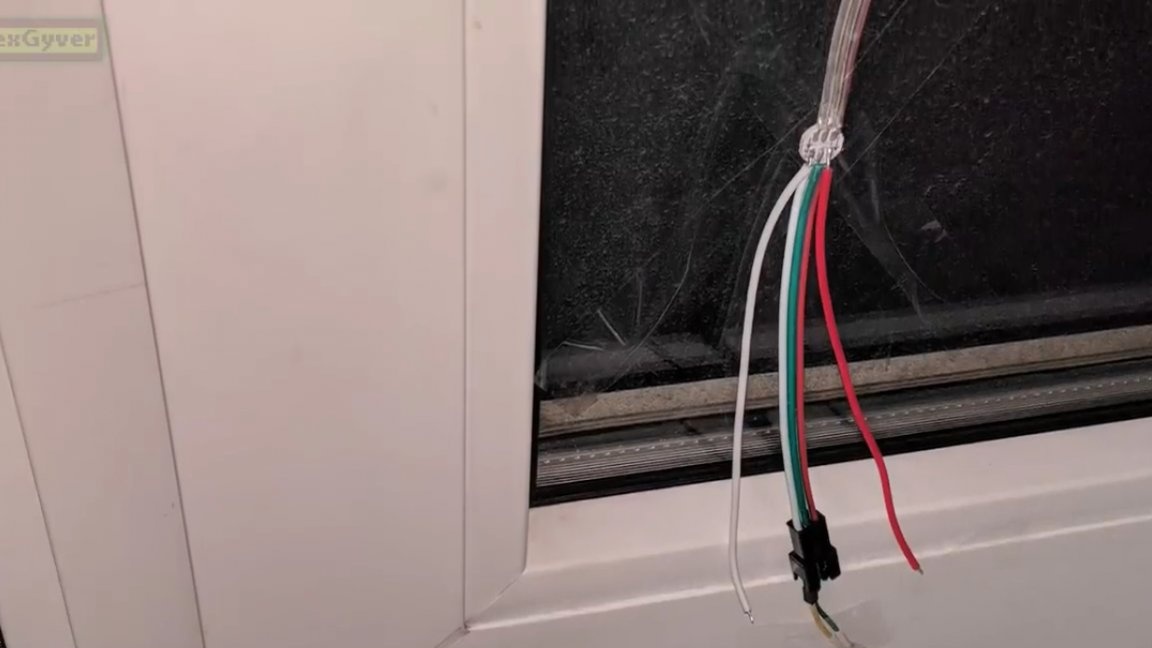
The author bought a lot of LED modules and as it turned out they are connected in this way:


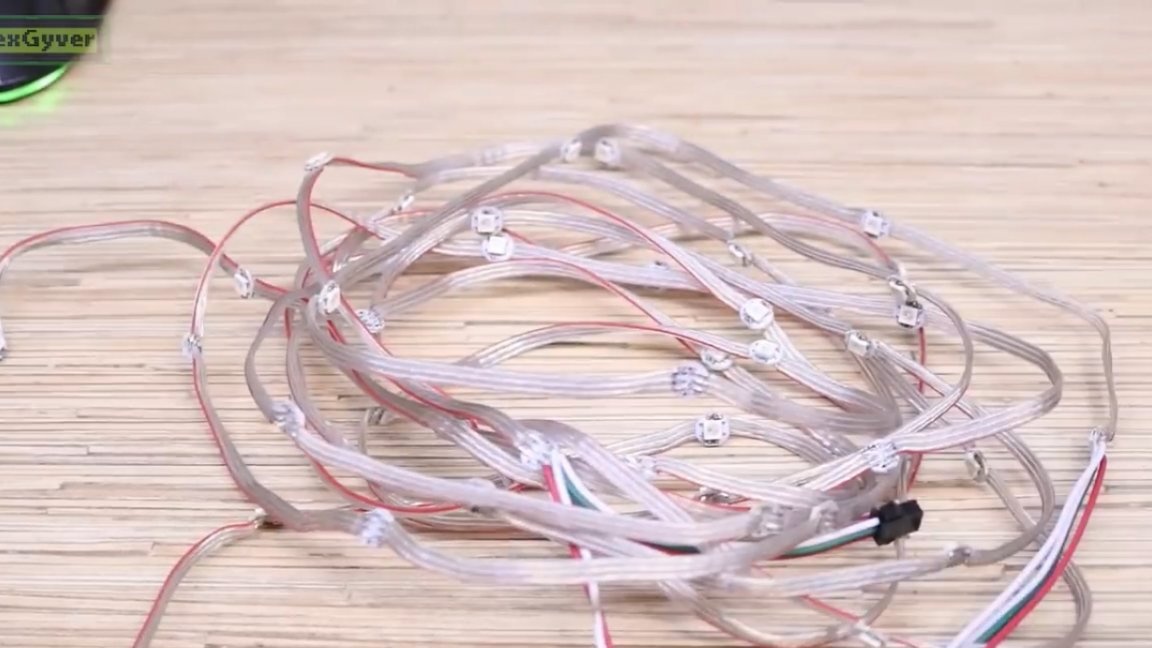
Here is one bundle of 50 diodes:
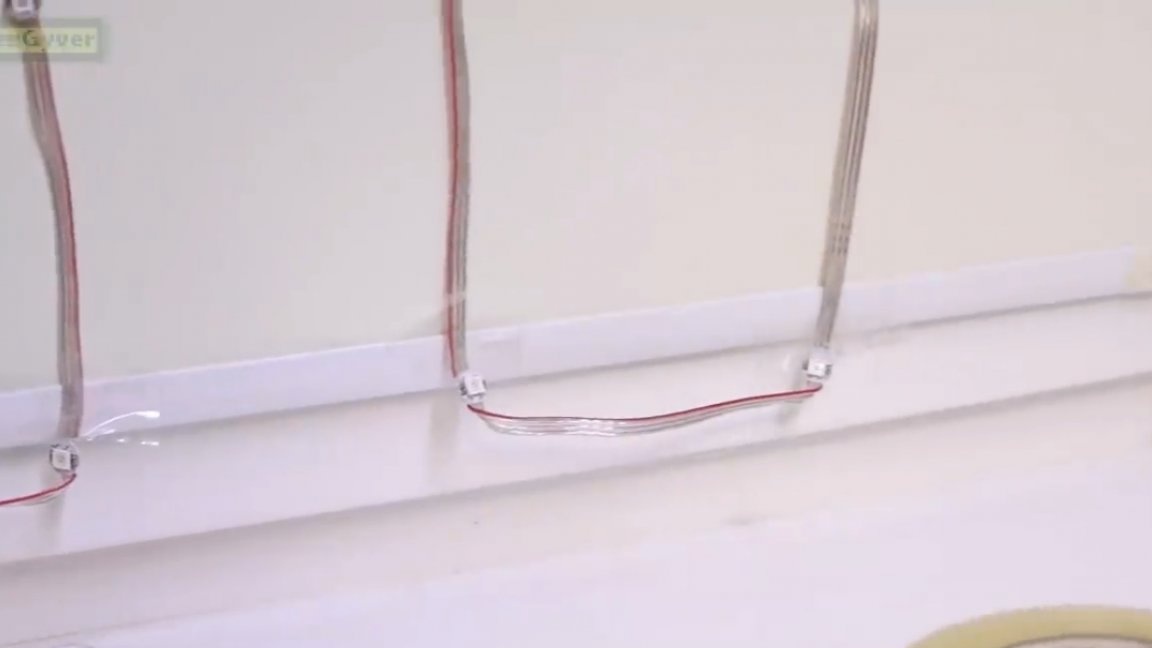
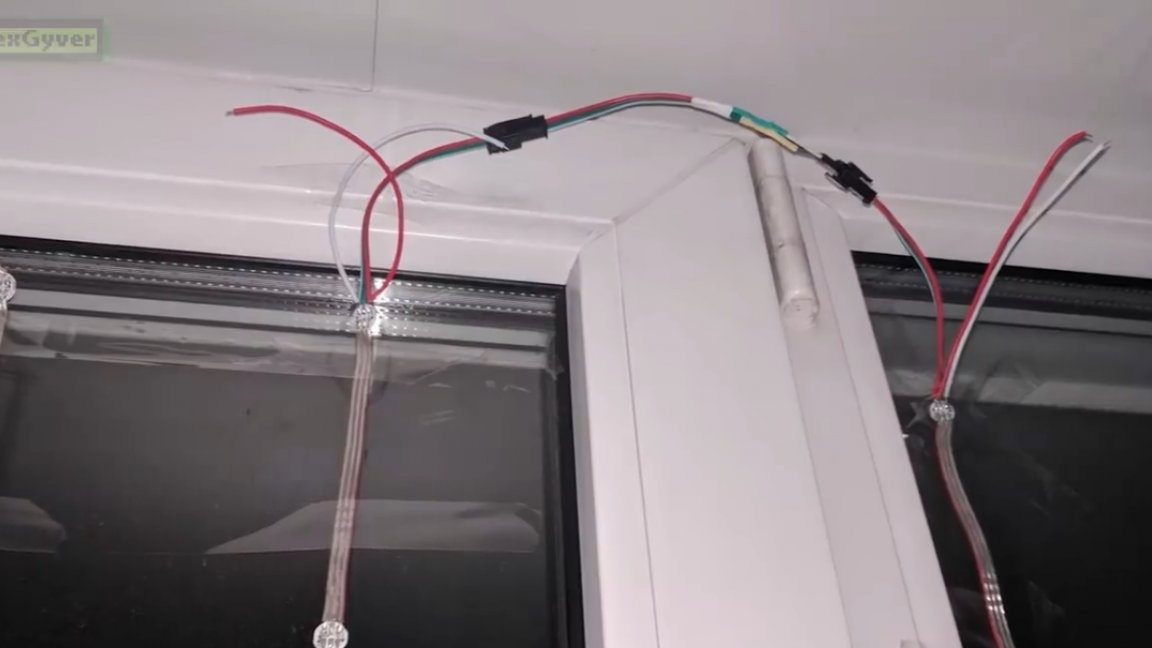
Let's start attaching it to the window, but first, a little theory. We will mount the tape according to the zigzag scheme. Immediately determine where at the bundle on the edge of the DI pin, this will be the beginning of the tape to which the microcontroller is connected. One bunch was enough for only one window, respectively, we take the next and connect. They are equipped with connectors.
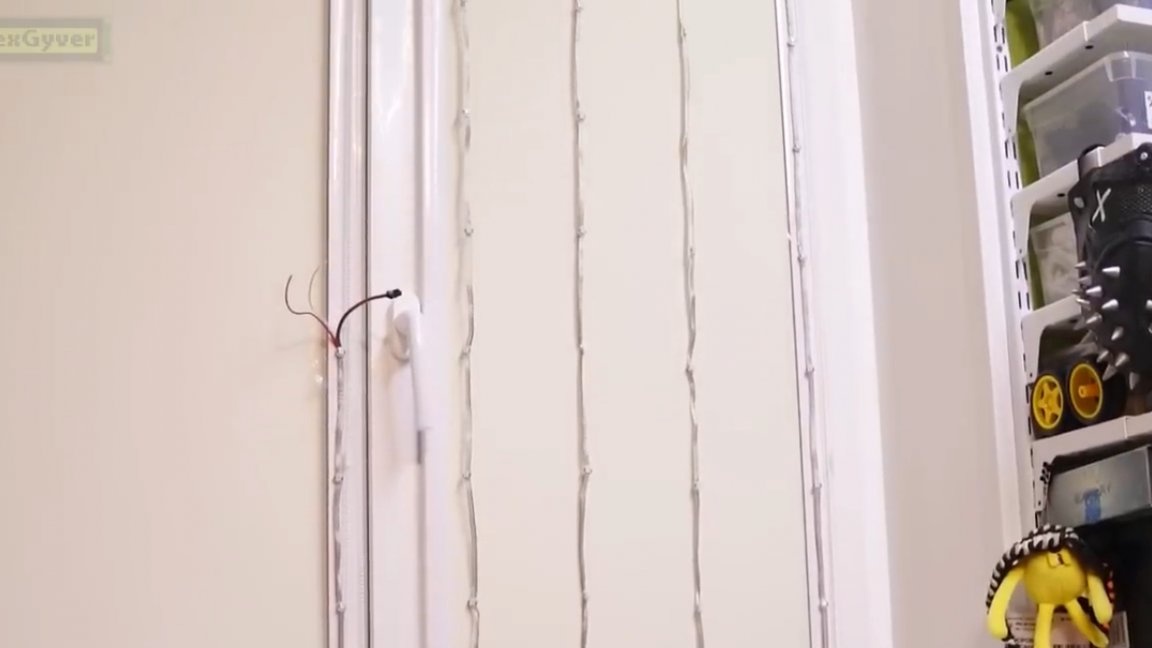
The author mounts the tape with LEDs inside the room to show the matrix in the frame as close as possible, since he lives on a high floor and with normal LED installation on the street, the demonstration will not work.
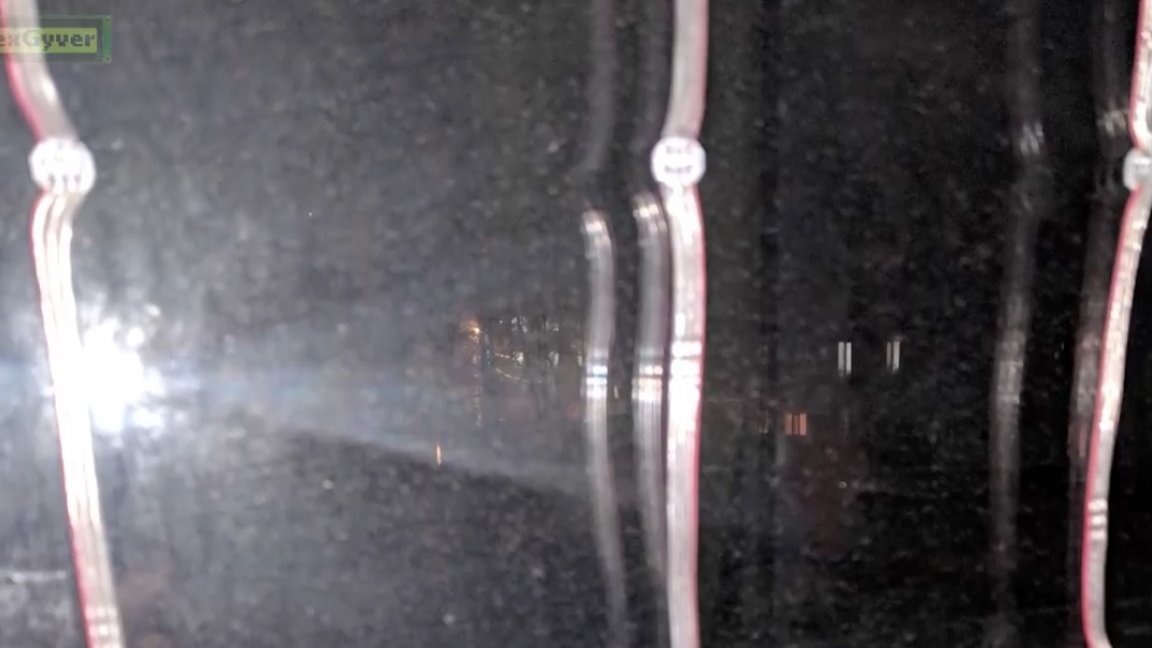
Well, here are the frames with the installation of tape diodes on the street:
The instruction is this: wash the windows from the inside, it is advisable to even degrease the glass, mark the grid vertically with a step of 12 cm, and of course we fasten the tape.You can fix it simply with tape, slices or stripes in the width of the window. The most important point: the windows outside should be dirty. The dirtier the better, the larger the stain from one LED and the better the effect will look.
Next, go to project page and download the archive with firmware and libraries. If this is your first time, read the detailed instructions for installing and configuring the program, everything is very simple there (the instruction is on the project page).

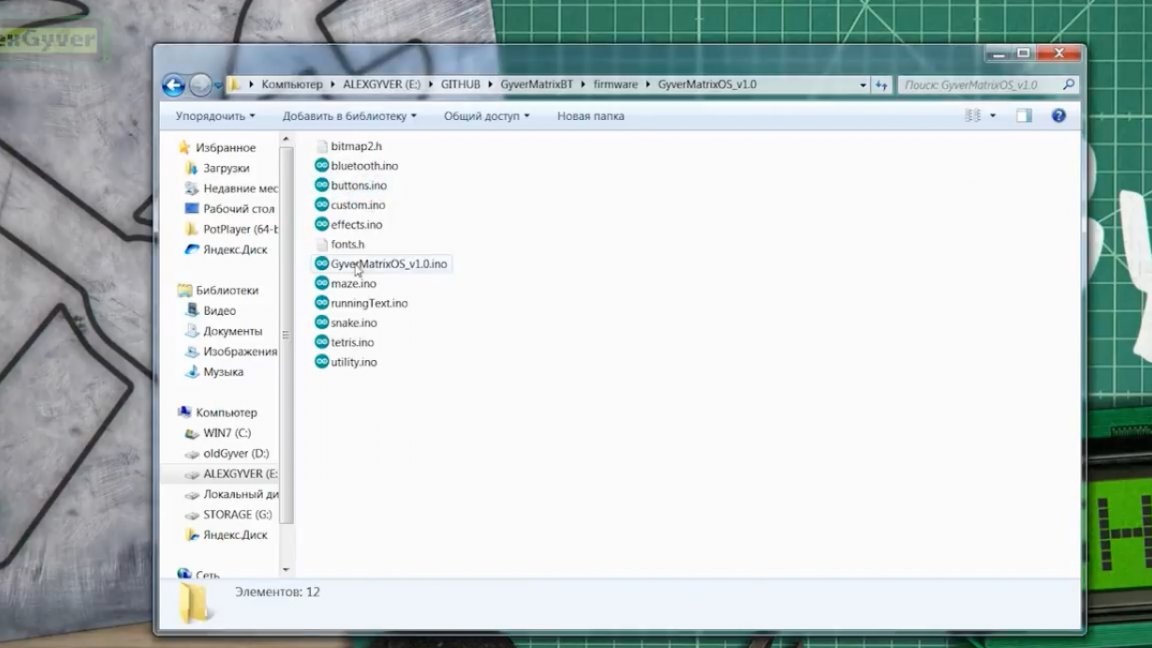
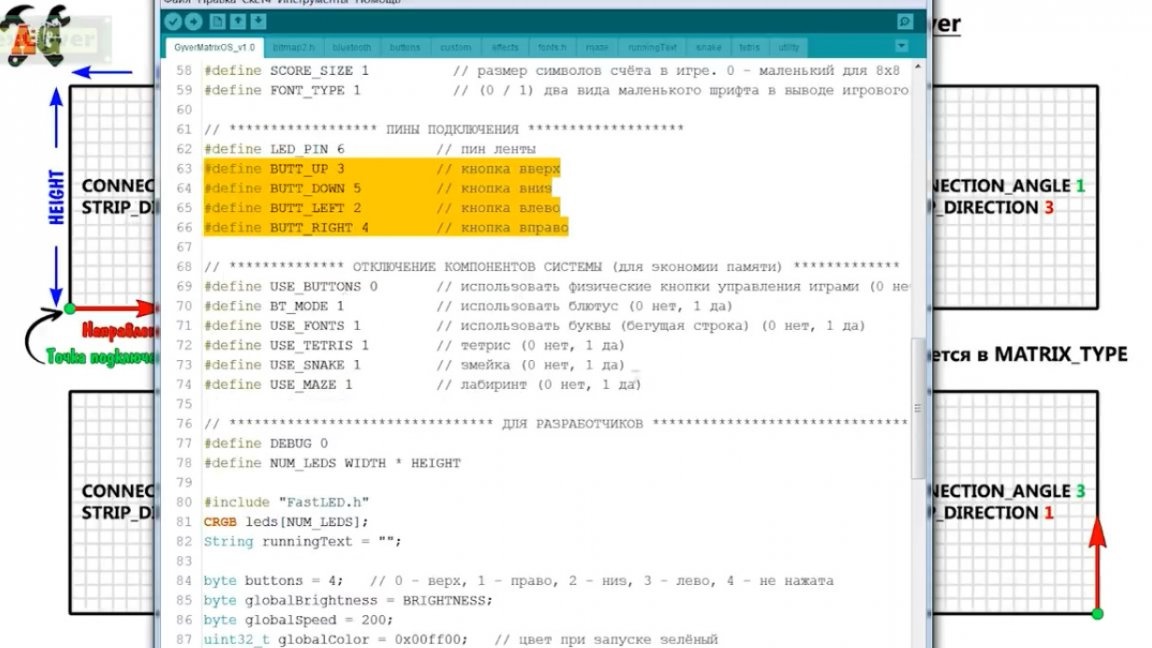
Then we connect the arduino to the computer, open the firmware file GyverMatrixOS_v1.0.ino and look at the construction sites.

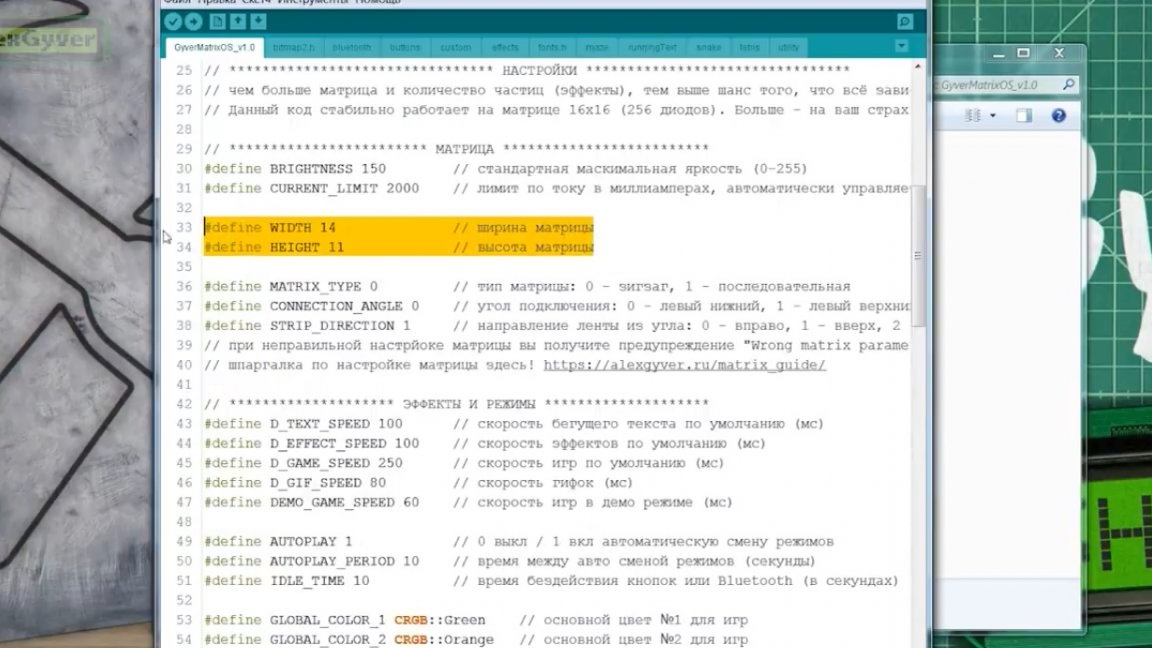
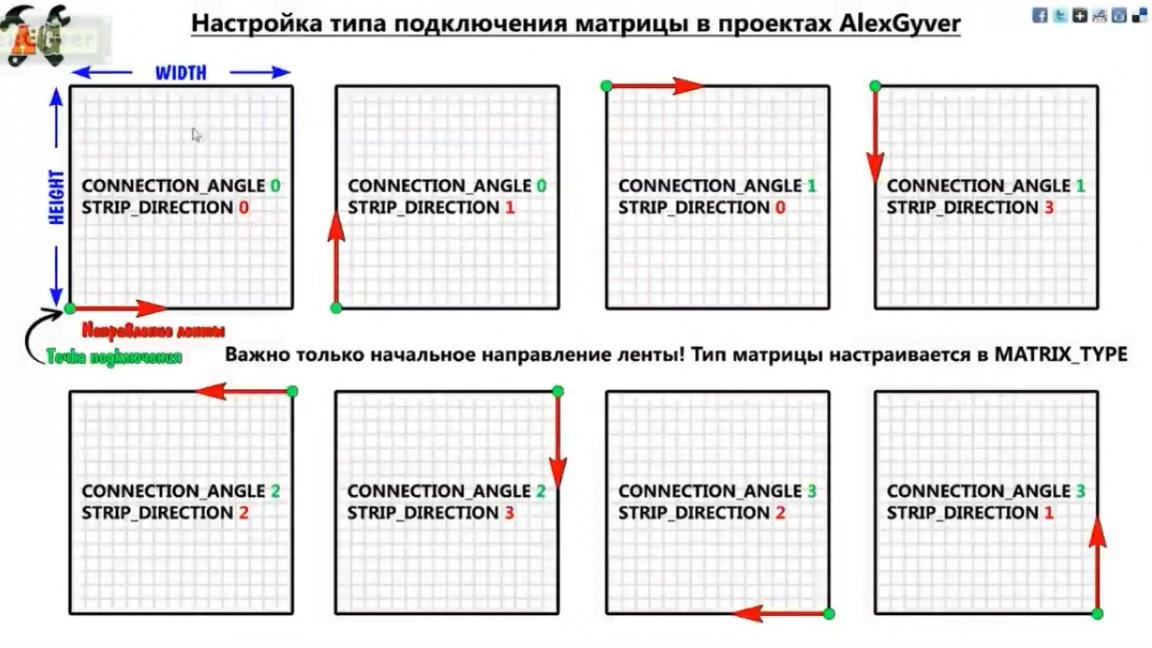
In the main tab, you first need to adjust the size of your matrix and specify the point and direction of connection.
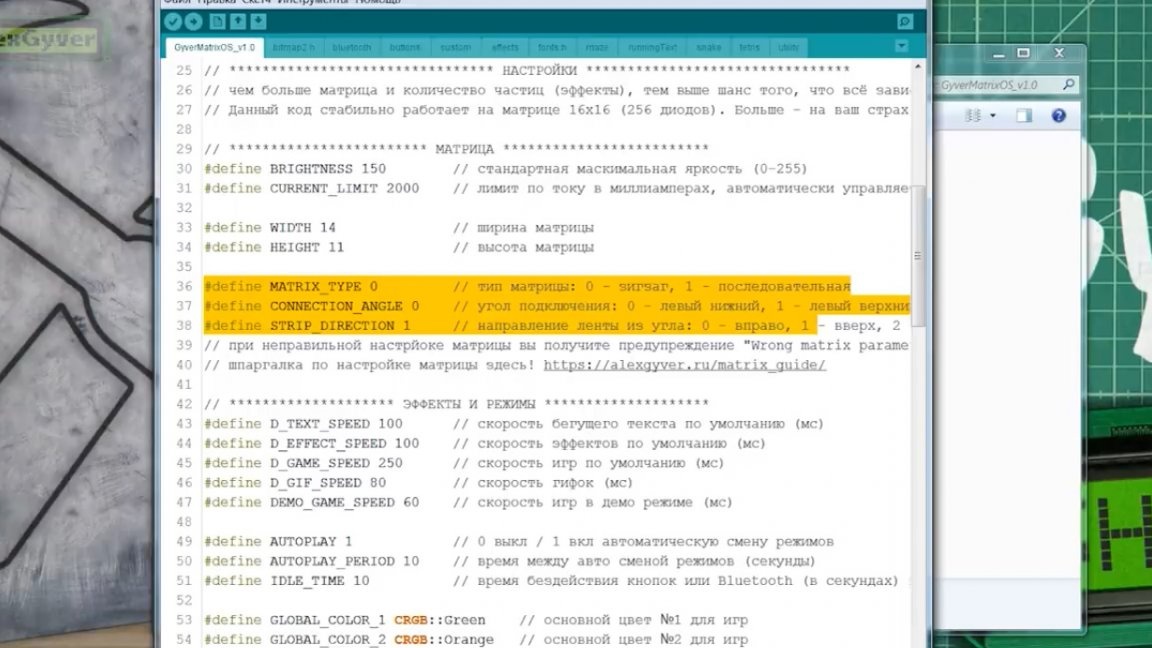
It is also recommended to set a current limit if a weak power supply is used. The system itself will limit the brightness so as not to force the power supply, that's such a smart thing.

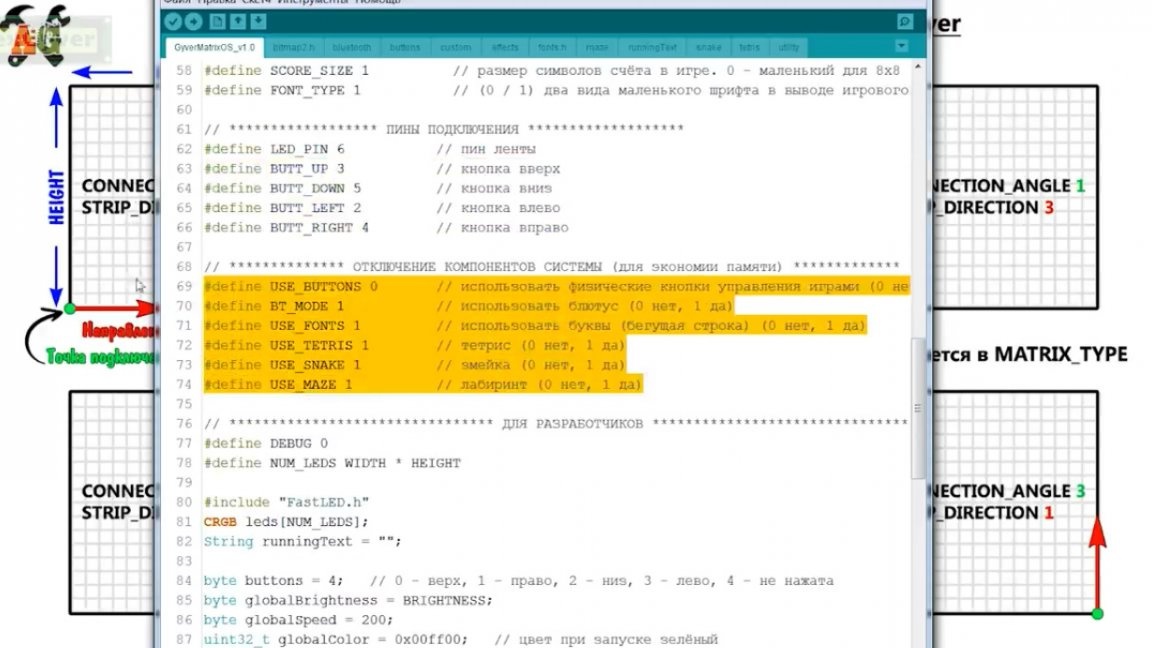
Further there are speed settings of different modes. There is a standby mode in which the tuned list of effects spins. Here you can also set the time between changing effects from the list and the time after which this change of effects is turned on. The system supports external buttons for control in games, as well as to save memory, you can disable whole pieces of firmware, but this is hardly useful to you.

Next, we are interested in the “custom” tab, it contains a custom list of effects that will switch themselves. Here they are, all are listed.
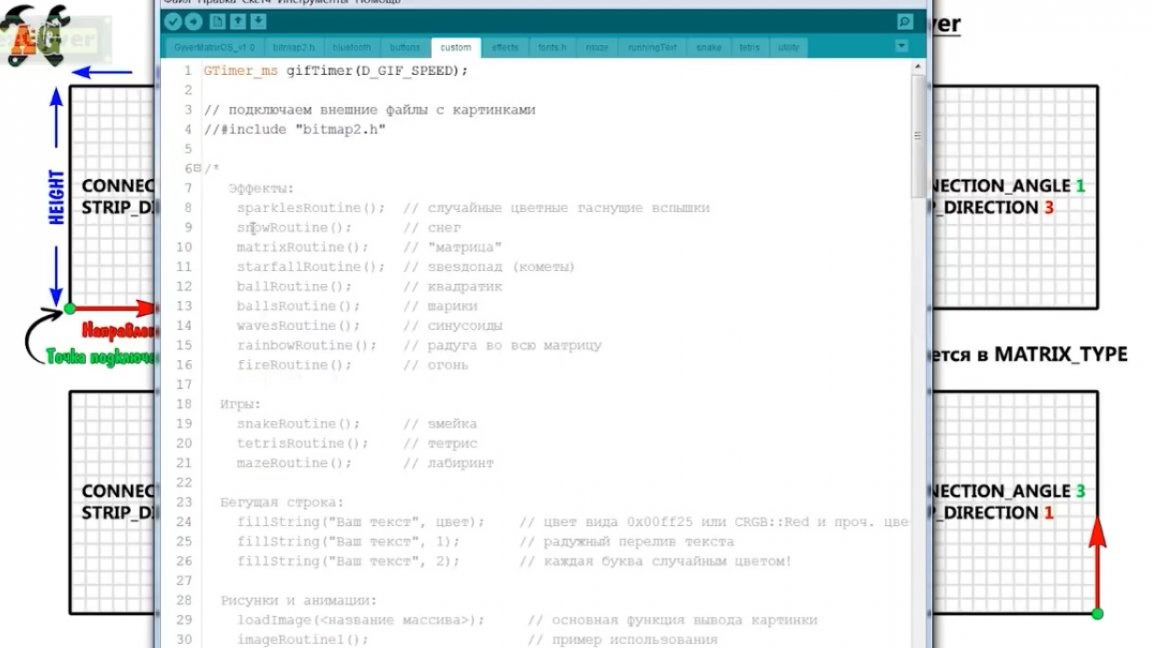
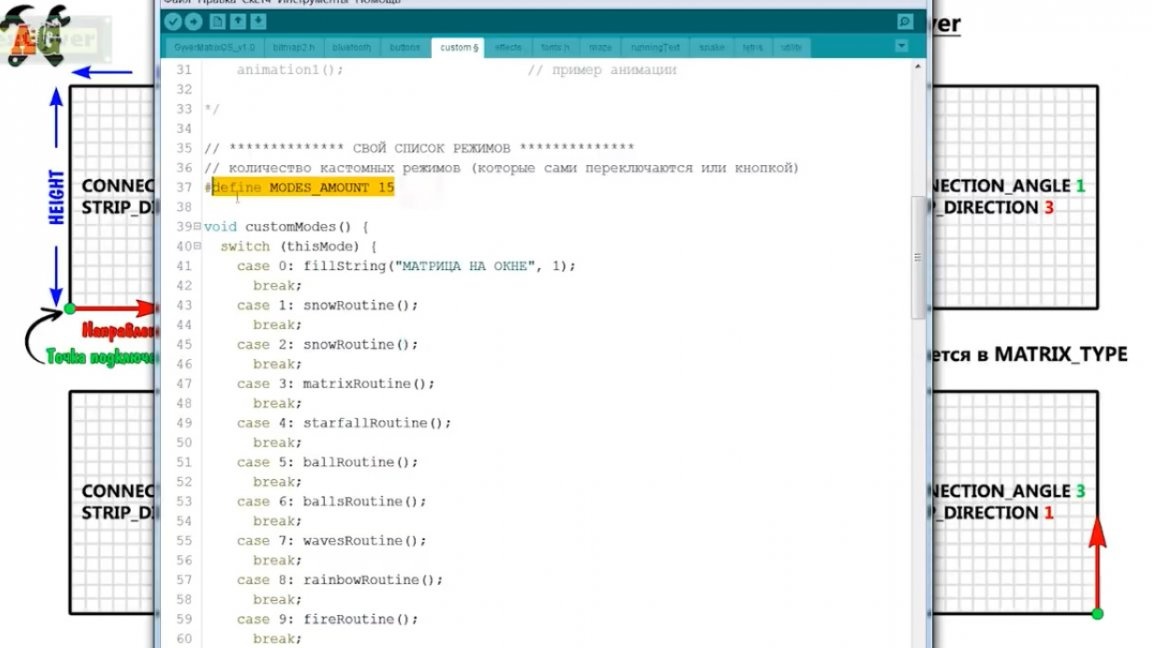
The original downloaded firmware displays all available effects, there are 15 of them, these are: running text of 3 types, 3 games and just different animations. Also, the system is able to display images and gifs (.gif), but more about that some other time. In general, this list can be edited by analogy with how it is now made, delete modes and change their places, as well as add new creeping lines with text. The main thing is not to forget to indicate the total number of modes - here:
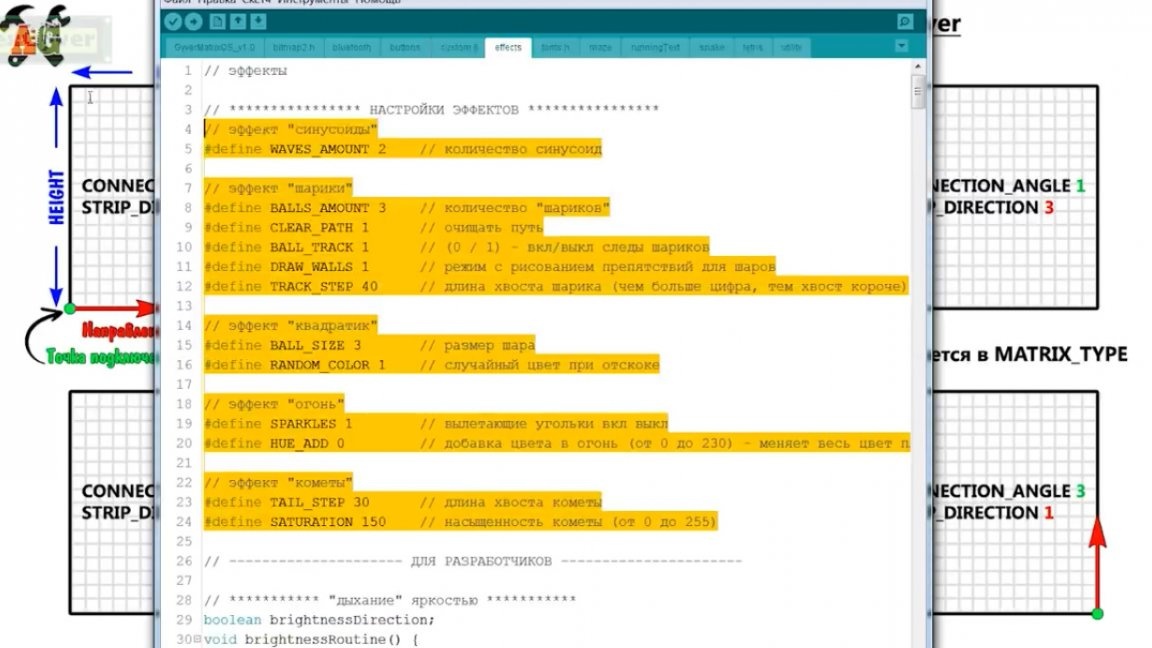
Some effects can be configured in the “effects” tab, picking it, there is something interesting.
In general, click the "download" button and the firmware is loaded into arduino. After that, you can connect everything according to the scheme and enjoy the effect.

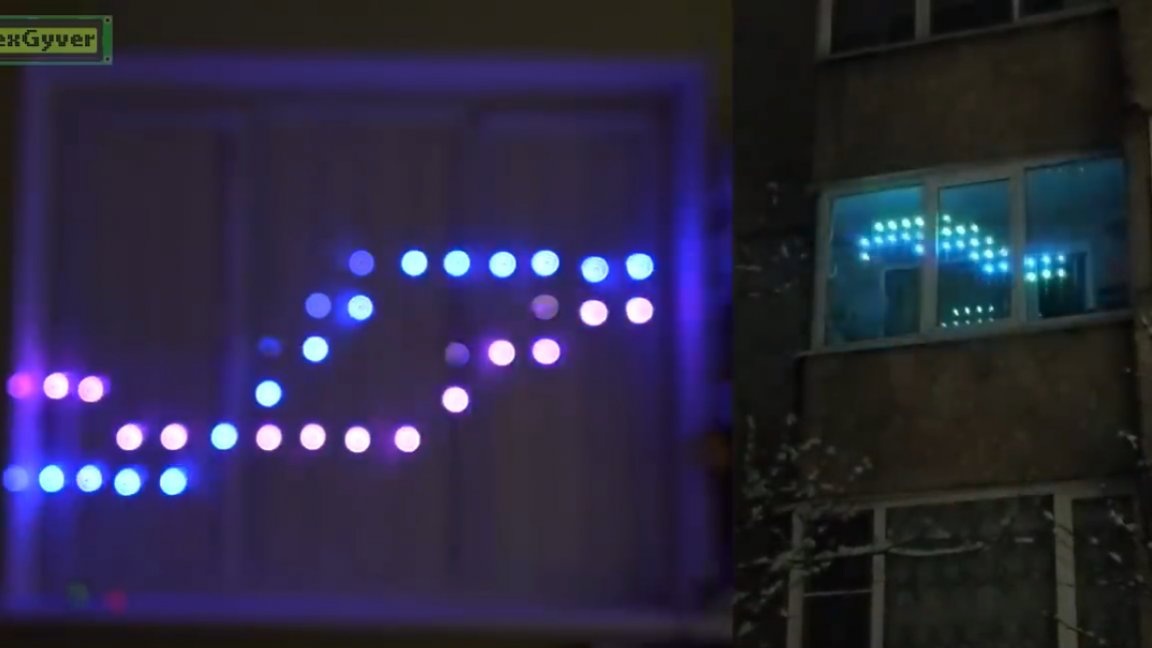
The first effect is rainbow text output. The color of the letters changes depending on their position on the matrix.


Further, the most New Year effect is “snow”. If you don’t have enough snow in winter, make yourself such a garland and enjoy the snowfall.
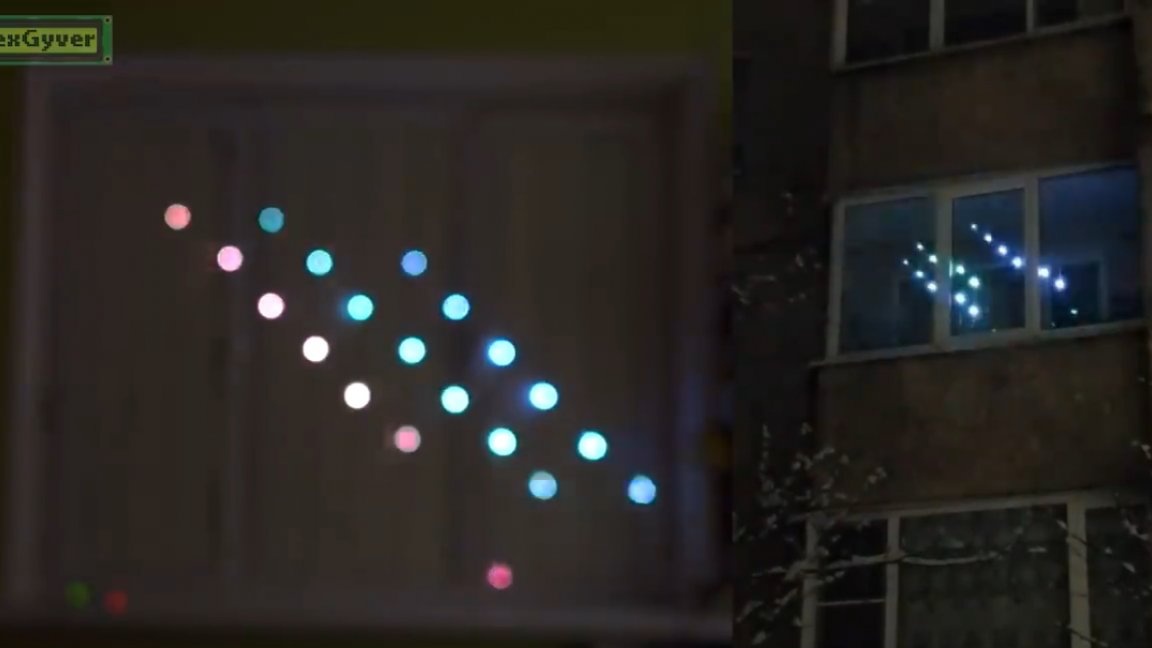
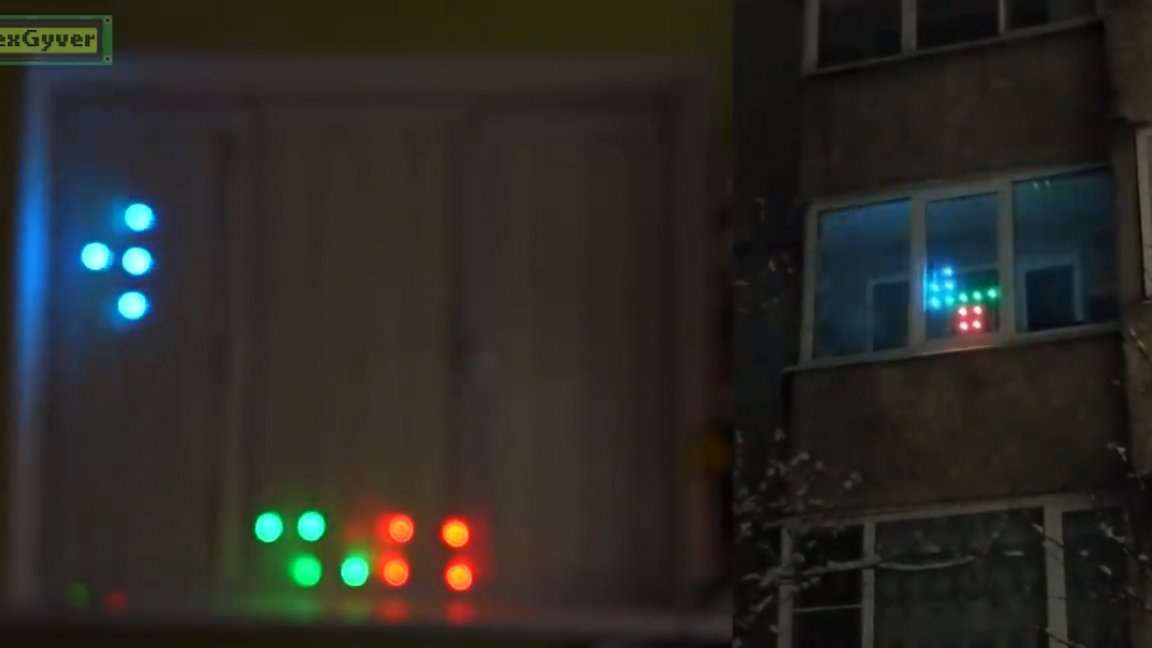
The next mode is no less than New Year's, it can be interpreted as “confetti” or “salute”.
Further, the classic matrix effect, as in the film with Keanu Reeves.
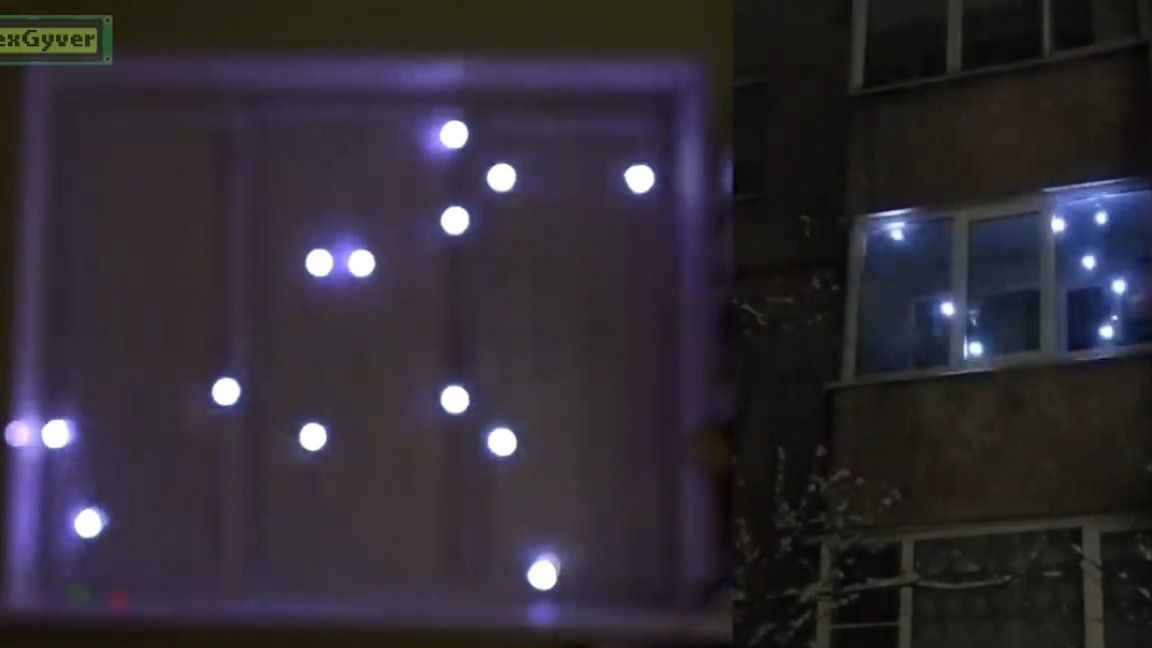
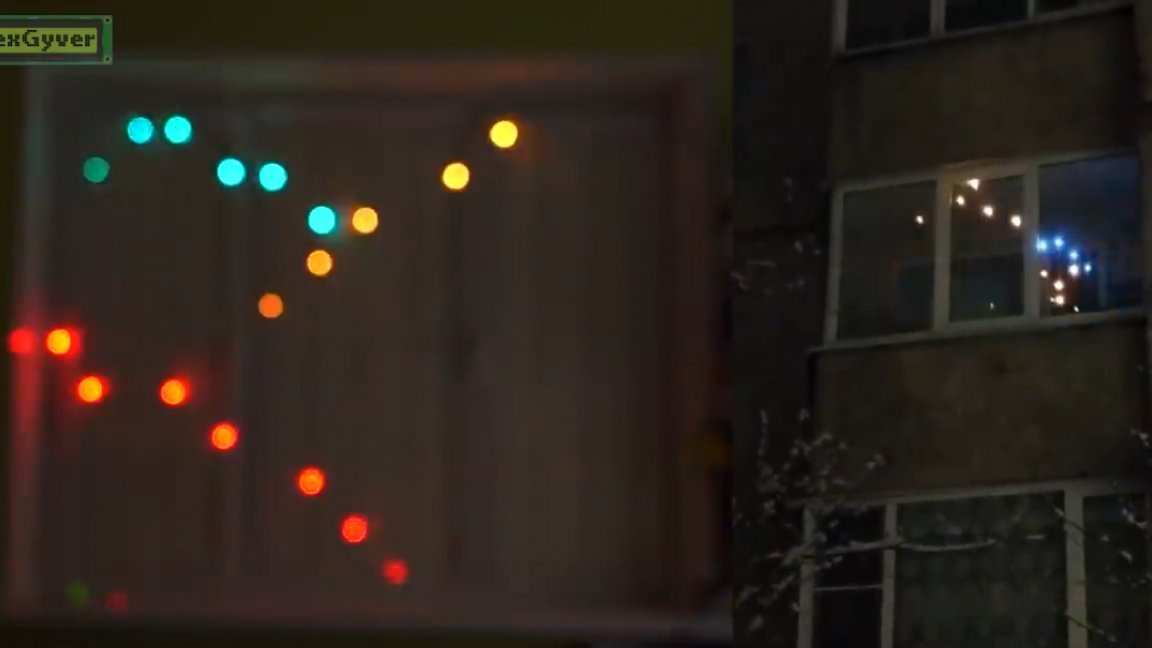
Starfall:
Running square:

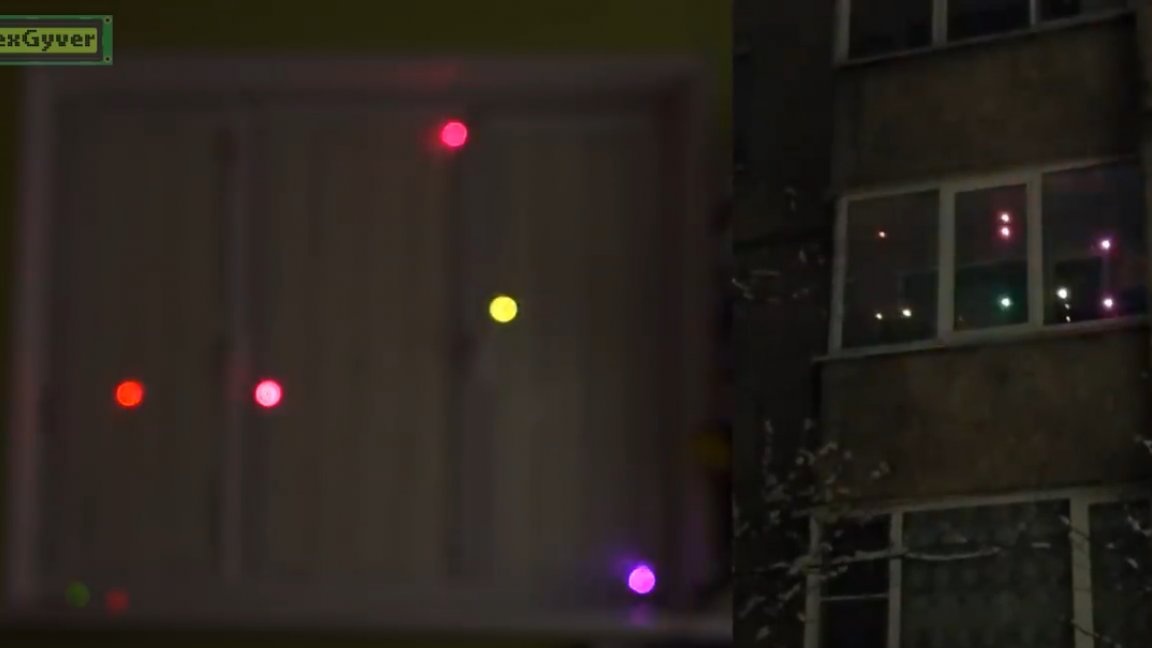
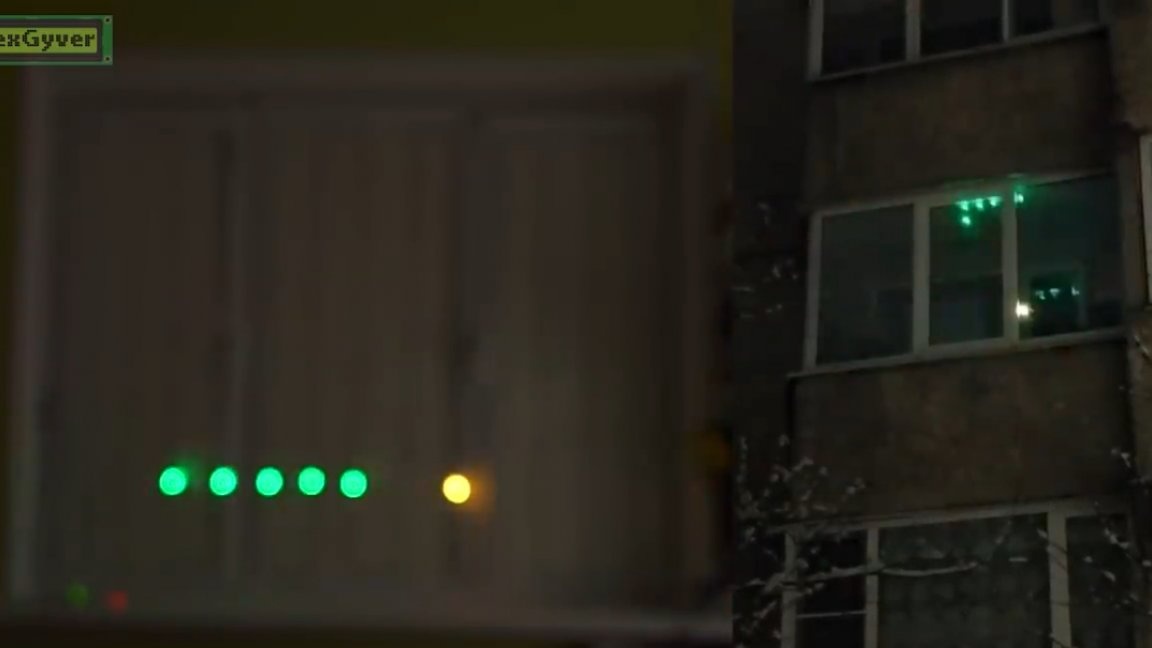
Running balls or comets:
Sine waves. In this example, the parameters were not generated very well, each time everything will be different.
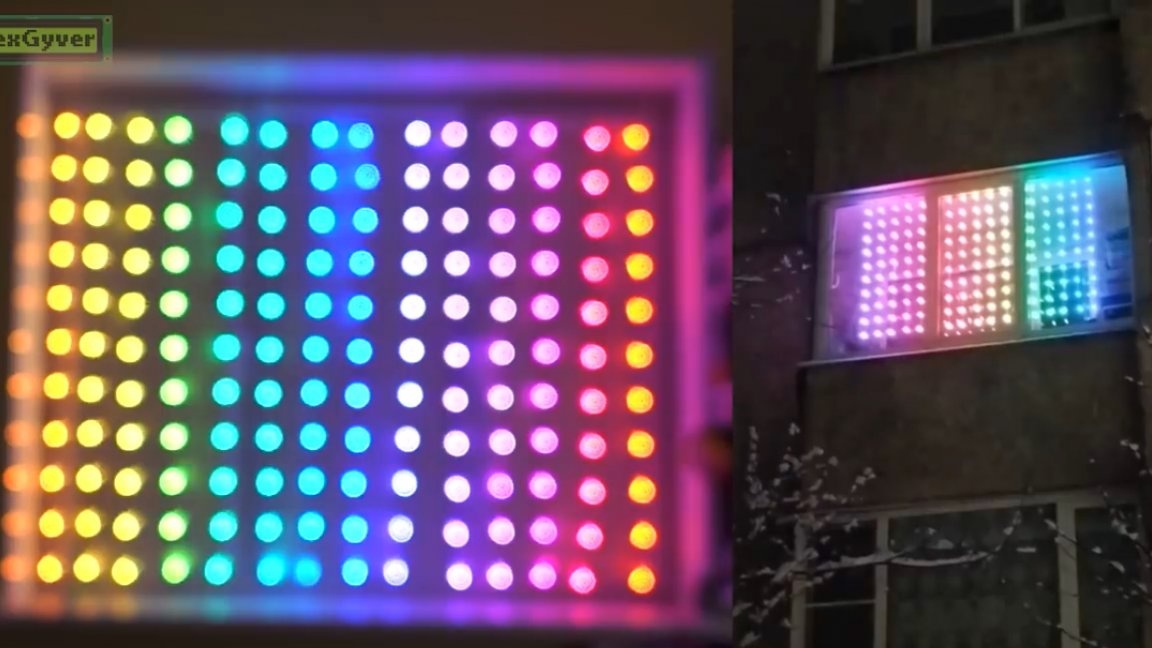
The next effect is the “floating rainbow”, the most current-eating effect of all.
Further “fire”, here is such a fireplace the size of a window. The main thing is that someone did not call firefighters.
The game "snake". In the effect switching mode, the snake plays on its own, but you can seize control from the buttons and continue playing.
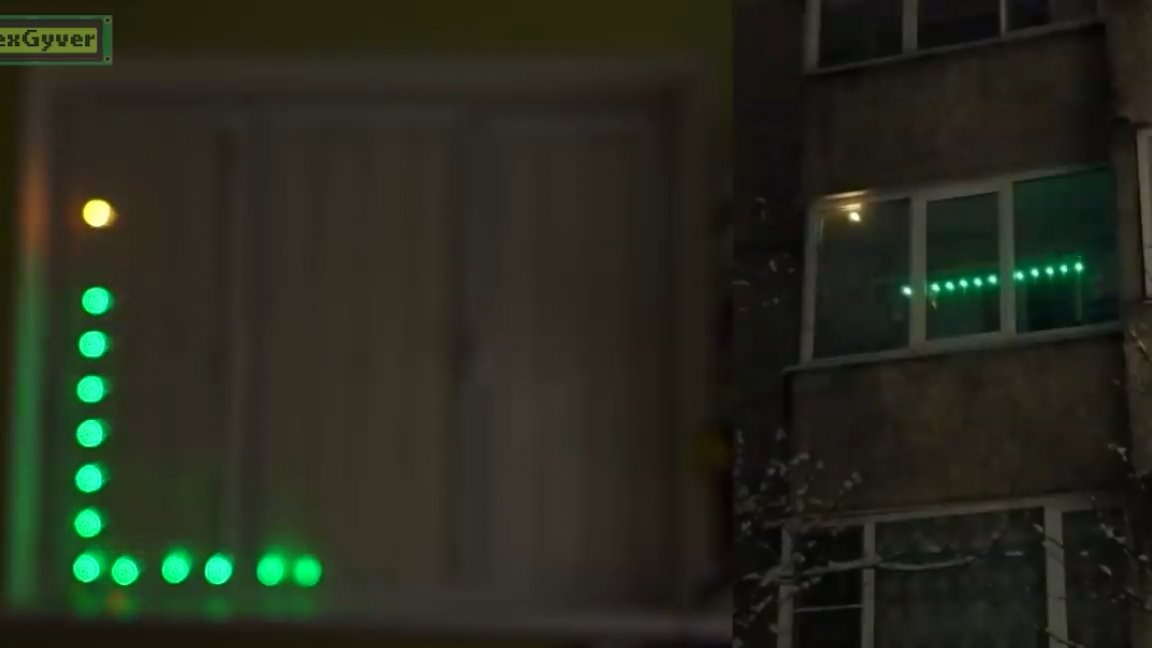
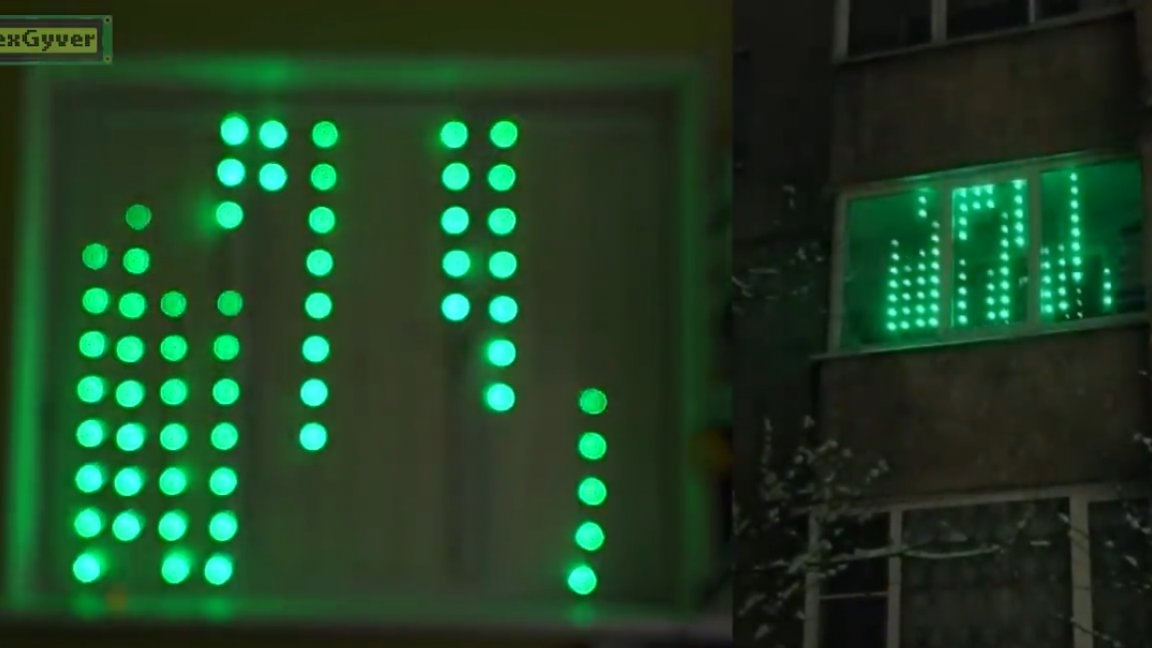
Tetris. Similarly plays in itself and you can intercept buttons.
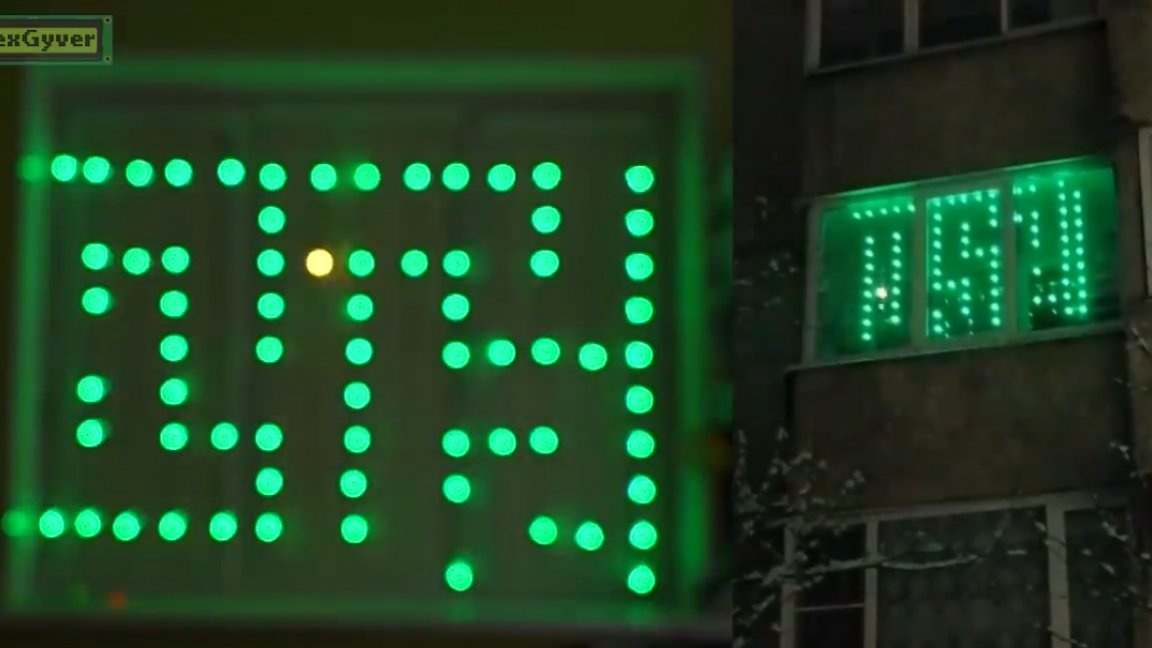
Labyrinth He passes himself too, though without the possibility of losing.
More effects, as well as details about making such a garland in this video:
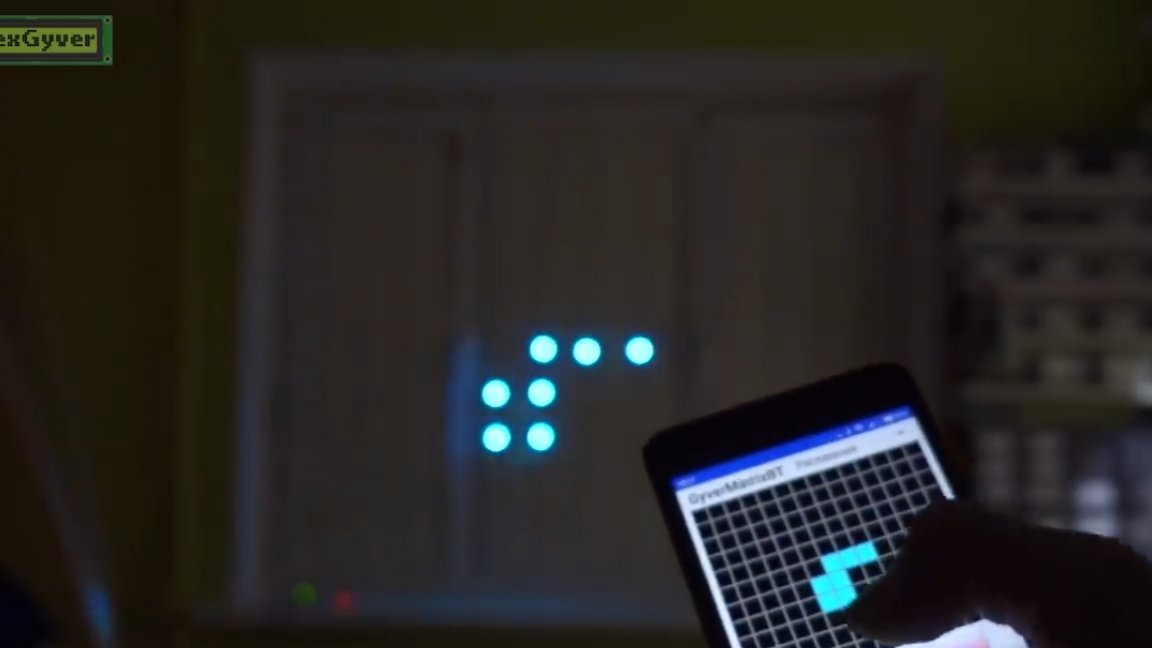
And you can also connect to the garland matrix using the application GyverMatrixBT, which is available for free download in the Play Store and seize control of the tape. Just do any action and control passes to the phone. If within a certain time no commands are received from the phone, then the cyclic list of modes is turned on again.
Using the application, you can draw in drawing mode, or you can download pictures directly from your phone, and they will be displayed on the matrix.
Thank you for attention. See you soon!