

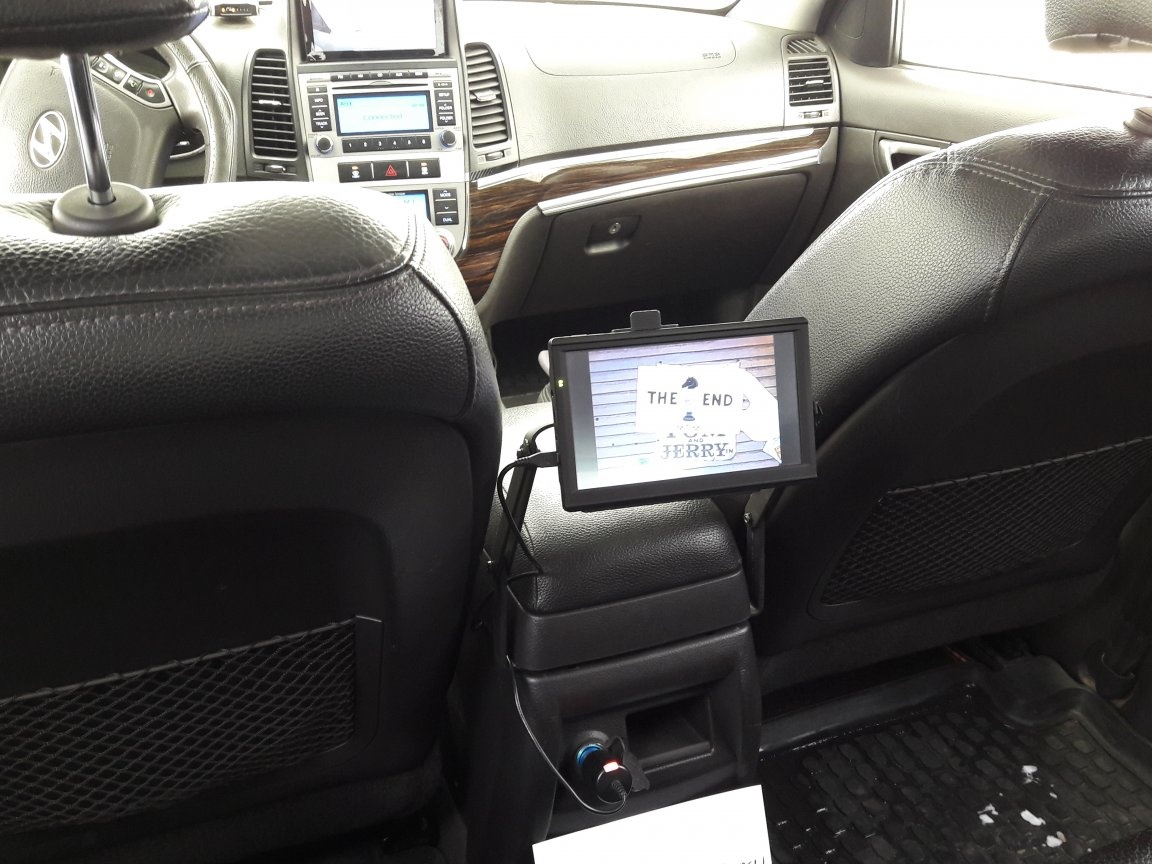
Hello! I decided to get a little confused and make the mount for the monitor on the Hyundai Santa Fe 2 armrest.
I wanted to do it myself and it was on the armrest.
We can watch the video:
Now let's better get to the implementation of the idea.
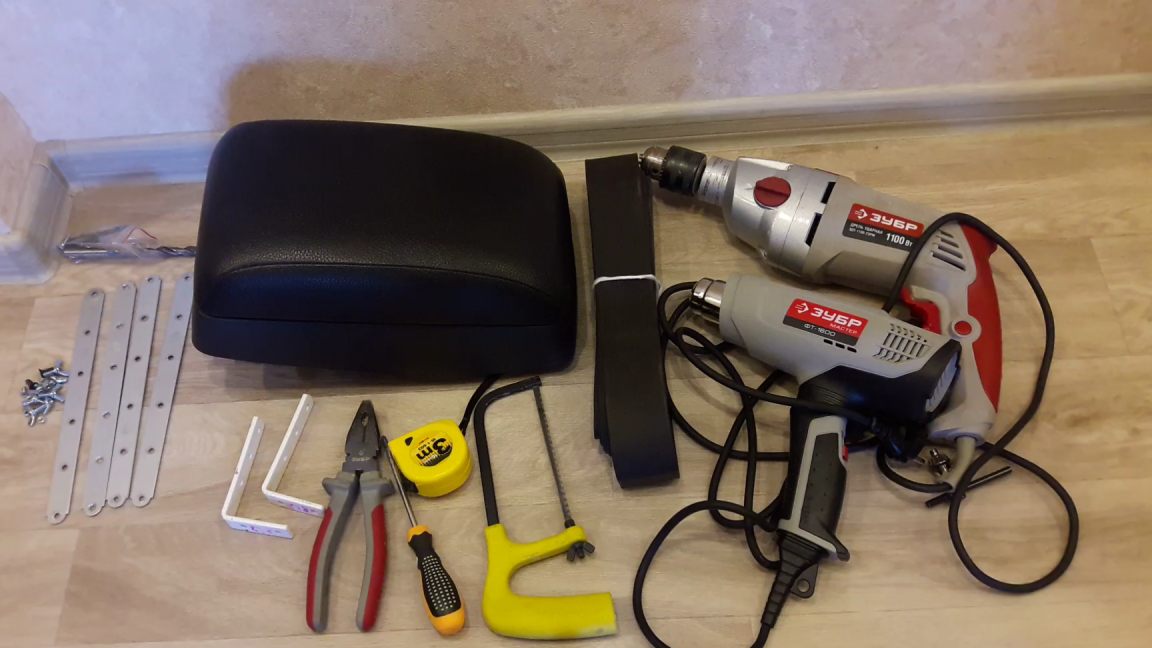
To get started, I went to a hardware store and purchased:
- bolts and nuts,
- two metal corners with a size of 50 mm * 100 mm and a thickness of 3 mm (do not take thin ones otherwise the monitor will swing),
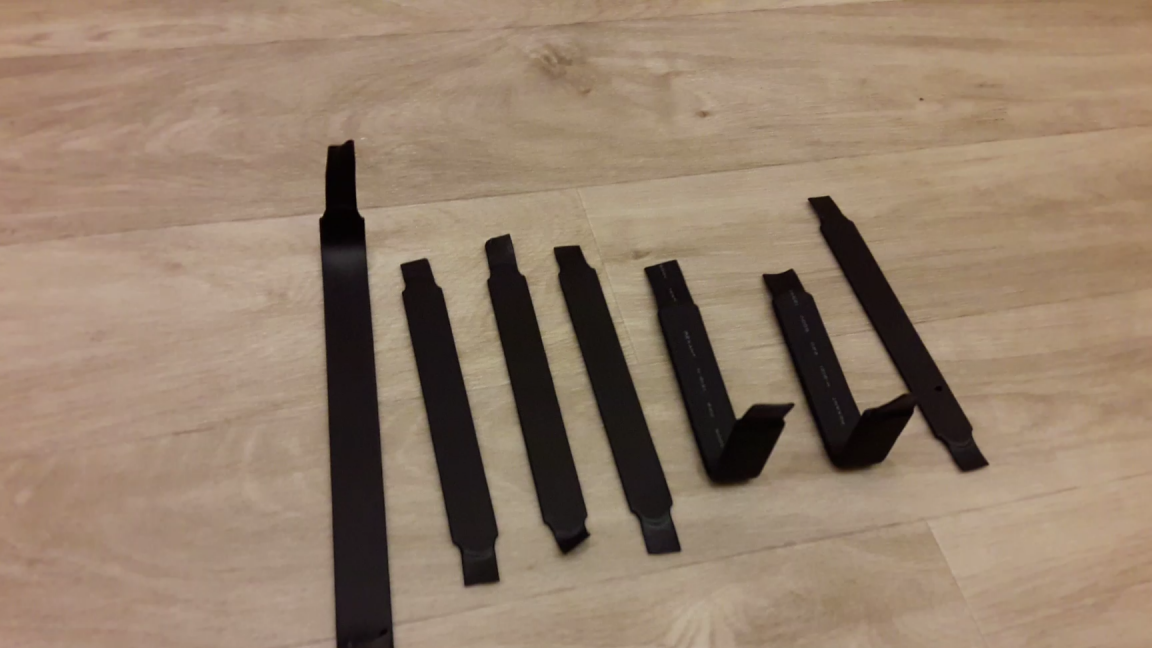
- metal strips 4 pieces of 200 mm and a thickness of 1.5 mm,
- one 250 mm thick 1.5 mm and she actually will hold the monitor,
- drill
- building hair dryer,
- pliers
- screwdriver
- heat-shrinkable tube size 20/10 mm and 16/8 mm.
- roulette
- hacksaw
- drill bits for metal
- scissors.
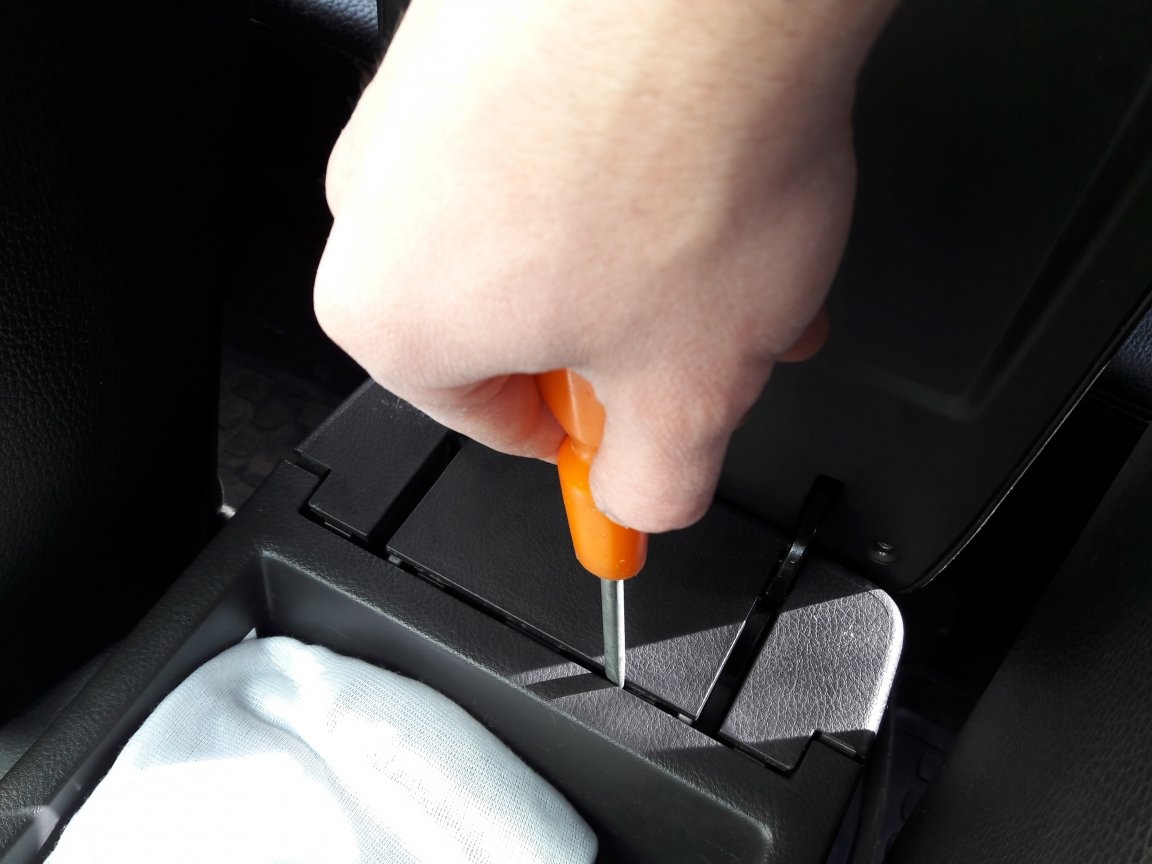
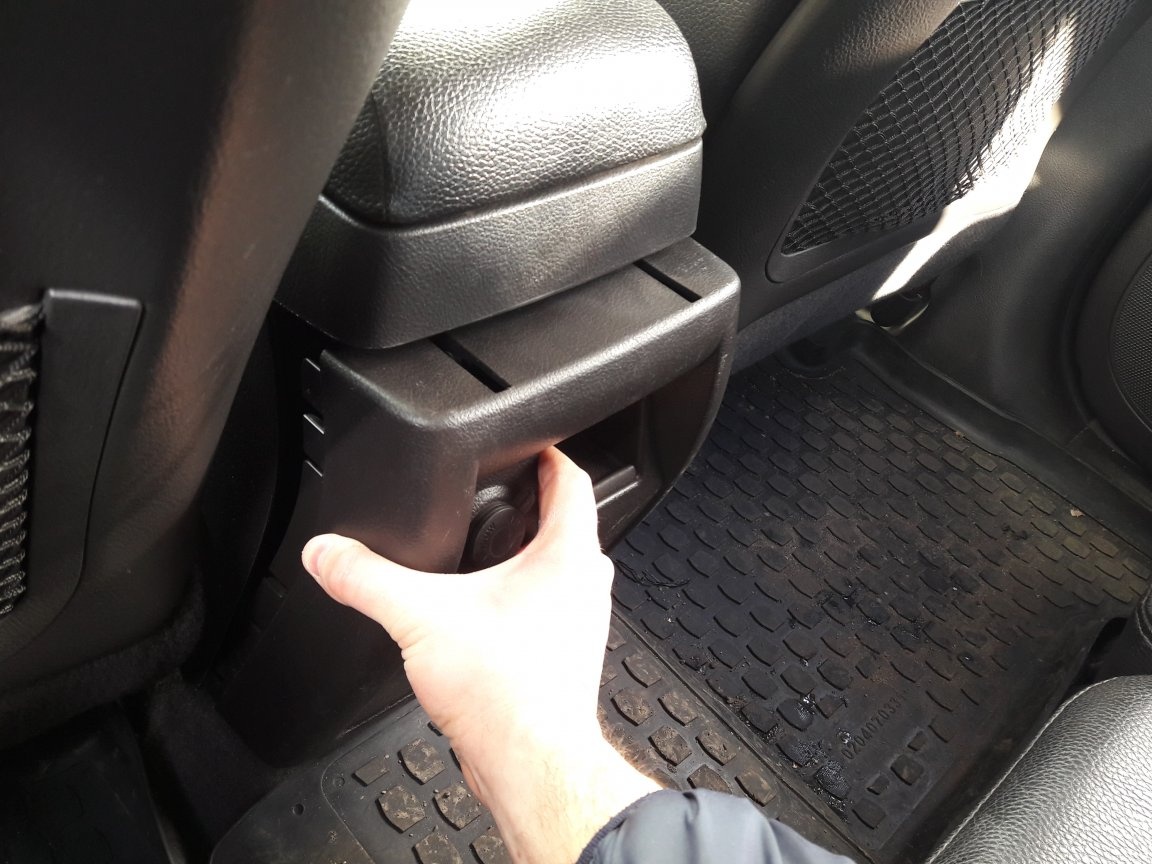
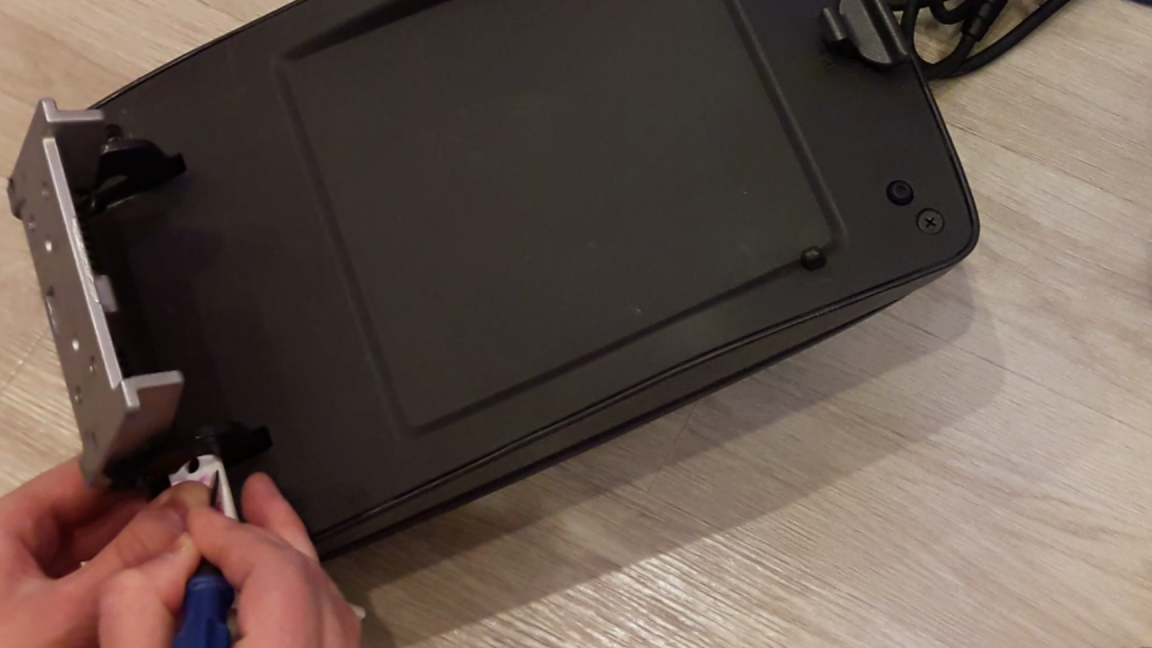
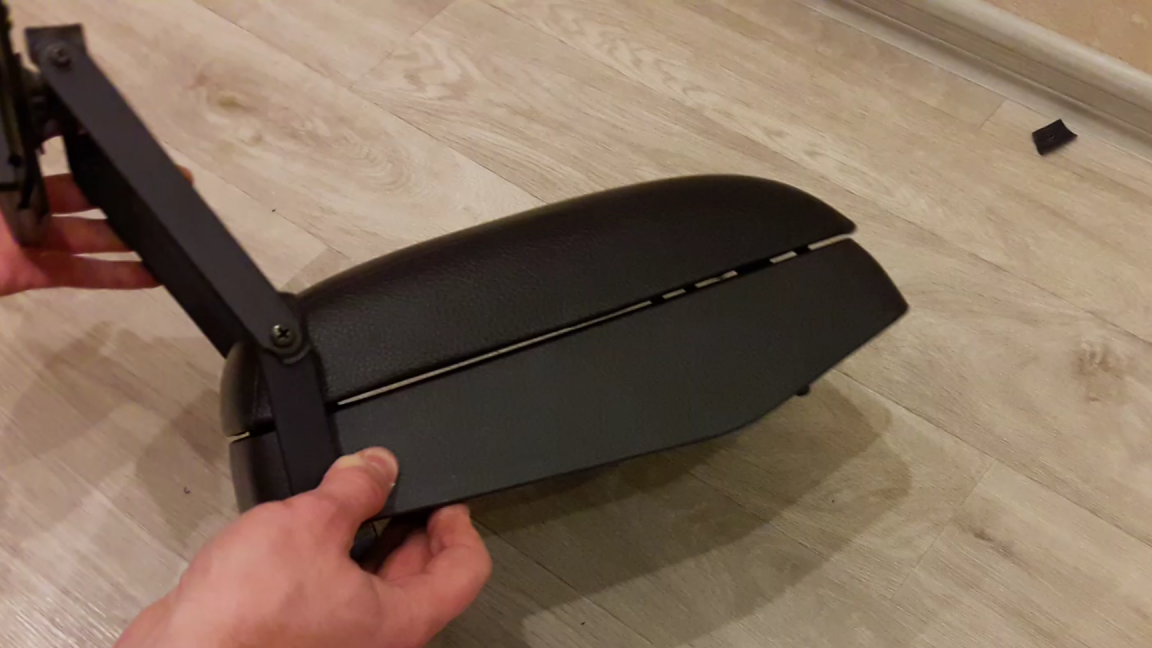
1) It is required to remove the armrest itself, or rather the upper part. This is done easily, it is necessary to raise the double armrest and open it with a screwdriver in this connection:
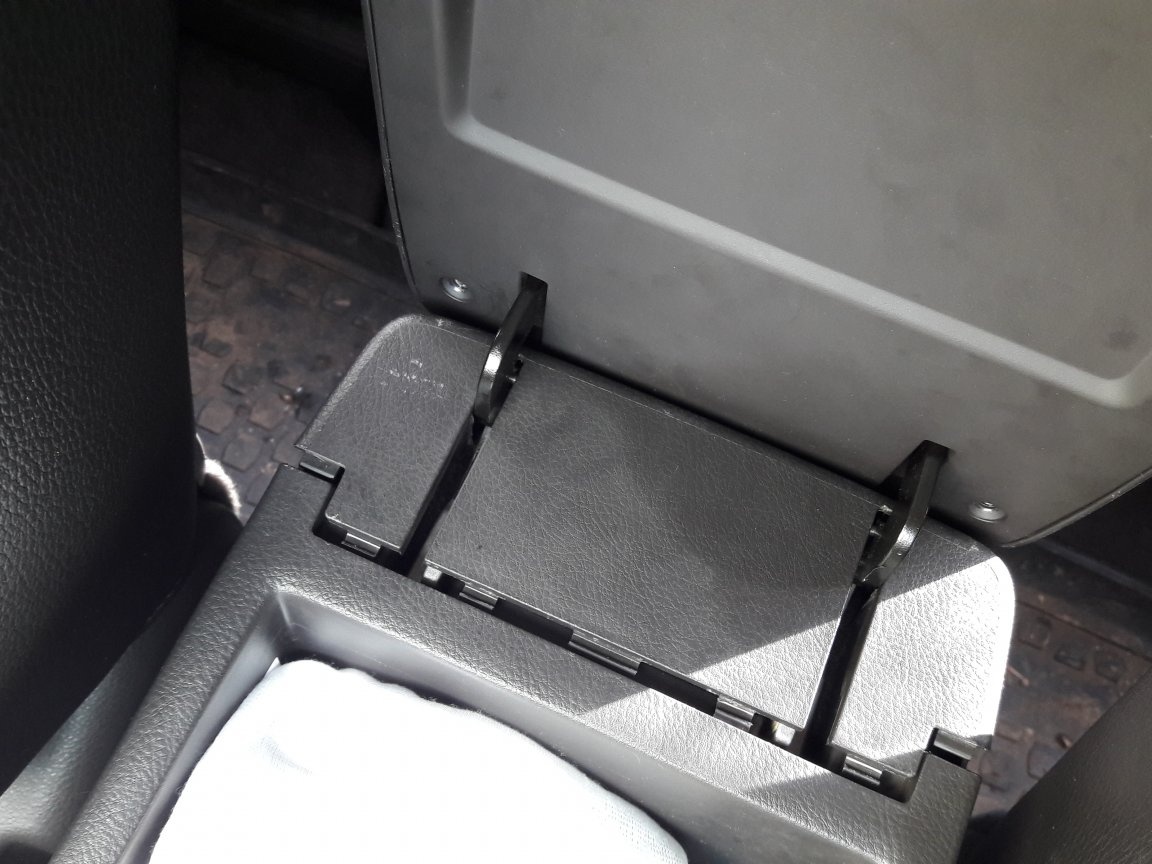
Here is the result:
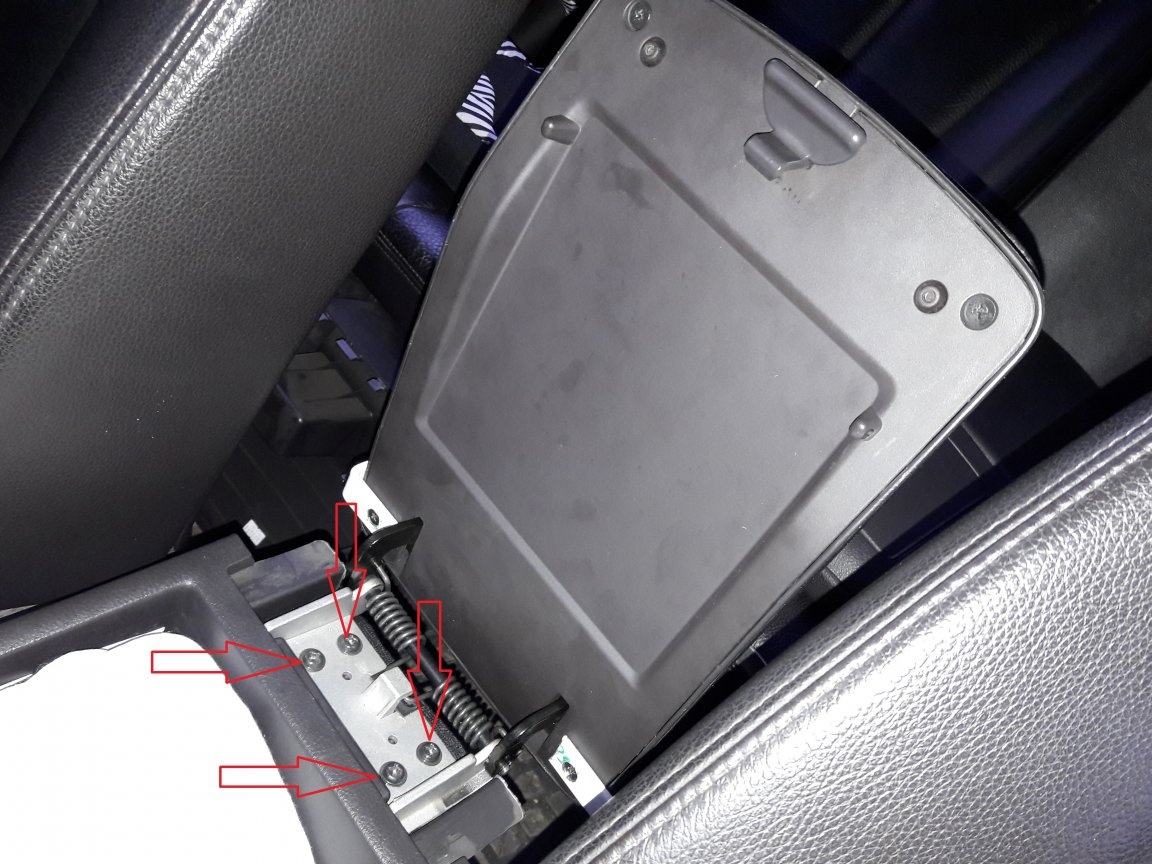
2) Now we lower the "pockets" and pull on ourselves a stronger armrest body from the back. He holds on to six clips:
3) Again we raise the "pockets" and unscrew the four screws:
4) After that I pasted several layers of antiskrip to the place where all this was screwed:
It is not necessary to use an antiskrip, you can use any handy means, whether it be rubber pads or something else. This is done in order to increase the gap in this place of the armrest:
Otherwise, the corners will not let him close.
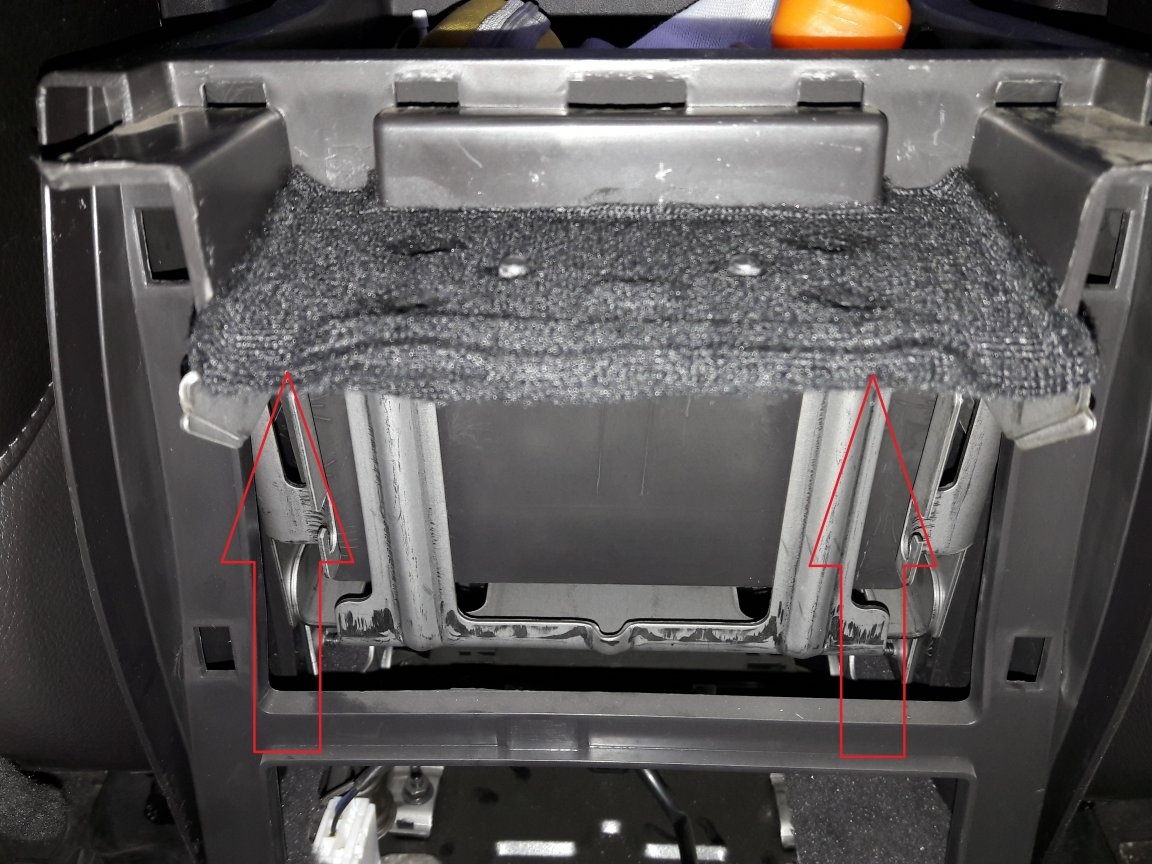
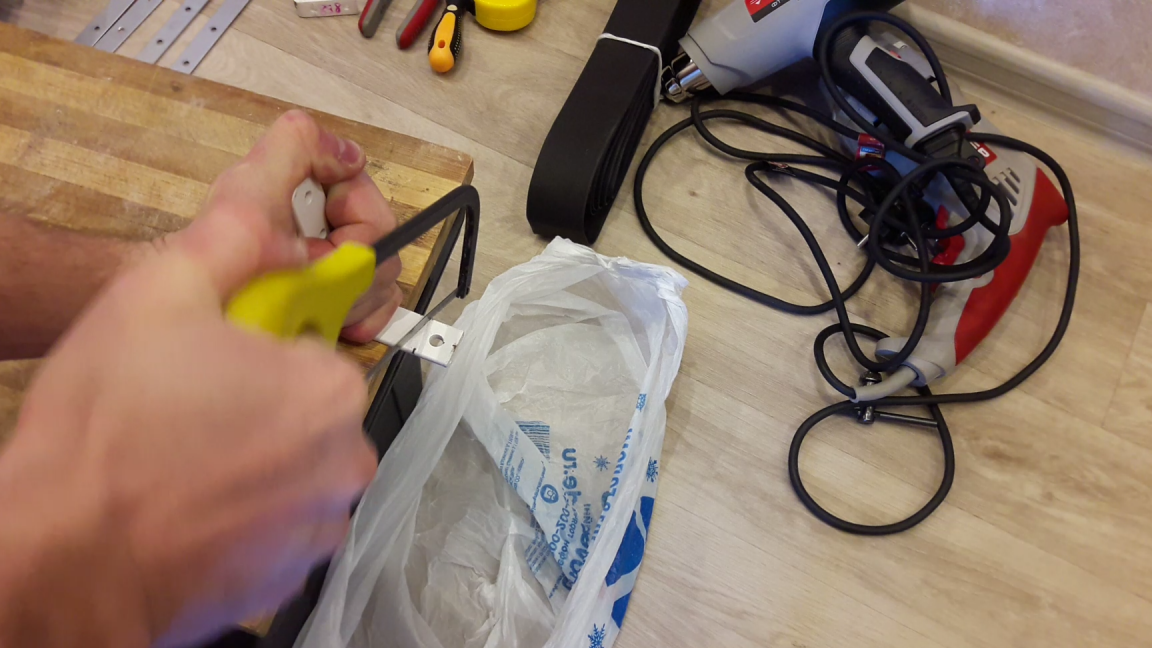
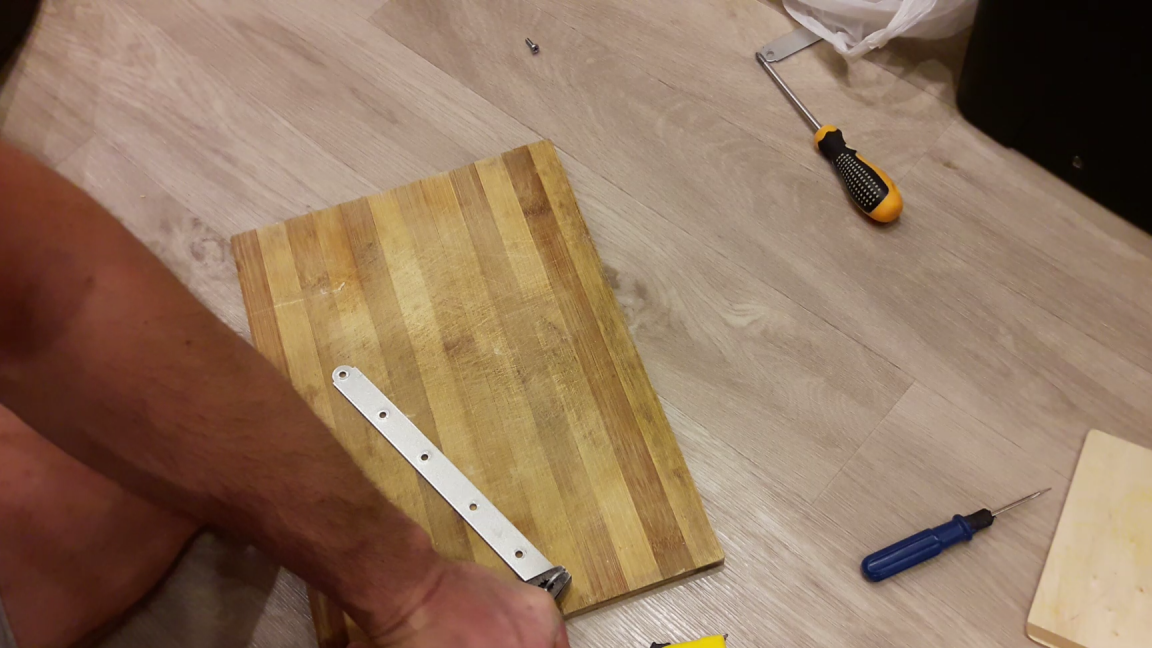
5) Now on the removed armrest from the bottom side we unscrew the two screws that hold the skin and in this place we mark future holes on the corners and saw off the excess:
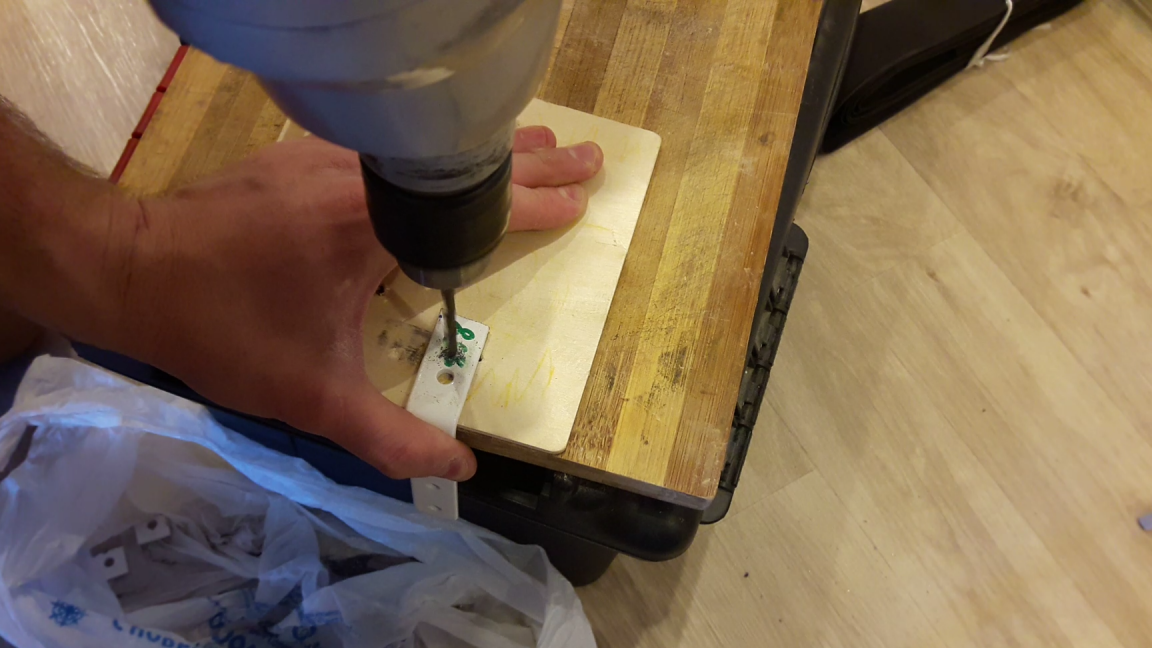
6) Next, I drilled a hole at the required distance with a 5 mm drill and made a hole with a 10 mm drill:
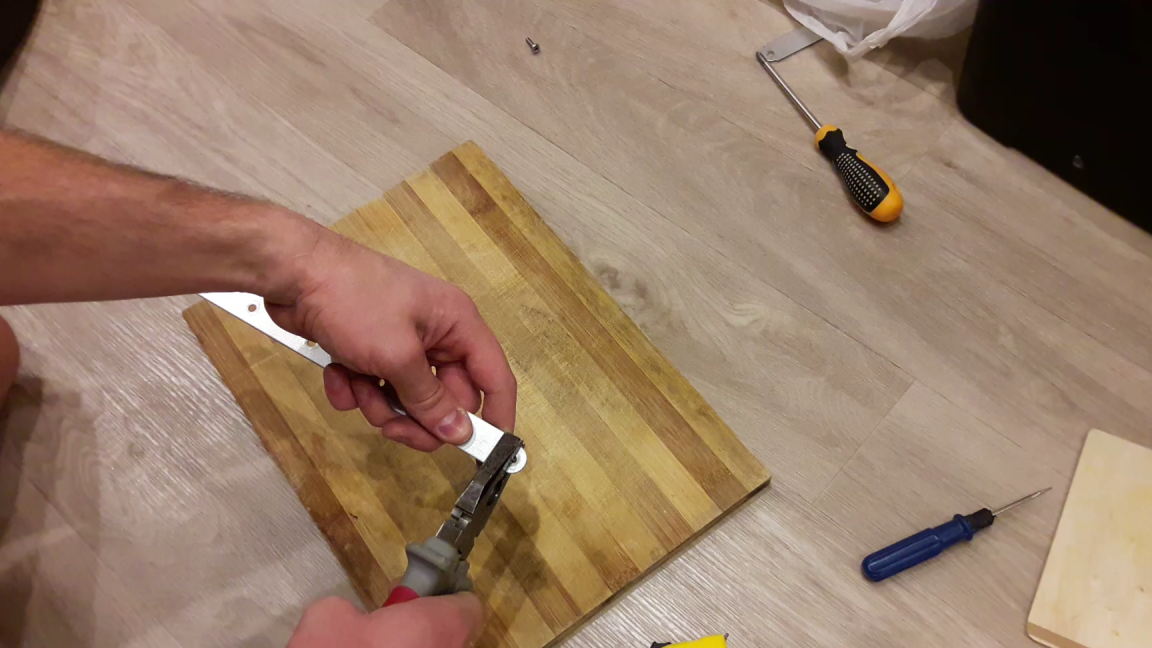
7) The longest 250 mm bar must be bent along the edges with pliers, for one there are already holes for the bolts, the monitor itself will be attached to it in the future:
8) And in order for the details to combine with the interior and acquire the desired color, I will use a heat shrink tube.Unlike painting, shrink film gives them a matte, rubberized coating, which gives them additional rigidity. At the same time, it closes the excess holes that will not be involved.
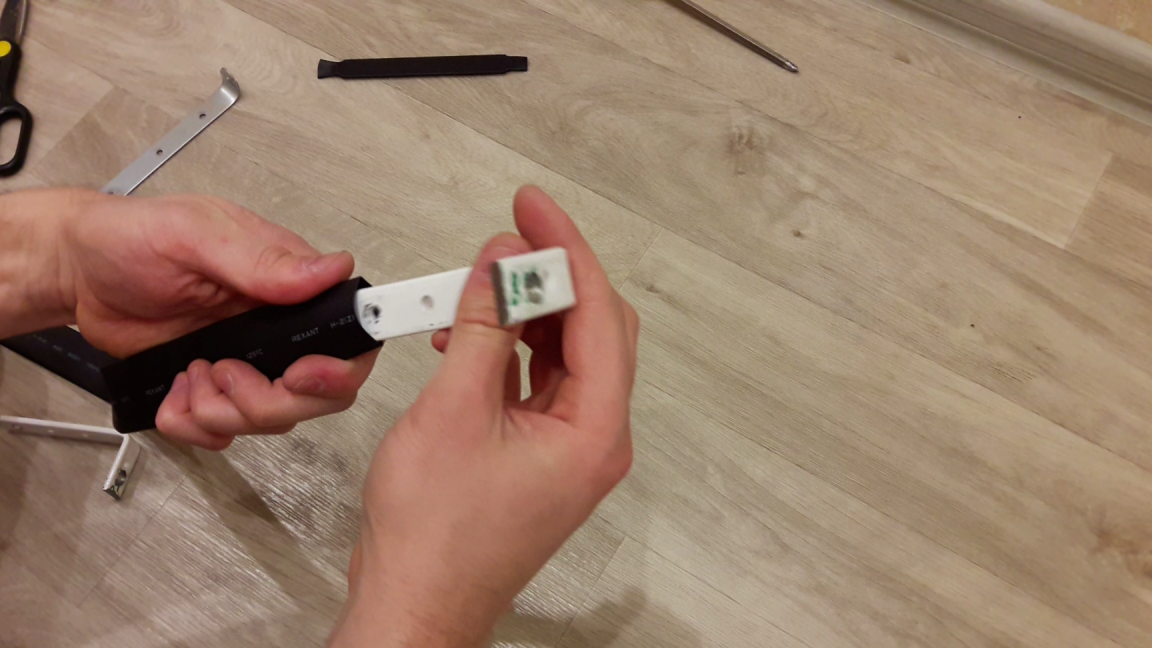
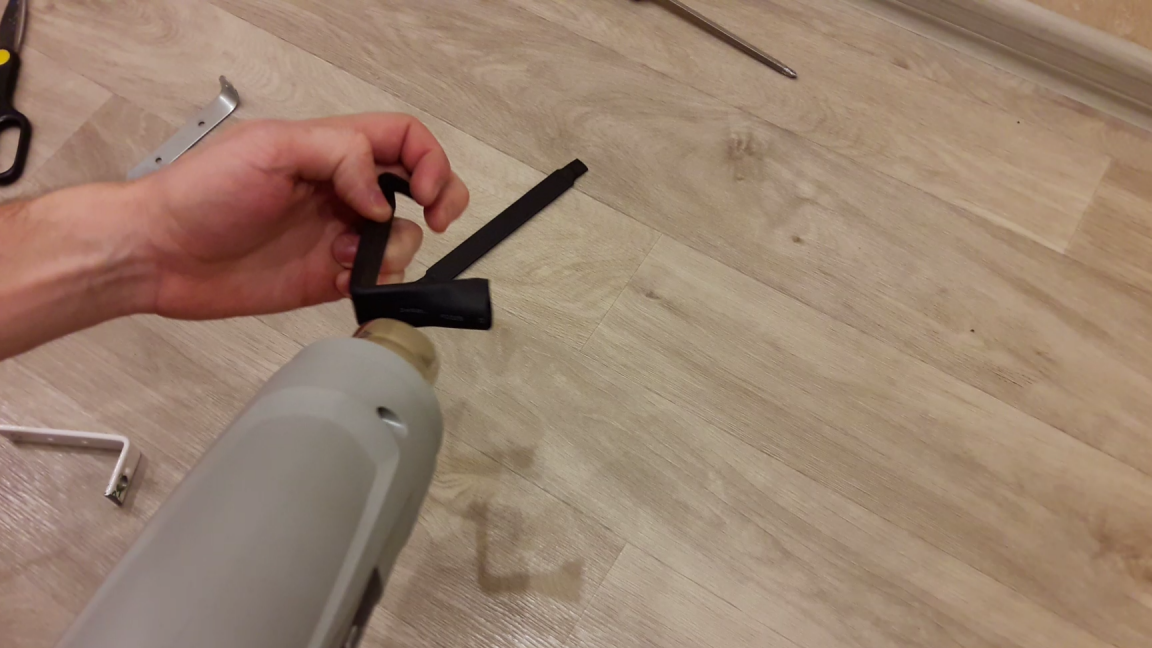
In my case, this is a shrink film of black color, size 20/10 mm for corners and 16/8 mm for strips. If possible, it is better to use an industrial hairdryer. This is done very quickly:
Here's what happened:
We cut the excess with scissors.
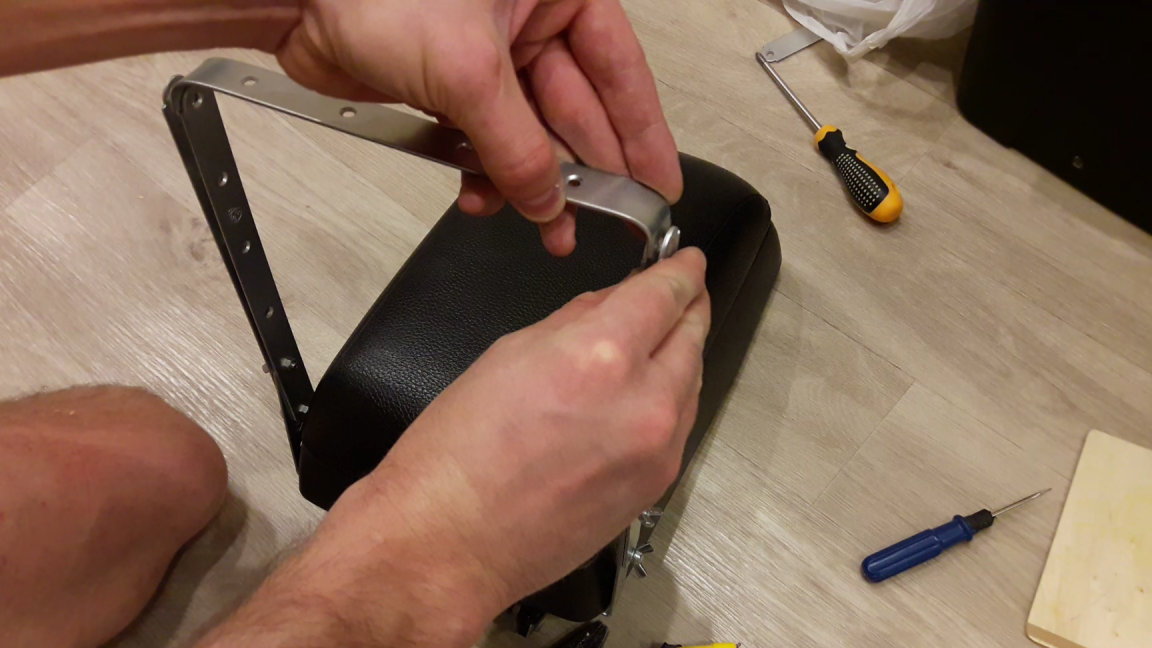
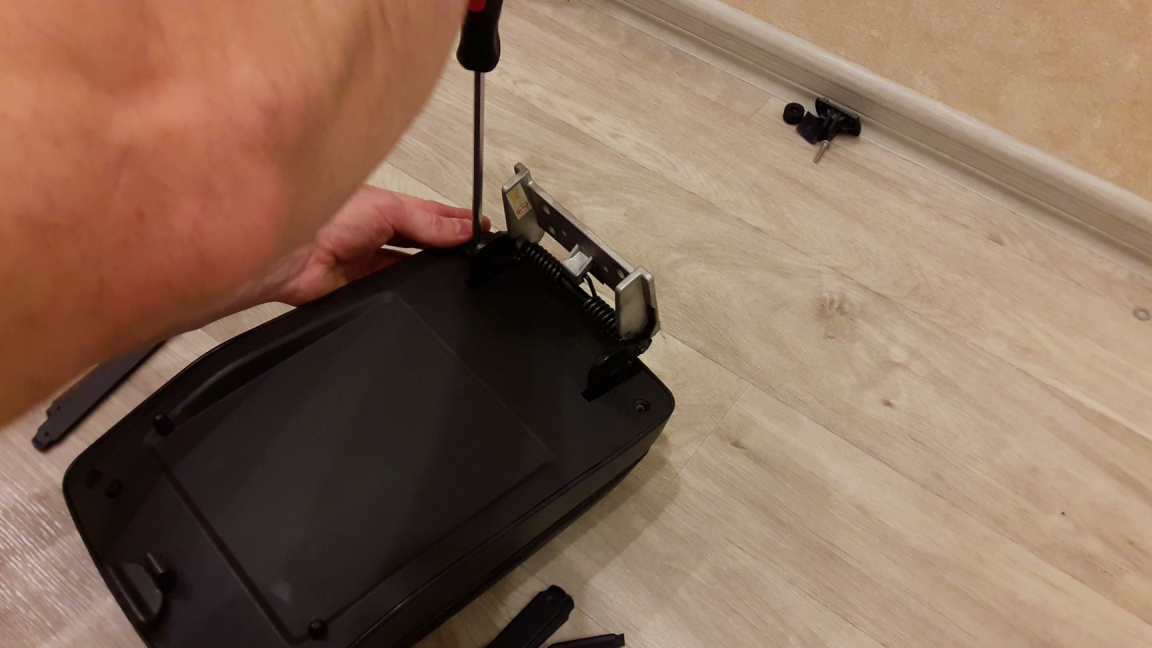
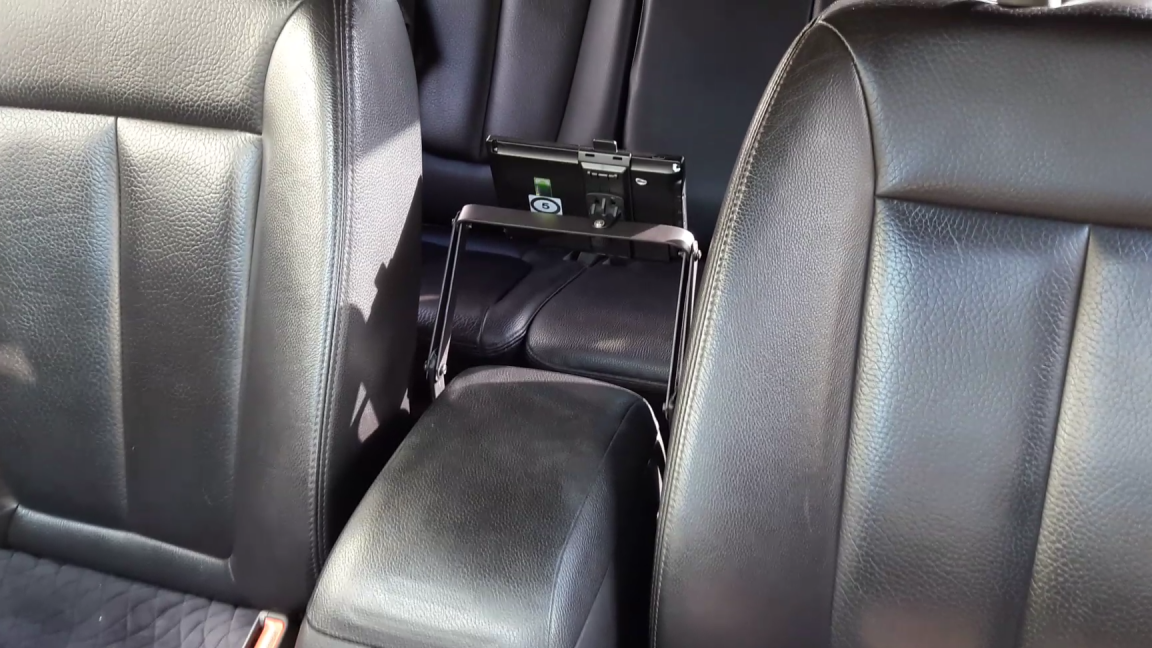
9) Now we fasten all this to the armrest:
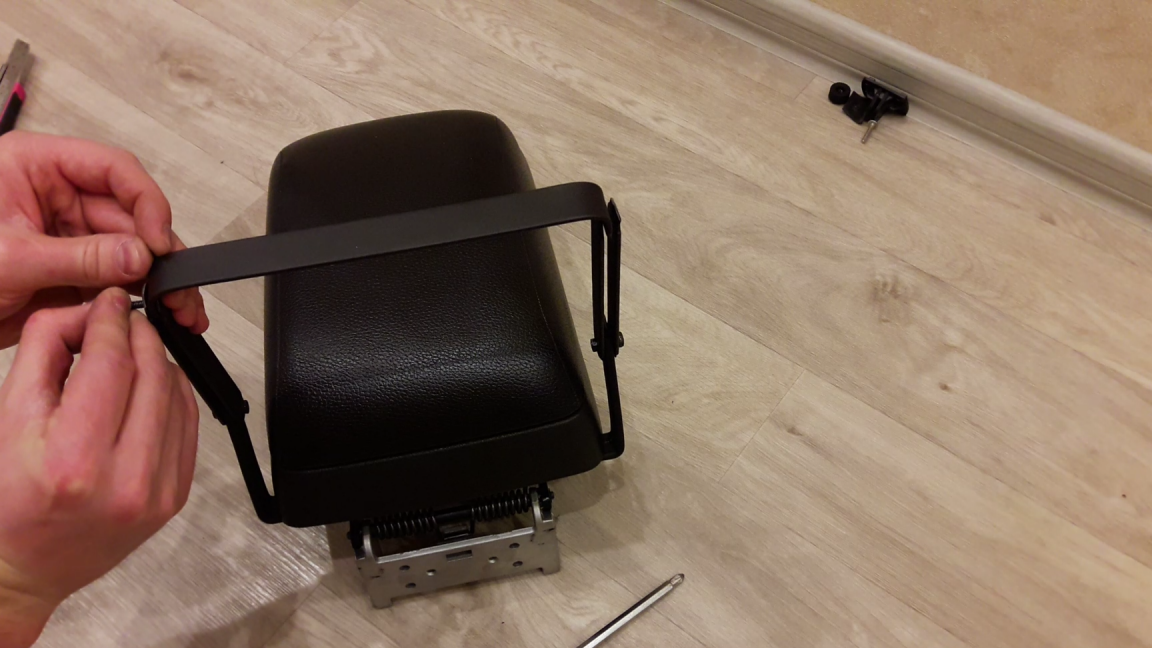
10) We attach the monitor to all of this:
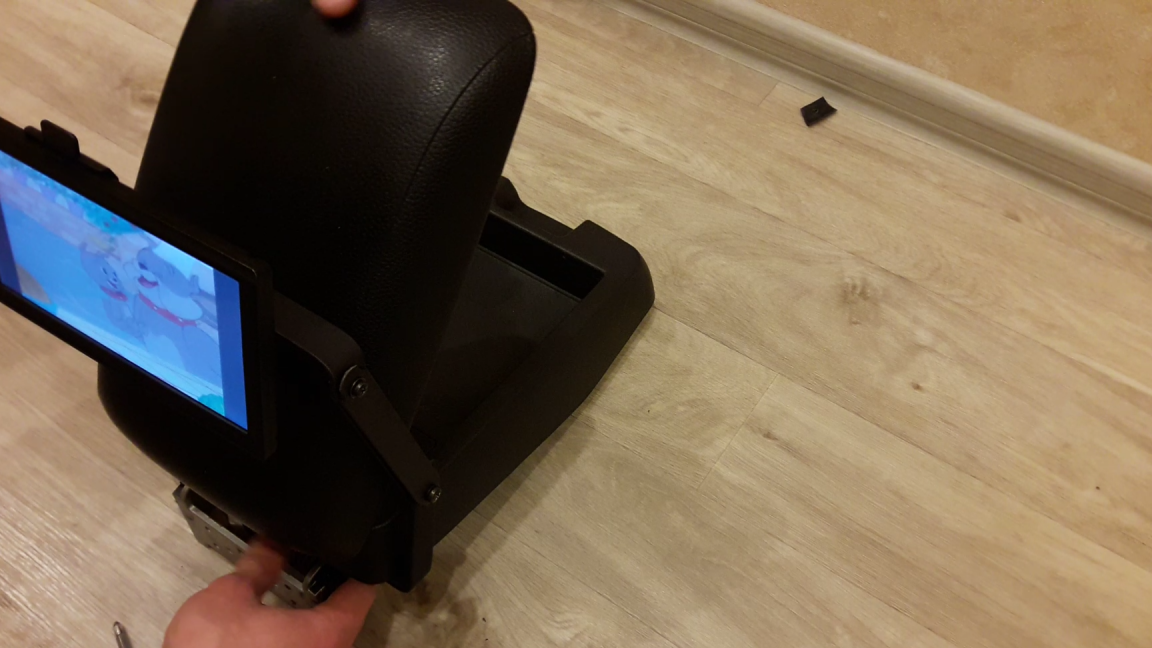
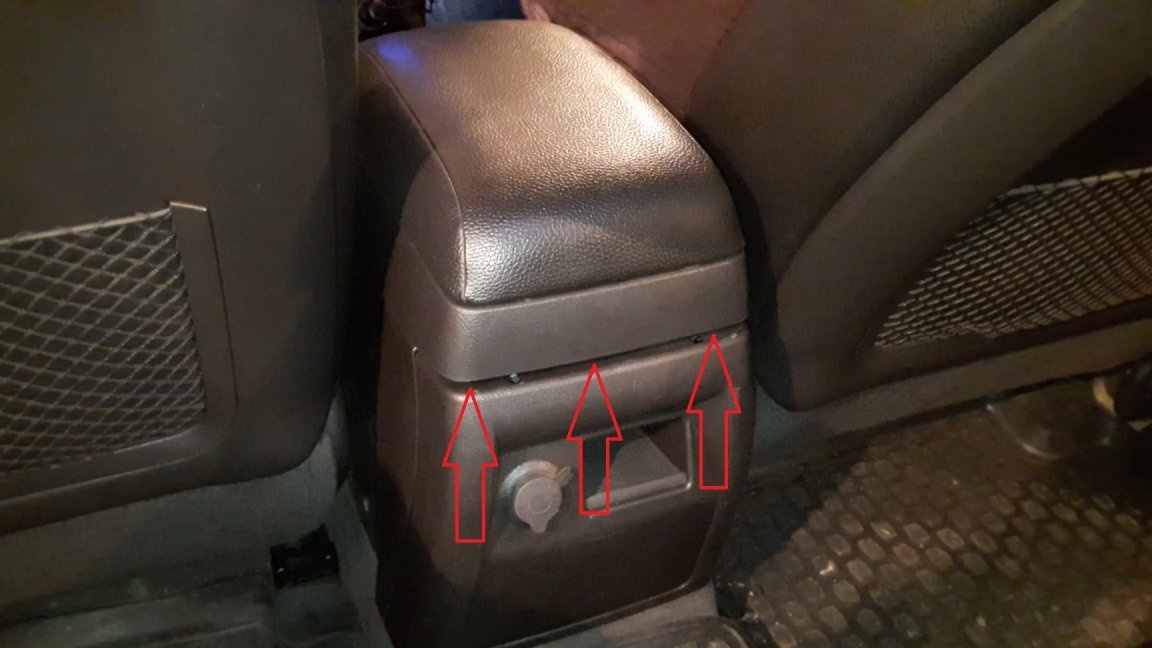
11) And set it all back in car:
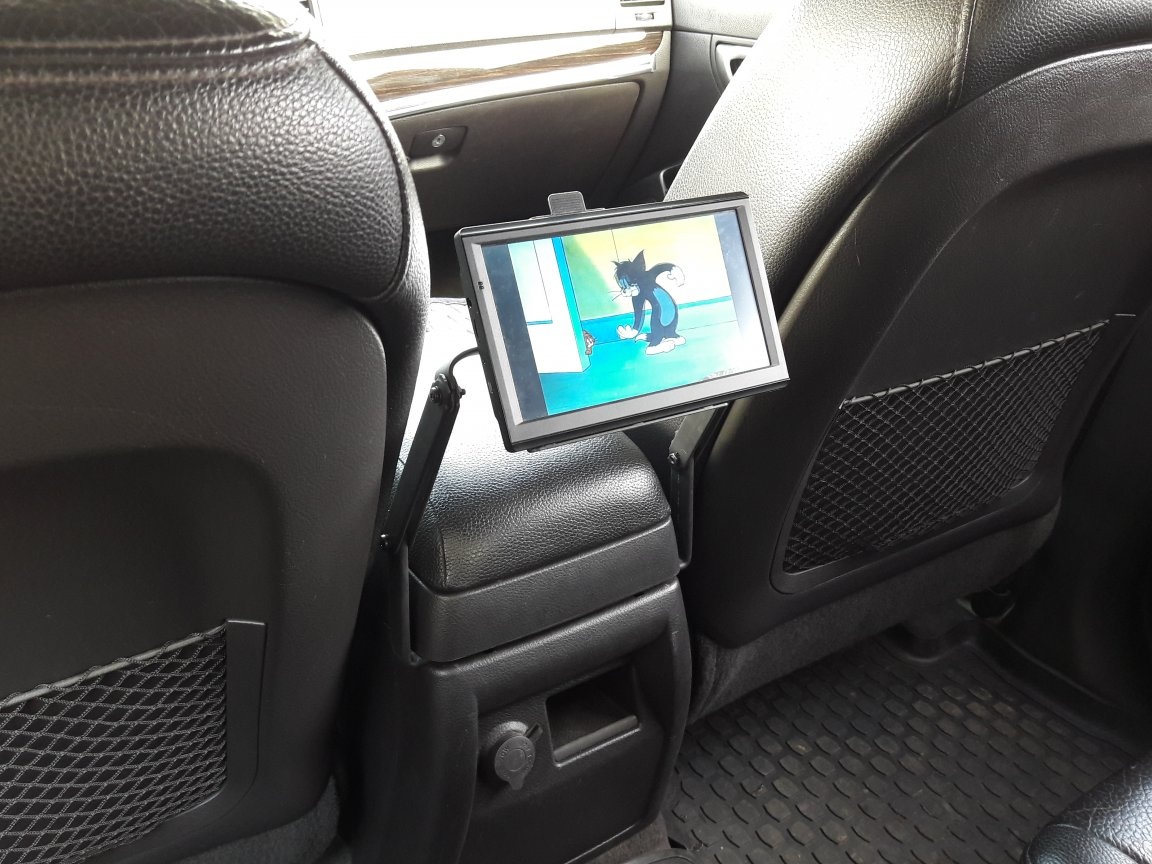
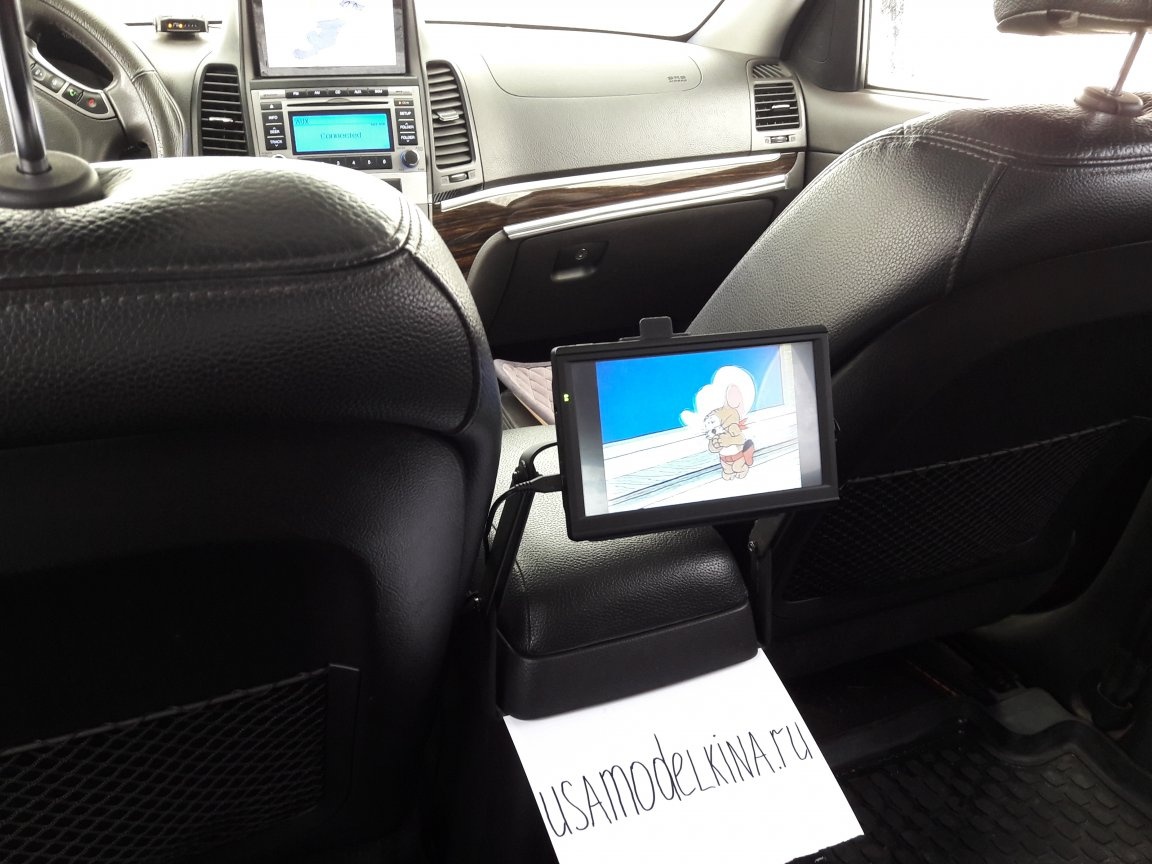
Such a mount allows you to adjust the level of the monitor and bend the bars forward and backward, while the monitor is quite tightly held (unless of course it is good to tighten the bolts with nuts) and does not swing during movement. The driver and the passenger in the front seat do not interfere with the mount. That's all for now.