
Good day to all. New Year is coming, which means: a Christmas tree, citrus fruits and of course gifts. Currently, the range of gifts on the shelves is great, but the prices are also great. And the gifts made do it yourself it’s always more pleasant, as when doing something with his own hands, a person invests a part of himself and his love, especially if this is something, is done for his near or dear person. And another plus of such gifts is their exclusivity. Indeed, even if you want to make several such gifts, they will be similar to each other, but they will not be exactly the same.
Here is the hero of our article and the author of the channel “Iulian Man” decided to make a gift for his beloved with his own hands, in the form of an LED lamp. And what came of this, you will learn further.
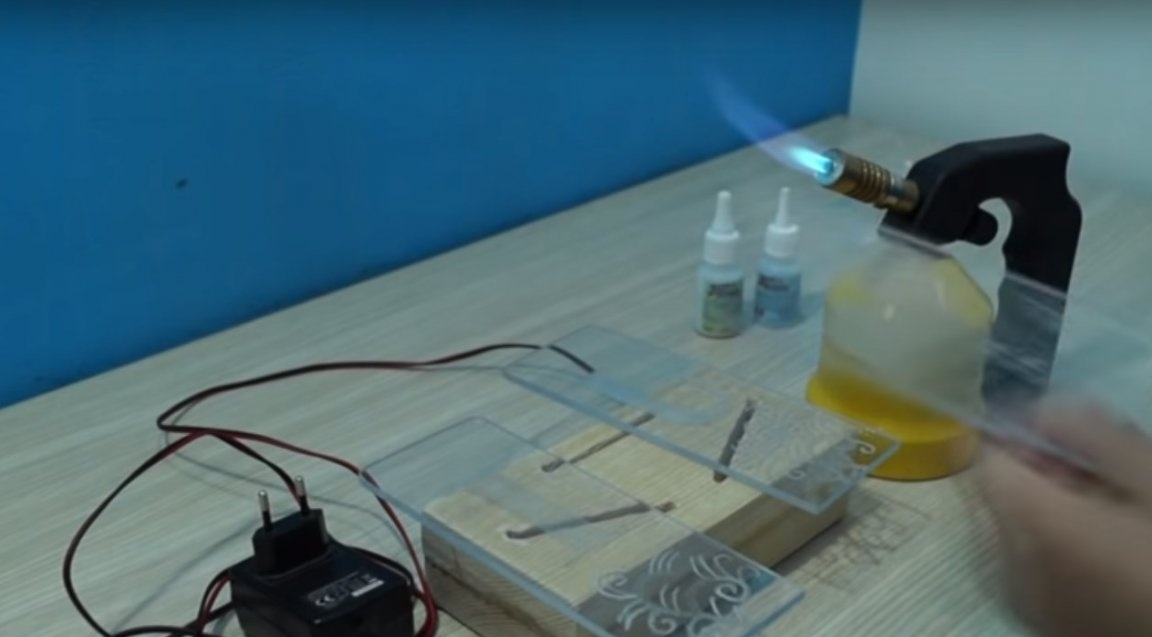
Materials used by the author:
Organic glass.
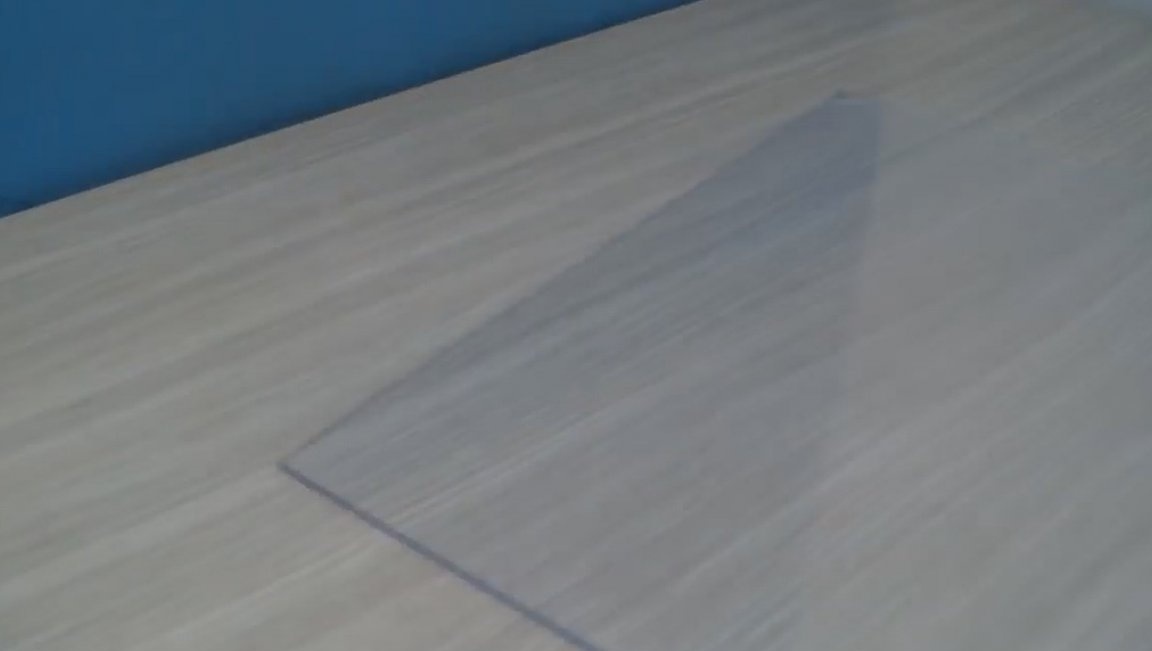
Figure of the future lamp, printed on plain paper.
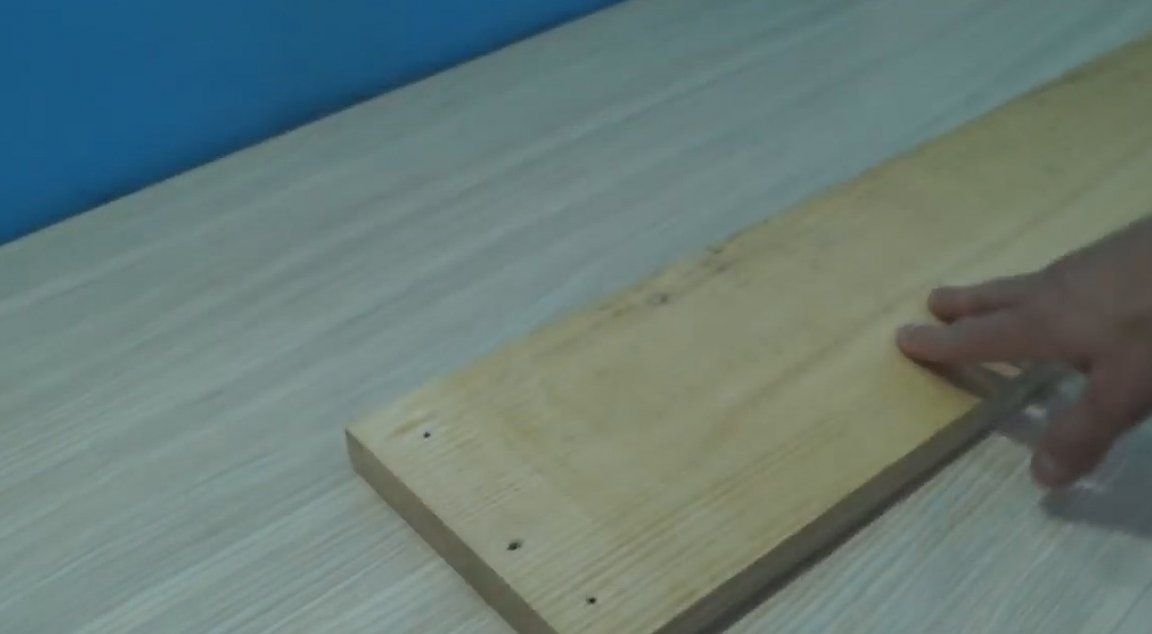
Board.
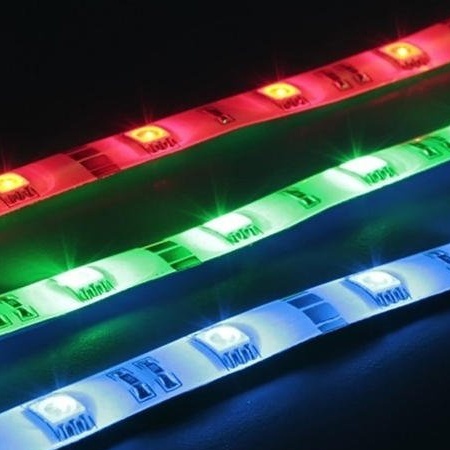
LED RGB tape.
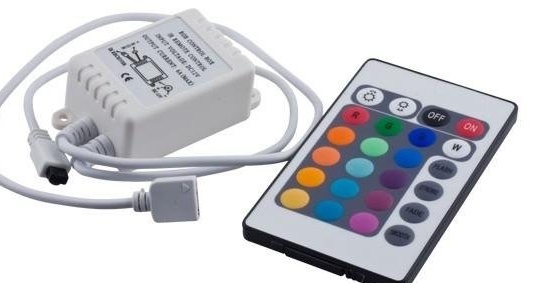
Controller for her.
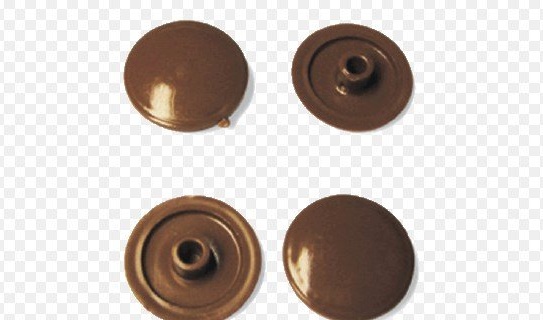
Furniture plugs of this type.
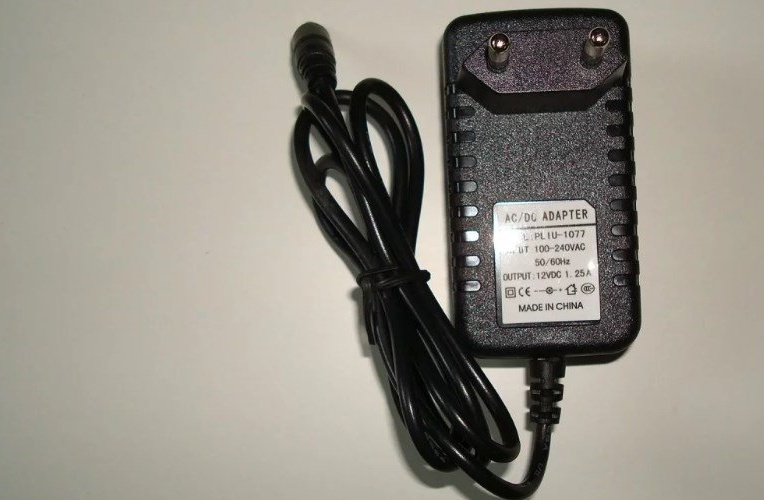
Power supply for tape.
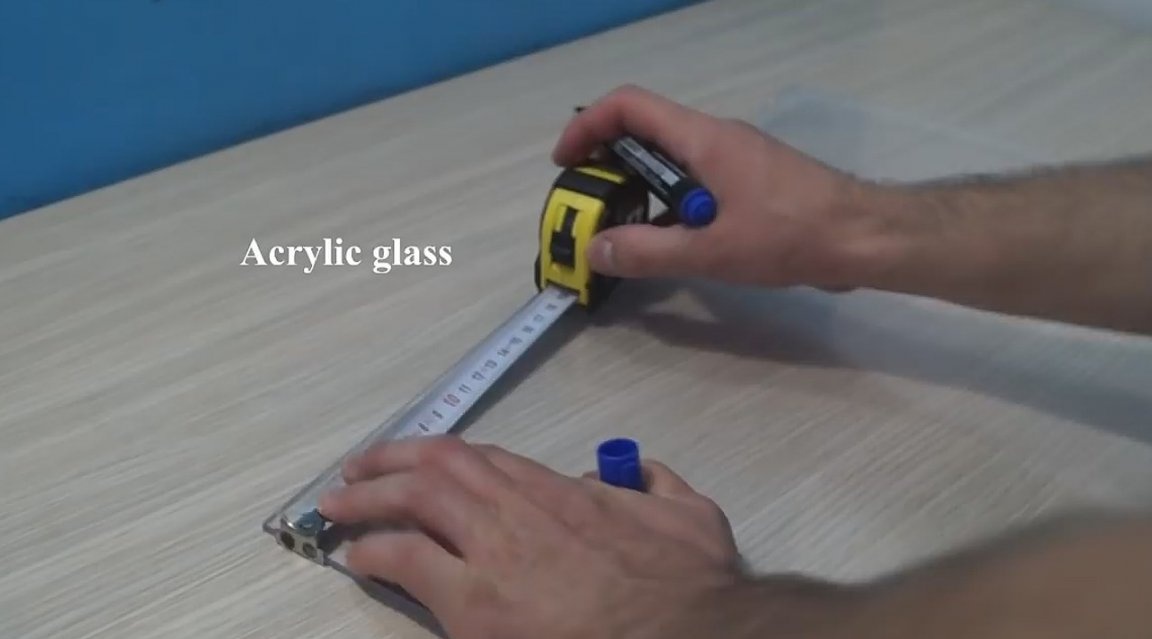
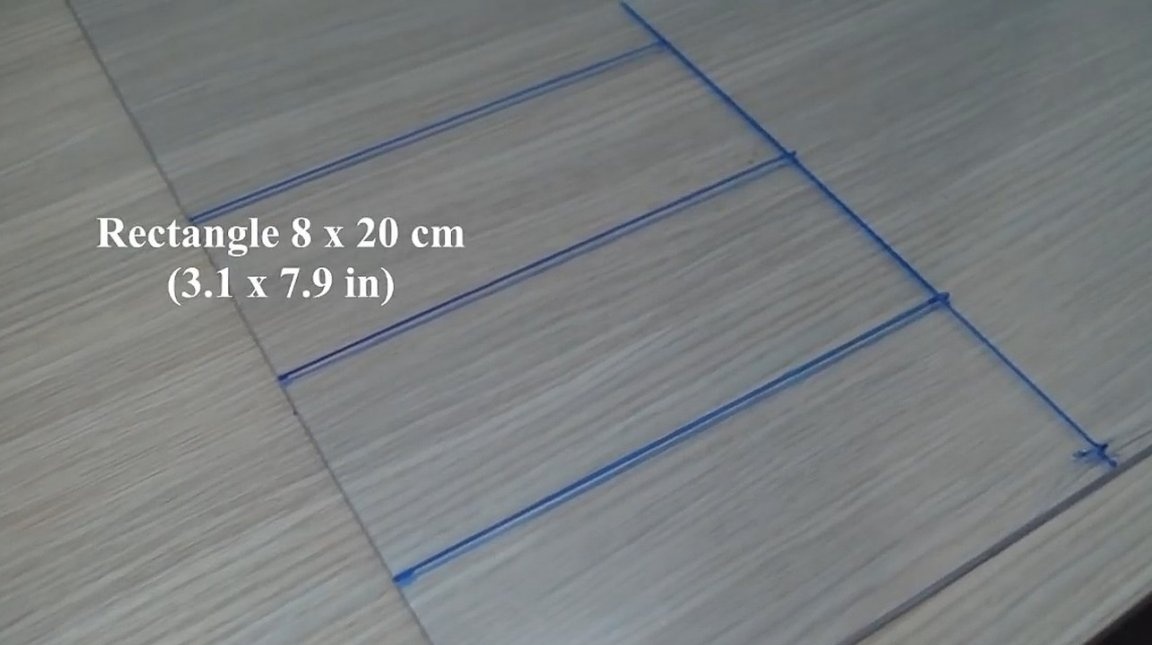
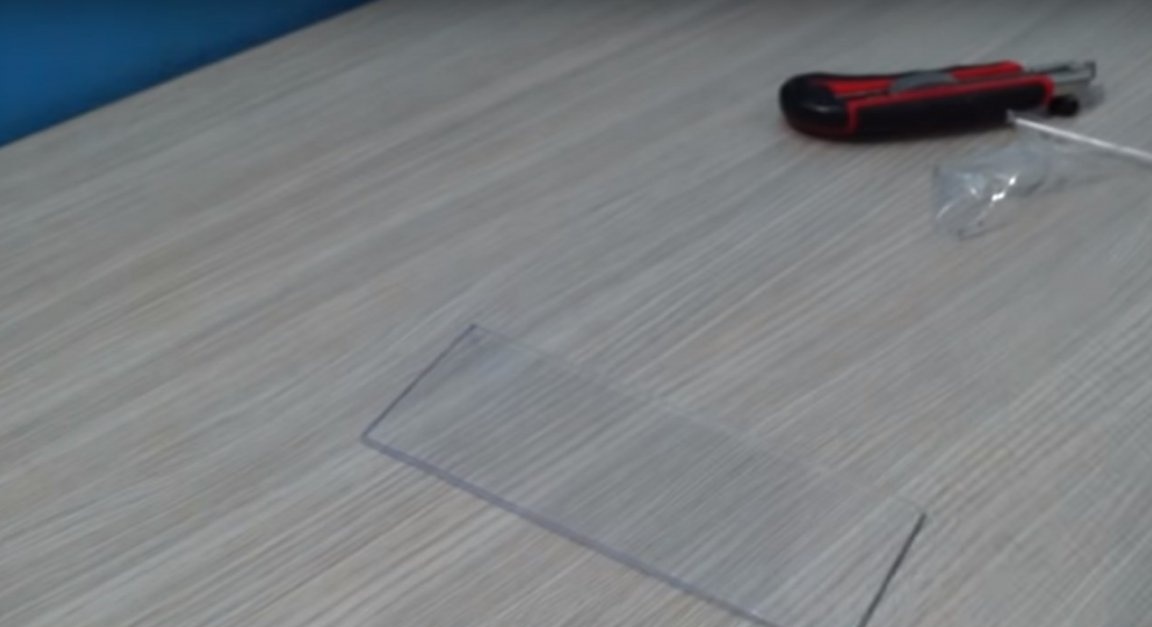
After collecting everything necessary, the master immediately proceeded to manufacture homemade. And as the first step, he marked three blanks of 8 cm by 20 cm on plexiglass.
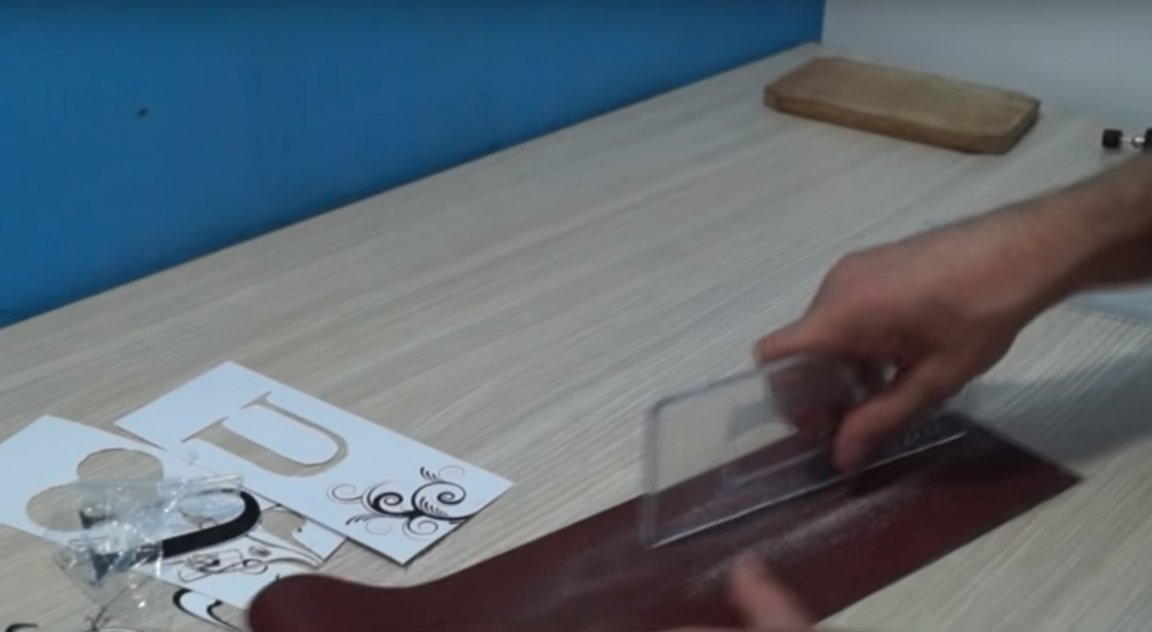
Then the author will cut these blanks.
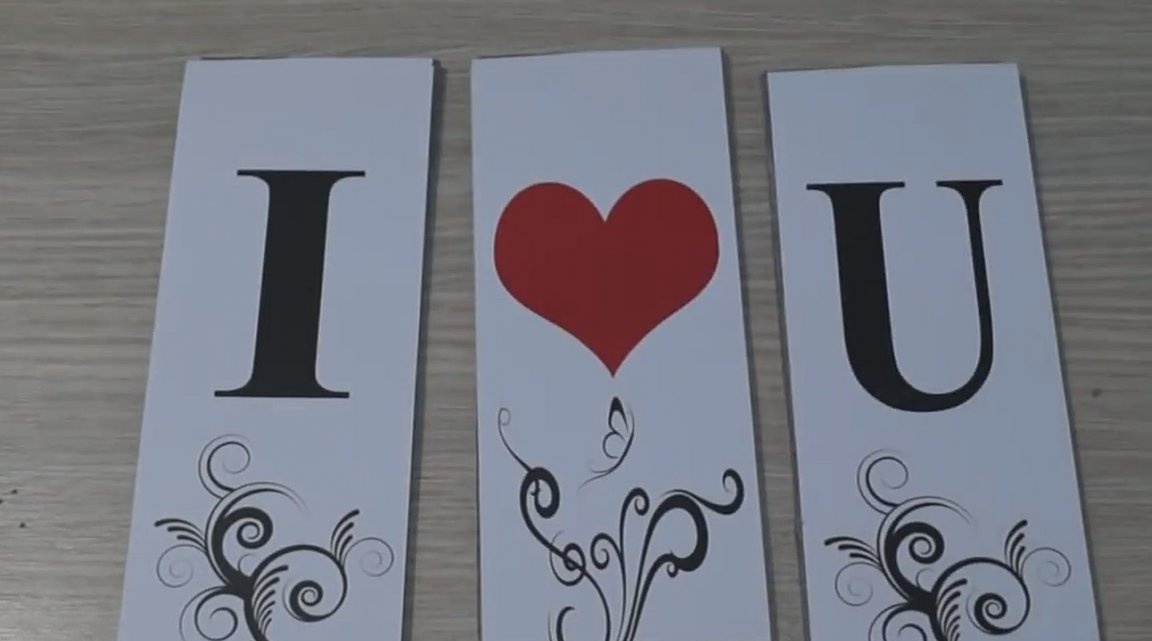
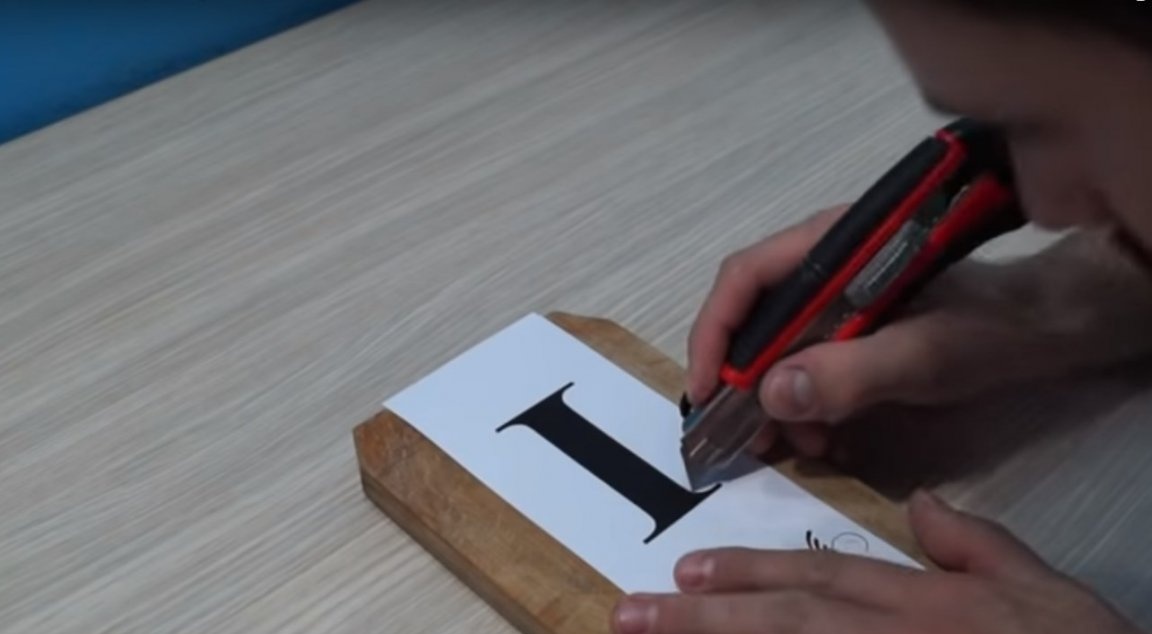
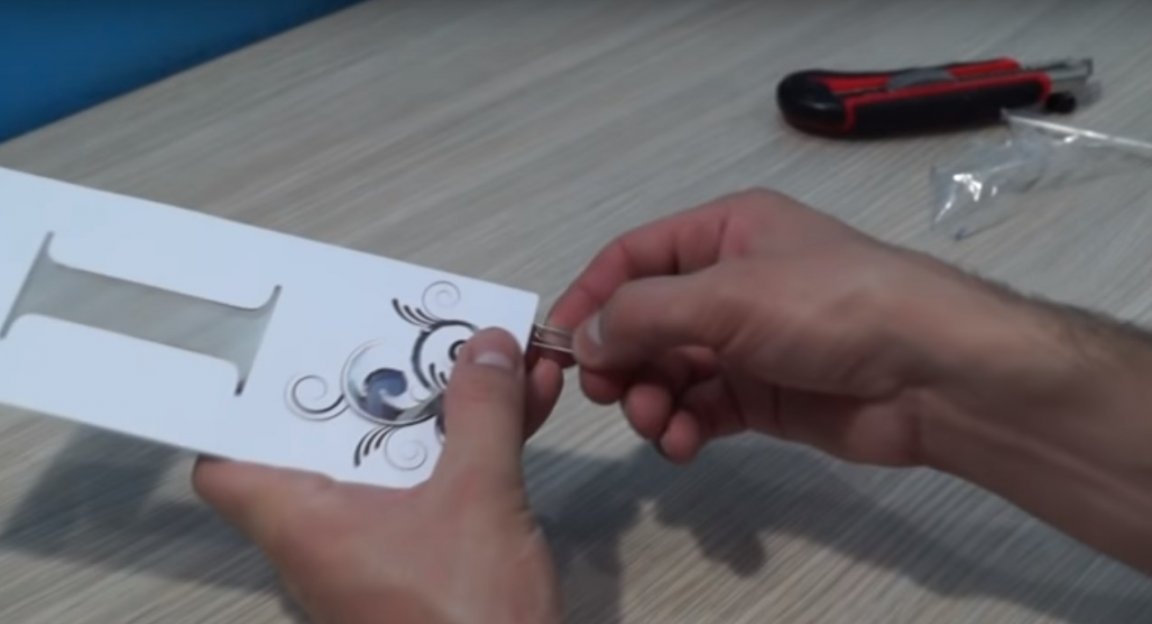
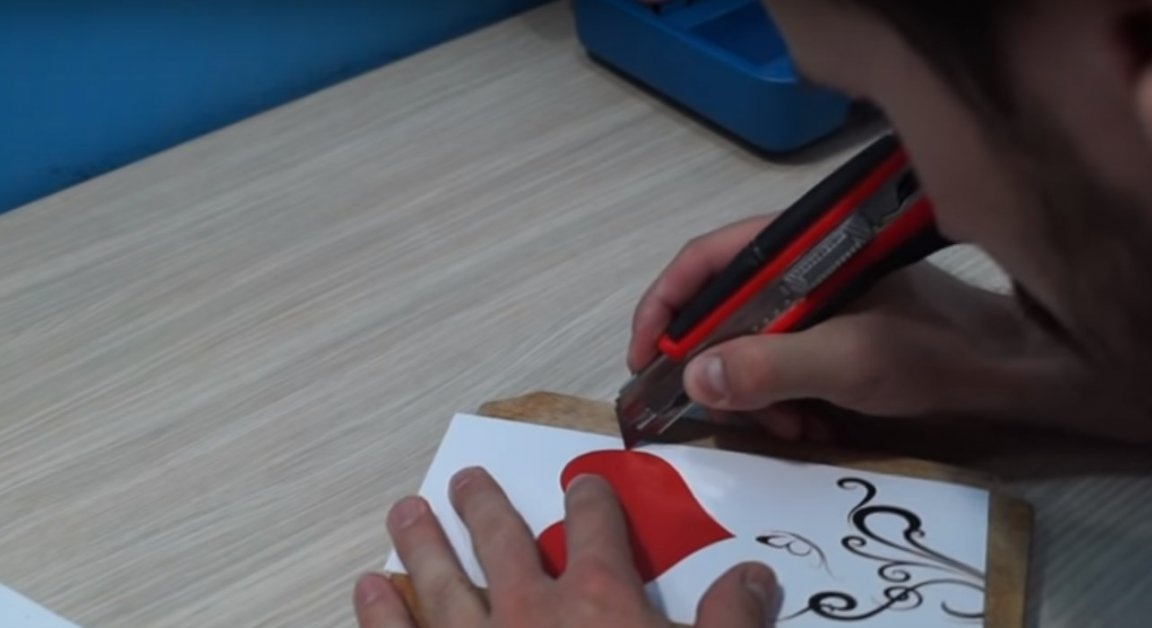
And he will begin to make a stencil from drawings, which should be equal to the sizes of plexiglass blanks. Having removed all unnecessary from the picture. It turned out a stencil.
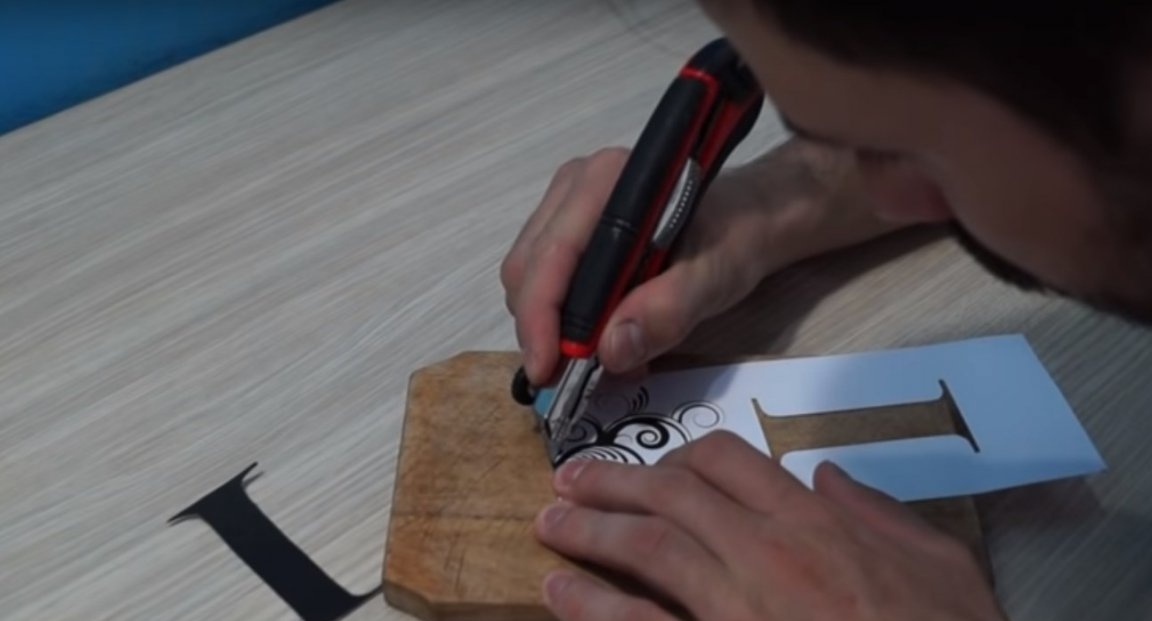
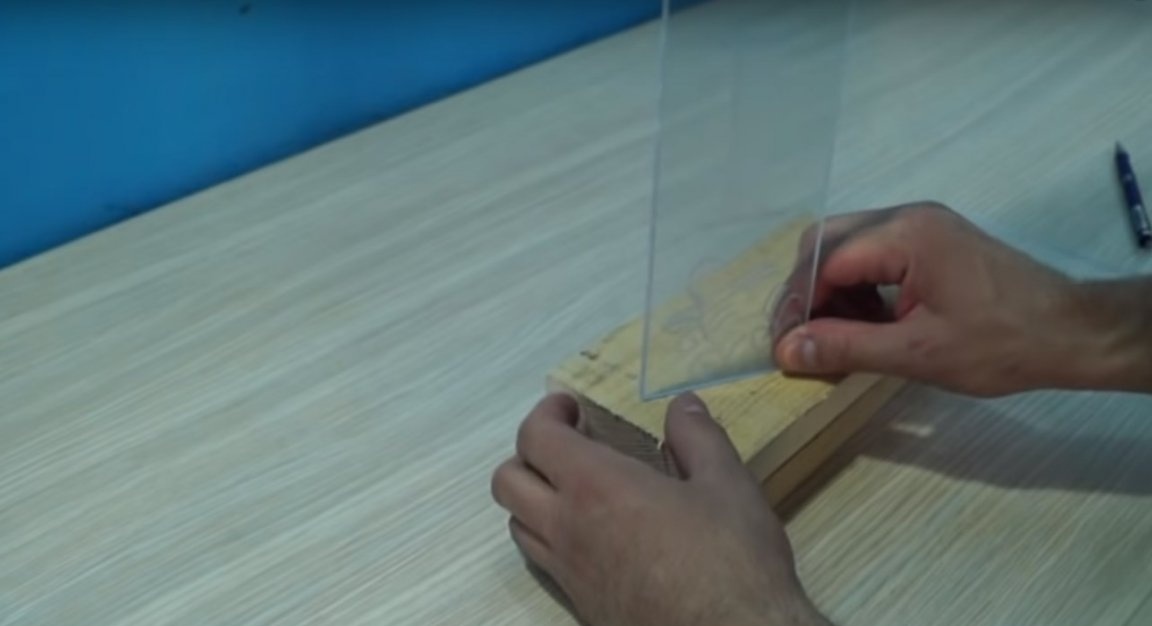
Taking one of the blanks.
And securing the stencil to it with paper clips.
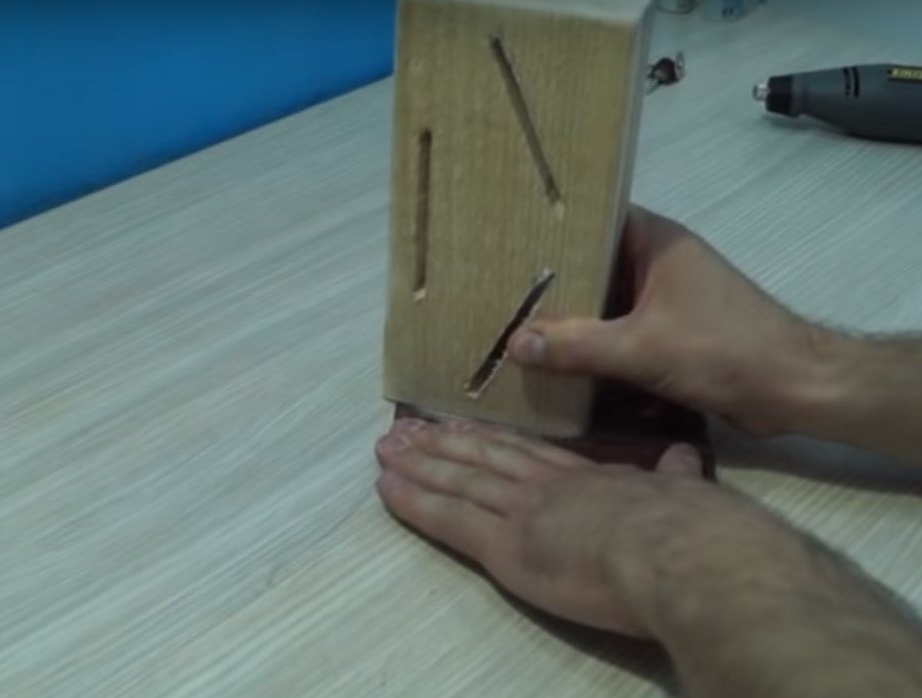
He painted on plexiglass using an engraver.
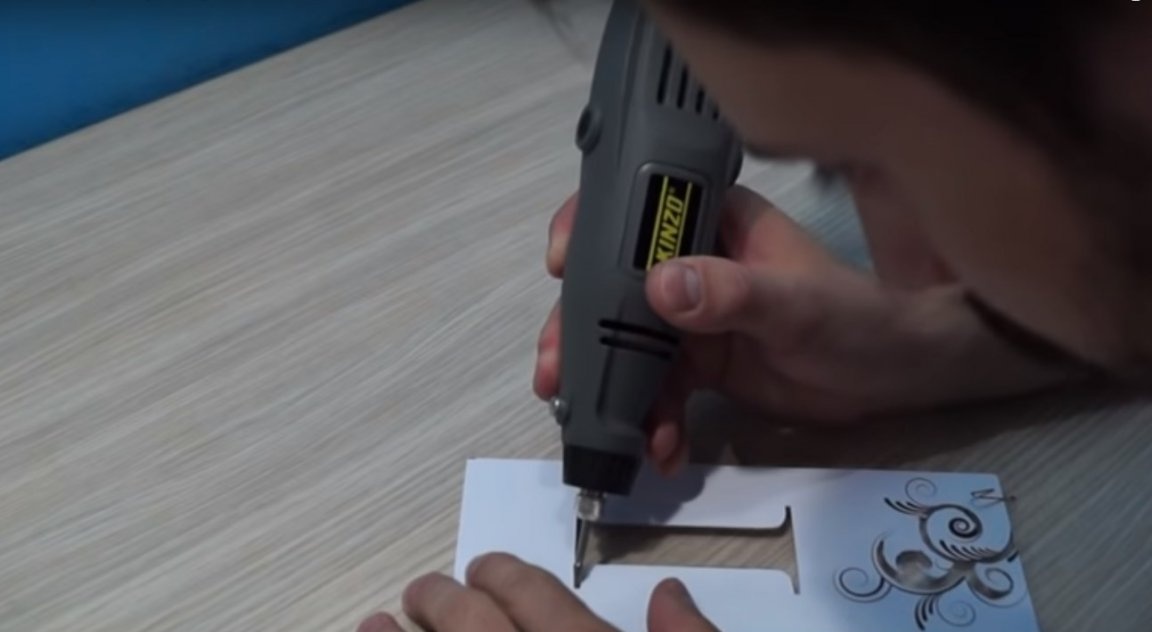
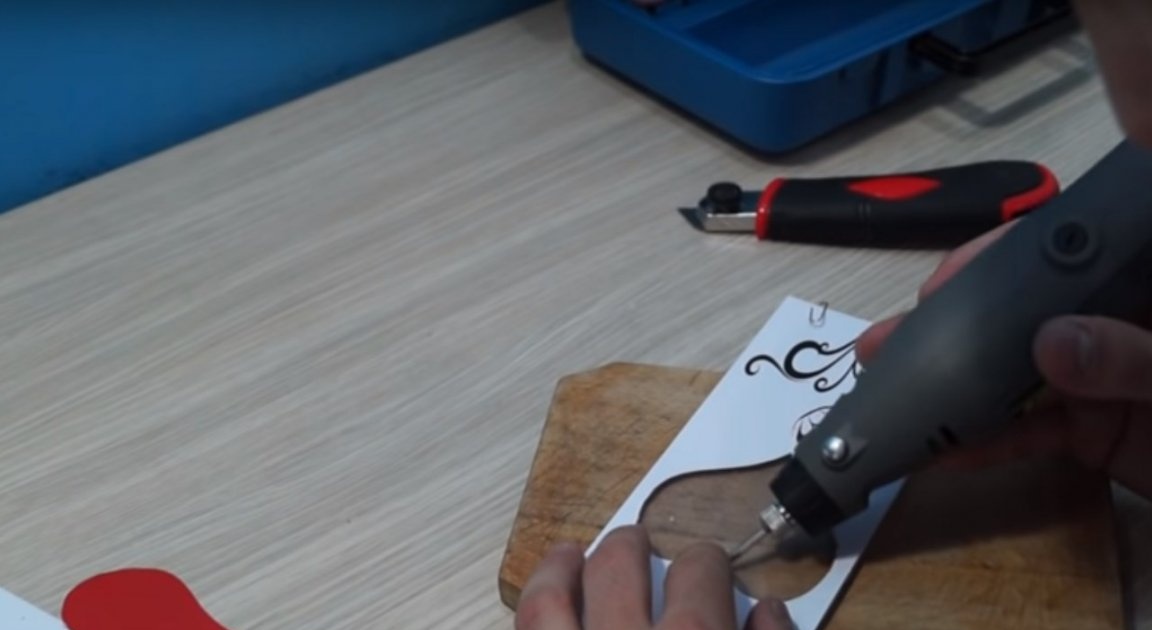
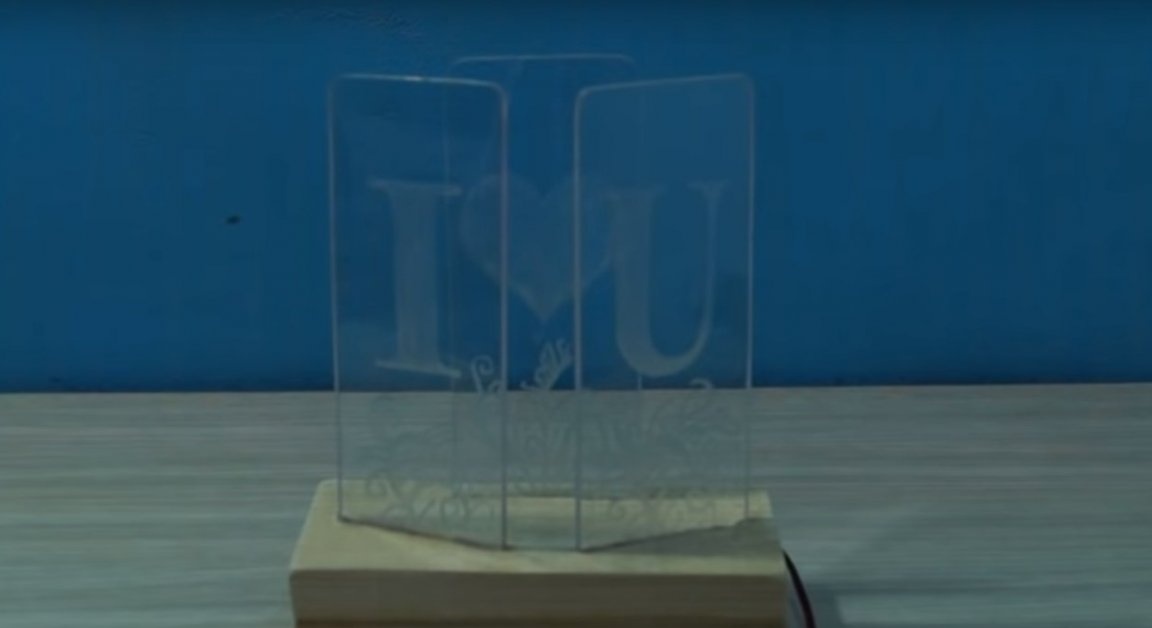
Having removed the stencil, I finalized the drawing on the workpiece.

I did the same with the rest of the blanks.
After I made the edges of the blanks rounded.
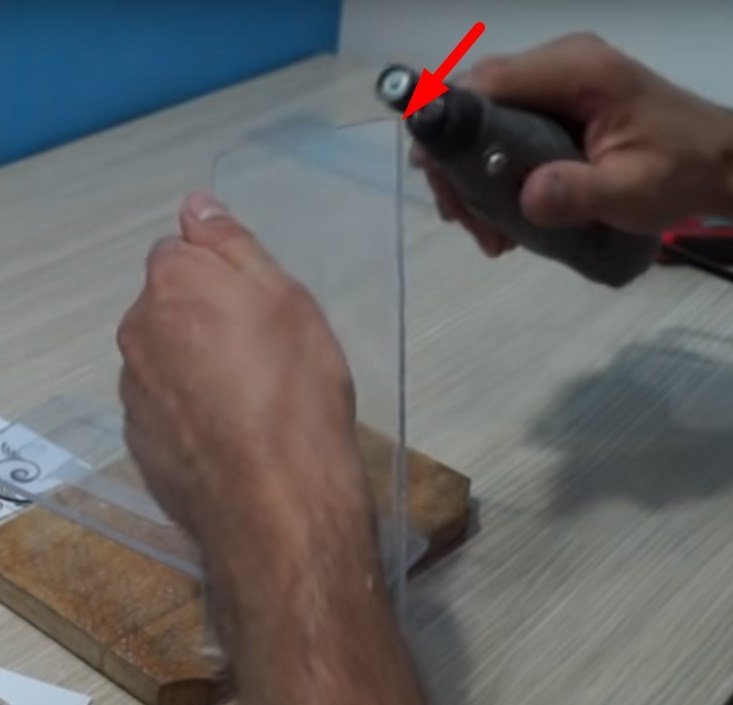
And he processed the walls with sandpaper.
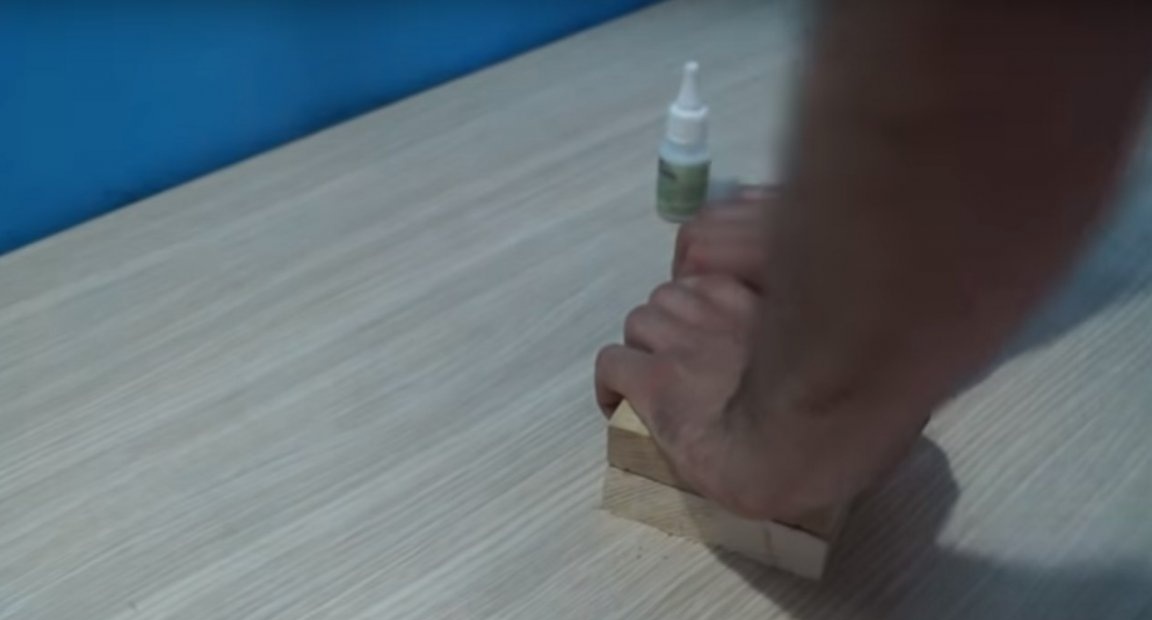
After that, on the board, he will mark up two blanks.
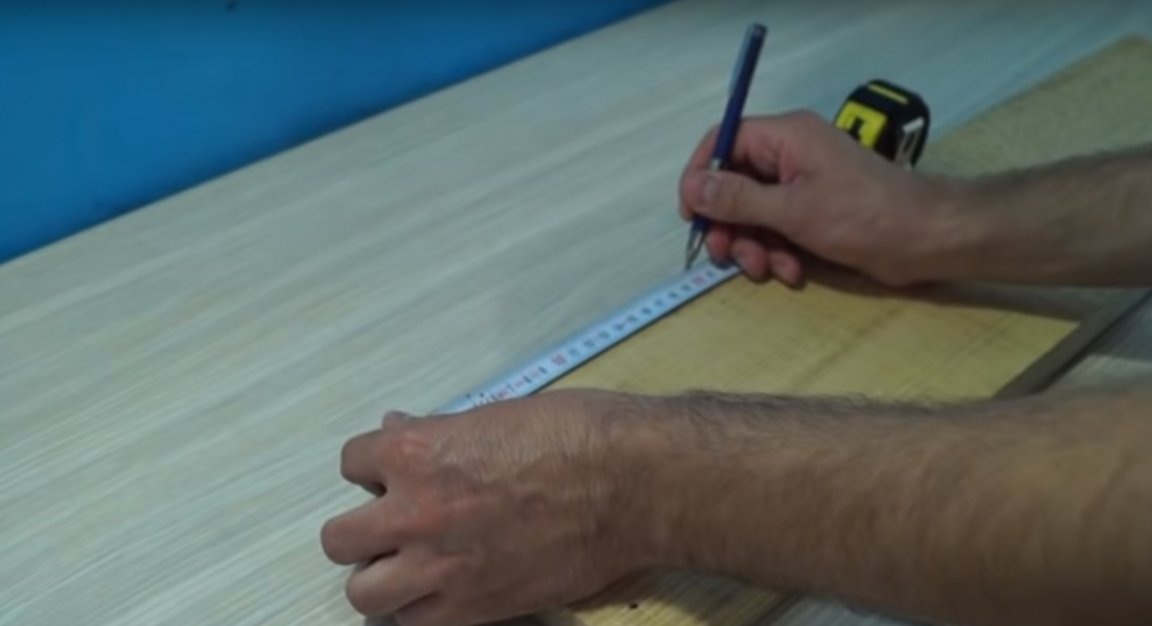
With such dimensions.
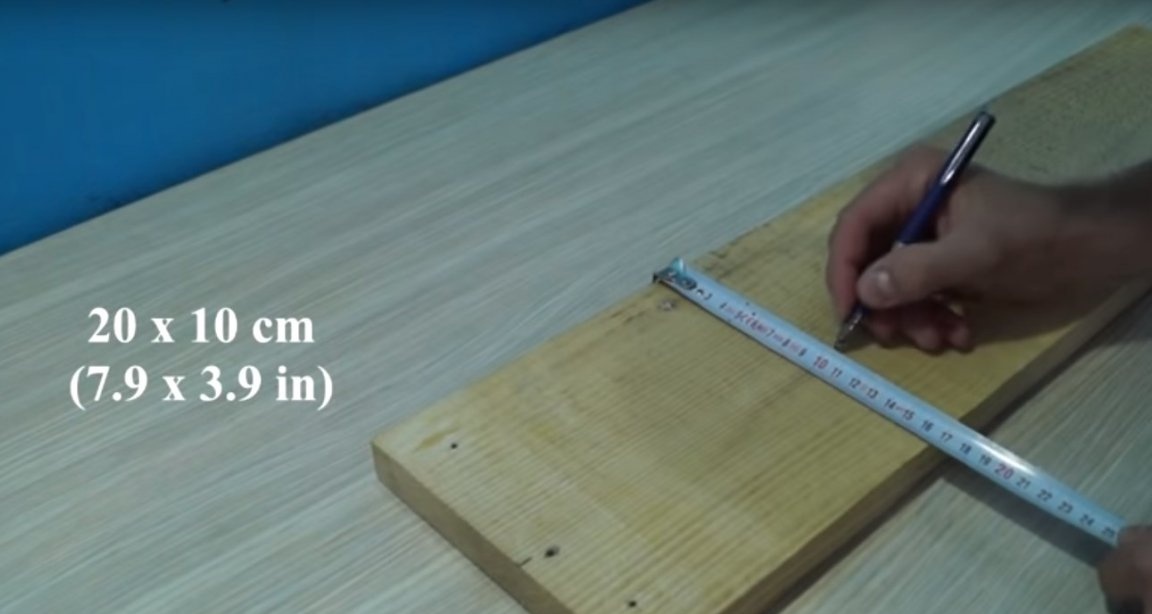
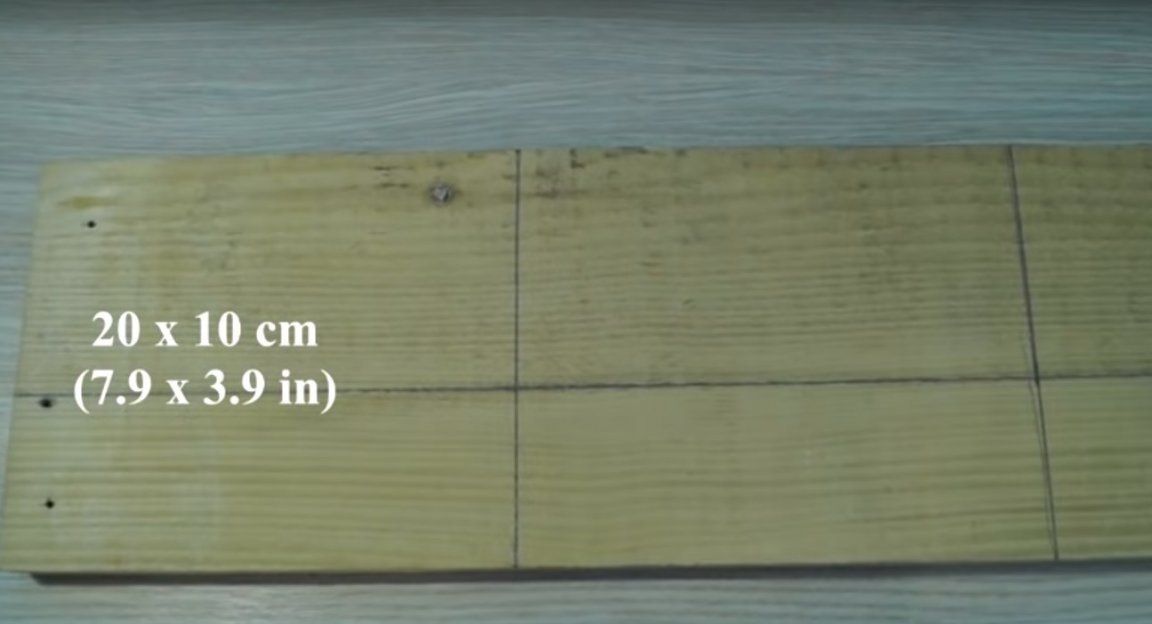
And cut them out.
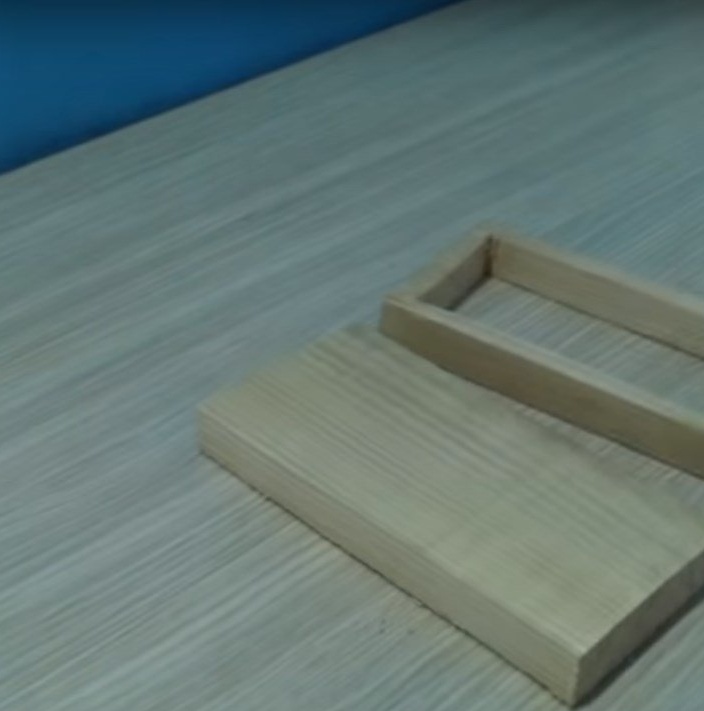
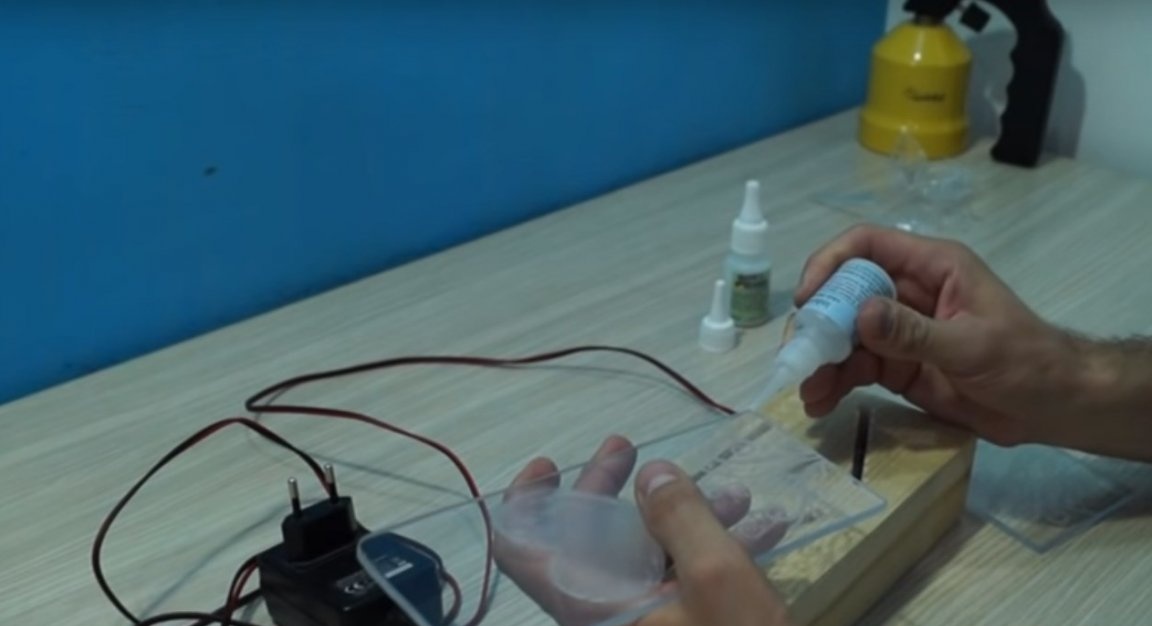
From one of them will make a frame.
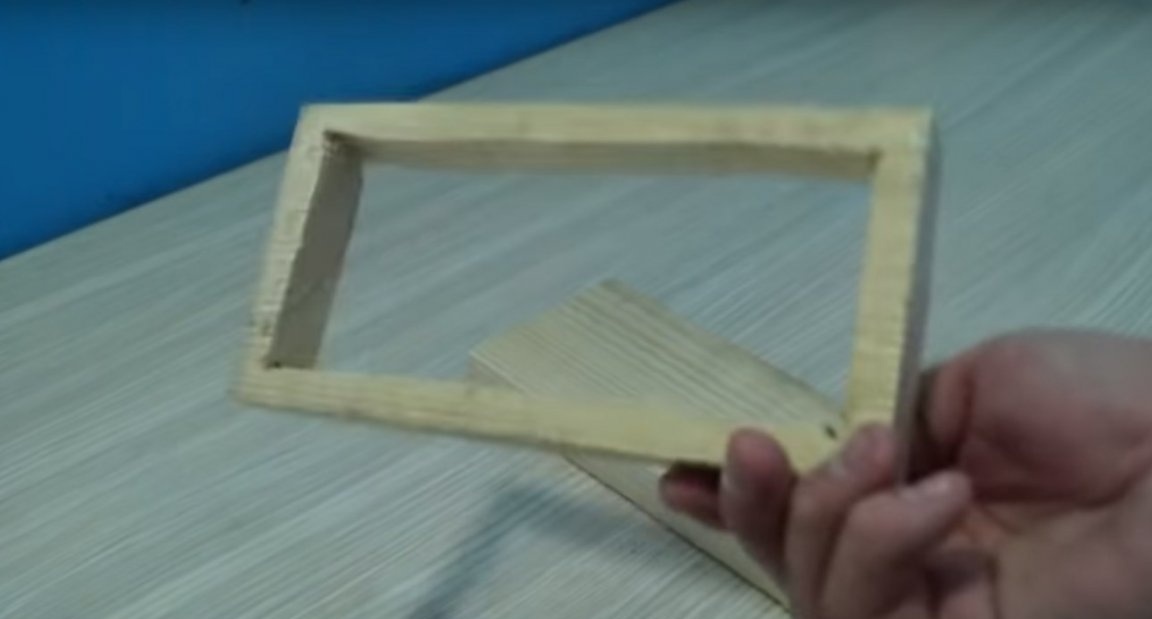
Then, on a flat part, he will make a marking for the plexiglass part.
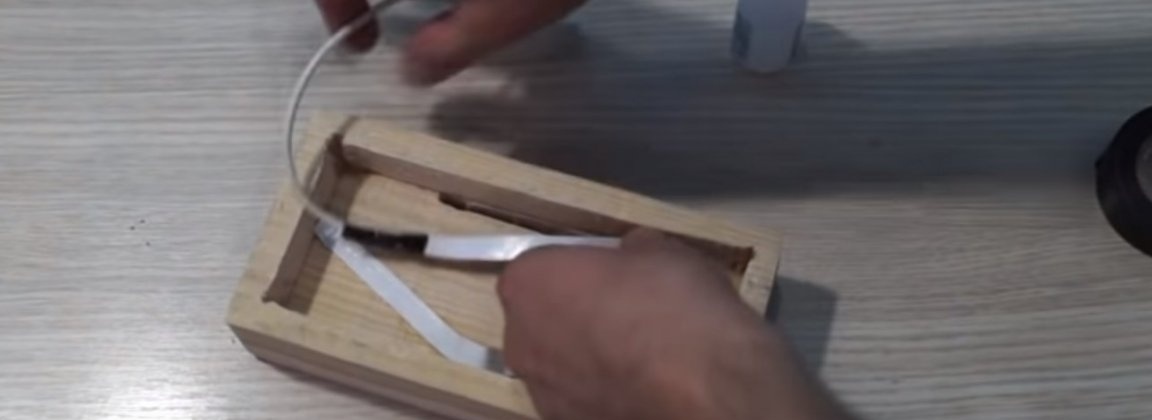
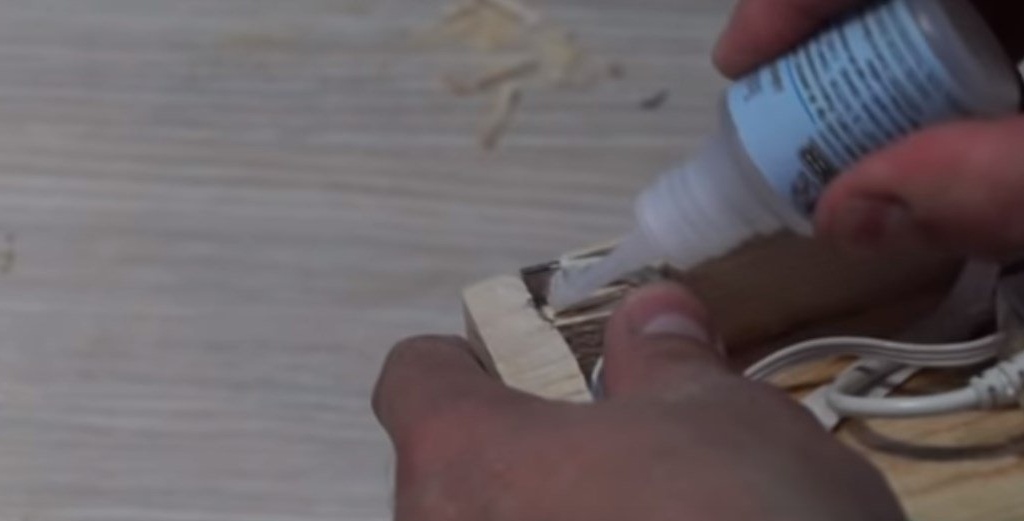
After that, the author applied glue to this detail.
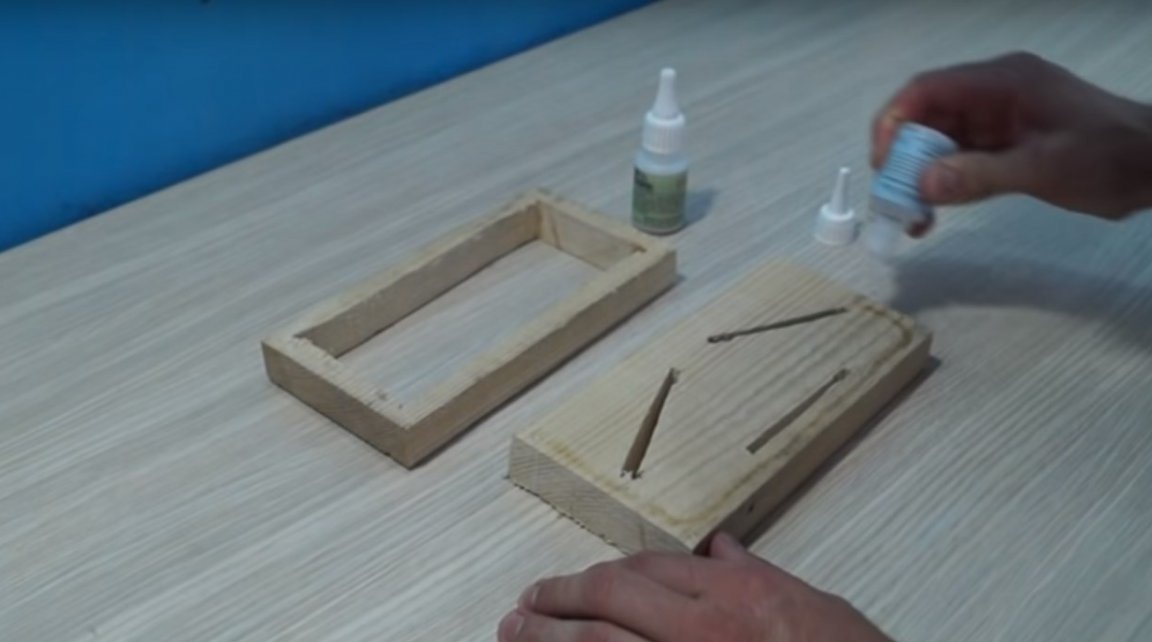
And glued a frame to it.
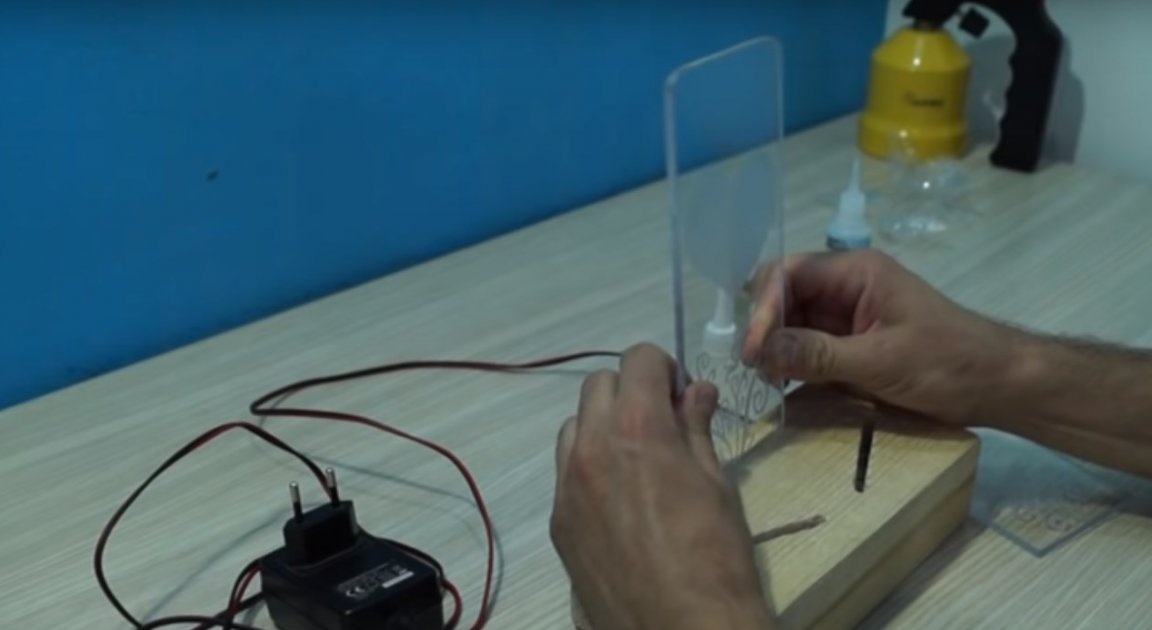
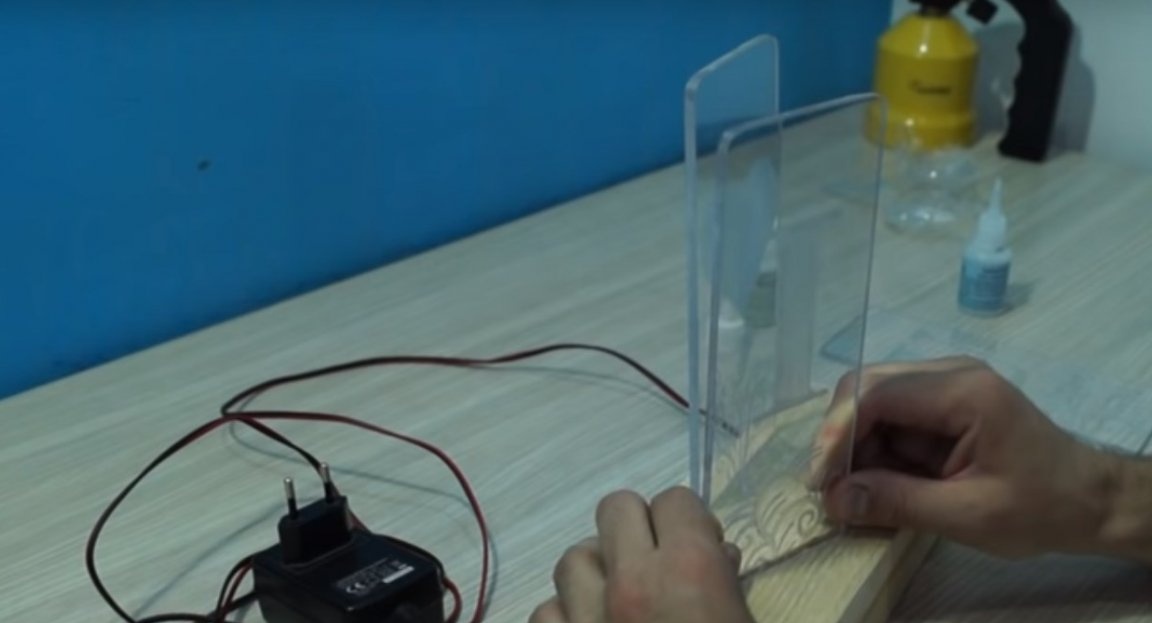
Passed seams with glue.

And he processed the finished base of the lamp with sandpaper.
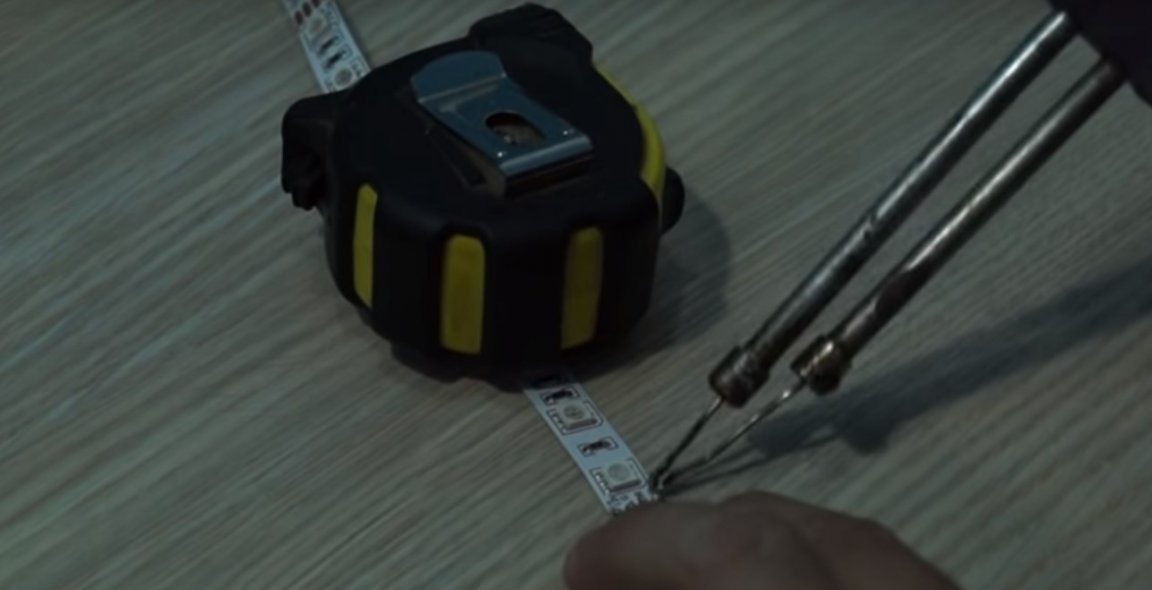
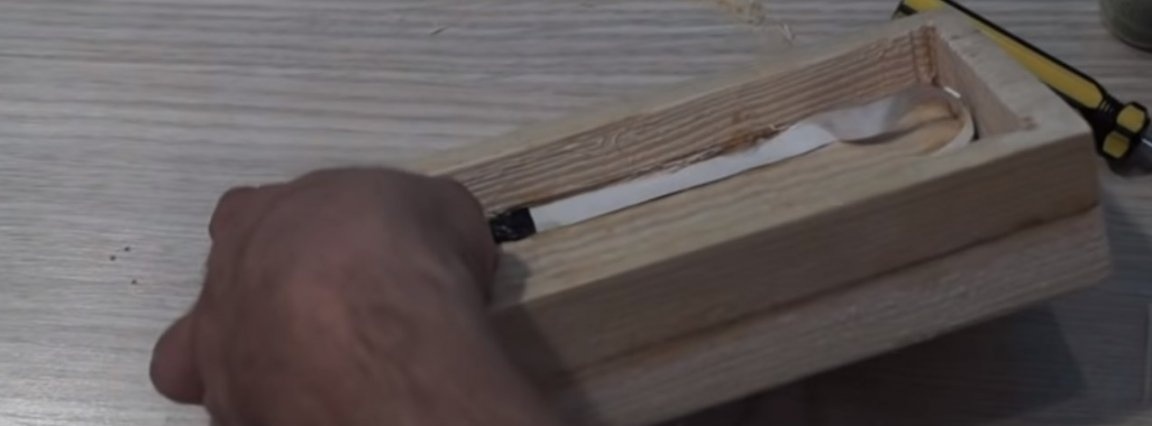
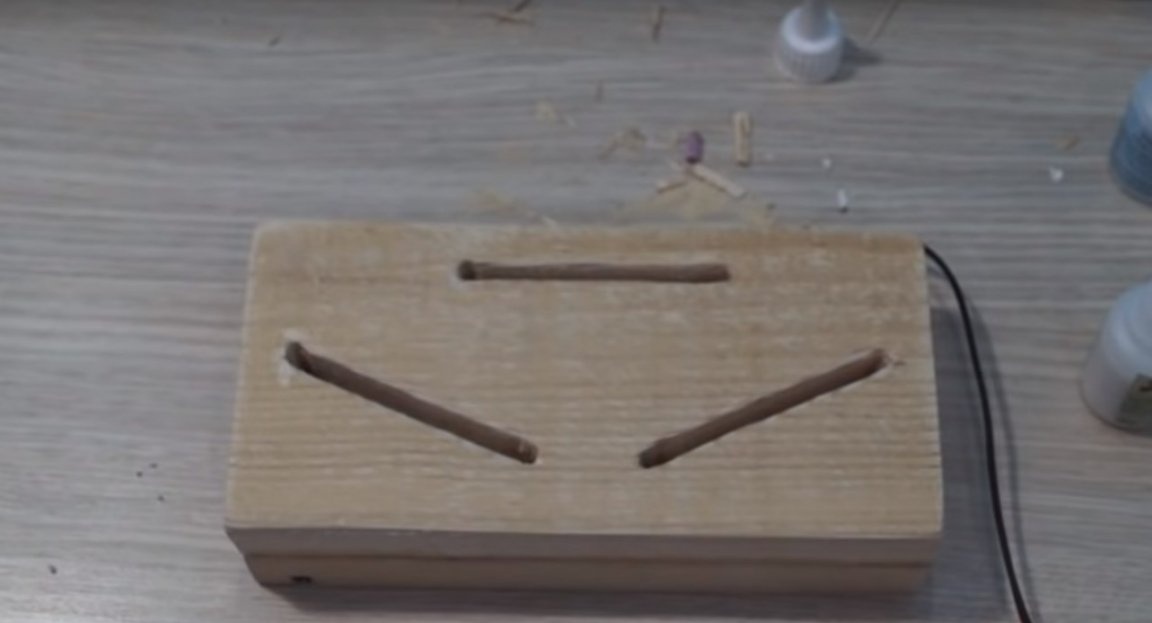
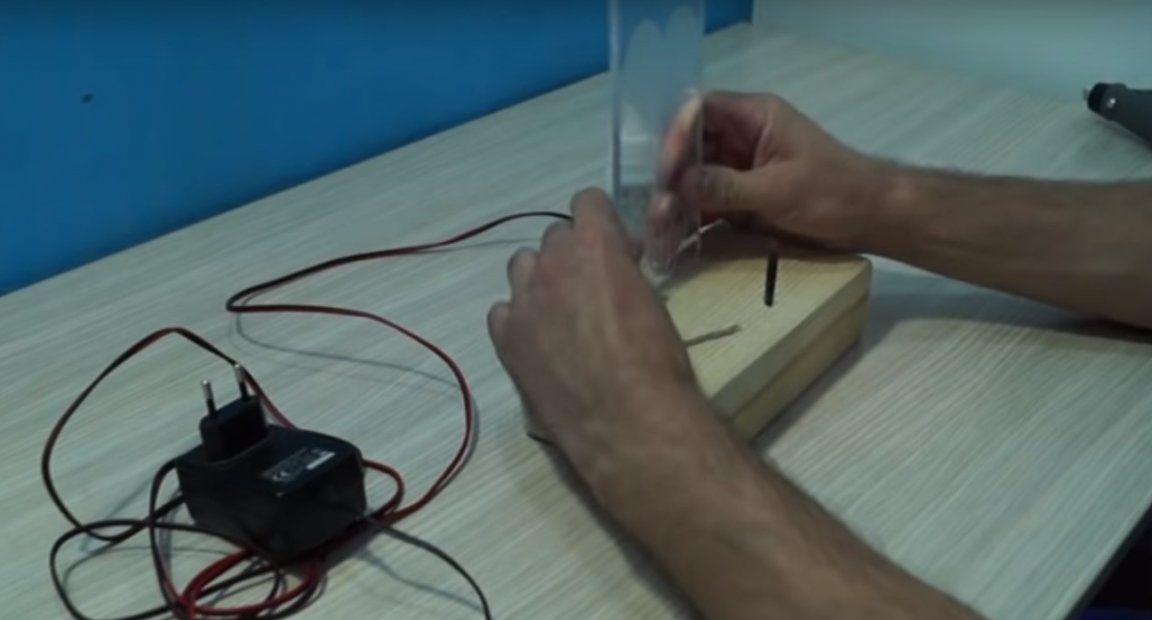
Then he measured the desired length of the tape.
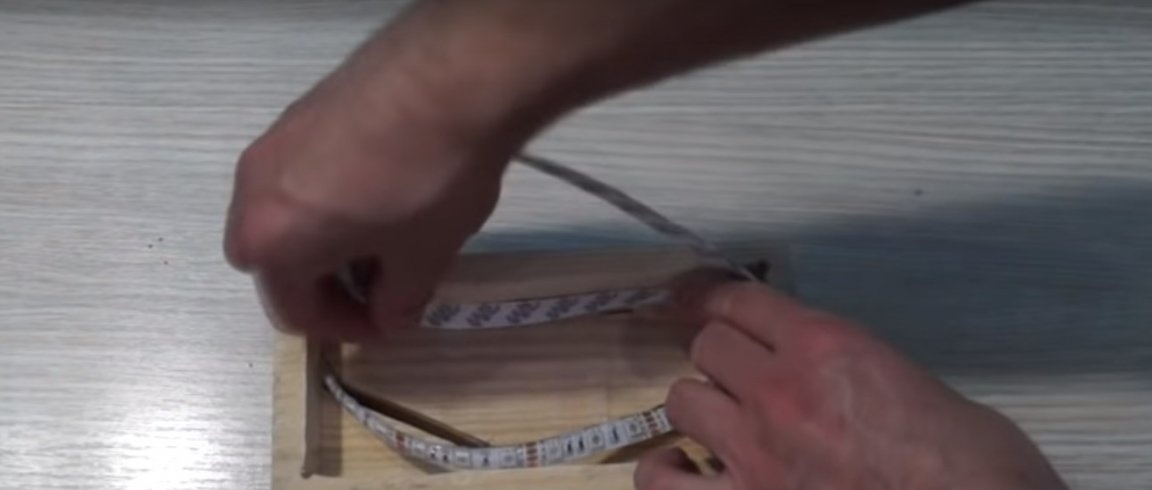
And cut off the excess.

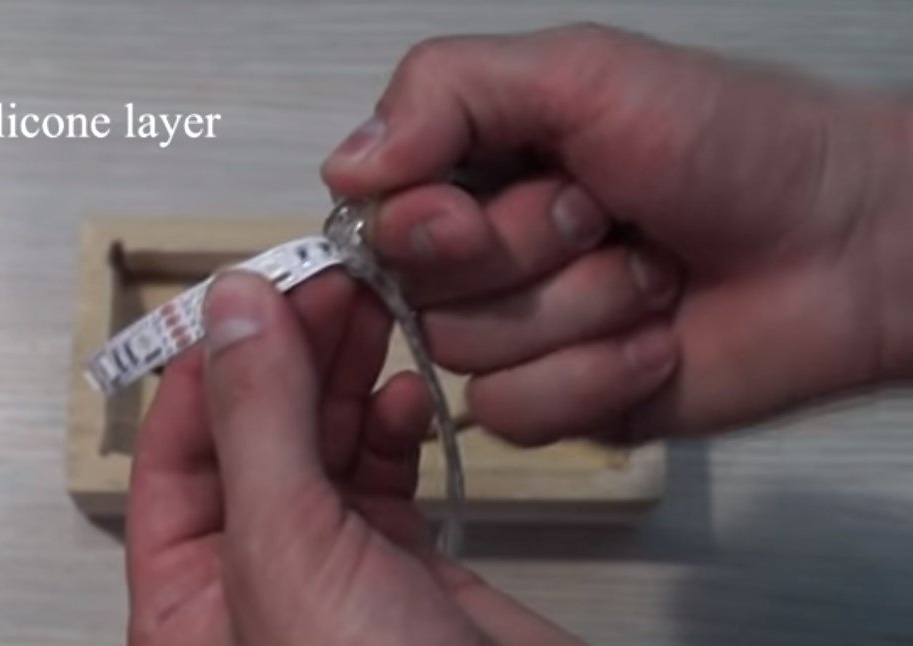
Then removed the silicone layer from the tape.
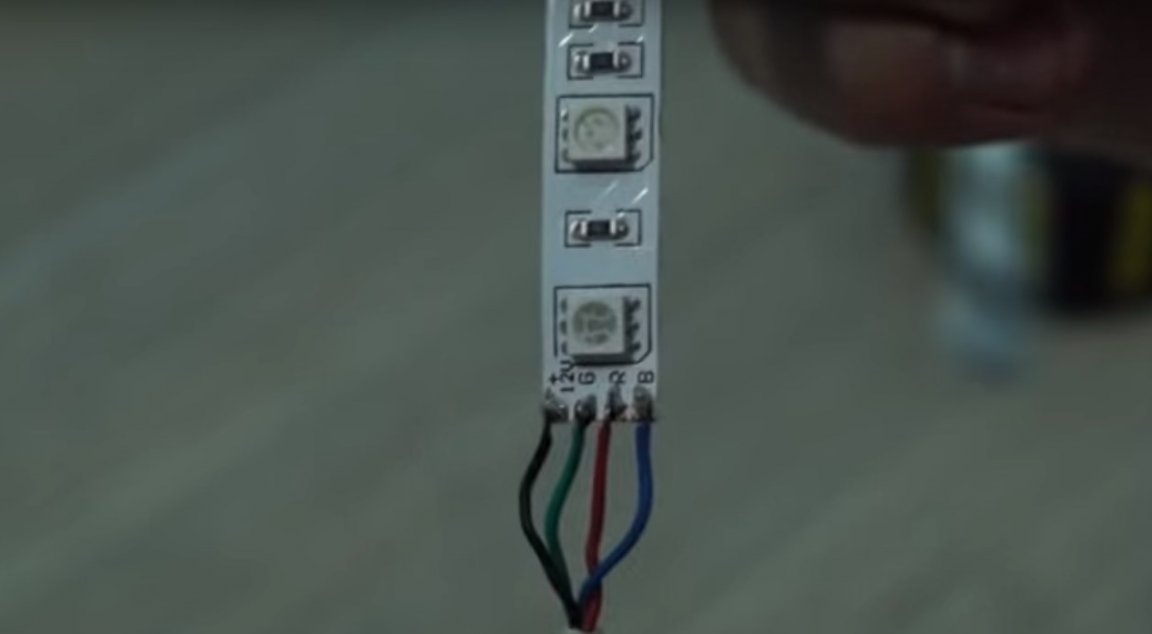
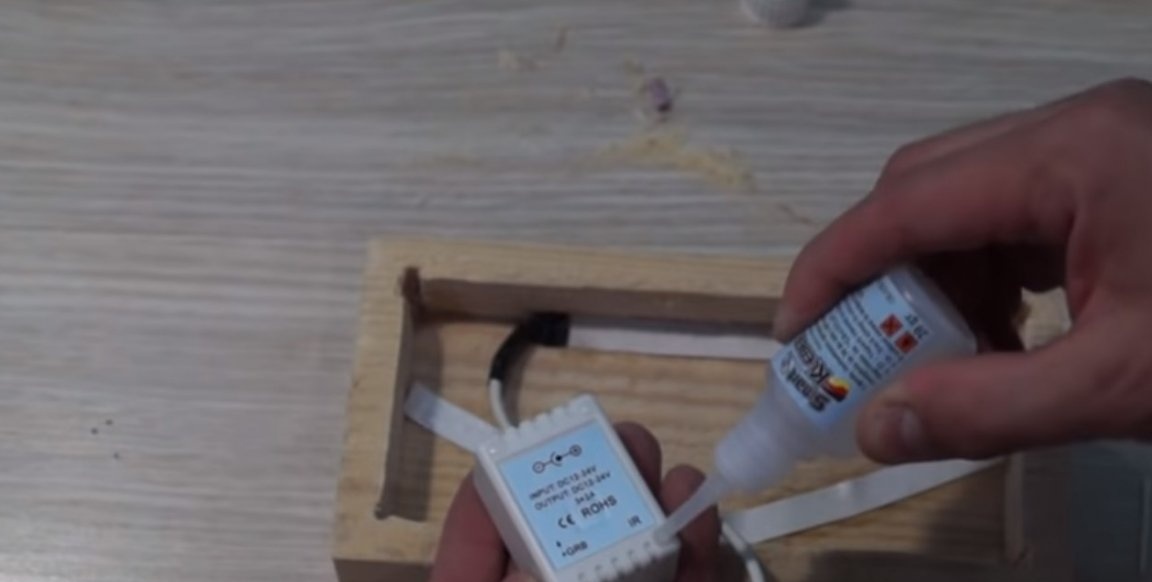
The ends of the controller wires are soldered as in the photo.
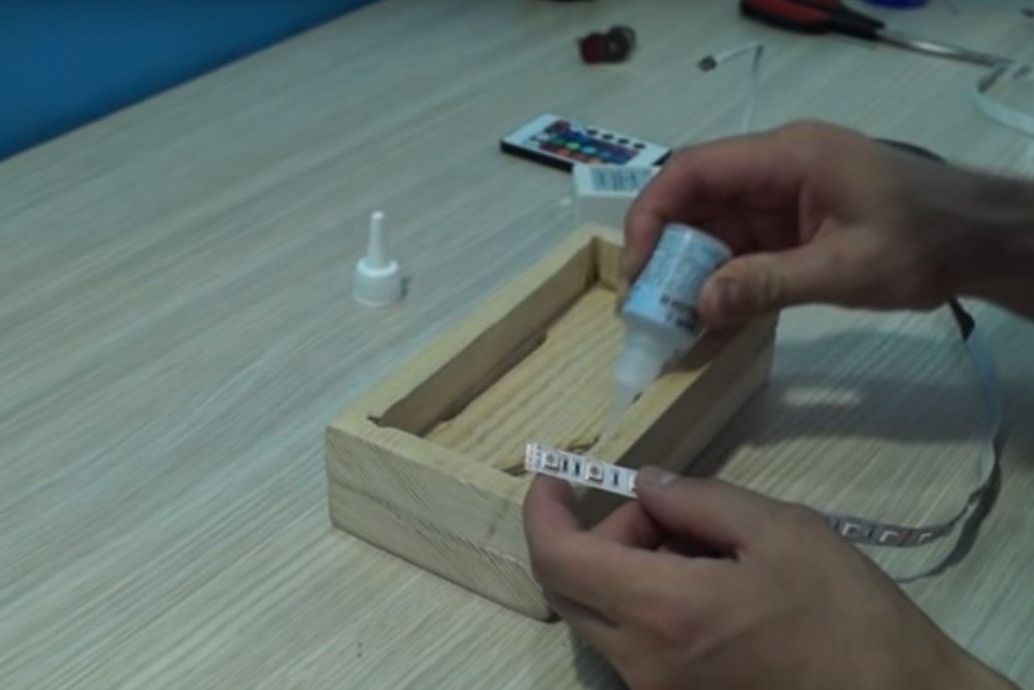
Then I glued the tape to the base, LEDs to the holes. Pre-isolating the soldering points.
The controller itself, the author also pasted into the base of the lamp.
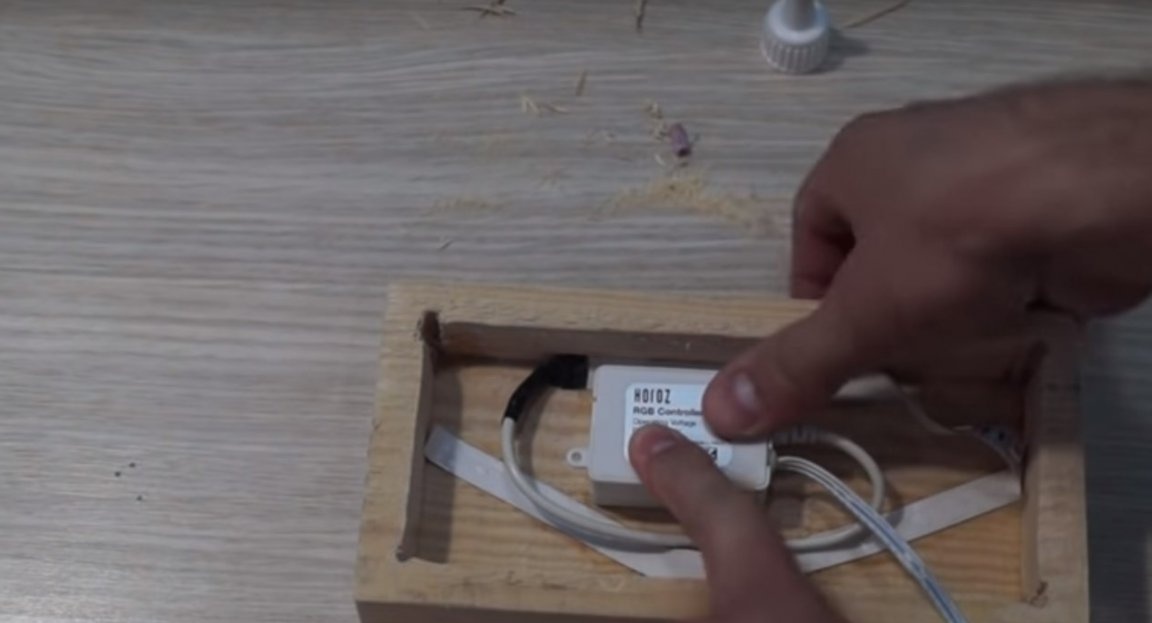
On the front side of the base, the master did not have a big cut in the corner.
And pasted into it the IR receiver of the controller.
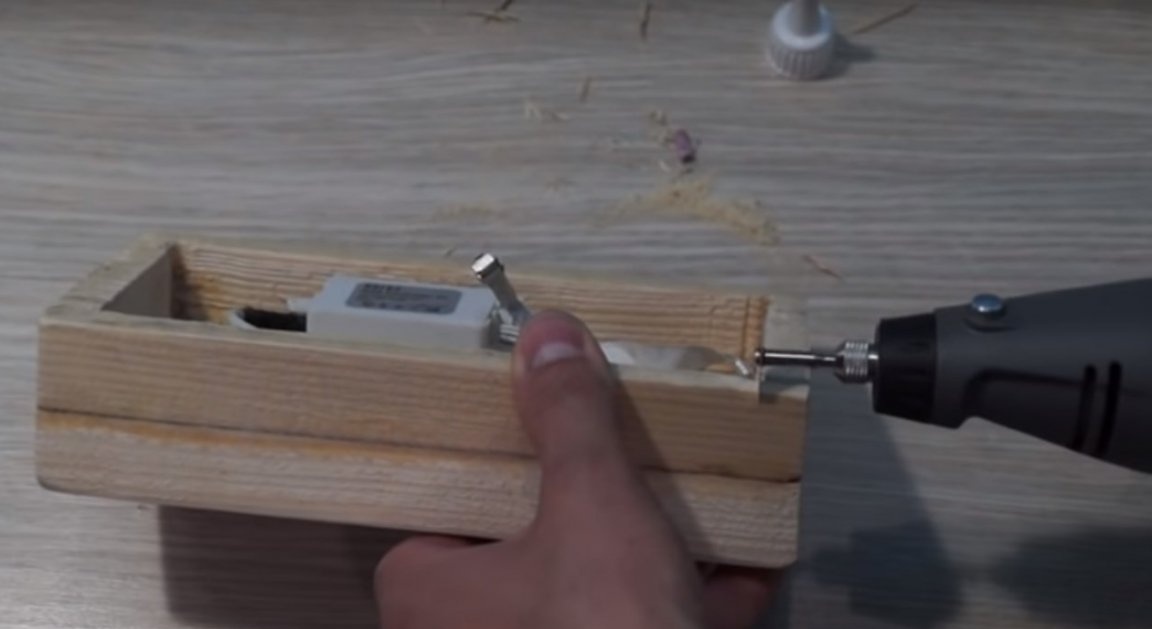
On the back wall, the author also made a groove for the power cable.

Then the master laid the cable in the groove and fixed it with glue.

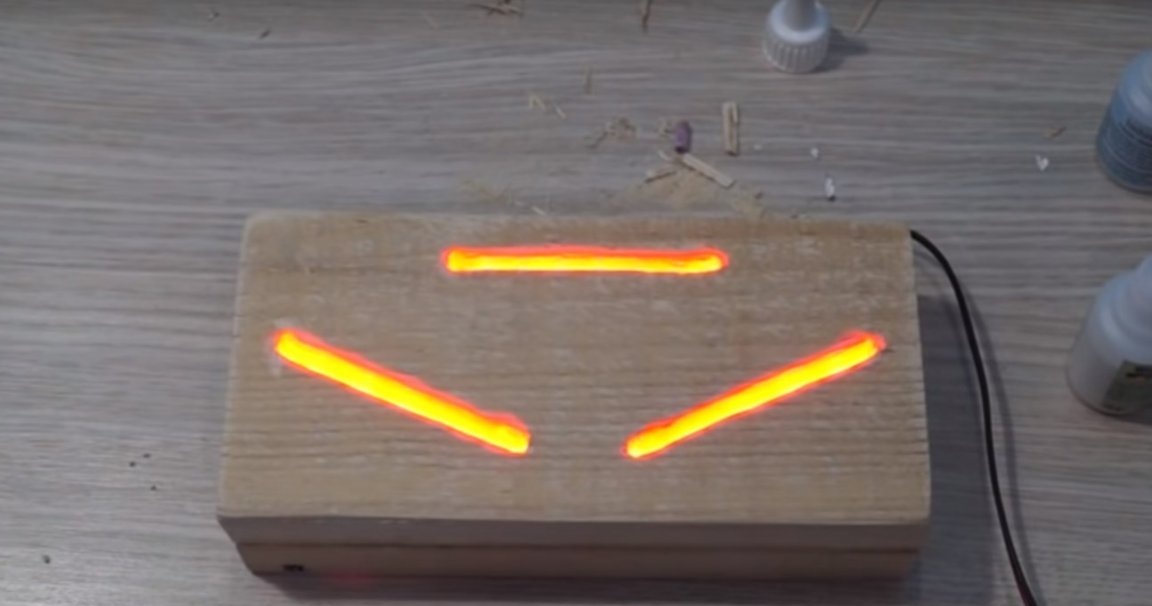
Checking the tape.
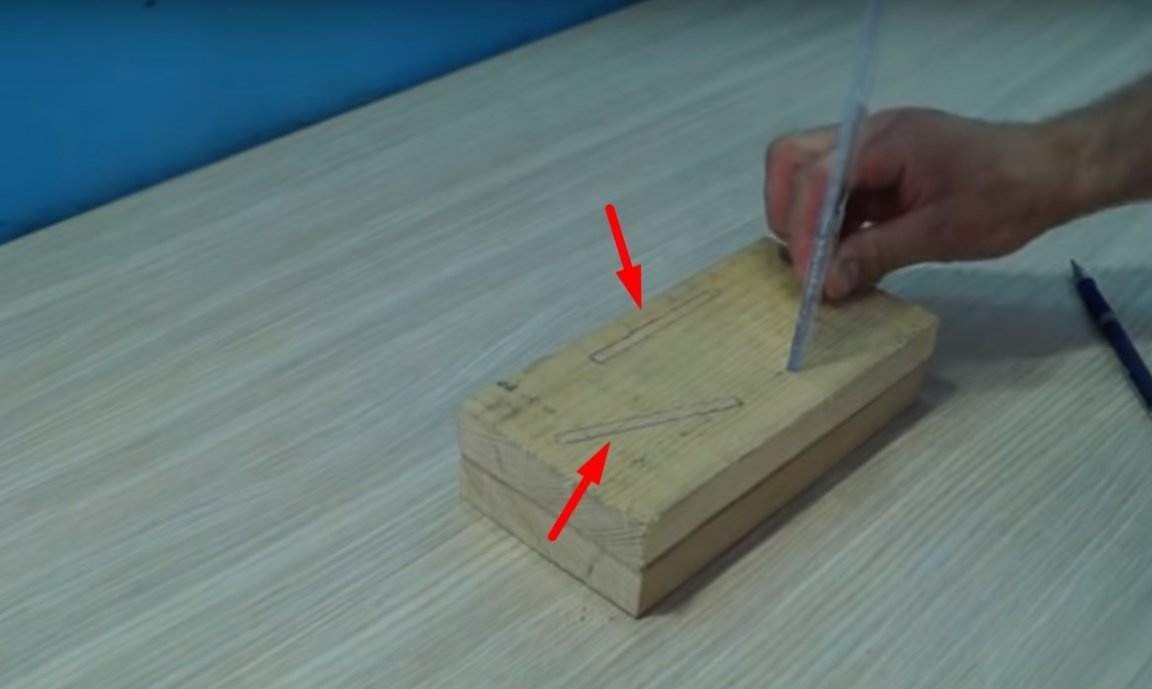
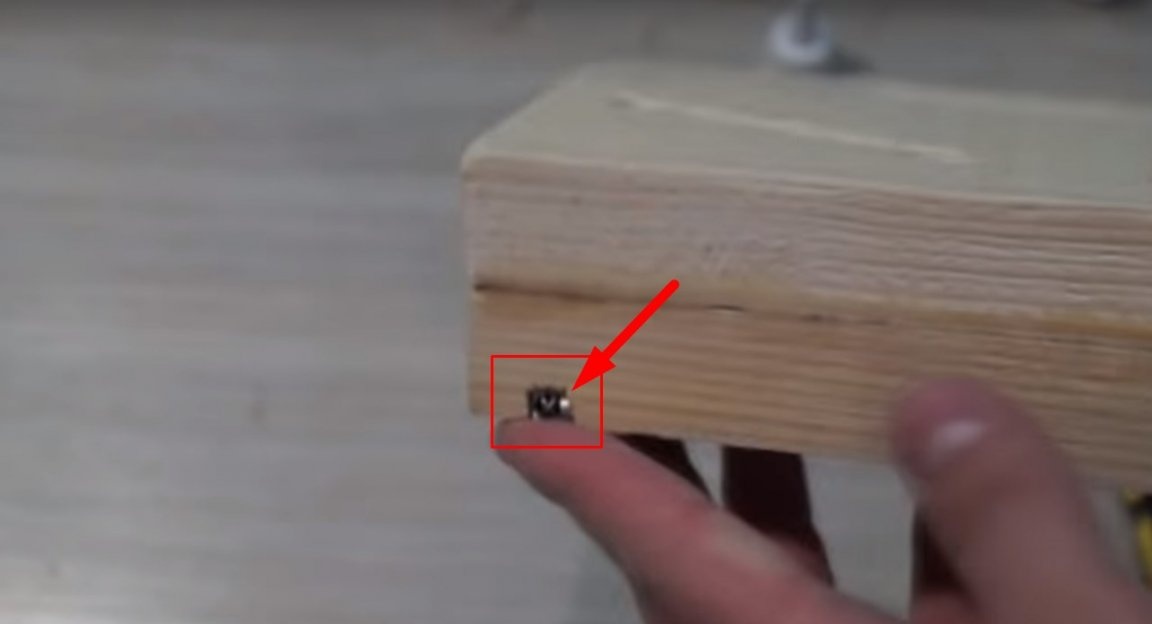
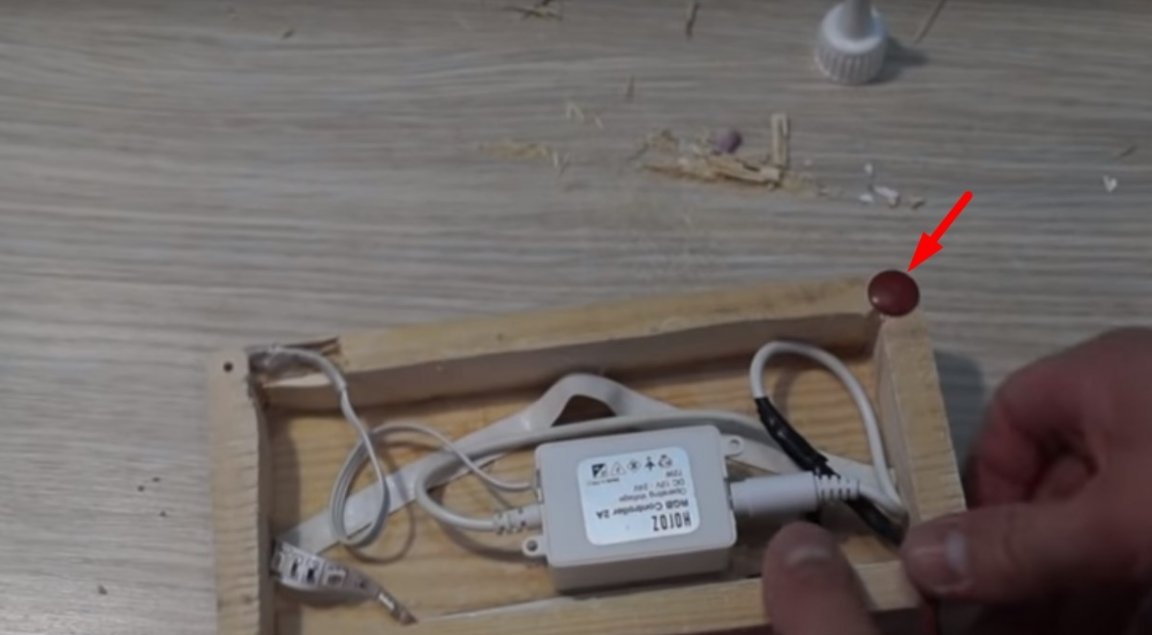
Further in these places, the author made a small hole.
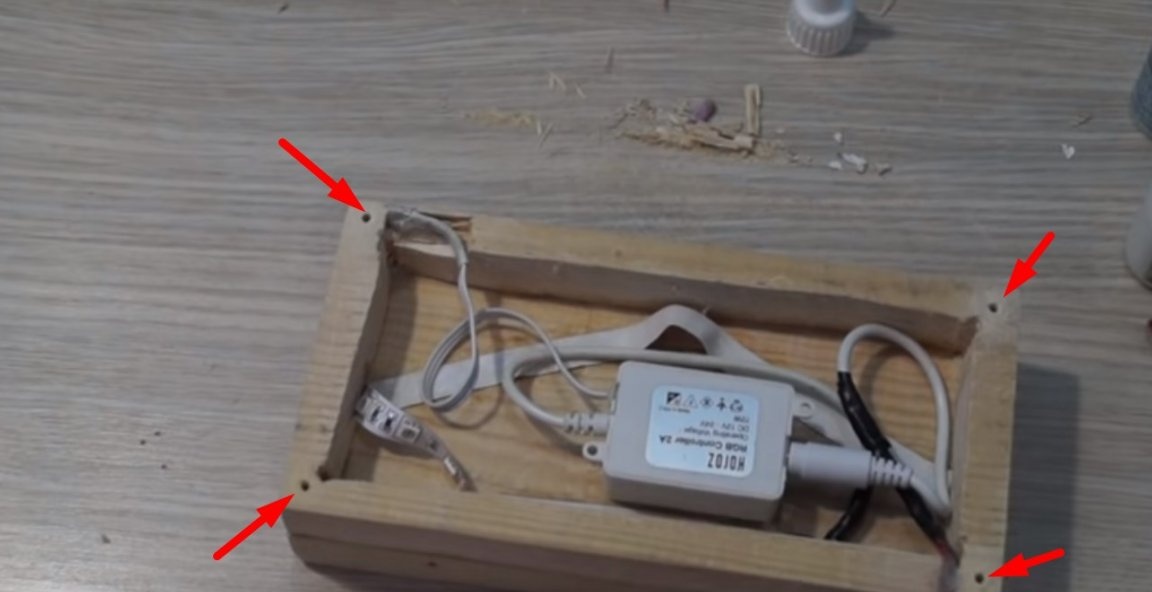
And installed furniture plugs in them.
Further fitting details.
And a little edge treatment on the burner.
After applying glue to the parts.
And installing them in their place.
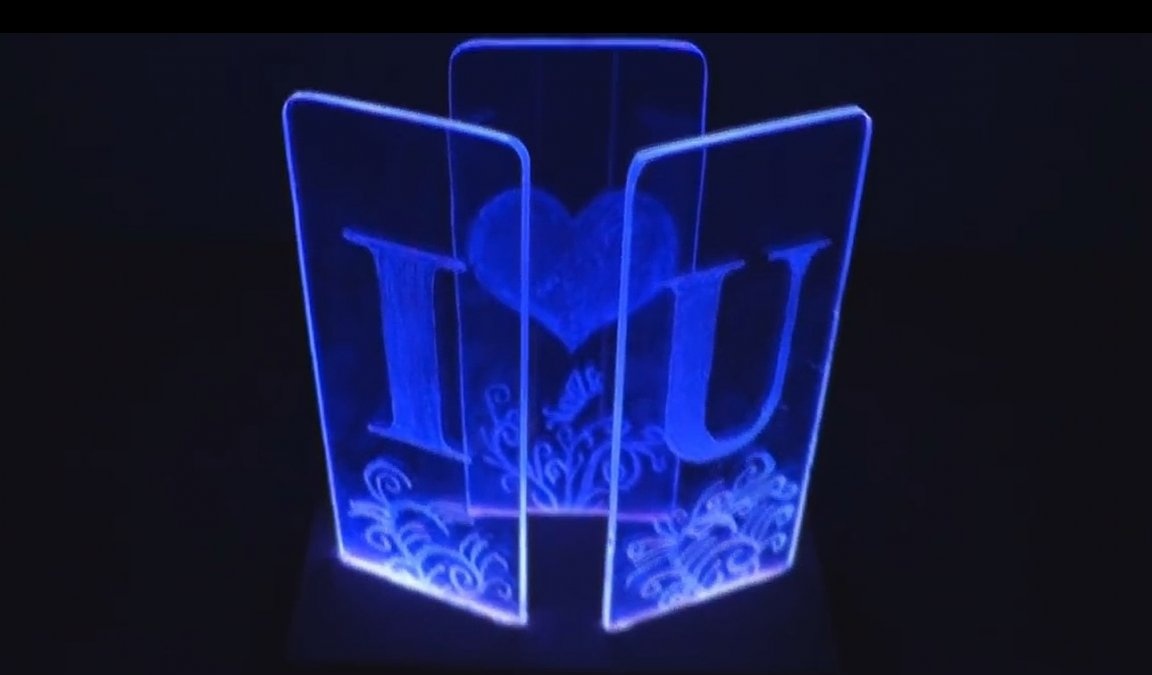
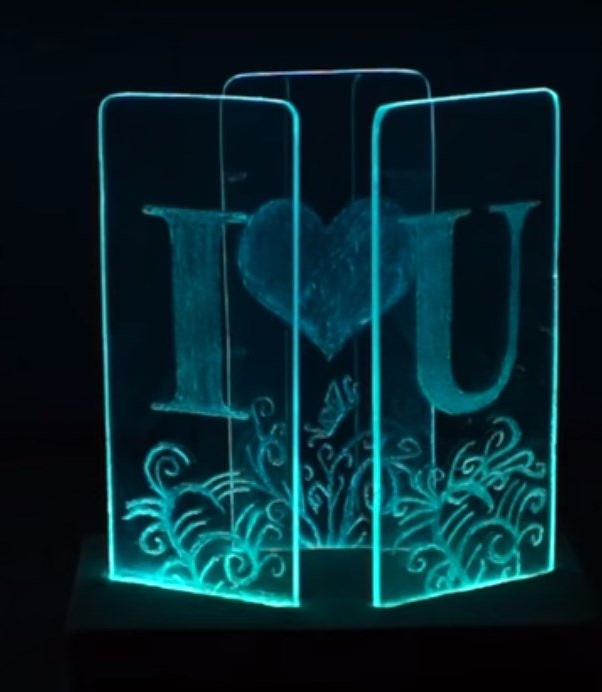
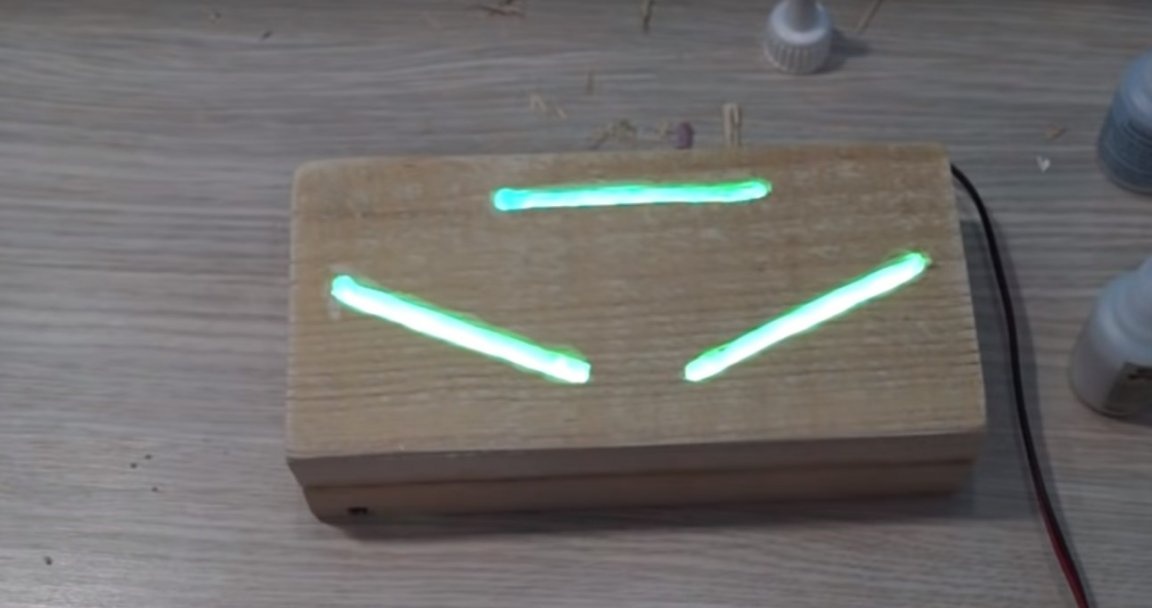
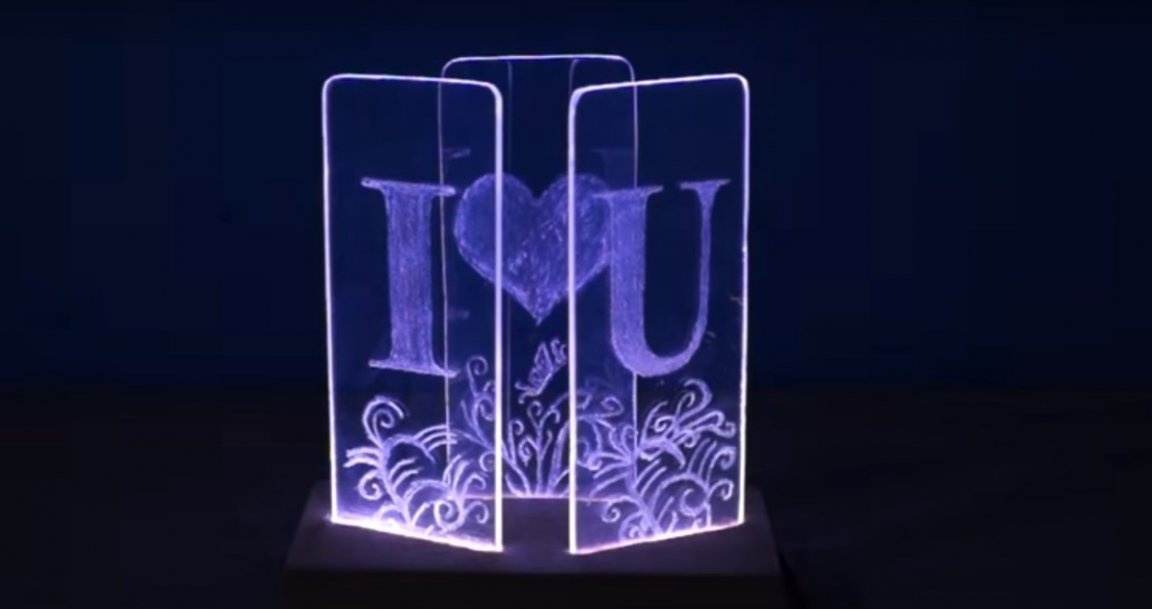
That's all the lamp is ready.
Test.
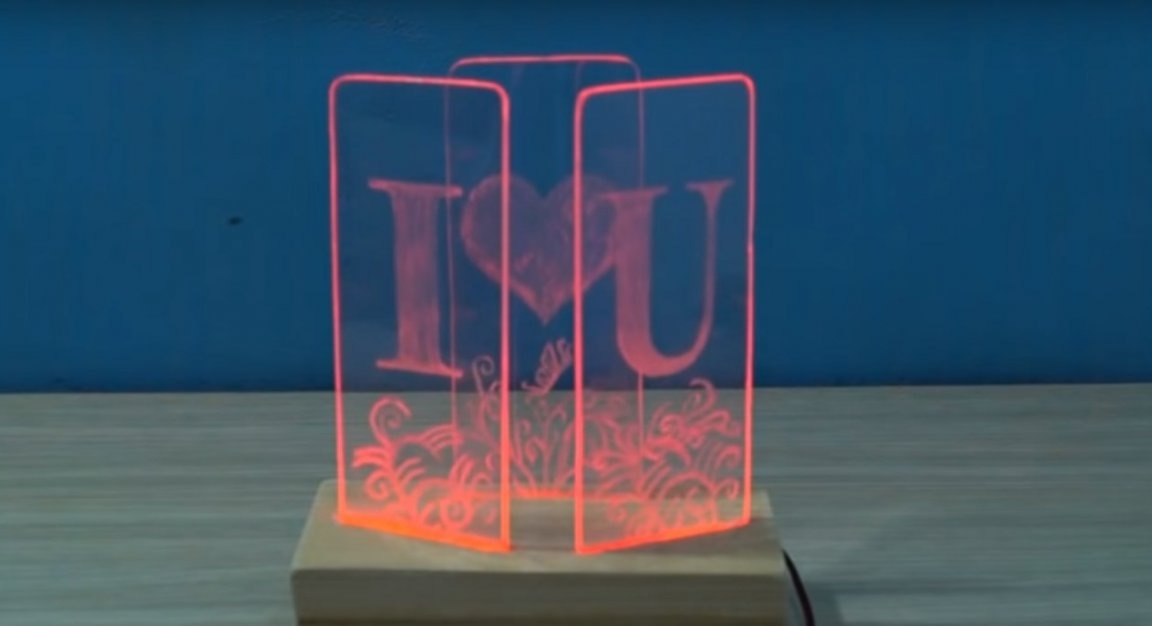
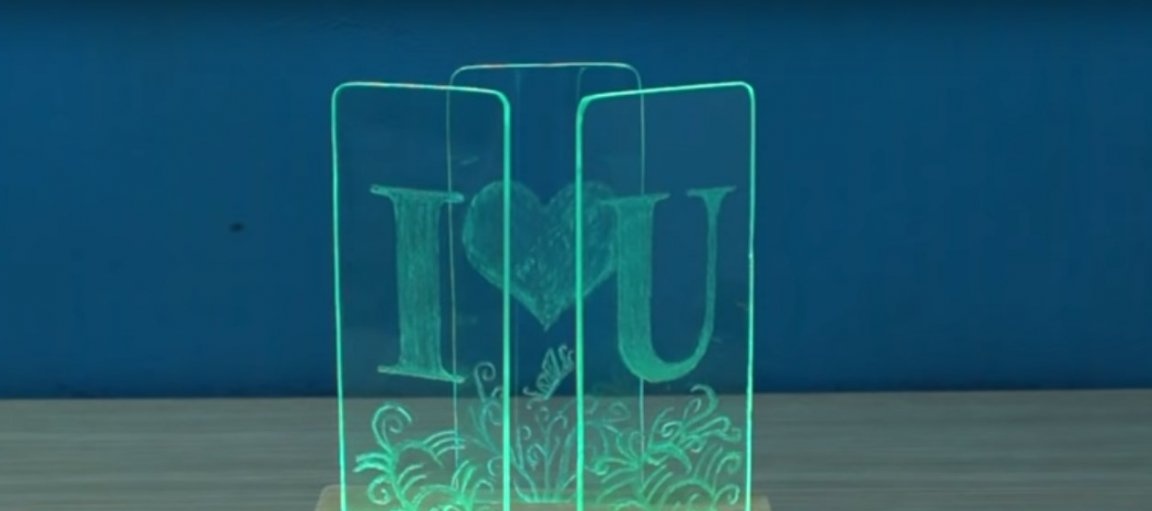
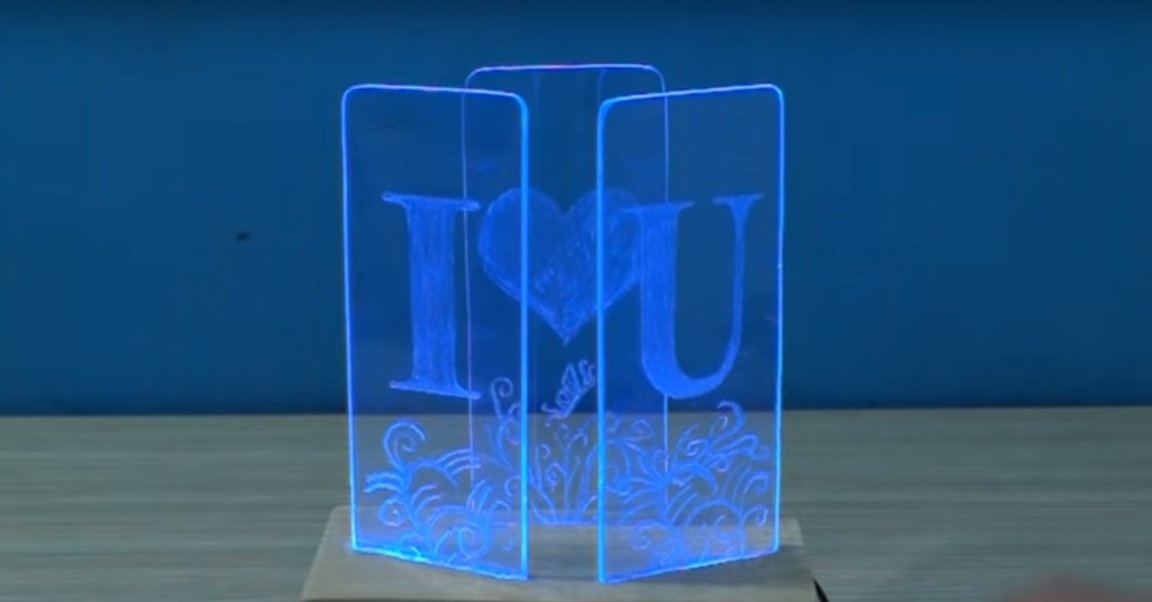
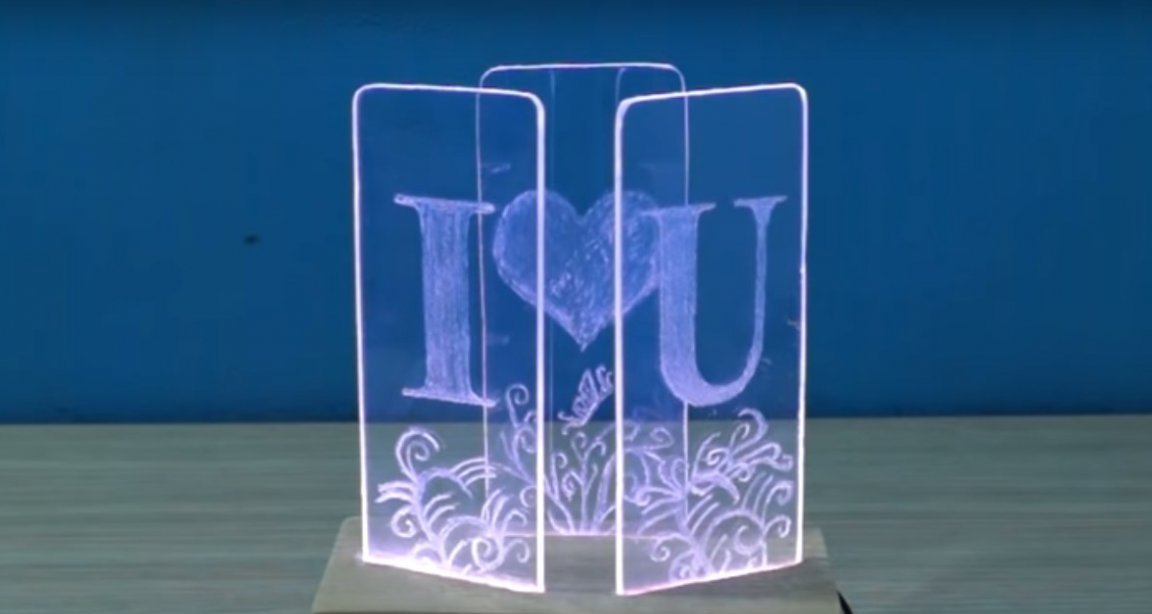
In complete darkness, the lamp looks generally excellent.
And that’s all for me. Thanks to all! Good luck and see you again.