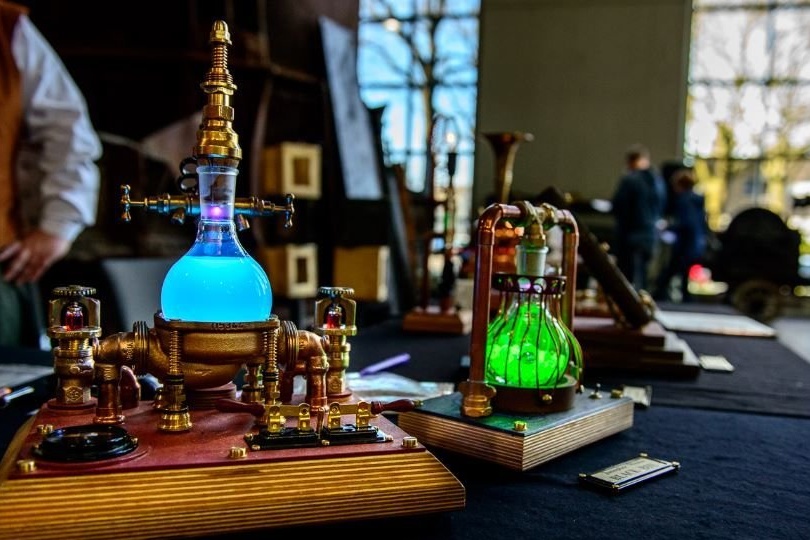
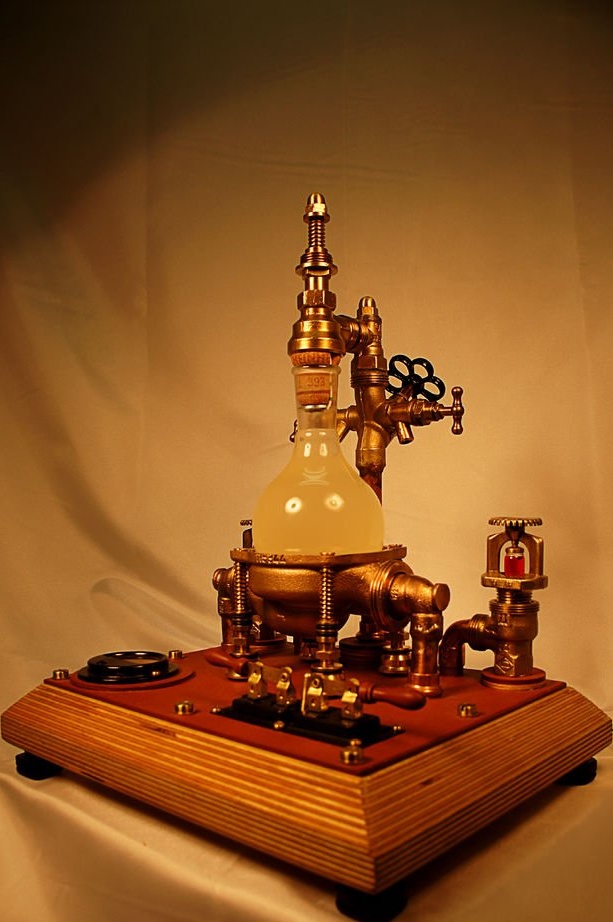
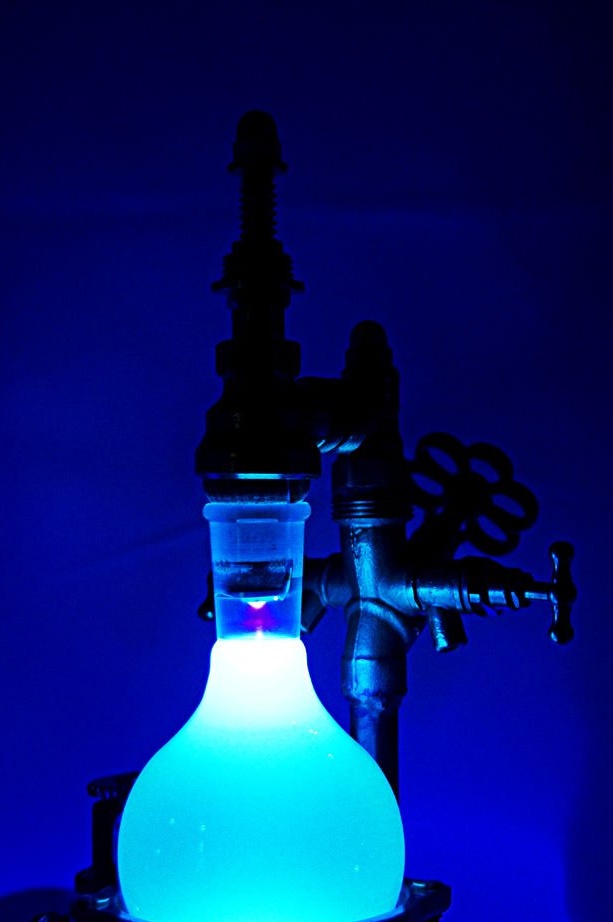
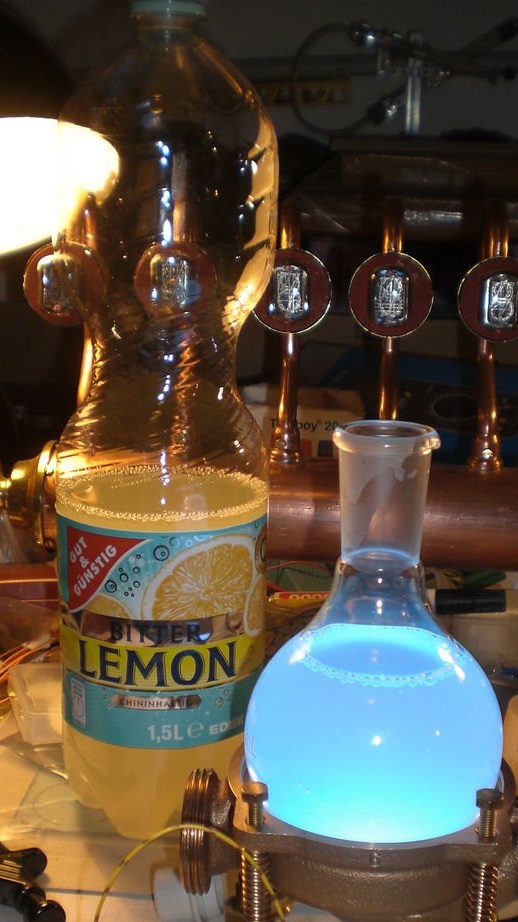
Master is keen on homemade in style steampunk. This time she presents to our attention an unusual lamp. Through a vessel filled with a tonic with quinine, UV LEDs with different wavelengths shine on top and bottom. Steampunk surroundings give the lamp a special style.
Tools and materials:
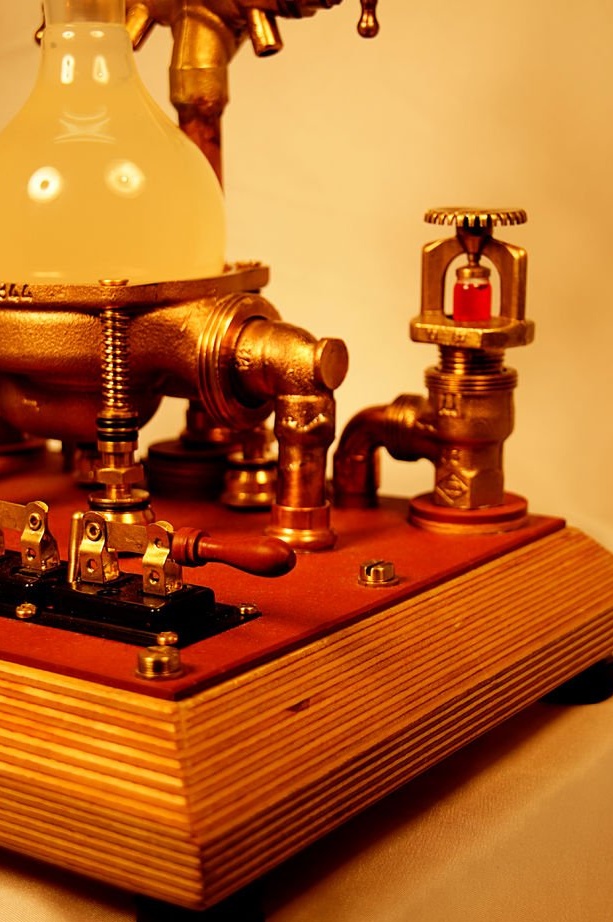
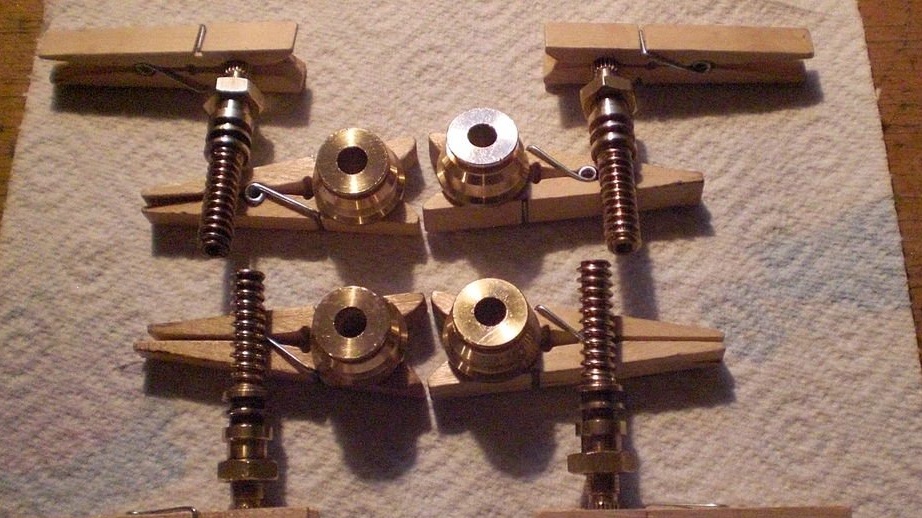
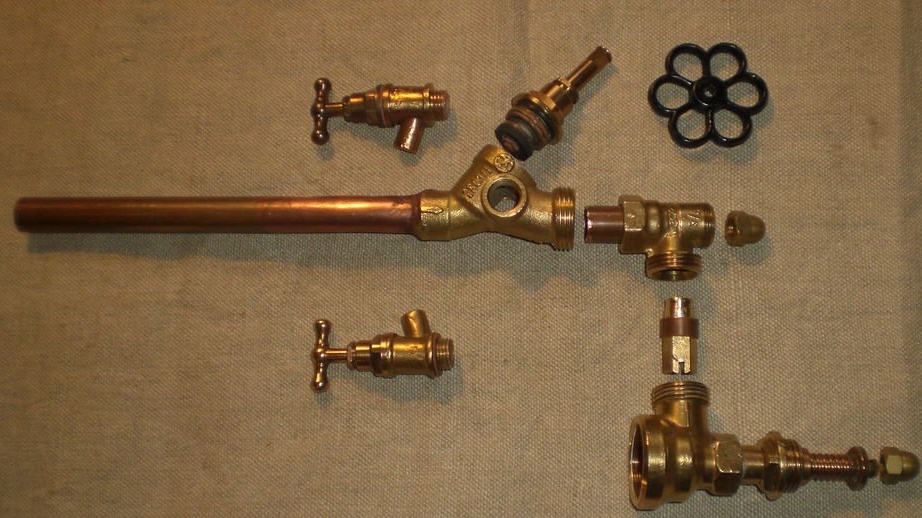
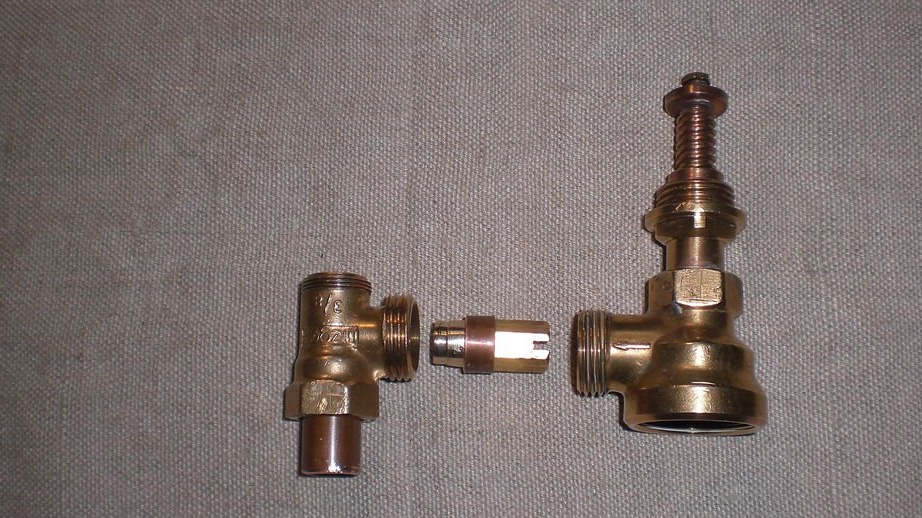
- Copper and brass sanitary fittings;
-Rubilniki with copper contacts;
- Clamps;
-Board;
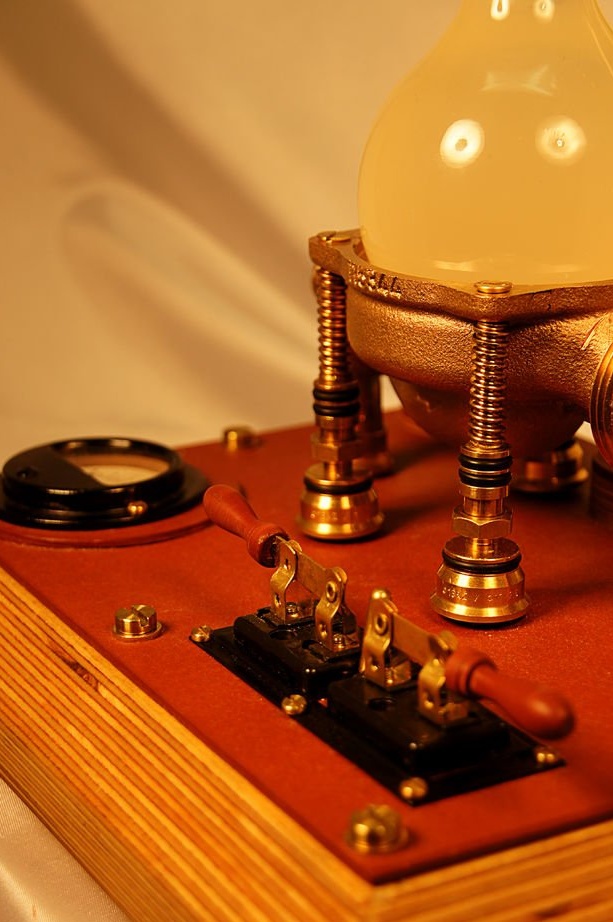
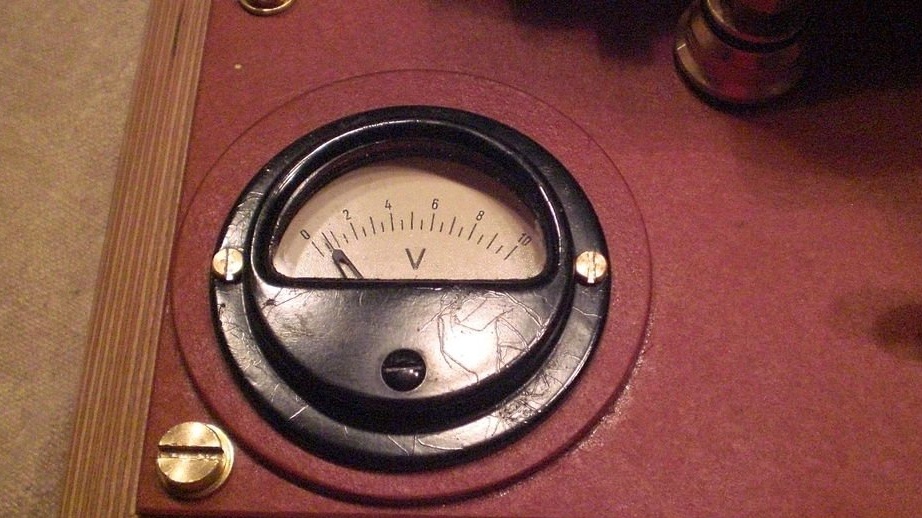
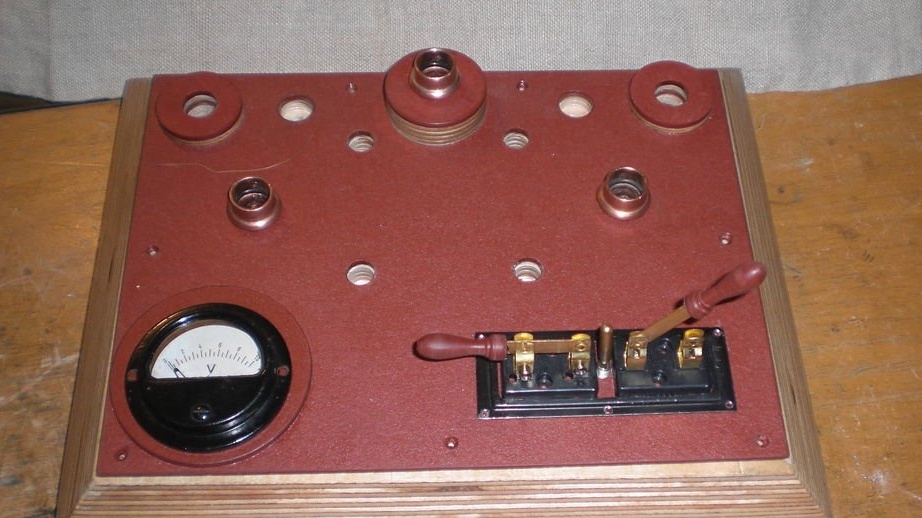
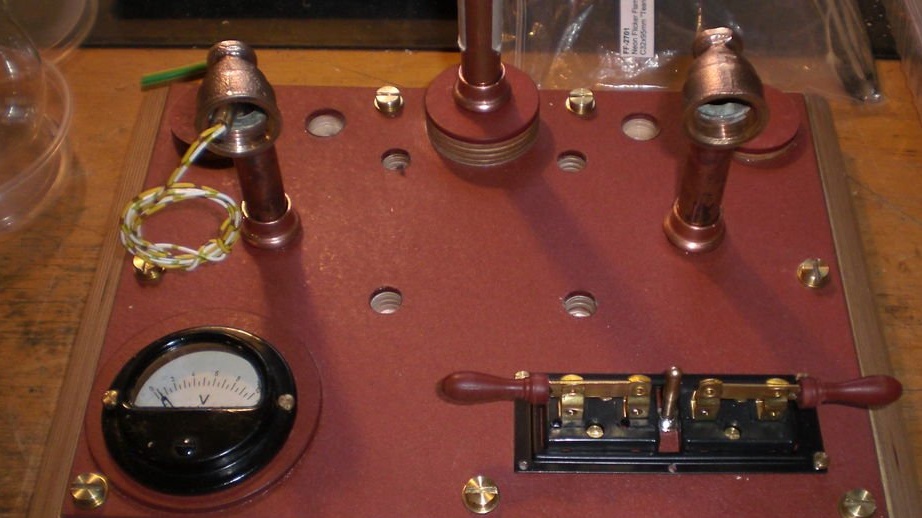
-Voltmeter;
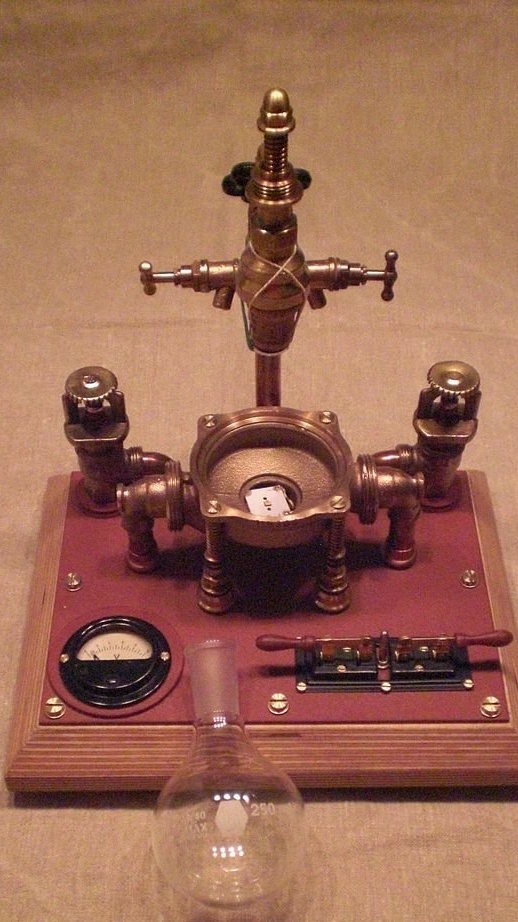
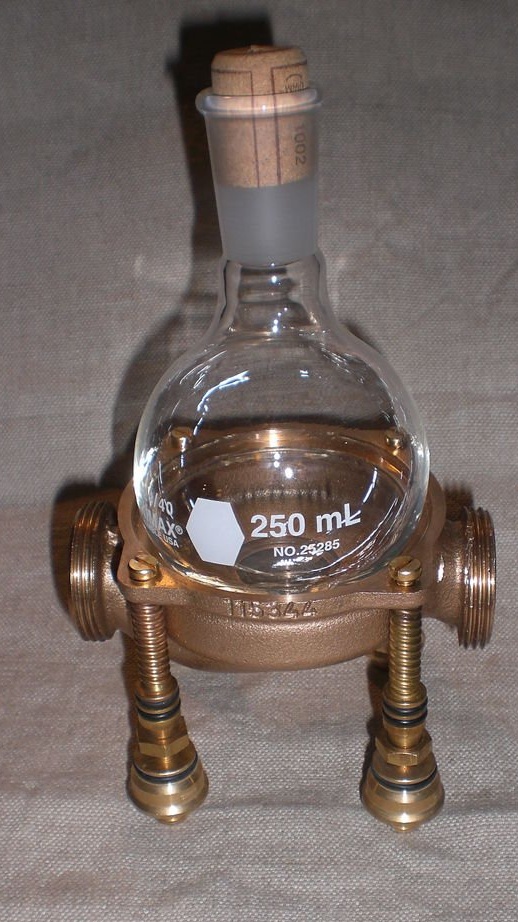
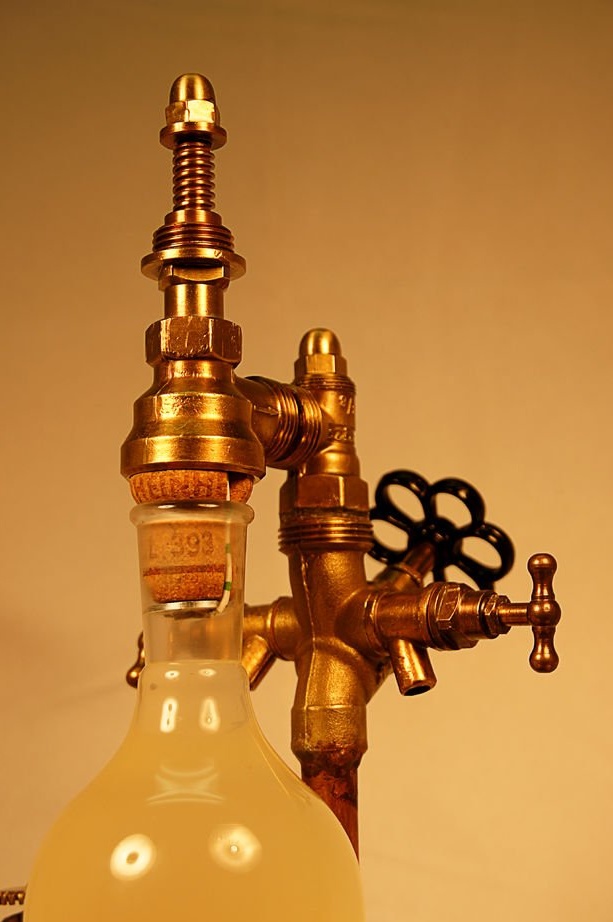
- A vessel from borosilicate glass with a stopper;
-Plywood;
UV LEDs;
-Fasteners;
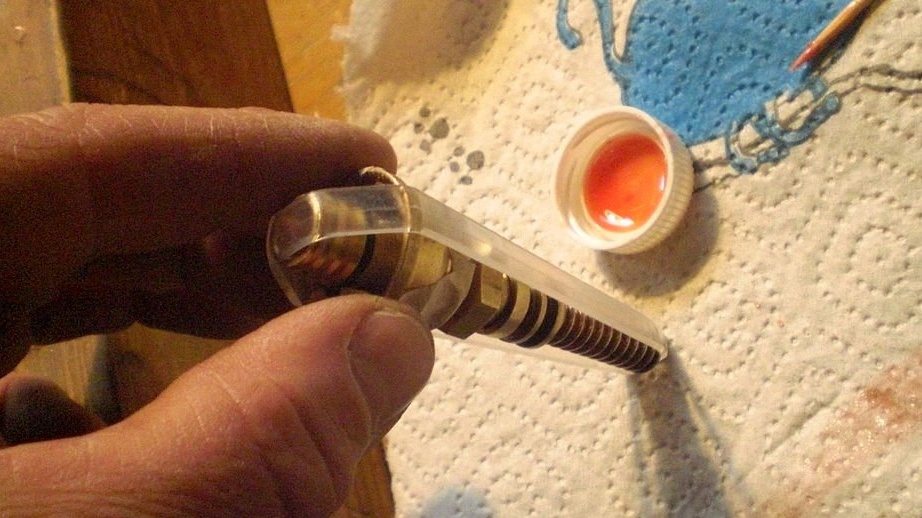
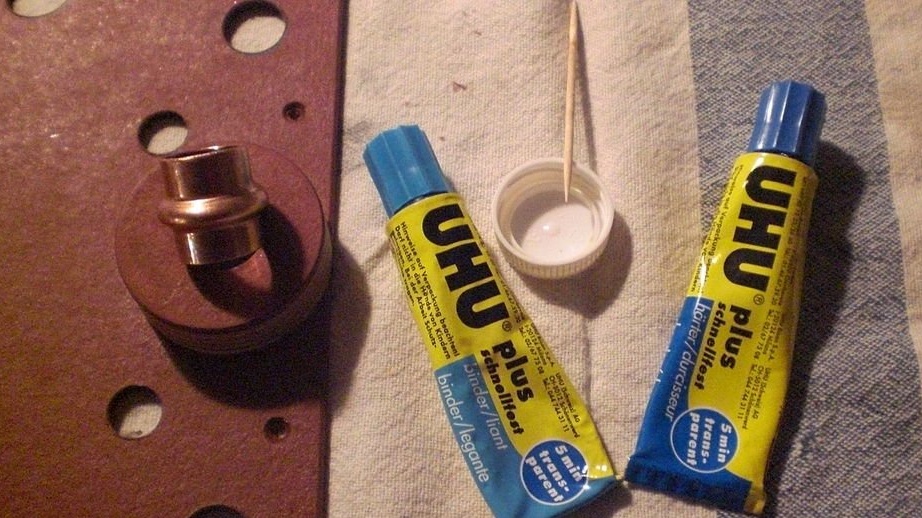
-Glue;
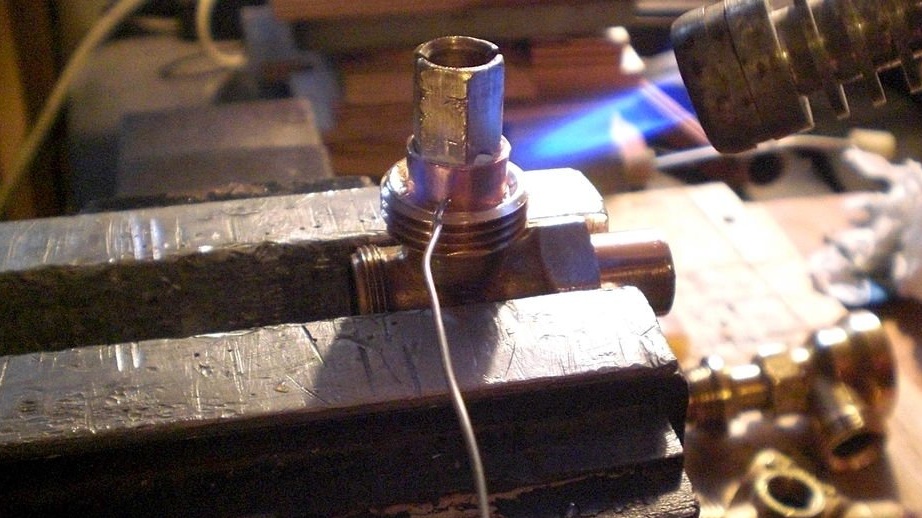
-Soldering accessories;
-The wire;
-A tube;
-Connector;
-Battery holder;
-A step-down transformer;
Step one: theory, safety measures, circuit
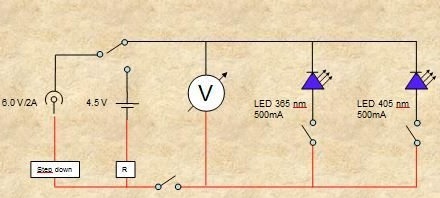
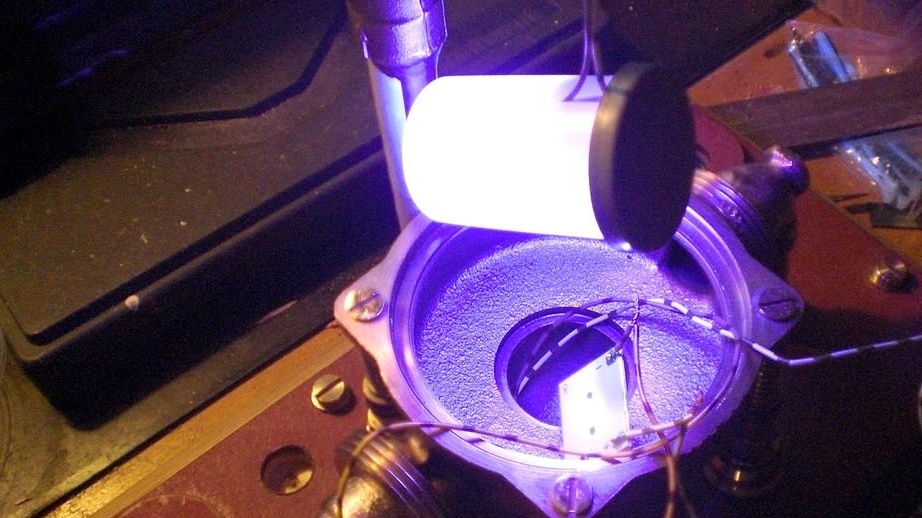
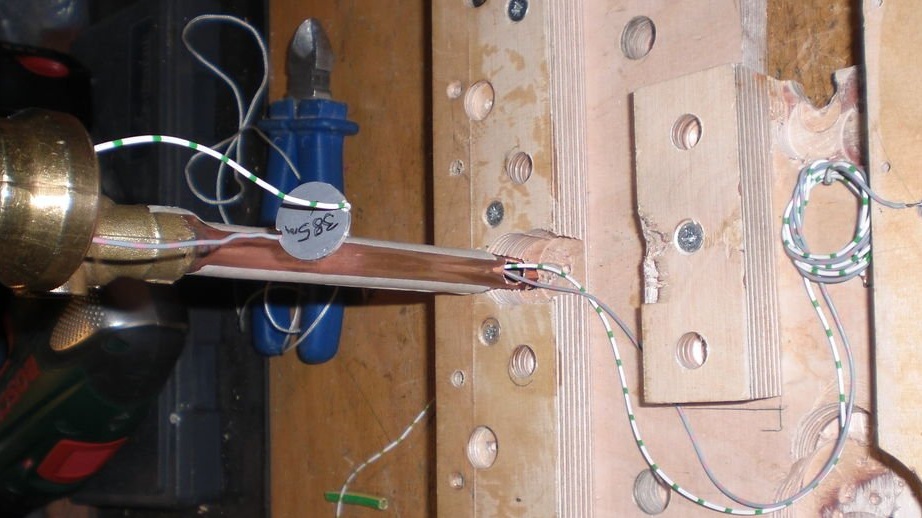
In his project, the master uses two UV-LEDs. One LED with a wavelength of 385 nm, the second 405 nm. According to the author, radiation below 380 is not visible to the eye, but it affects the eyes and skin. Each LED consumes 500 mA, unlike the standard, consuming 20 mA.
The flask is made of borosilicate glass. According to the master, only such glass does not distort the light.
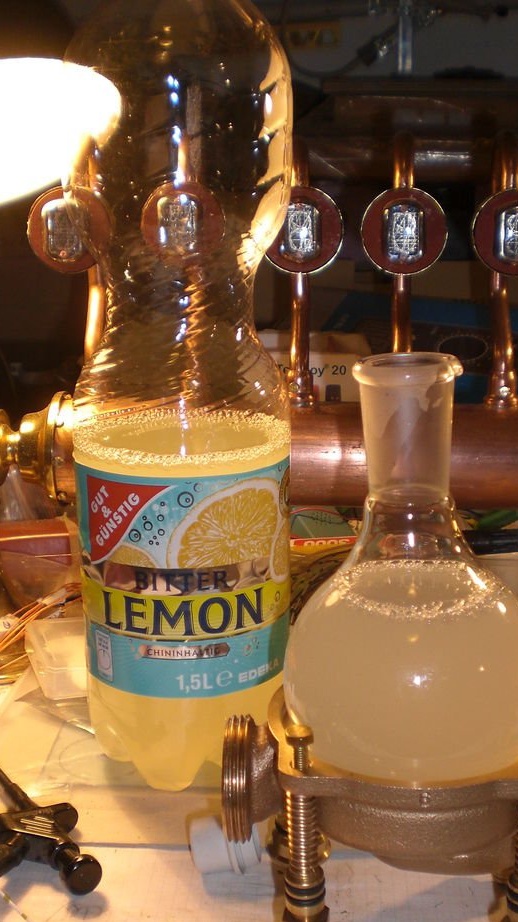
For a blue glow, you need a solution with quinine. As such a solution, the master uses tonic lemonade with quinine. Lemonade, unlike gin and tonic, is cloudy and glows better.
Ultraviolet light at such a high power level and at these wavelengths is very dangerous for the human eye, and that is why the author put one LED on the bottom of the vessel, and the top LED on the inside of the cap. So ultraviolet light will not get into your eyes and you can enjoy the mystical (and not dangerous) blue-green light coming from the vessel.
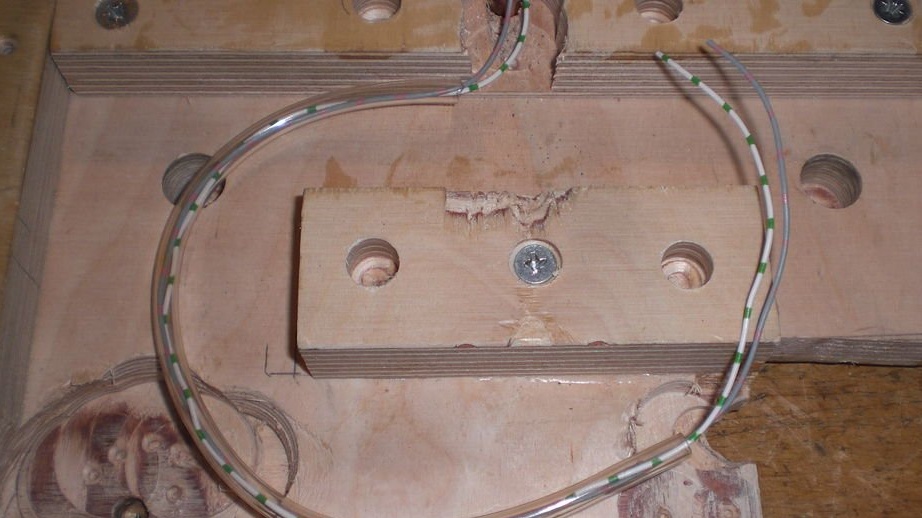
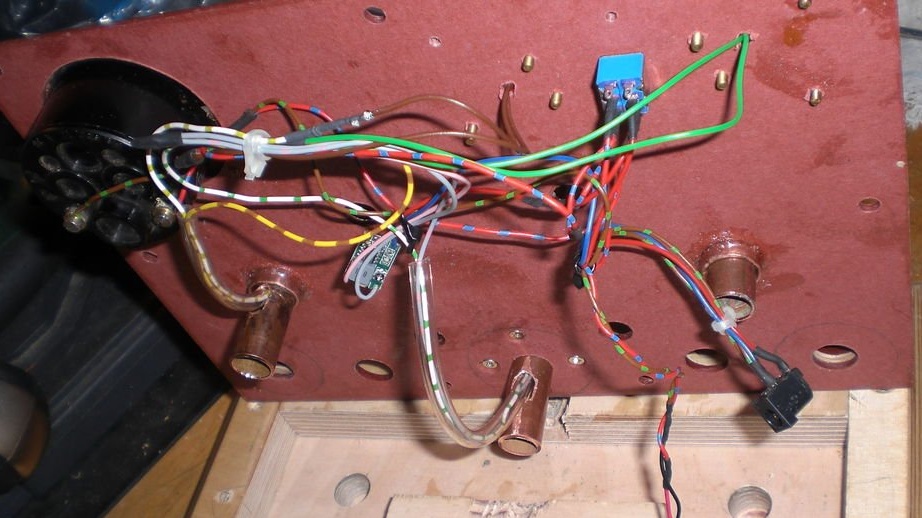
Wiring is performed according to the diagram below.

Step Two: Project
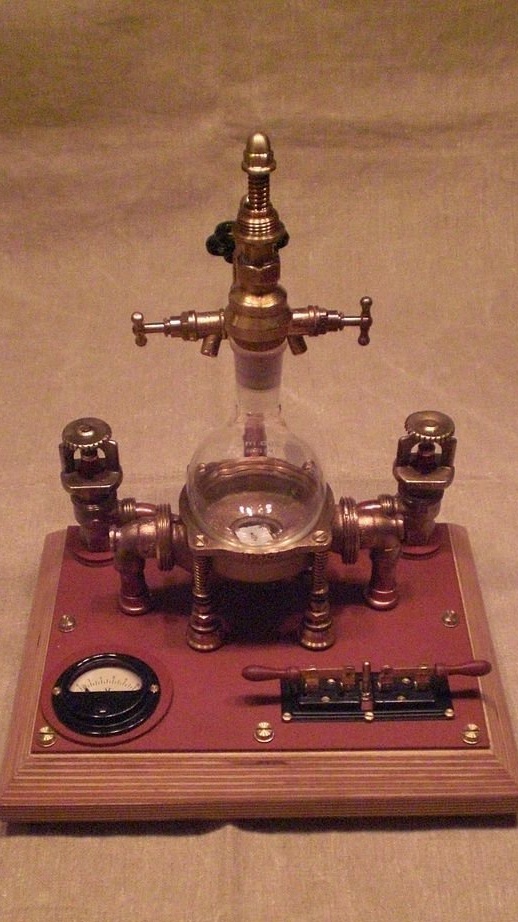
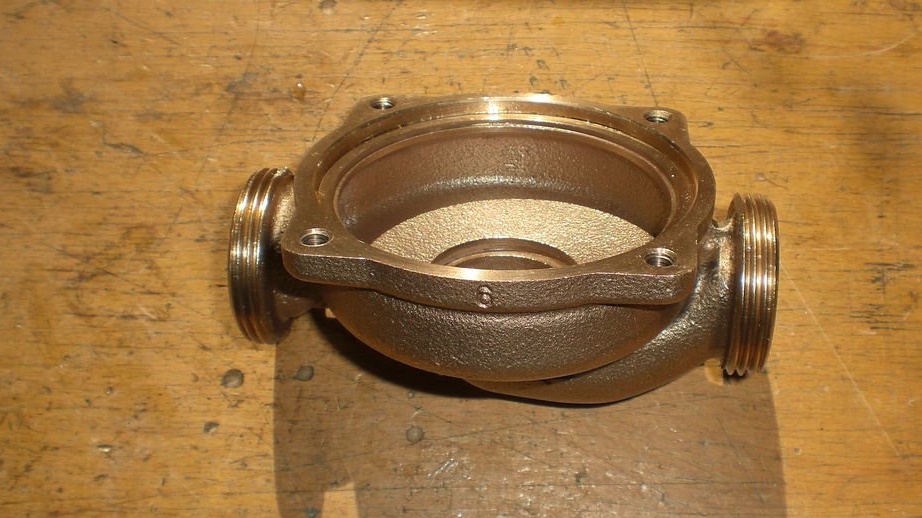
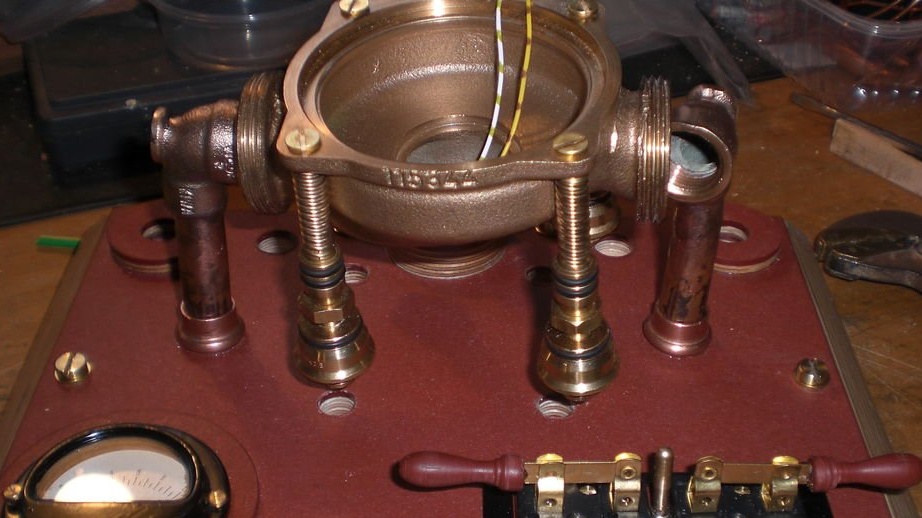
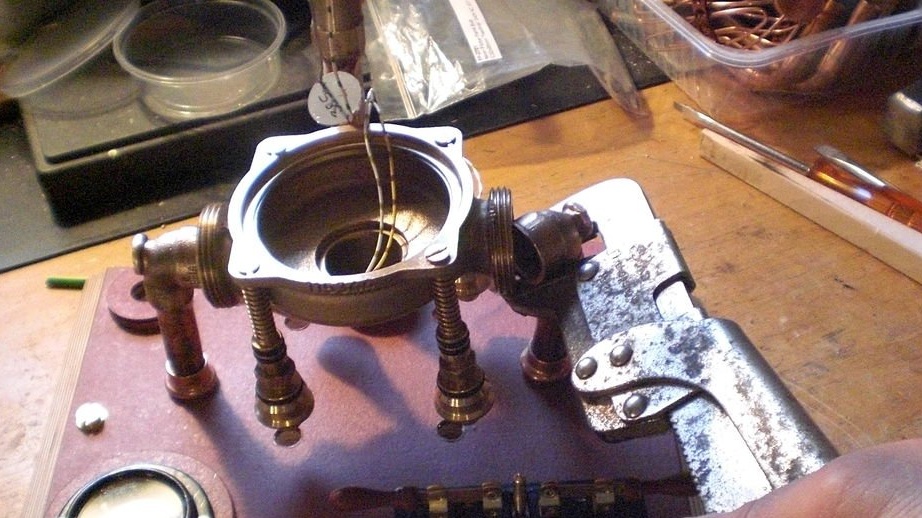
It all started when the copper case of the water meter fell into the hands of the master. Having placed the flask on the body, the master came up with the idea to make a UV lamp. Then the plan took shape in the selection and placement of parts in the right order.

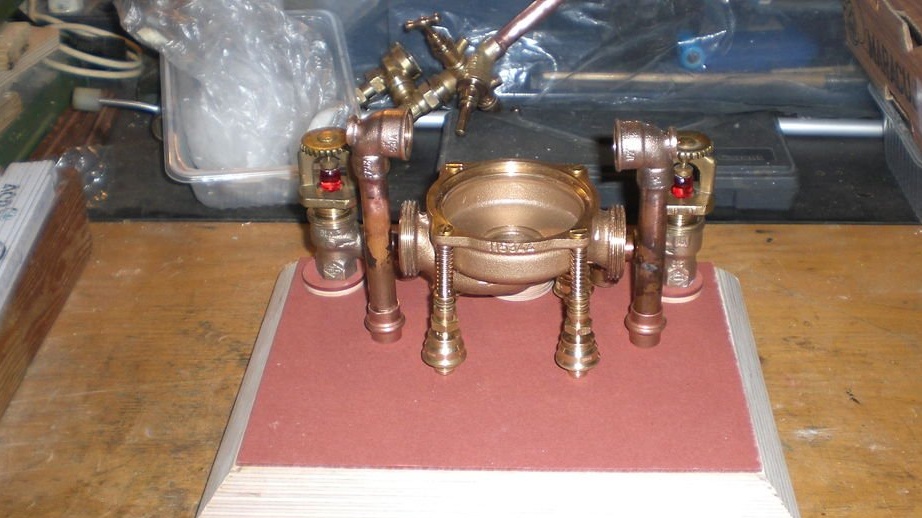

Step Three: Foundation
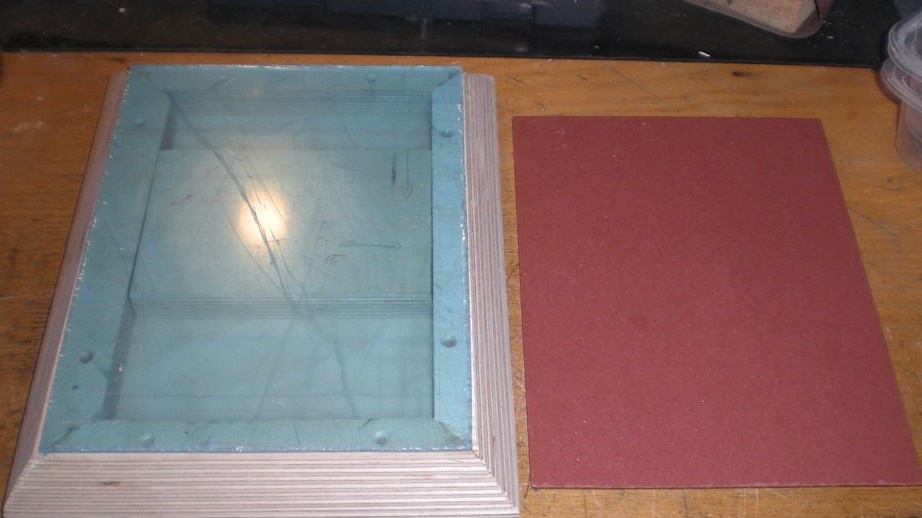
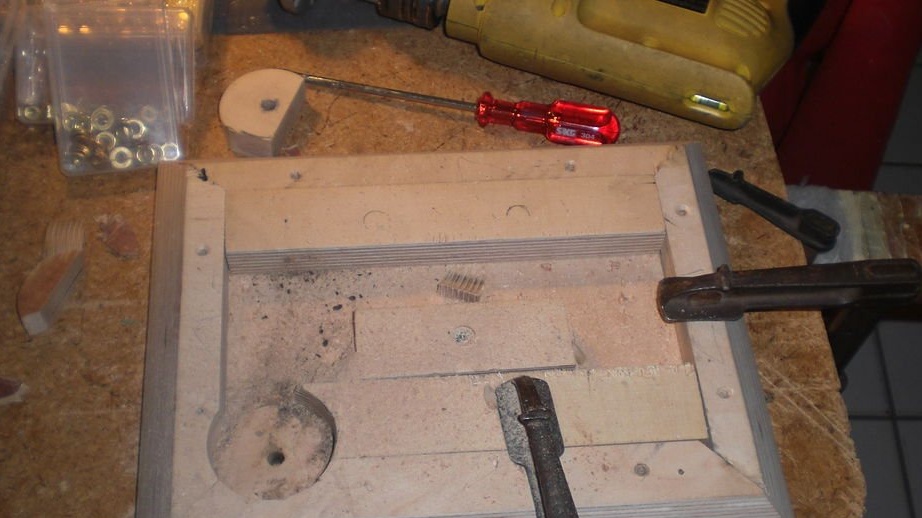
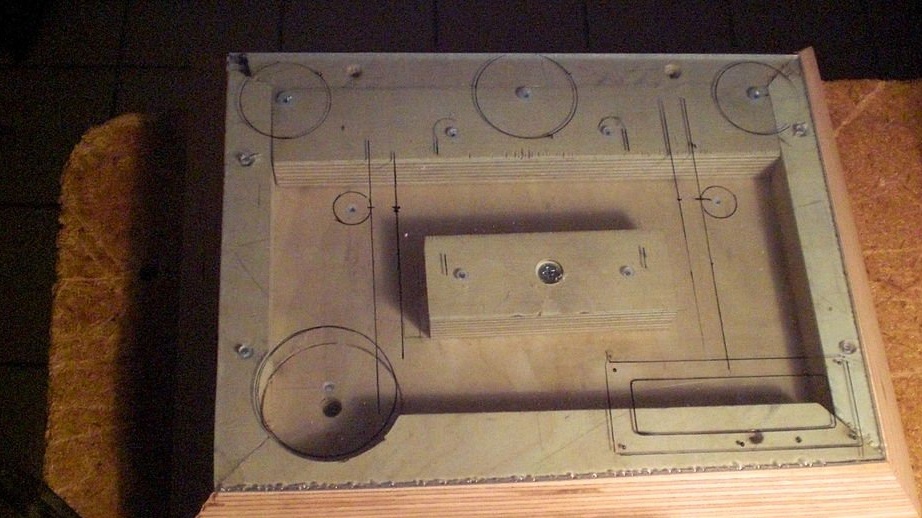
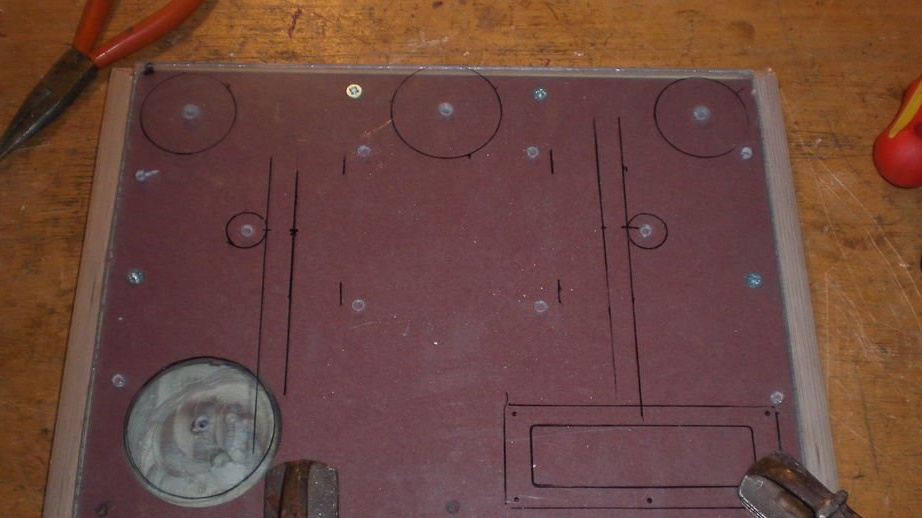
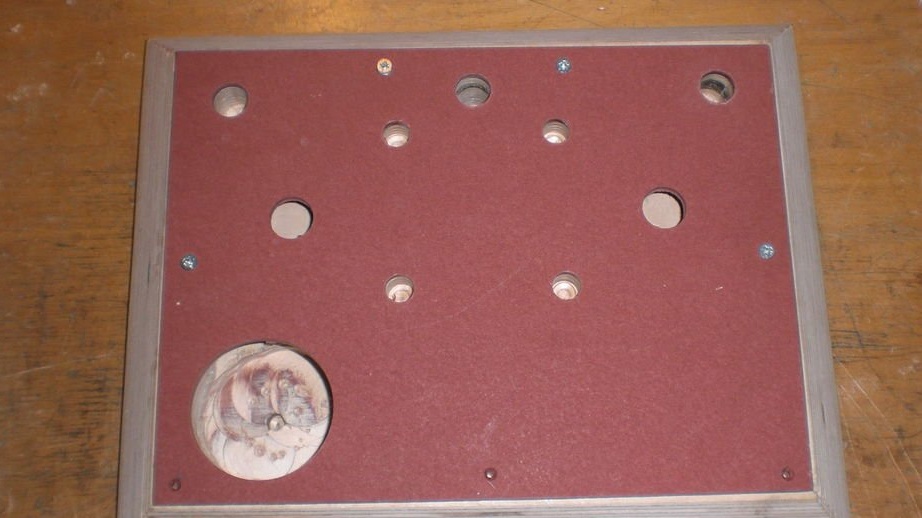
The base is made of plywood with a thin sheet of fiberboard glued on top.
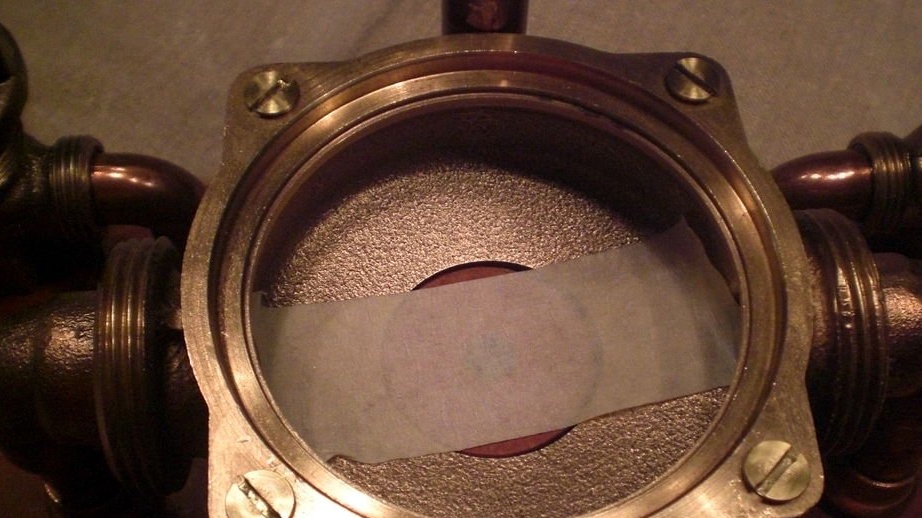
First, the master placed all the details on a transparent acrylic sheet. He circled them with a pencil.Made the necessary cuts and holes at the base. Then I transferred the template to the fiberboard. Cut and pasted the lining.
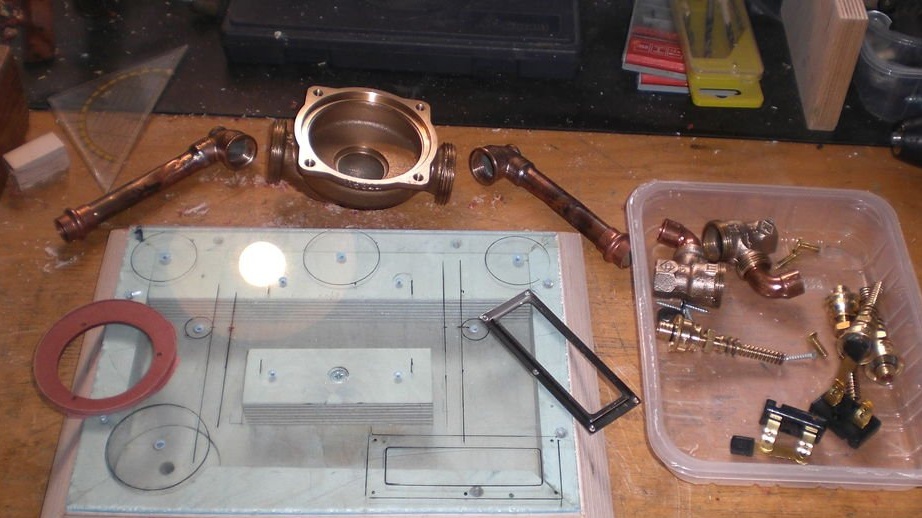
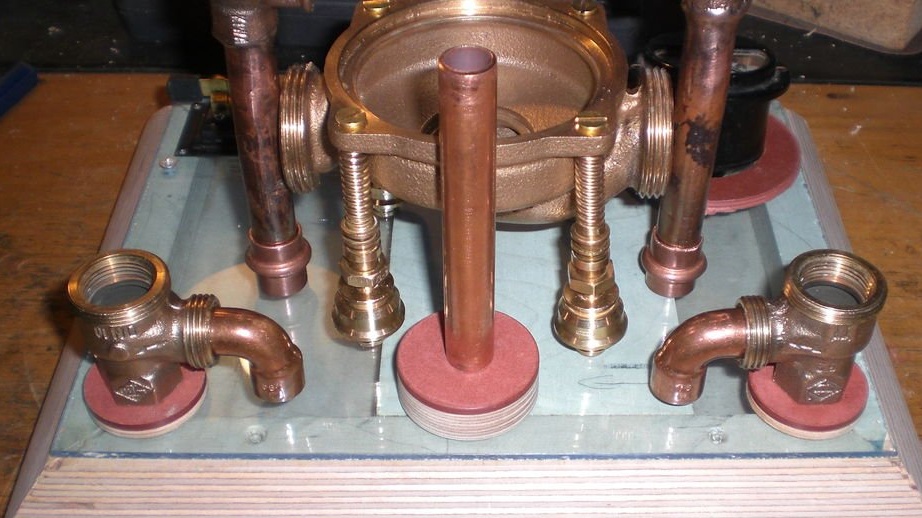
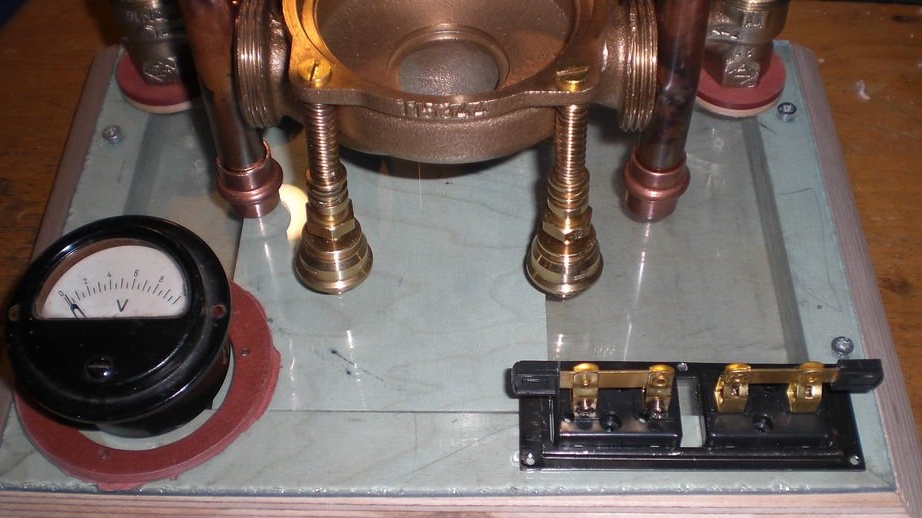
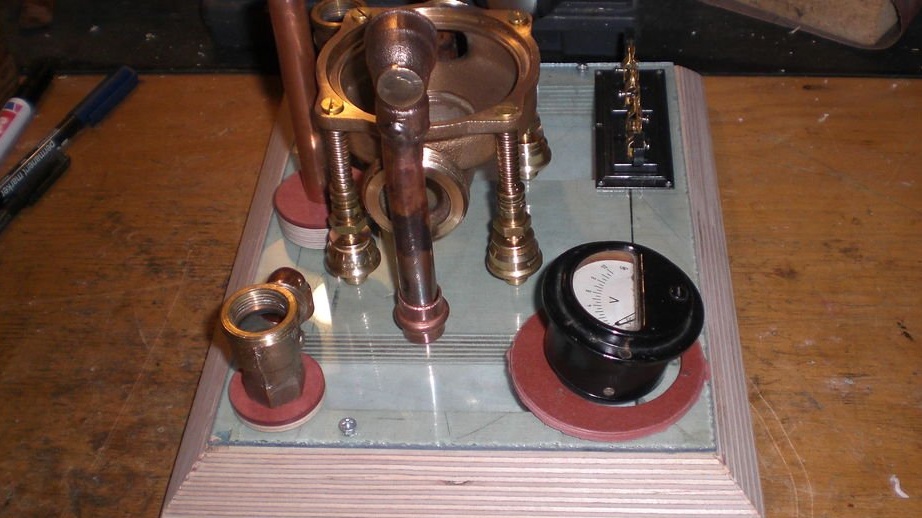
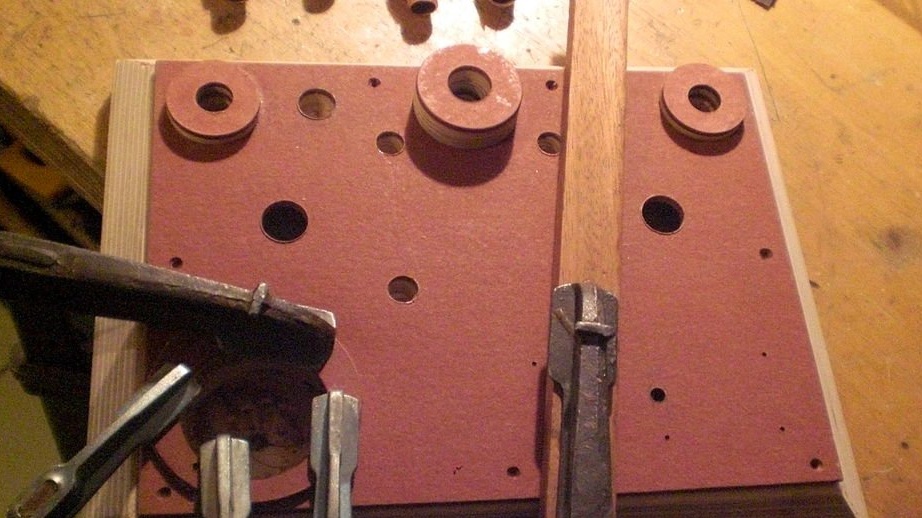
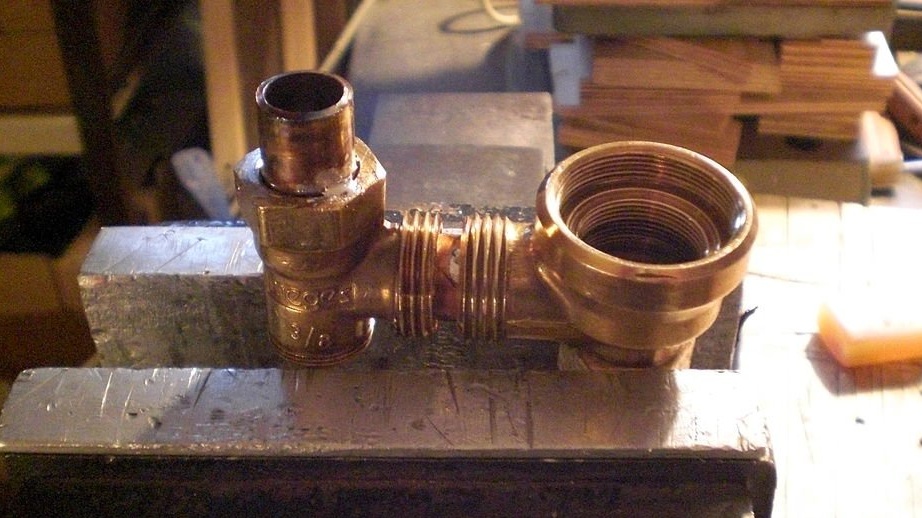
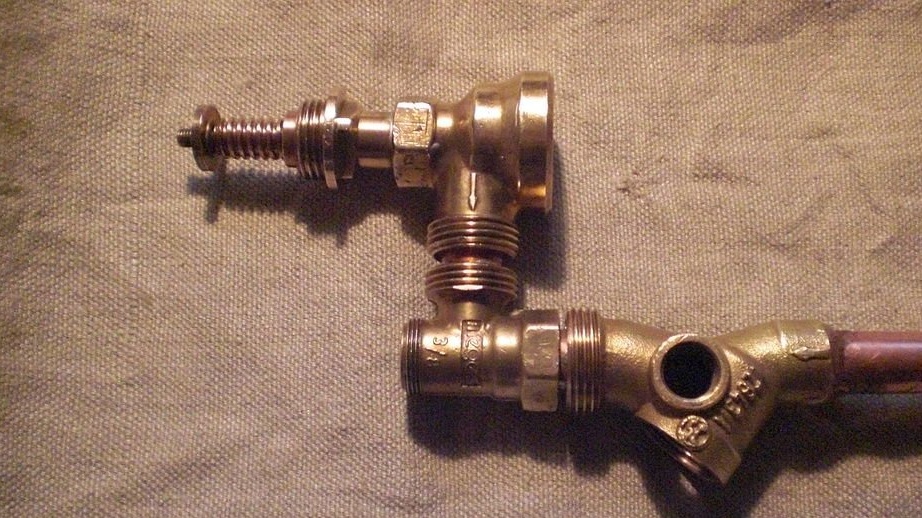
Step Four: Assembling the Flask Stand
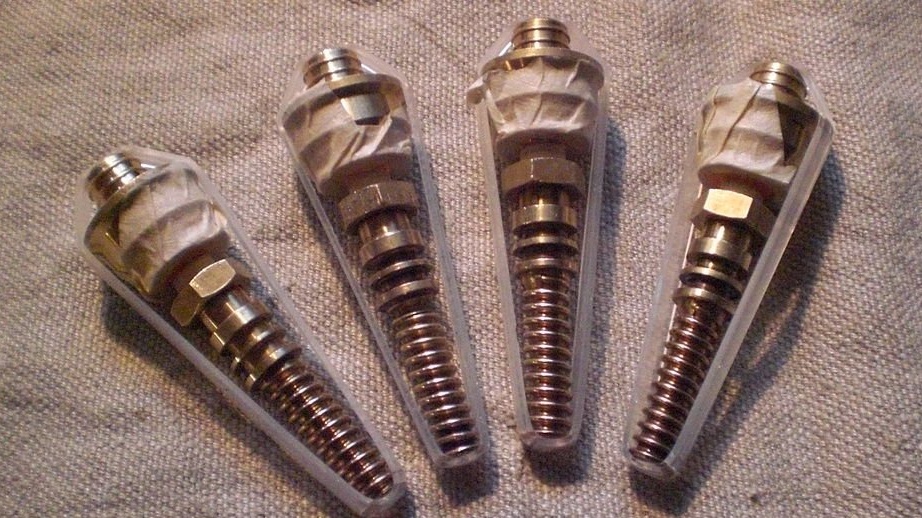
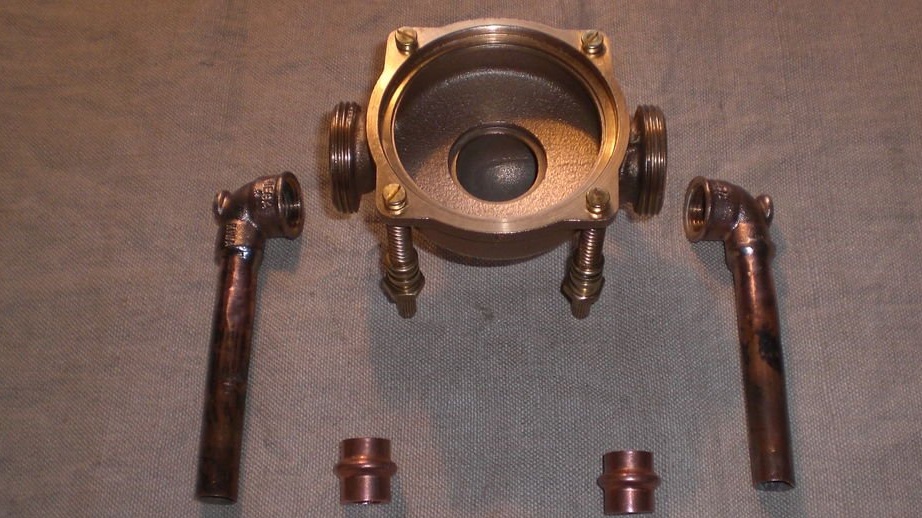
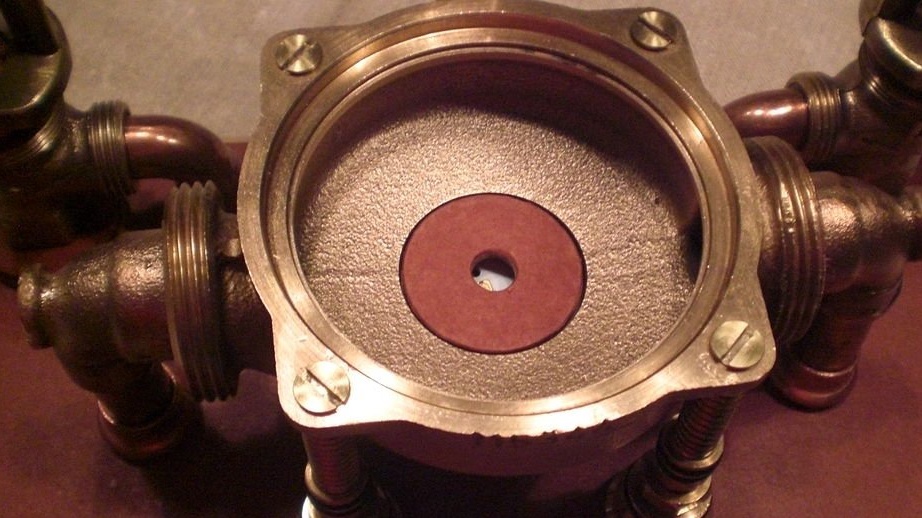
There are four mounting holes in the housing. From various plumbing parts, the master glues four bolts.
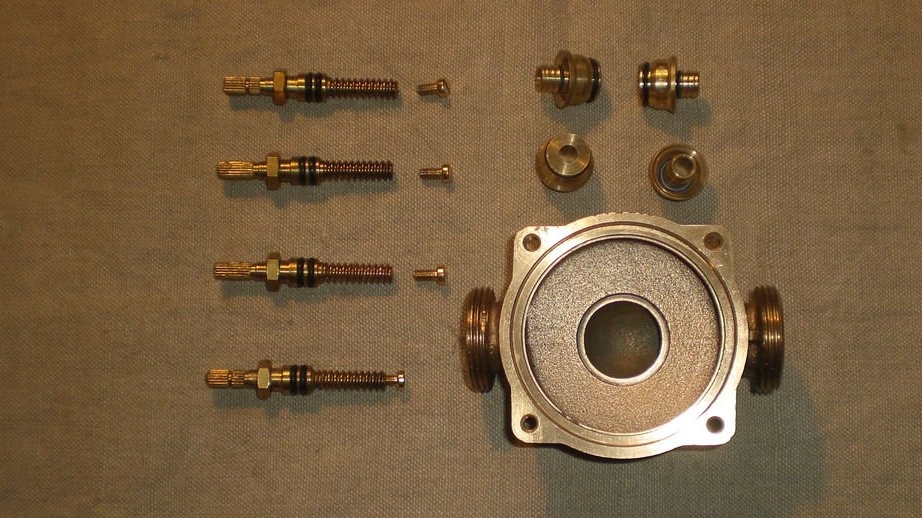
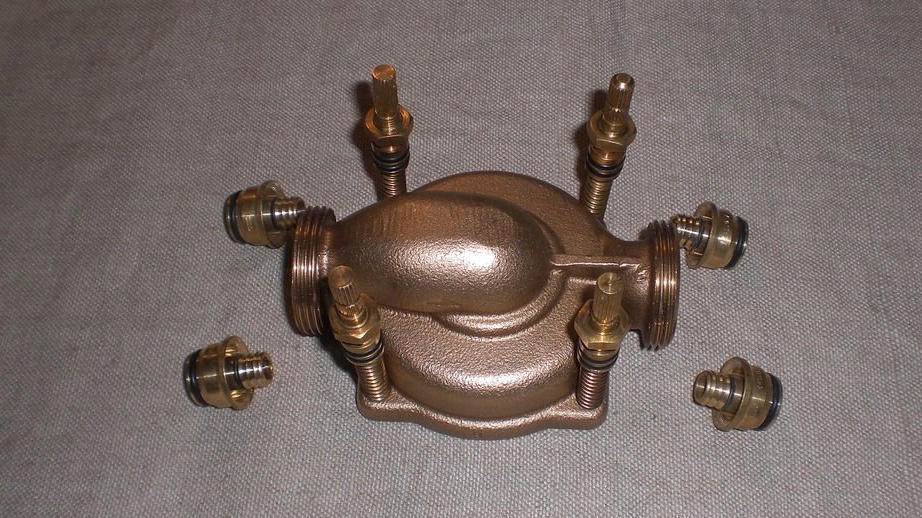
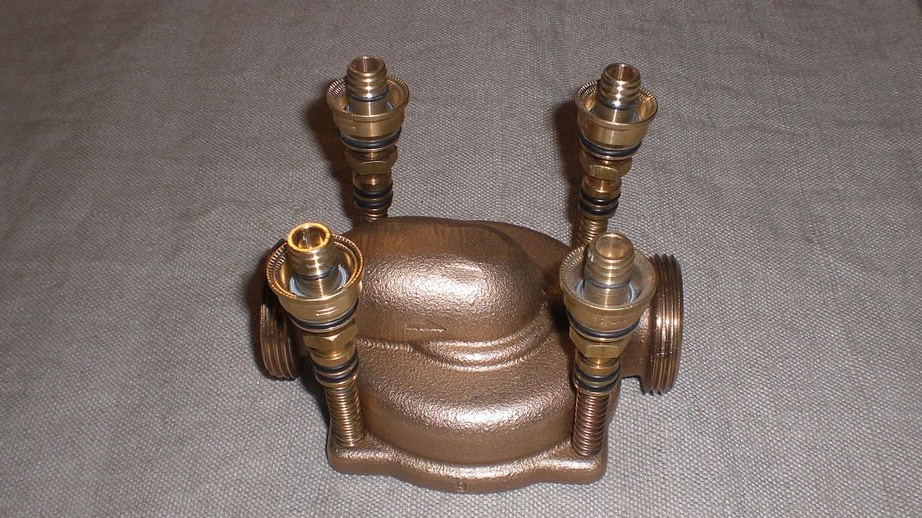
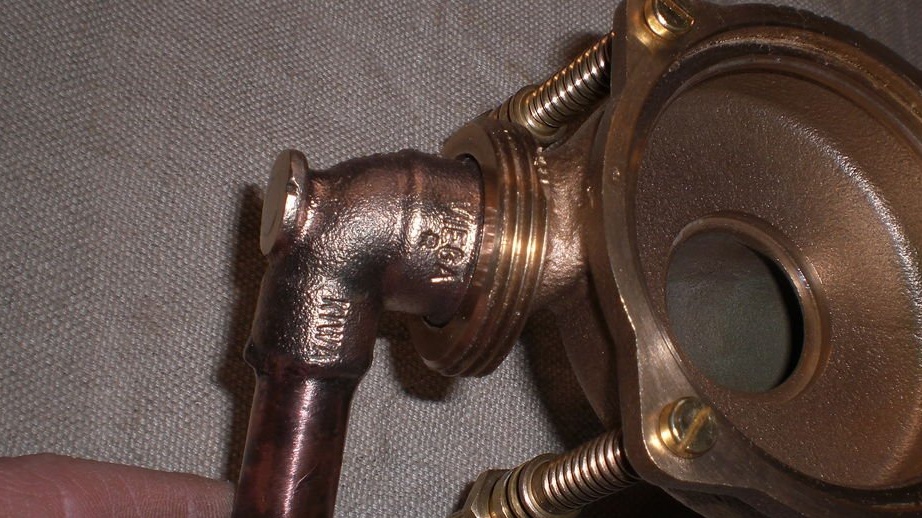
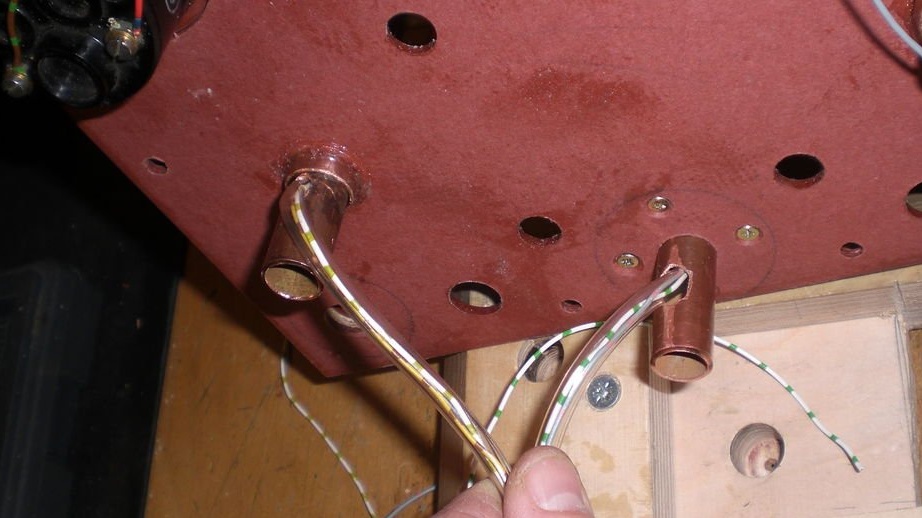
Screws tubes on the sides.
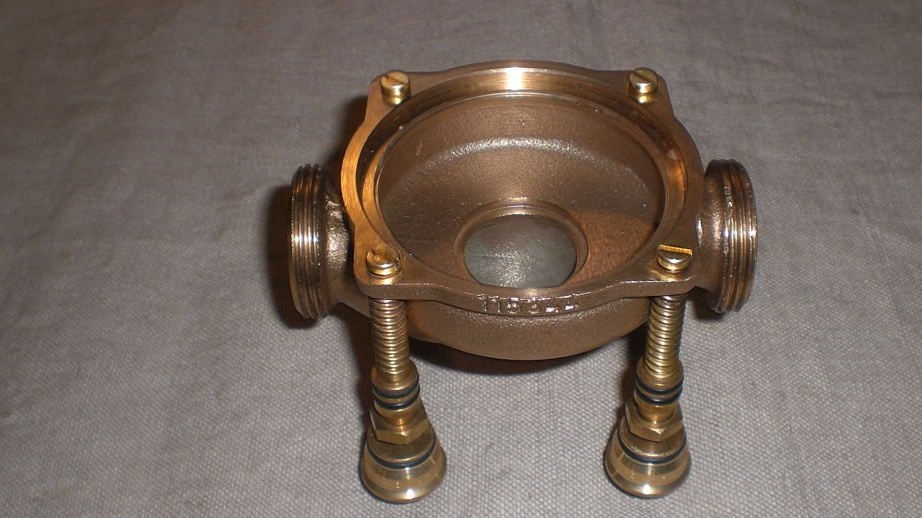

A LED is glued in the center of the case. A fabric washer is installed on top. A flask will be installed on it.

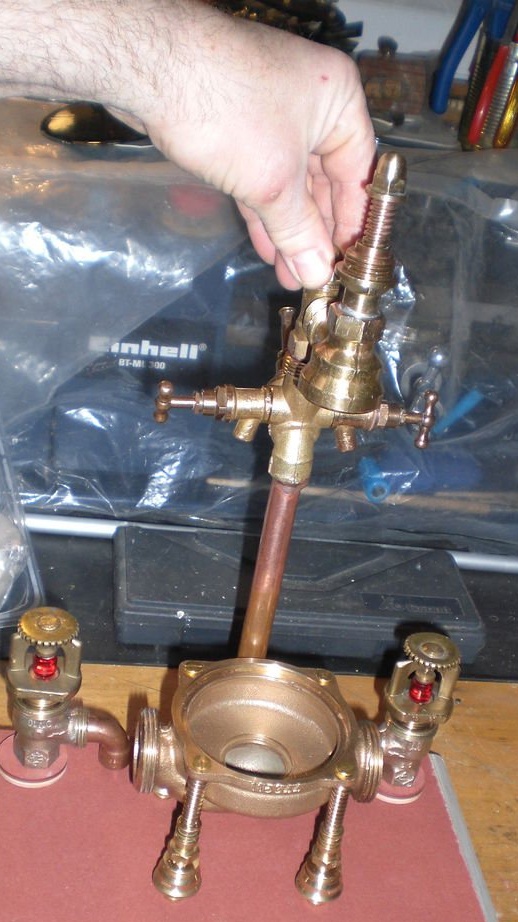
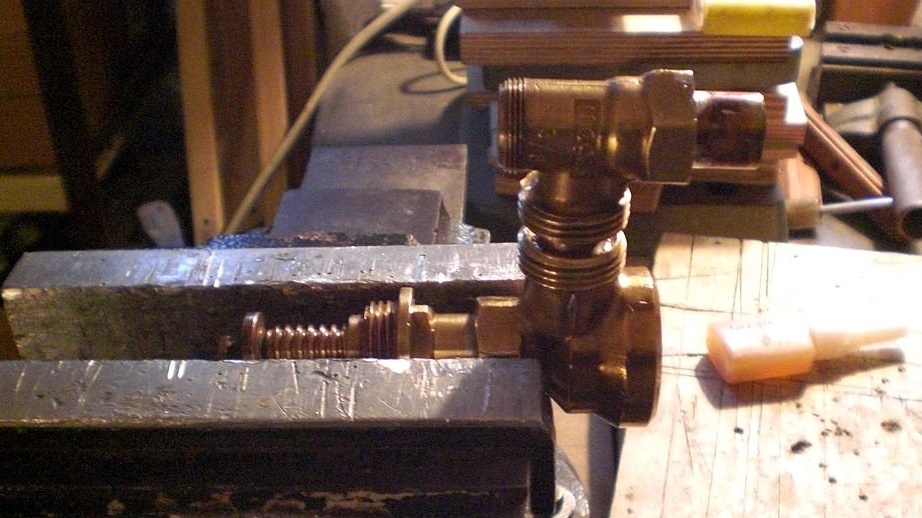
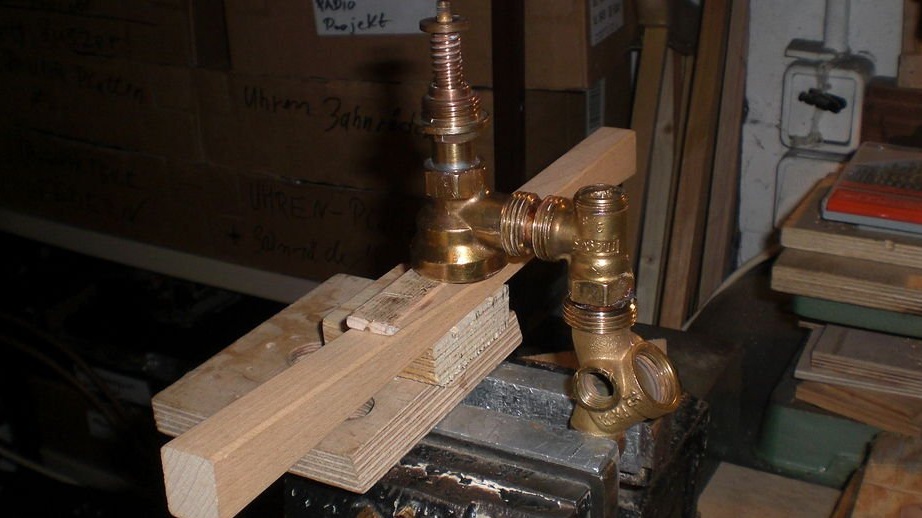
Step Five: Flask Mount
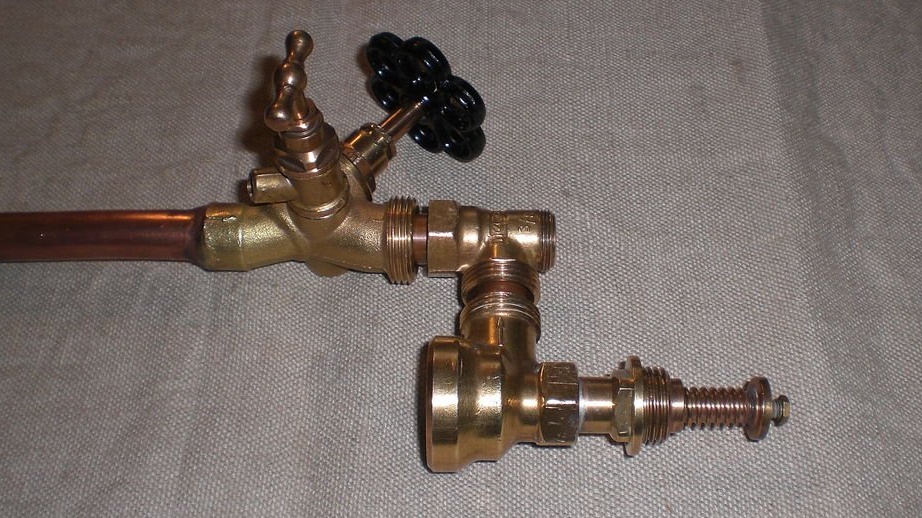
On top of the bulb is attached by a lever. A second UV LED is mounted in the arm. The lever can be raised to install or remove the bulb, or rotate.

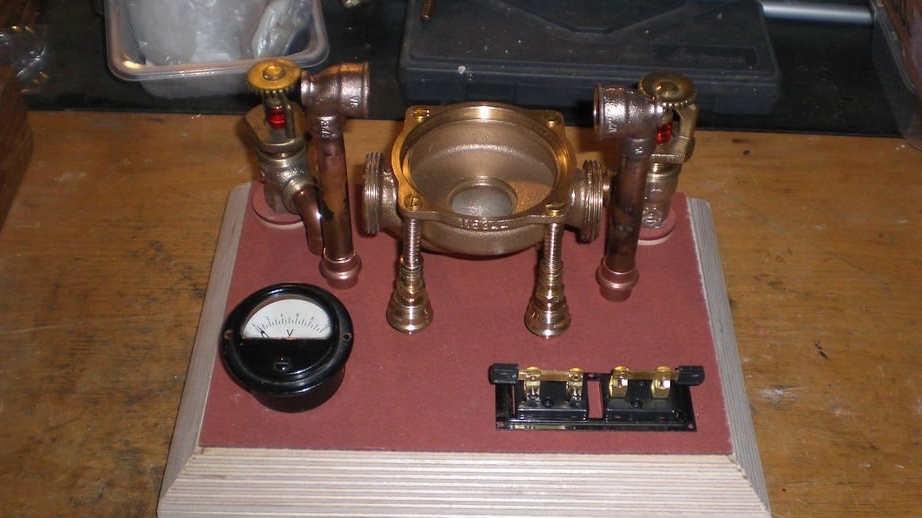
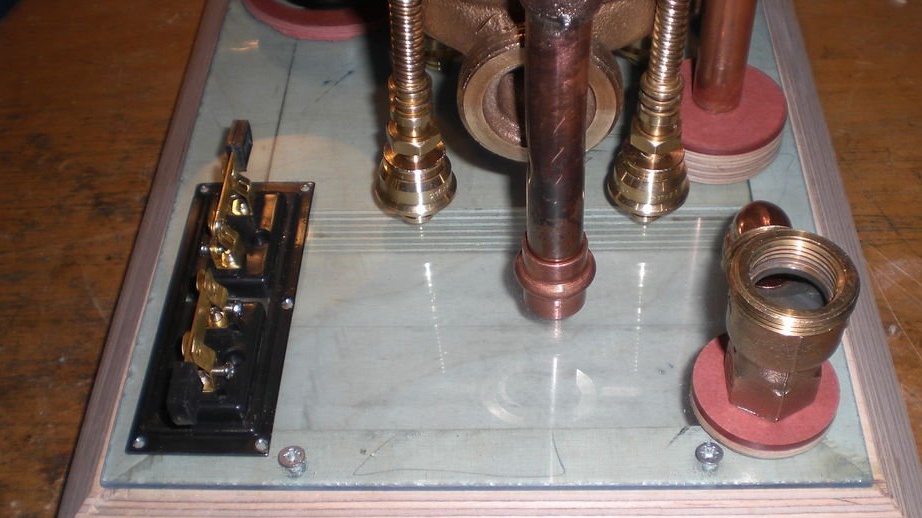
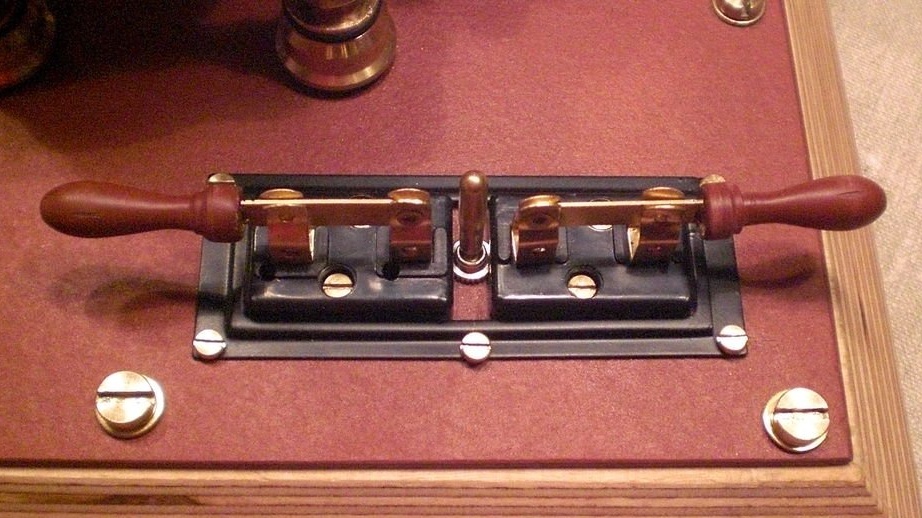
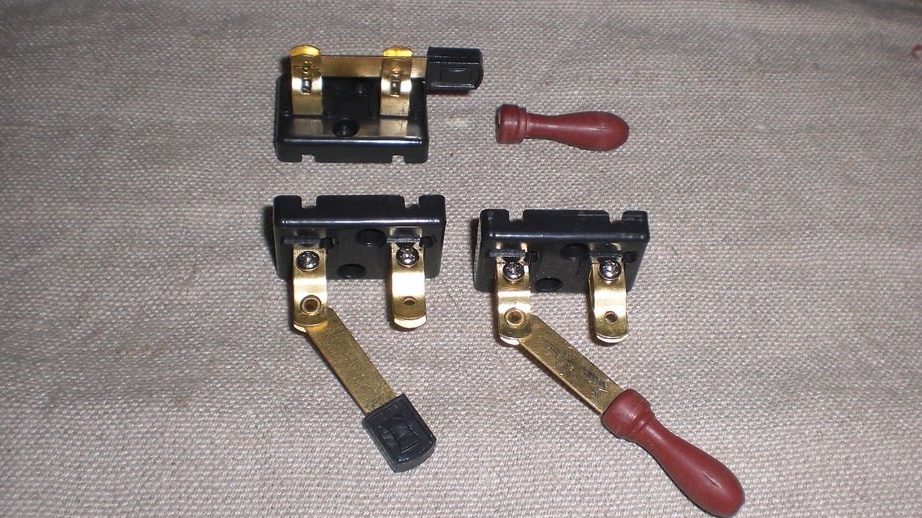
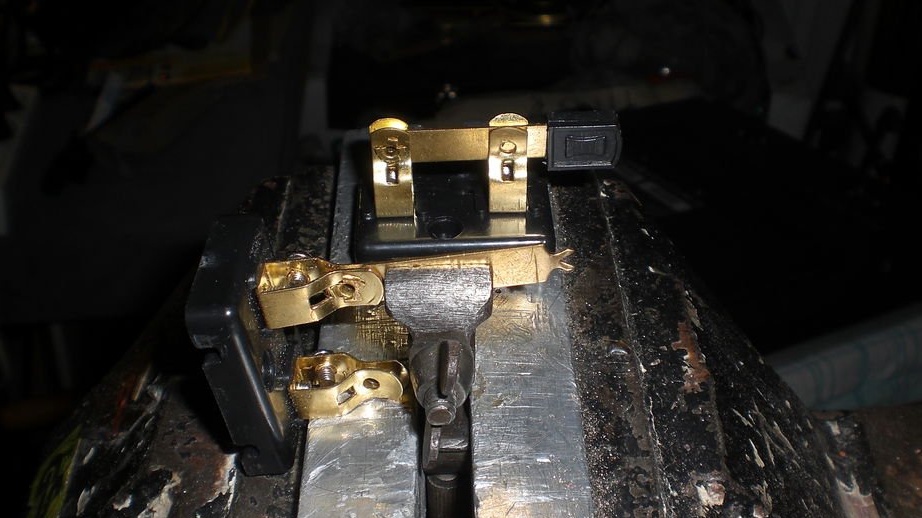
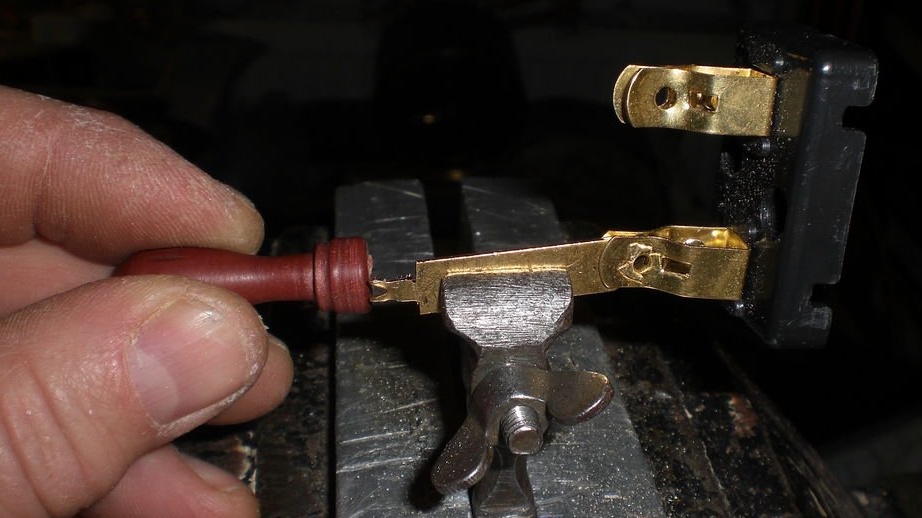
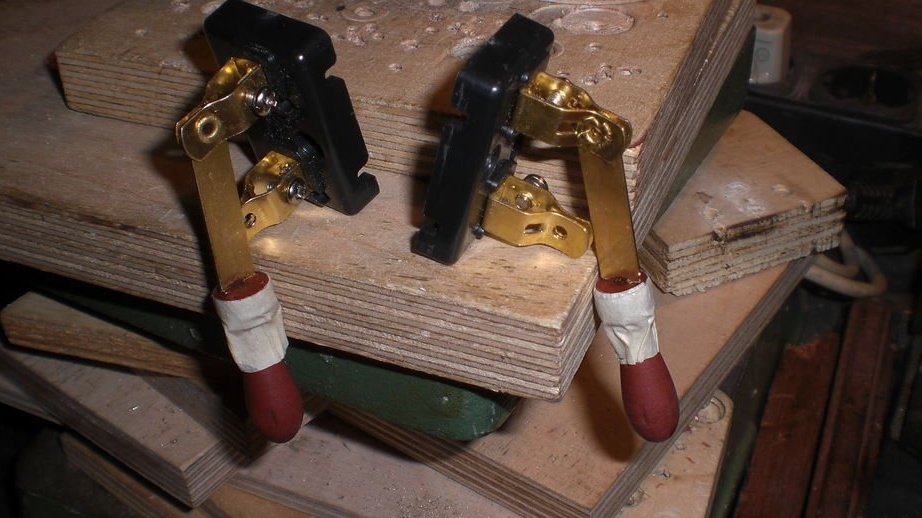
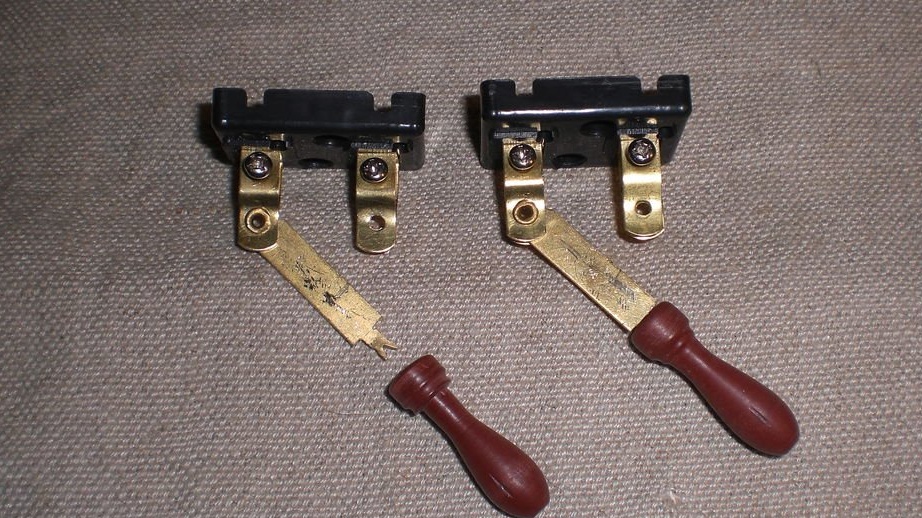
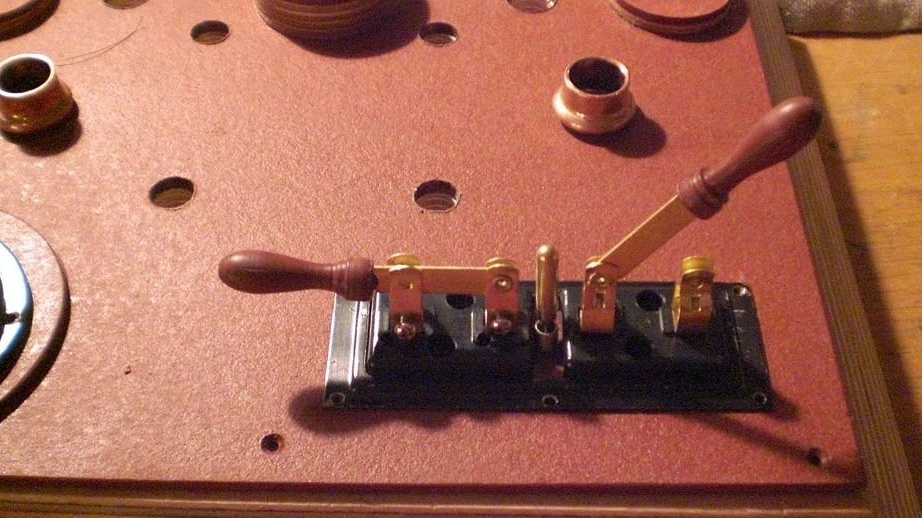
Step Six: Switches
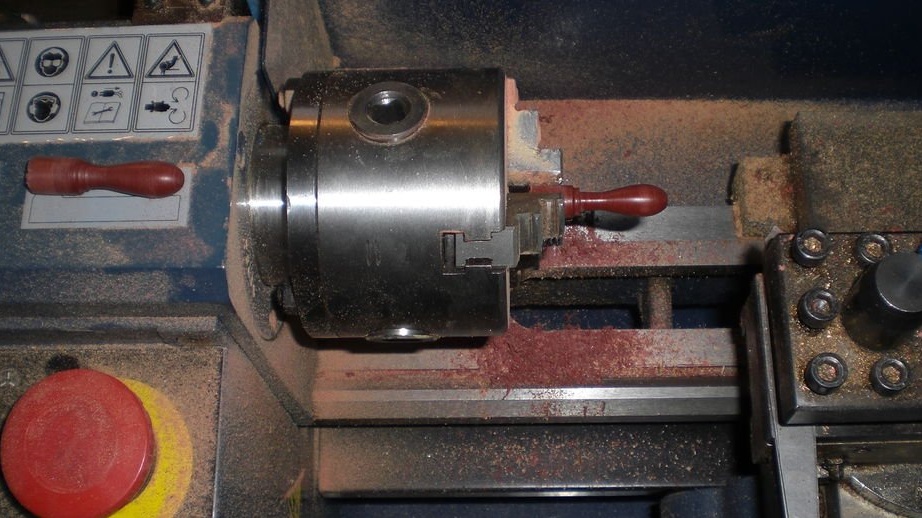
The master will turn on and off the LEDs, through the knife switches. For a better look, the master replaced the handles on them with others, machined on a lathe. Each switch includes its own LED. Between the circuit breakers is a common switch.
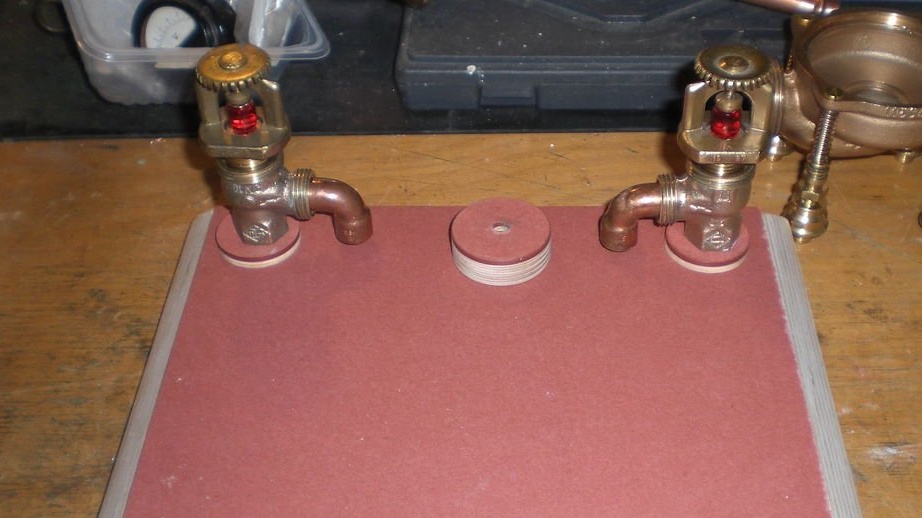
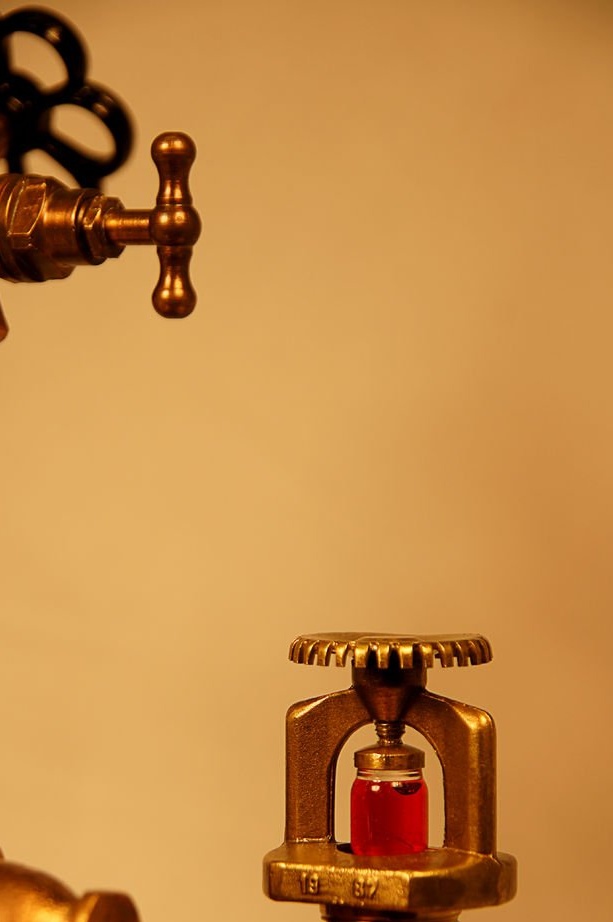
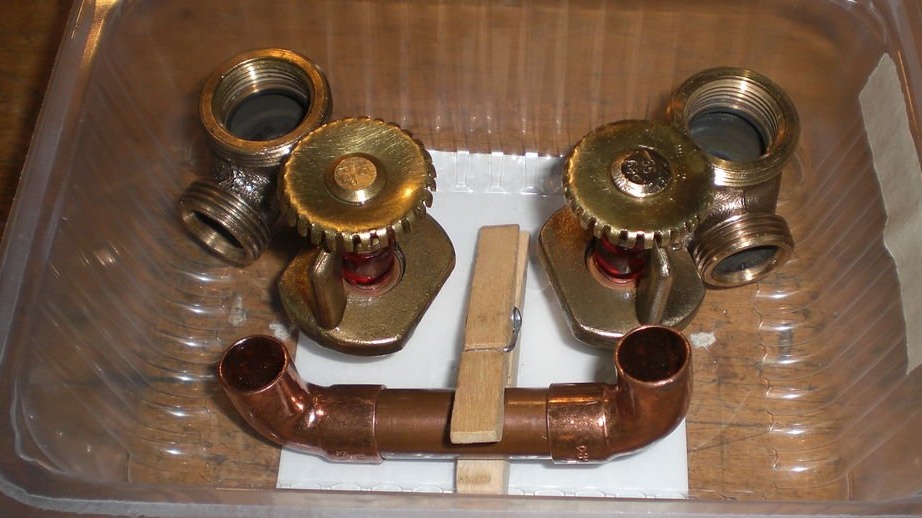
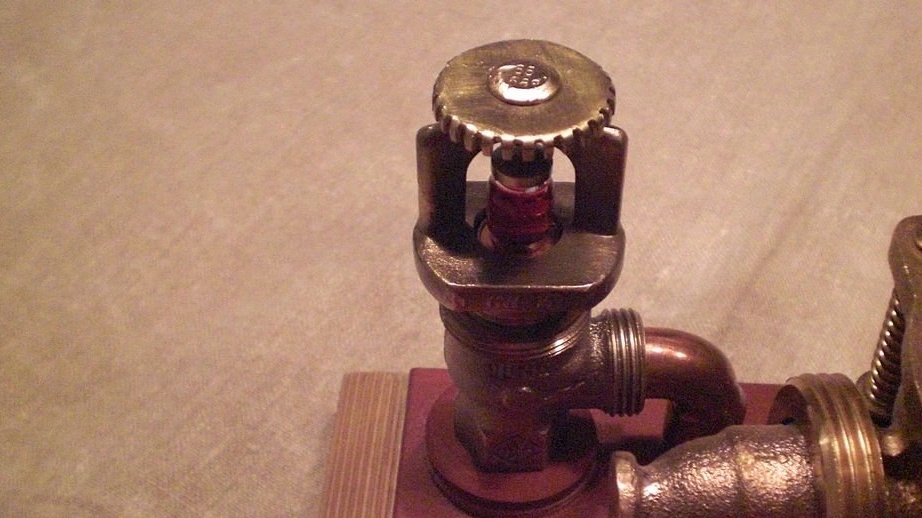
Seventh step: sprinkler heads
Two sprinkler heads with flasks of temperature locks of red color create a contrast to the blue light of the flask.

Step Eight: Build
Now you need to assemble all the parts. Install the electrical circuit. Fasten the parts.
All is ready. So from creative parts, with a creative approach, a beautiful thing can turn out.