

Hello, dear visitors of the site.
I finally got some free time, and I was able to do what I liked most of the regulars of this Internet resource.)))
This time I decided to make a handle for the canvases from the saber saw.
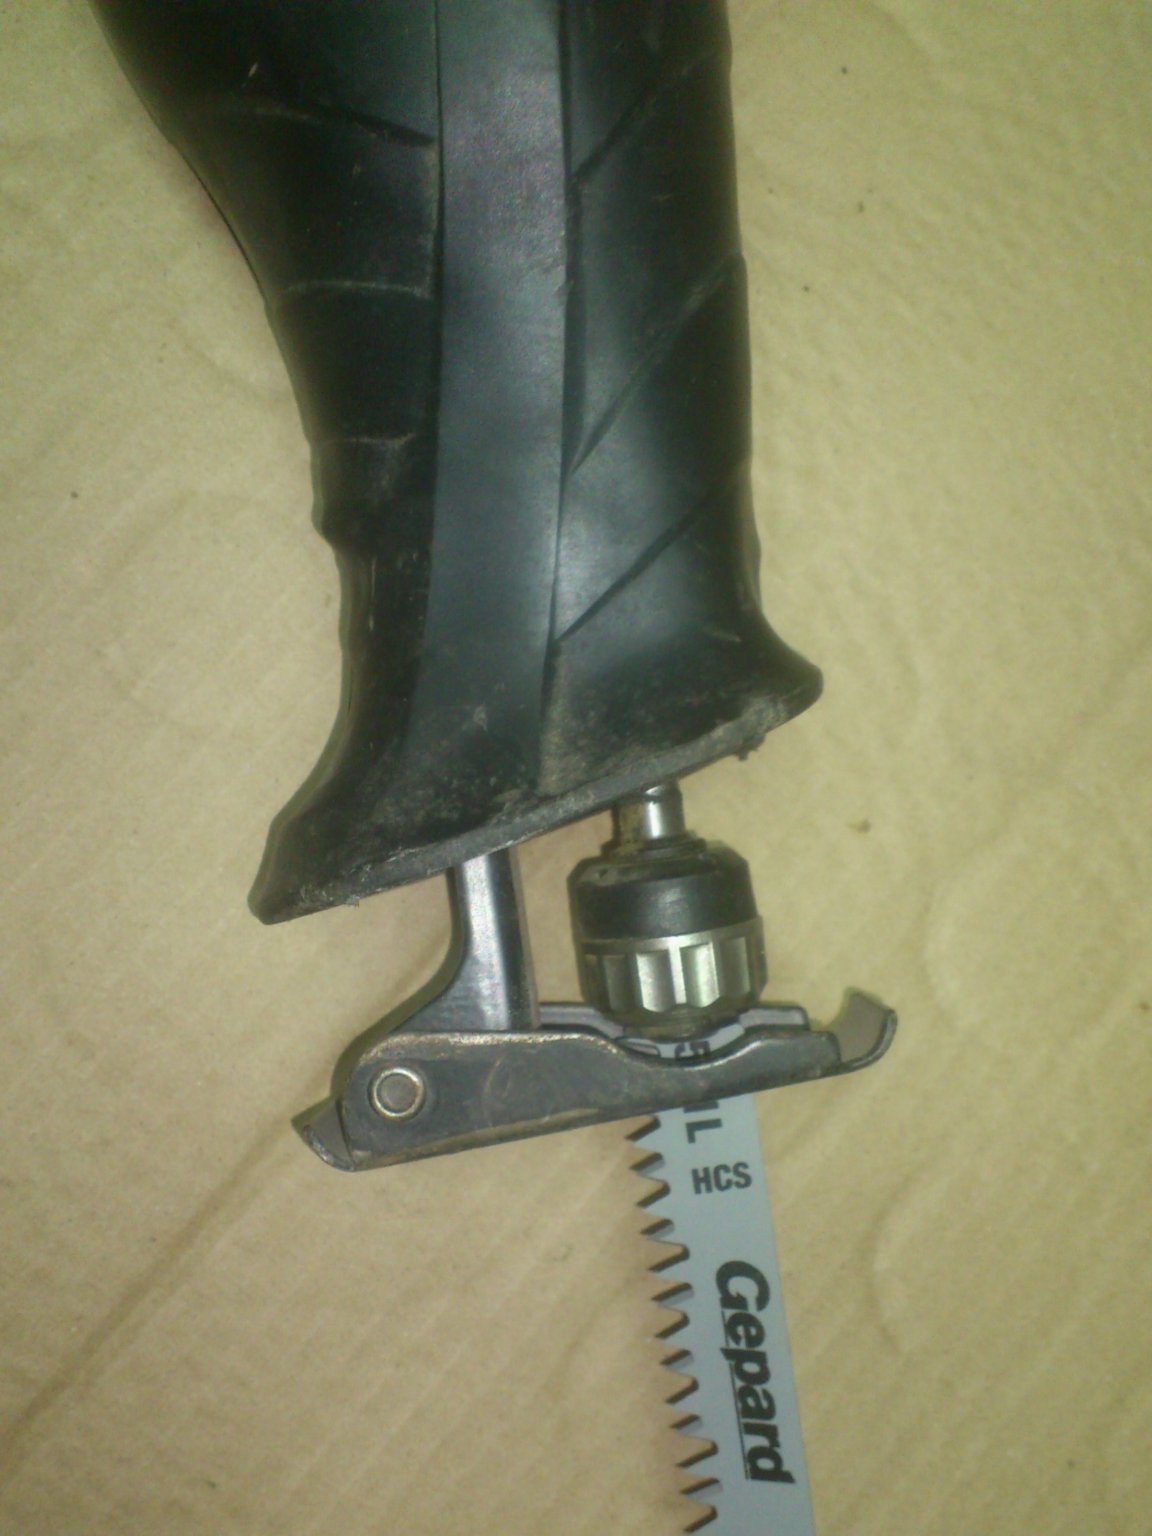
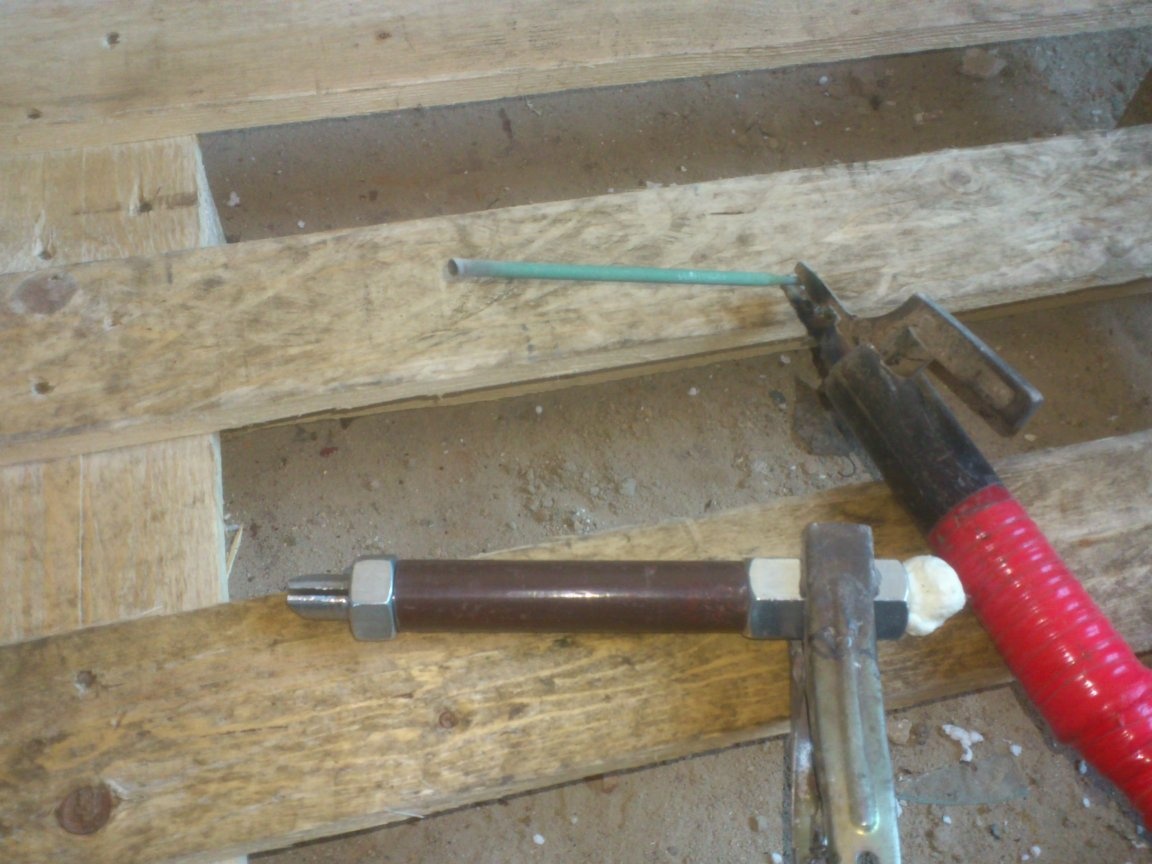
I'll start in order. Among my various tools there is such a reciprocating saw:

A tool, in some cases, is simply indispensable! Although it cuts and is not as “vigorously” as circular saws, but, on the other hand, it can “crawl” with it practically everywhere! You can saw wood planks and bars located right next to the concrete walls, you can cut the water pipe in the very corner, where it is impossible to get a "grinder". You can easily cut a section of a tree’s root, which, according to the well-known "law of meanness", runs across a trench, or a hole dug by you to set up a pillar ... It is also convenient when pruning tree branches ...
It is for such cases that it is simply irreplaceable ... But it is rather rare to use it - after all, for working with workpieces to which access is unlimited, it is much more convenient to use a circular saw and an electric jigsaw (for wood) or a angle grinder (for metal). More rough work with massive workpieces, easier and faster to perform a chainsaw. And therefore, most of the time this tool just lies on the shelf and is waiting in the wings!))))
The blades for this saw are the most diverse: for wood (for rough and thin cuts), for metal, for ceramics and concrete, for plastic, special for slate.
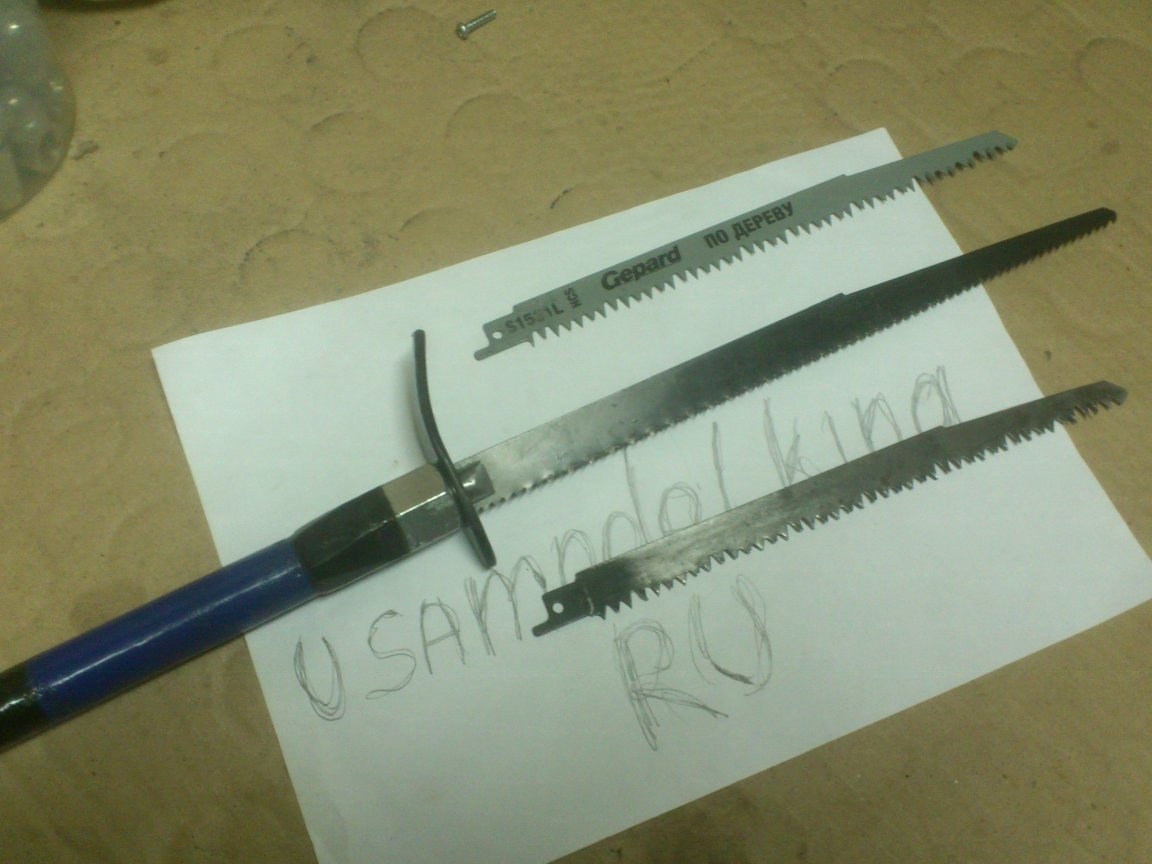
Now, here, where I am, I only have paintings on wood:
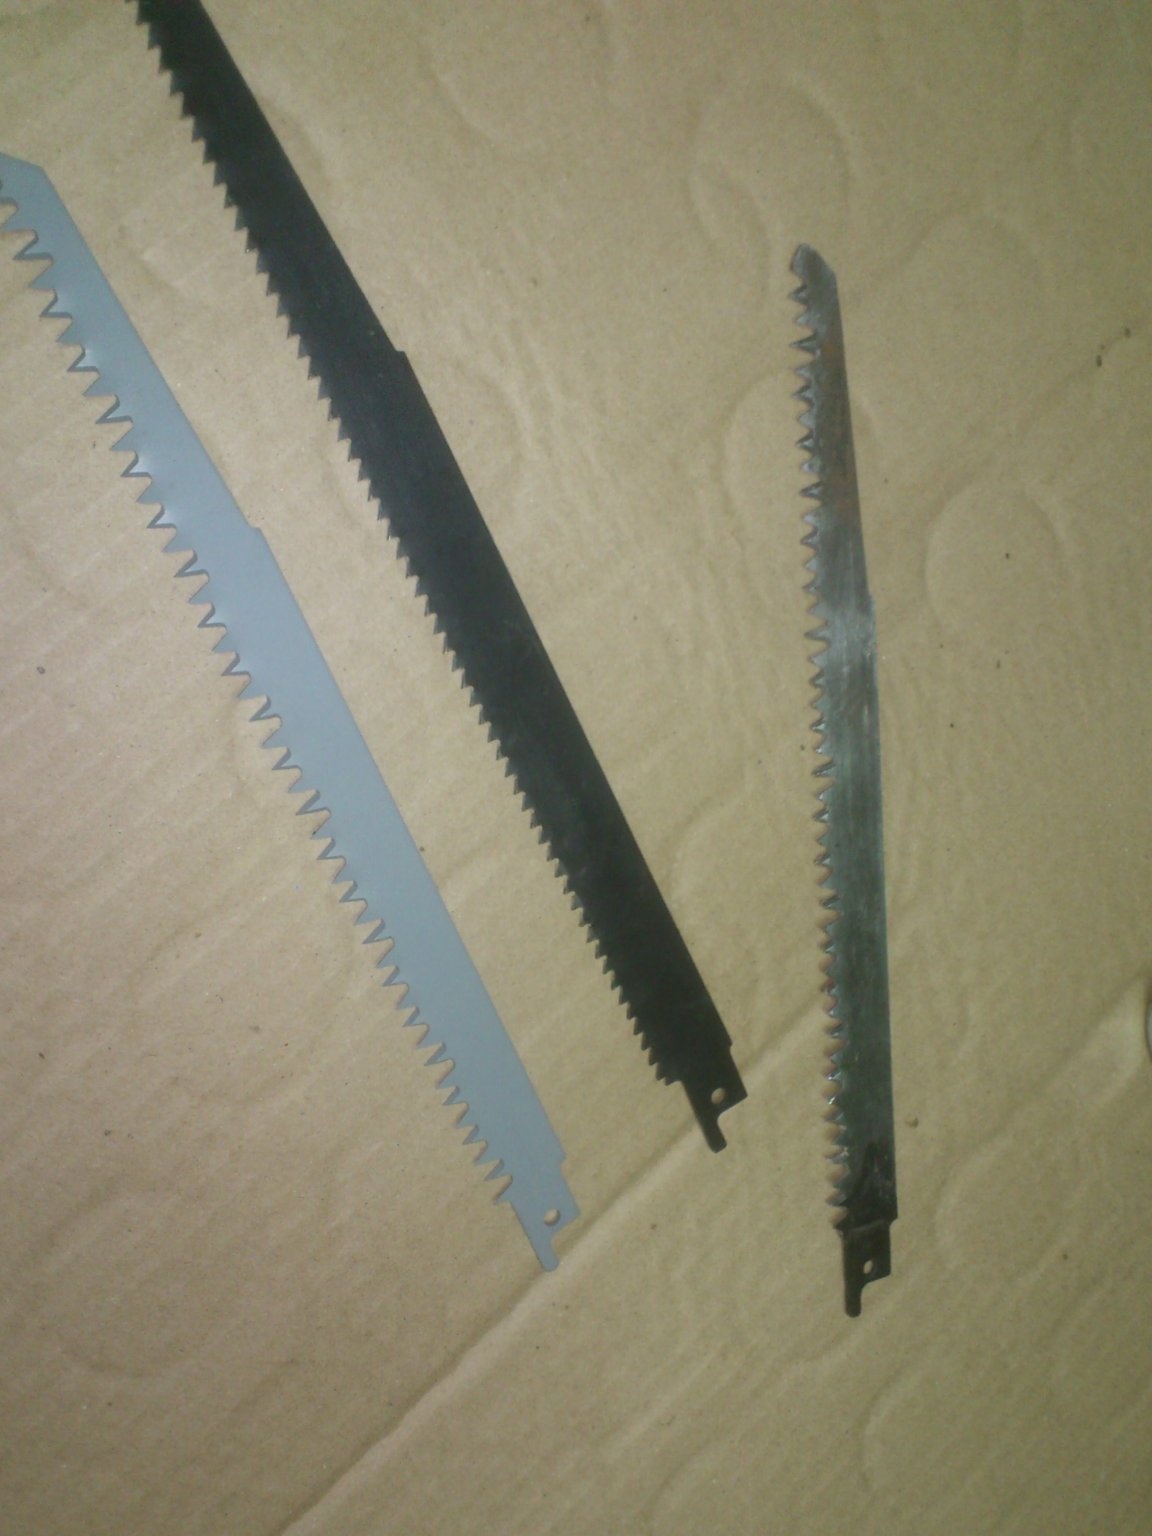
All the rest remained at my construction site, where most of the tool is now based.
I have long had the idea of making some kind of handle for them so that they can be used not only on the saw, but also in manual mode. After all, often there is a need to cut something on a scale not to use a power tool ...
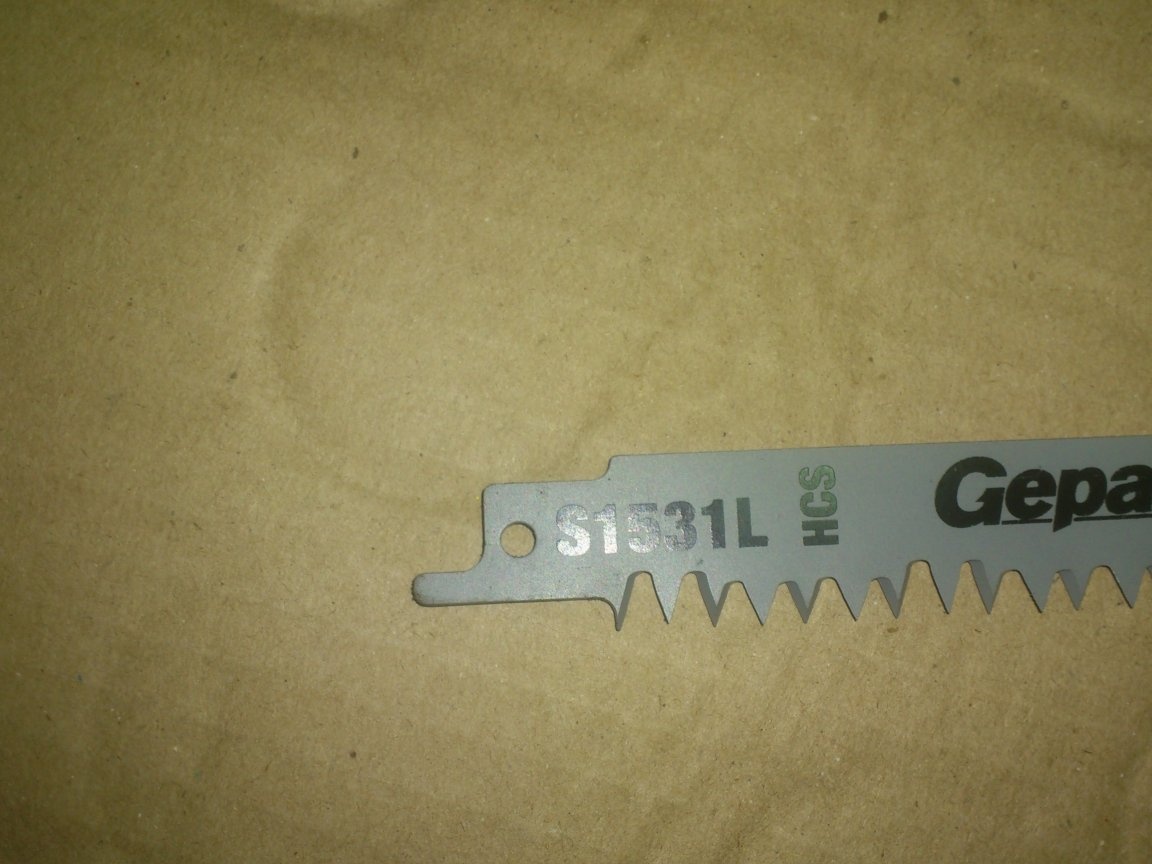
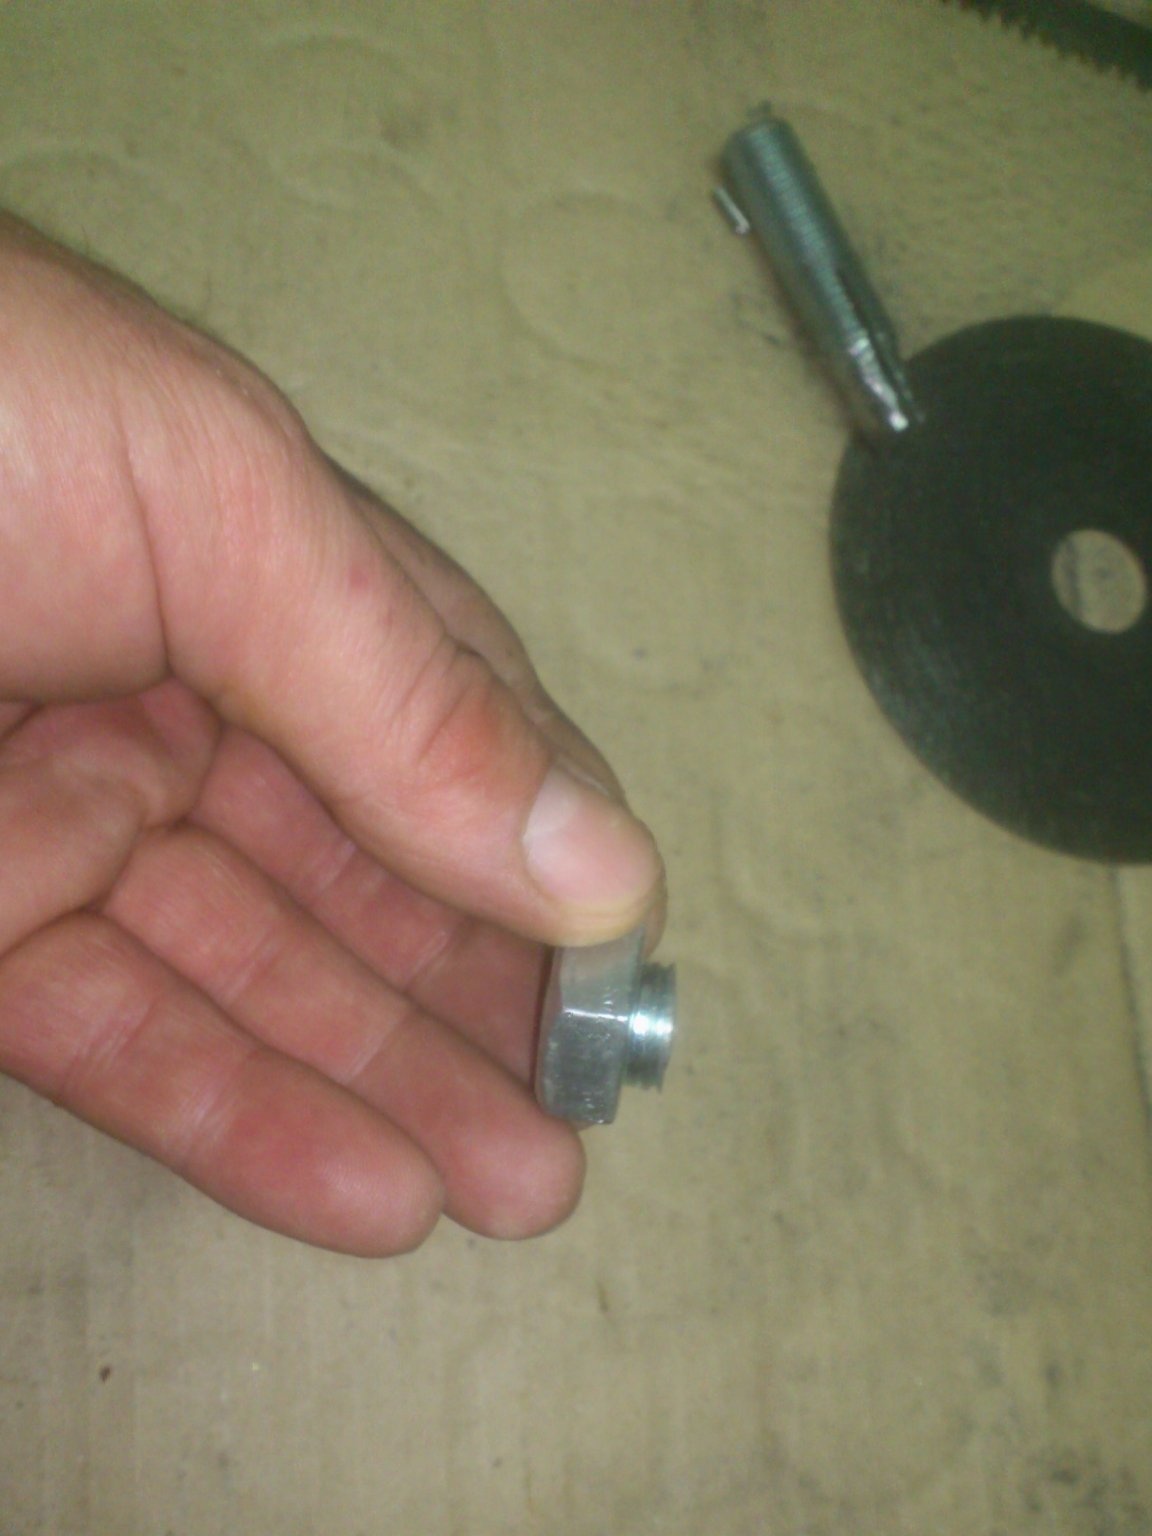
But the canvases have this landing size:
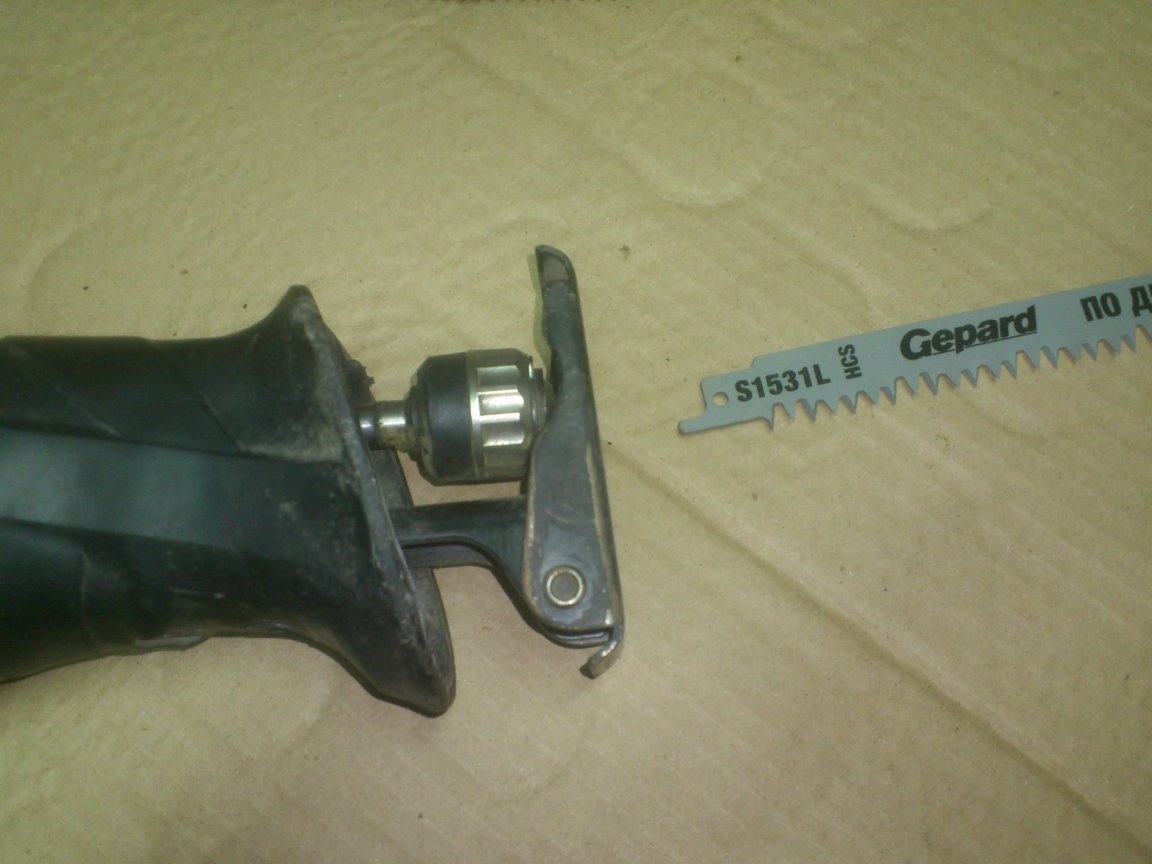
They are attached to the saw by means of a rather complicated rotary keyless chuck, which is simply impossible to repeat in artisanal conditions:
Of course, since there is a hole on the shanks, you can come up with some kind of handle to which they will be bolted. Only now, a tool with interchangeable equipment is convenient only when this tool is quickly and easily replaced! And in the case of bolting, this handle, most likely, will remain with this blade, but for the saw just one more will be bought!))))
But I did not leave the idea to think of something ... I threw one canvas into the car, and when I had to inactive, I had an interesting occupation - looking at it, inventing some ways of fast and reliable fastening ...))) )
As a result, I came up with the same thing, and on the next free Saturday I embodied this “in metal”))).
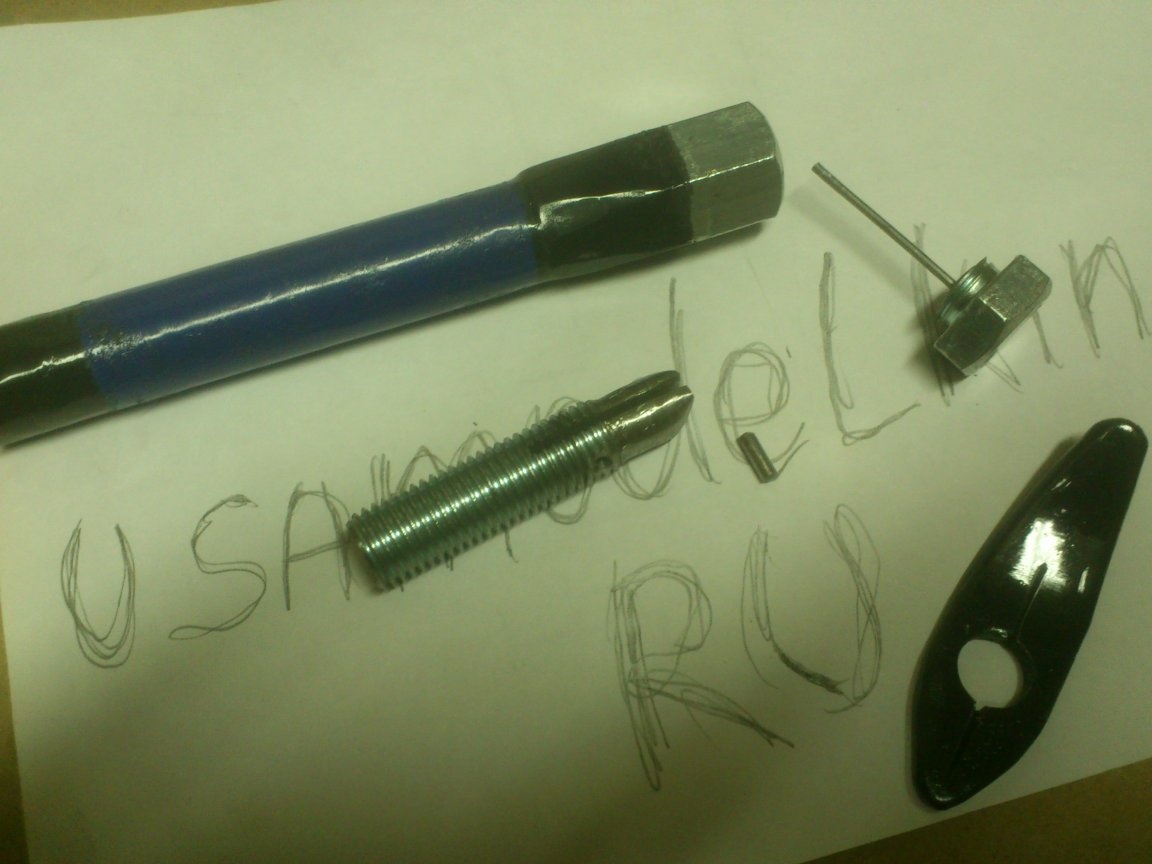
And here is what I needed for this:
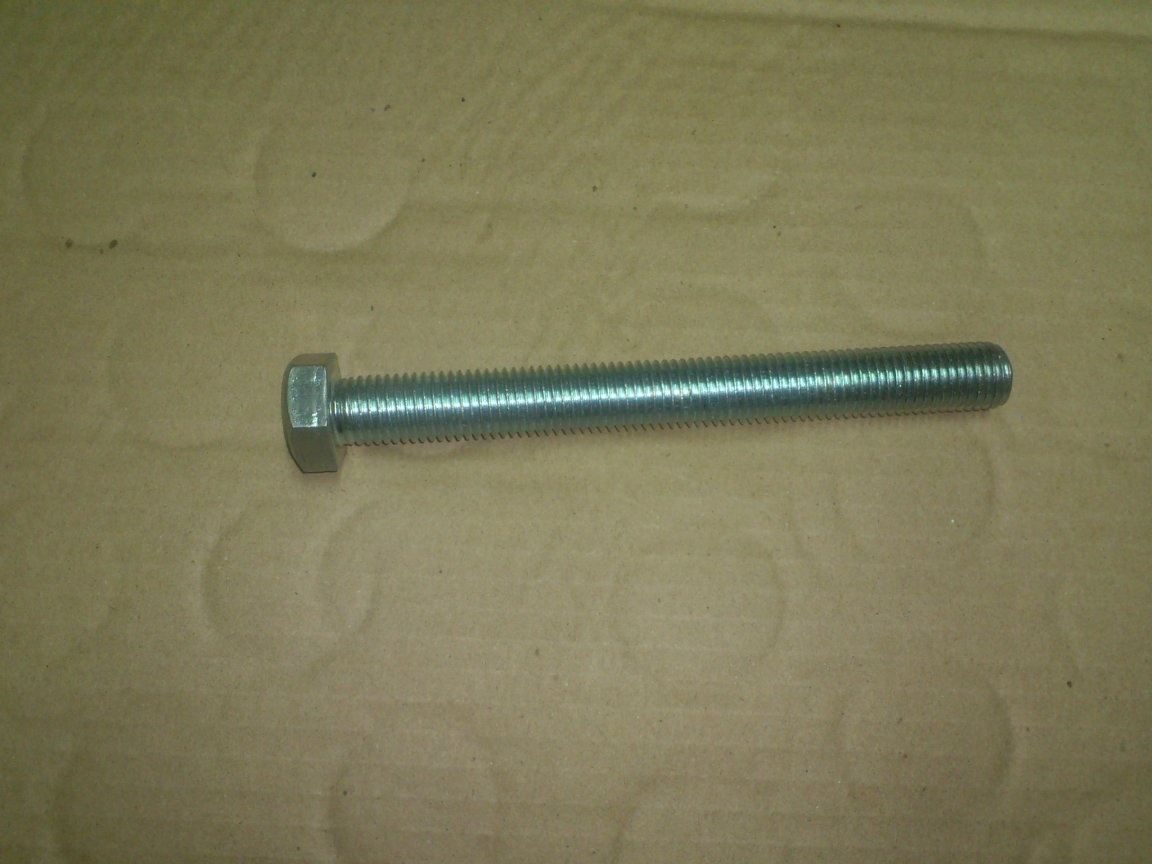
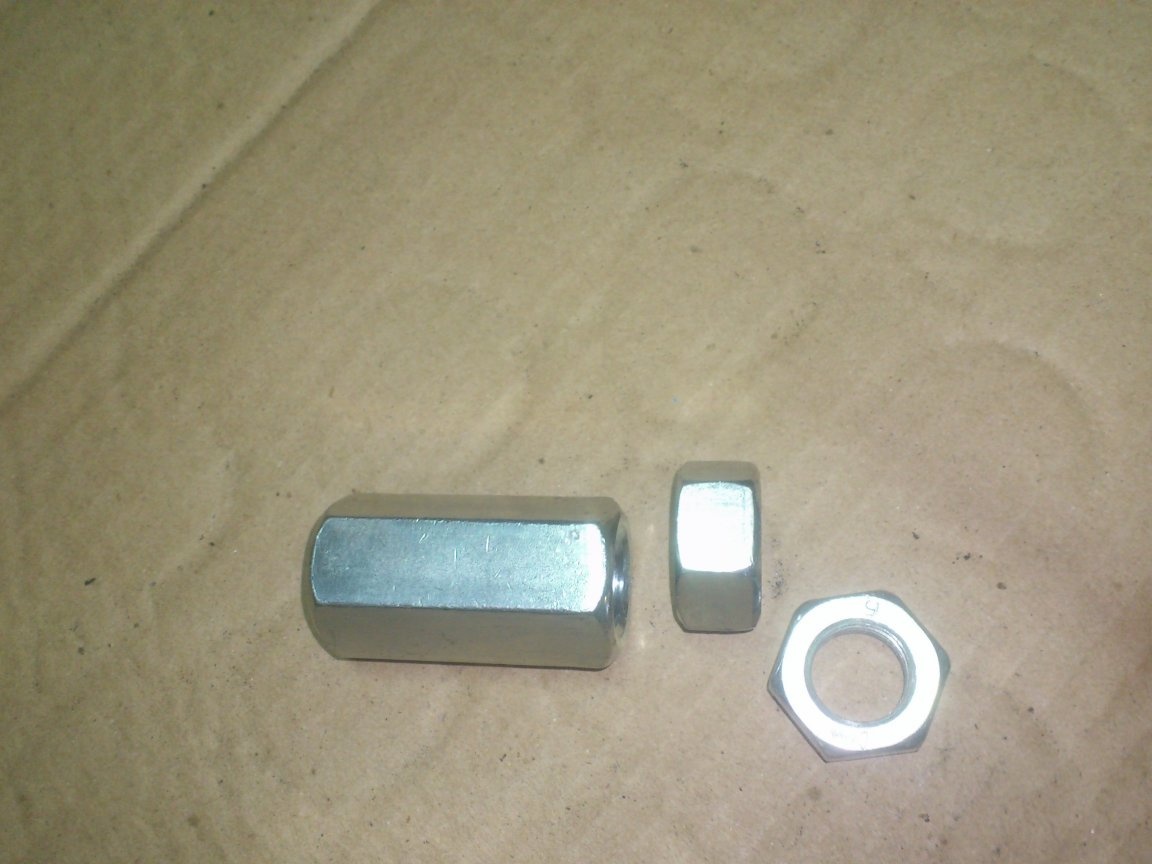
1. Bolt M16. (I had a long one, but enough for 60 millimeters)
2. Nut M16.
3. M16 nut connecting ("elongated", as it is often used in everyday life))
4. Scrap steel strip 25 to 4mm.
5. Chip (shank) of the drill, with a diameter of 3 mm.
6. Cutting water pipe DU-15.
The set of tools is also minimal (when working with metal) - a drill, a "grinder", a welding machine.
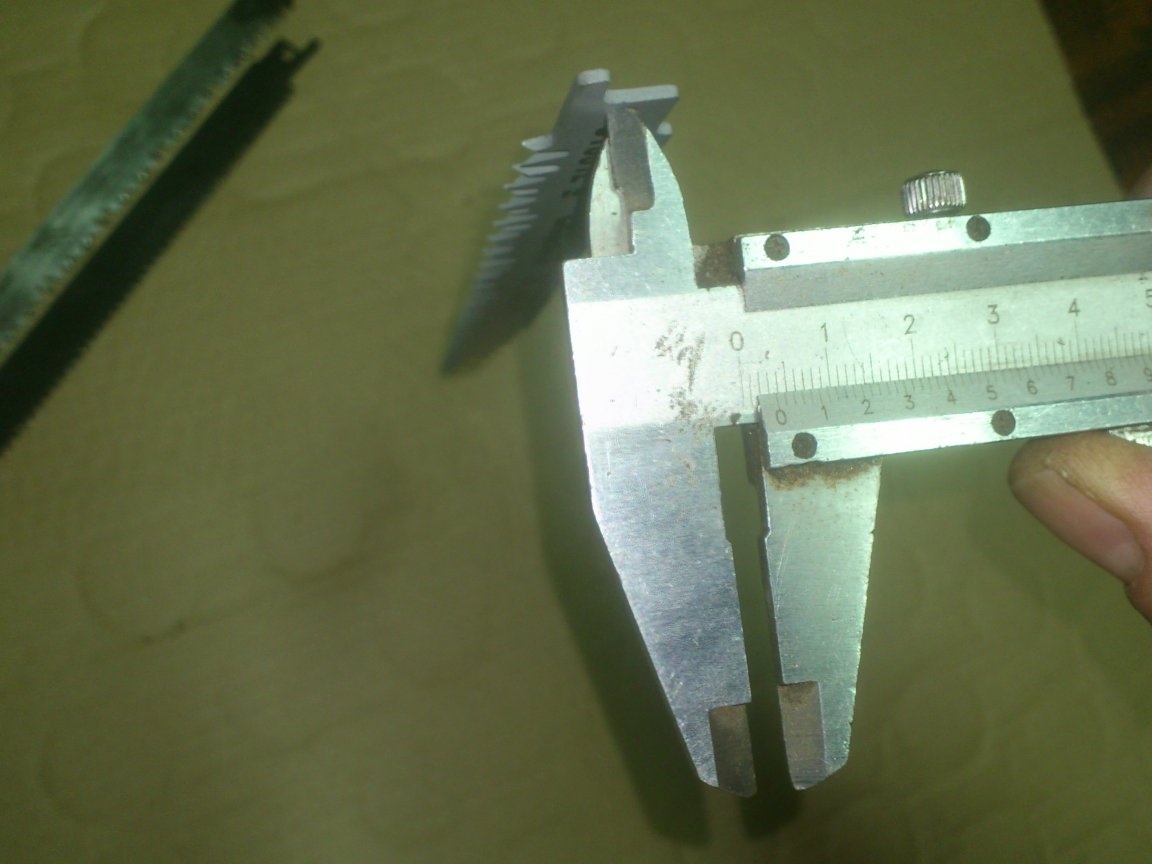
I began by measuring the width of the landing near the canvas:
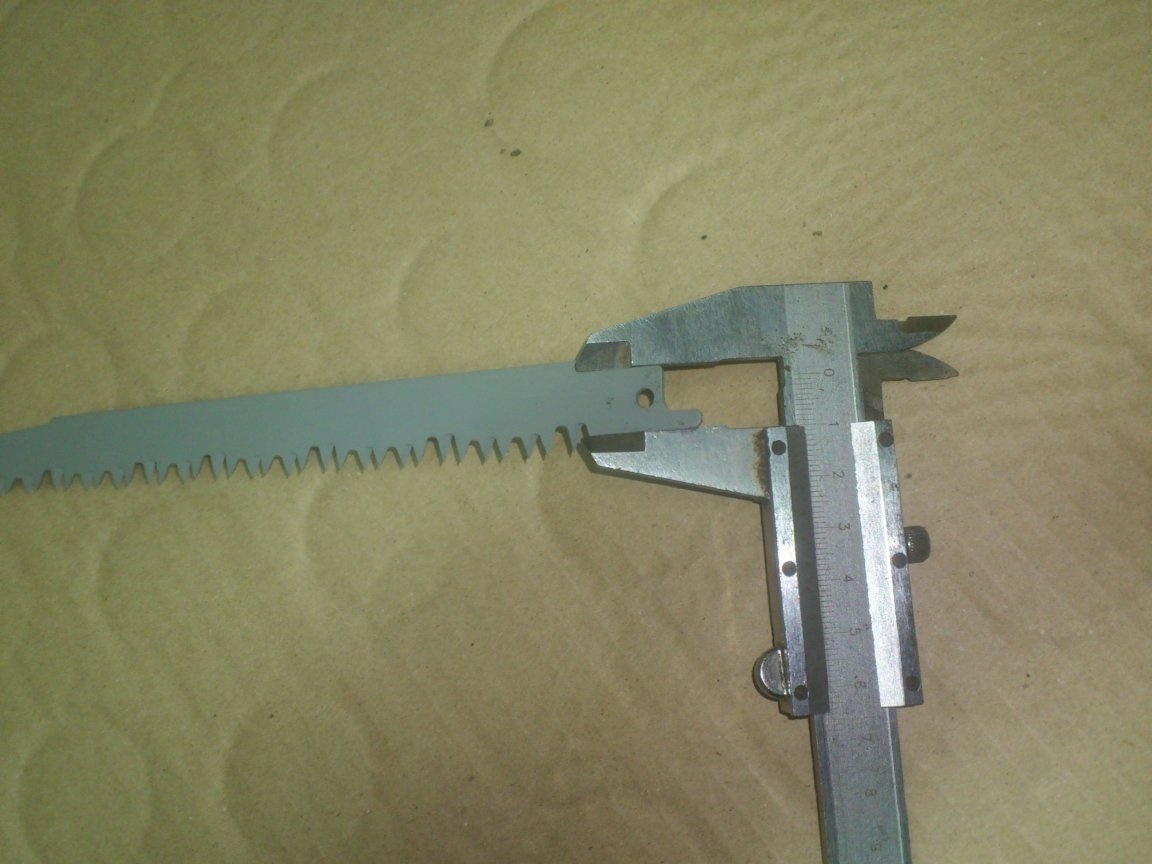
It turned out - 12 mm. I needed a bolt whose thread size "along the bottom of the cavity" would be larger than this size. And this is M16.
I found in my "bins" the M16 bolt. (The size is far from the one that any "technical" person always has in stock. But I knew that I had one. Once I specially bought it for one homemade product, but he "was not needed")))
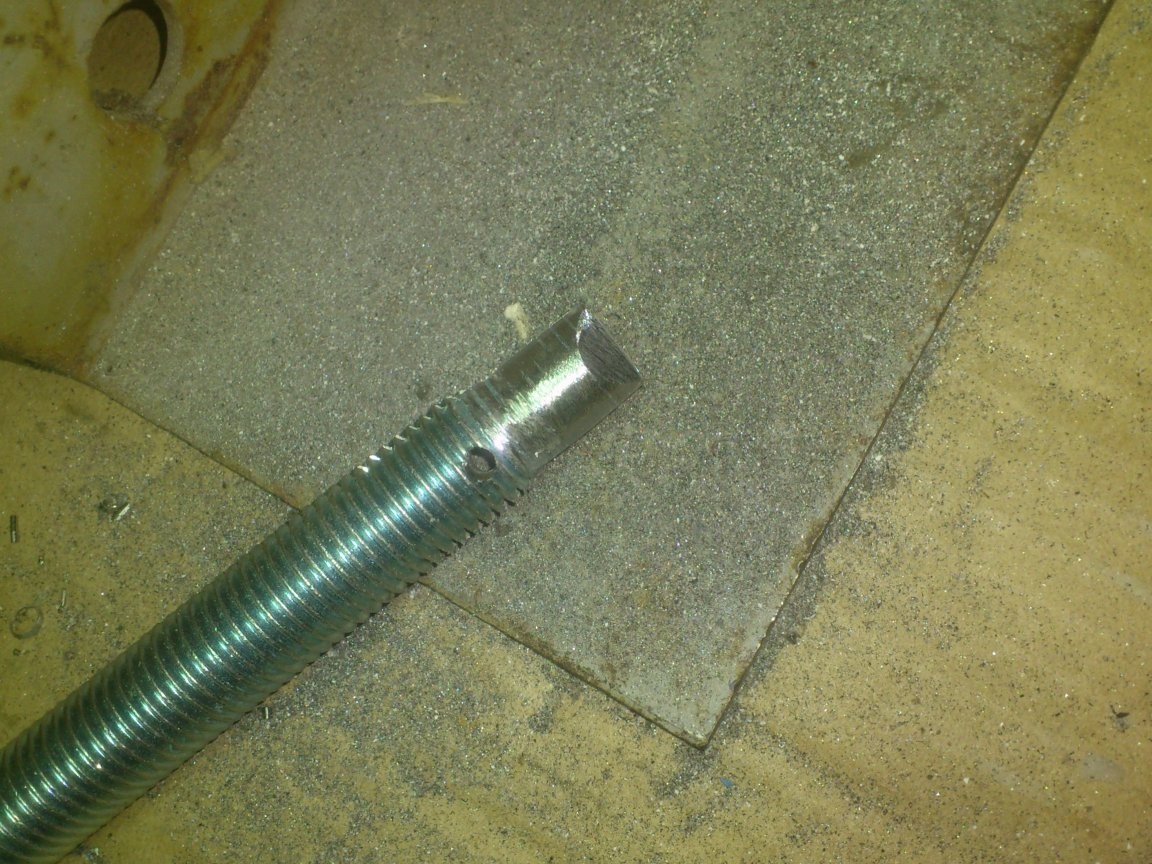
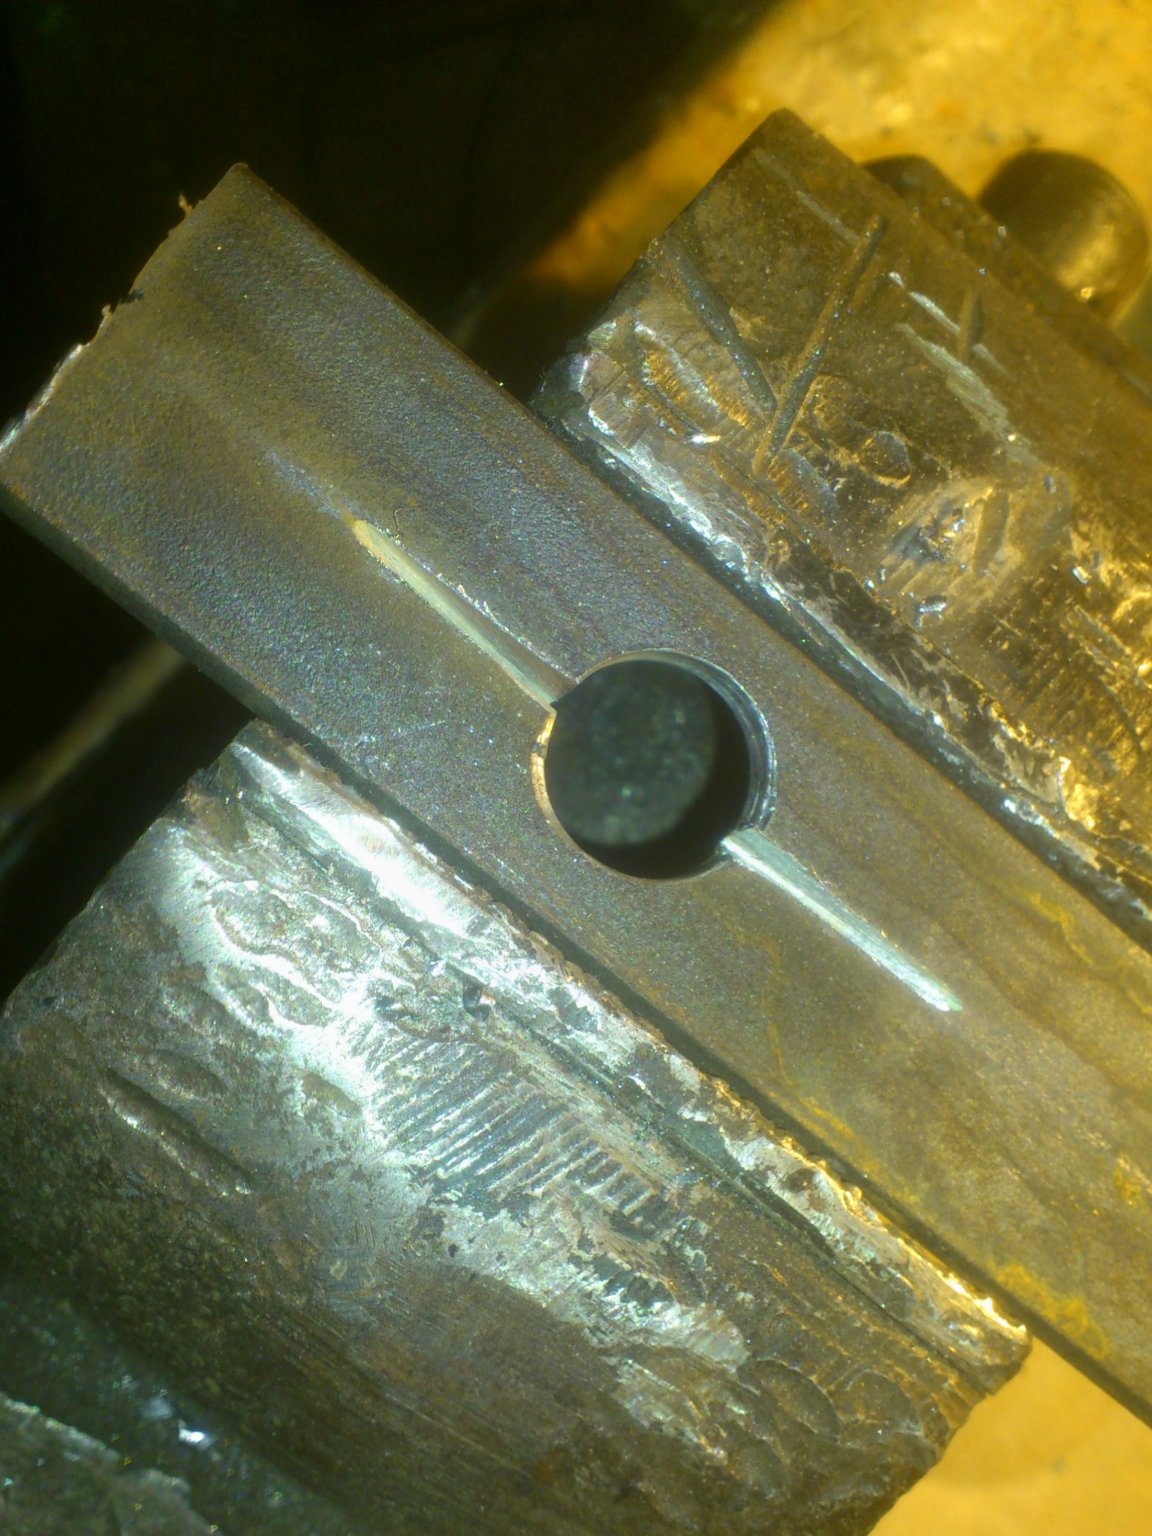
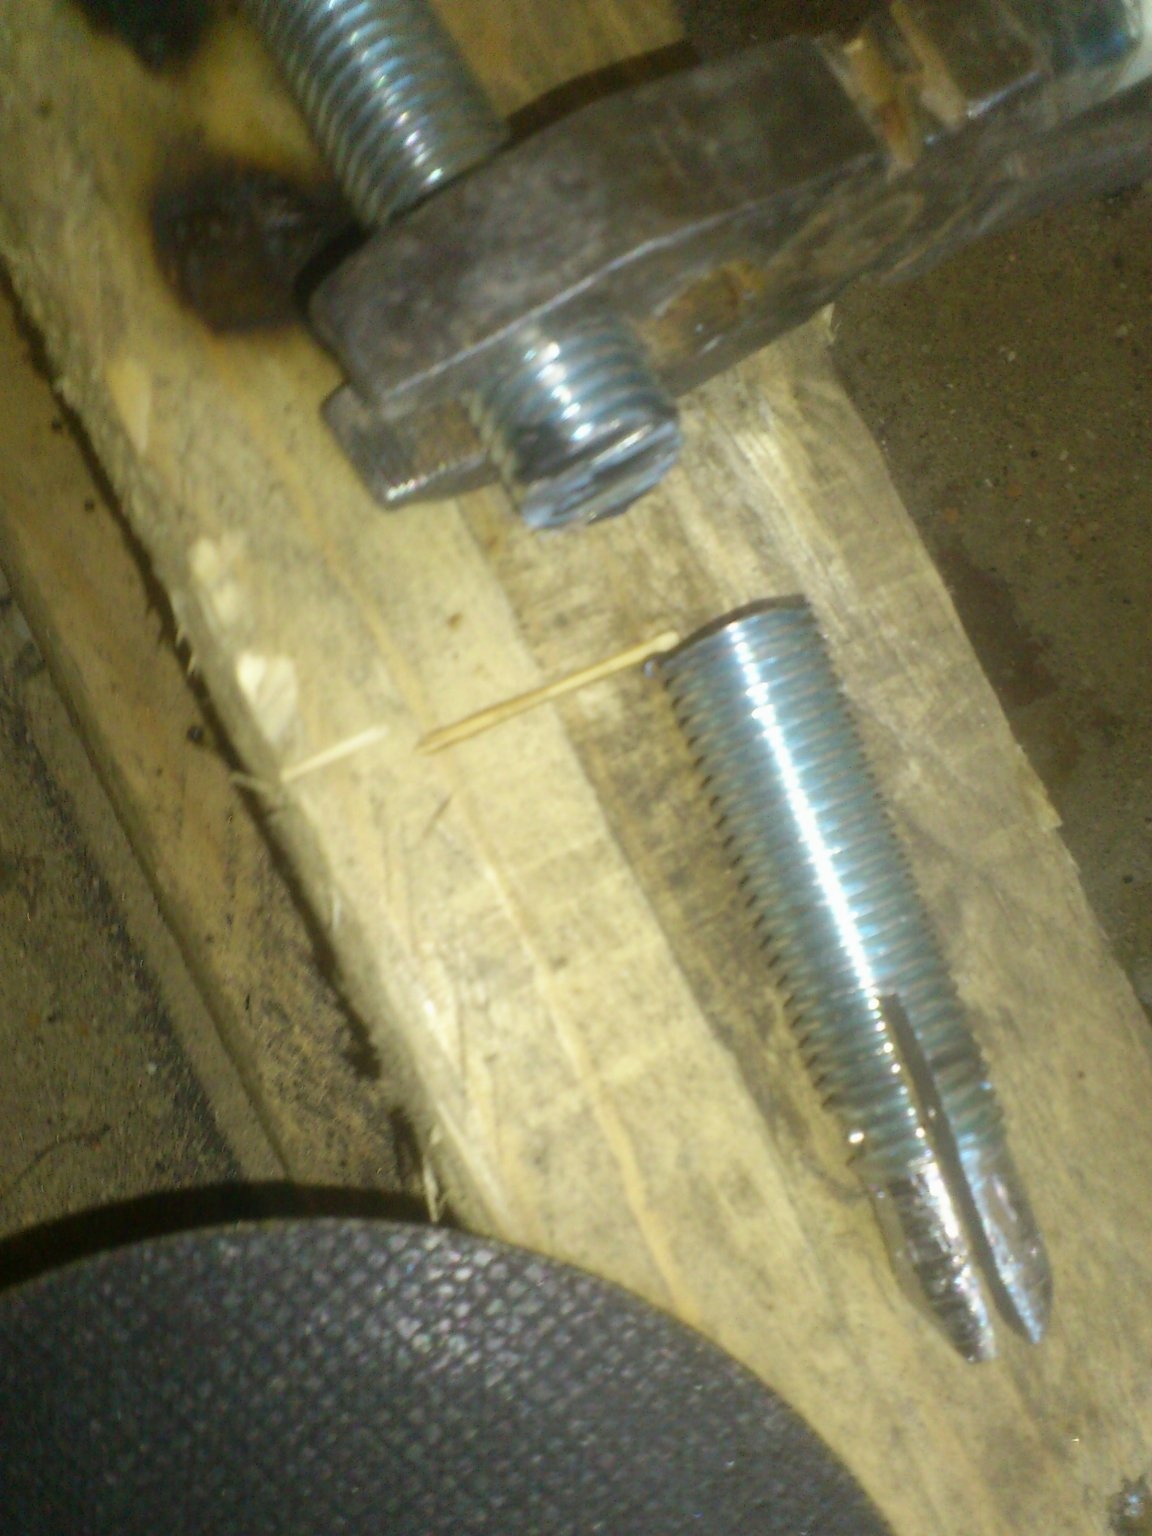
Clutching the bolt in a vise, he made a radial slot in it:
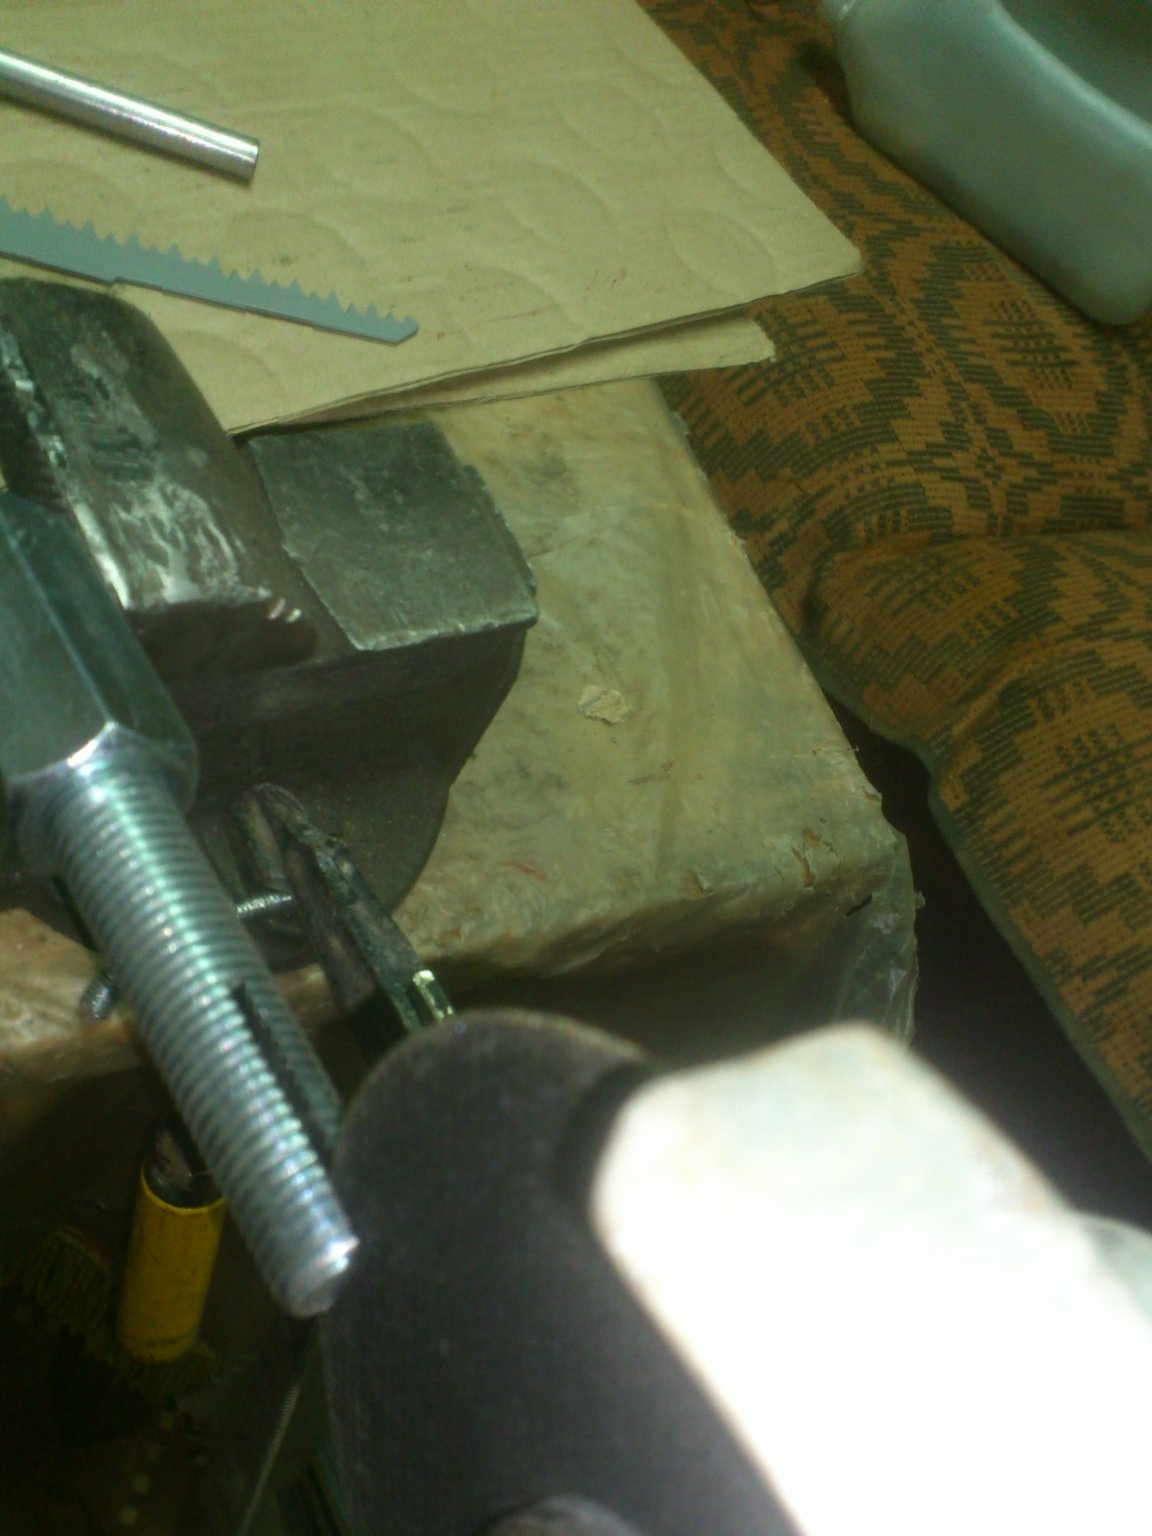
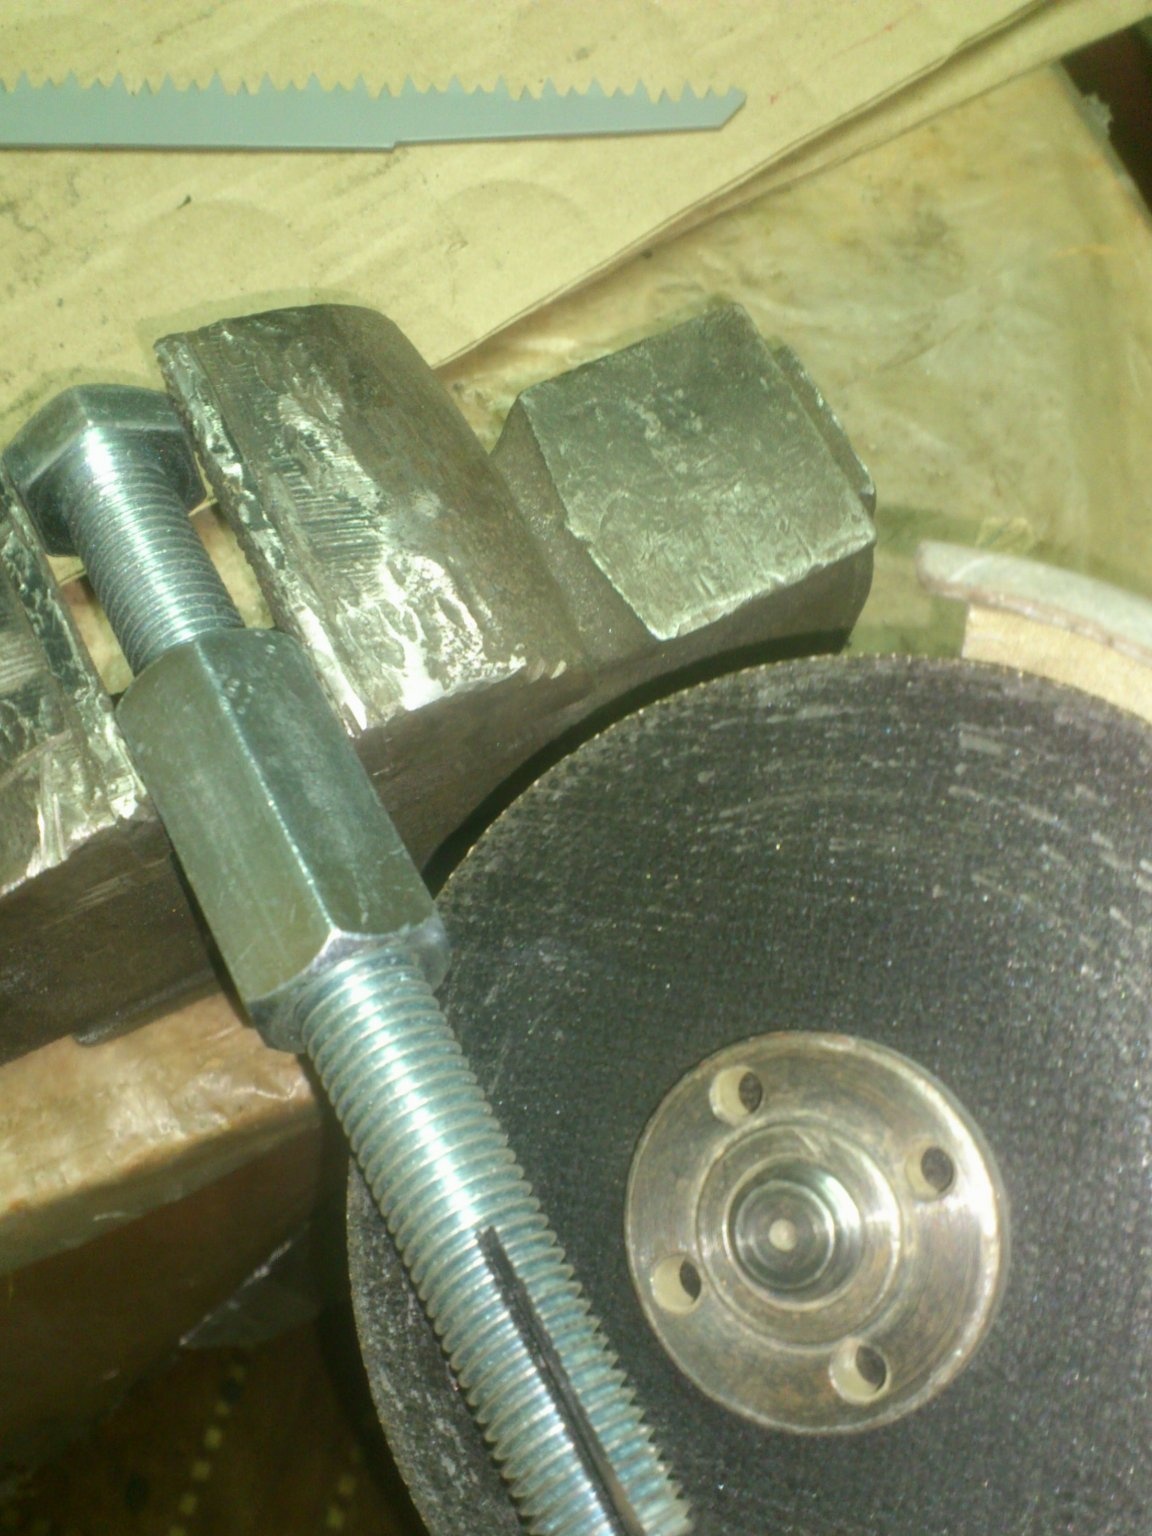
(I think it’s not worth talking about the fact that you do not need to tighten the bolts in a vice, but for the nut and hat screwed on it)))).
After that, I turned the bolt 90 degrees, and drilled a hole in it, perpendicular to the slot with a 3.2 mm drill. So that the thread does not interfere with the start of drilling, I slightly "removed" it with a "grinder":
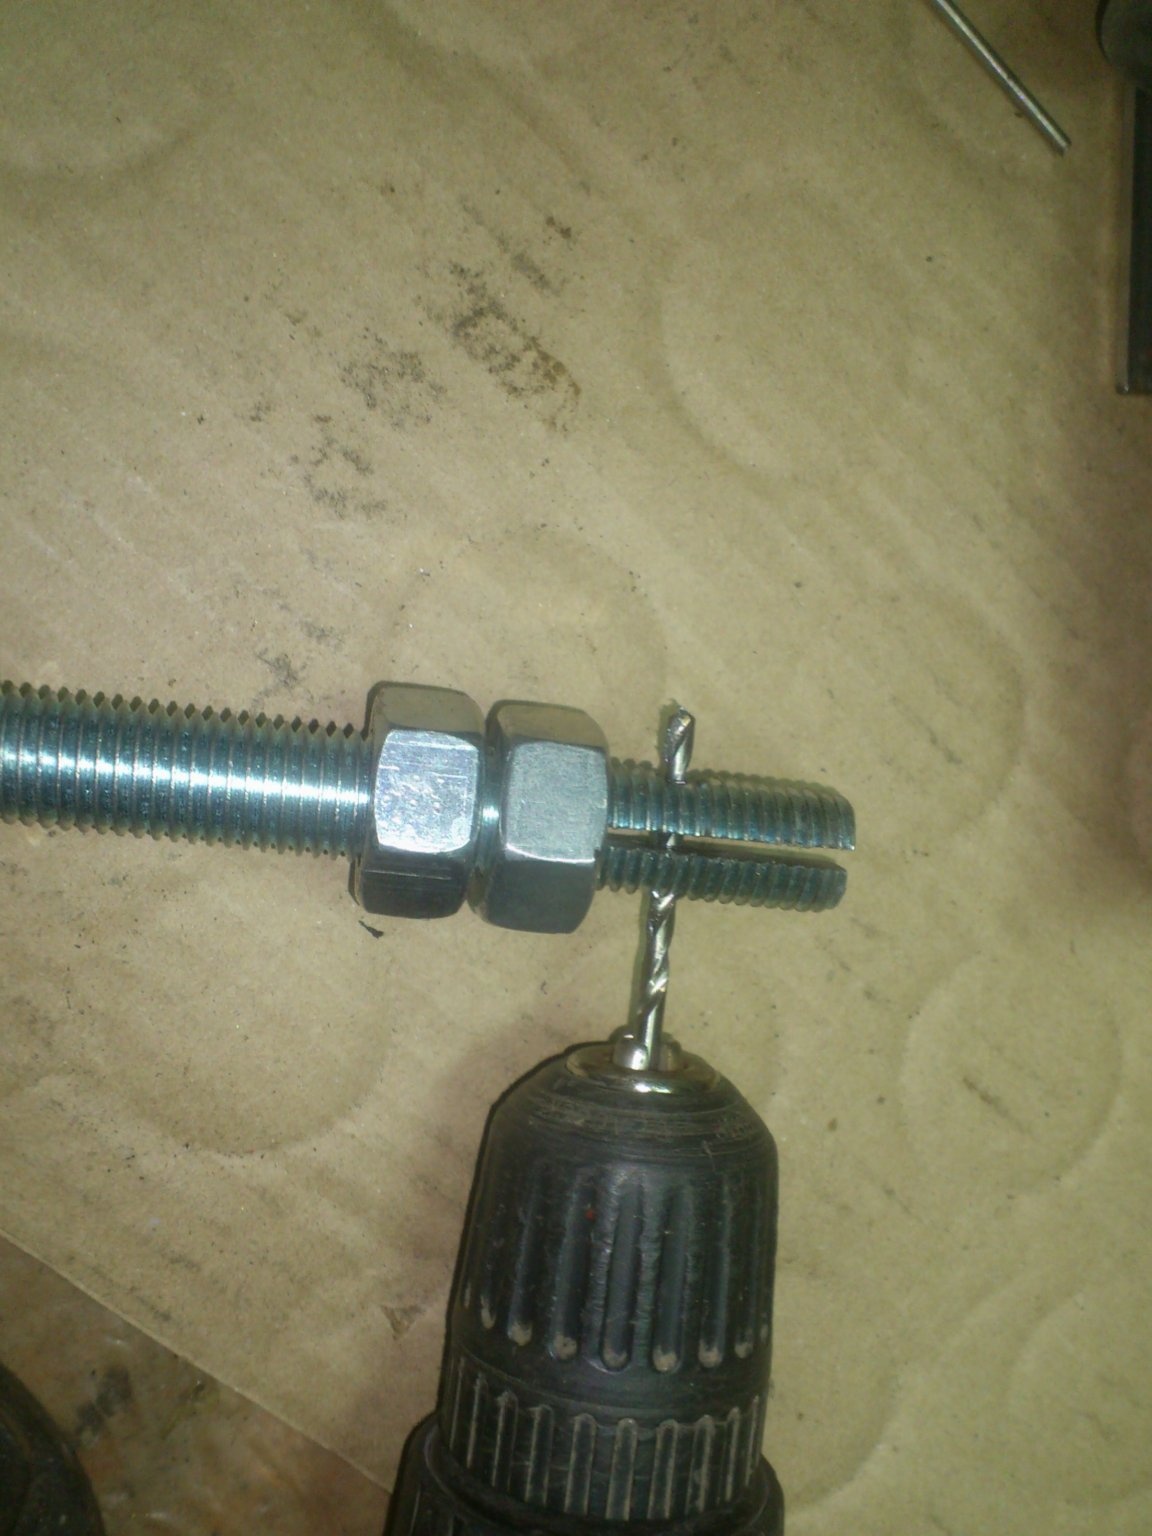
Now I’ll tell you why I chose a drill of precisely this diameter ...
As you already think, I guessed it, my idea was to fix the blade inserted into the slot of the bolt with a pin. Measured the diameter of the hole in the shank of the canvas. It turned out to be 3.8 mm.
Since the pin must be strong, I decided to make it from the drill shank. The whole drill was a pity, so I rummaged among the rubble (I don’t throw them away. Sometimes they come in handy ... Uh ... Or, come in handy? ... In short, sometimes they are needed! That's how it is now)))) I found fragments of three-millimeter drills. I decided to use them (structurally, the pin can be thinner than the hole in the landing. This does not affect anything).
Well, the hole in which the pin will fit easily should be a little larger in diameter - 3.2 mm.
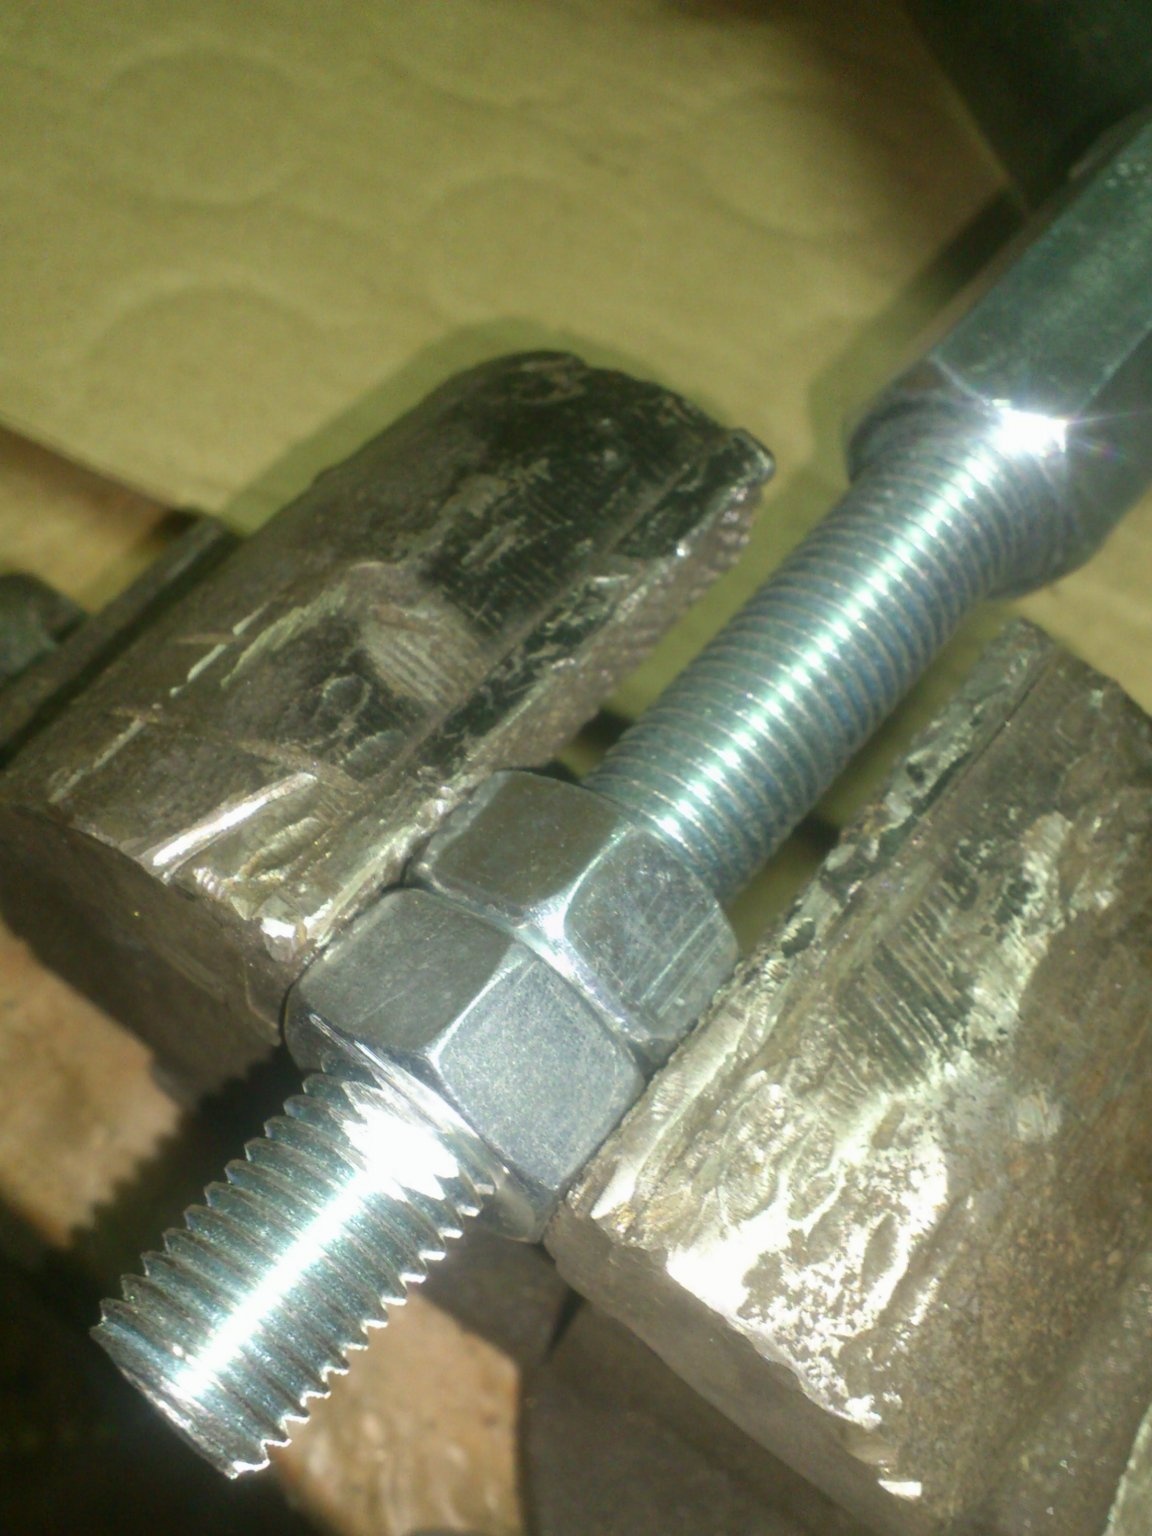
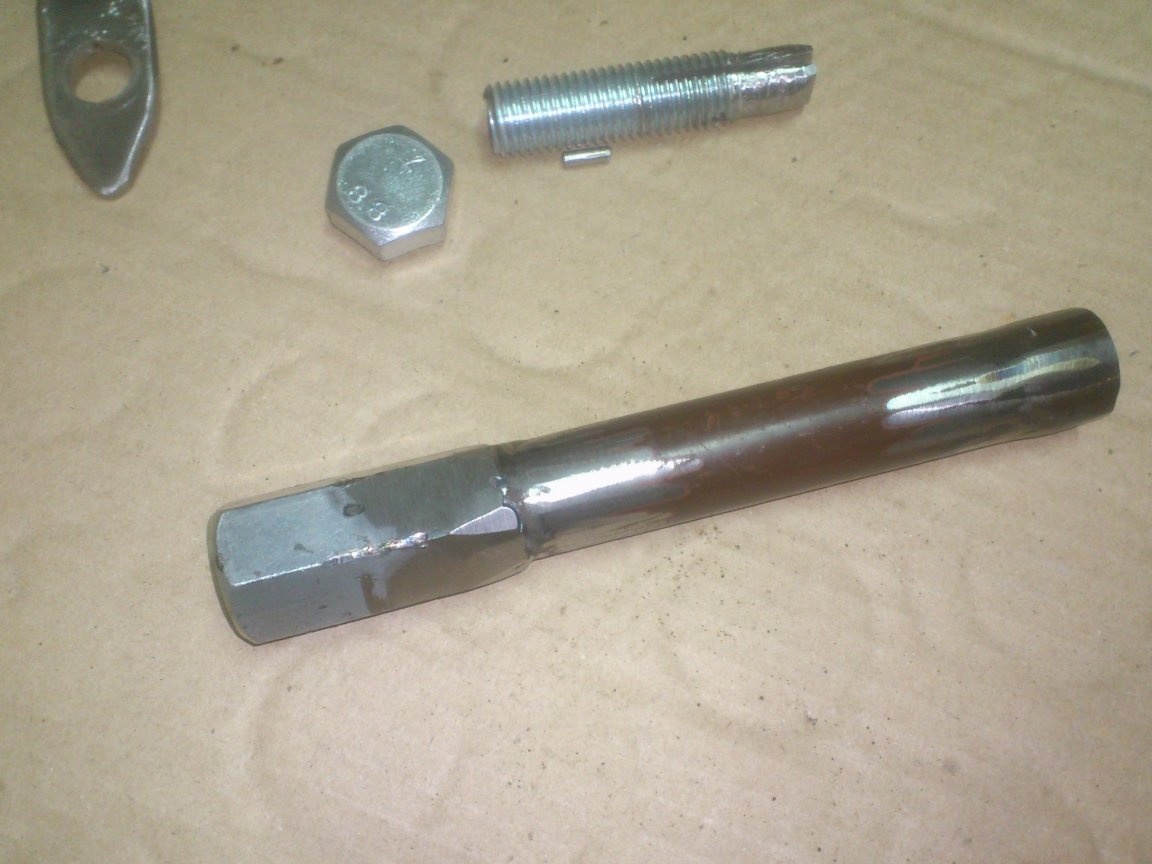
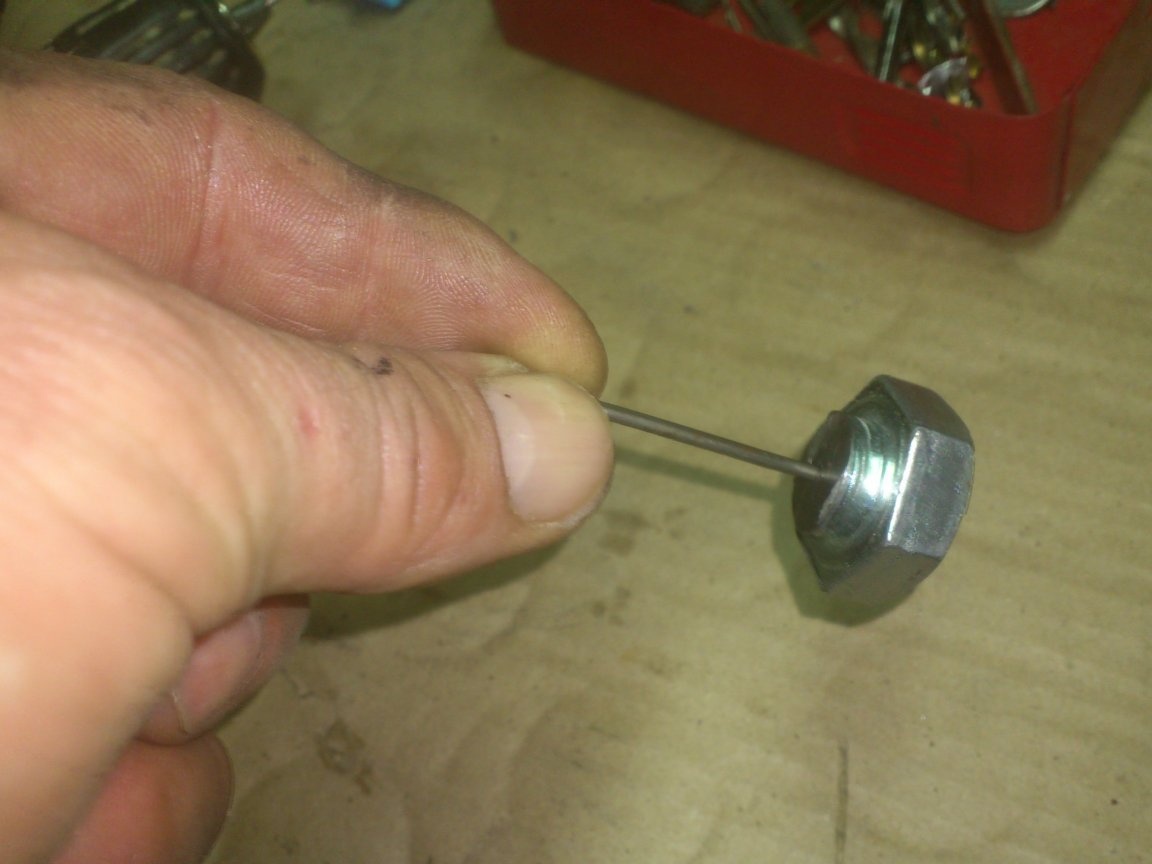
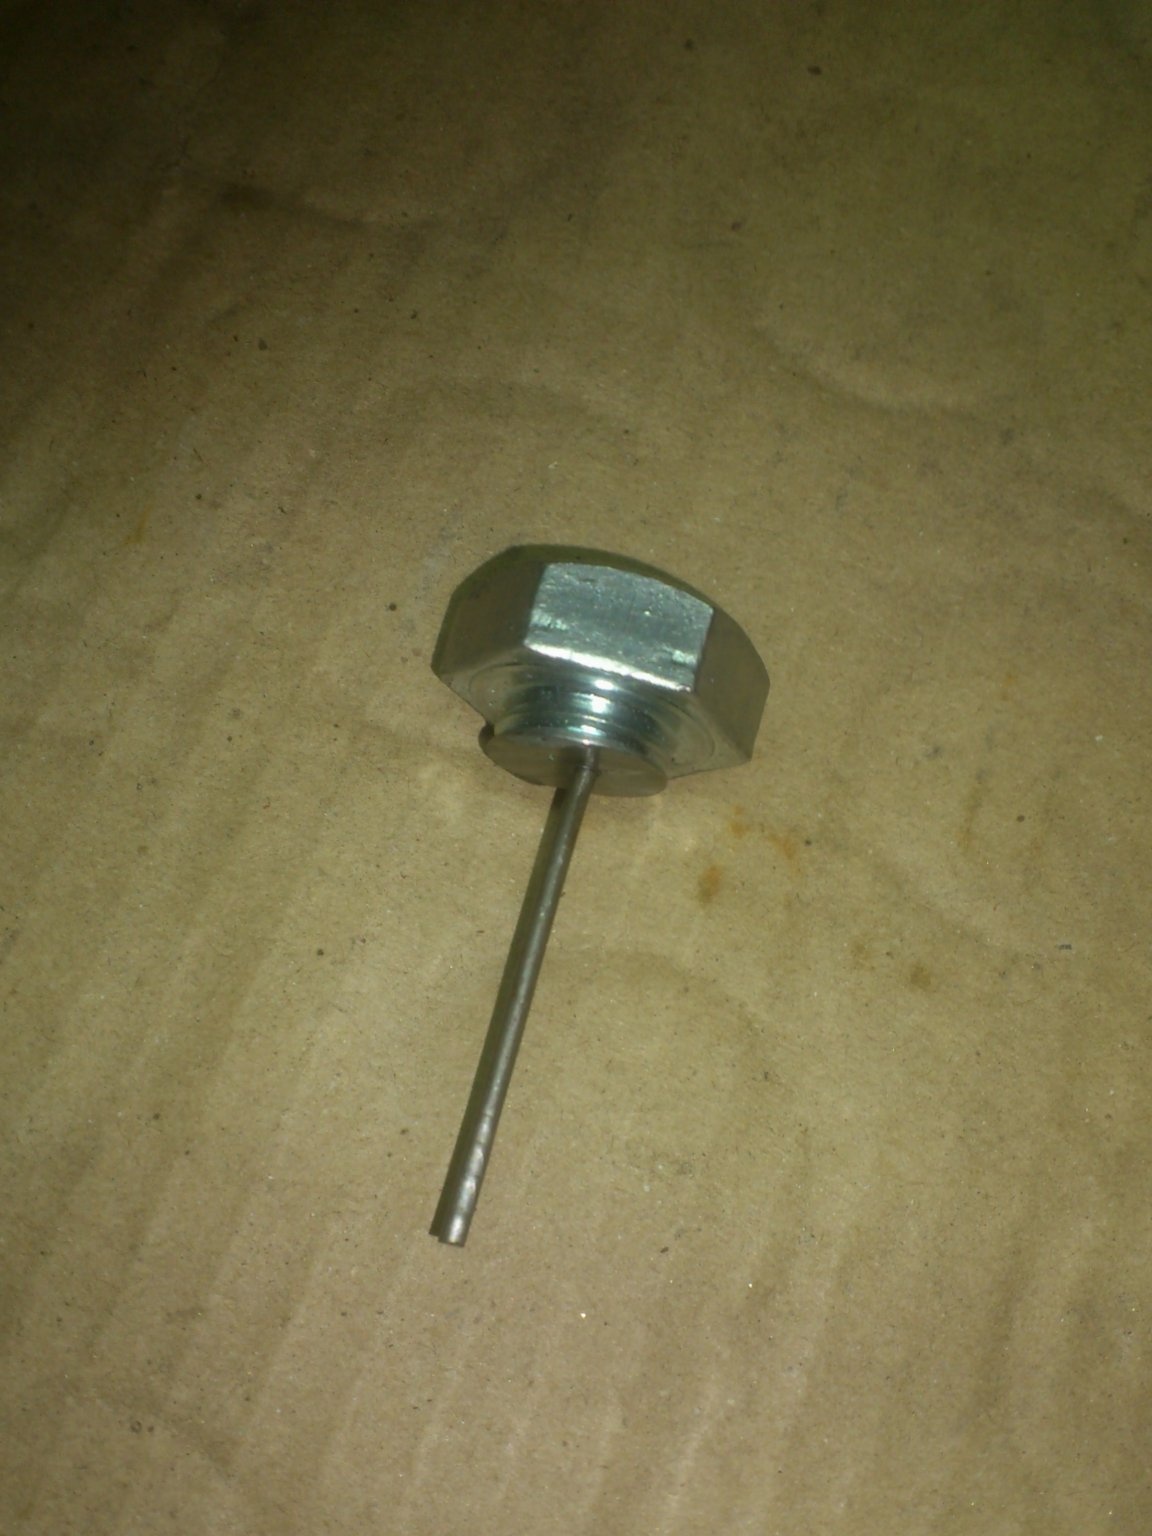
The next step I cut off the hat at the bolt. He left on it only a few turns of thread. (It will still be useful to us. For what - I'll tell you later)))
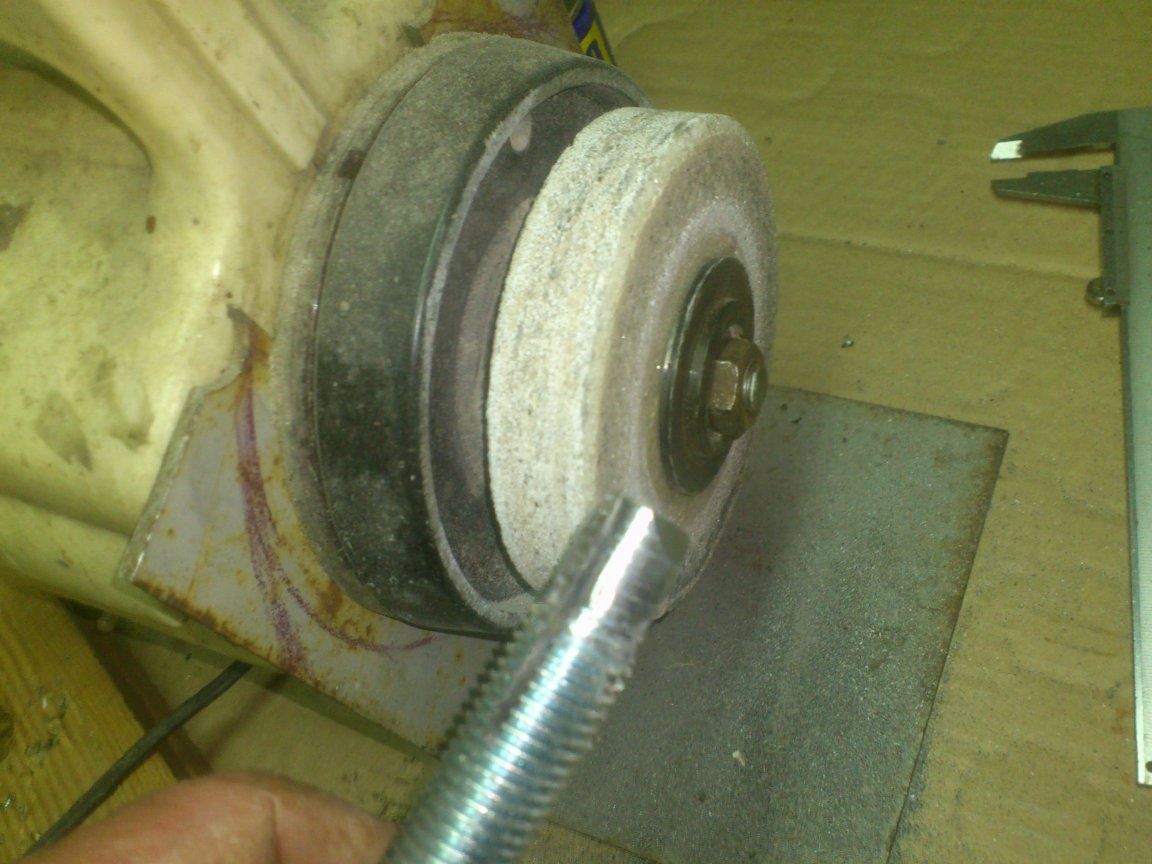
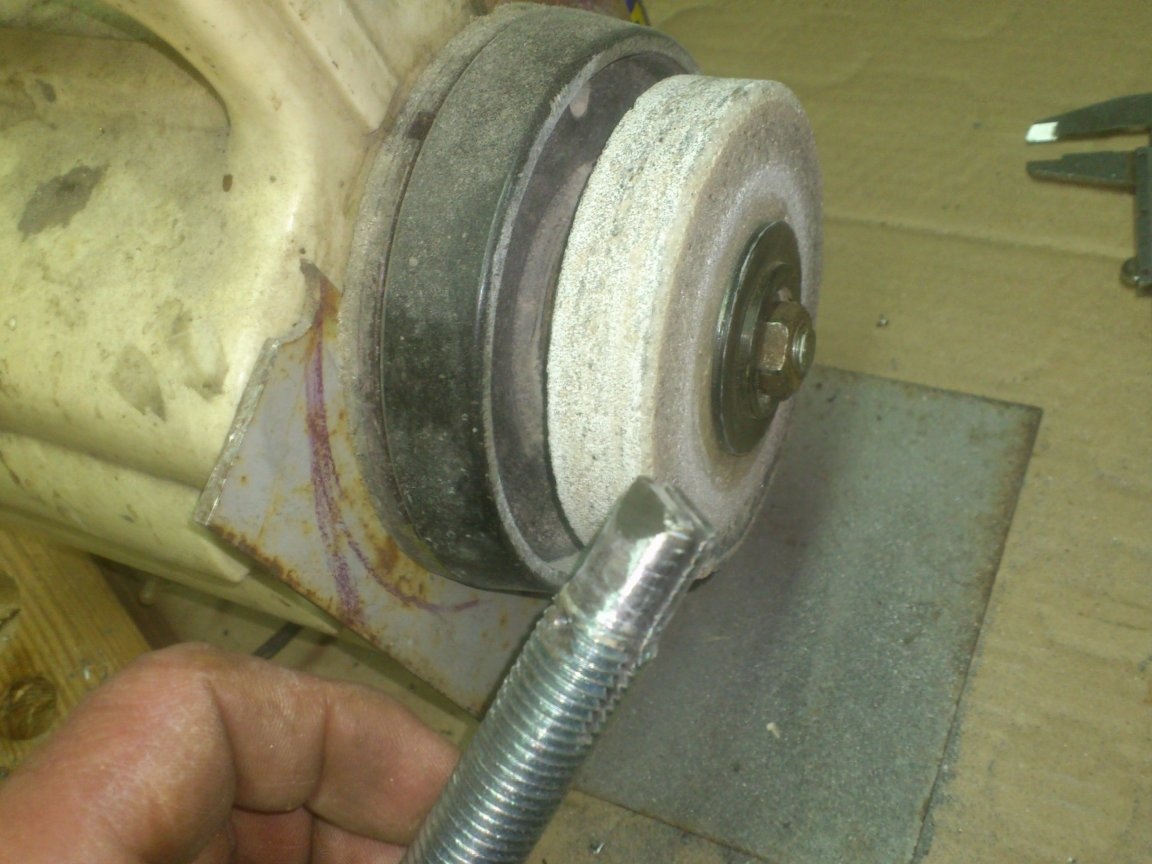
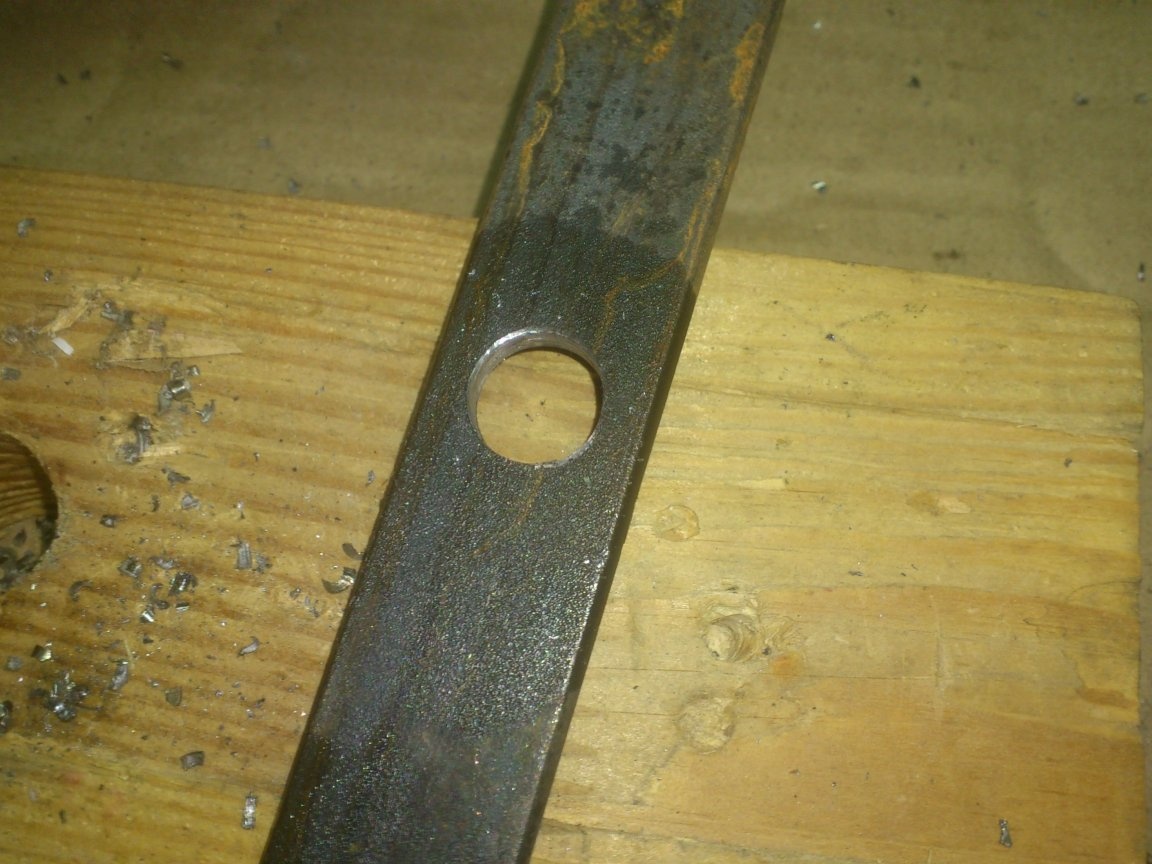
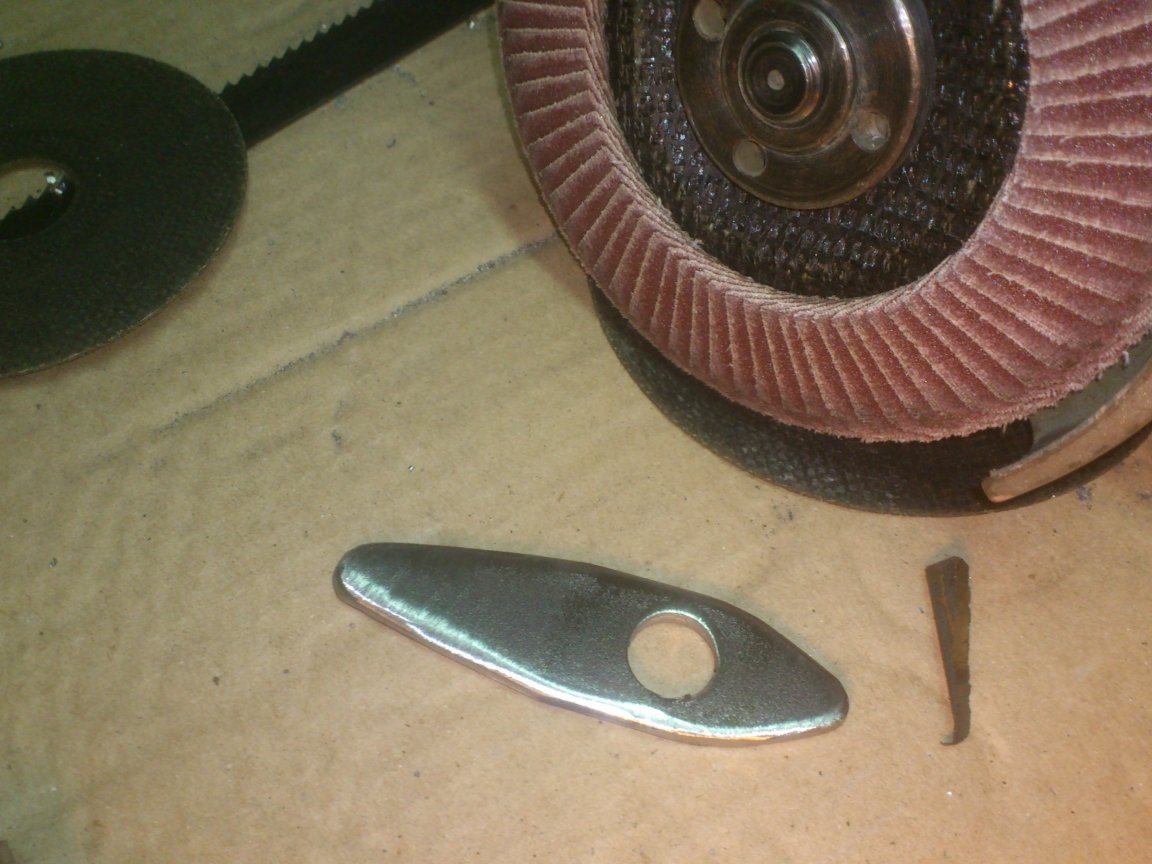
And he turned the emery bolt to a diameter of 12 mm, removing the thread almost to the hole for the pin:

After which I proceeded to manufacture a supporting "washer", which is probably better called a guard. I decided to make it from a strip of 25 by 4 mm, scraps of which, of course, were found in my "scrap metal":
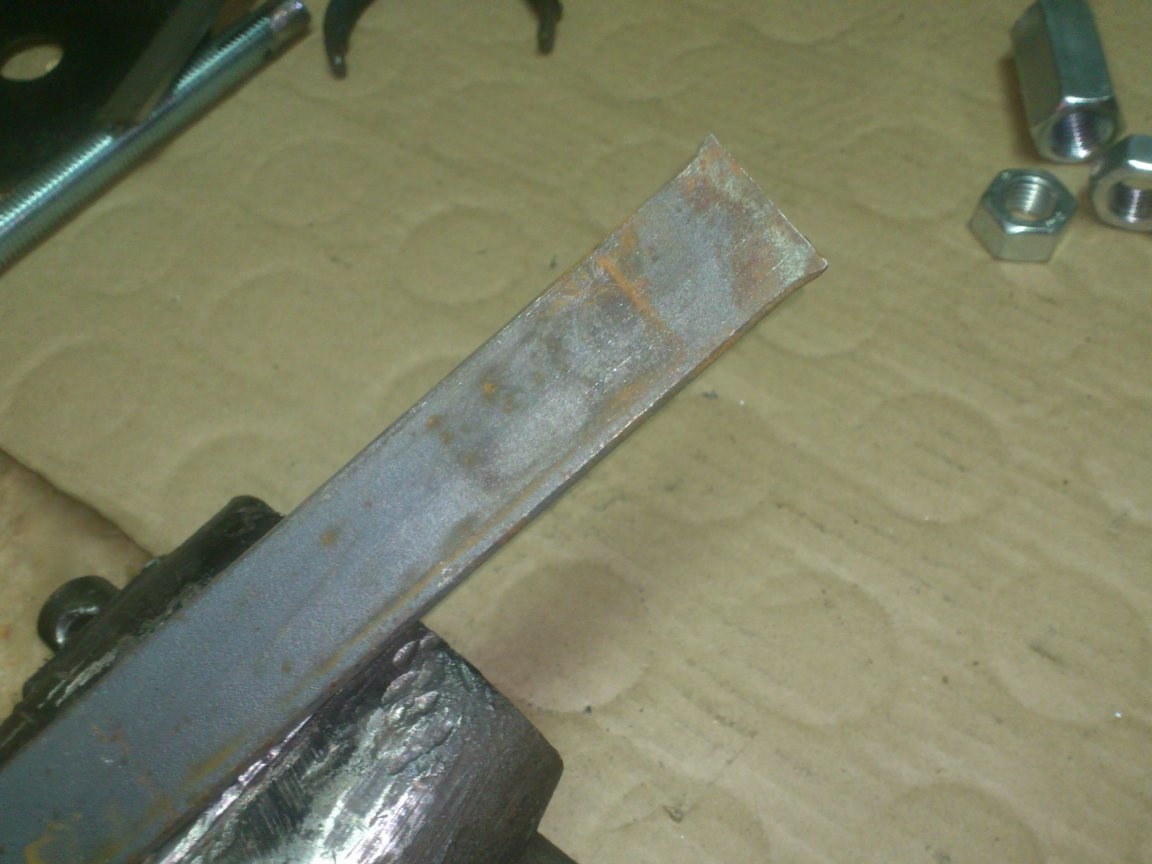
While it is long (to make it more convenient to hold), I drilled a hole in it with a diameter of 12 mm:
After that, I cut the segment I needed. (Sizes chosen "on a hunch" ...))). As usual I do - such that it was normal! )))))))
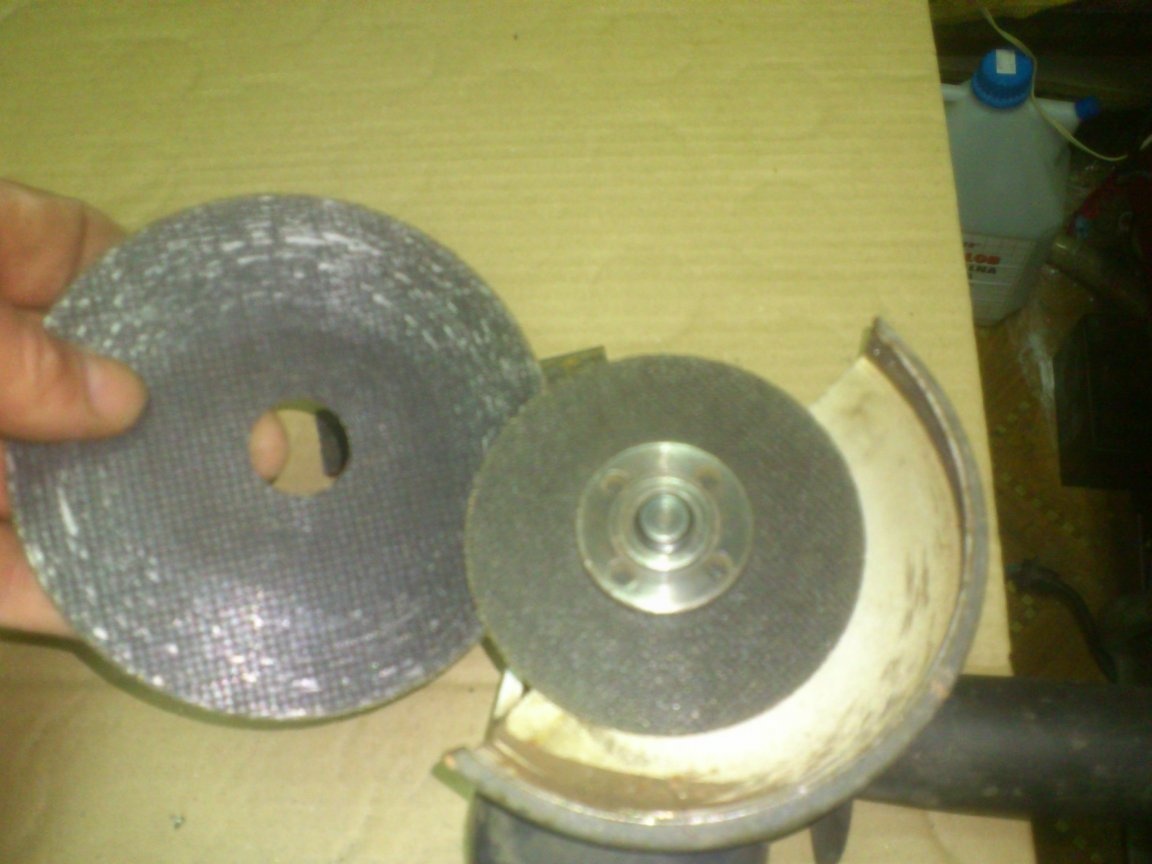
In the guard, I need a slot (chamfer), into which the tabs of the canvas will be buried, and will not allow the guard to turn about it. In order not to make it too long, I changed the cutting wheel to a "stub", which I had already removed "to throw":
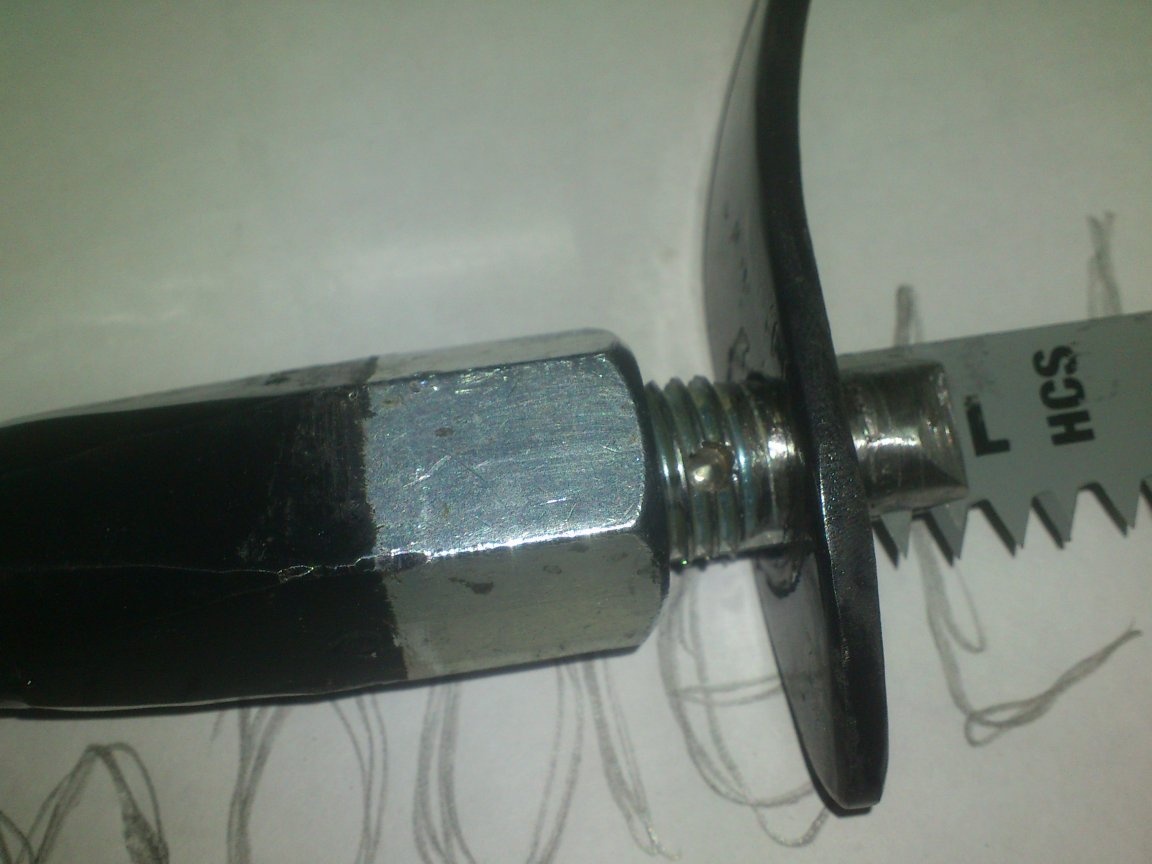
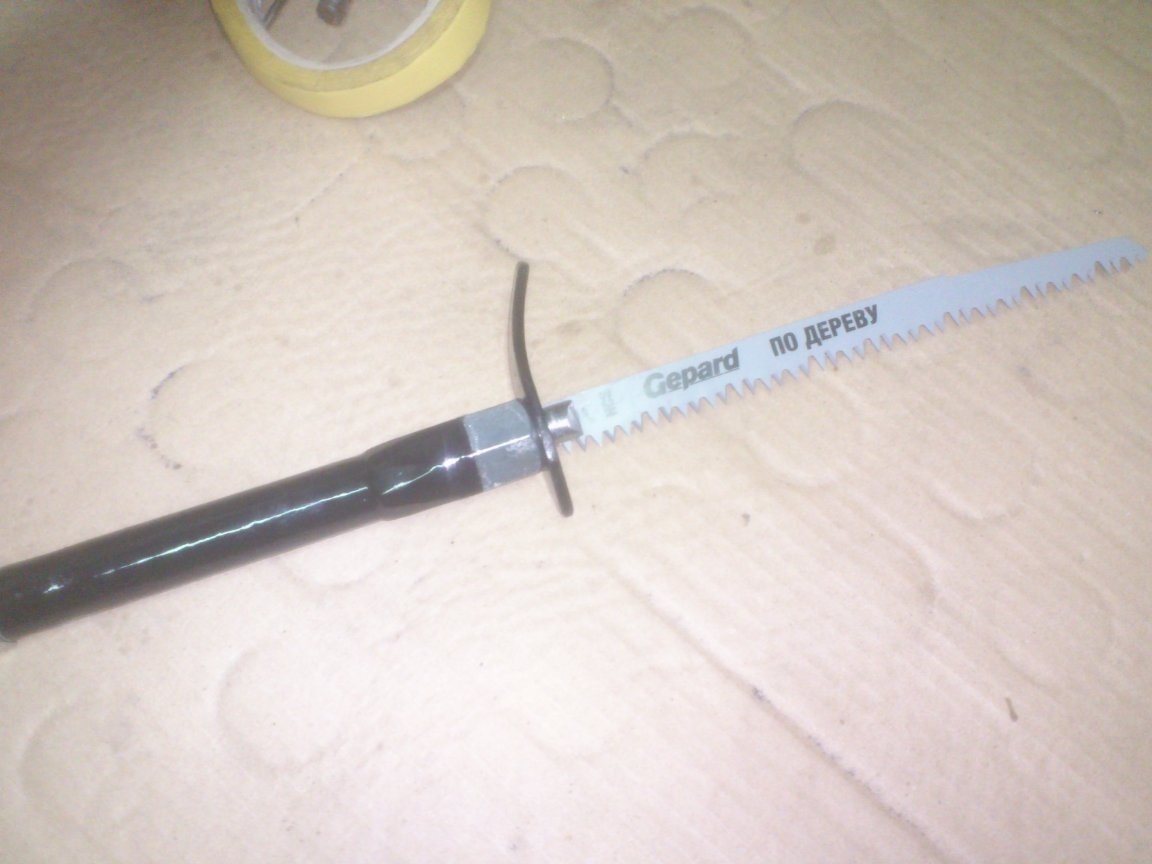
Now the time has come "fitting")))). I decided to press the guard and blade with a long M16 connecting nut, which I specially bought.
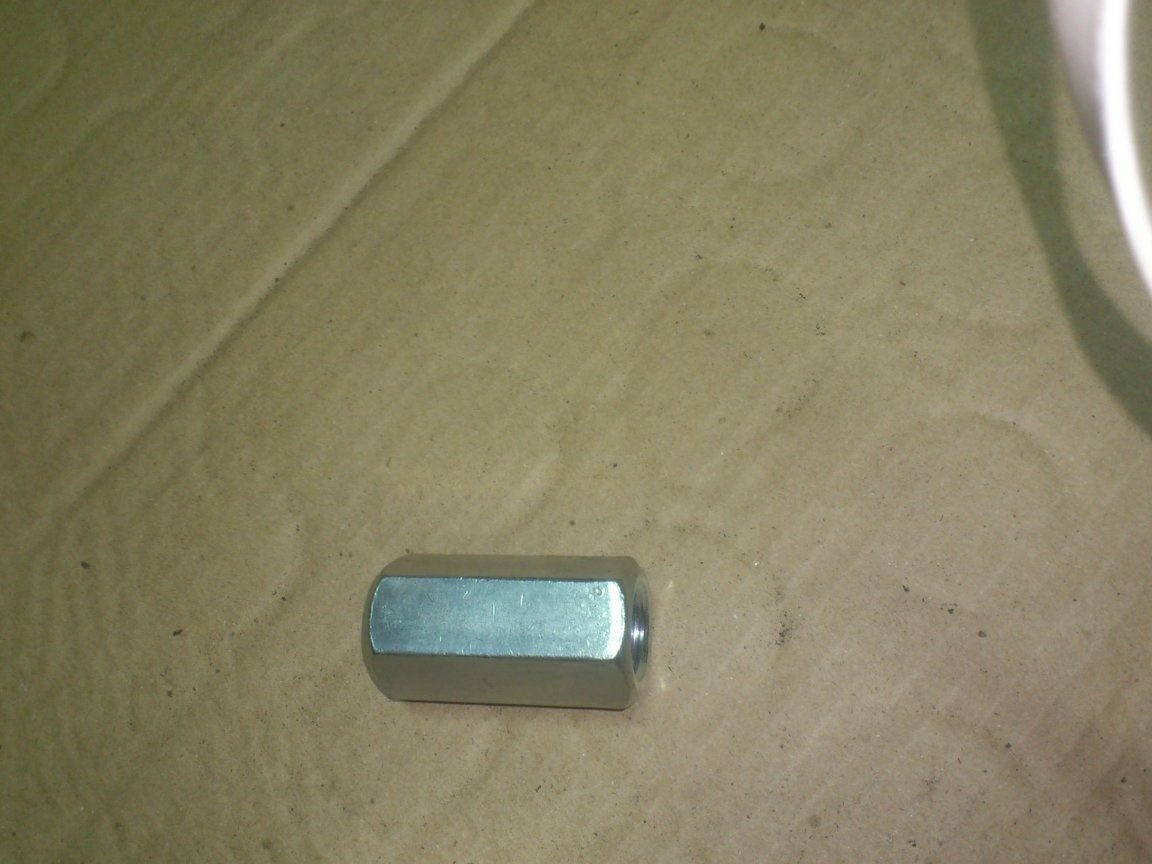
It is much longer than ordinary nuts:
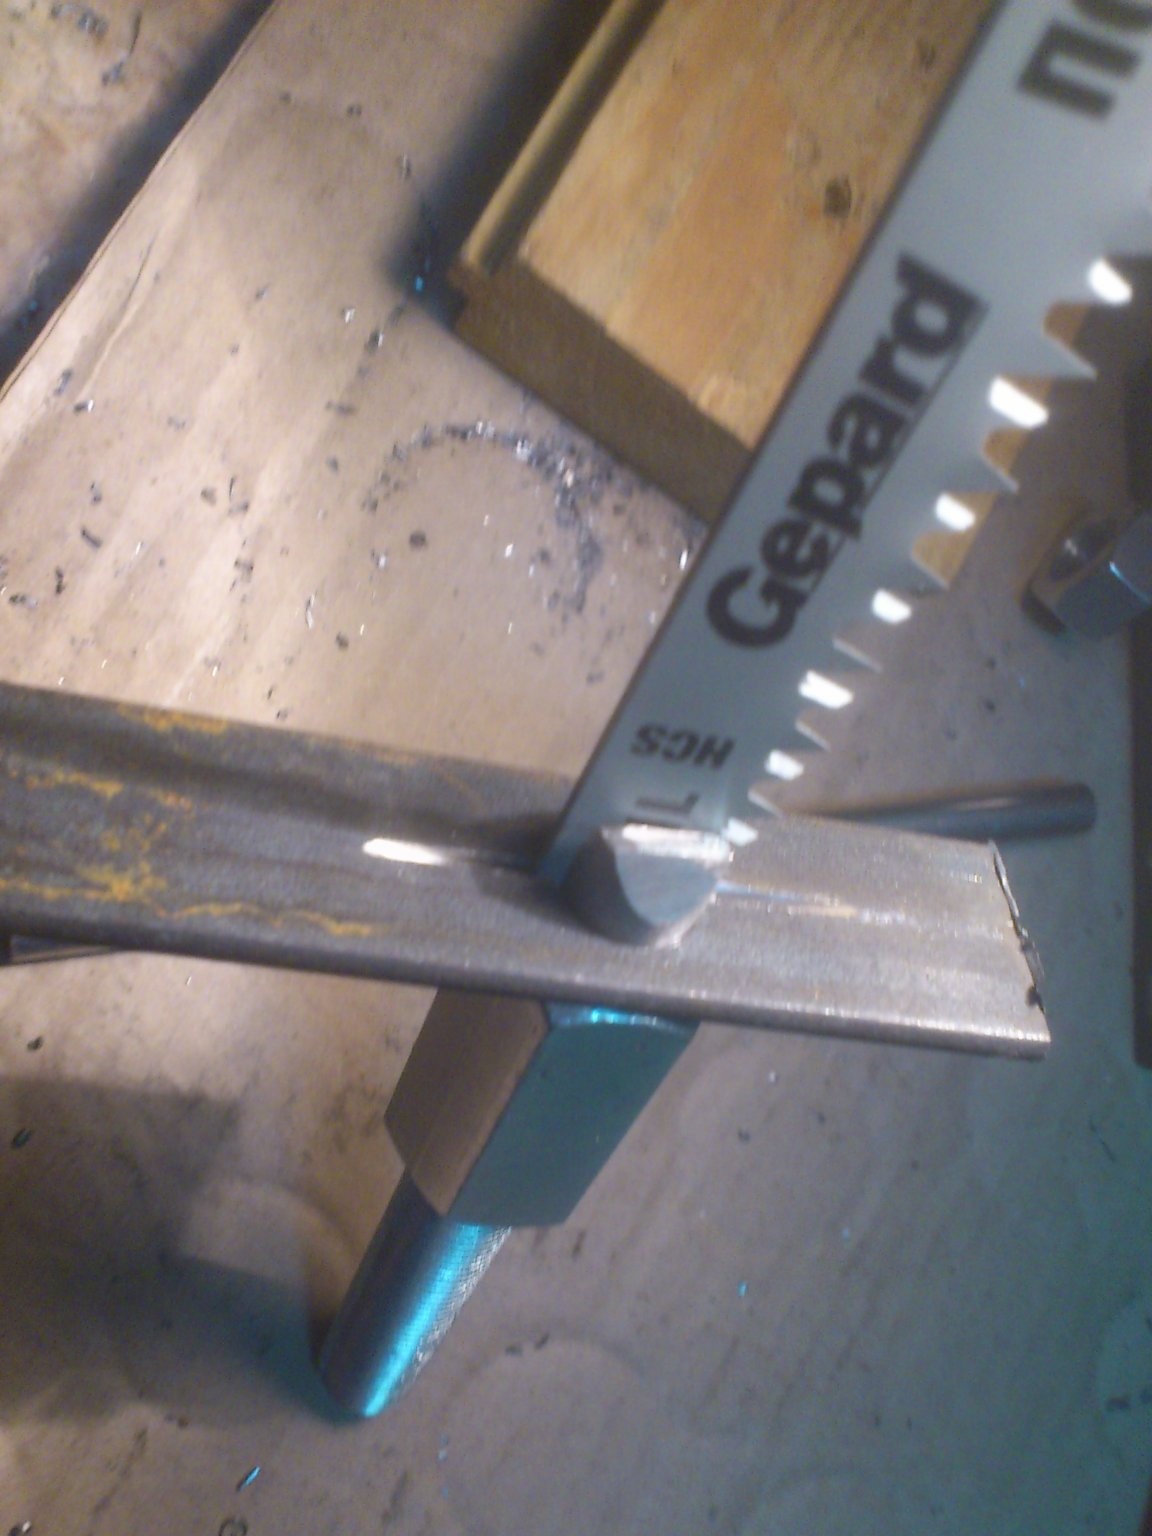
The mount, as expected, turned out to be strong and reliable ...
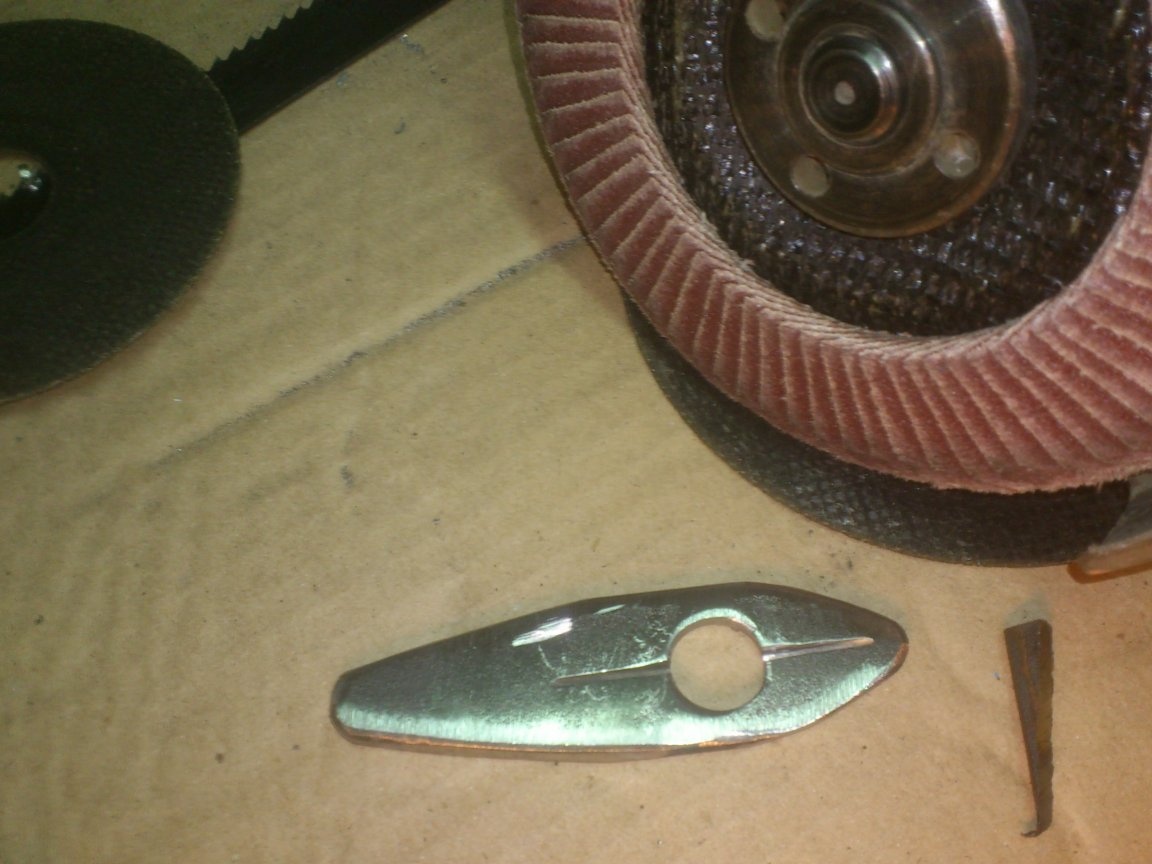
Now you can "refine" the guard. The cutting-off circle “cut off everything superfluous”:
And "combed" emery-petal:
Then he slightly bent it with hammer blows (And it would have been necessary before grinding ...))) I had to turn on the grinder again with the emery-petal circle and polish the marks from the hammer blows)))):
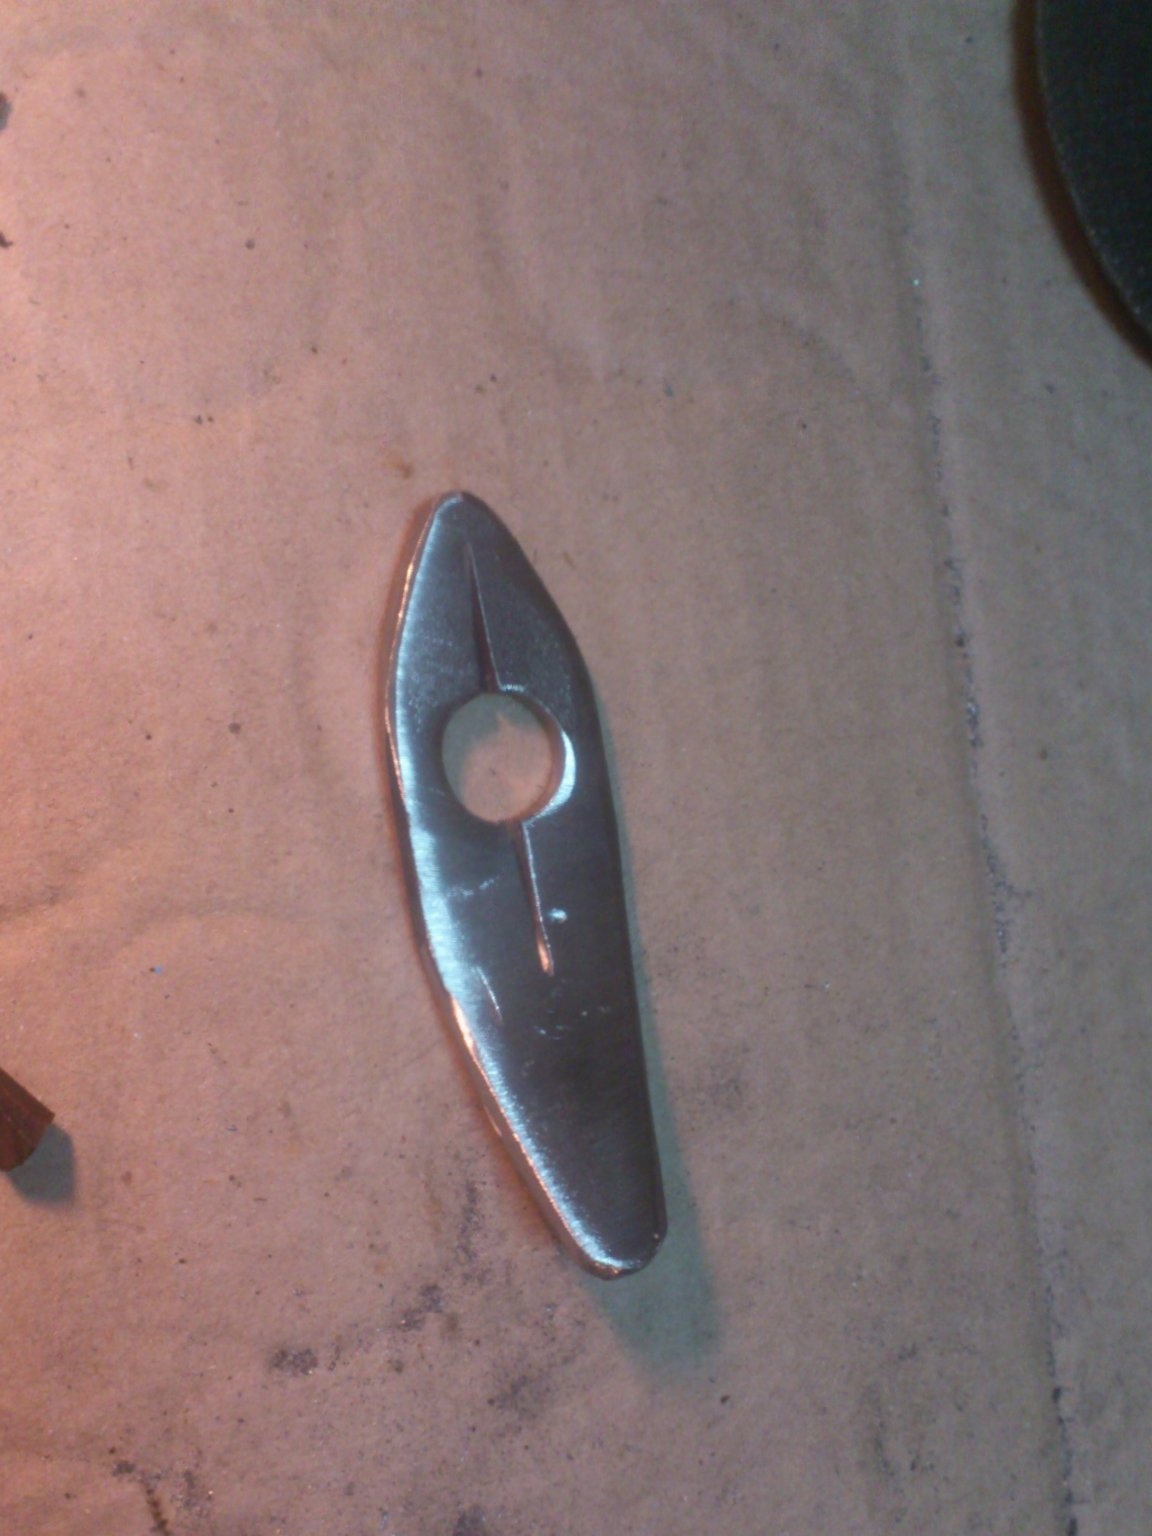
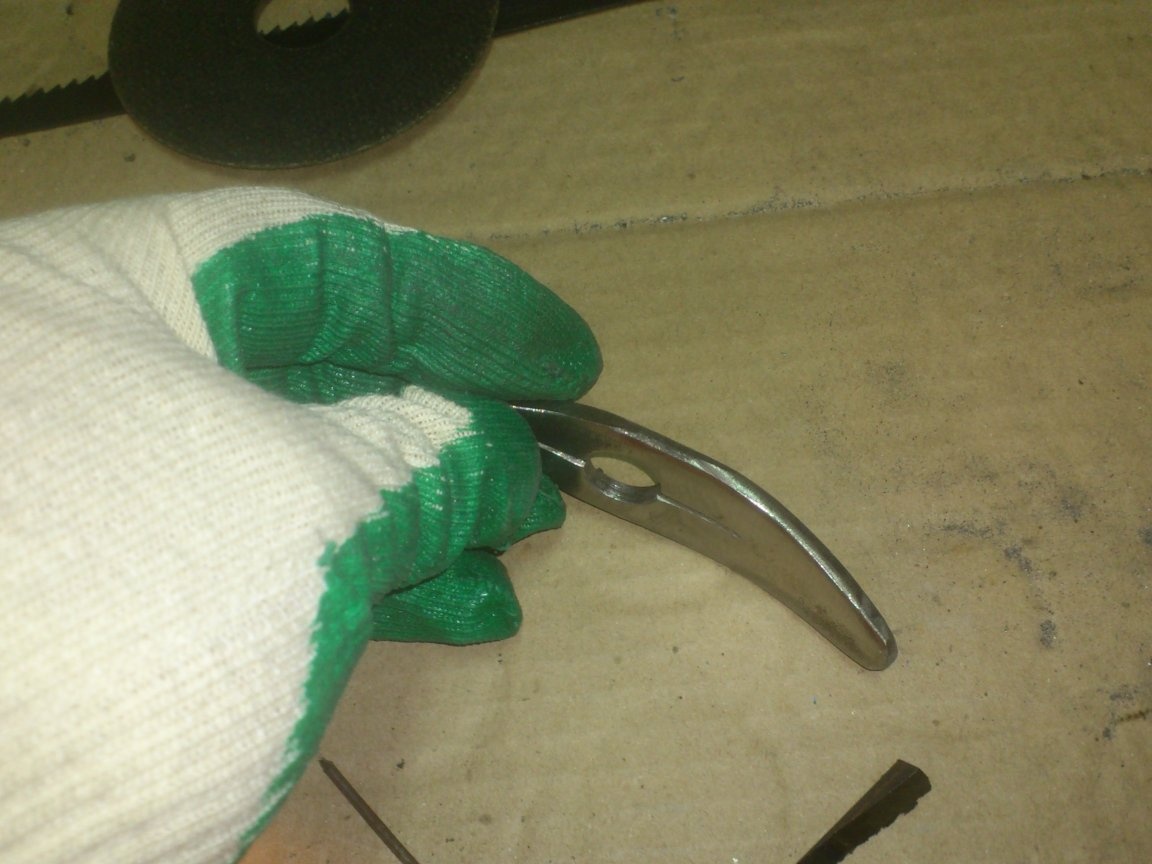
The upper part of it left much longer than the lower. This is done in order to get enough leverage when tightening the nut.
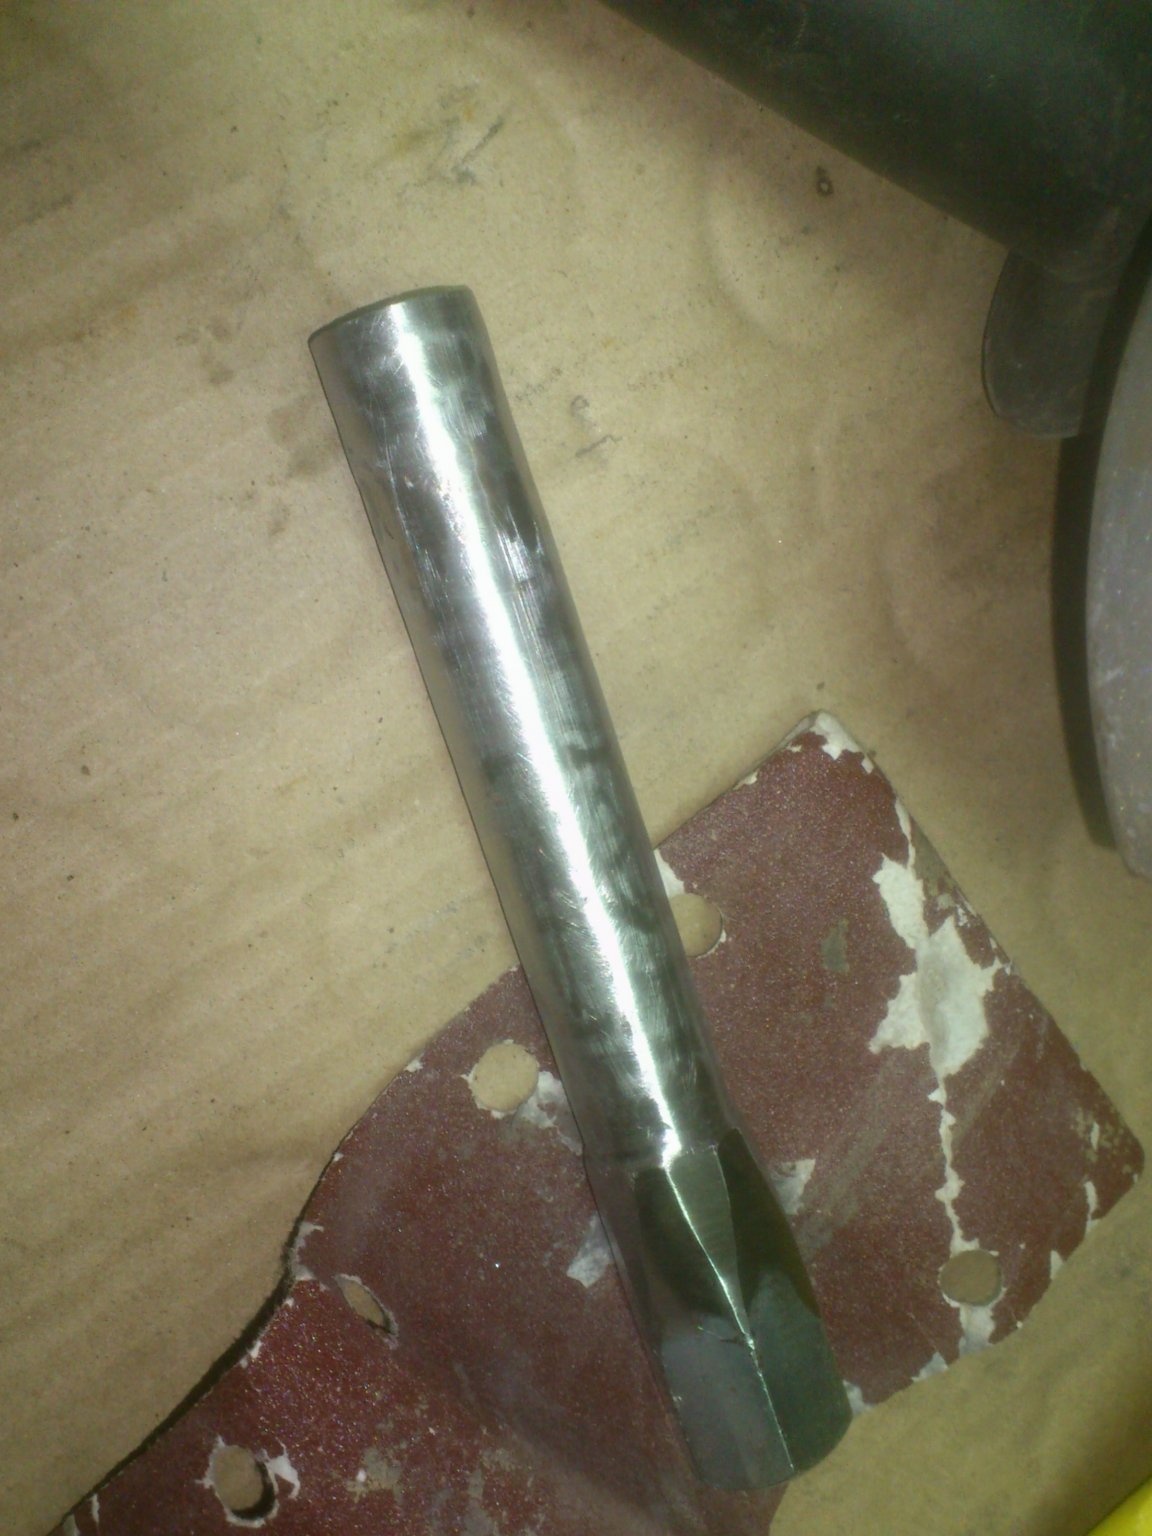
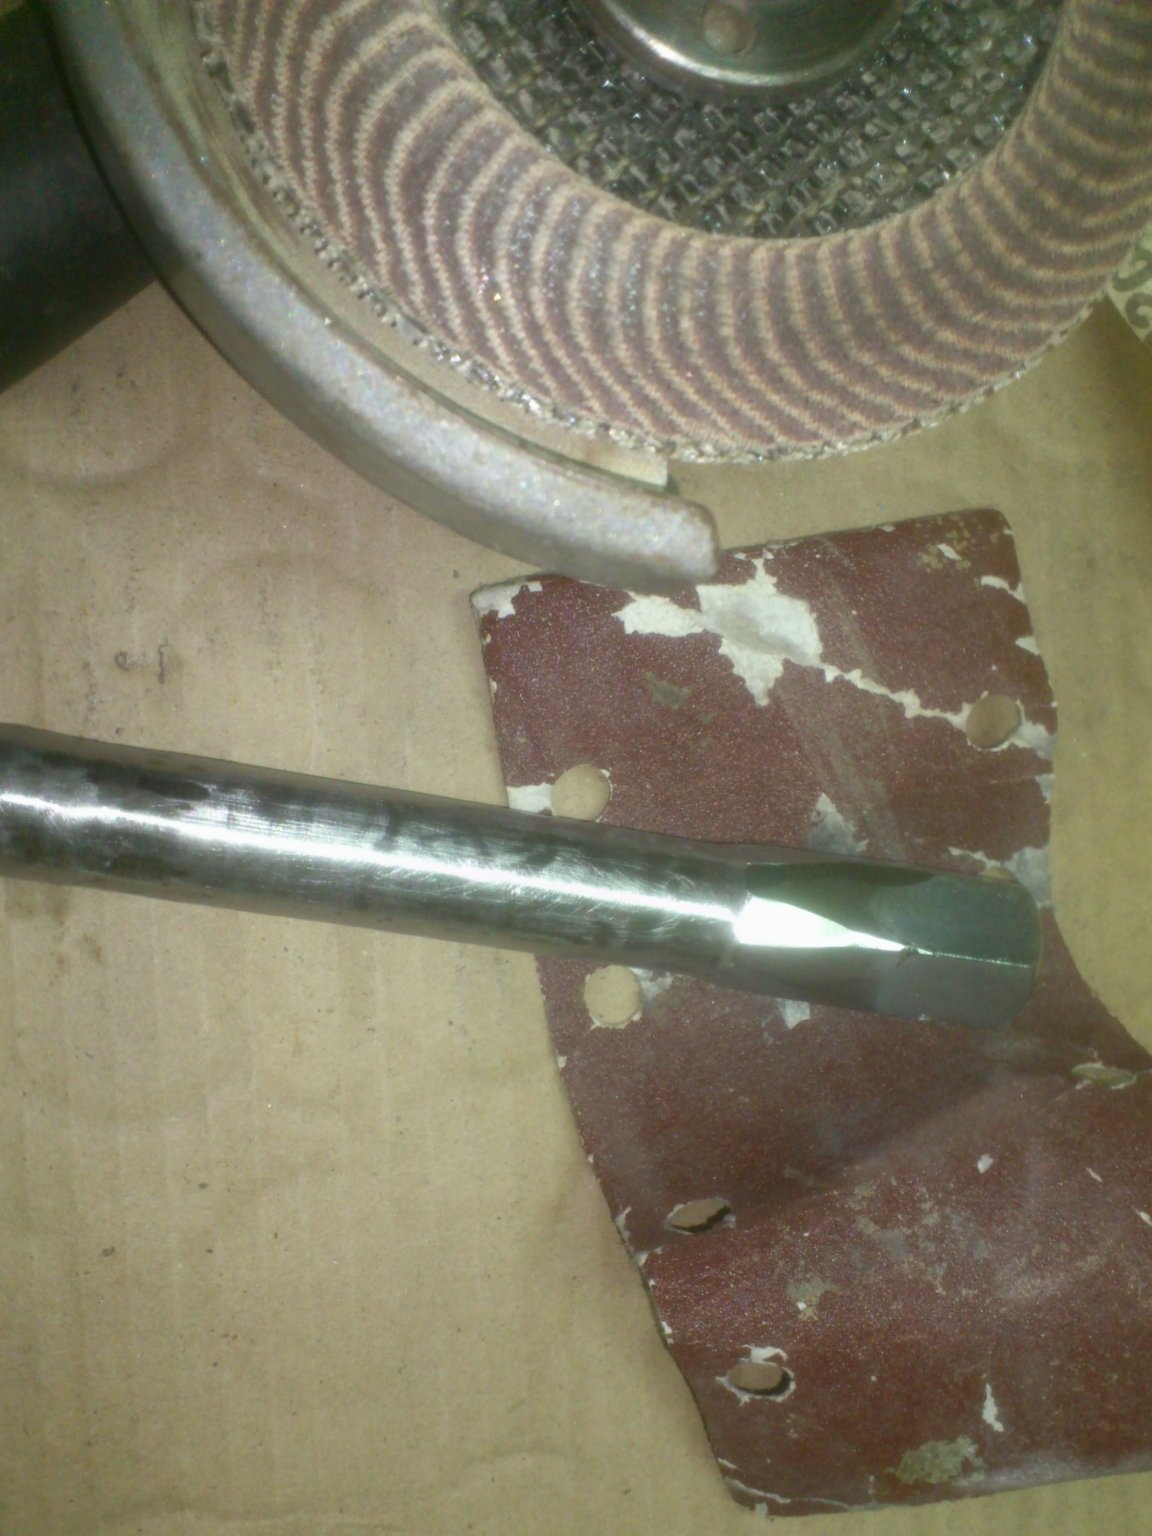
I decided to make the handle from the trim of the water pipe DU-15, which I left after manufacturing tubular snow retention..
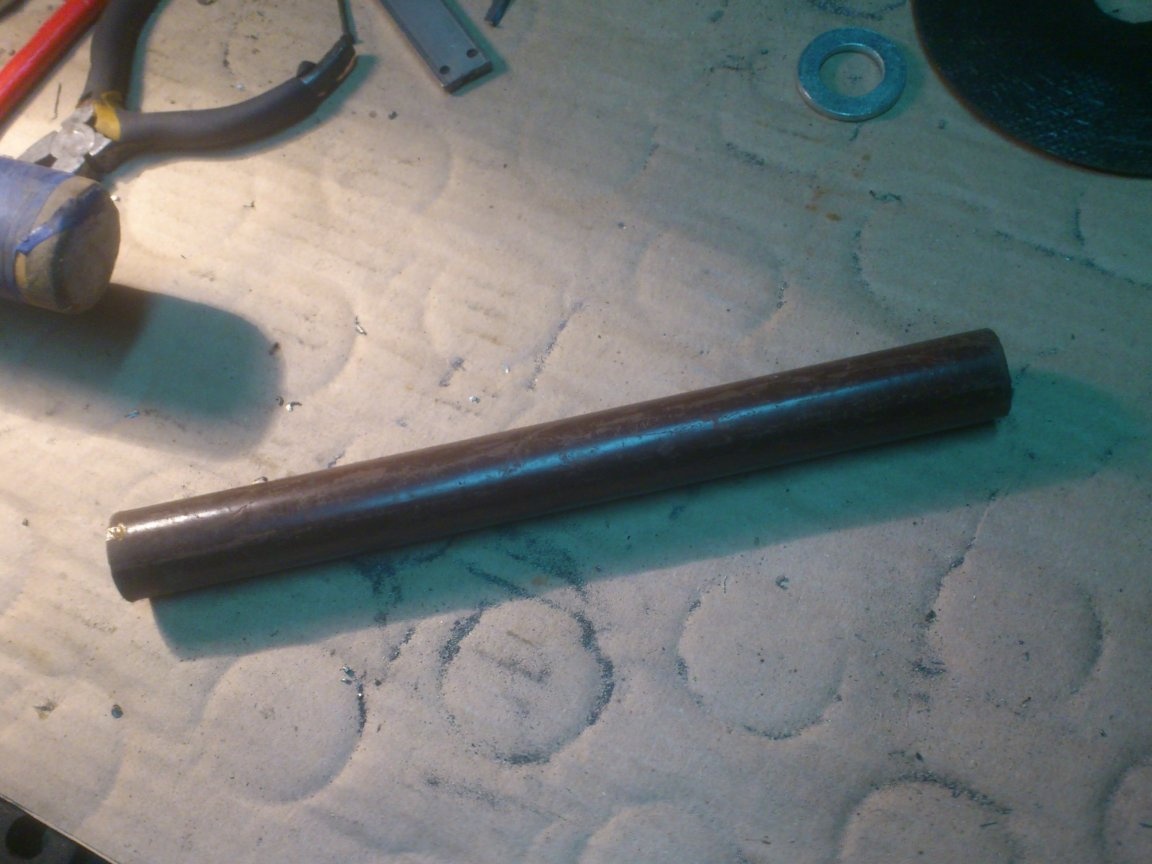
Although the DU-15 water pipe should have an internal diameter greater than sixteen millimeters, there is also a weld. And so my bolt M16 did not enter there. I had to remove the seam with a round file clamped in a drill. Now I realized that I forgot to photograph this process. But I think everyone understands it ...
Cutting off the length I needed (again, "so that it was normal")))), I put it on my bolt .... (now that I cut the hat, it's probably not a bolt, but a hairpin)))) . And clamped on both sides with nuts. On the one hand - the connecting, on the other - the usual. Since I am going to weld both nuts, you must not tighten them! After all, then you have to turn out the bolt at the same time from both! Therefore, twisted lightly, if only to touch. (Do not forget to protect the thread during welding! Accidentally flying into the nut and sticking a little scarlet dross ball will then create a lot of problems for you!))
And welded both nuts to the pipe:
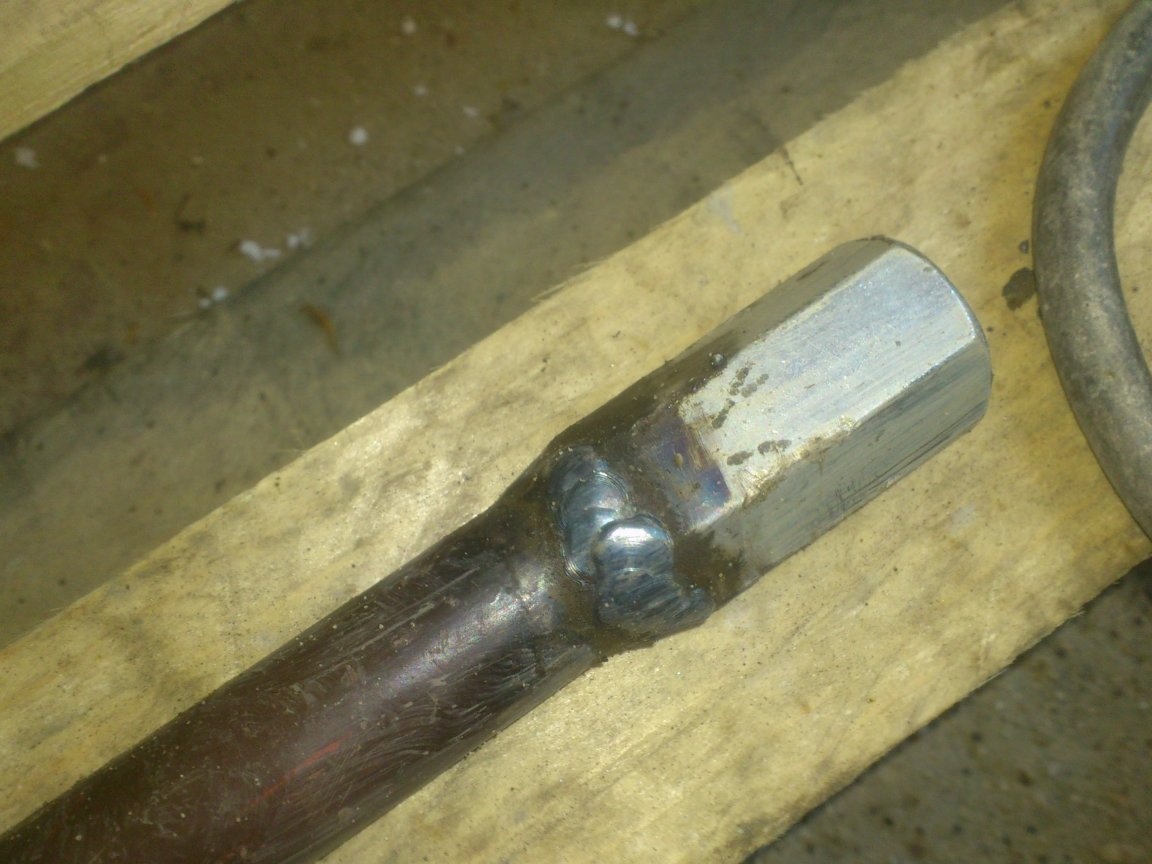
Unscrewing the pin anyway, it was difficult - after welding, the nuts “pulled” a little. But I did it.
Now cut the hairpin, leaving only the length necessary to screw it into the lower (long) nut:
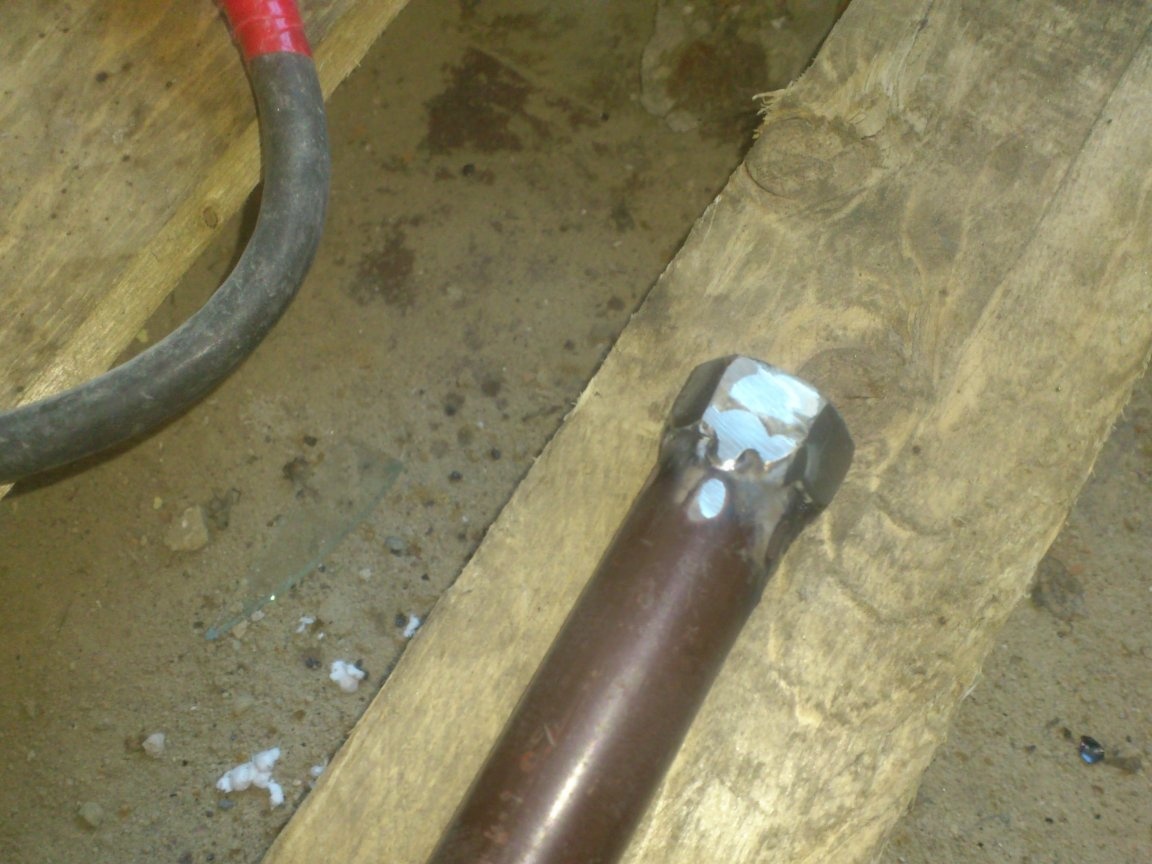
And we process the almost finished handle with an emery-petal wheel. In this case, I grind the top nut to the diameter of the pipe ... I got carried away))))
He left the “turnkey” lower one ... It never happens, it happens))) Maybe someday I won’t be able to unscrew it with my hands ... Now, so as not to “scrap” it with pliers or a pipe wrench, let the edges remain there under the carob.))))
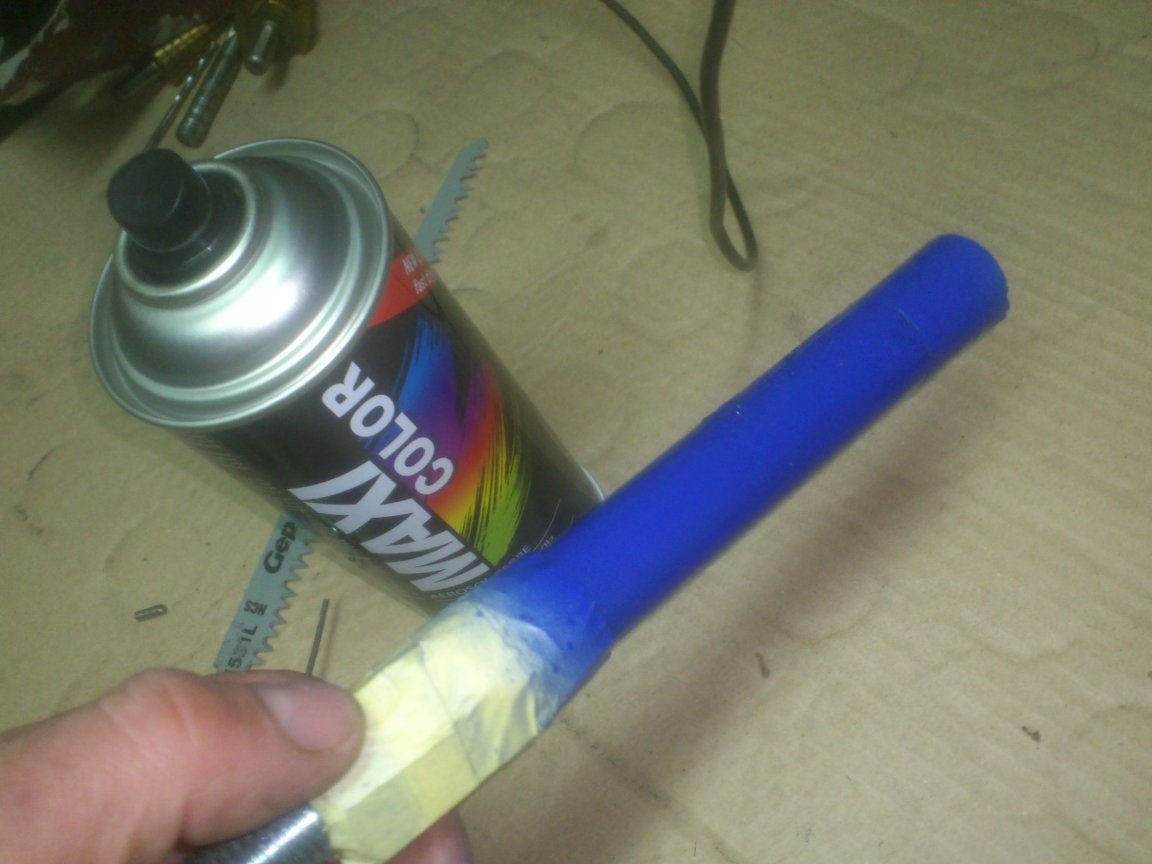
Now, with the help of a smaller circle and sandpaper, prepare the handle for painting:
And while it dries, we will take up the manufacture of a very necessary component - cork-hat.))). Remember, when cutting off the head of the bolt, I left several turns of thread on it?
Now it can be wrapped in the end of my handle. (for this I also welded a nut on the other end).
But I want to make my tool as convenient to use as possible, and therefore, I decided to equip it with another necessary device - a “probe” for pushing the pin. After all, when installing a removable blade, we will insert a pin. To make it more convenient to do, I opened the hole for it from the “back” side with a blunt punch (I tried to photograph, but this is not visible at all). Now, when we throw the pin into the hole, it does not fly right through, but remains exactly inside the pin.
When we remove the canvas, it is enough to hold the guard (for this it is long on one side) to turn the handle off and release the pin, turn it over and it will fall out ....
... And if it does not fall out? ...

.. Indeed, everything happens with metal ... That "sticks" inside (dirt got in, the chips are small, the pin is slightly deformed, etc.), and there will not be anything thin and long enough at hand to make it push out from there !!!!
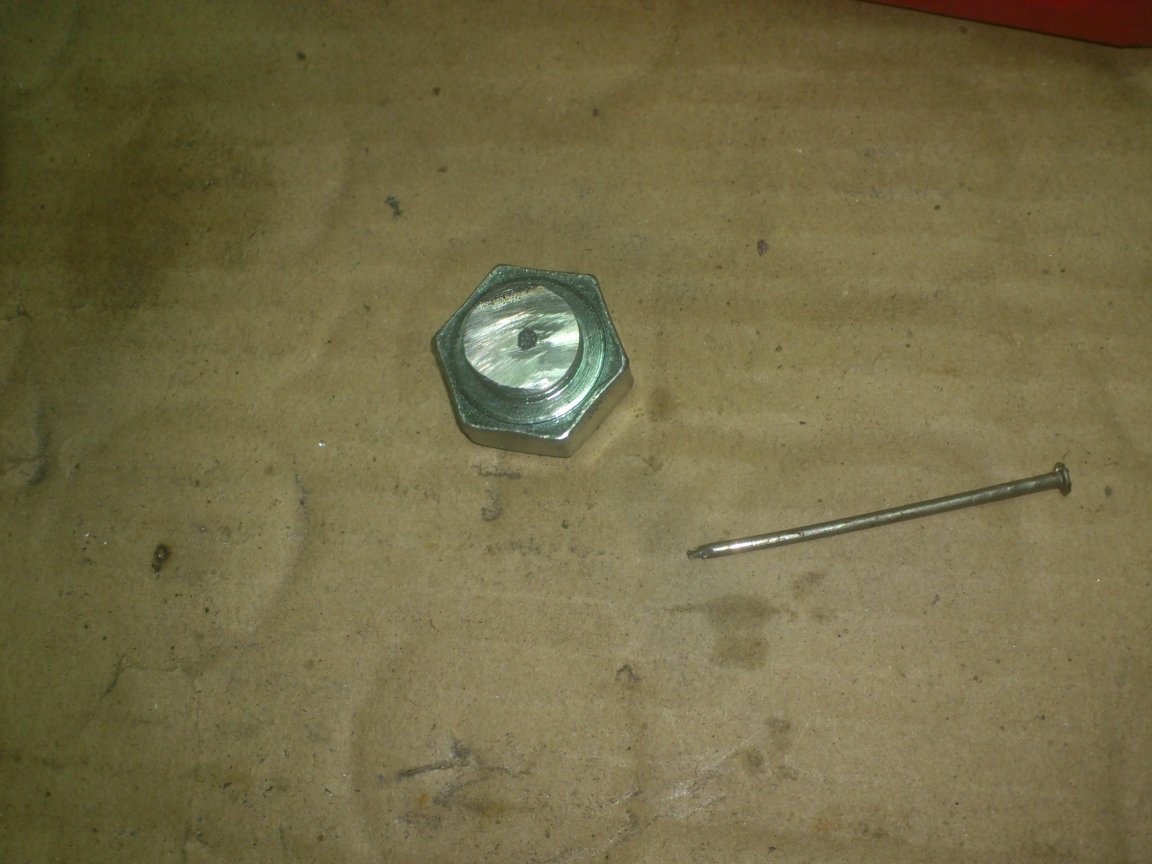
And I decided to equip my handle with this "thin and long" on an ongoing basis.)))). To do this, I, with a drill, with a diameter of 2 millimeters, drilled a "blind" hole in the cork to a depth ... 5-7 millimeters ...

... It turned out a bit out of center ... Laziness was to core!)))) .. Well, yes, it doesn’t matter ...
I picked up a nail 2.5 mm thick:
And hammered it into this hole:
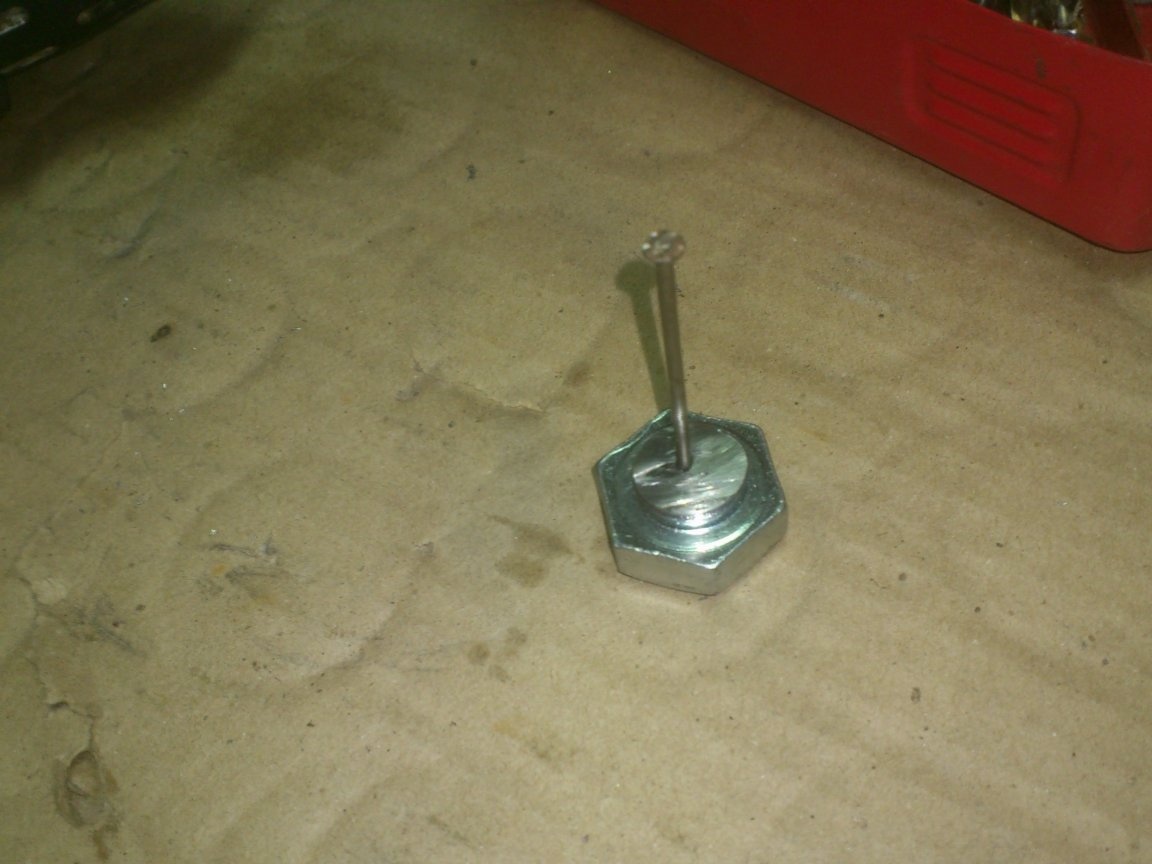
He sat tight enough:
Now it remains to cut off the nail head, and our "probe" is ready:
Now you can not be afraid of the “sticking” of the pin - just unscrew the plug and push out the pin with a “probe” ... He is always at hand. And easy to extract - there are only a few turns. No need to twist, twist for a long time ...

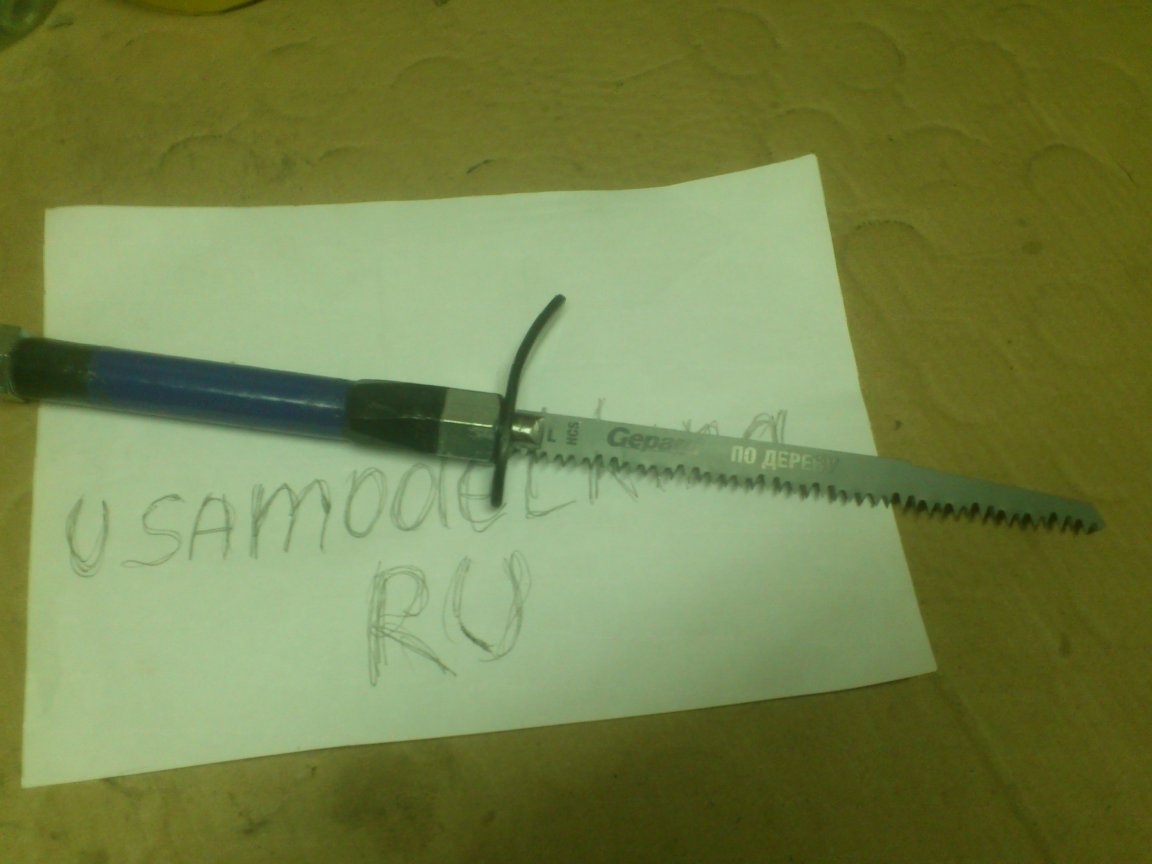
That's all! The handle is ready:
But I could not resist, and decided to paint it in the "signature" colors:
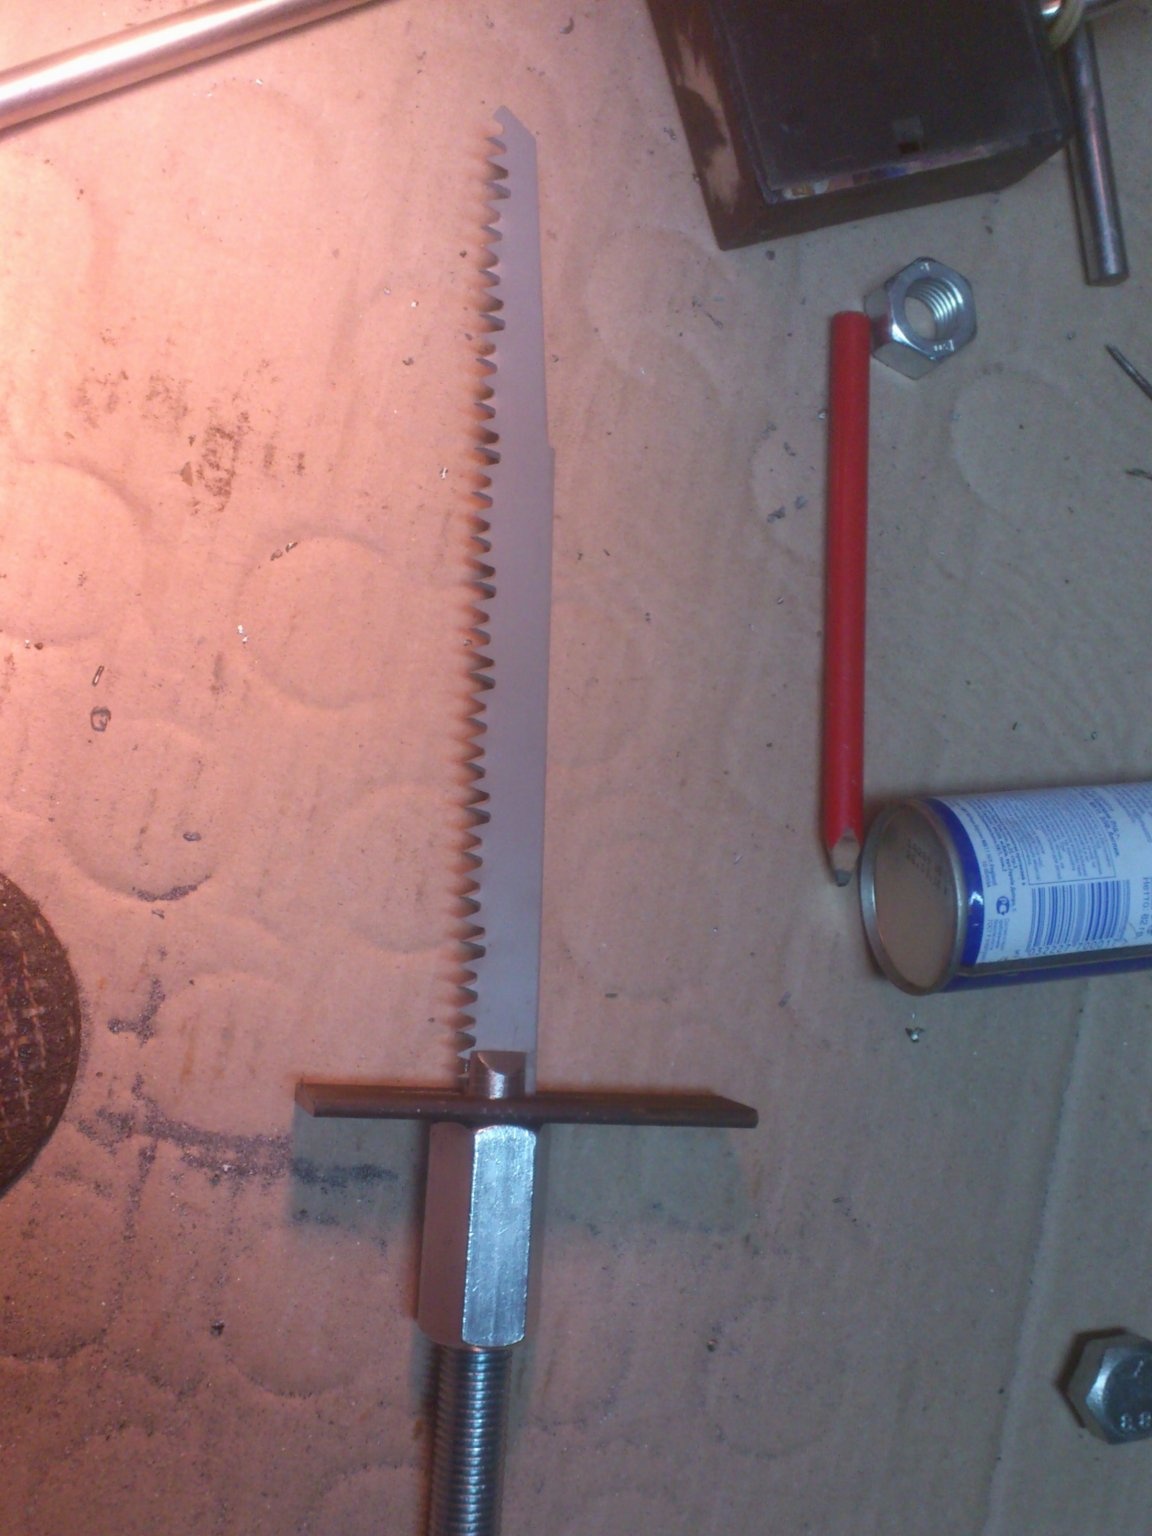
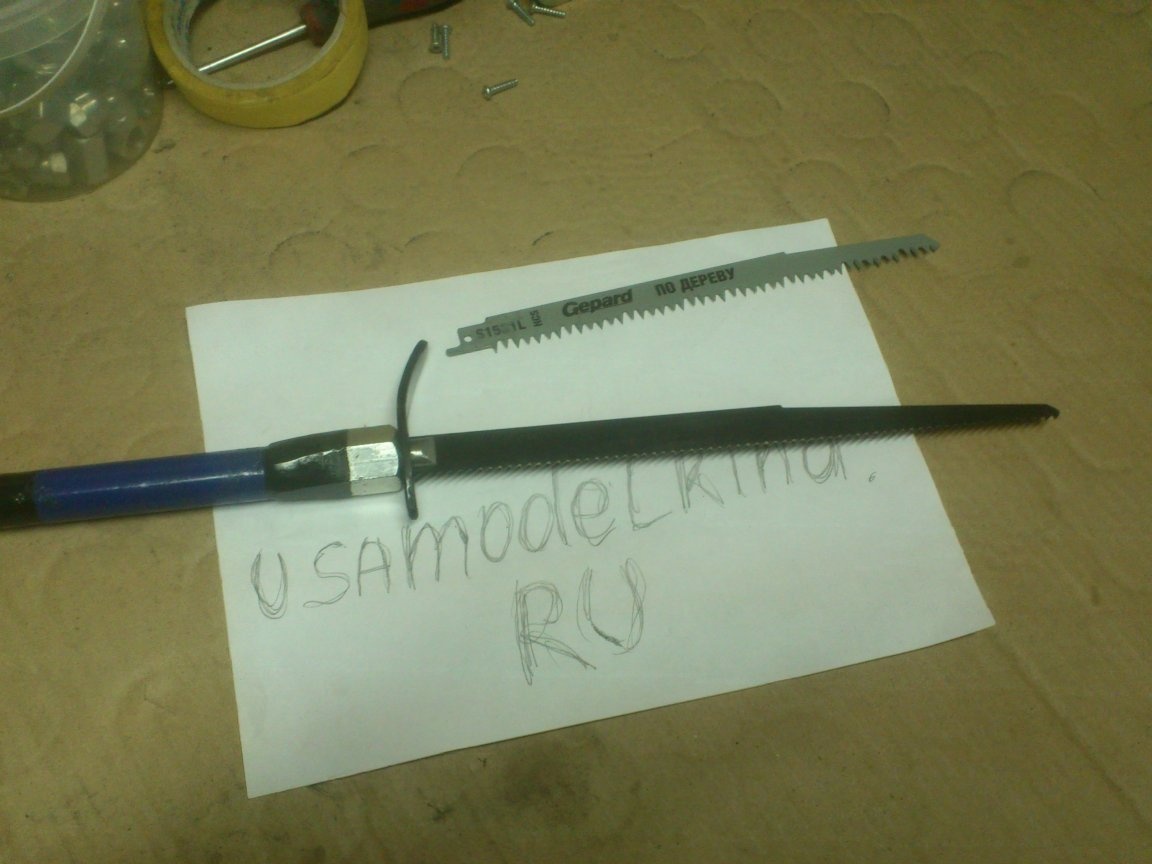
Here is such a convenient hand saw on wood I got when I installed the right blade:

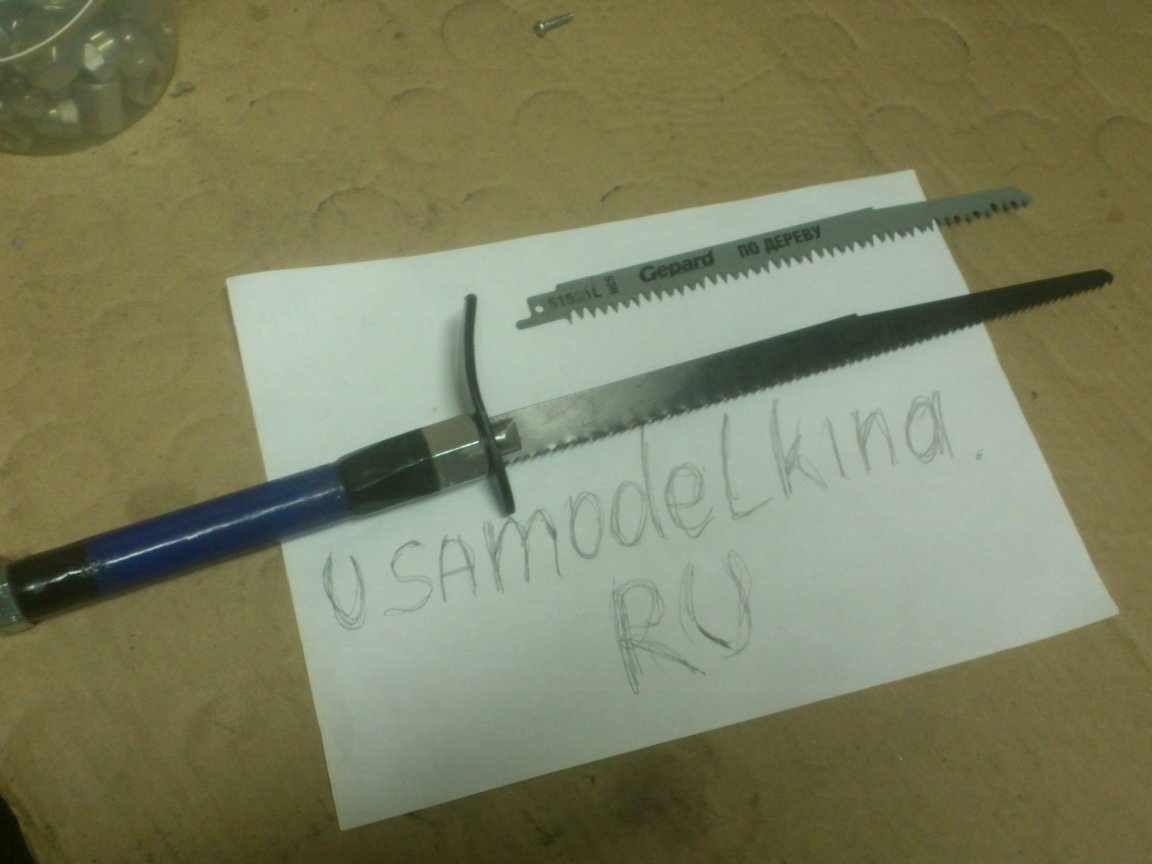
And here, also for wood, but for finer work (for clean cuts):
As already written, here I have only "wooden" paintings.The rest will be "tried on" later.)))) They are on the other side of the city, but I don’t want to go specifically))). But I already know in advance that it would be convenient to saw metal with a rigid blade that does not require a “stretch”, and saw it “against a brick” (I’m going to make a fireplace soon).
Well ... "The season is open.")))). A little warmed up ... I’ll start to make homework harder! )))))