
I think no one needs to explain what a spinner is. Well, perhaps the older generation is still not up to date. Meanwhile, this children's fun can already be said to have gone out of fashion, but then suddenly by chance on the website of the Aliexpress online store, the author of the YouTube channel "Tyap Lyap" stumbled upon him electronic version.
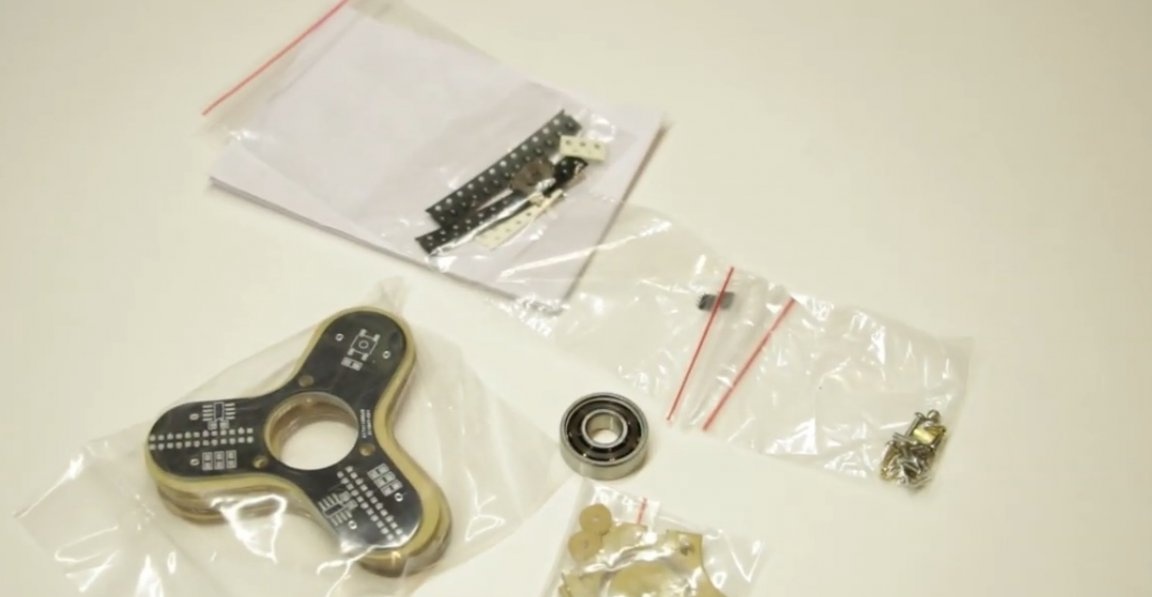
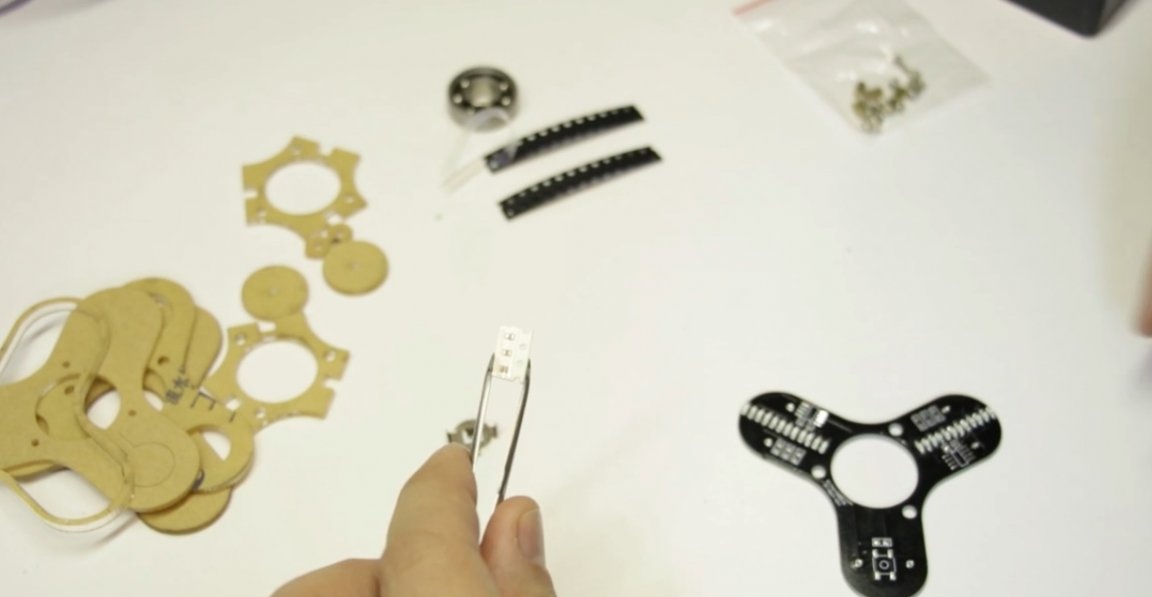
This is the so-called DIY kit, an electronic designer for self-assembly. Well, let's do this toy.
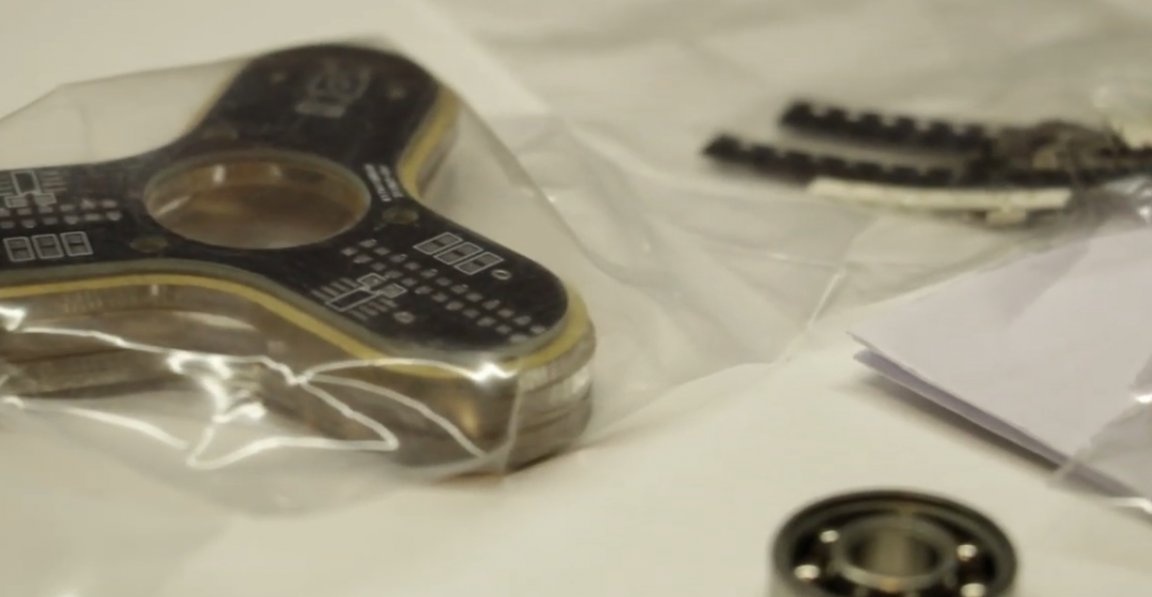
In the kit there is an instruction in Chinese and in English. In principle, you can figure out this cuneiform too, but in some places the text is almost unreadable, everything is very small and quite illegible. In addition, it looks like a photocopy, so it’s hard to see.
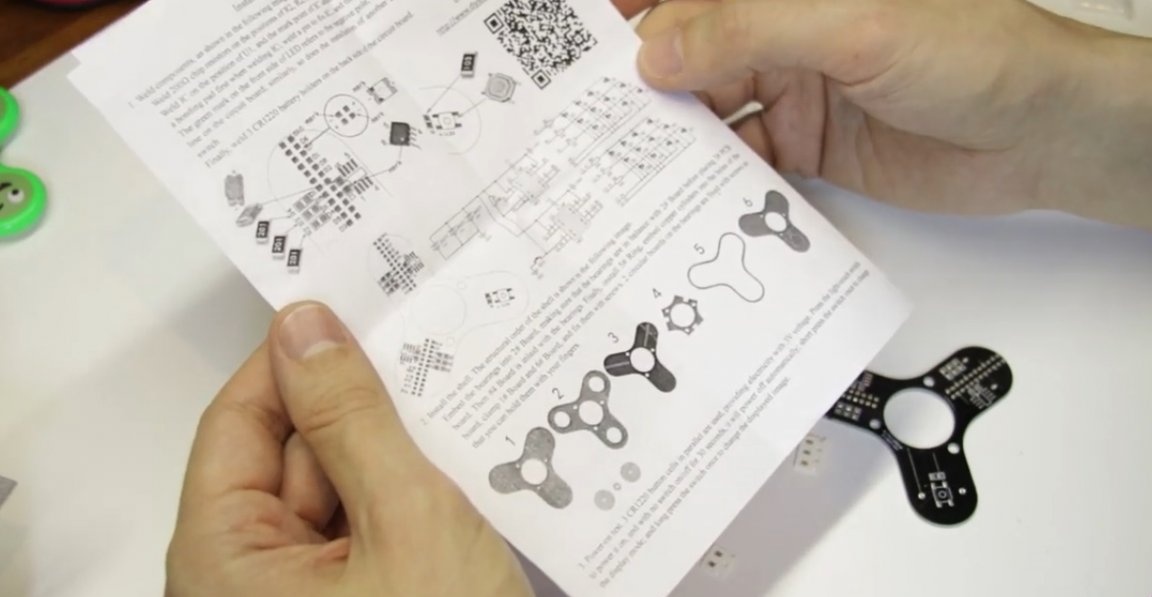
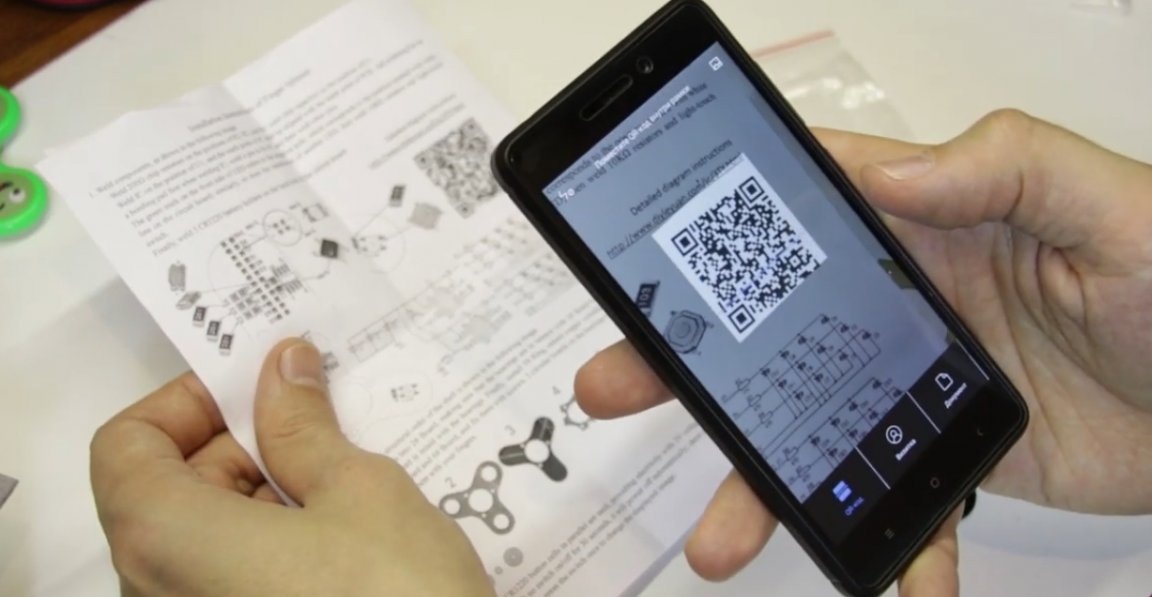
If you, as well as the author, have questions, then the paper version contains the Internet address, after which you will receive detailed instructions with pictures. You can also scan the QR code in the image below:

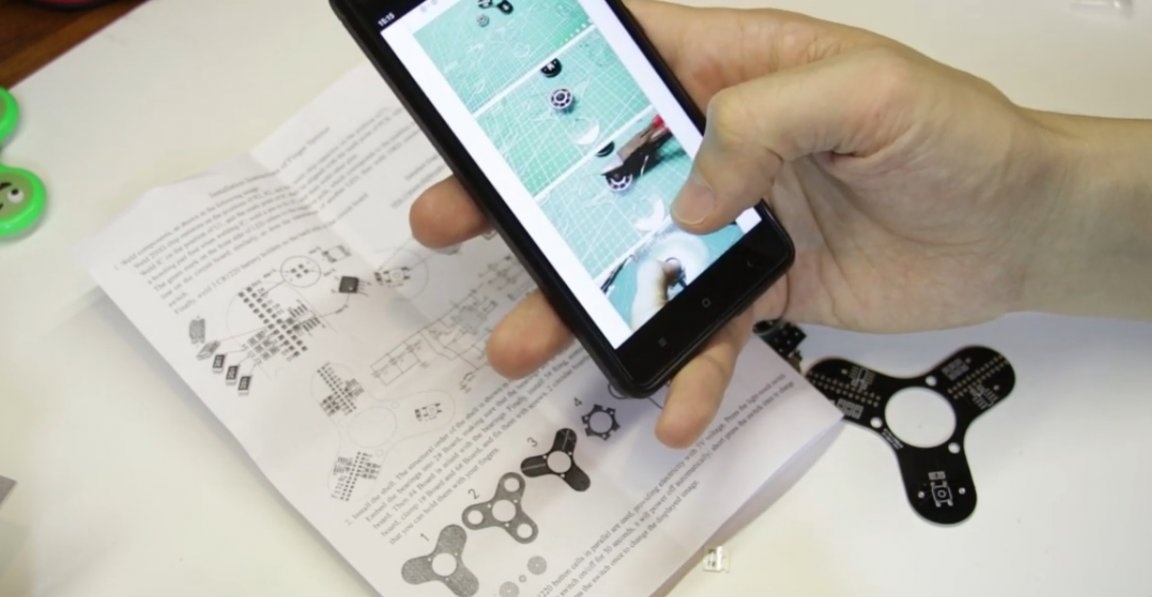
So, we go to the site and get a full, fairly detailed color instruction.
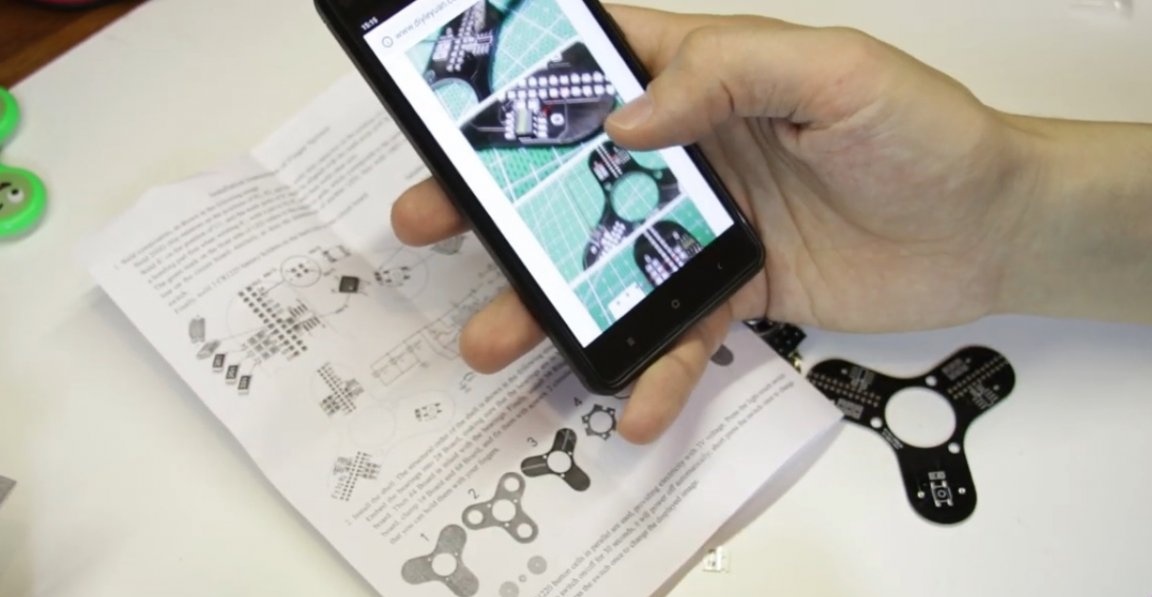
Here it’s right step by step for every detail, how to solder, where to solder, what denomination, where is the plus, where is the minus, in general, in great detail. And at the end, a step-by-step instruction for assembling a KIT soldering kit is a spinner.
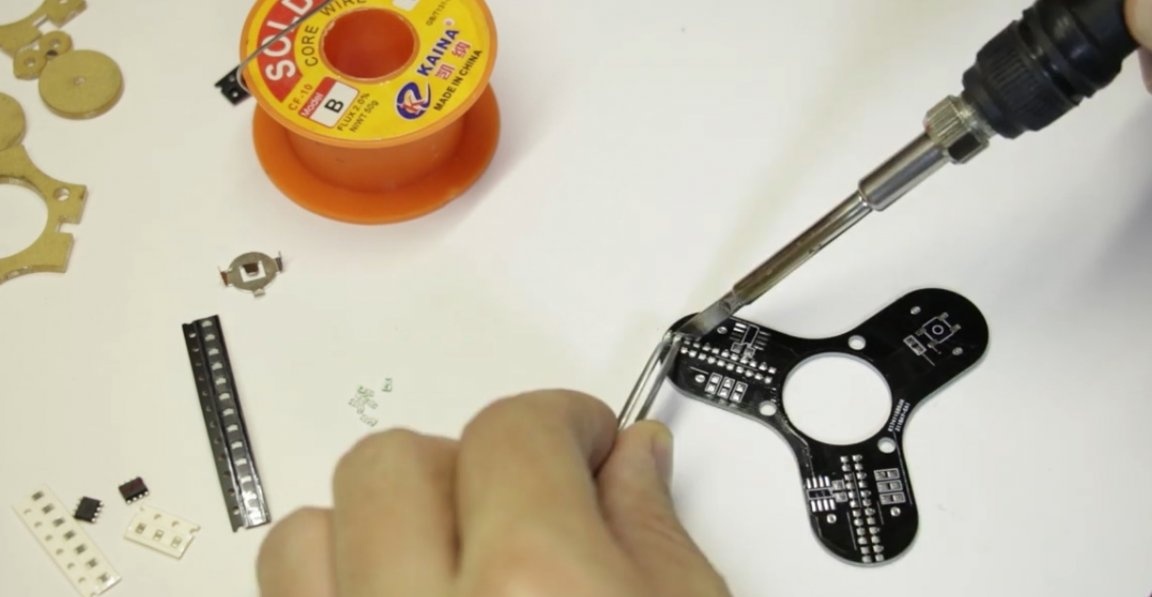
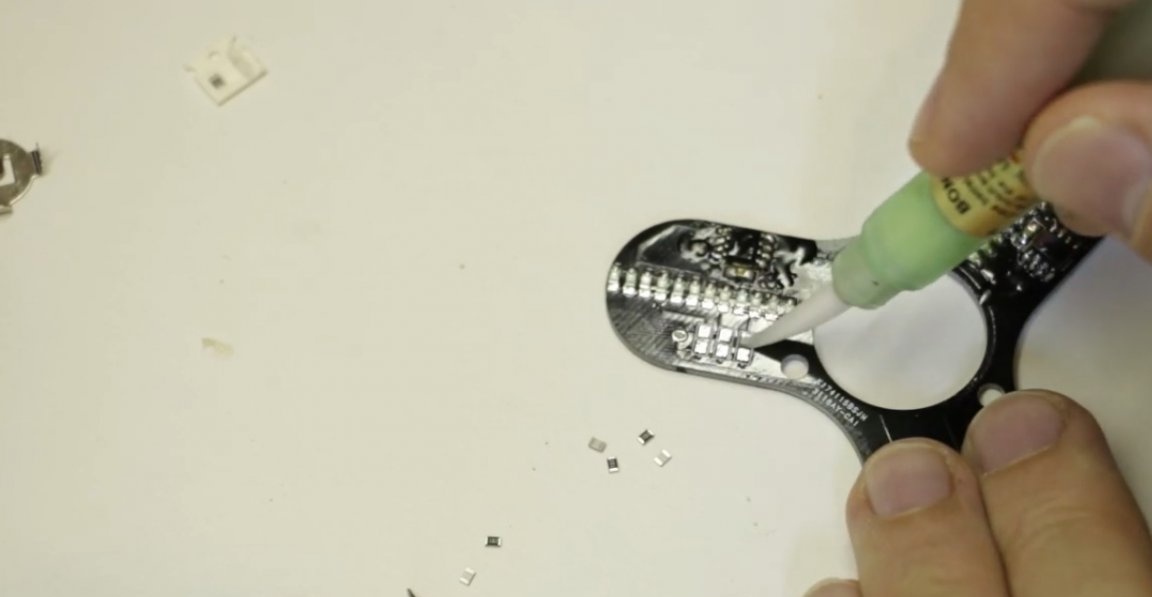
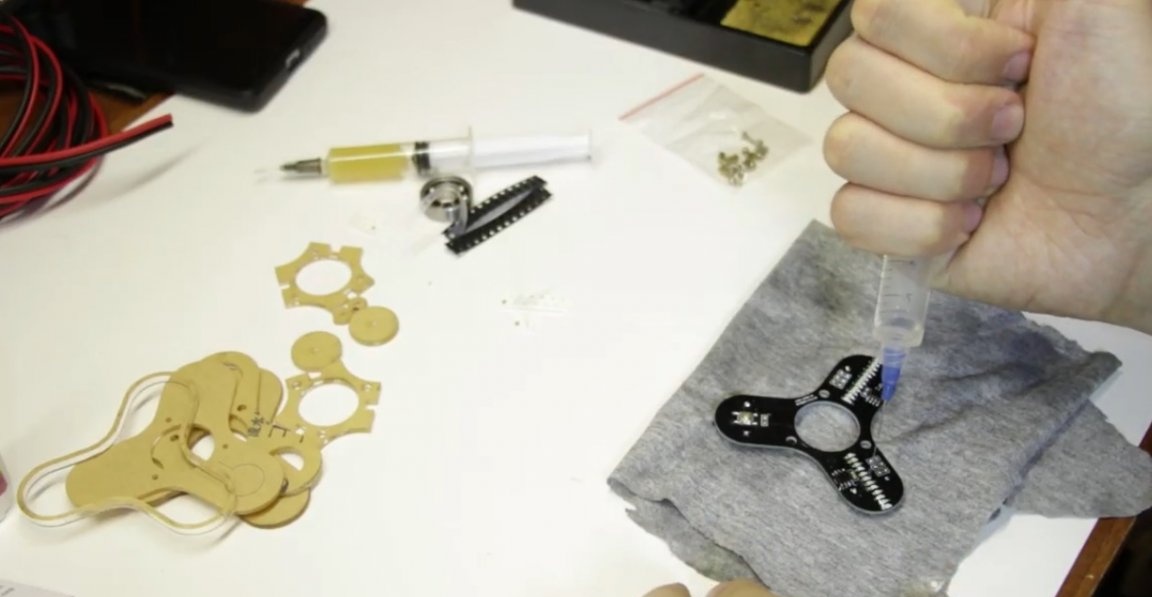
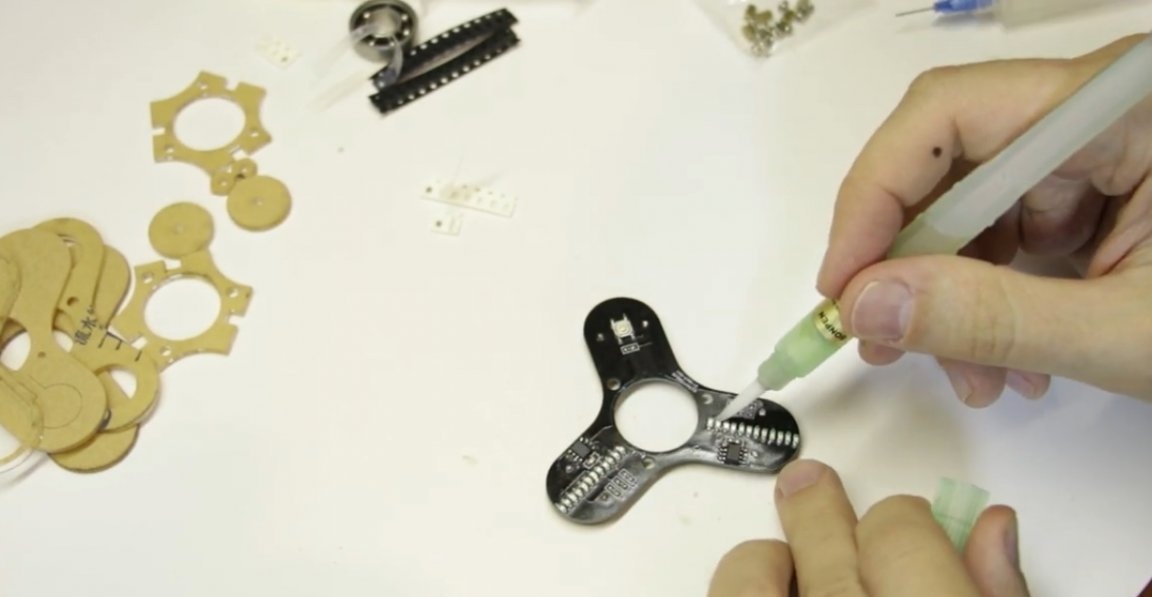
To solder such things, the author uses flux.
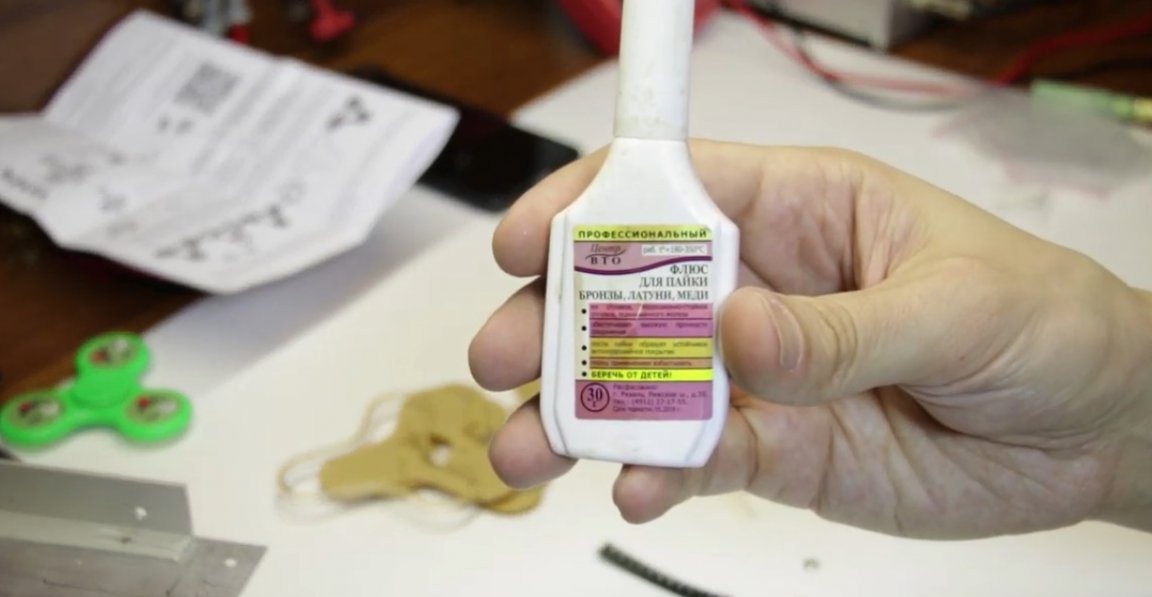
This is a professional flux for soldering non-ferrous metals (bronze, brass, copper, etc.). This flux was purchased offline, in one of the stores specializing in the sale of radio components. Moreover, among a very large number of similar fluxes, the author randomly took this one and, according to him, was not mistaken.
This flux copes with its task perfectly, and recently, the author has acquired just such a brush and the process of applying flux has been simplified significantly.

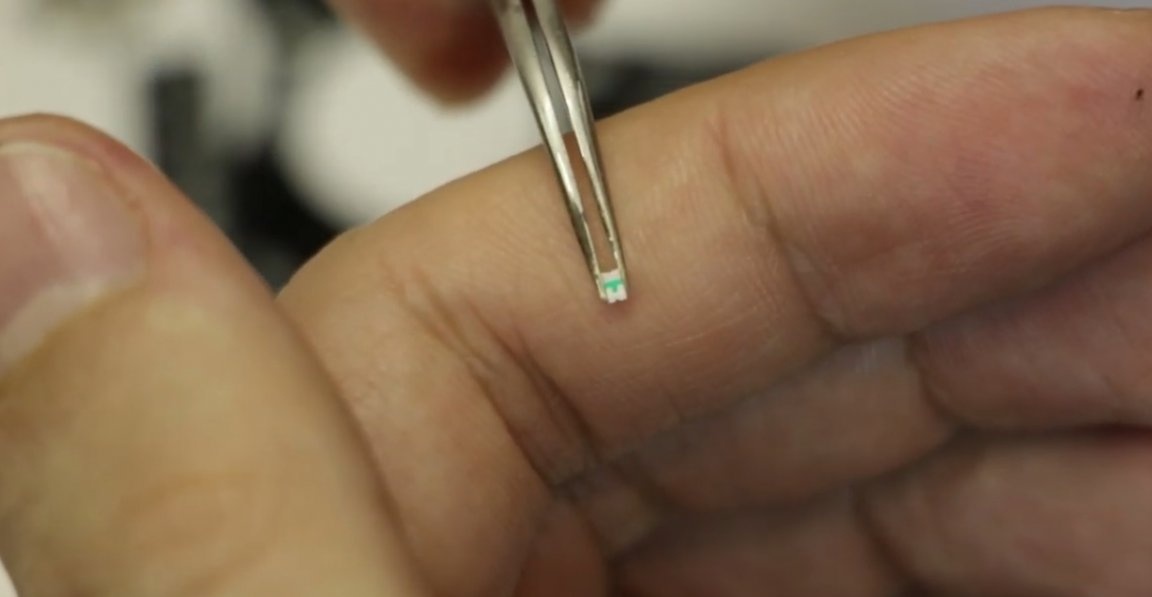
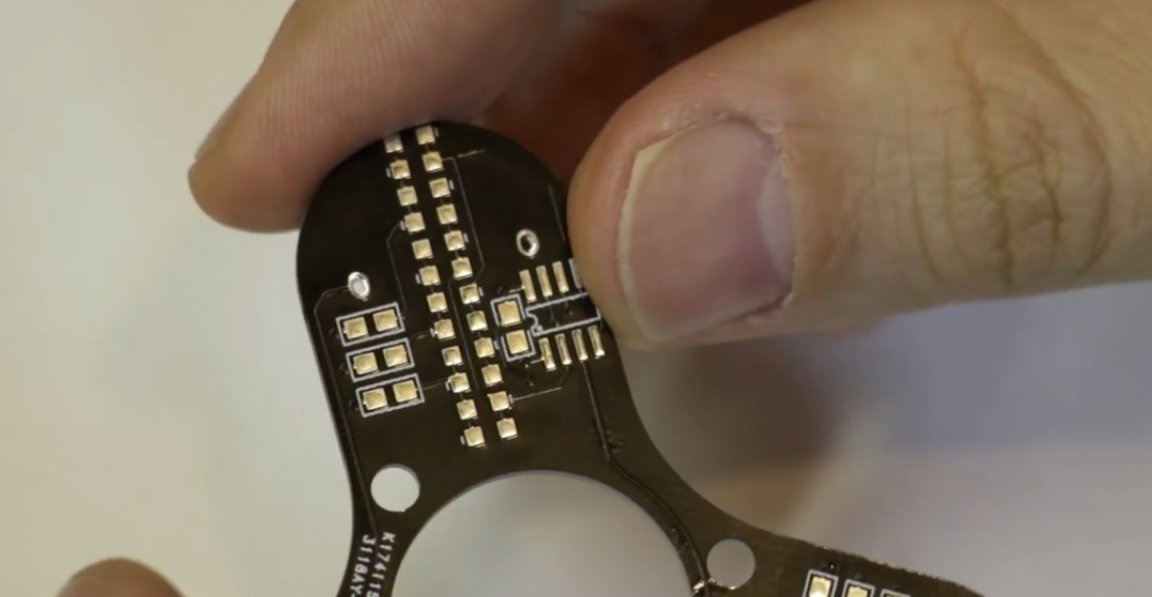
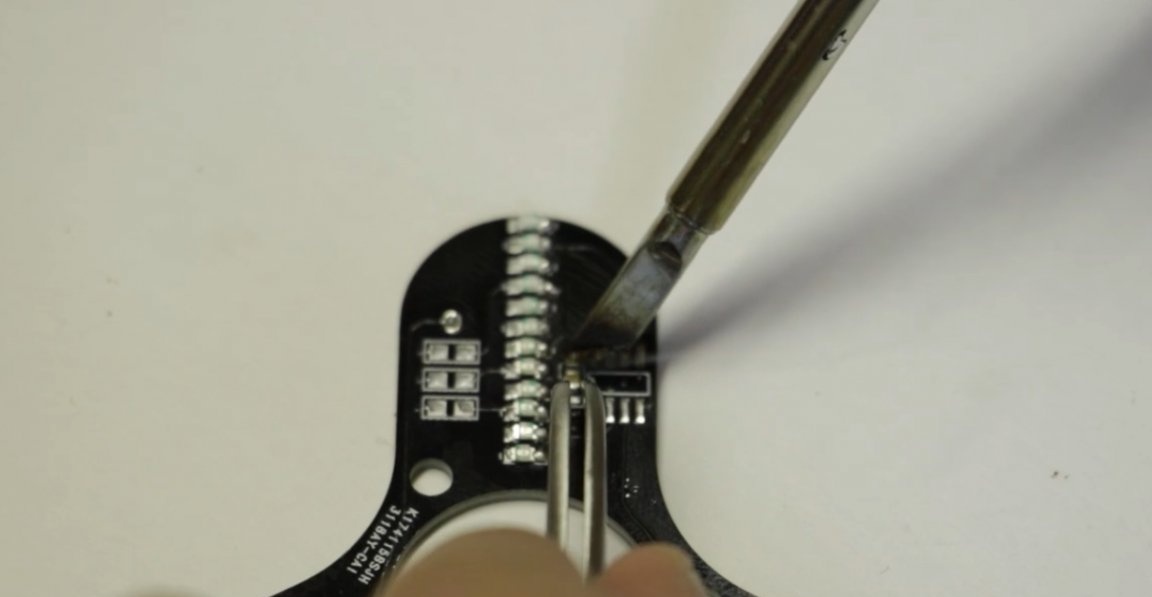
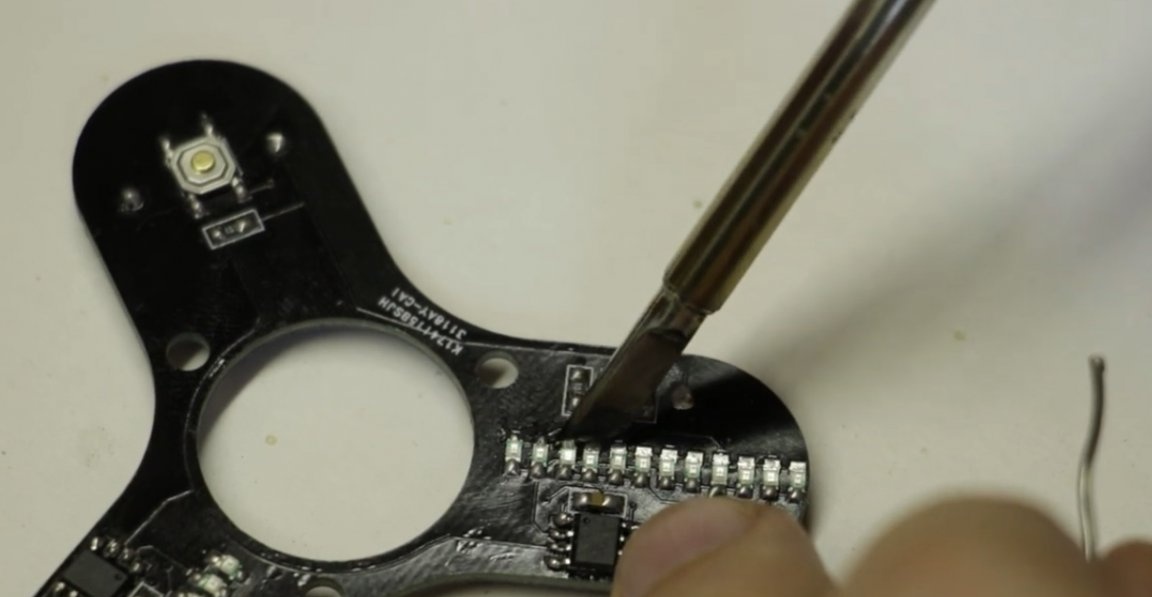
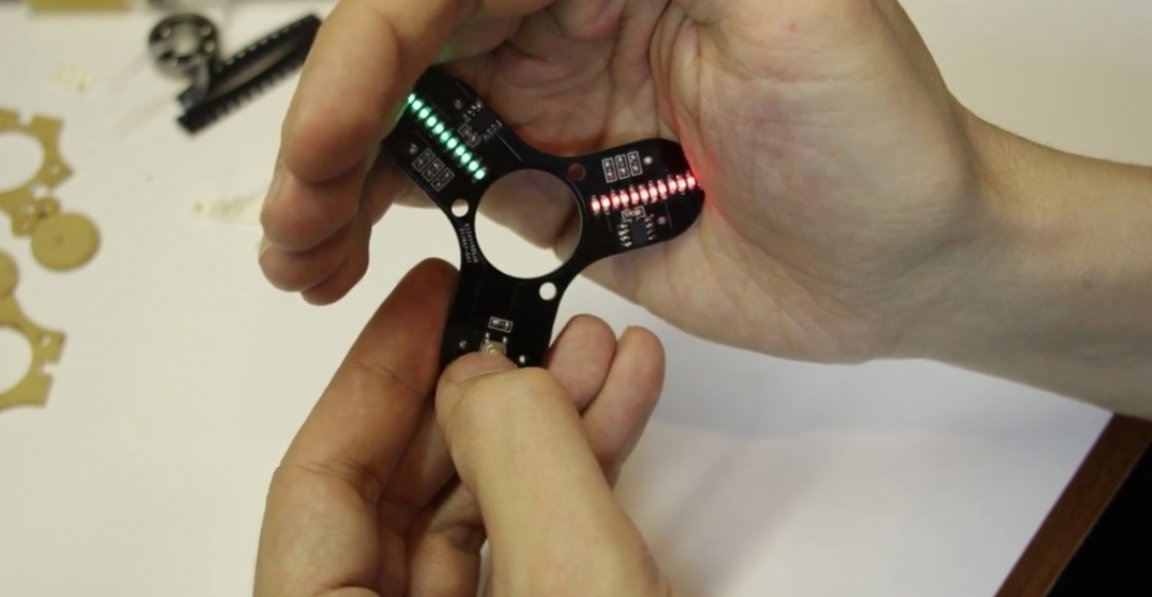
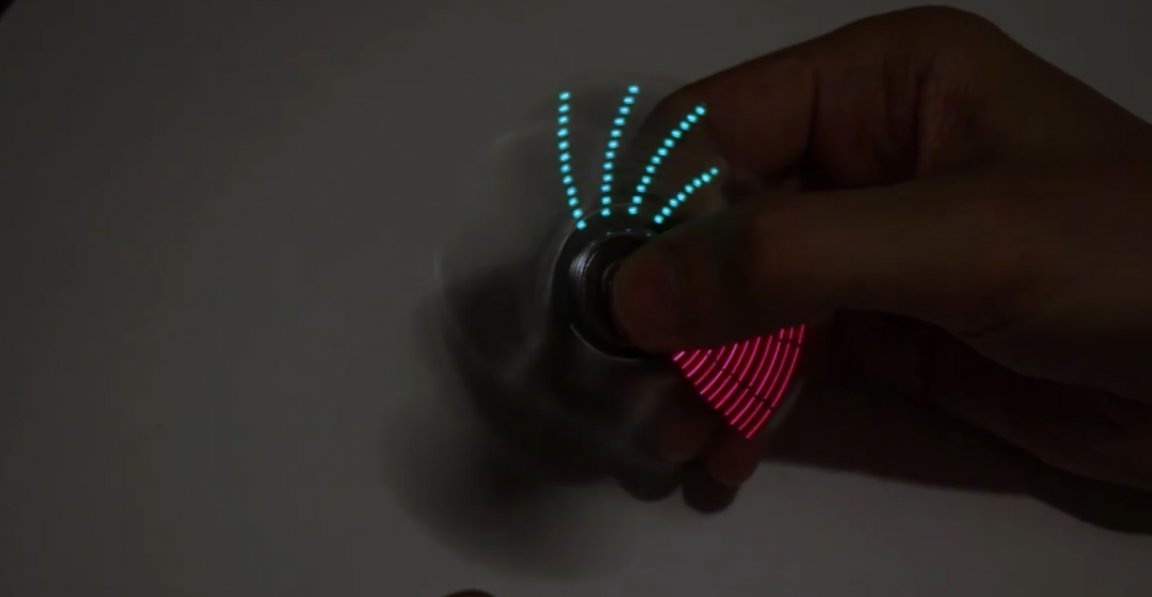
So let's get started on the build. Well, let's start with the LEDs. There are 2 types of them - red and green.
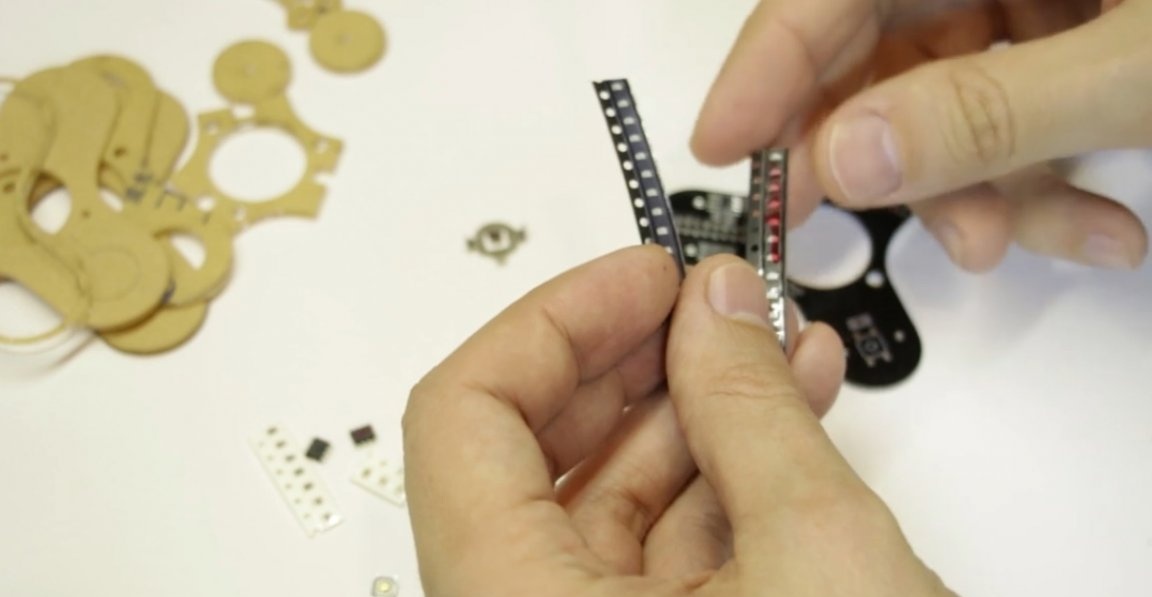
On one wing-blade 1 color is soldered, and on the other a different color. SMD LEDs are very small, it is important not to reverse polarity.
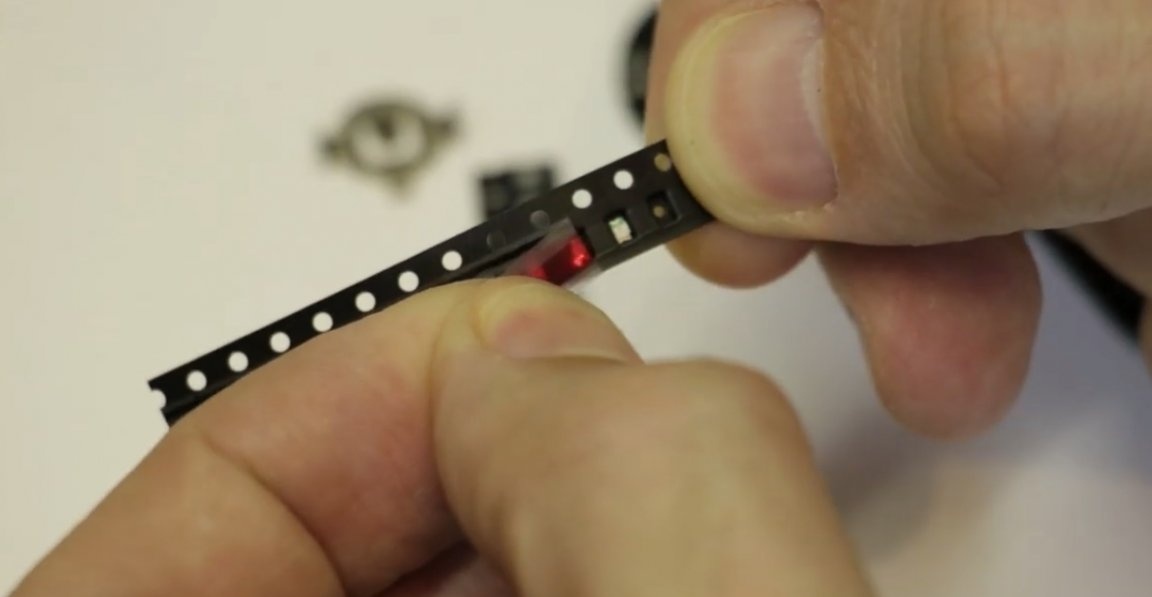
On the back, on each LED, a marking is applied in the form of the letter "T".Right now, (in this case, the screenshot below), the plus (+) is on the top, and the minus (-) is on the bottom, respectively.
The instructions included with the kit say this, so there should be no problems. And one more remark, when you solder the LEDs to the board, the plus (+) all the time alternates with the minus, first in one direction, plus, then in the other, in one - in the other and so all the LEDs.
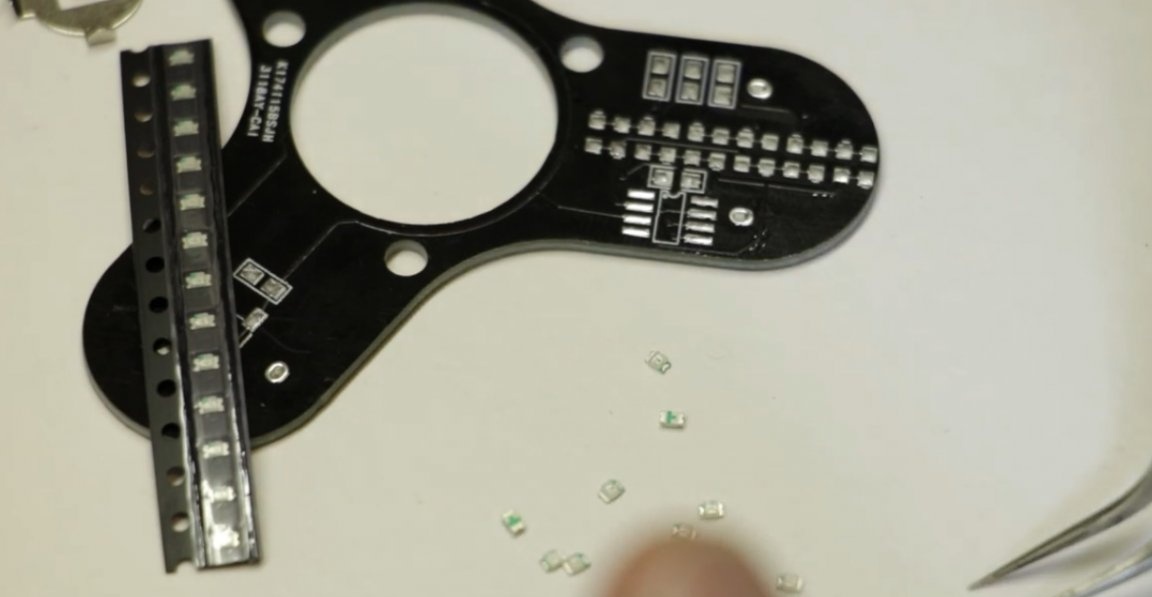
Well, one color is finished, now the same thing needs to be done for the second color.
The Chinese traditionally put parts with a margin, the author has a couple of LEDs 1 red and 1 green. Next we will solder the capacitors. According to the scheme, they require only 2, and in the set there are 3 of them. Well, and something else, as you can see, they put it here too with a margin.
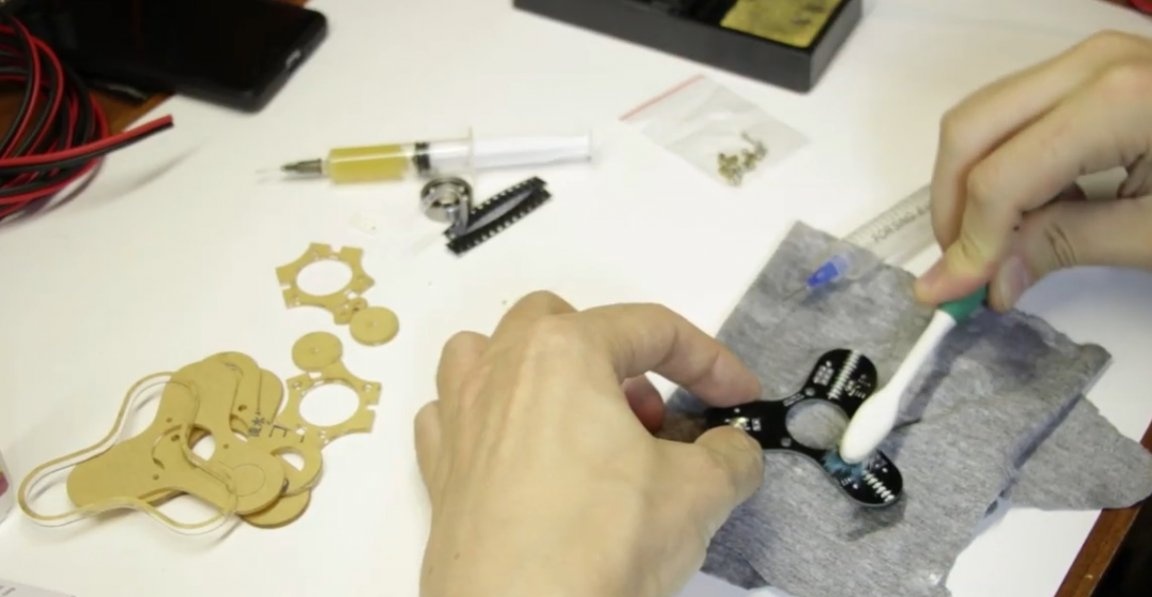
But when soldering small microcircuits, the author is more convenient to use the usual Chinese flux.
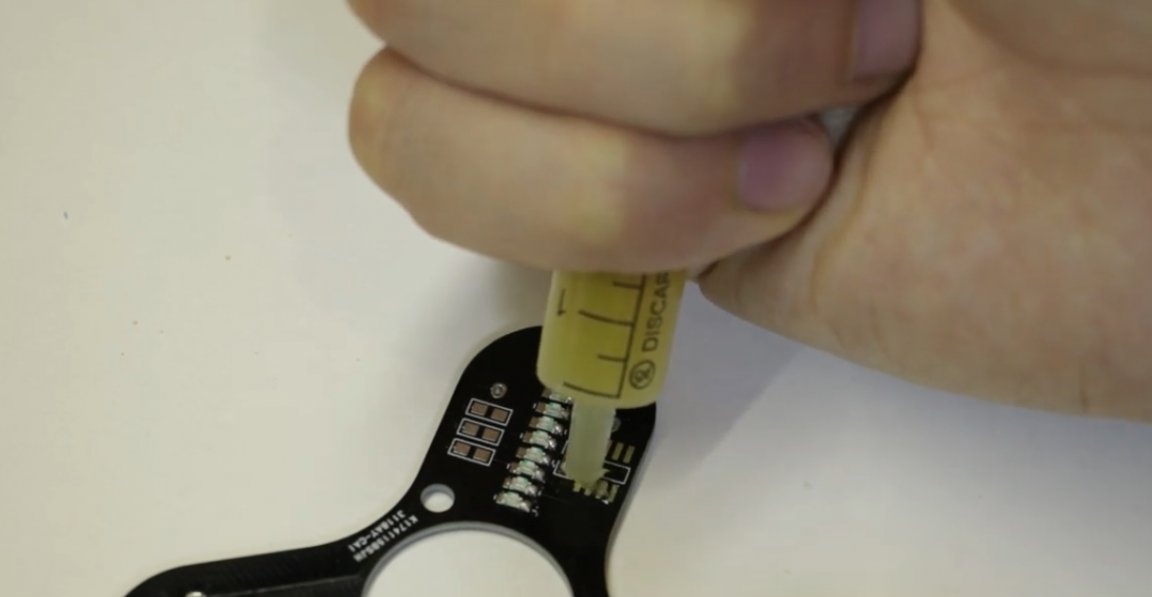
It is really active, so then after soldering, it is necessary to wash off the flux residues. The advantage of this flux is that it produces fewer mistakes, the legs of the microcircuit do not stick together, it is more convenient to use in this regard.
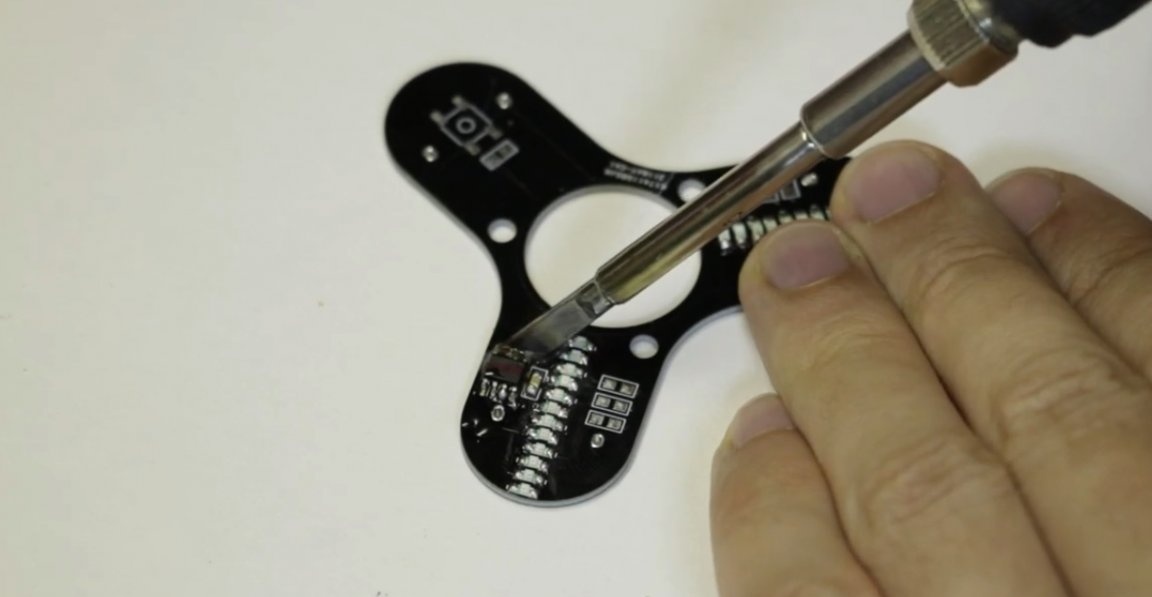
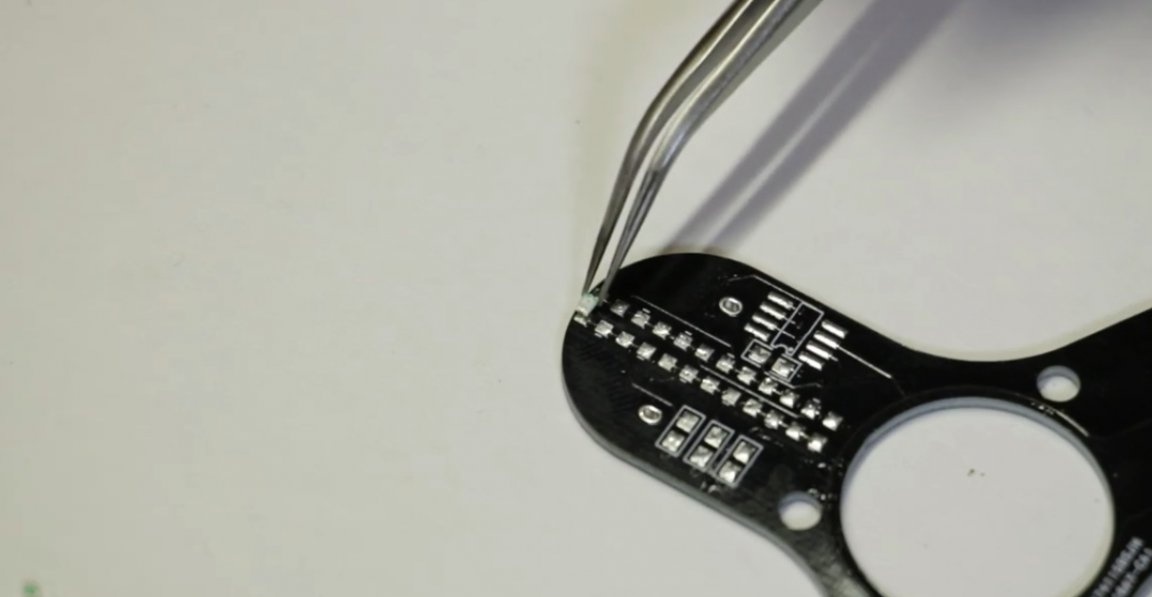
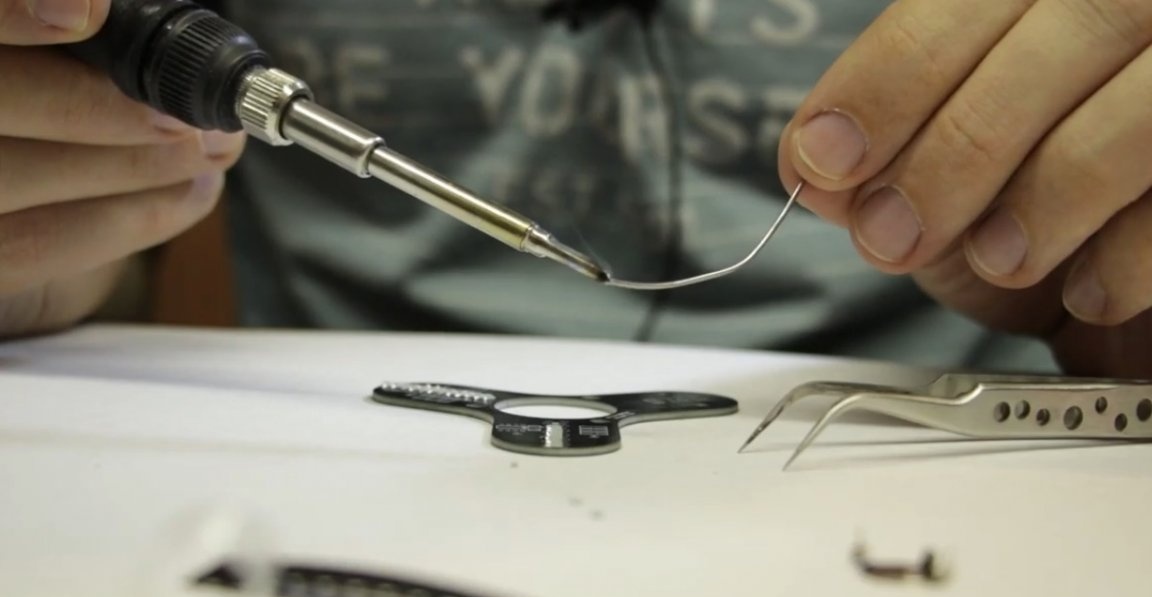
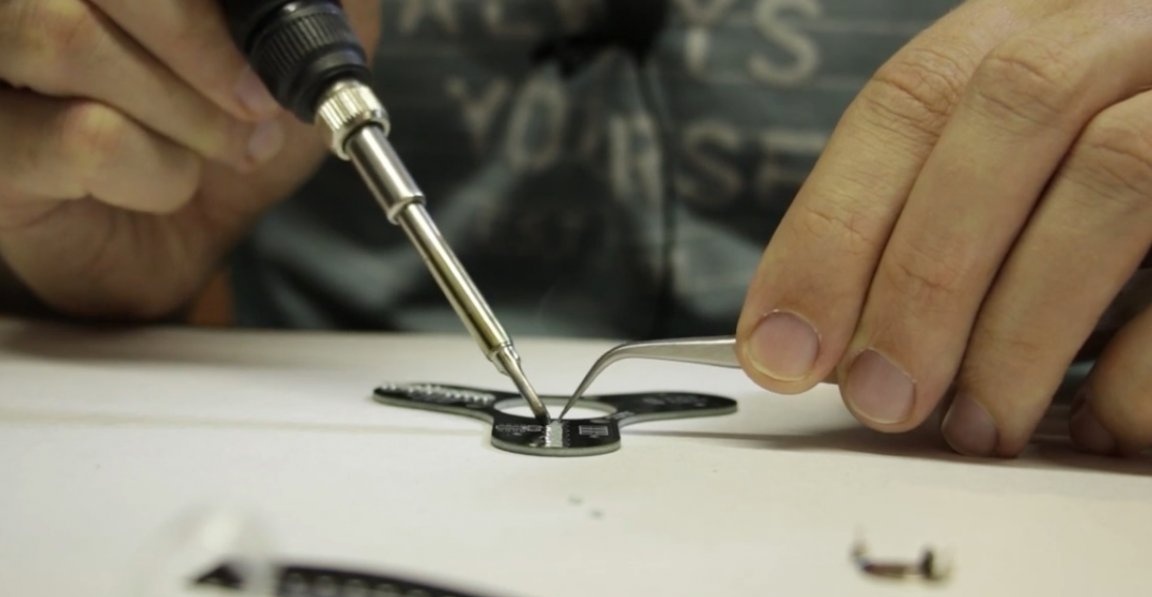
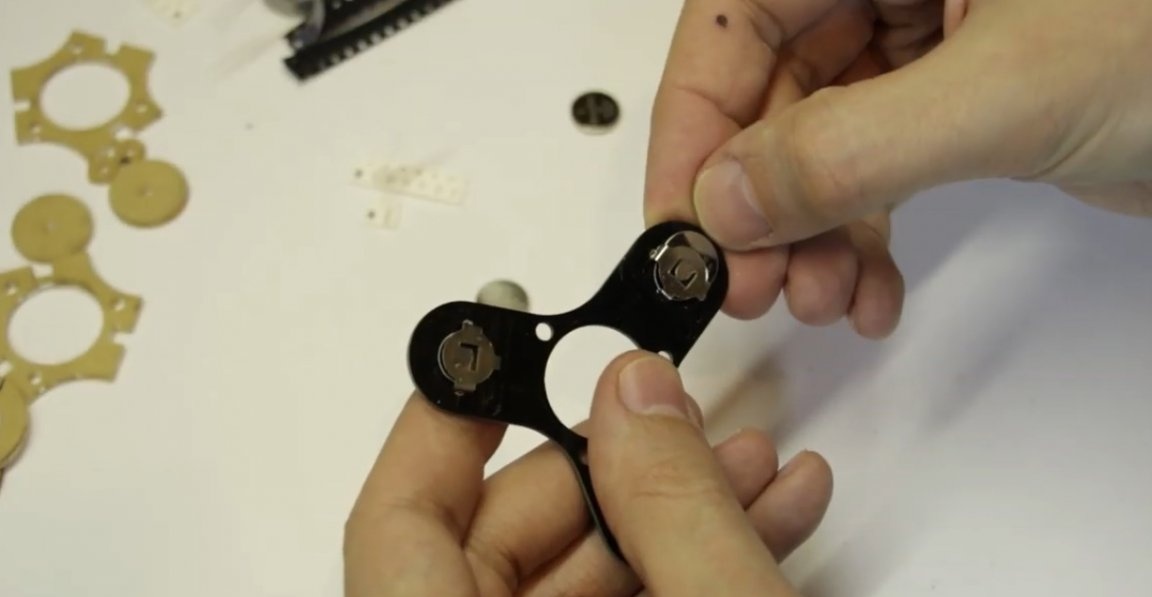
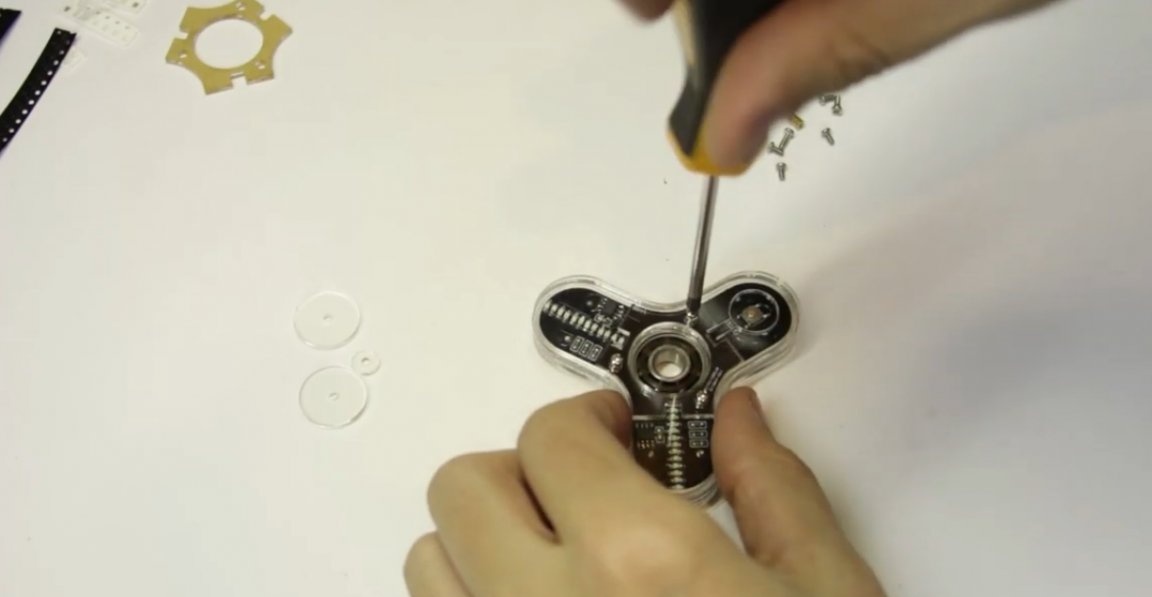
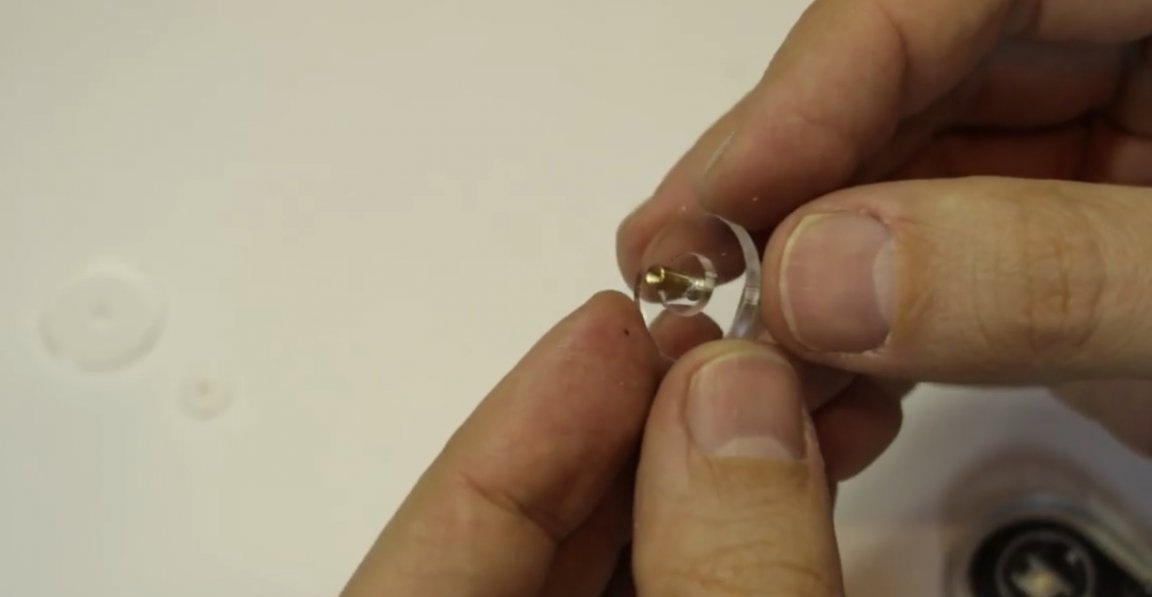
And the last thing we need to solder is the battery mount. Judging by the scheme, it needs to be soldered here in this form, with a lock inside.
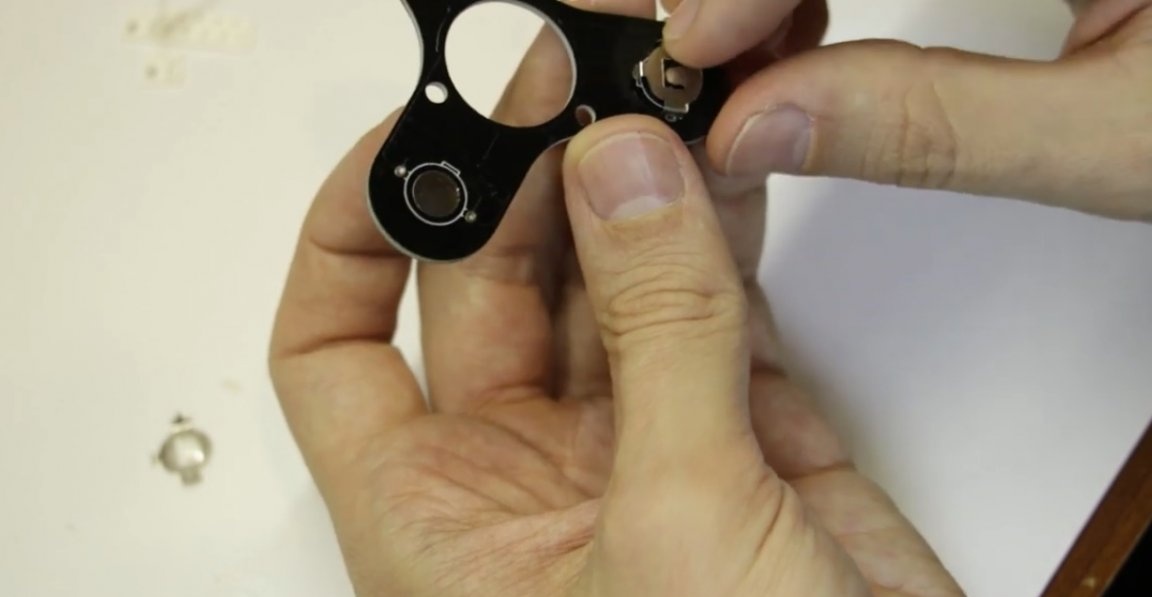
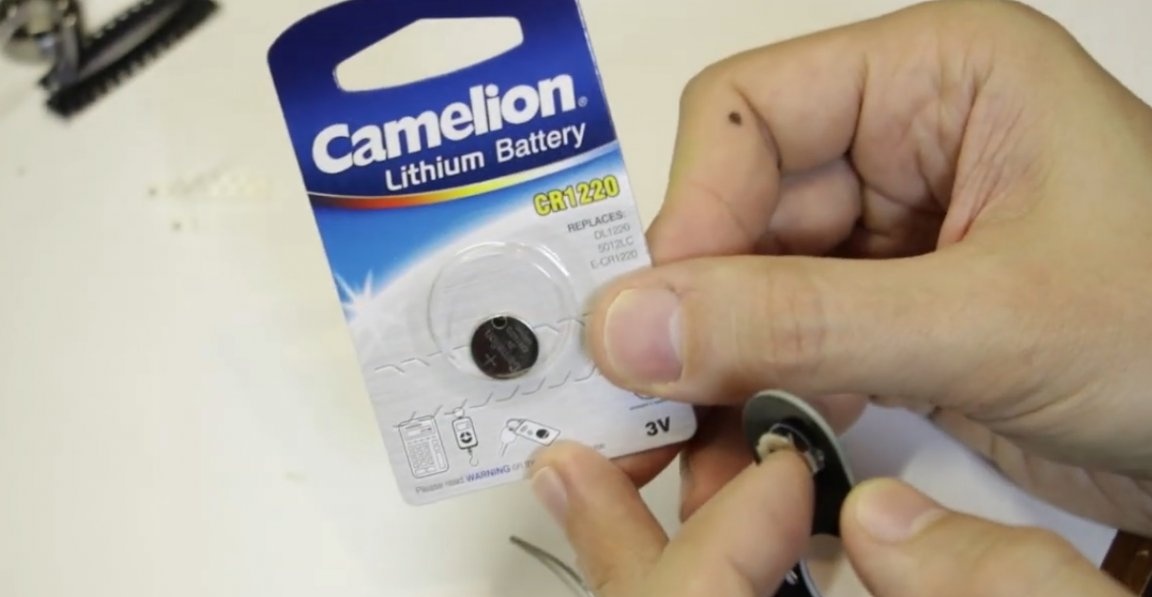
We do as indicated in the diagram. By the way, there are no batteries in the kit, they need 3 pieces, purchased separately. The author ran to the store and bought 3 of these cr1220 batteries.
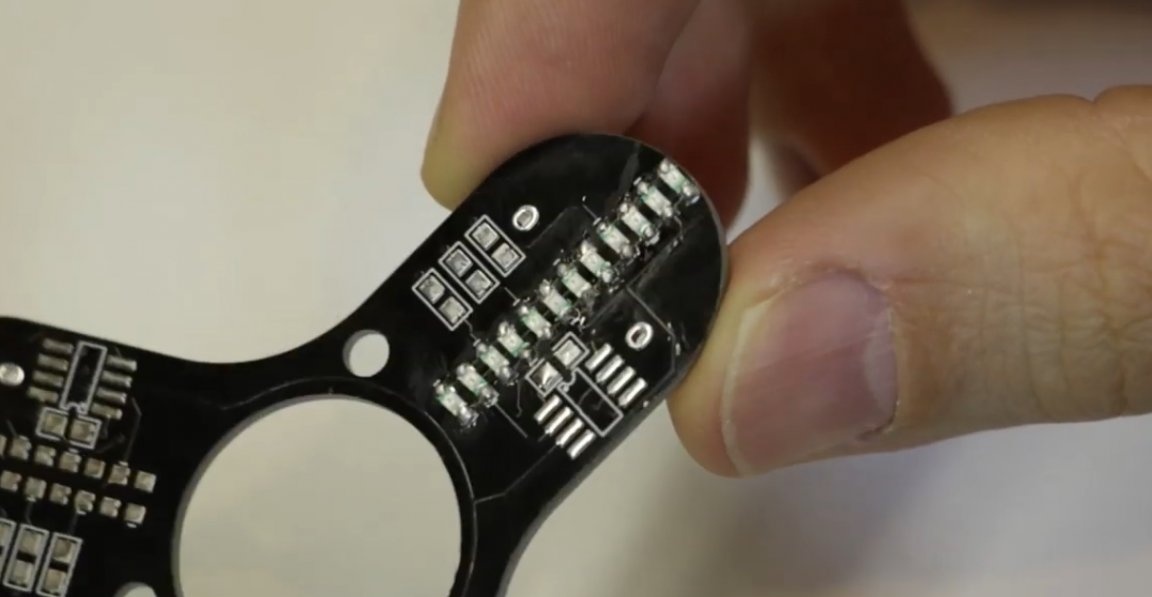
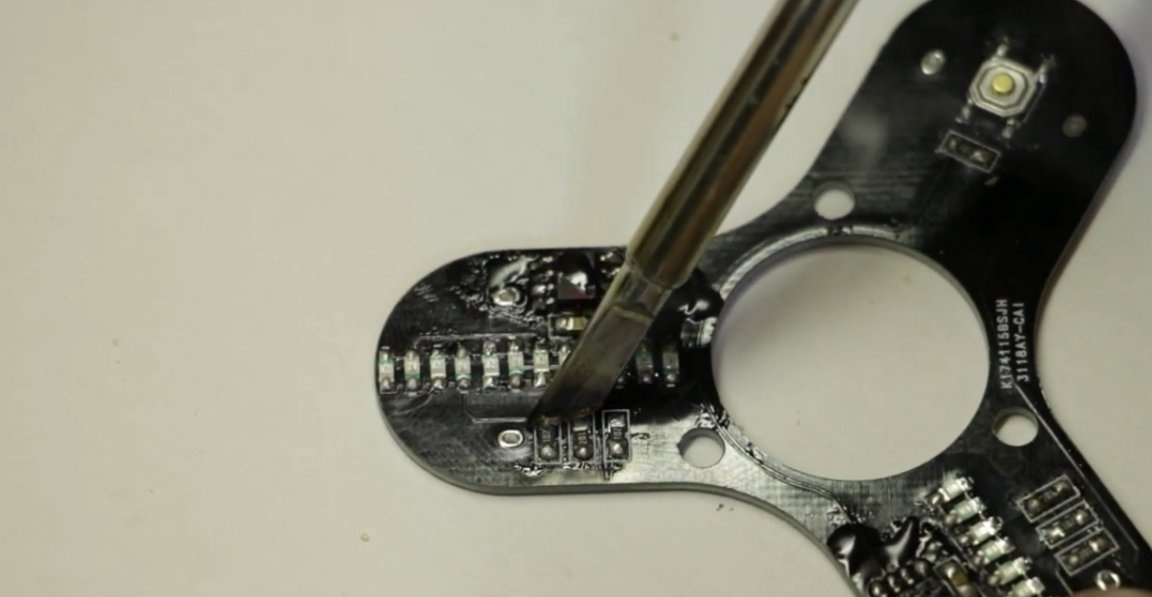
Then we wash the board from the remains of the flux.
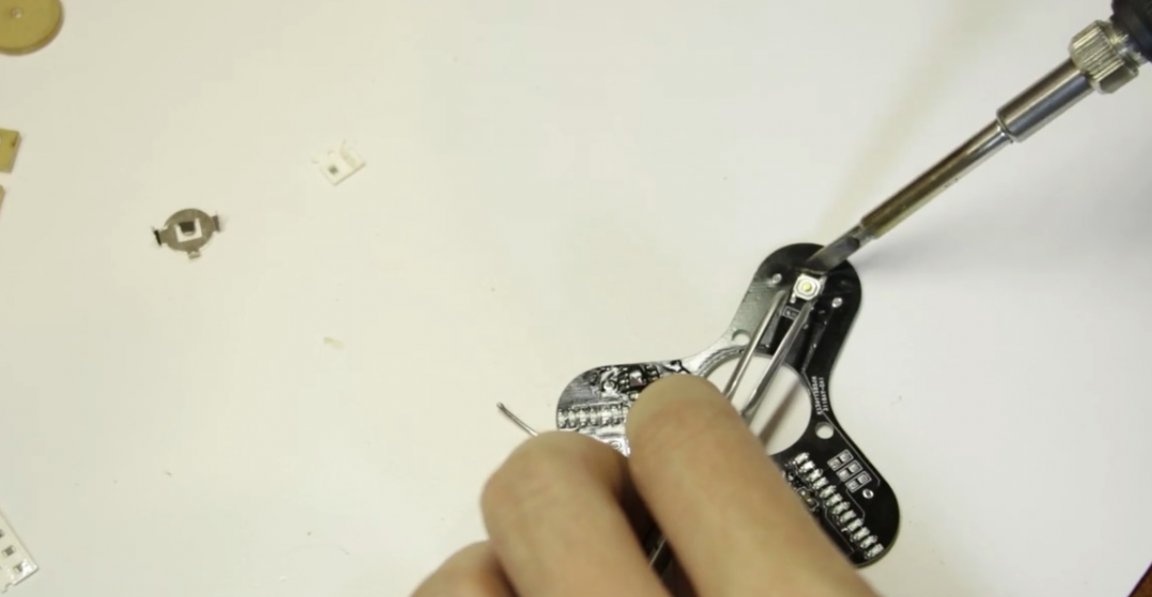
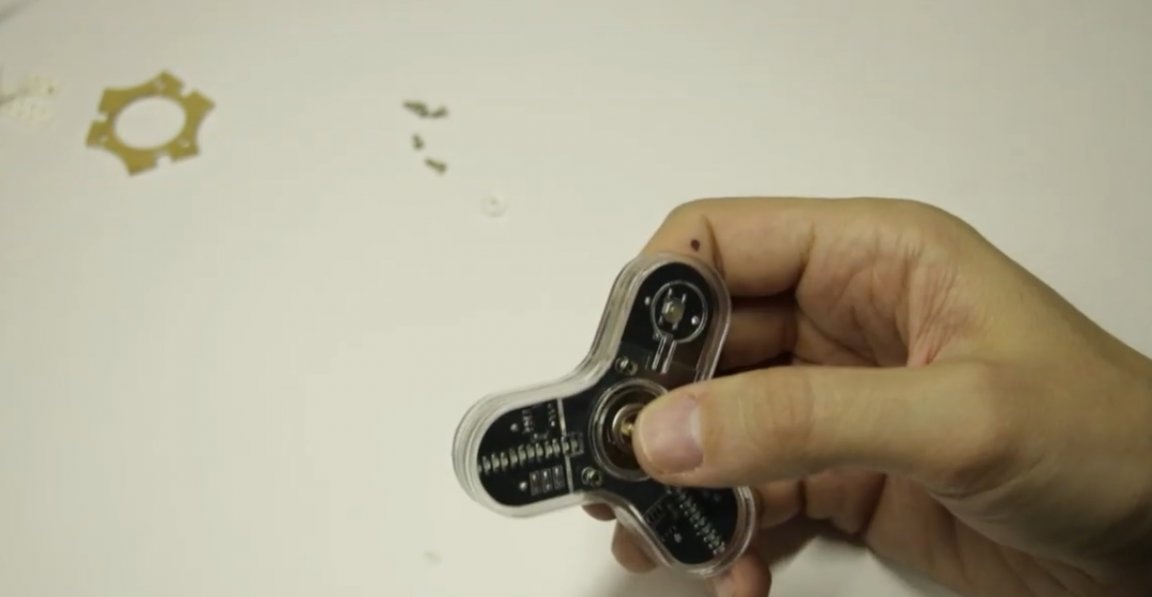
Well, the board is clean and the author found that he soldered 1 color of the LEDs on one side only.
He will correct this omission now.
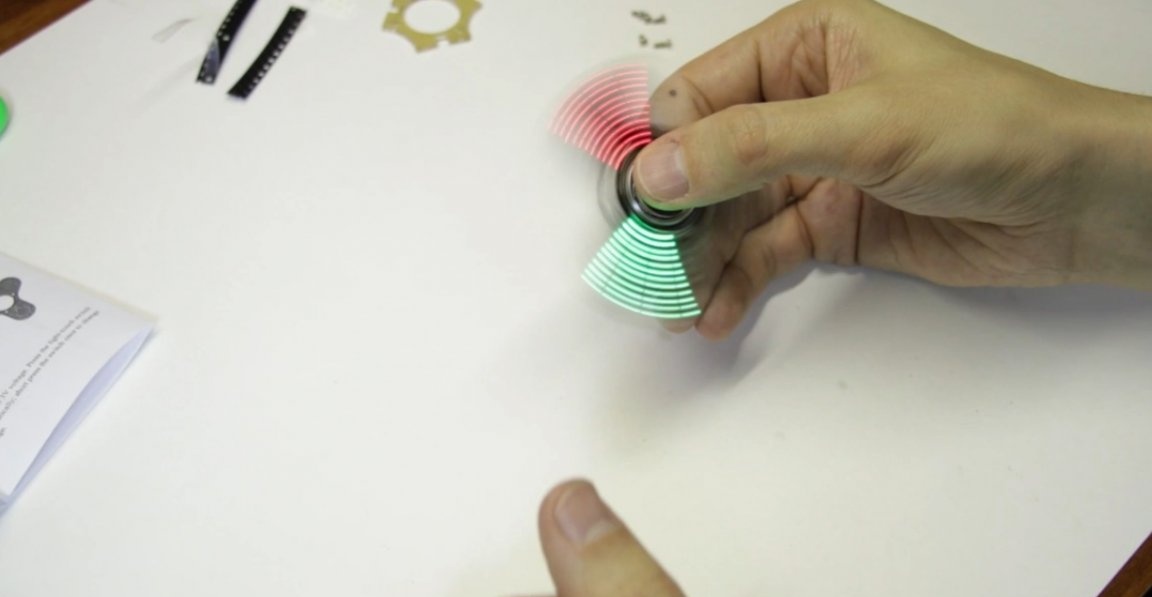
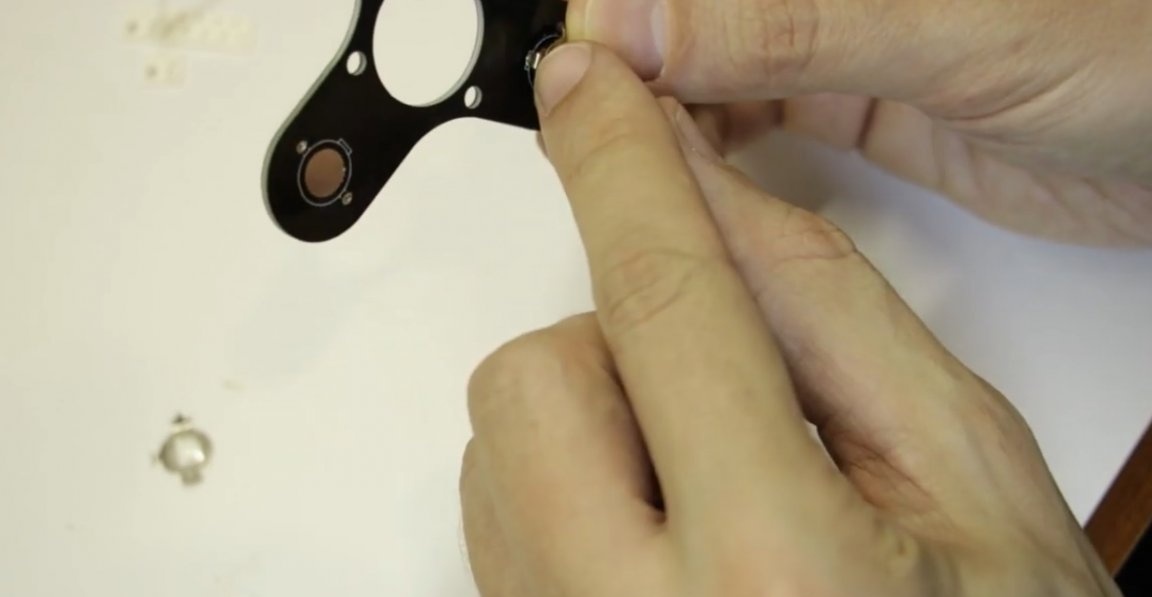
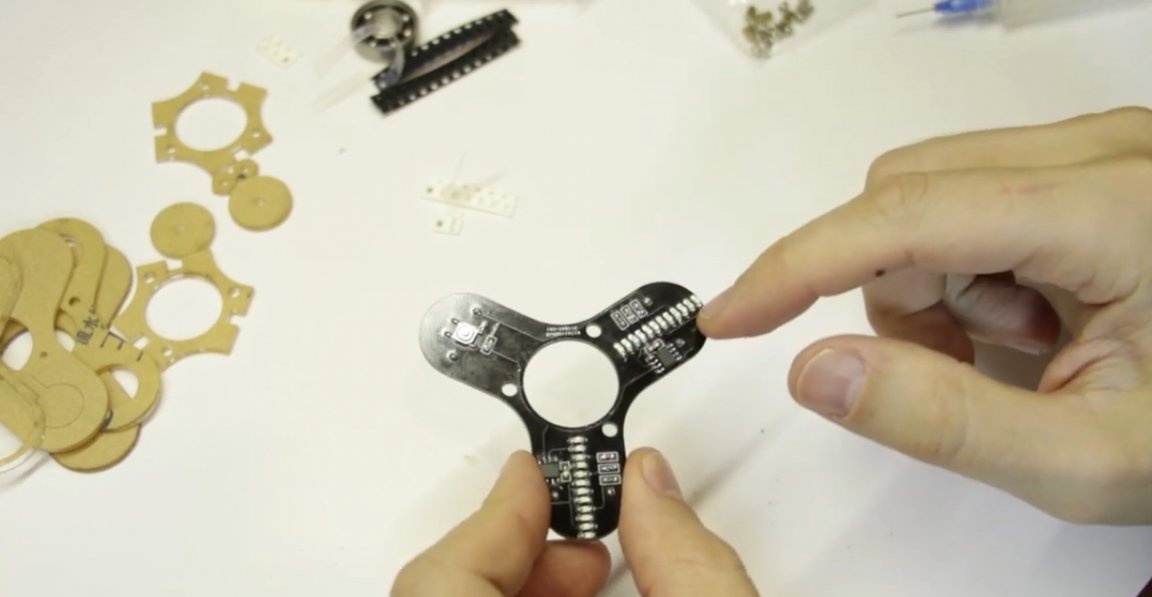
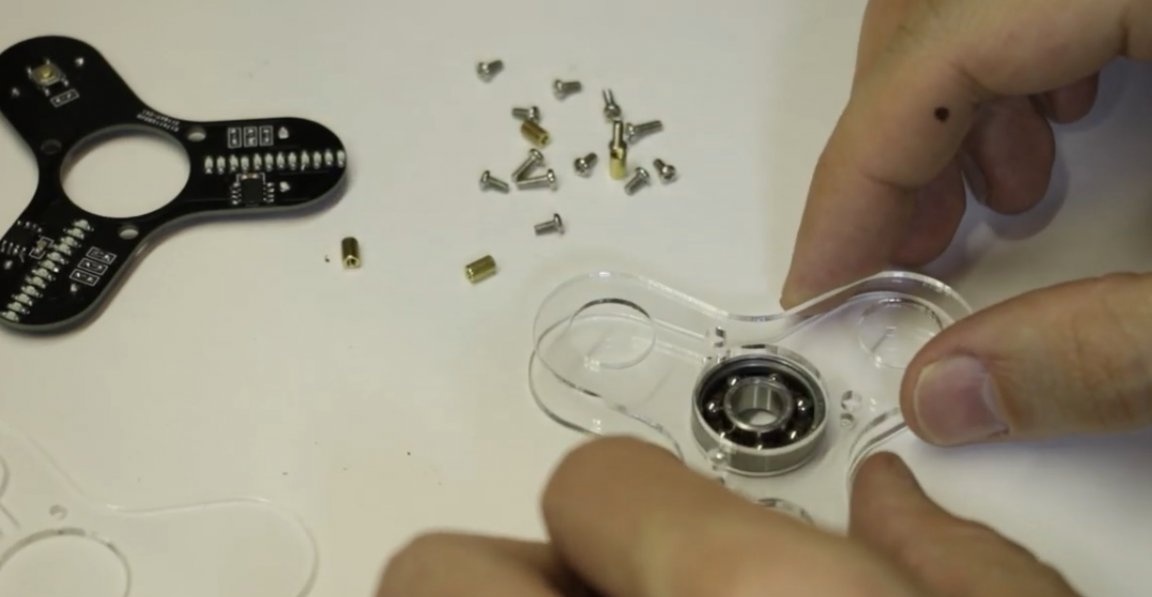
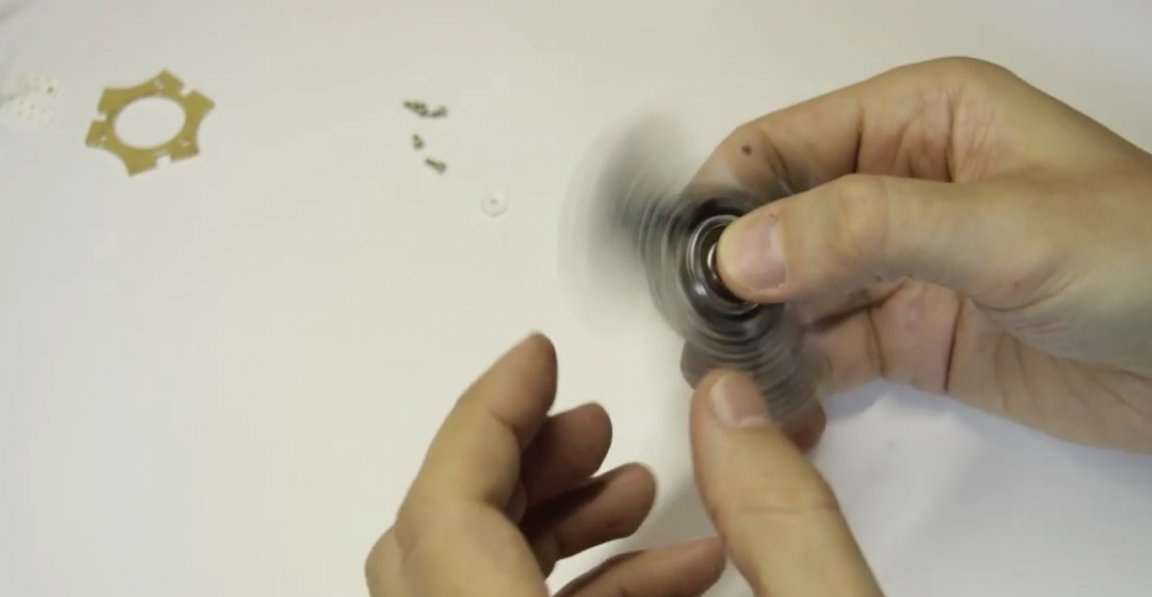
So, well, before assembling the case, you need to check what we have already done. We insert the batteries, press the button, the green blinks, the red is dimmer much, but also something is visible there.
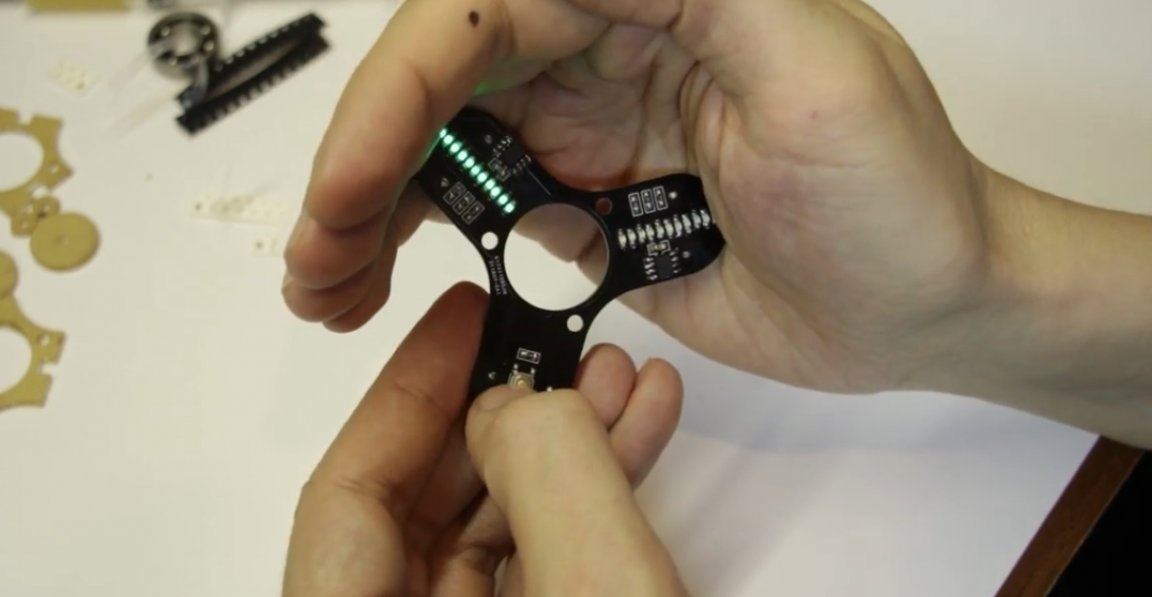
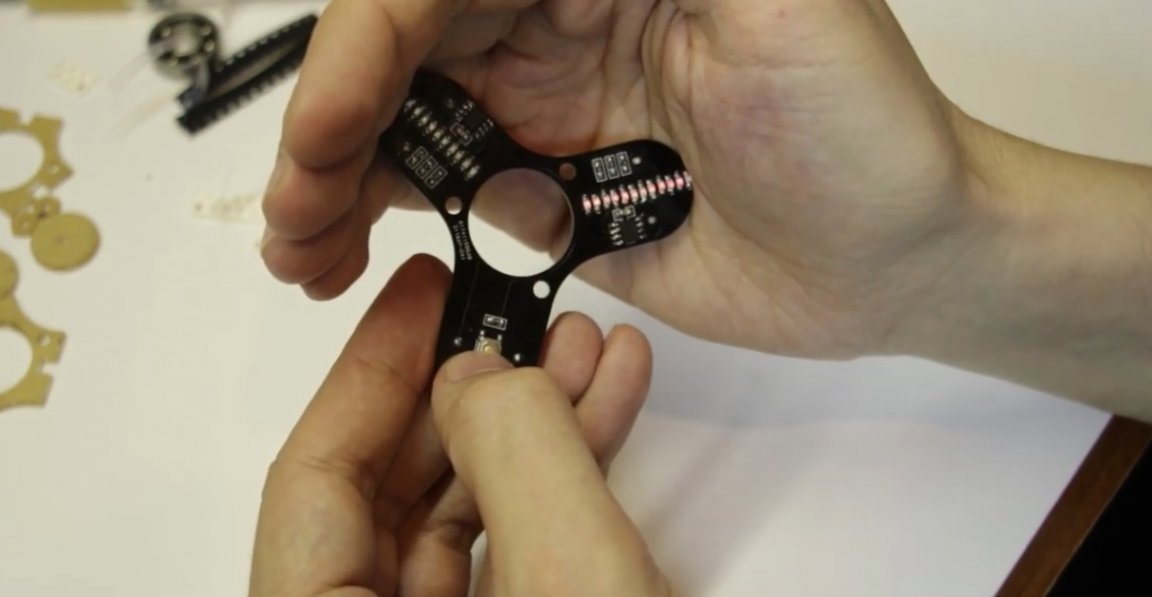
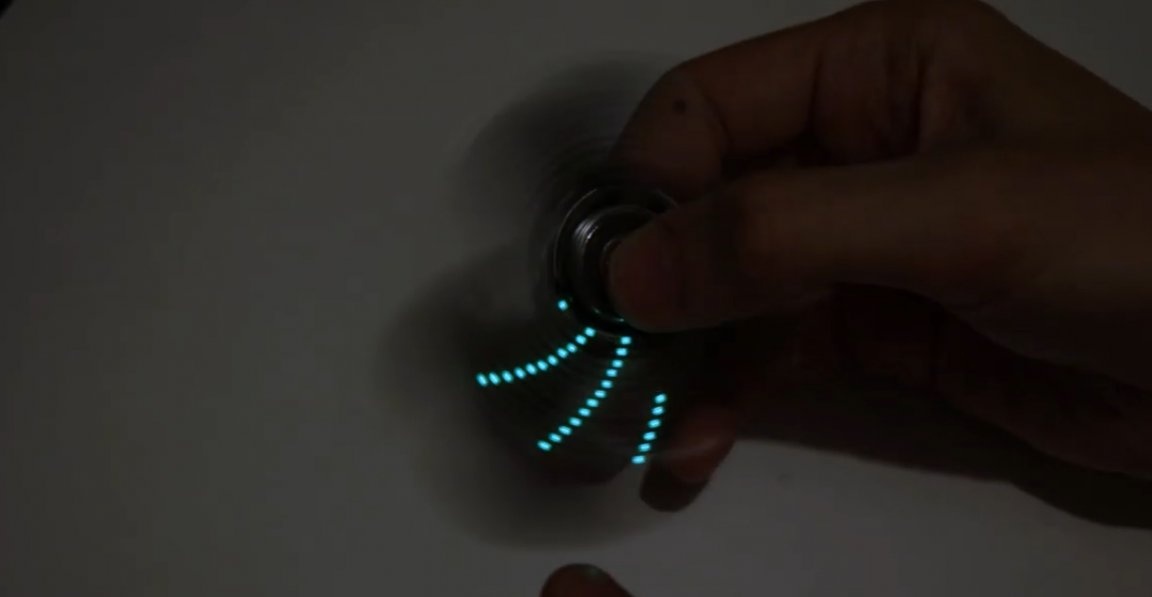
But now, in fact, it is completely incomprehensible what kind of picture he is showing us, we will see this directly in action, in fact, when the spinner rotates. But for this it is necessary to collect it to the end.
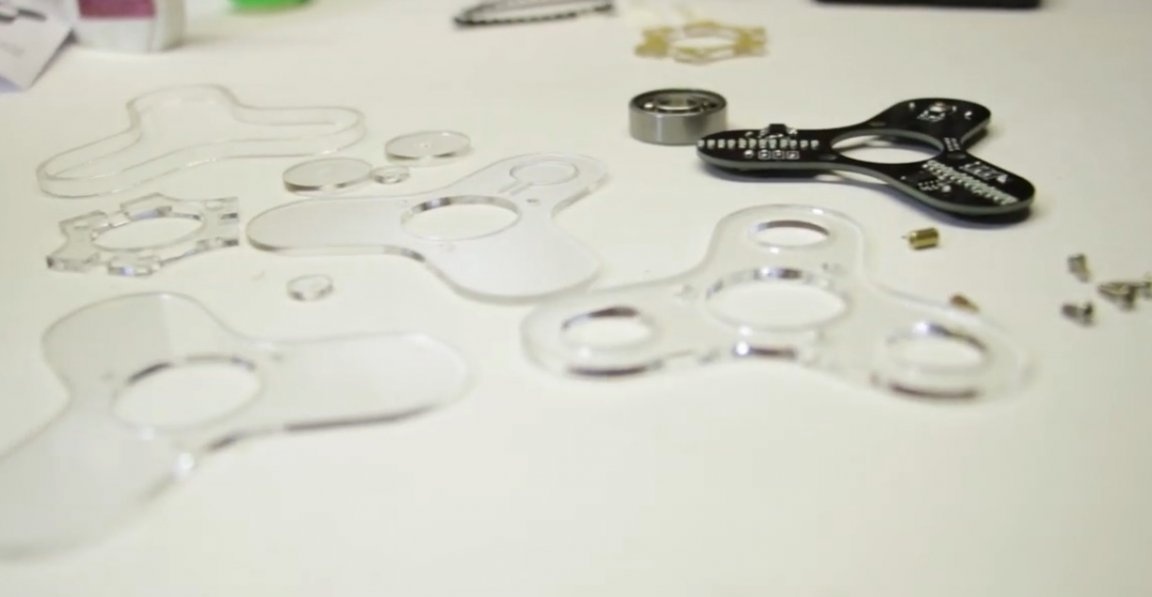

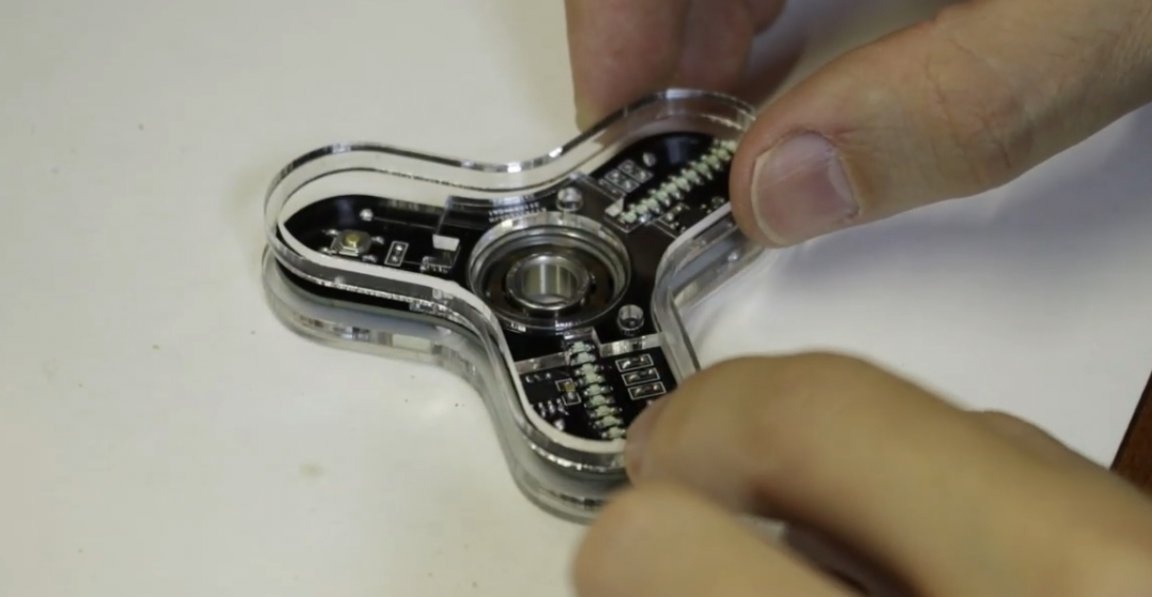
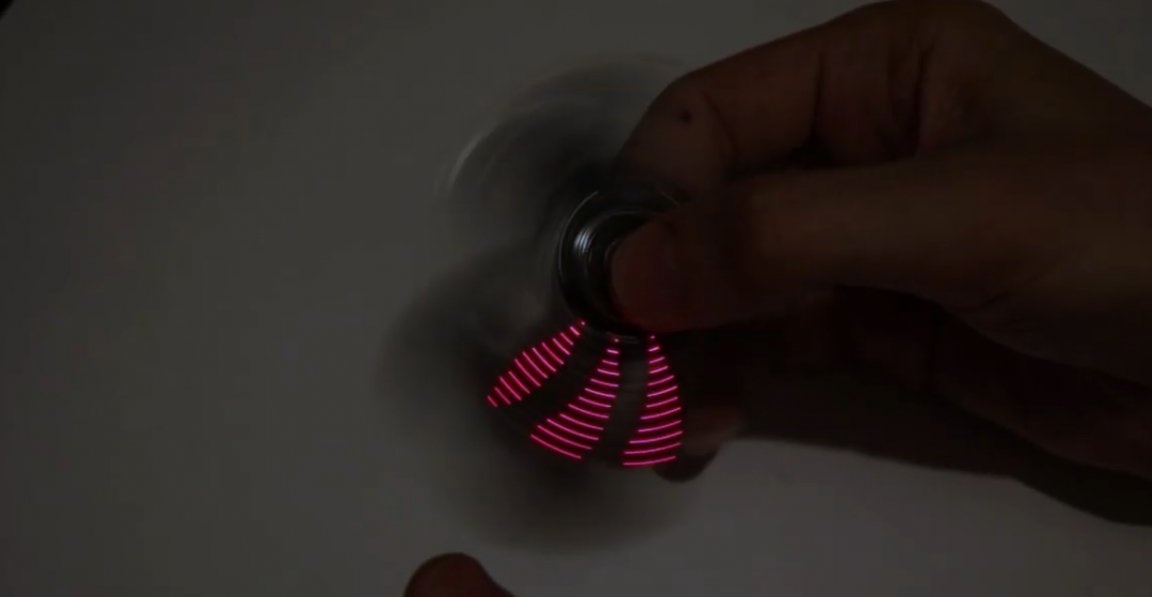
Well, that’s all. Let's put out the lights and see what we got in the end.


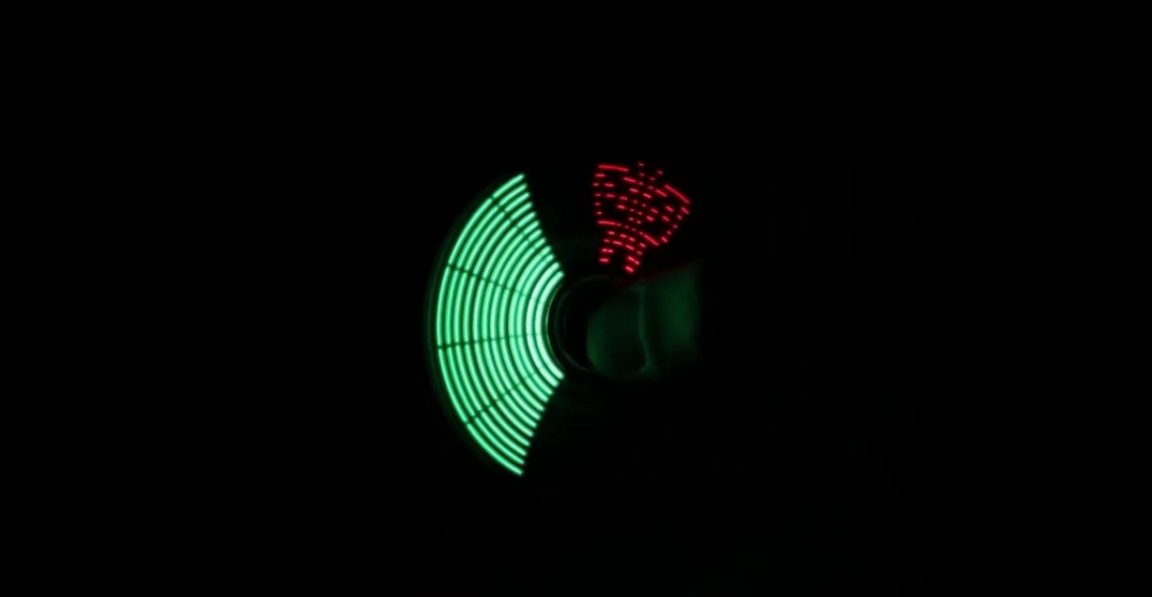

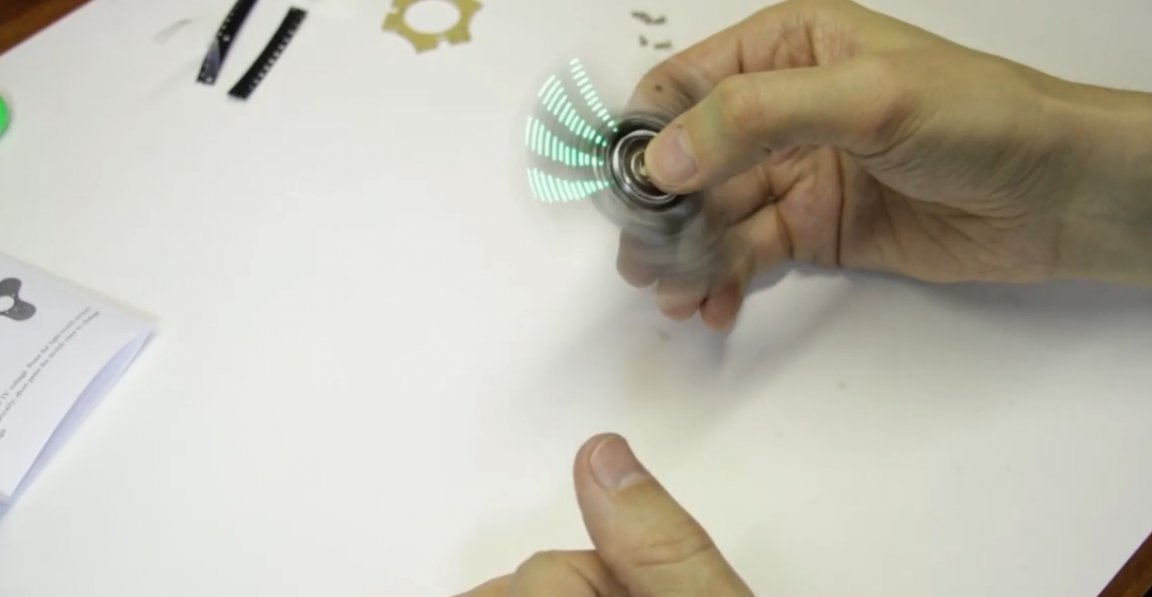
The lighting effects and the spinner assembly process are more clearly demonstrated in this video:
Well, here we have this fun little spinner today. Interesting prankster, you can give to the children, they will be happy. Well, that’s all. Thank you for attention. See you soon!