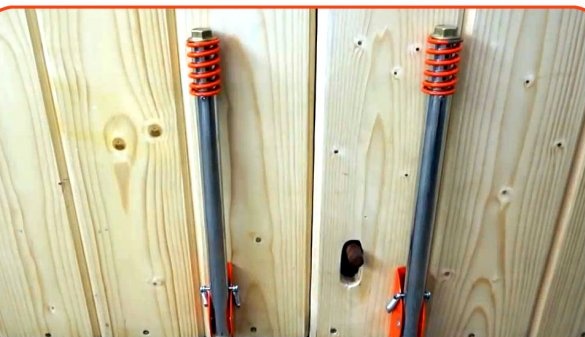
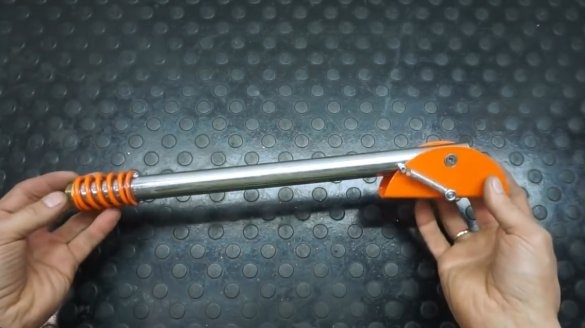
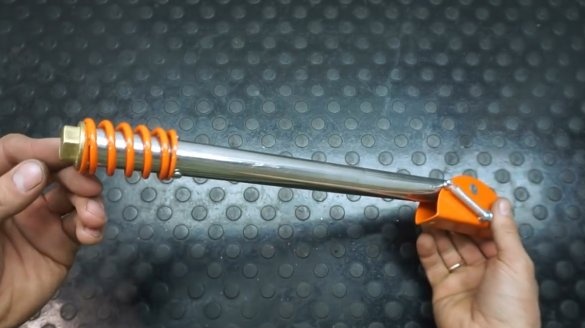
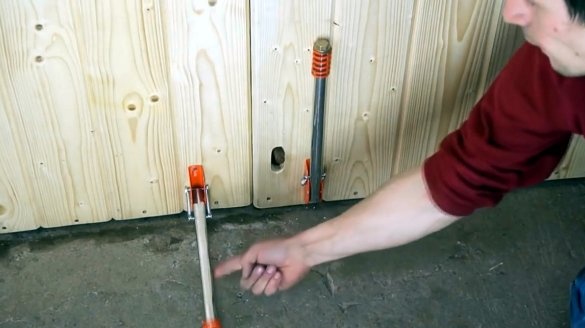
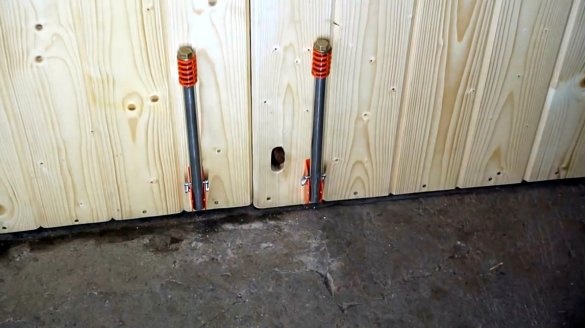
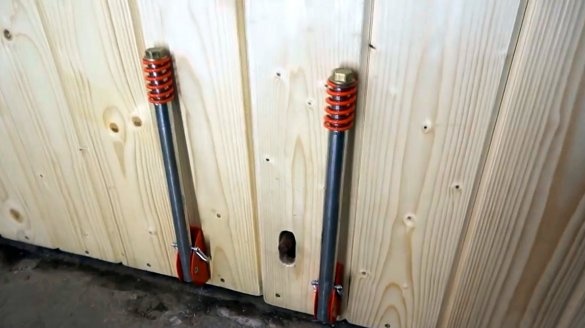
In this article, YouTube author "George Kosilov" will tell you how he made the original lining for the gate in the style of a loft.
This homemade product has a very aesthetic appearance, but it will not take a lot of time to make it.
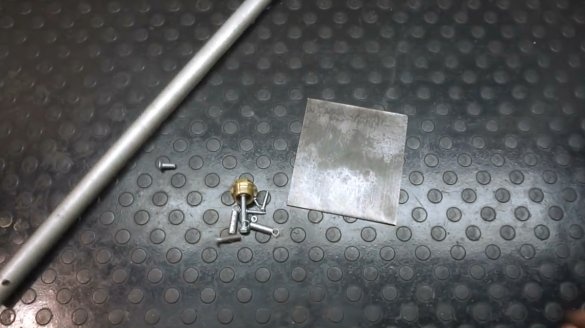
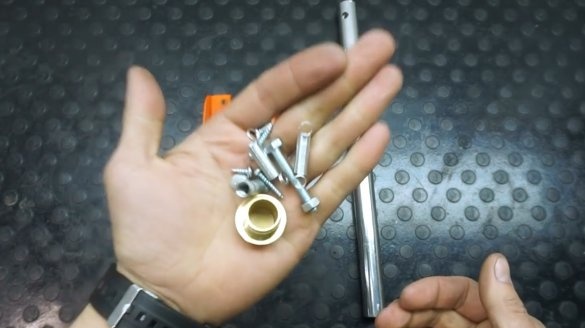
Materials
- Leg from a chair or an aluminum pipe 1/2 inch
- Steel plate 2 mm thick 120X120 mm
- 1/2 "plumbing brass plug
- Steel tube 8 mm diameter
- Bolts, nuts
- Clamshell springs
- Second glue
- Paste GOI.
Instruments, used by the author.
- Screwdriver
- Hacksaw
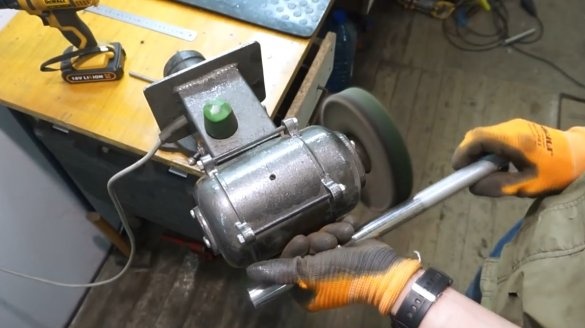
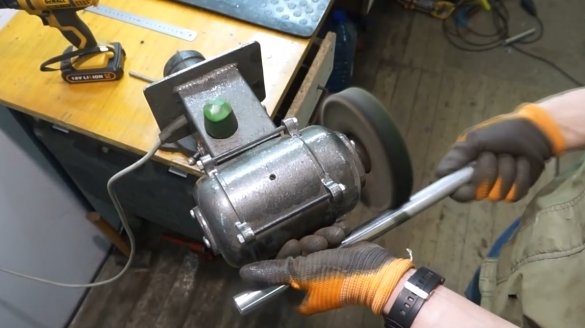
- Sharpening machine with felt disc
- 1/2 inch tap, M6
- Guillotine
- Vise
- Ruler, compass
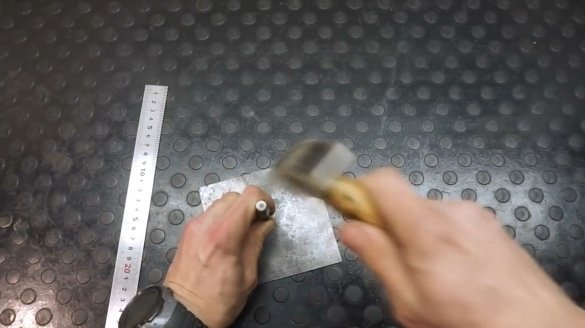
- Kern, the hammer.
Manufacturing process.
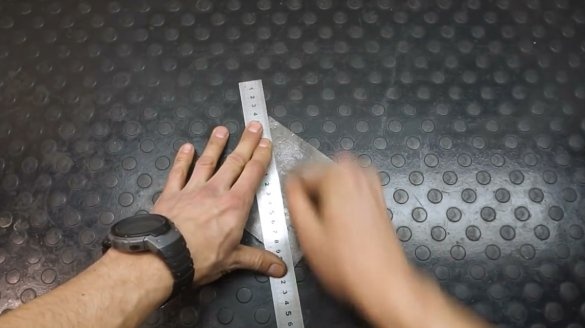
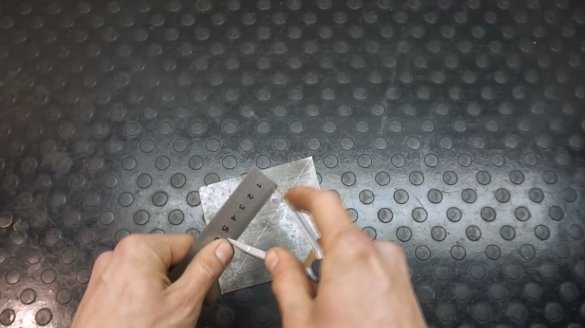
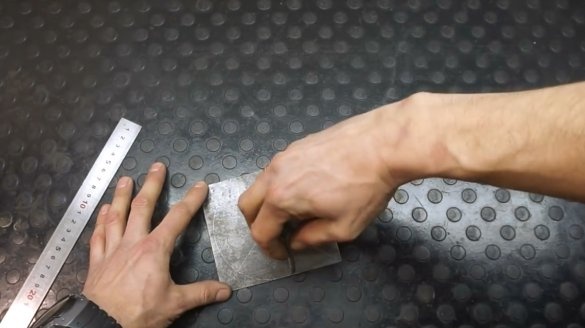
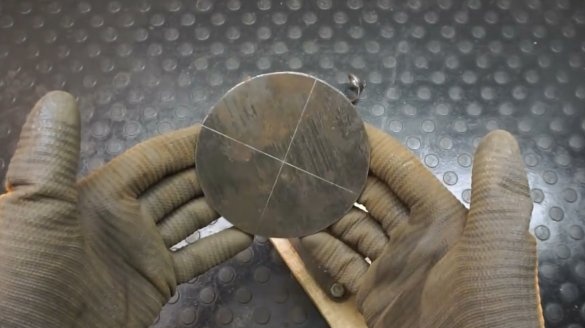
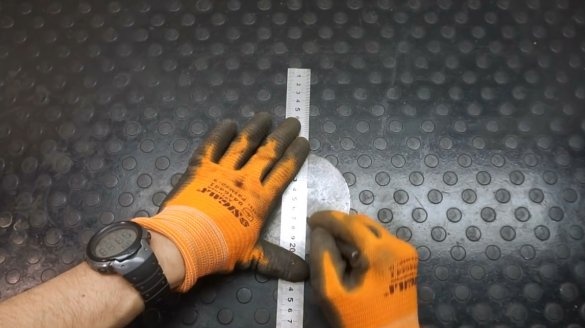
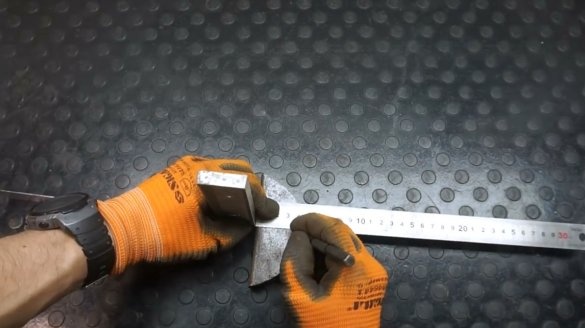
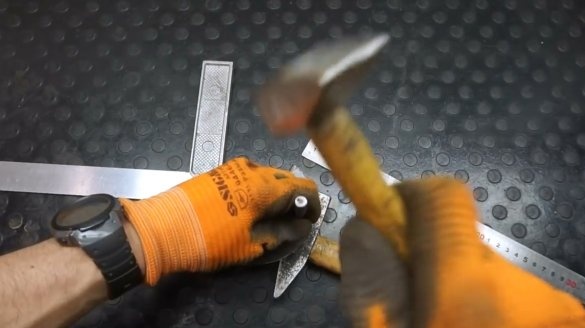
First of all, the author marks the center of the steel plate, and cores it.
Then marks a circle with a diameter of 110 mm with compasses.
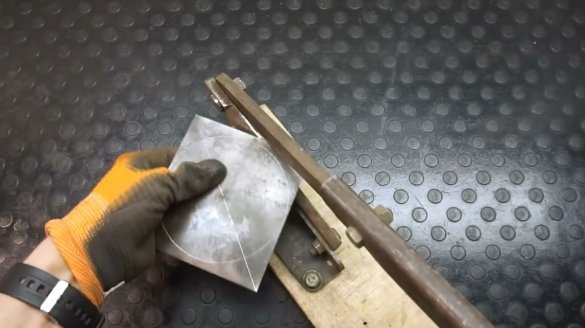
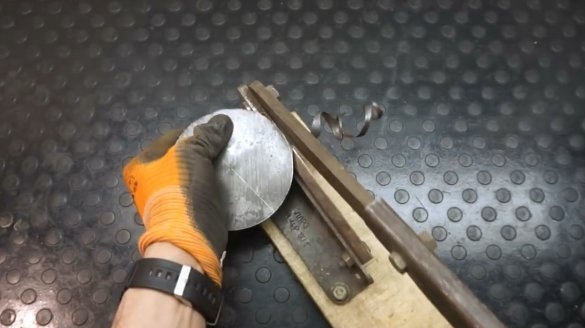
Cut a circle with a guillotine.
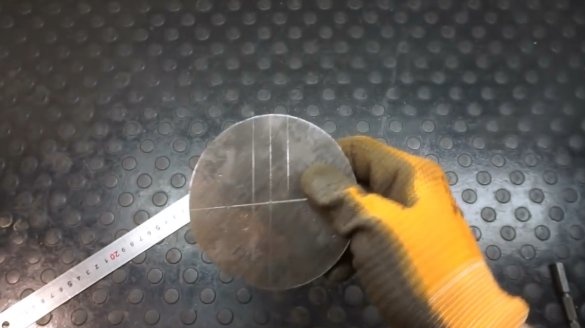
Marks bend points.
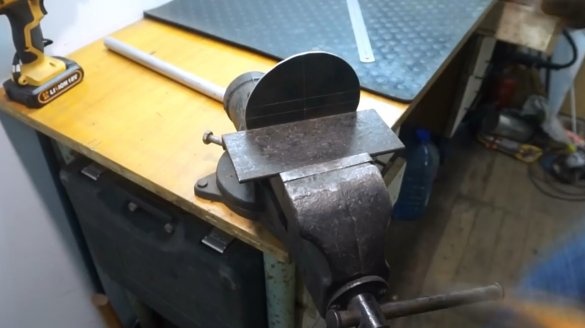
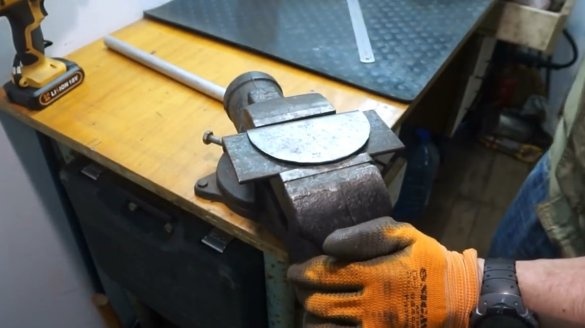
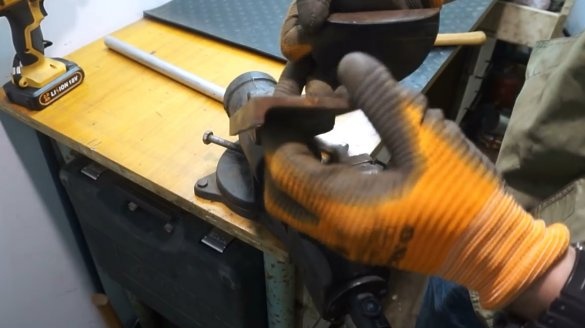
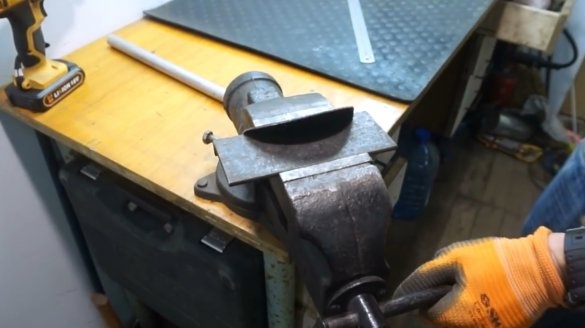
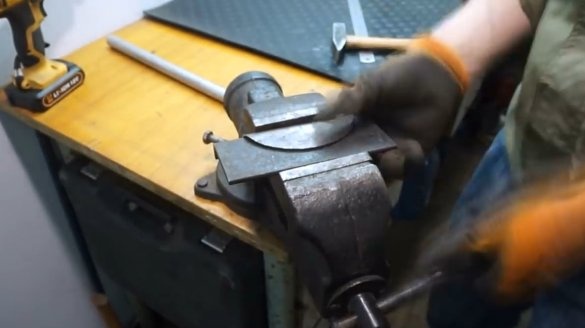
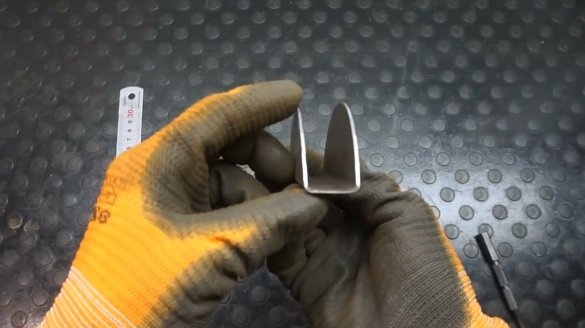
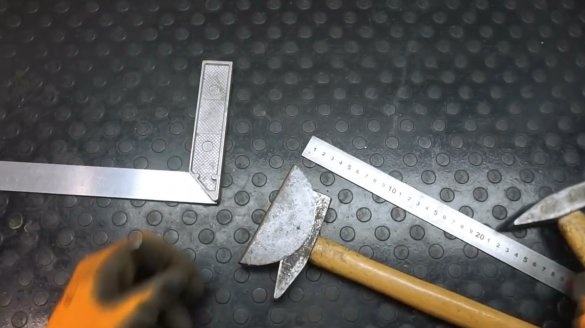
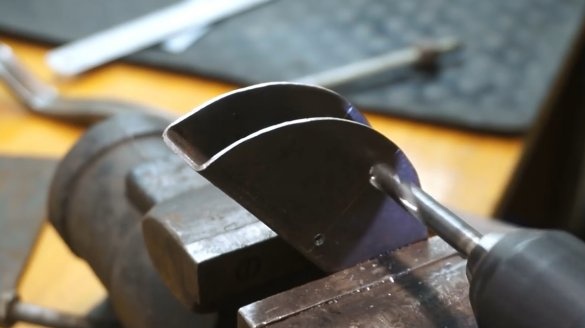
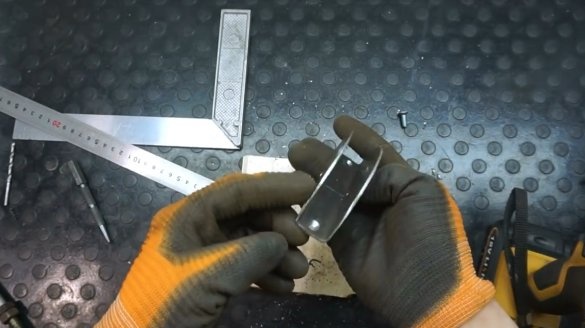
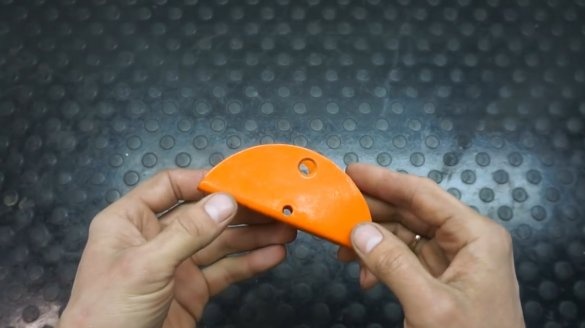
Then, holding the plate in a vise, bends it with a hammer. It is necessary to support with a trimmed channel.
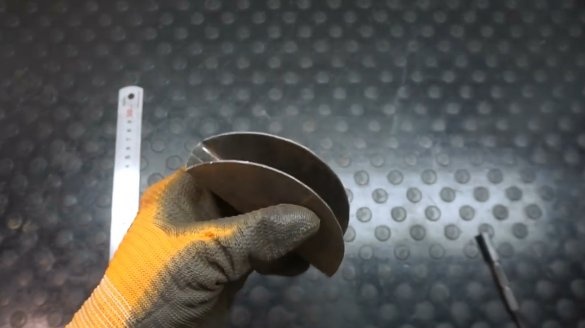
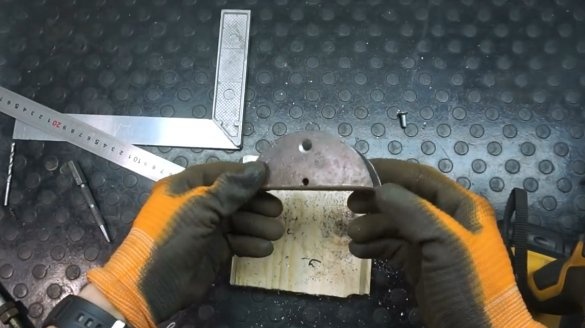
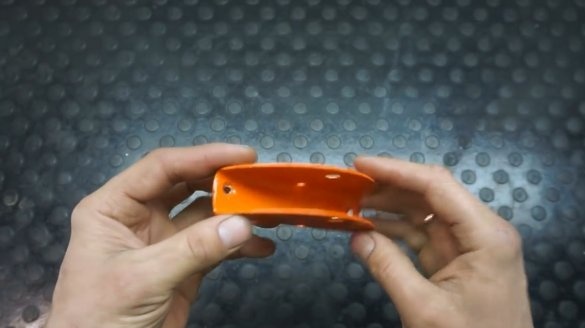
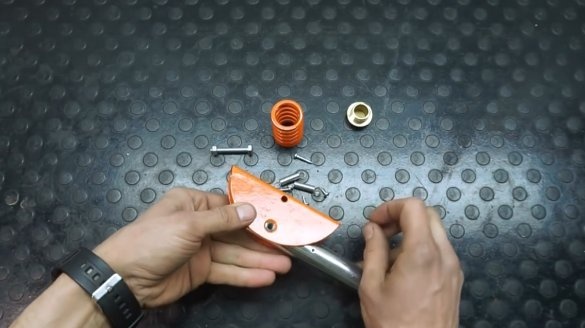
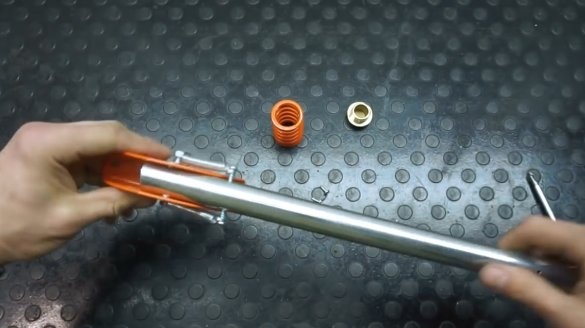
Here is a workpiece for mounting turned out.
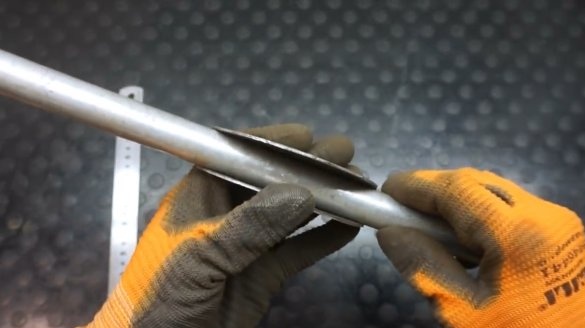
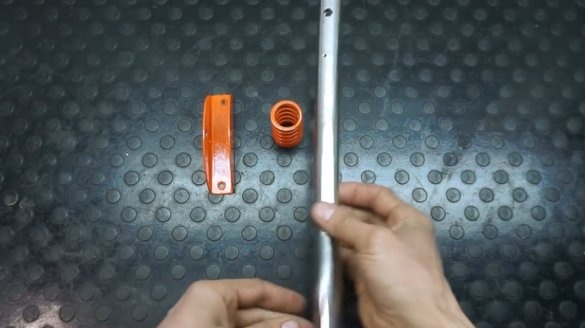
A pipe should be inserted into it with a minimum clearance.
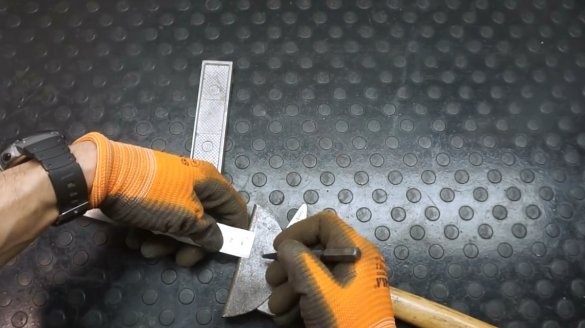
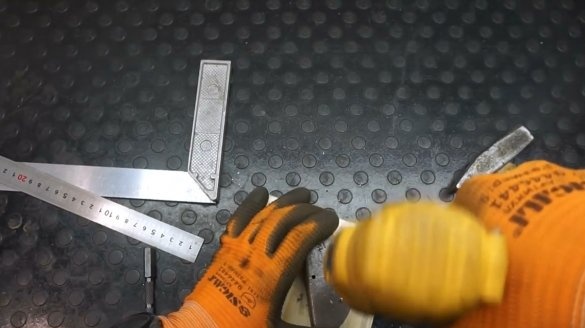
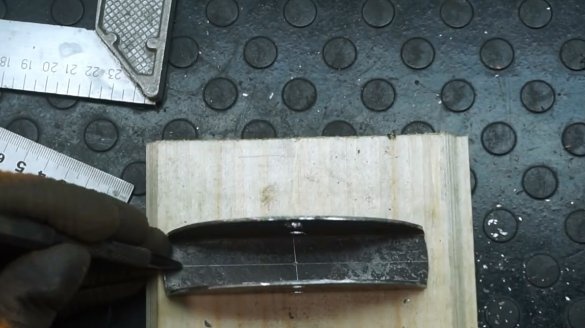
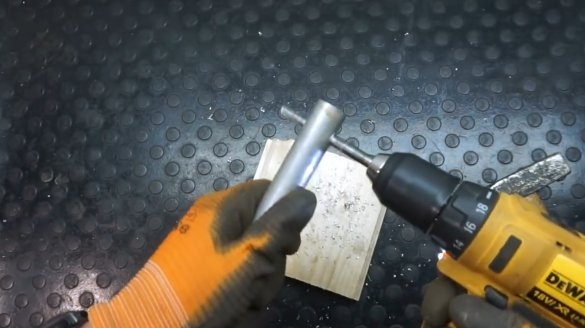
Further, the kernel two places under the holes, one at a distance of 35 mm, the second 10 mm from the base.
Then, fixing the workpiece in a vice, drills holes for the mounting bolts.
Also marks and drills a pair of holes for attaching to the door.
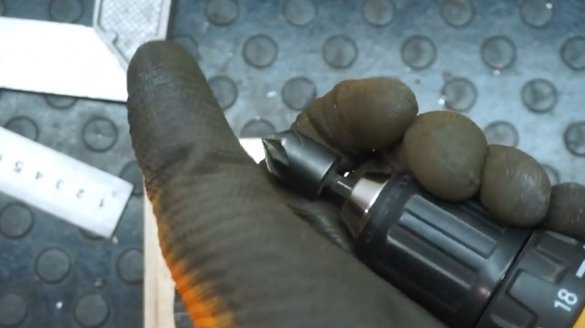
Next, countersink holes.
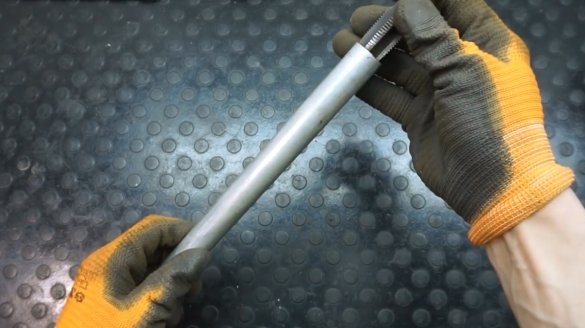
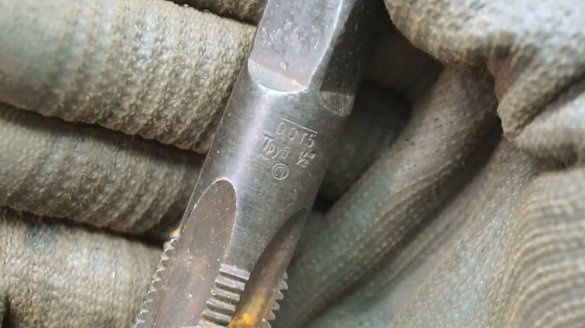
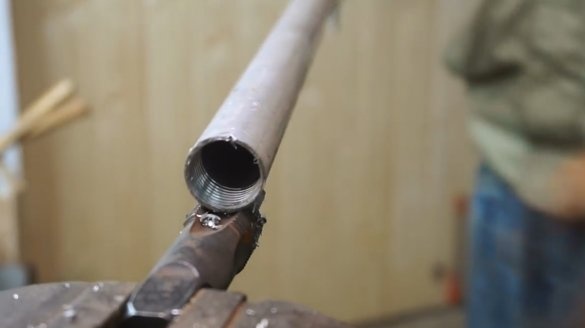
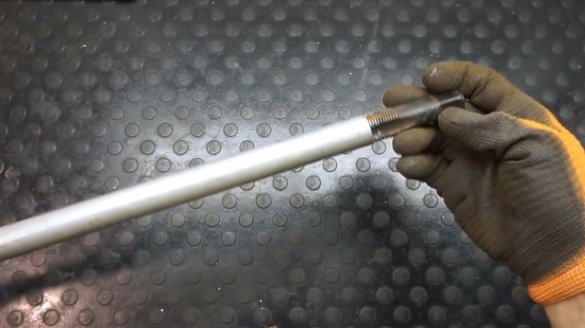
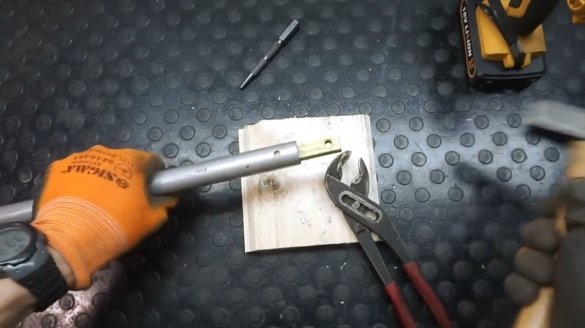
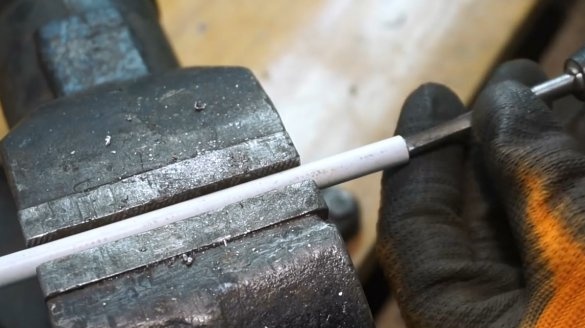
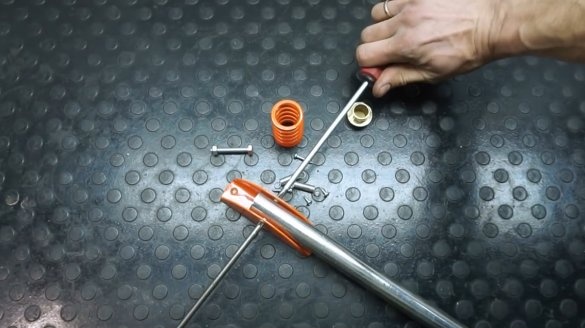
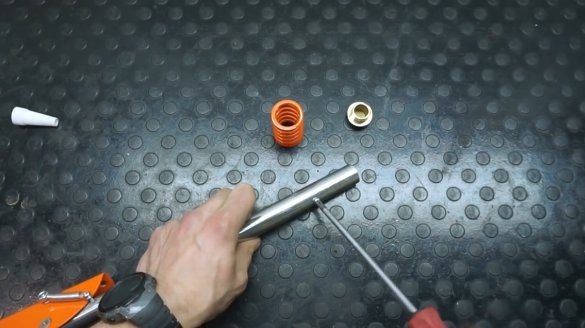
Now in the pipe you need to cut the thread with a 1/2 inch tap.
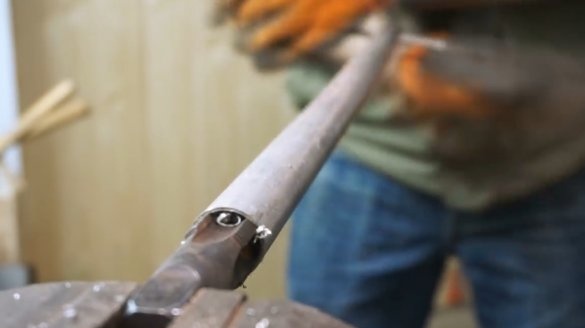
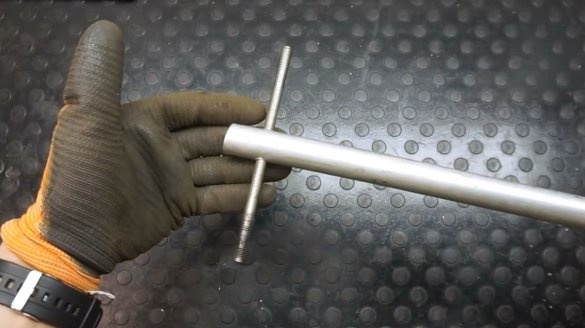
In order not to spoil the surface of the pipe, the author clamped the tap in a vise, and made a steel bar through the holes in the pipe.
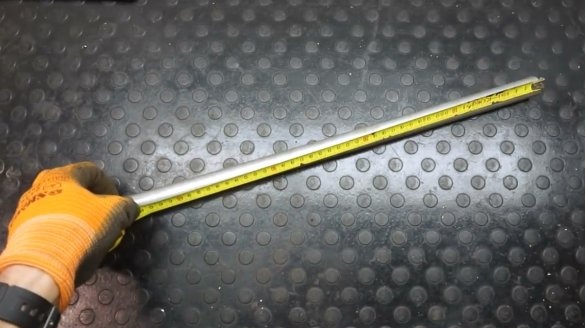
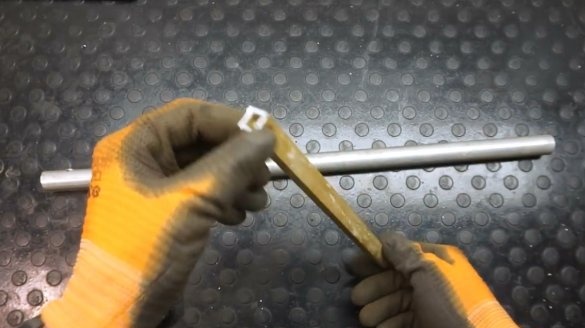
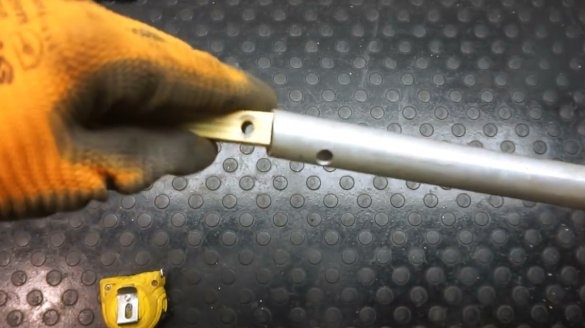
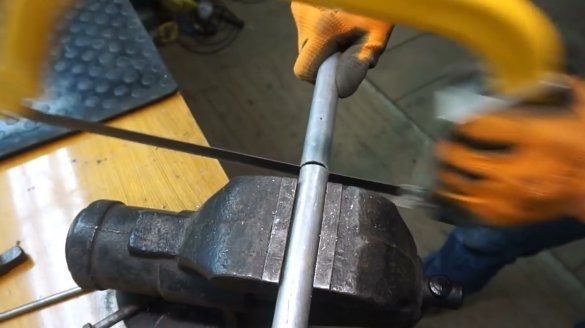
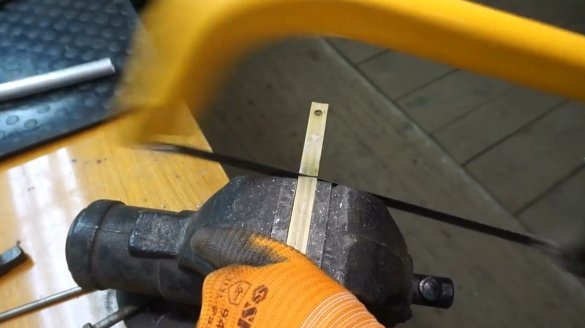
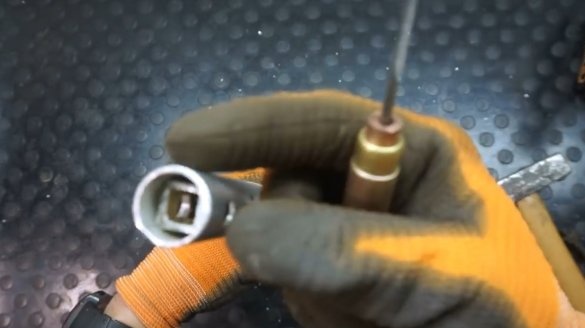
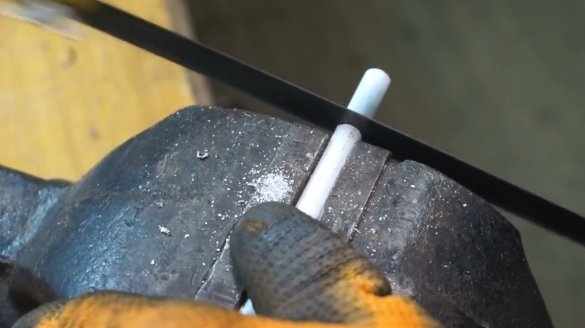
Now you need to cut 350 mm from the pipe, as well as cut a small piece of a square aluminum profile pipe, it will fit inside the first.
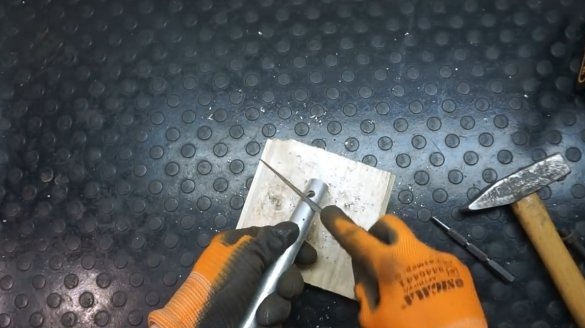
Clogs the profile pipe, drills a hole, and strips its edges with a file.
This is what the design looks like, this should provide greater bond strength.
Having rubbed a felt disk with GOI paste polishes a tube.
Then you need a sleeve from a steel tube with a diameter of 8 mm and a length of 22 mm. The author cuts the M6 thread in it.
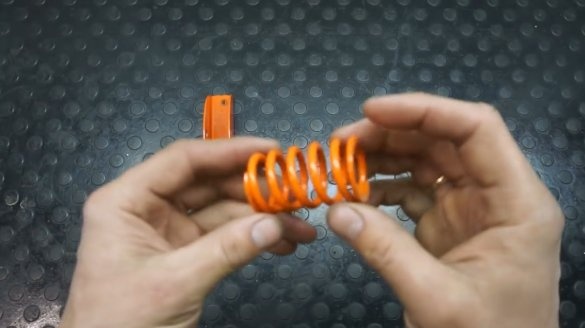
The mount and spring are spray painted. The spring will play a decorative function.
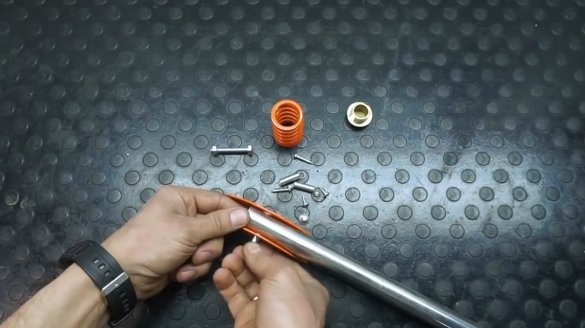
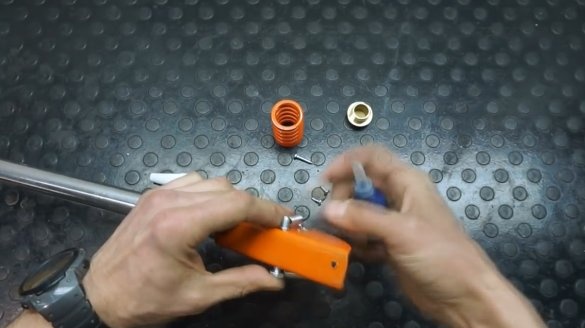
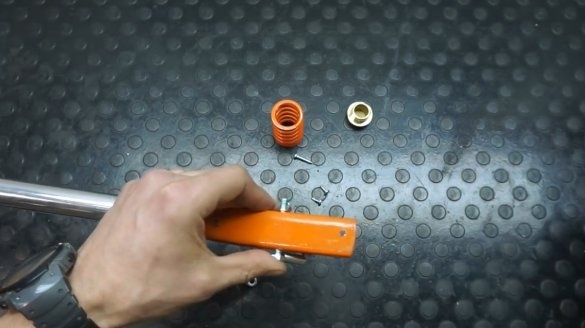
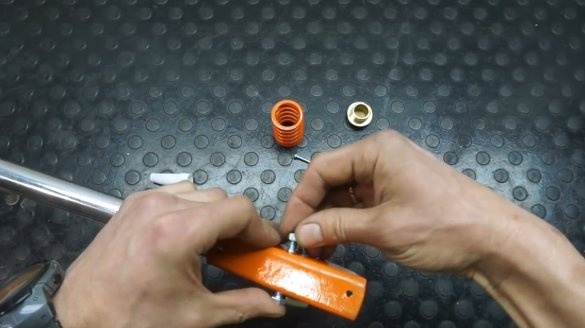
The author proceeds to assemble the emphasis. Attaches the pipe to the base.
Then it installs the spring holders, makes them, drops a drop of glue on the thread and tightens the nuts.
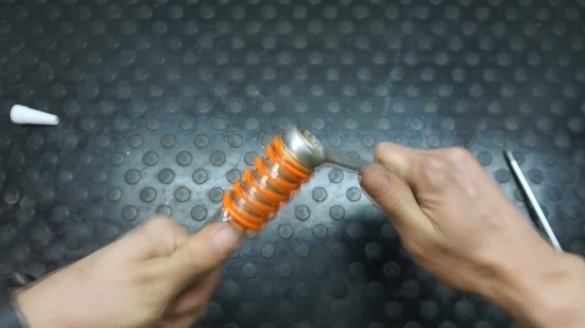
After that, it pulls the springs.
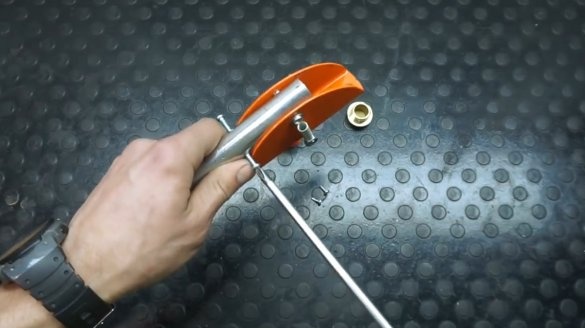
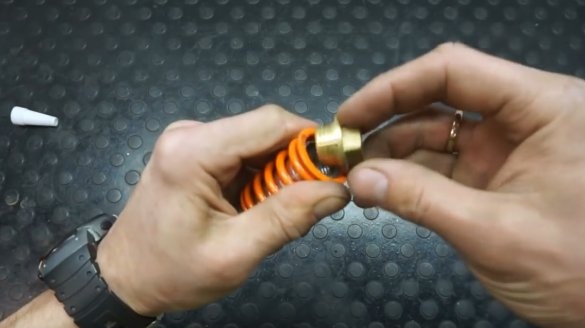
At the other end of the pipe, two screws are screwed - the stopper, put on a decorative spring, and tighten the plumbing plug.
That's all, the stops are ready for installation on the gate.
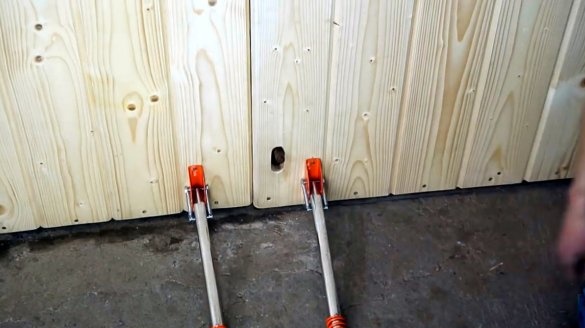
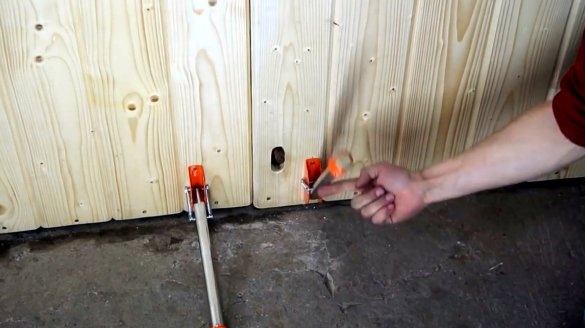
And so it looks already at the gate. The stops are perfectly fixed in the upper and lower position.
Appearance in working position.
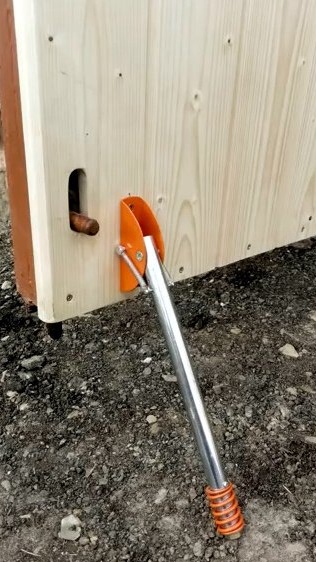
Thanks to the author for the beautiful implementation of the stops for the gate!
Good mood and good luck to everyone!

