Today we will consider how to make a high-quality, strong and beautiful knife from the valve stem. The stem is meant in view of the one installed in large faucets. The steel used is very strong, since the stem must withstand enormous loads.
Homemade quite difficult to manufacture, because forging is used here. But if you know how to forge, then no difficulties in the manufacture of a knife should arise. To make a pen, the author used a growth on a tree called a “cap”. The material is quite strong, and it looks beautiful. If the homemade product interests you, I suggest that you familiarize yourself with the homemade product in more detail!
Materials and tools used by the author:
Material List:
- valve stem;
- birch cap or other;
- aluminum or other material for the bolister;
- epoxy adhesive;
- oil for wood and stain.
Tool List:
- whetstones for sharpening a knife;
- blacksmith tools;
- drill;
- drill;
- tape cutting machine;
- belt sander;
- vise;
- sandpaper;
- marker.
The process of making a knife:
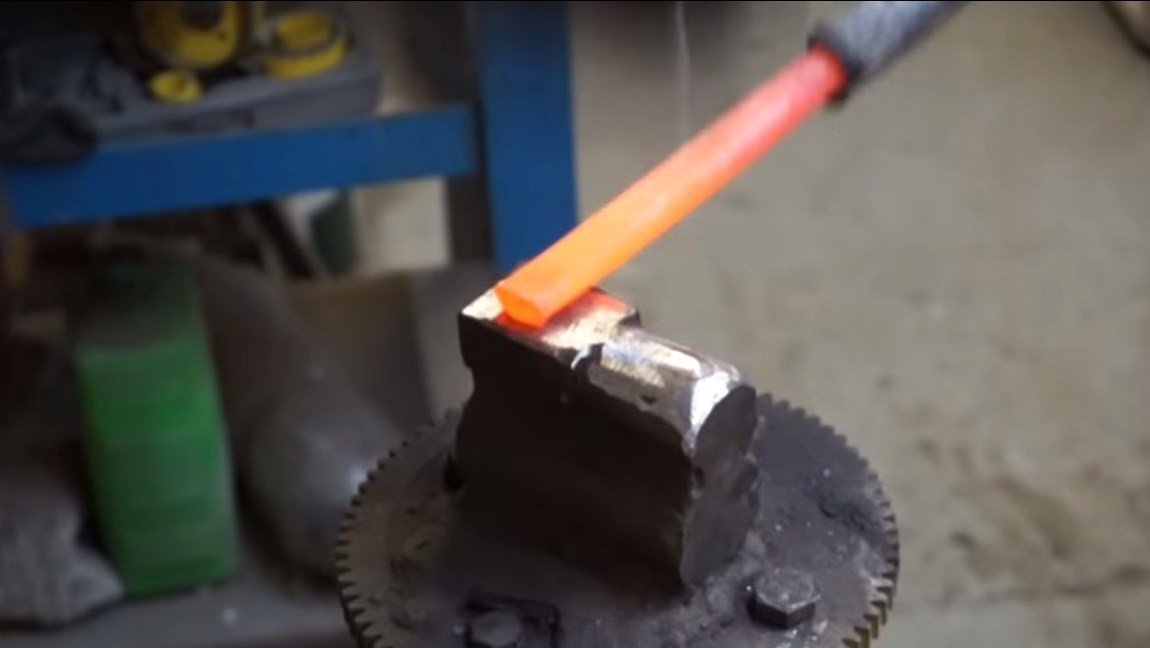
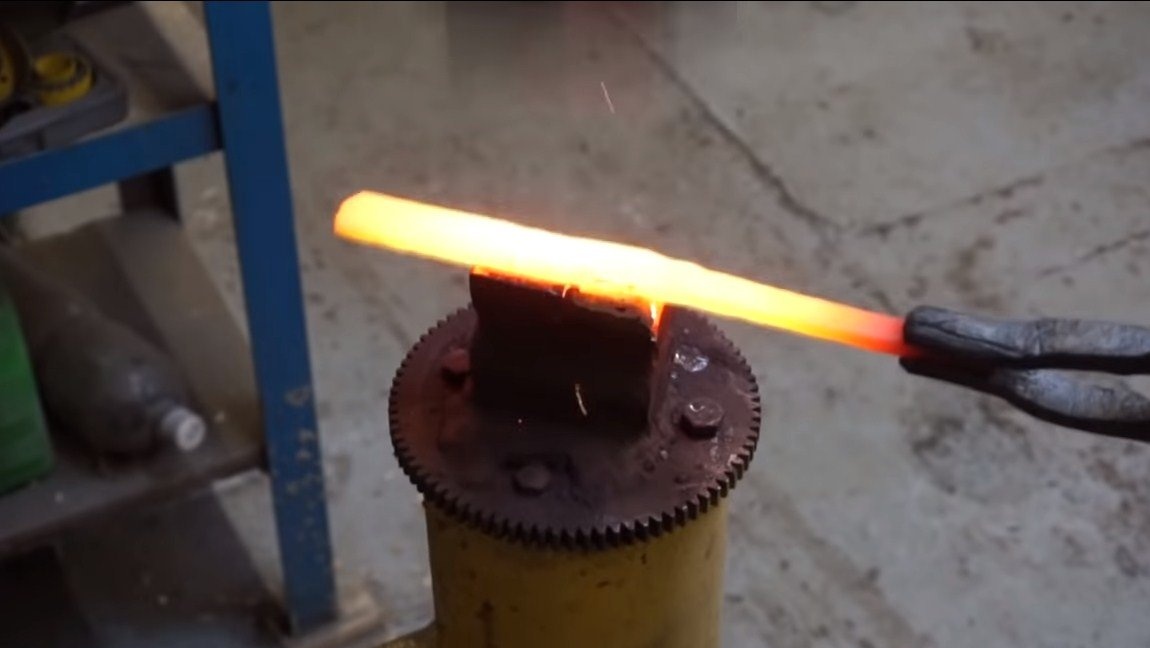
Step one. We form the main profile
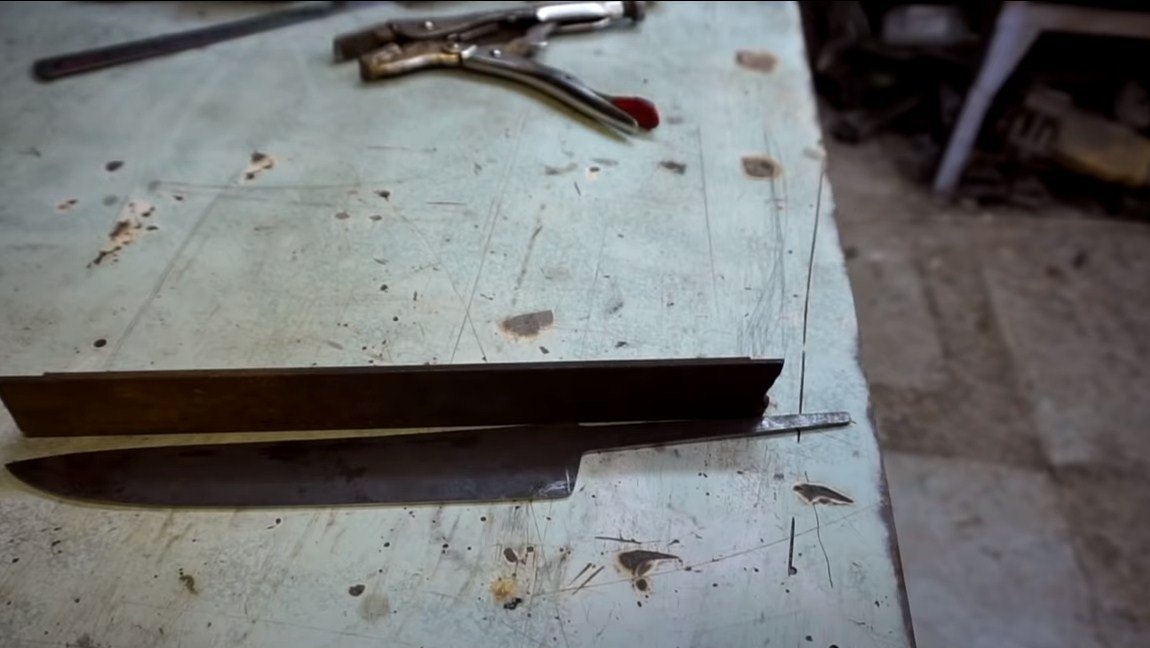
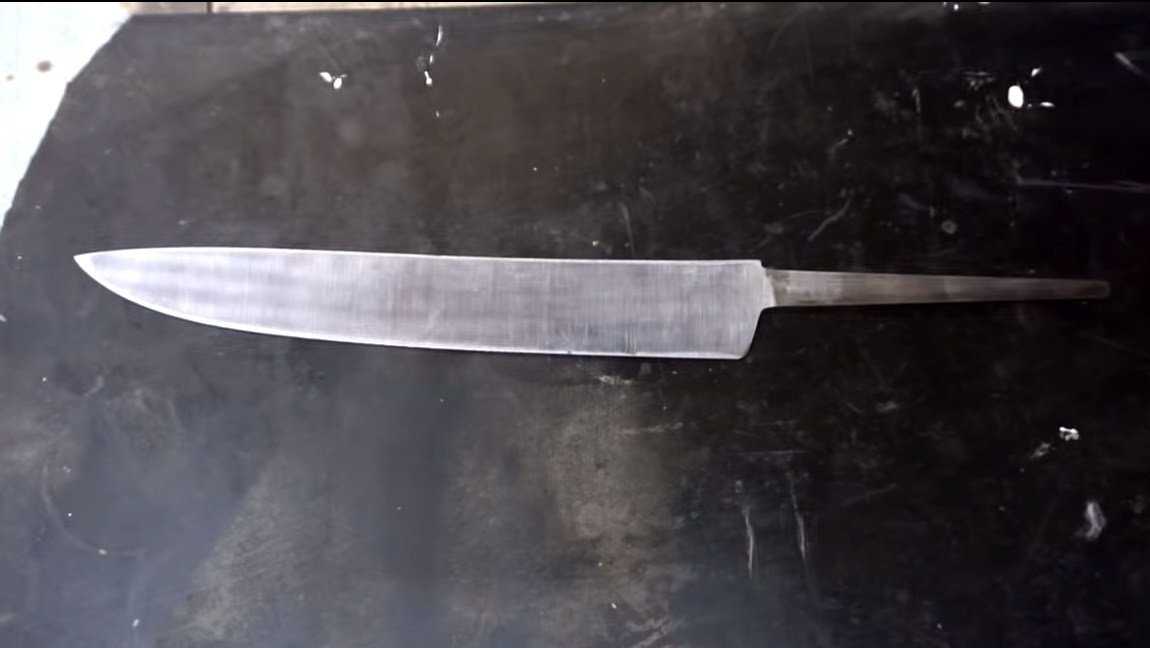
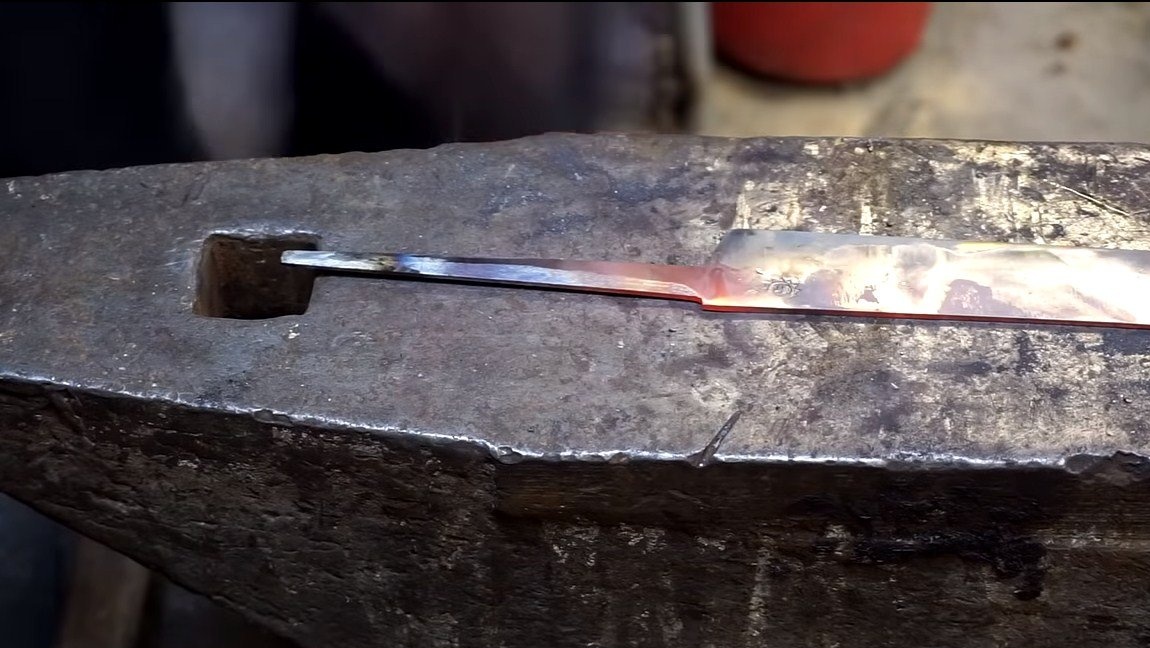
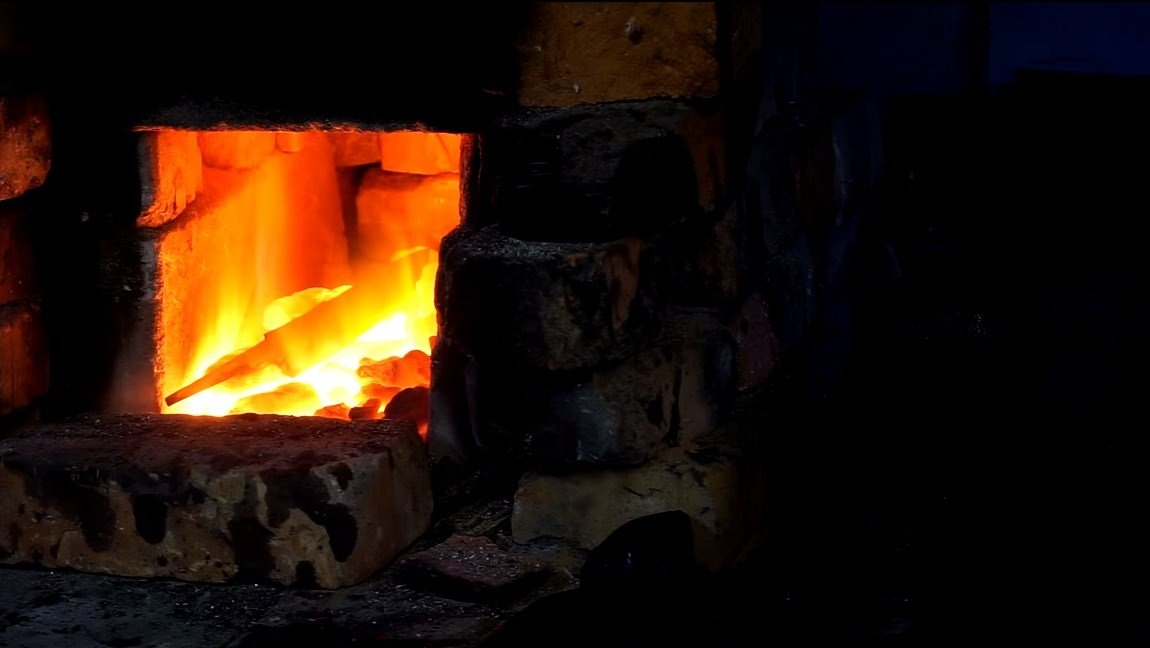
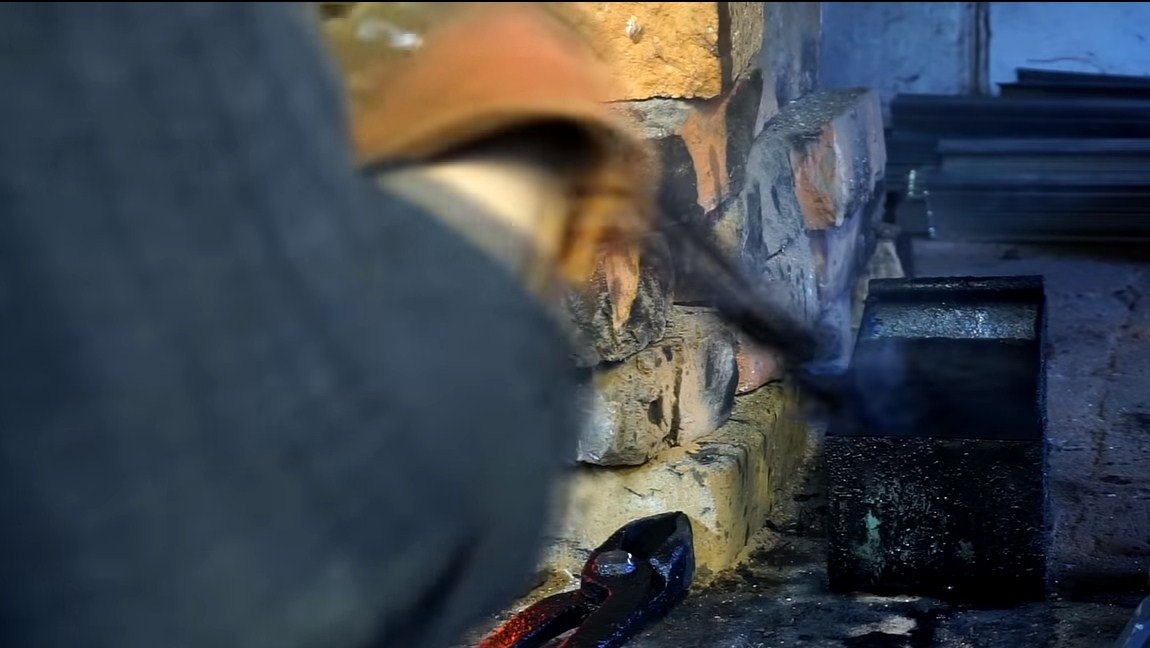
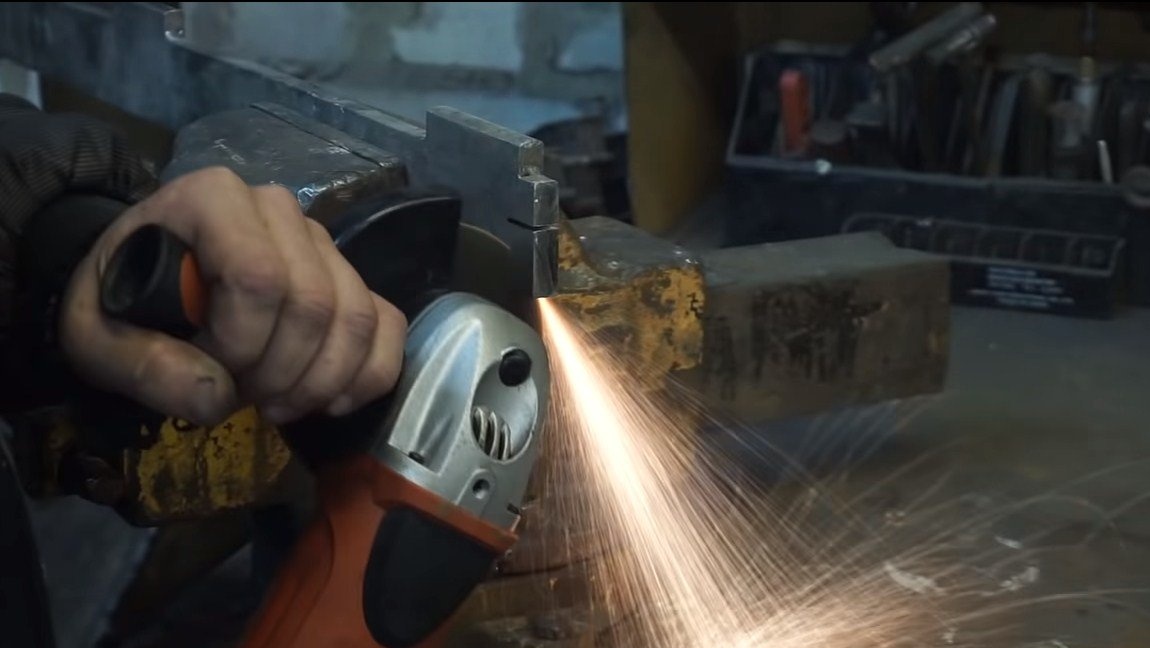
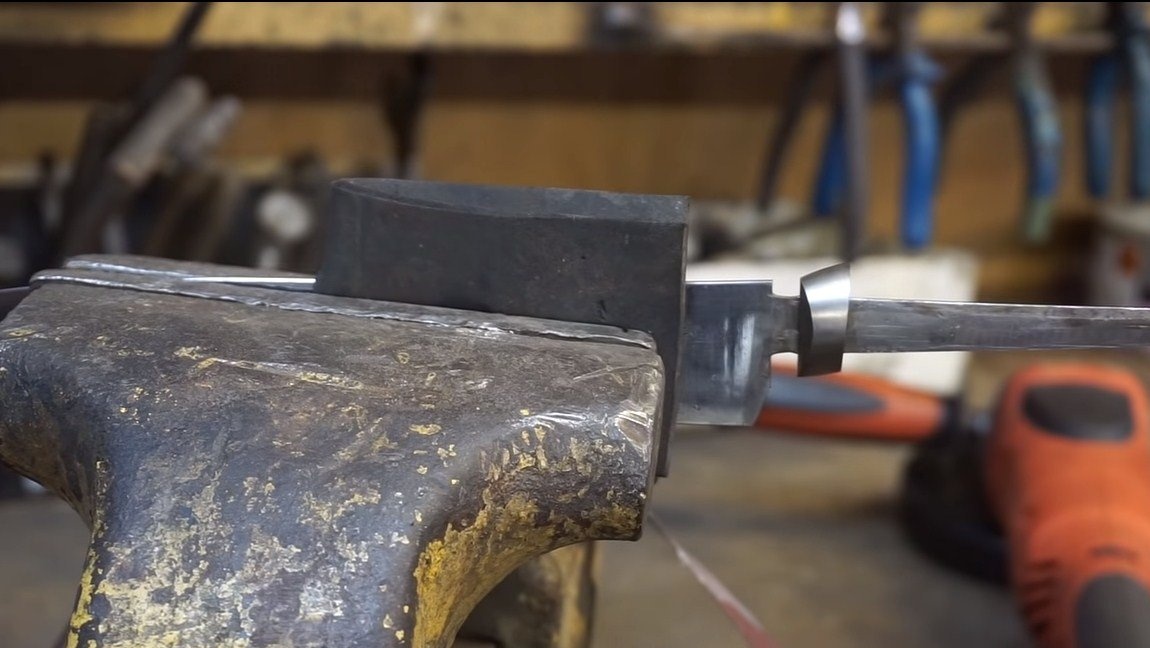
First we need to create a blank, this will be the primary profile of the blade. A steel rod is used as the starting material, so it will need to be properly flattened. We heat the metal and work with a hammer, a little effort and we get something similar to the shape of a knife. By forging, we will also make the metal stronger.

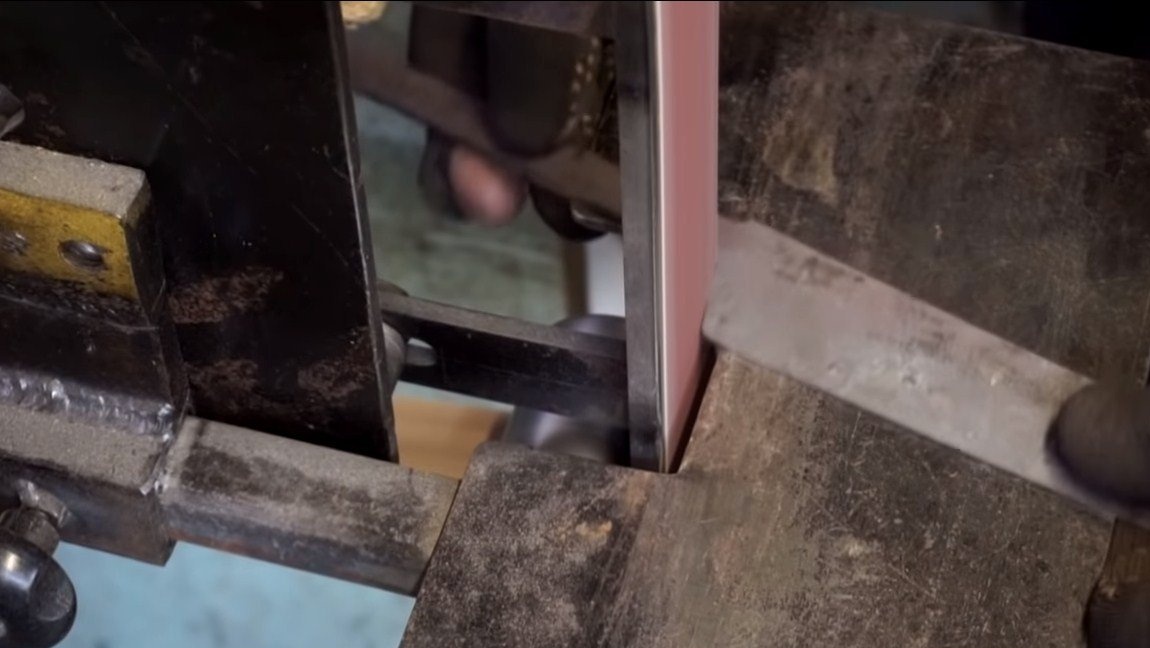
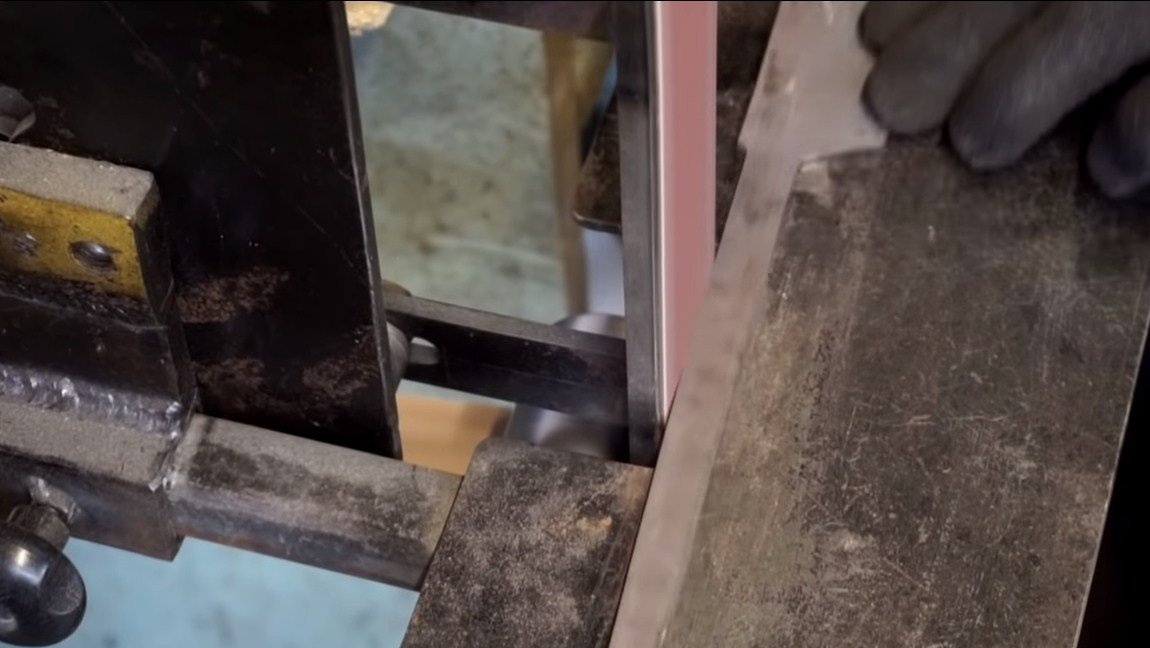
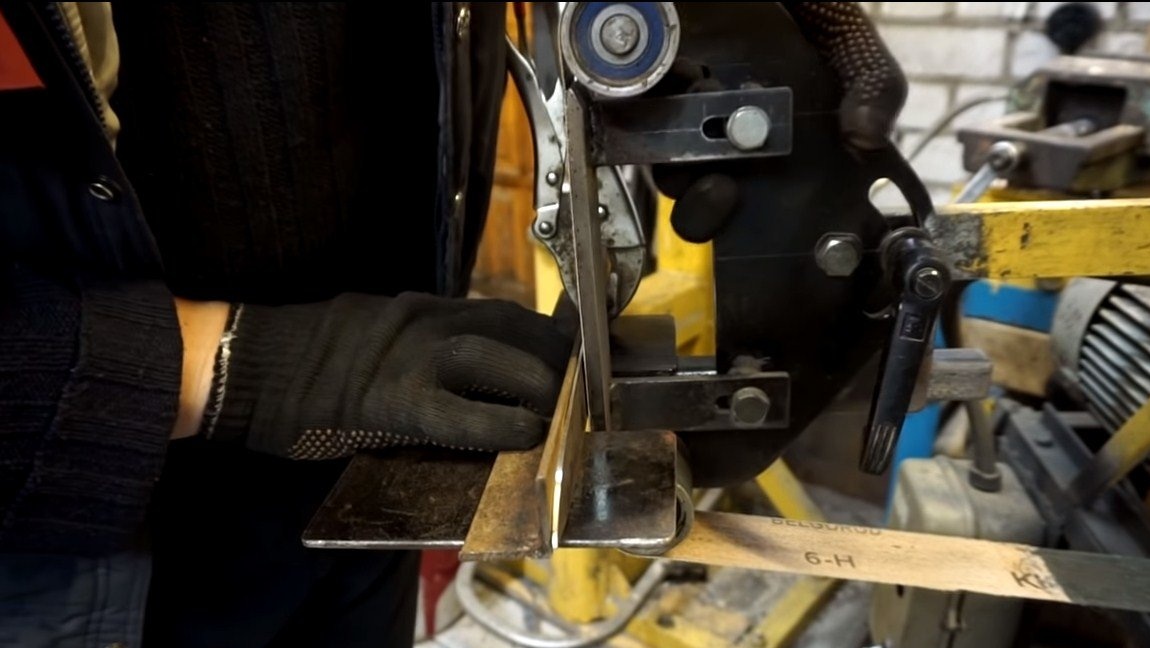
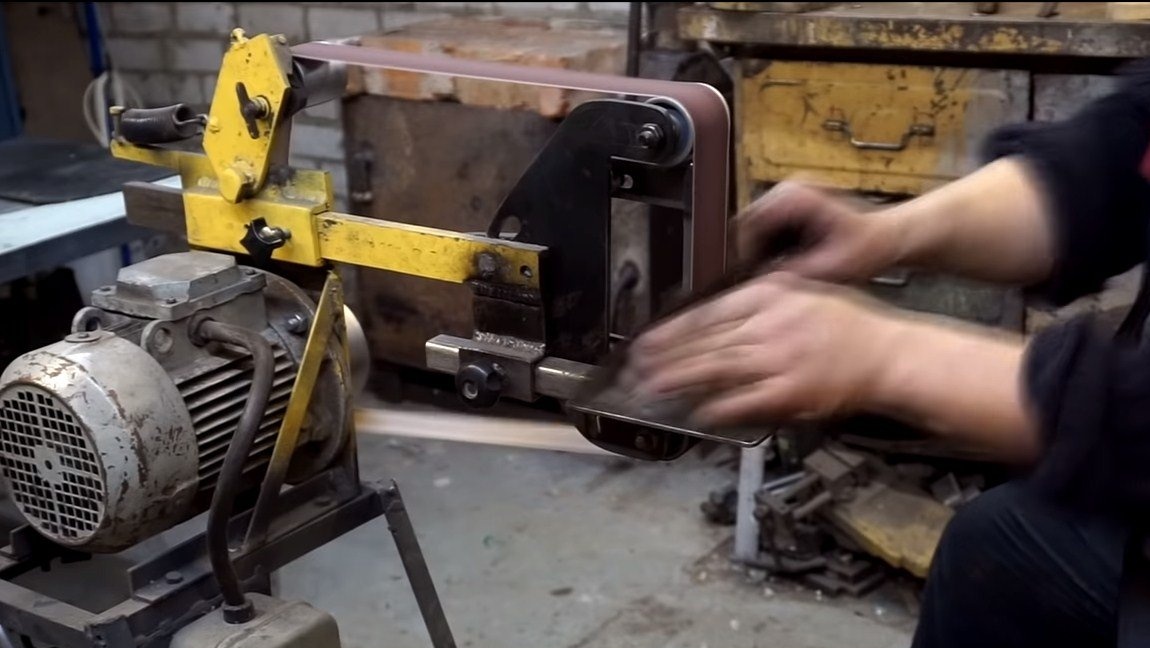
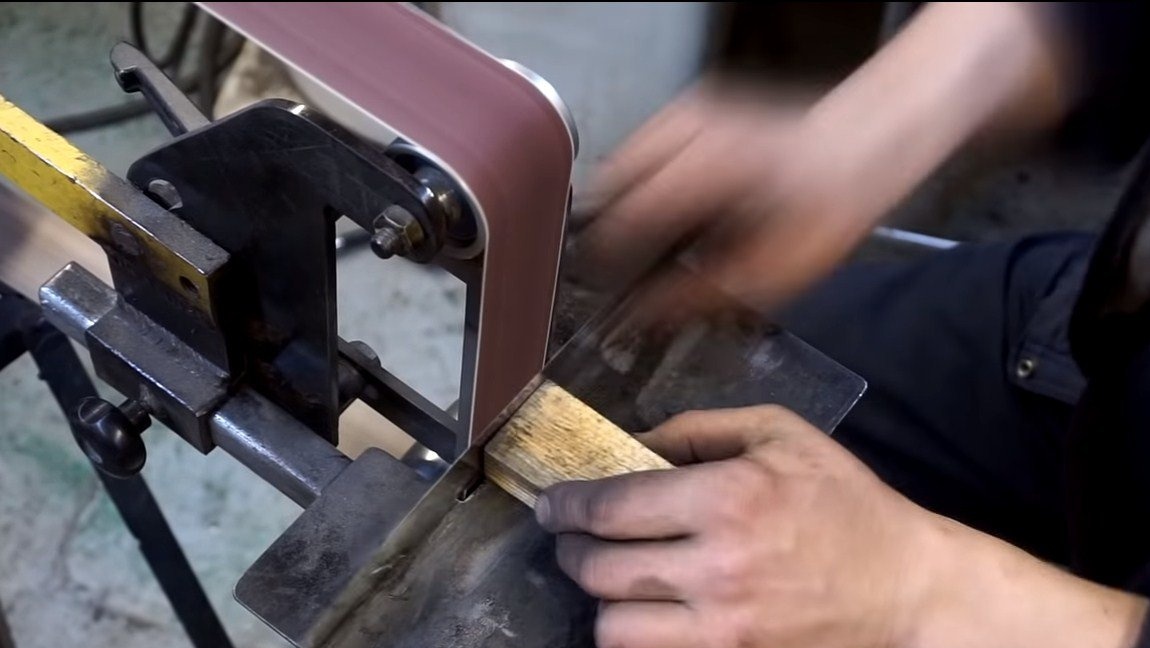
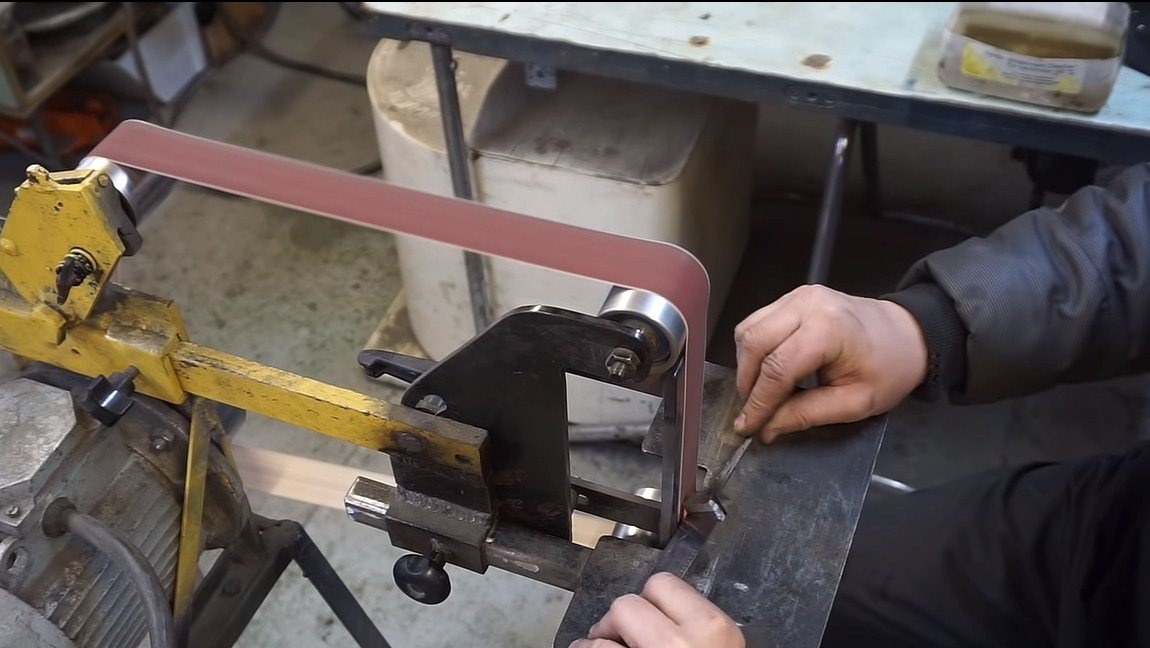
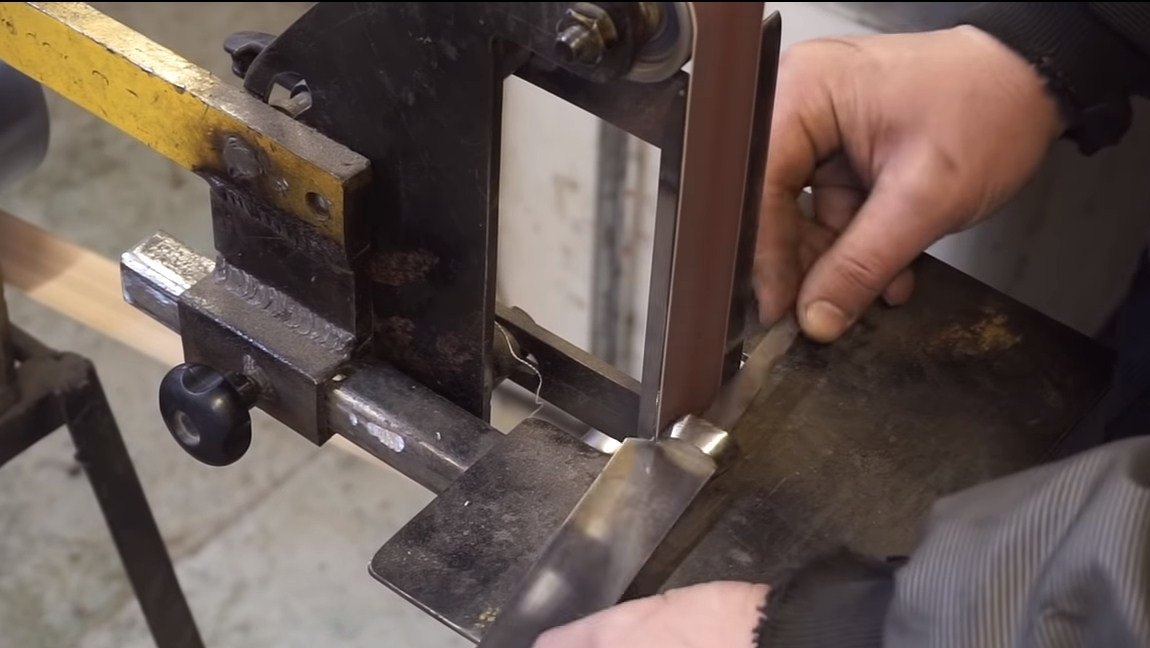
Step Two We are modifying the profile
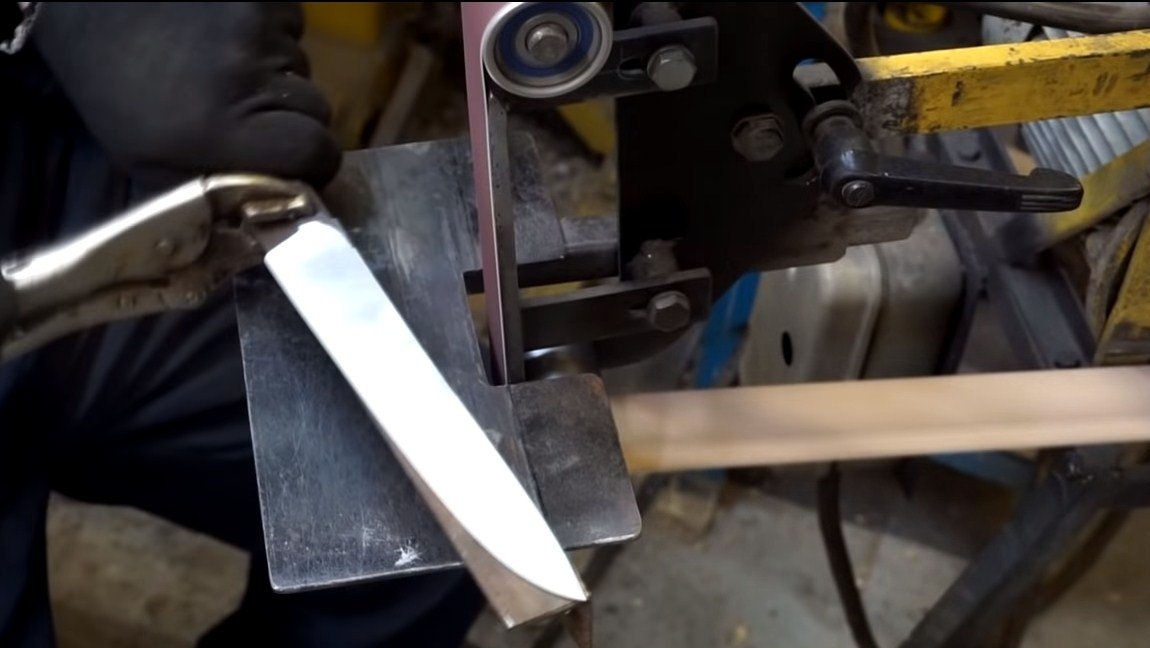
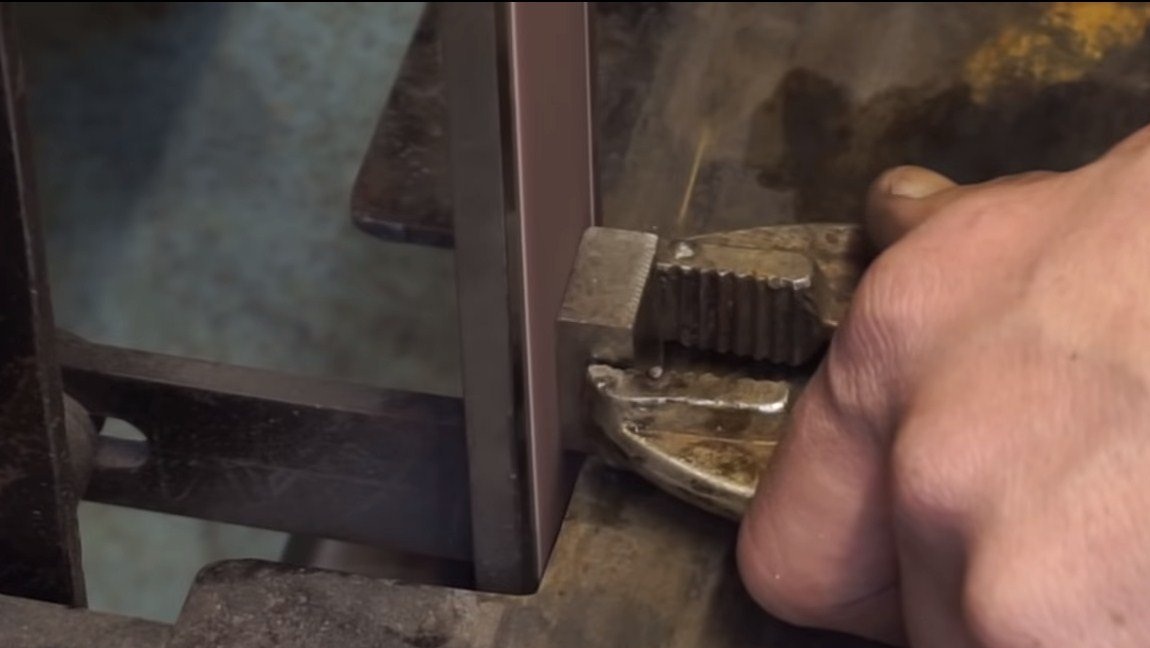
Now we grind the knife profile on a belt grinder. First, we process it along the contour, so we already got an excellent blade. Next, we grind the planes to do this quickly, safely and conveniently, the author fixes the blade on a steel corner.
Similarly, we derive the bevels, for this you only need to set the correct angle. The author does everything by eye.


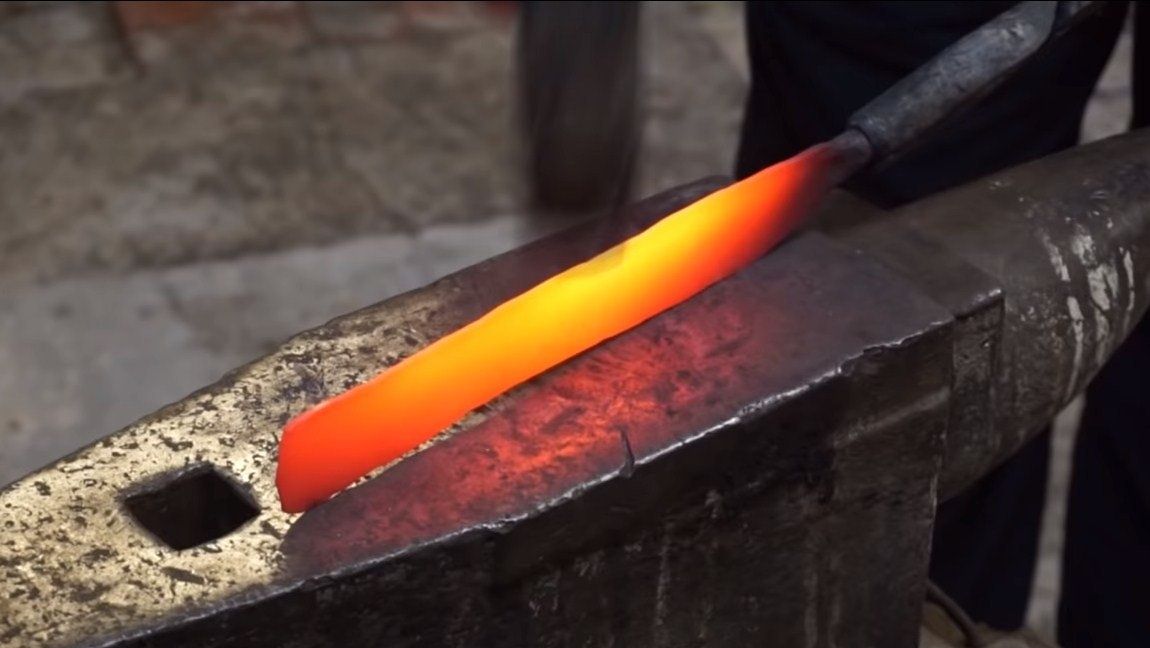
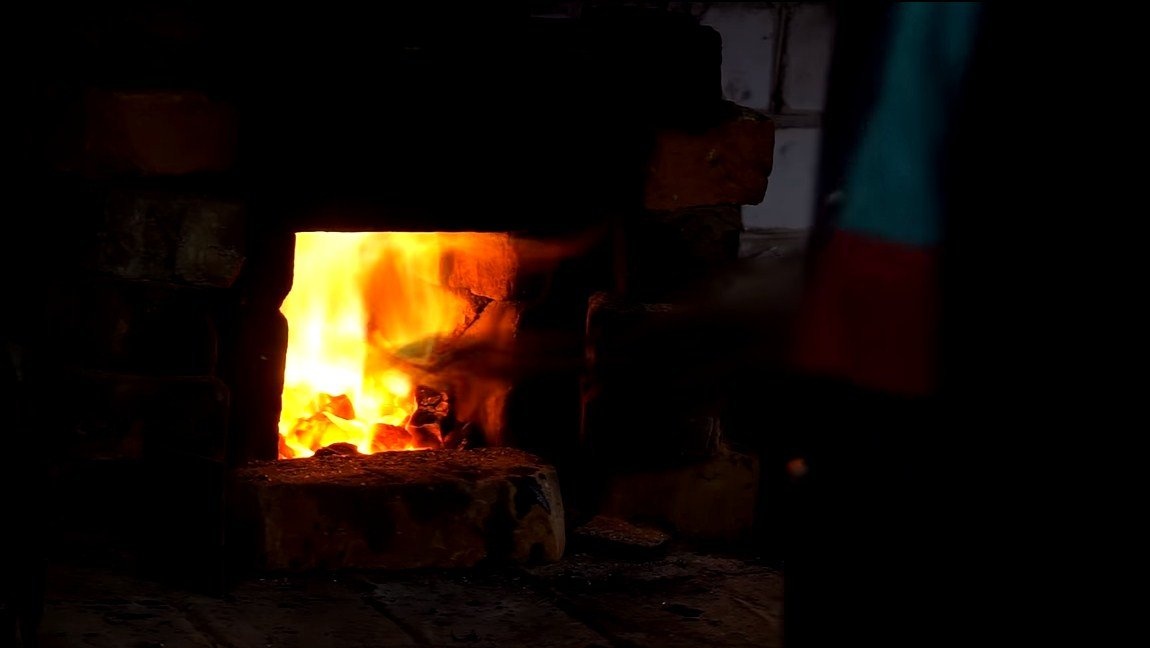
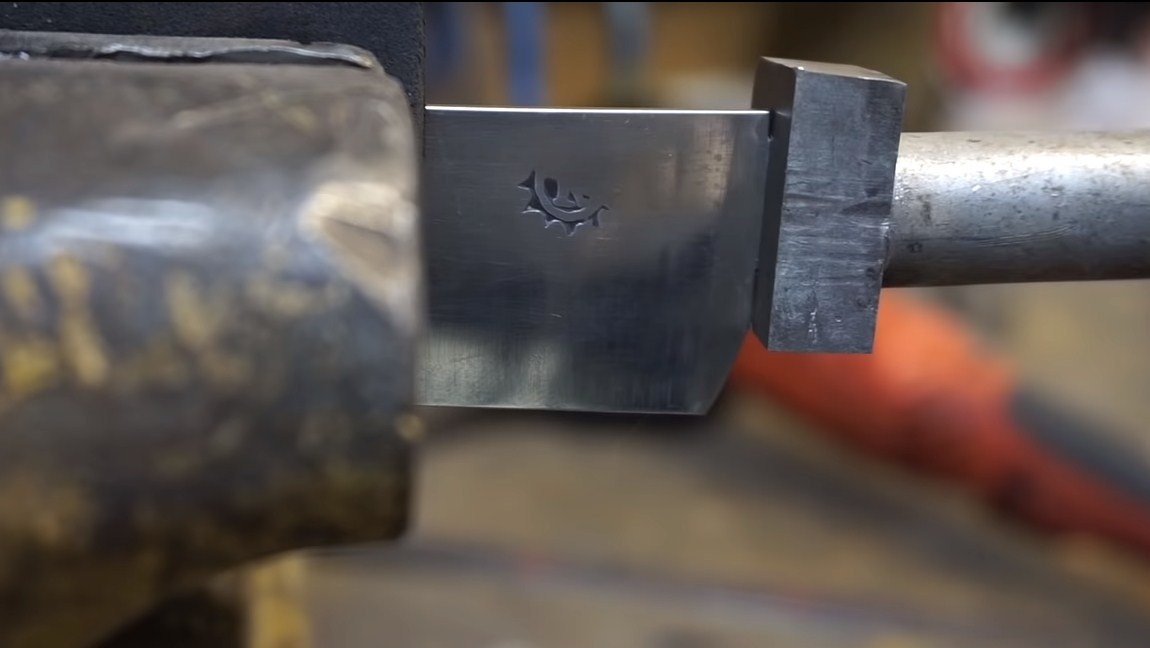
Step Three Heat treatment
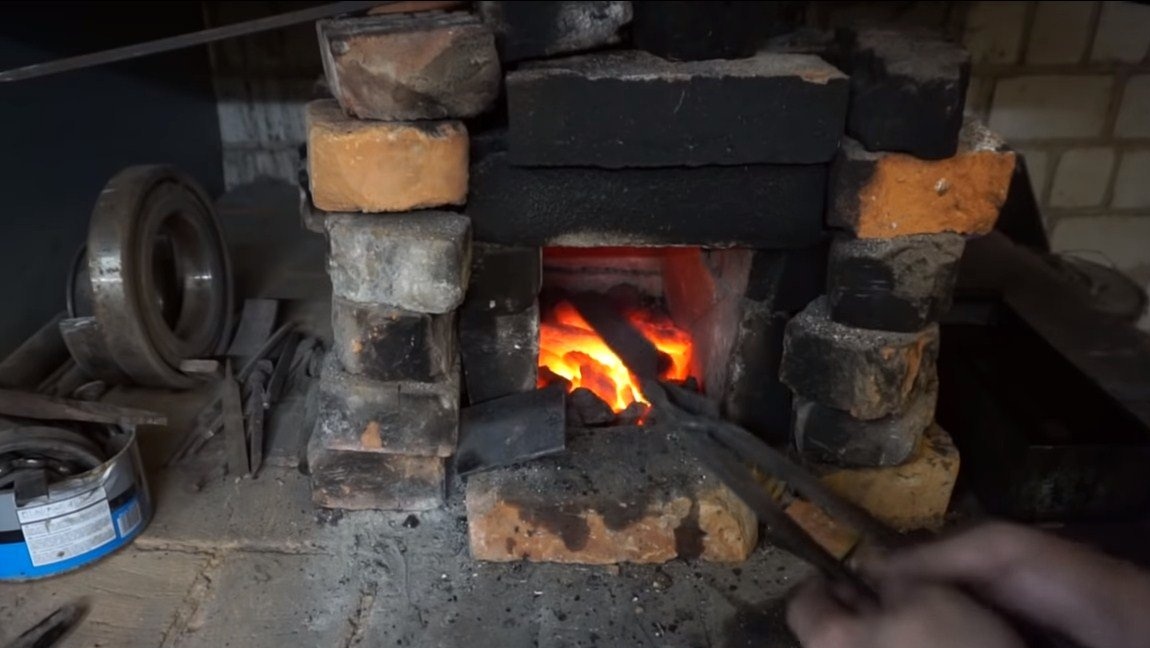
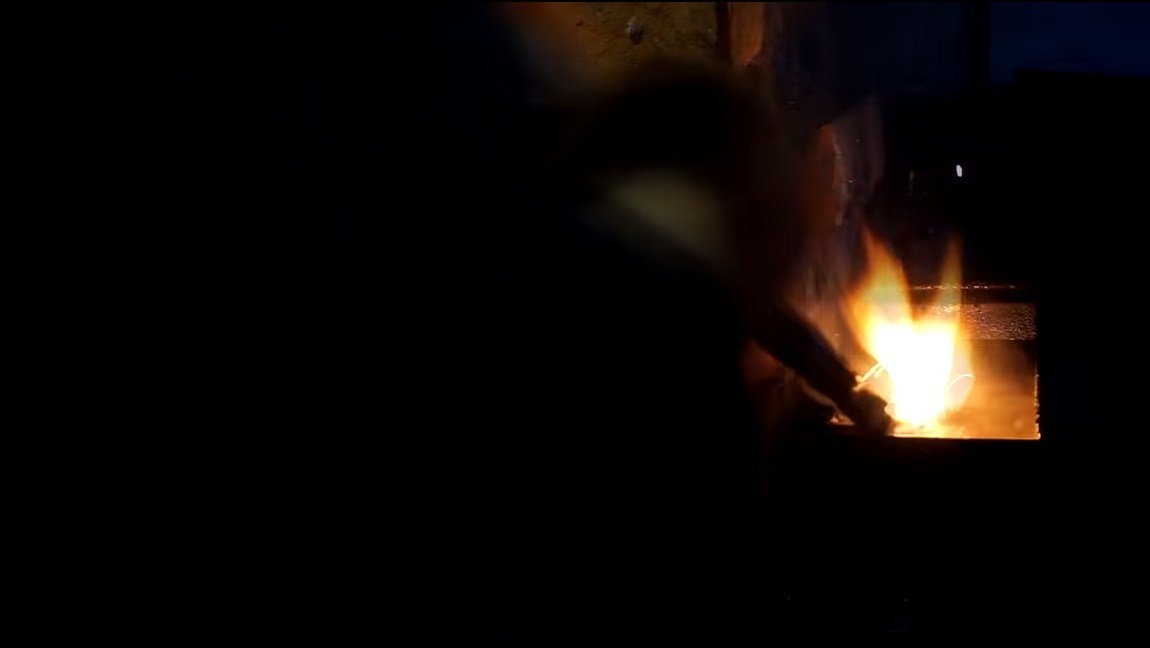
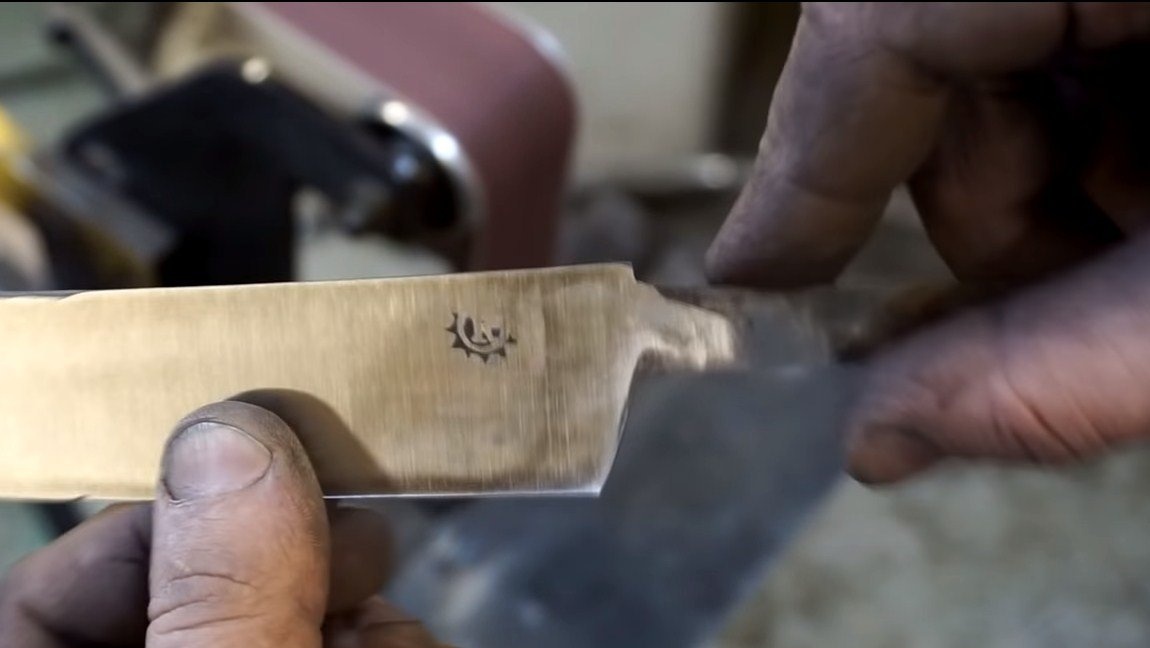
Further, the blade needs to be tempered, but first, the author decided to put a stamp on the blade.For hardening, you will need oil, we warm the blade to a red glow and lower it into oil. You can determine the desired heating moment with a permanent magnet, if the blade does not magnetize, then it is heated enough. But this, of course, is only an approximate method; each grade has its own temperature regimes.
After hardening, metal tempering is also mandatory so that the blade is not fragile. But the author lost sight of this moment. Vacation is usually done in a domestic oven. After tempering, the blade will spring and will be able to withstand large bending loads.
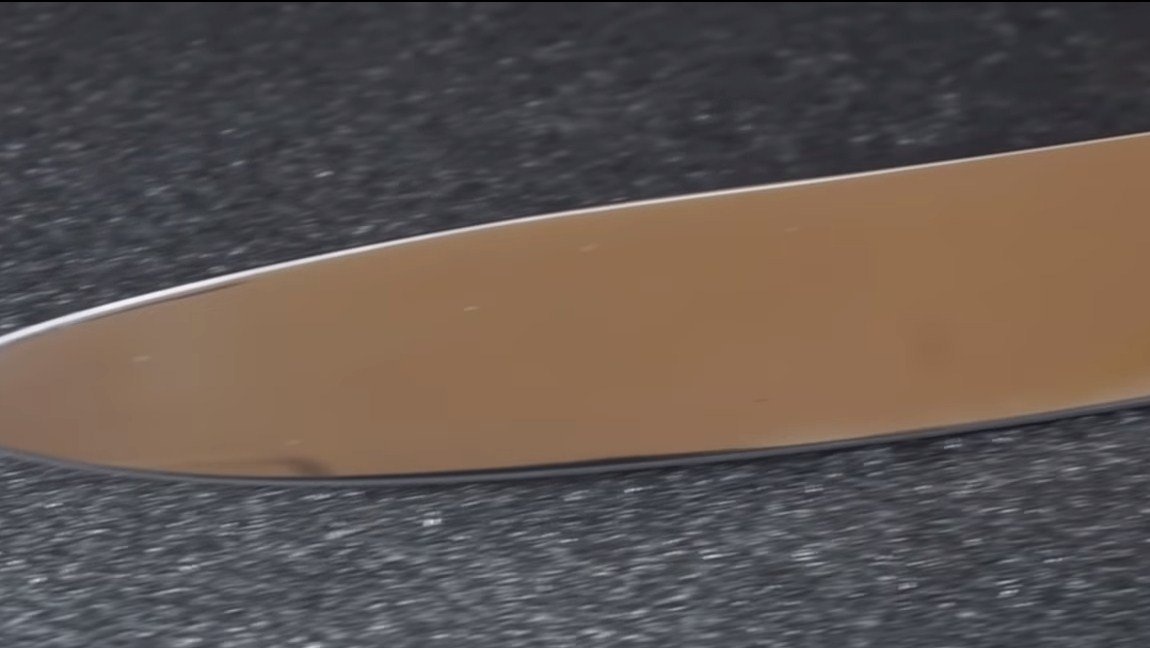
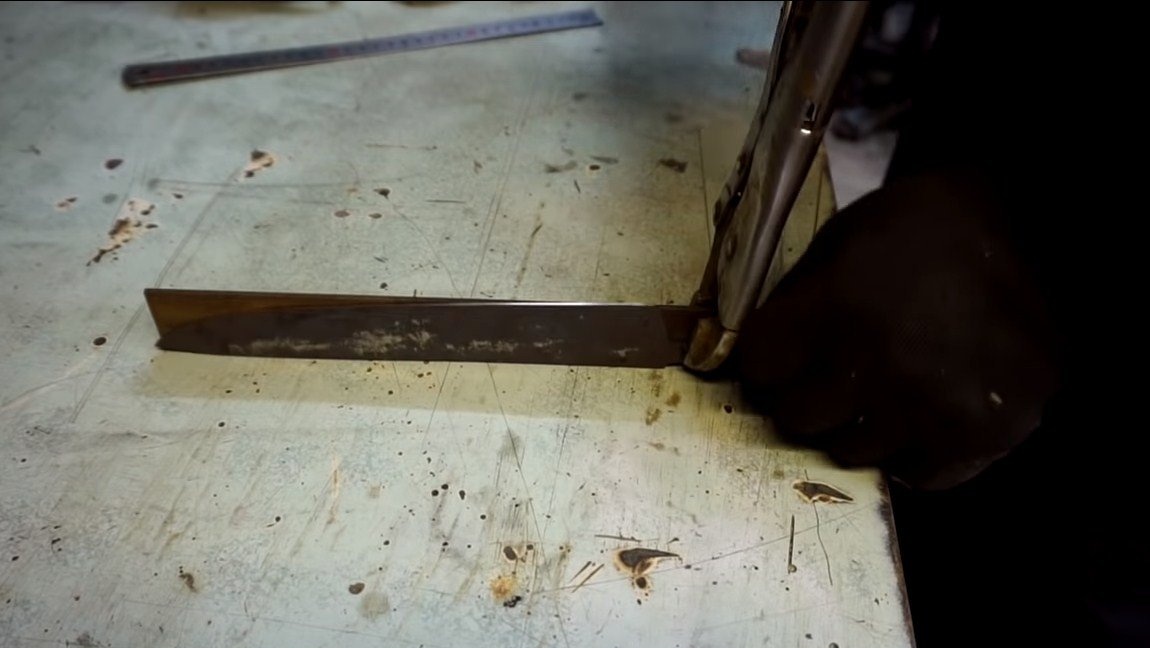
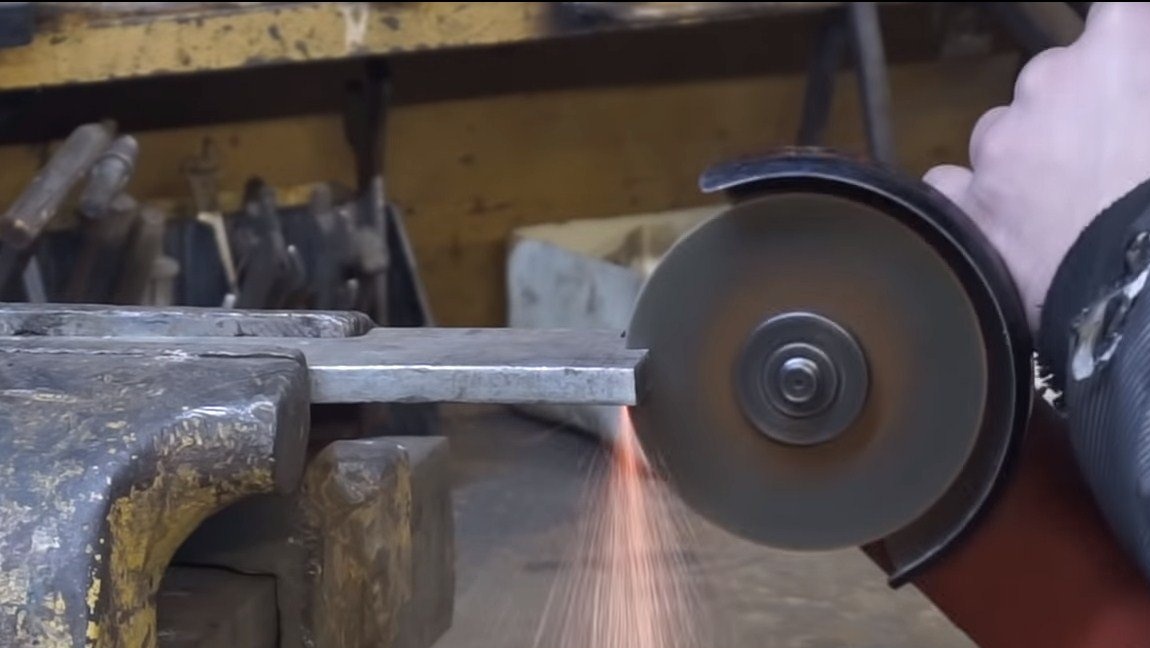
At the end, we grind the blade to a shine, as it will become scale due to heating.
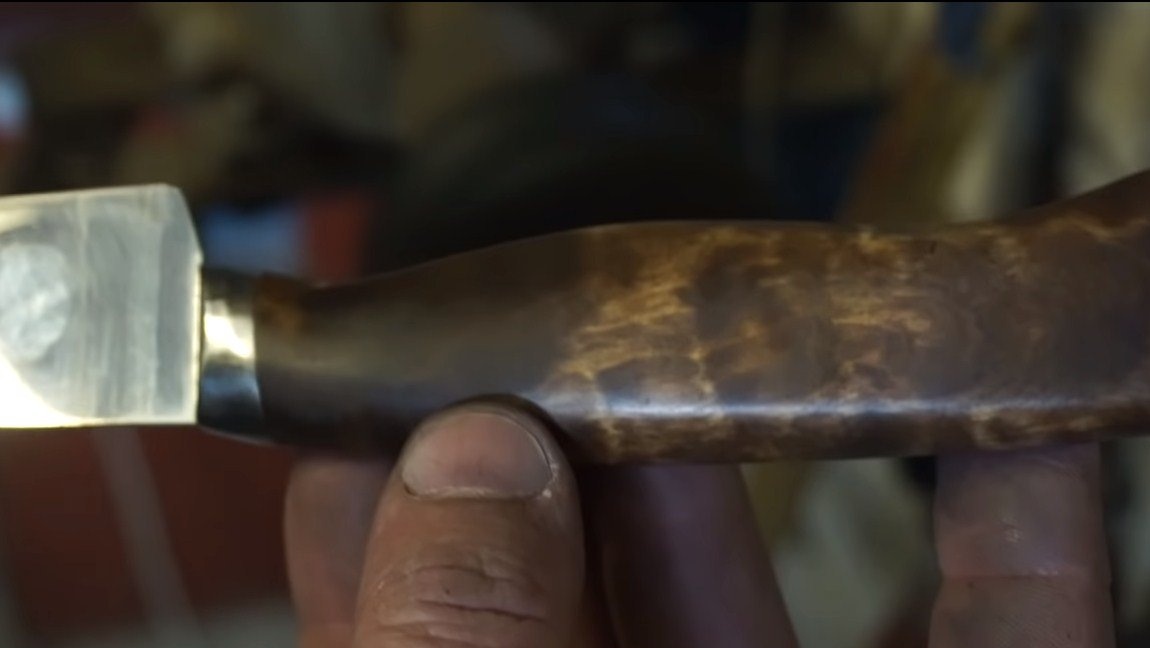
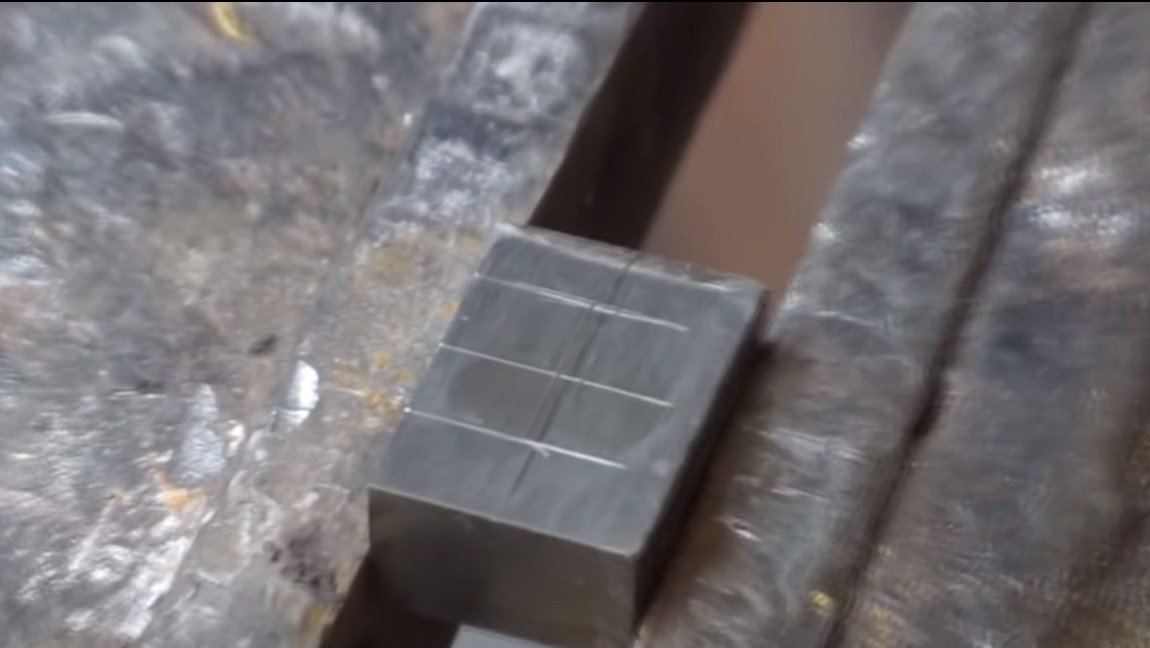
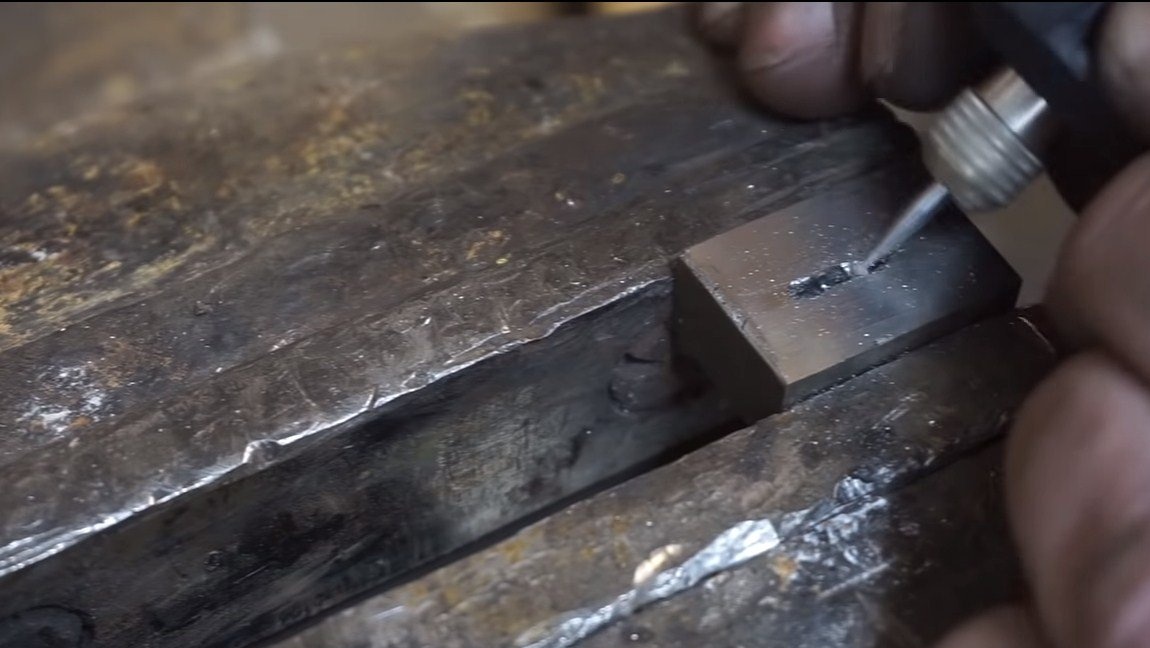
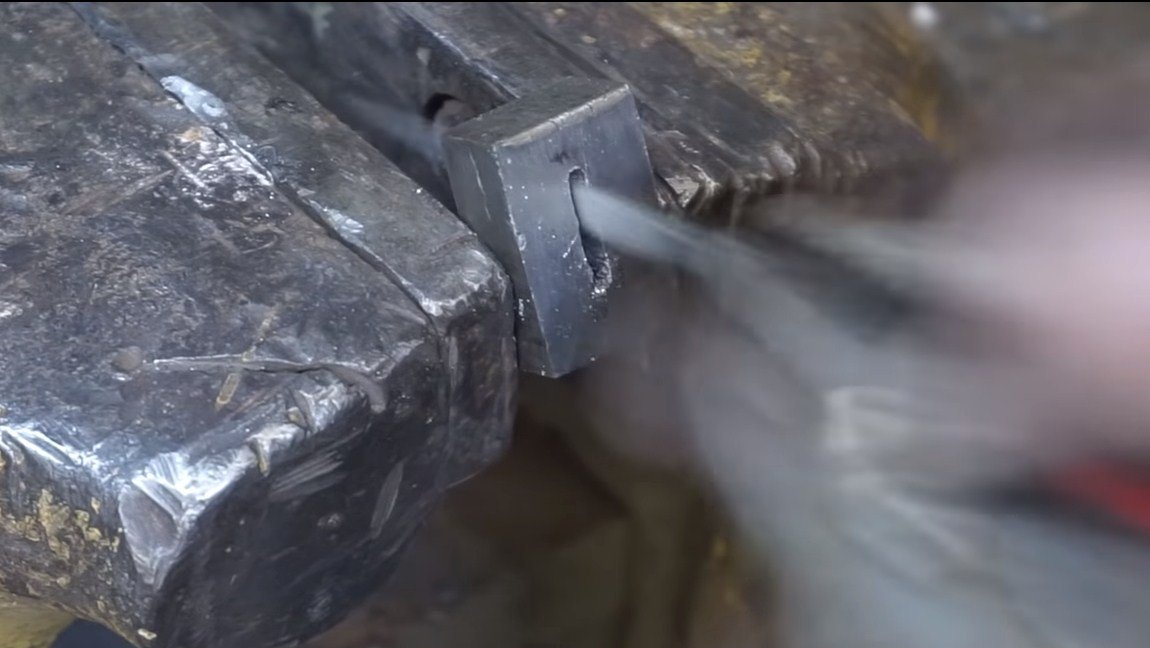
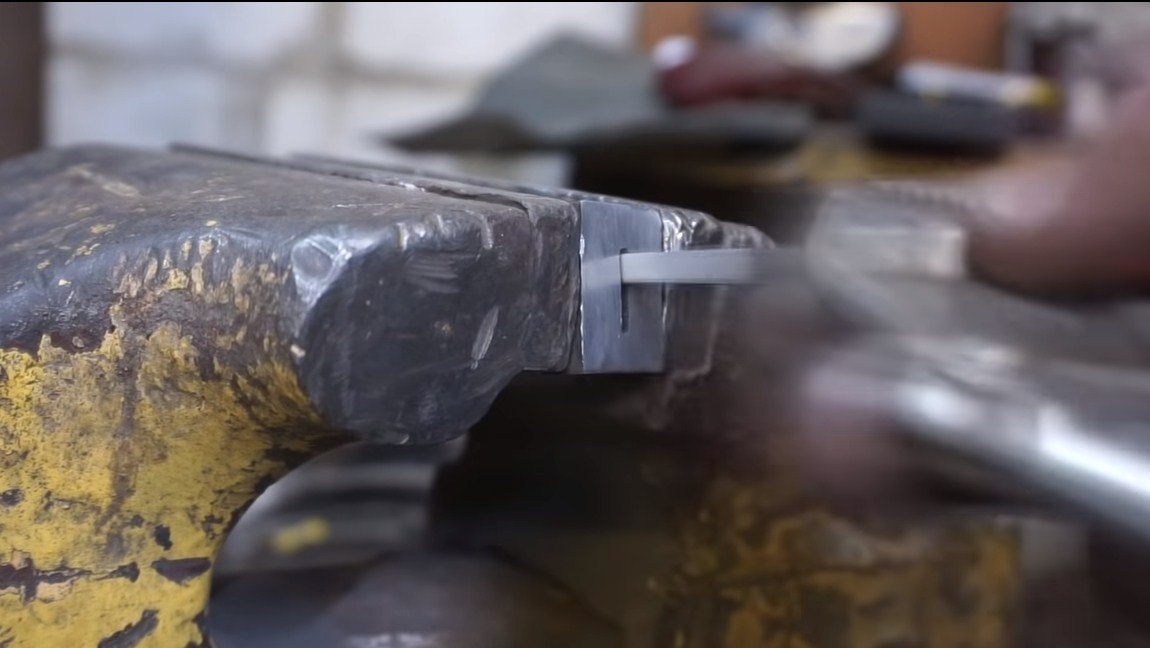
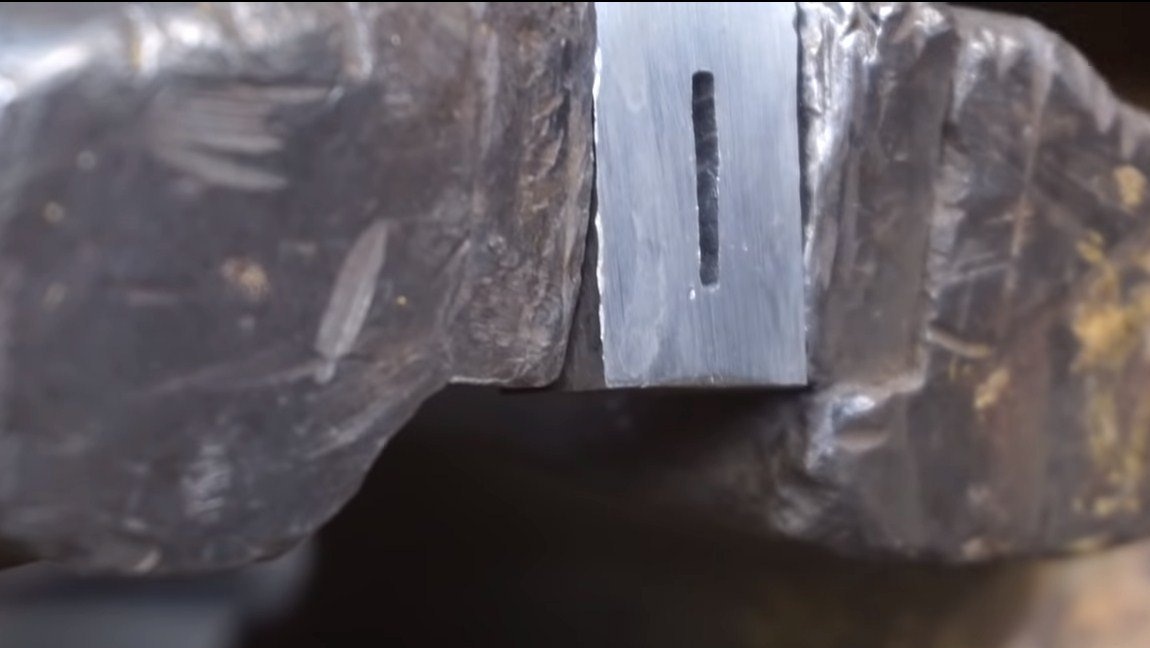
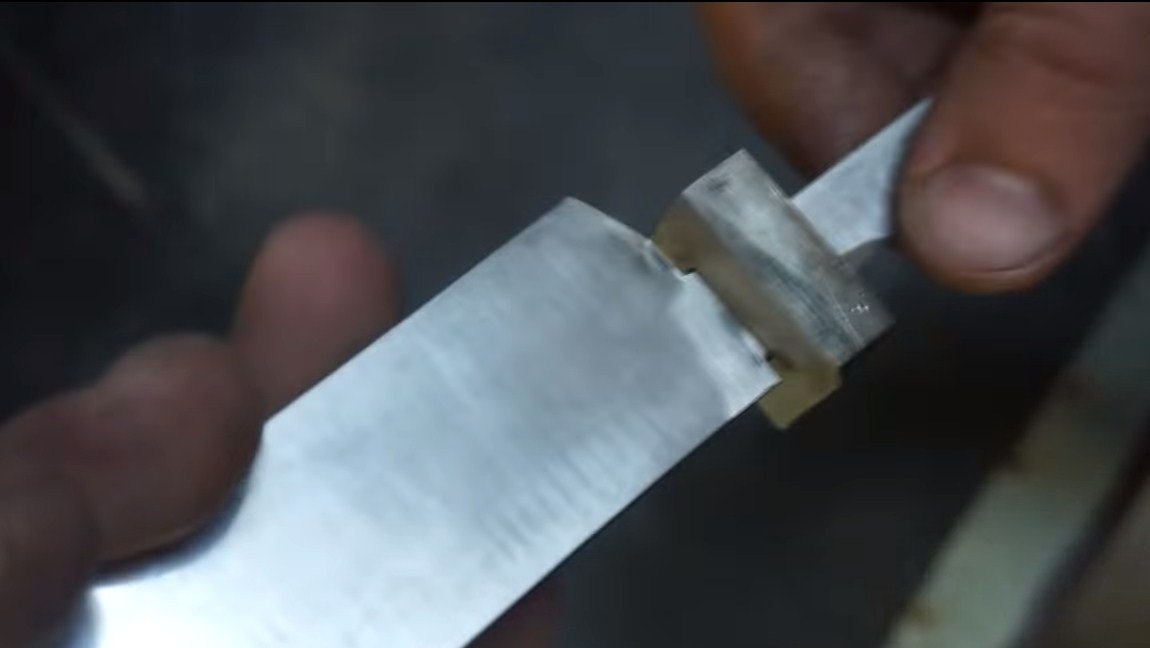
Step Four Bolster
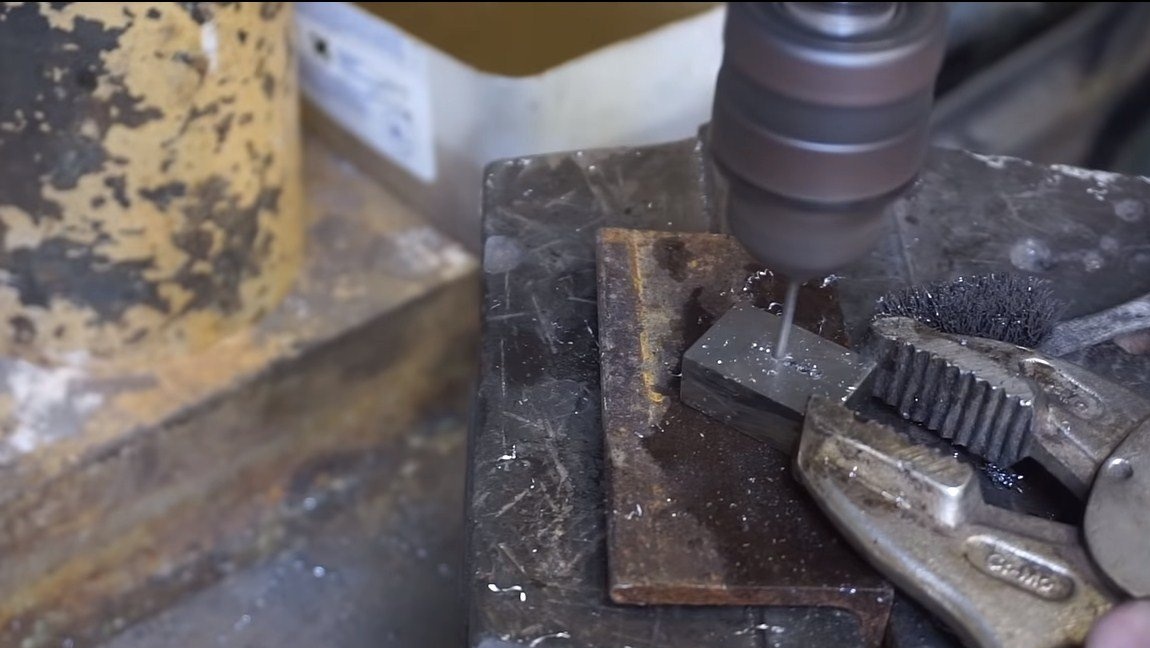
To make a bolster you will need a piece of steel or aluminum. First, cut the workpiece and cut a slot in it under the knife shank. To do this, drill holes, and then bore them with a drill or flat file.
At the end, we put the workpiece on the knife and grind it on a belt grinder. The author succeeded neatly and beautifully.
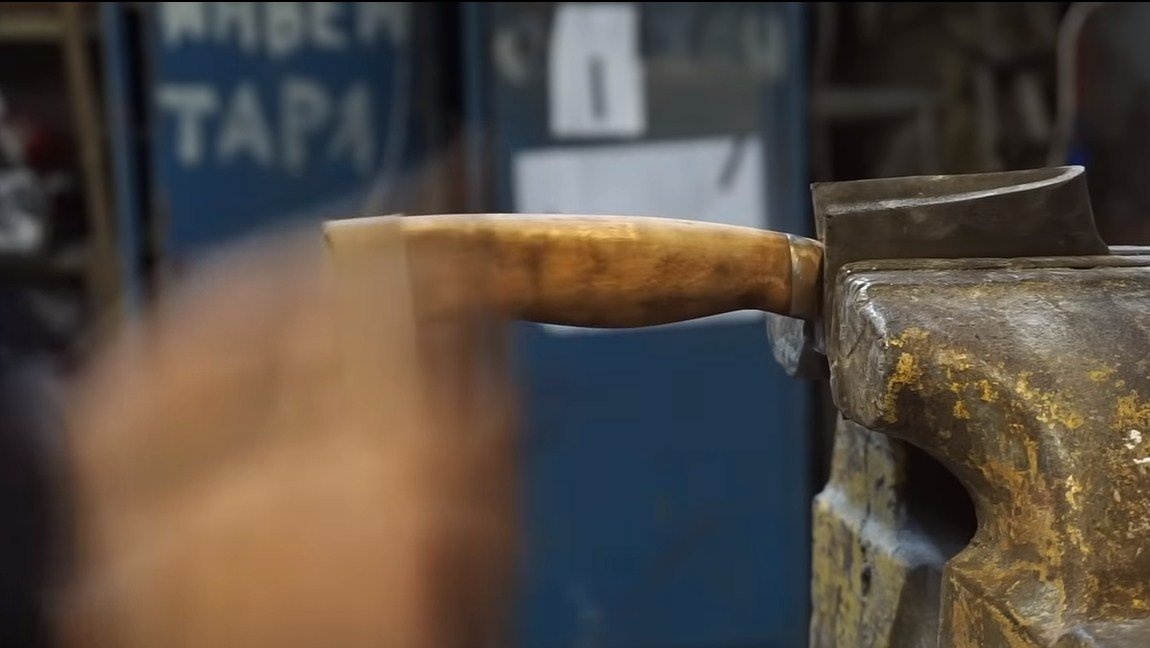
Step Five Pen making
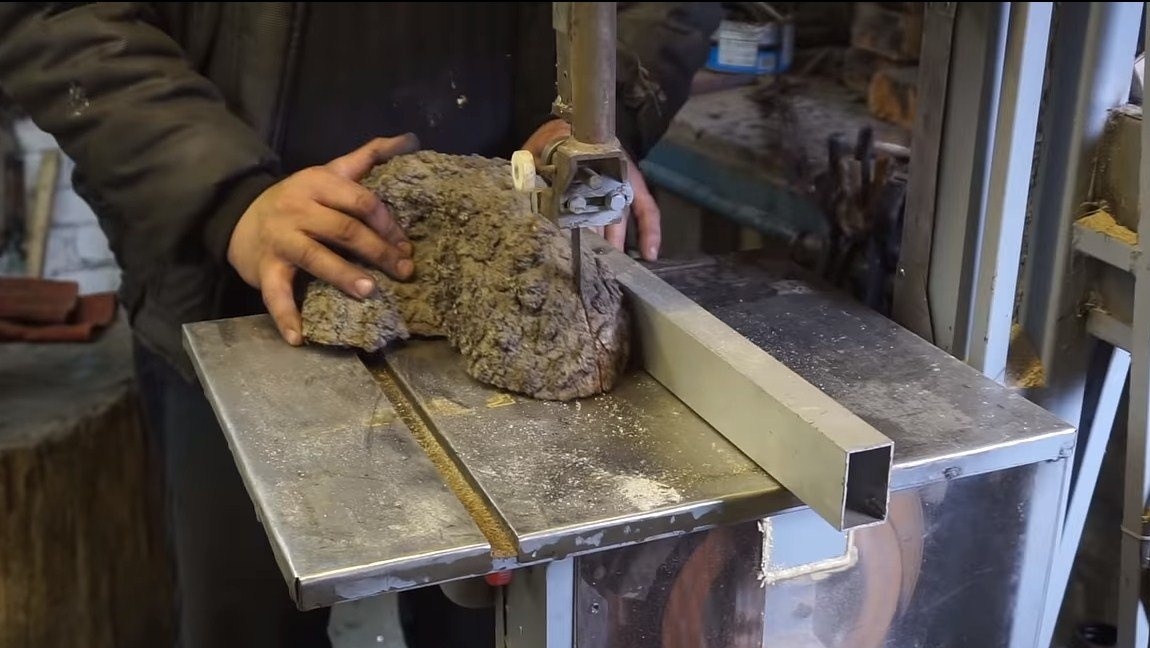
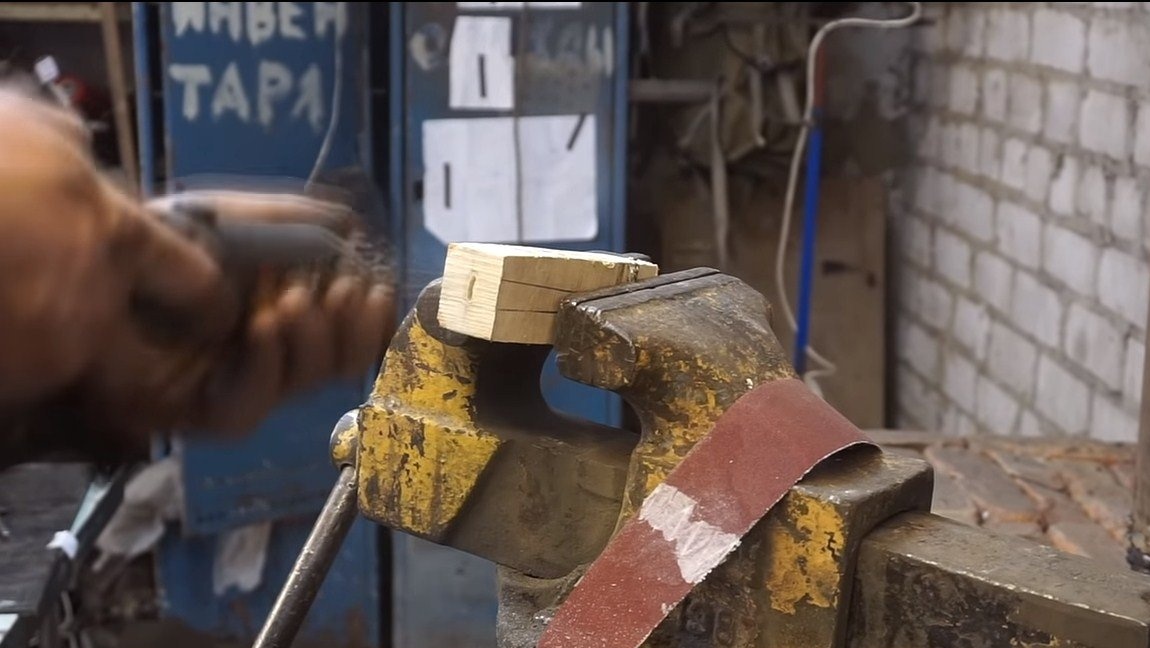
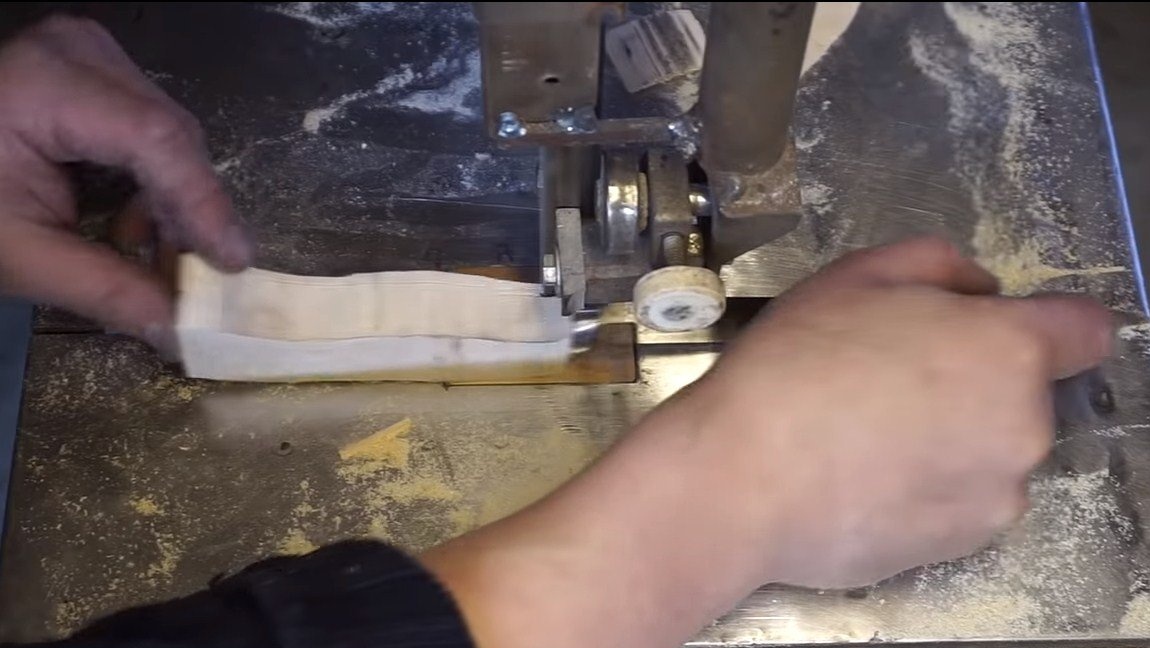
To make a pen, the author used a cap, this is such a growth that is often found on trees. Good material in that it is beautiful and much stronger than wood. We cut the cap with a band saw to make a small bar.
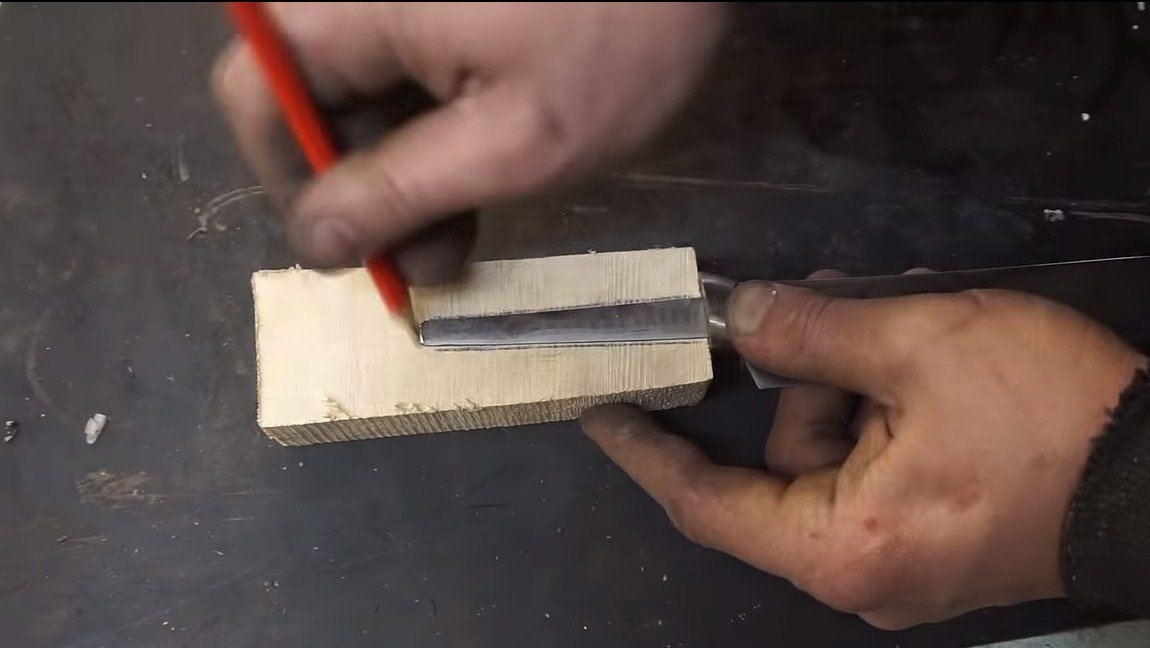
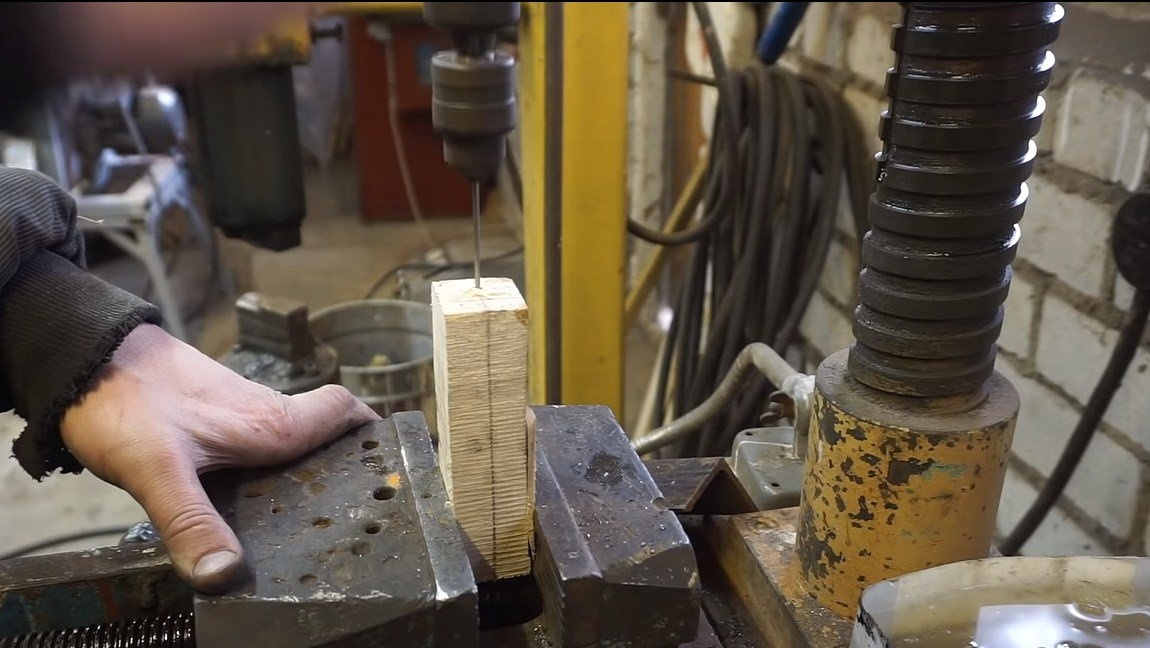
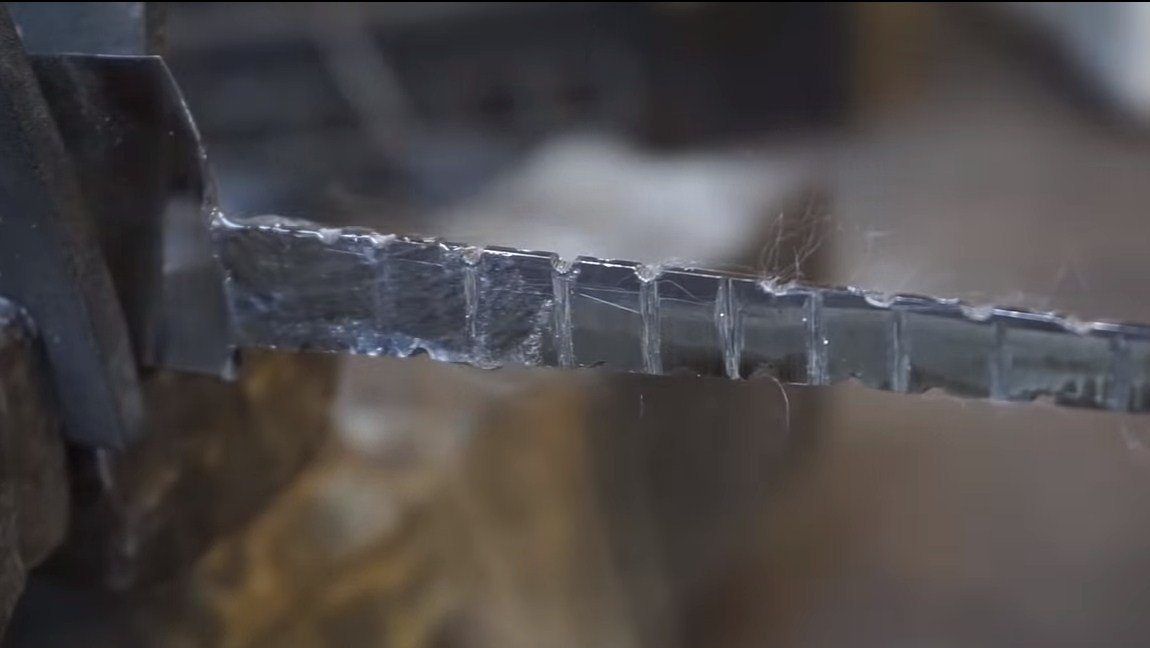
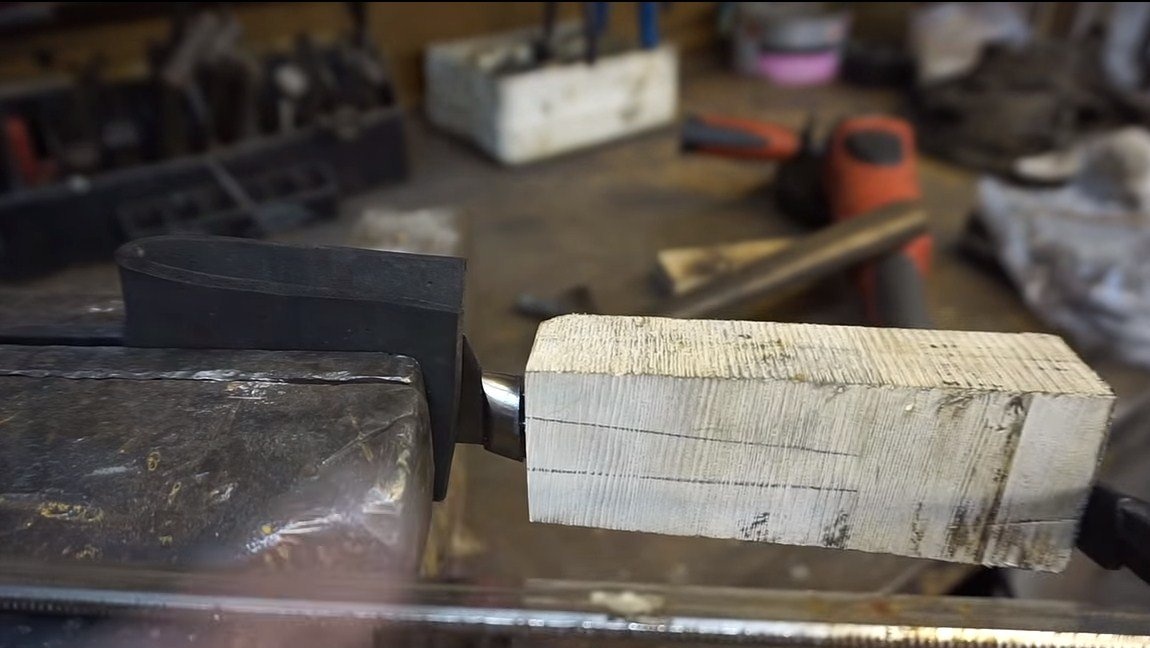
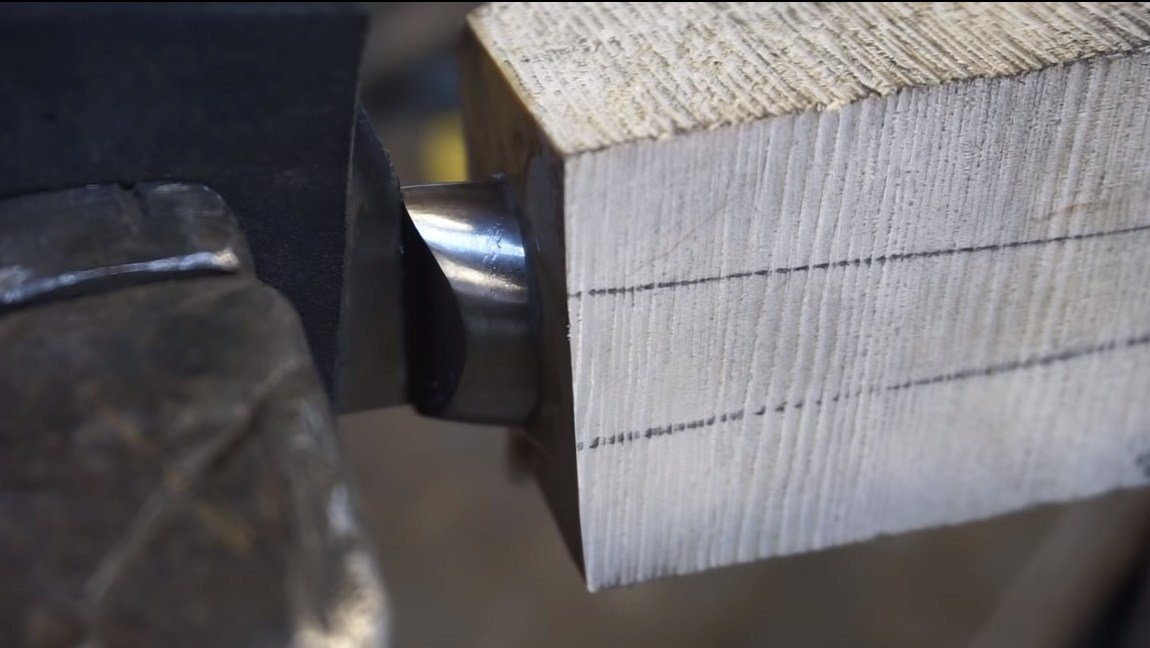
Further, our task is to make a slot in it under the knife shank. We drill a hole, and then bore it with a jigsaw blade or work with a drill.
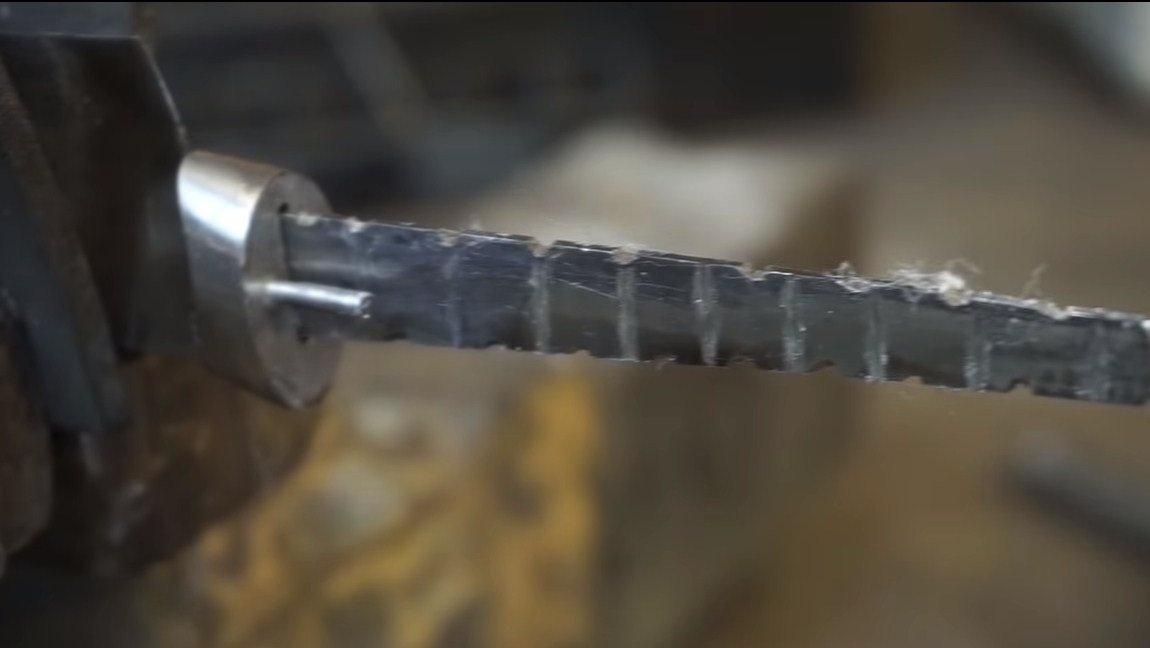
When everything is ready, glue the workpiece on the blade, then we need an epoxy. In order for the shank to be fixed in the handle as securely as possible, grooves must be made on it. When glue comes here and dries, it will not allow the shank to pop out of the handle.
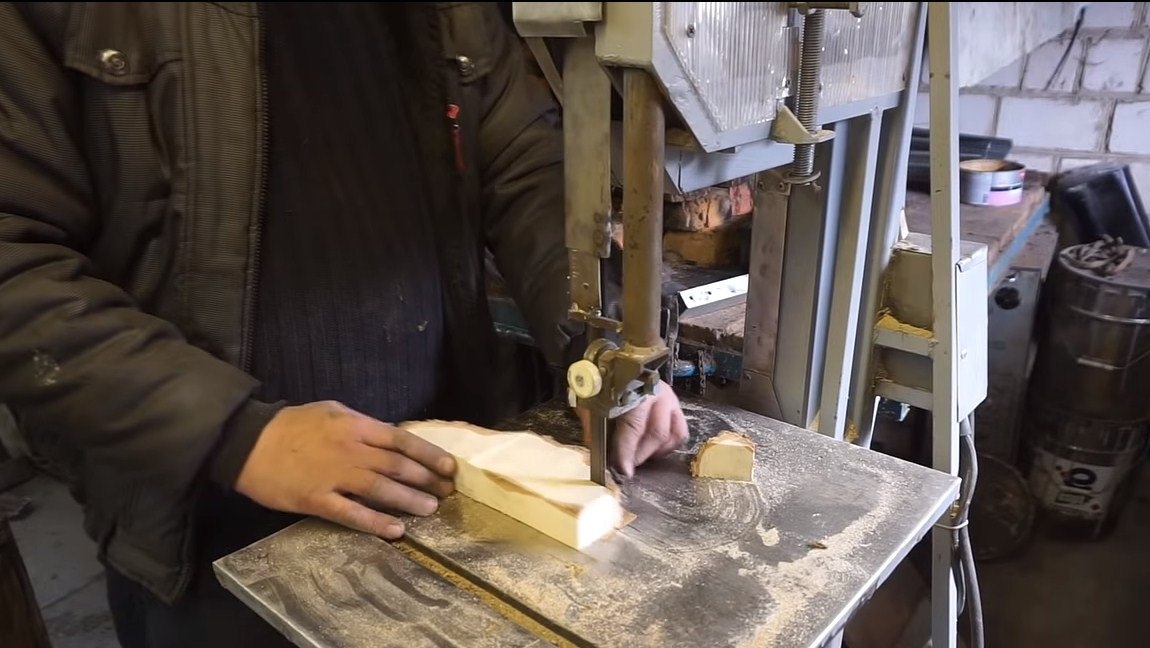


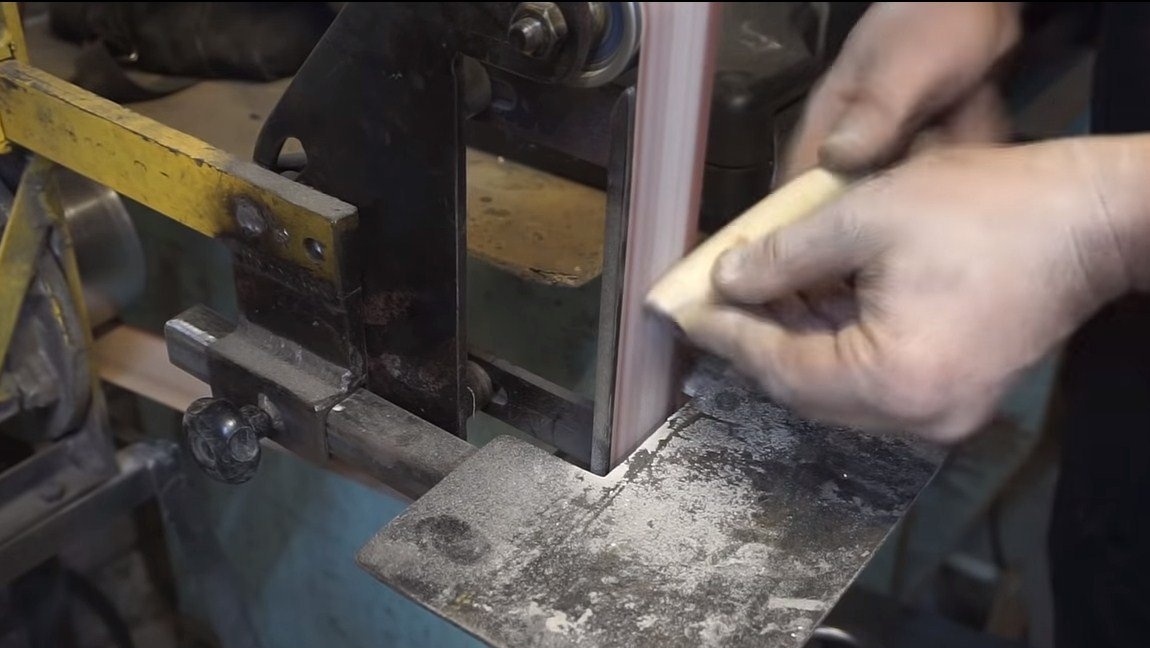
When the glue dries, make a marking on the handle and cut off the excess using a band saw. Next, we grind the handle on a belt grinder, set the desired shape. Finer work is carried out manually using sandpaper. We need to make the handle perfectly smooth.
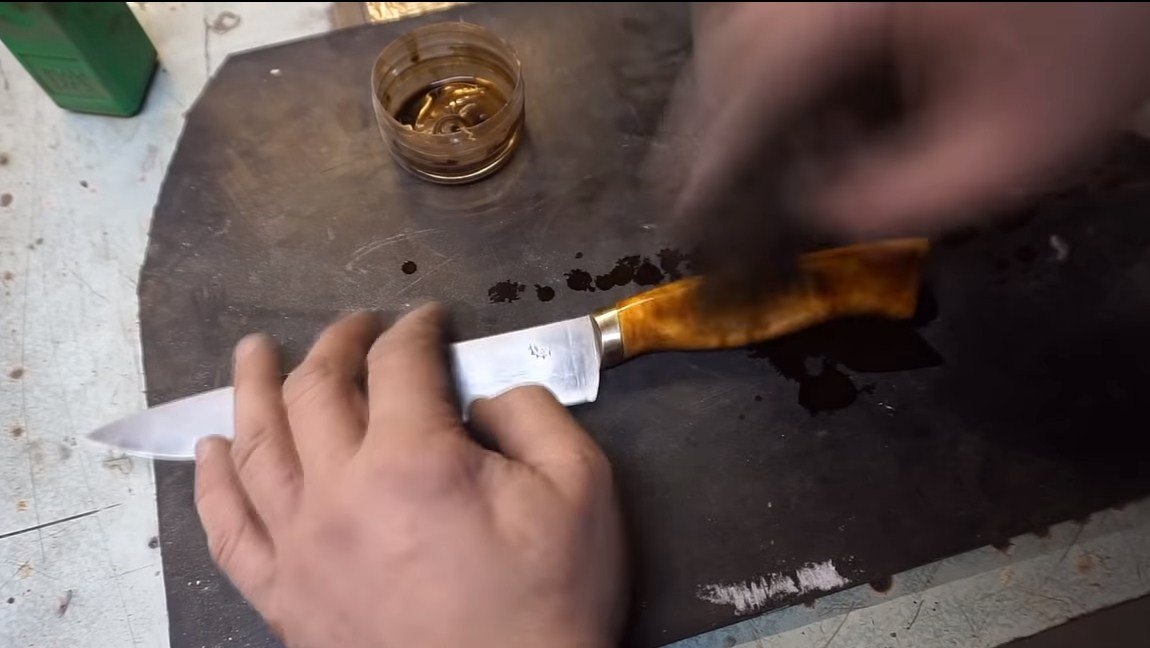
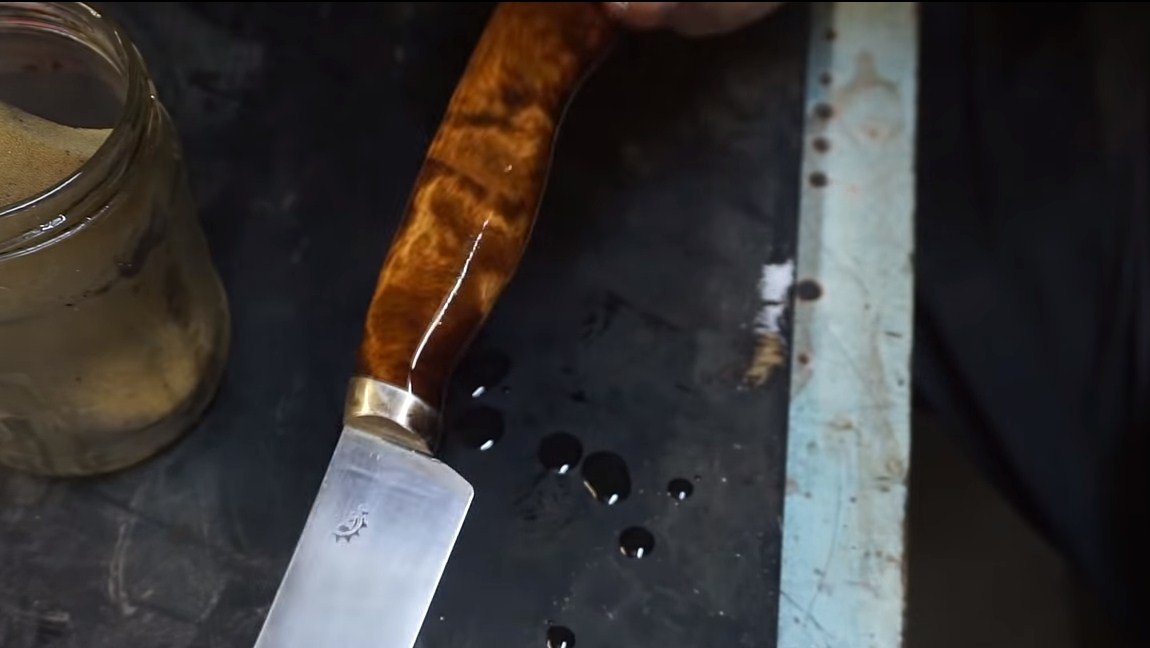
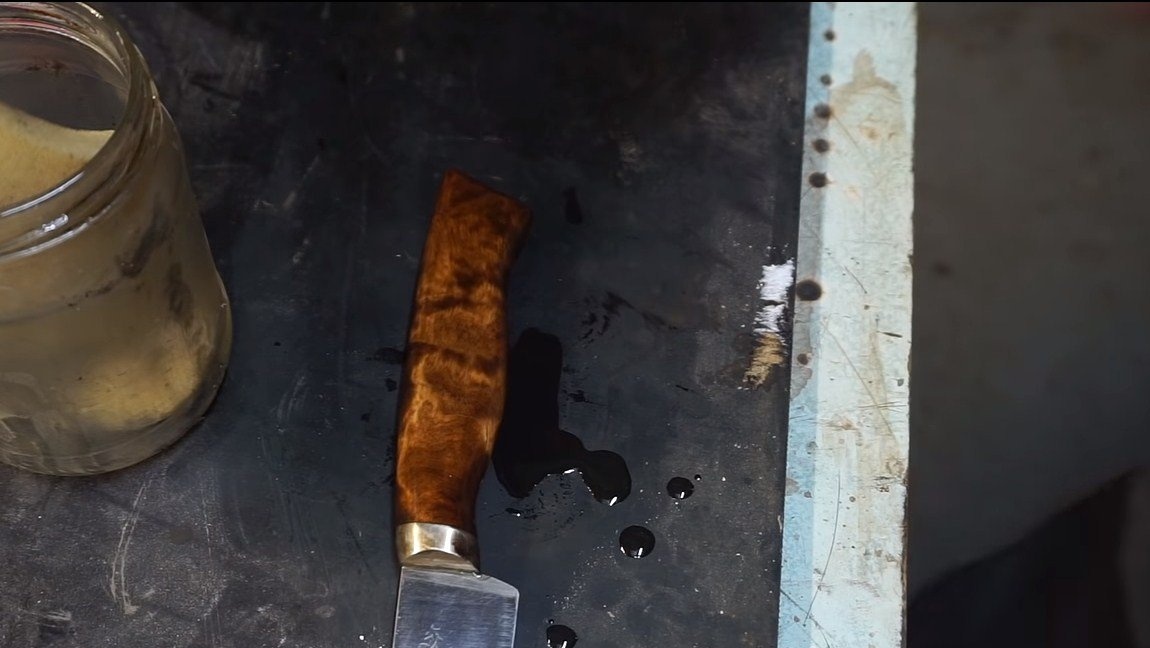
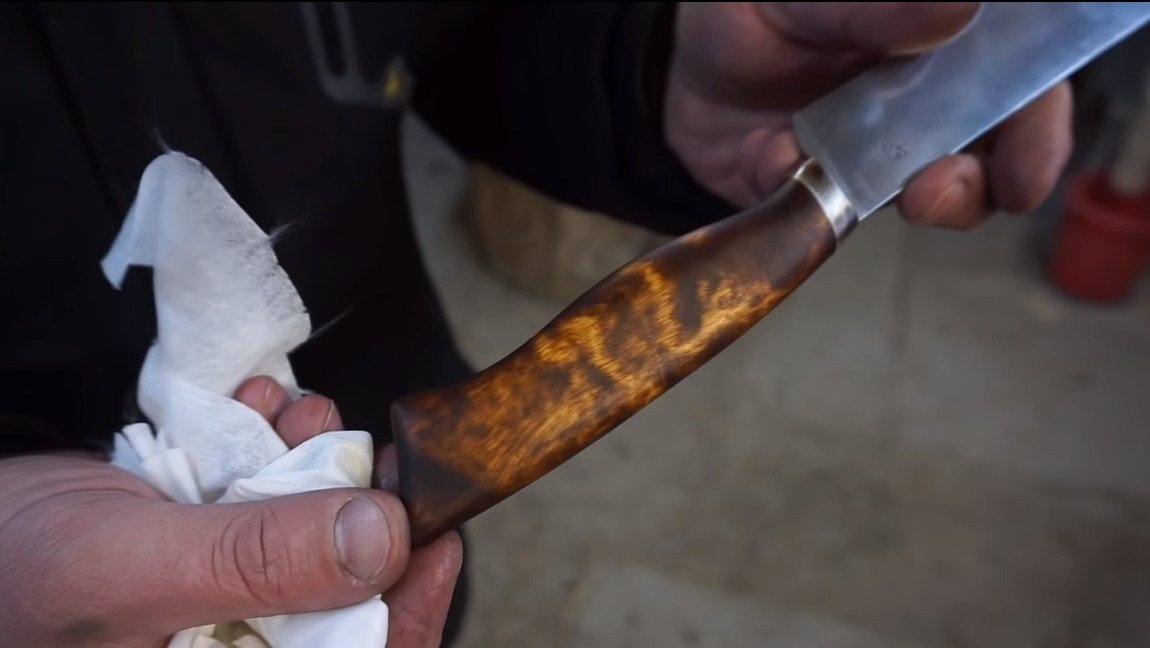
Step Six Impregnation pens. Final stage
In order for the pen to look good and serve for a long time, it must be impregnated. For starters, you can use oil or a special stain. We put the first layer and we make easy grinding after drying. Well, then you can apply the next layer of oil and you can polish the handle.
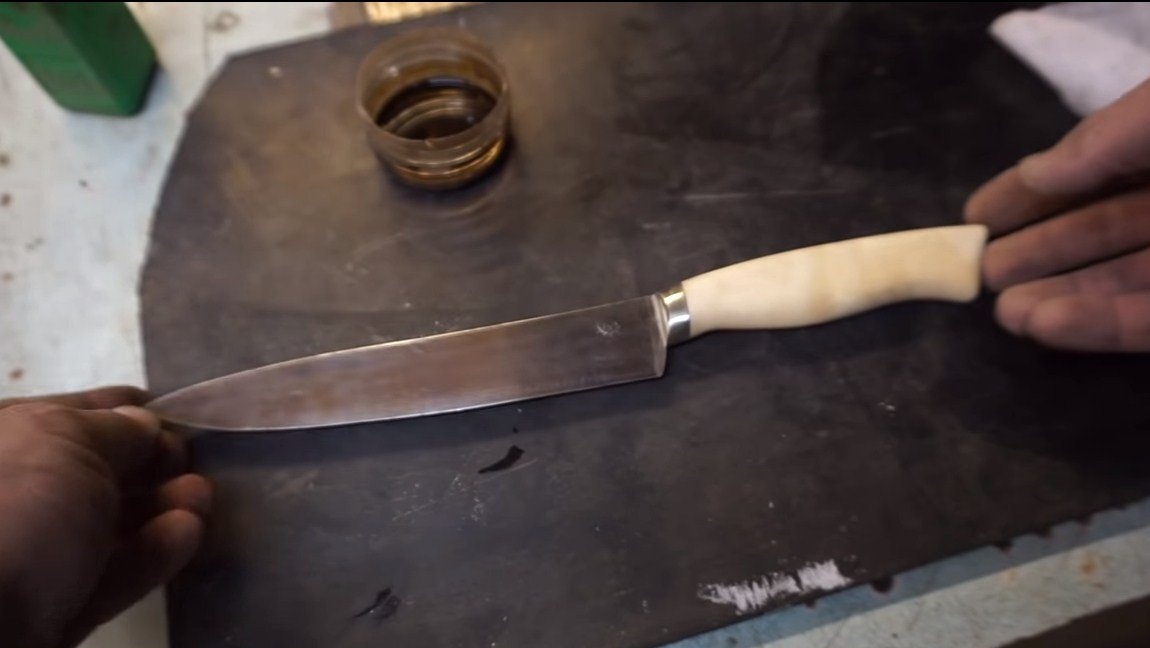
This whole thing looks very beautiful and unique.
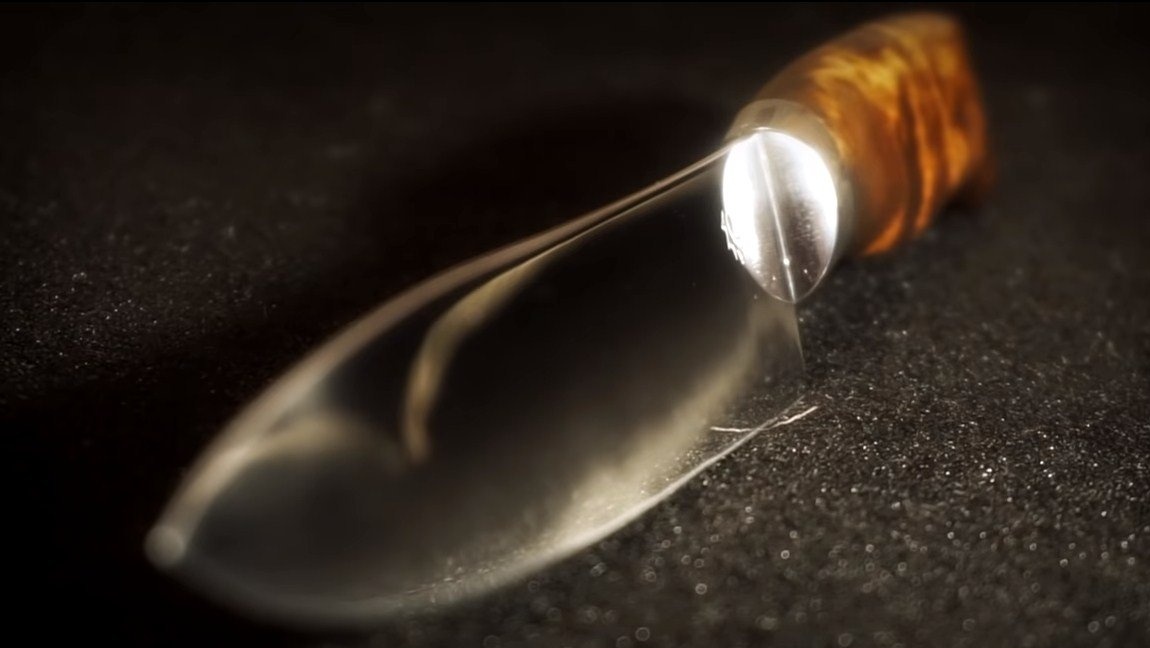
That's all, the knife is ready. It can be sharpened to the state of the blade, special grinding stones will help you with this. I hope you enjoyed the project and found useful information for yourself. Good luck and creative inspiration, if you want to repeat this. Do not forget to share your ideas and homemade things with us!