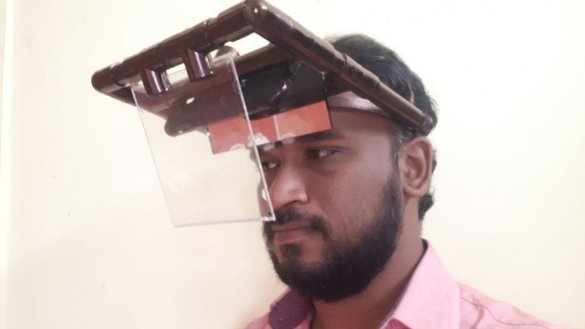
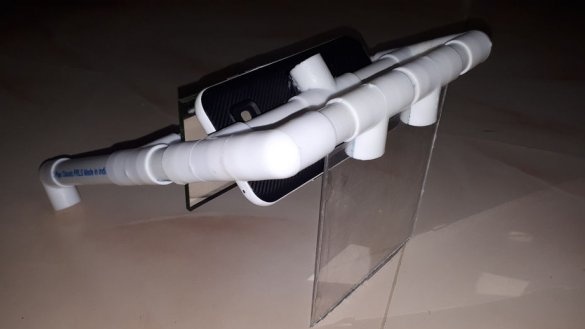
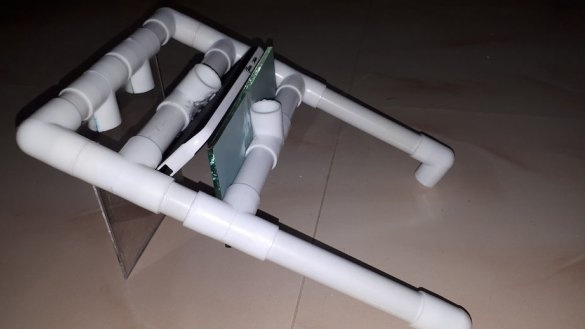
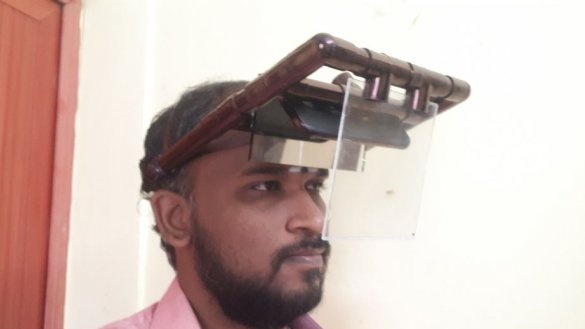
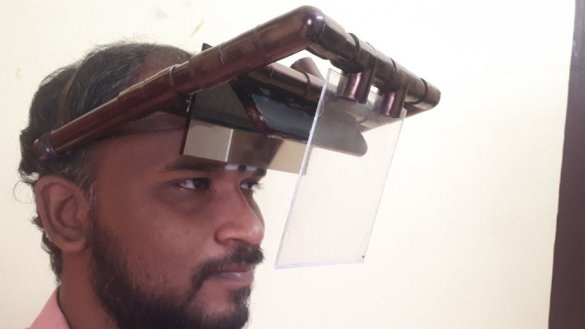
Let's first understand what augmented reality or AR (augmented reality) is.
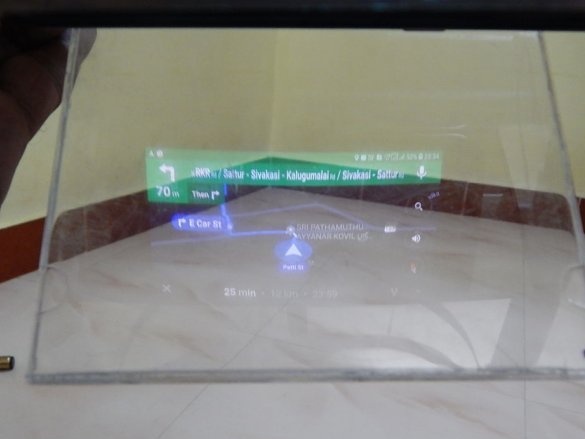
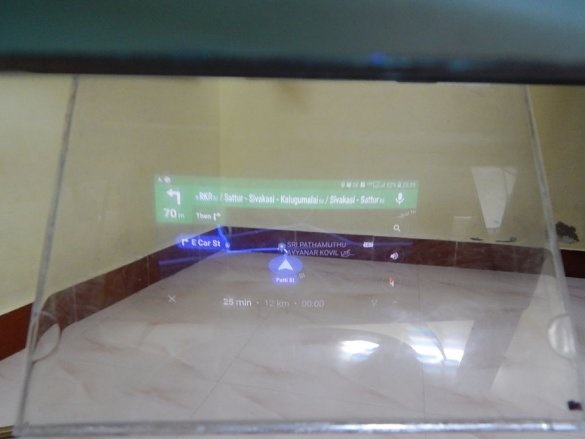
AR is a mixed reality created using the elements of perceived reality “supplemented” with a computer (when real objects are mounted in the field of perception). In other words, the image is projected onto some surface and the user sees a virtual one in addition to the real physical picture.
AR differs from VR (virtual reality) precisely in that the user sees the real picture.
Now about the application of technology in the modern world. From games and navigation, as the author does, to design projects, for example, placement of furniture, from using to recreate historical events or reading ordinary books in 3D projections to helping people with vision loss, from military technology to use in surgical operations.
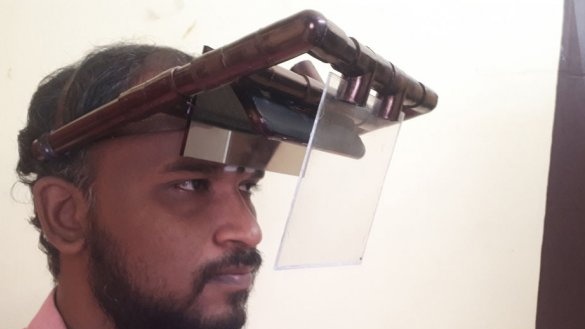
The master made a fully functional device at a ridiculous price. Let's see some videos.
As you can see, pretty good. According to the master with this helmet, the master plays games, uses the navigator and views news feeds. Of course, all this is available when using a bluetooth keyboard with a smartphone.
Tools and materials:
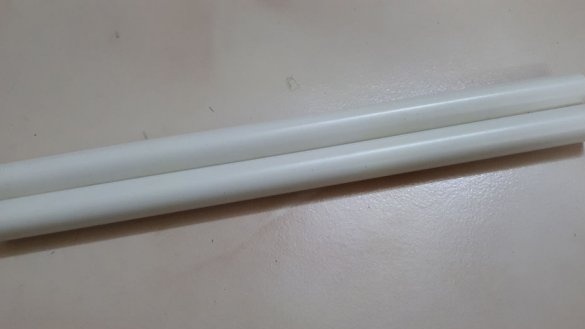
- PVC pipe 3/4 ";
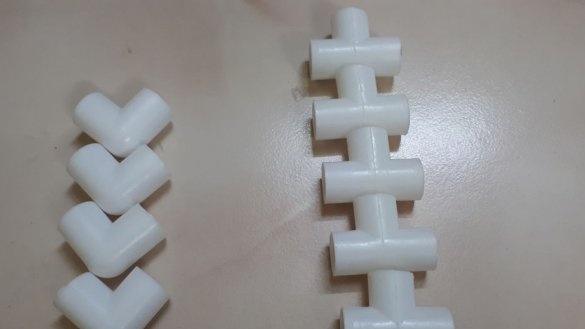
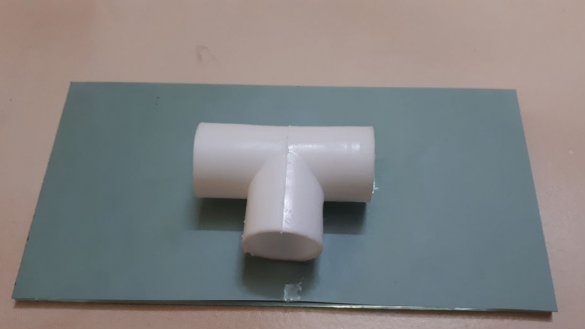
- 3/4 "PVC tee - 8 pcs;
- PVC corner 3/4 "- 2 pcs;
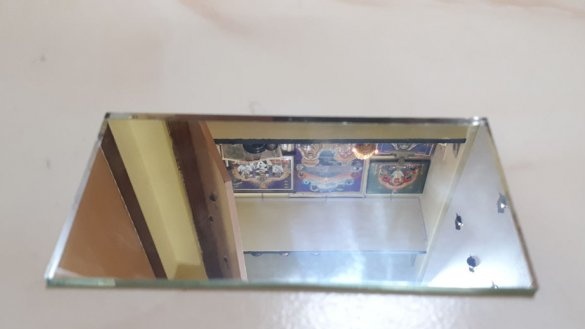
-Mirror 3 "X 6";
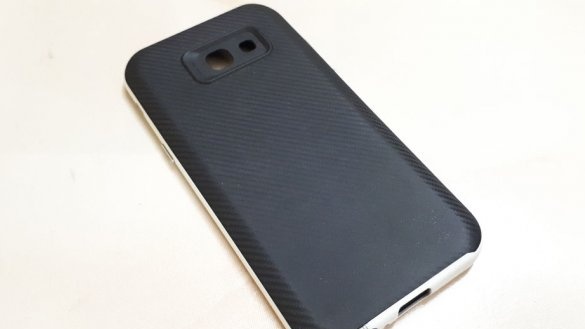
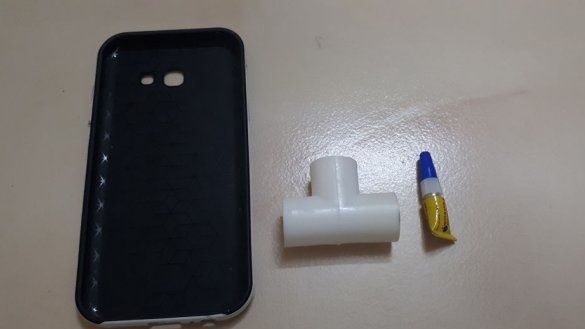
-Open case from a smartphone;
-Acrylic;
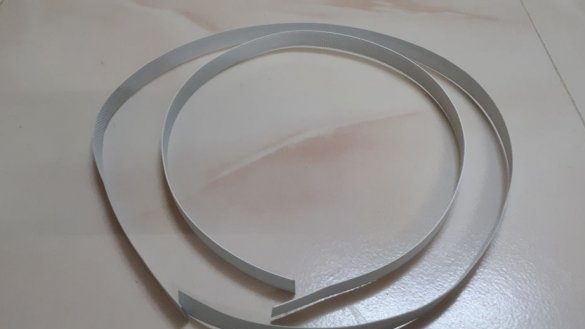
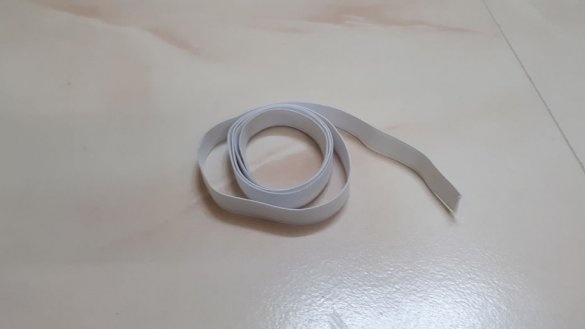
-Wire packaging;
- PVC glue;
-Marker;
Step One: Pipe Cutting
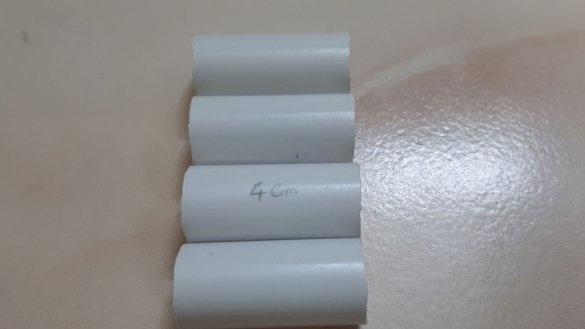
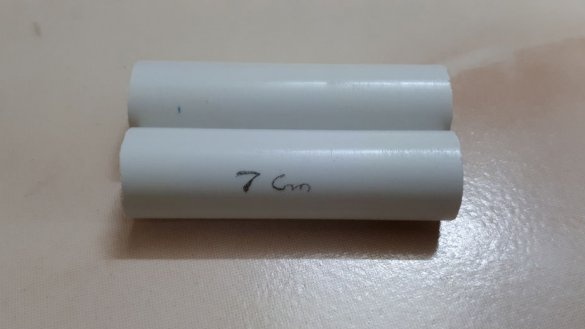
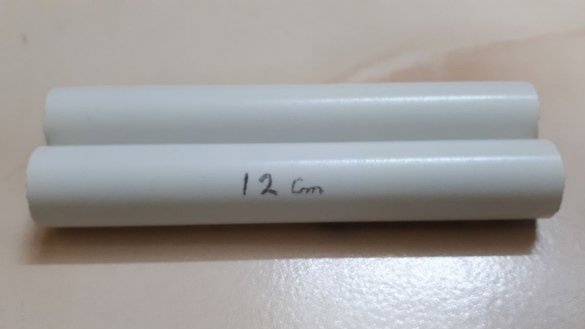
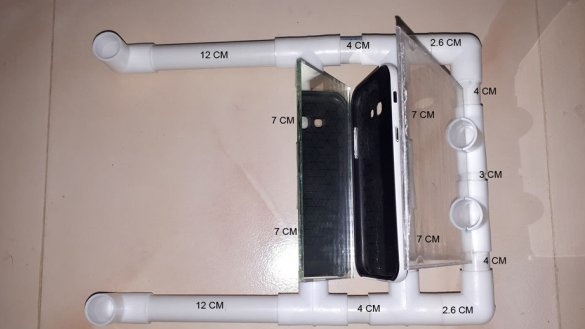
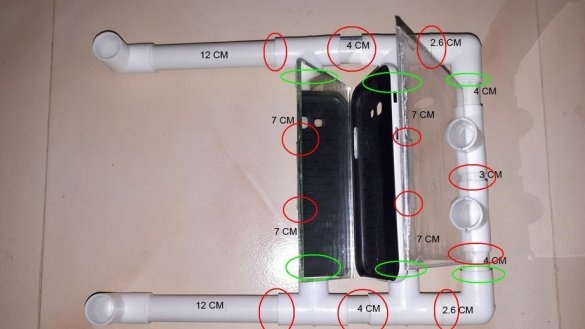
First, the master cuts the pipe to size. The following segments are needed:
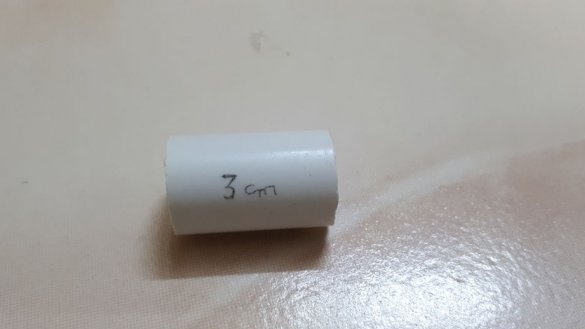
1) 3 cm - 1 pc:
2) 4 cm - 4 pcs;
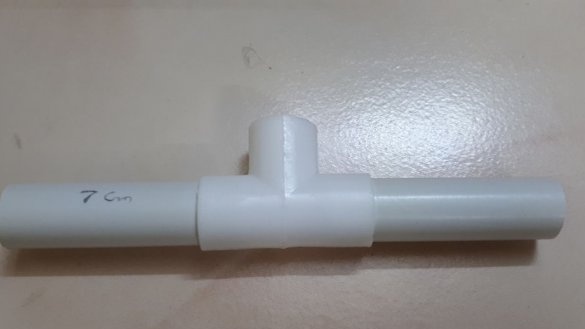
3) 7 cm - 4 pcs:
4) 2.6 cm - 2 pcs:
5) 12 cm - 2 pcs.
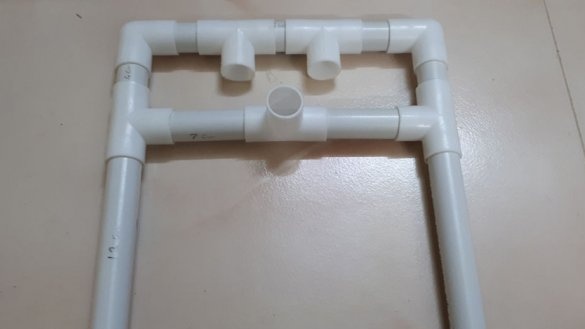
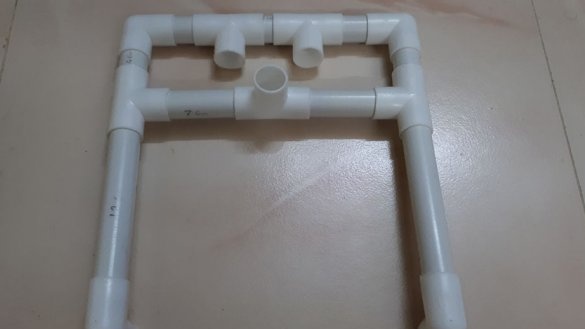
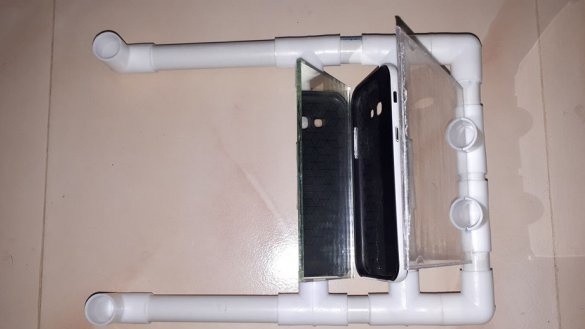
Step two: frame assembly
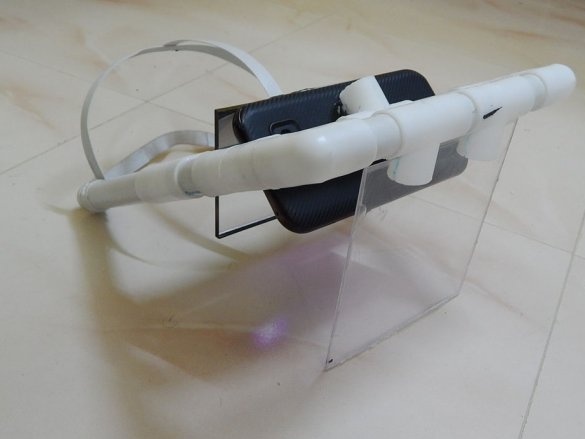
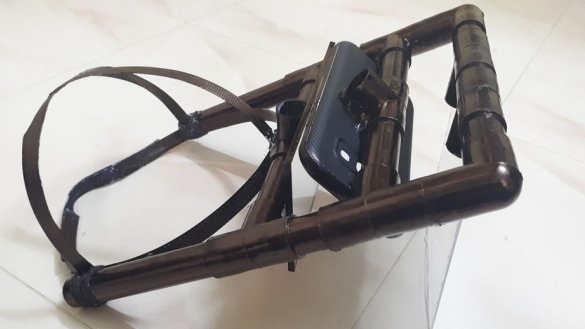
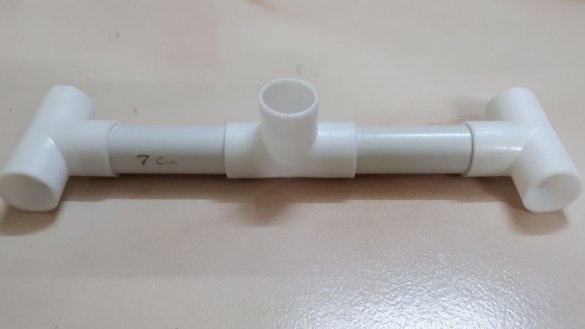
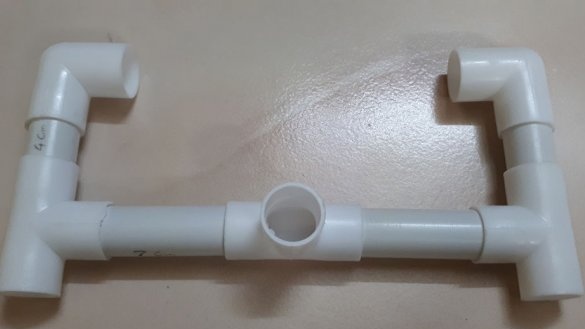
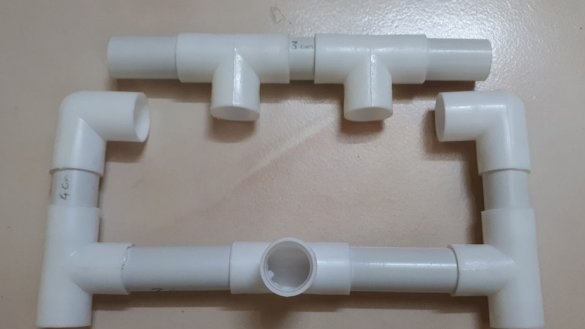
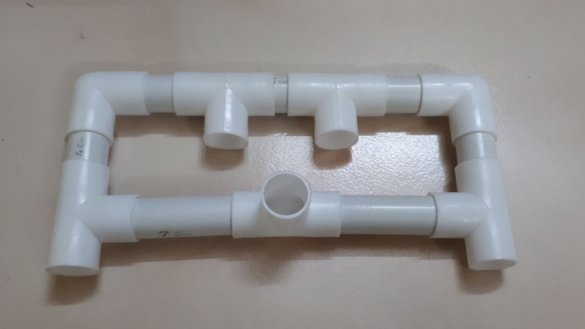
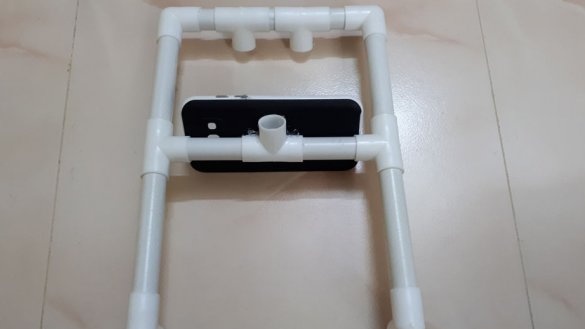
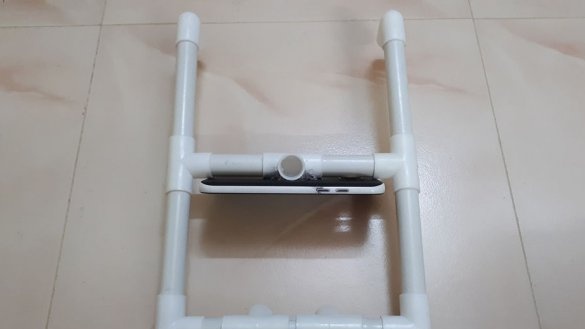
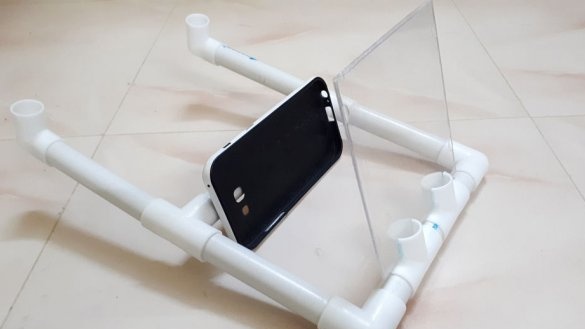
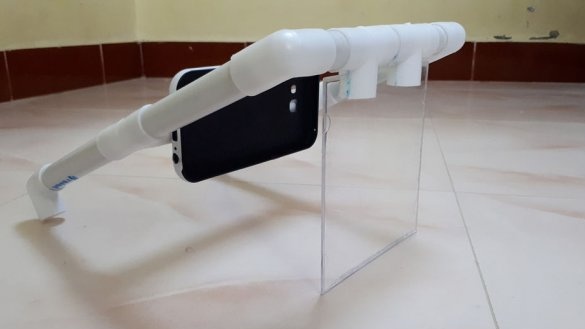
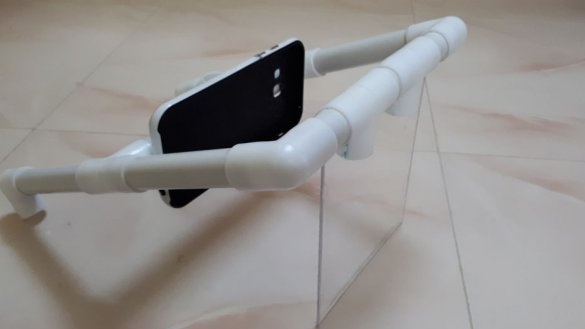
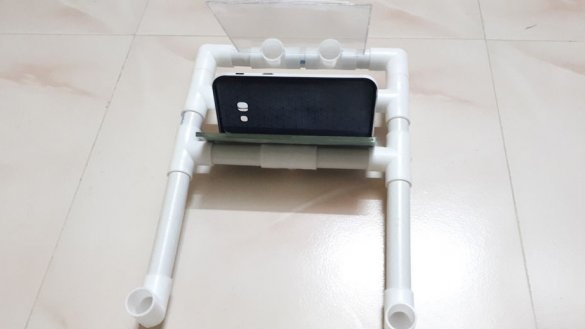
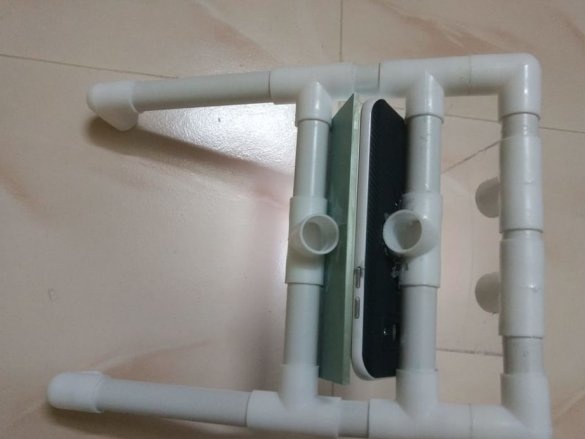
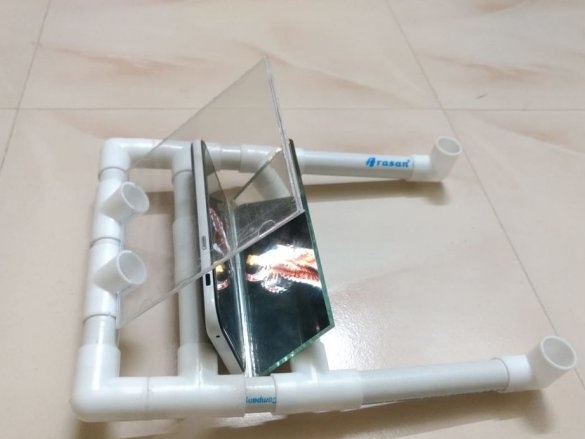
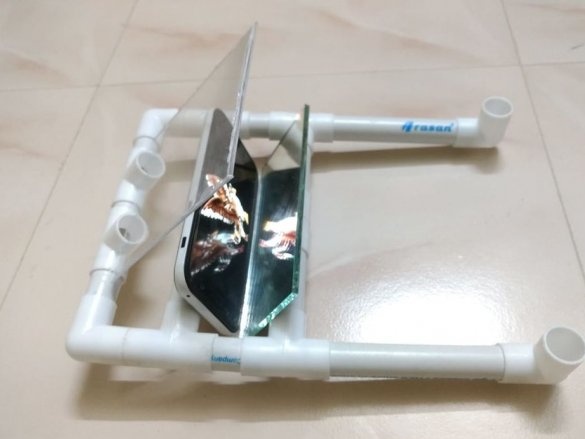
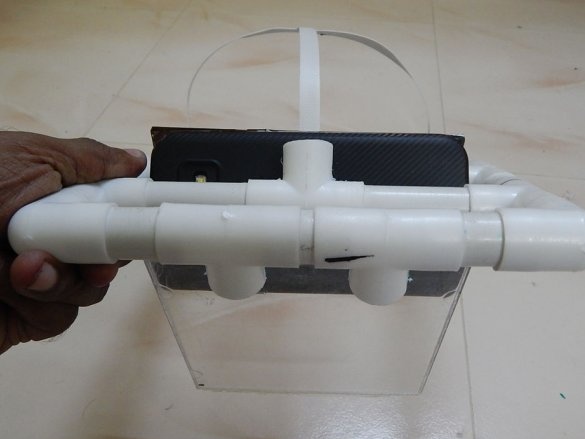
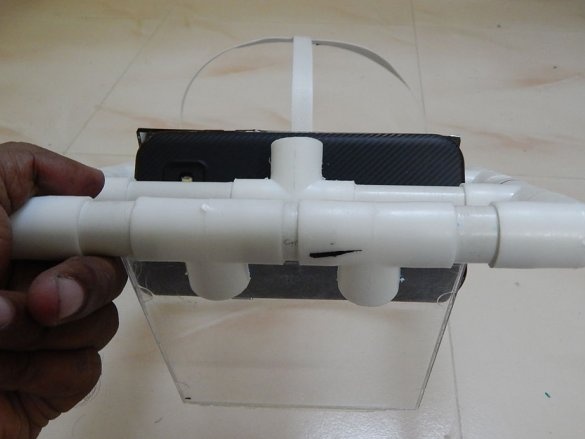
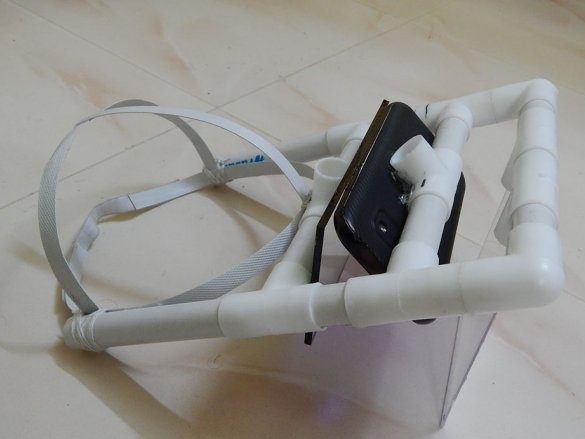
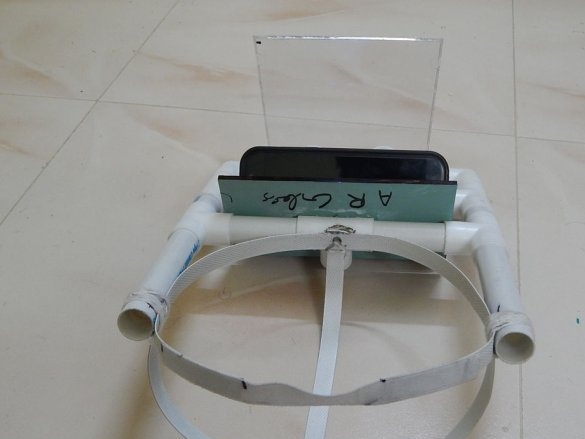
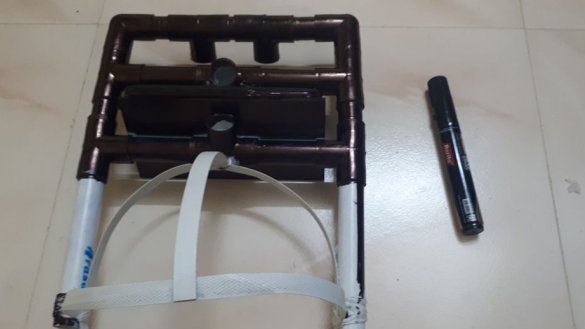
Next, the master collects the frame. While the assembly is in progress and the connection device is configured, the wizard does not commit. Pay attention to the distance between the two transverse joints. Through trial and error, the master increased the clearance between them. This can be seen in the following photos.
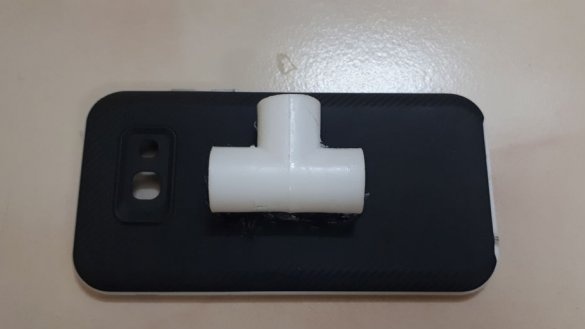
Step Three: Case
Fixes a smartphone case.
Step Four: Acrylic
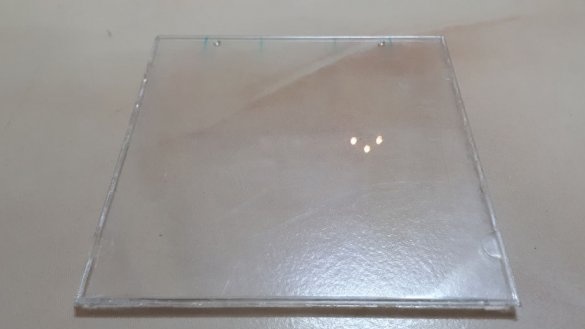
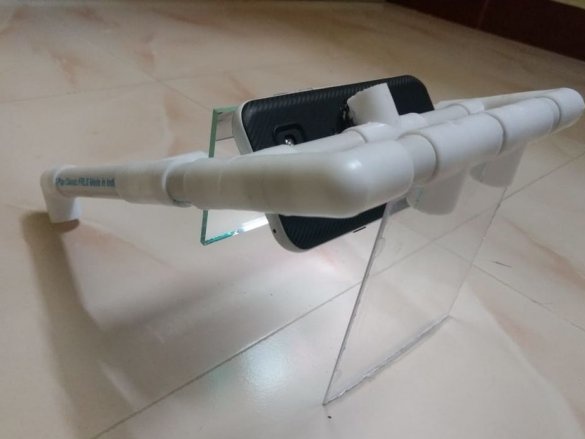
Cut the PVC corner and insert an acrylic sheet into the cut.
In principle, the device is already operational, but the text is mirrored.
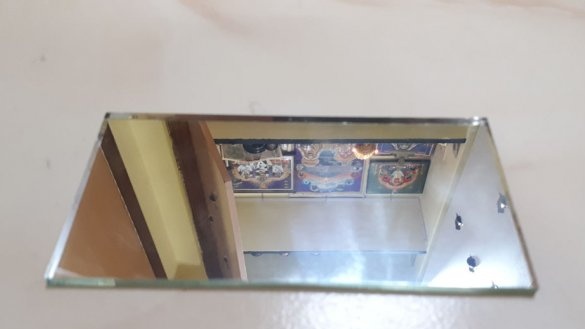
Step Five: Mirror
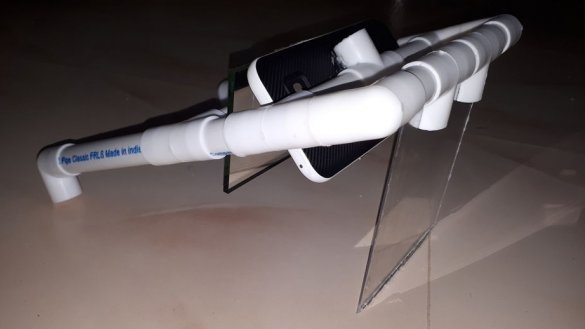
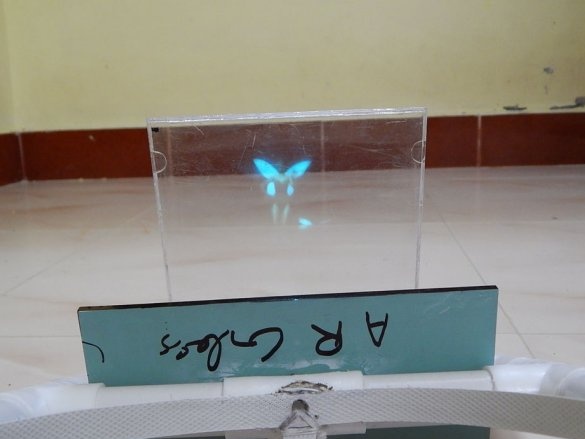
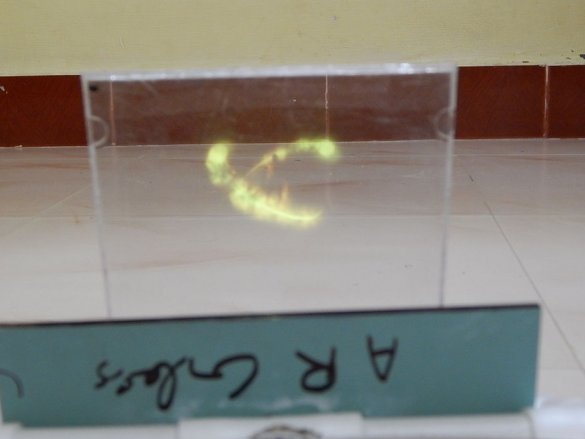
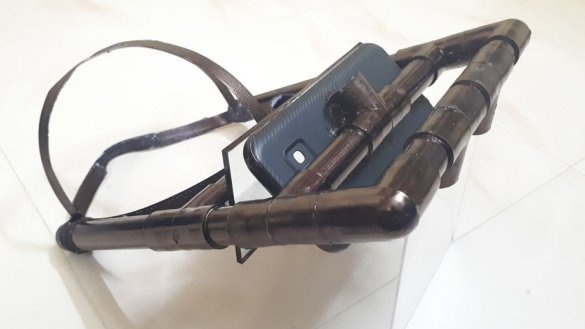
To invert the image on the device, the master fixes the mirror. Now the image from the smartphone is reflected in the mirror and transmitted to acrylic.
Step Six: Adjust
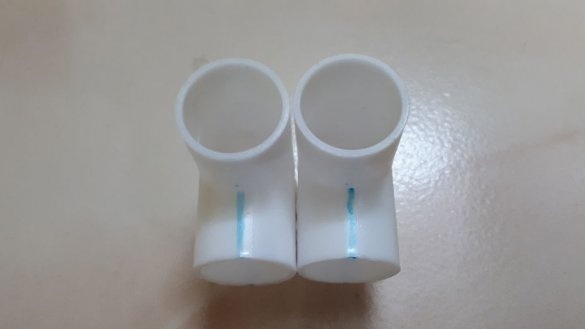
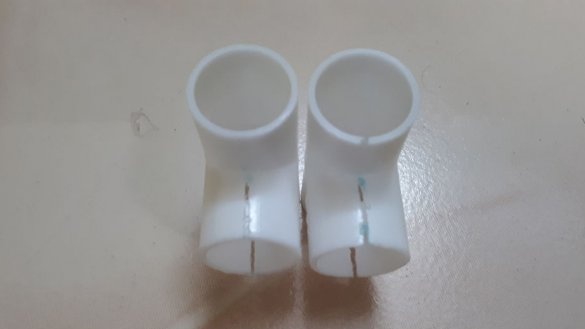
In the next photo, the master marked in red the joints that need to be glued.
Connections for adjusting the relative position of parts are marked in green.
Adjusts the angle between smartphone, mirror and acrylic. The angle should be about 45 degrees.
Seventh step: mount
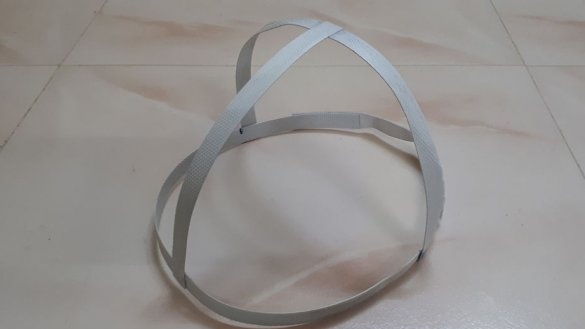
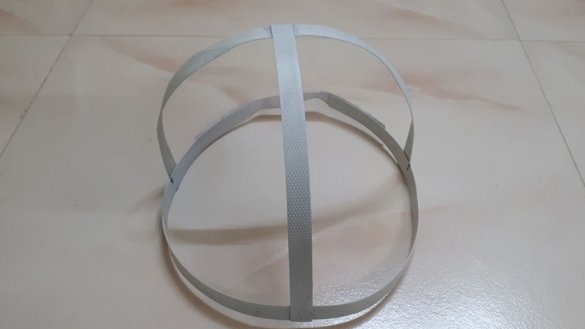
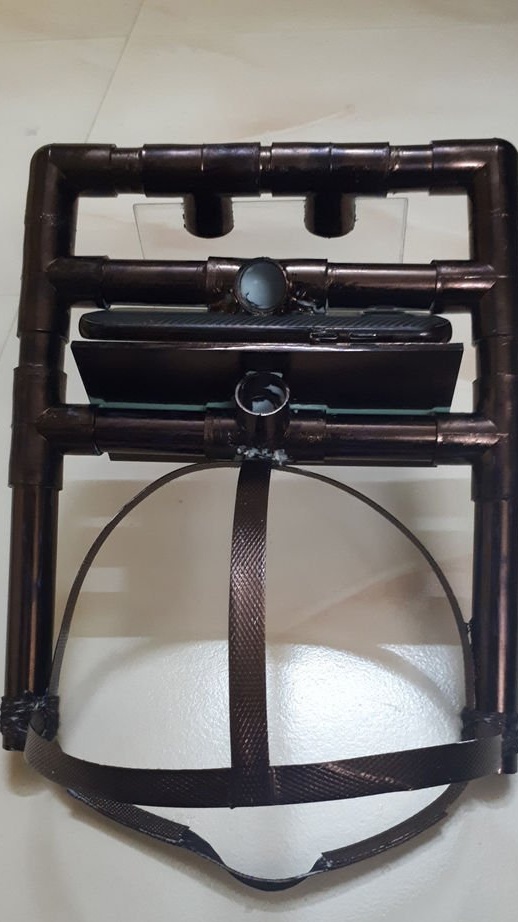
To attach the device to the head, the master makes a hat from wire.
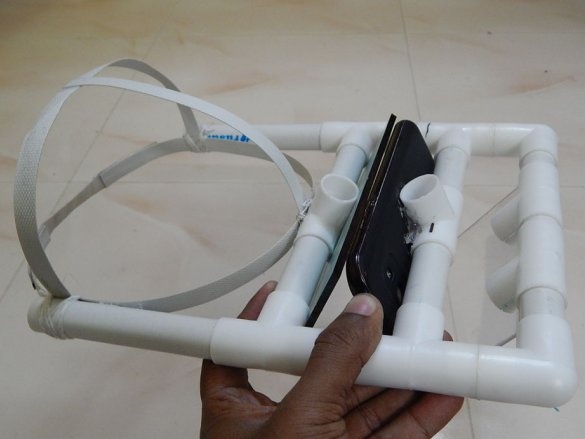
Fixes it to the device.
Checks work.
Step Eight: Coloring
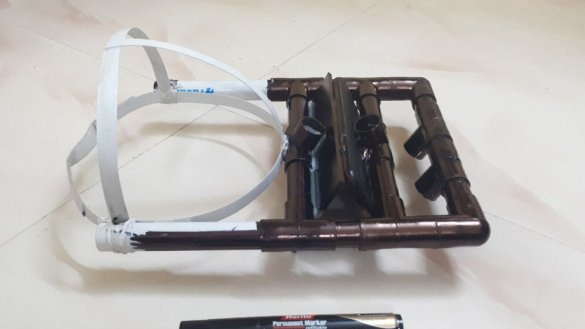
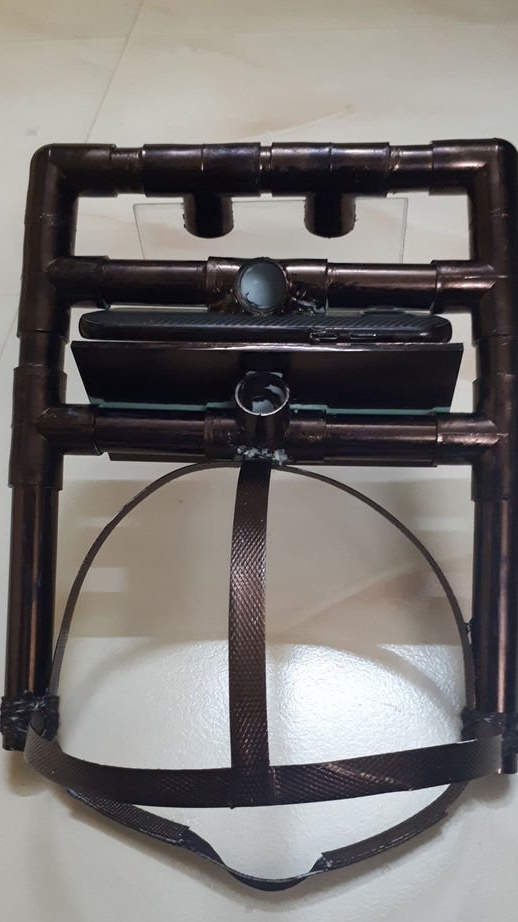
A brown marker colors the device.
Step nine: set up your smartphone
In the smartphone, you must turn off the automatic lighting adjustment function and turn on the brightness to full.
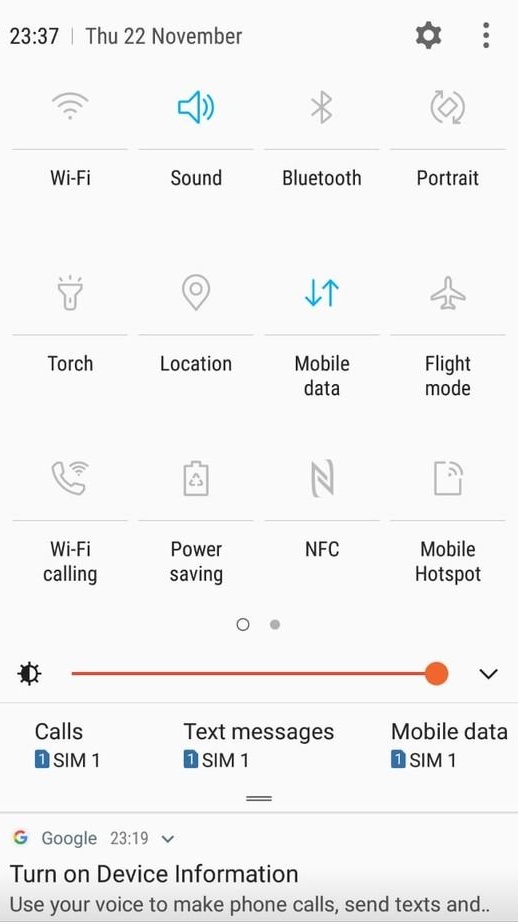
Everything is ready, it remains to put on a helmet and you can use it.

